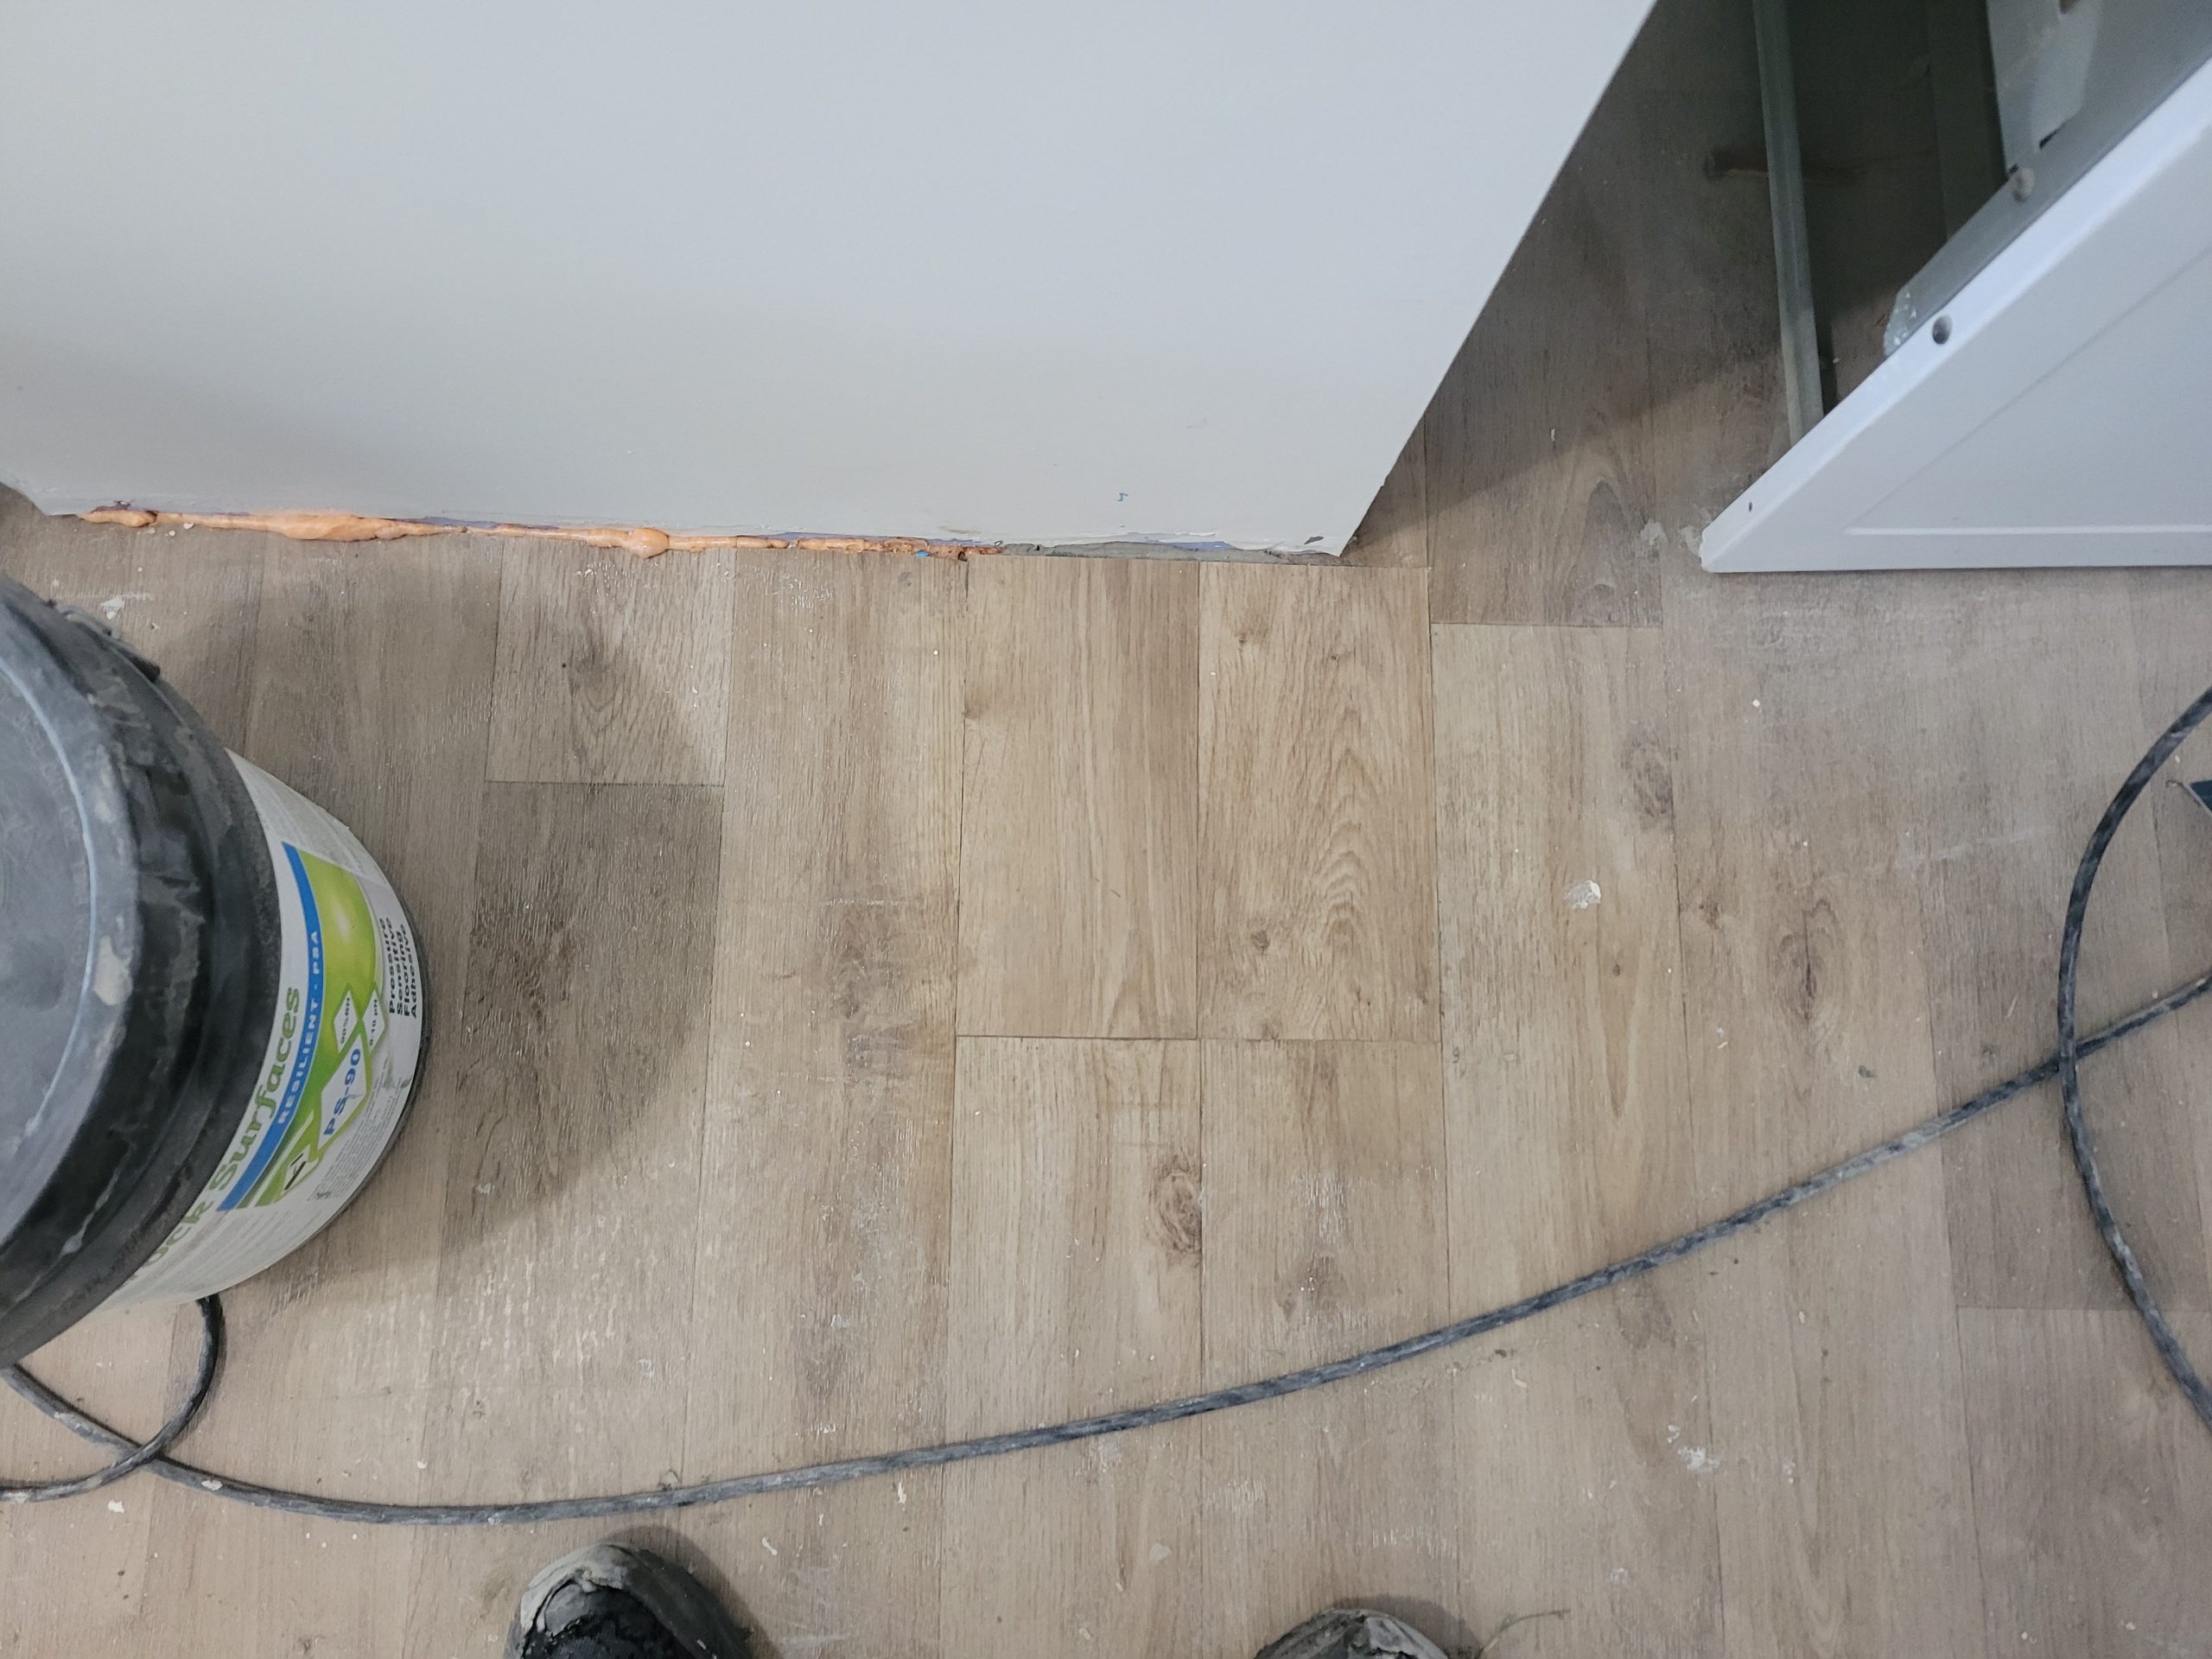
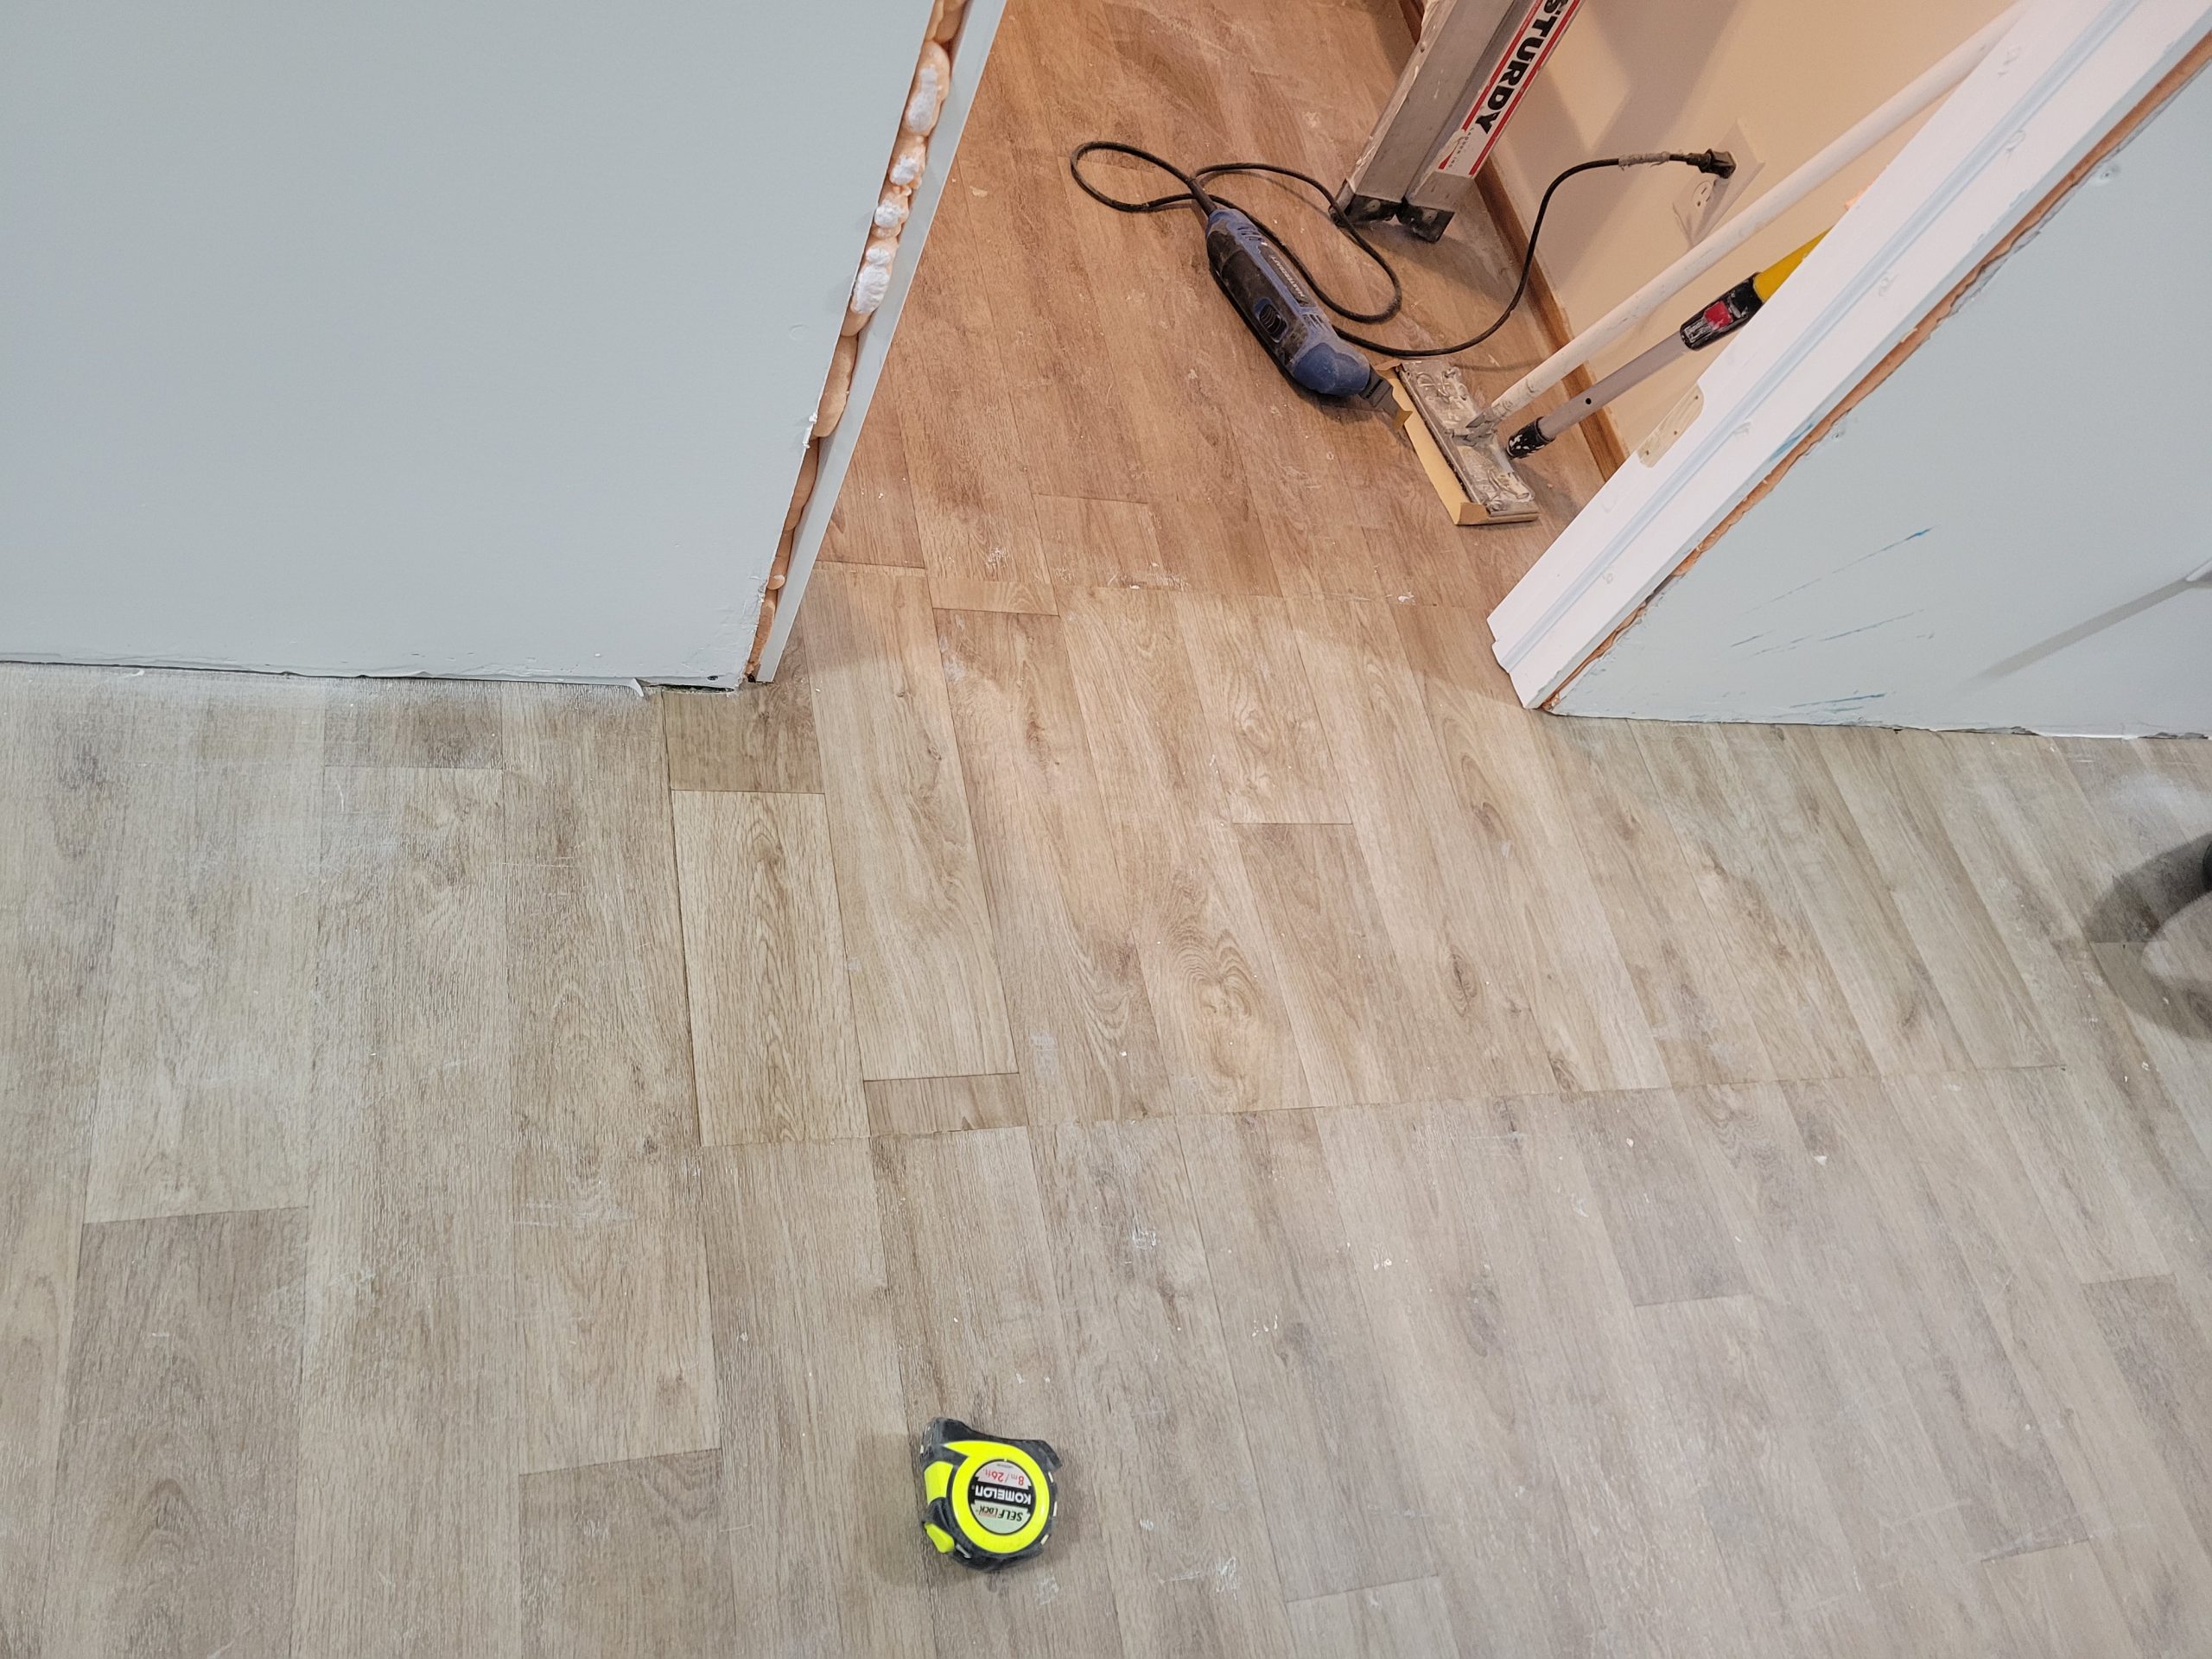
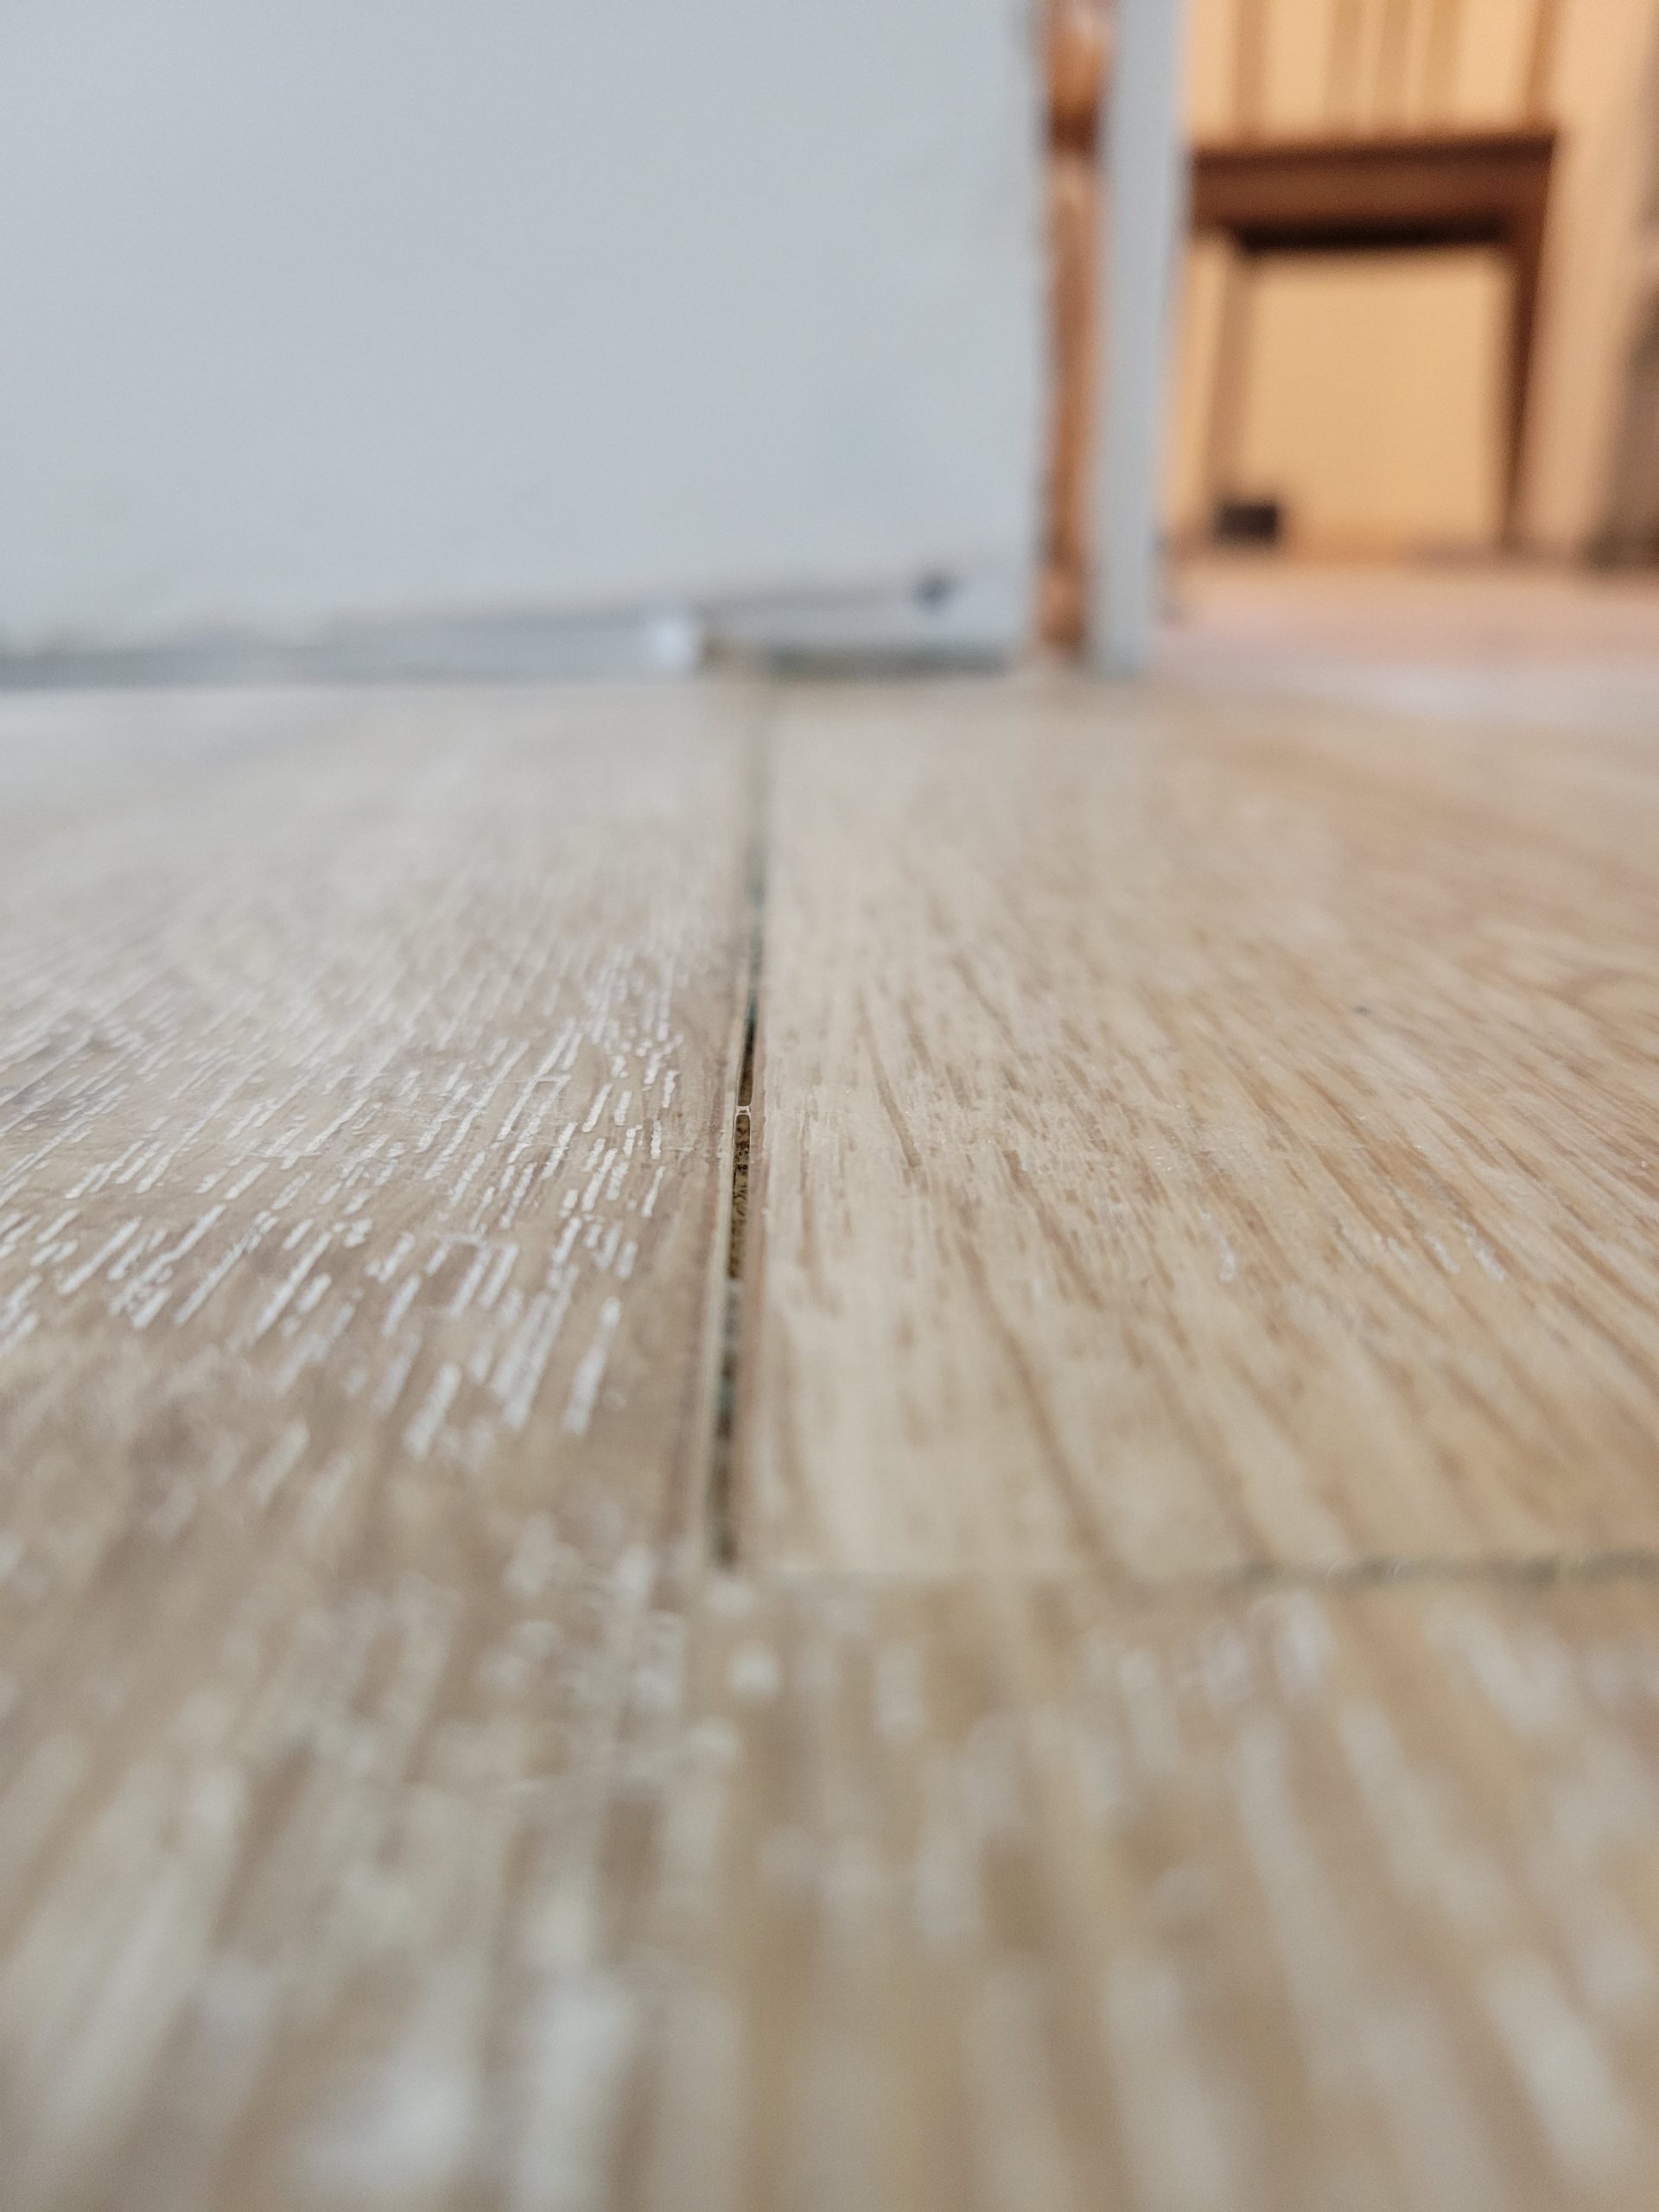
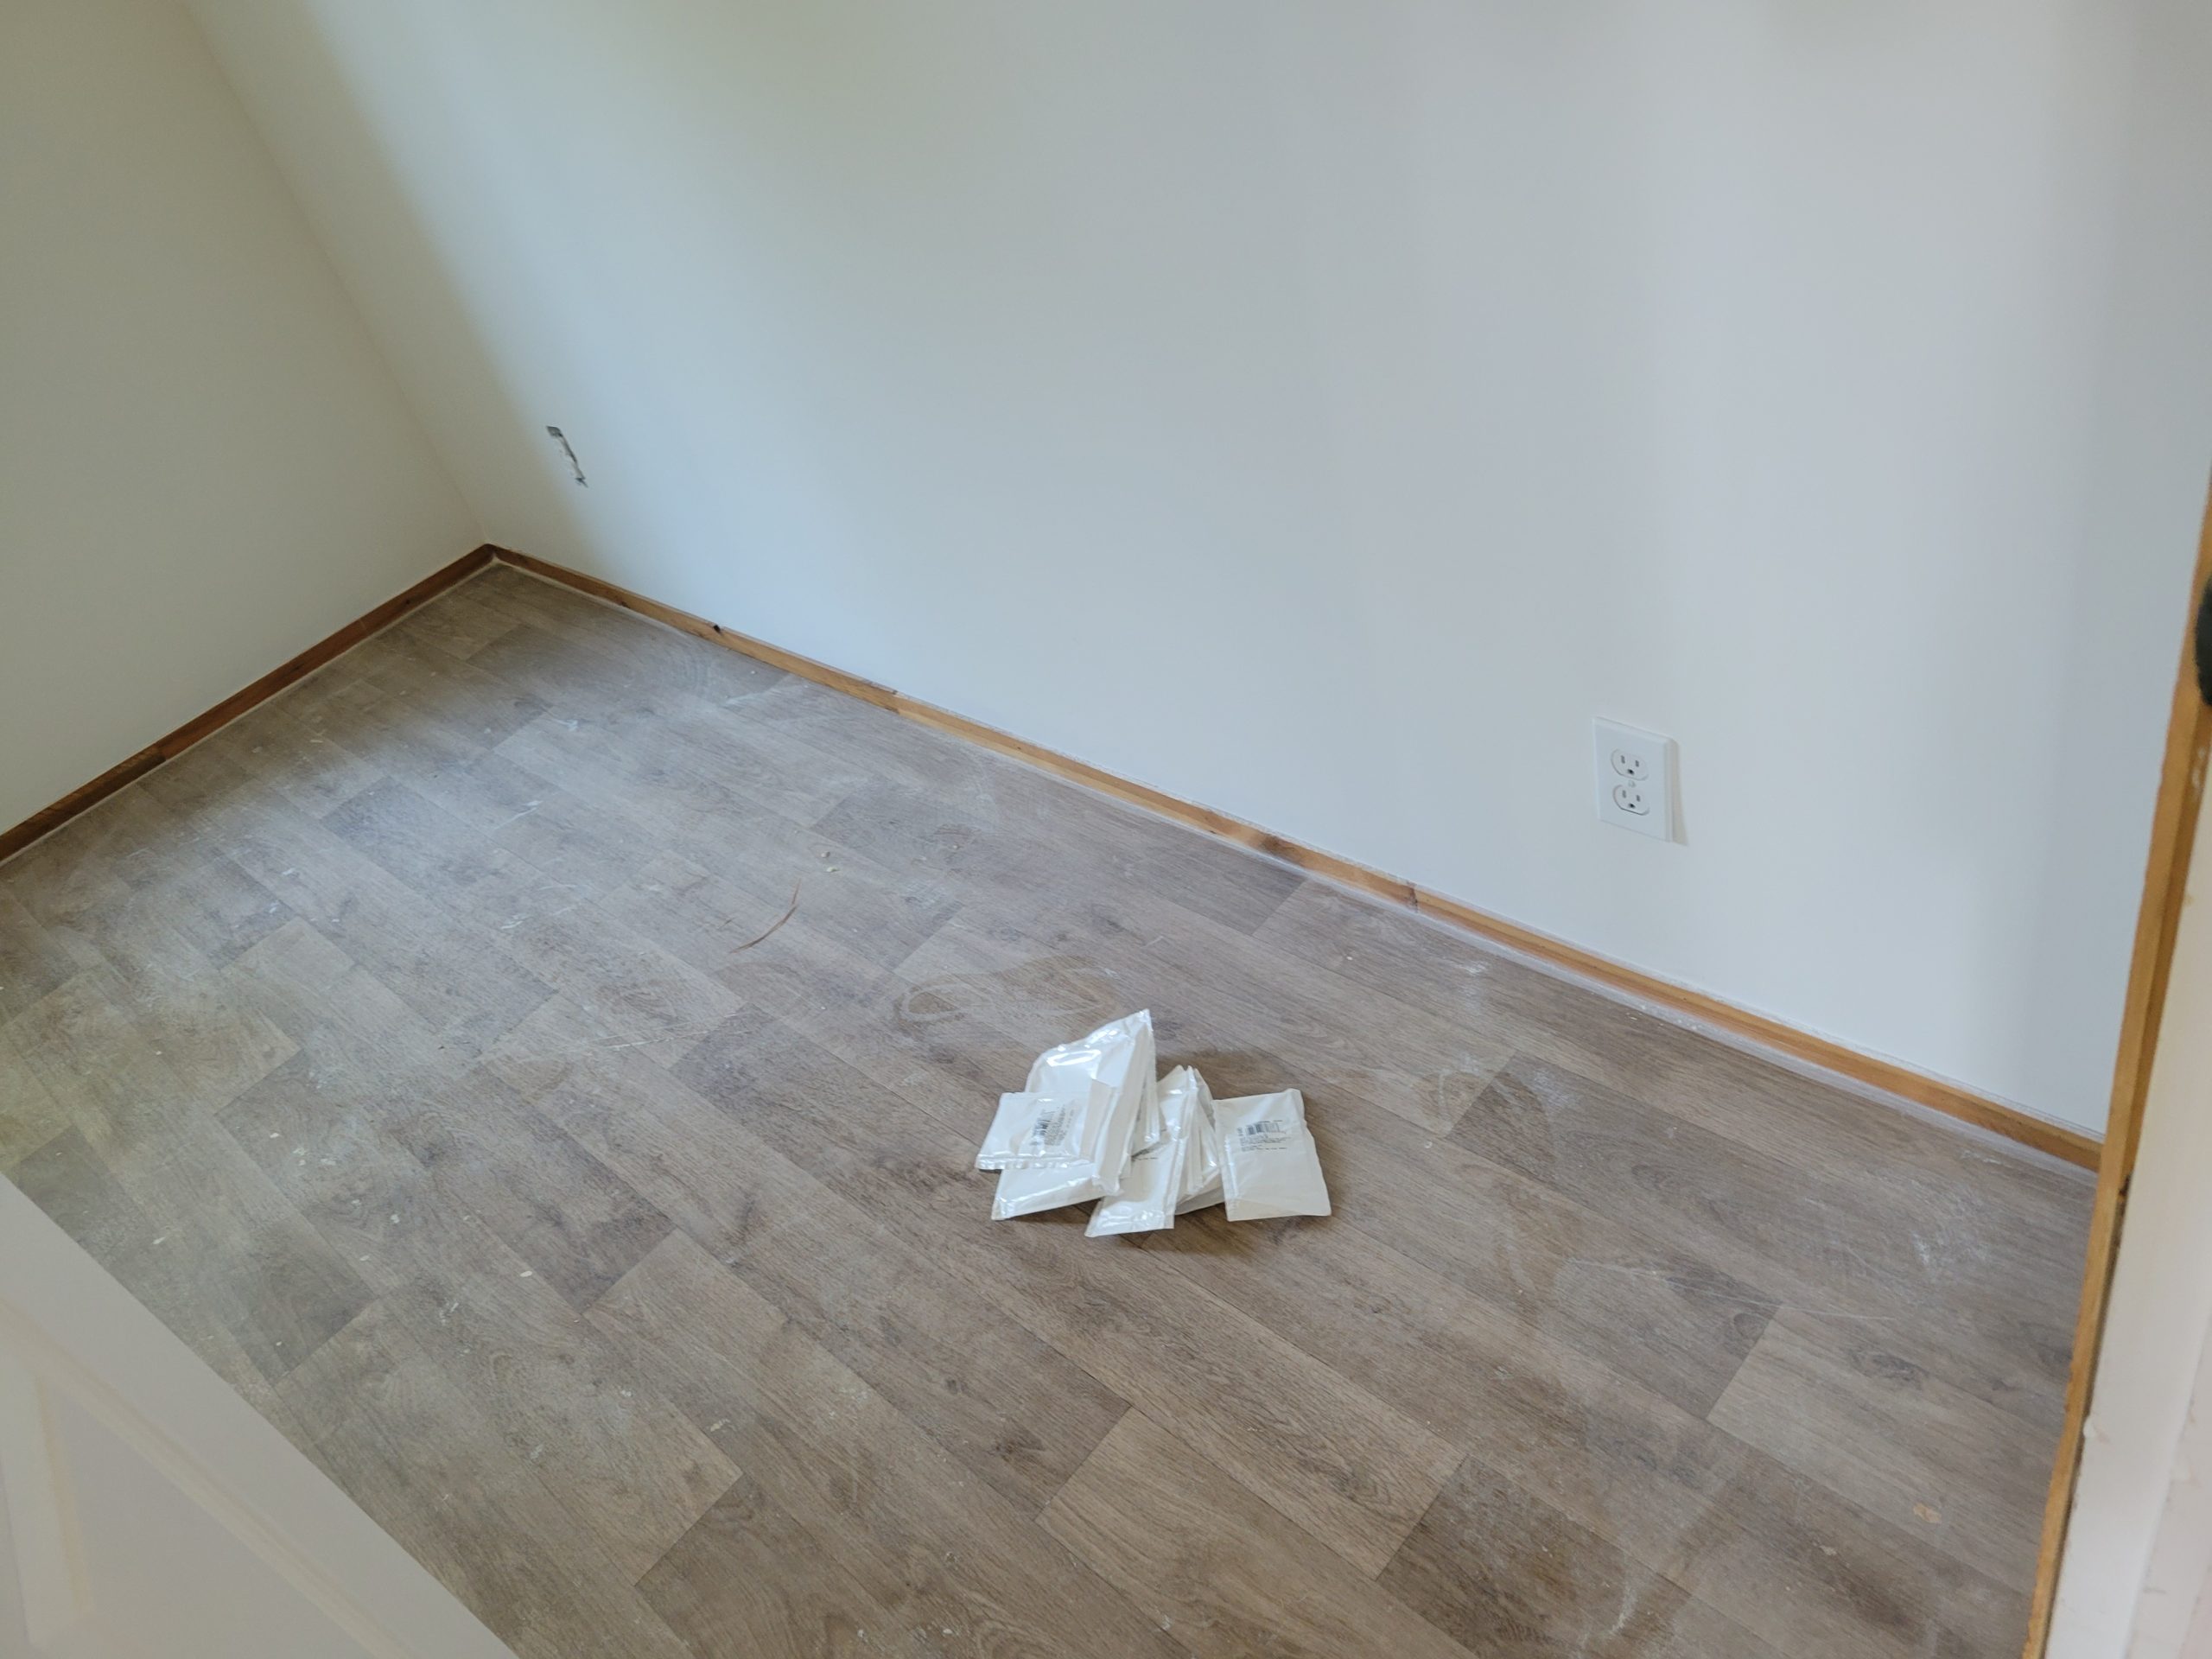
linoleum floor patch, moving of stuff

This is what the living room floor looks like now. 
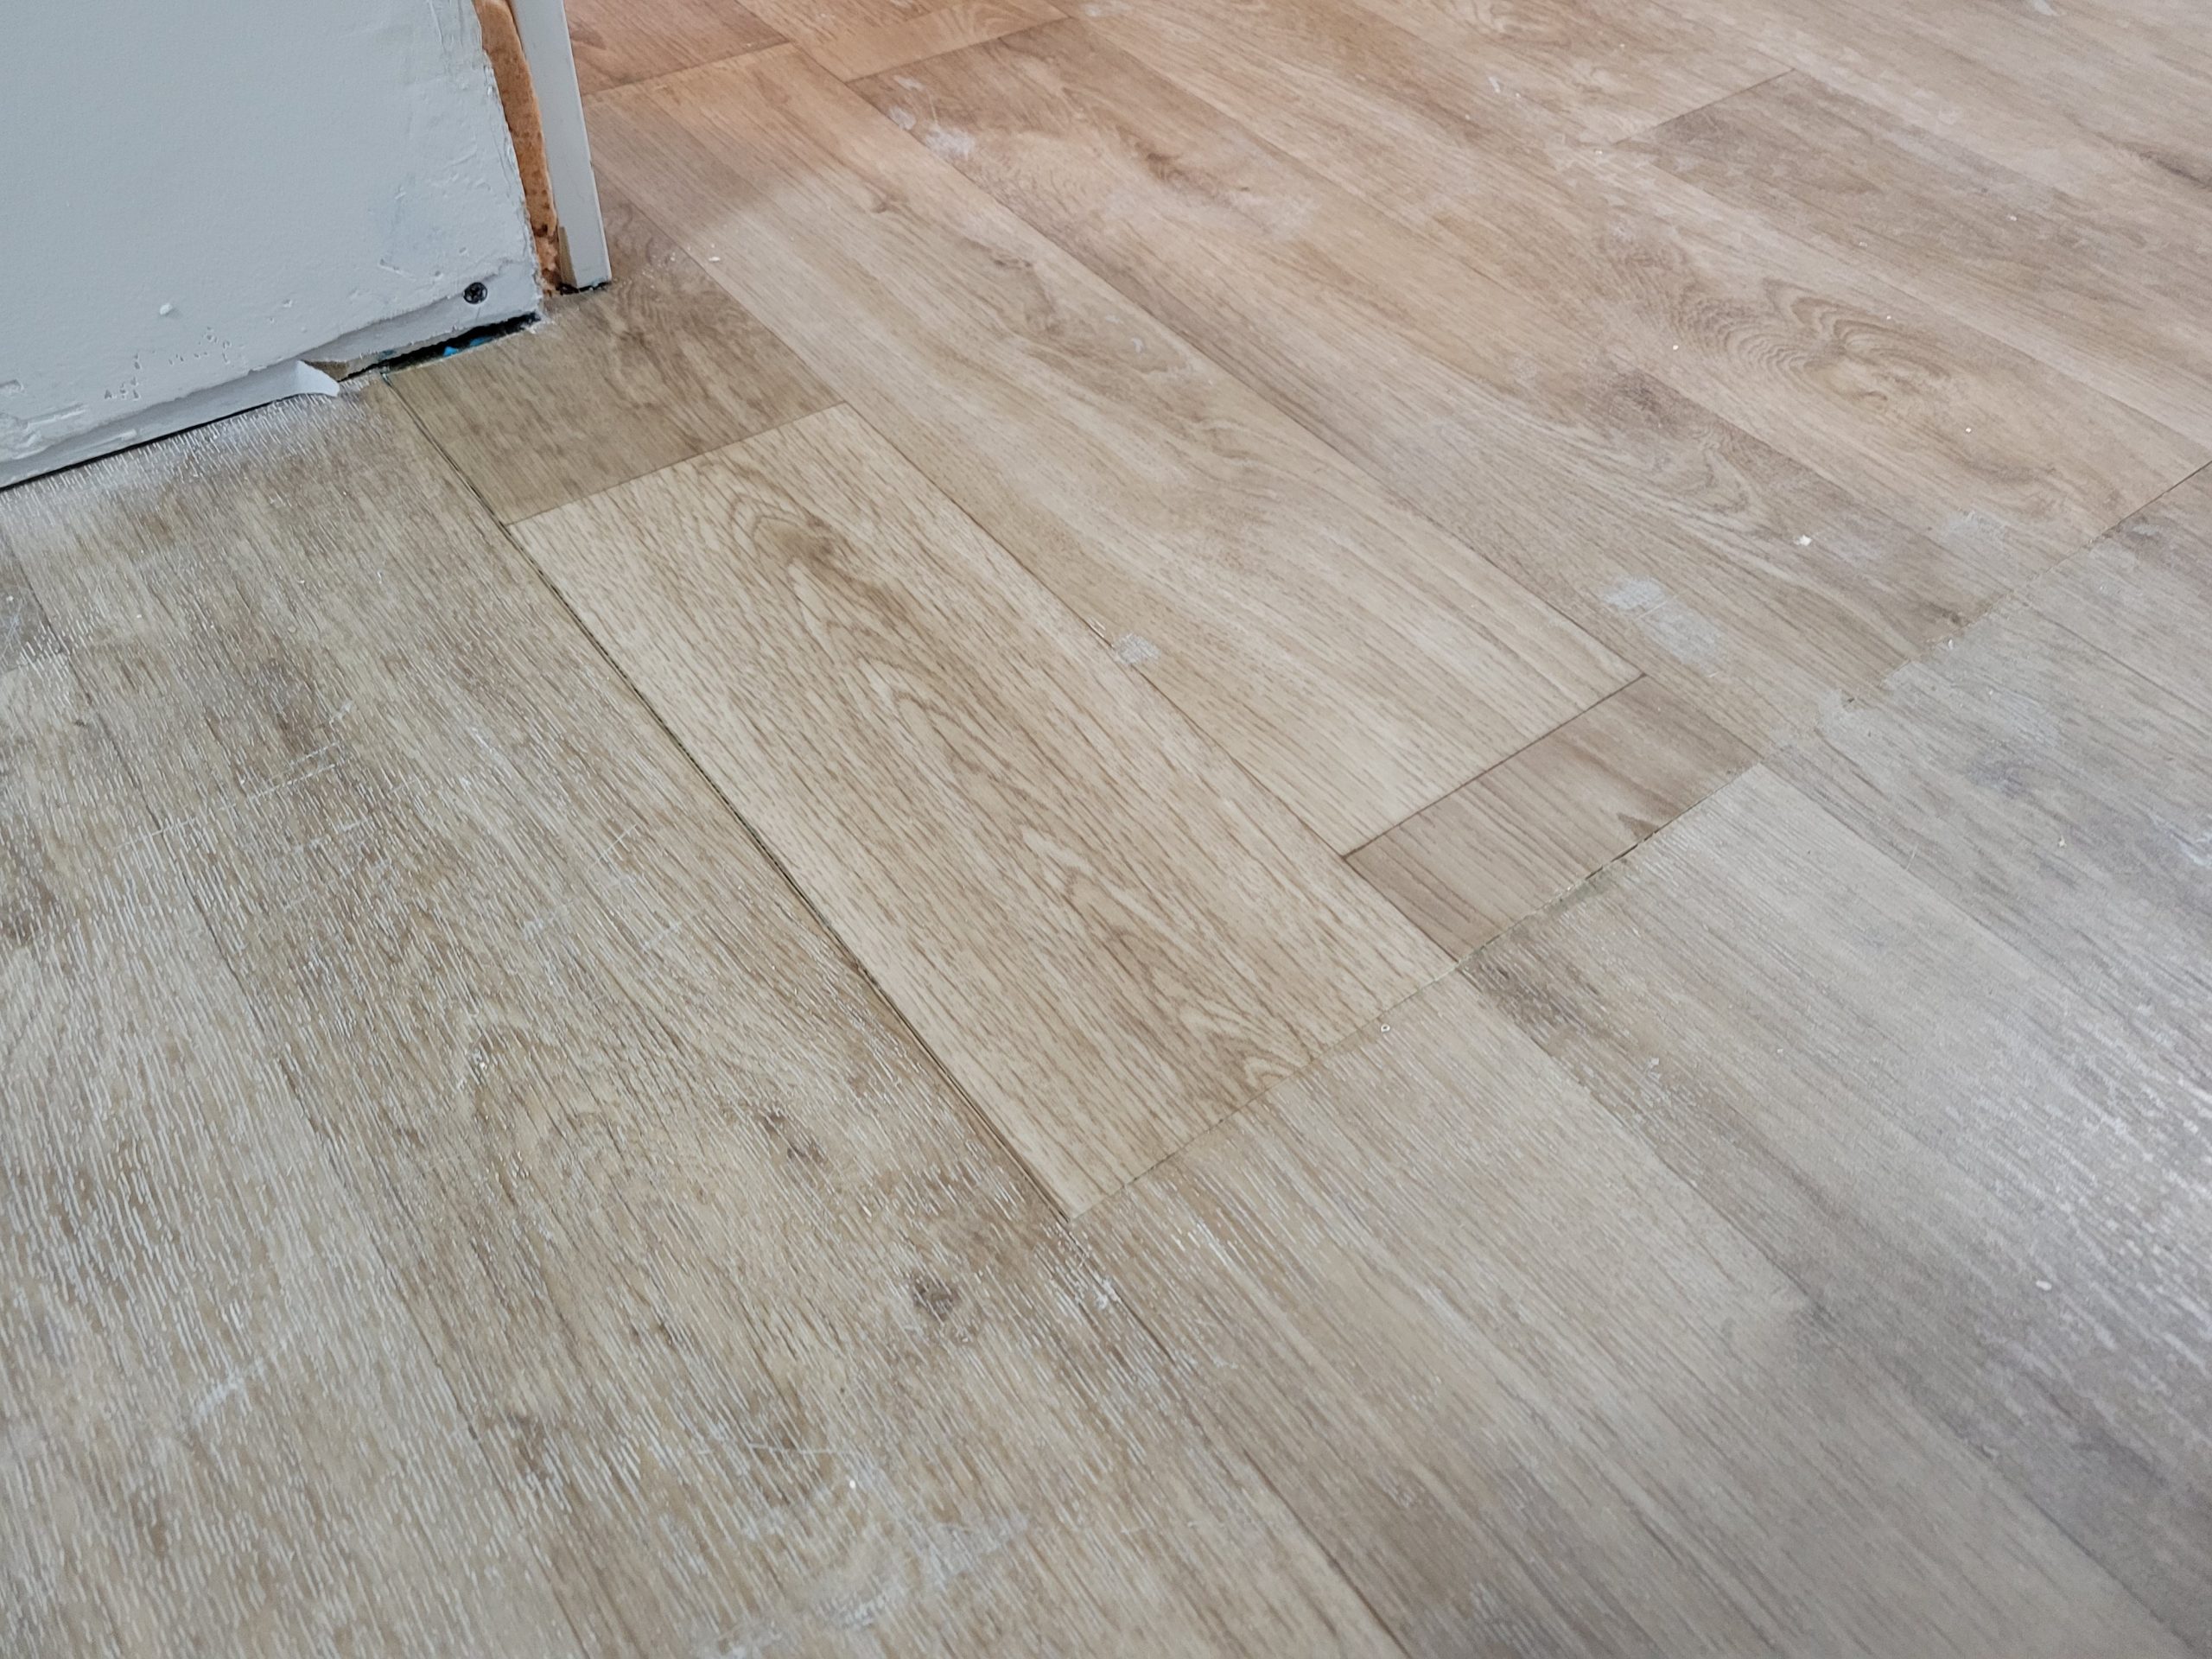
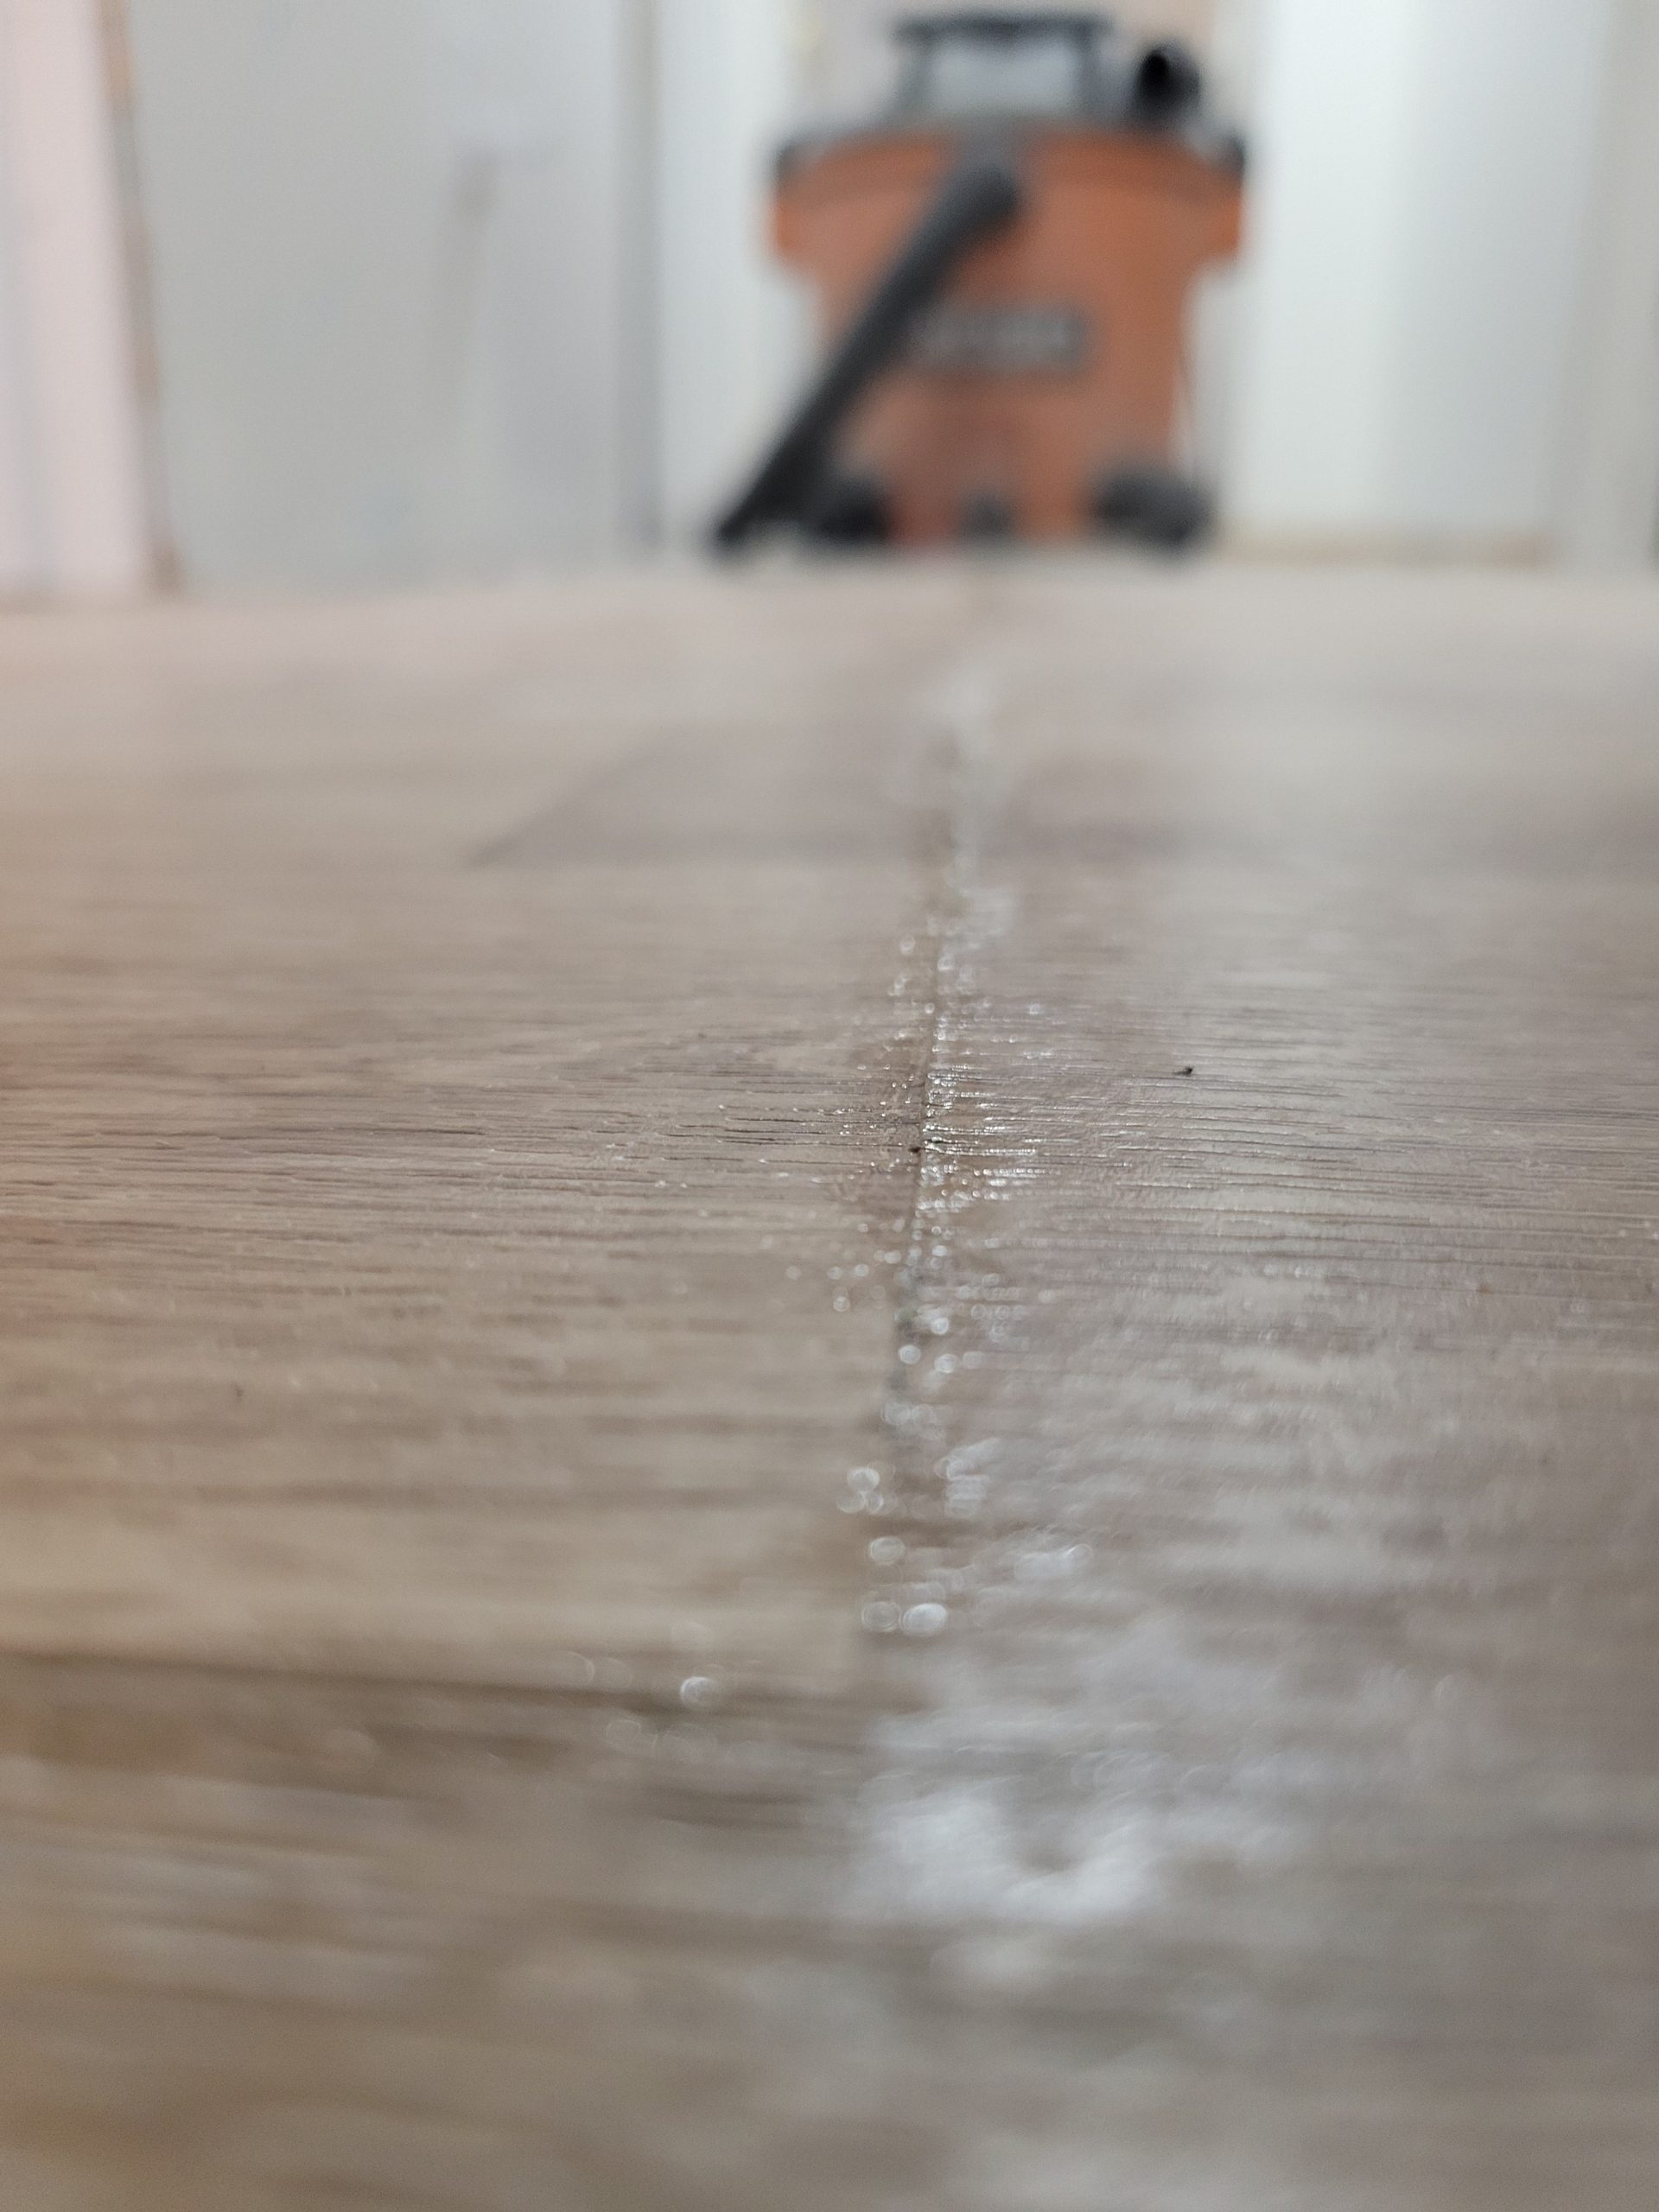
The seam sealer is harder to use than what the salesperson said. 
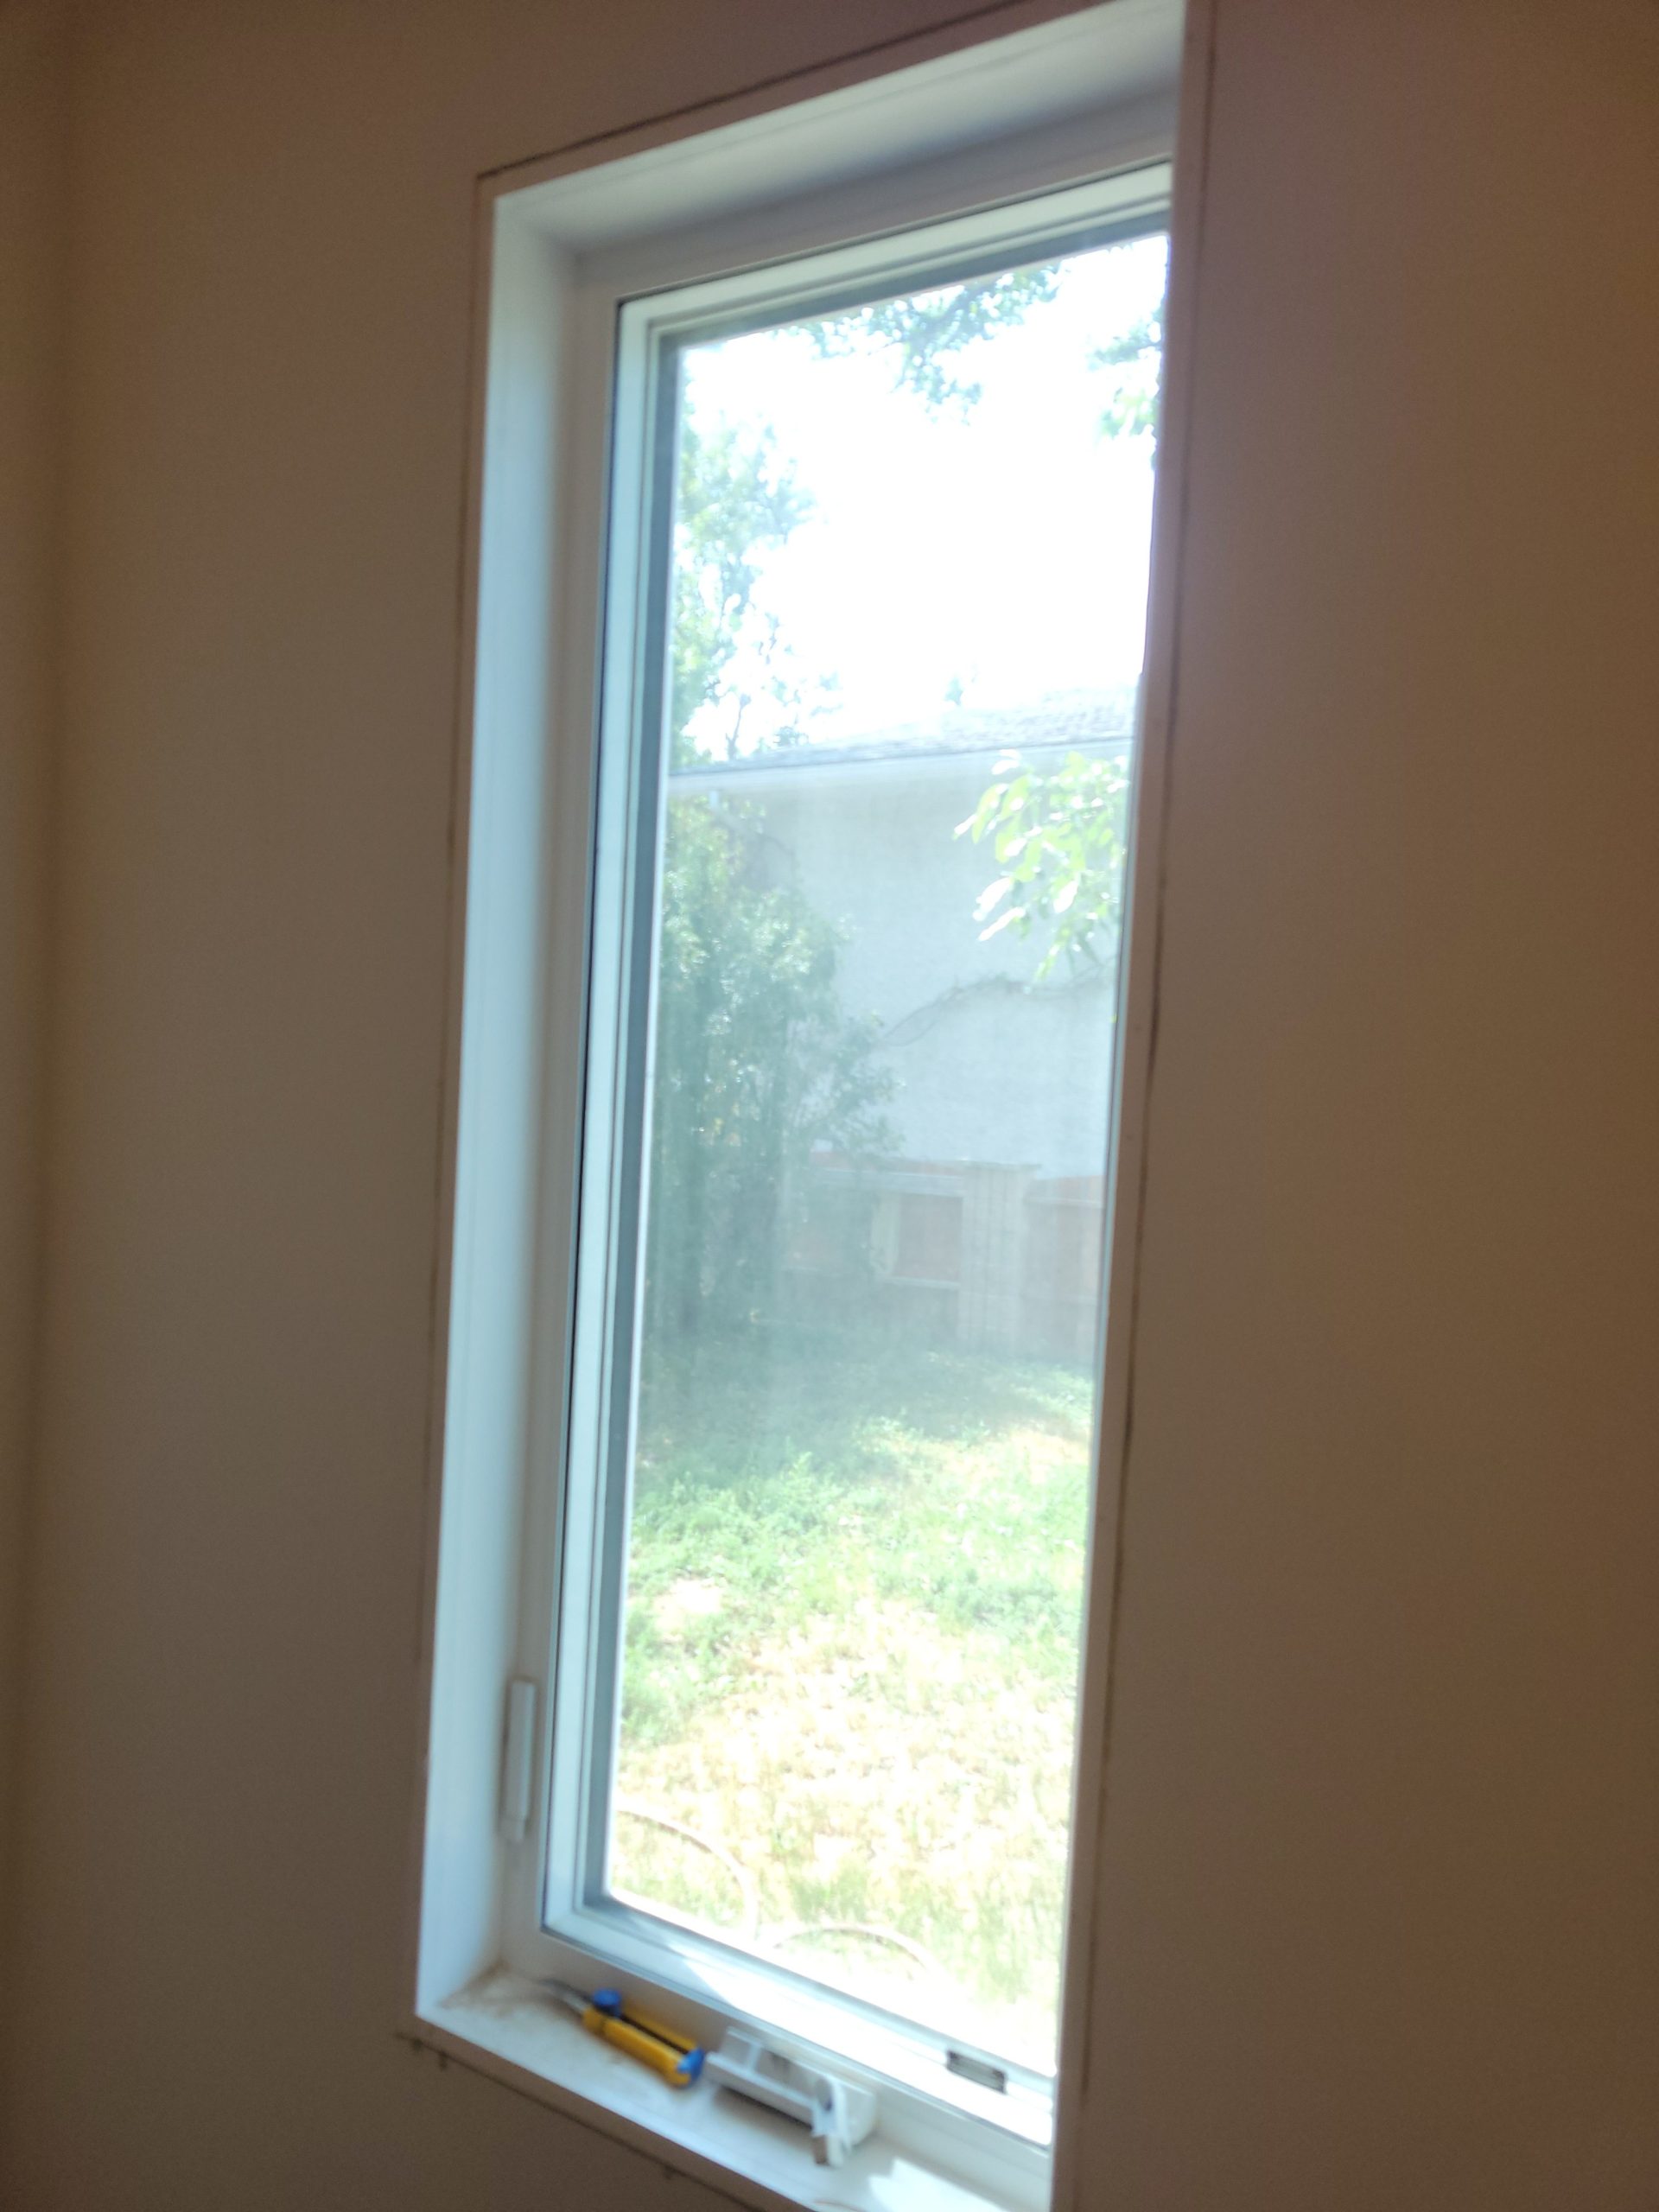
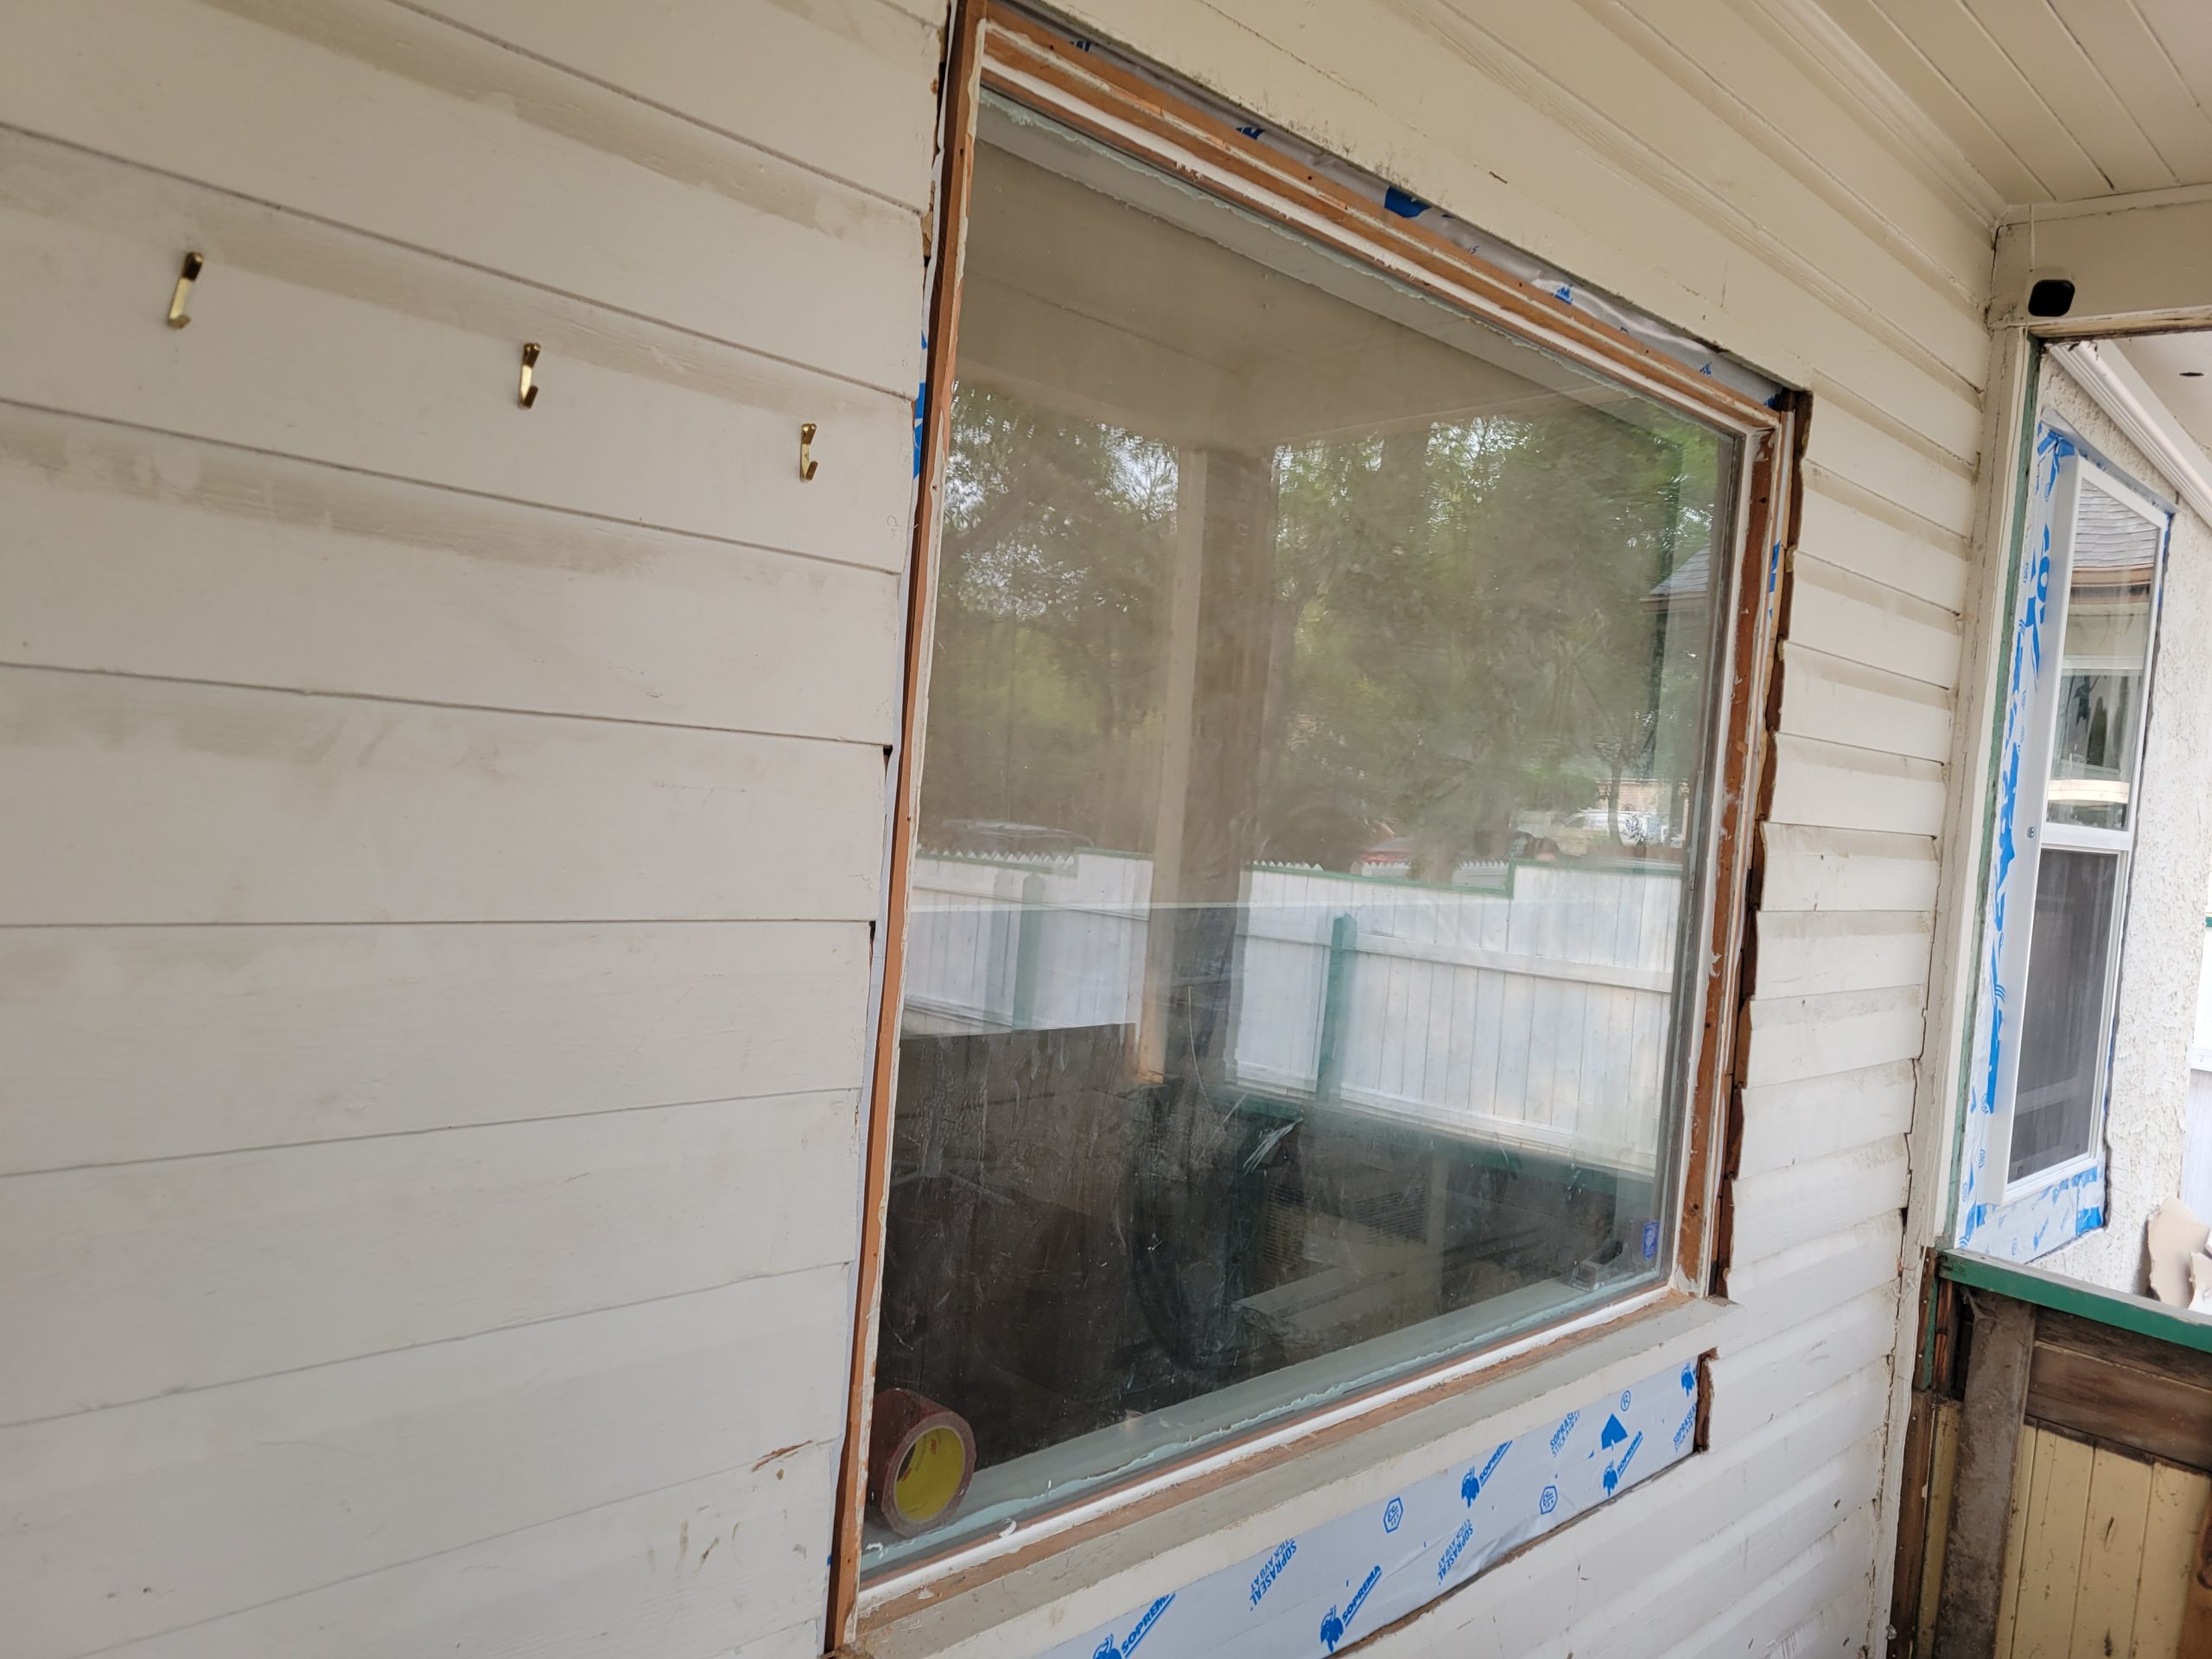
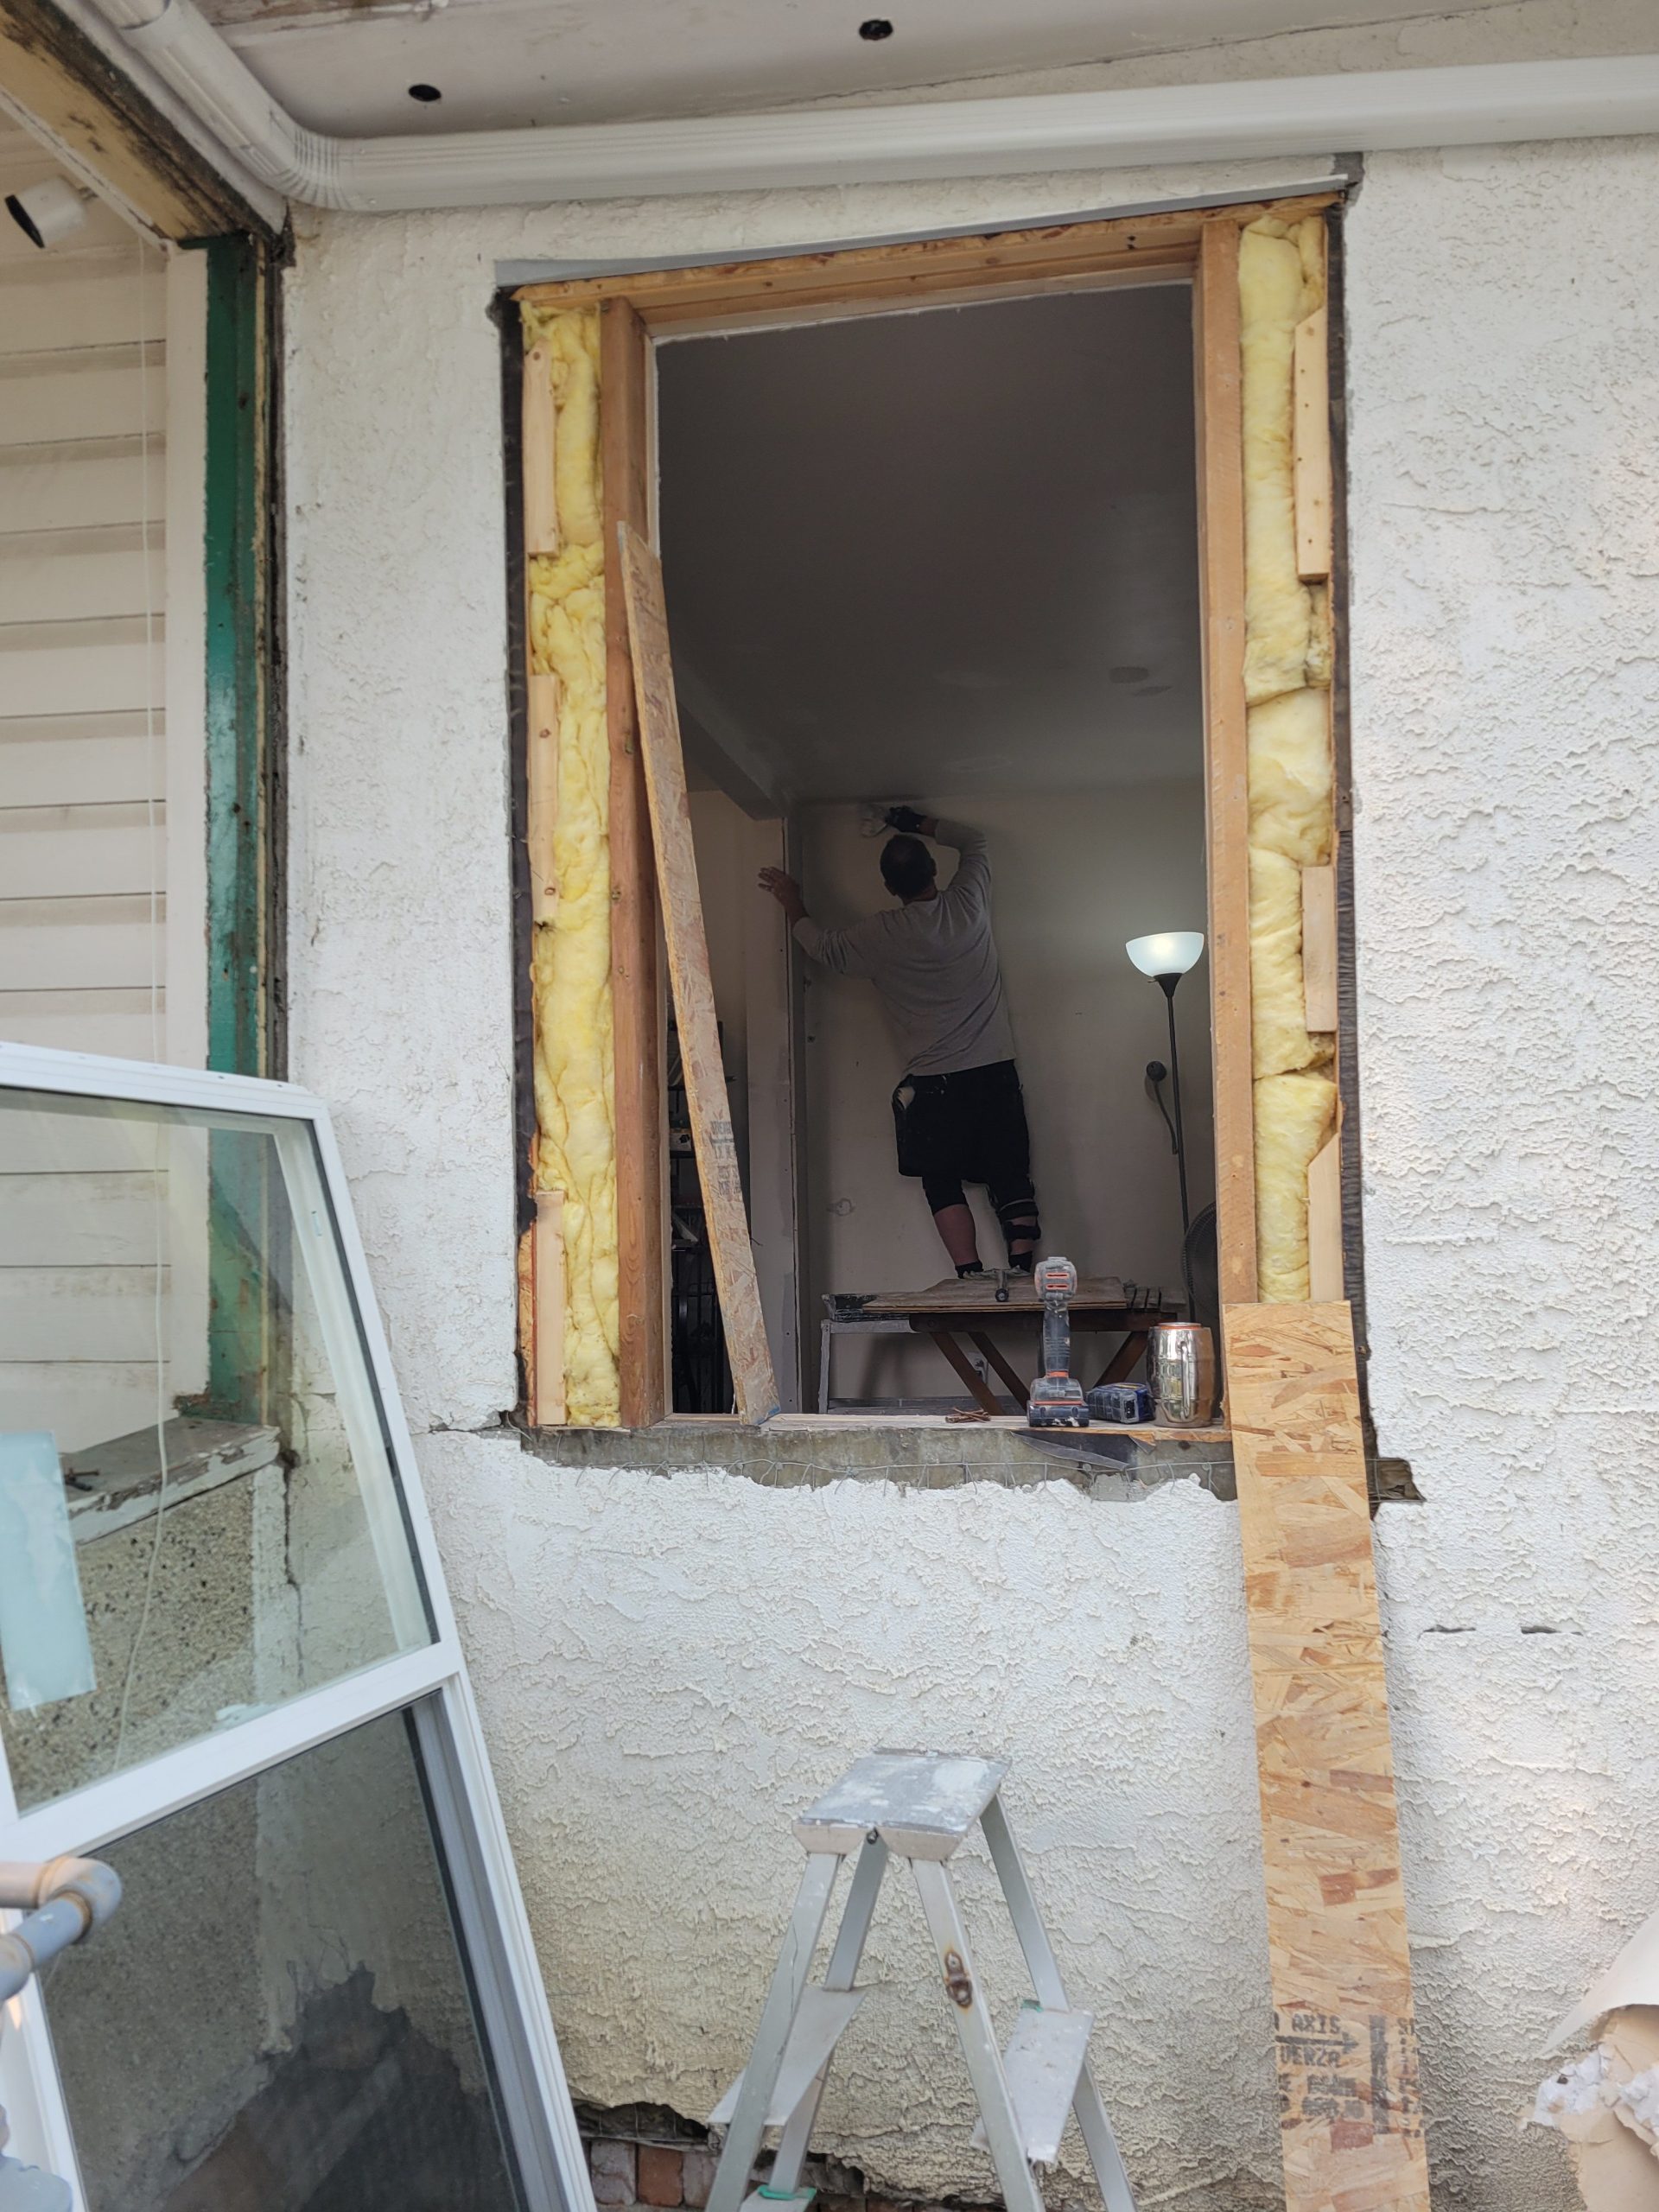
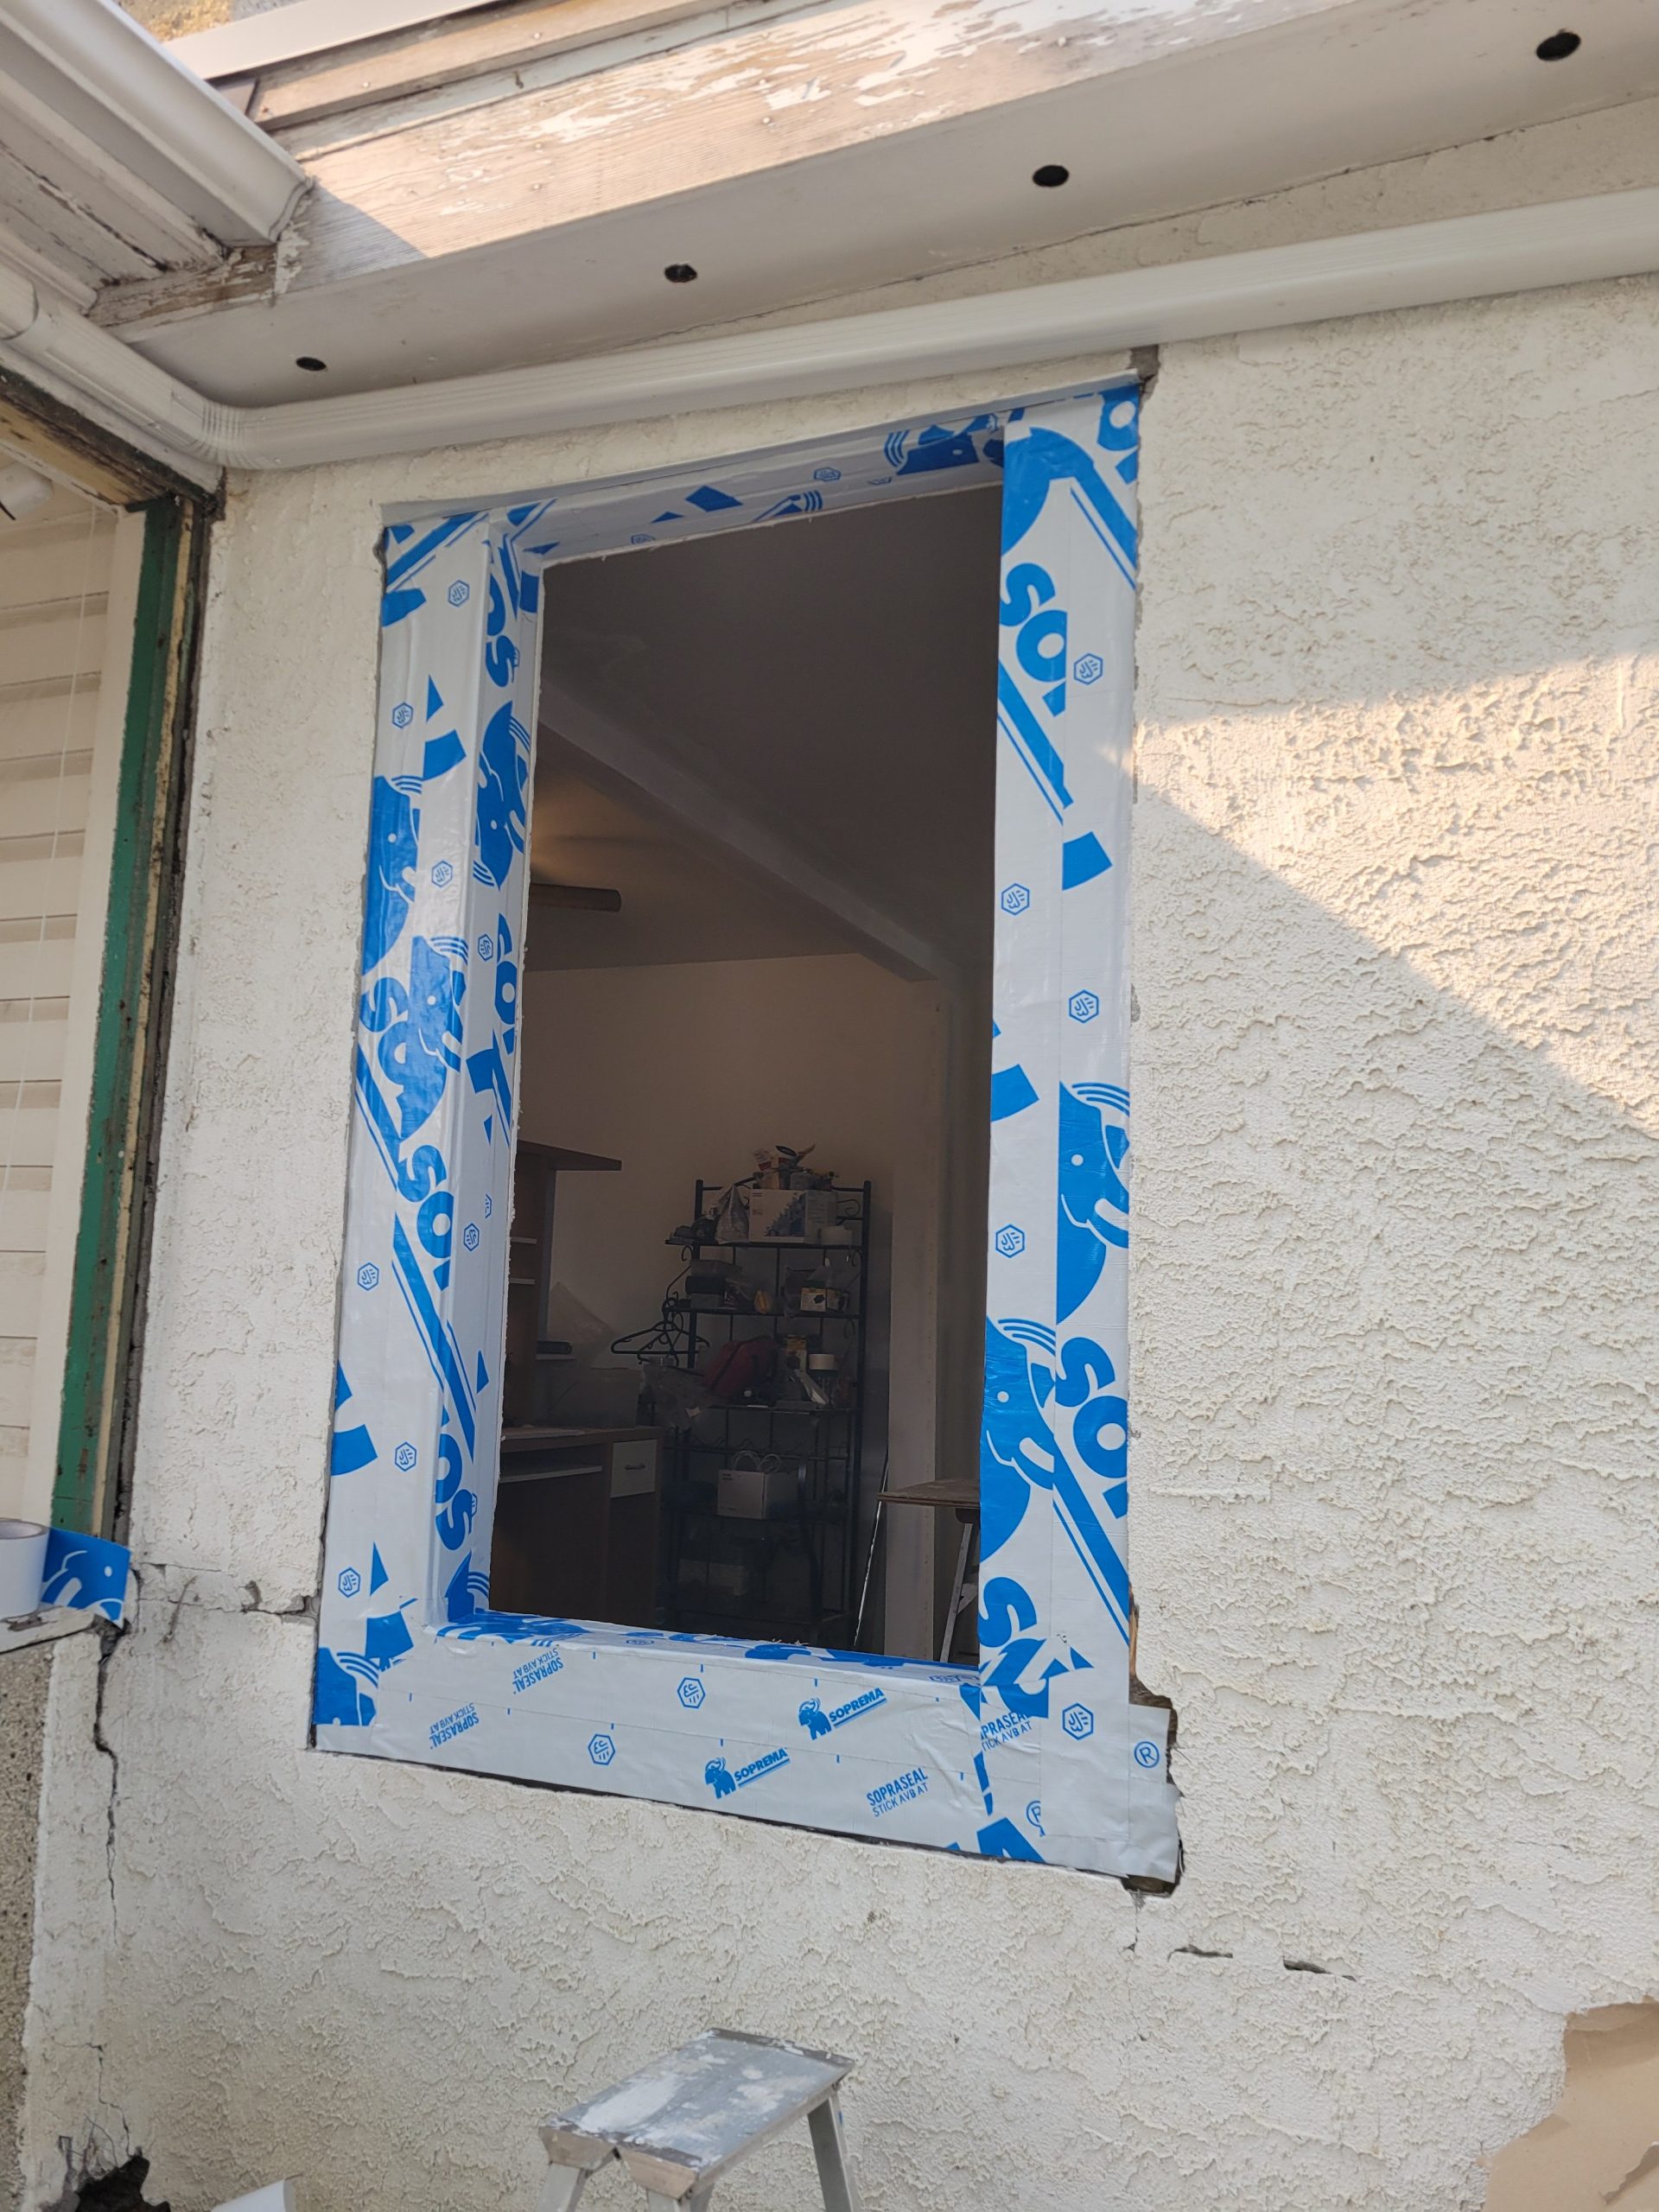
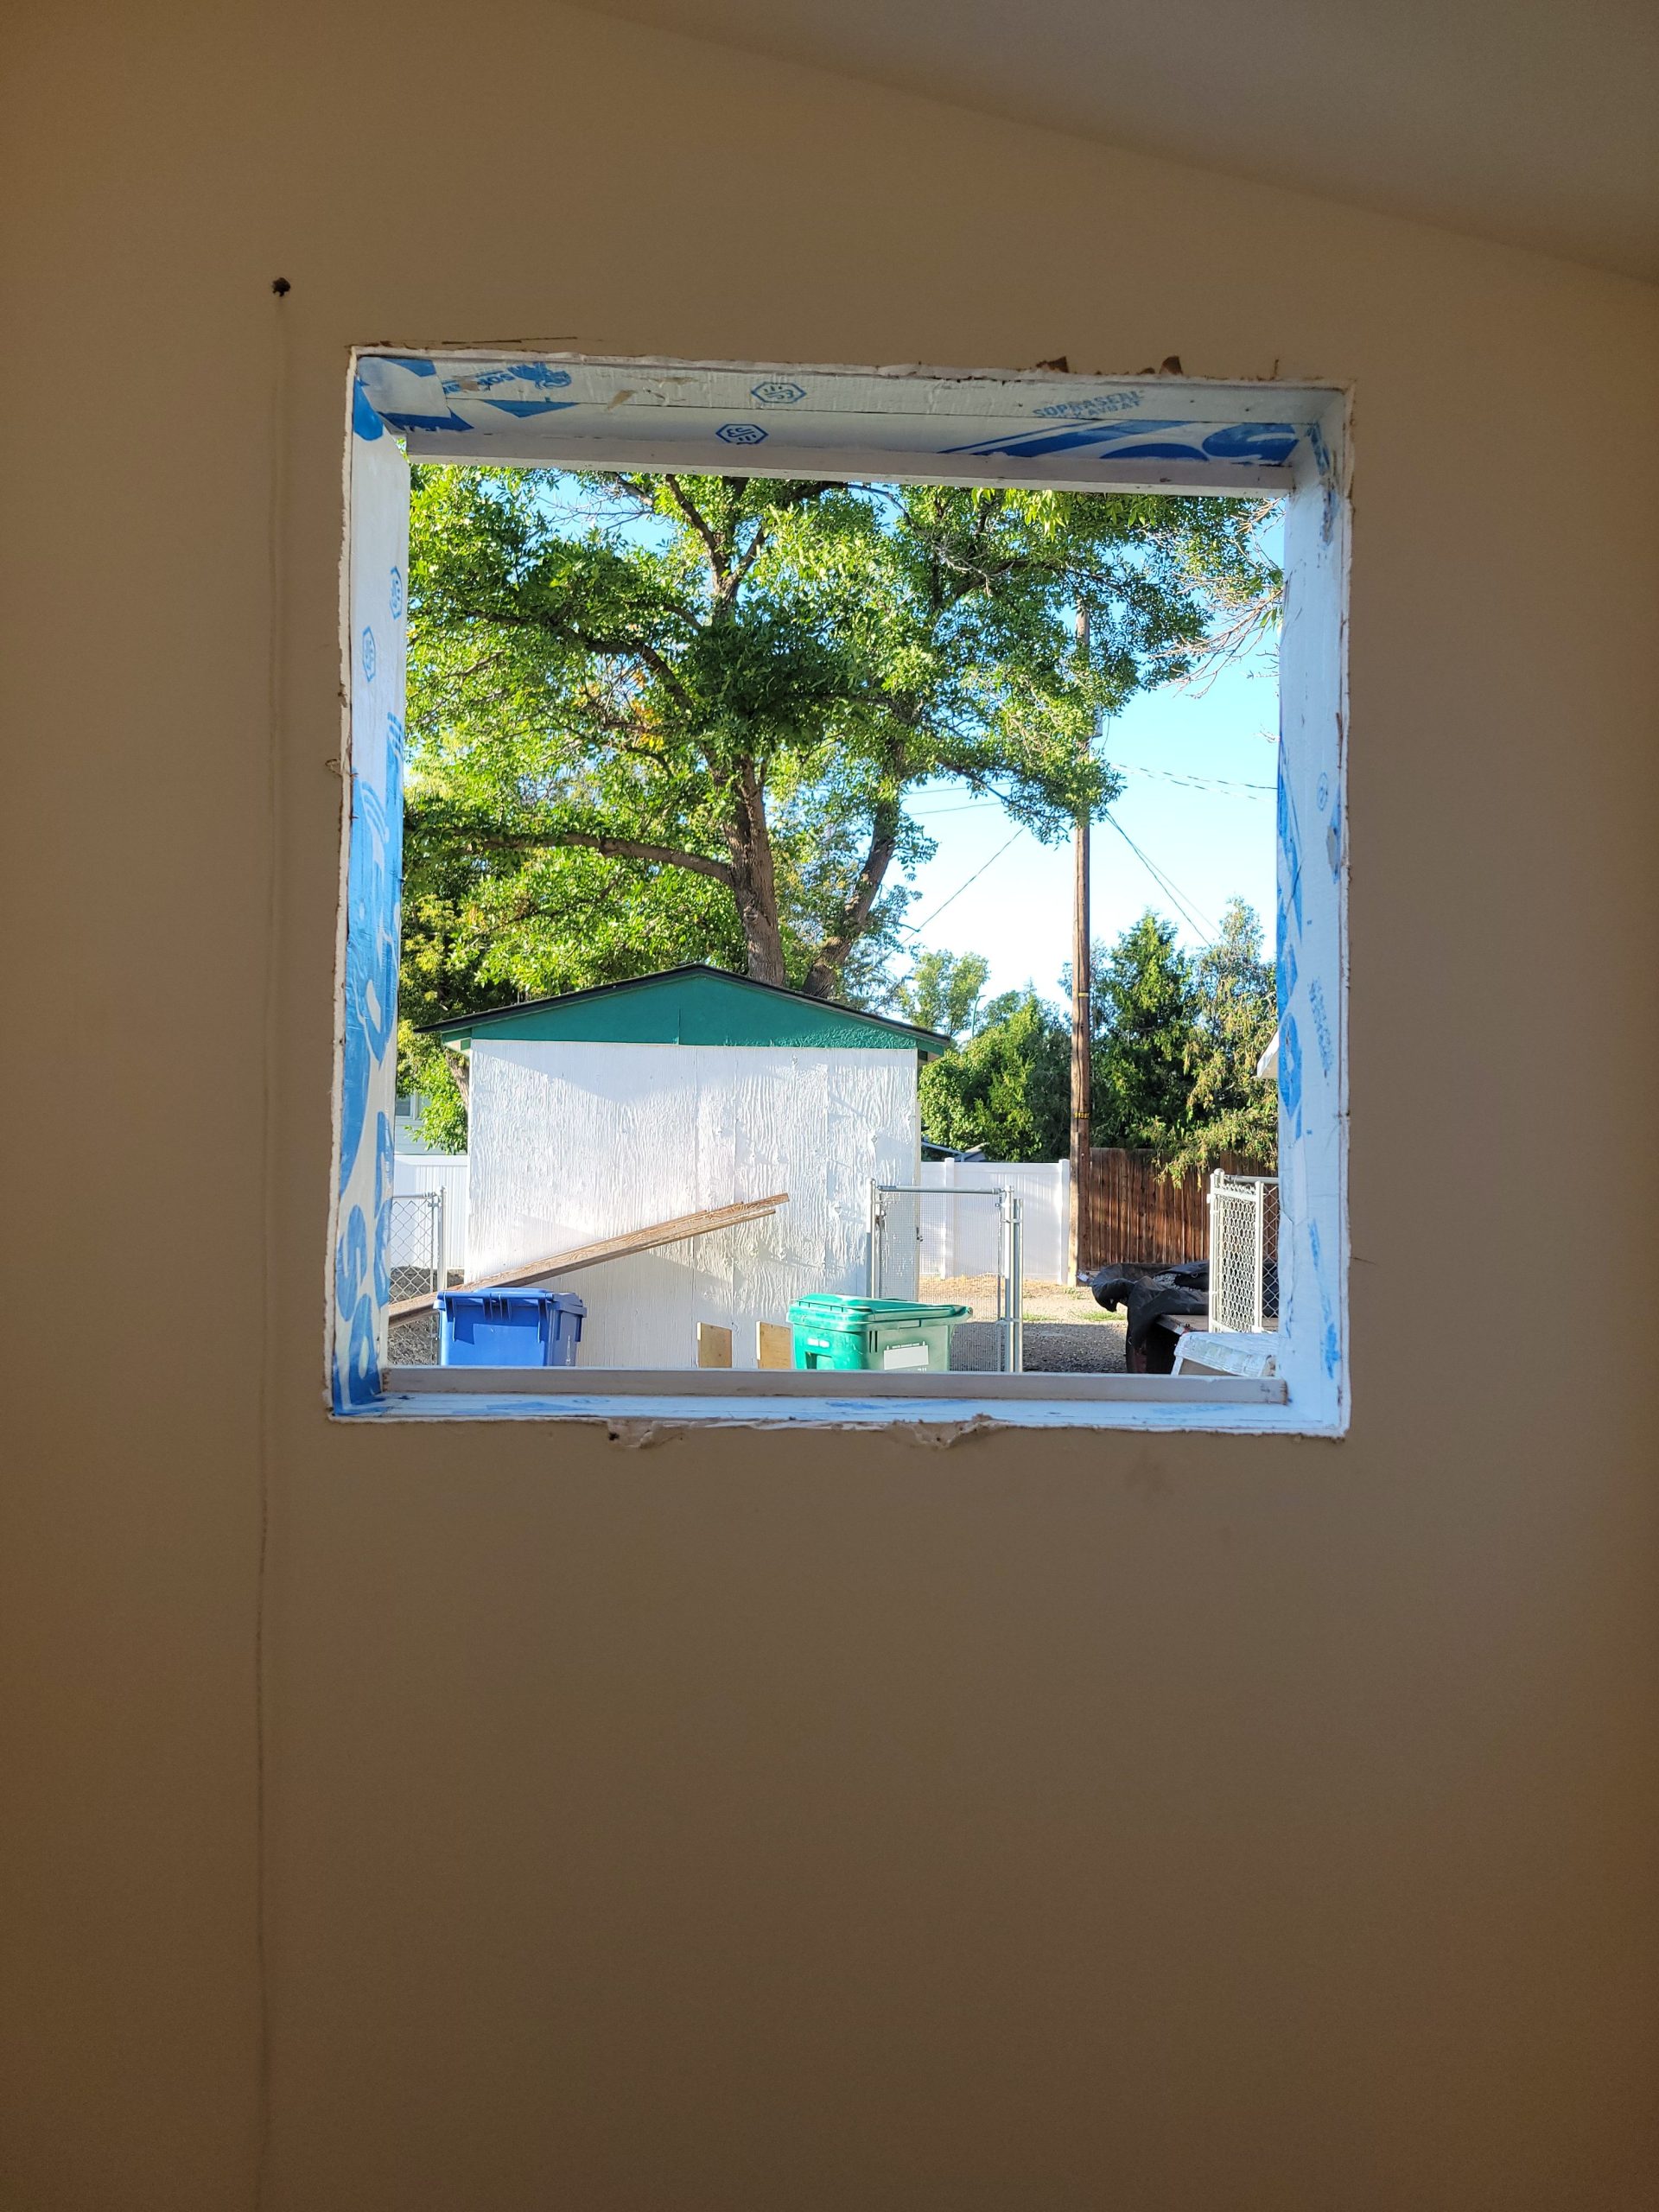
The mudroom window is now un-re-framed.  Eh?  It was reframed to fit the new window that I broke while trying to put it in.  But it still didn’t fit as Benchmark didn’t actually cut it down to size.  So, I removed the furring spacer boards to enlarge the hole and retaped all of it. 
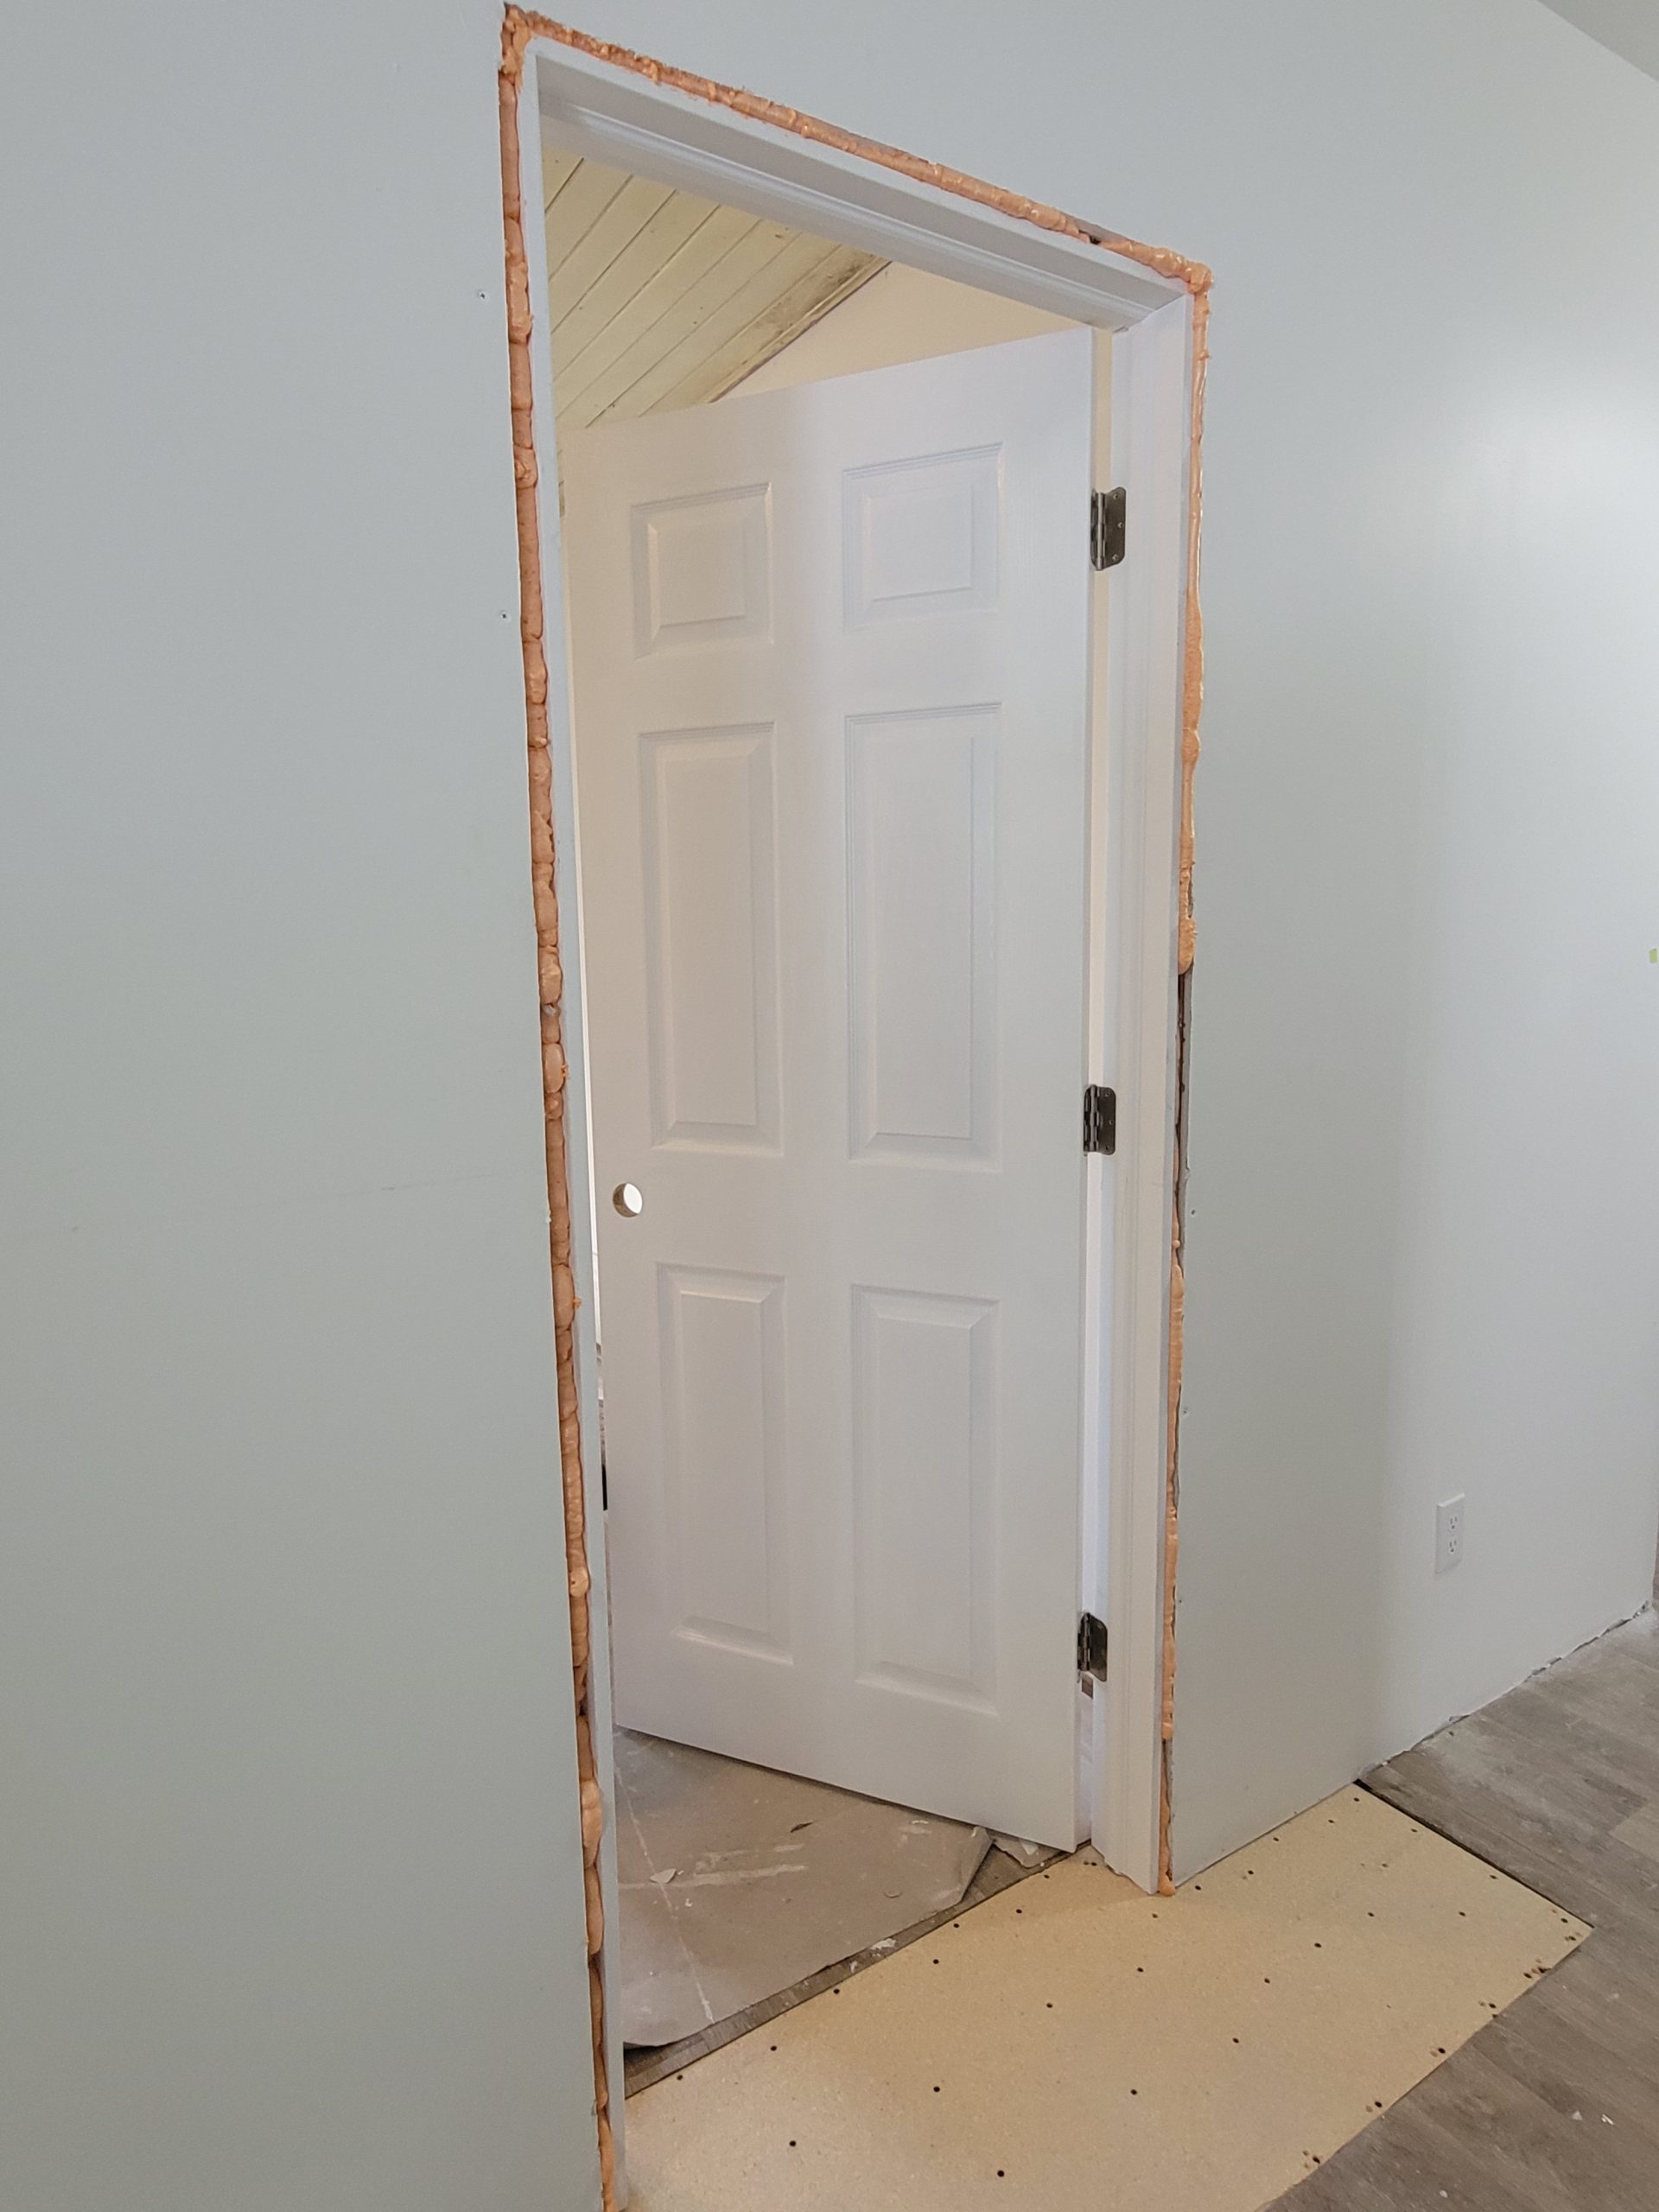
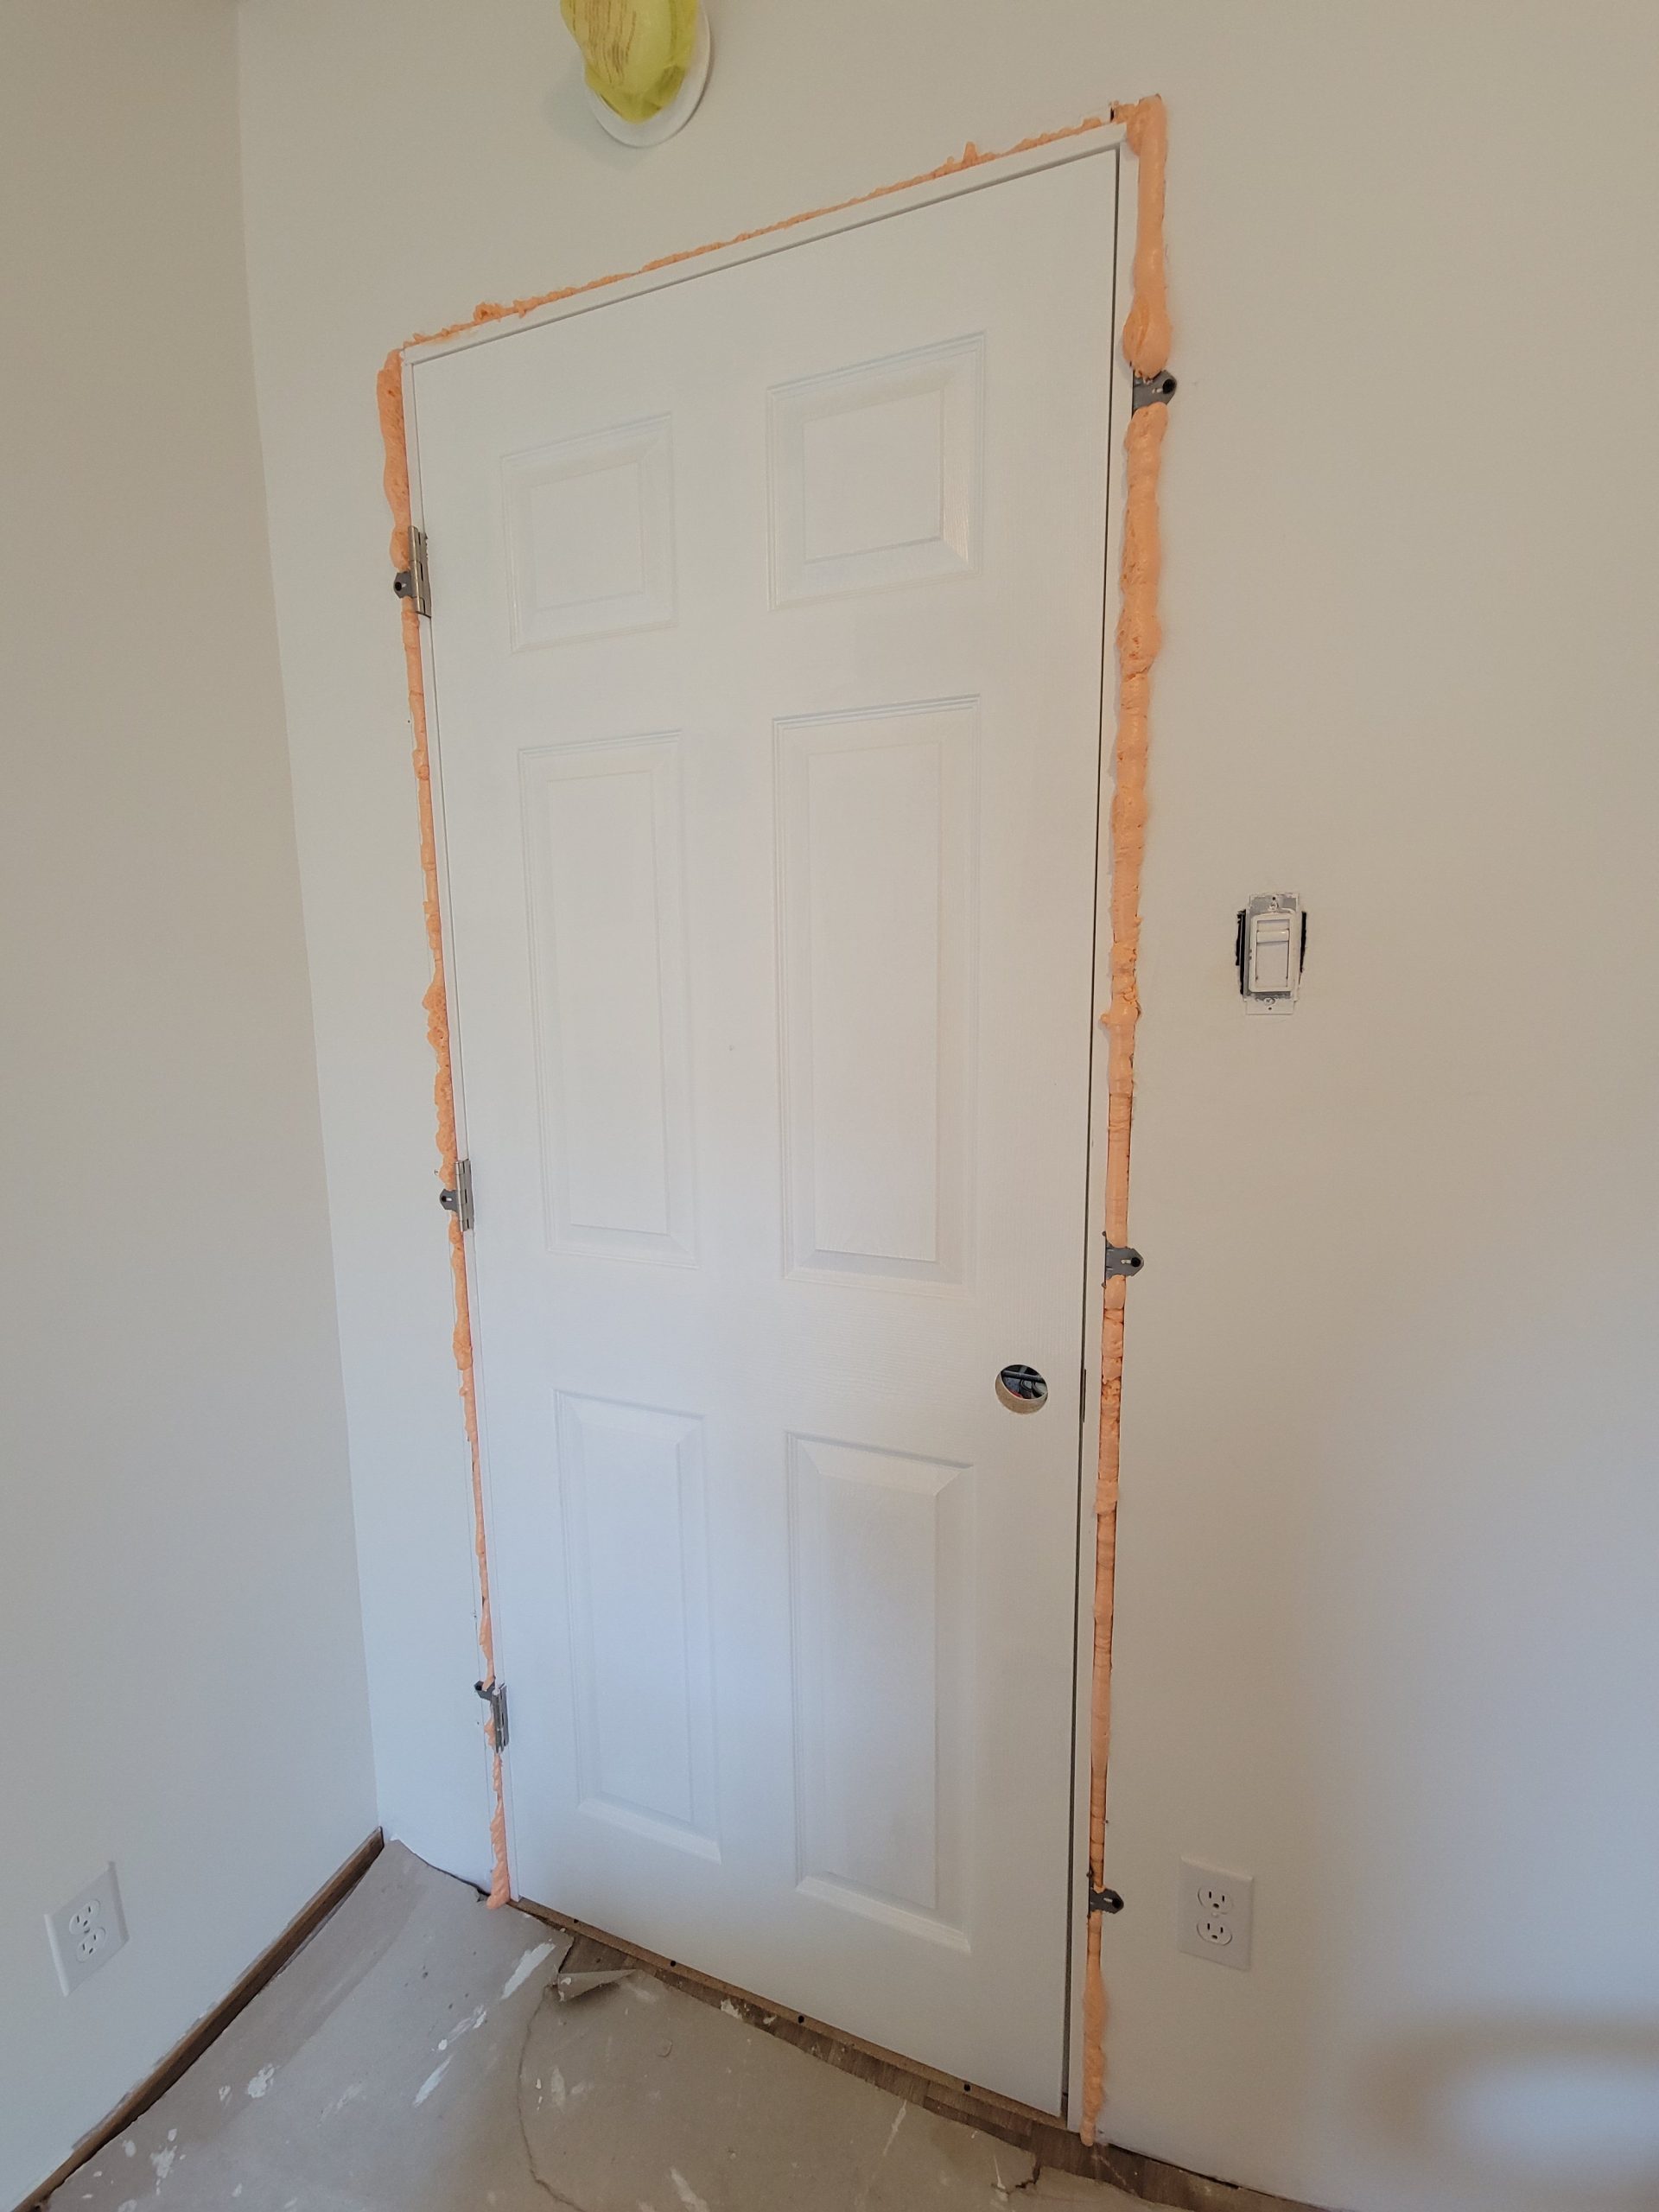
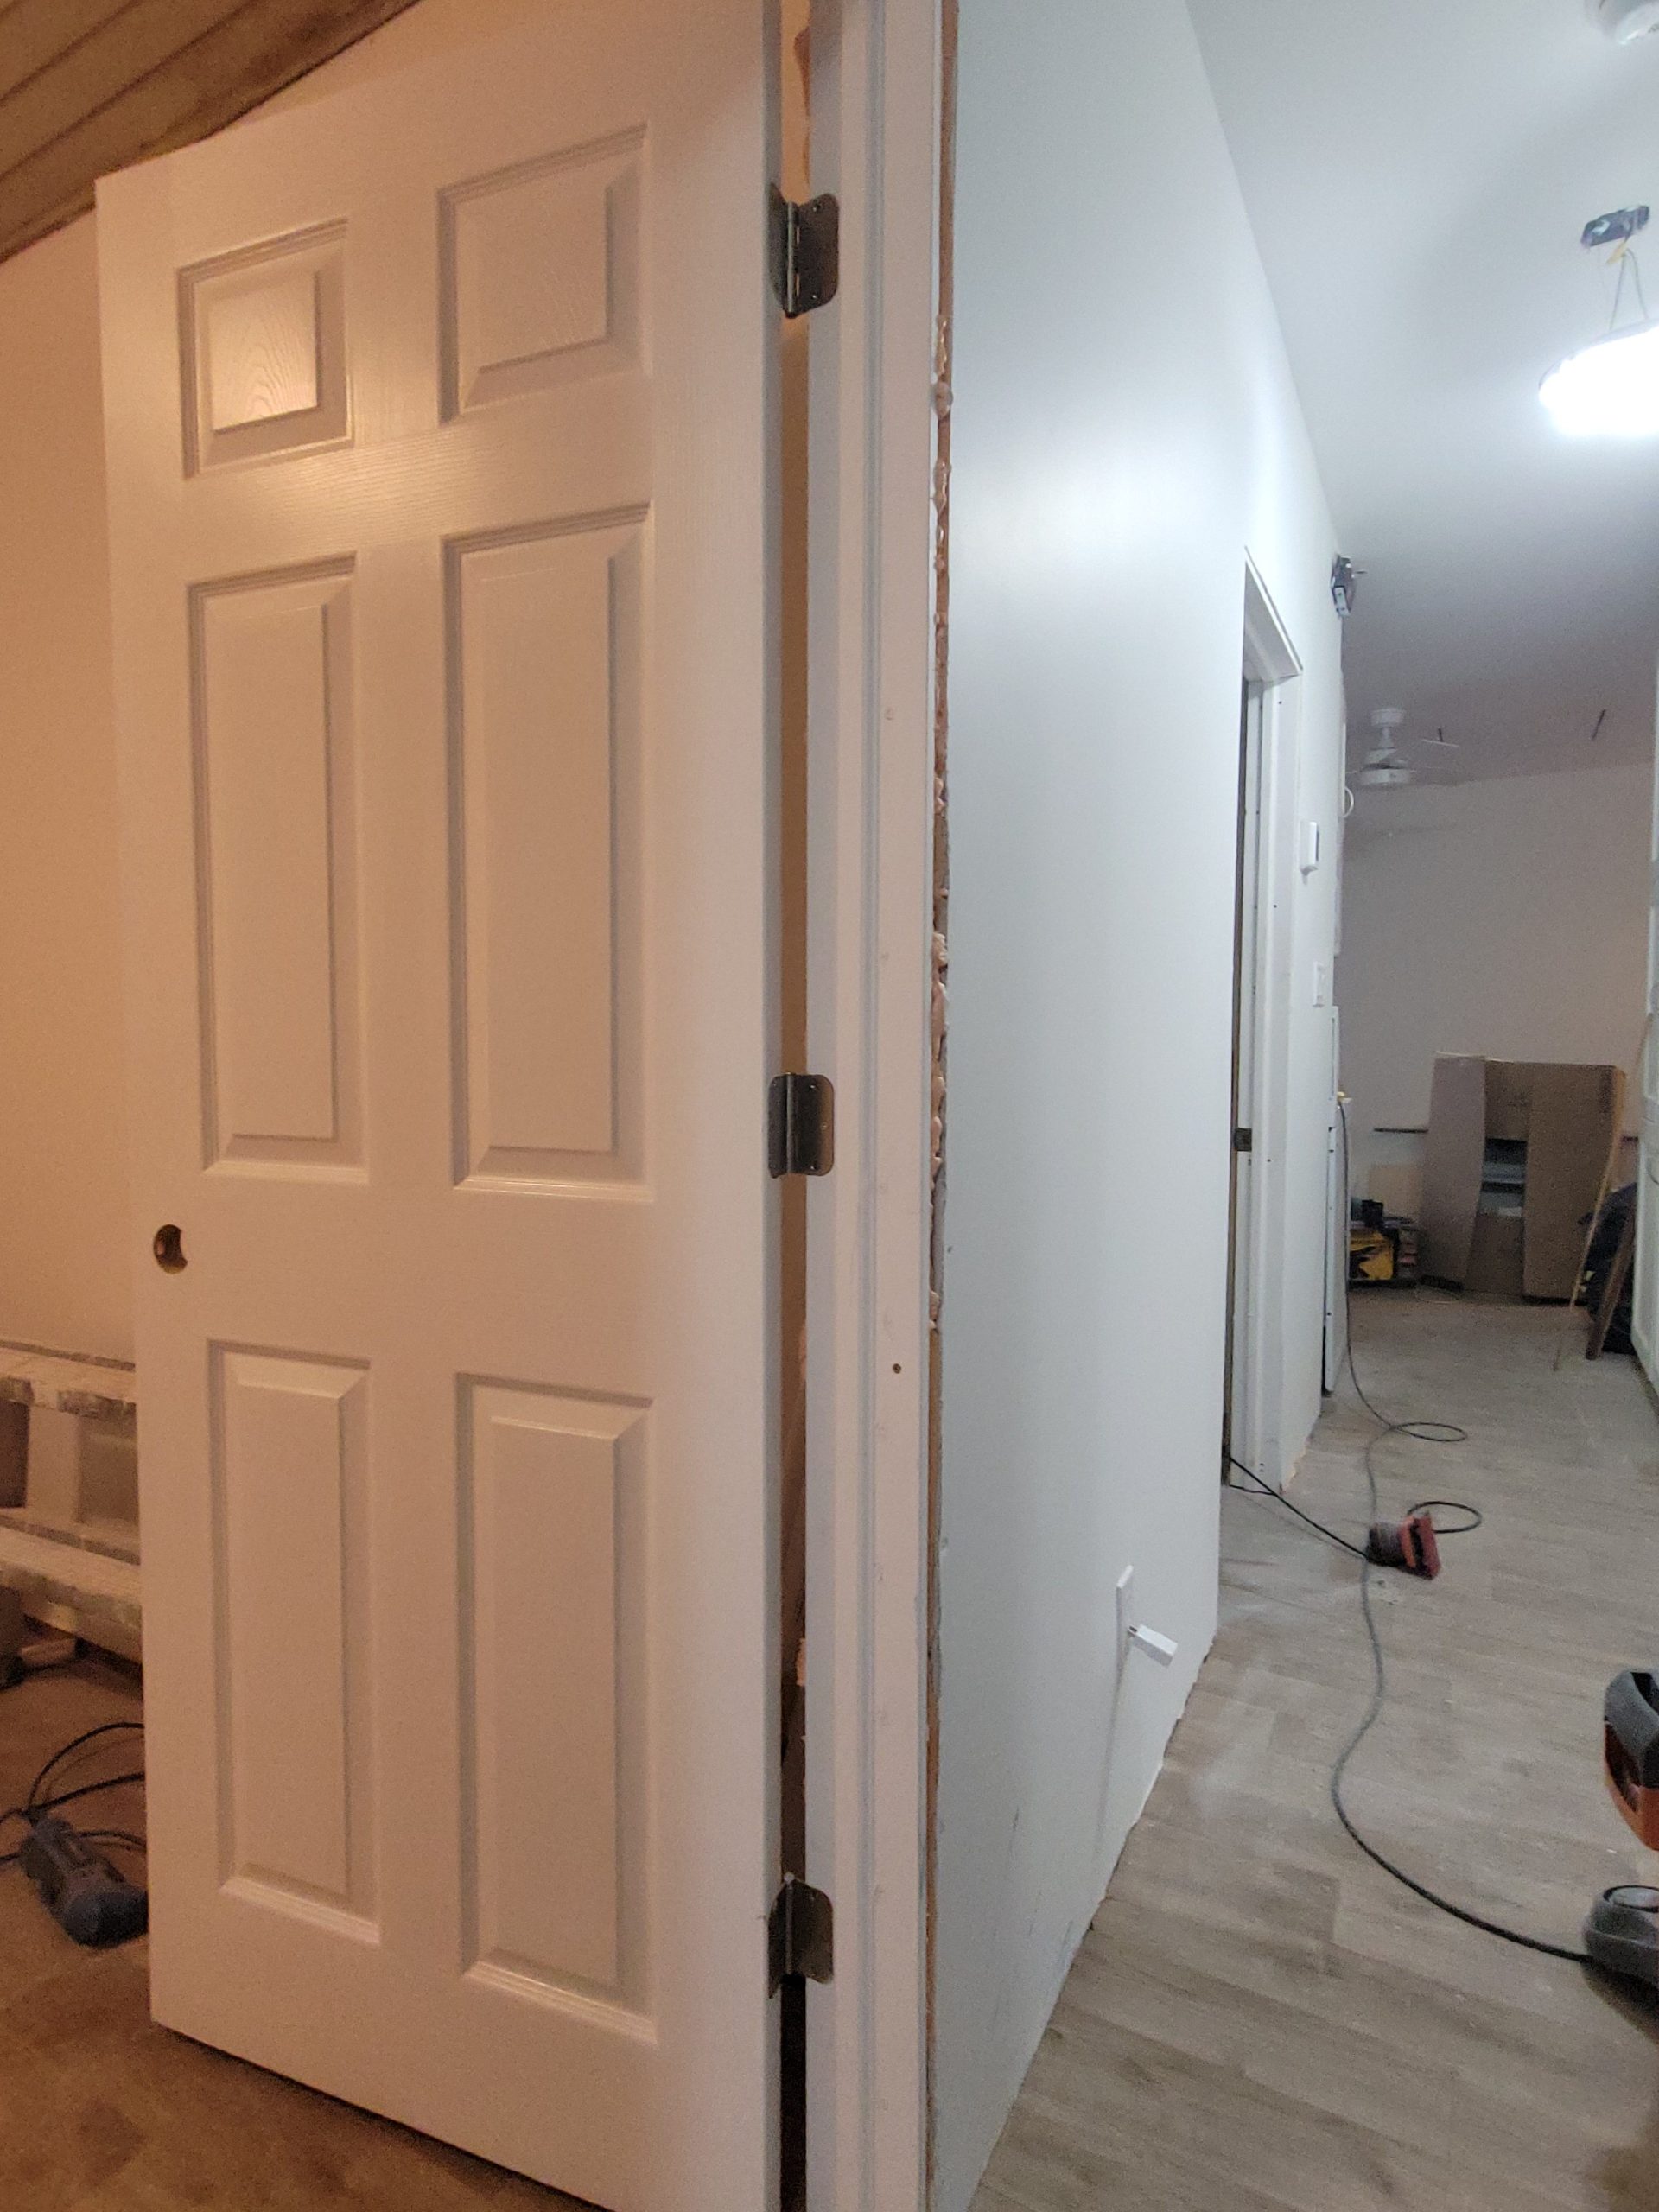
Bedroom 1 door was painted with a second coat. 
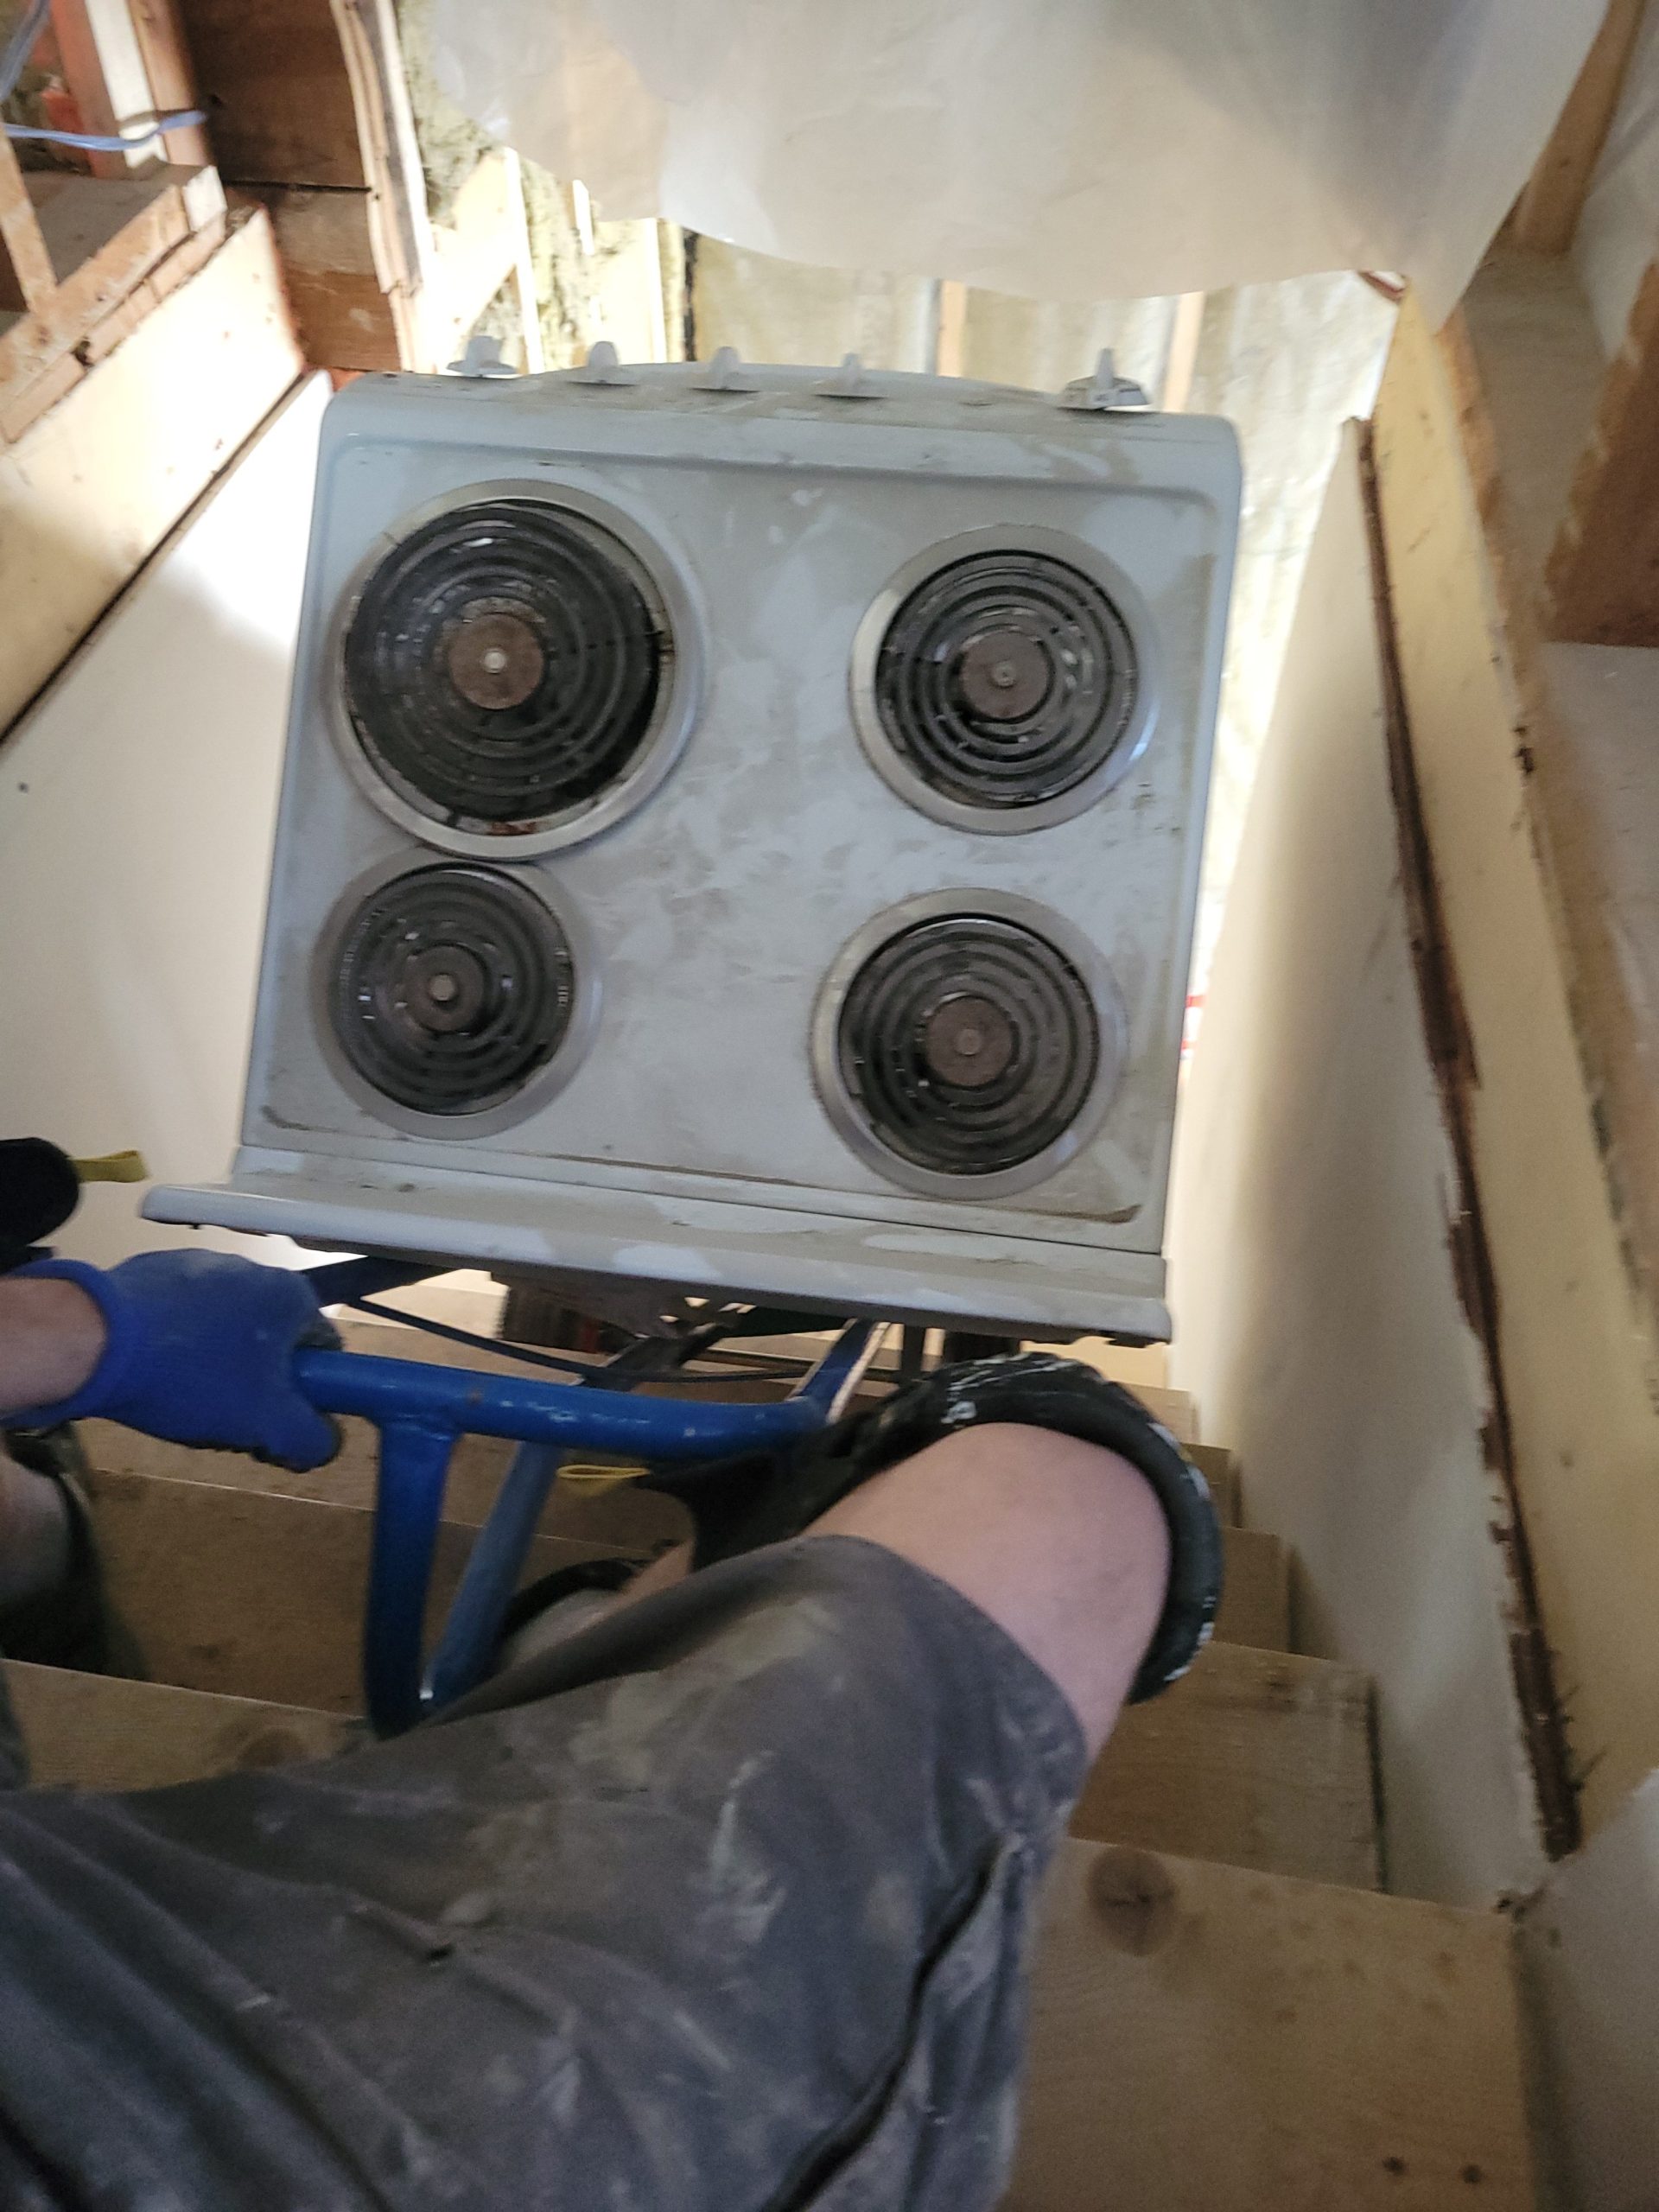
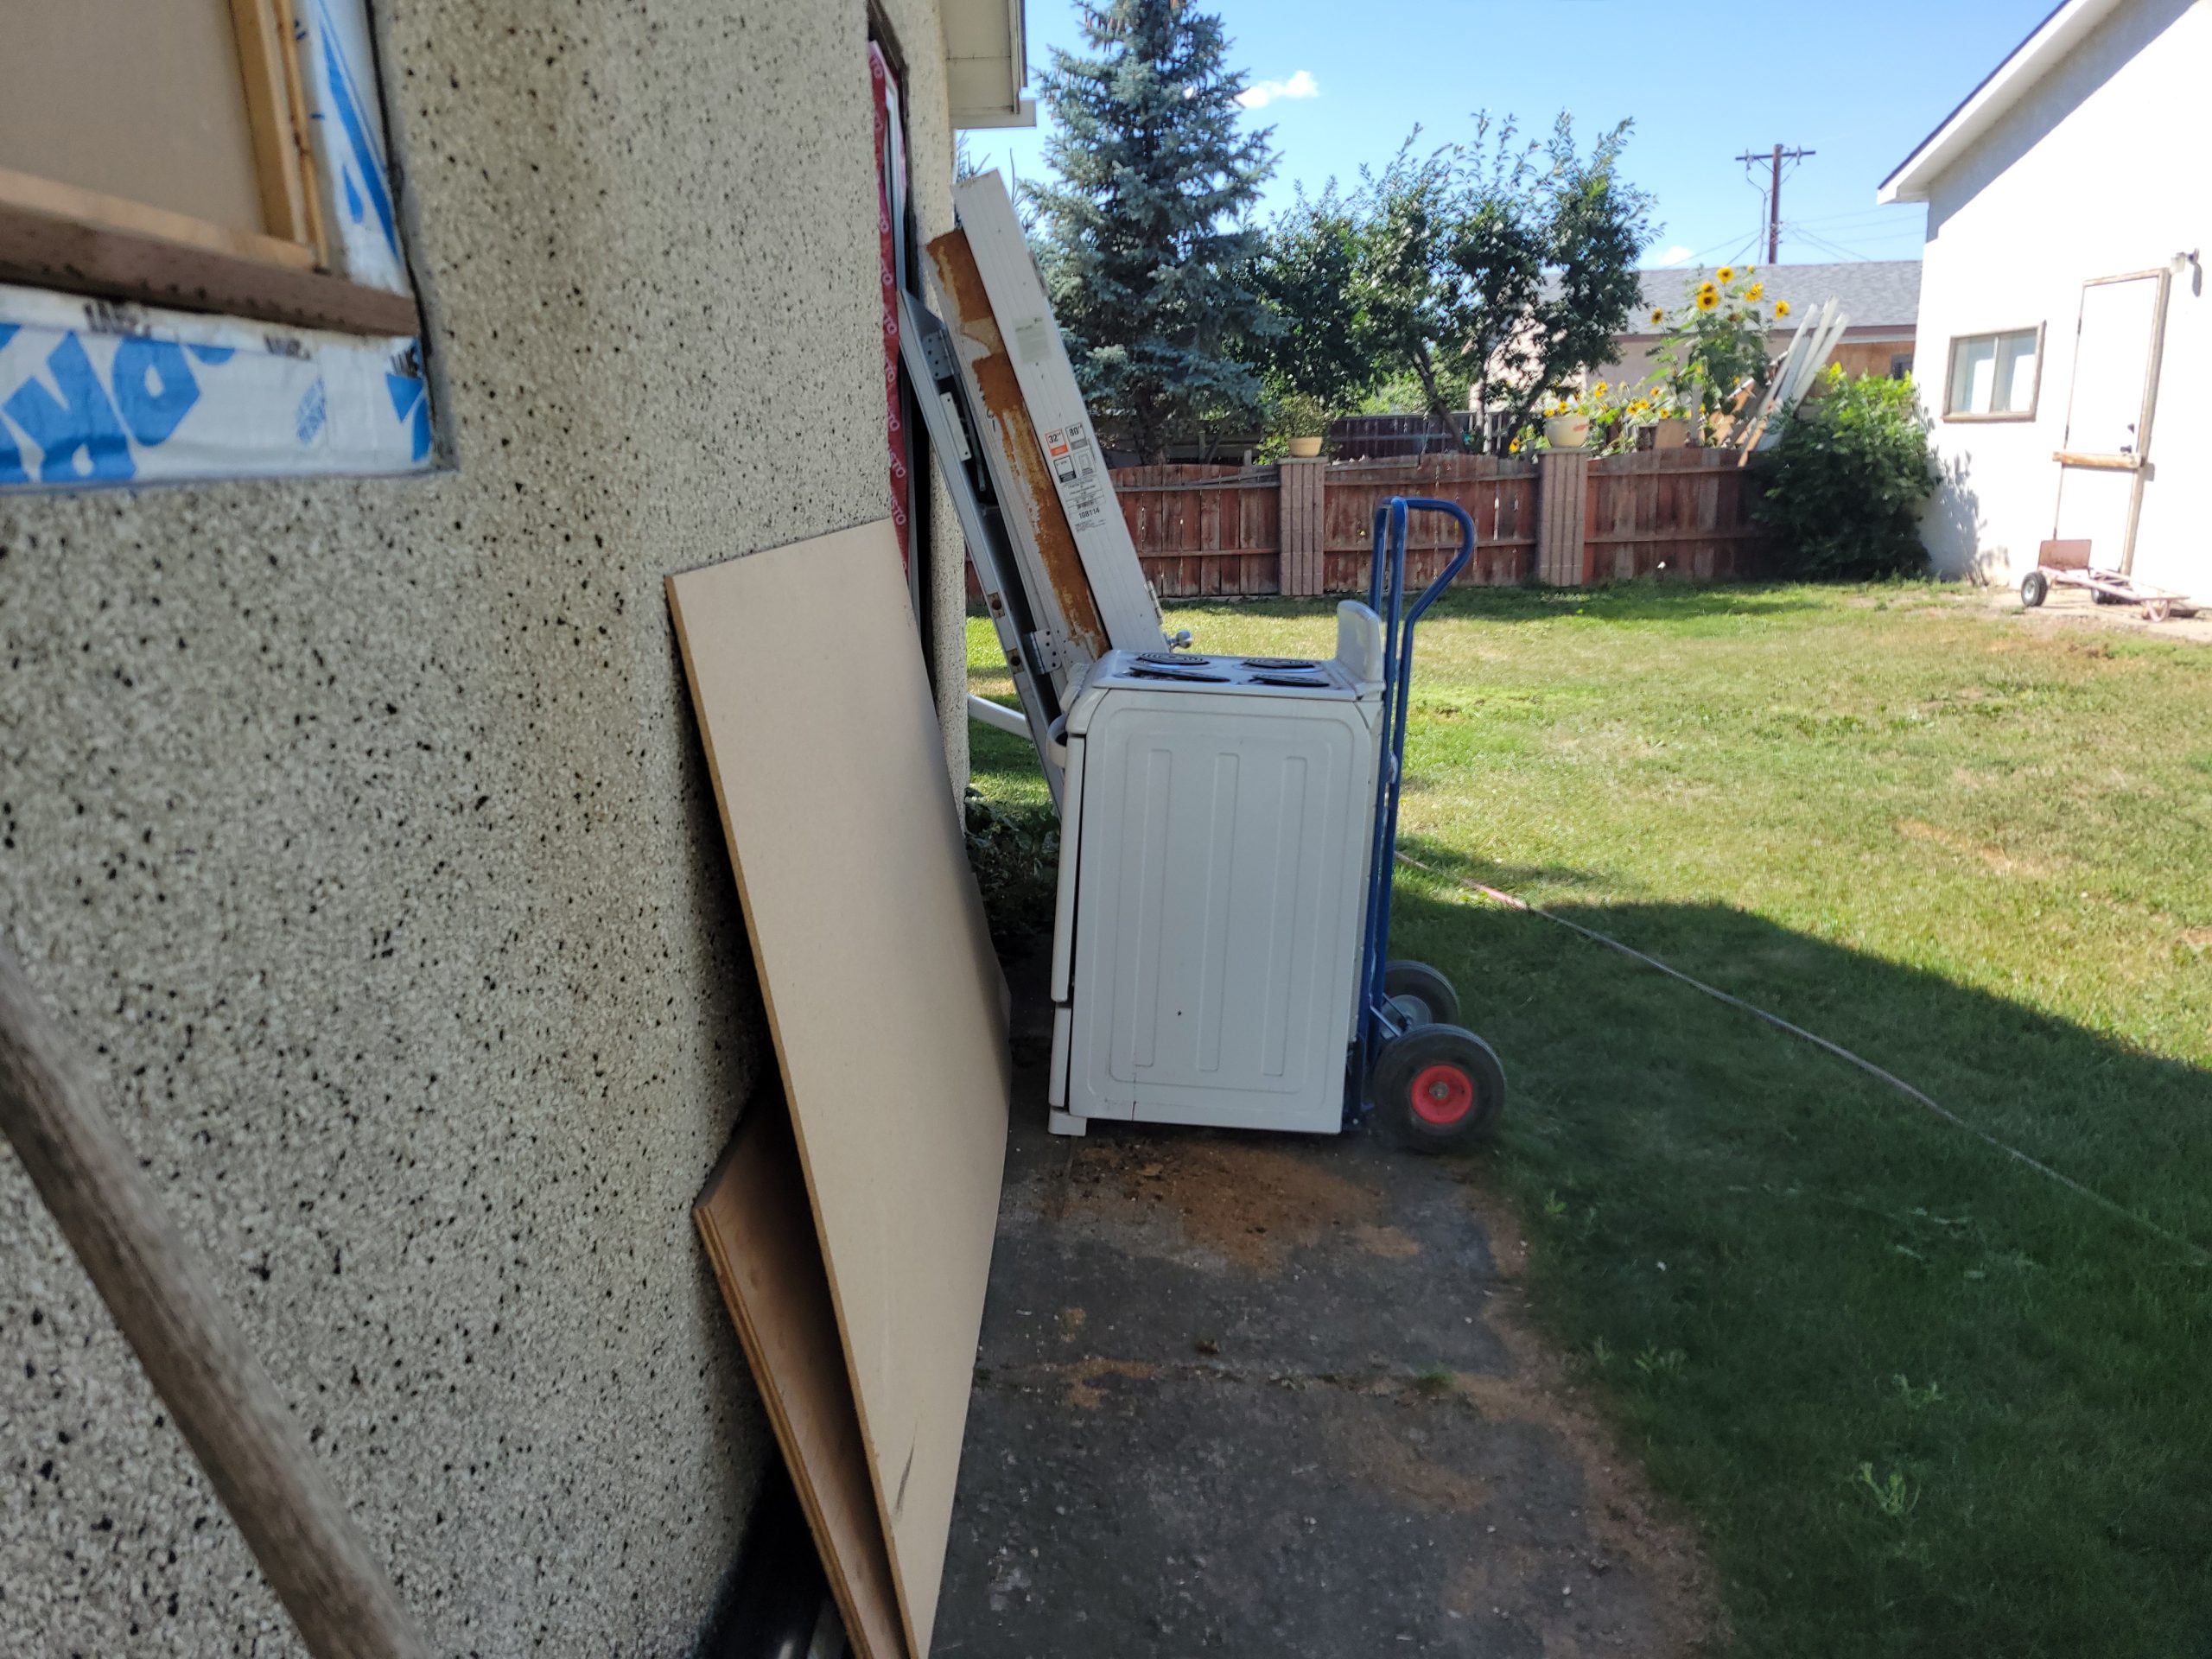
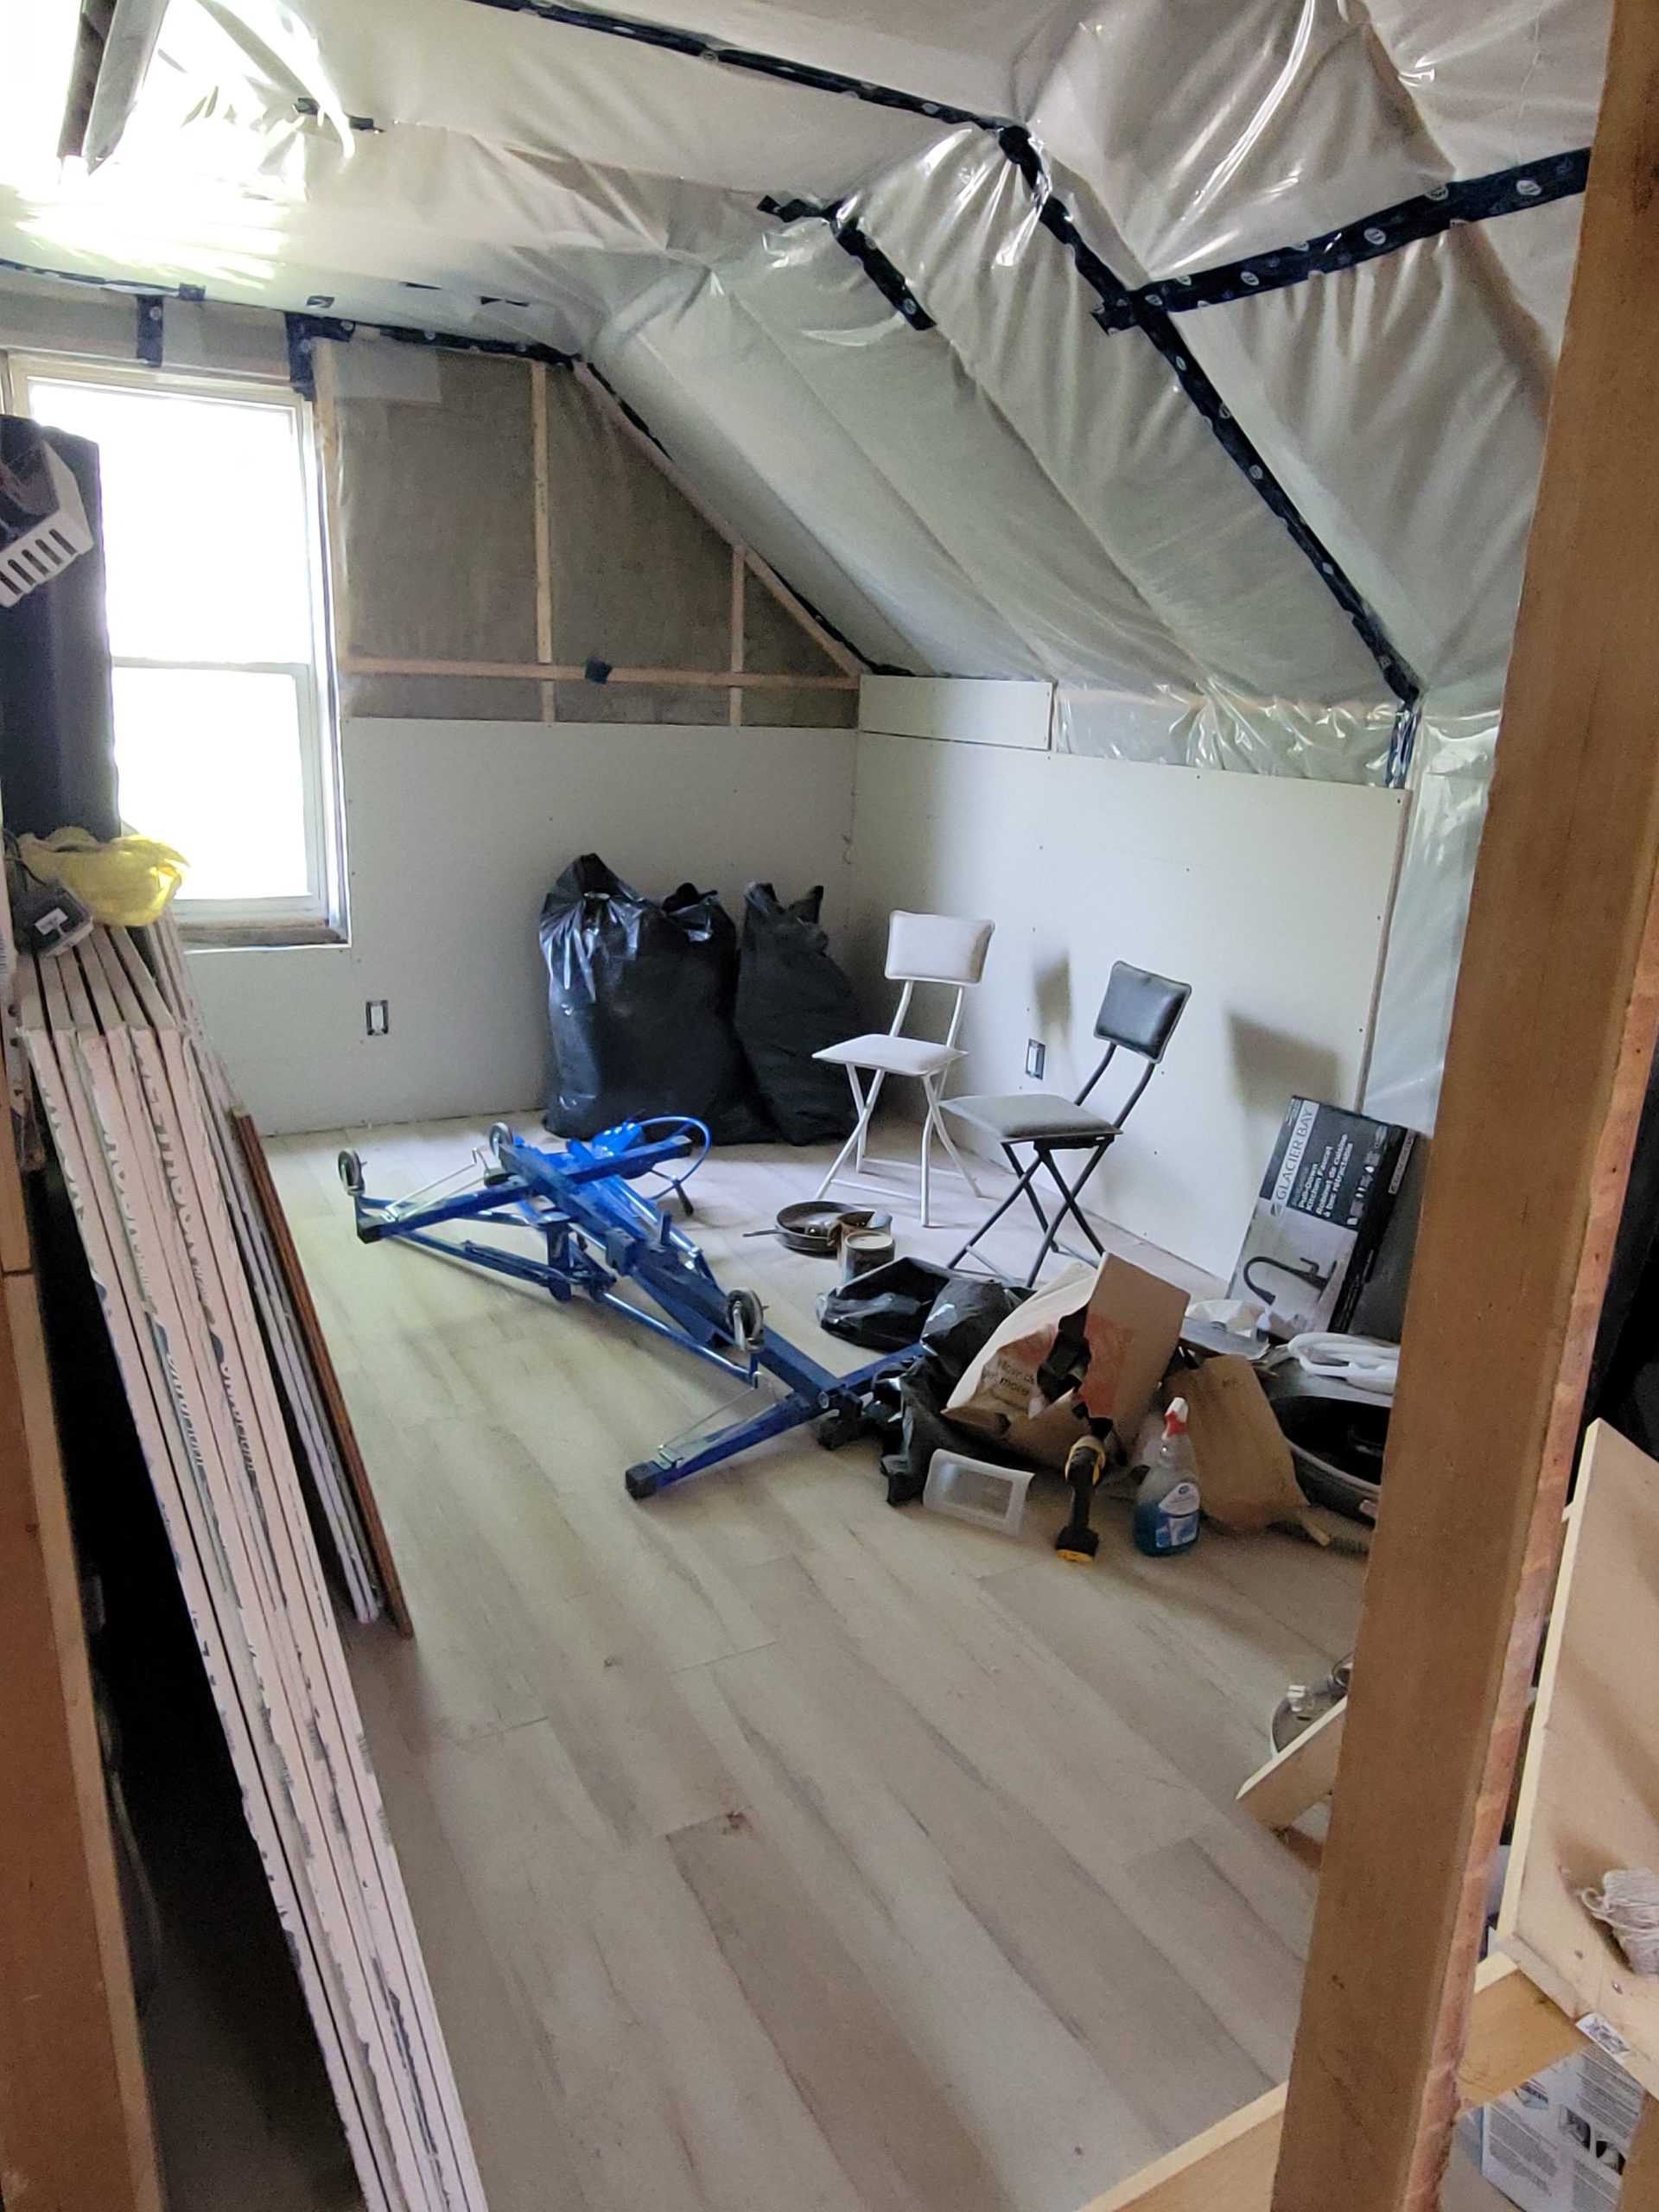
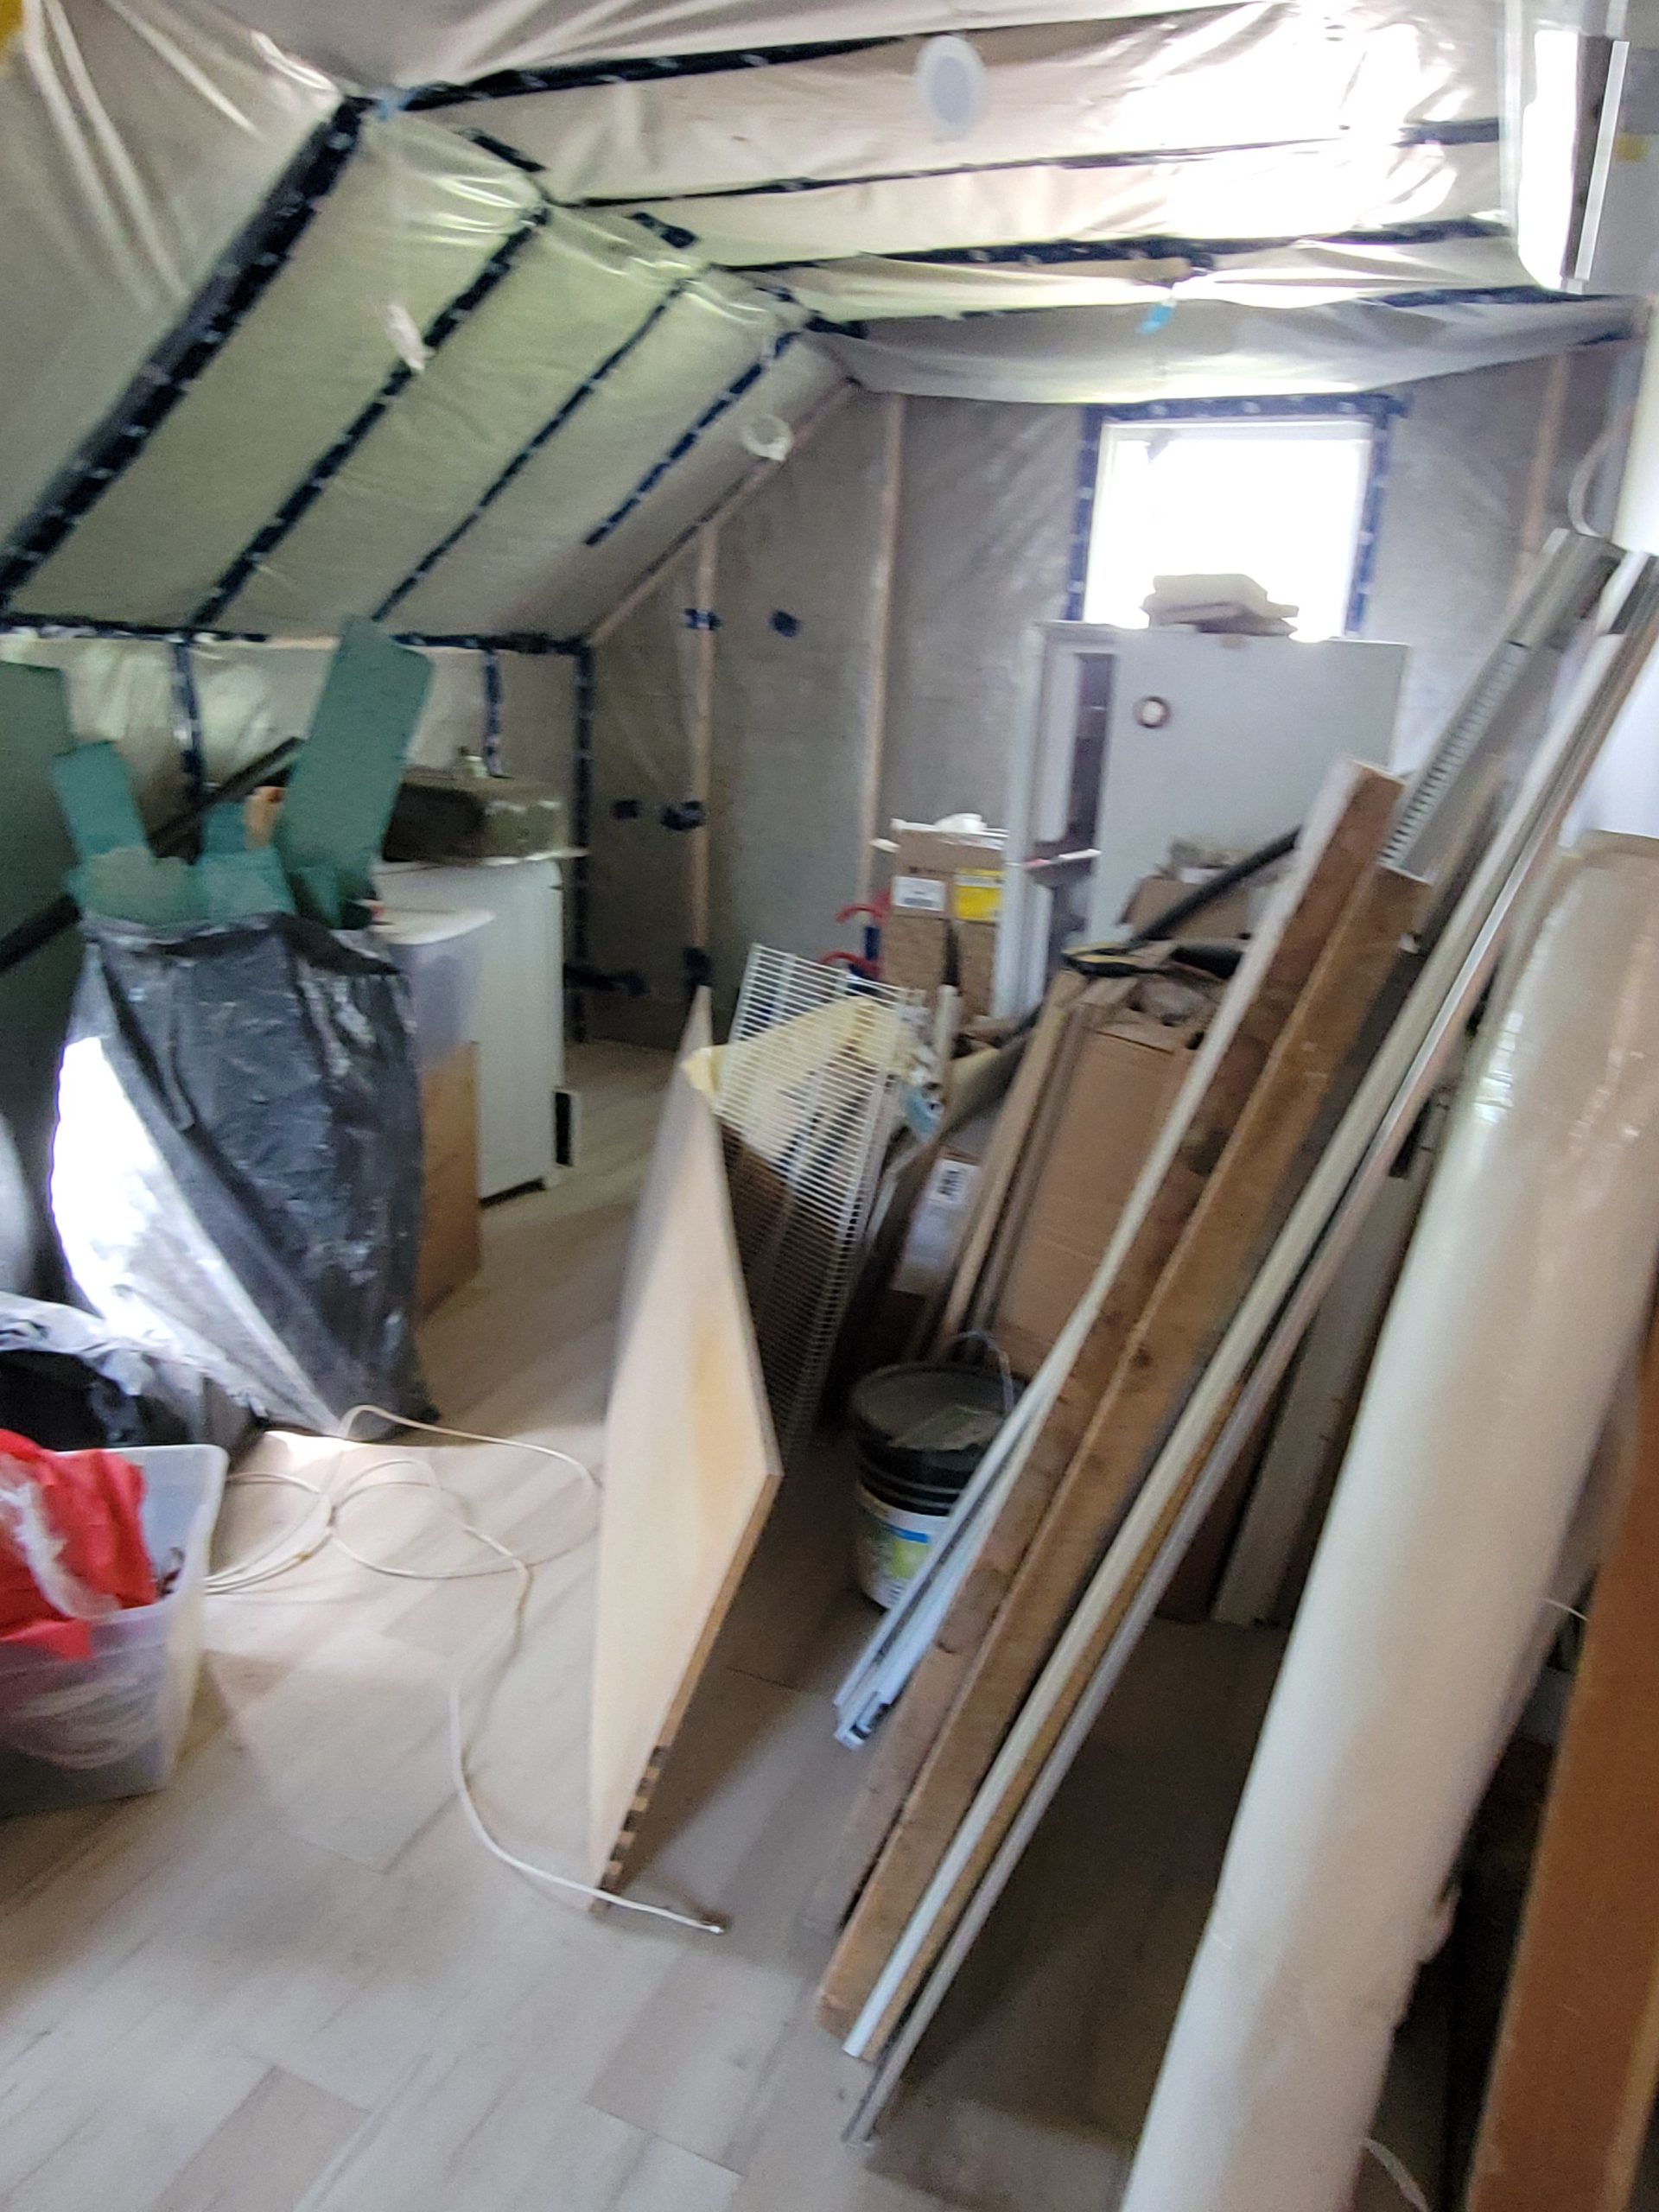
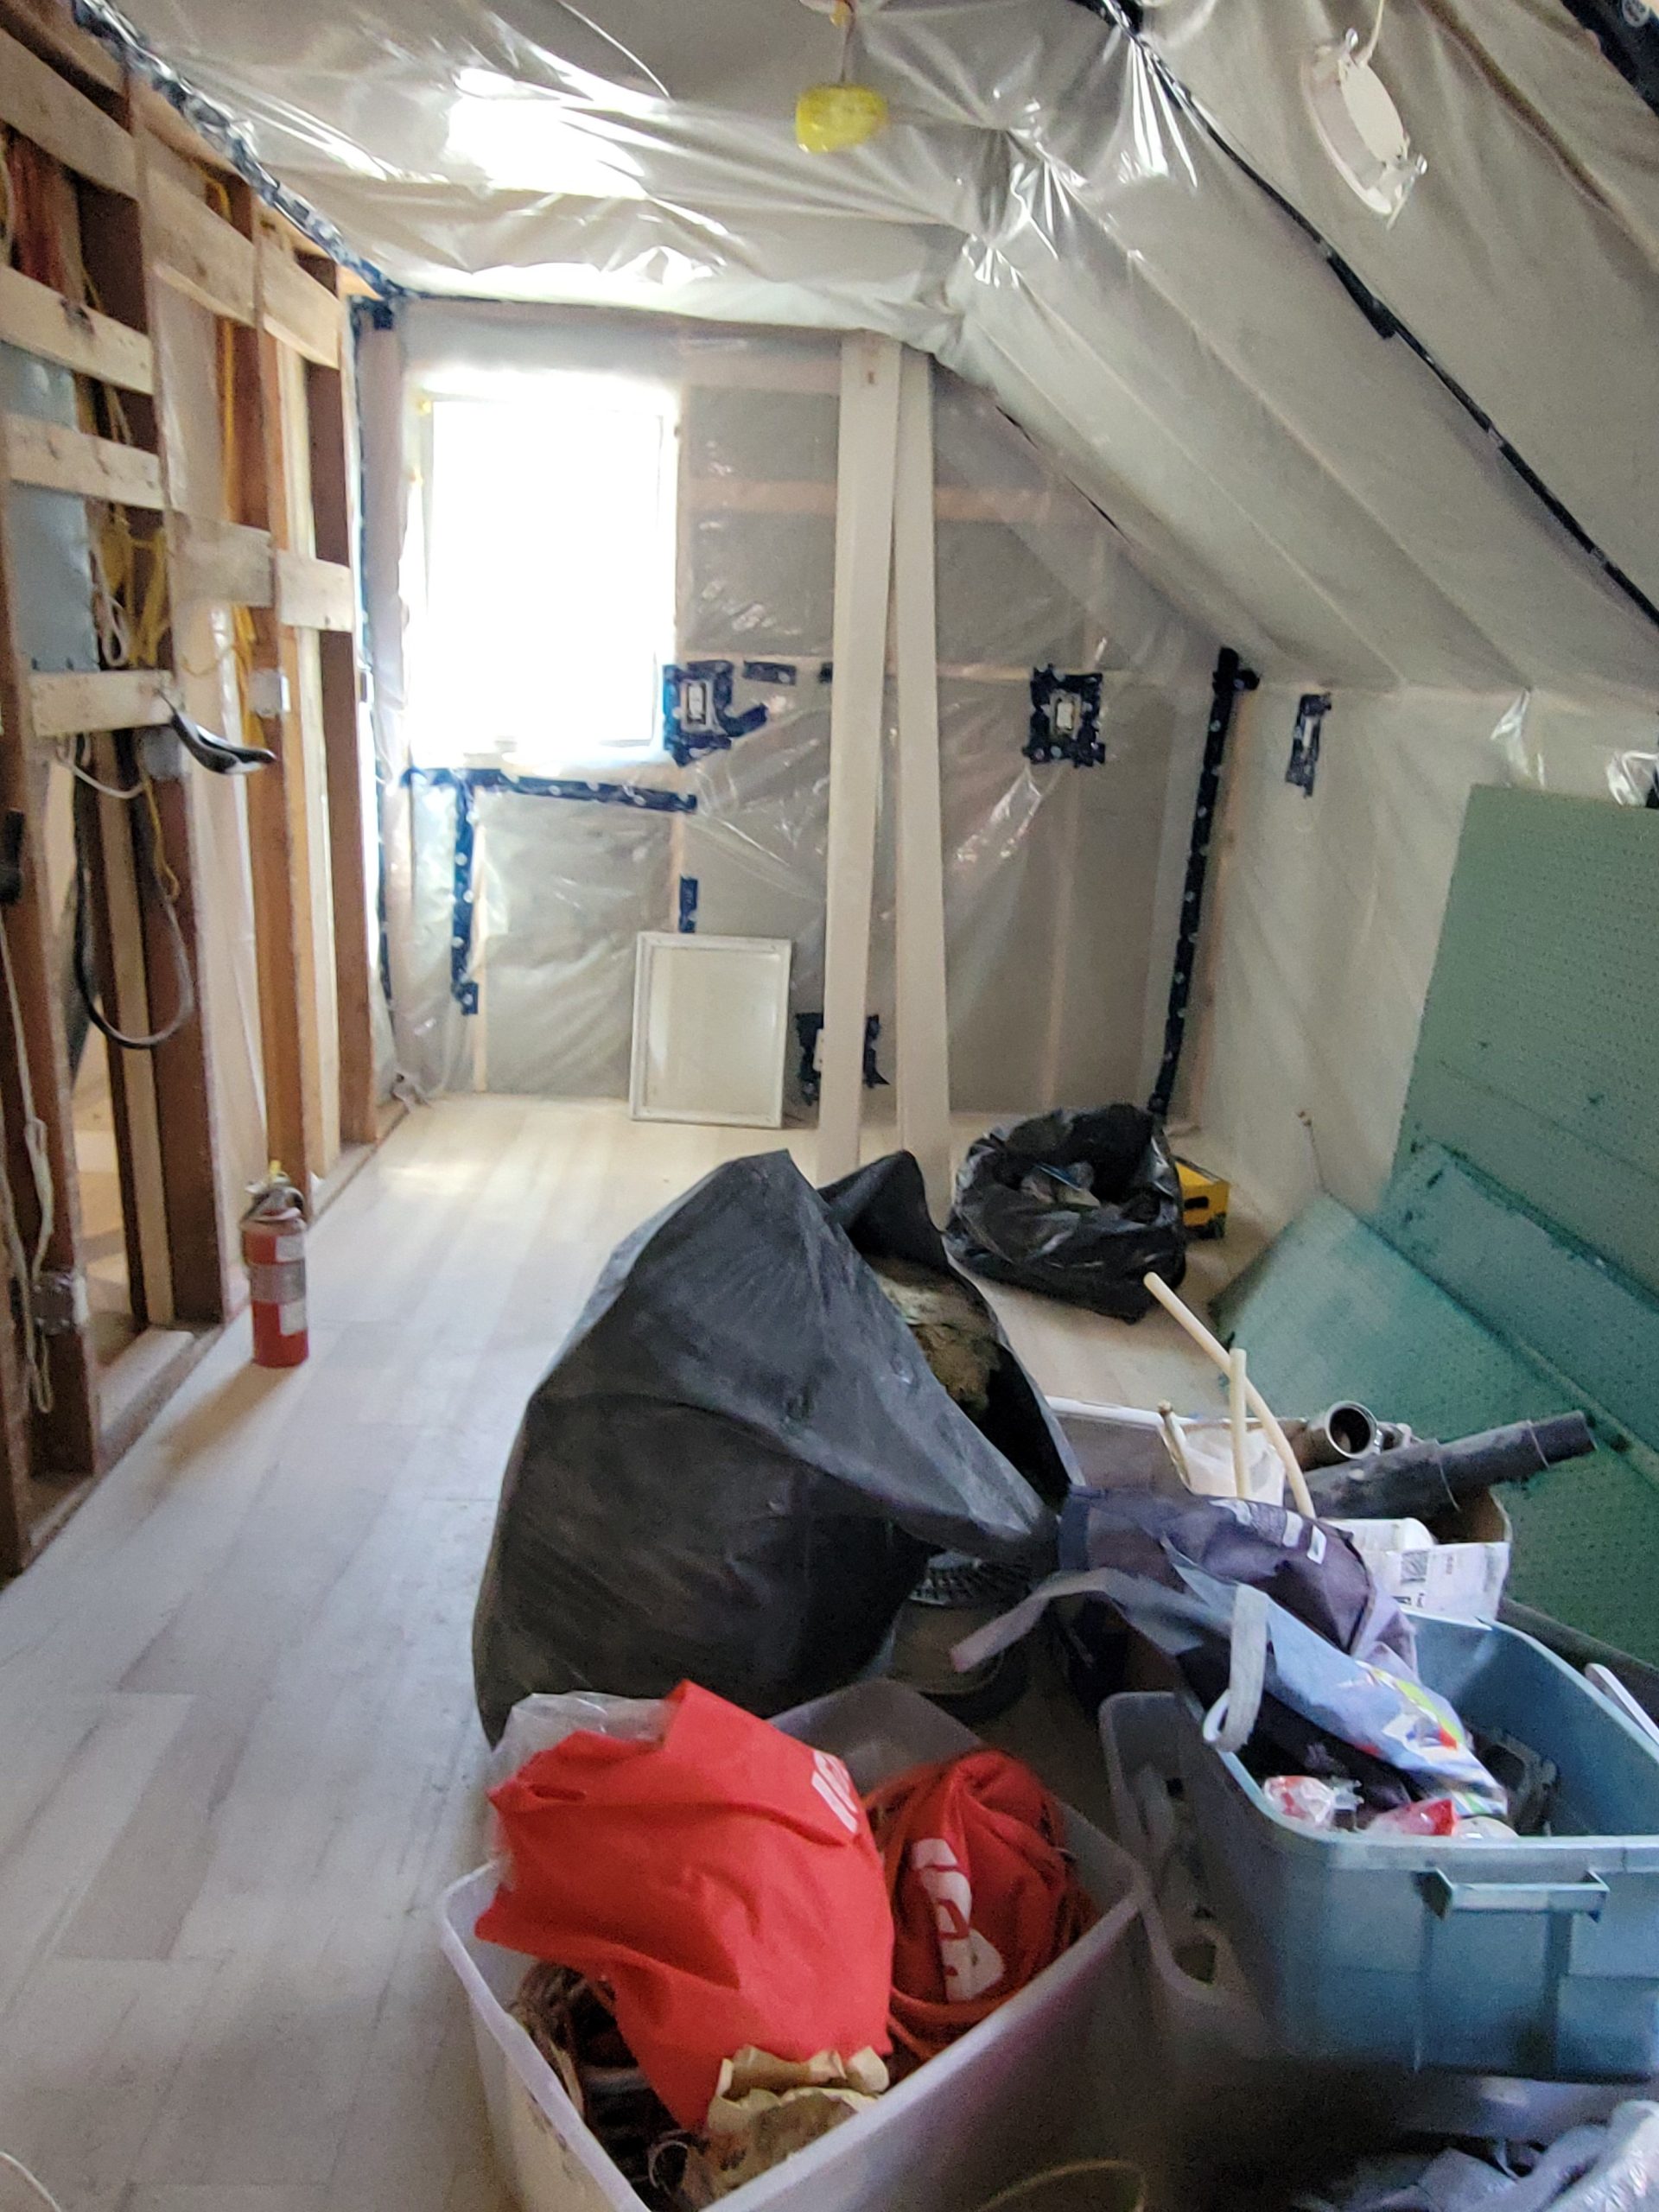
As we have to clear everything out of the main floor, and as the 2nd floor isn’t huge, I moved the old range (a.k.a. stove) out and put it on Kijiji for sale.  $100.

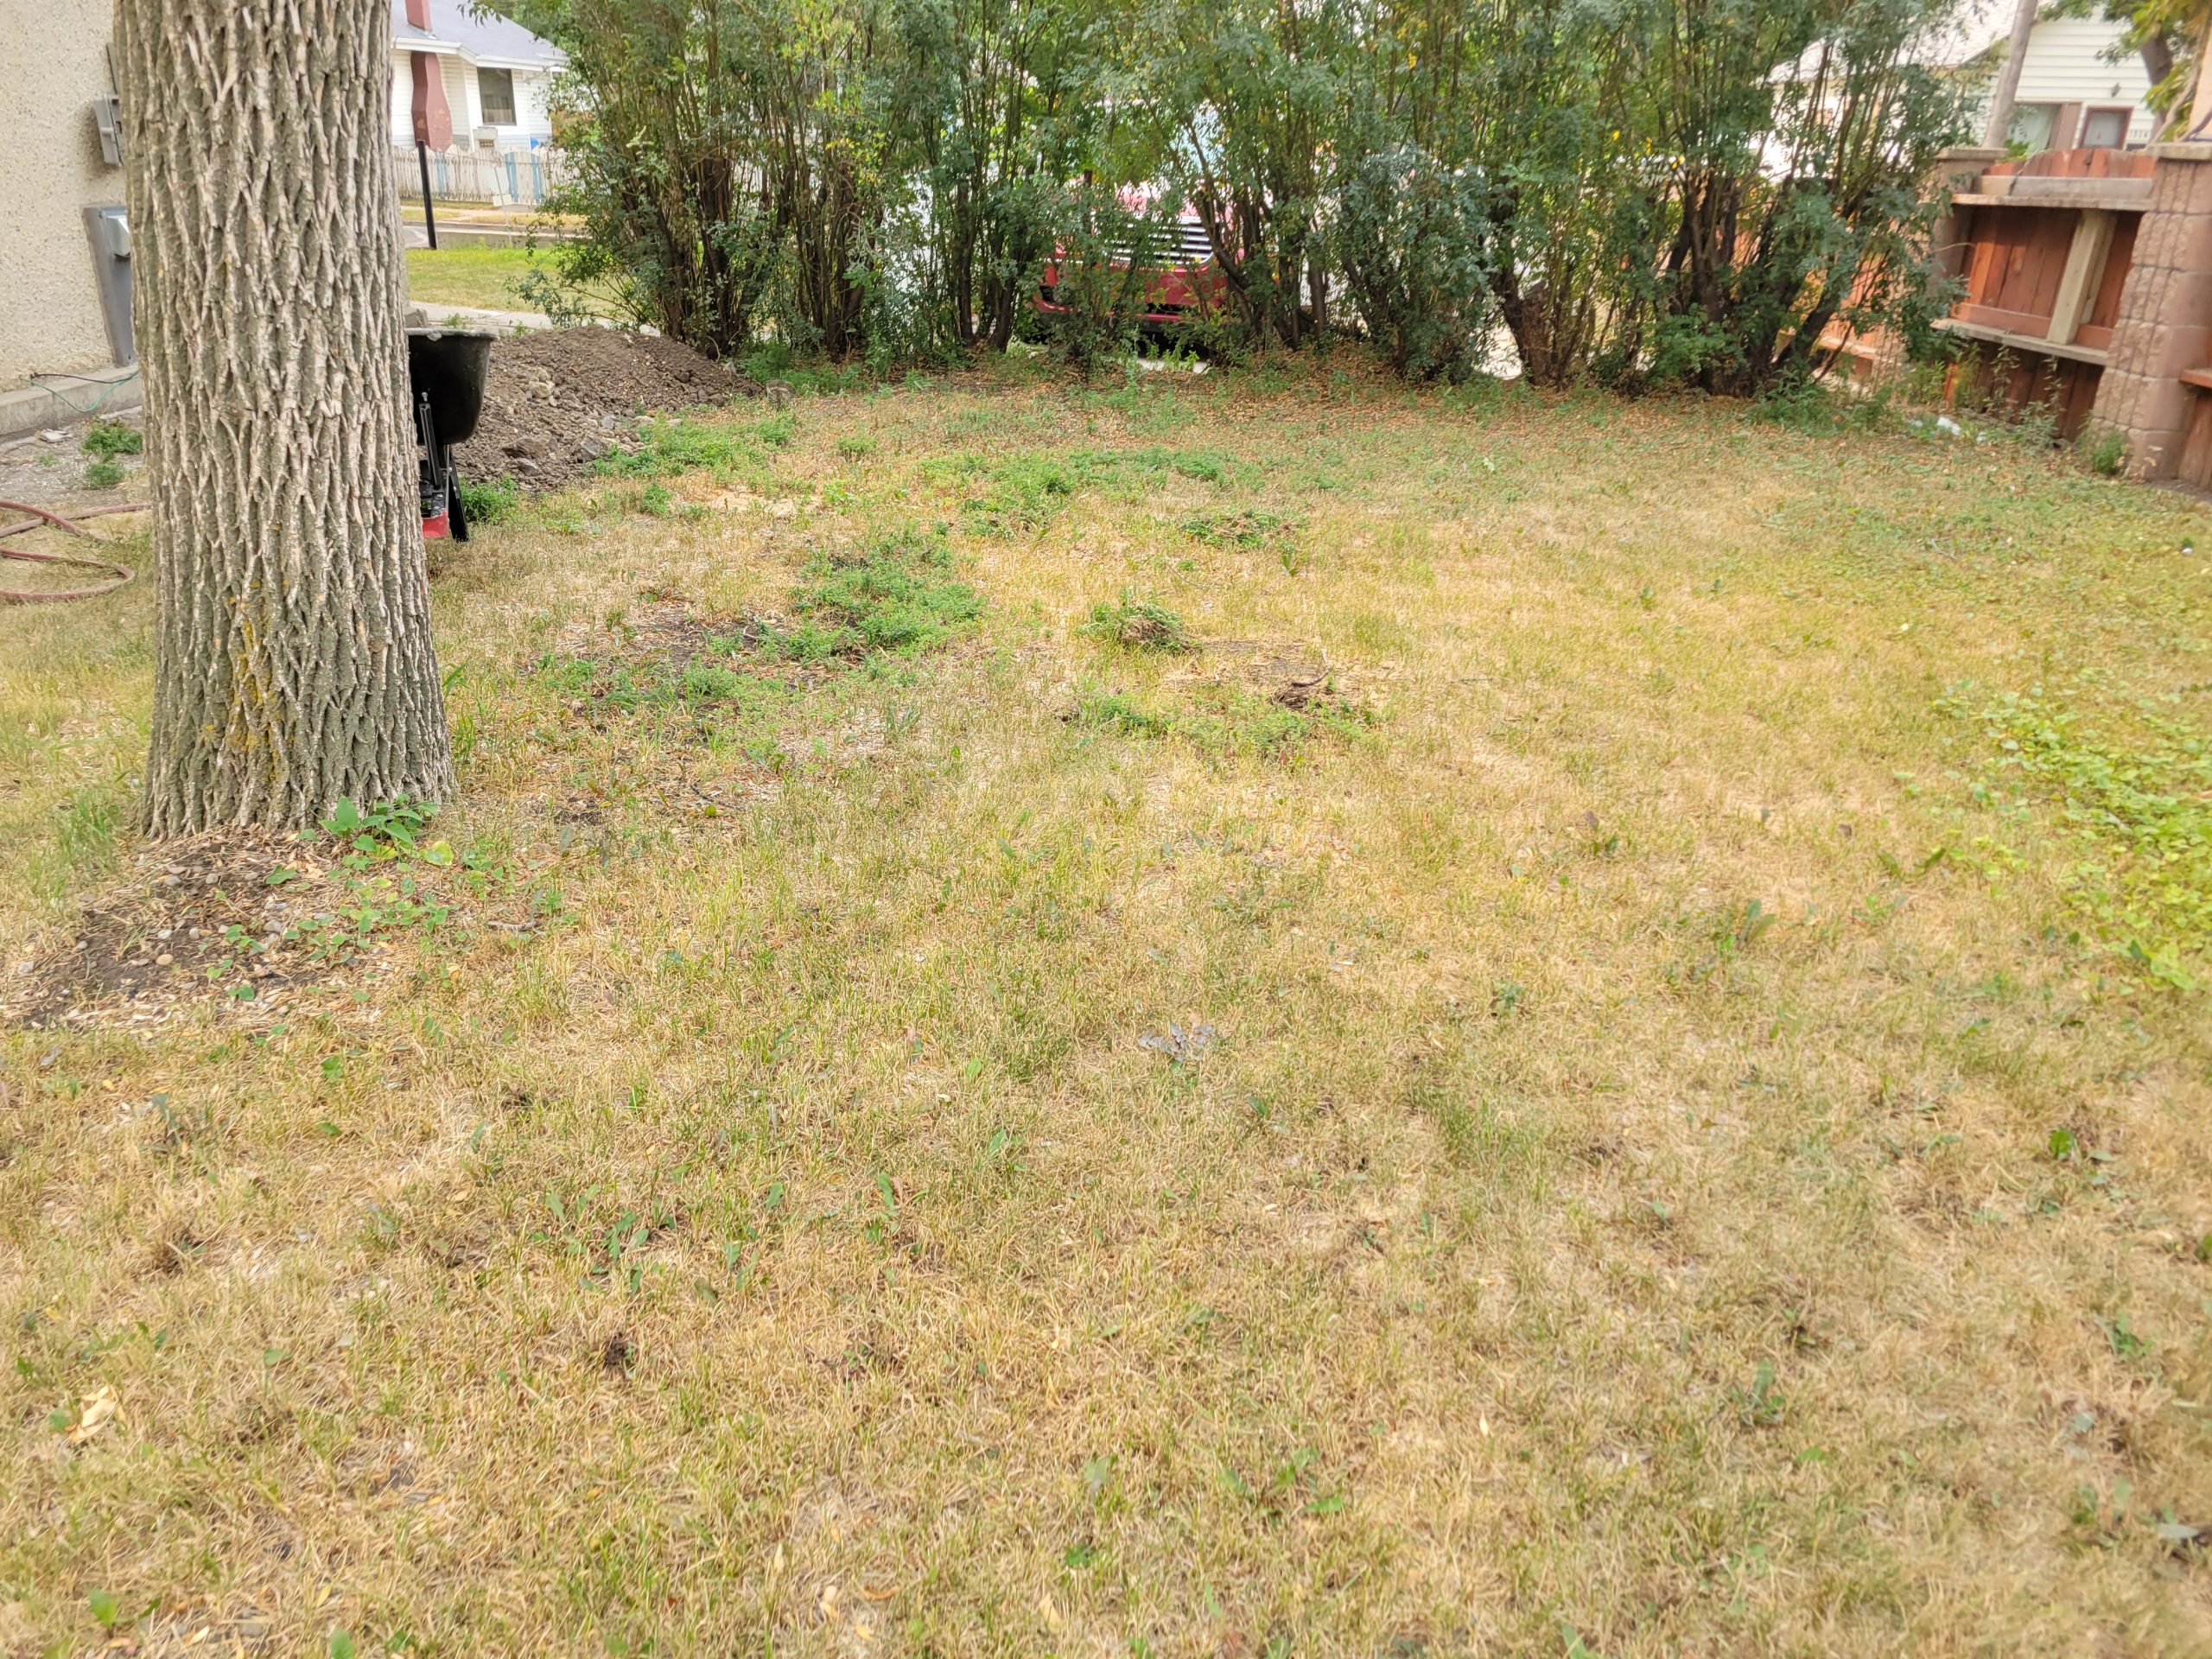
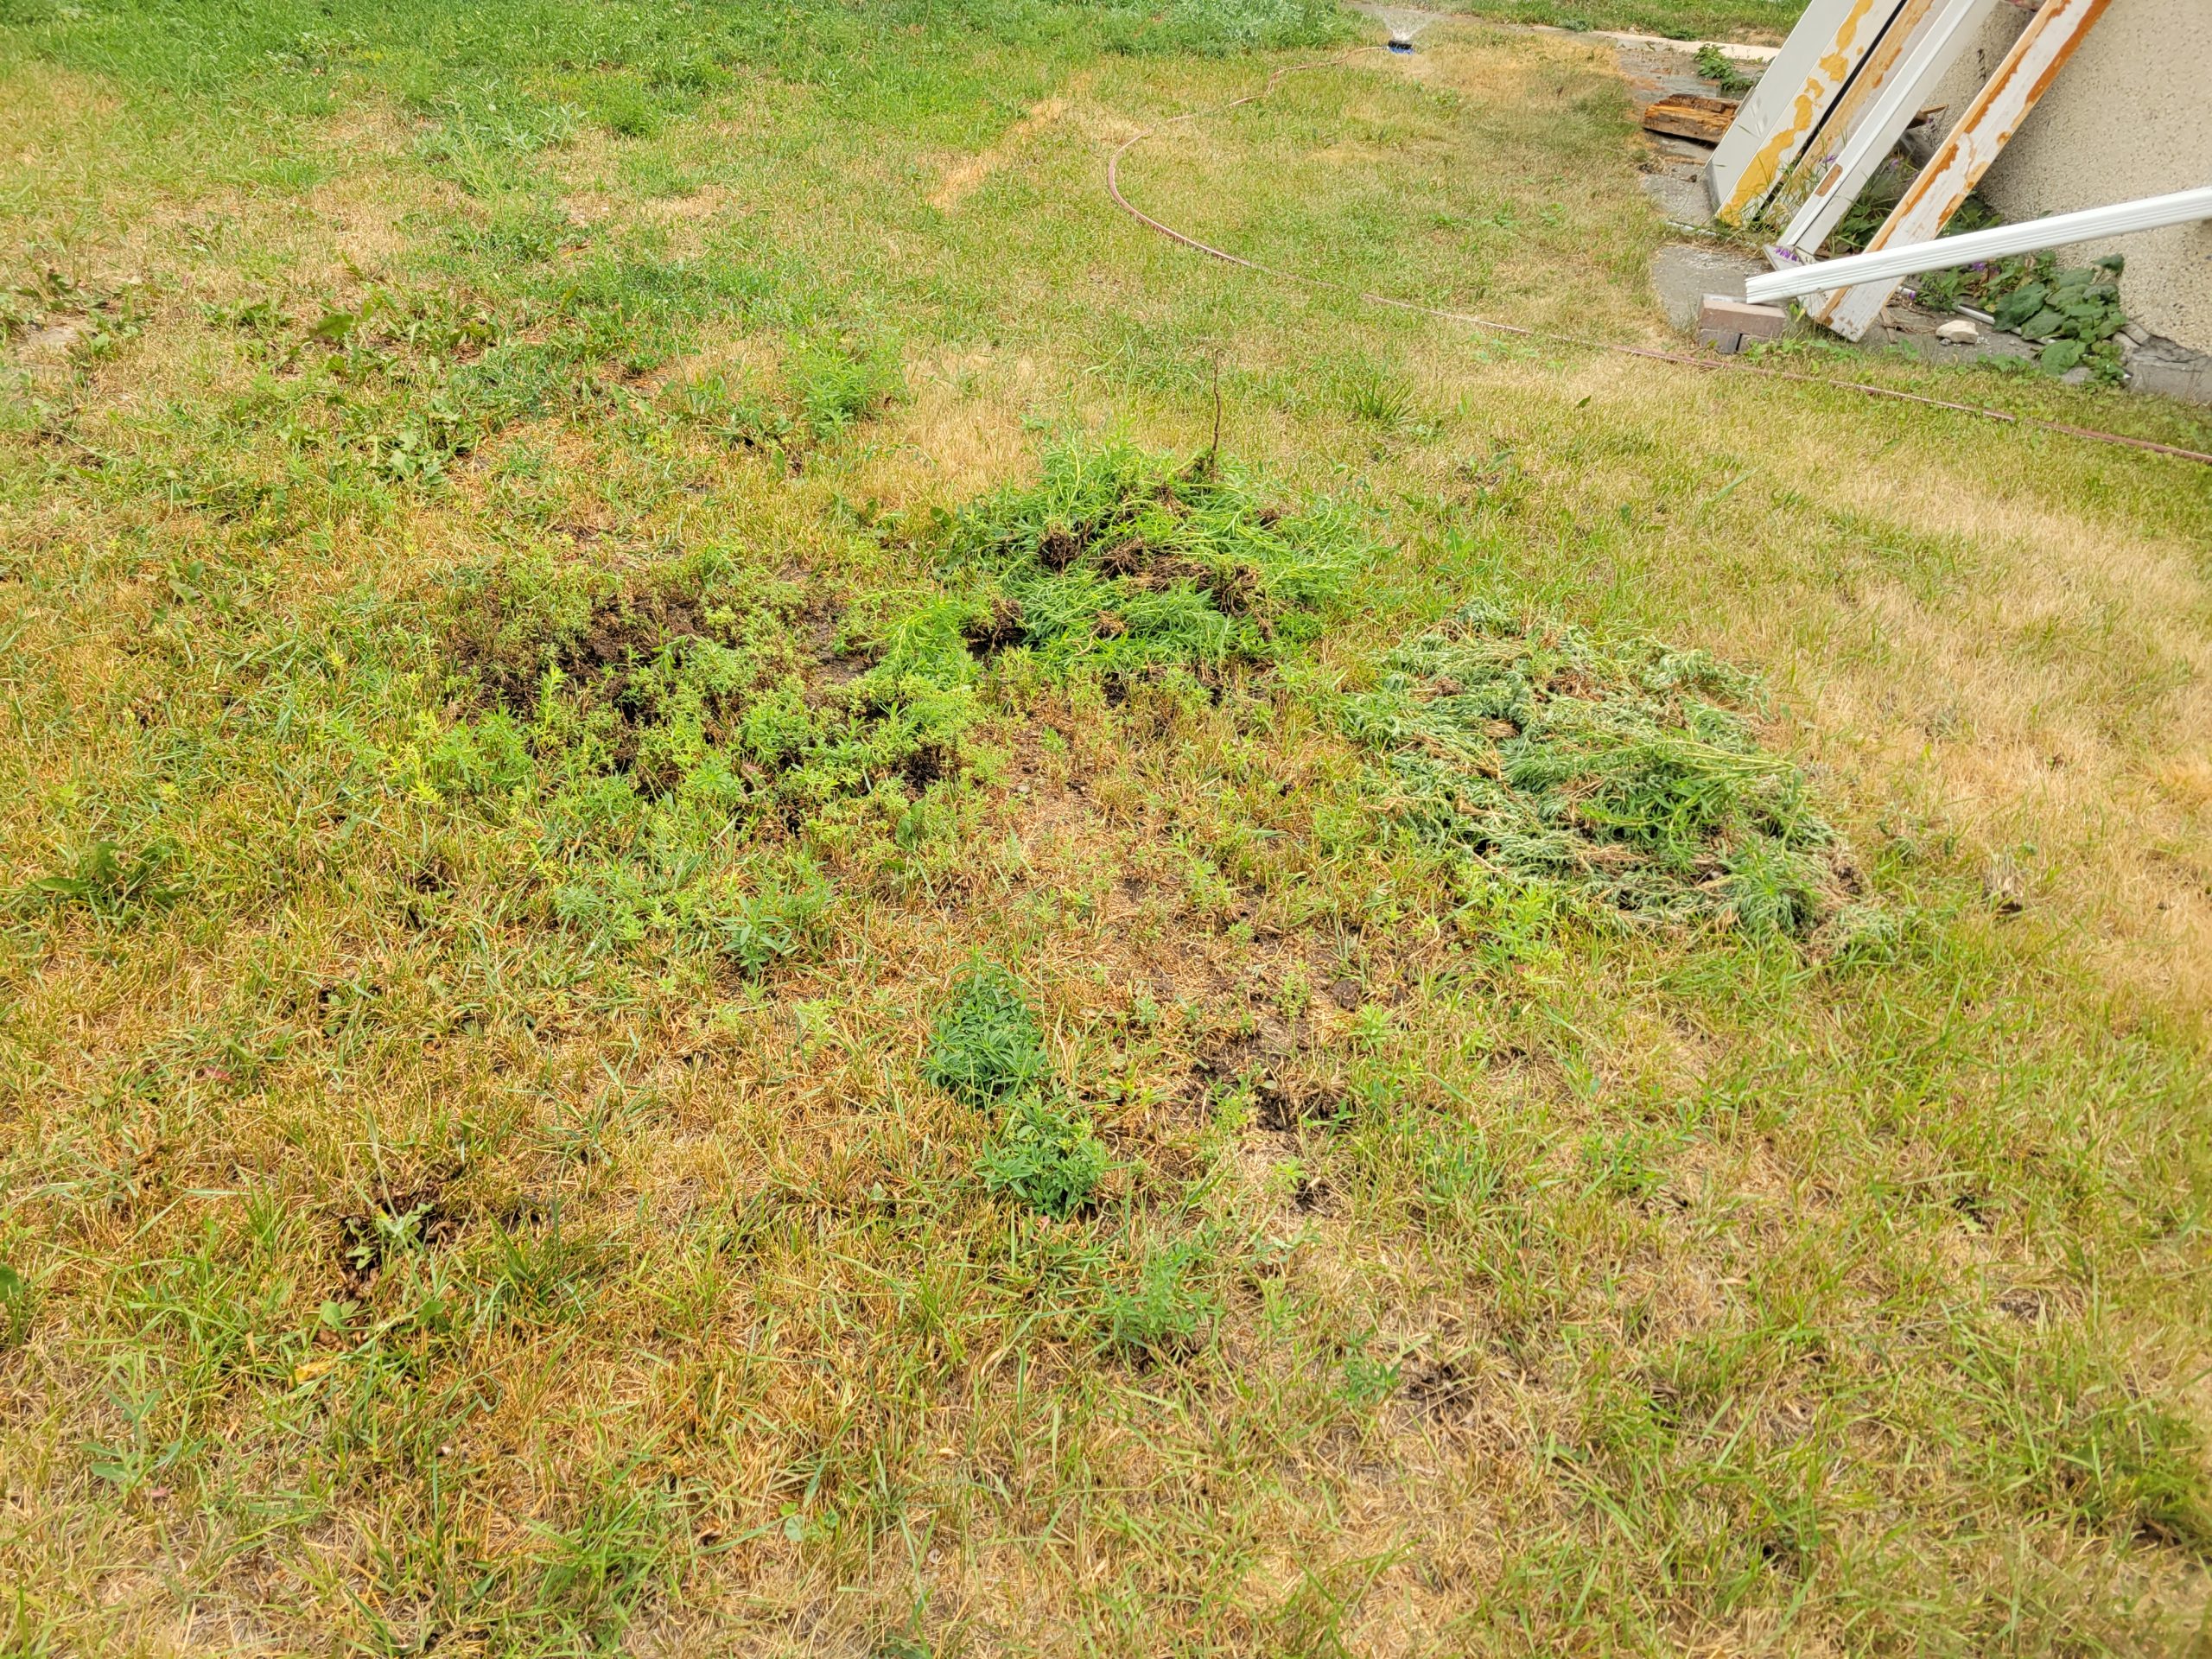
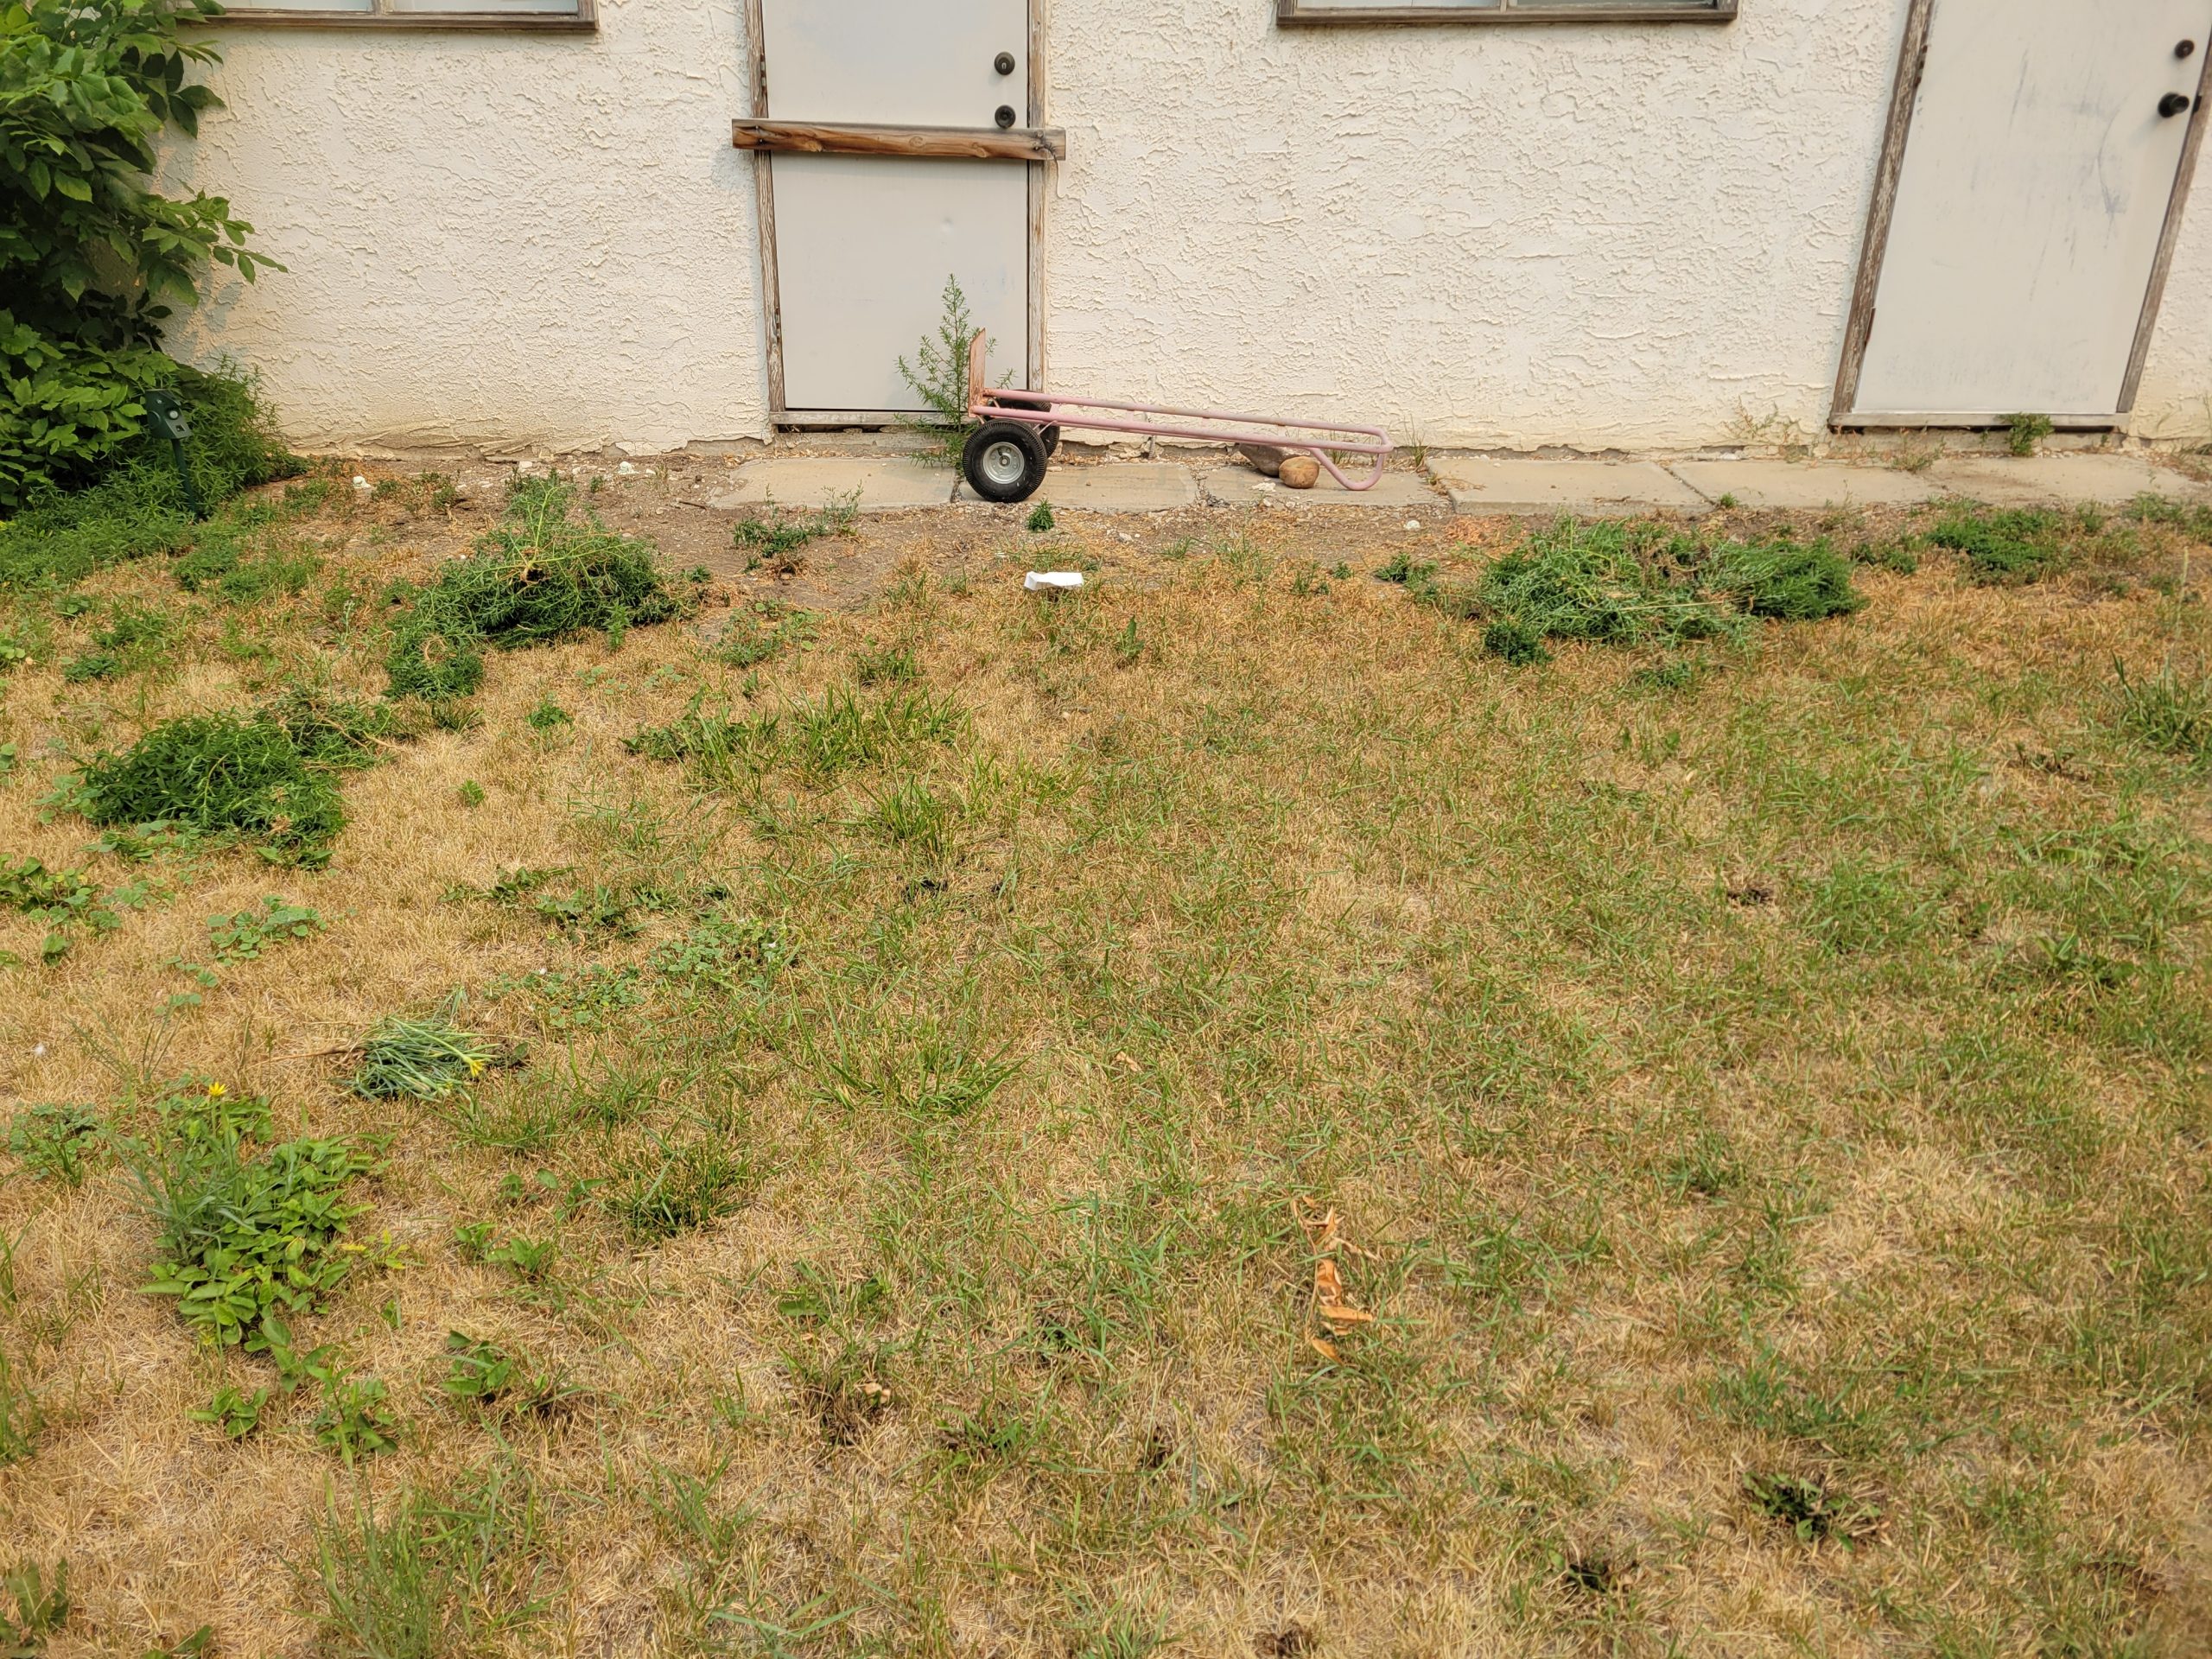
old outlets, floor holes, trim boards, grass

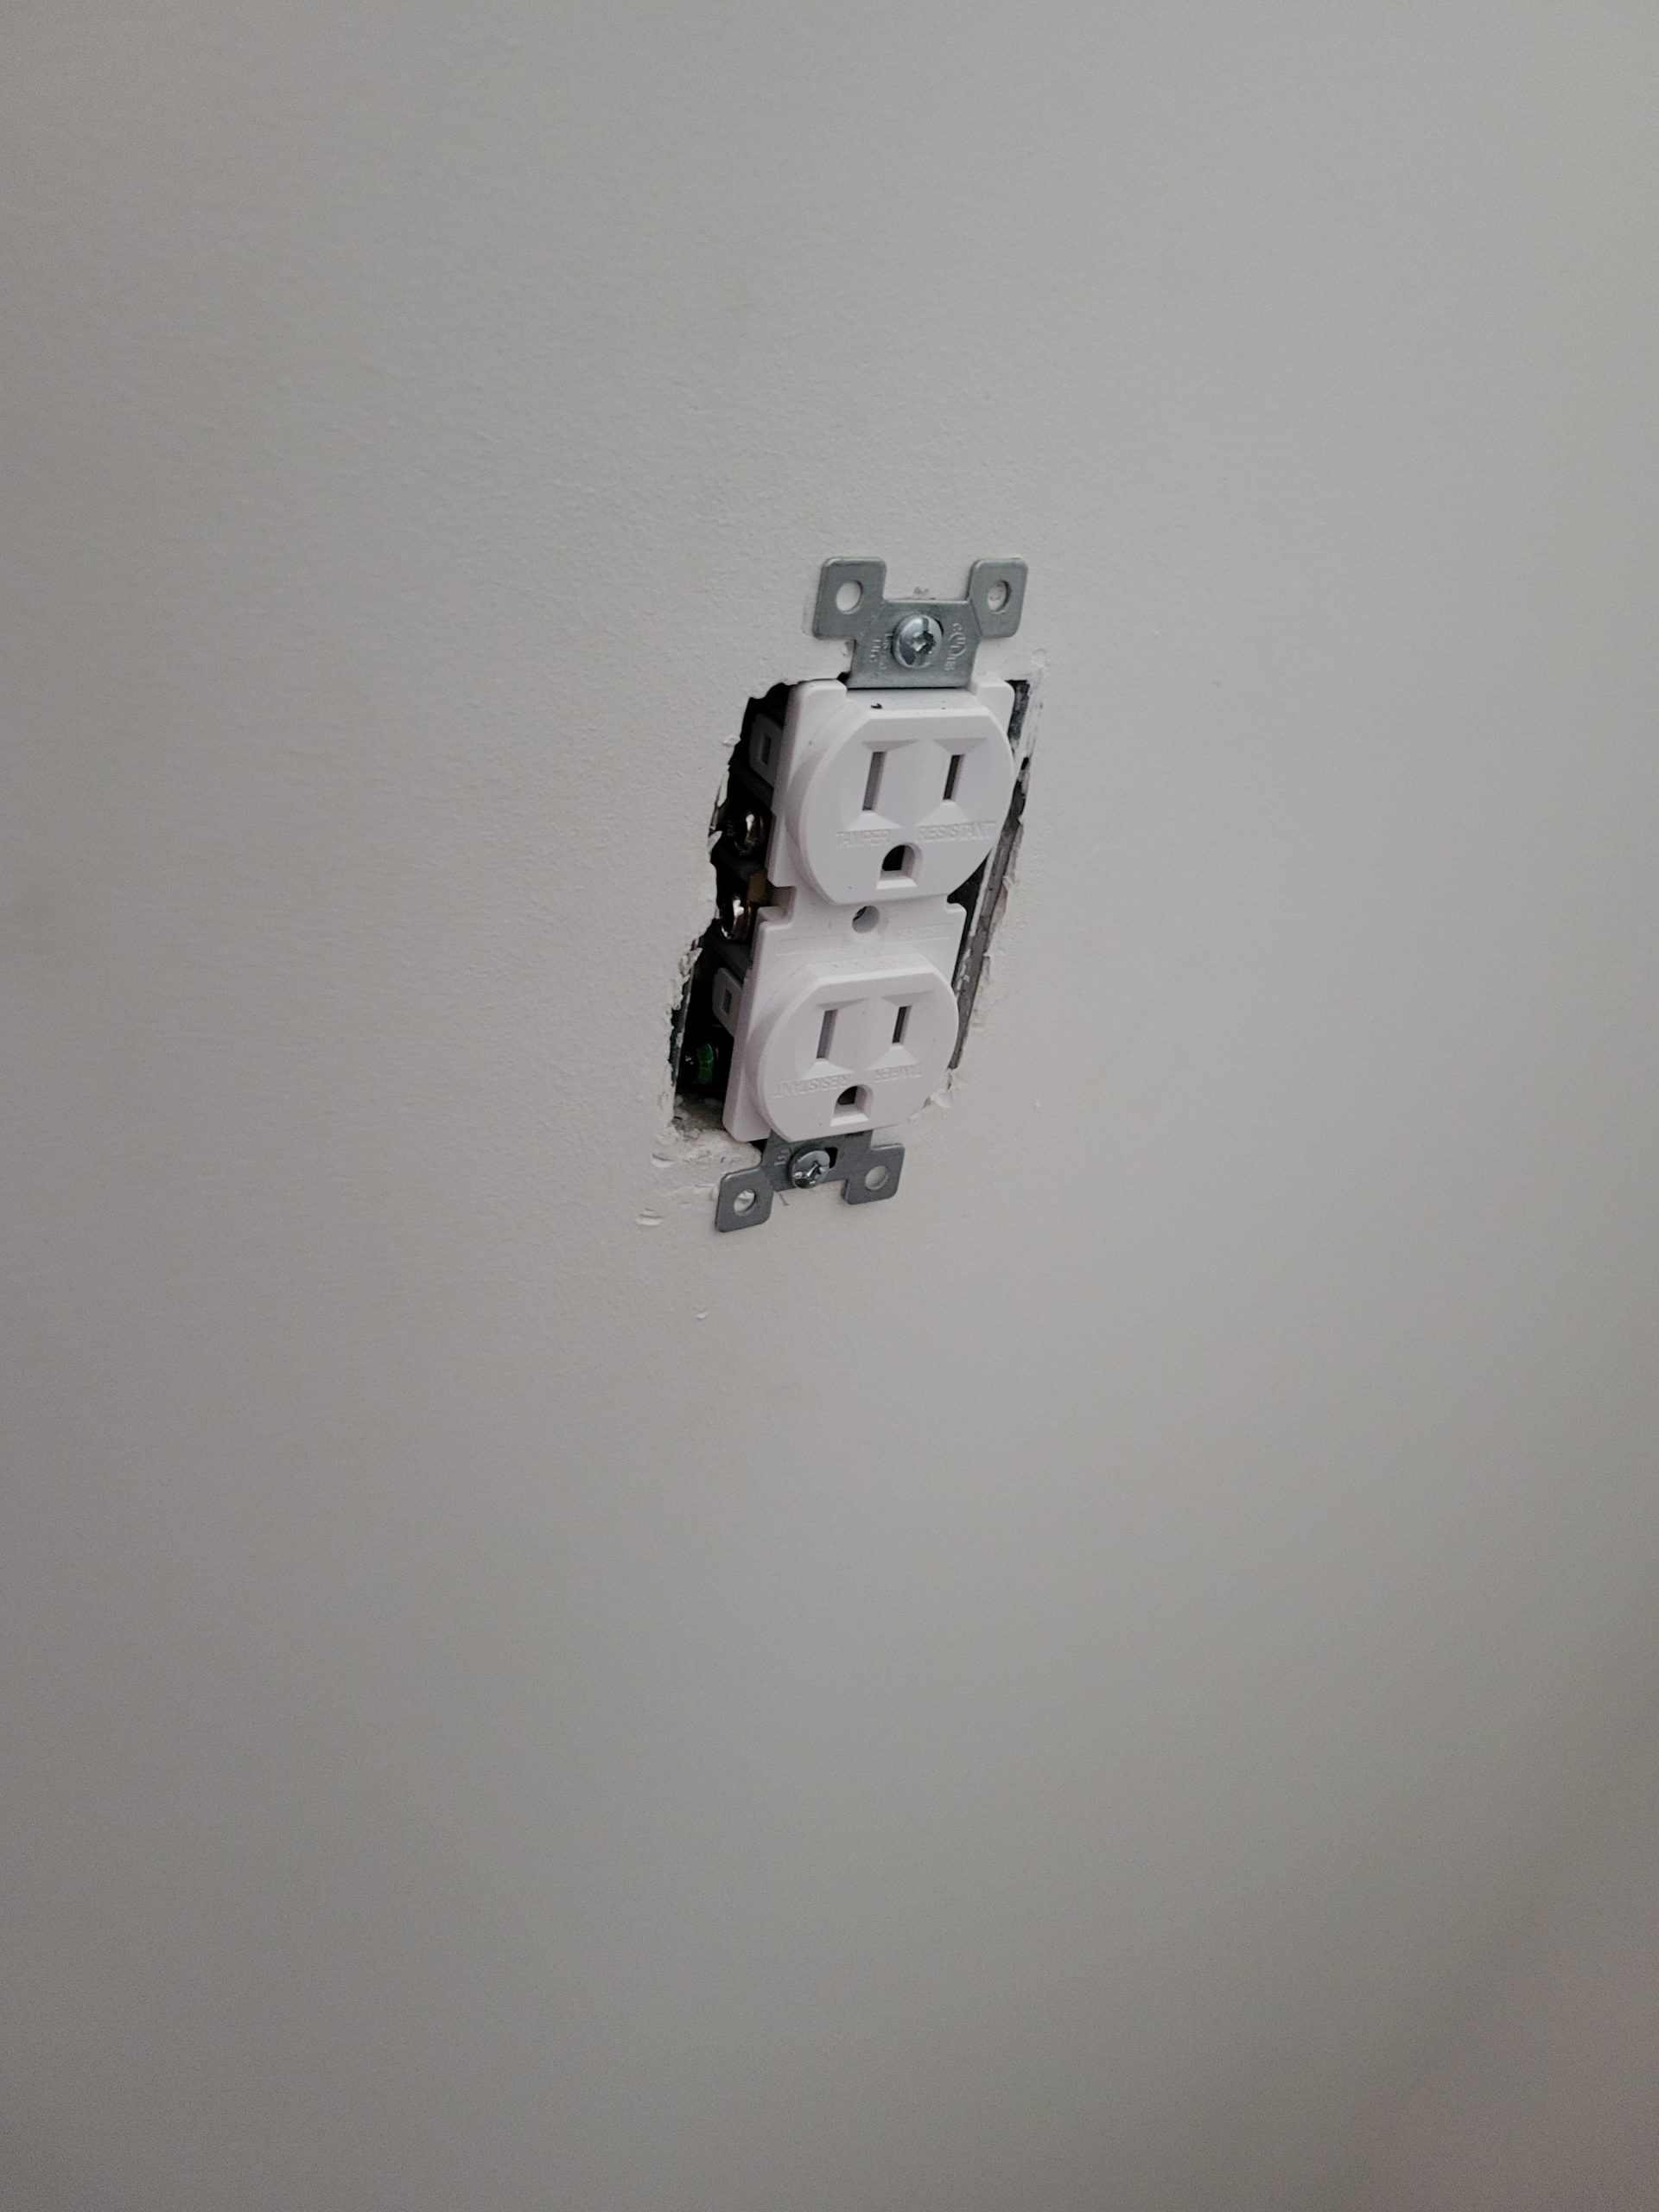
The fridge outlet was an original and badly in need of swapping out. 

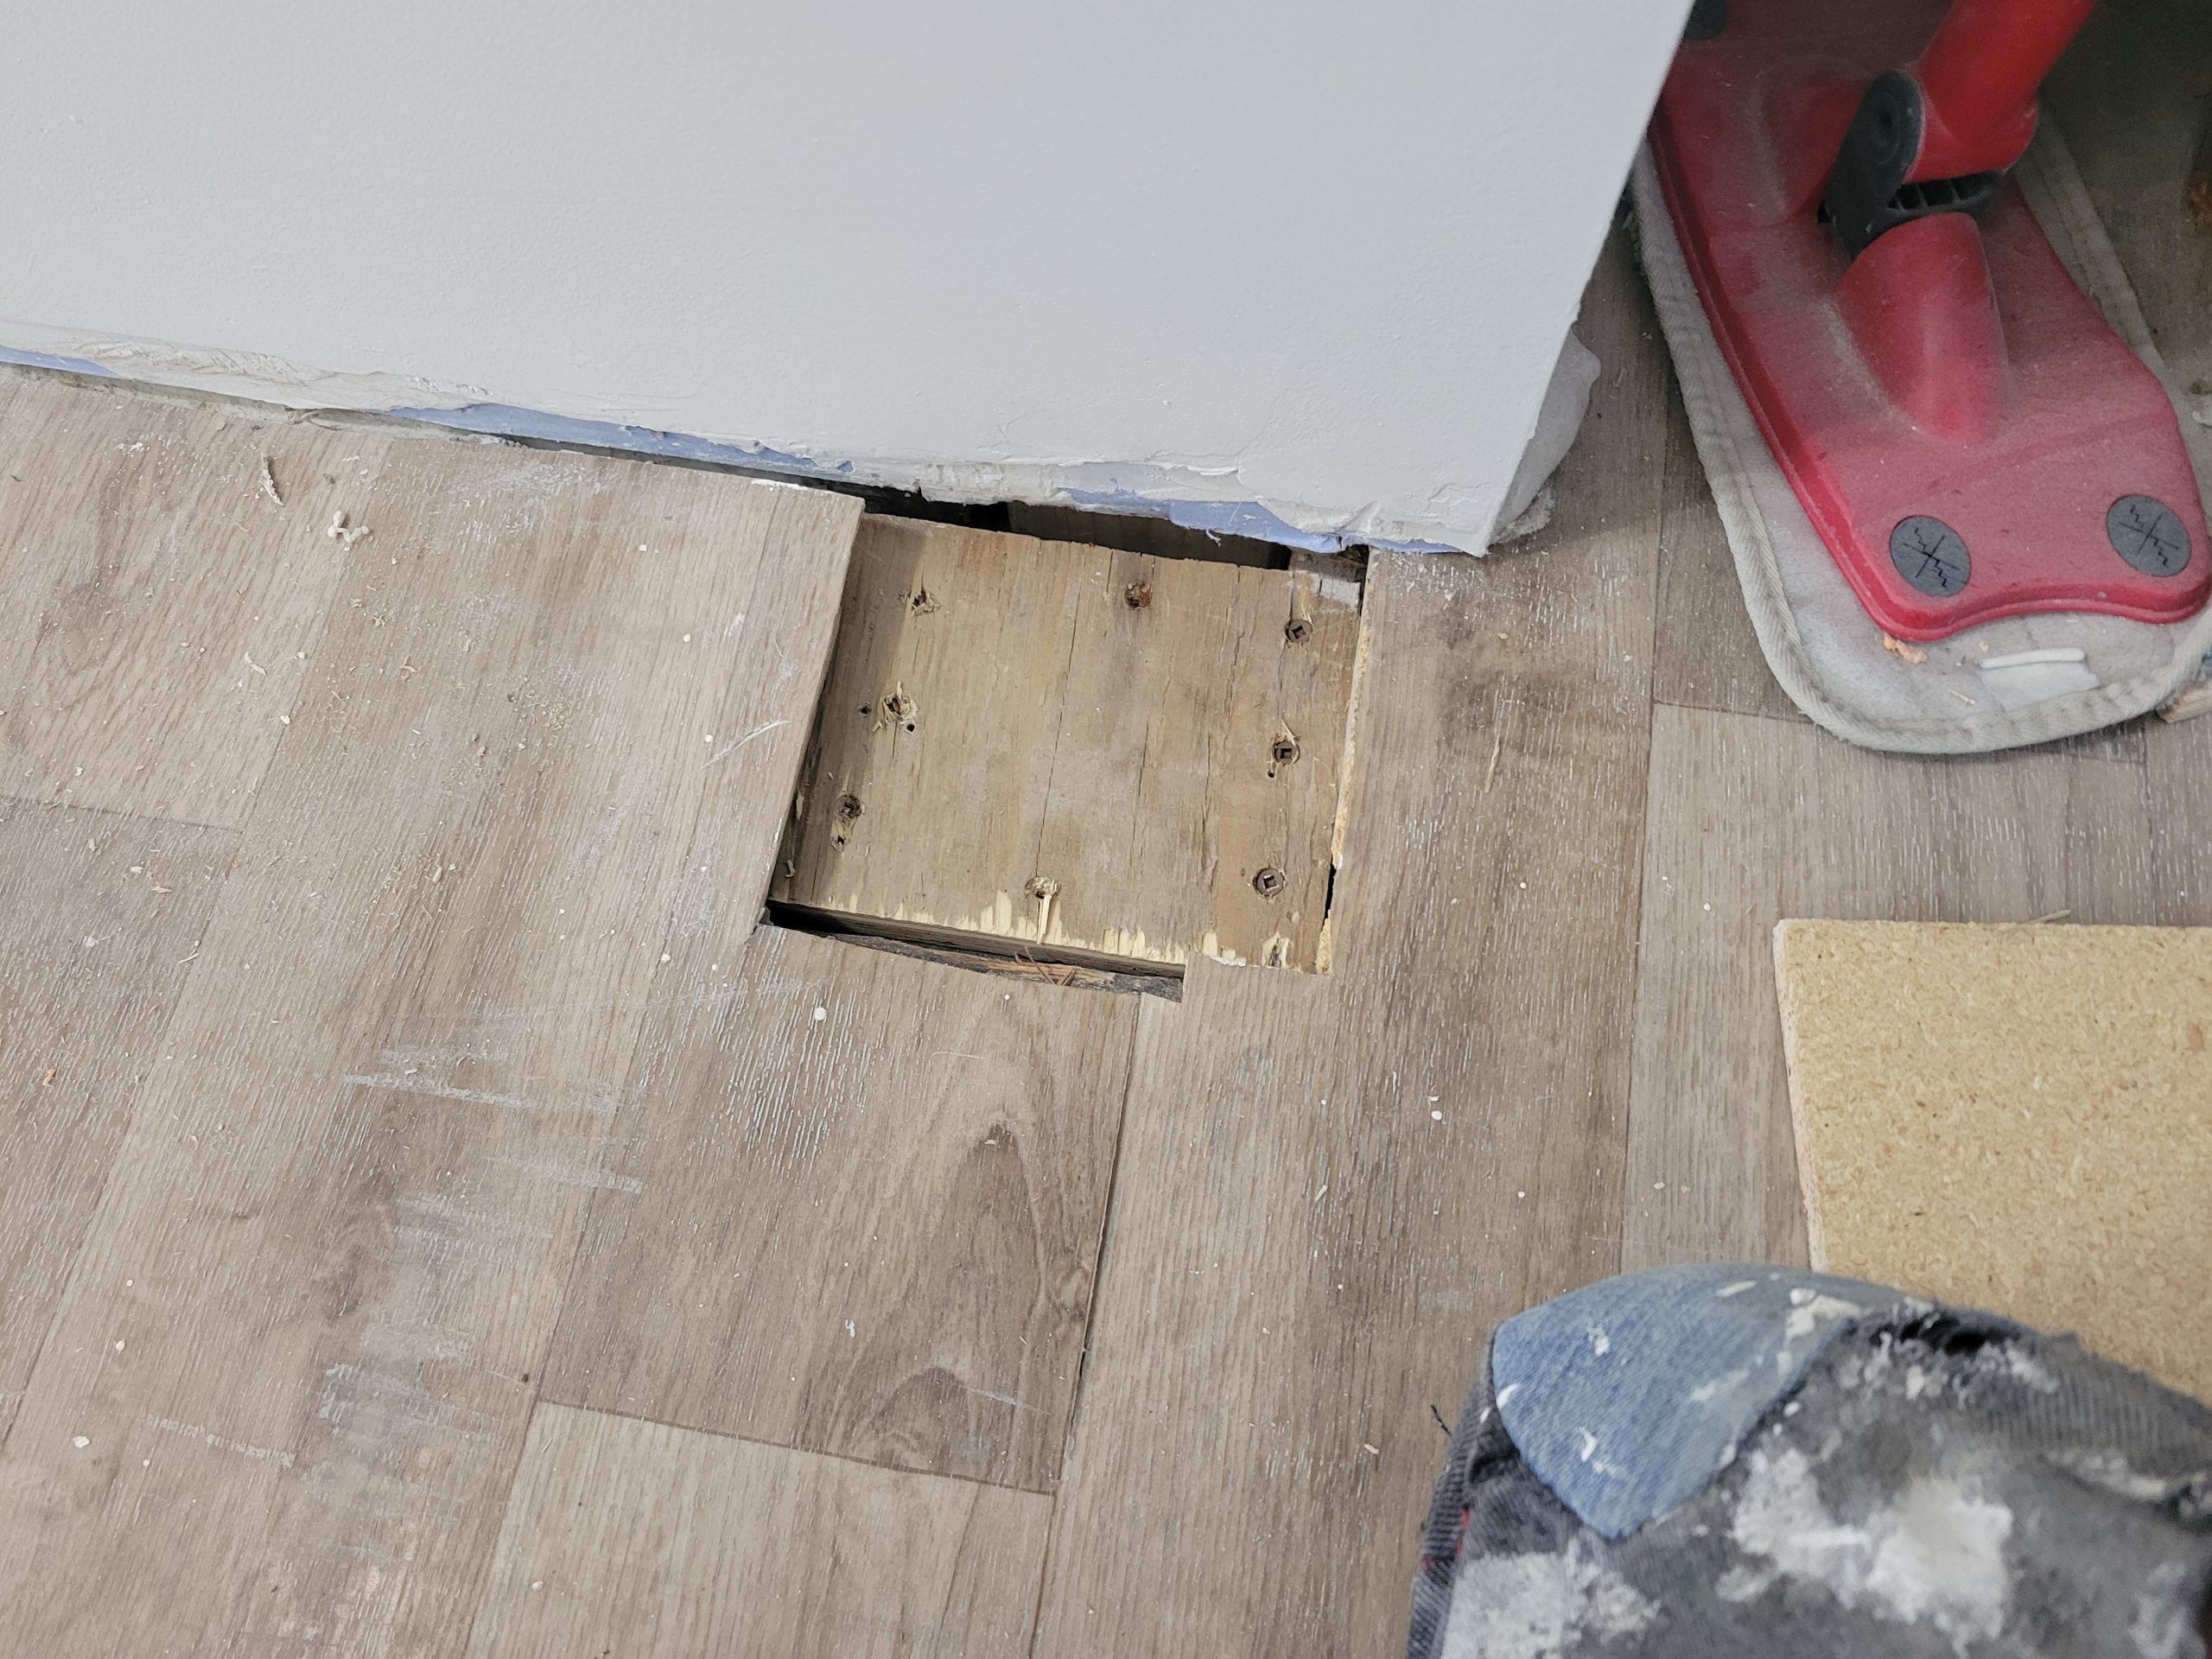
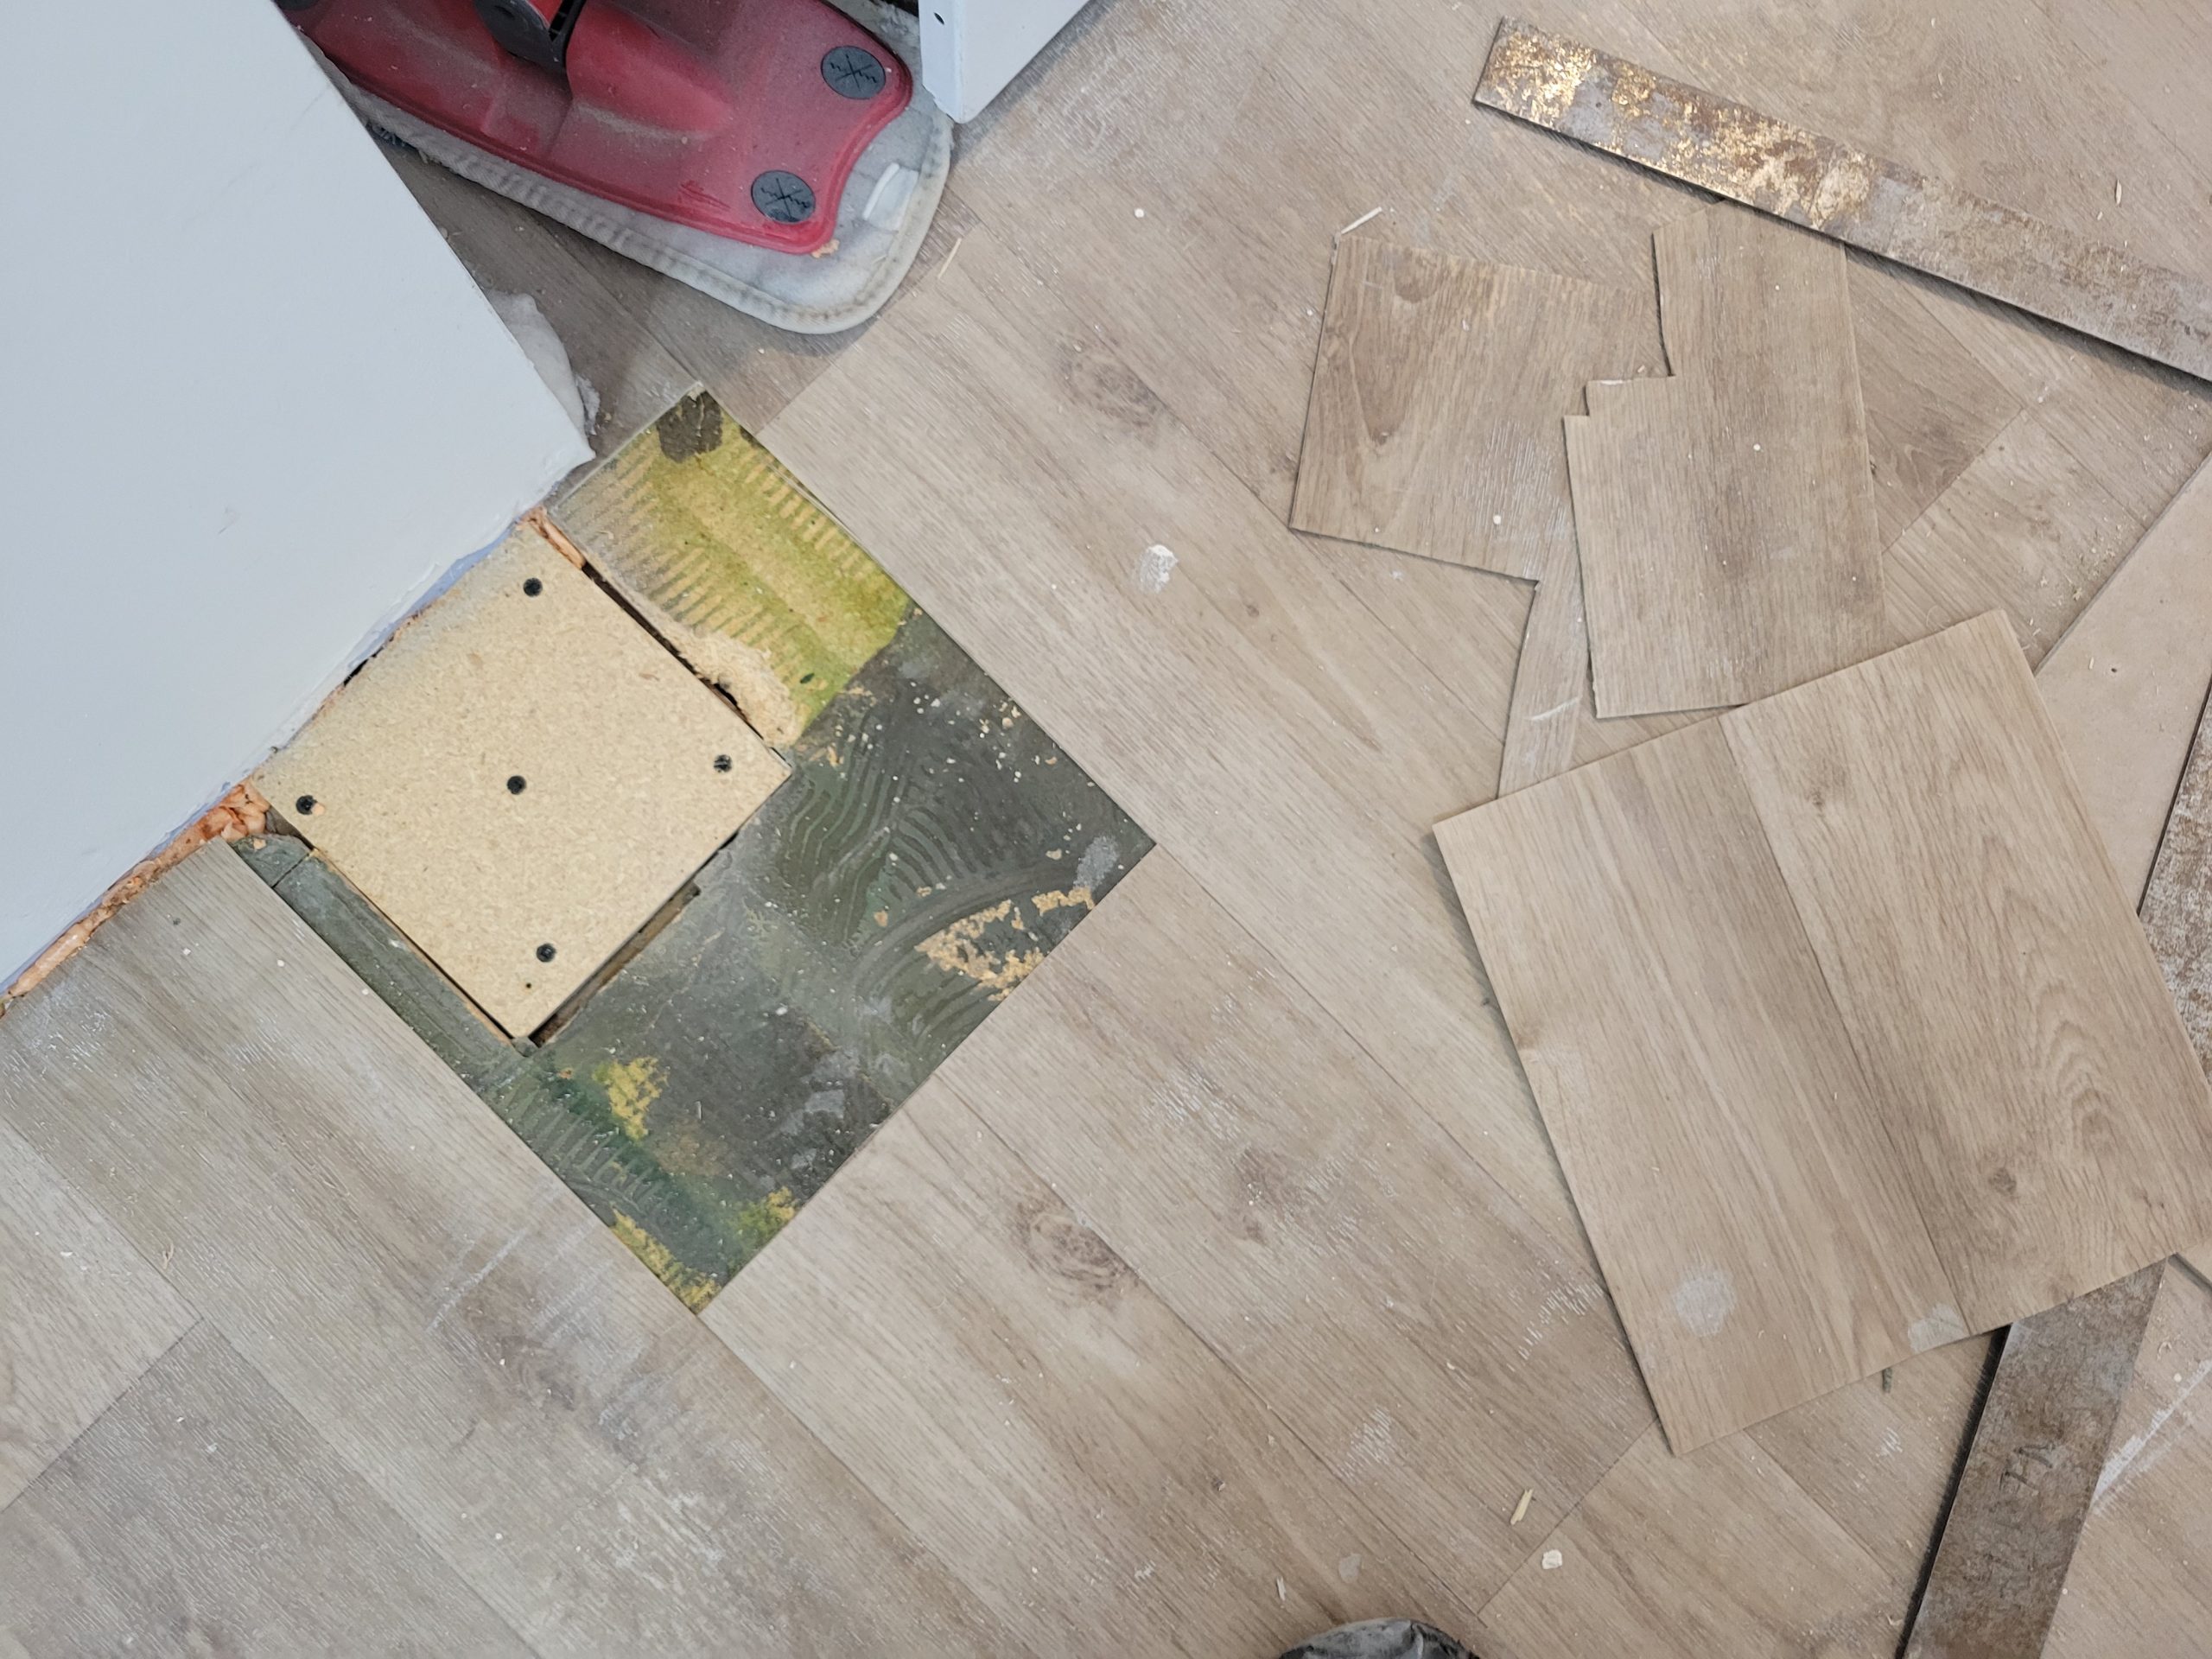
I’ve been avoiding the holes in the floor.  This is where the original back door was.  The framing had been cut through and patched several times over the decades and wasn’t doing anything but weighing the house down at that point, not supporting it.  New load-bearing framing was put in with the right size of header and whatnot.  In the mean time, the floor still had the hole.  I added floor board and sub-floor and mounted everything to surrounding structures.  Finding the best match for flooring was not easy, but I think the pieces I chose were a good compromise. 

Read more

faceplates, door, floor, linoleum

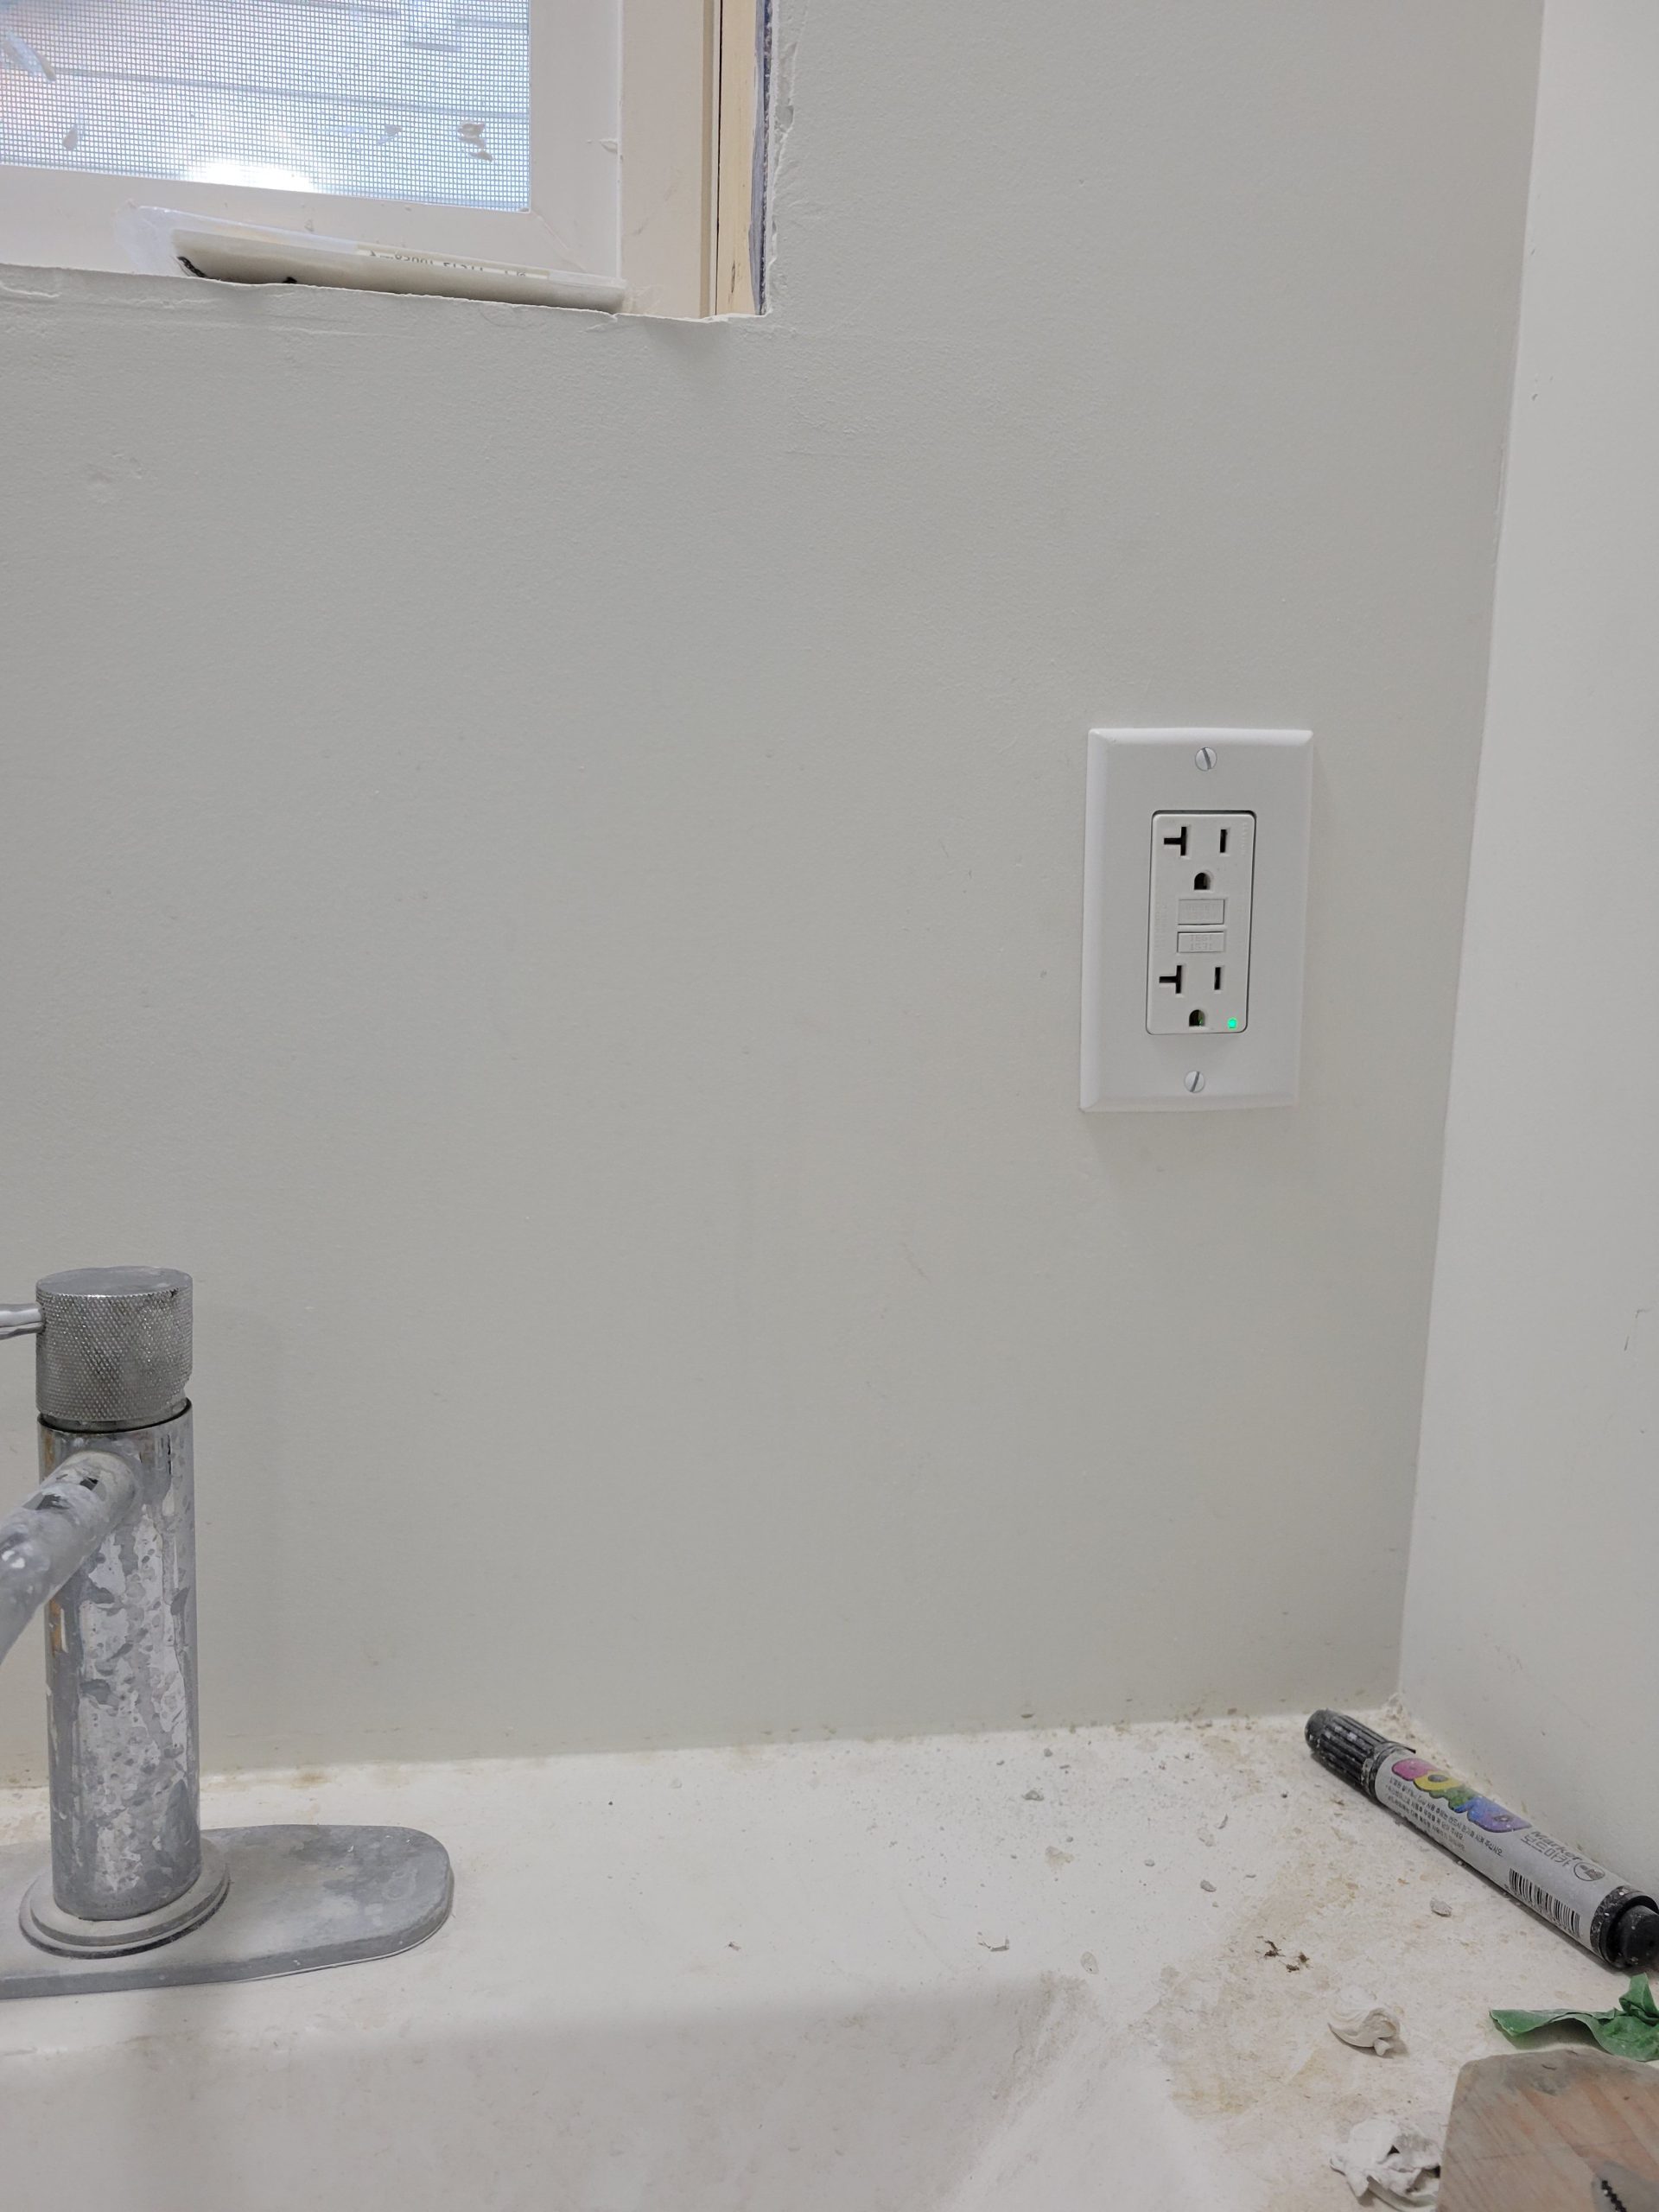
Some of the outlets in the bedrooms were still the old off-white (yellow) type.  I switched the remaining old ones out for new, modern looking ones – but not the square ‘decor’ type as these were much more expensive.  They all needed faceplates. 


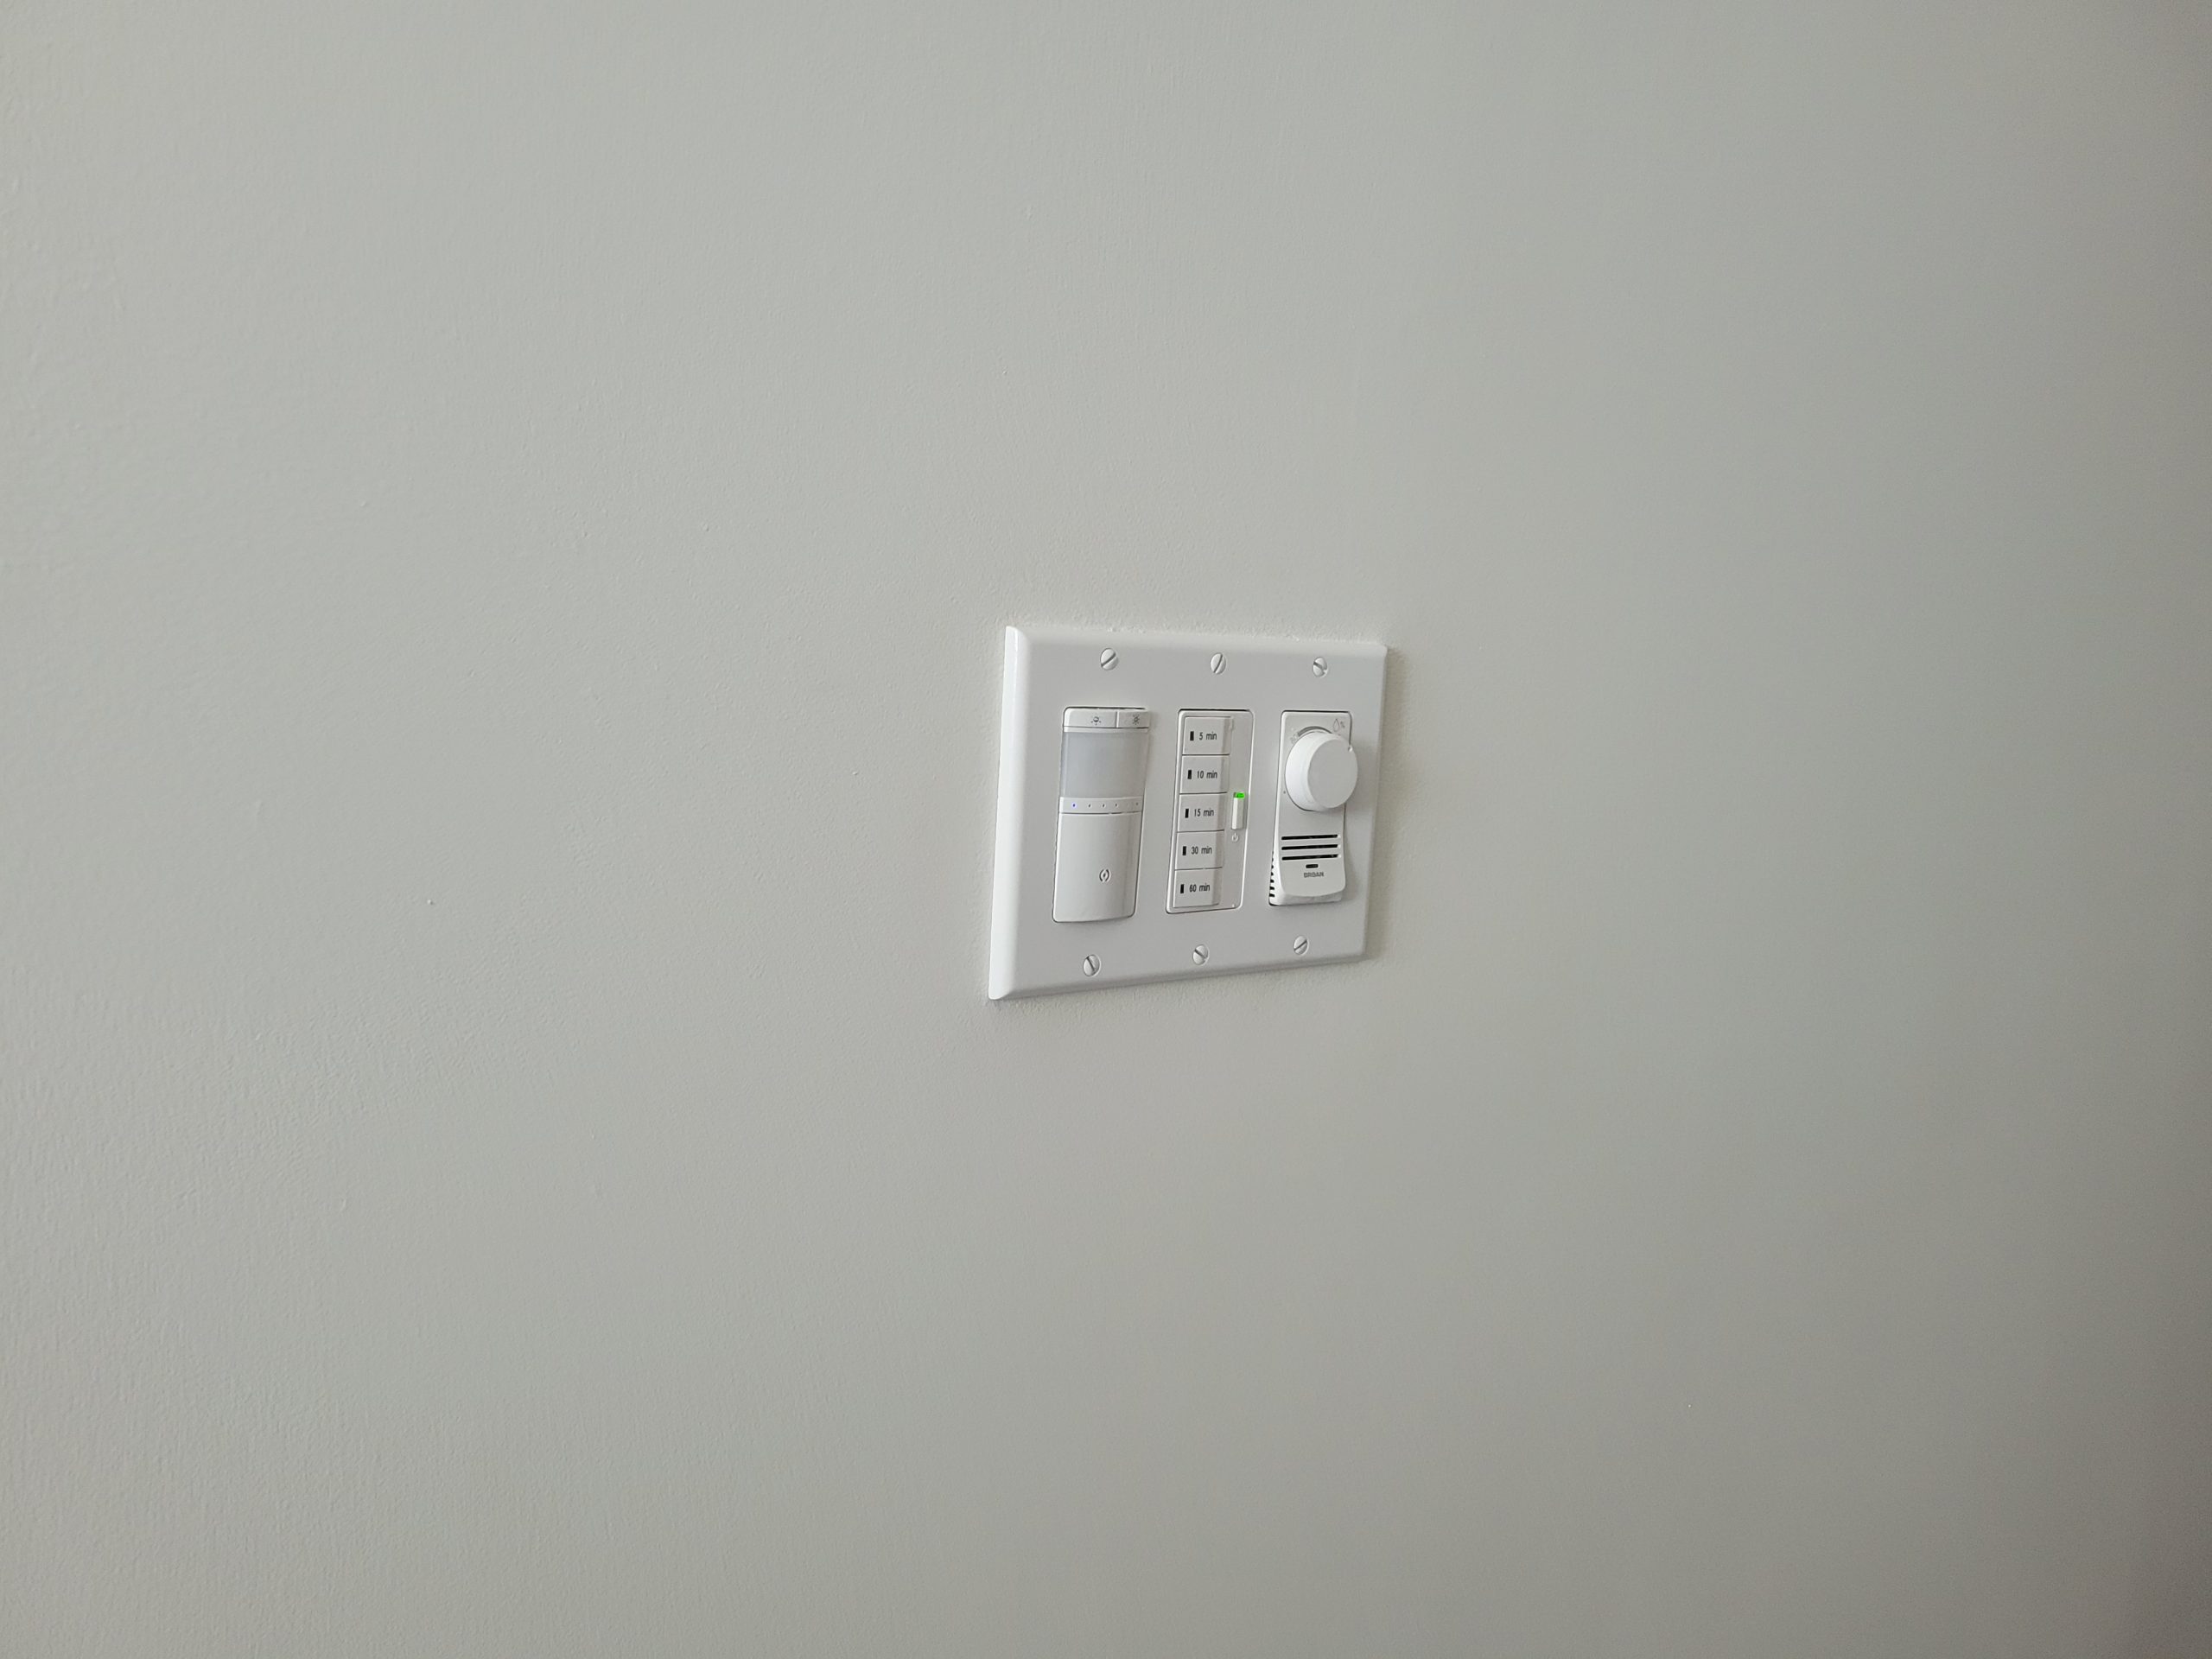
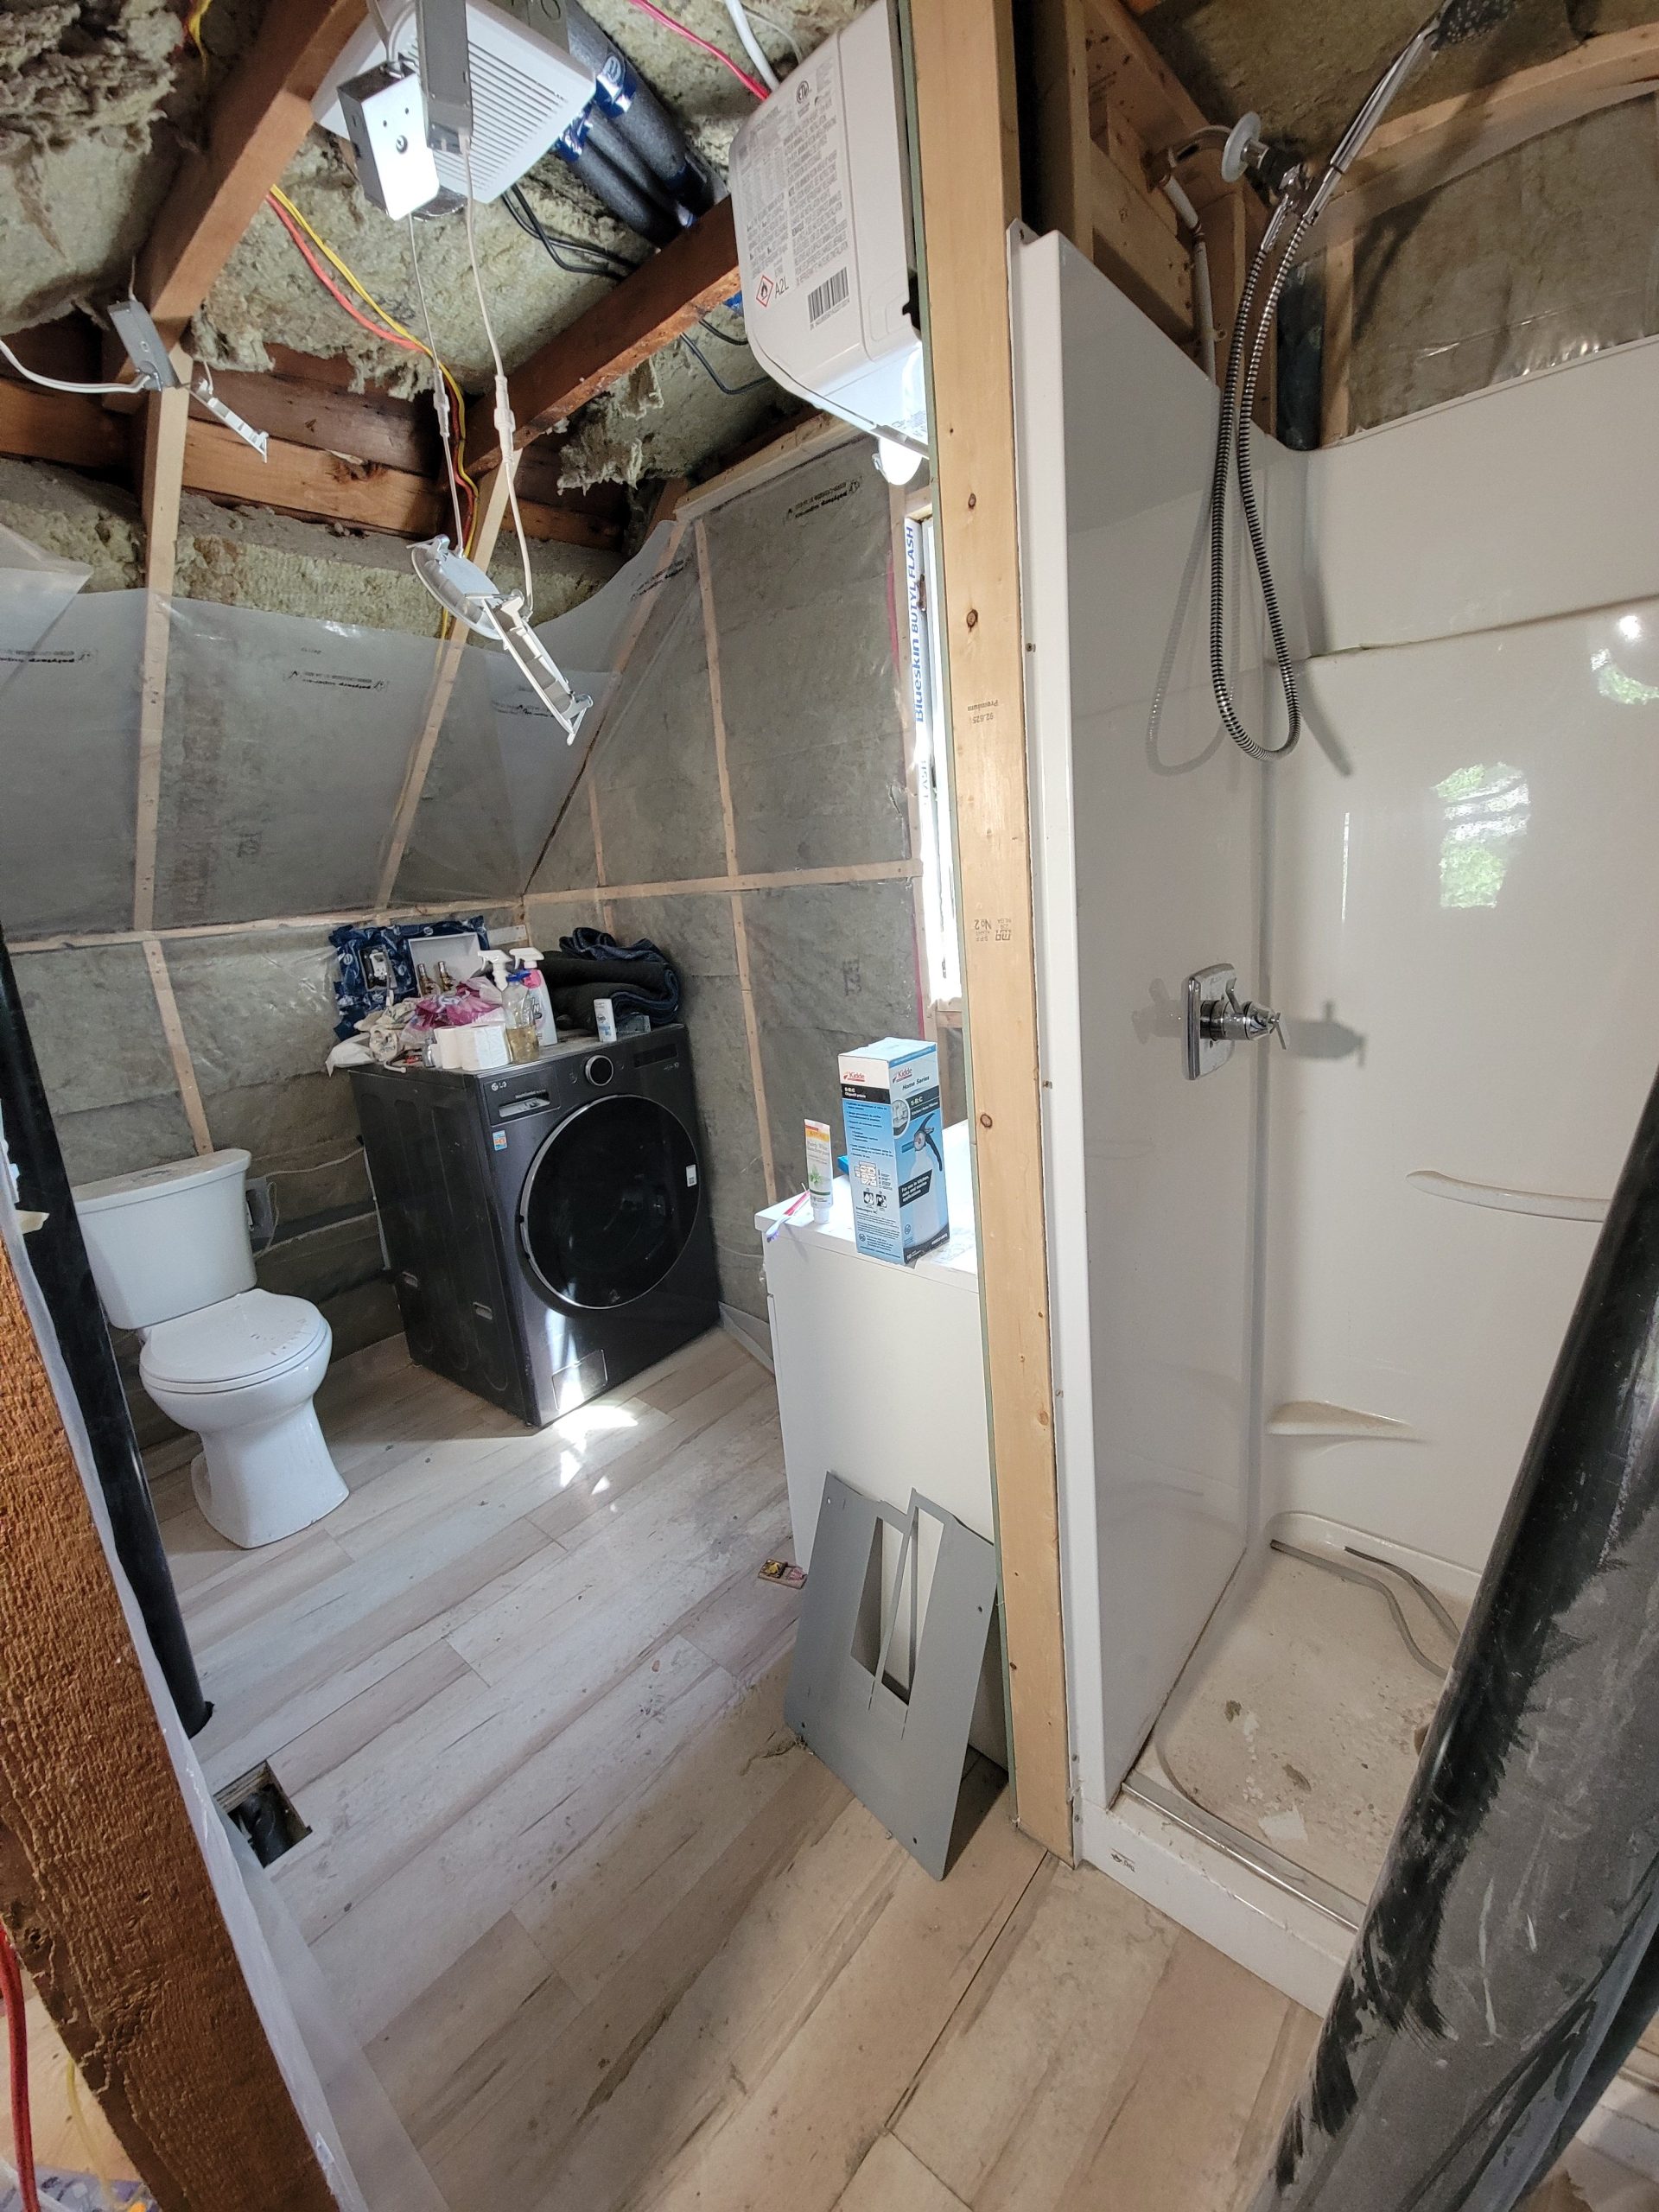
The one in the middle of the south bathroom wall holds the motion sensor dimmer switch for the toilet light and a timer and a humidistat for the fan. 

To complete the trim boards, the bedroom door must be put in.  To complete the door, the chimney floor hole must be repaired. 

Read more

trim, chimney floor hole

The first screw-up for today was the 1x2s from Home Depot. 

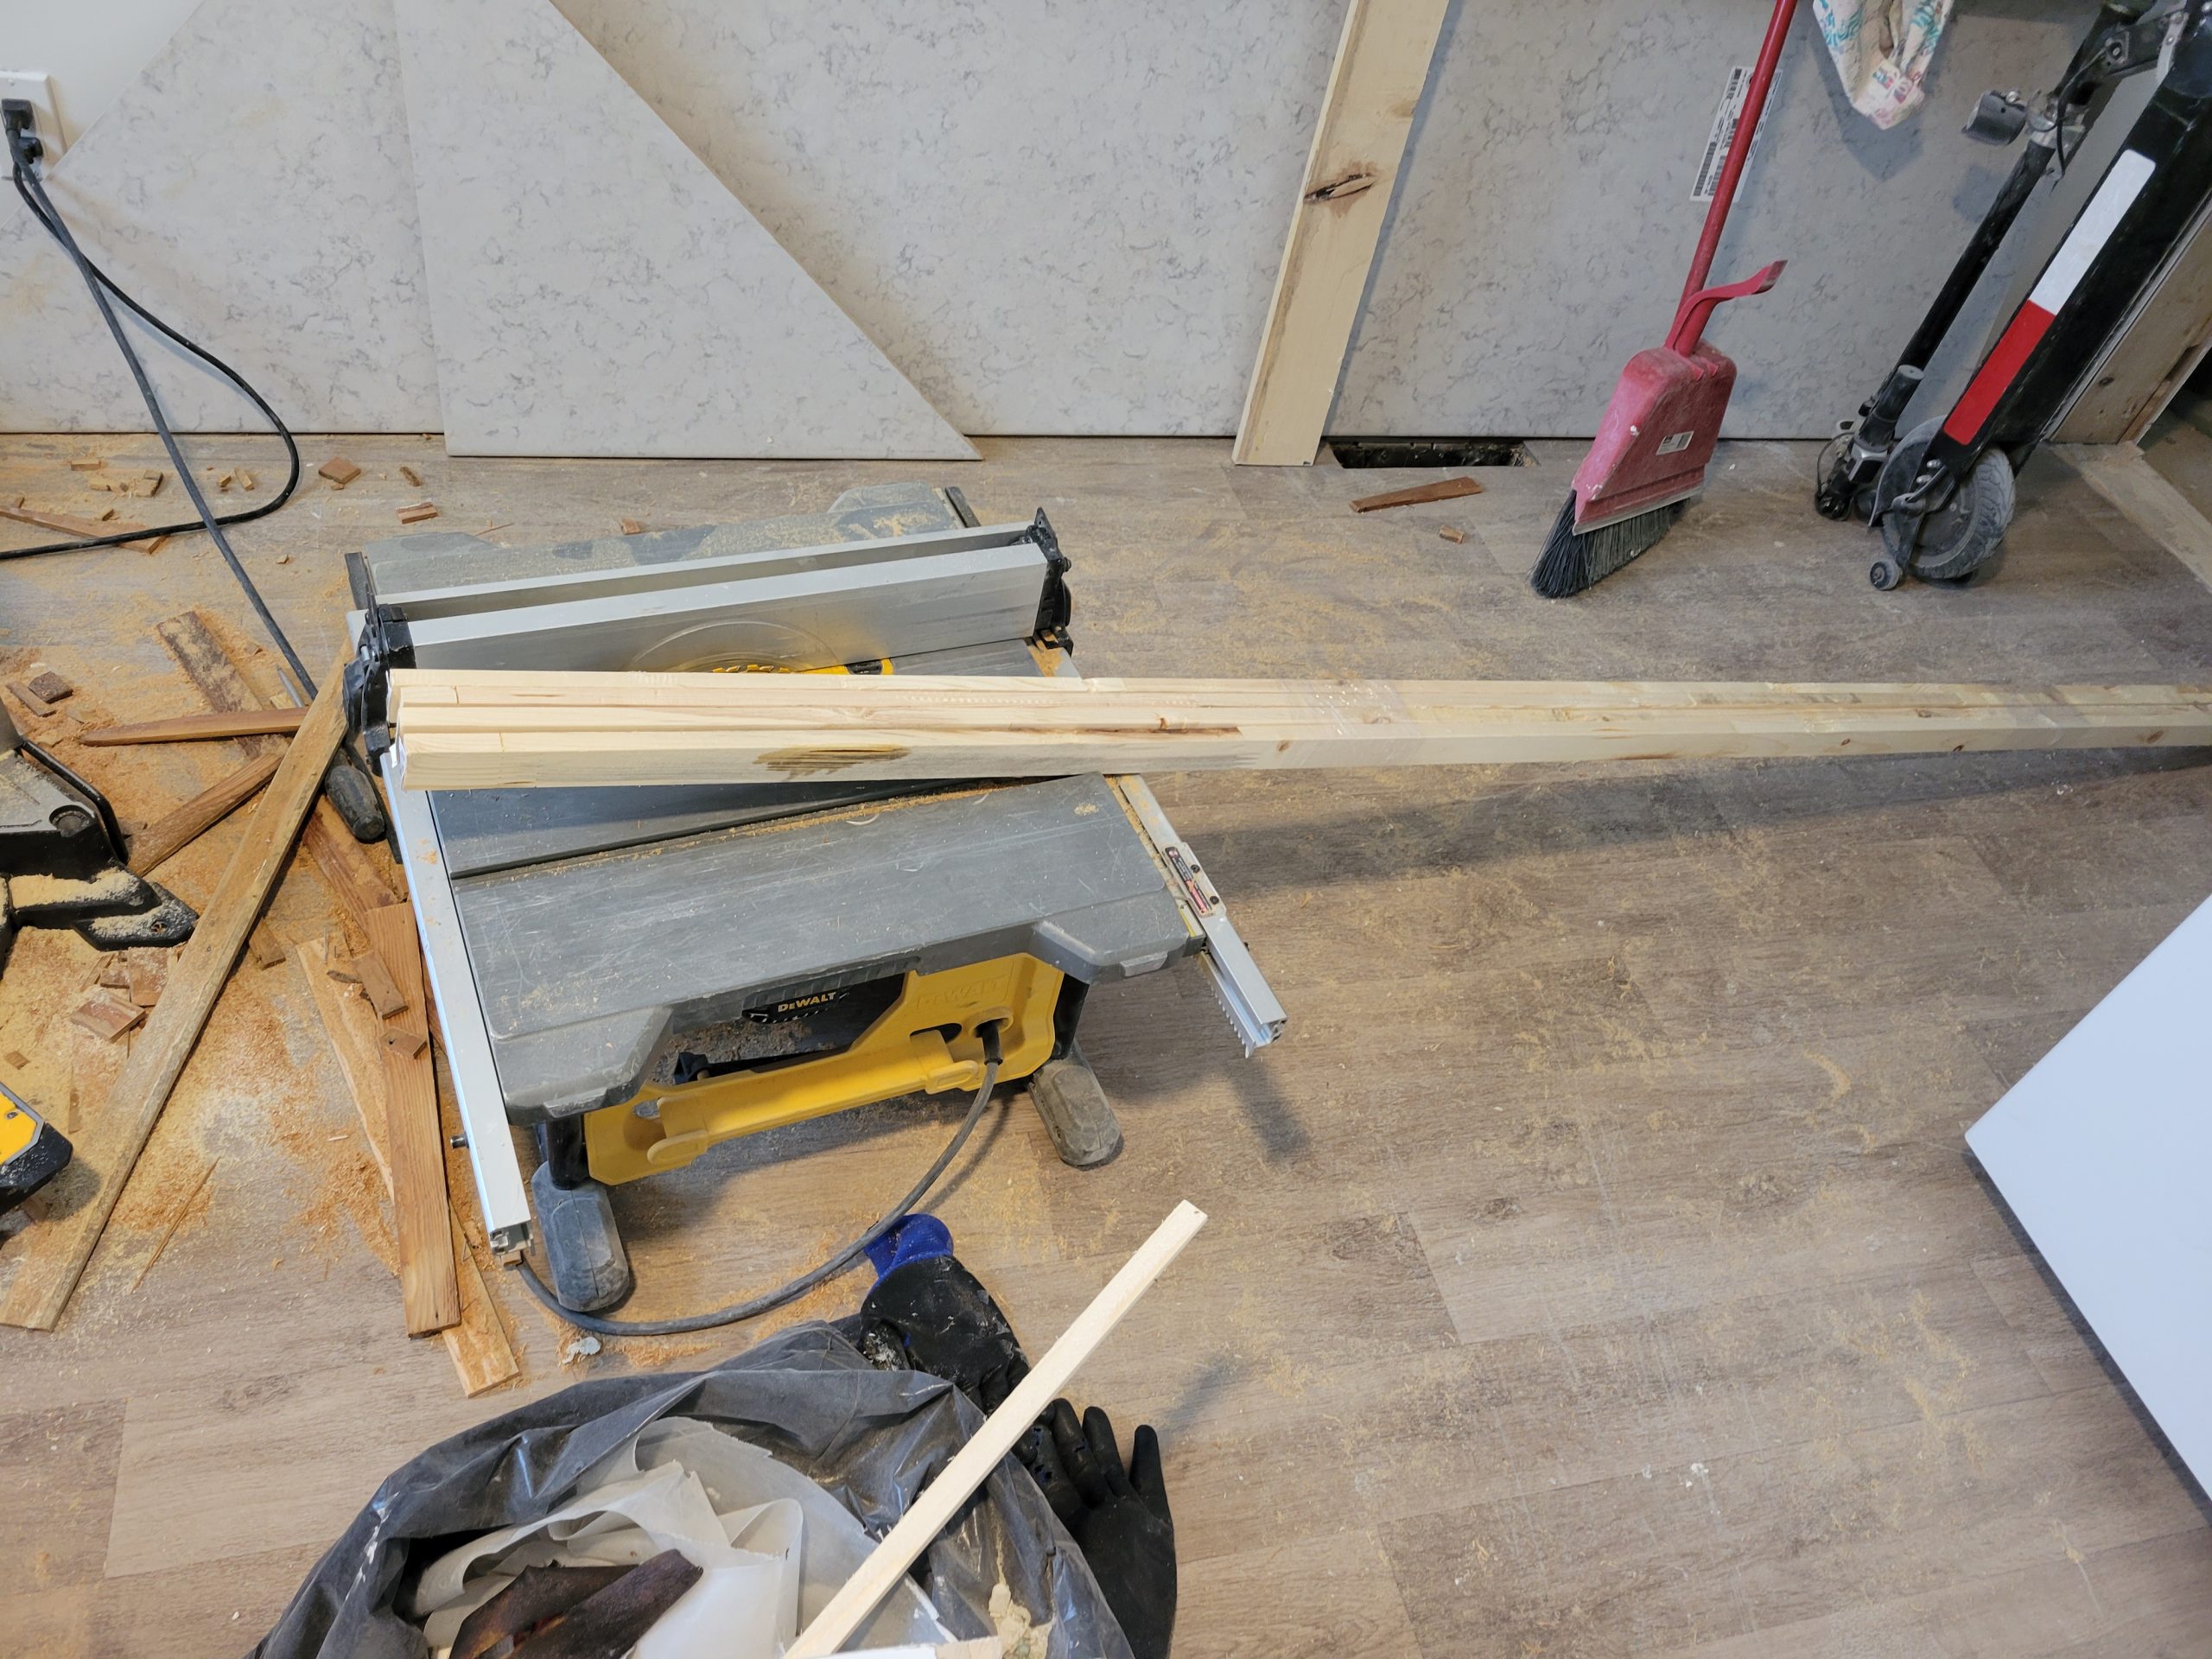
They are most certainly not 1x2s.  A one-by-two, of course, is not 1″ by 2″, but 1-1/2″ x 3/4″.  However, these are not 3/4″.  They’re 5/8″.  I’ll be taking them back tomorrow morning.  More shrinkflation. 

I needed to rip 1x2s down to 3/4″ square to act as filler between the window frame and trim.  Instead, I ripped some old 1x6s down. 

Read more

outlets, switches, gaps, fillers

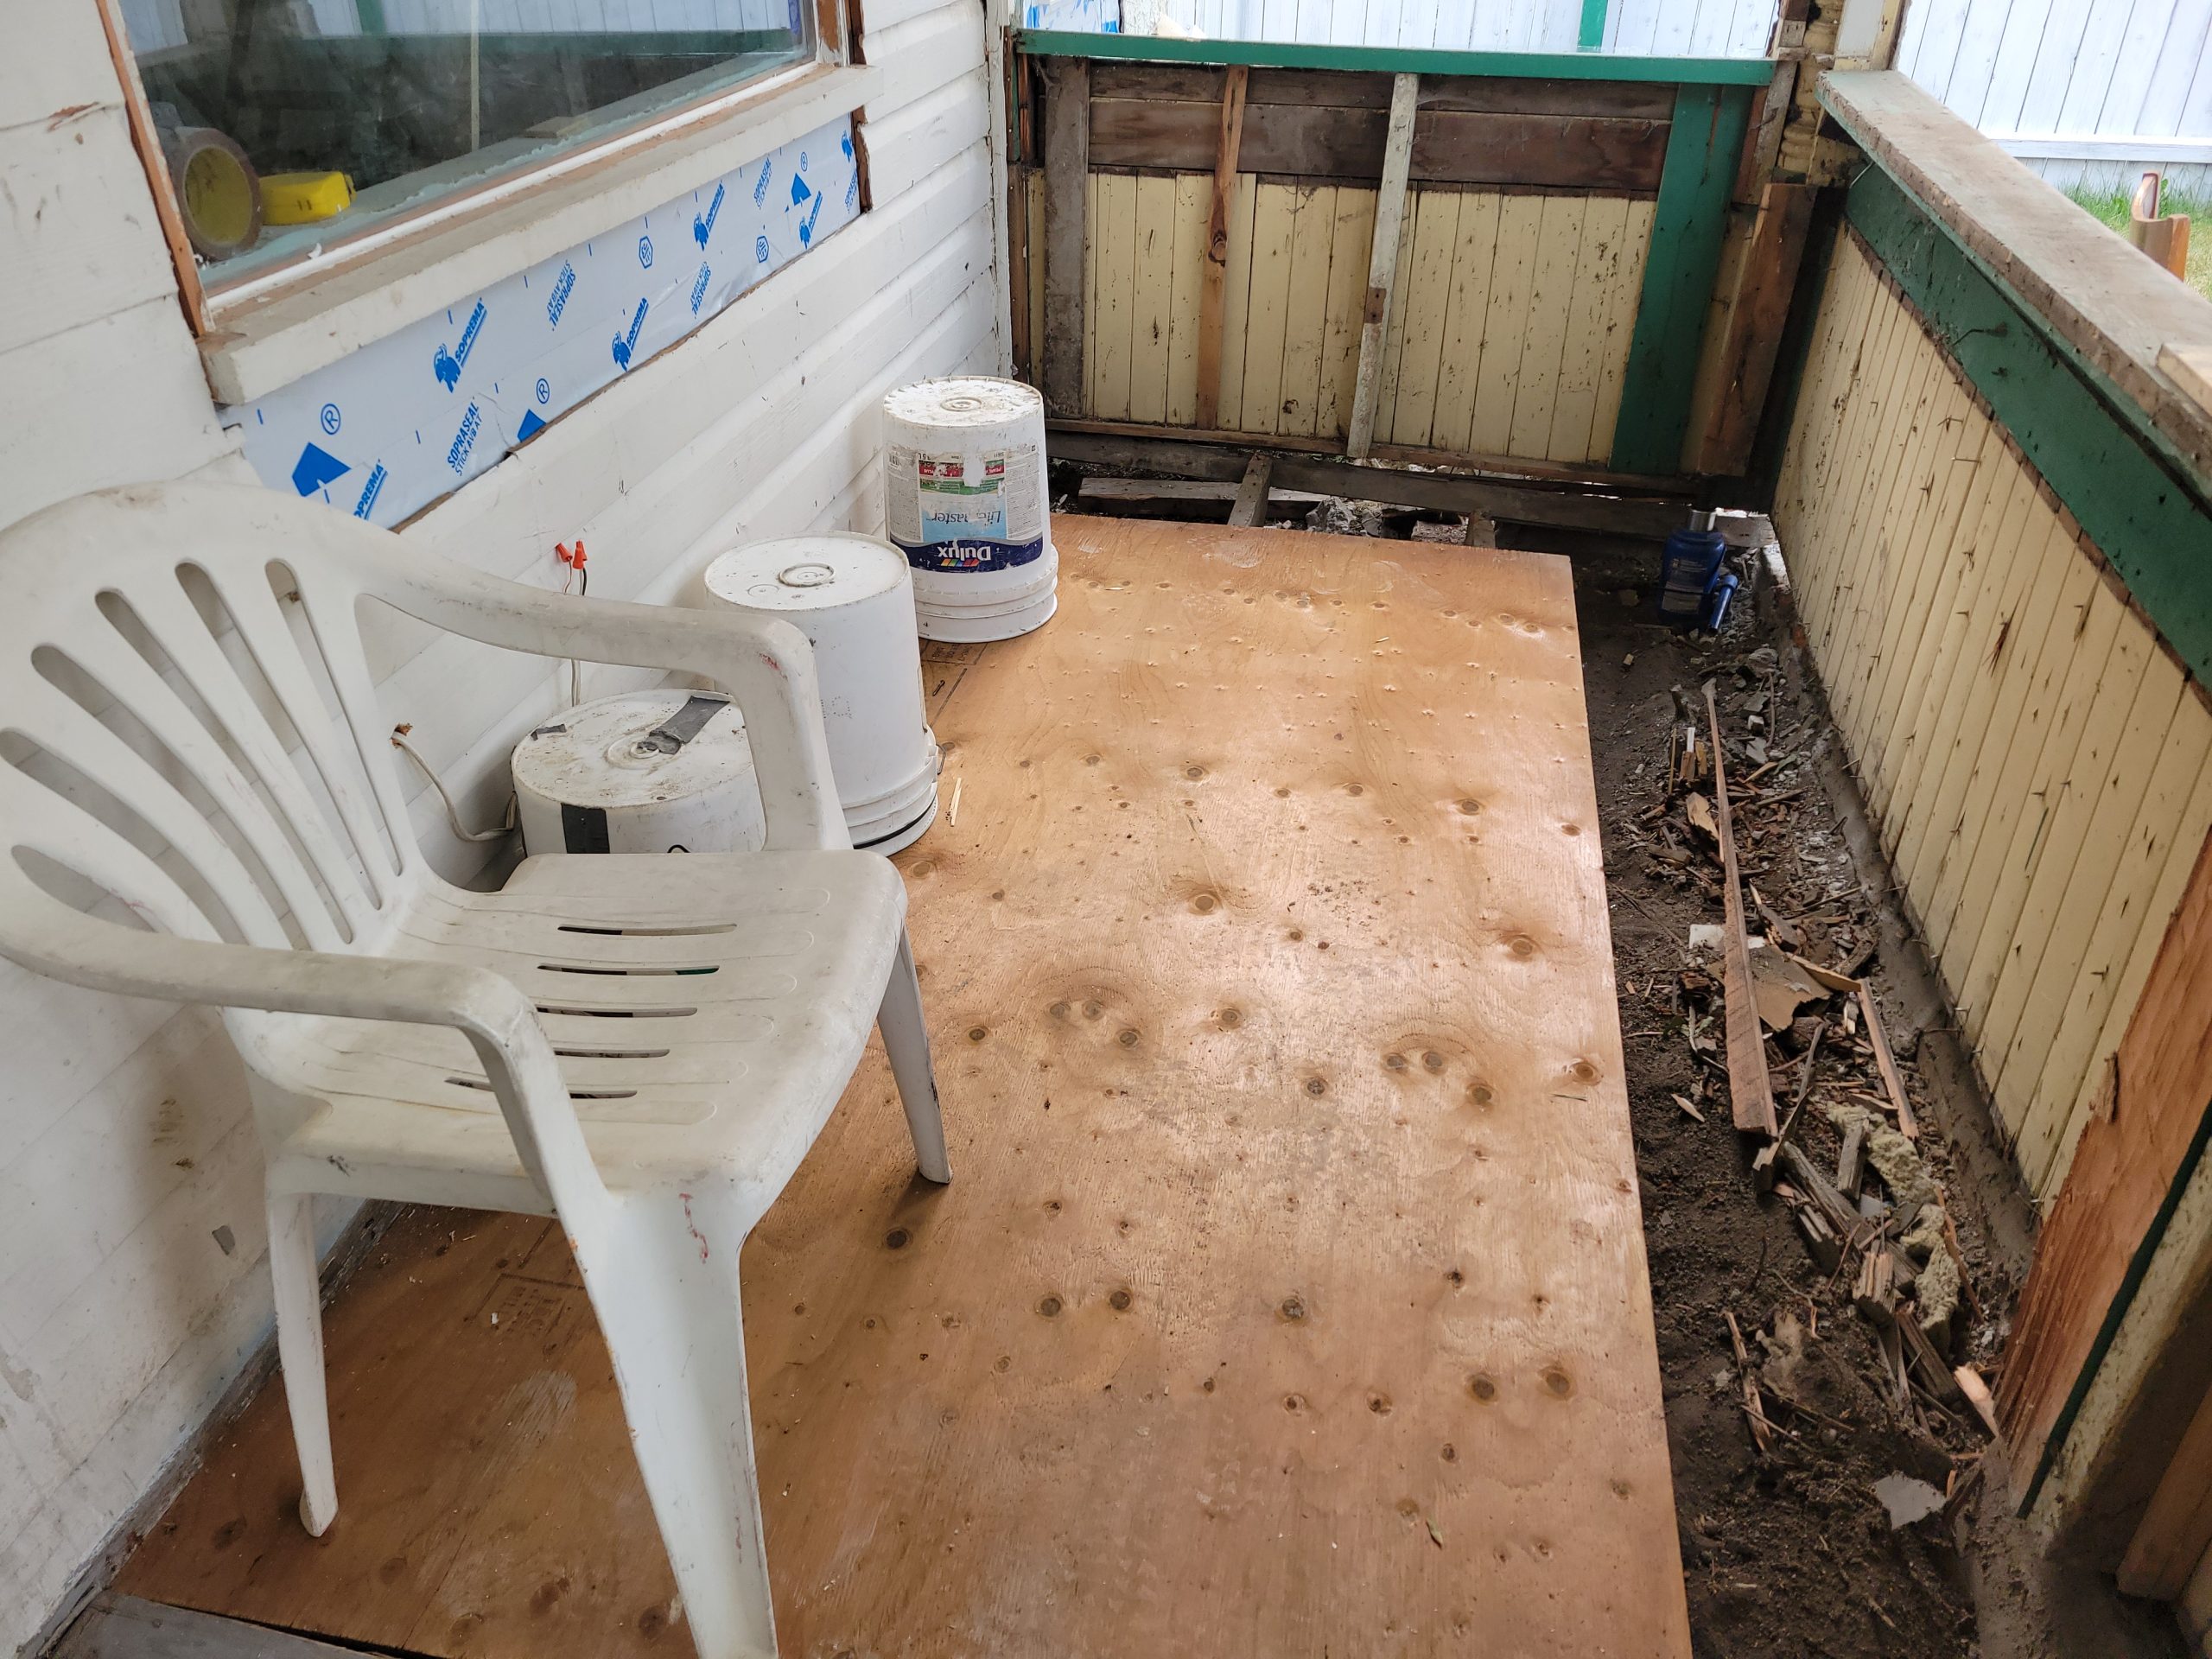
We begin again.  This is where we left off last time – with a temporary floor. 

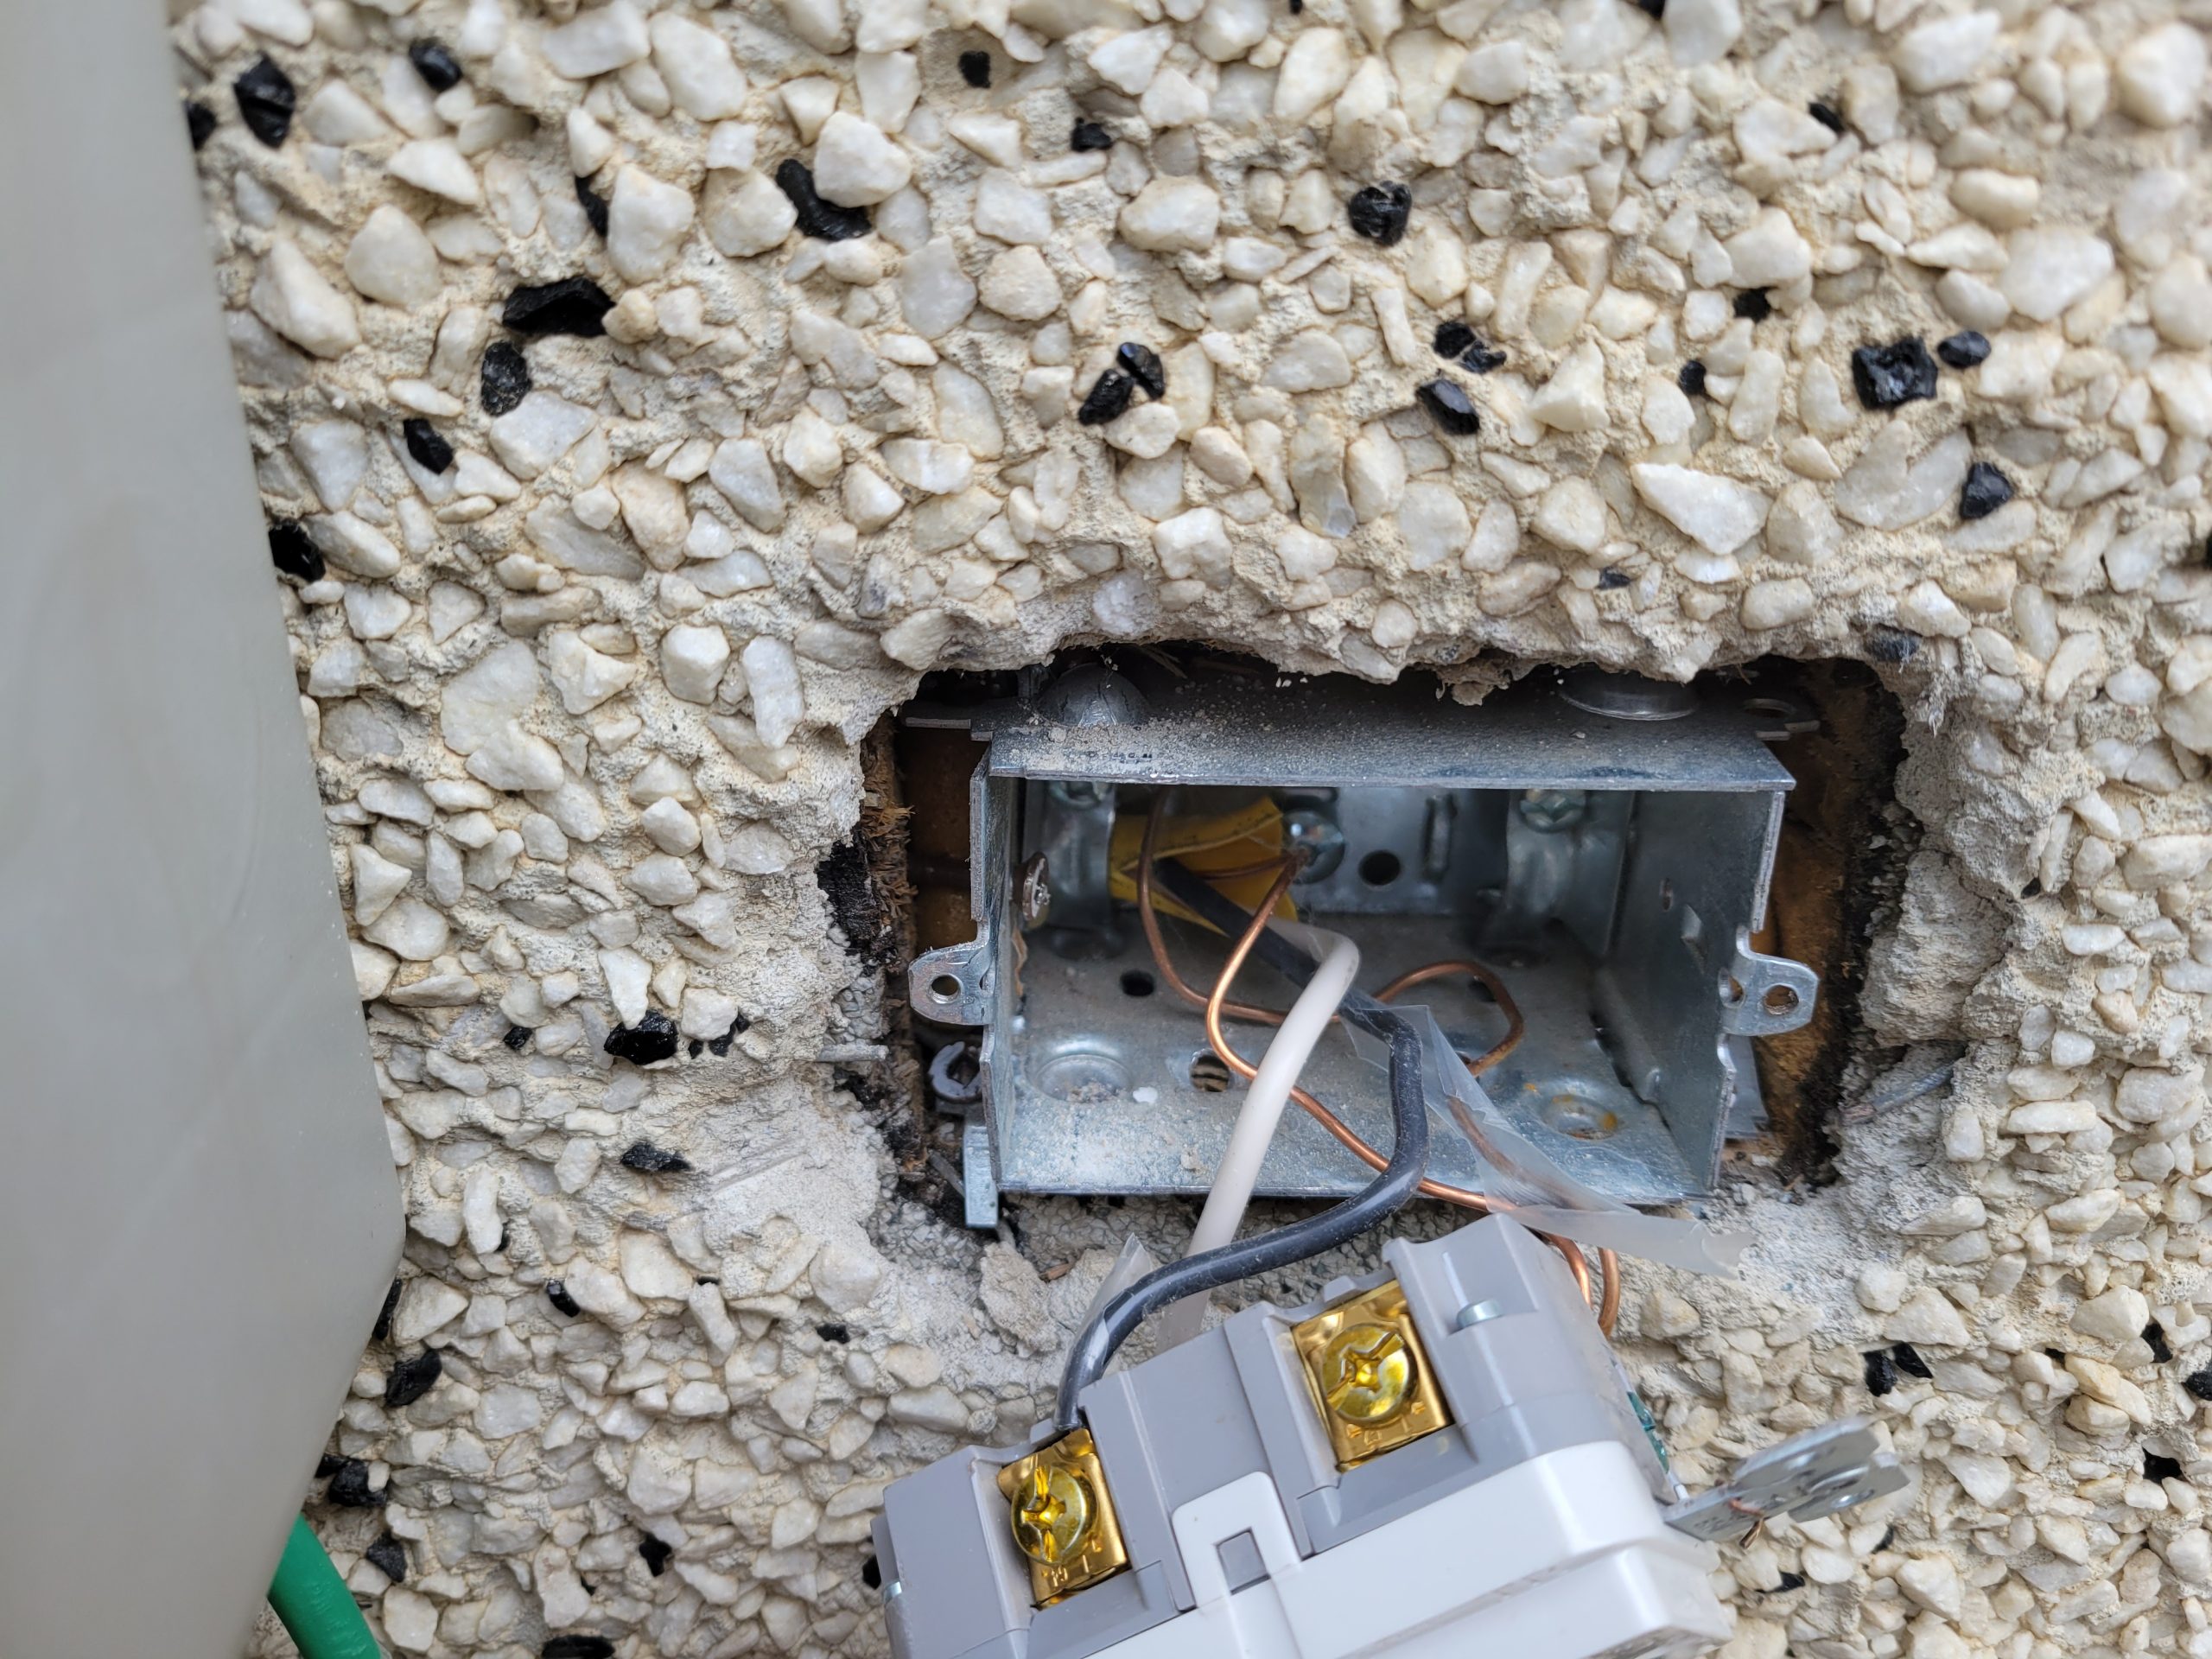
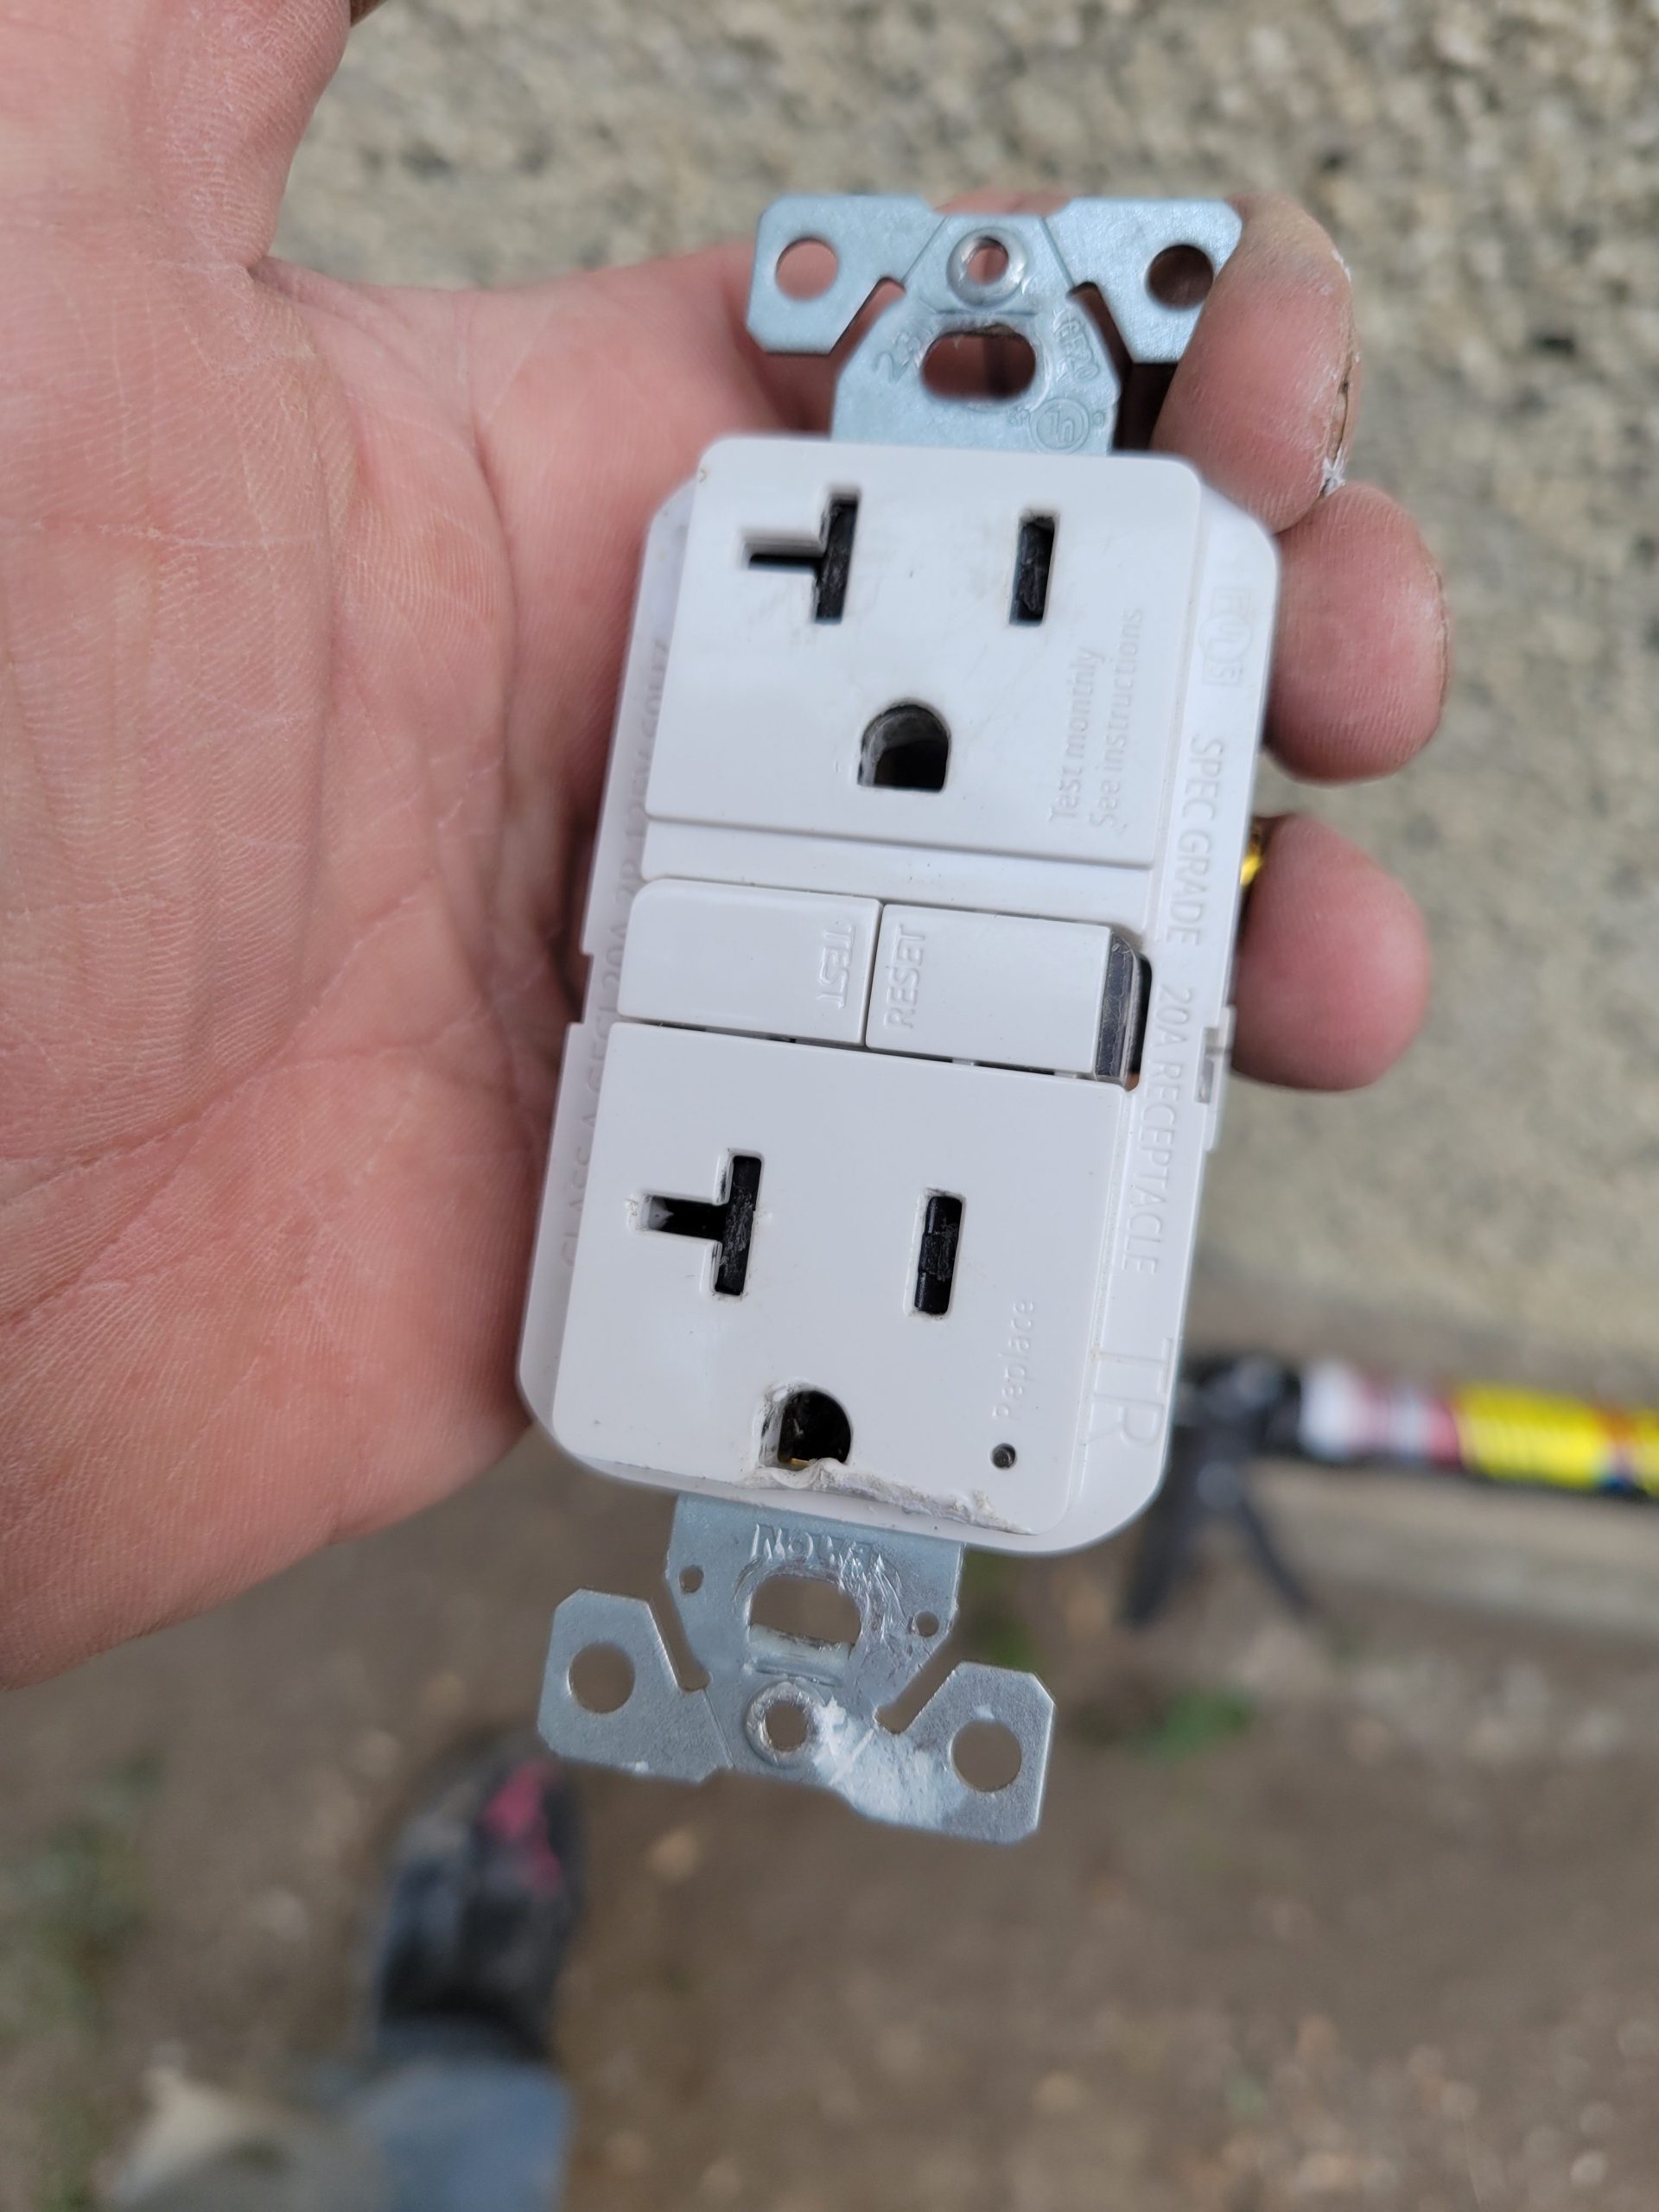
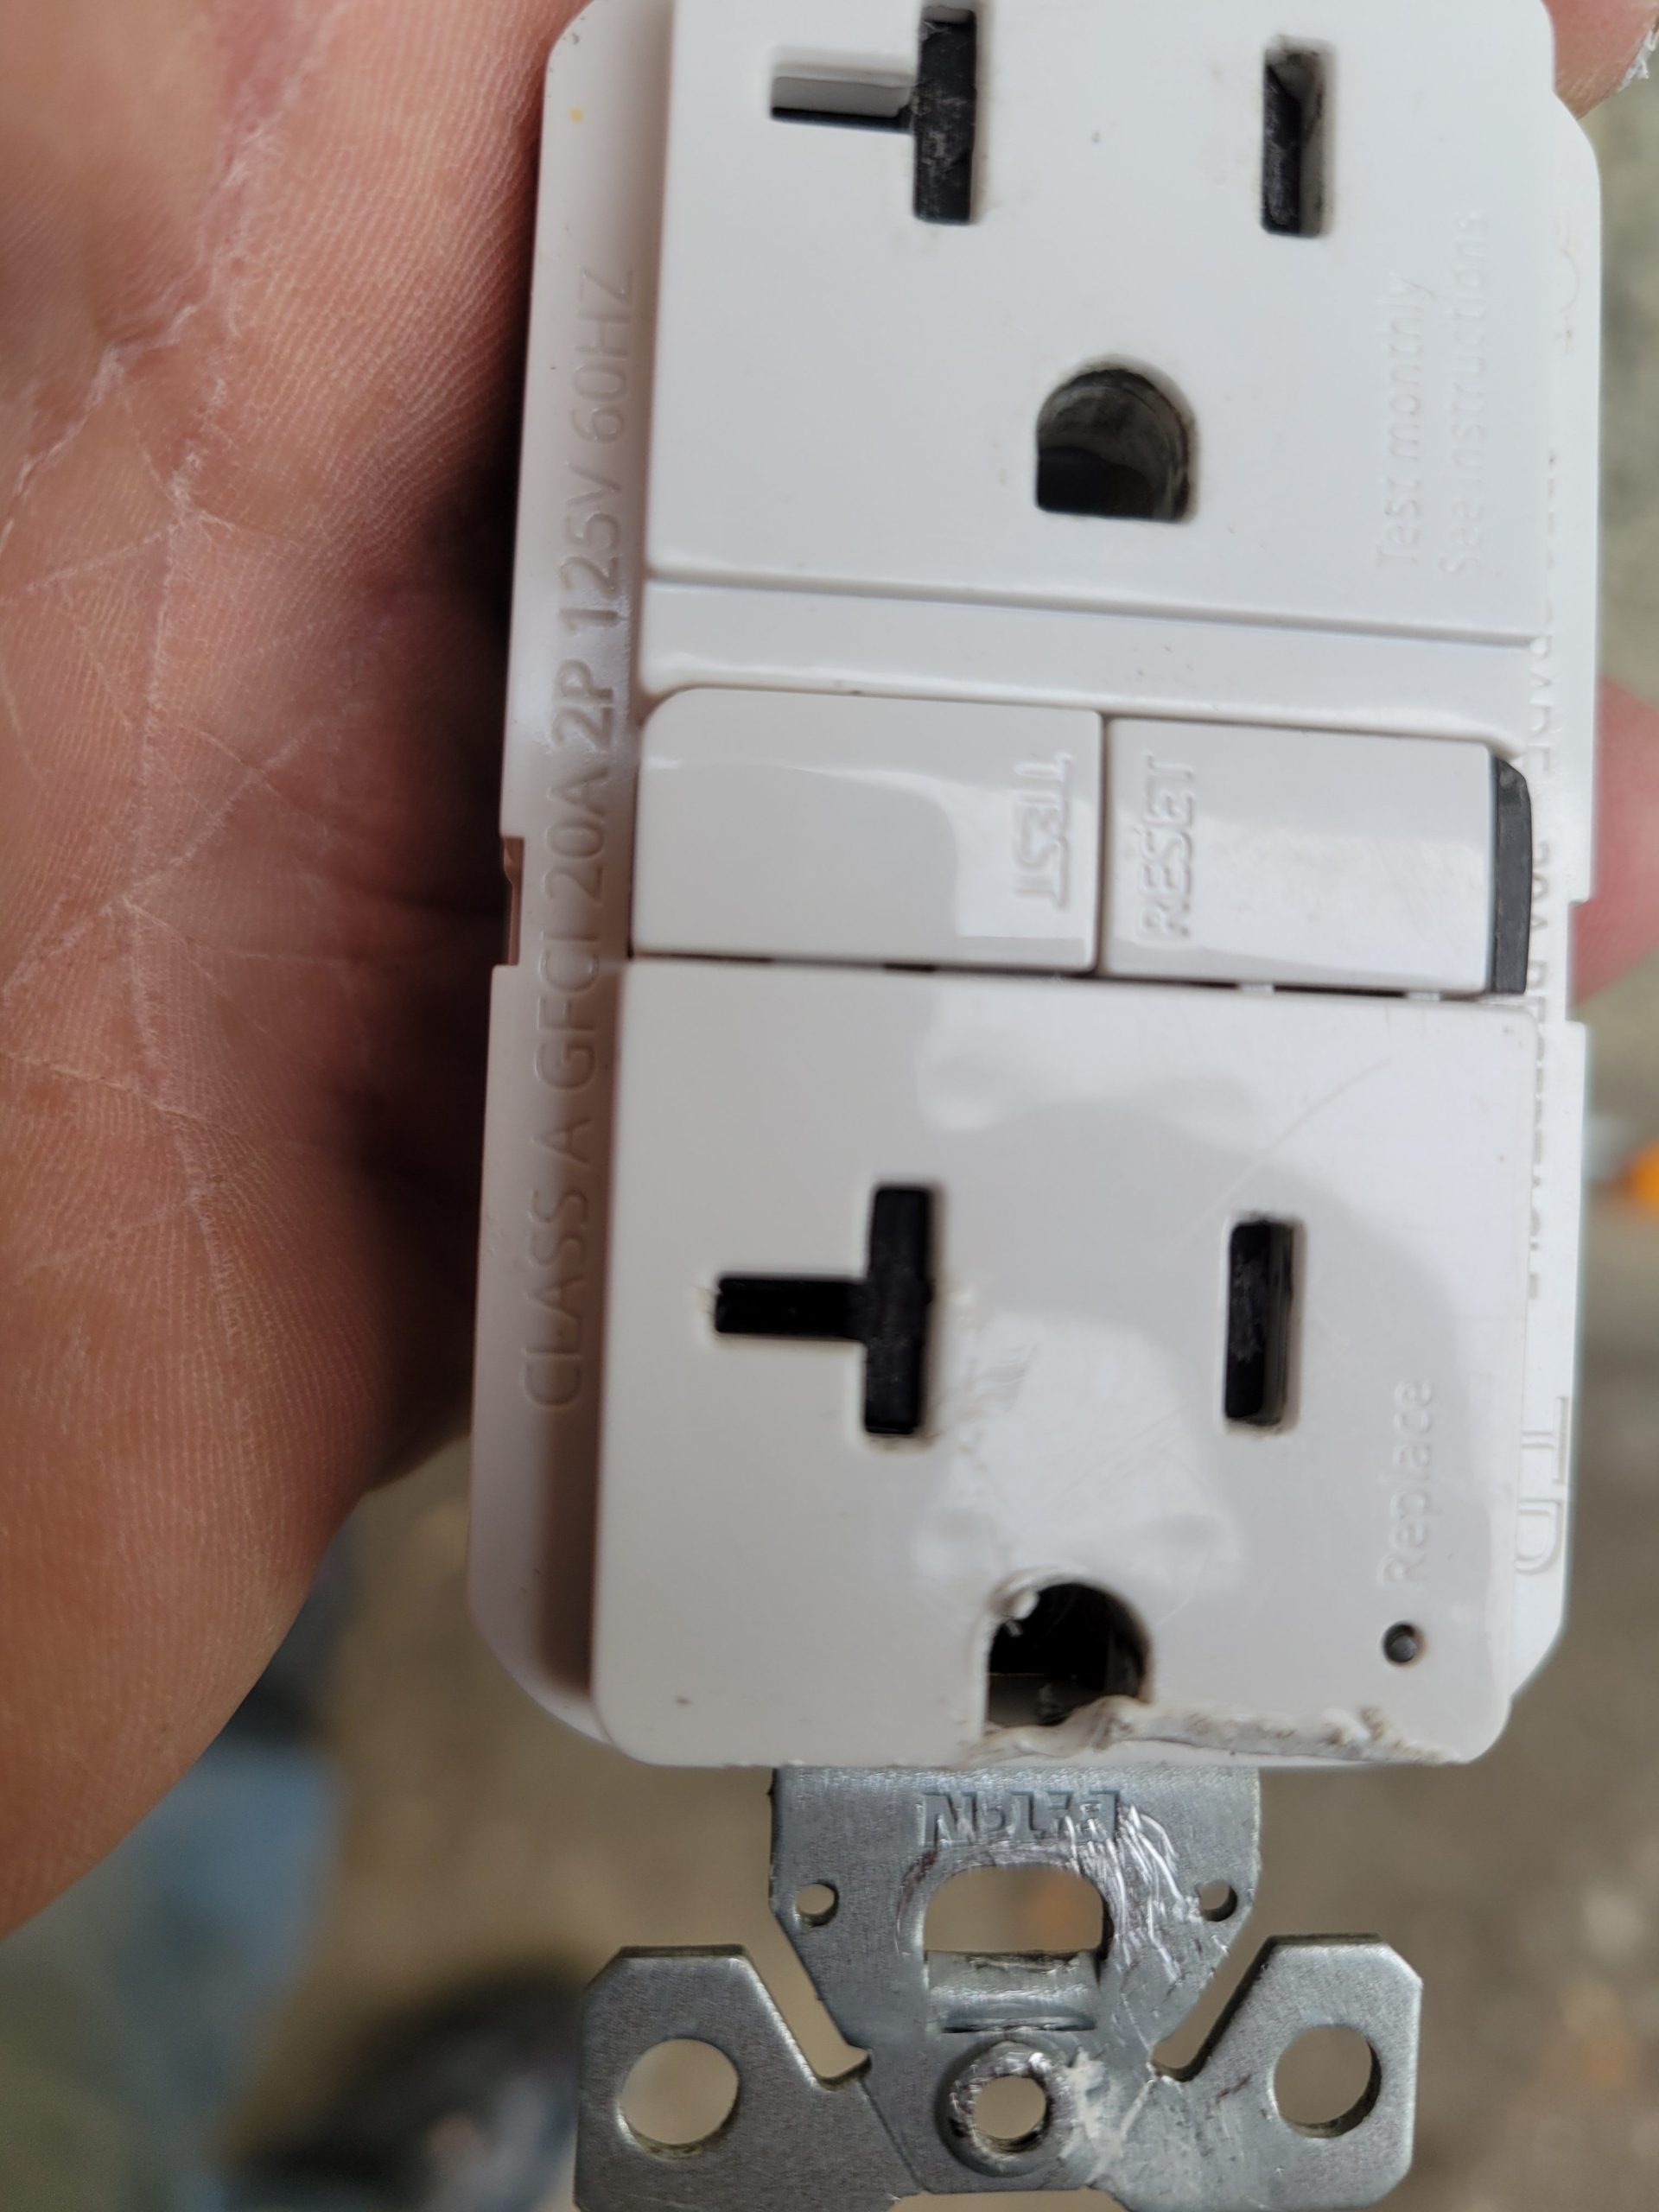
I noticed, when putting a cover on the outside GFI for block heaters, that nothing would plug in.  The outlet was stuck.  I see now that it is a tamper resistant outlet.  In other words, it has some piece of plastic in there to prevent things from being plugged in.  Dave noticed and told me about it earlier in the year when he was plugging in the cement mixer.  As it turns out, all GFI (or, at any rate, all 20A GFI) duplex receptacles are tamper resistant.  I went to Home Depot to get one that isn’t, but they didn’t have any.  Dunno what I’m going to do here.  More on that later. 

Read more

living room window in, skim coat on

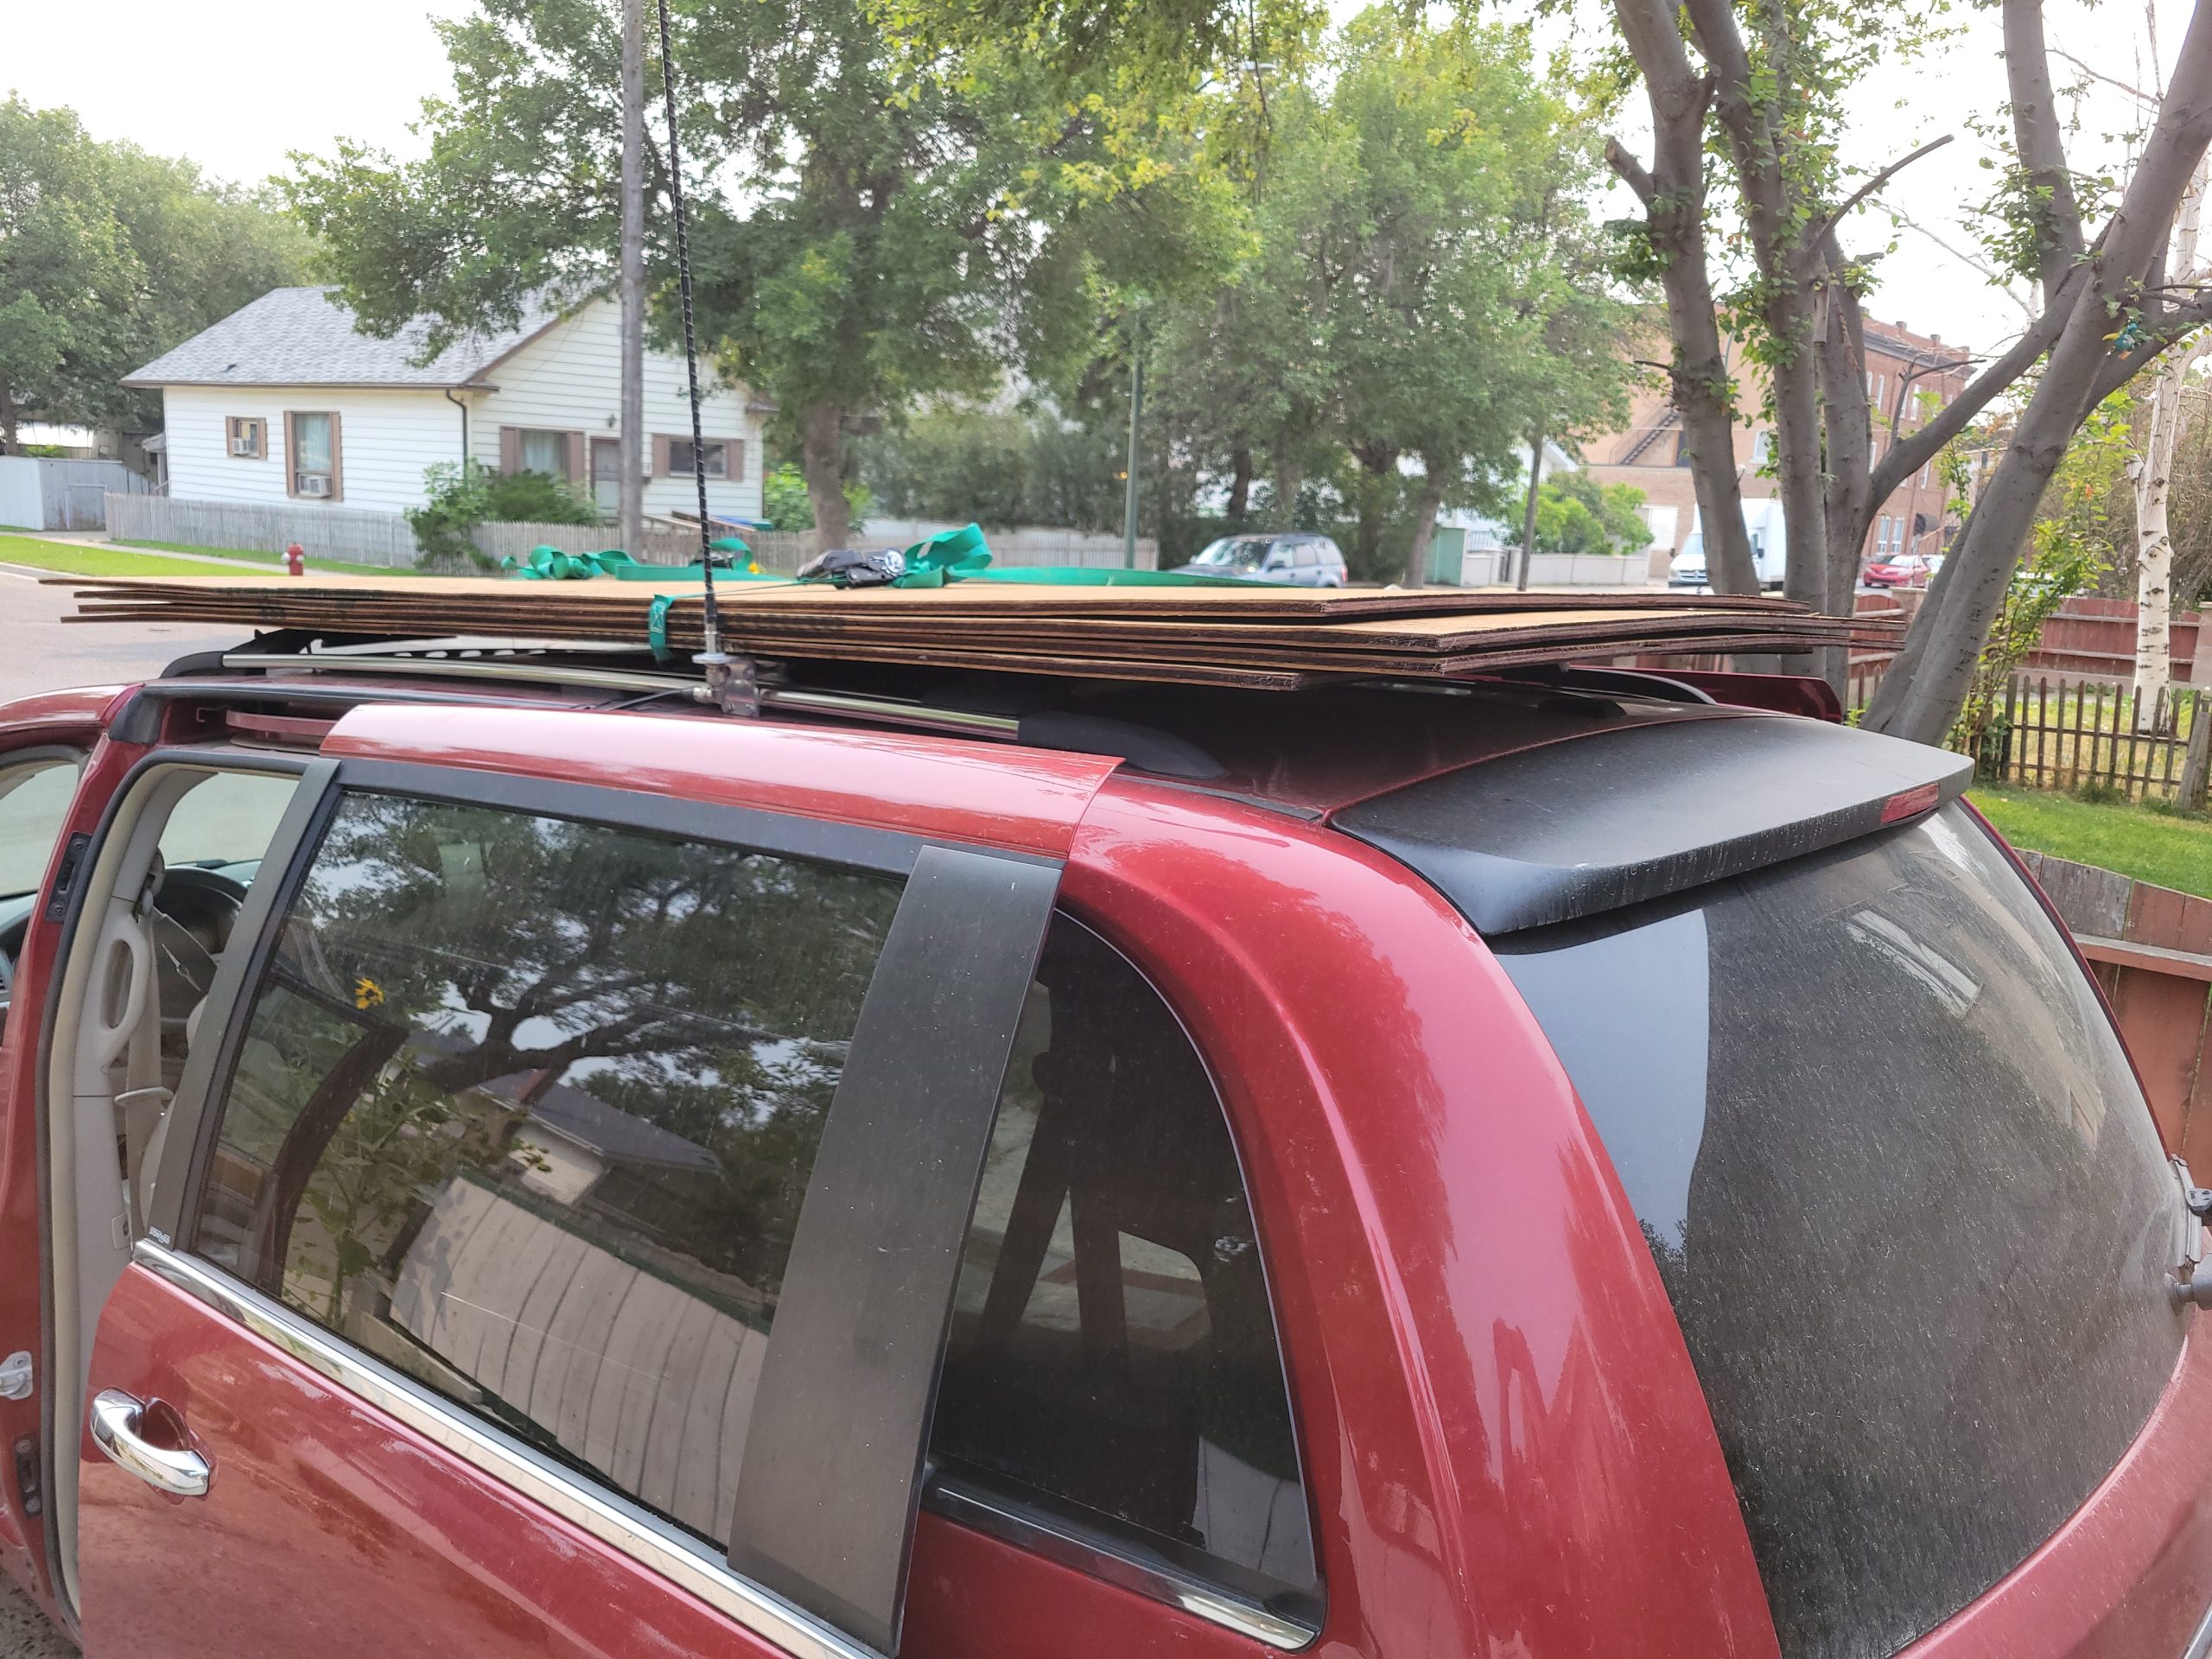
Time to put in a temporary floor so we can get the window in.  I picked up some treated 1/2″ plywood from Lealta Building Supplies.  The counter guy game me some good advice about later painting the surface of this.  It will be two layers of 1/2″ instead of one 3/4″ ply and one 1/4″ paintable ply. 

The window is in.  Dave and I hoisted the window up on its frame and  s l o w l y  carried it to the veranda where we rested it on three upturned buckets.  We put a 1×4 across the opening on the inside so the window wouldn’t just fall in. 

Read more

window caulk, cable

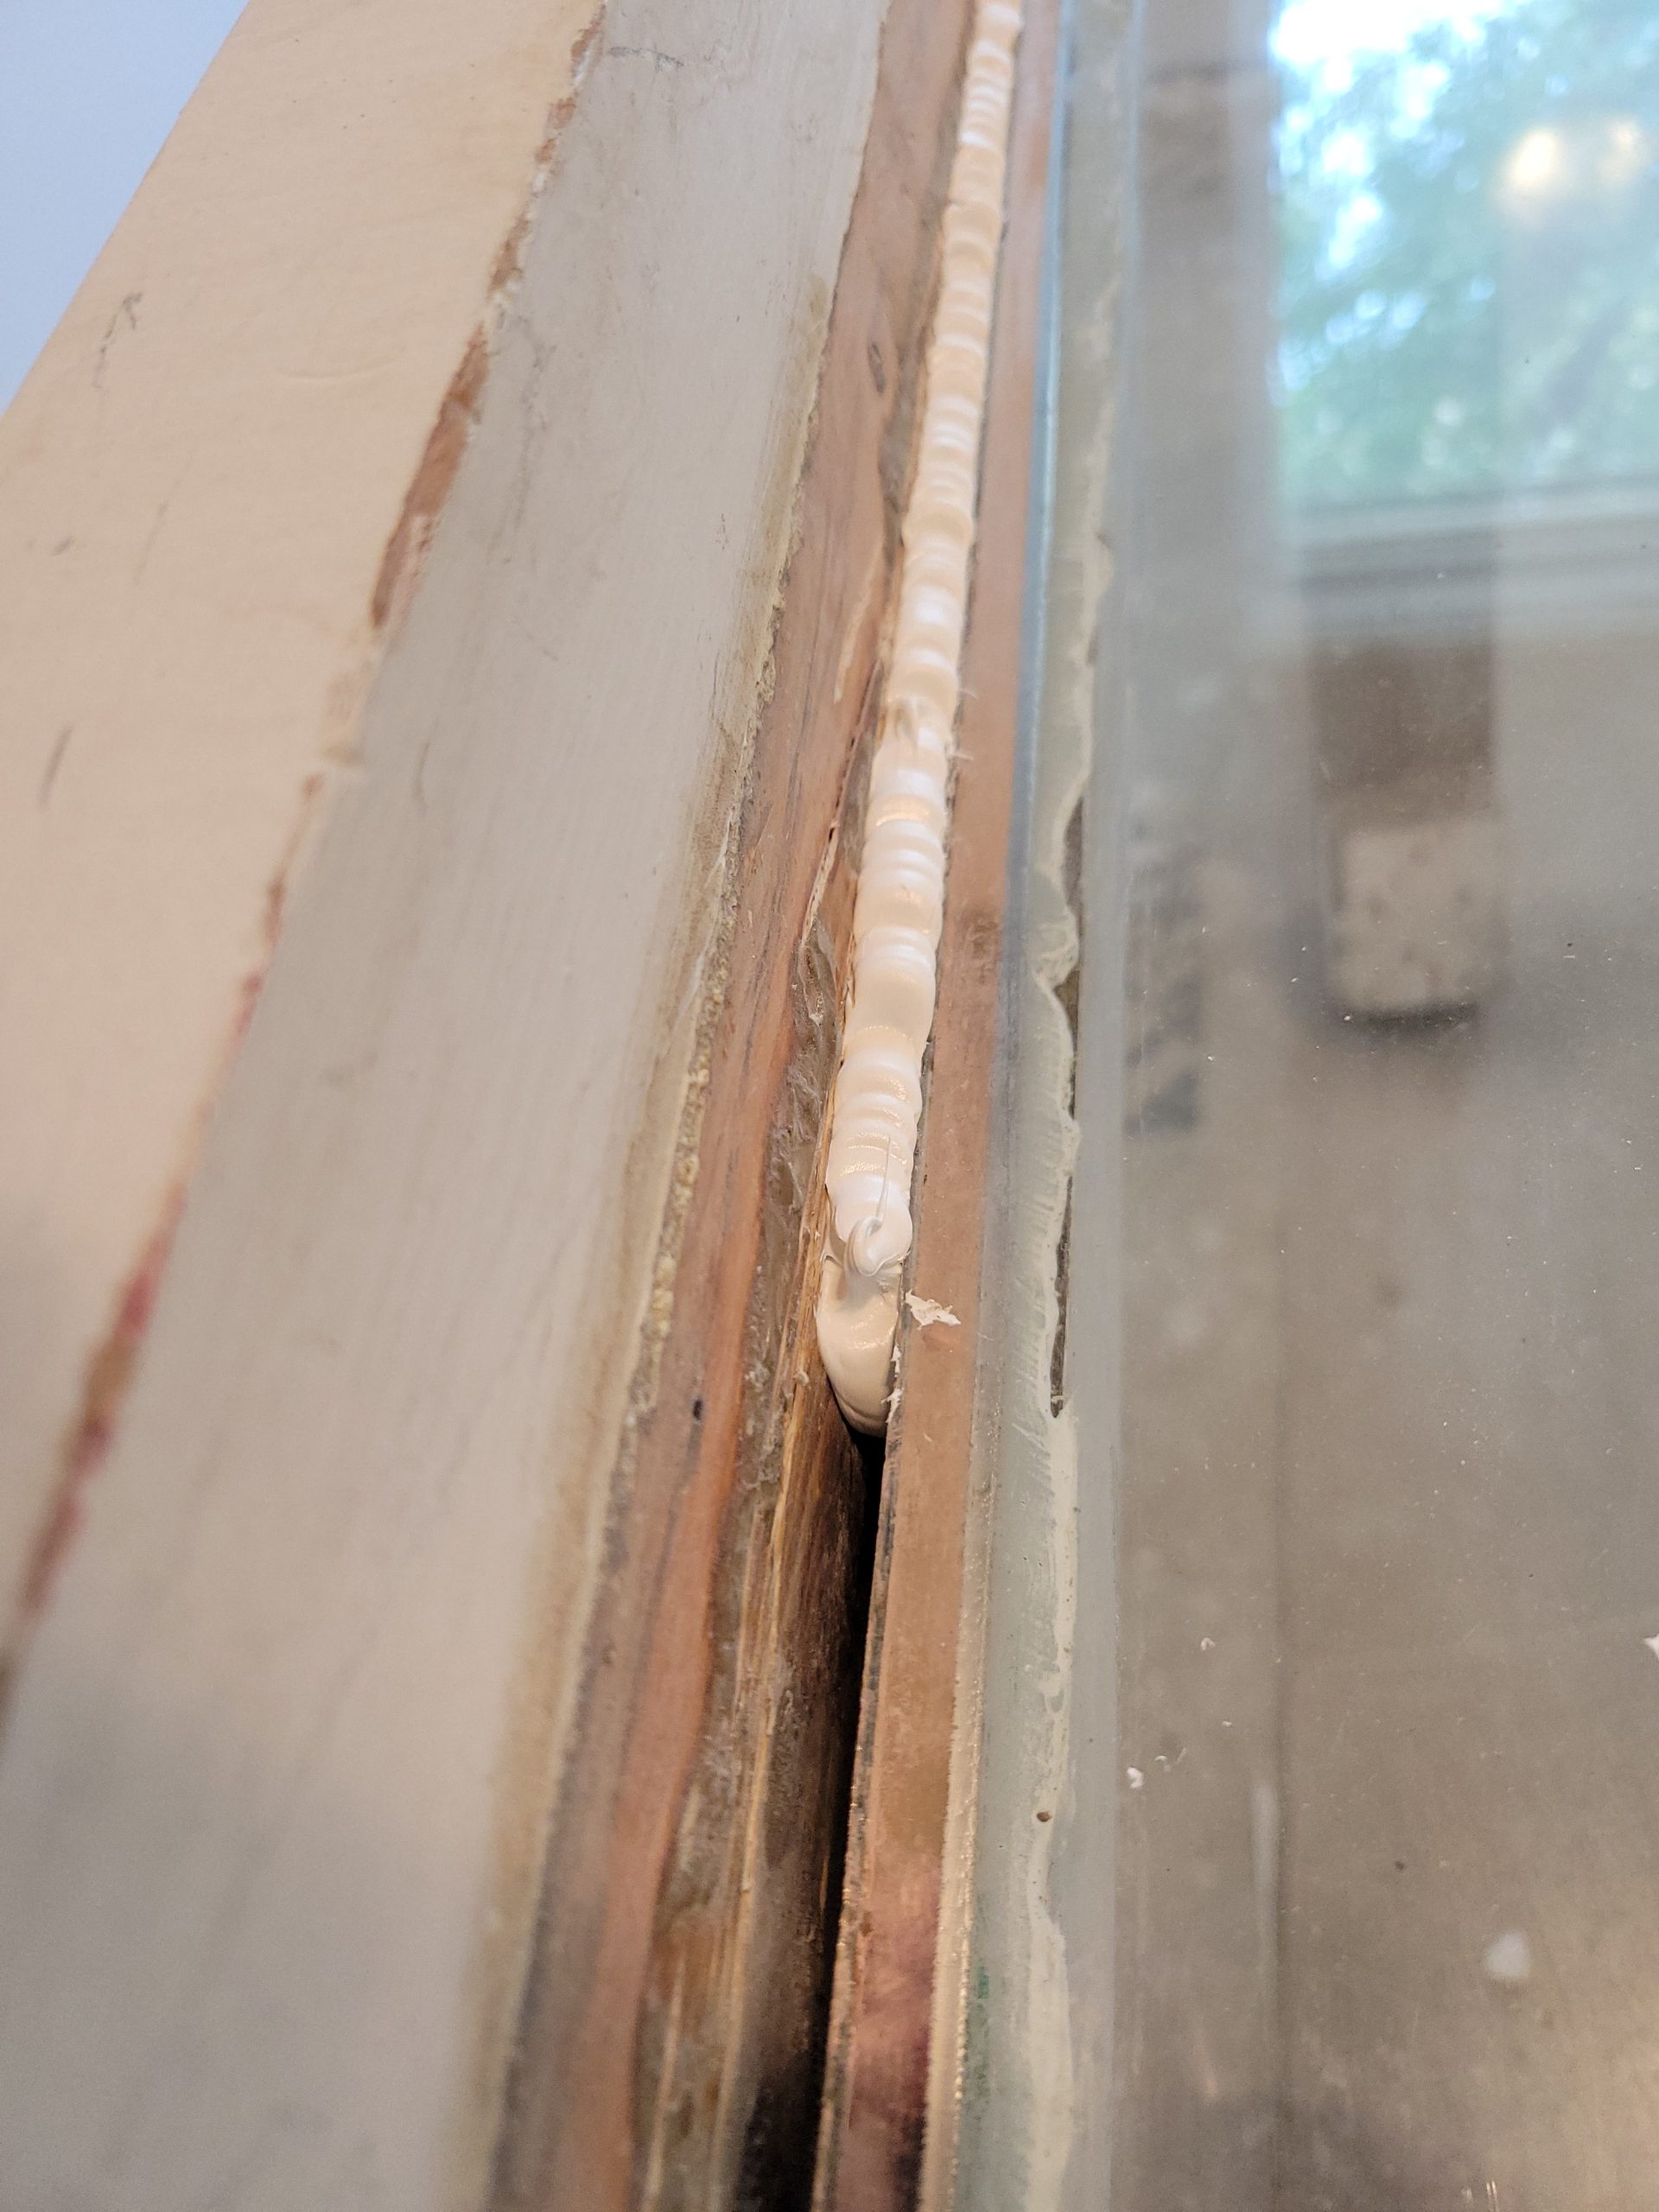
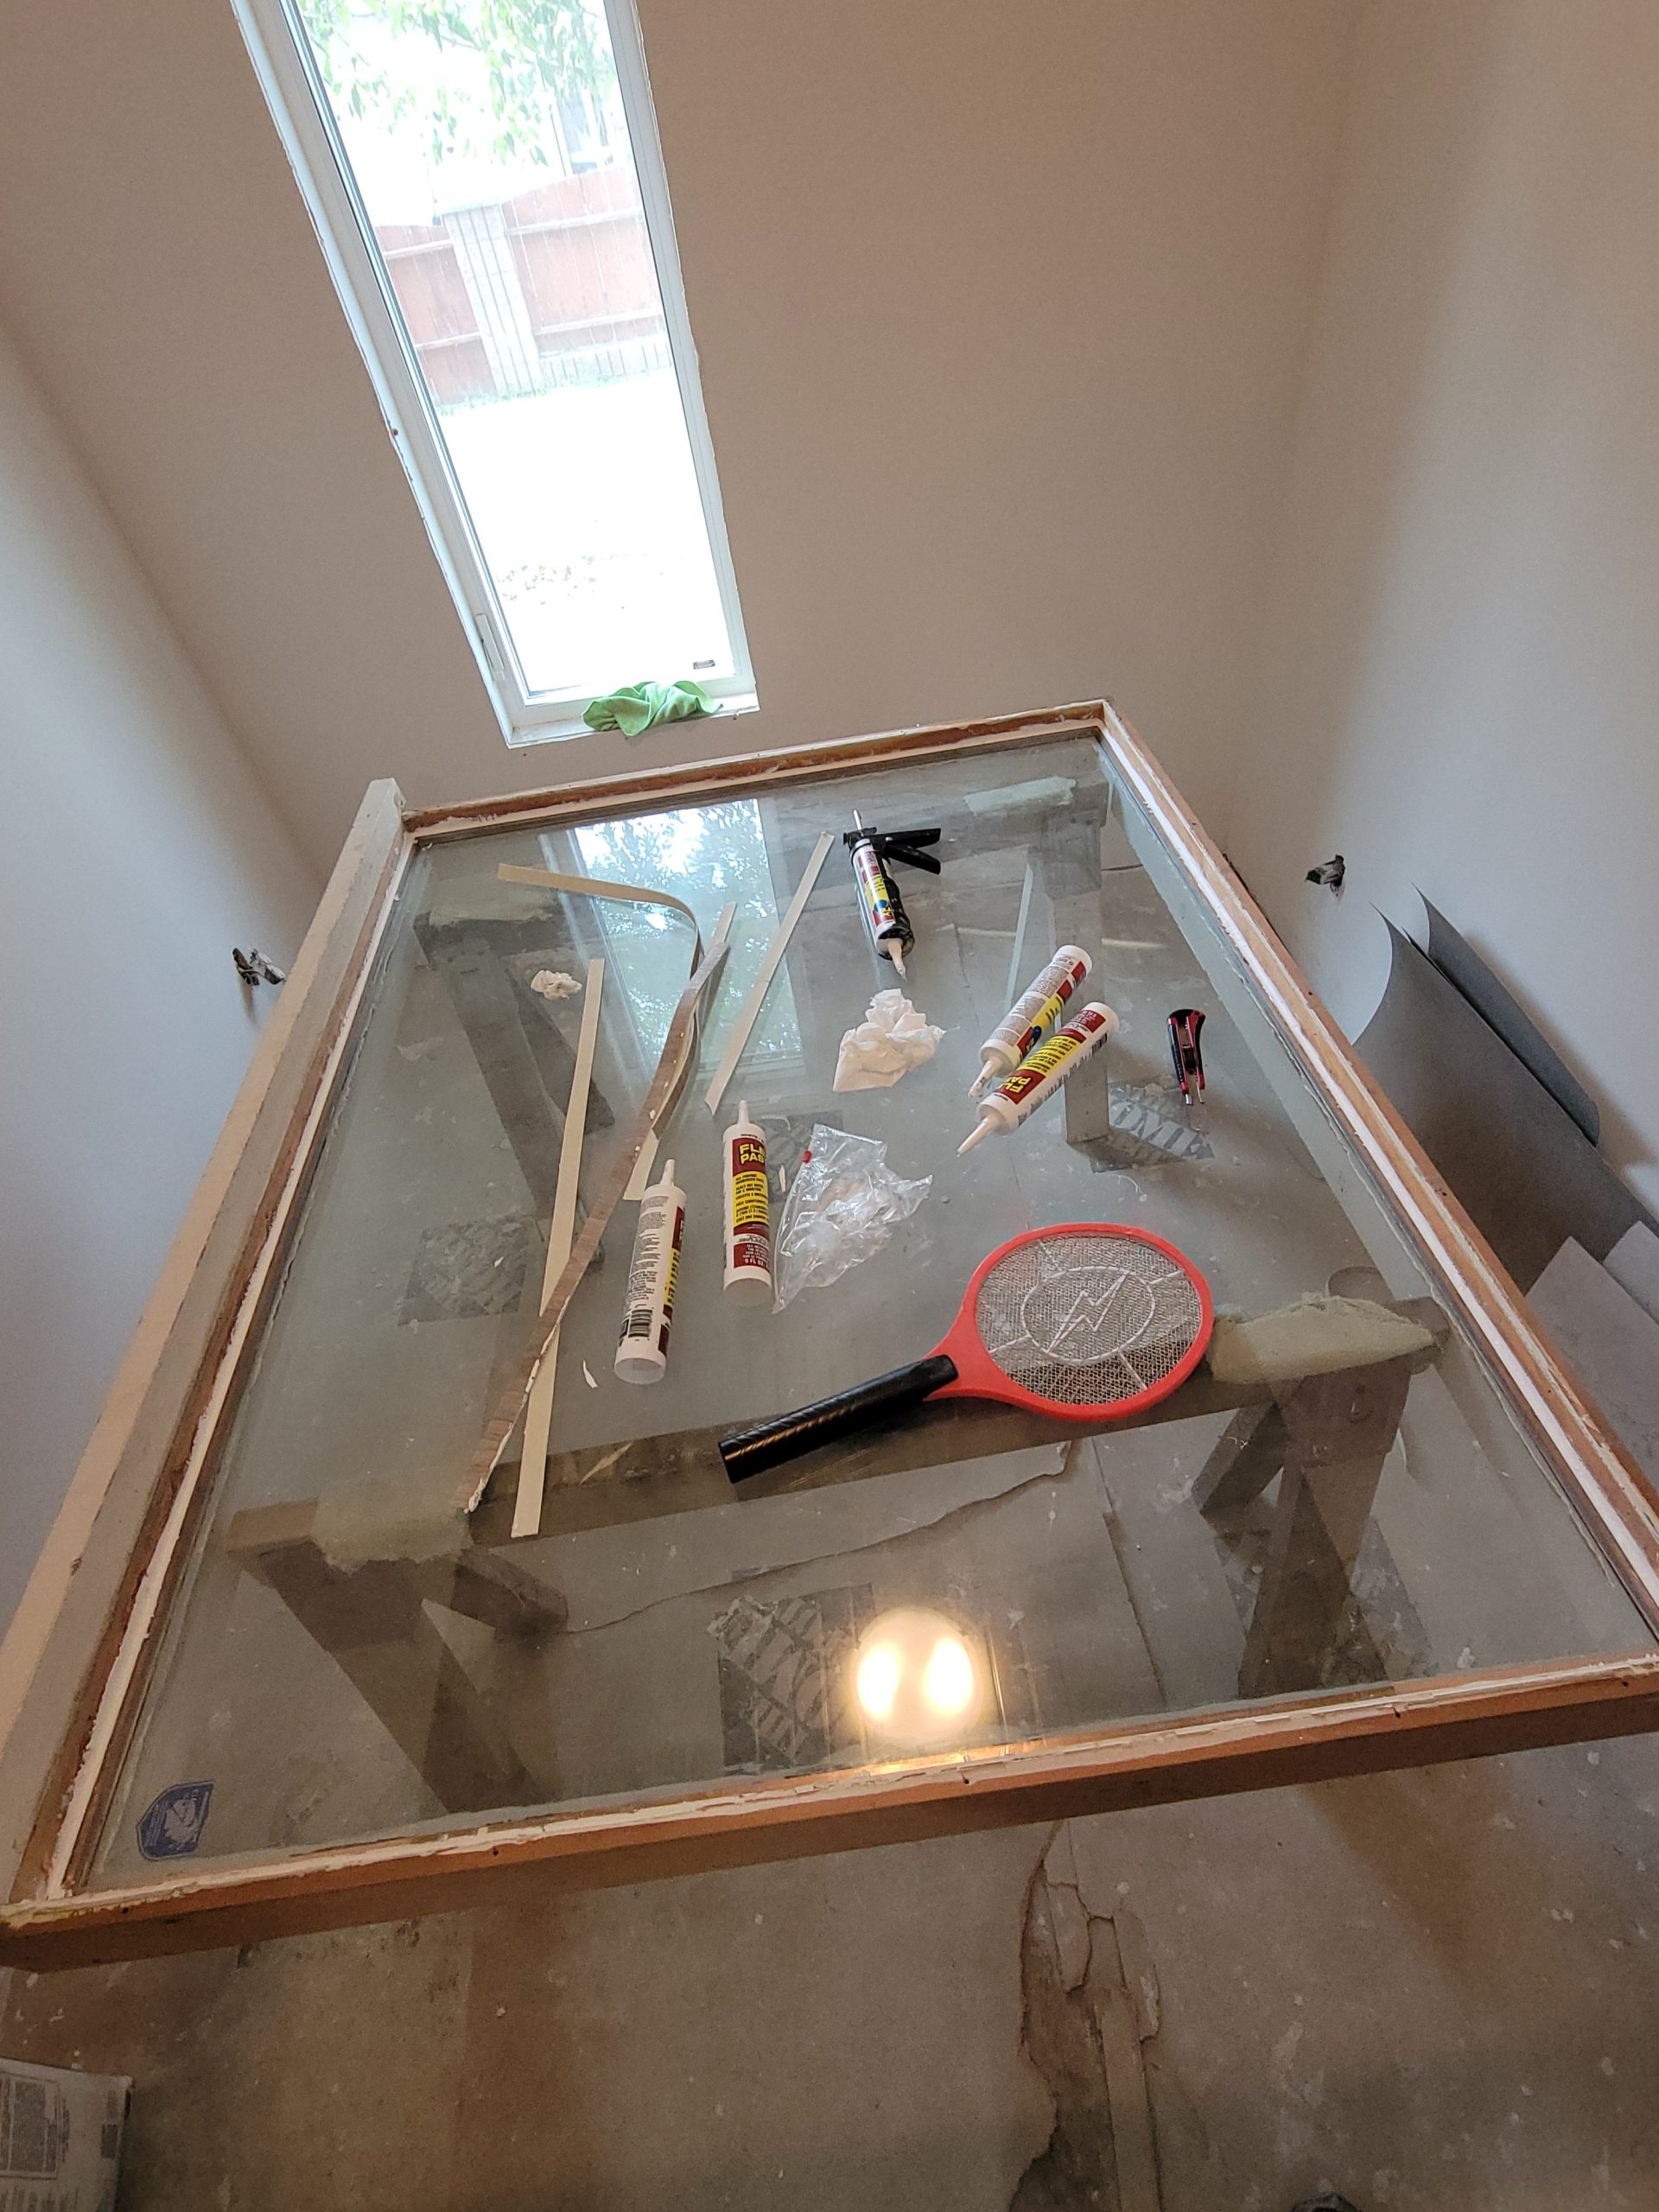
The large living room window was turned up-side-down, and I put a bead of Flex Paste in the interior gap.  This stuff is hard to squeeze out of the tube.  But, for $22 a tube, it is likely better than simple caulking.  Now I must wait for it to cure. 

In the mean time, I fitted the small living room window framing with exterior sheathing of 1/2″ OSB.  It is a smaller window than previously, so the gaps need to be filled and sealed. 

Next, tape flashing to seal up the gaps. 

Read more

living room drywall and window

Now that the lift is complete, we can work on the main floor. 

This is a milestone, a turning point.  I don’t want to jinx it by saying so, but things should go smoothly from here.  <knock on wood> 

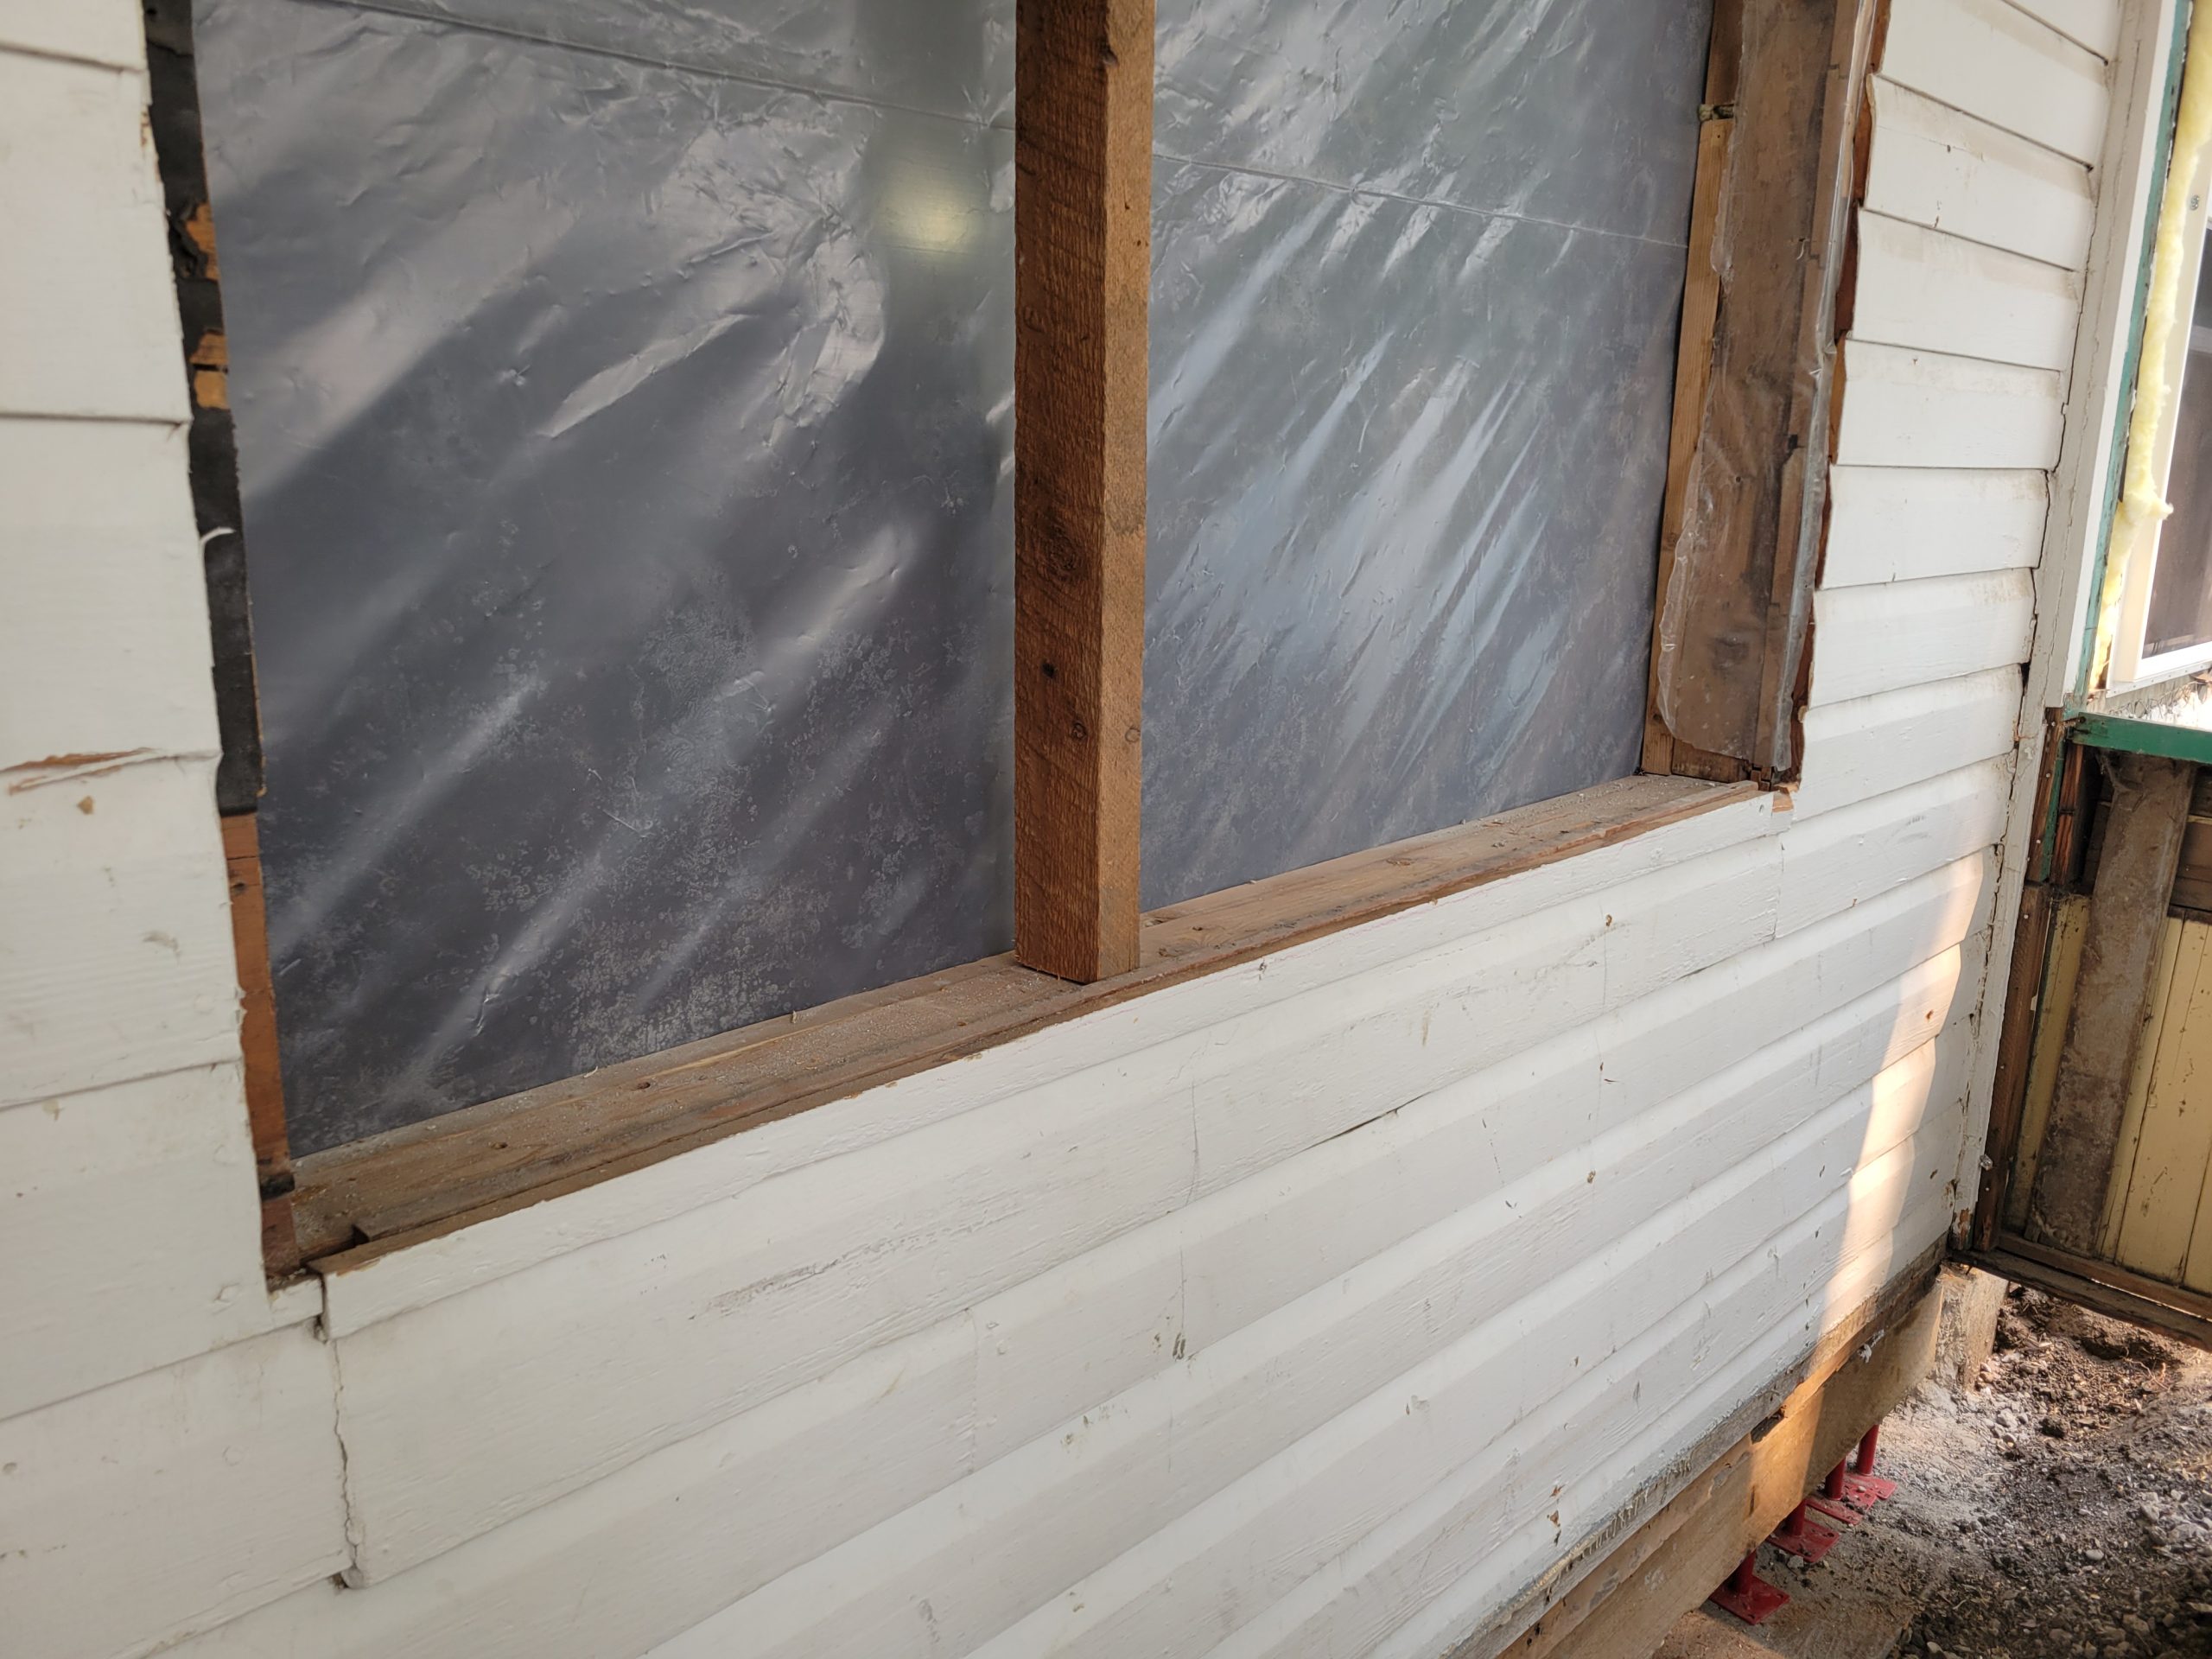
Now that the living room window wall is straight, the window rough framing is tilted. 

Floyd, Dave, and I discussed how to fix it. 

  • Shim the crooked parts so that the window looks straight. 
  • Carve the rough opening wood down so that the window frame is straight. 
  • Reframe. 

You know what I would choose.  We reframed. 

Read more

lift complete

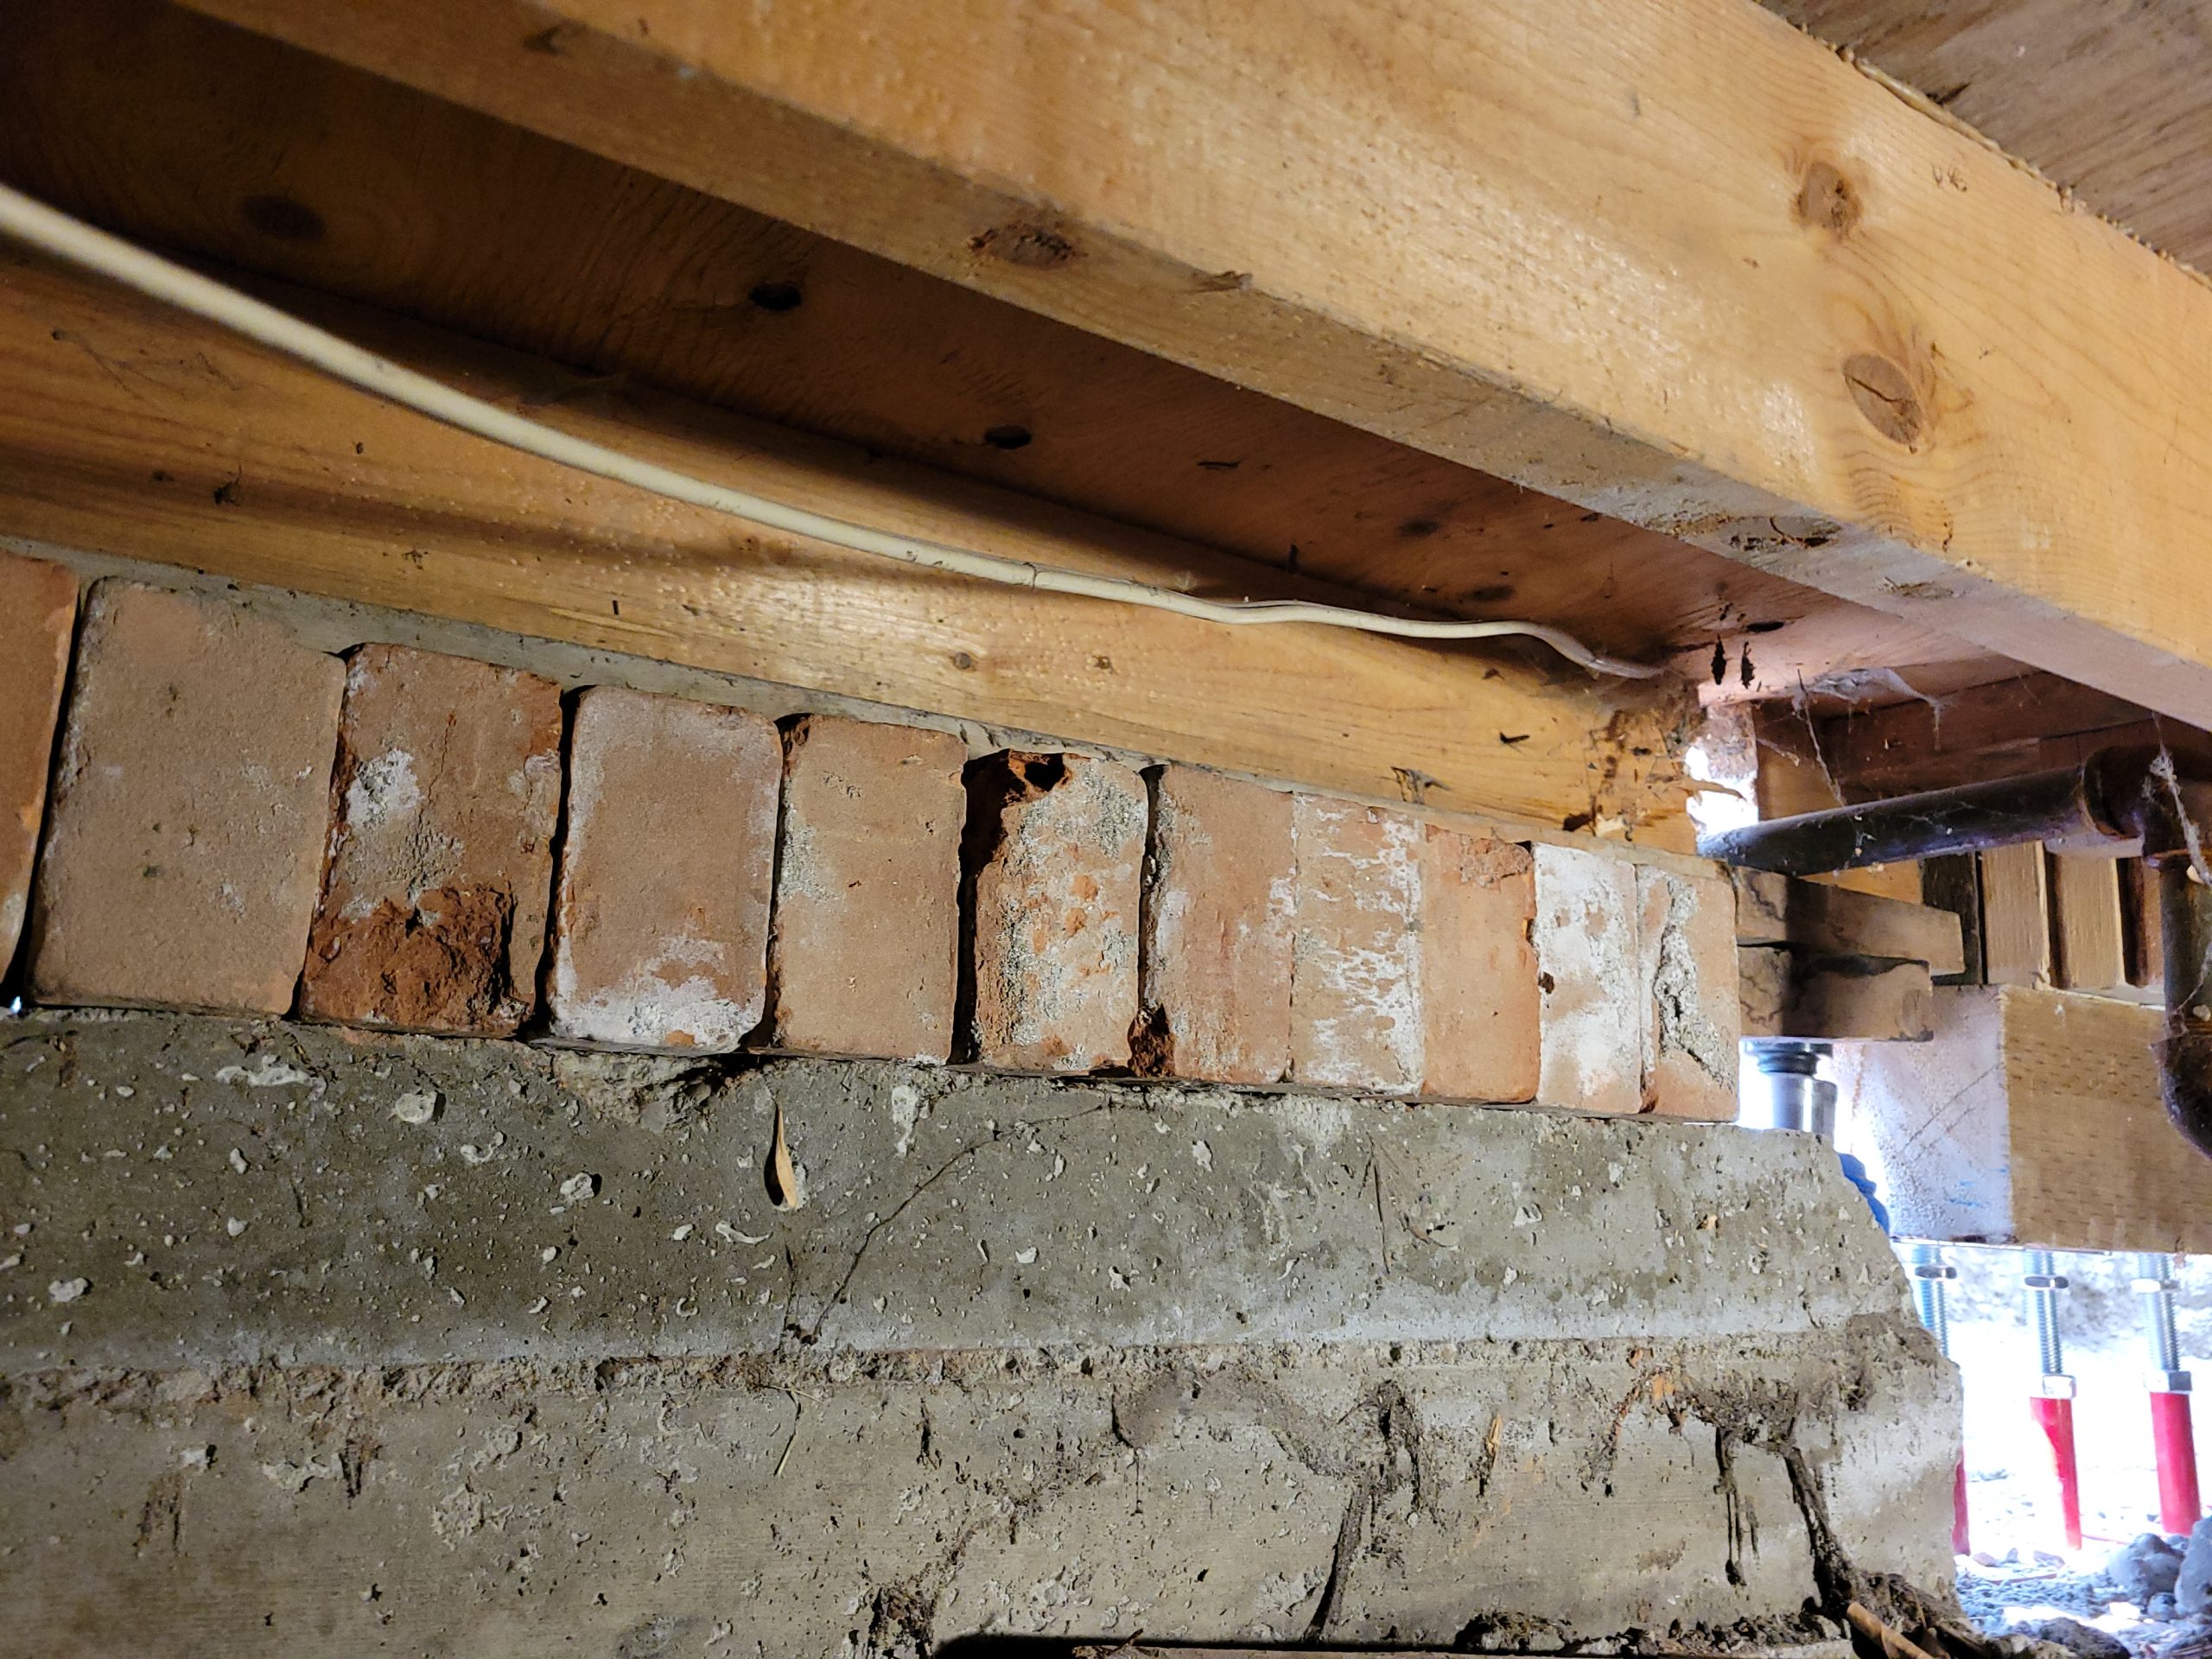
Finally!  The house is finally level and stable. 

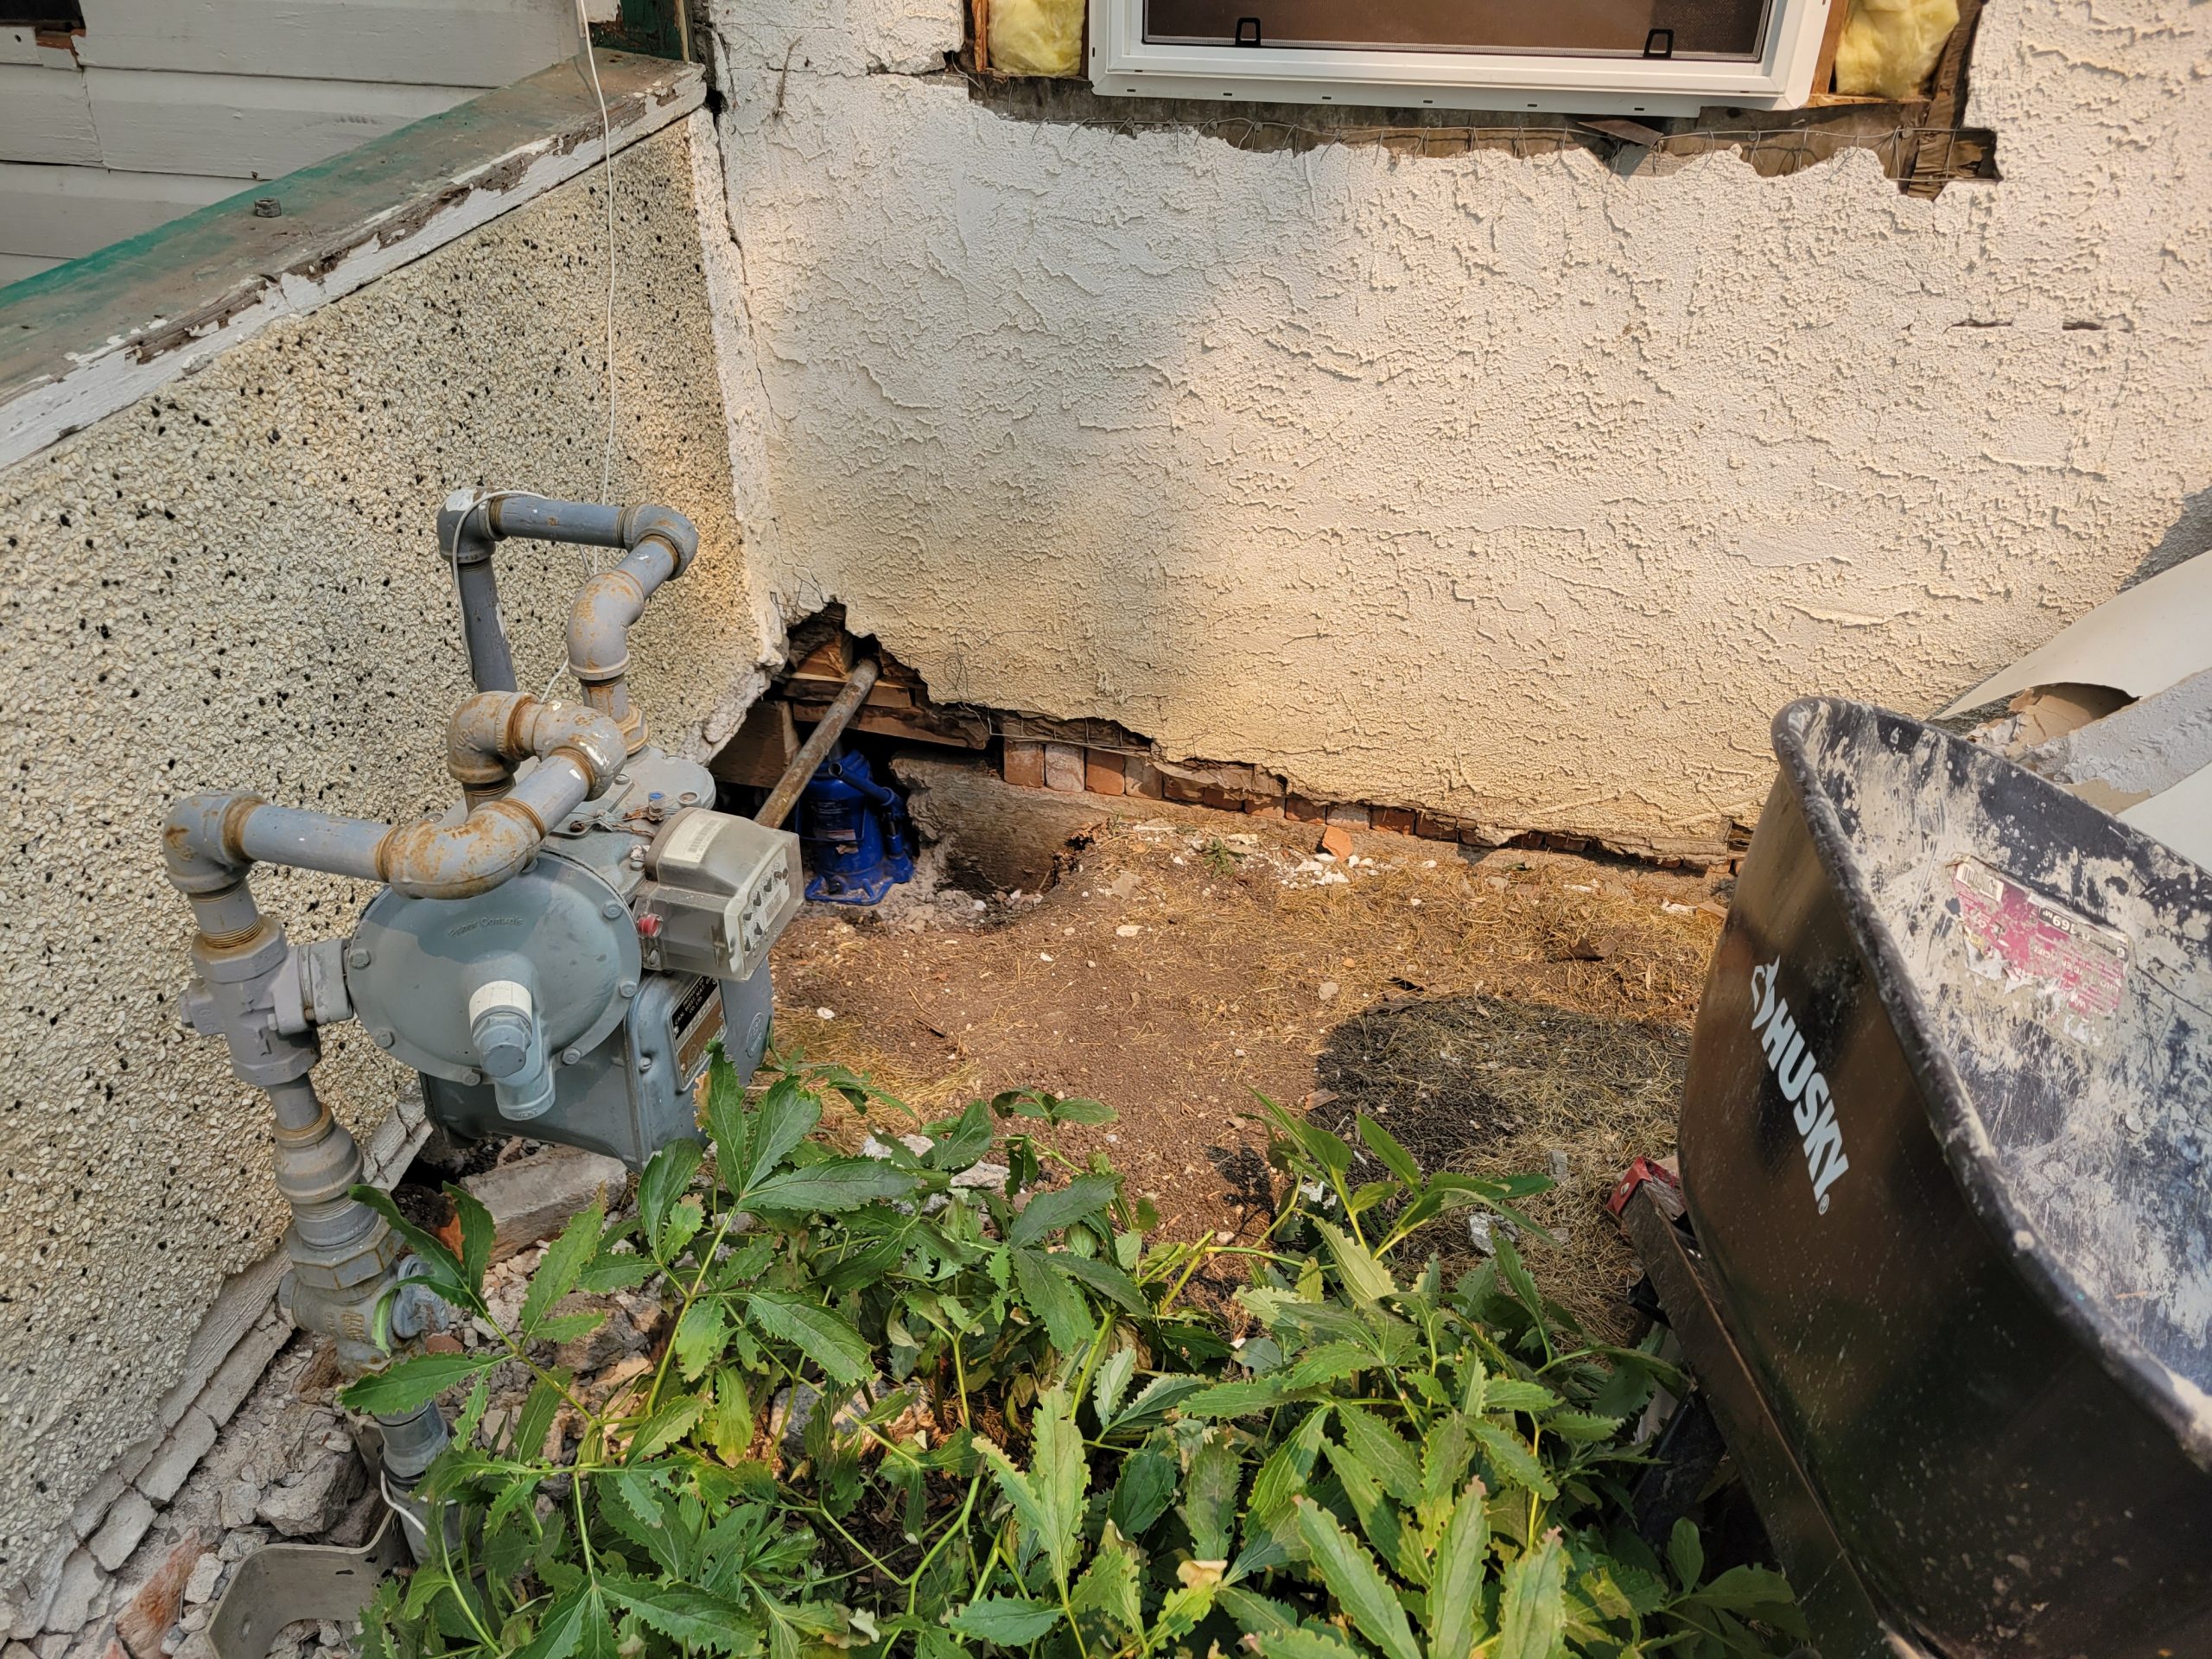
I thought about it all last night – whether to rent the jack hammer again for $40 and chip out more concrete to put align the bottle jack with the stable part of the sill plate and rim joist.  I wracked my brain to find another way.  

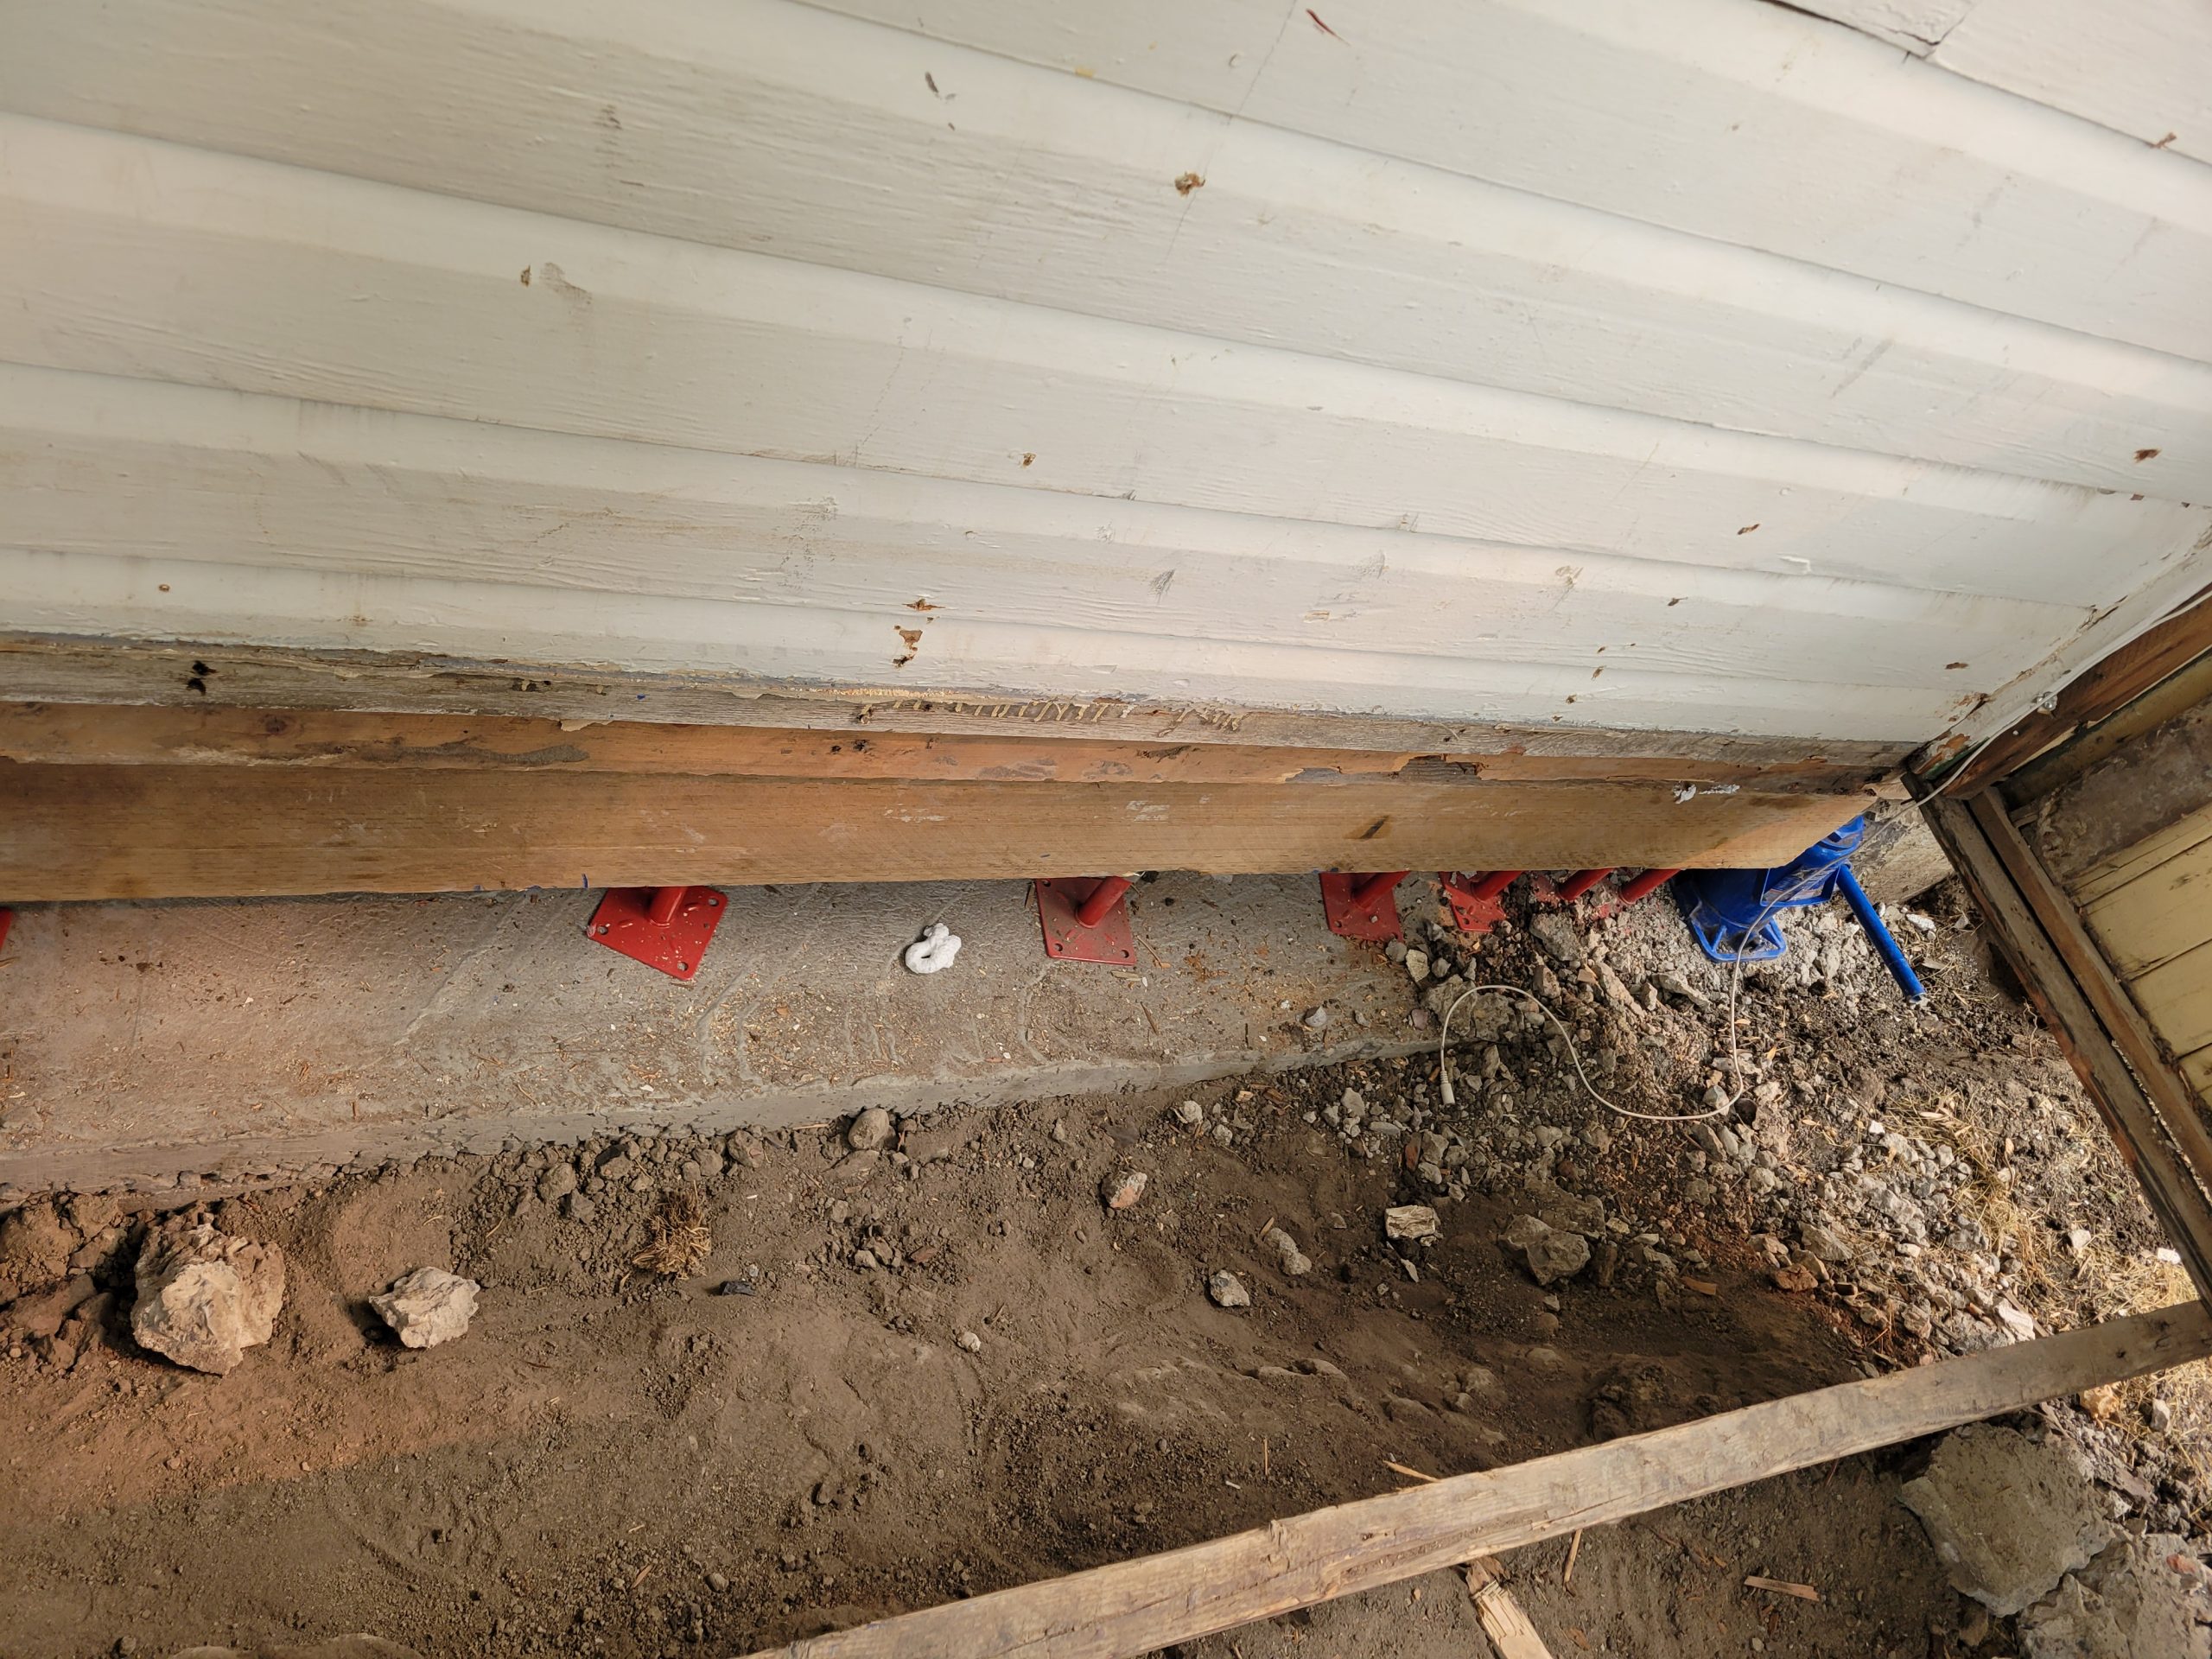
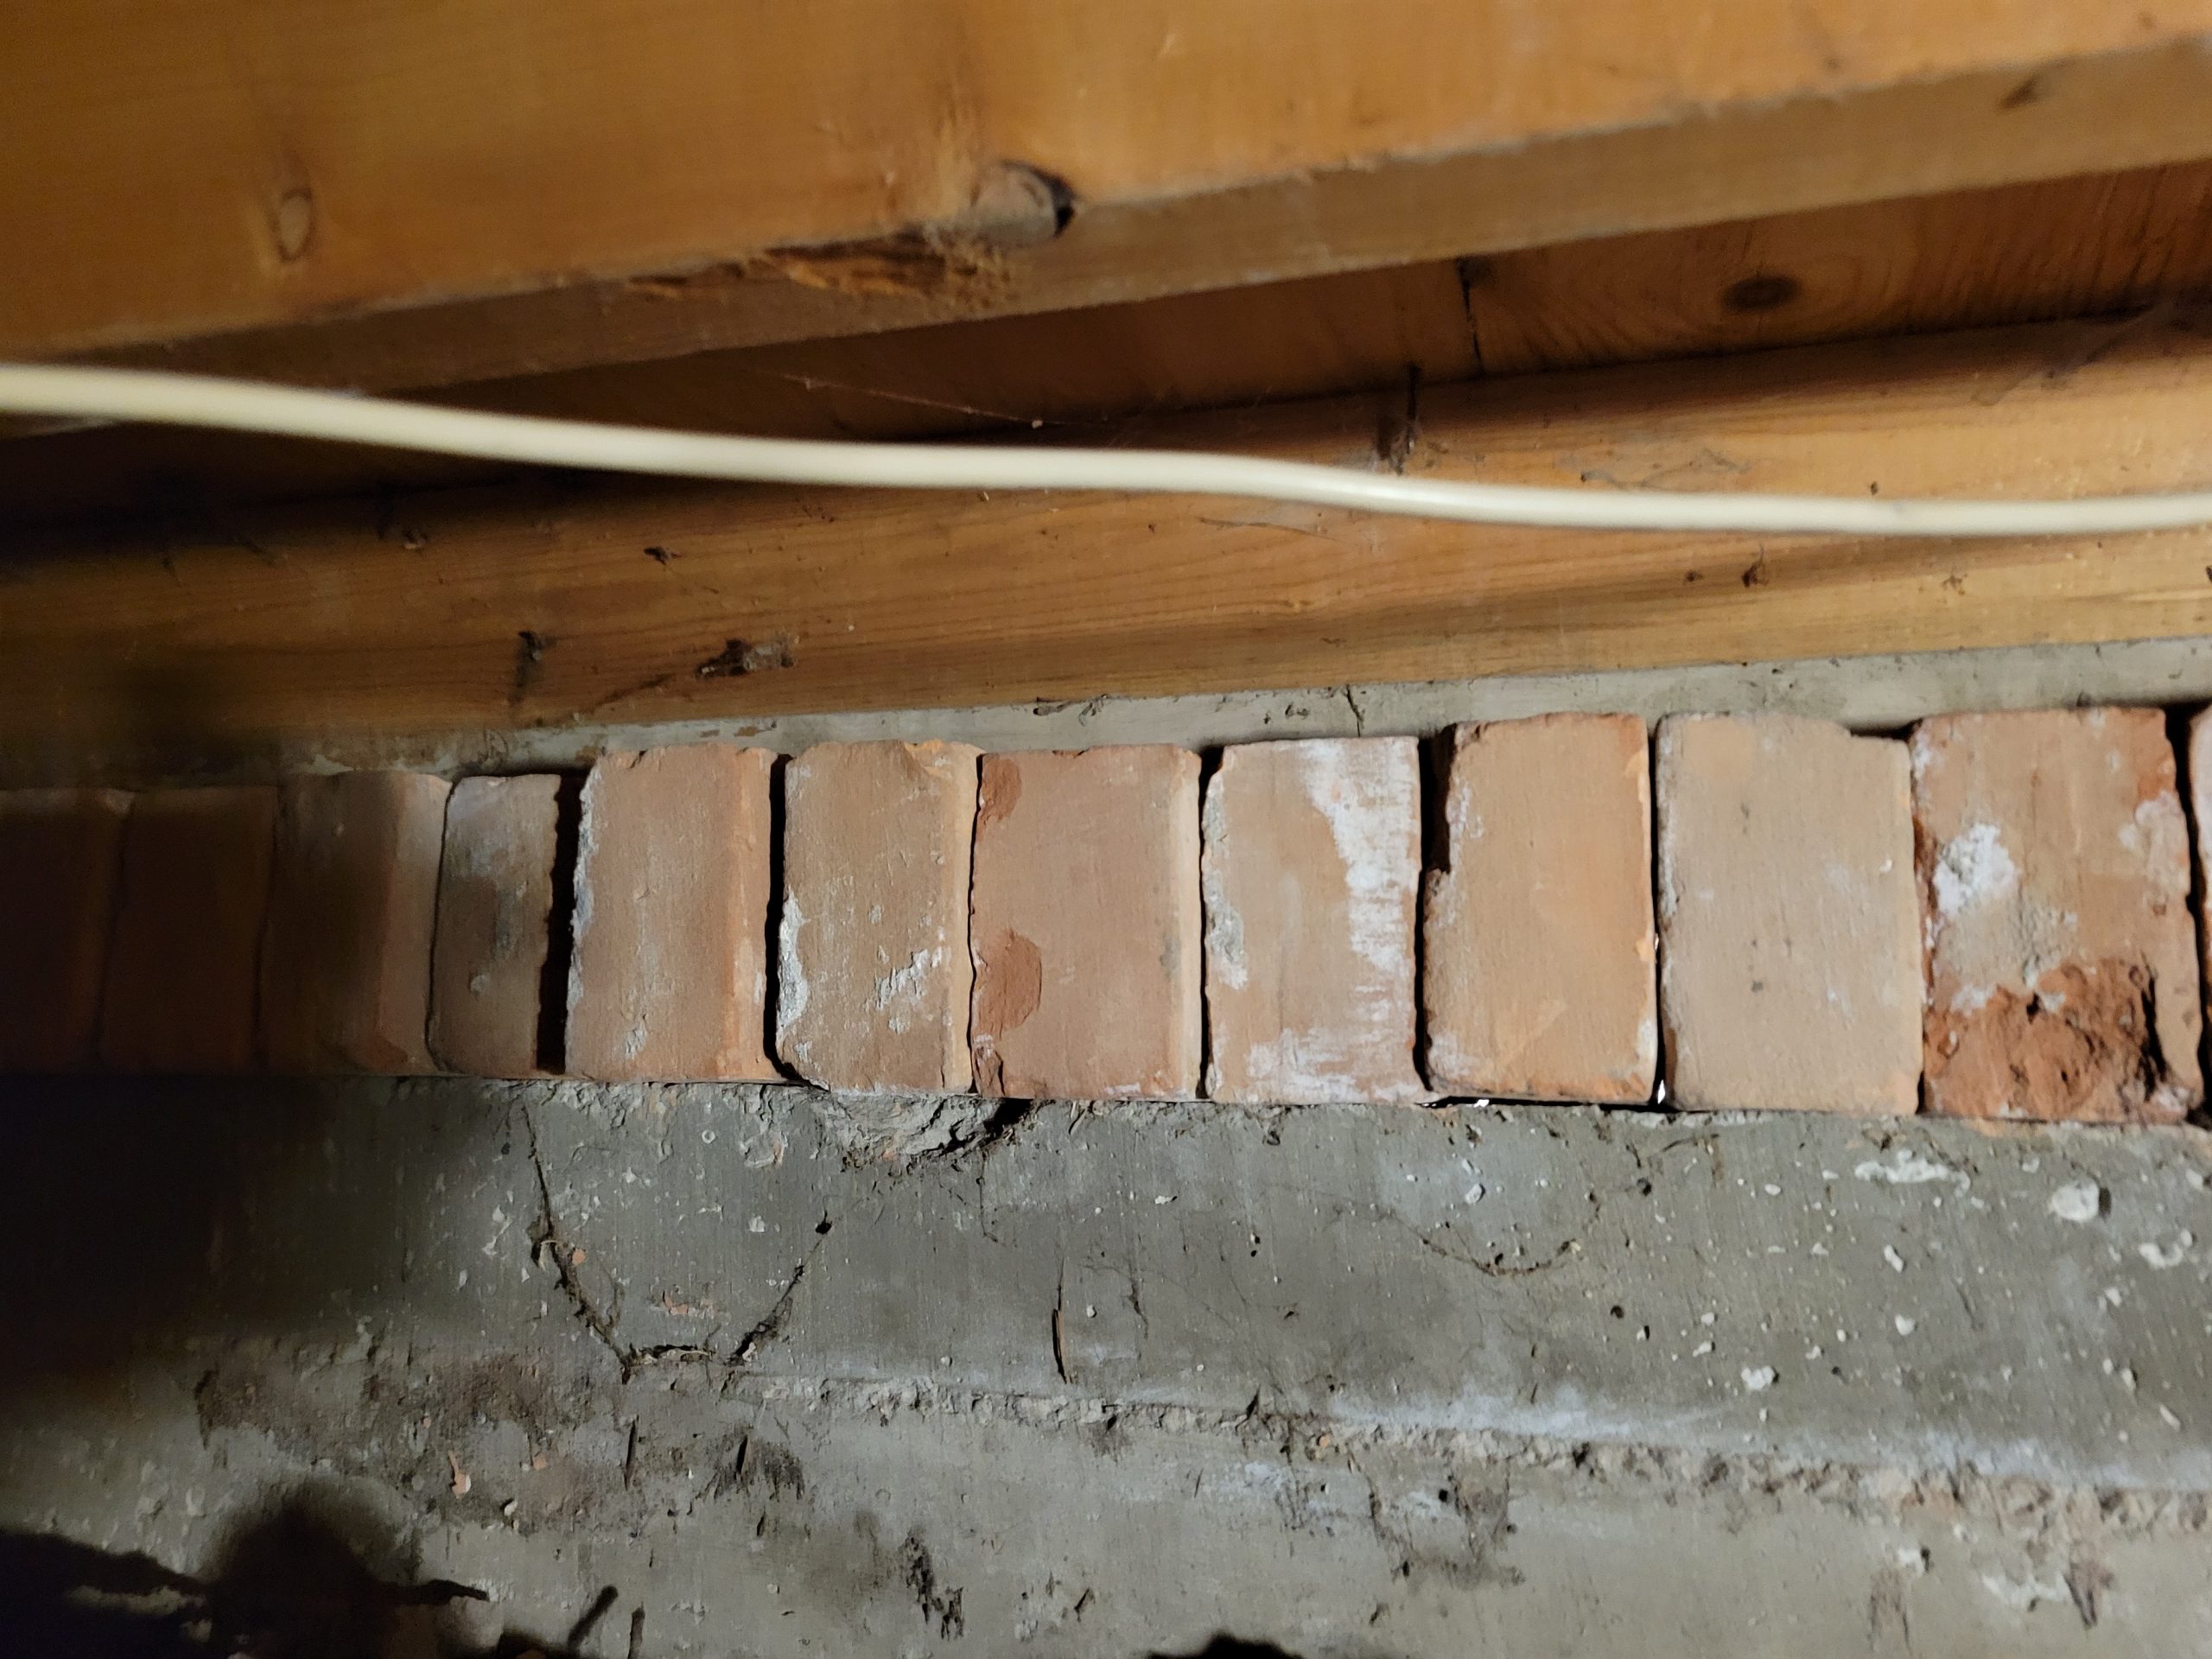
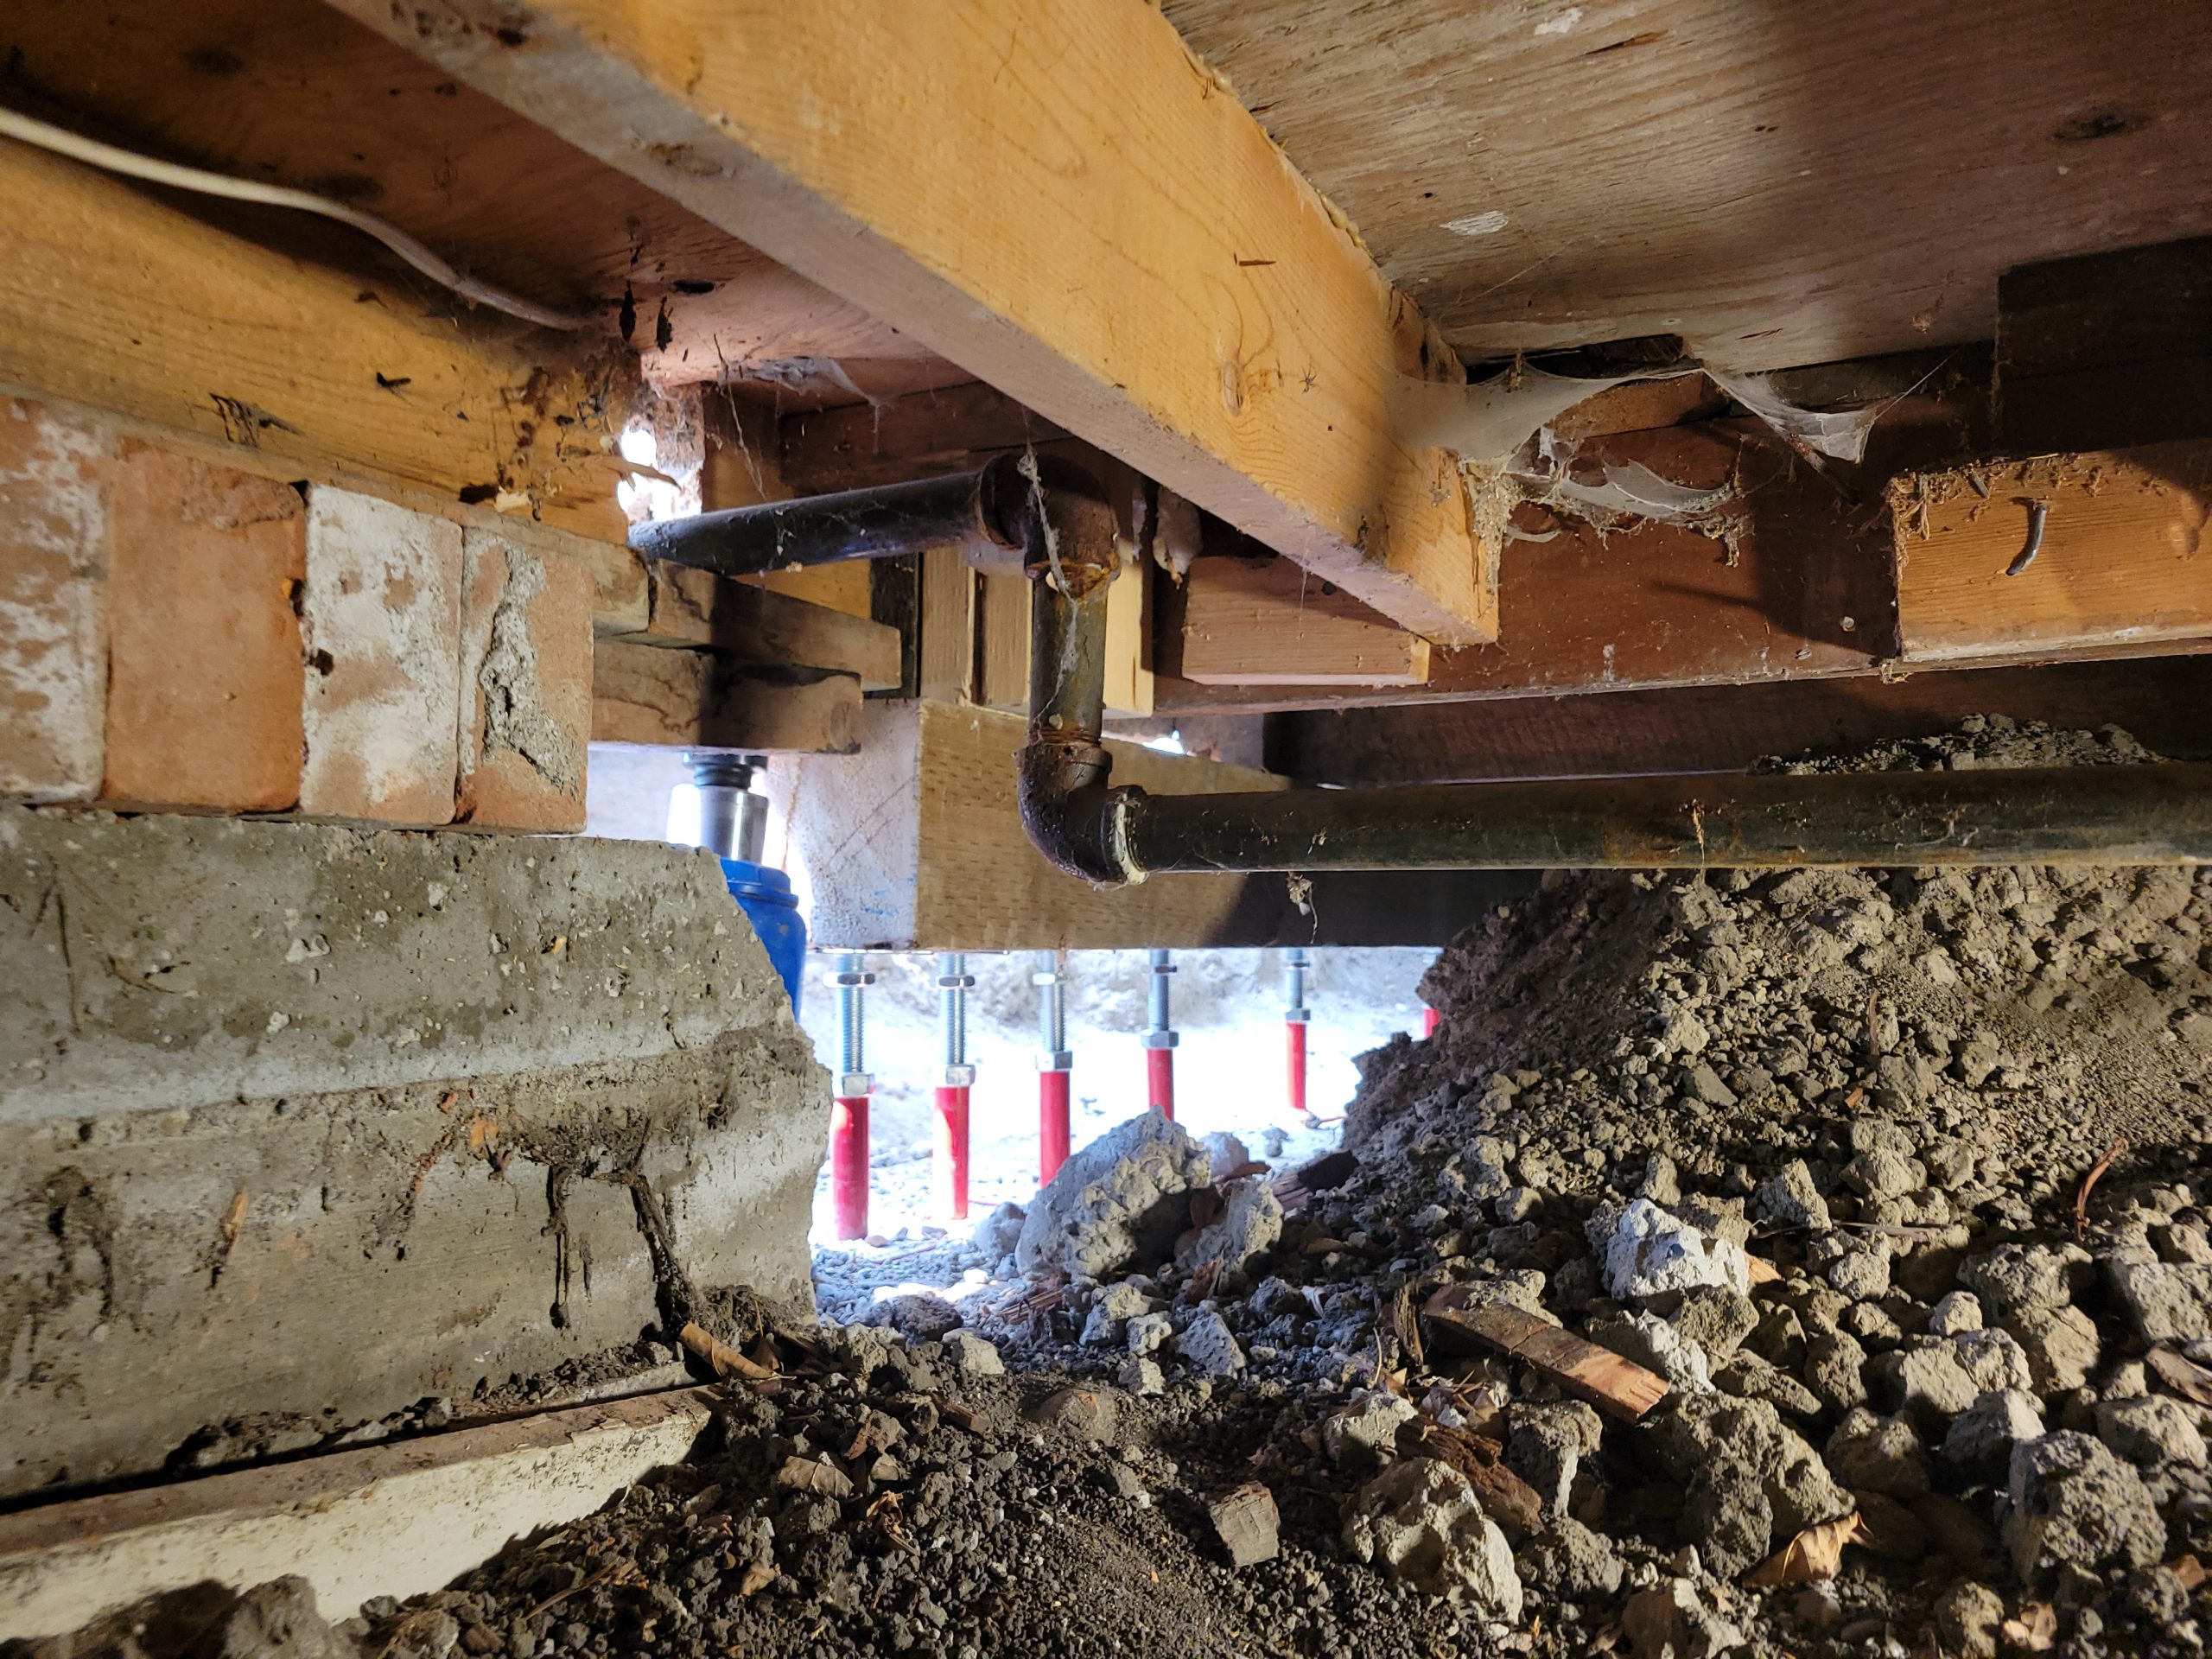
The way, it turns out, was simple.  The house was stable, yes, but it was still holding the add-on down.  So, I screwed the new screw jack stands up and pumped the bottle jack until they are both up high enough to add the last course of bricks in between the foundation and sill plate. 

The five little red screw jacks at the end in question were easy to screw upward one-at-a-time.  Together, they had enormous lifting power. 

The gas line, with the hole through the rim joist elongated, sits stably on the rim joist hole. 

While down there, I talked with my sister in England via WhatsApp.  Between jacking and bricking, I weeded. 

Now that the lift is complete, on to the main floor living room drywall and window.