I have some explaining to do. The reasons renovations to the main floor suite were started in the first place were
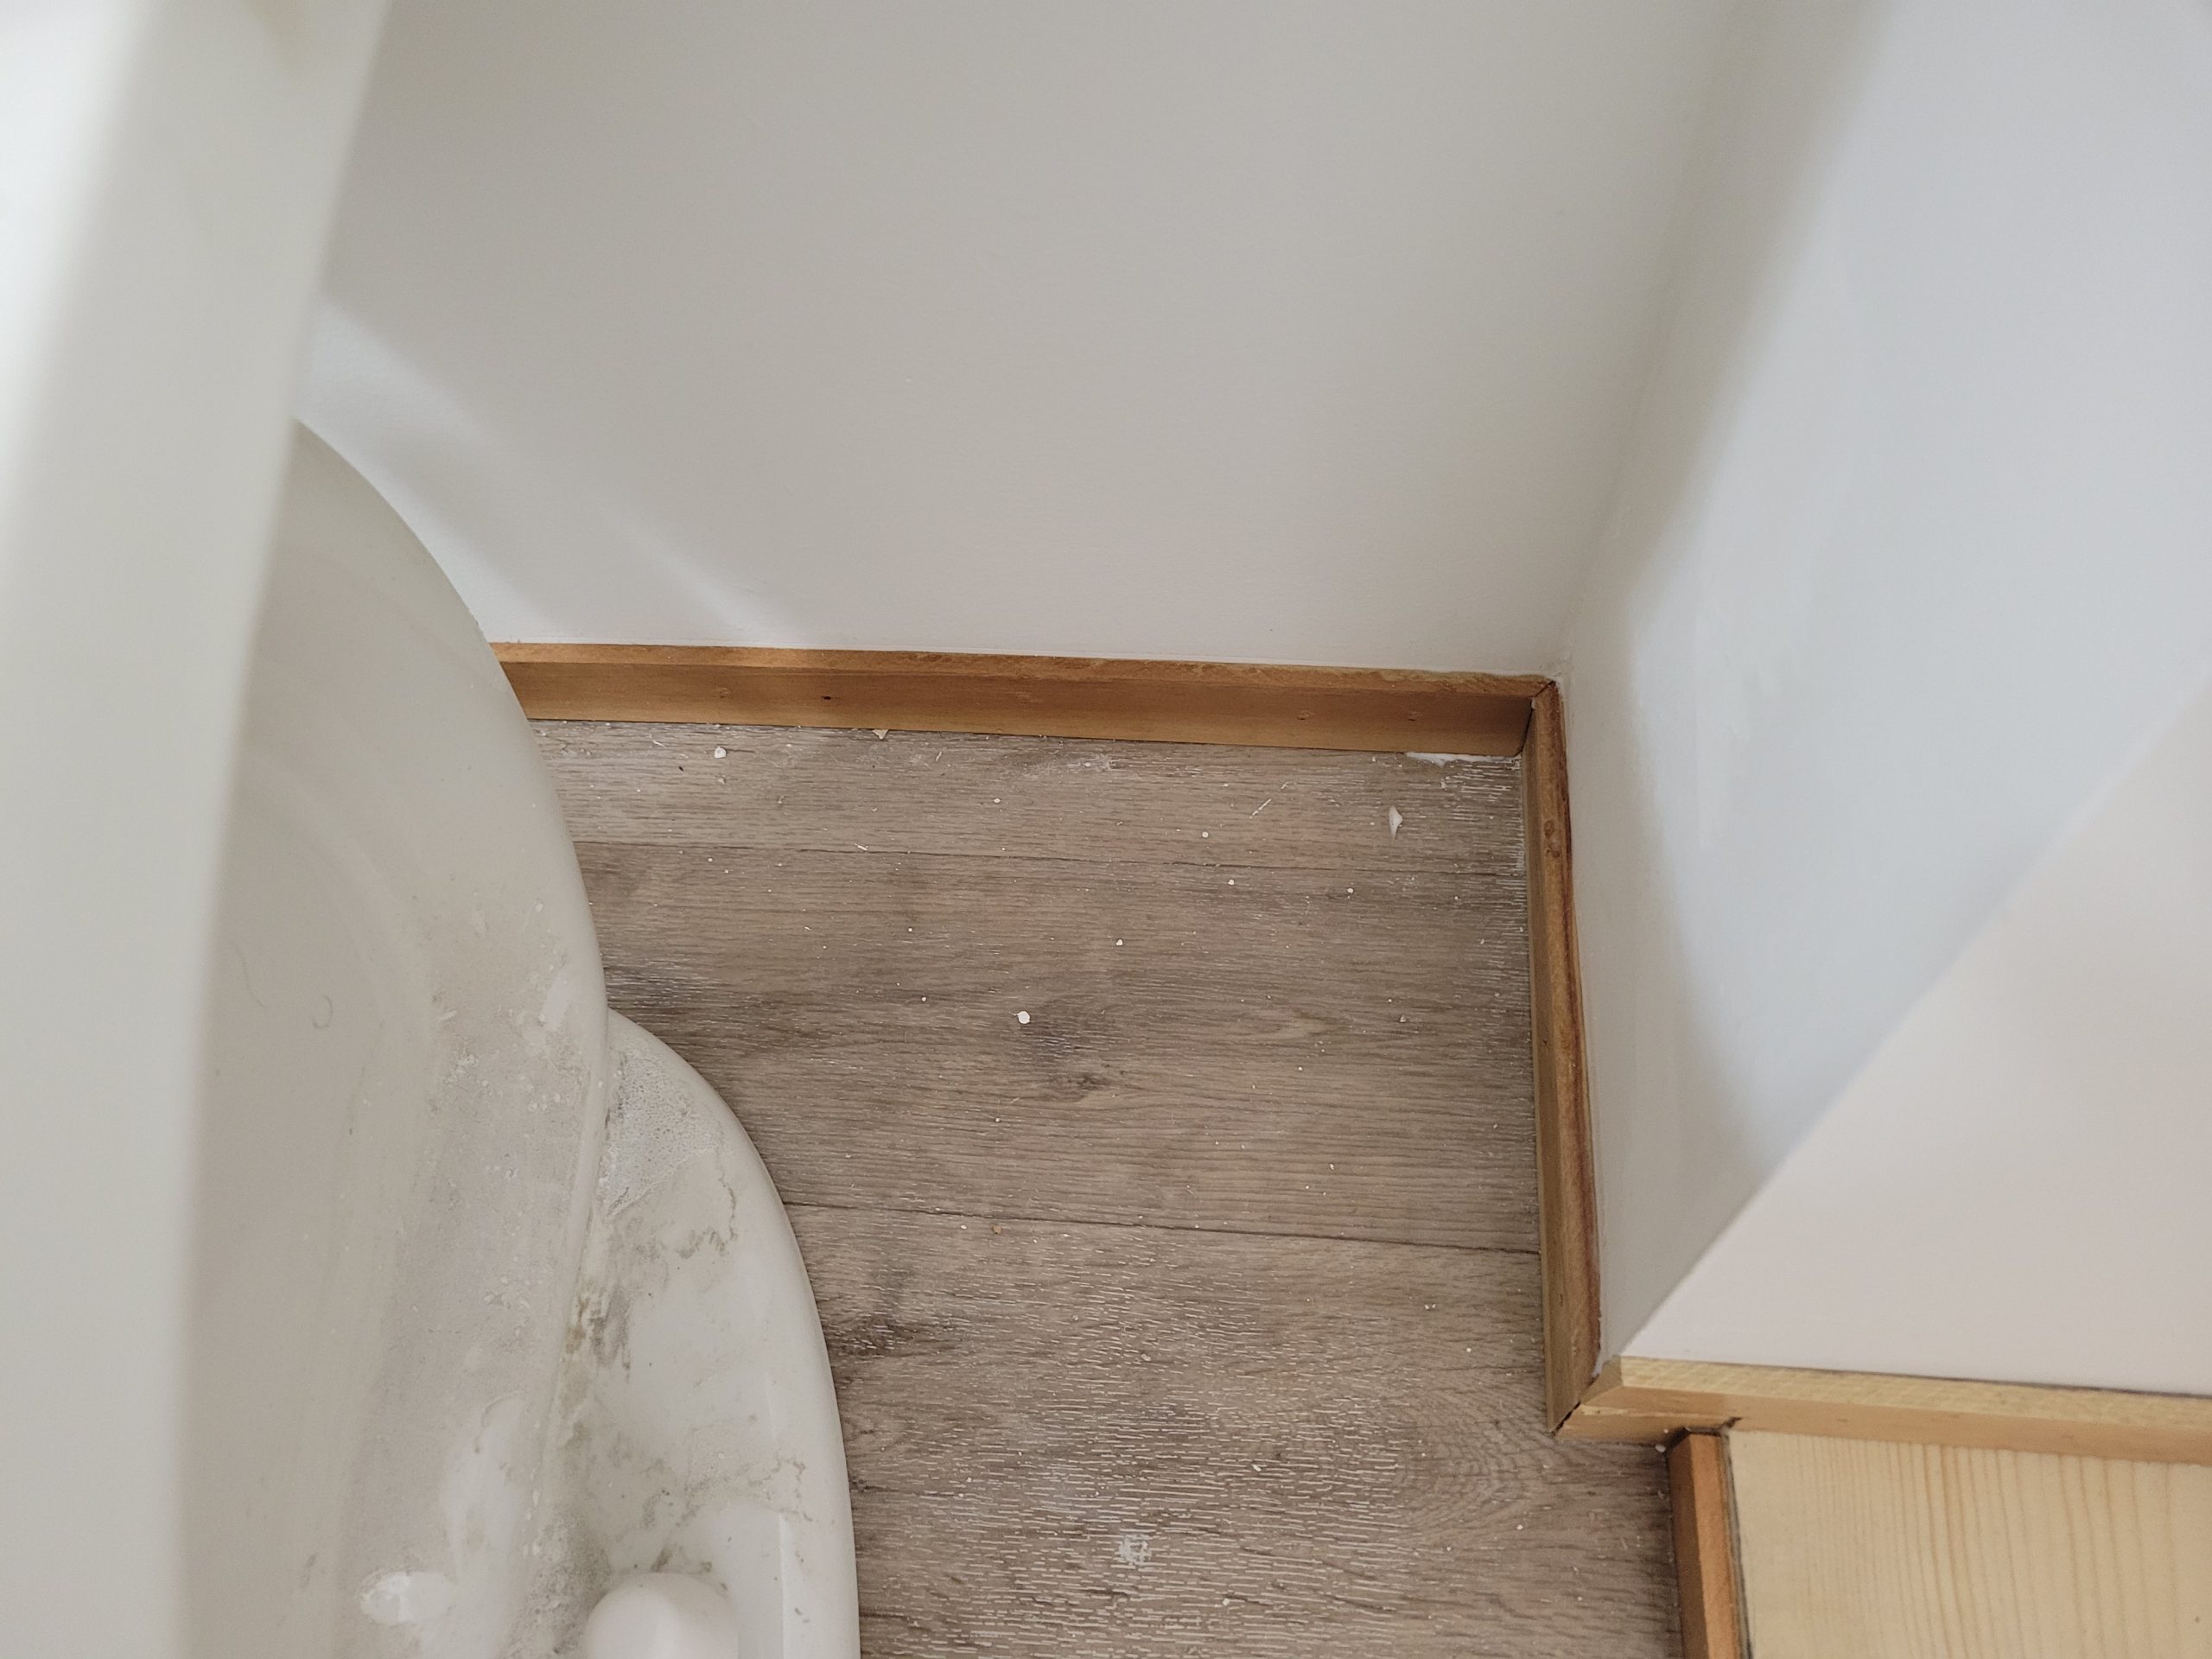
- 1st floor suite bathroom was cut across by 2nd floor stairway (duck your head!)
- sloped floor
- 2nd floor suite had stairs so steep that a mountain goat couldn’t climb them (although this was not tested with real mountain goats)
Some other reasons were
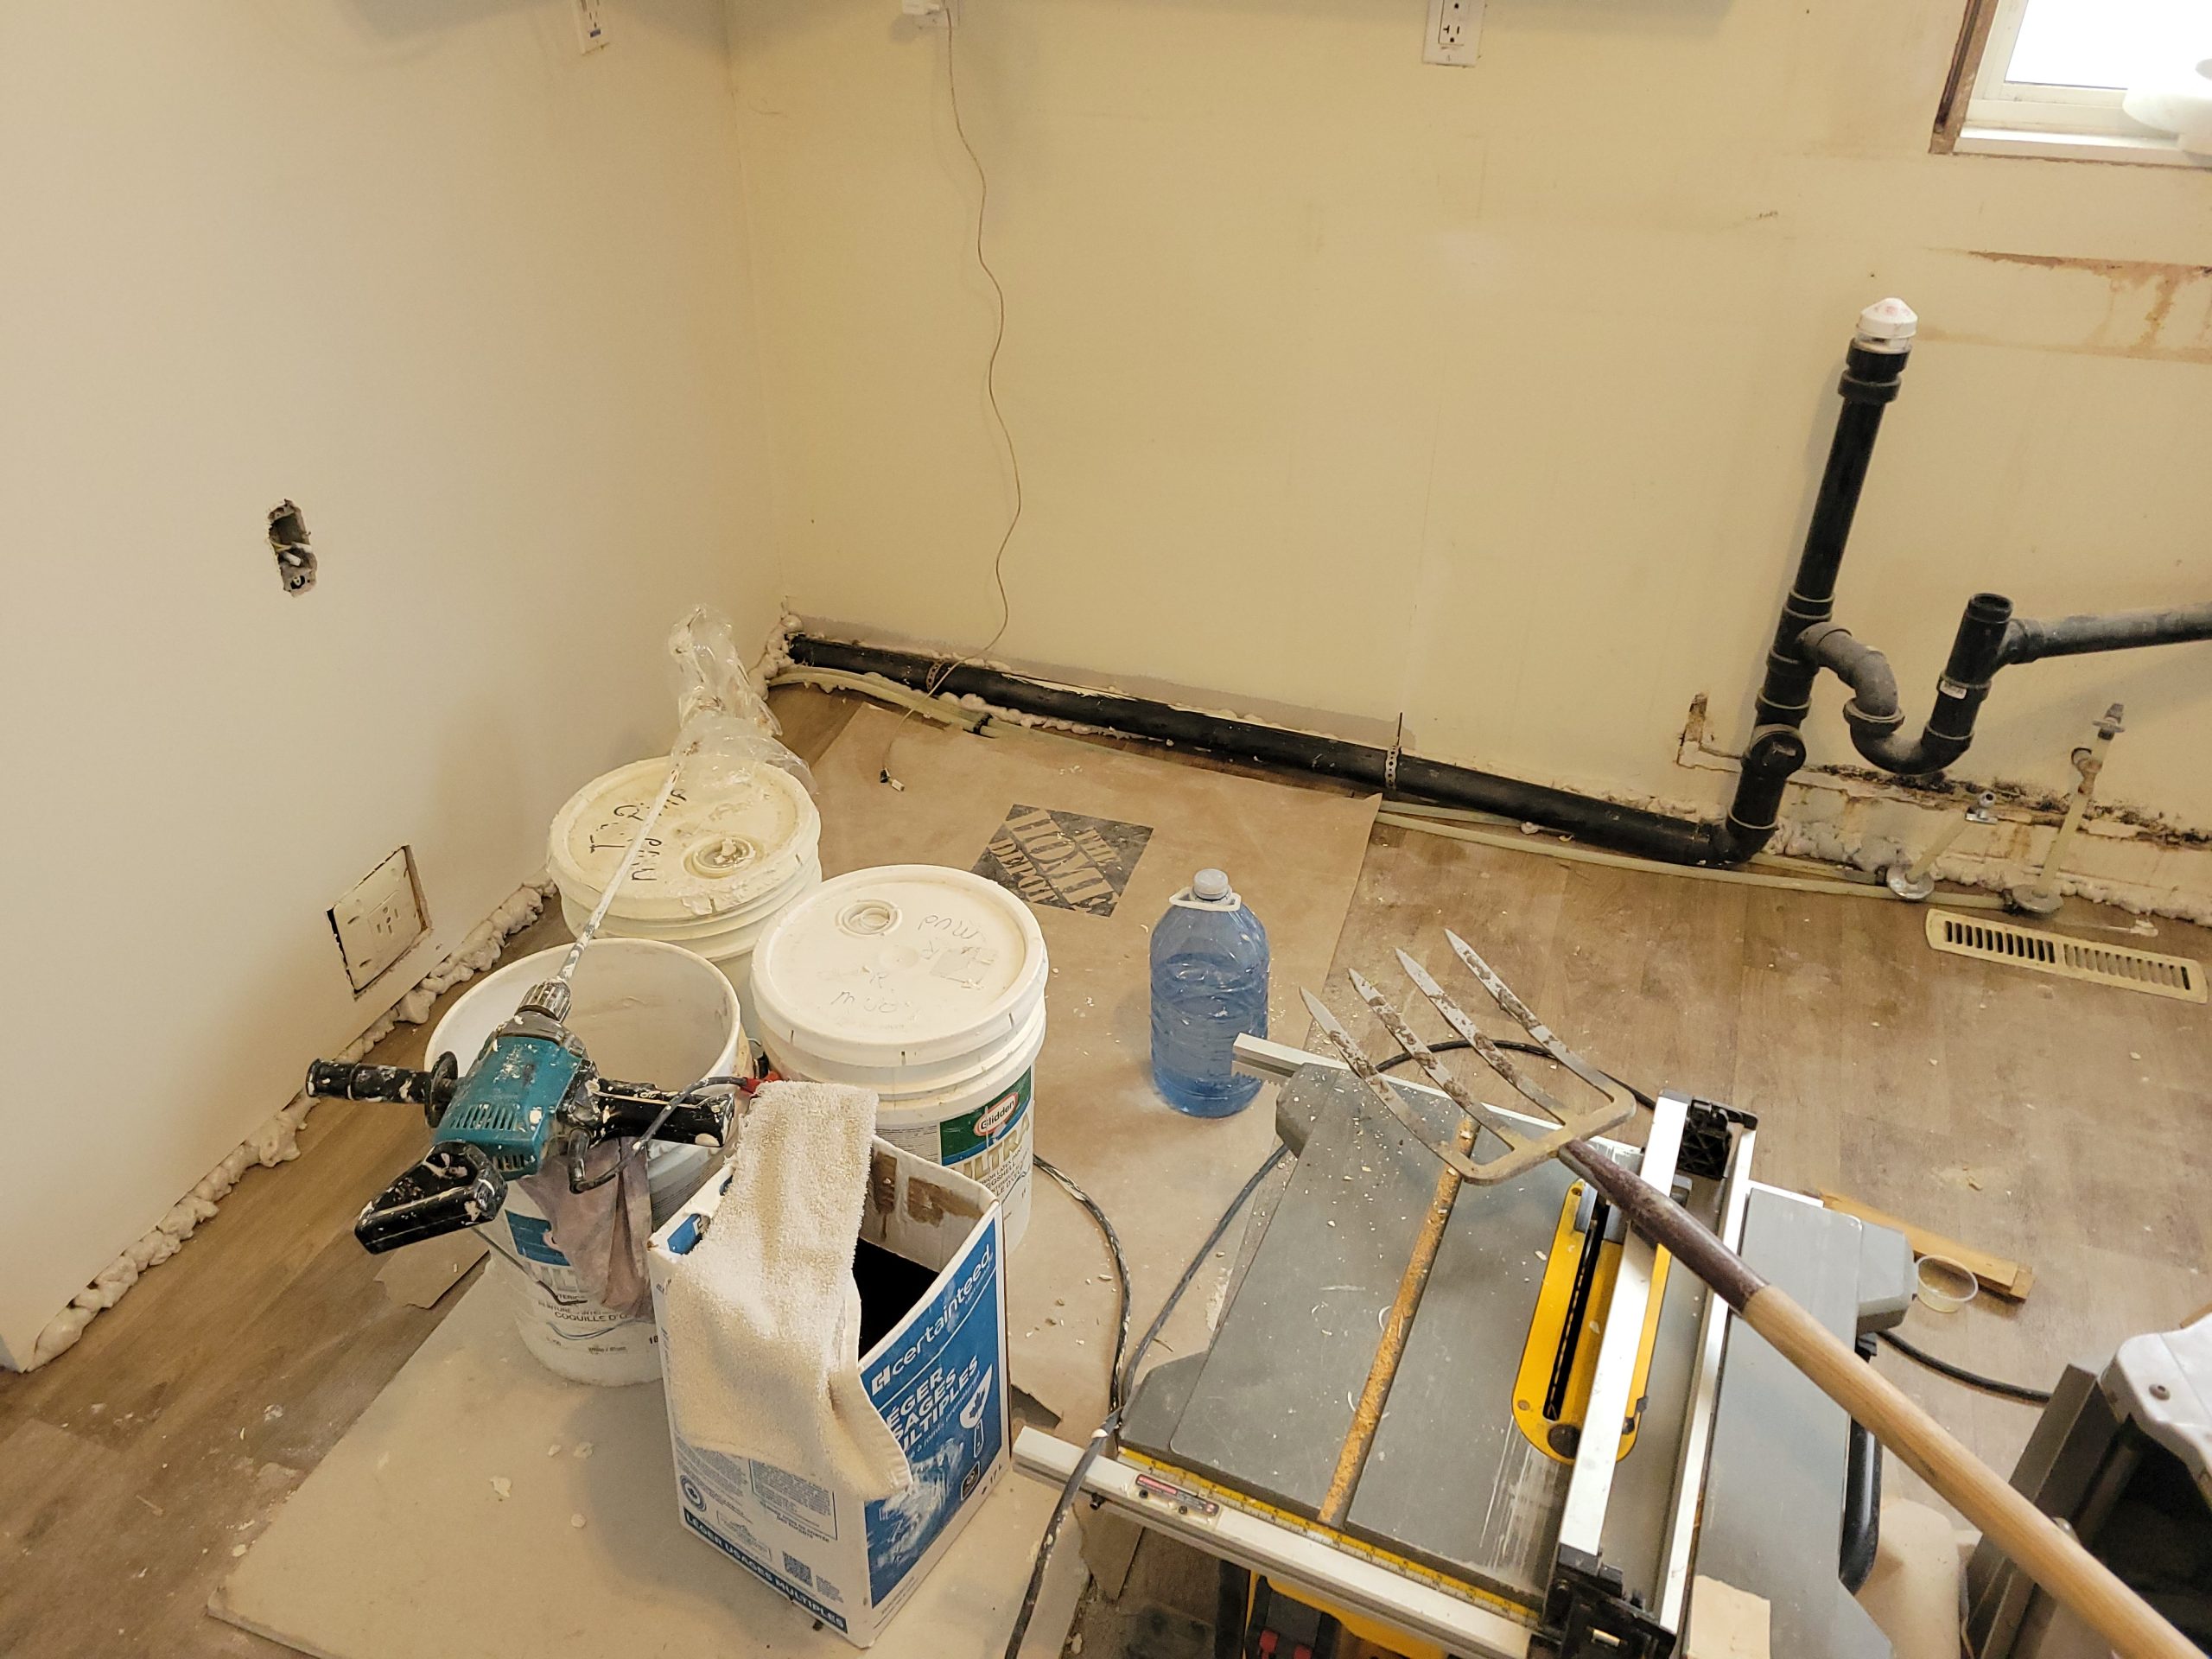
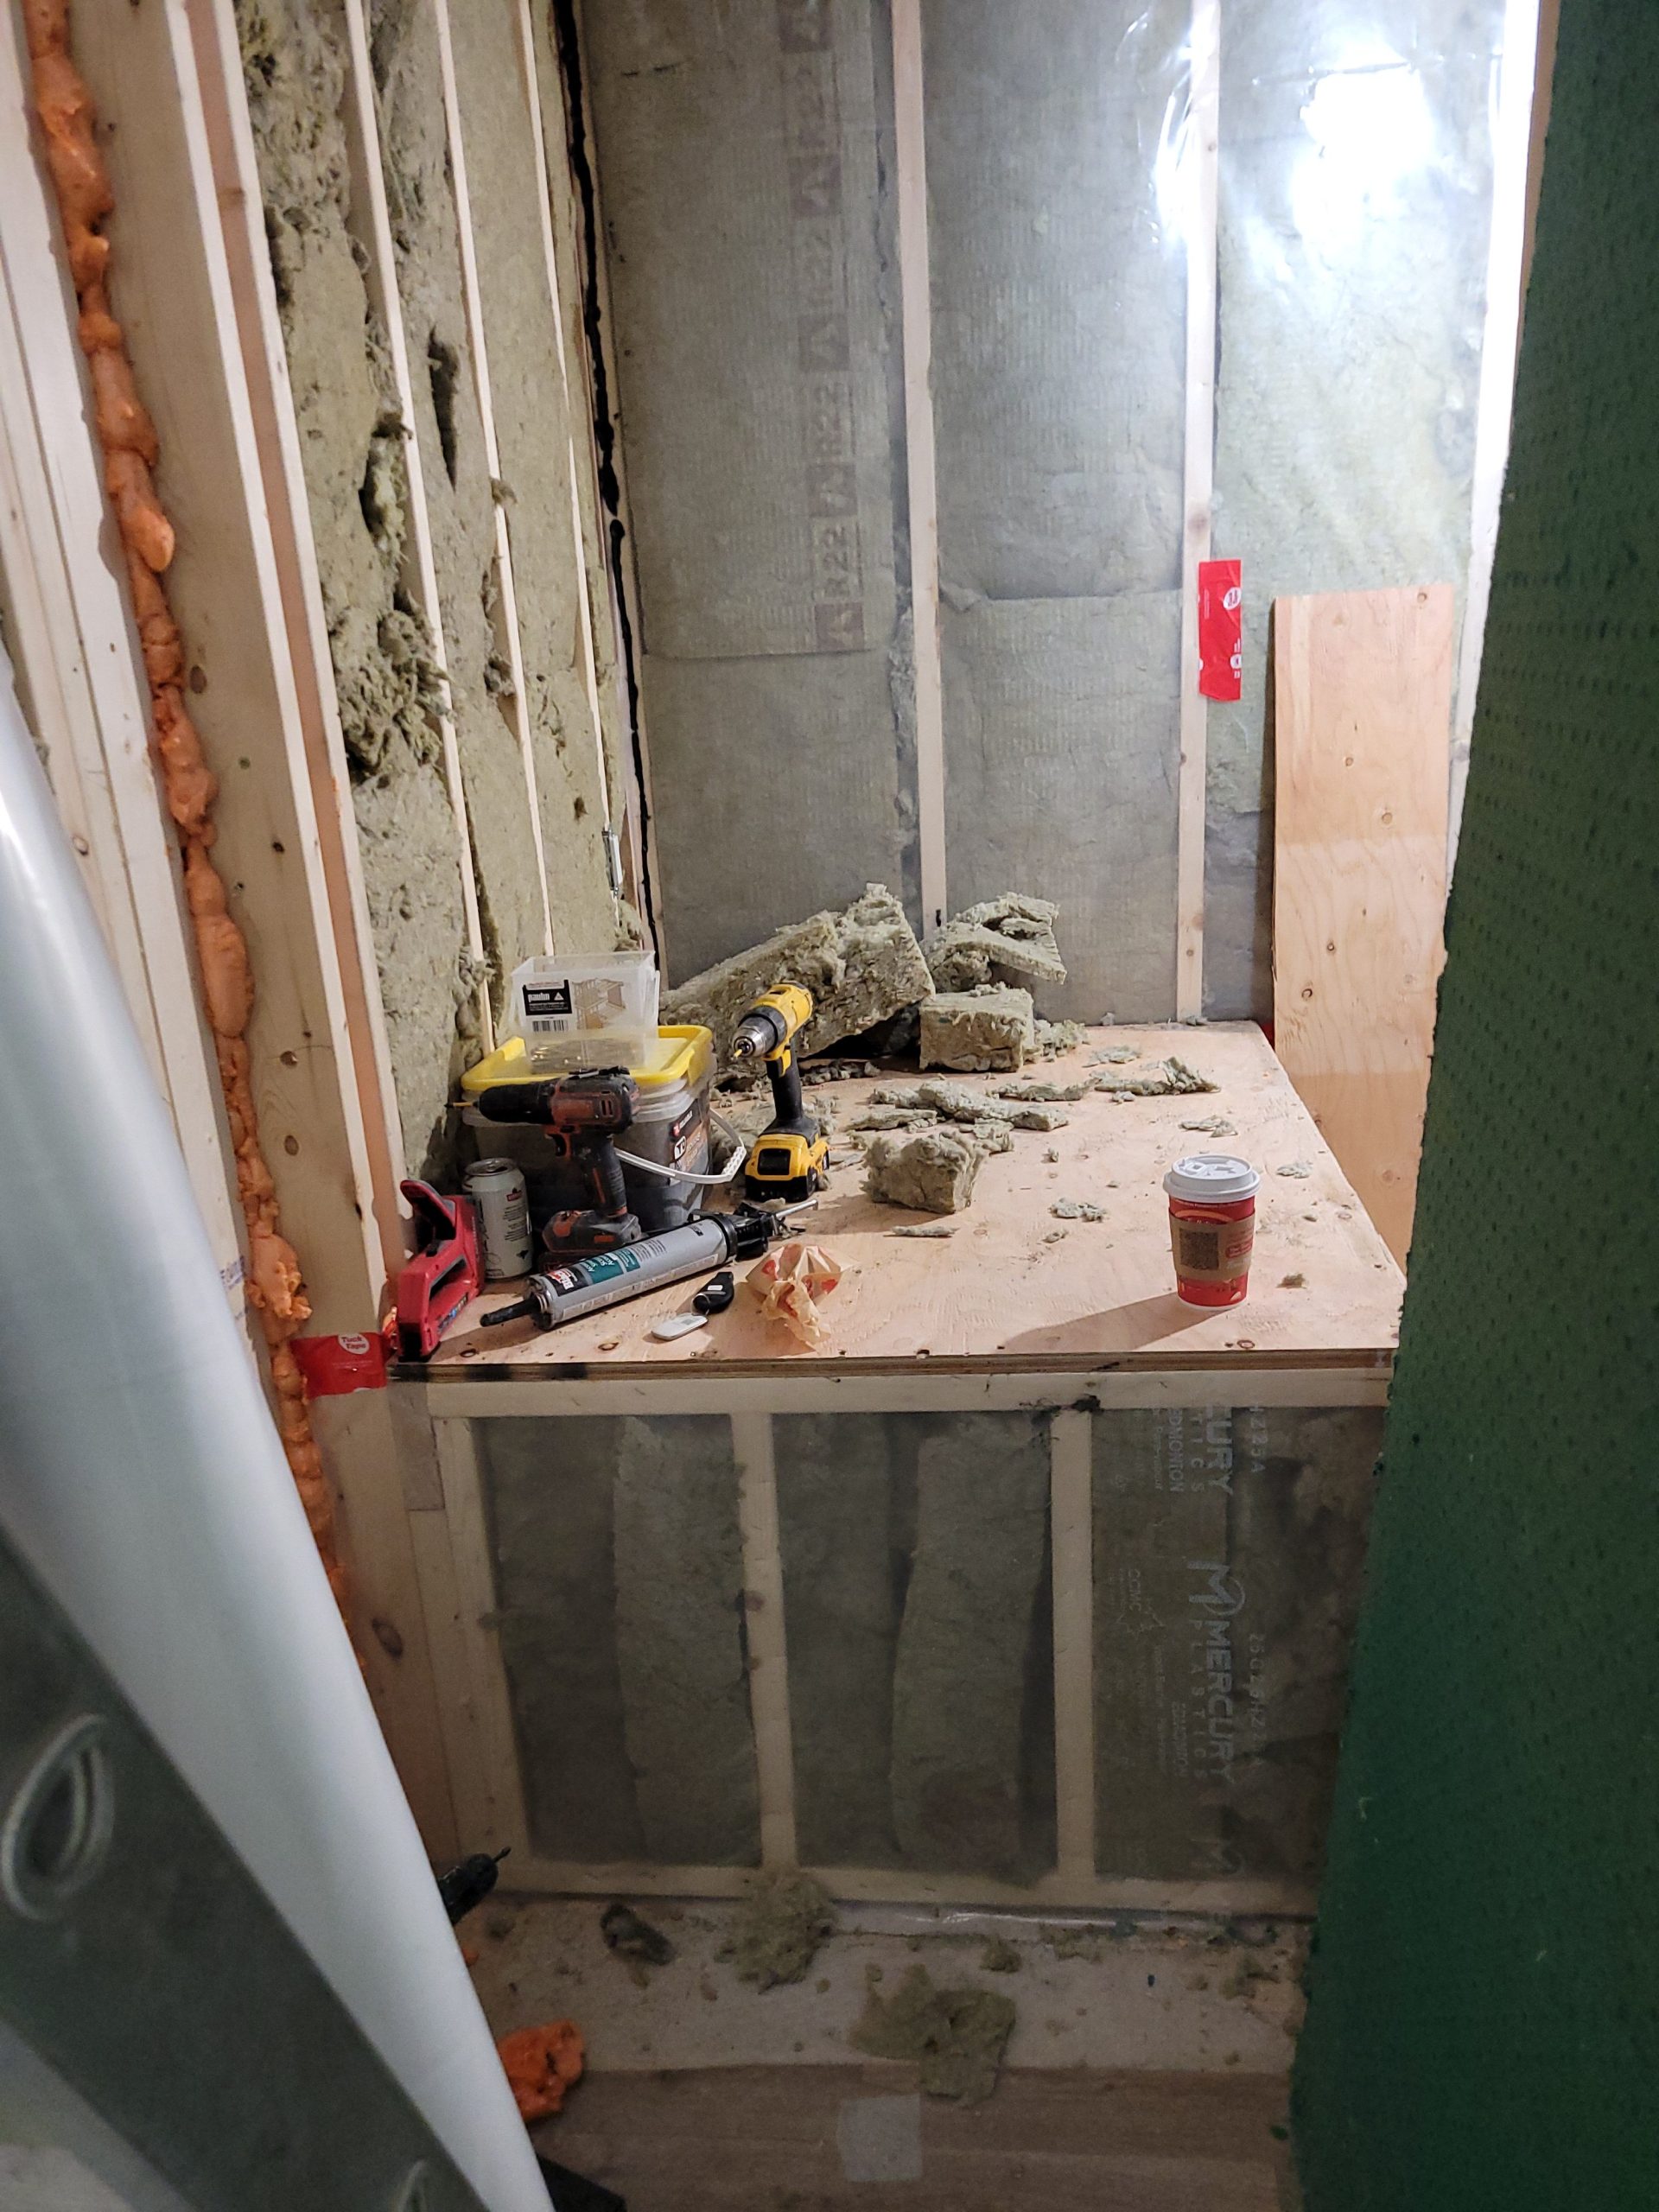
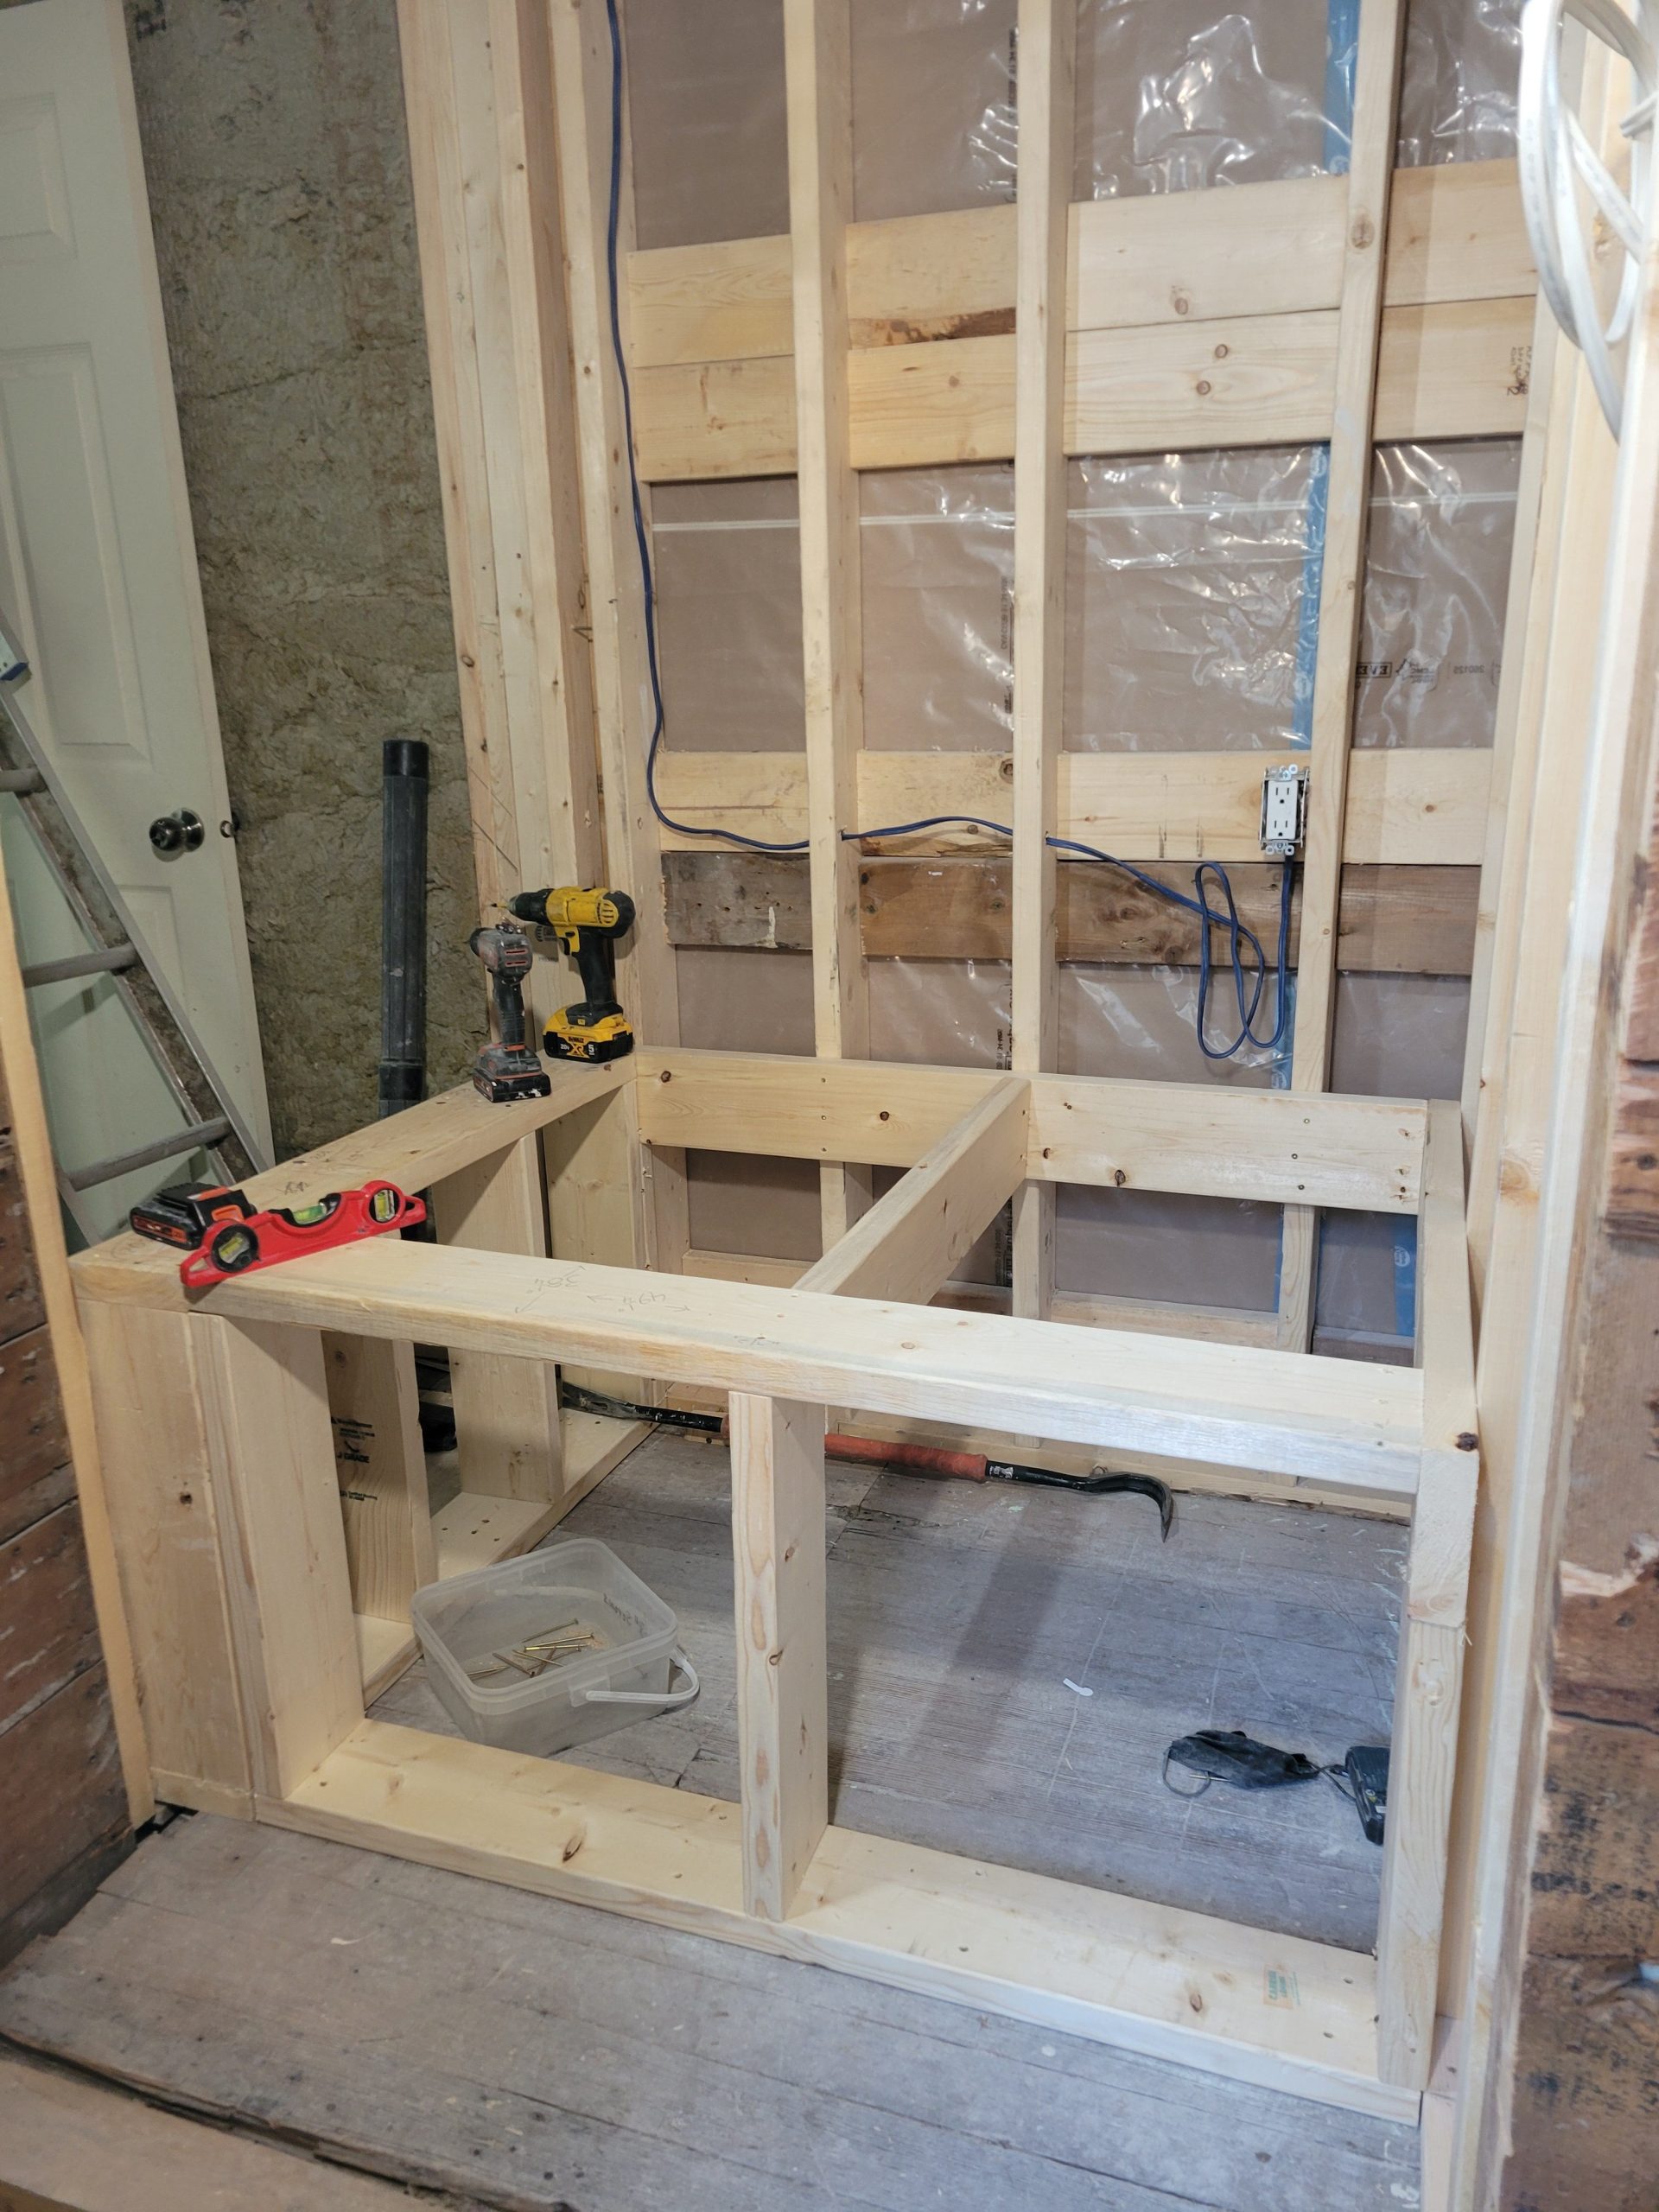
- no insulation at all – just bricks acting as heat sinks (not even structural)
- no bedroom or living room ceiling lights
- bad location of bedroom doors
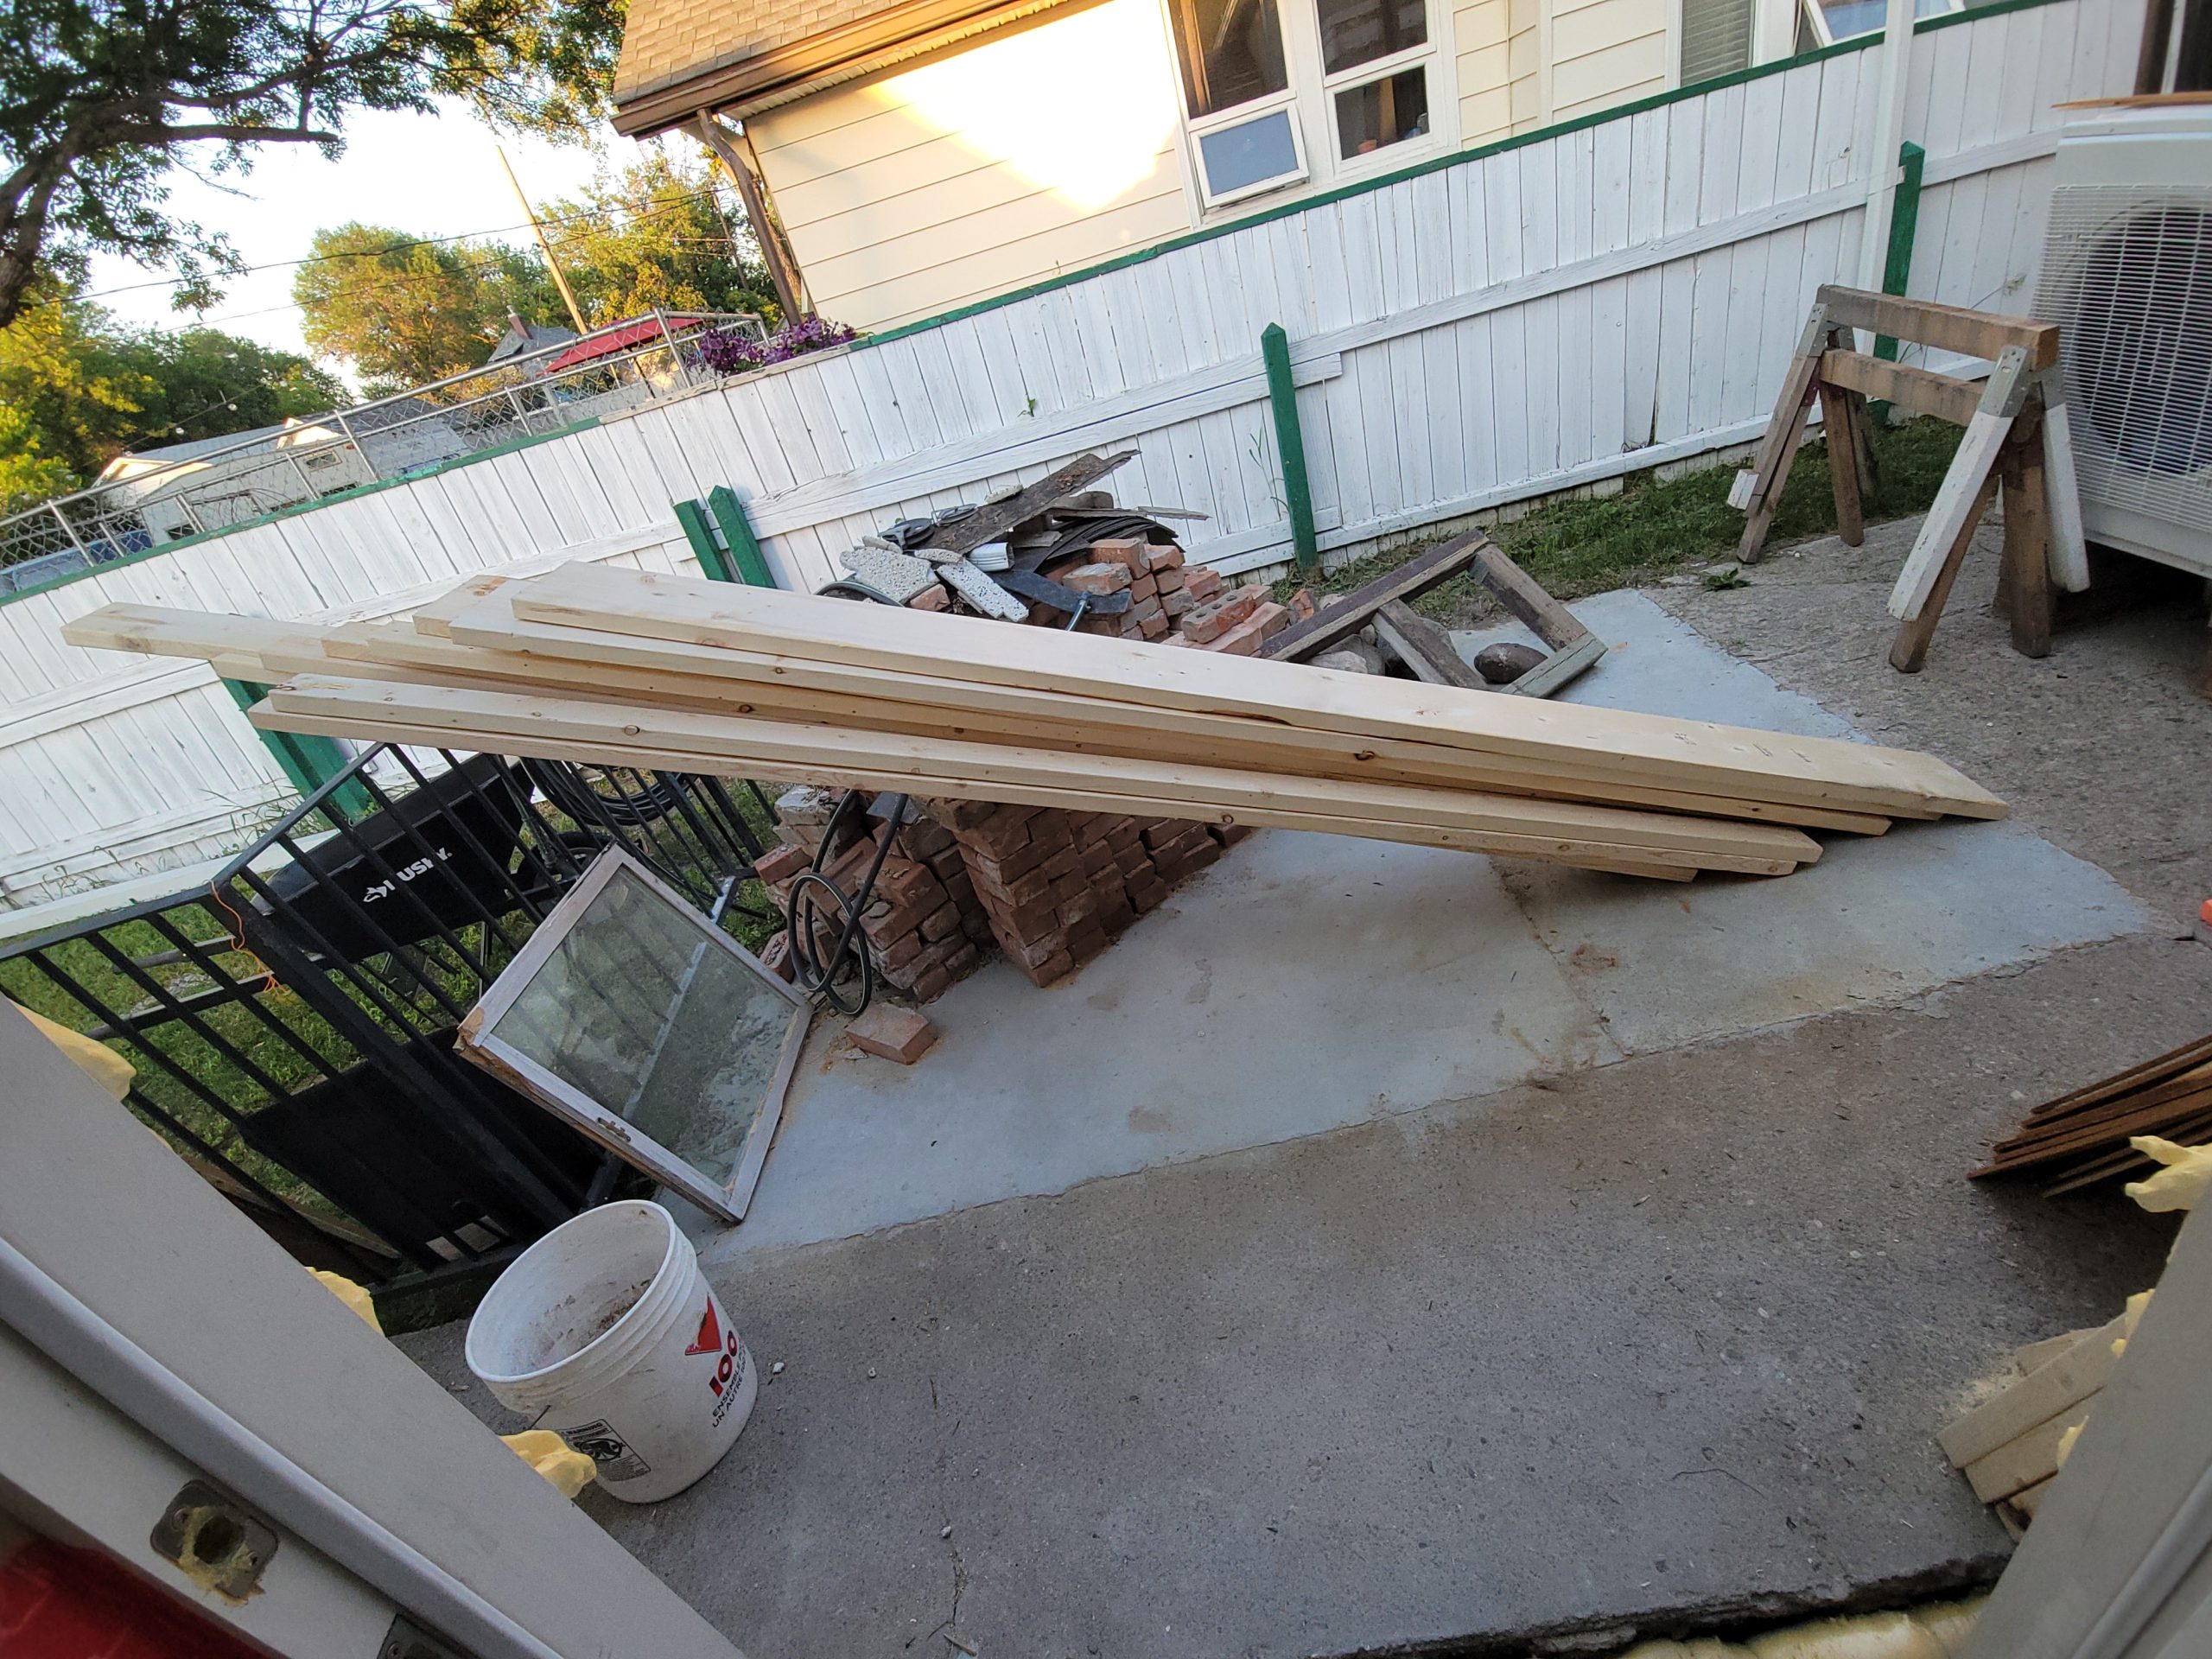
- bad windows
- BR1 had a window opening into the front porch – no fresh air, not to mention illegal as all hell as there was no means of egress
- BR2 had a tiny, leaky awning window
- BR3 had a large, leaky window
- living room window leaked, would not close
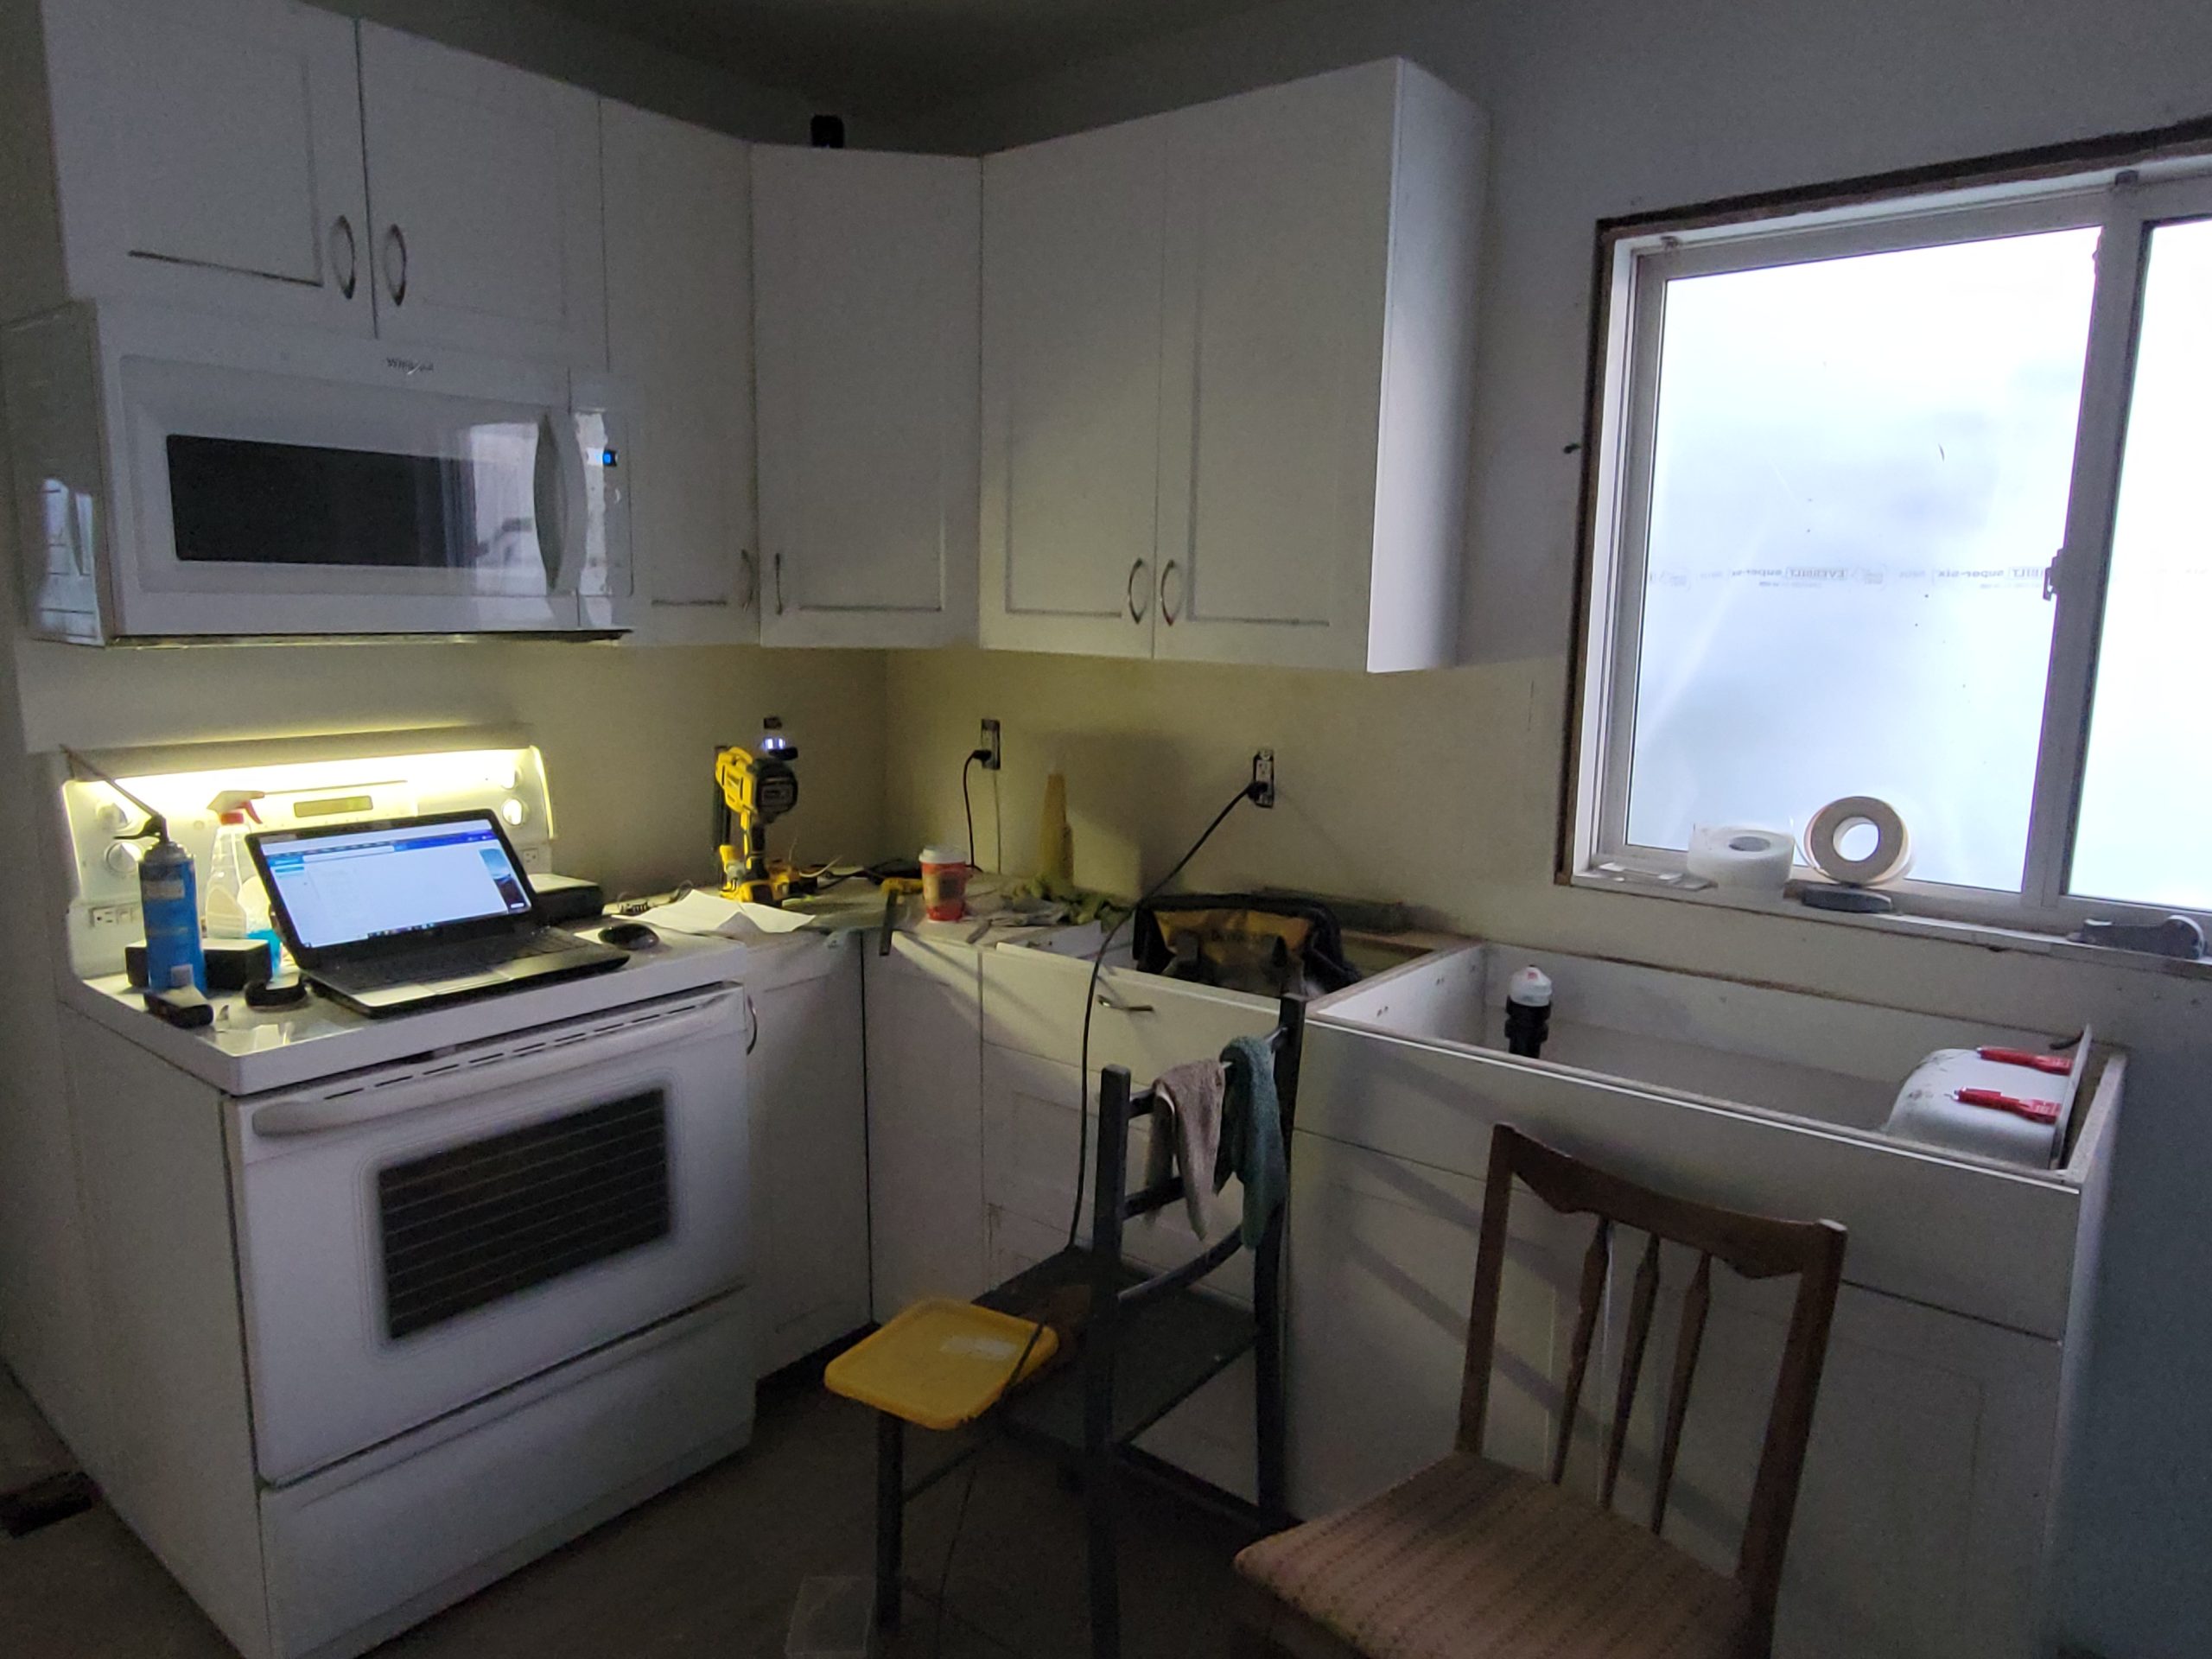
- dated, painted 1960s panelling
- no 36-inch egress doors
- and many, many more