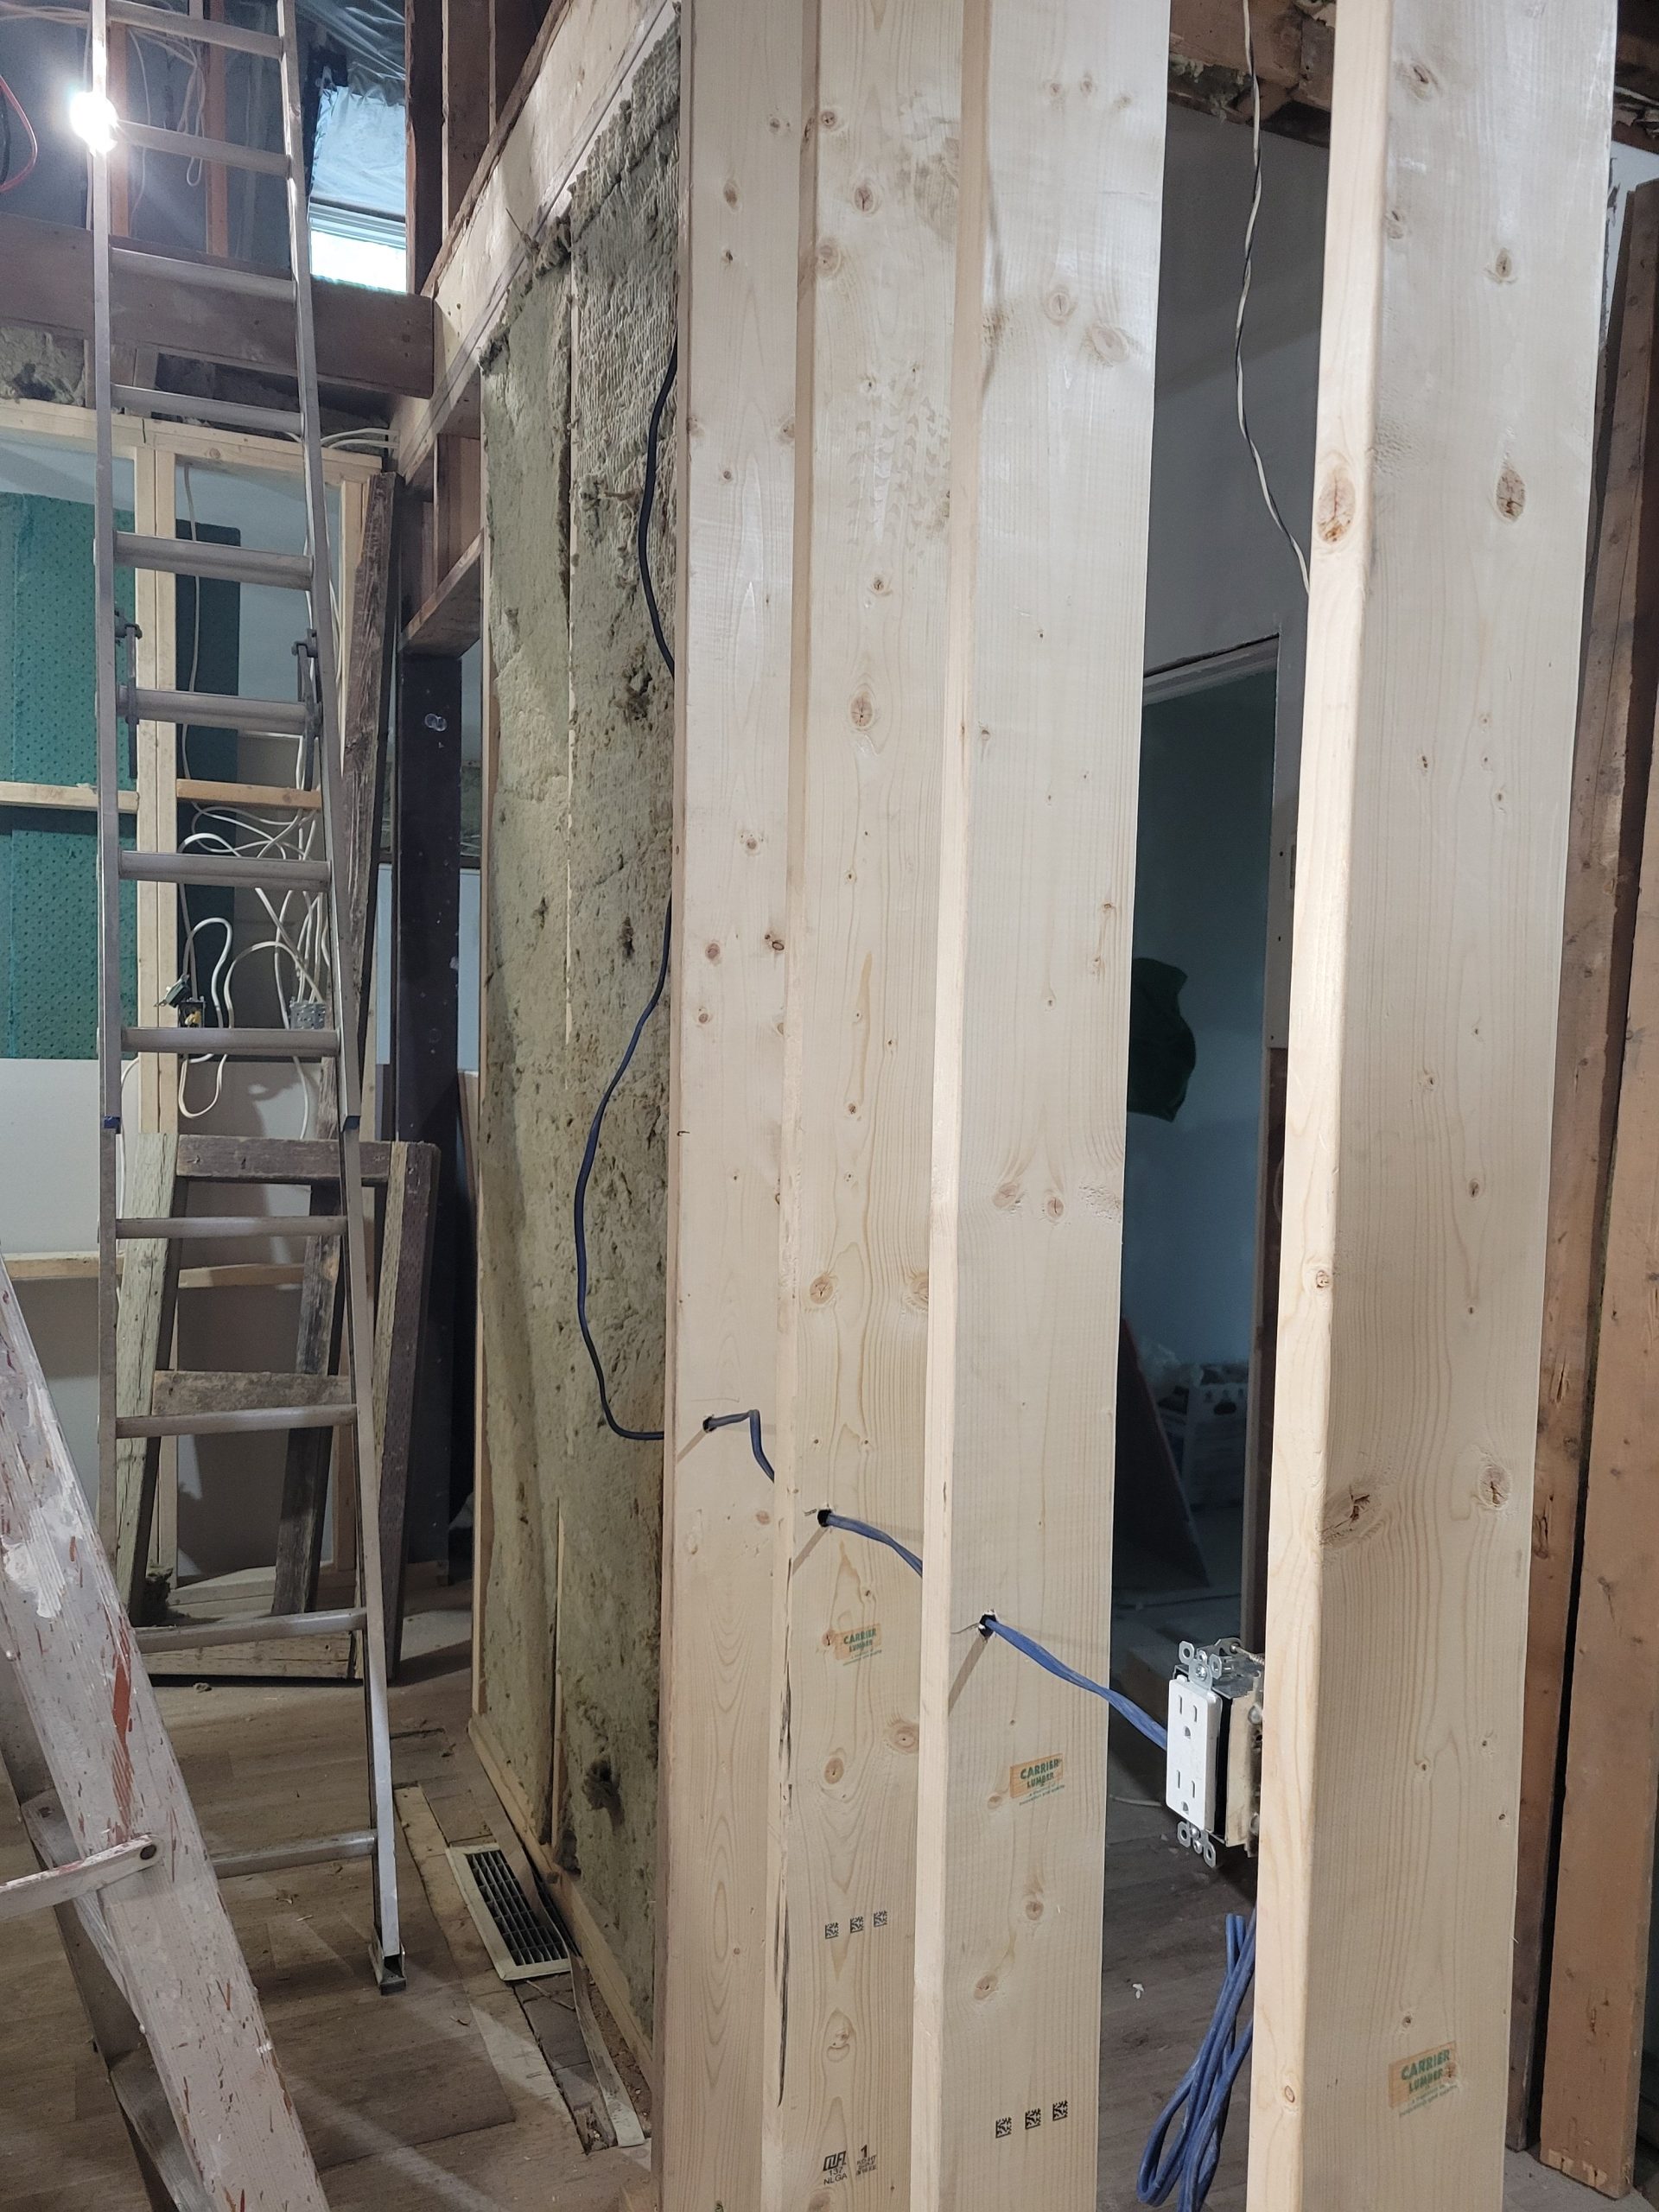
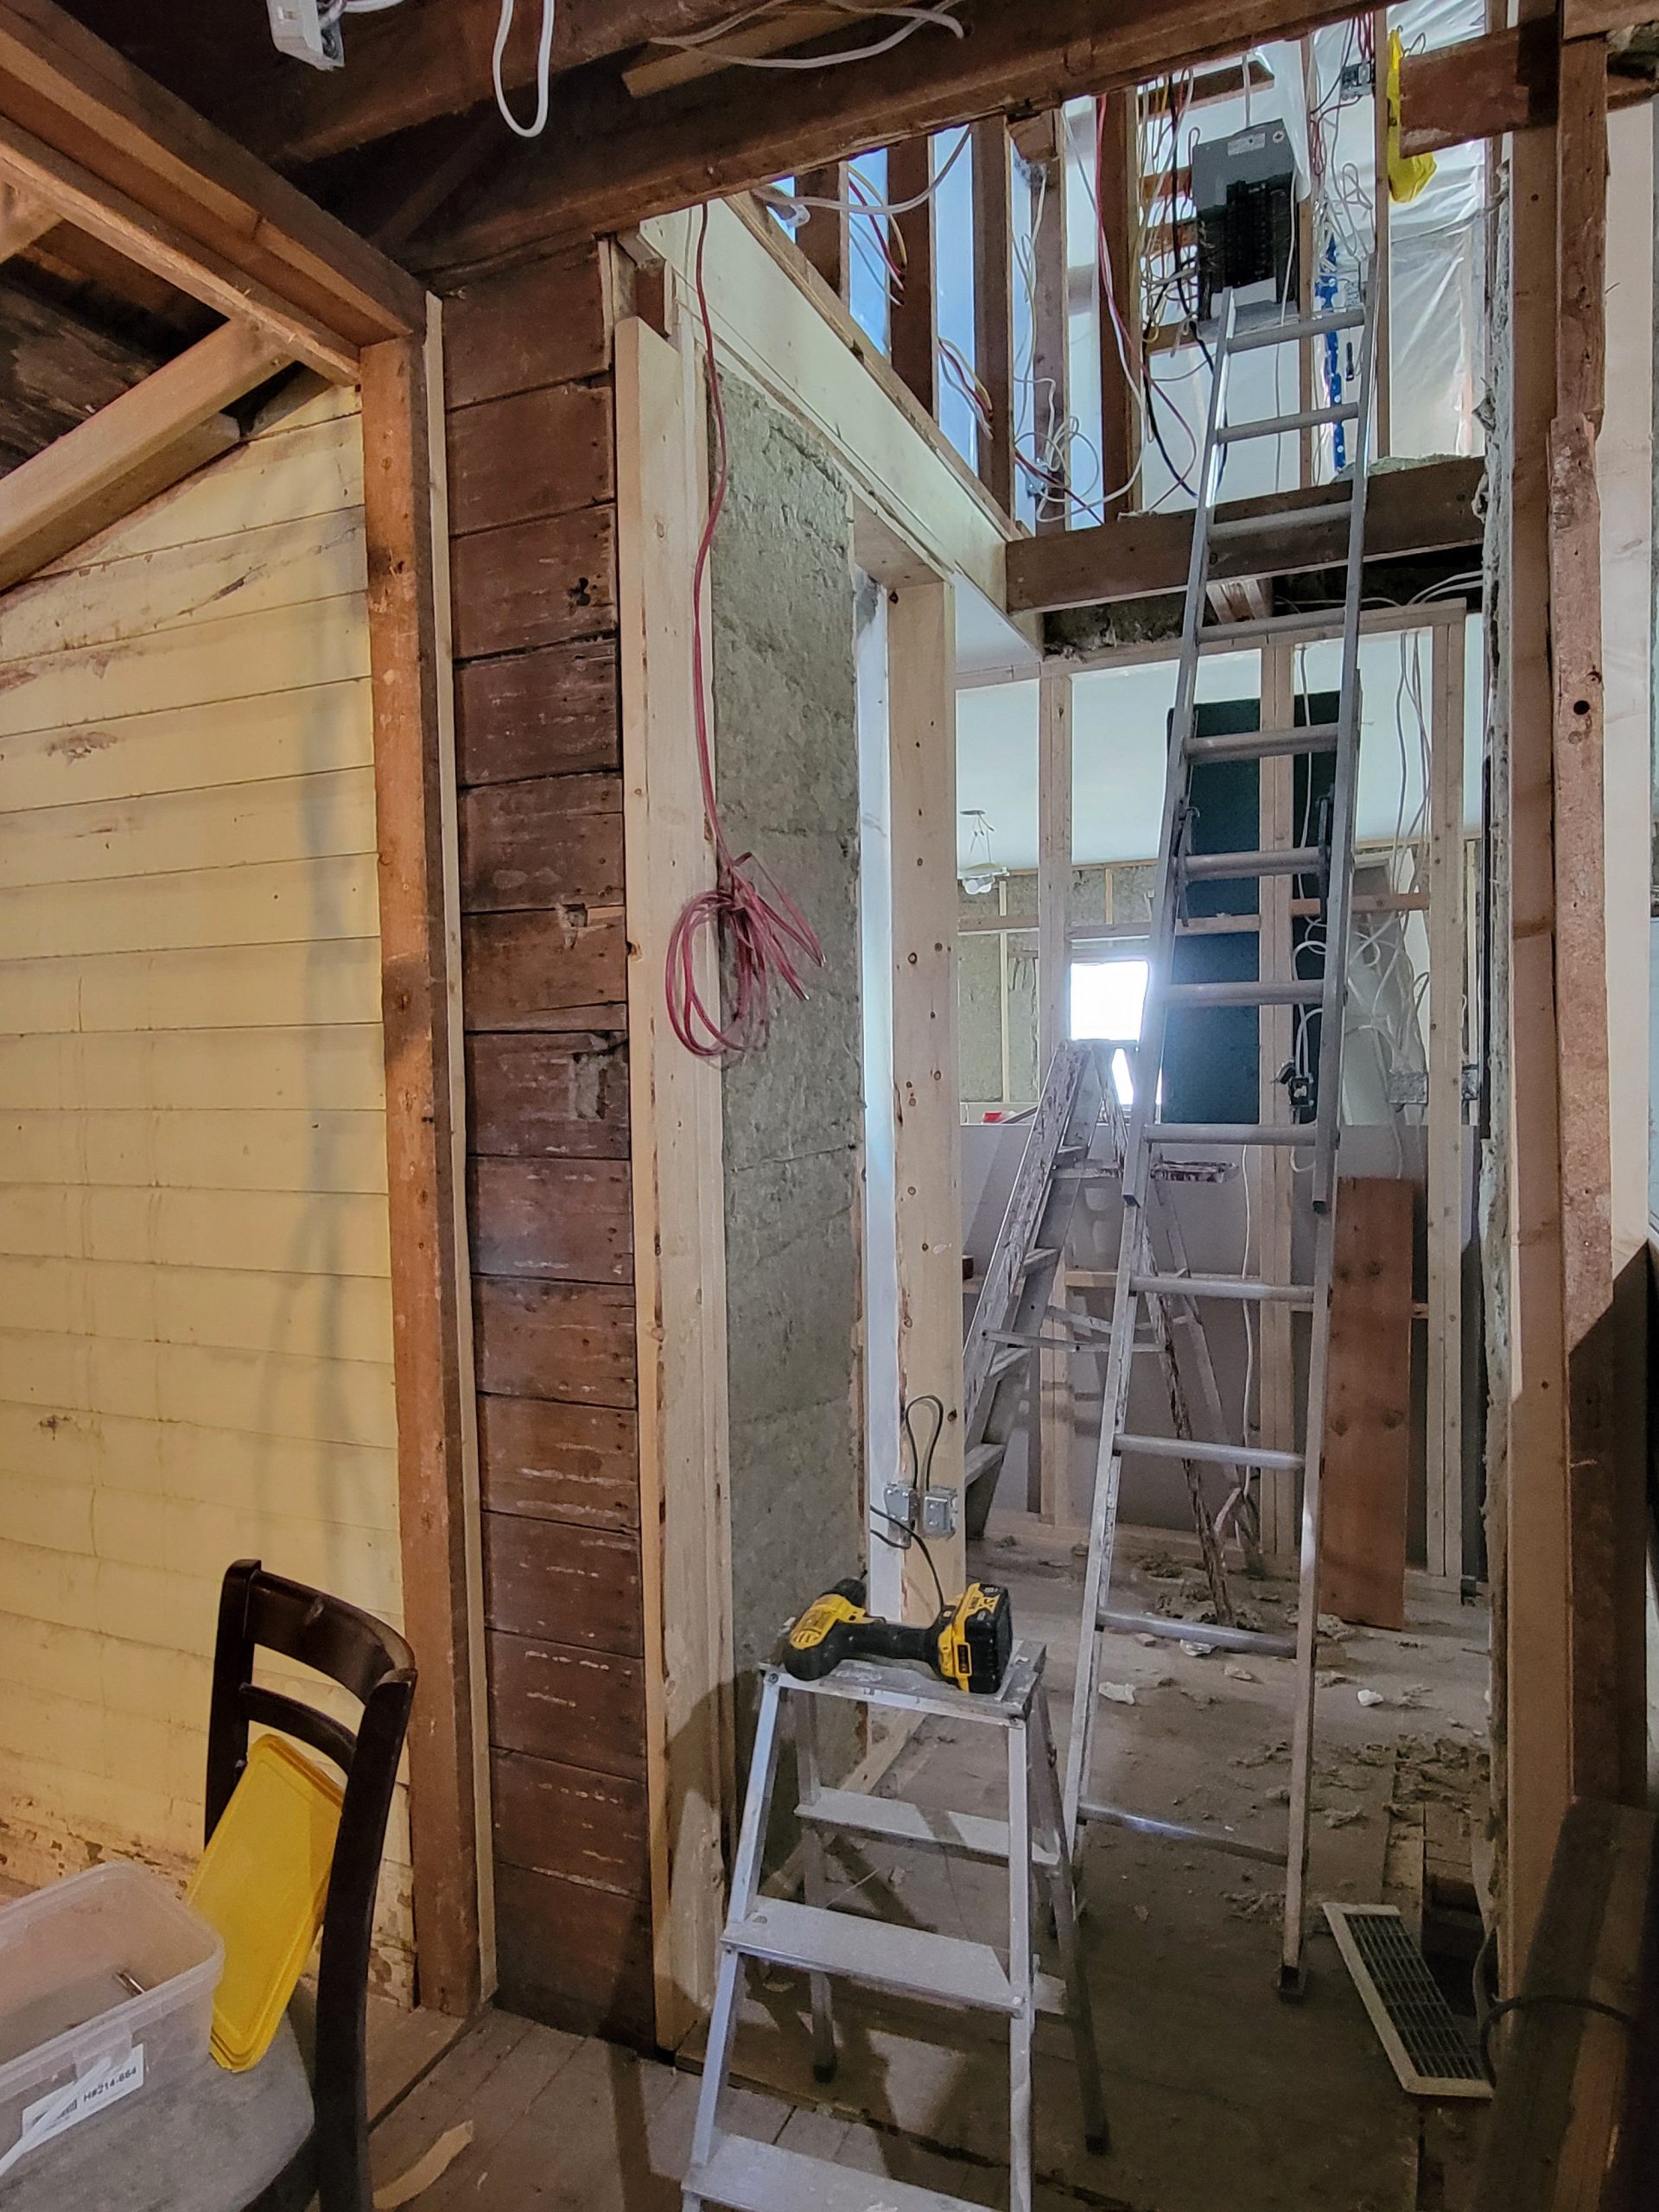
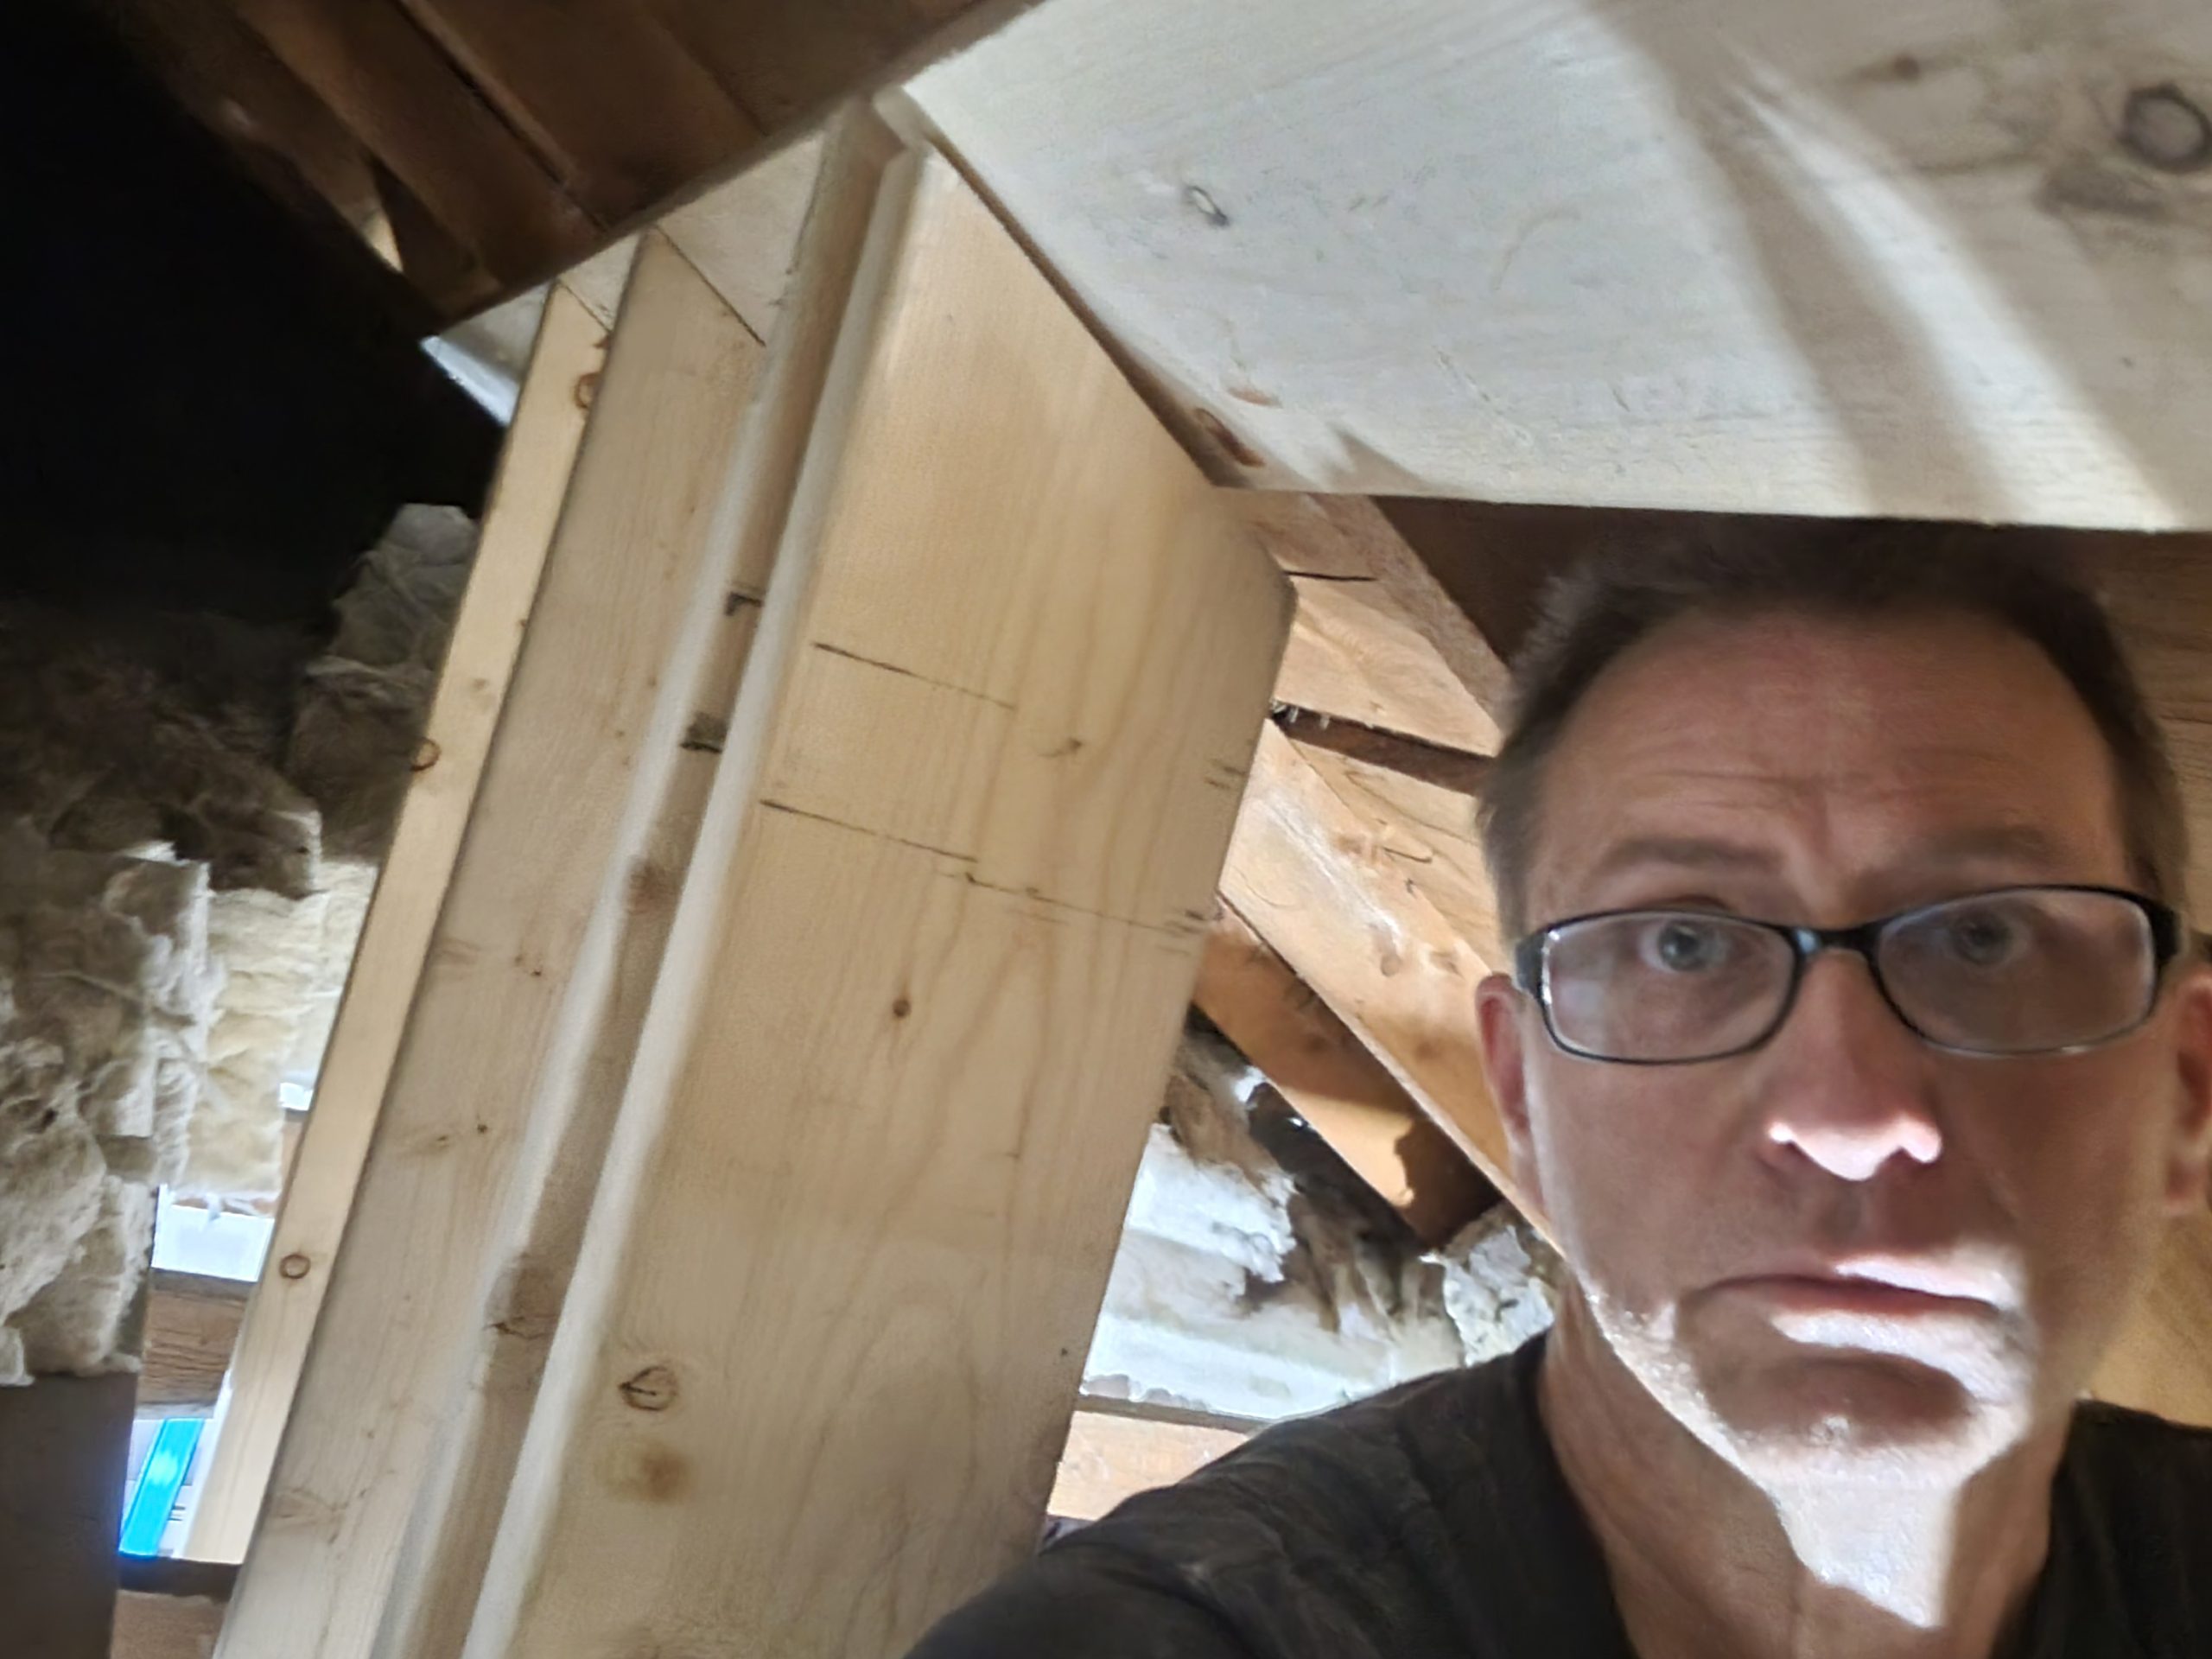
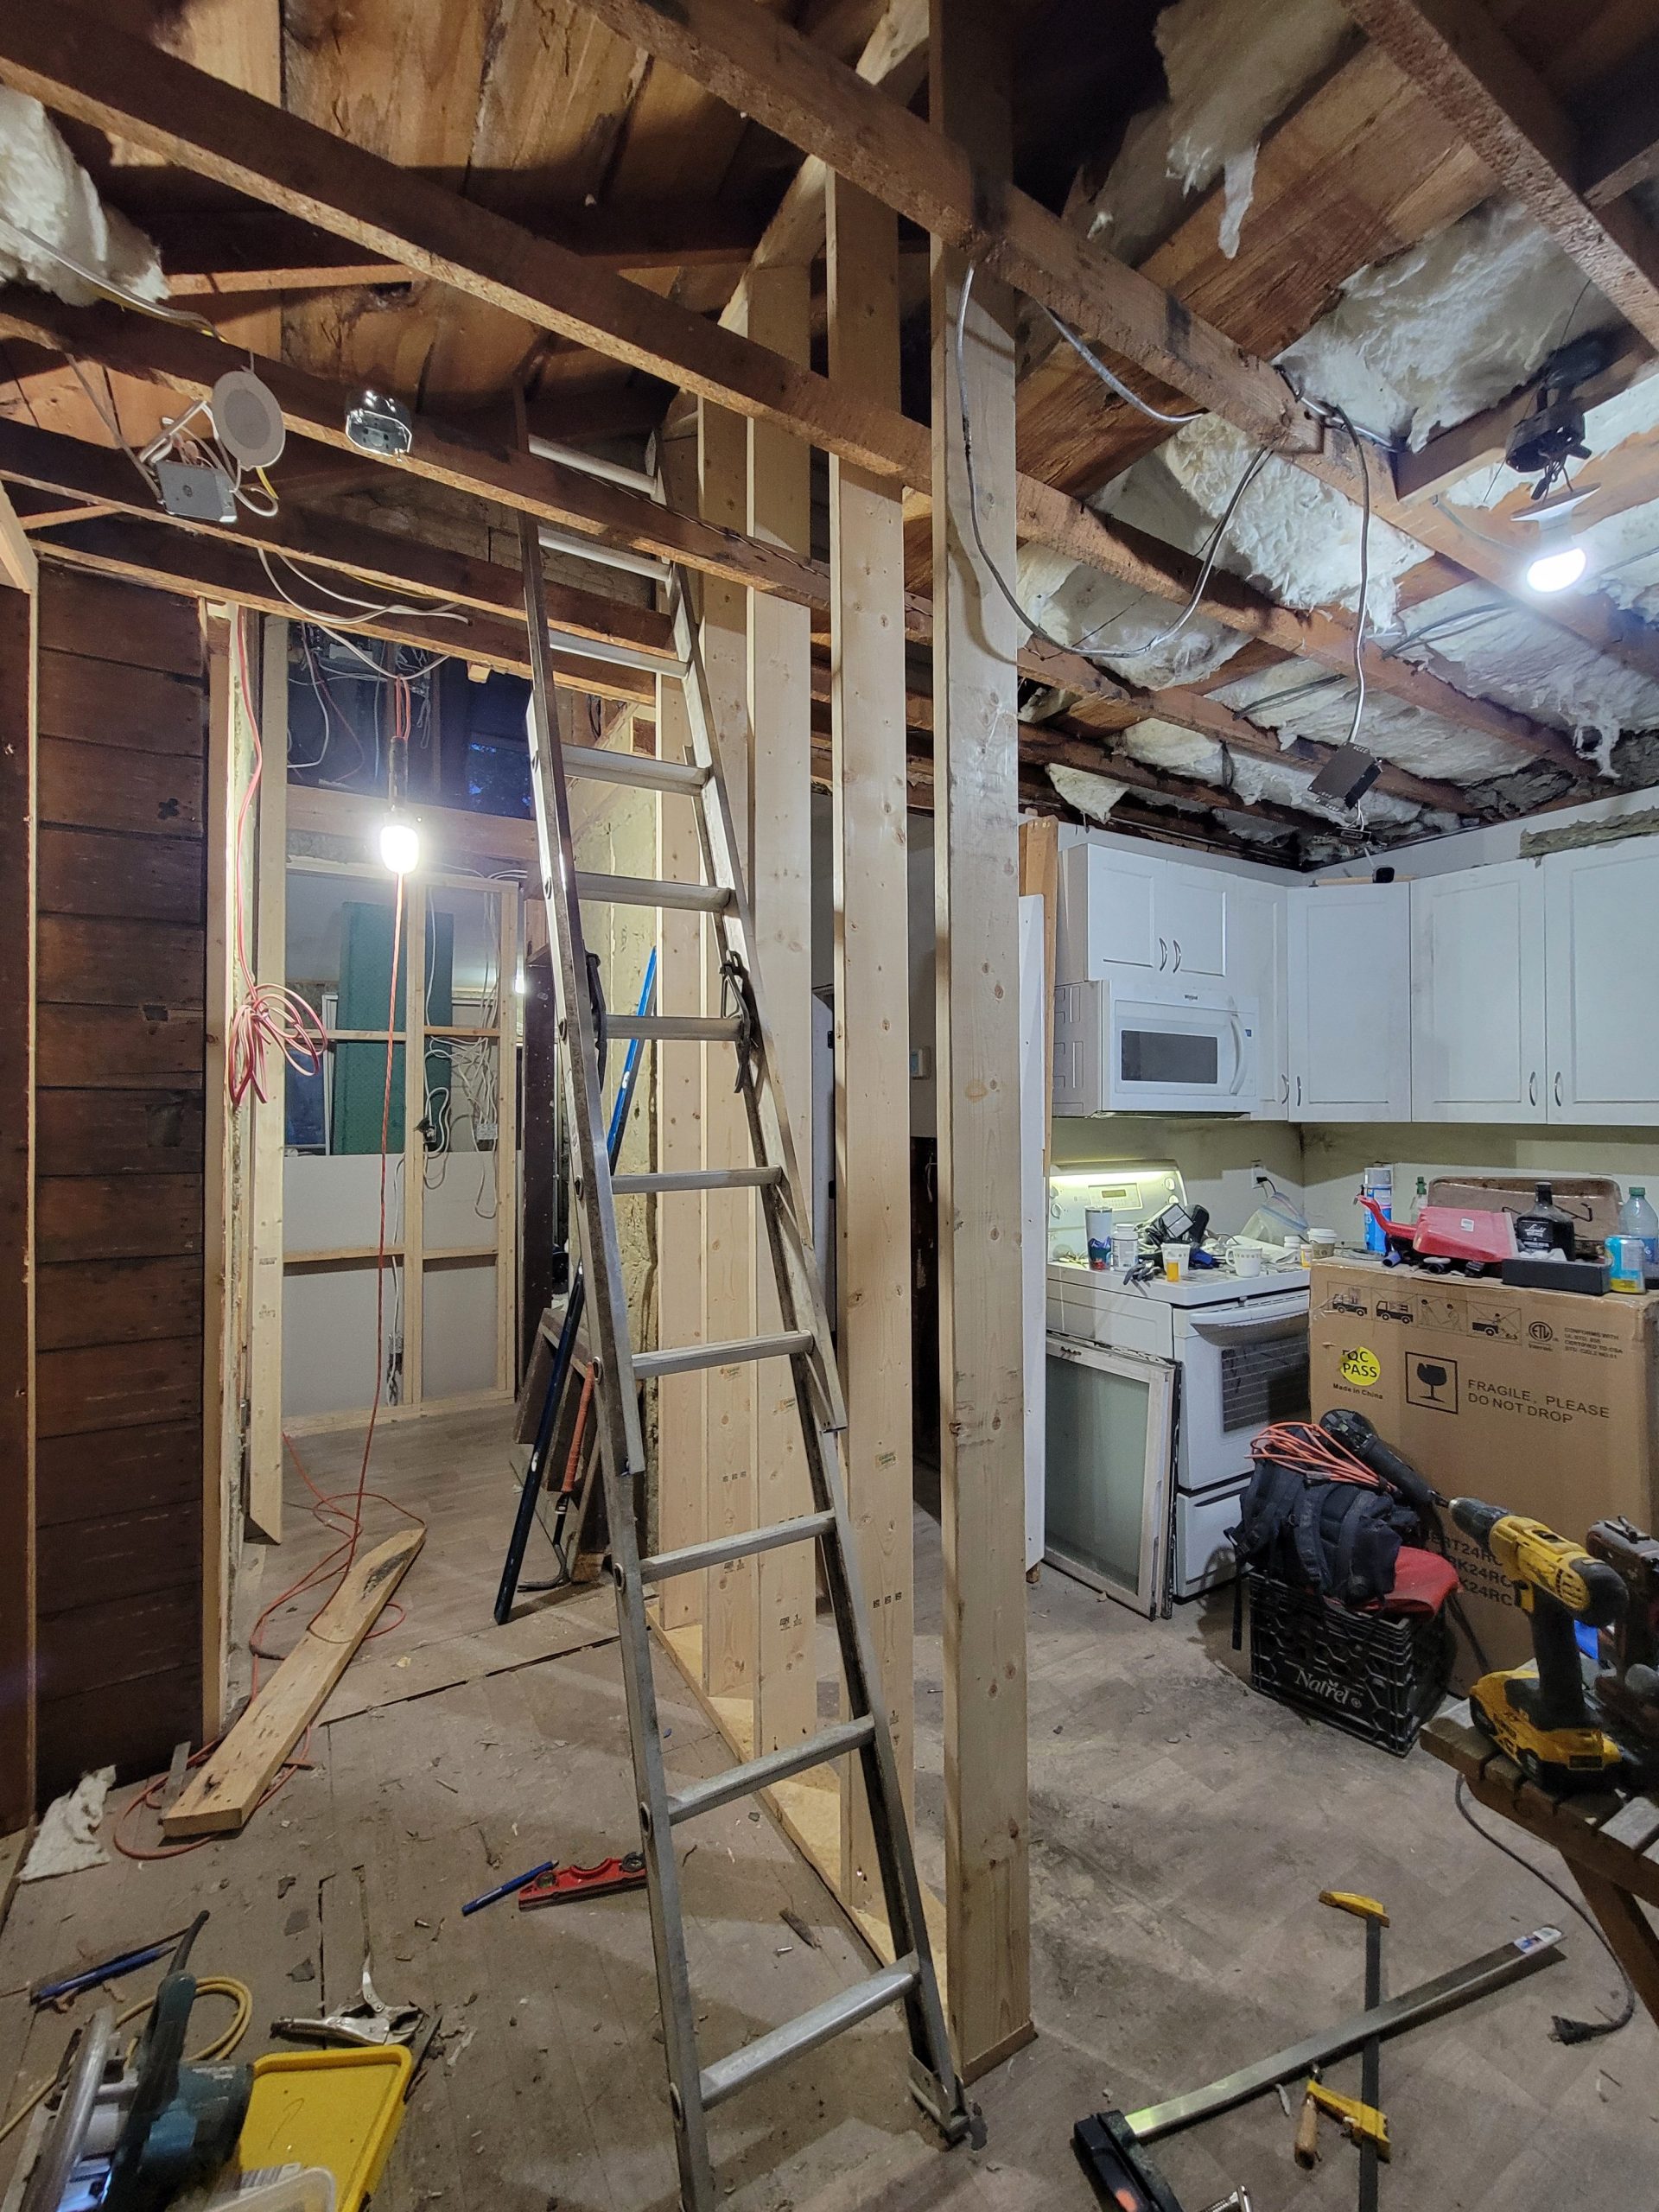
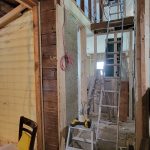
More odds and ends were completed on the framing of the 2nd floor entrance.
(This post is categorized in both “main” and “up” of 1403.)
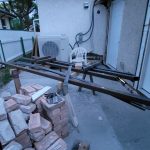
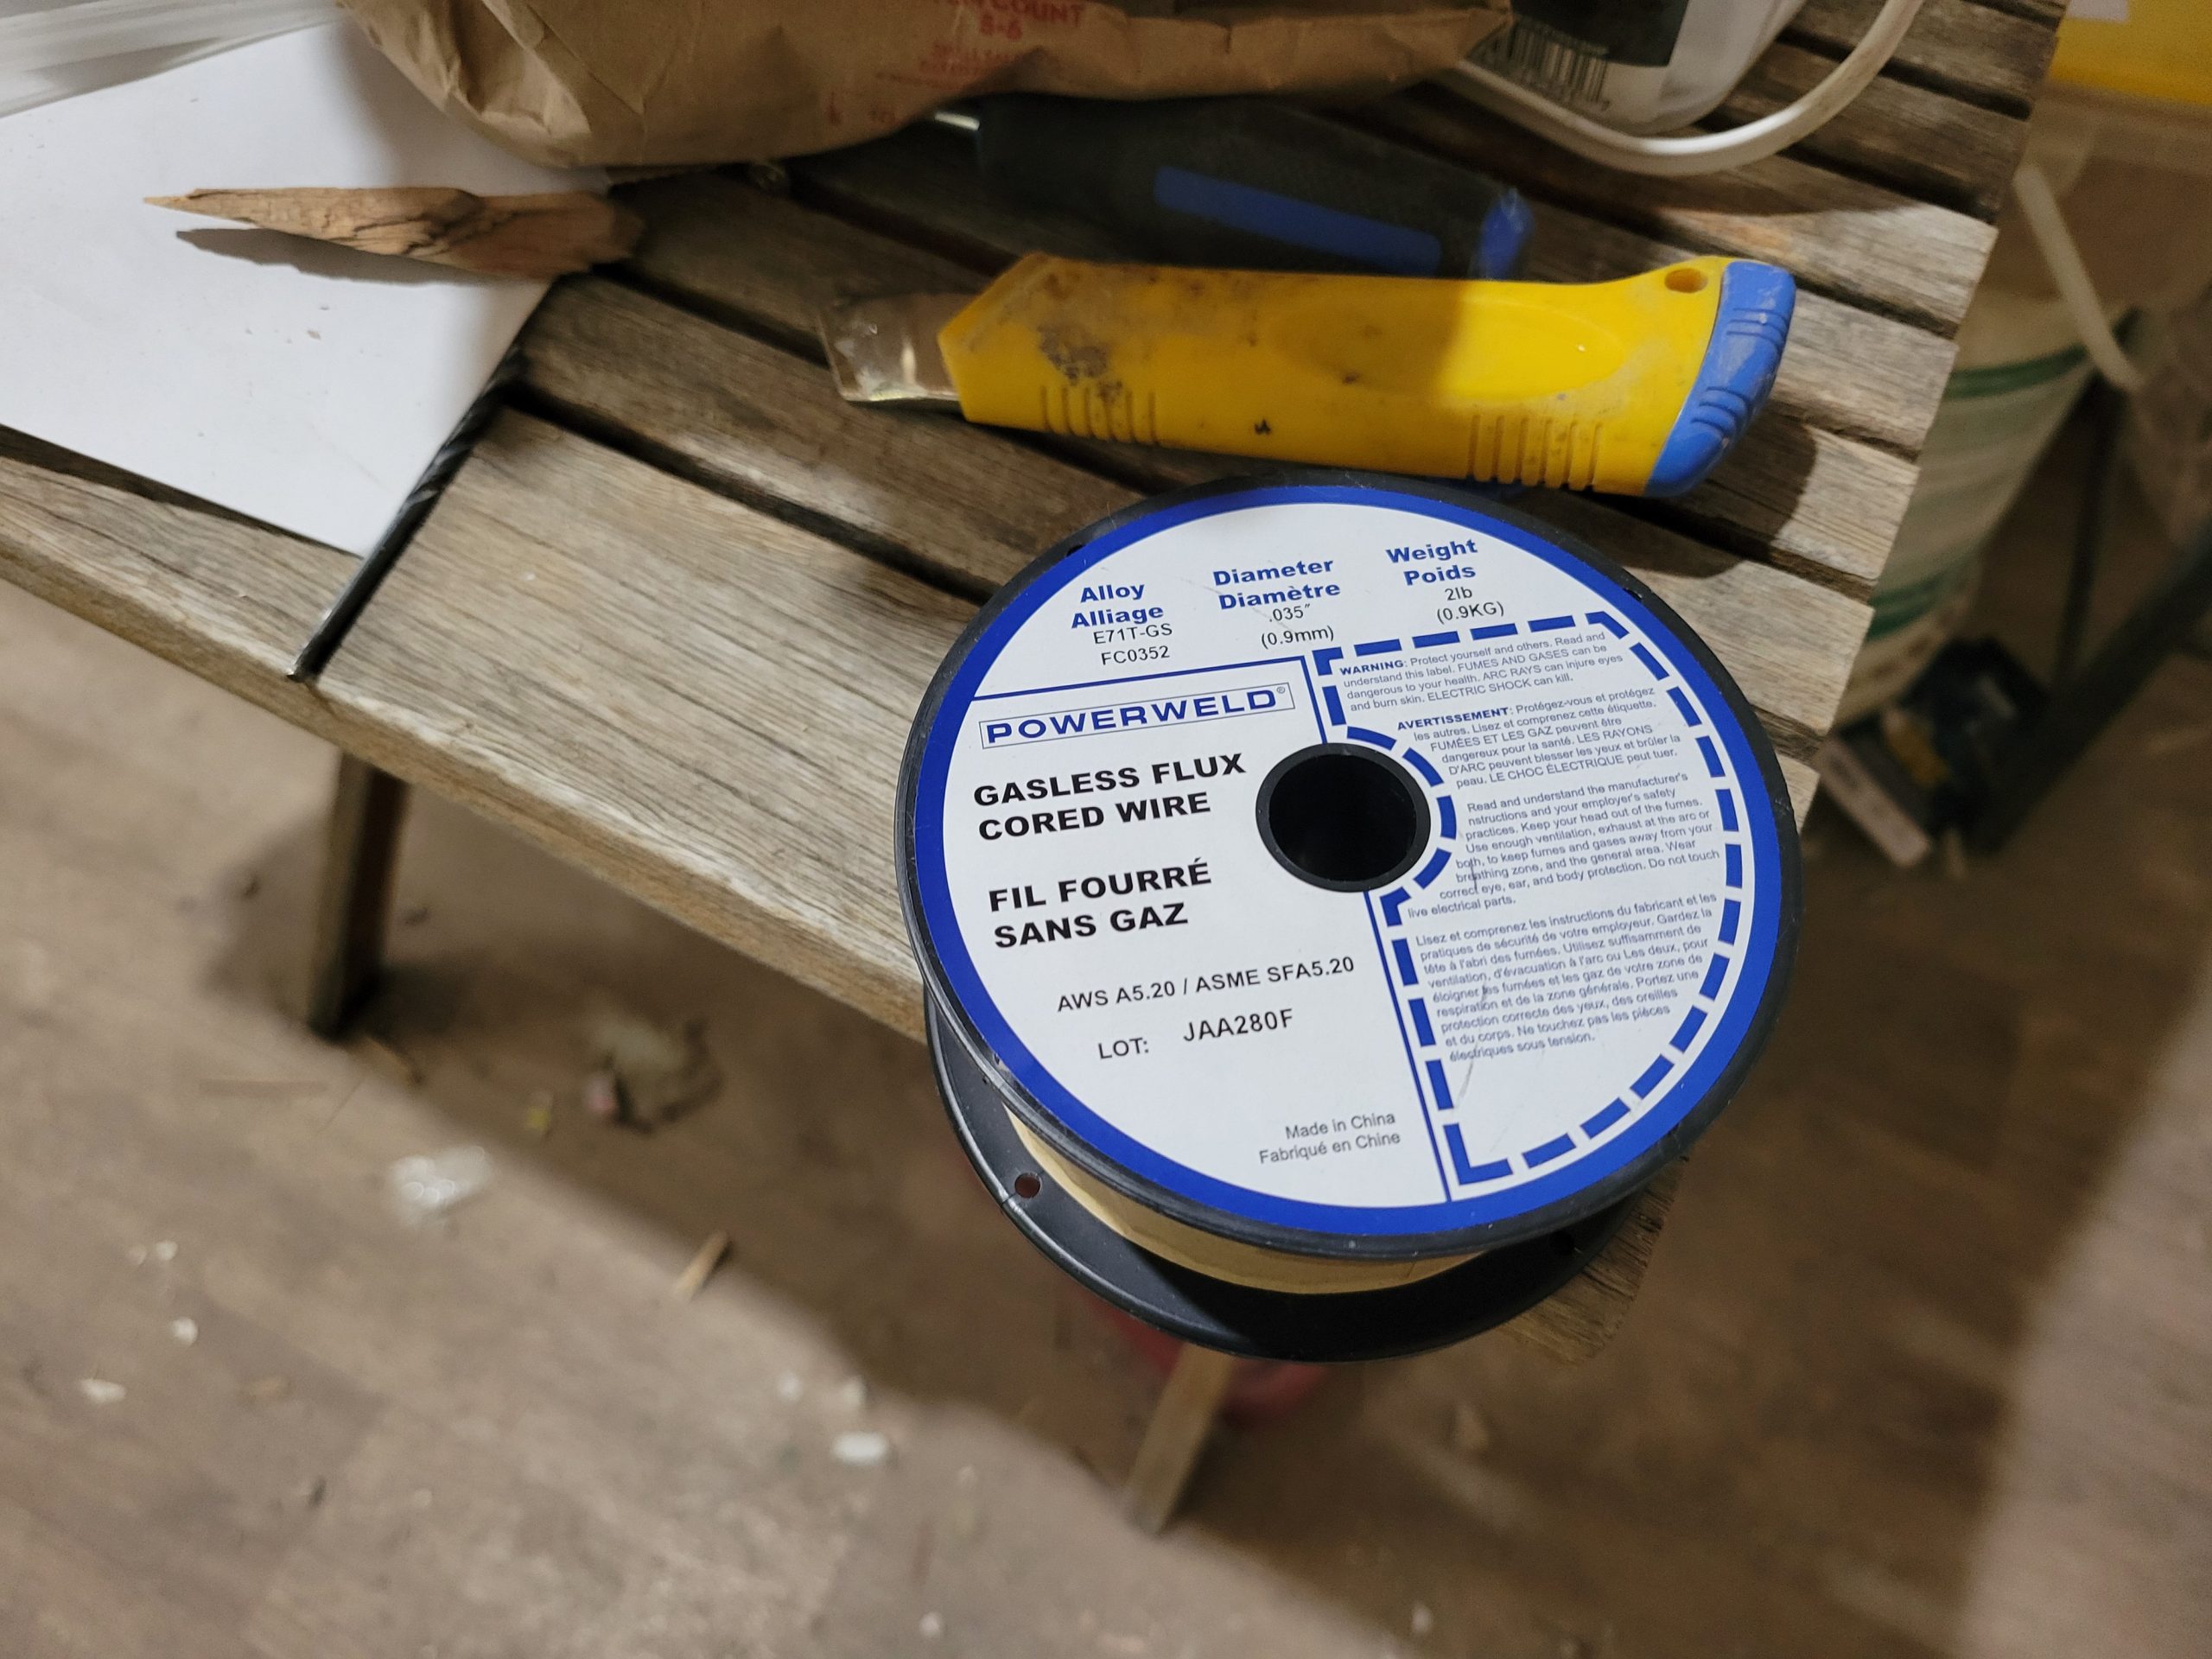
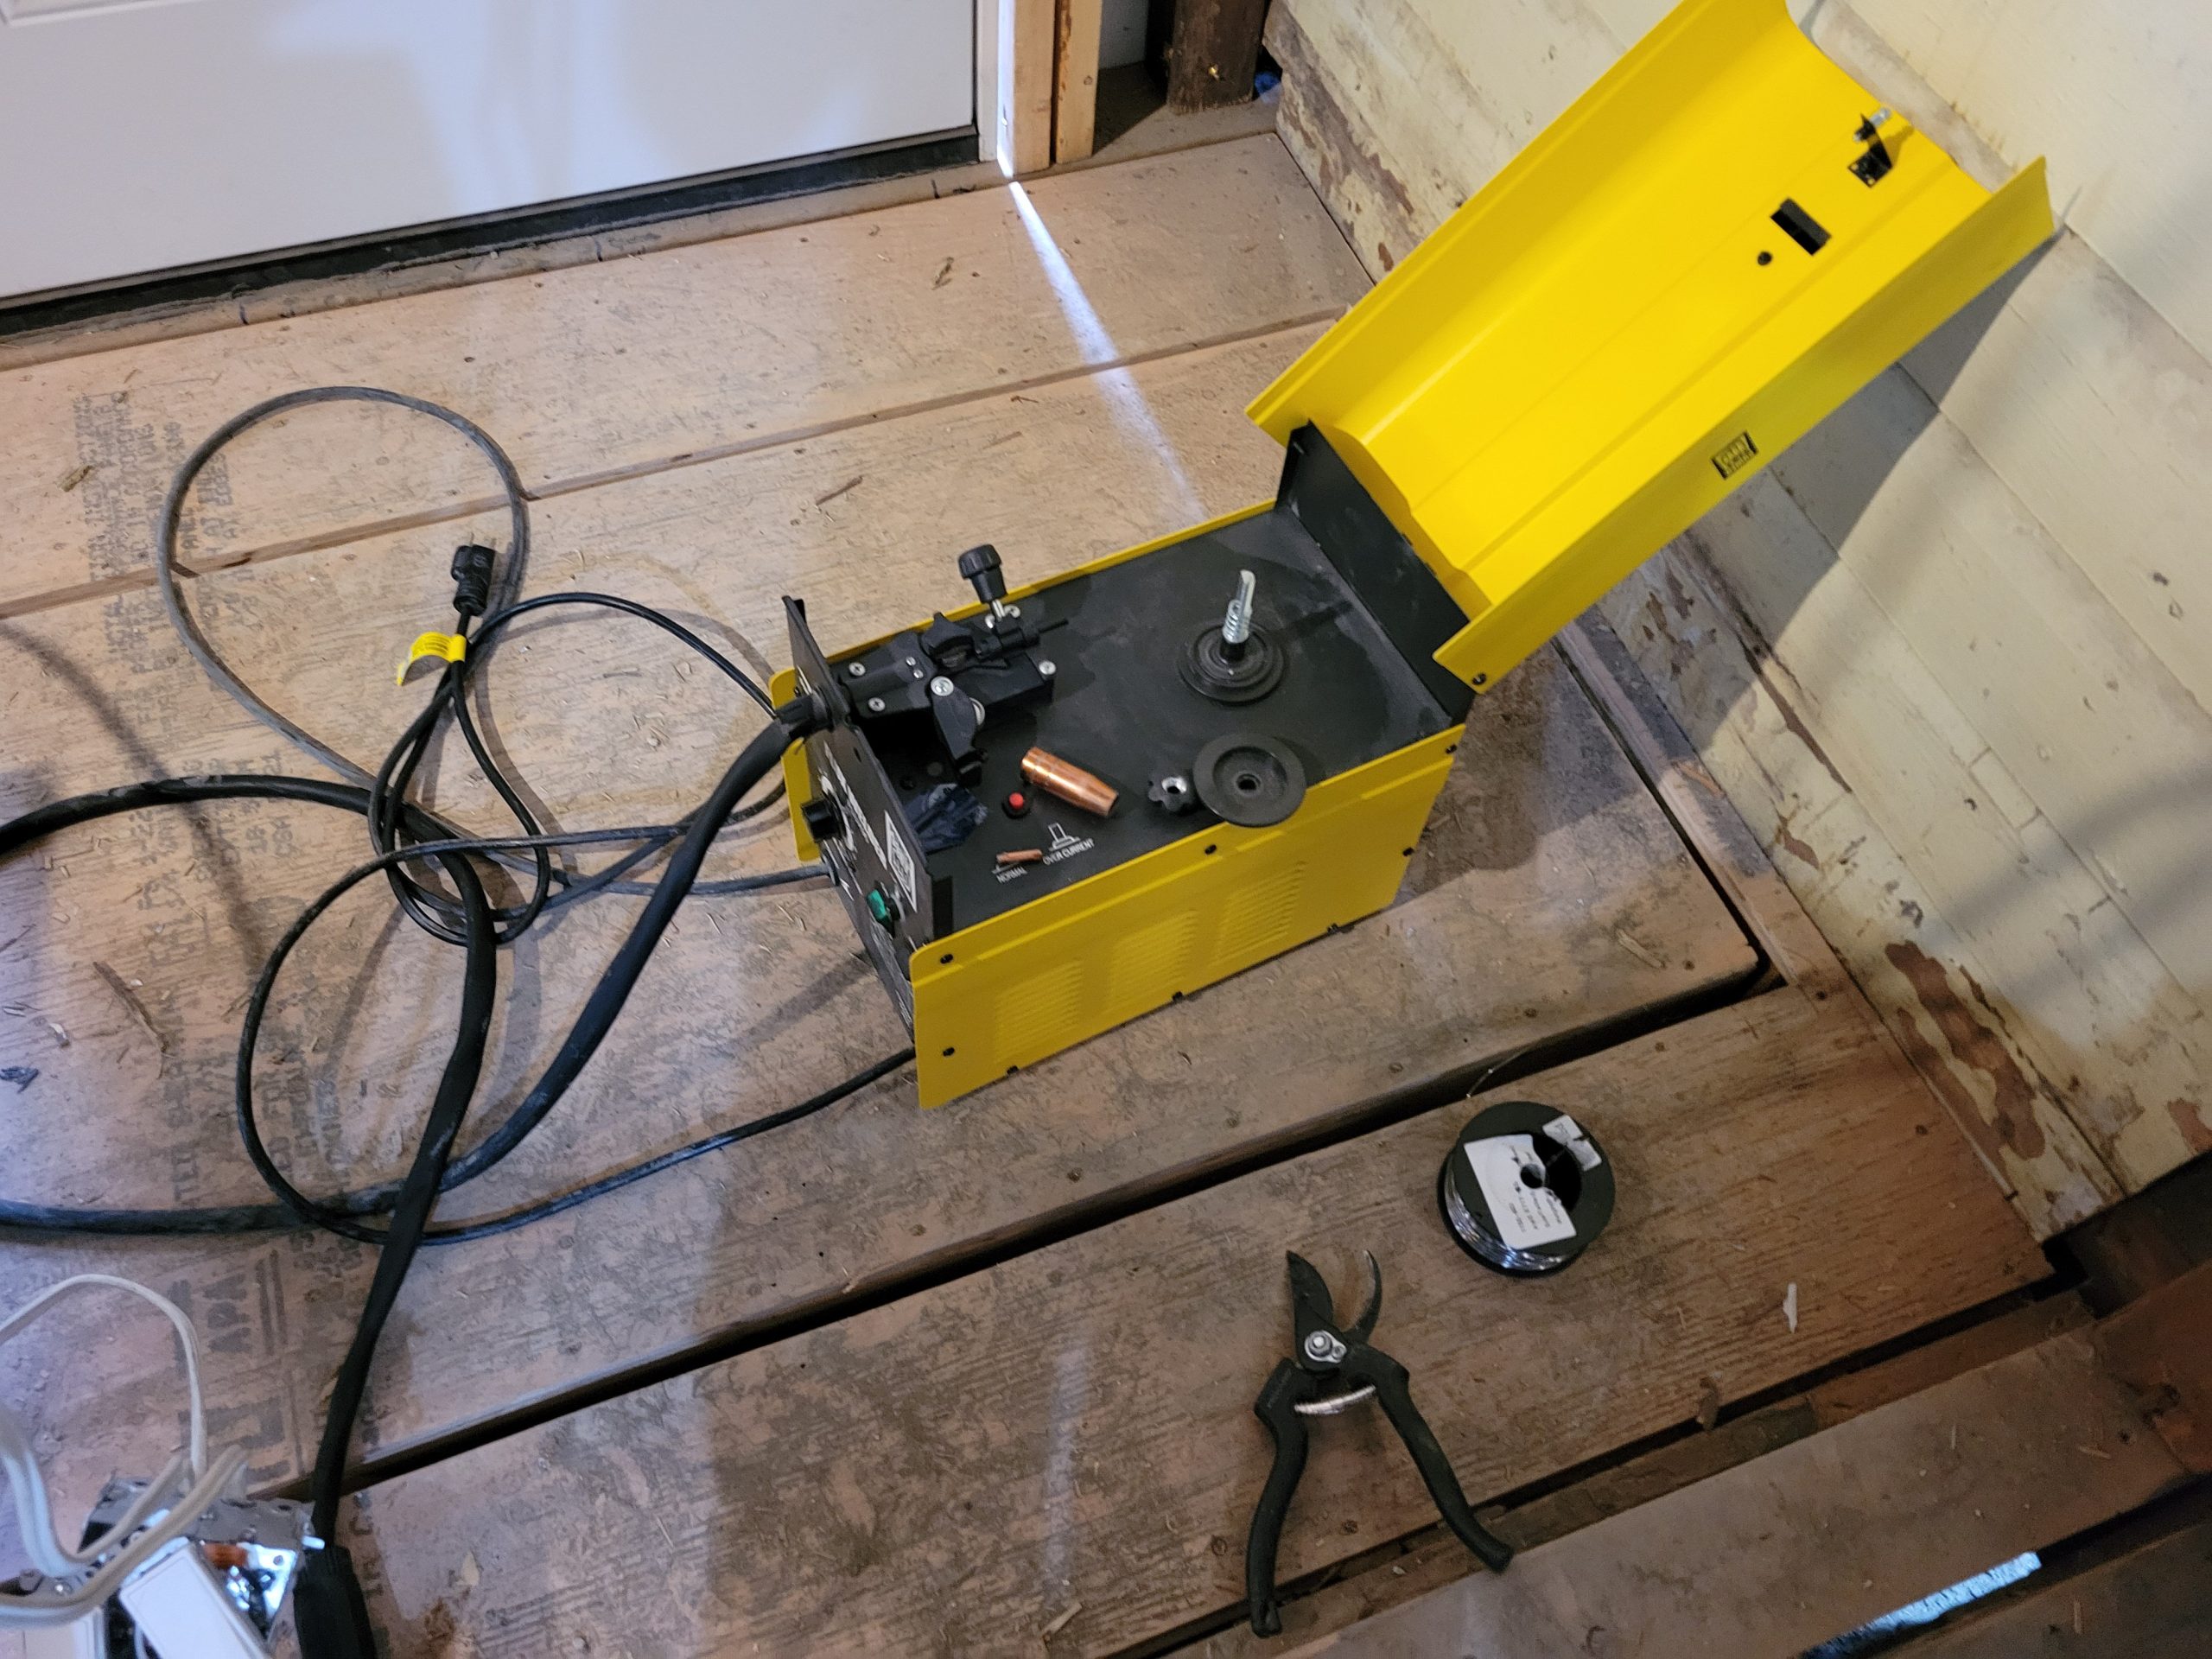
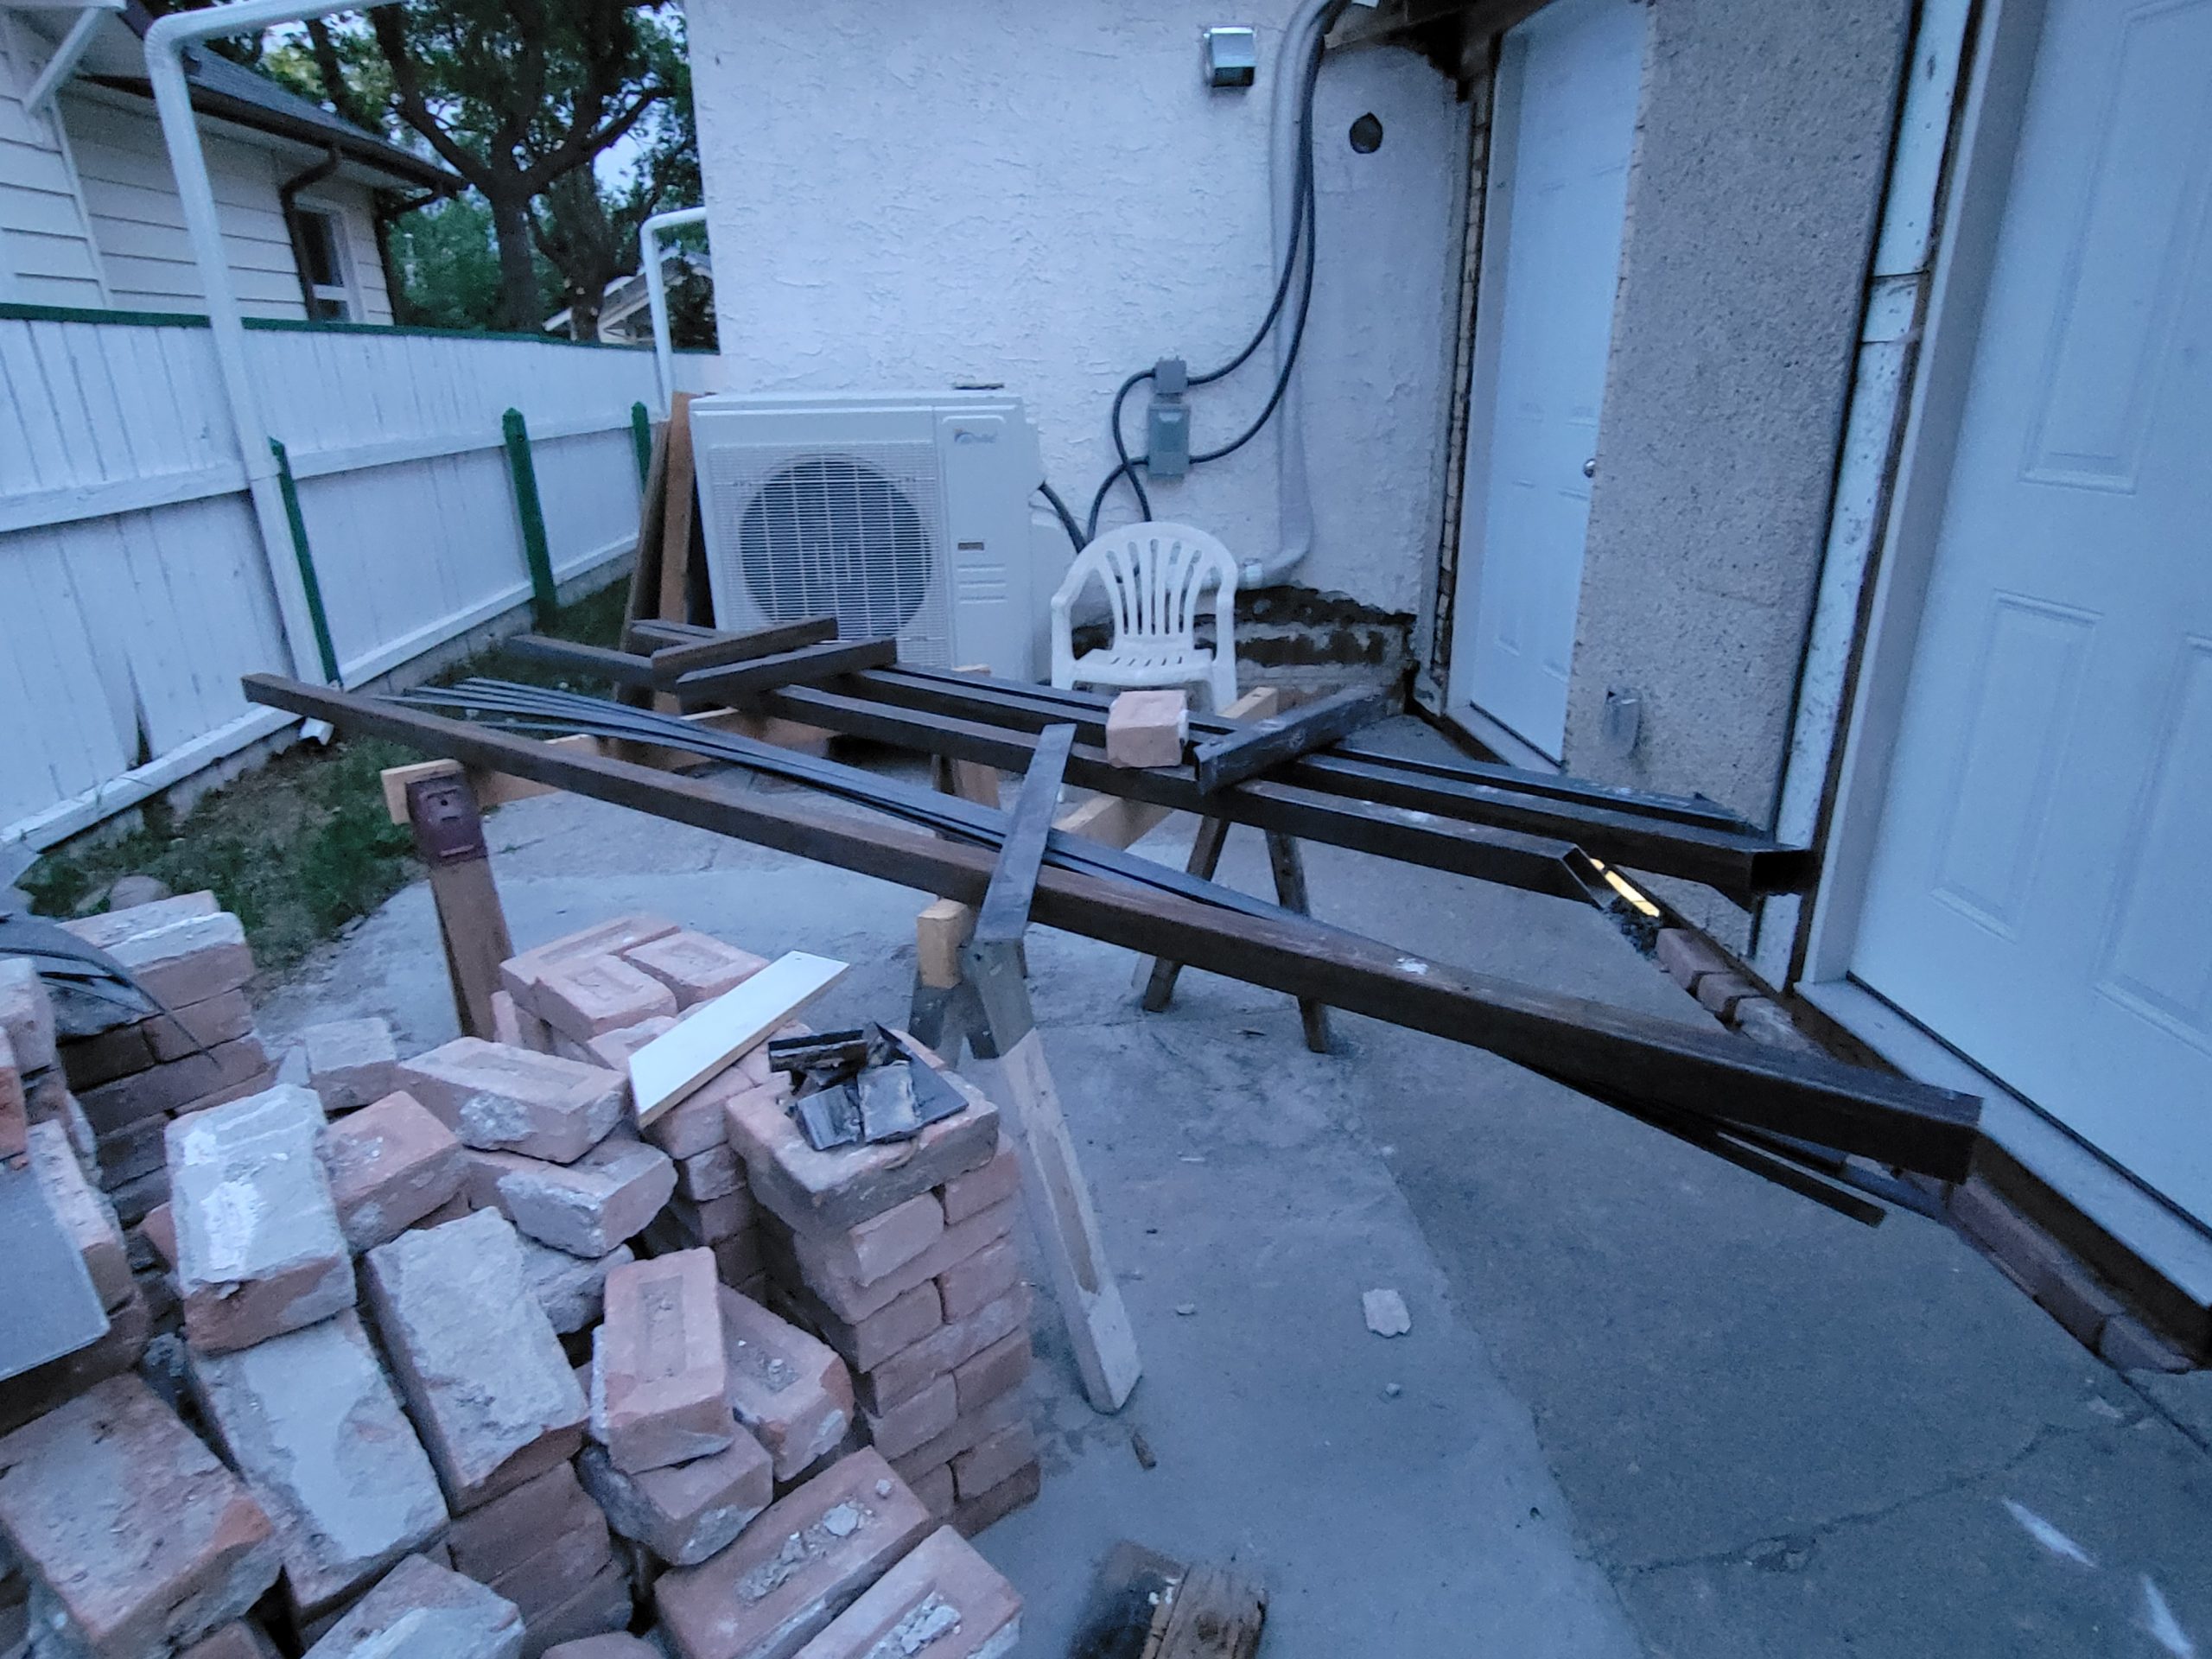
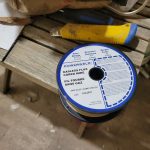
More practise with the welding was done, as well. I bought a new spool of flux core wire from Princess Auto, replacing the Benchmark wire bought at Home Hardware.
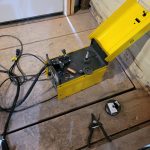
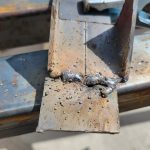
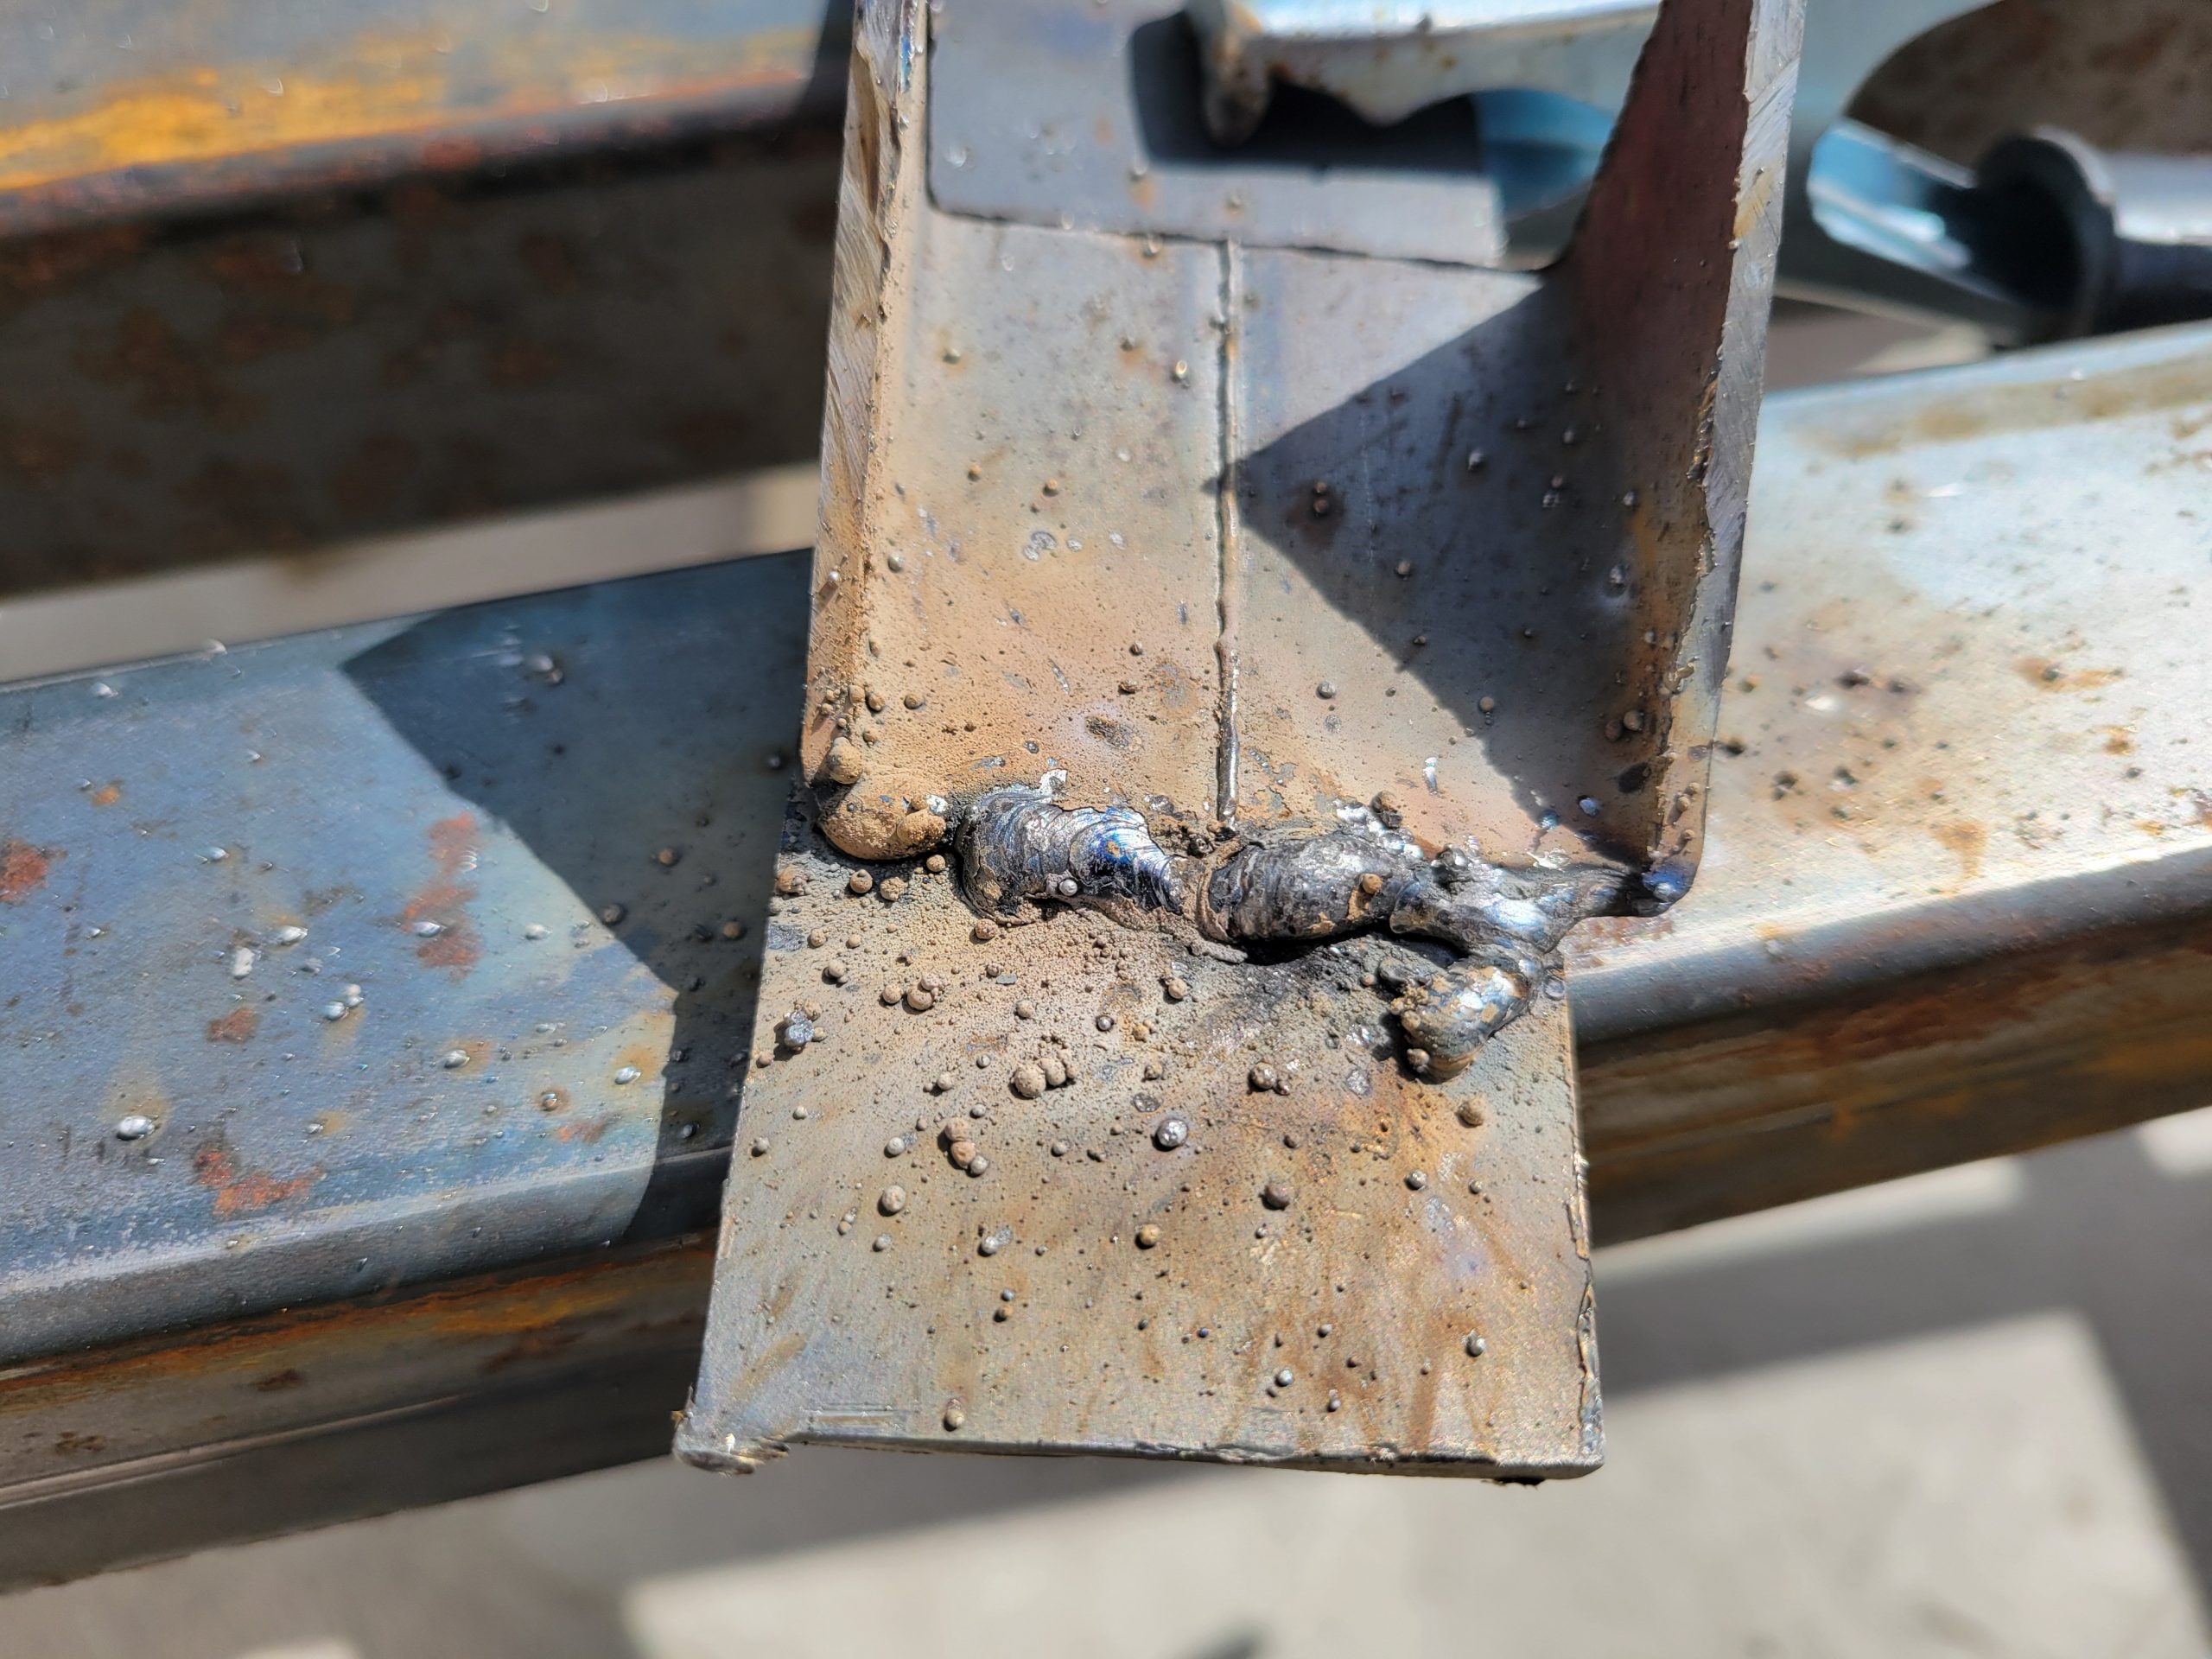
Yes, I know – the welding looks like crap. This is my first time welding – ever. As the day went on, and Brock came by to guide me through it and practise his own welding, things got a little better. However, I am still unsure if the stairway will be made of welded metal or wood. We’ll see.
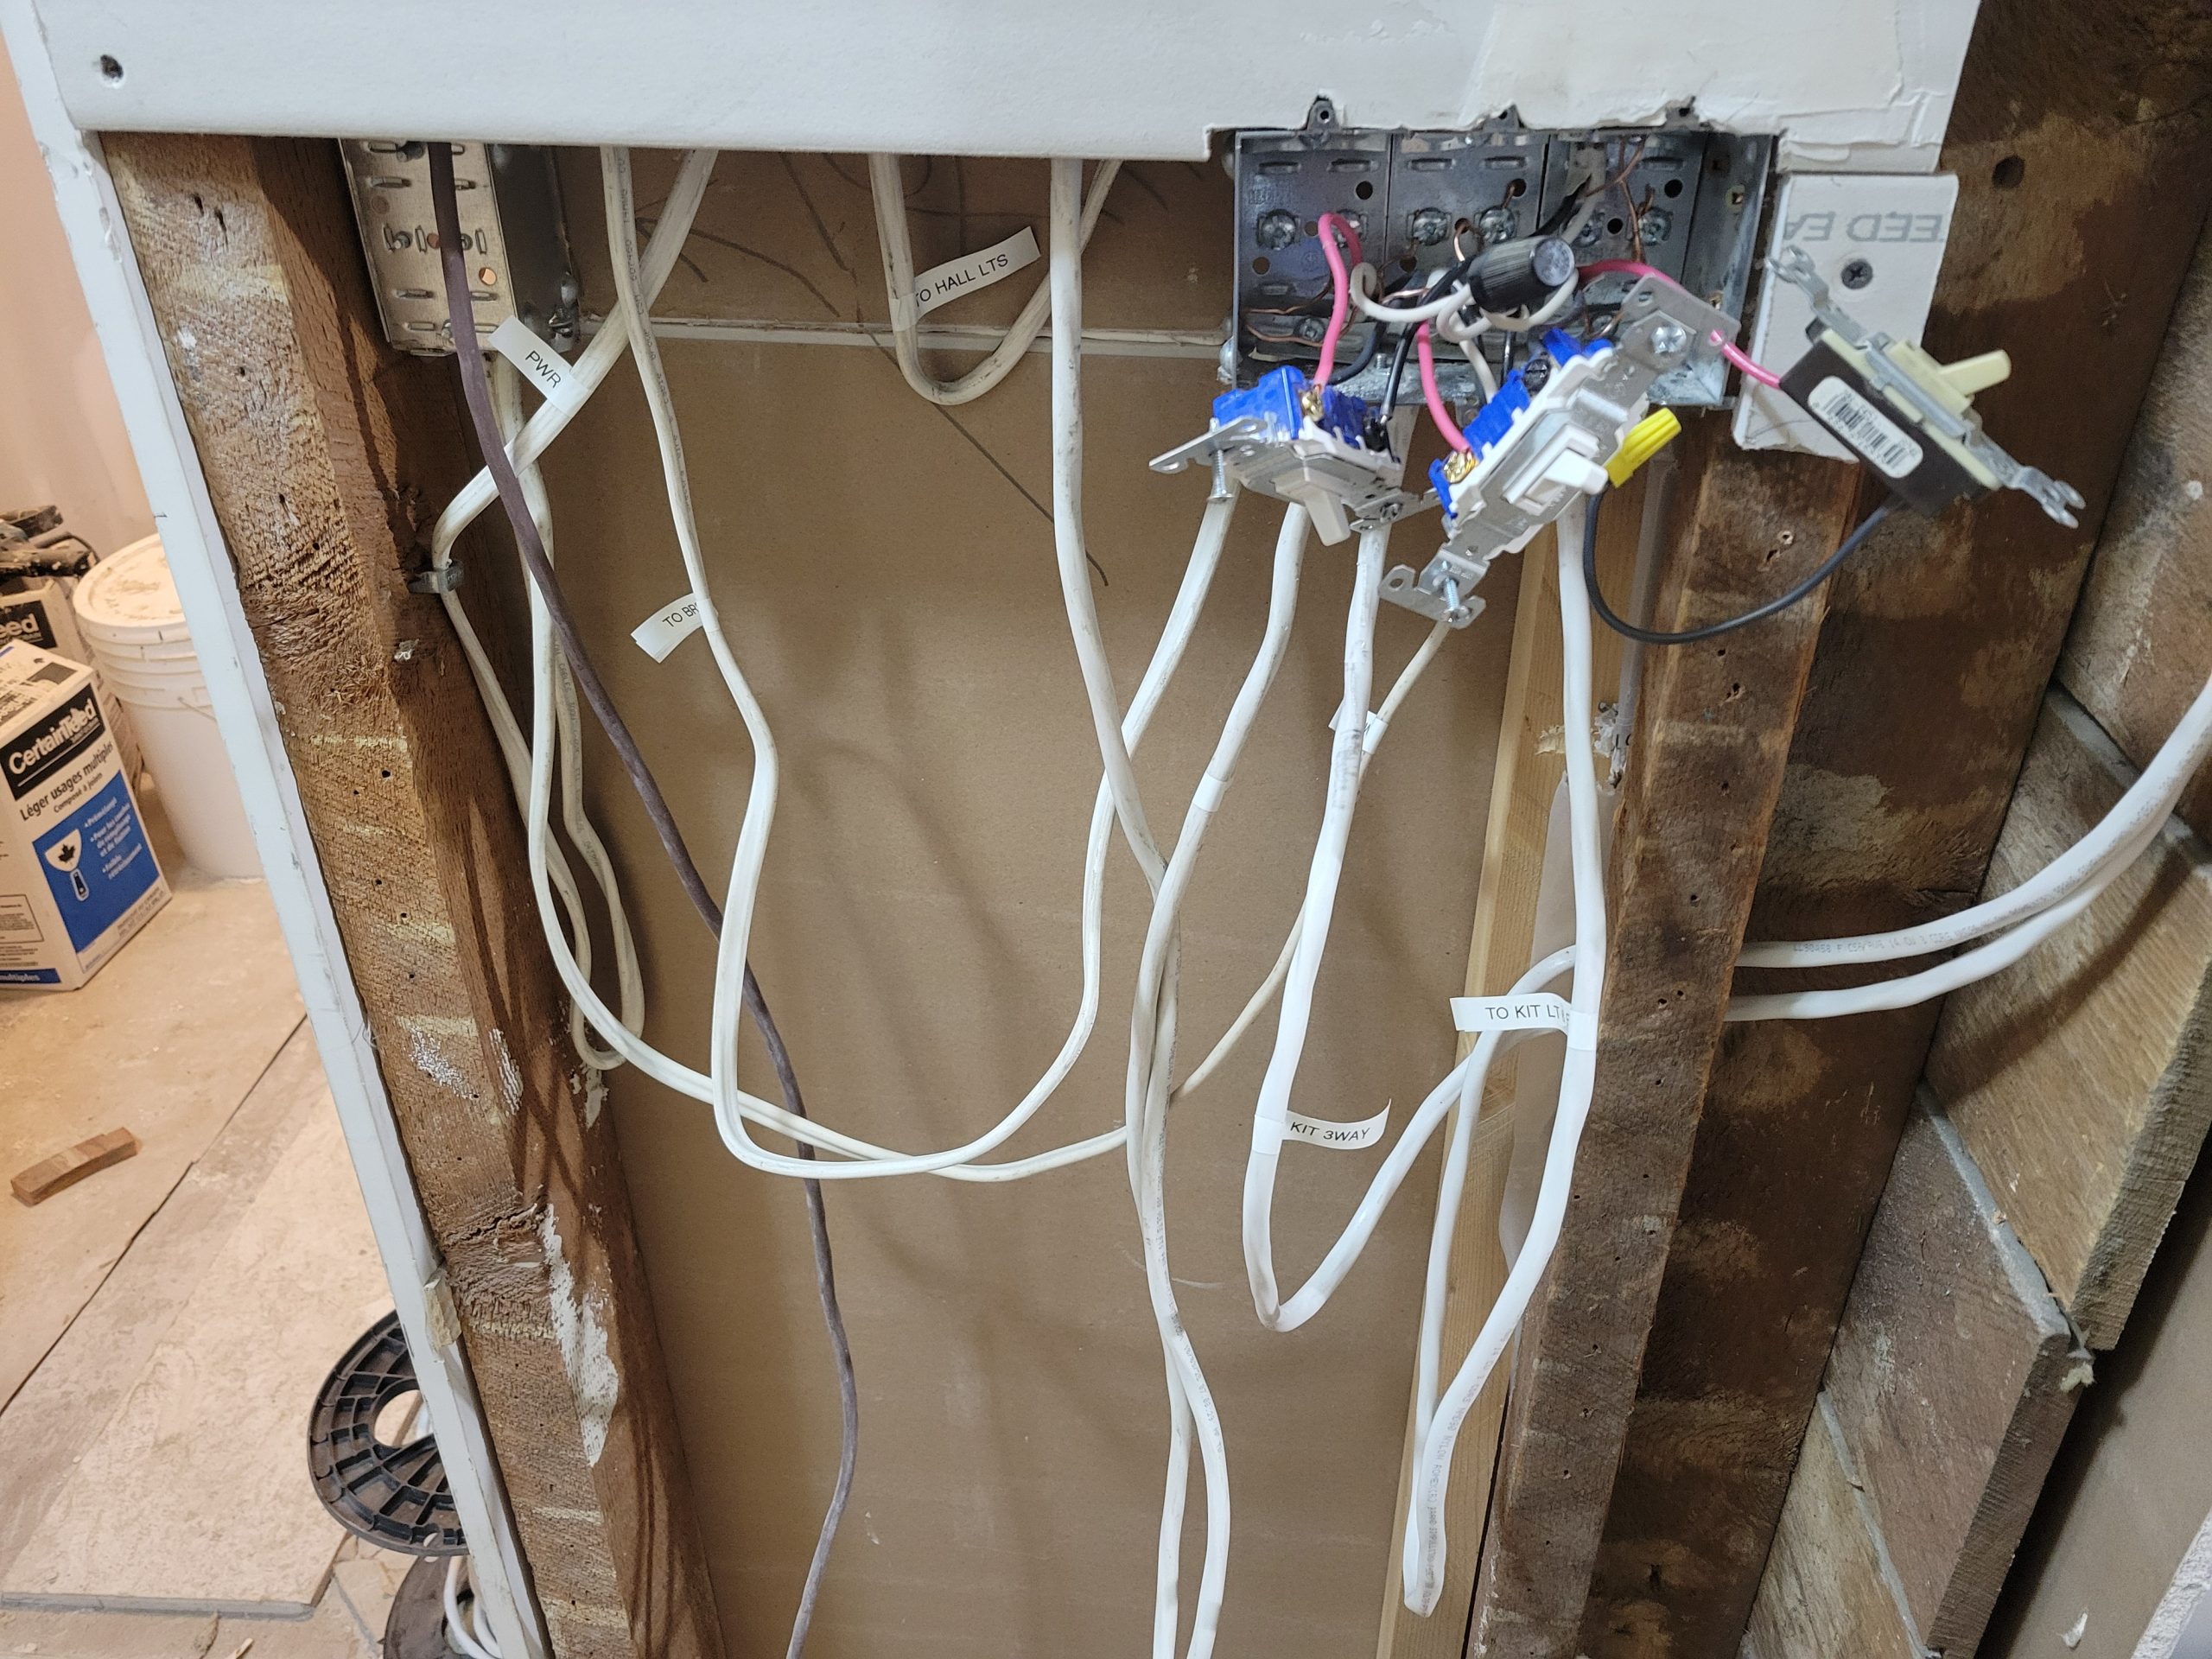
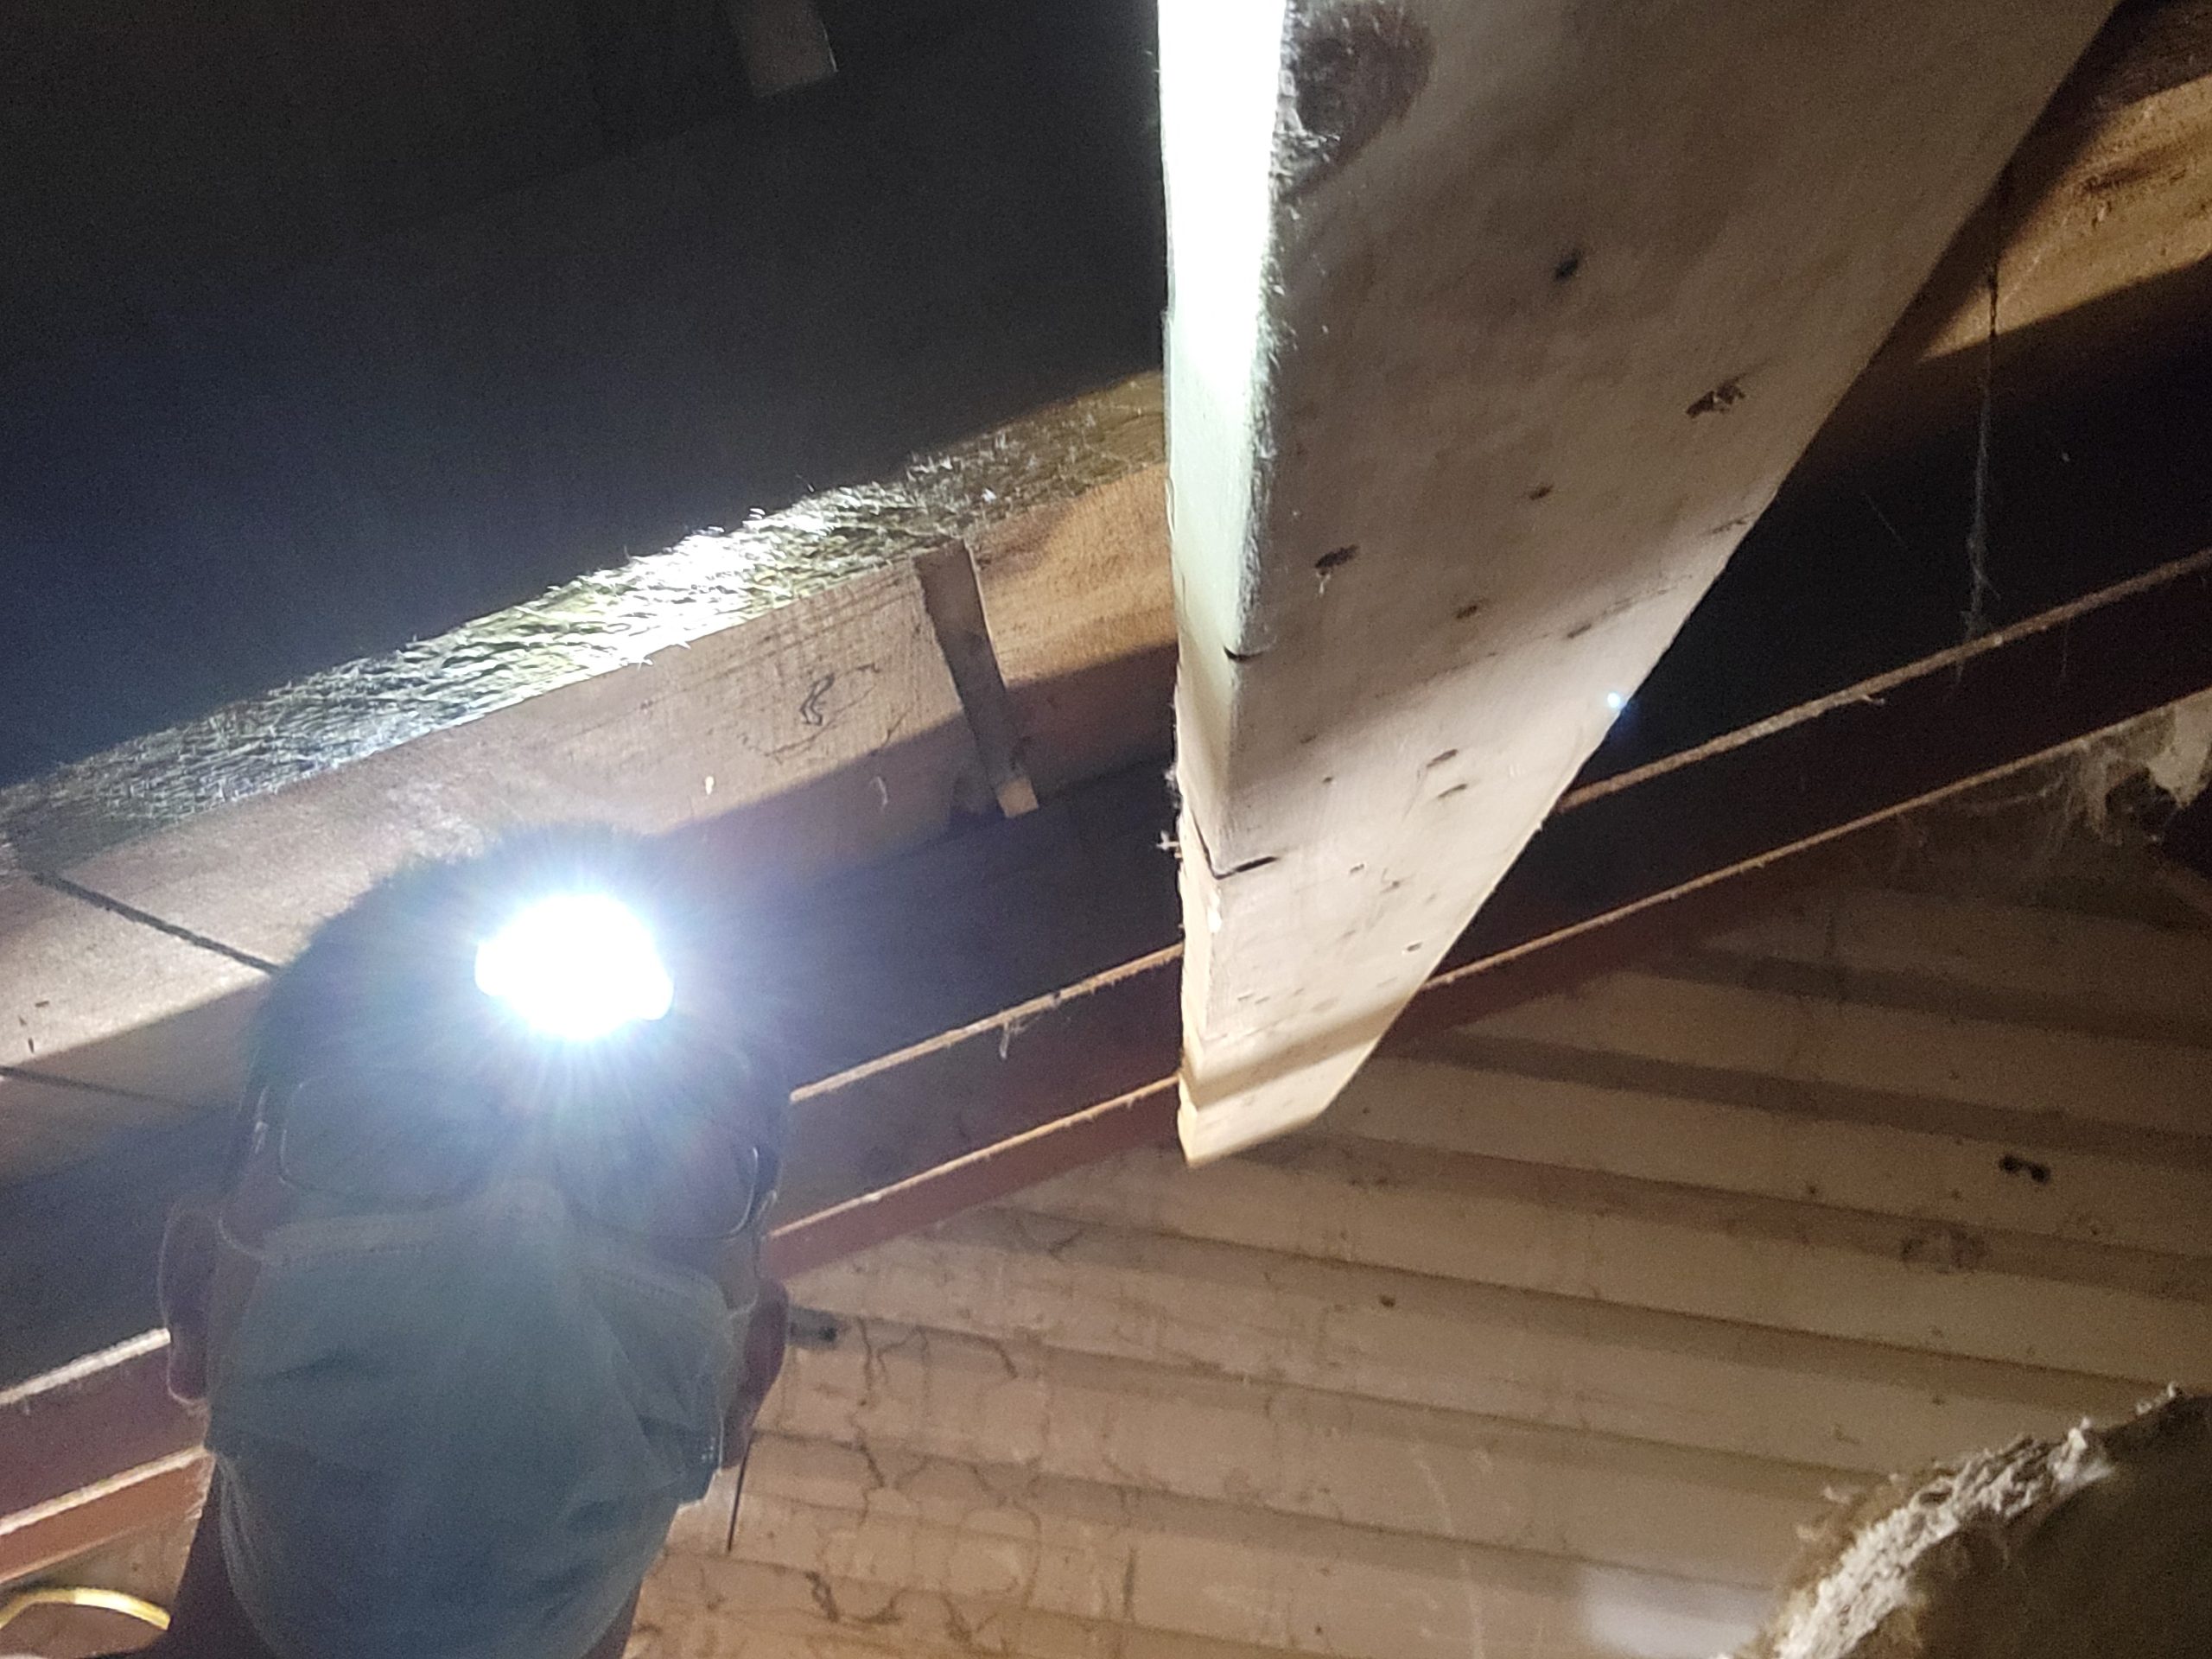
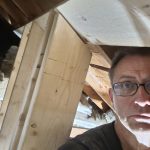
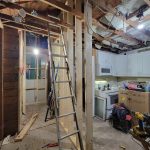
In the mean time, the new kitchen / entrance wall separating the two suites is up. We started by taping Shane’s level to a 2×4, extended to the rafters, in line with bottom plate, to find where the top plate will sit. I marked it, then Dave and Floyd held the 2×6 in place with some sticks while I fastened it to the rafters.
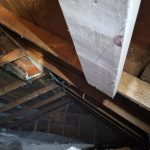
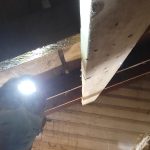
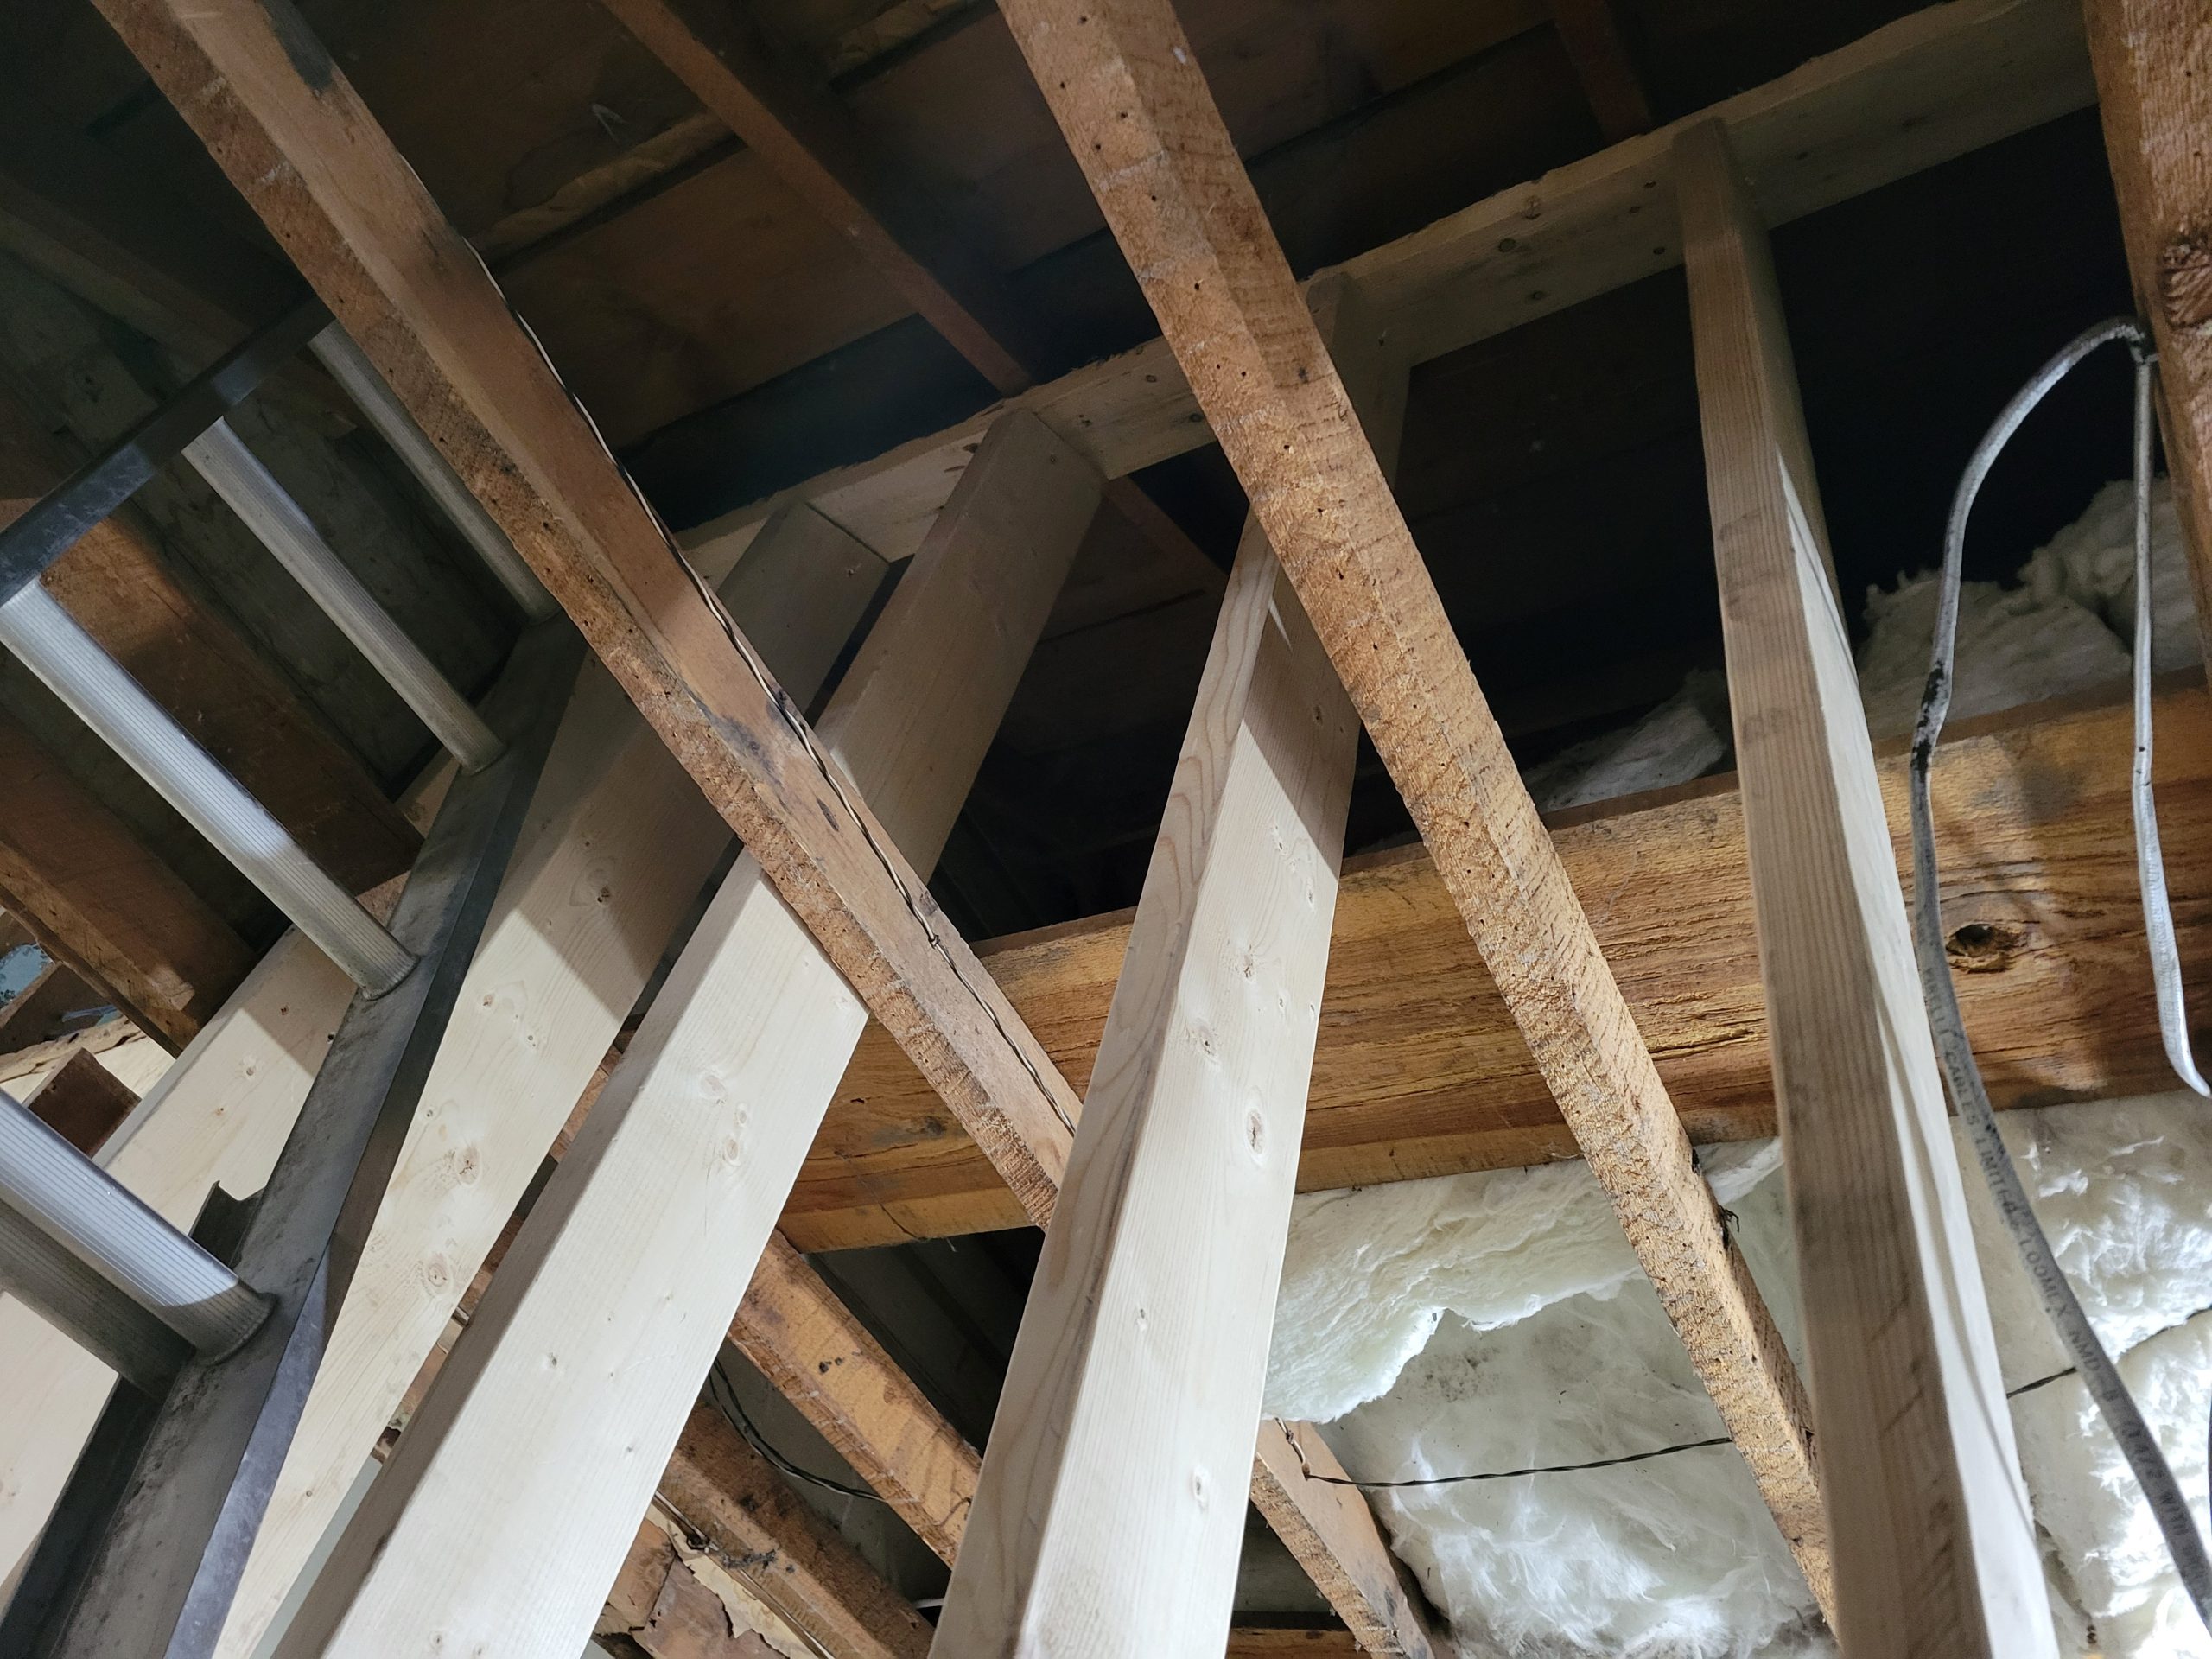
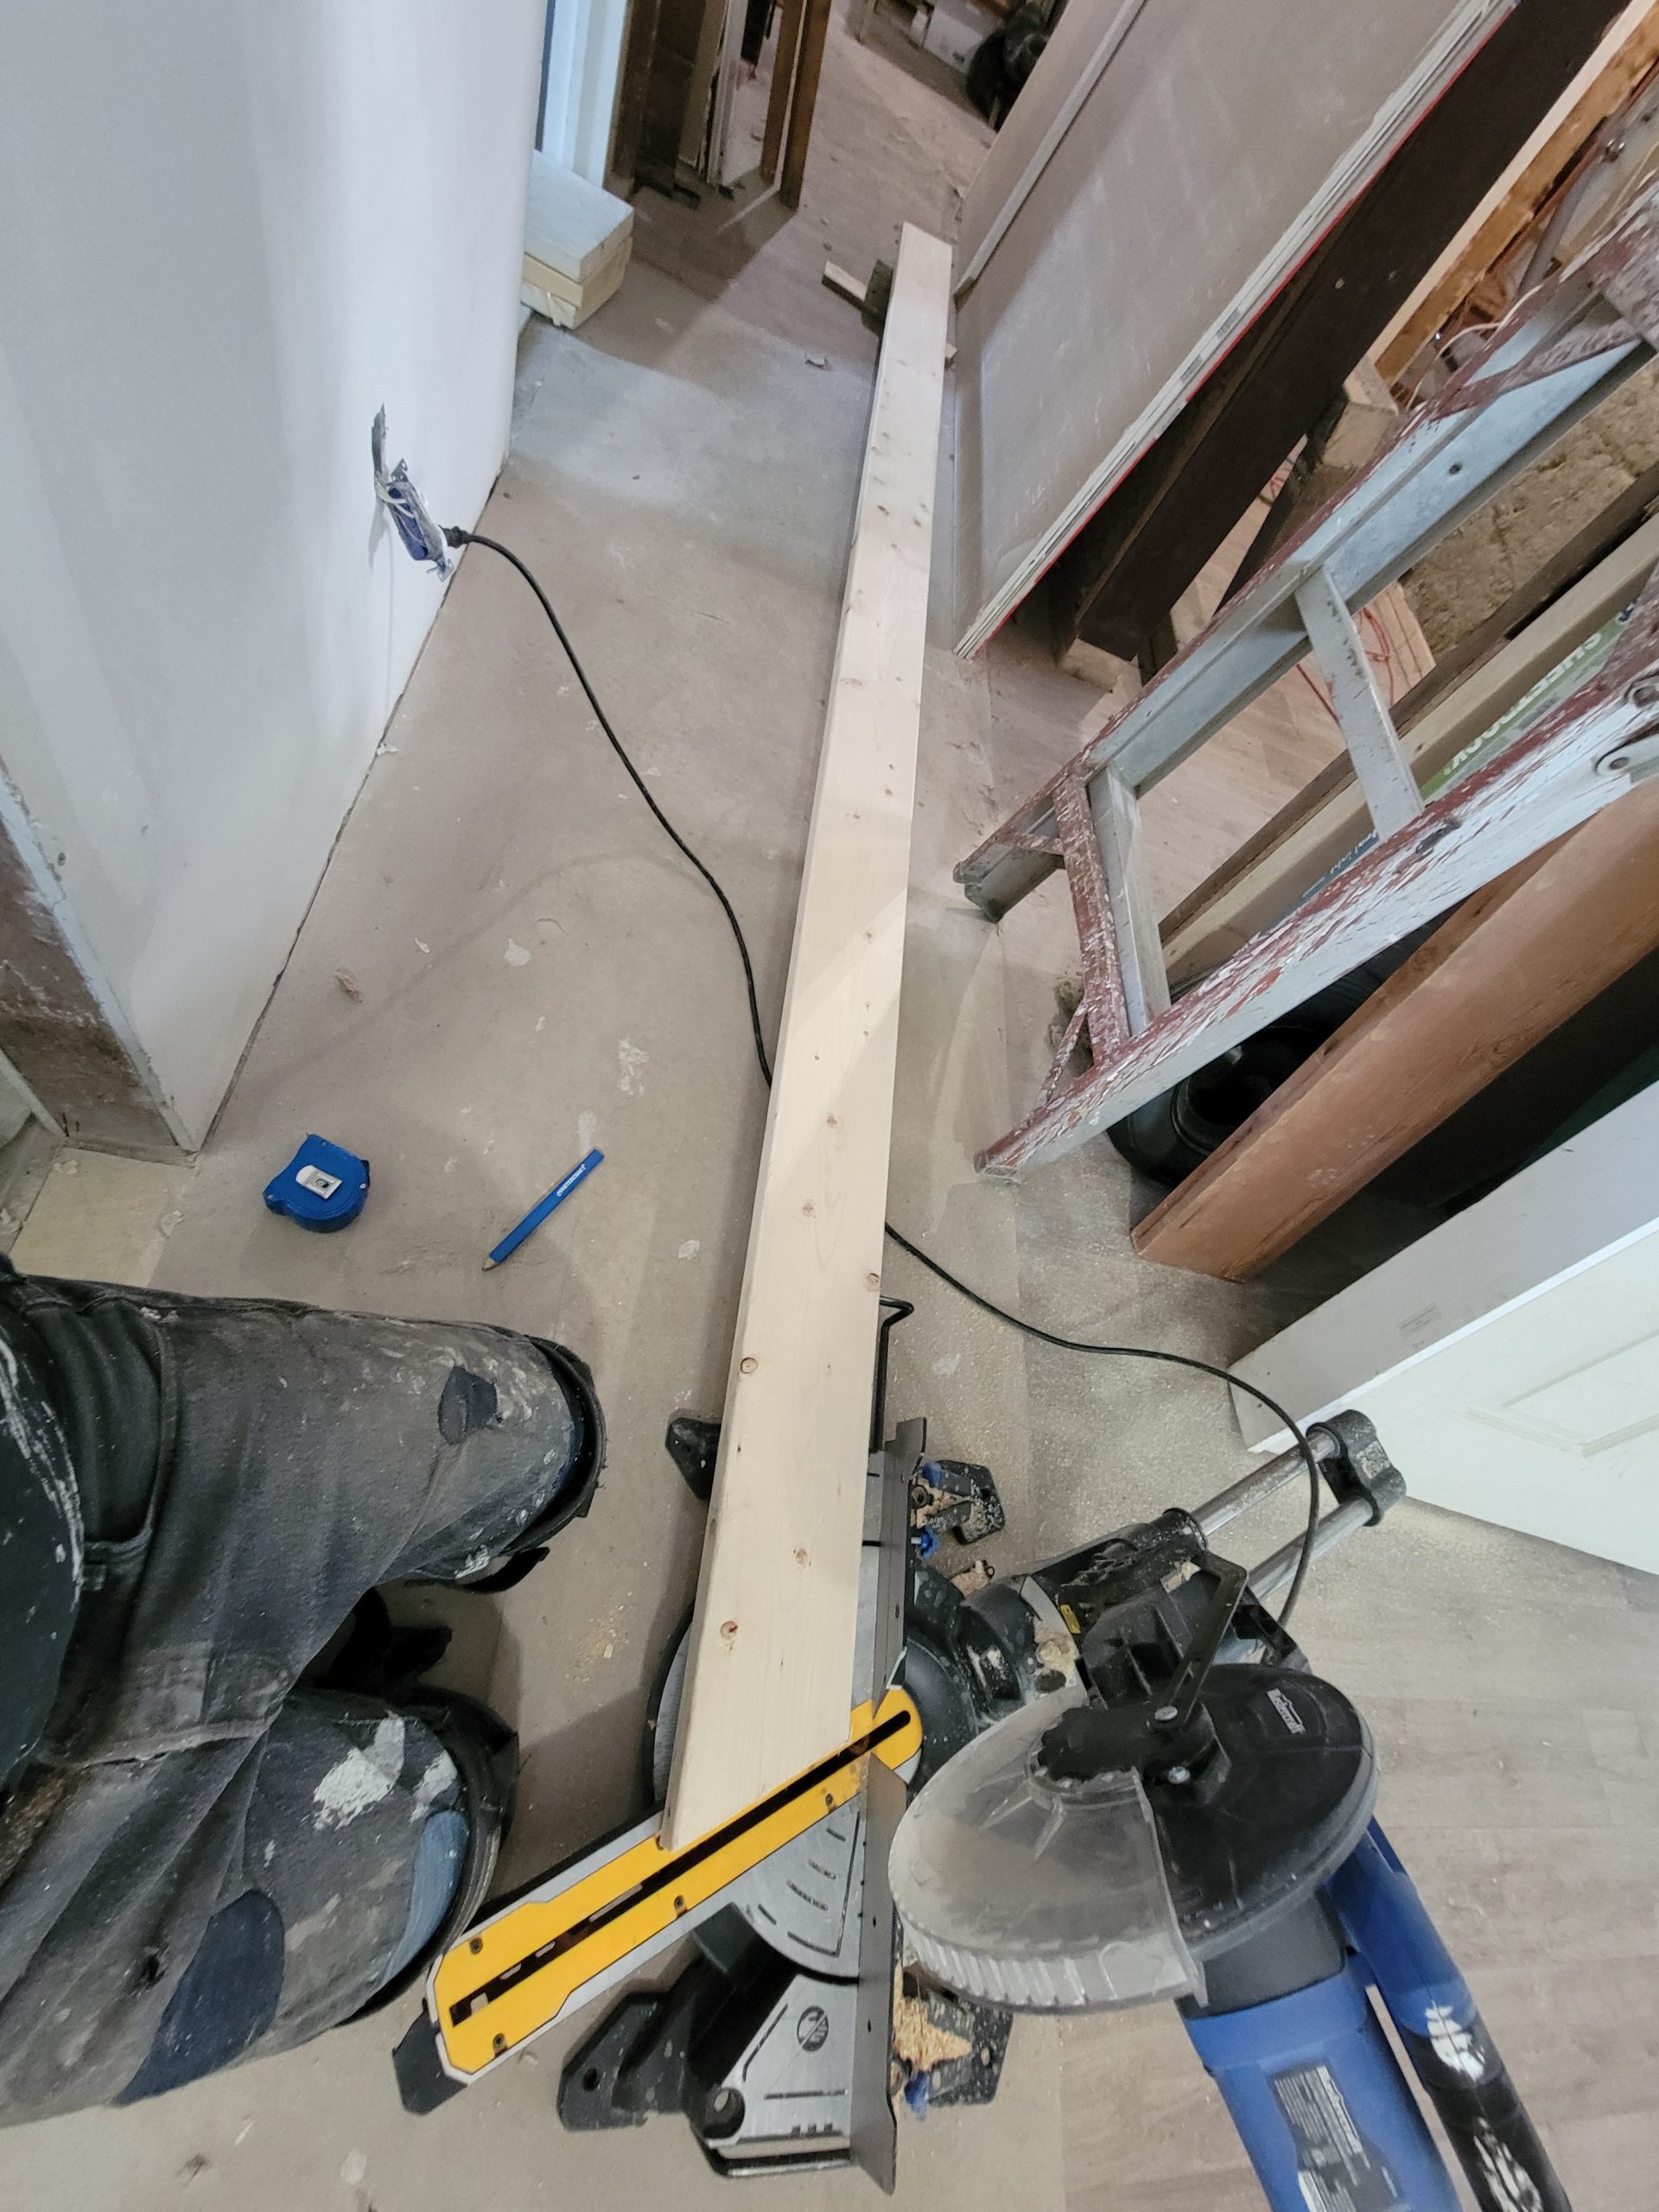
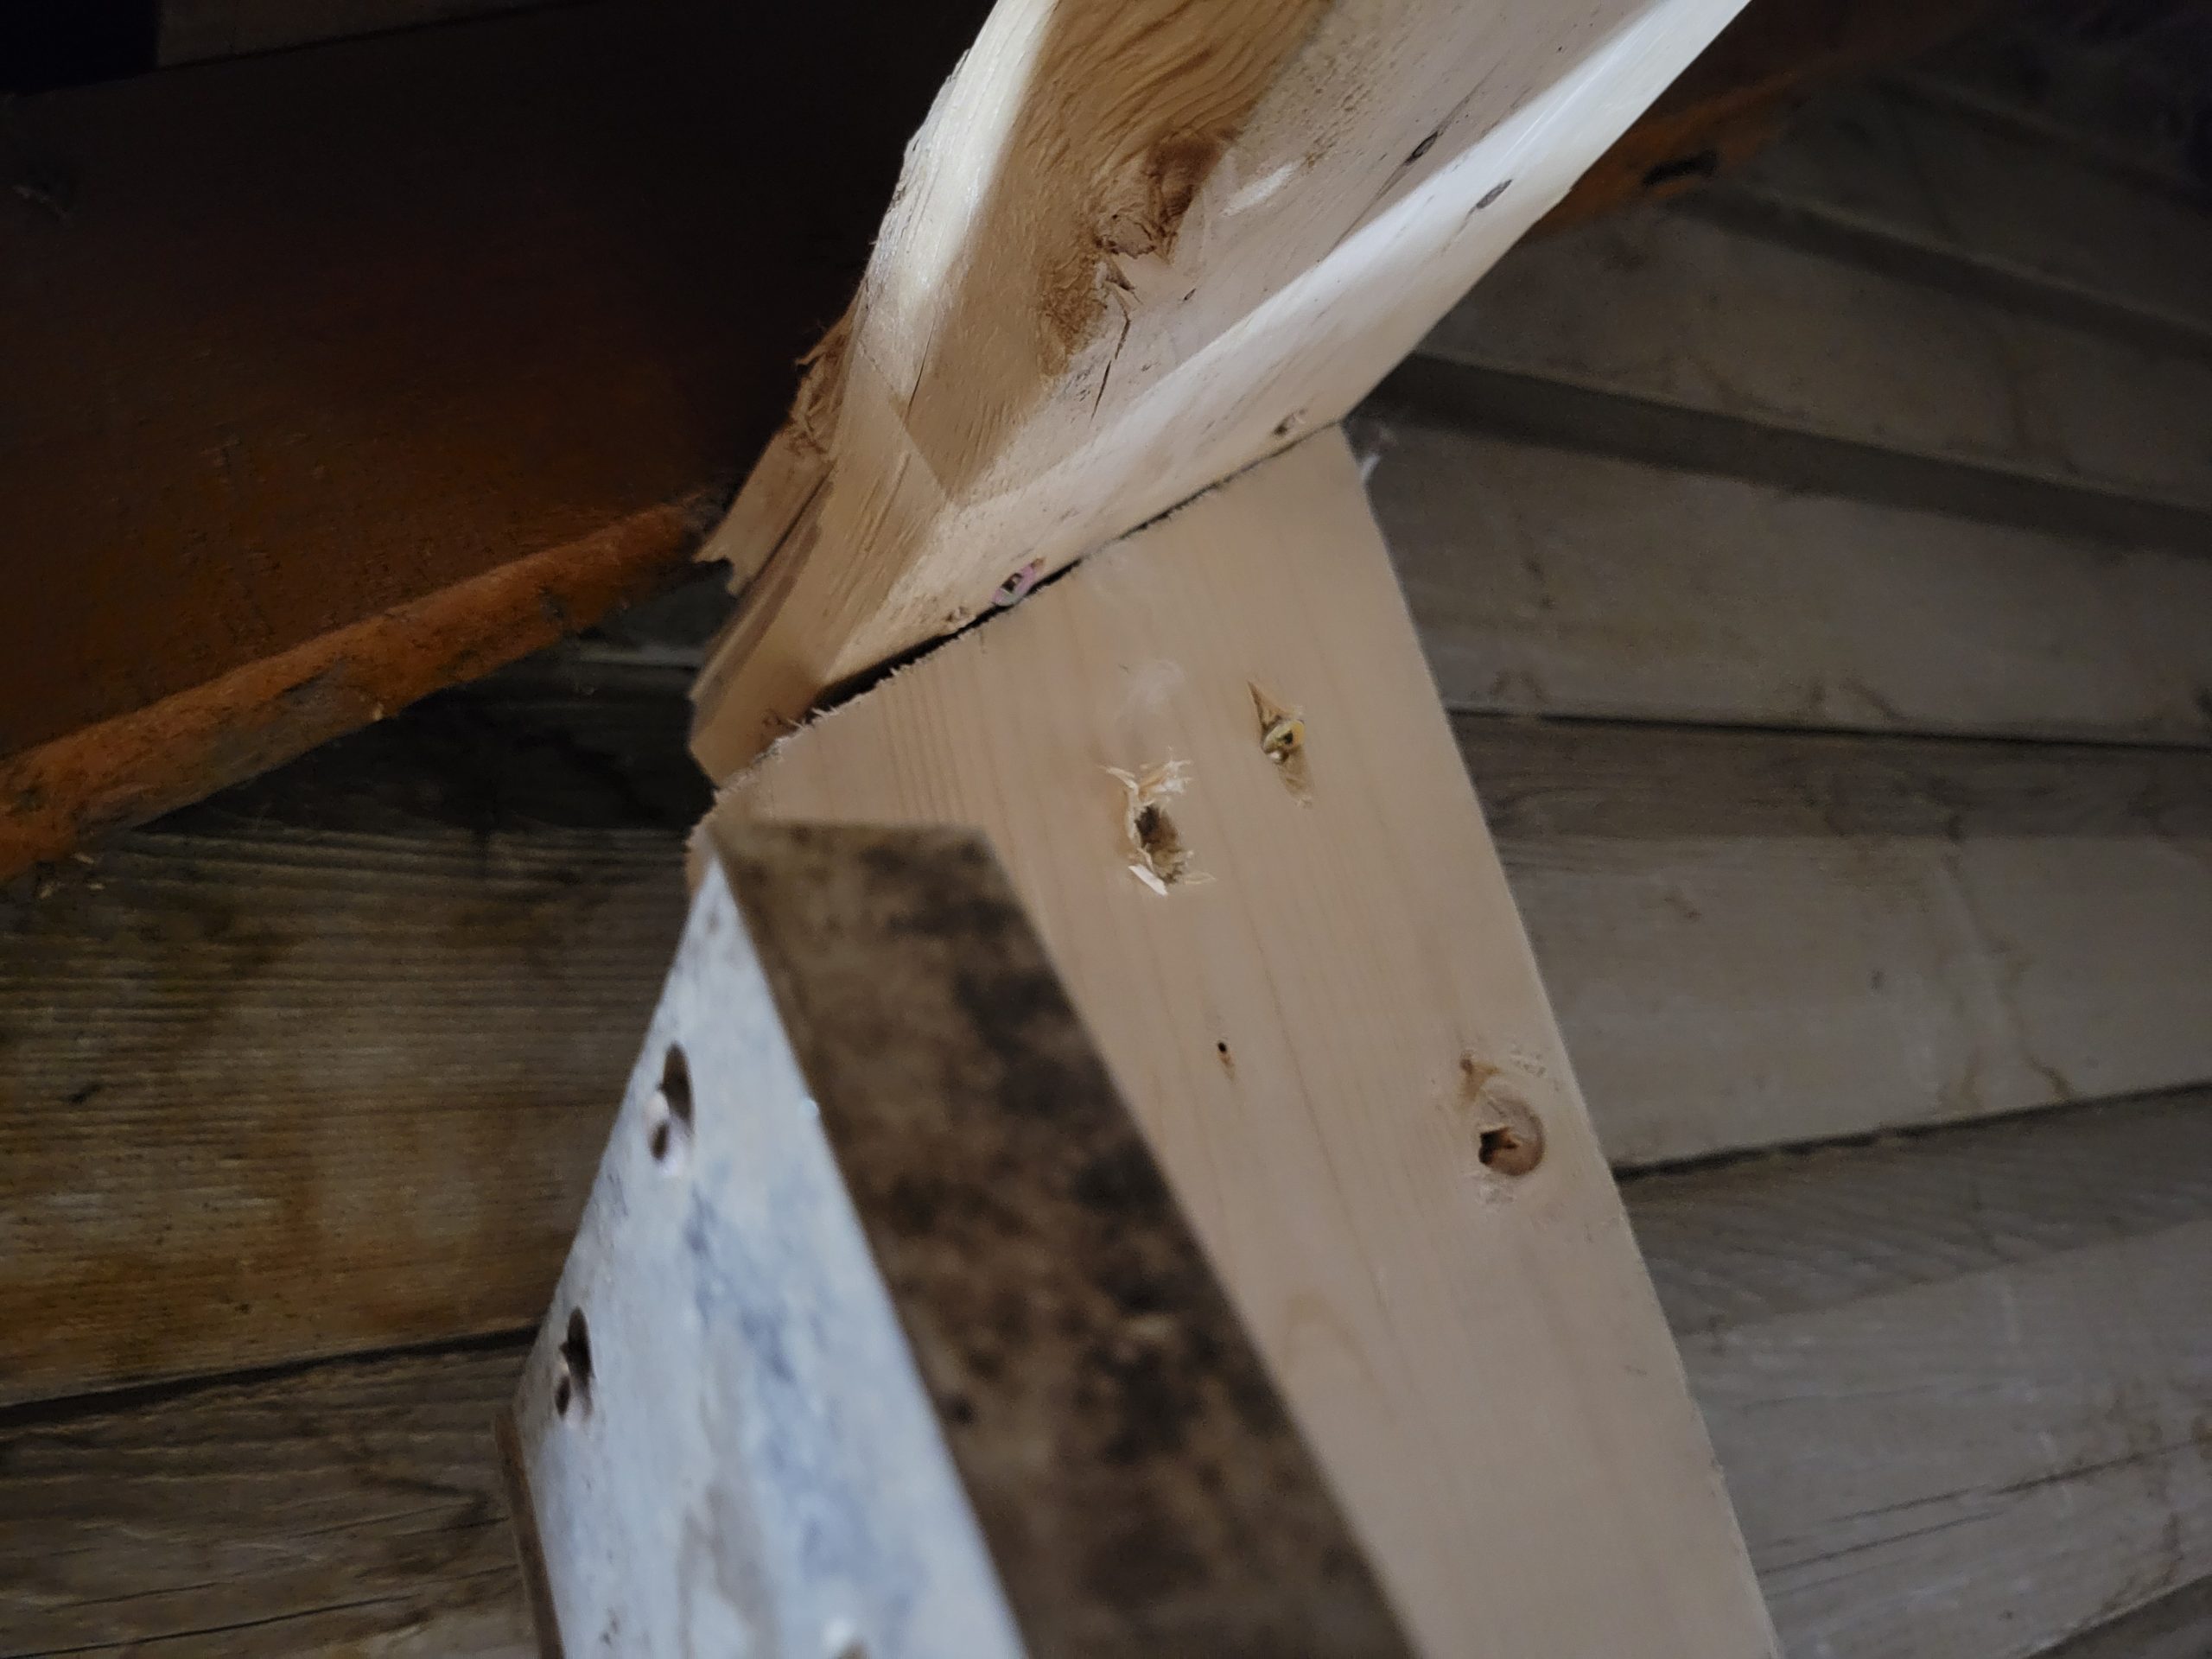
We then measured the length and angle of these new balloon studs (114 5/8″, 29°) and cut them. This took fiddling about because the roof has a certain amount of sag (about 3/16″) from where it is tied to the house to the middle of the kitchen.

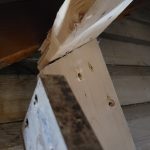
Studs are placed under each rafter (24″o.c.) and one in between (making about 12″o.c.).
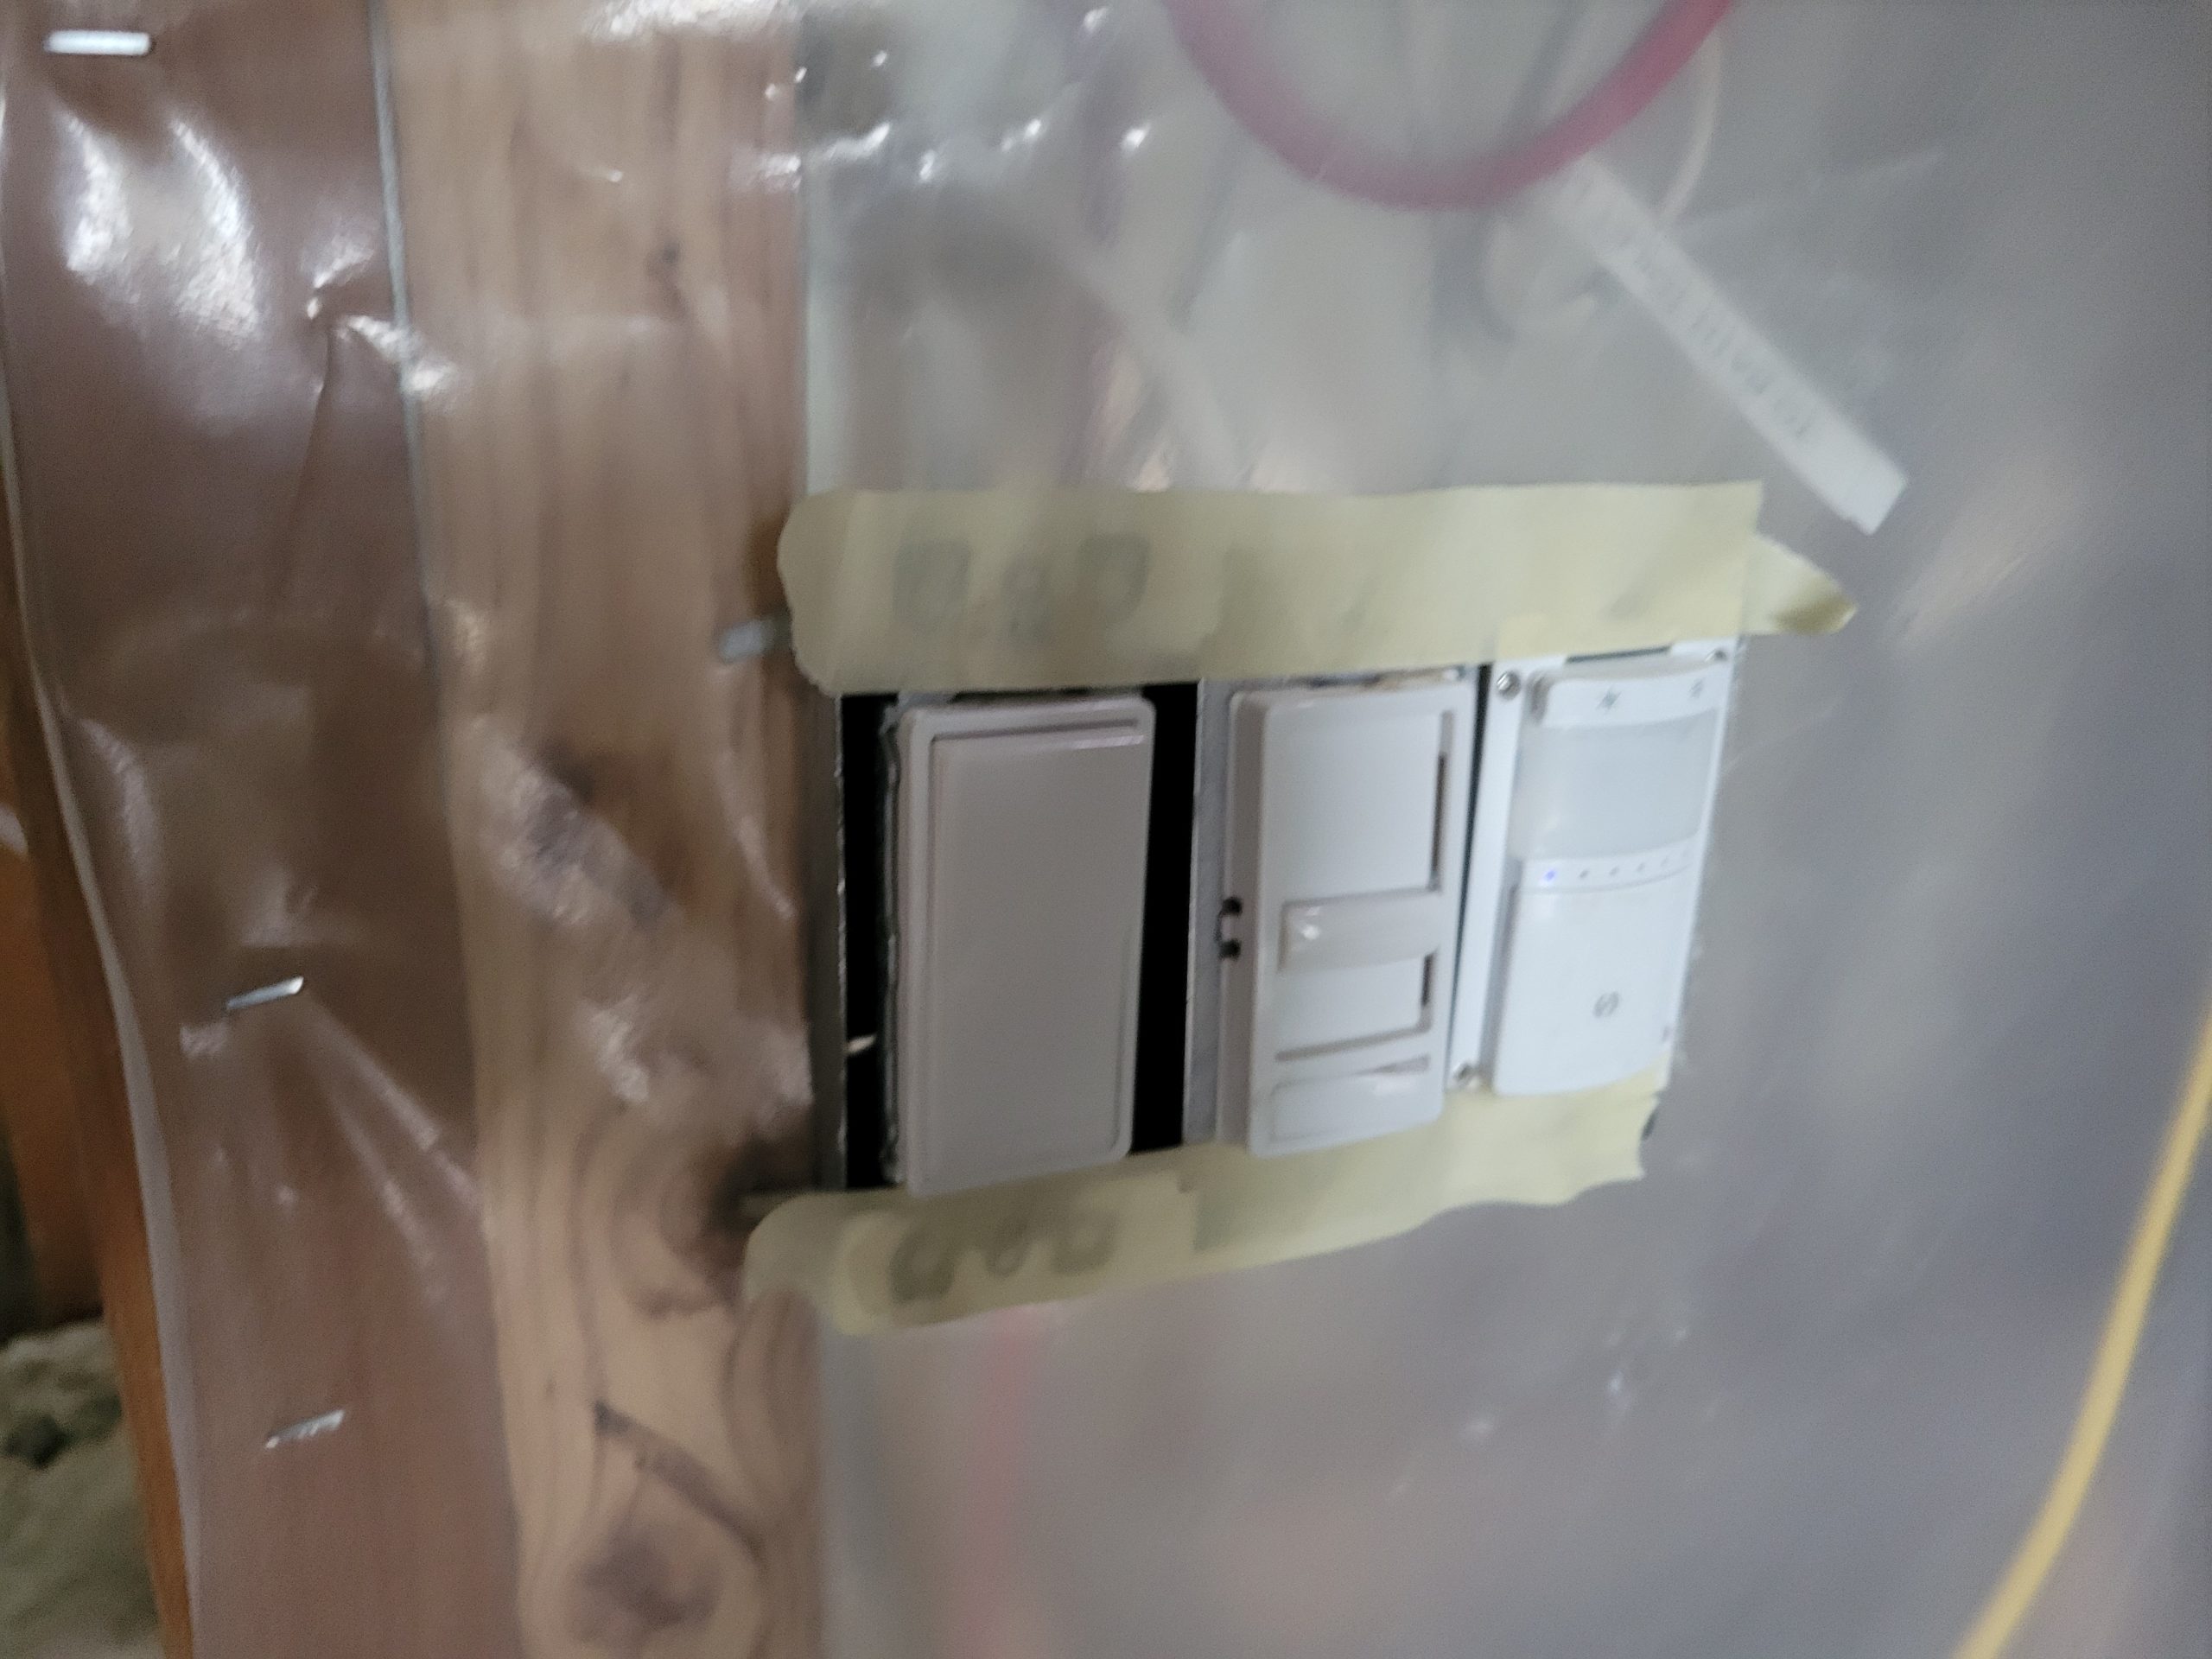
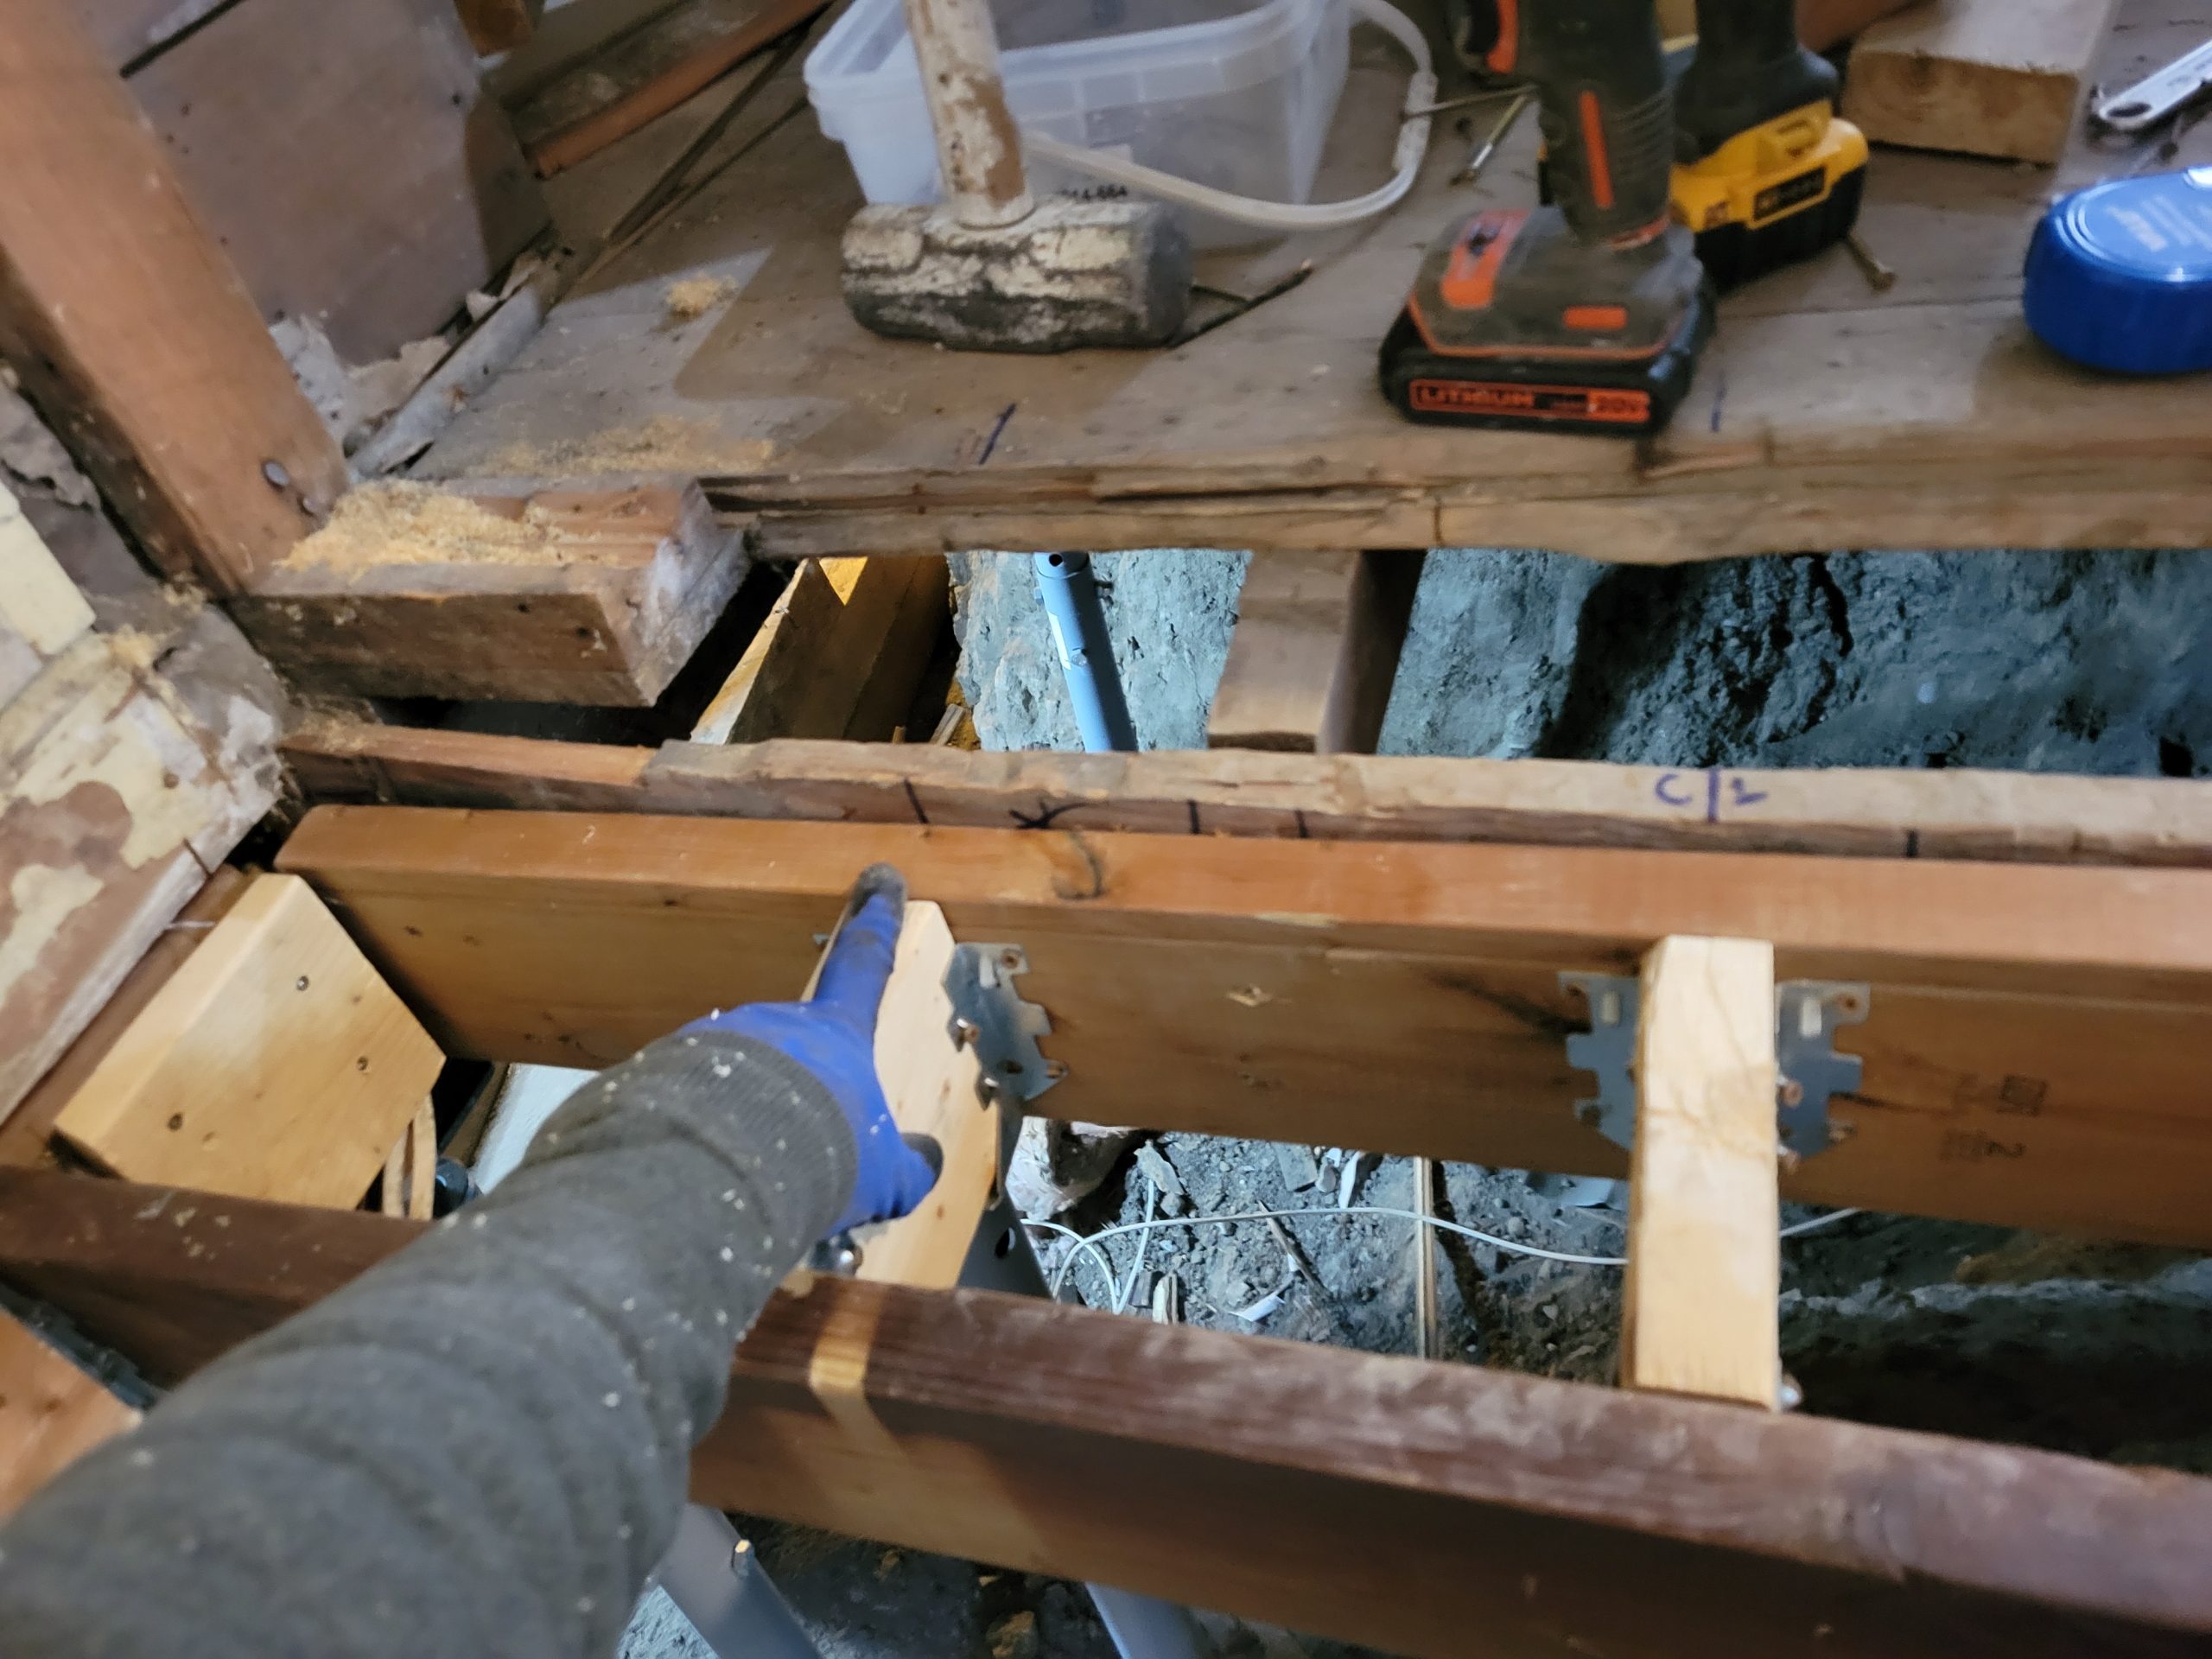
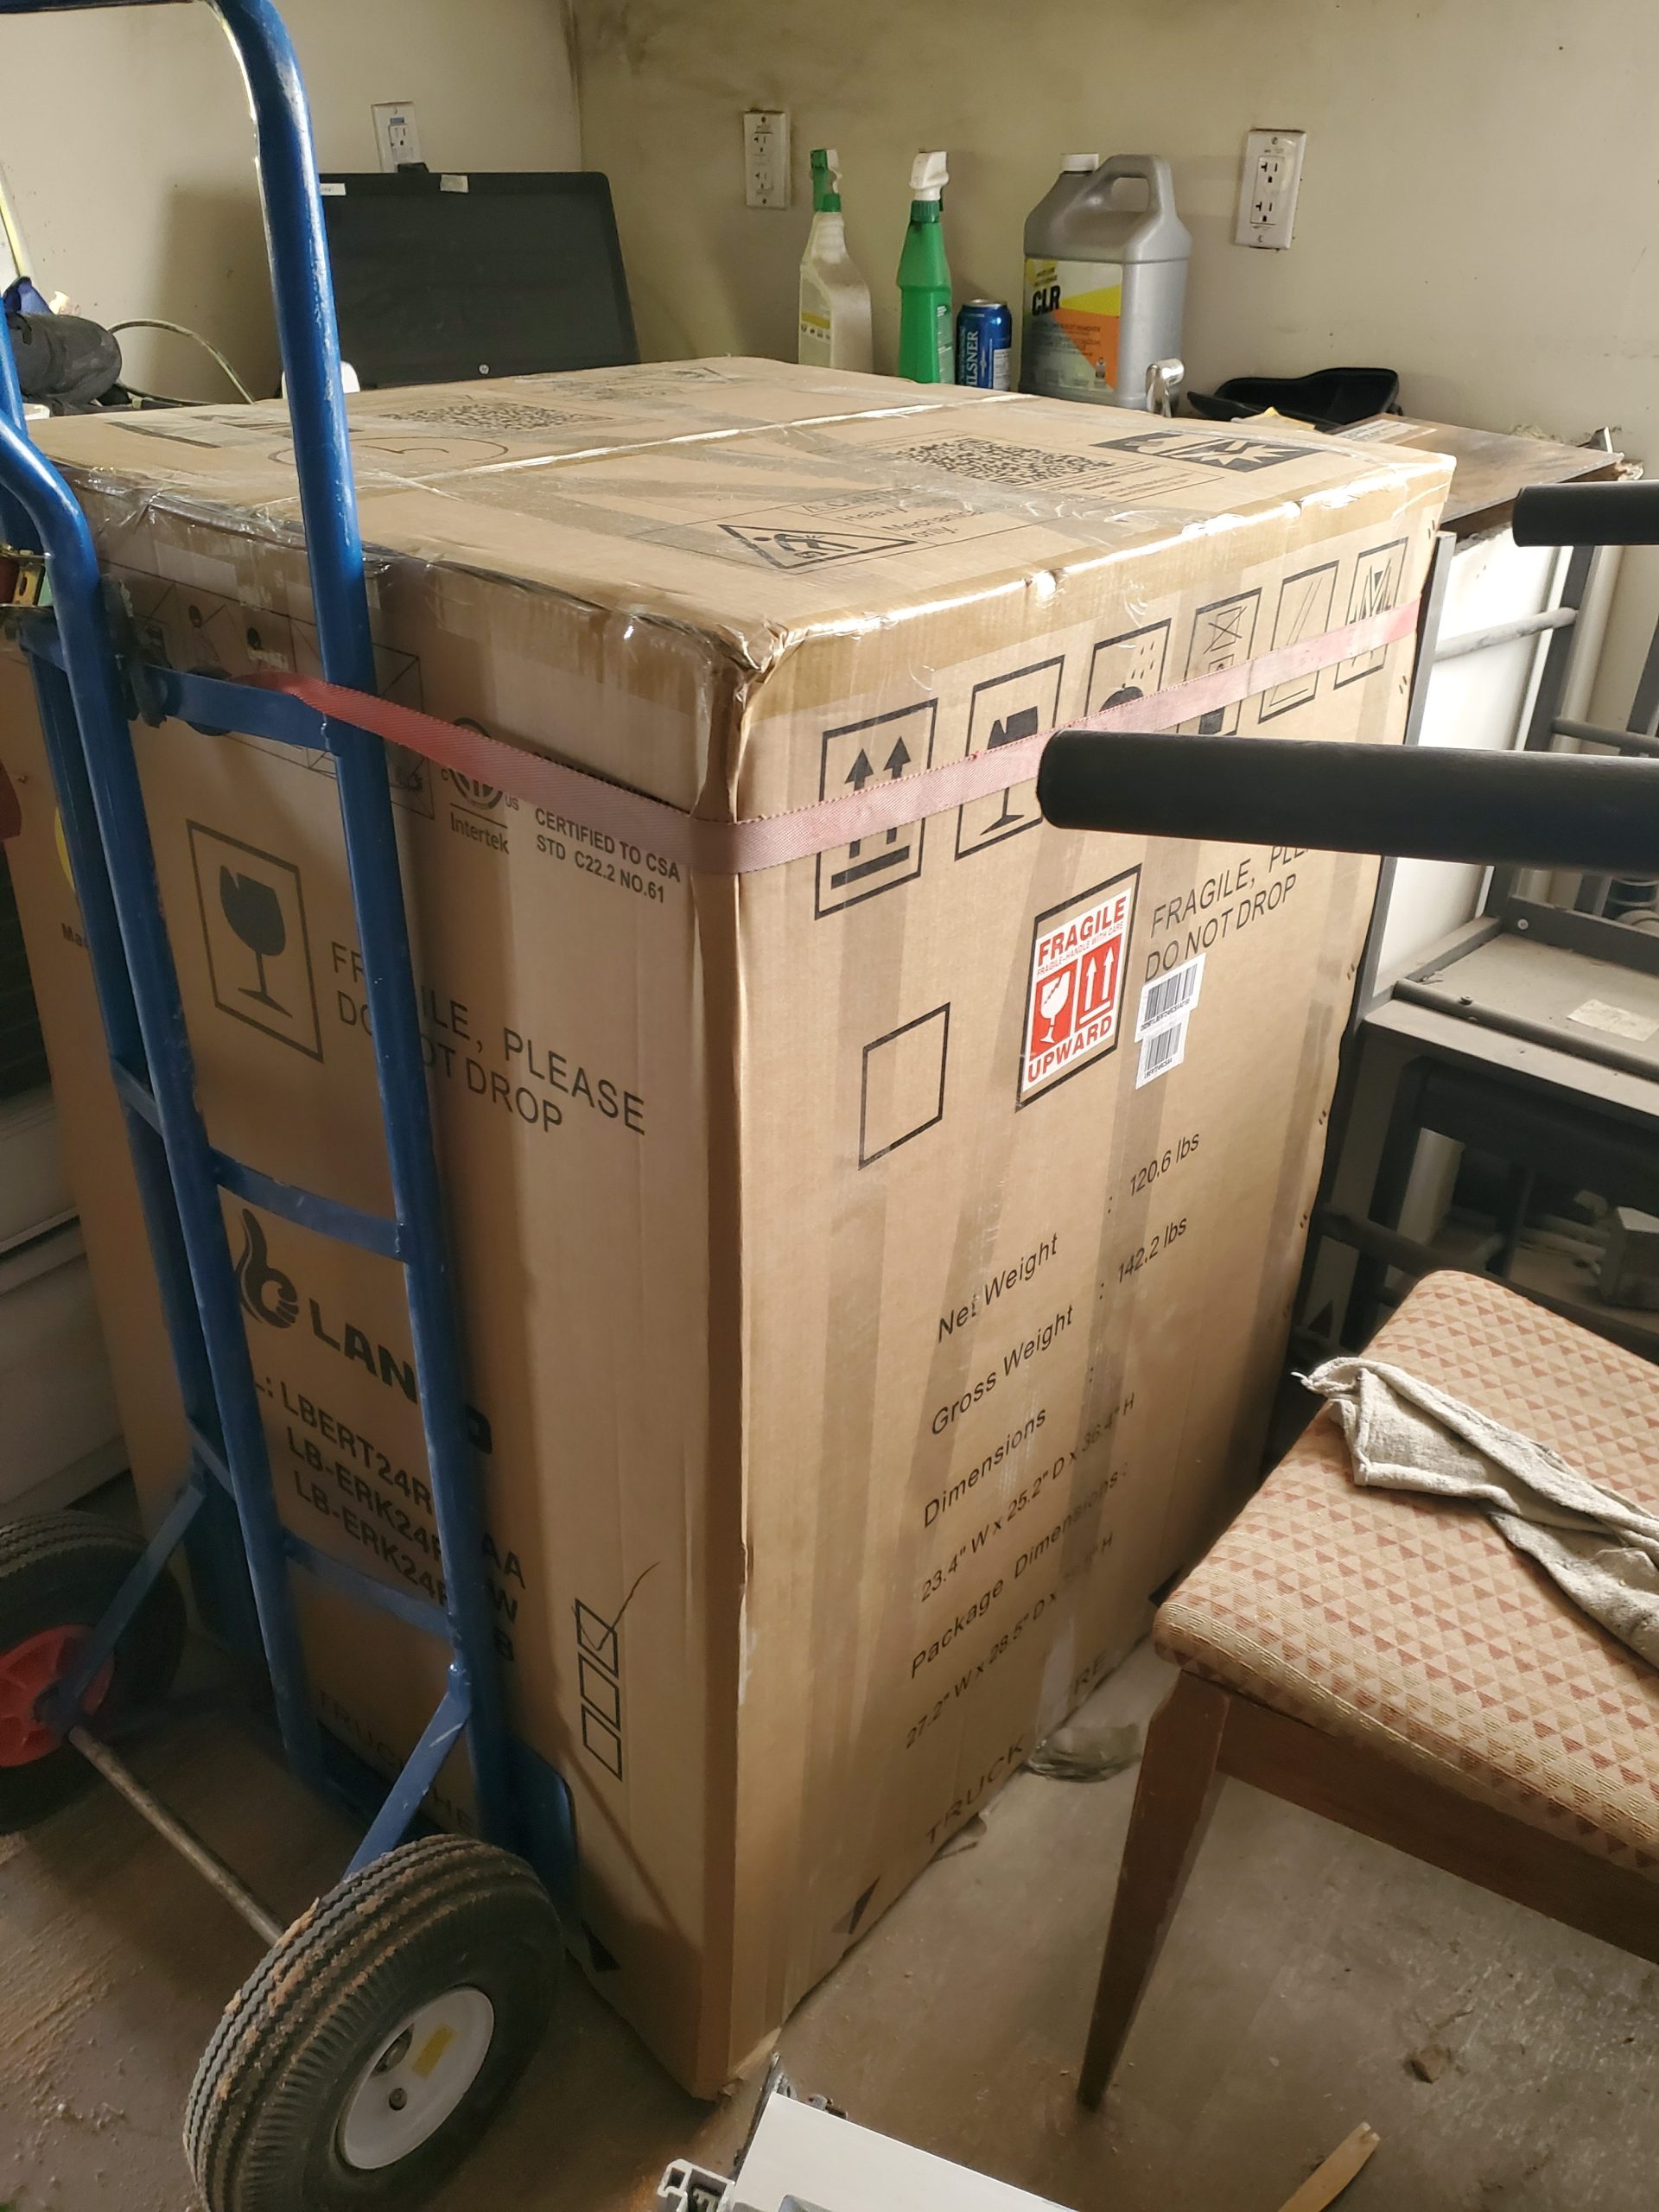
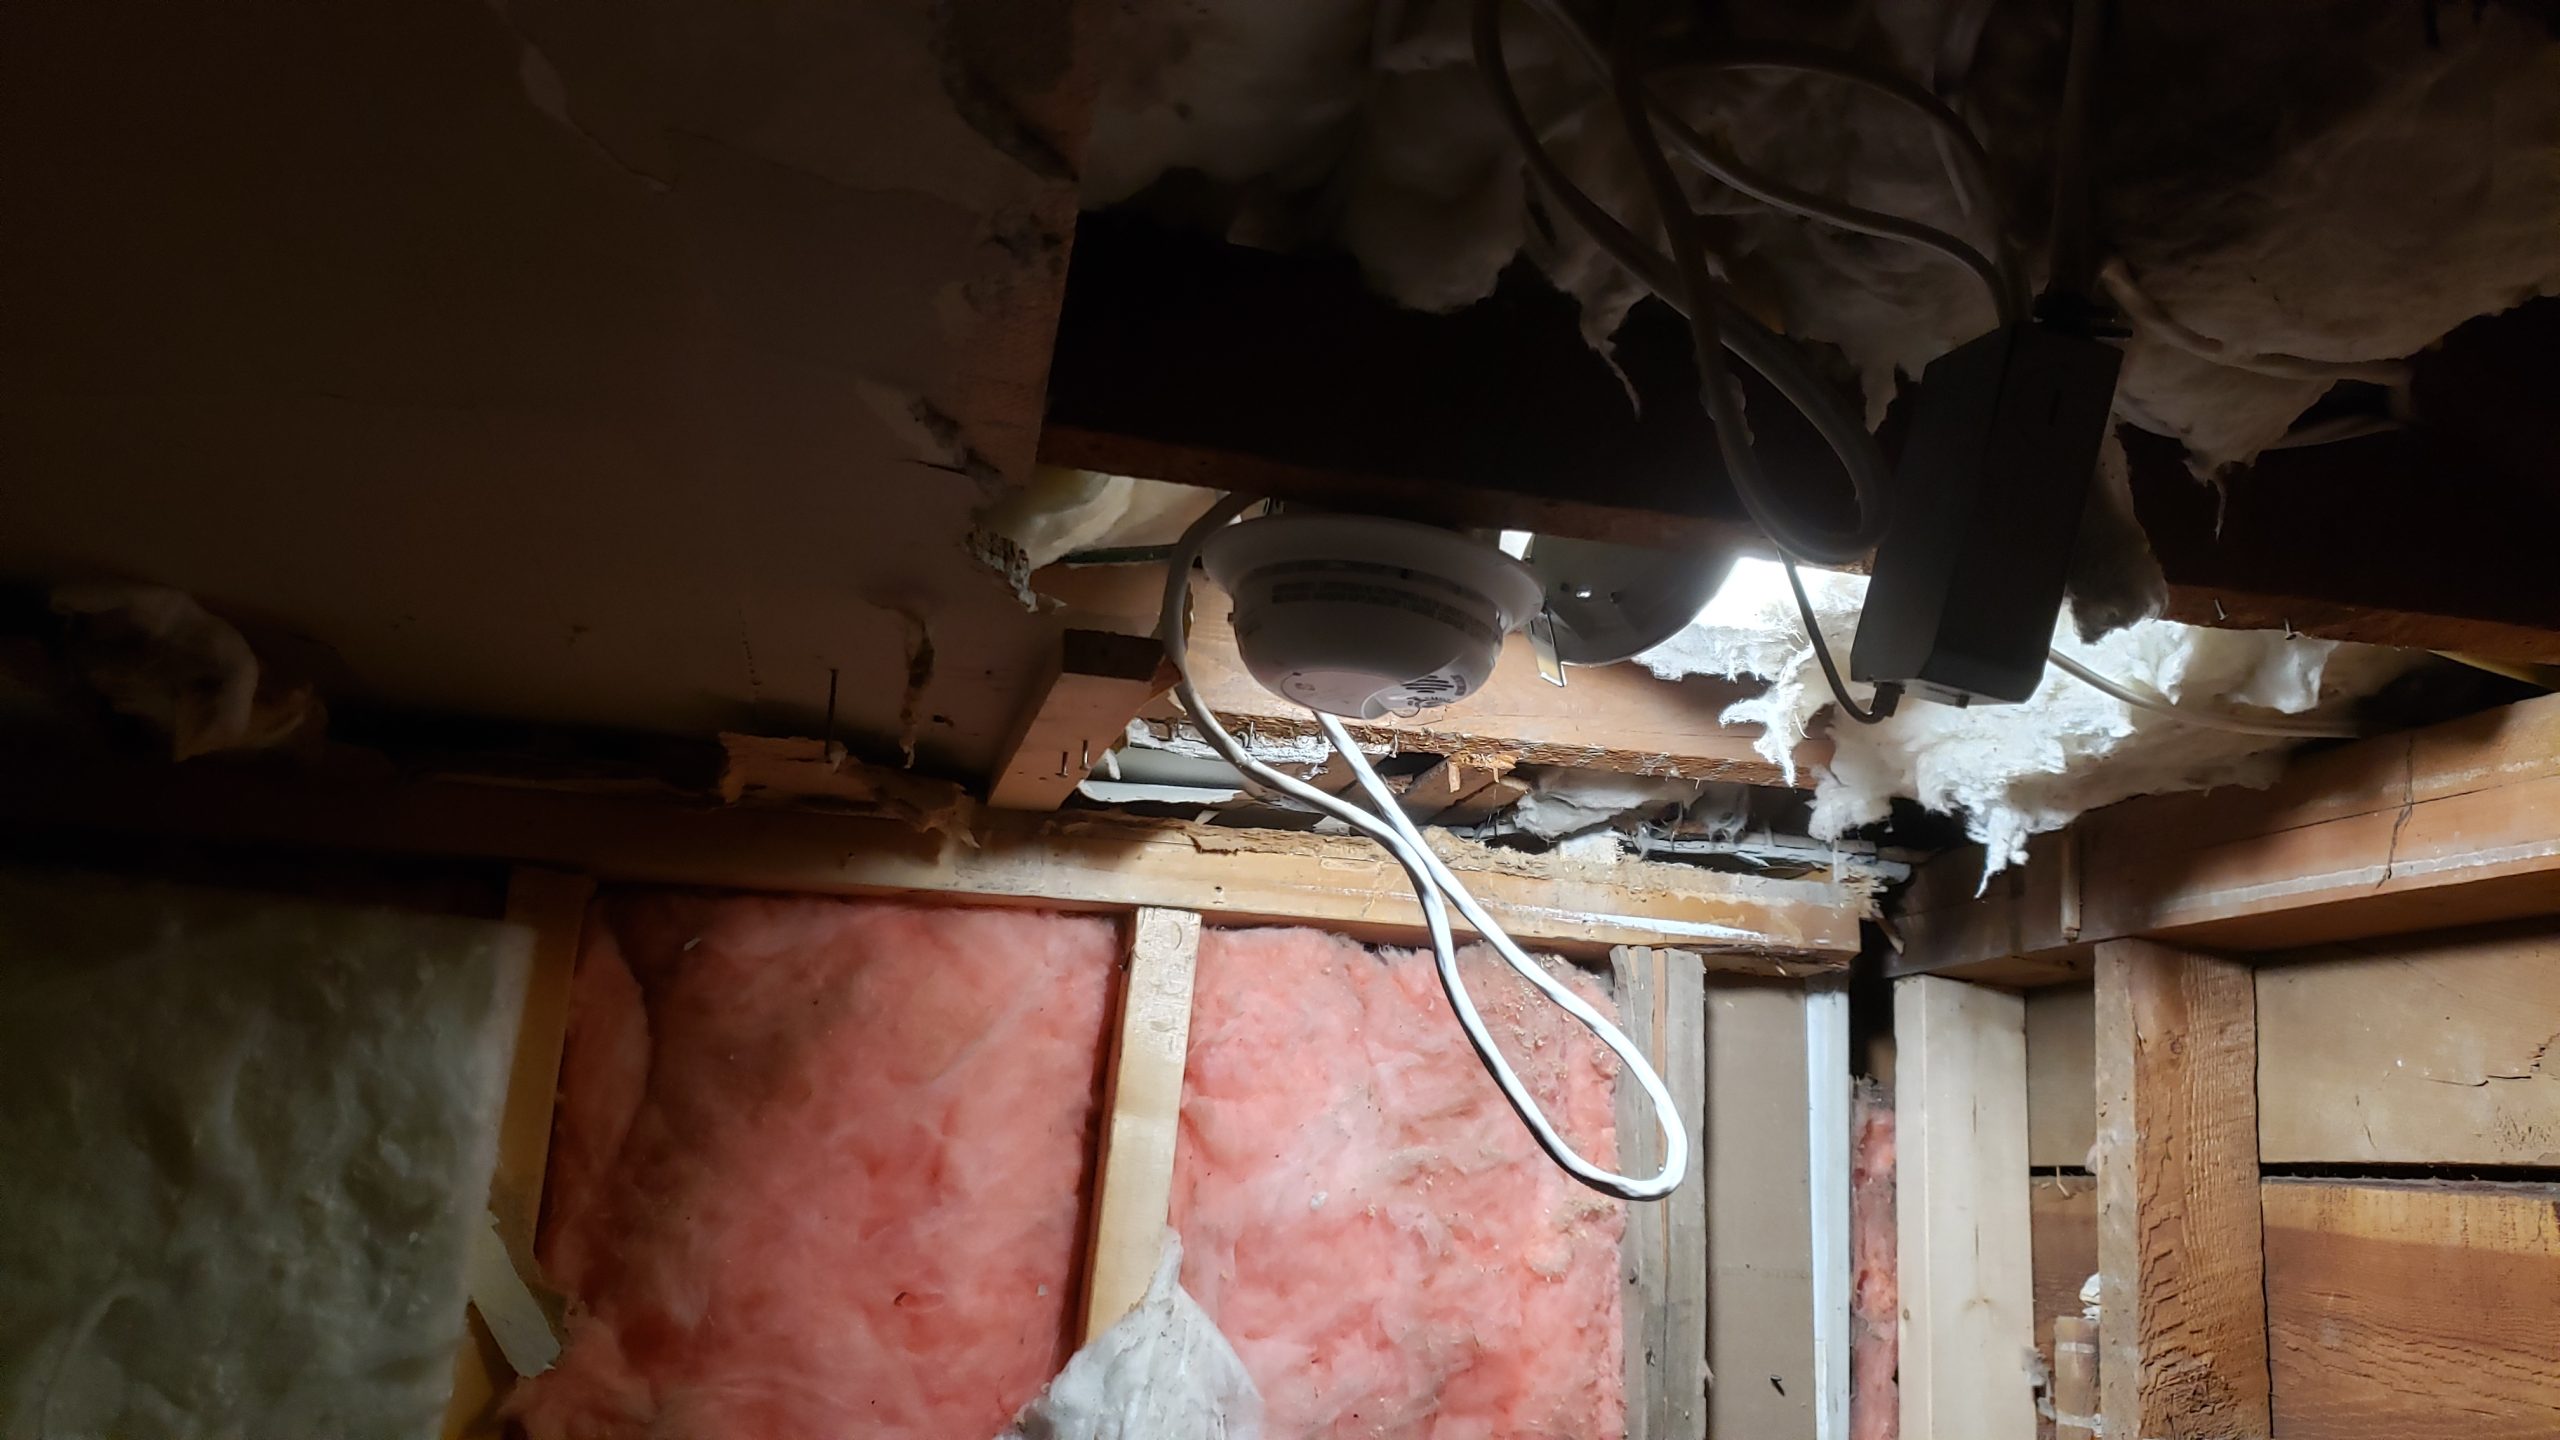
As for the stairway itself, …