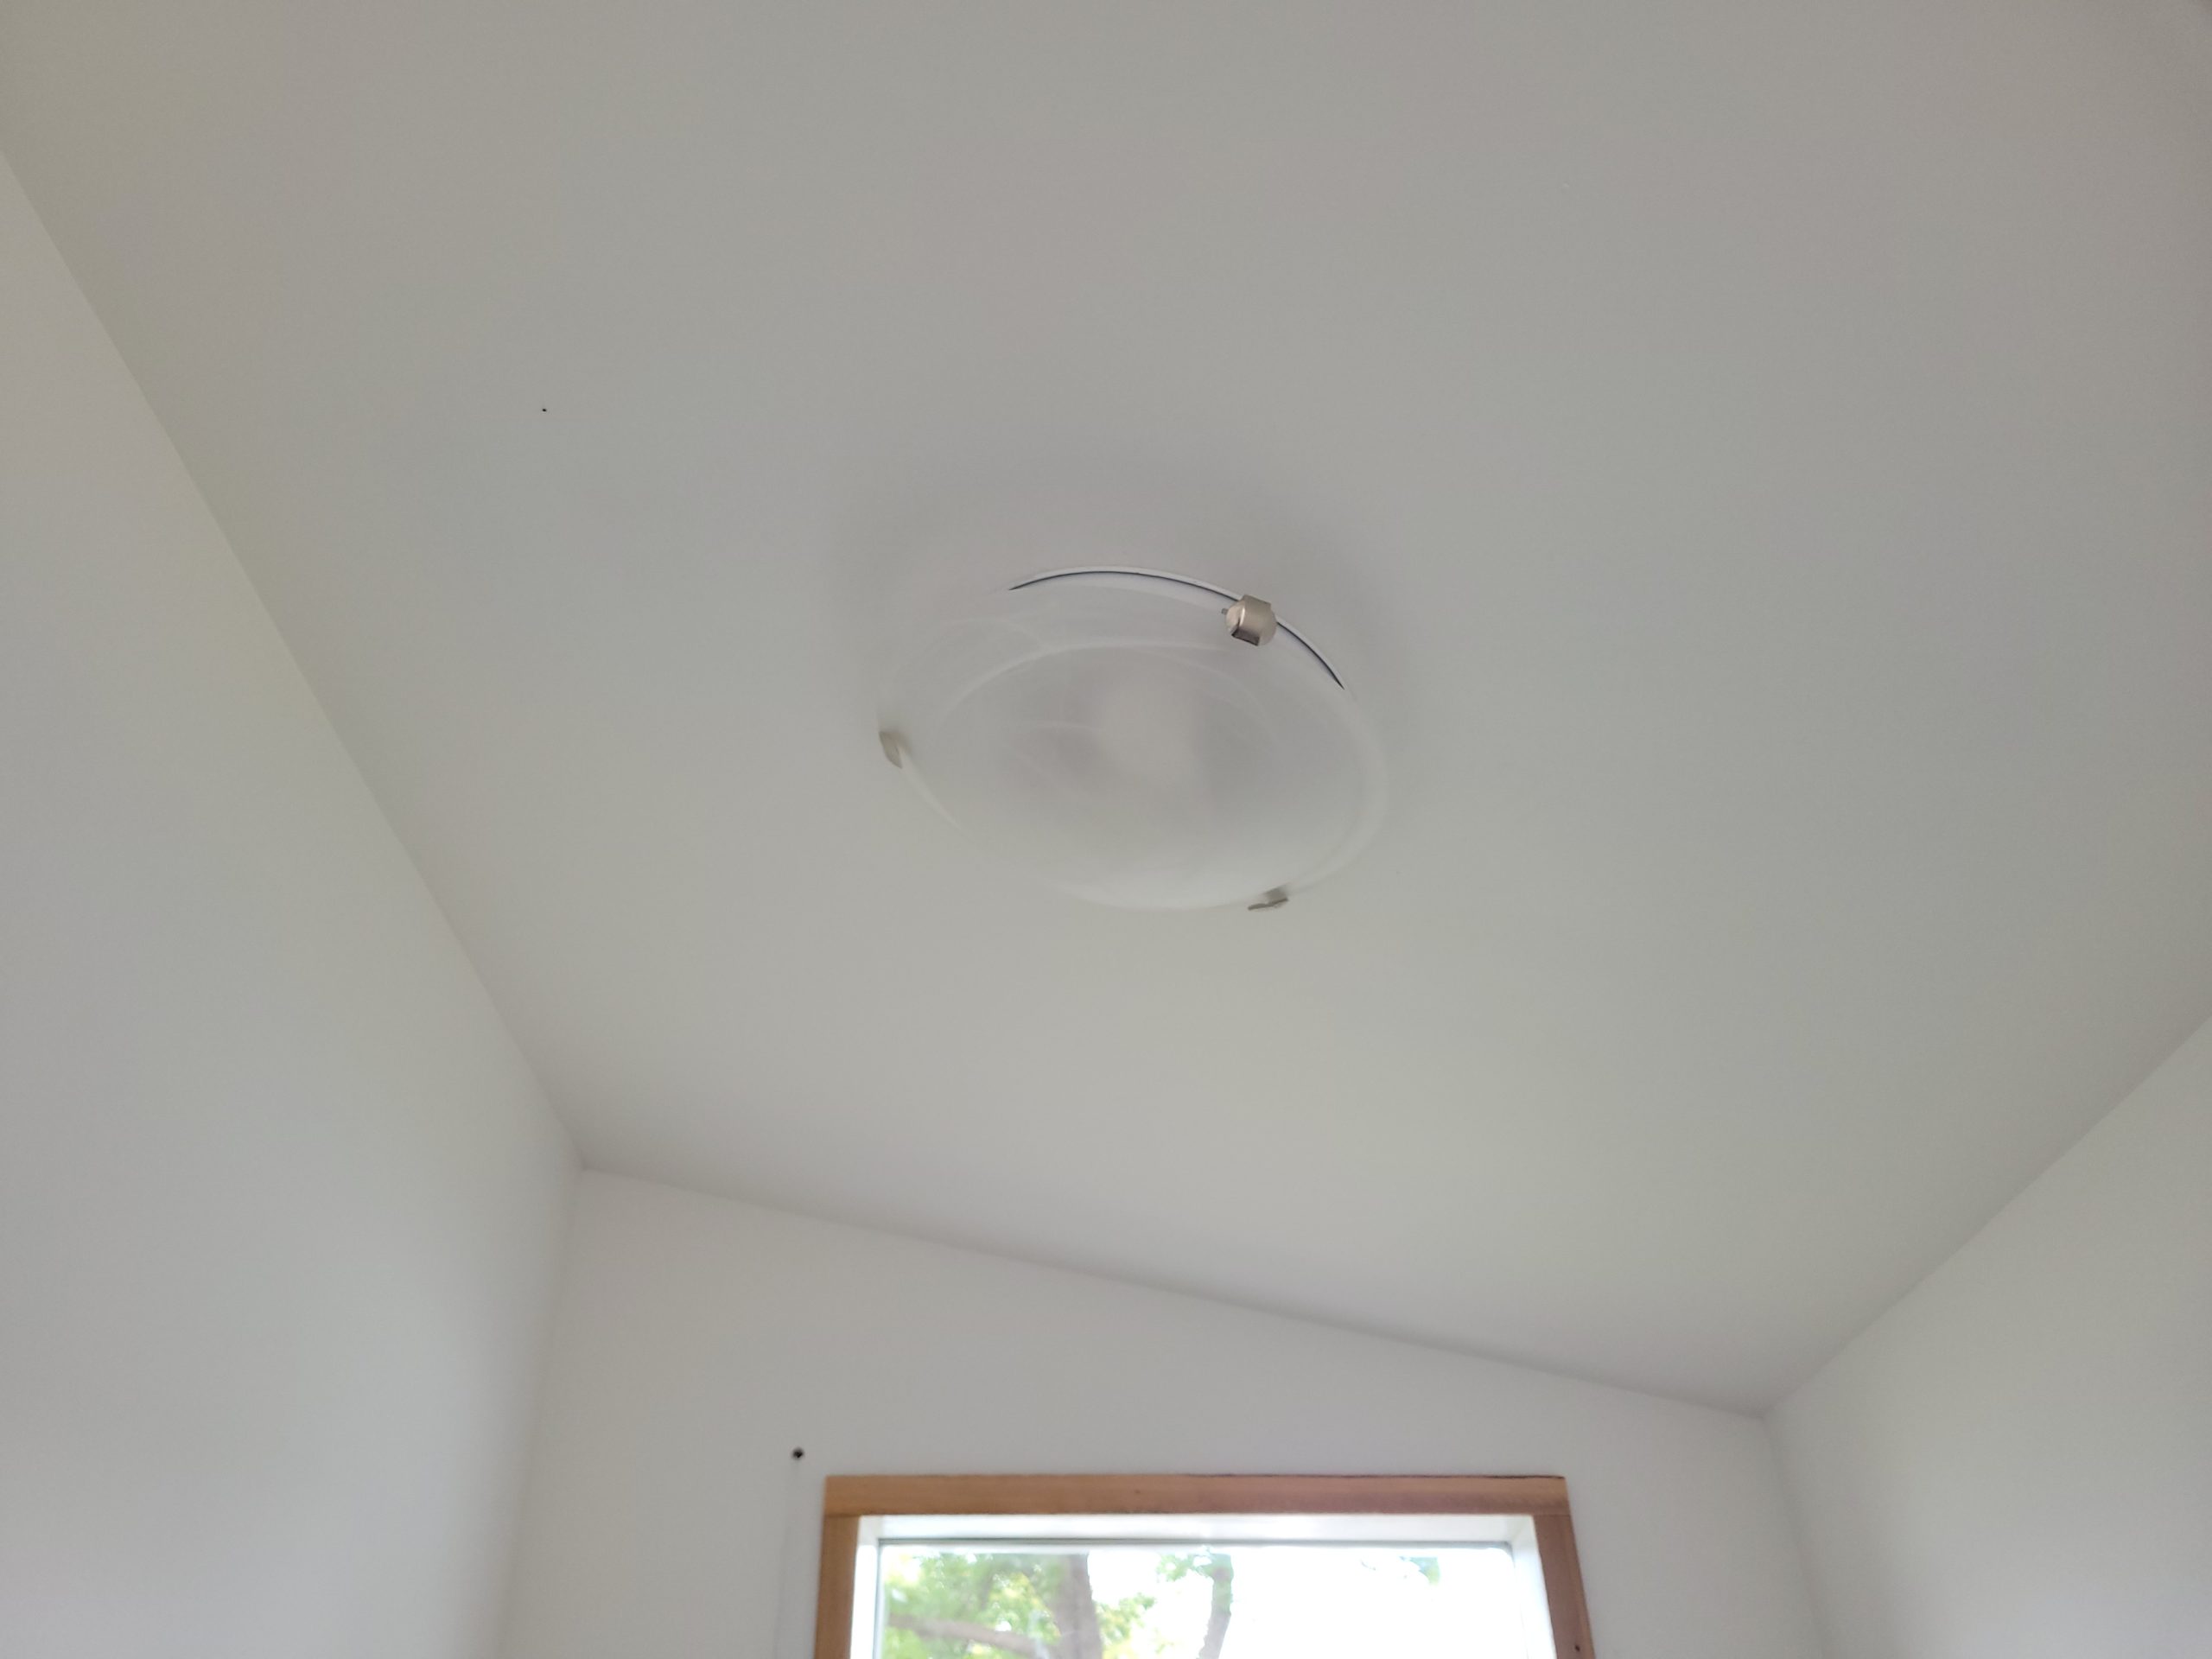
The mudroom light was finally stuck to the ceiling today. Why so long in the making? I couldn’t find the danged bracket until now.
Which brings me to my next task.
projects on the go
This is a house built in 1906 at 1403 3 Ave. N., Coalbanks (later to become Lethbridge), AB, Canada. I bought the house in Dec. 2021 as a rental property. It has a 3-bedroom suite on the main floor (“main”). This is the story of that suite.
The mudroom light was finally stuck to the ceiling today. Why so long in the making? I couldn’t find the danged bracket until now.
Which brings me to my next task.
The heater from Amazon for the mudroom arrived yesterday.
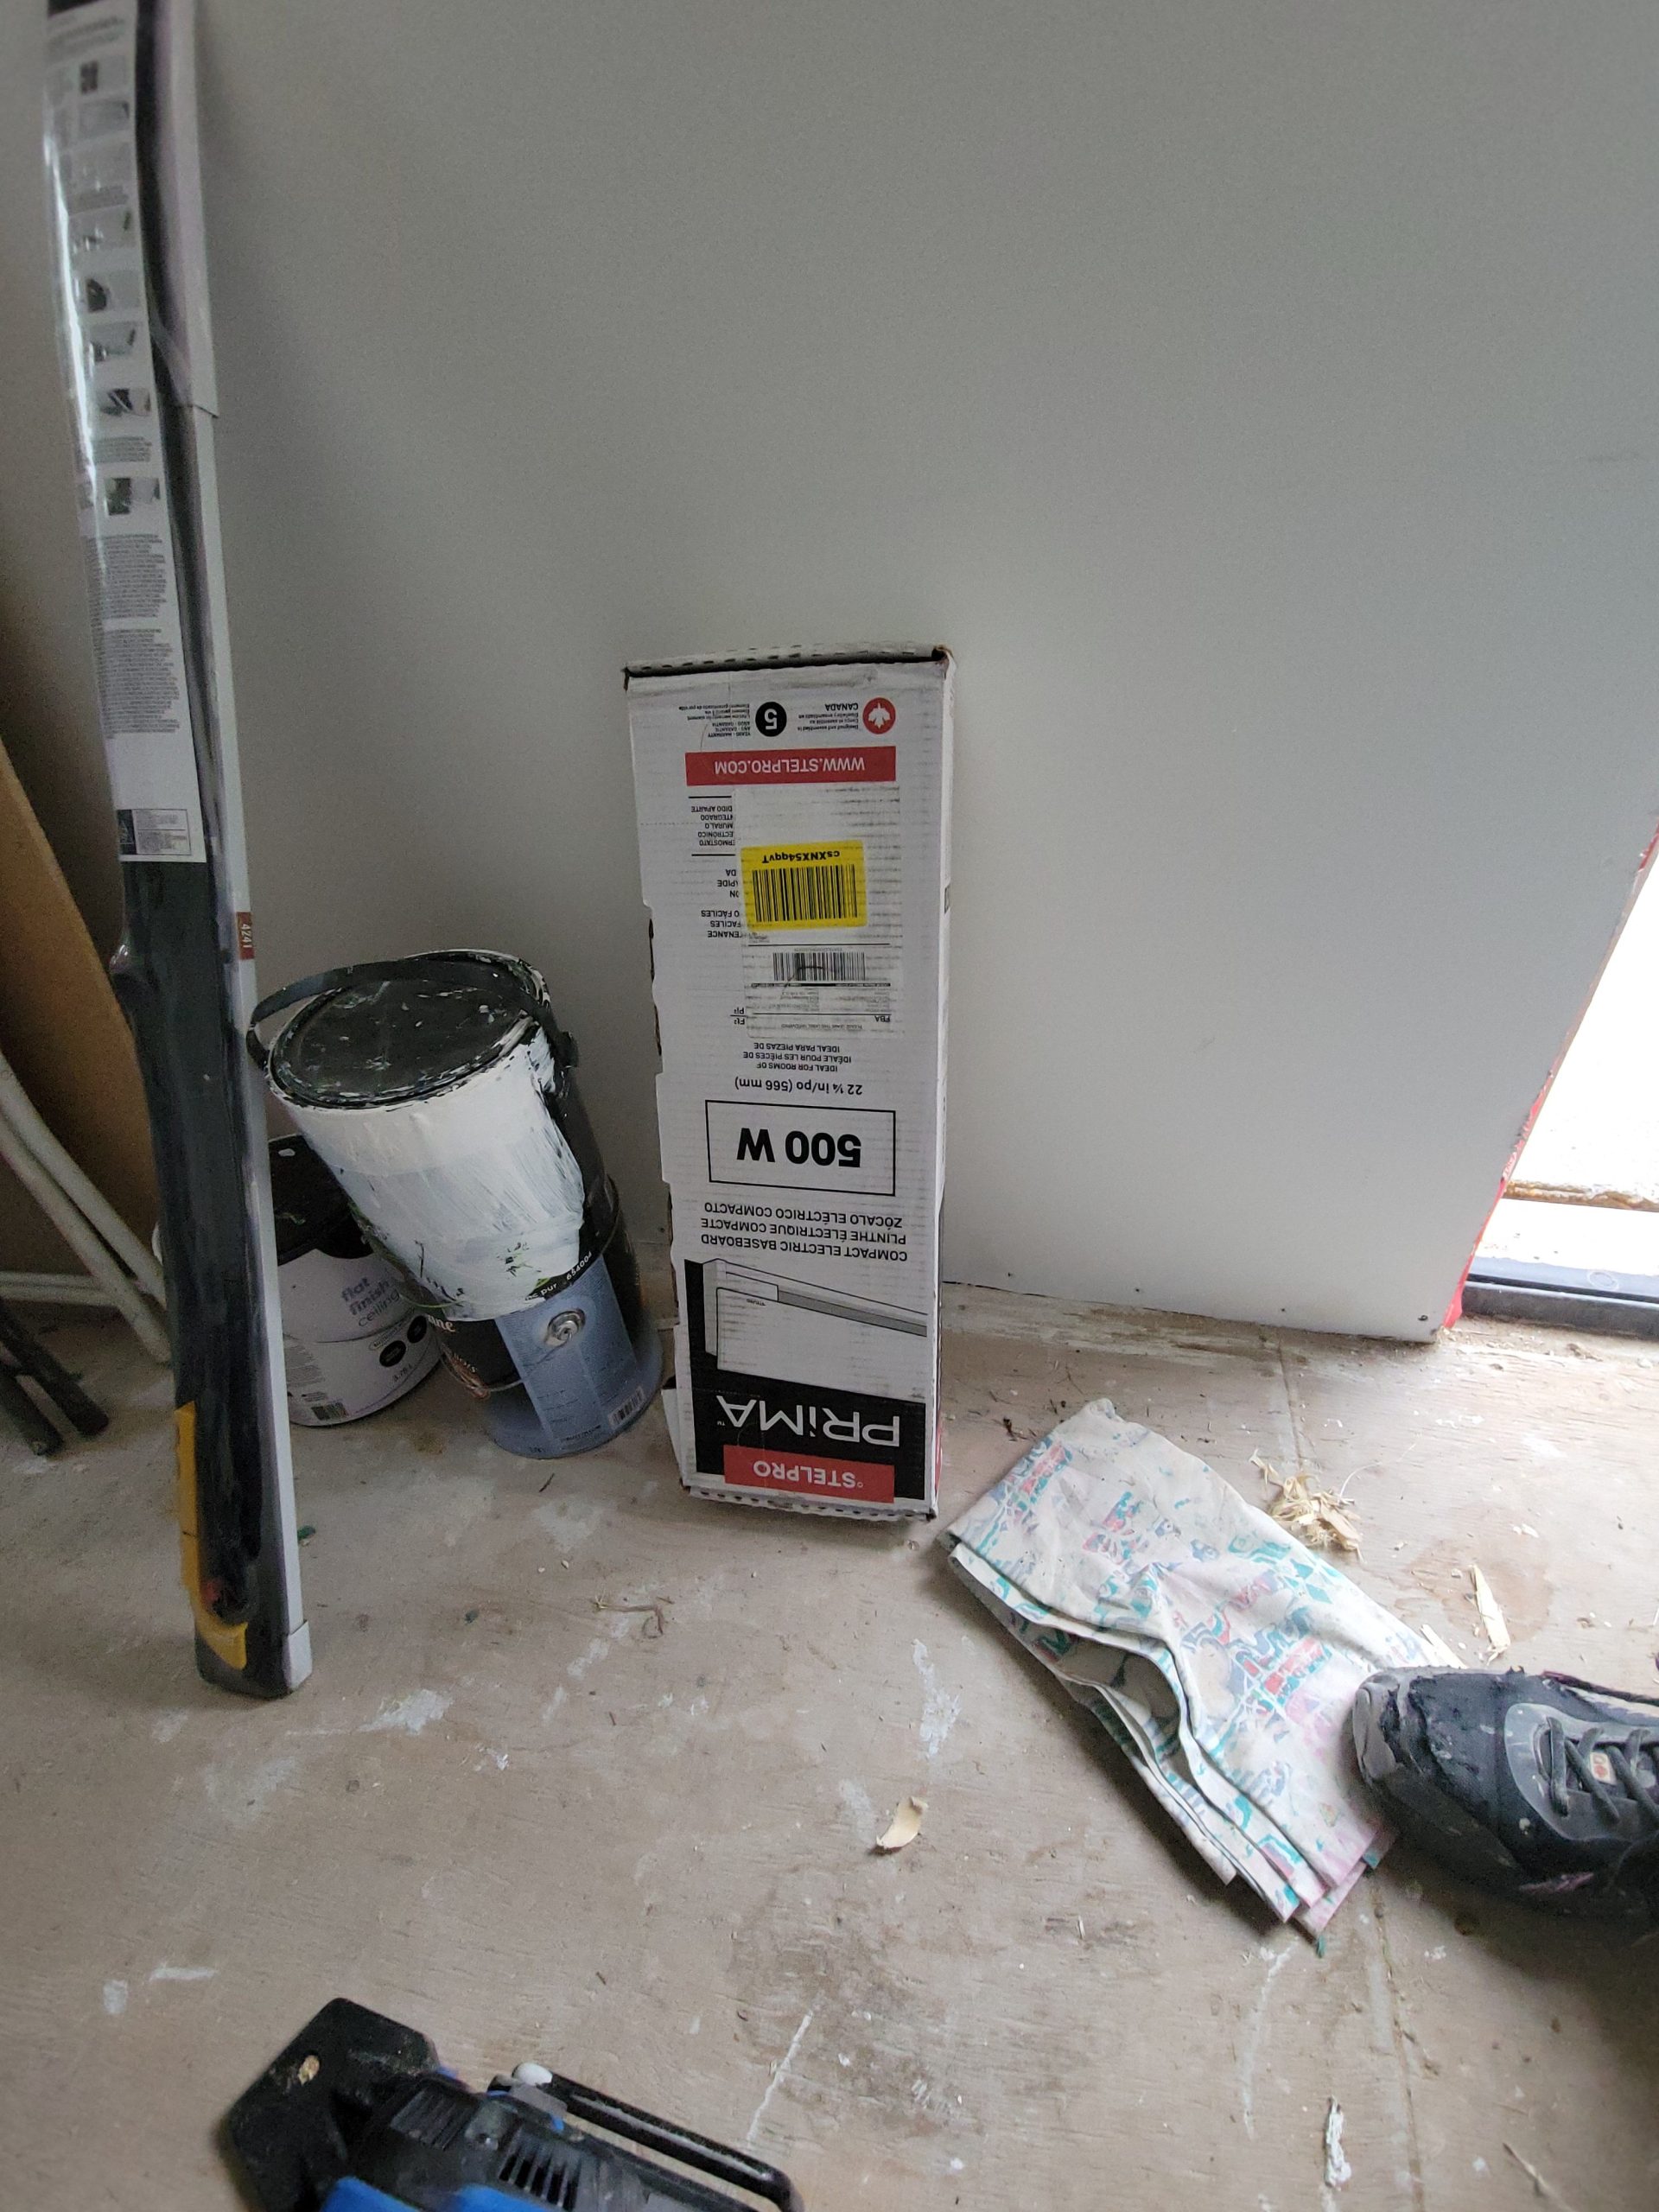
I’ll install it before winter.
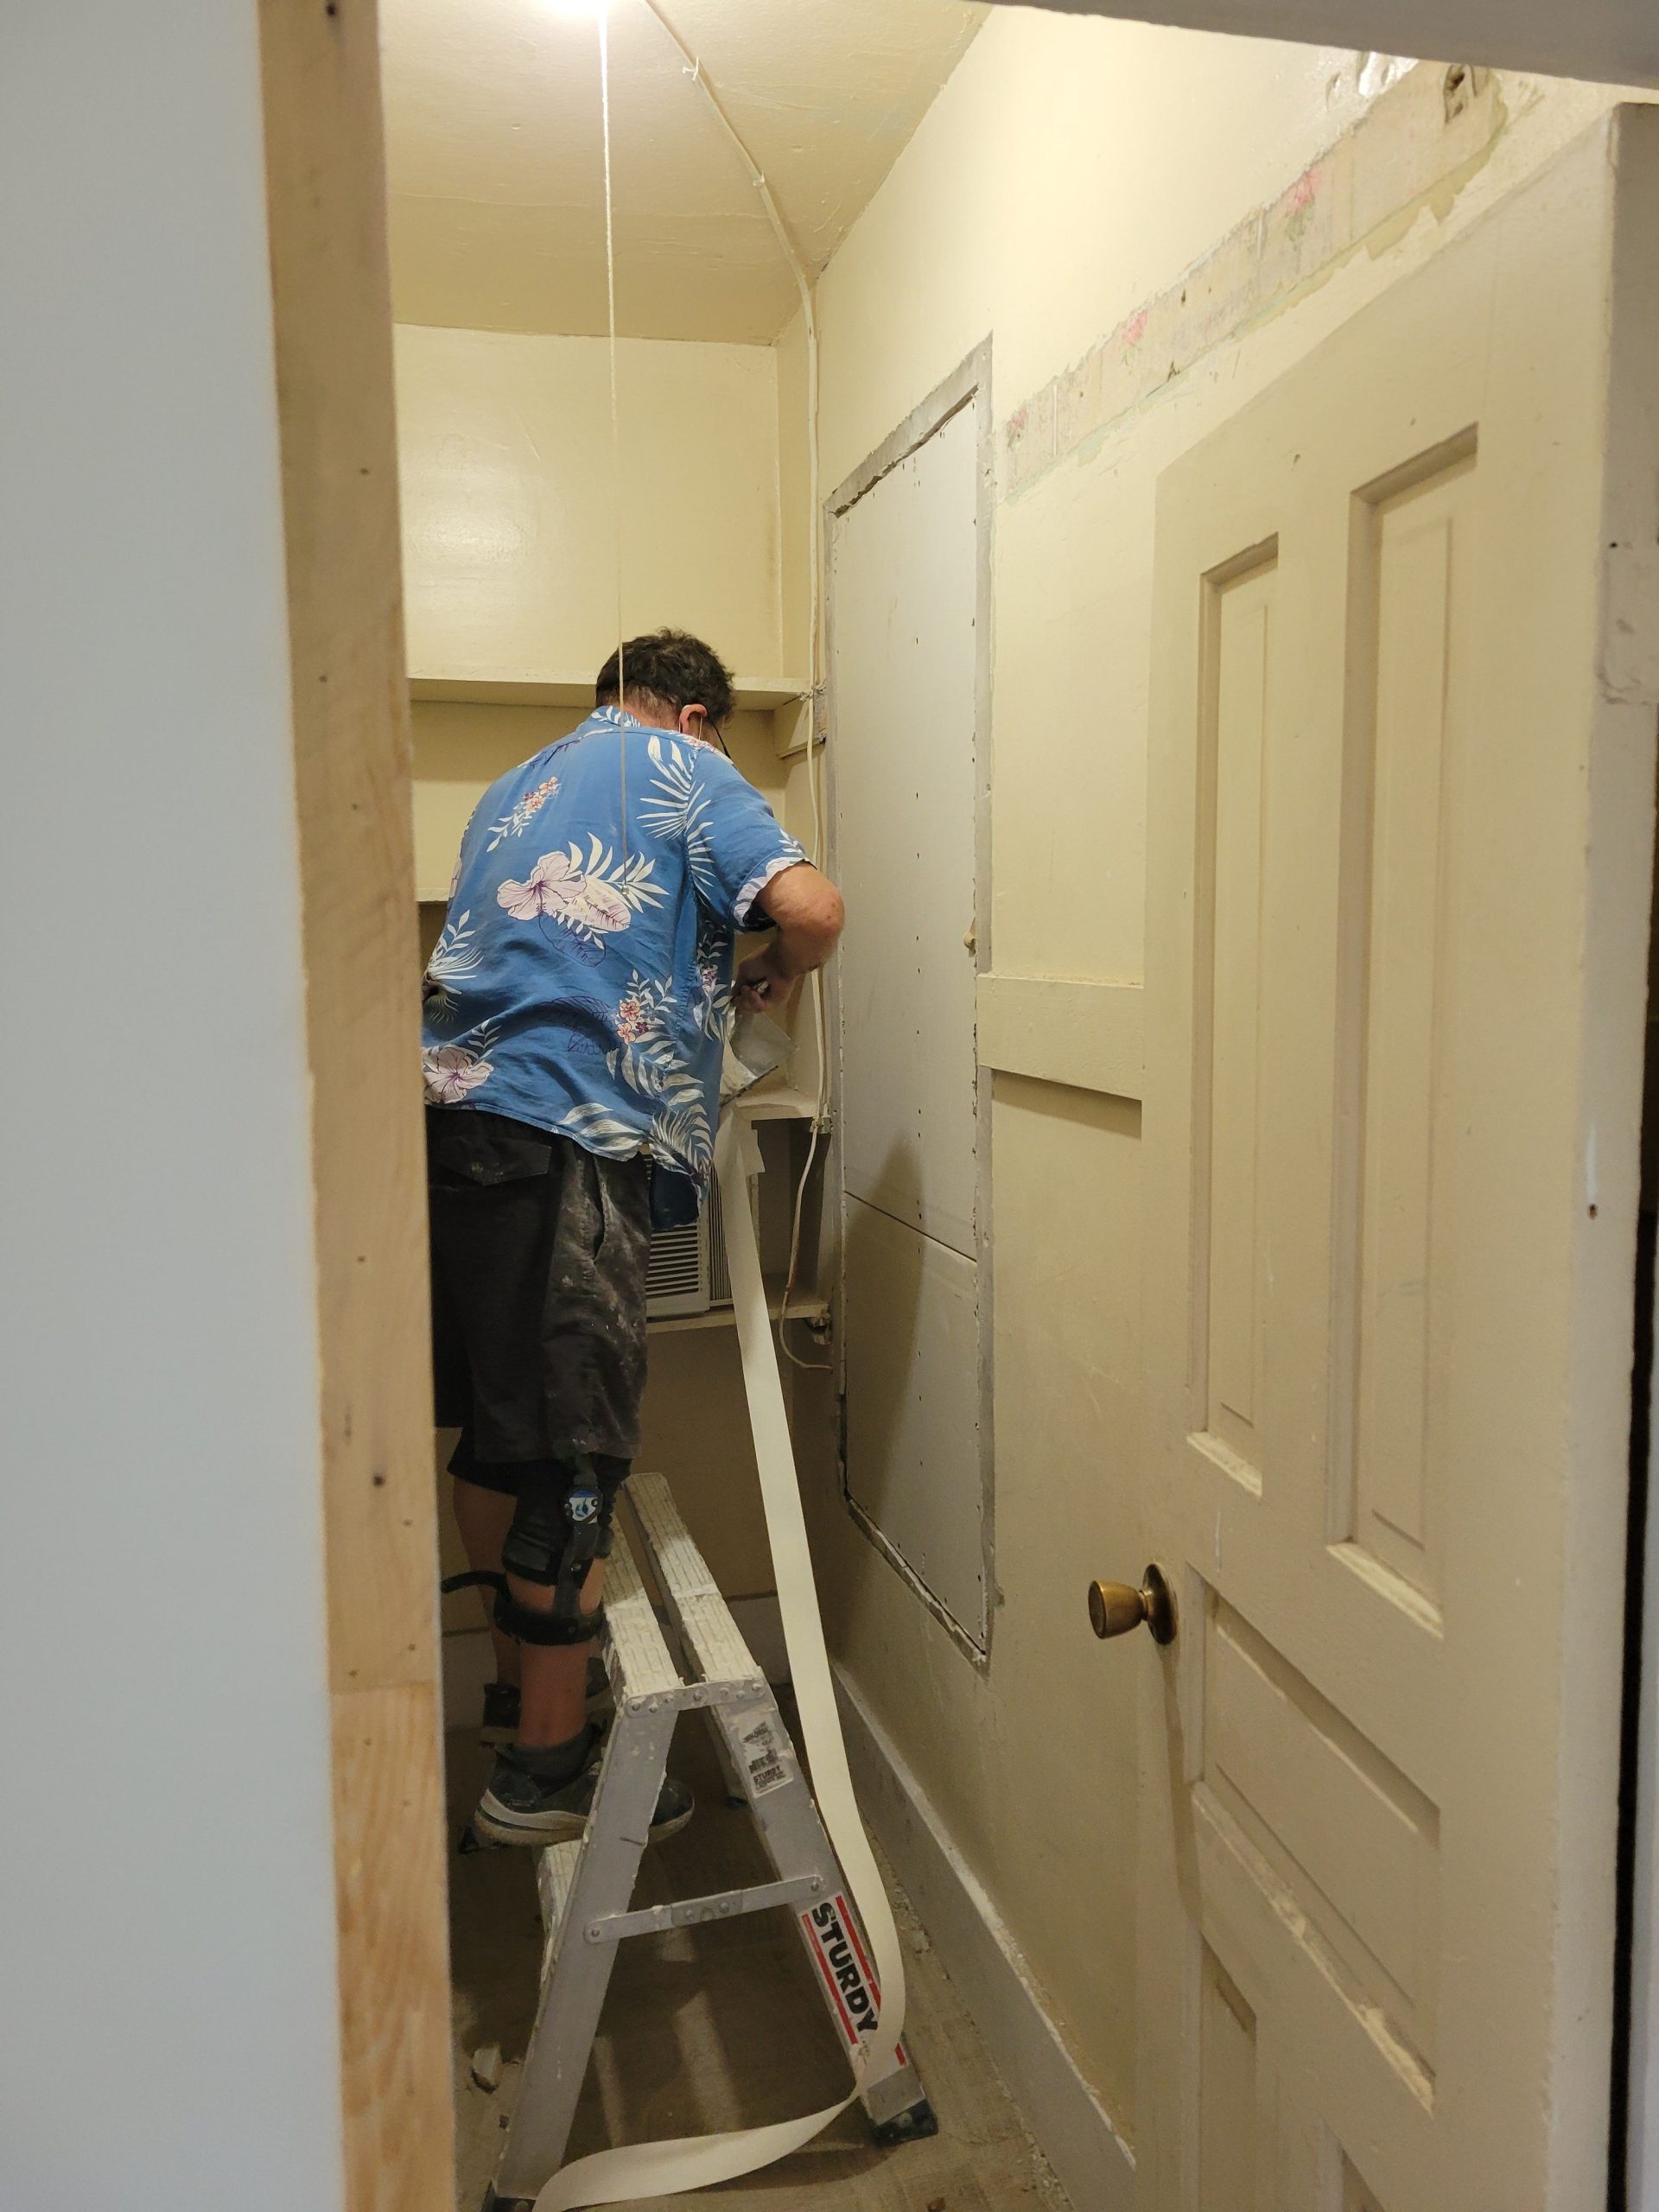
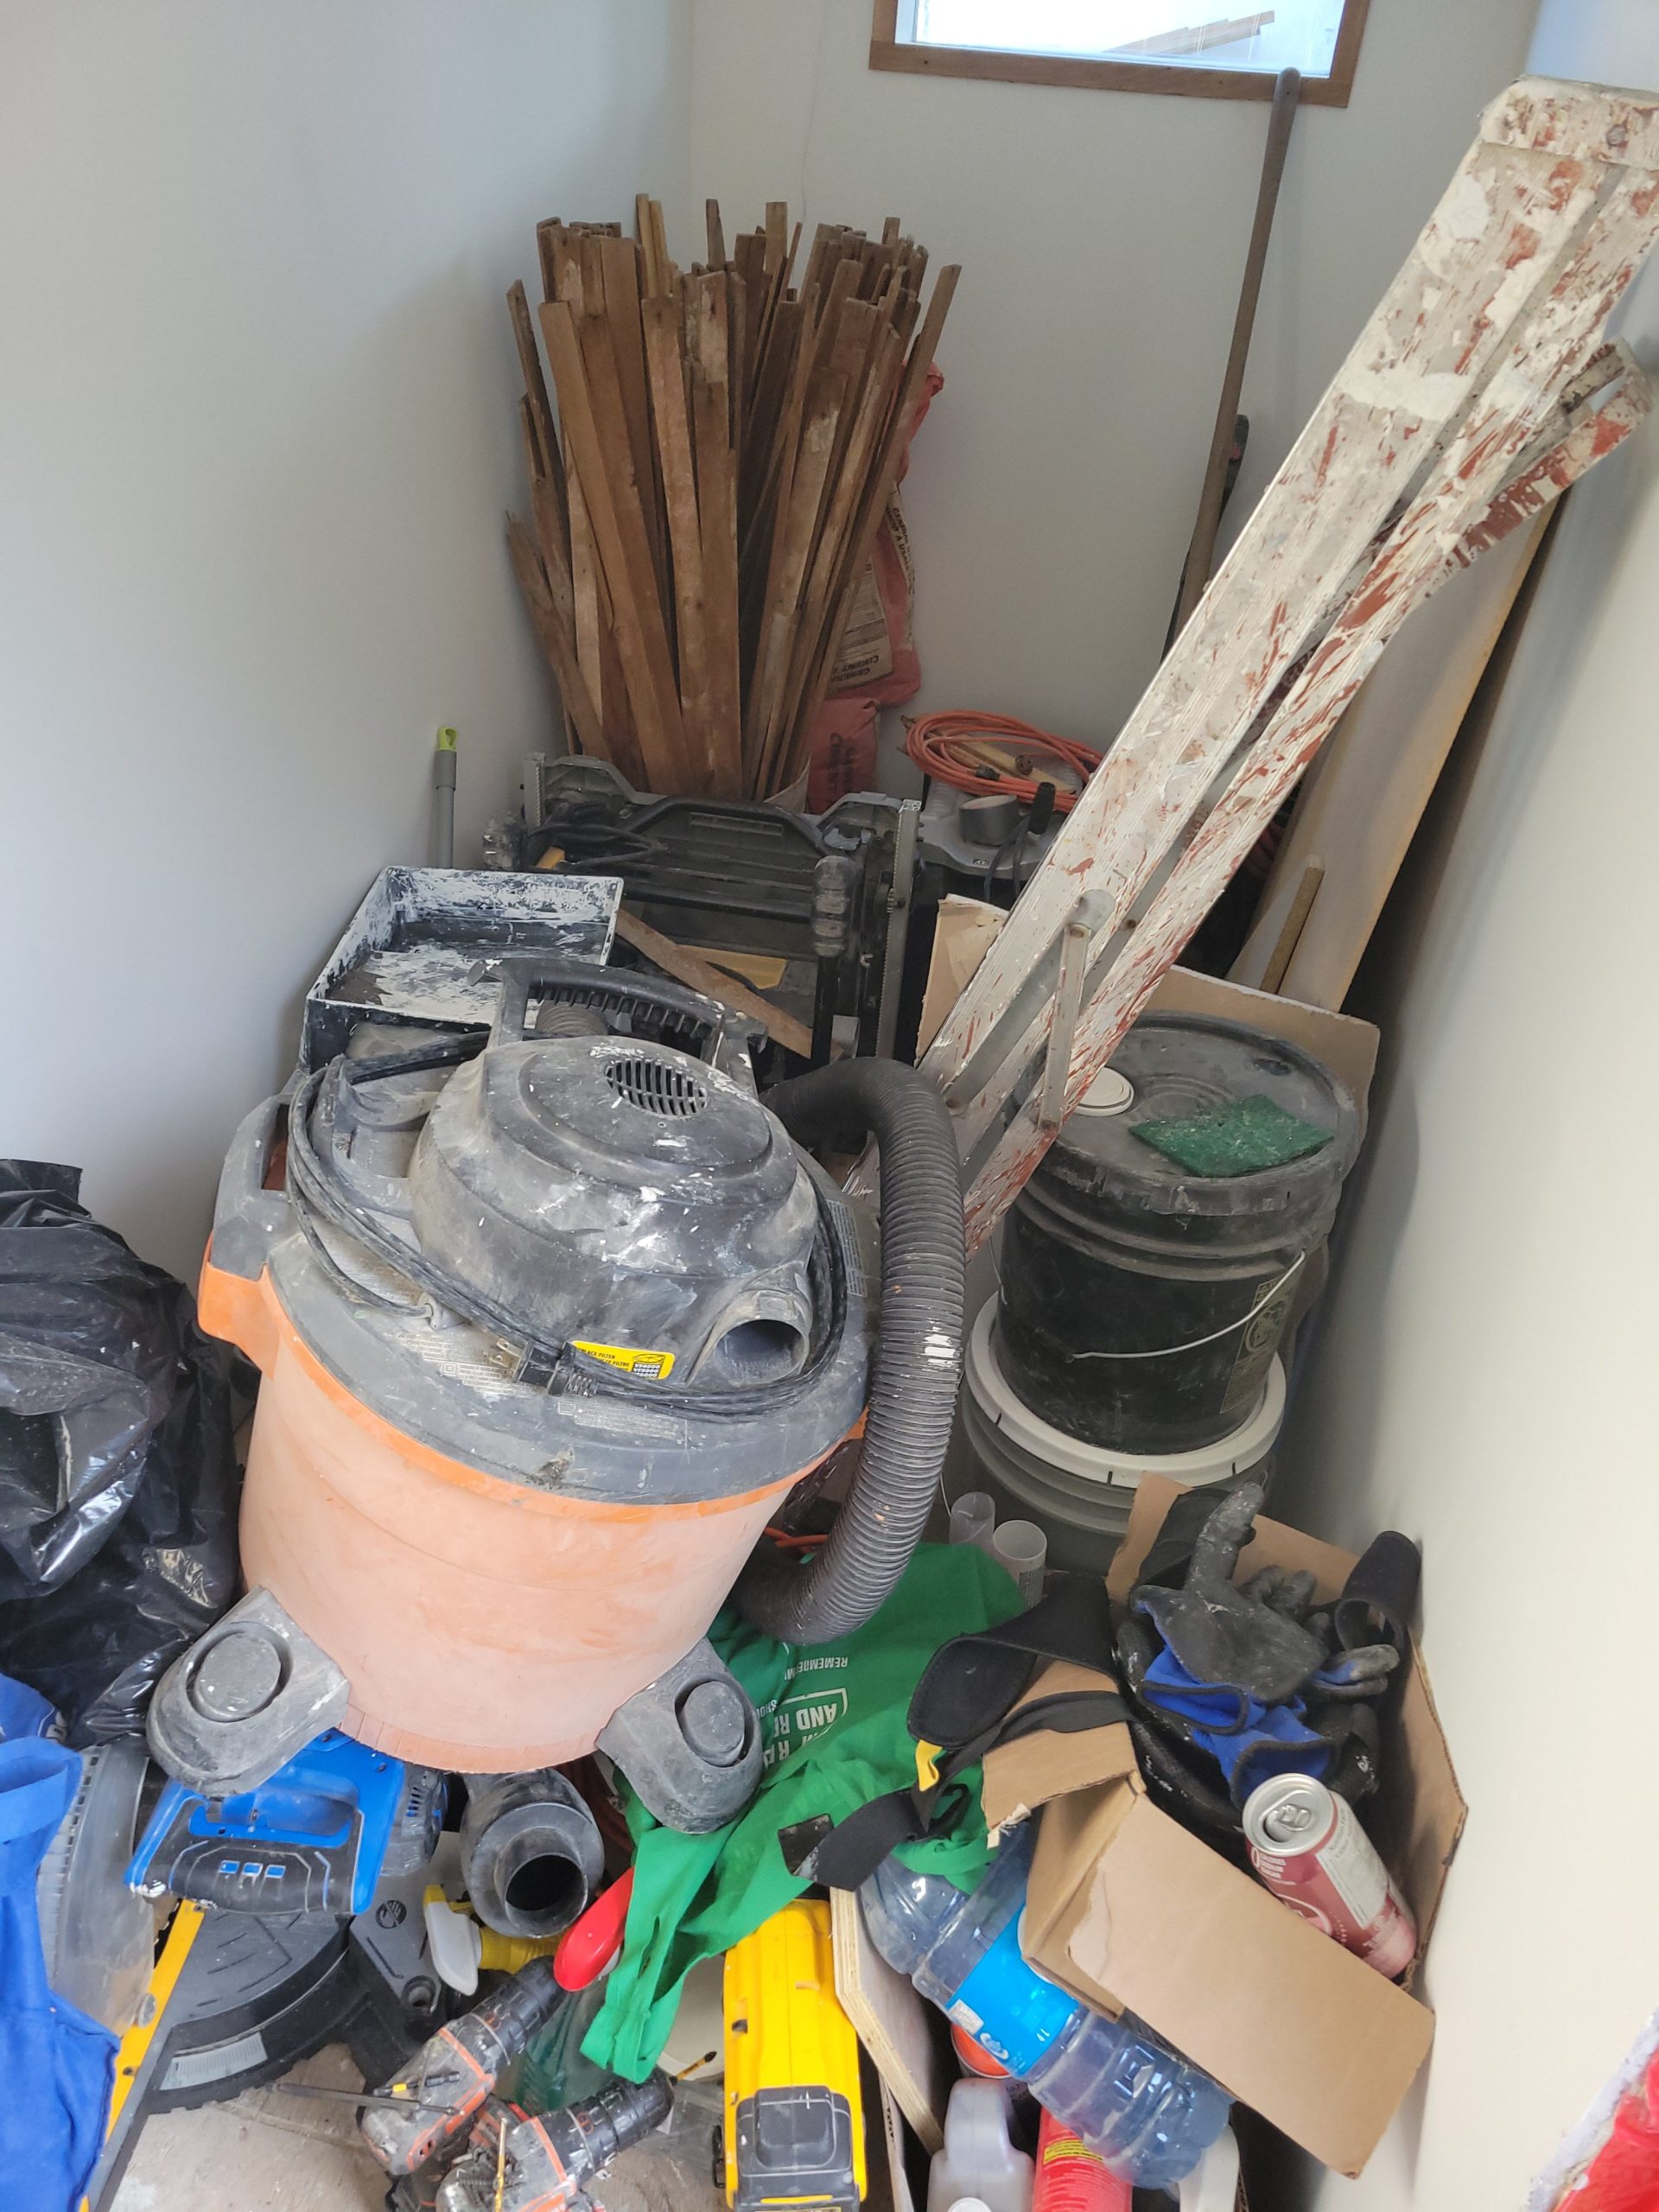
The 1st floor mudroom is still occupied with construction stuff. I told the tenant that I’ll be needing the mudroom for the next month, and they were okay with it. But now it must be organized to be useful.
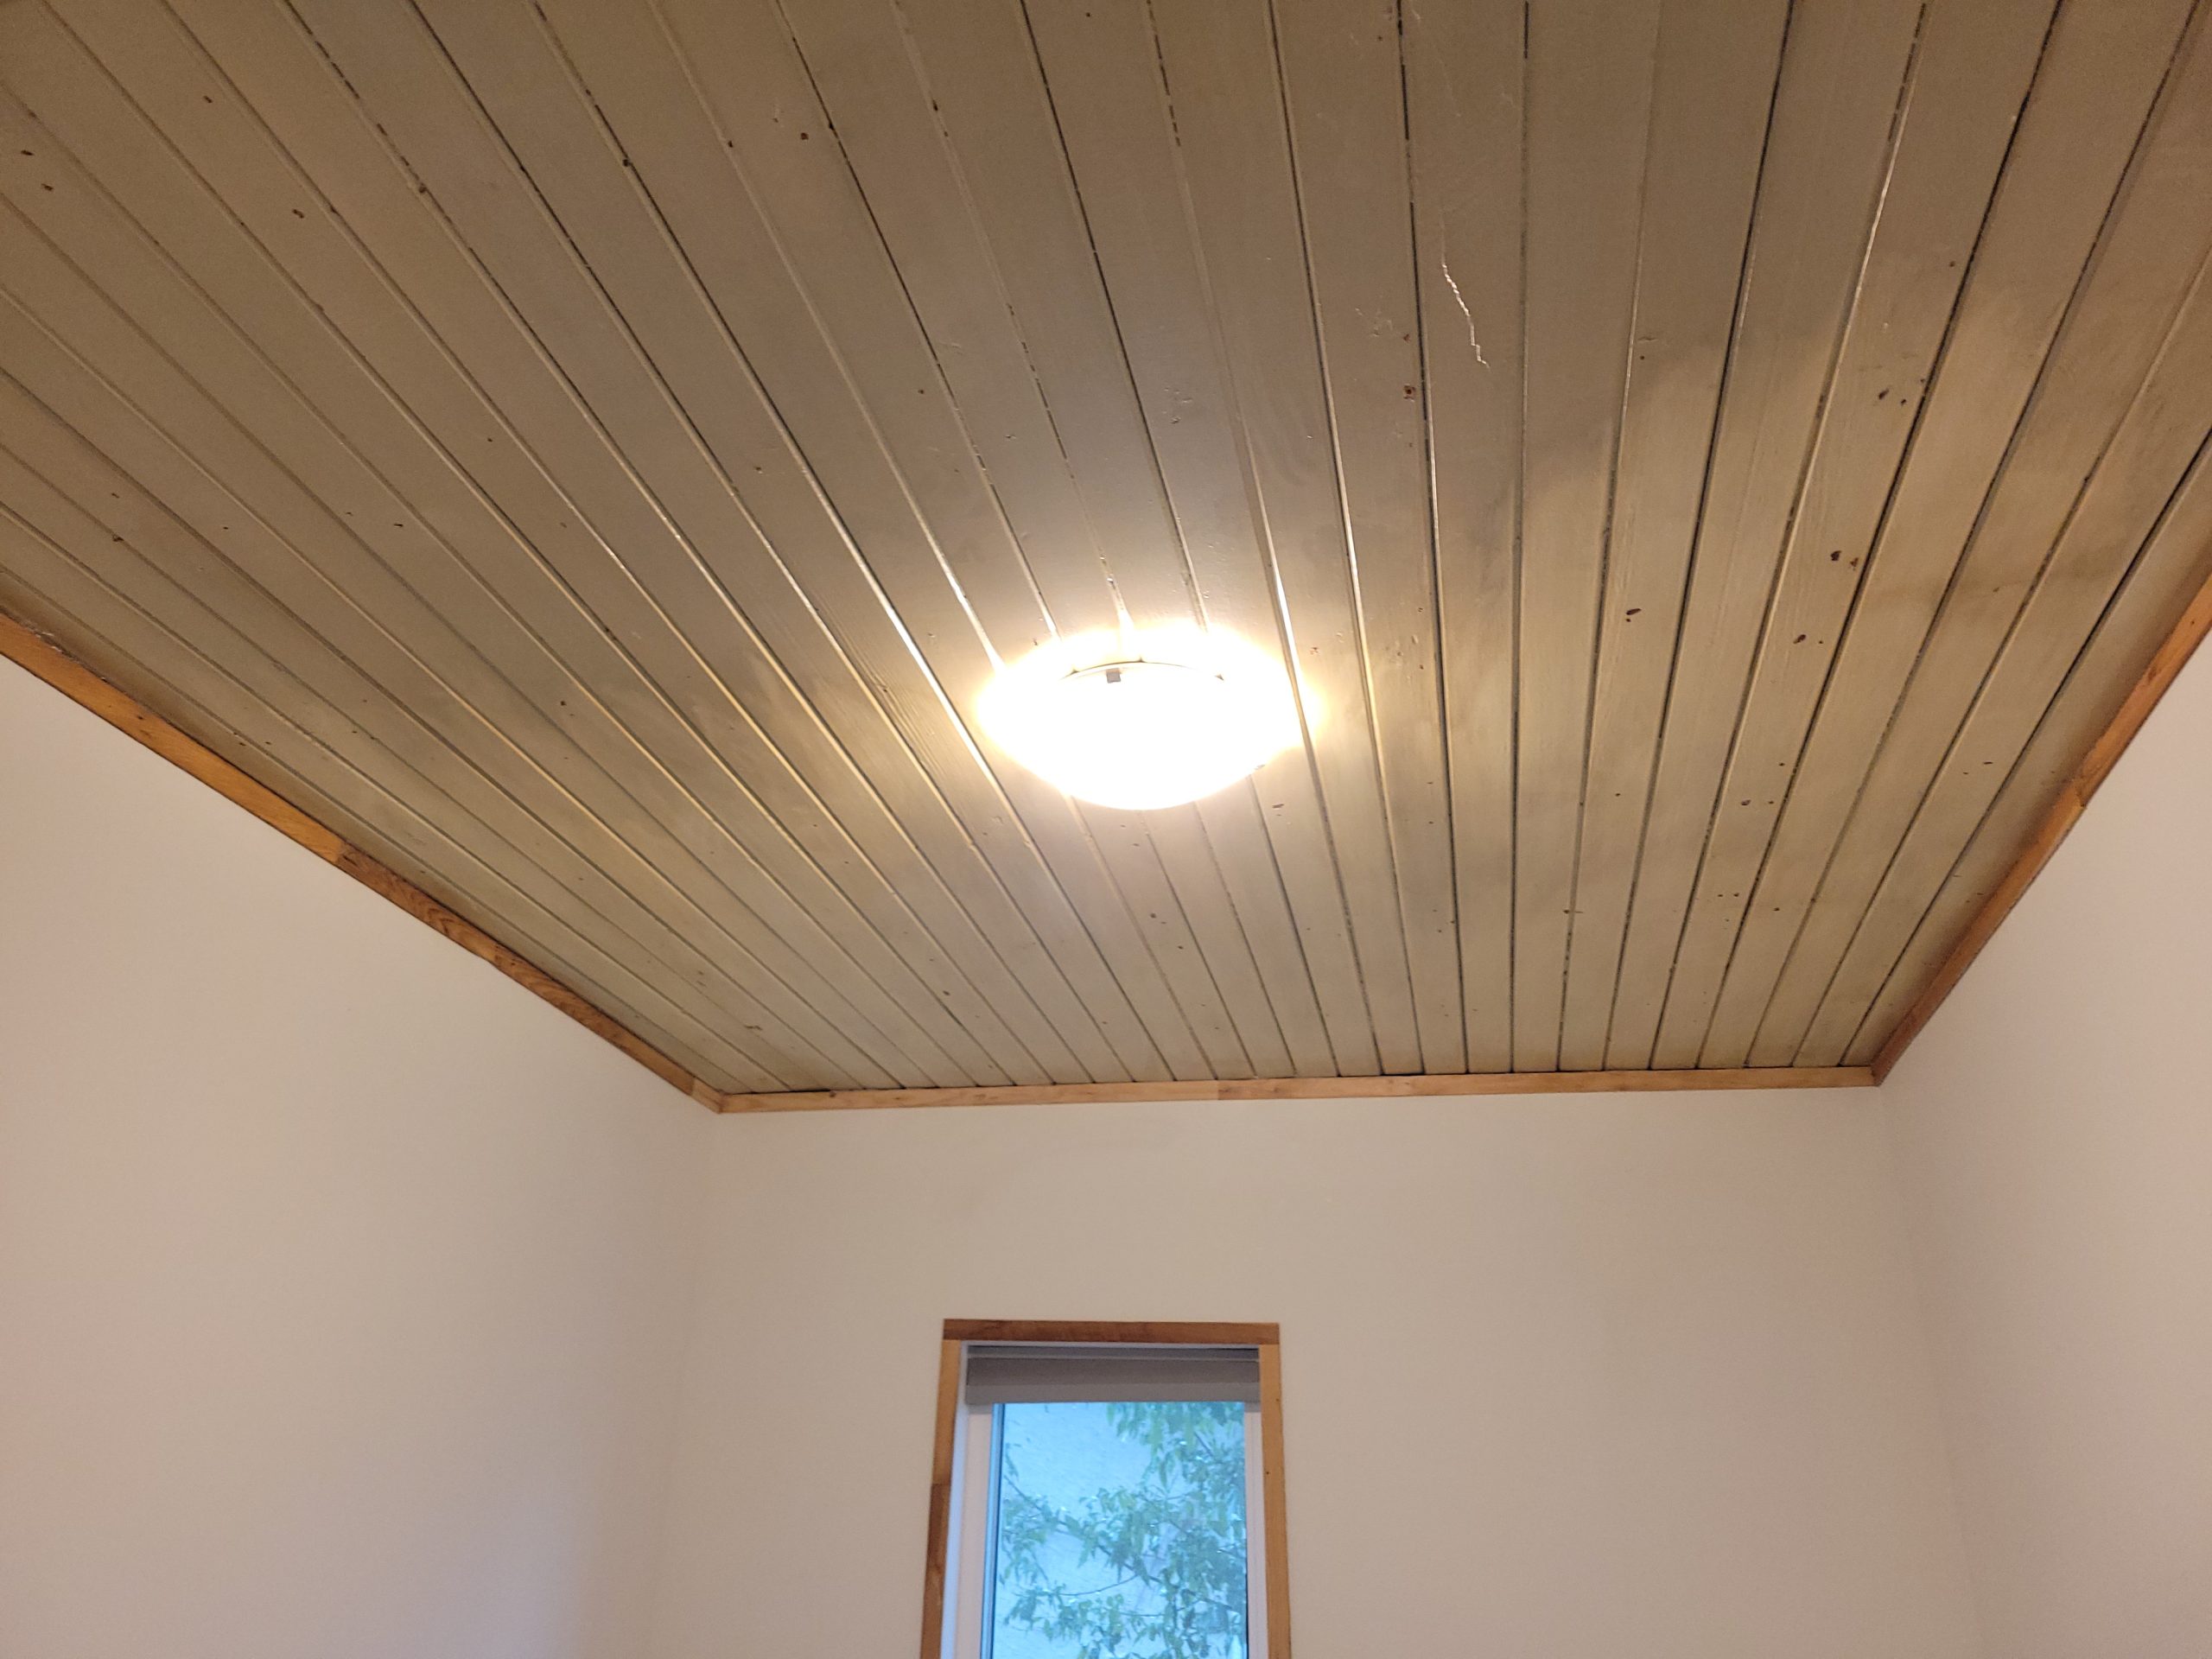
Cleaning of bedroom 2 ceiling begins. Hard work!
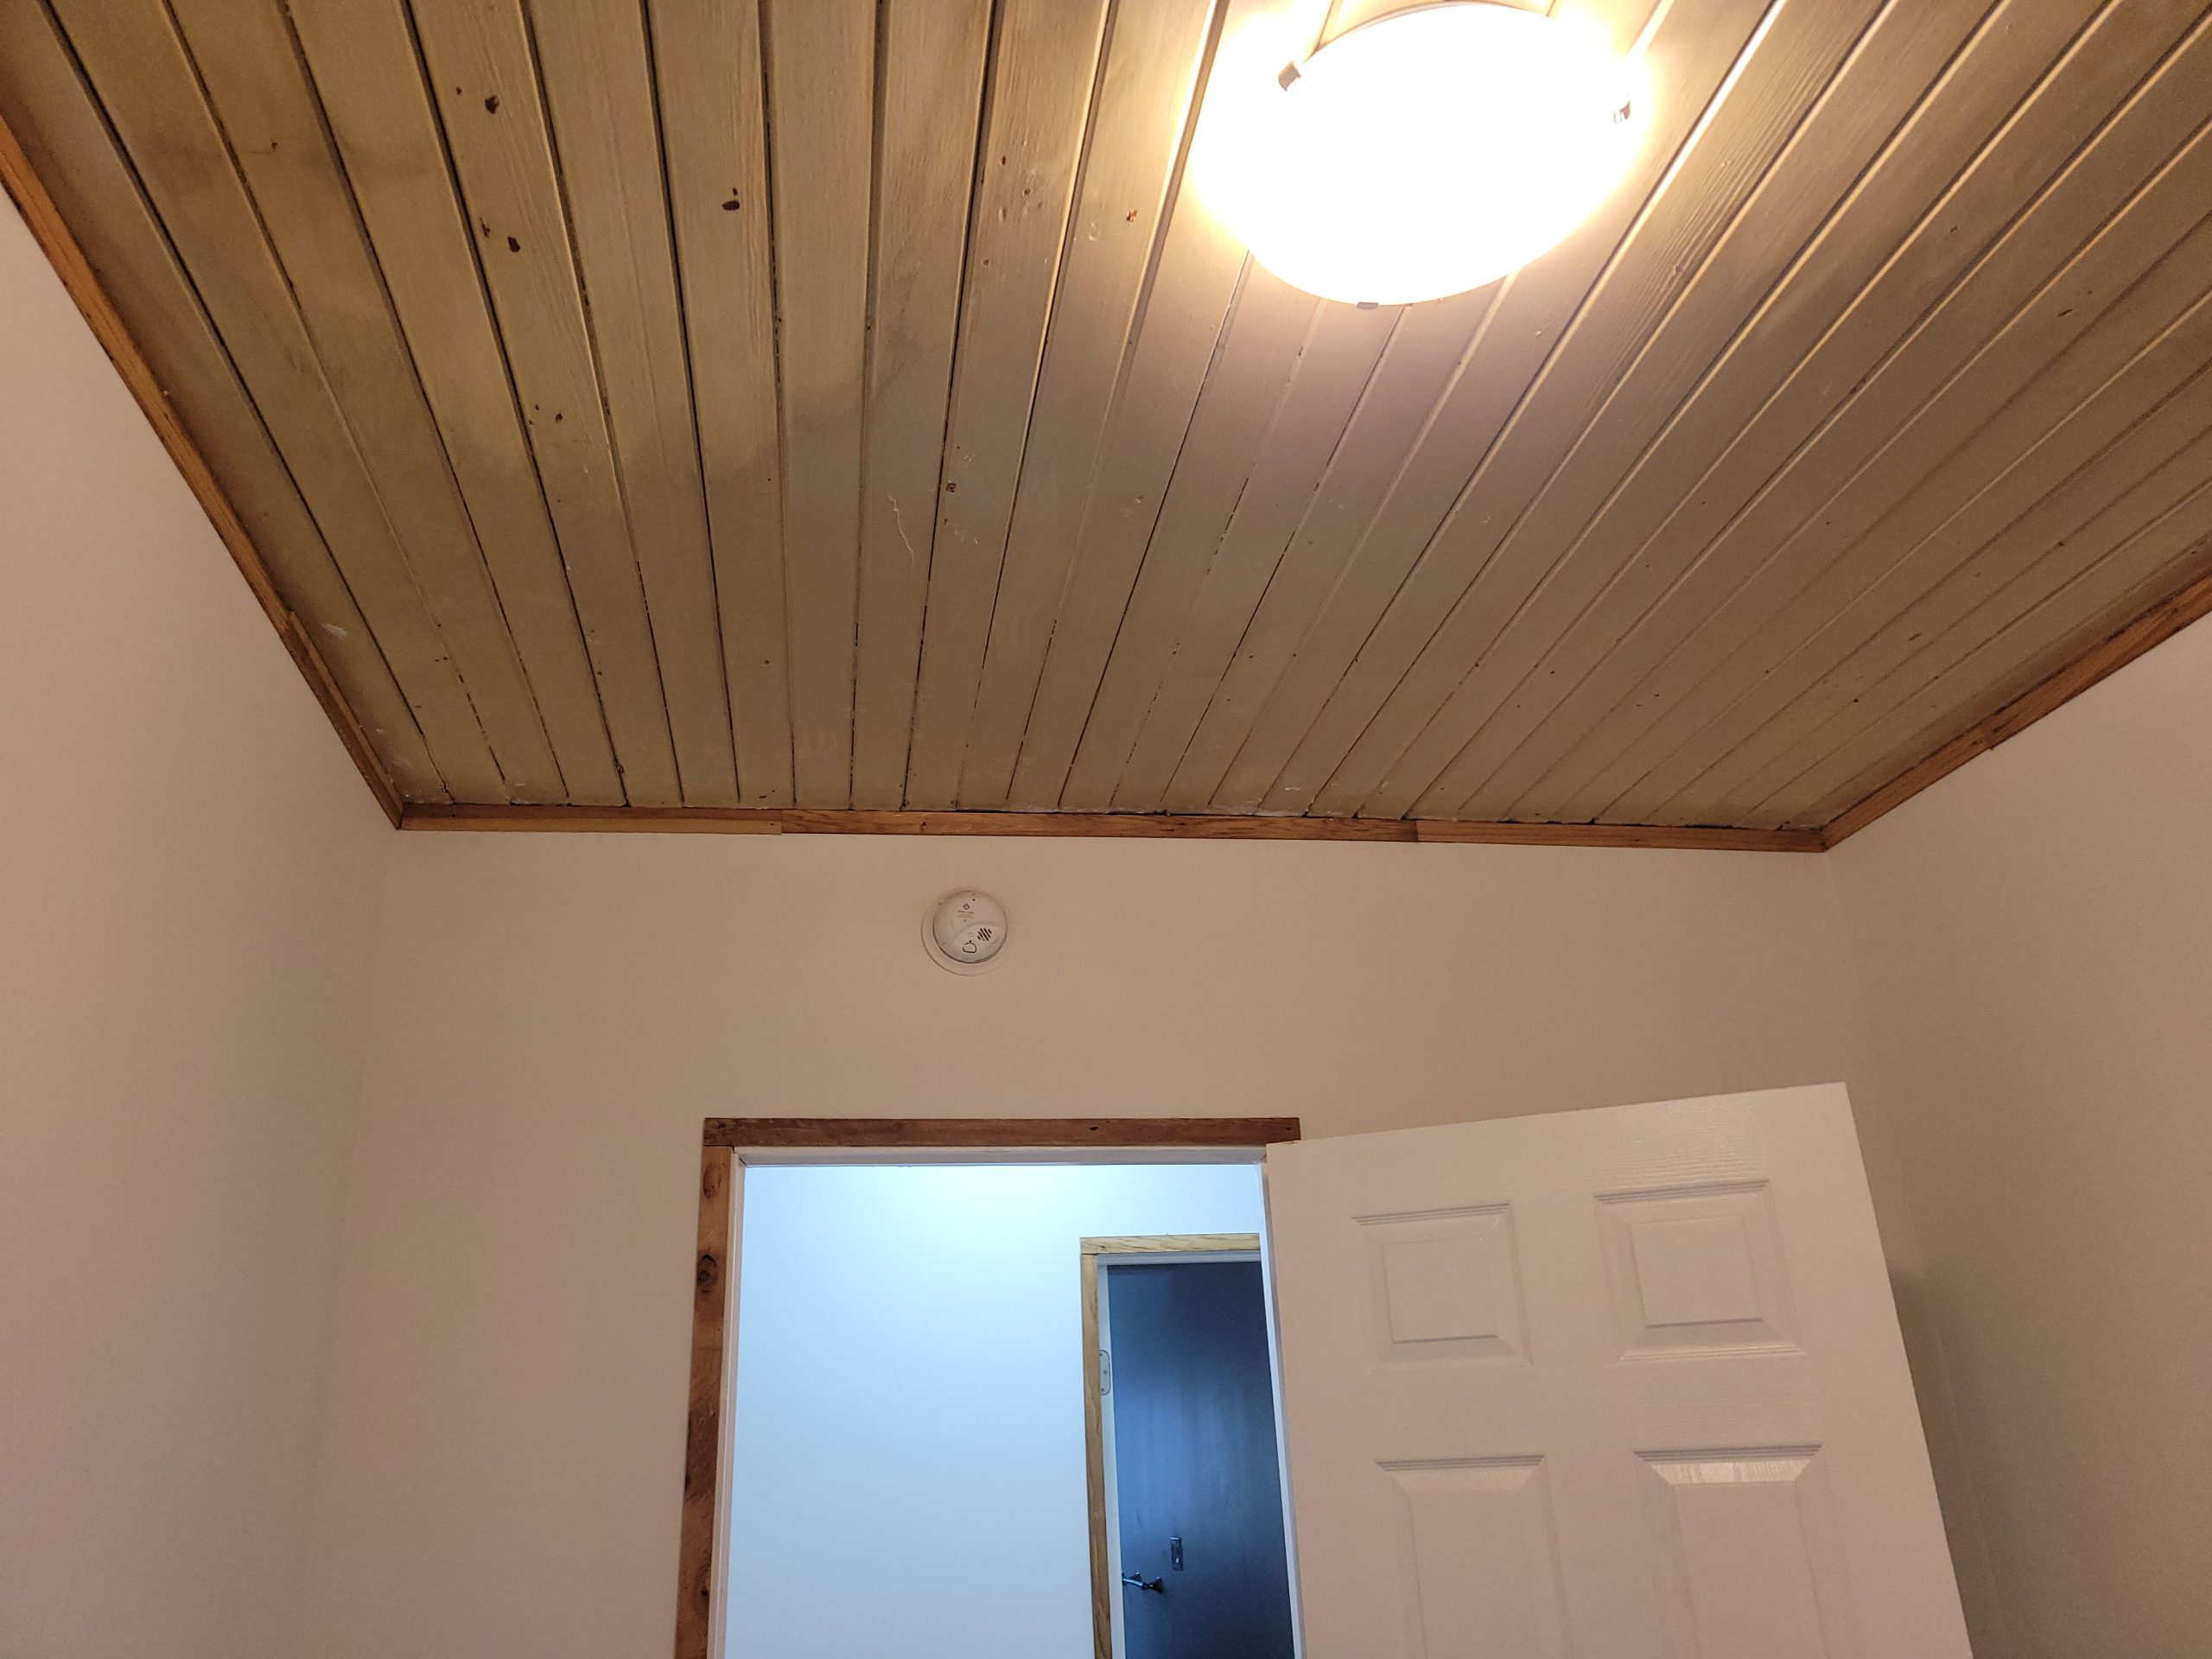
But the tenant will move in soon. The longer I wait, the less rent I will receive. The kitchen is the last remaining uncleaned room.
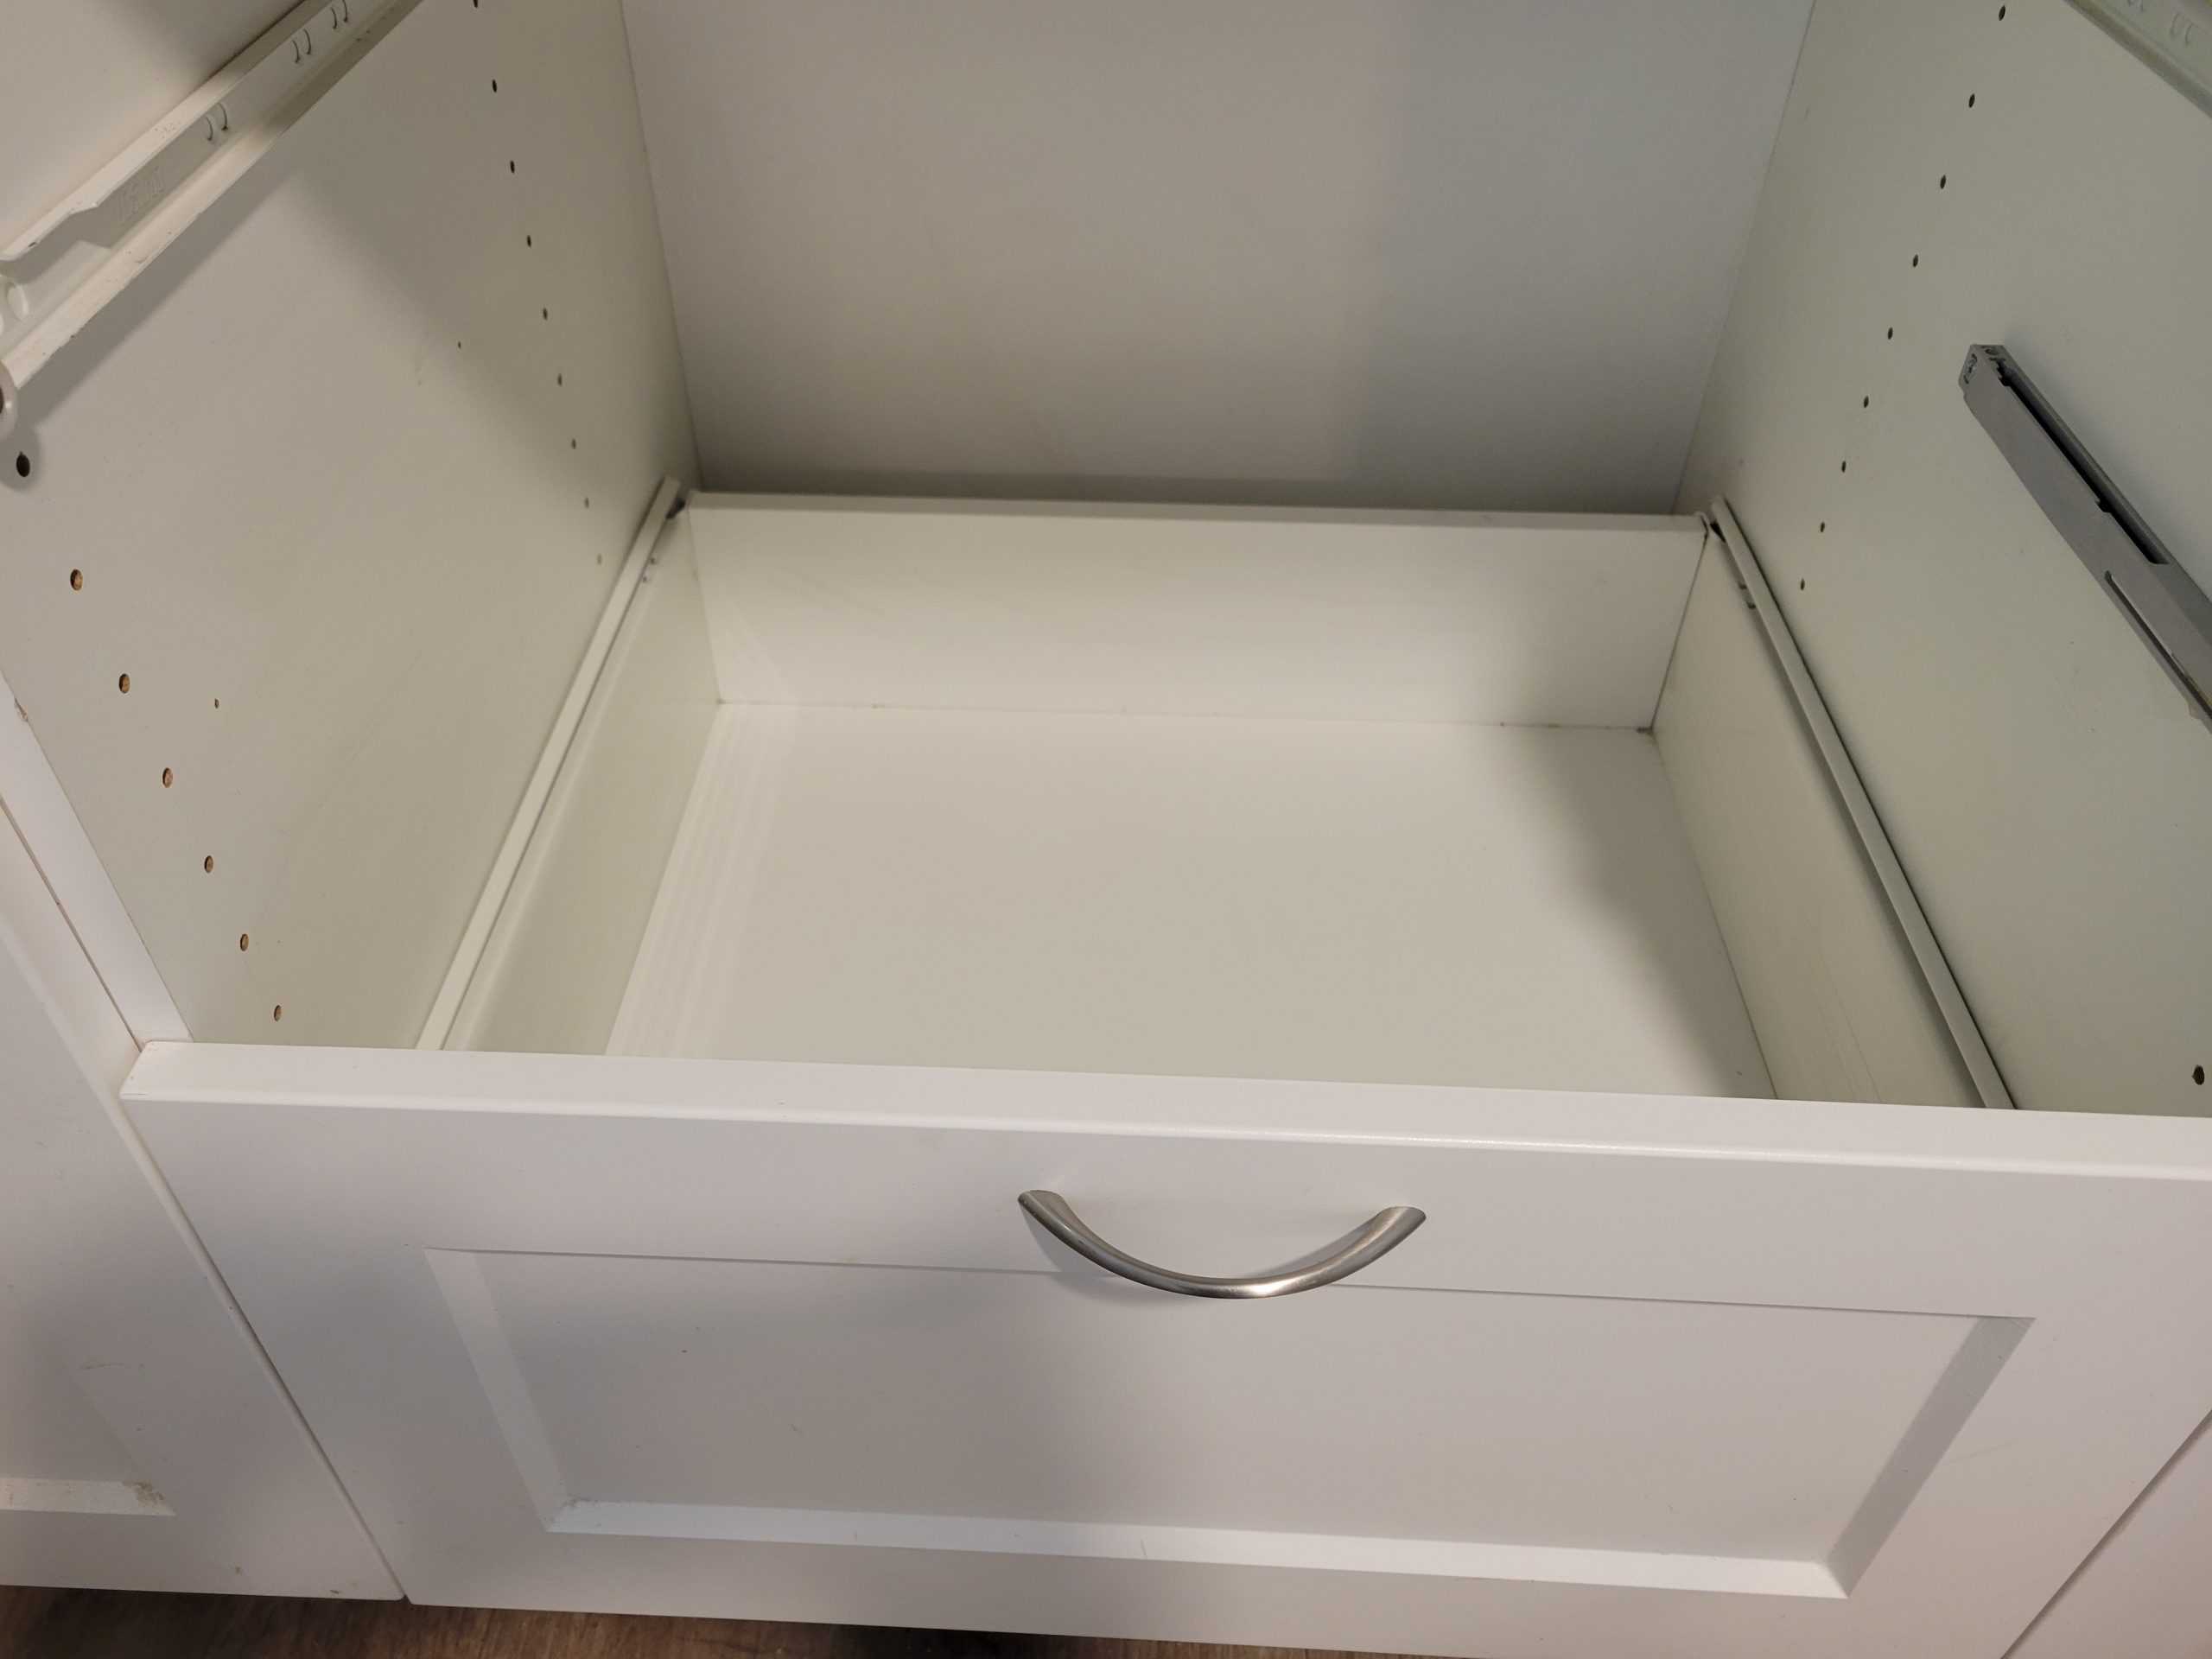
Floyd cleaned the kitchen drawers a while ago, so not much to do there except to take them out and clean the interior walls of the cabinet.
The oven’s self-clean feature was used. It made the kitchen toasty warm, nice on such a rainy day.
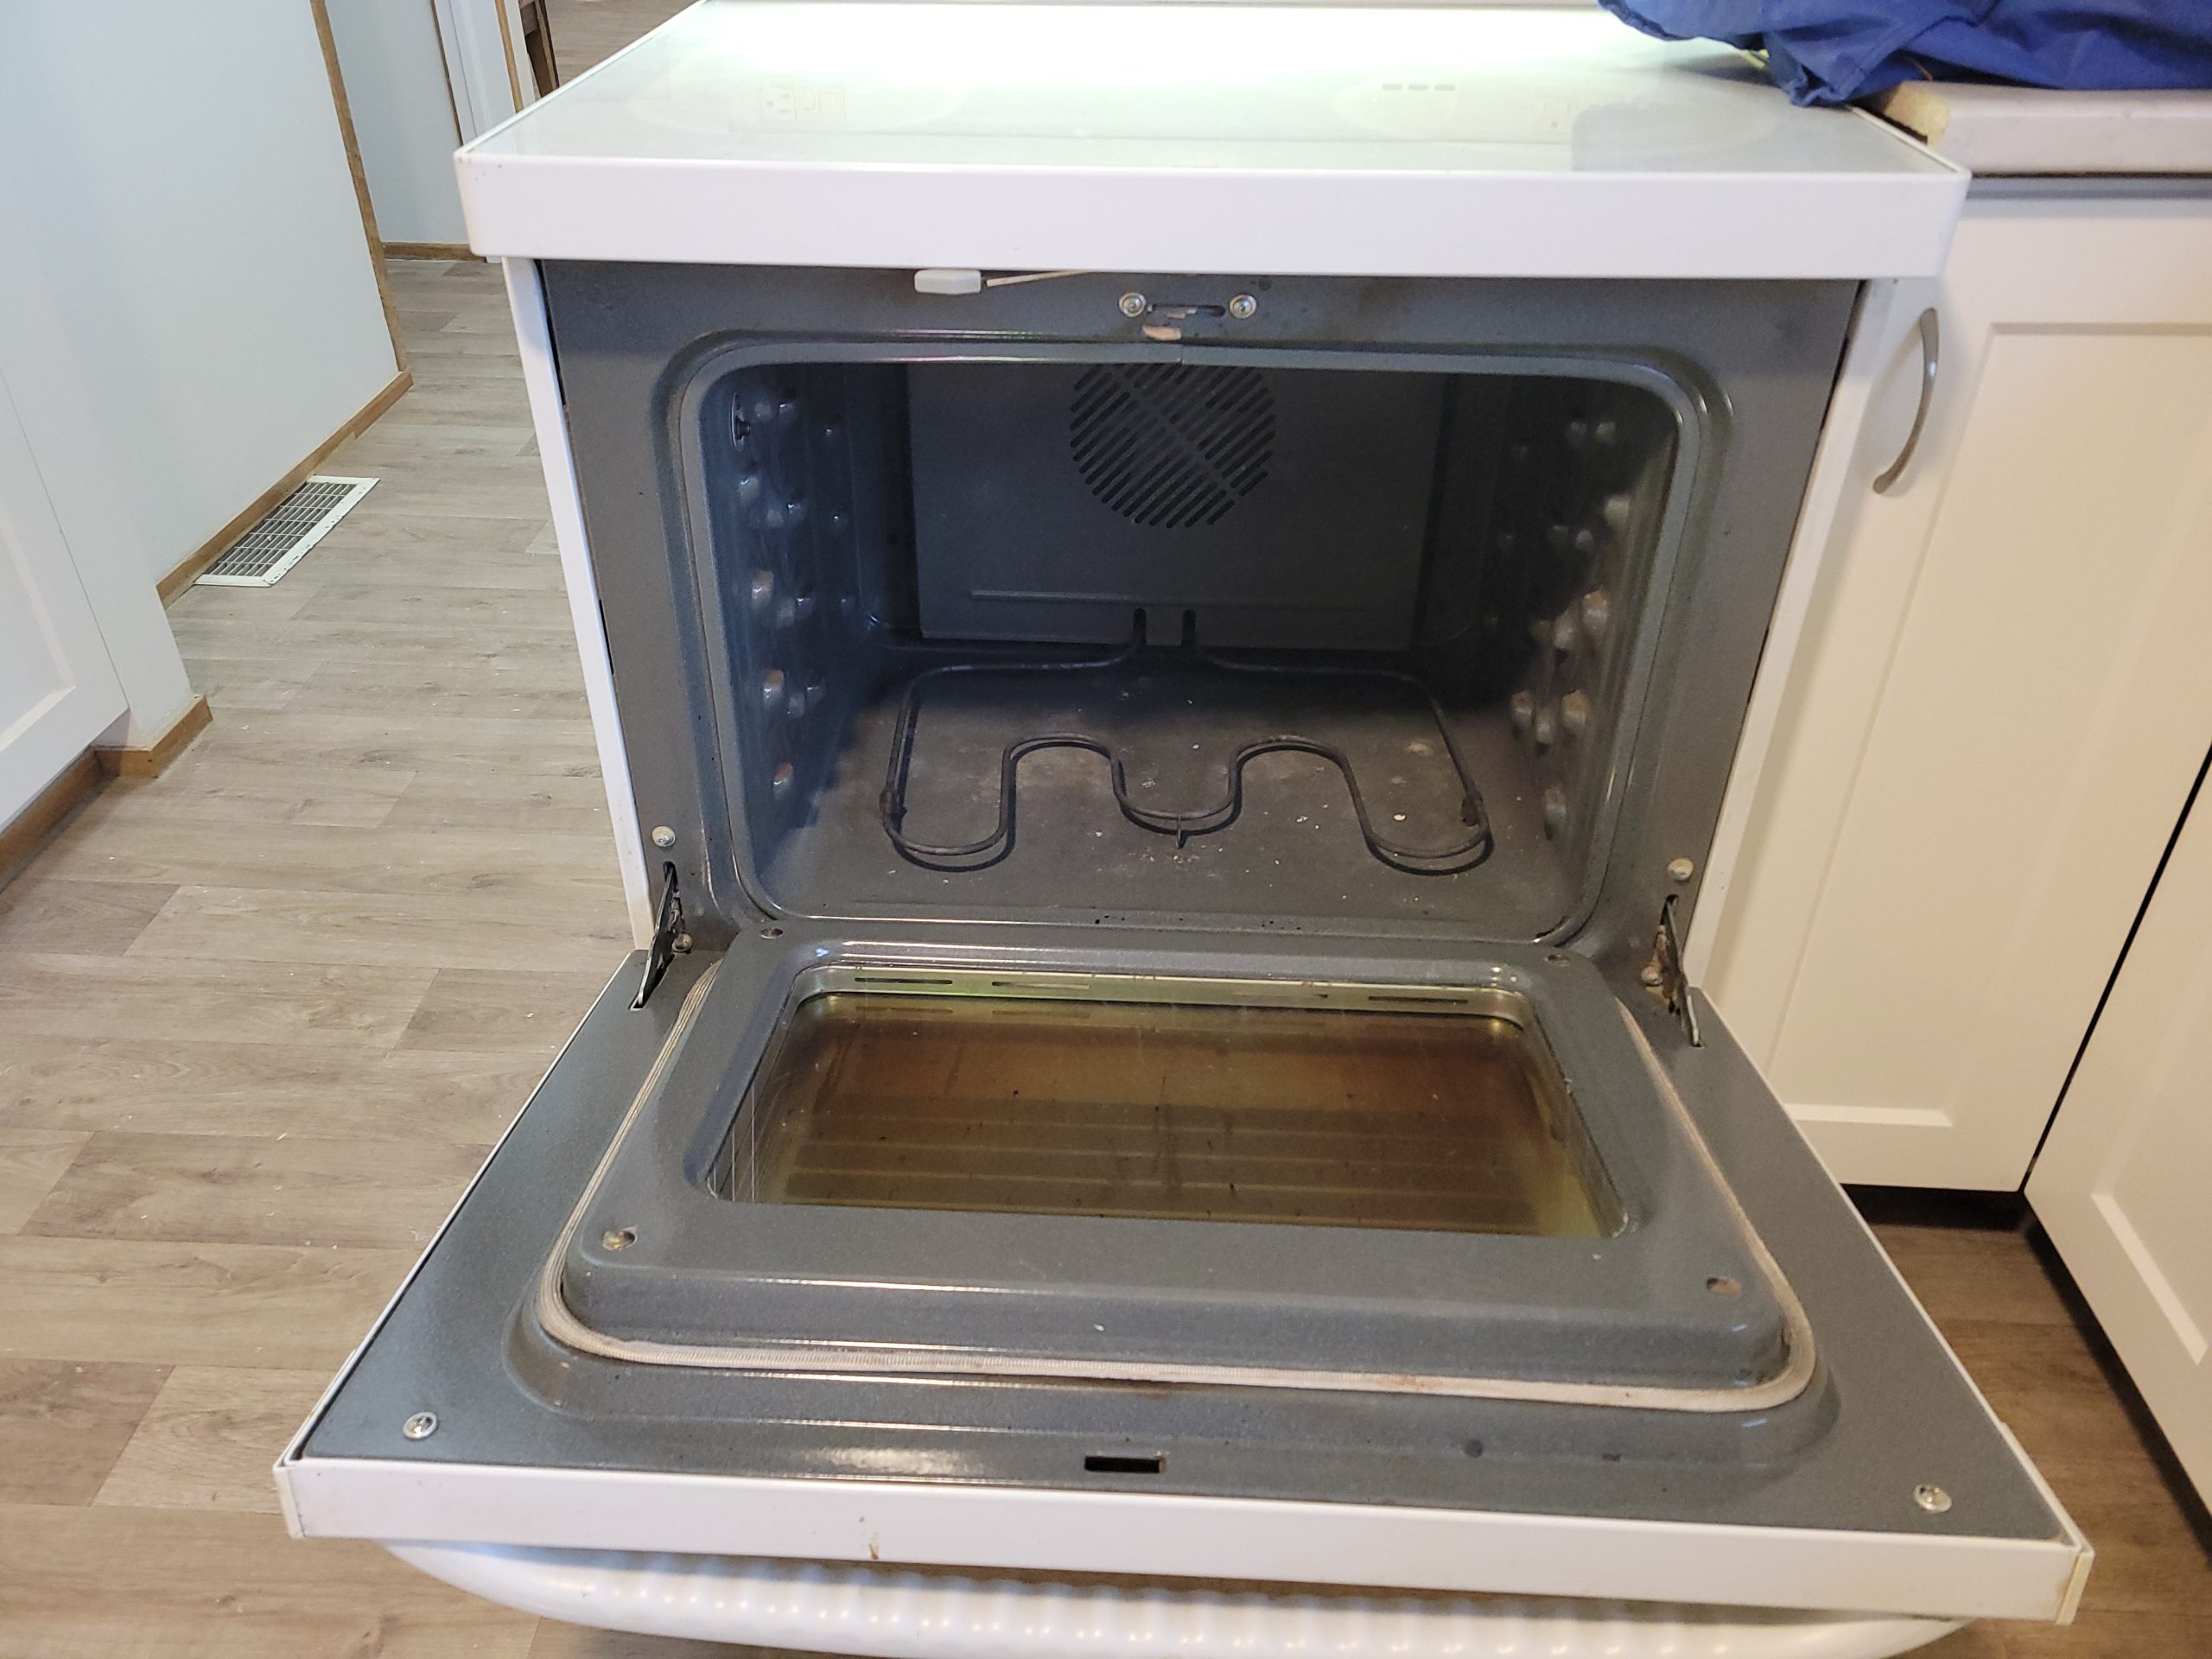
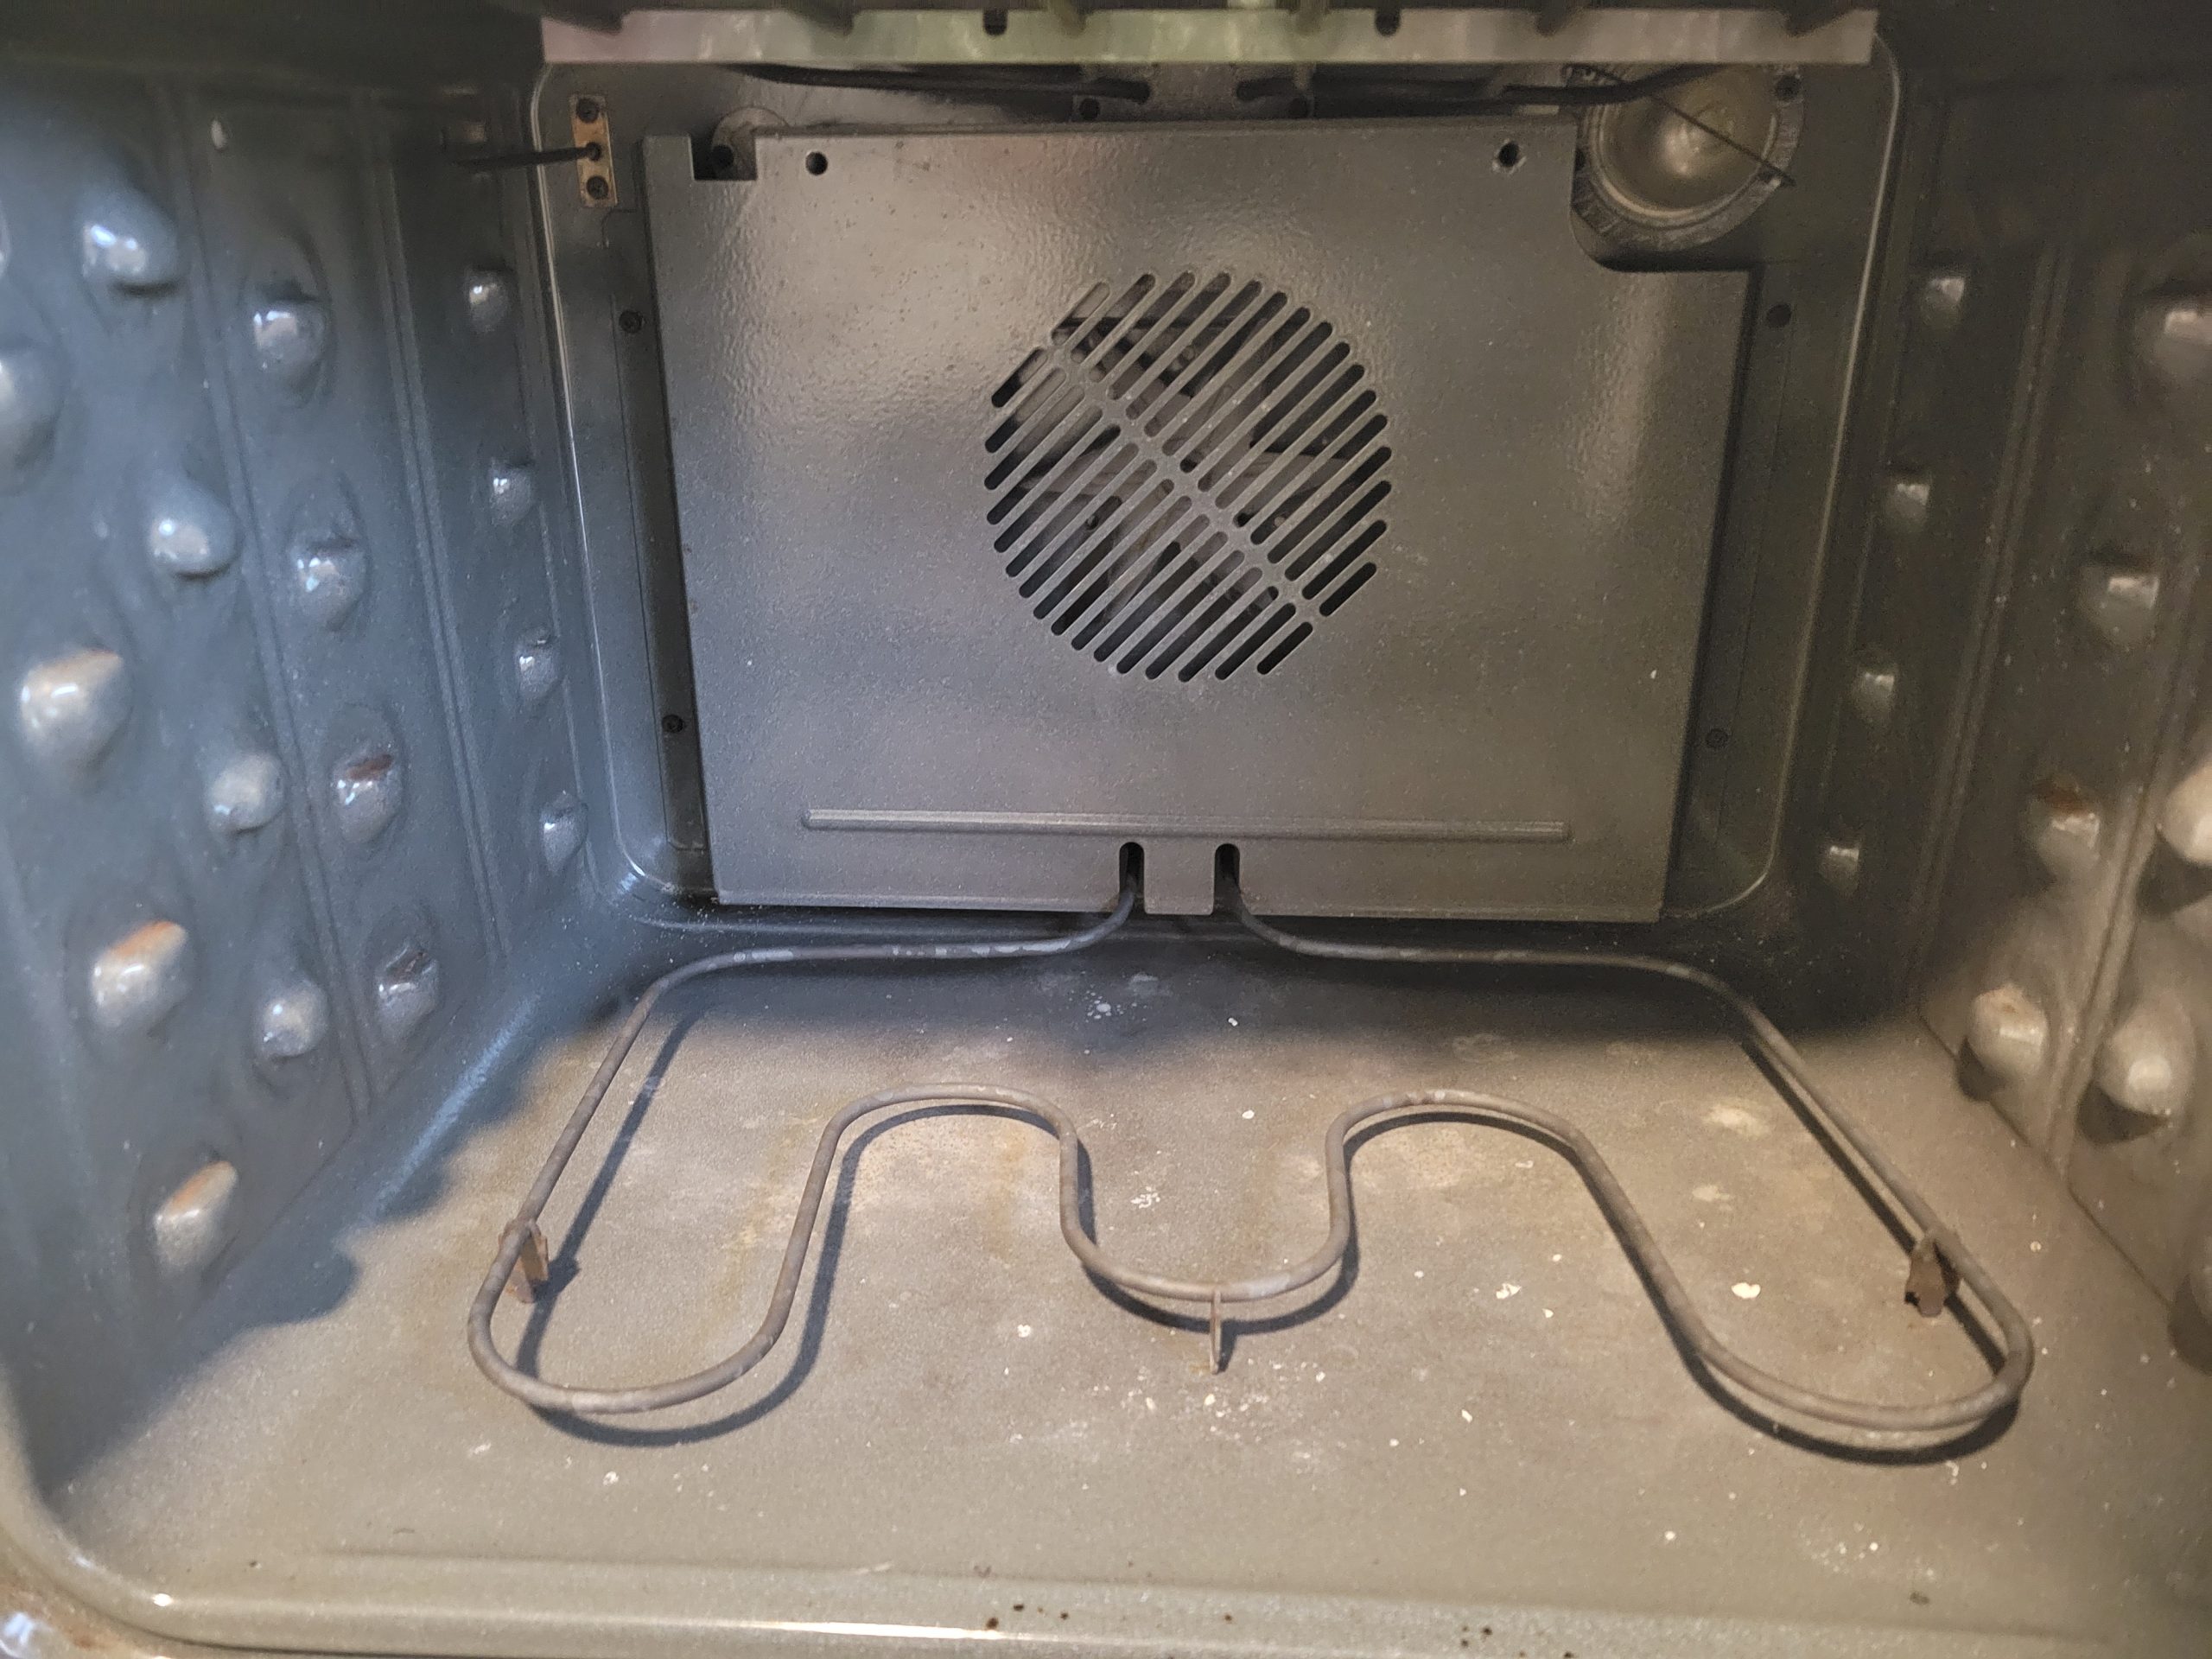
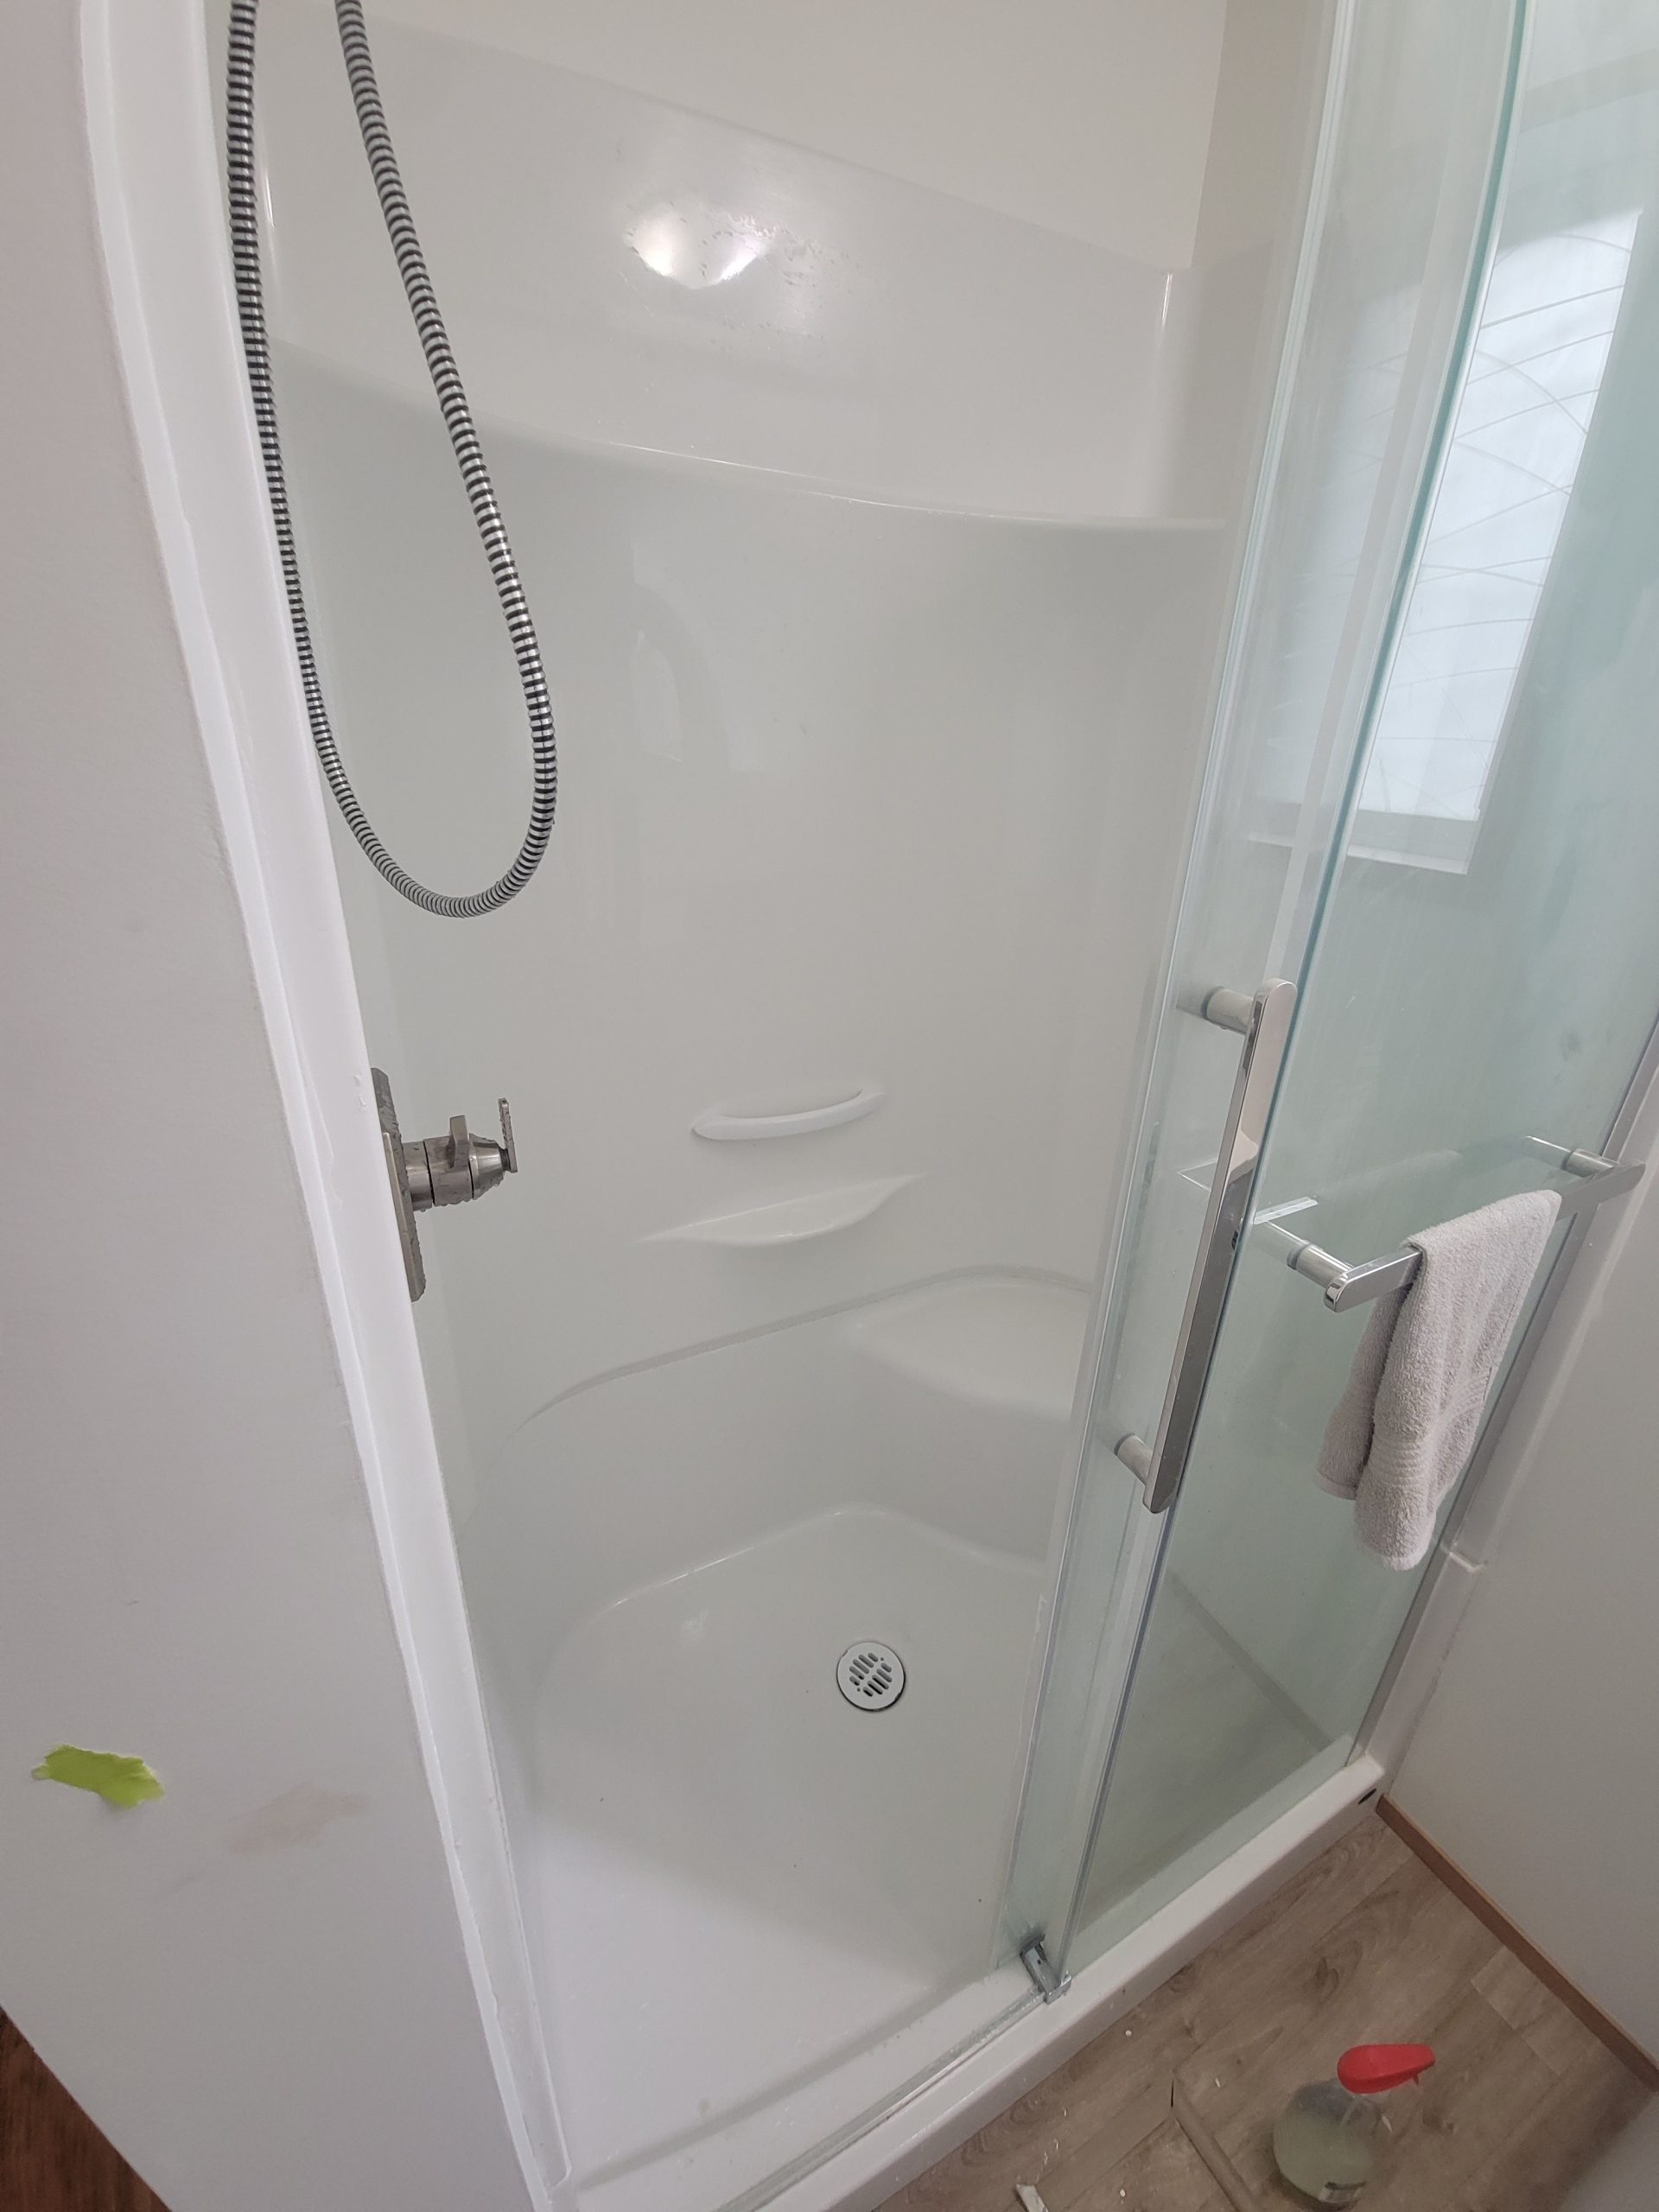
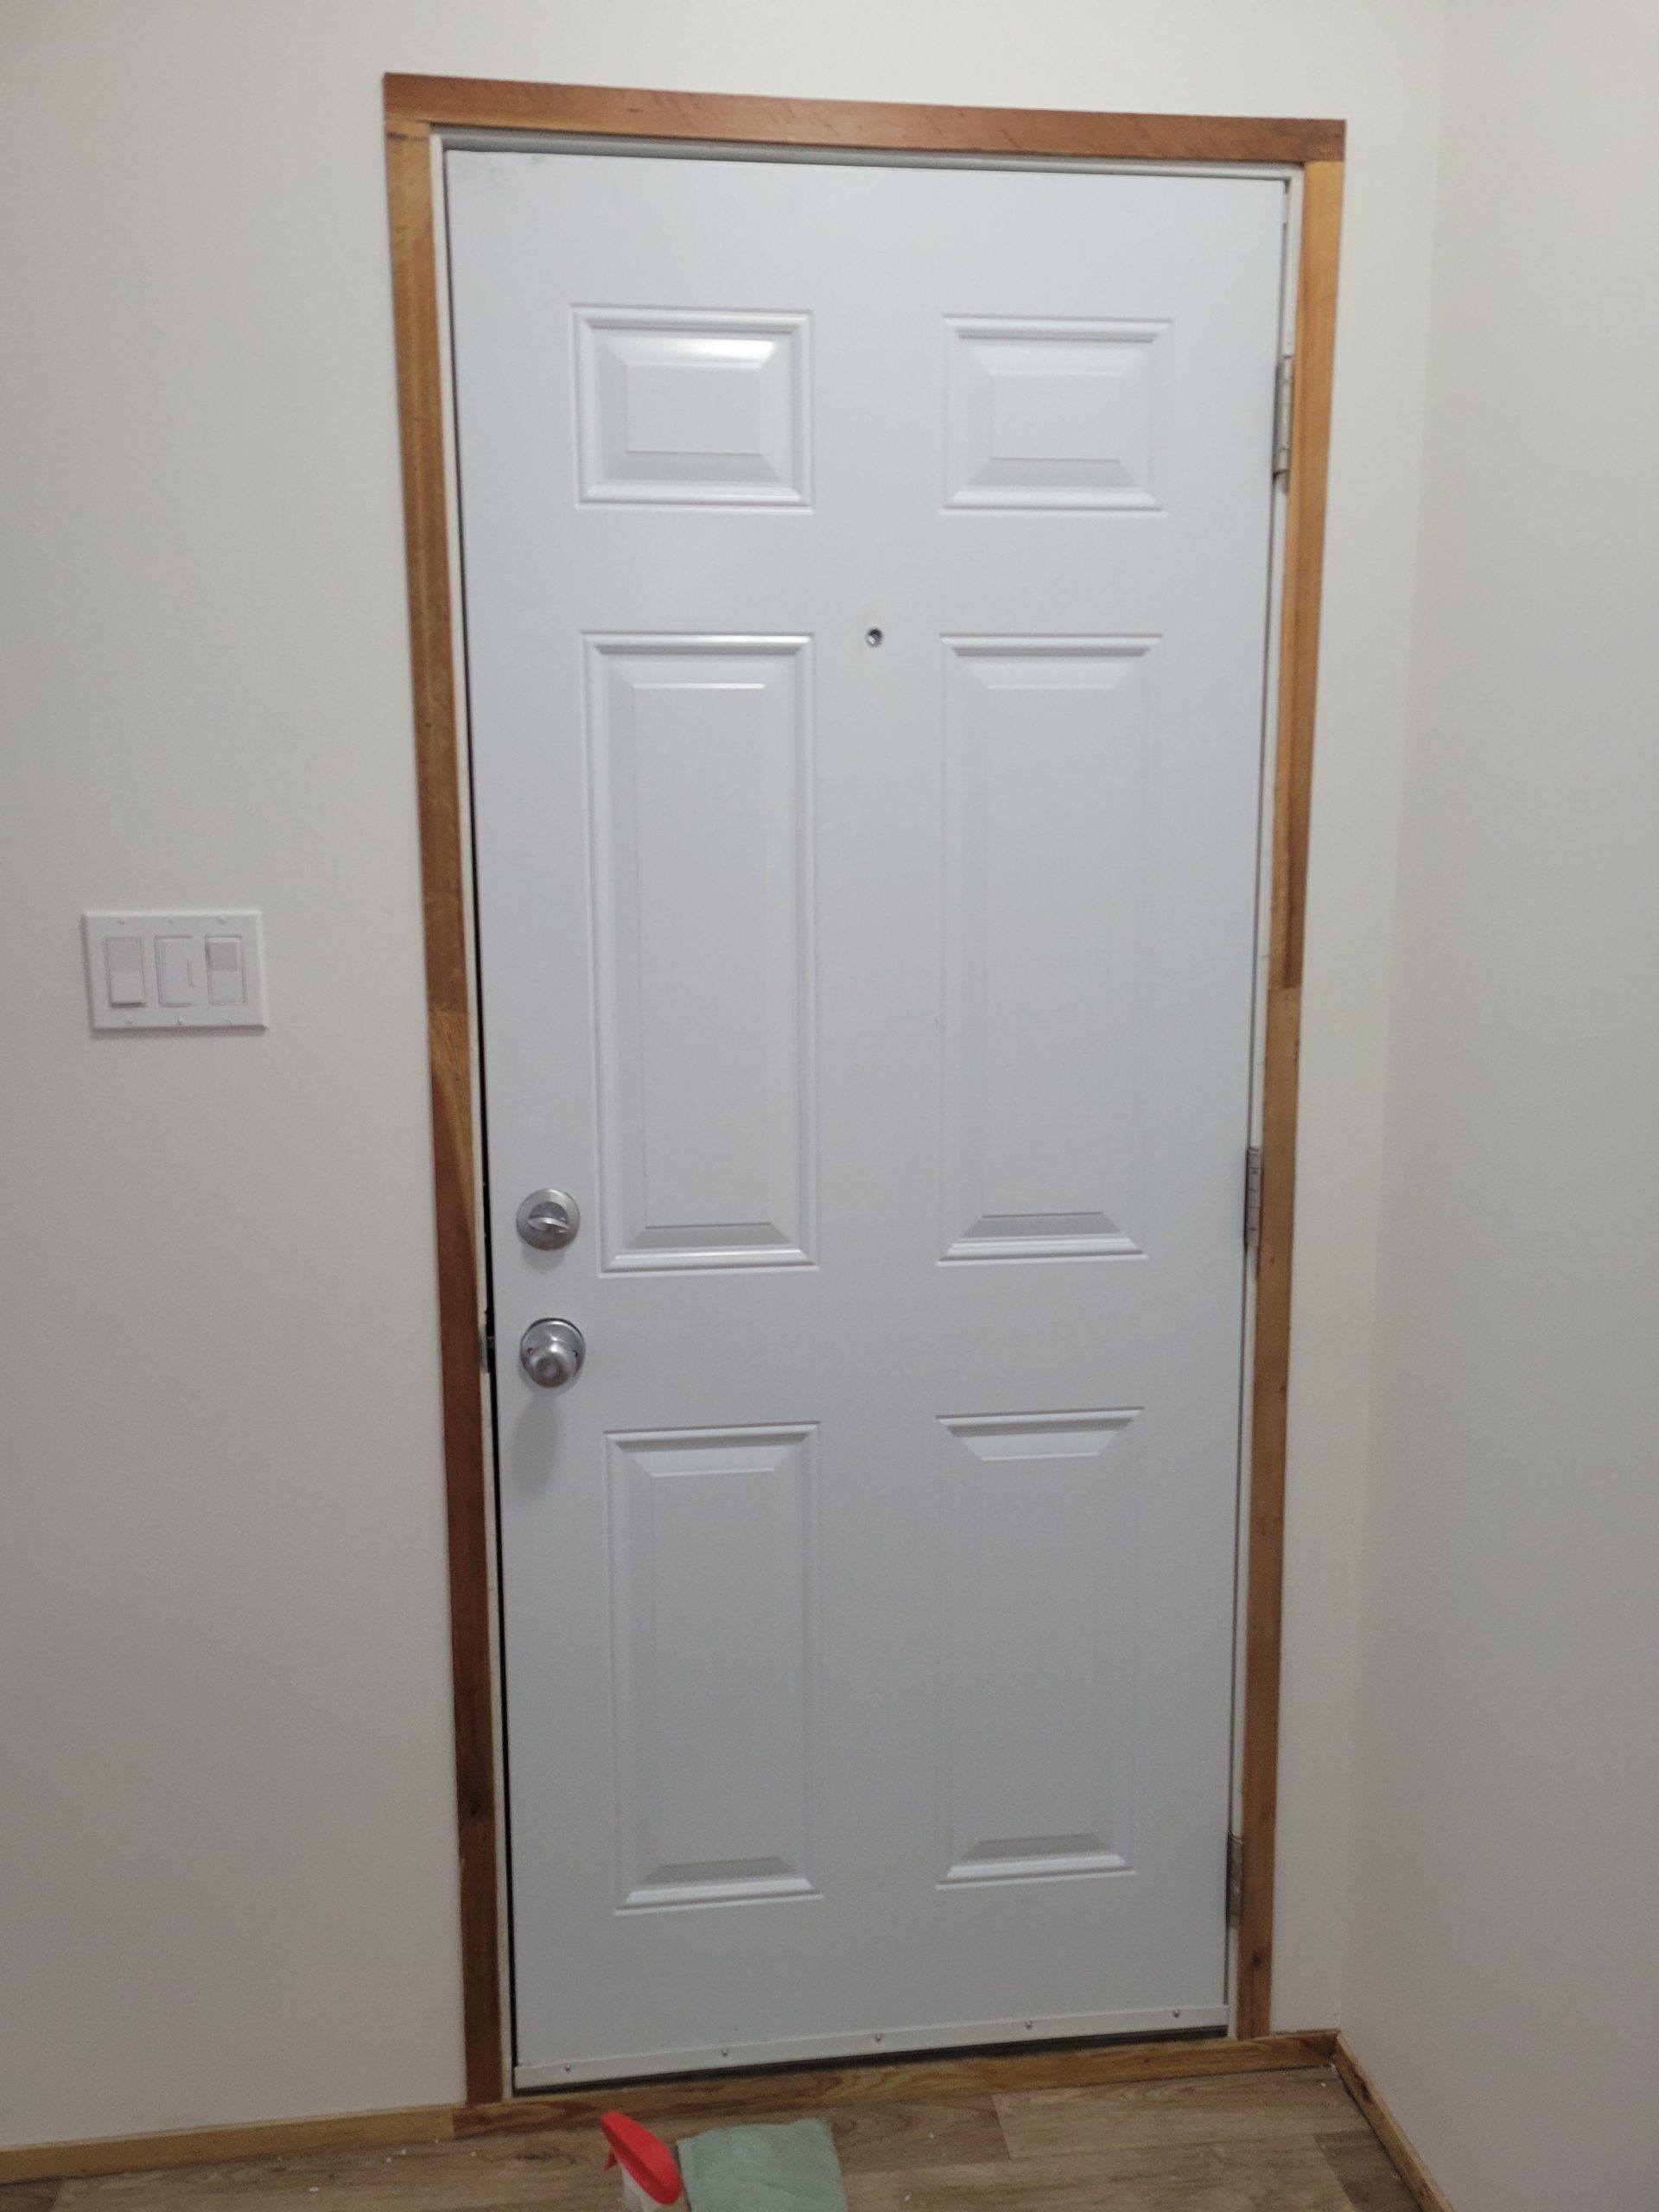
Cleaning and painting day!
Clean the shower (long overdue) …
… and the front door (the unpainted side).
Touch-up paint needed all over the bathroom / laundry room.
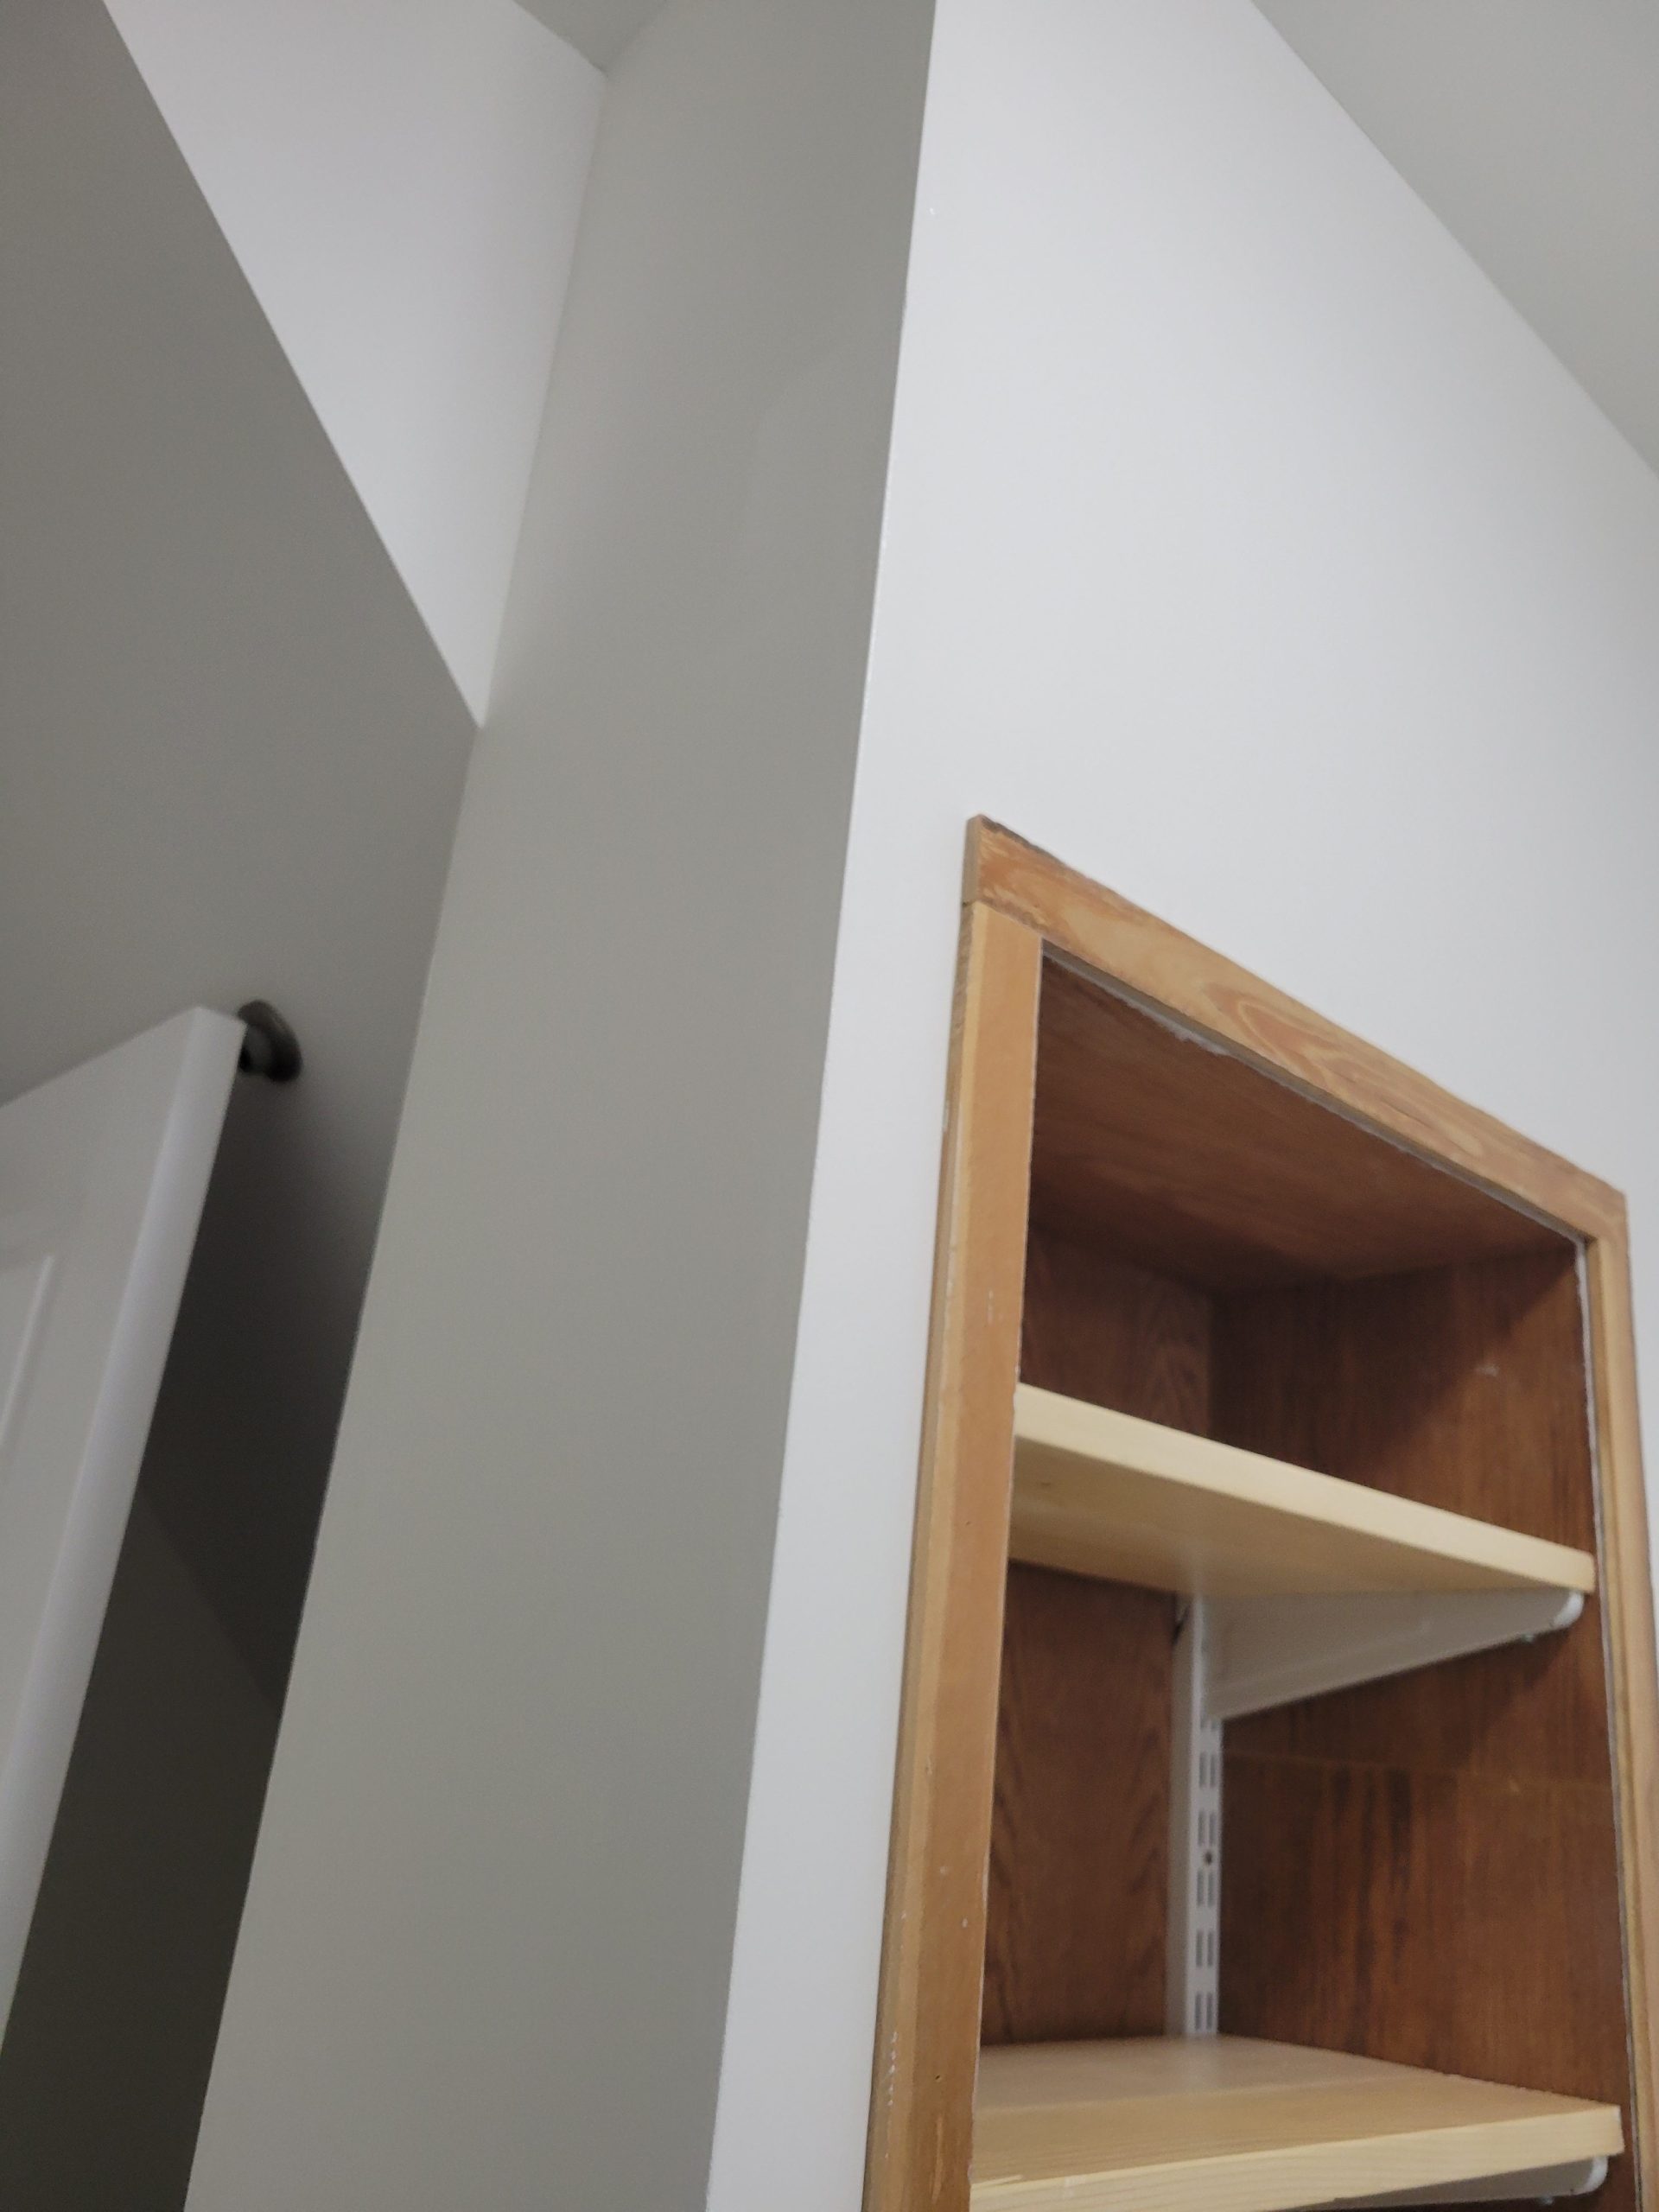
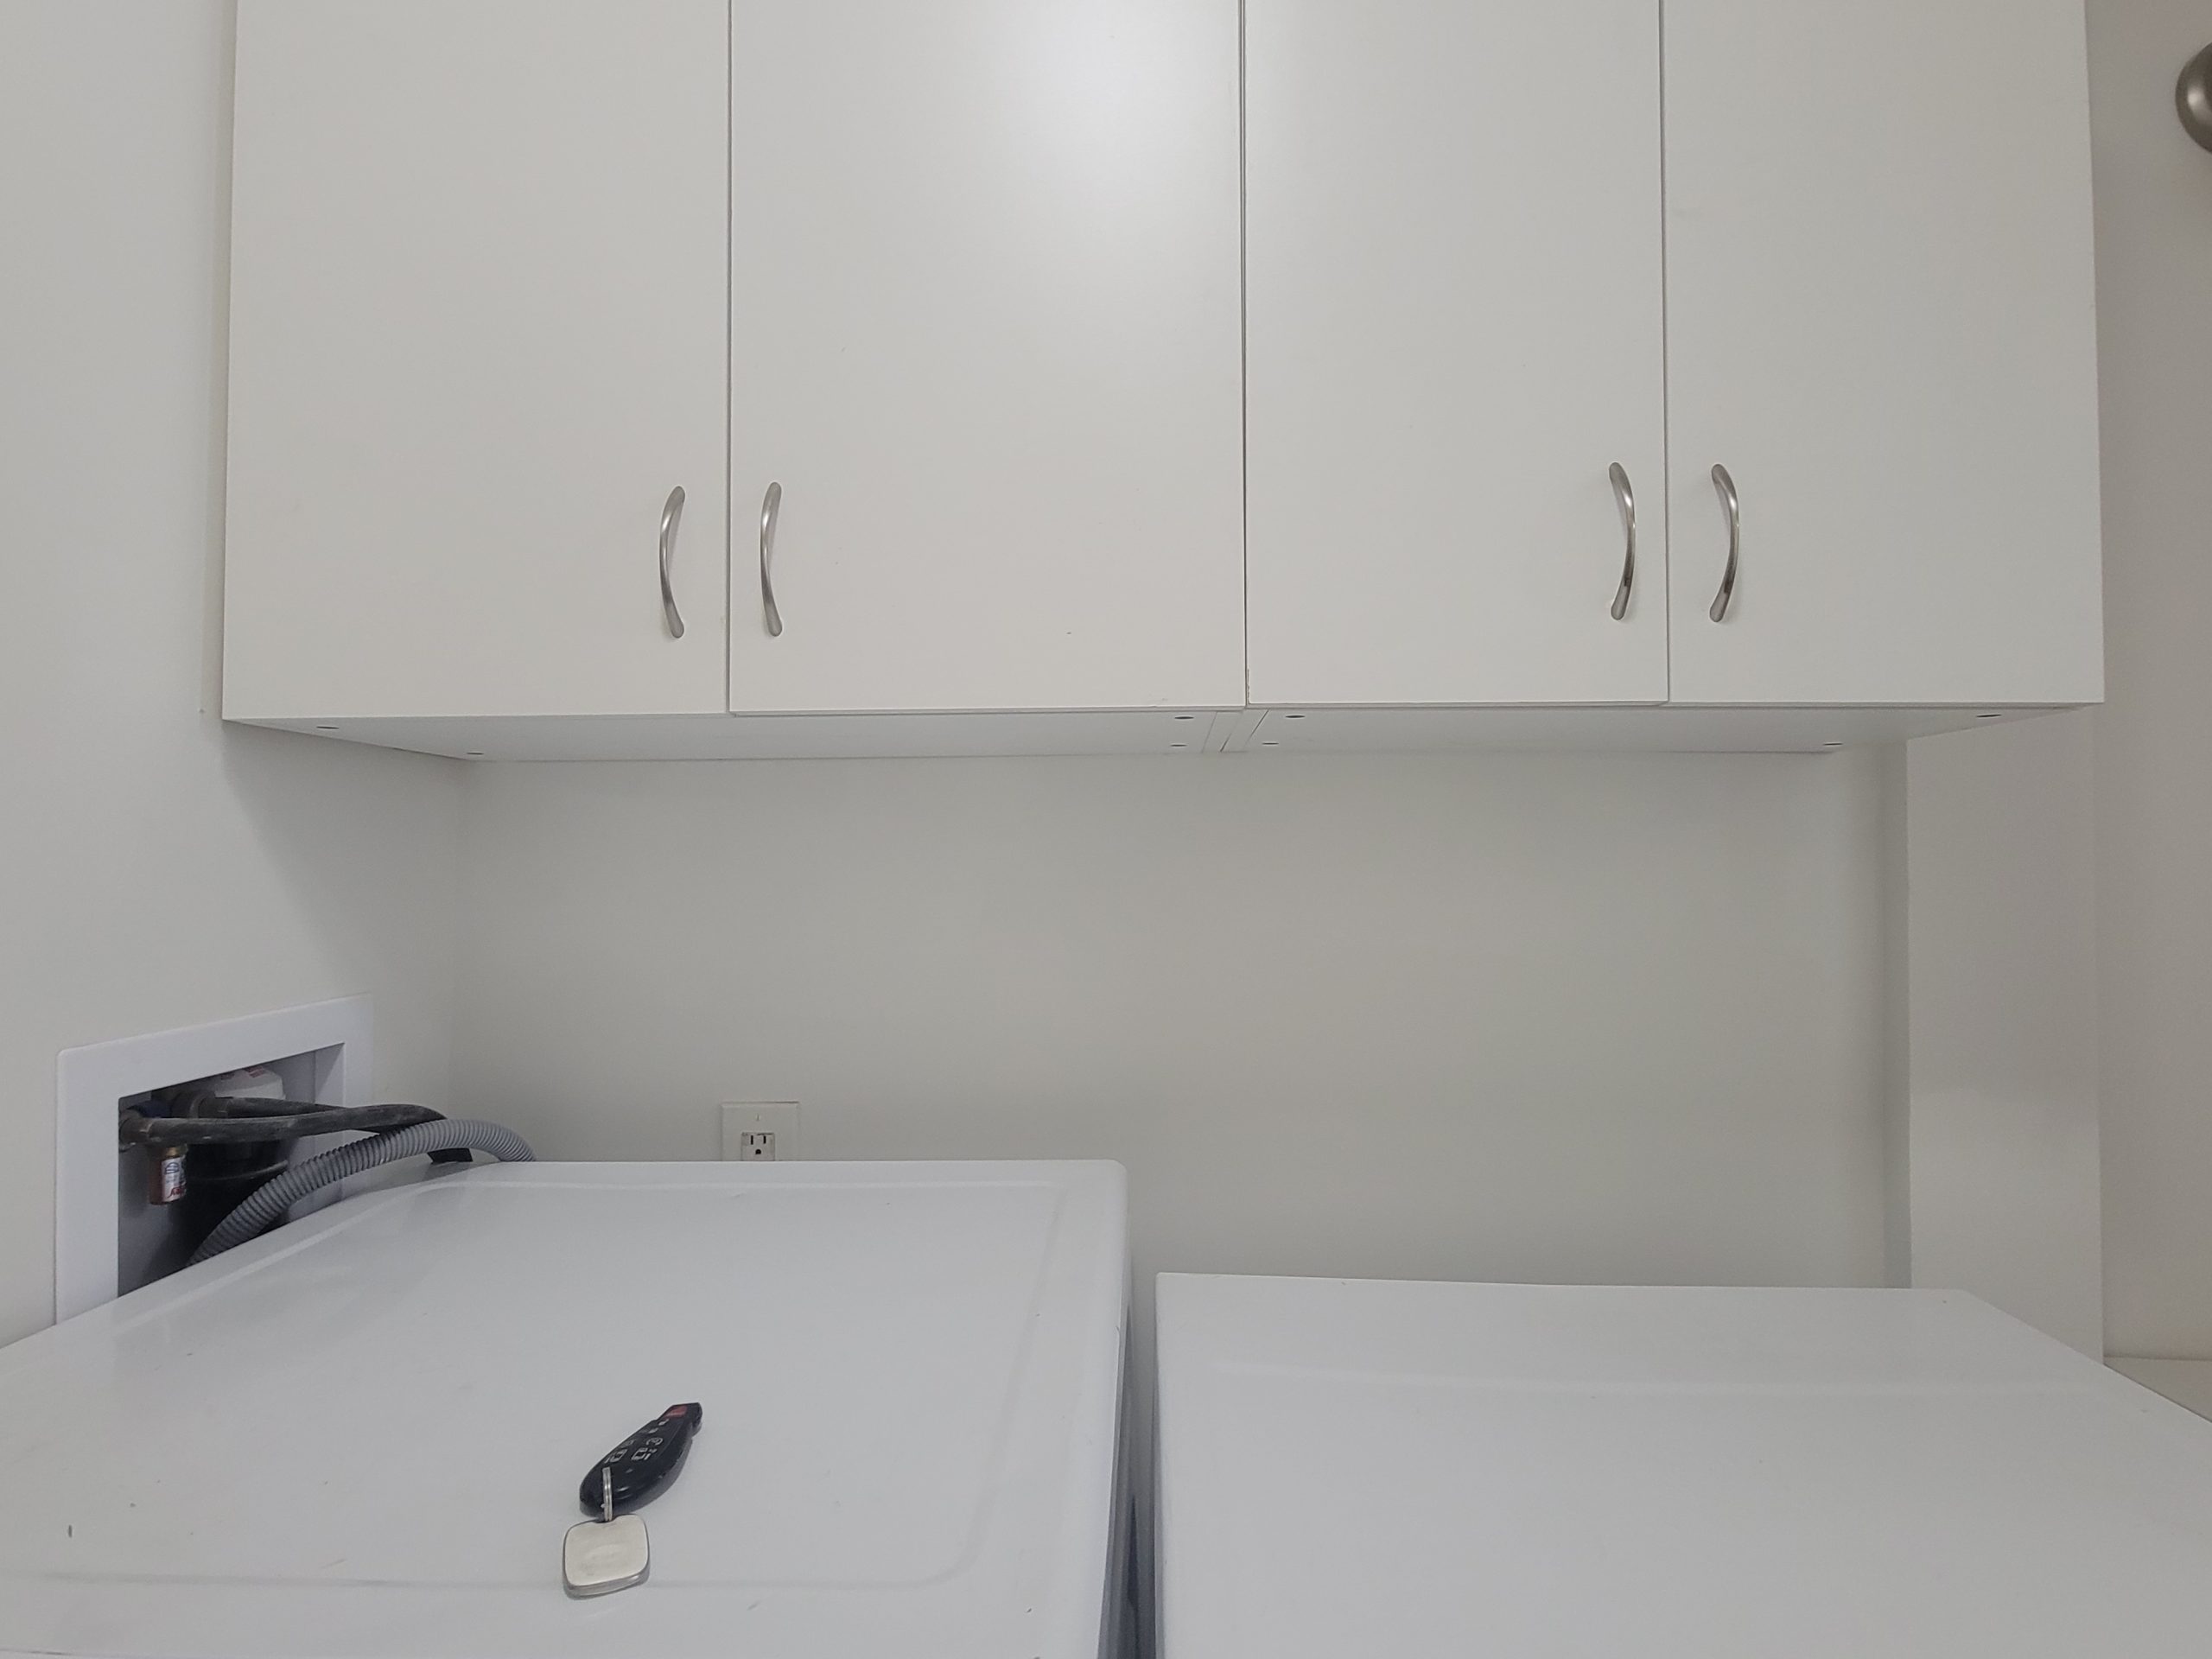
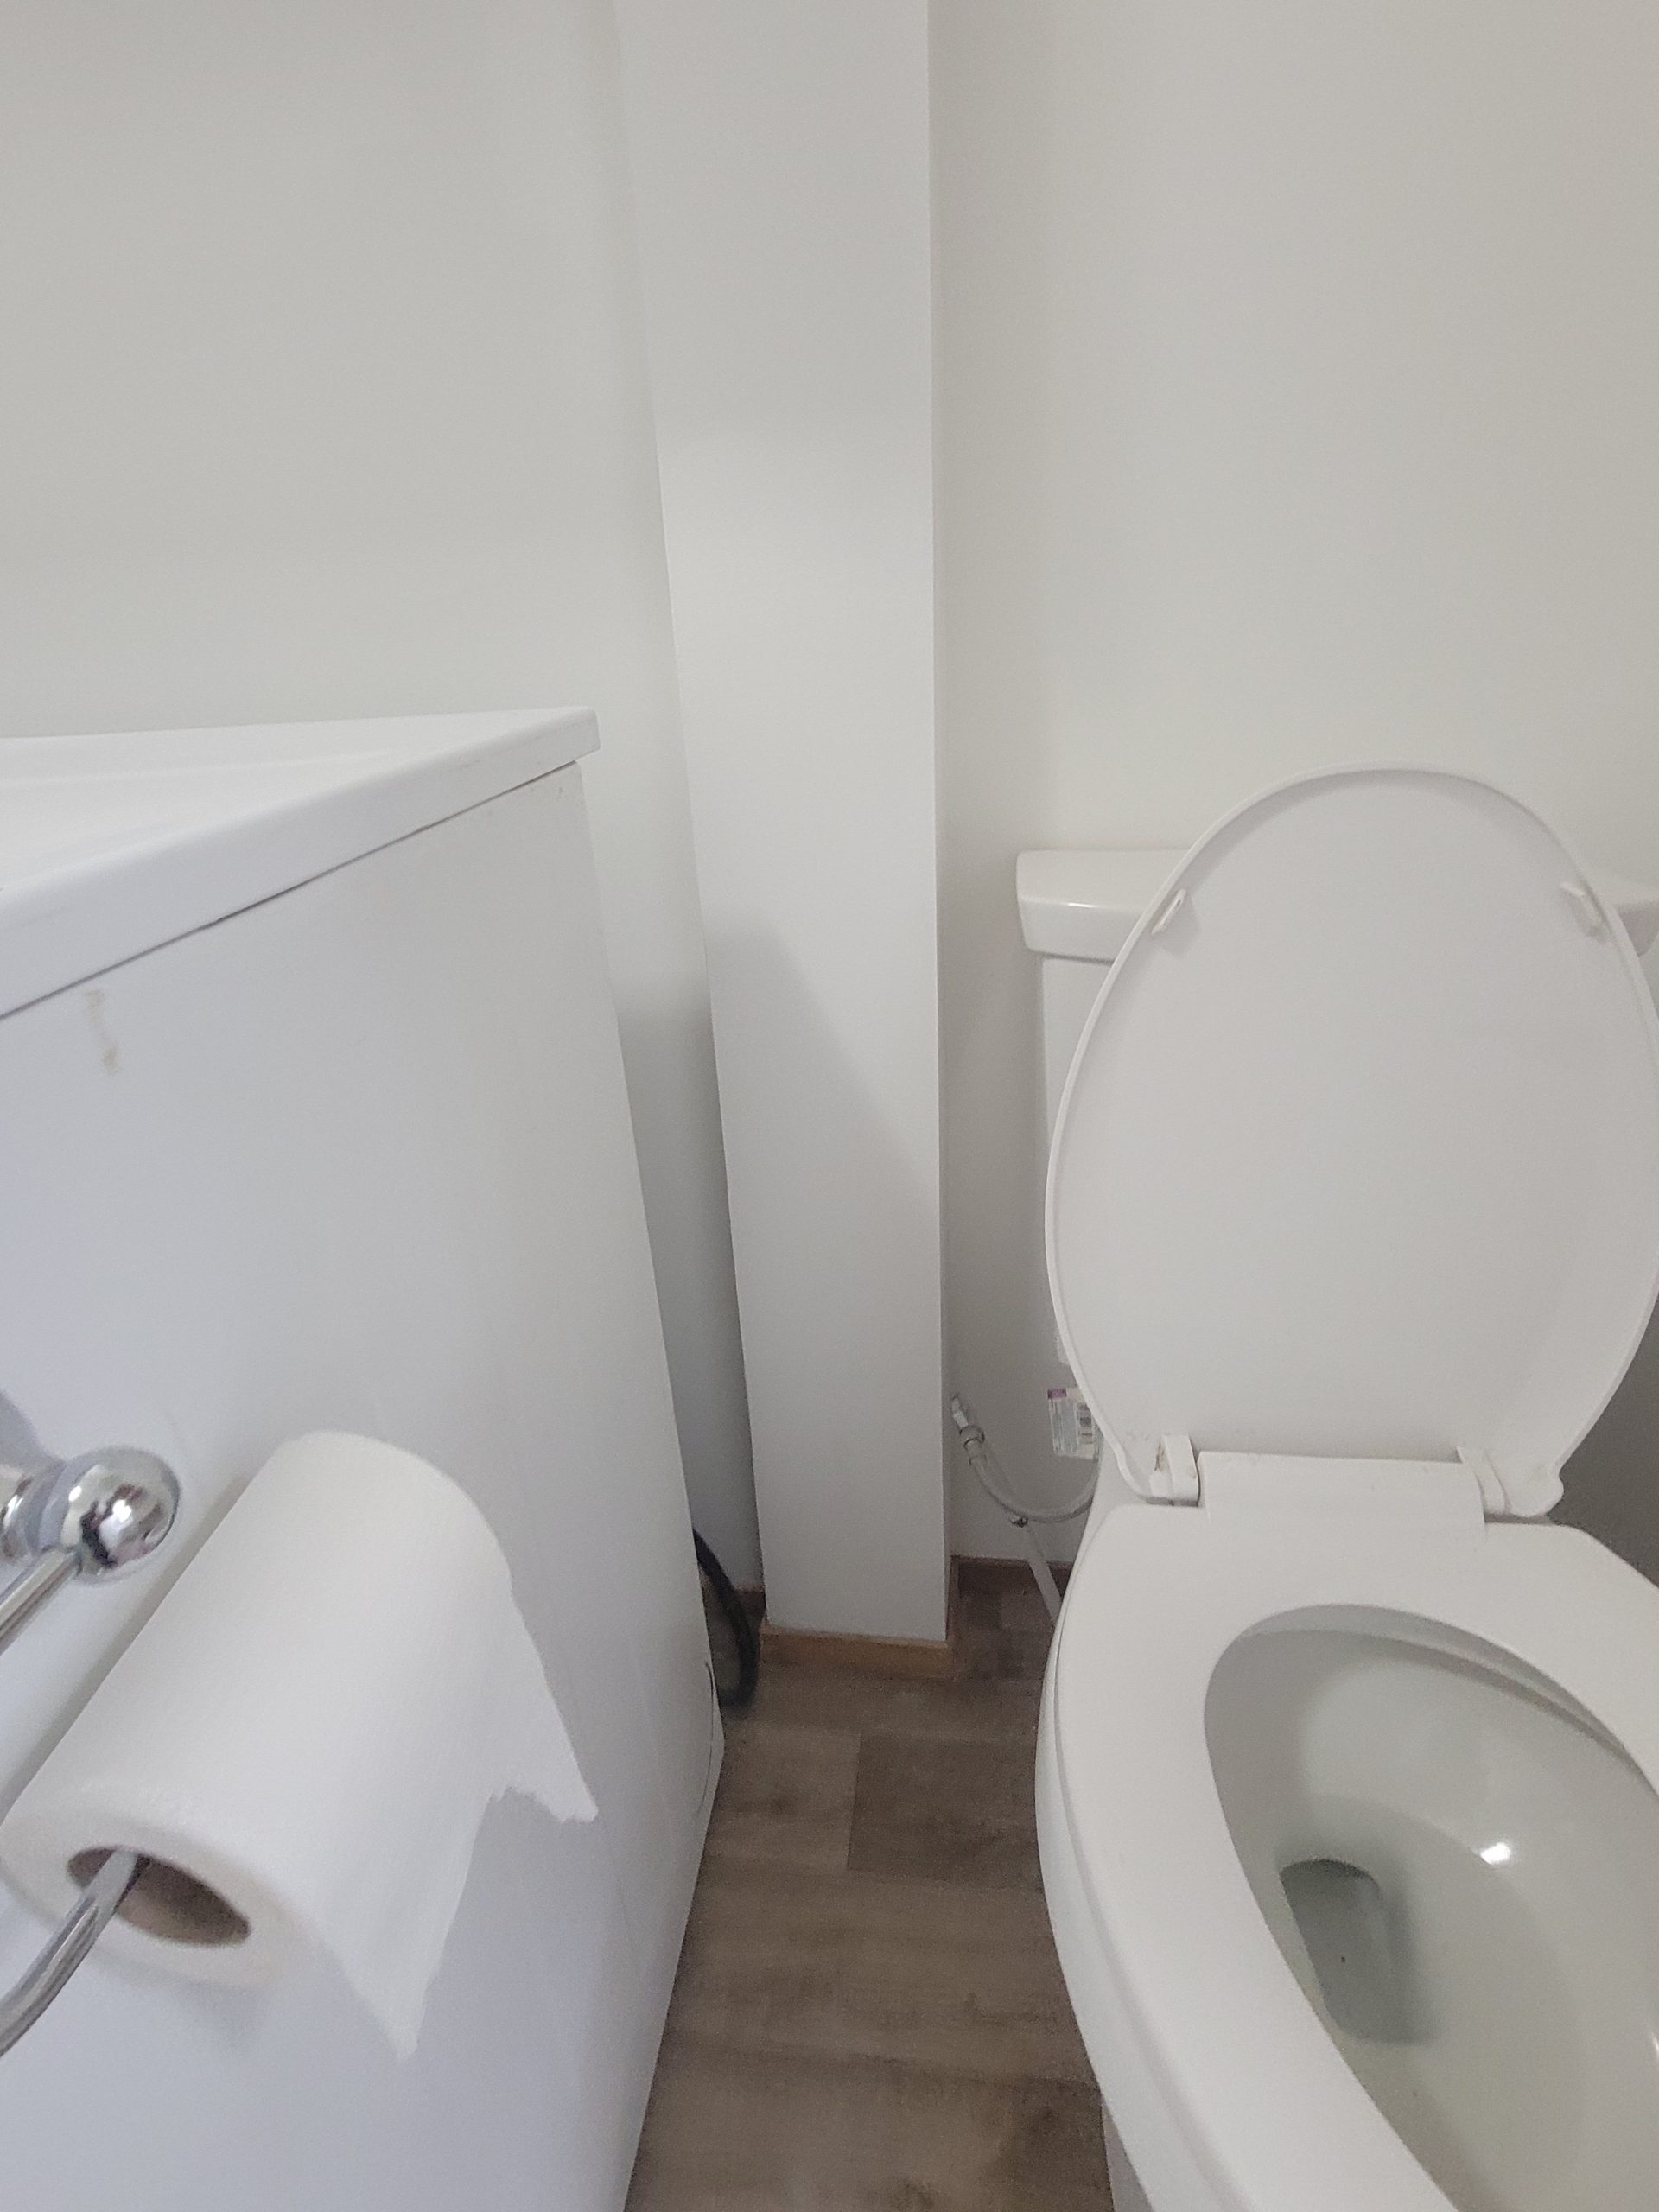
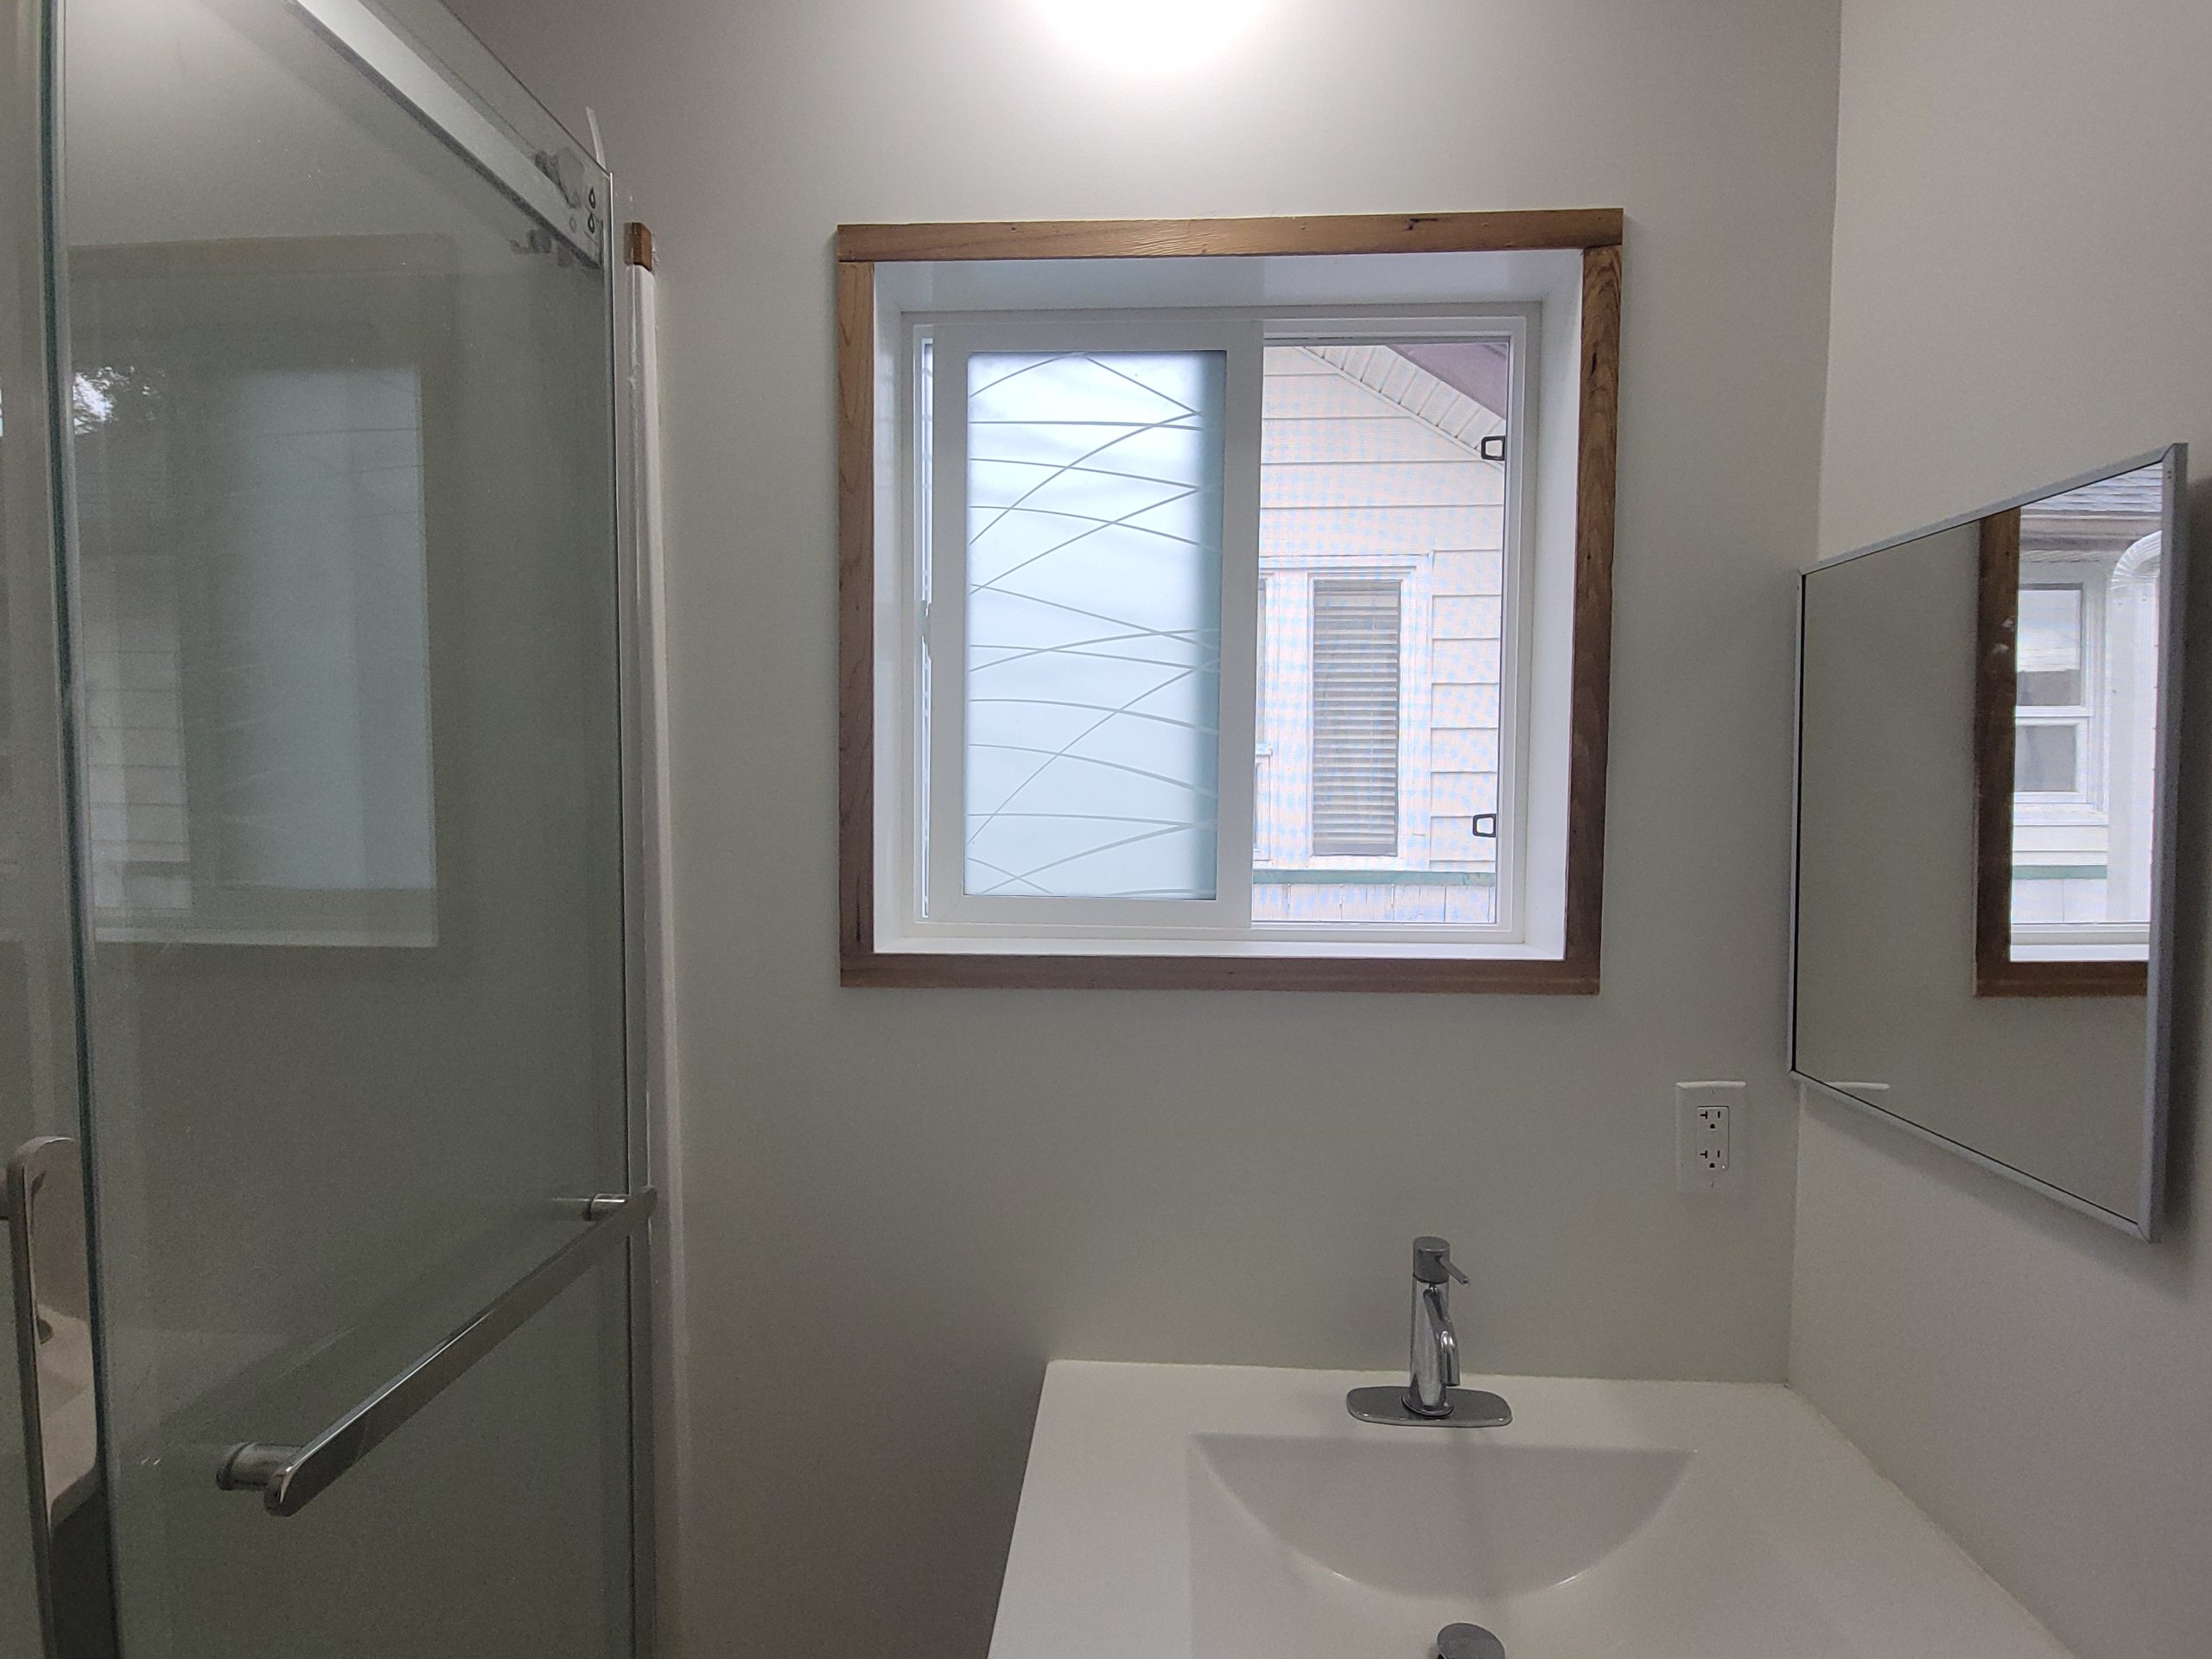
And now the ceiling in bedroom 1. Some boards were added where they were missing from long ago when they paved over it (or, rather, under it) with ceiling panels.
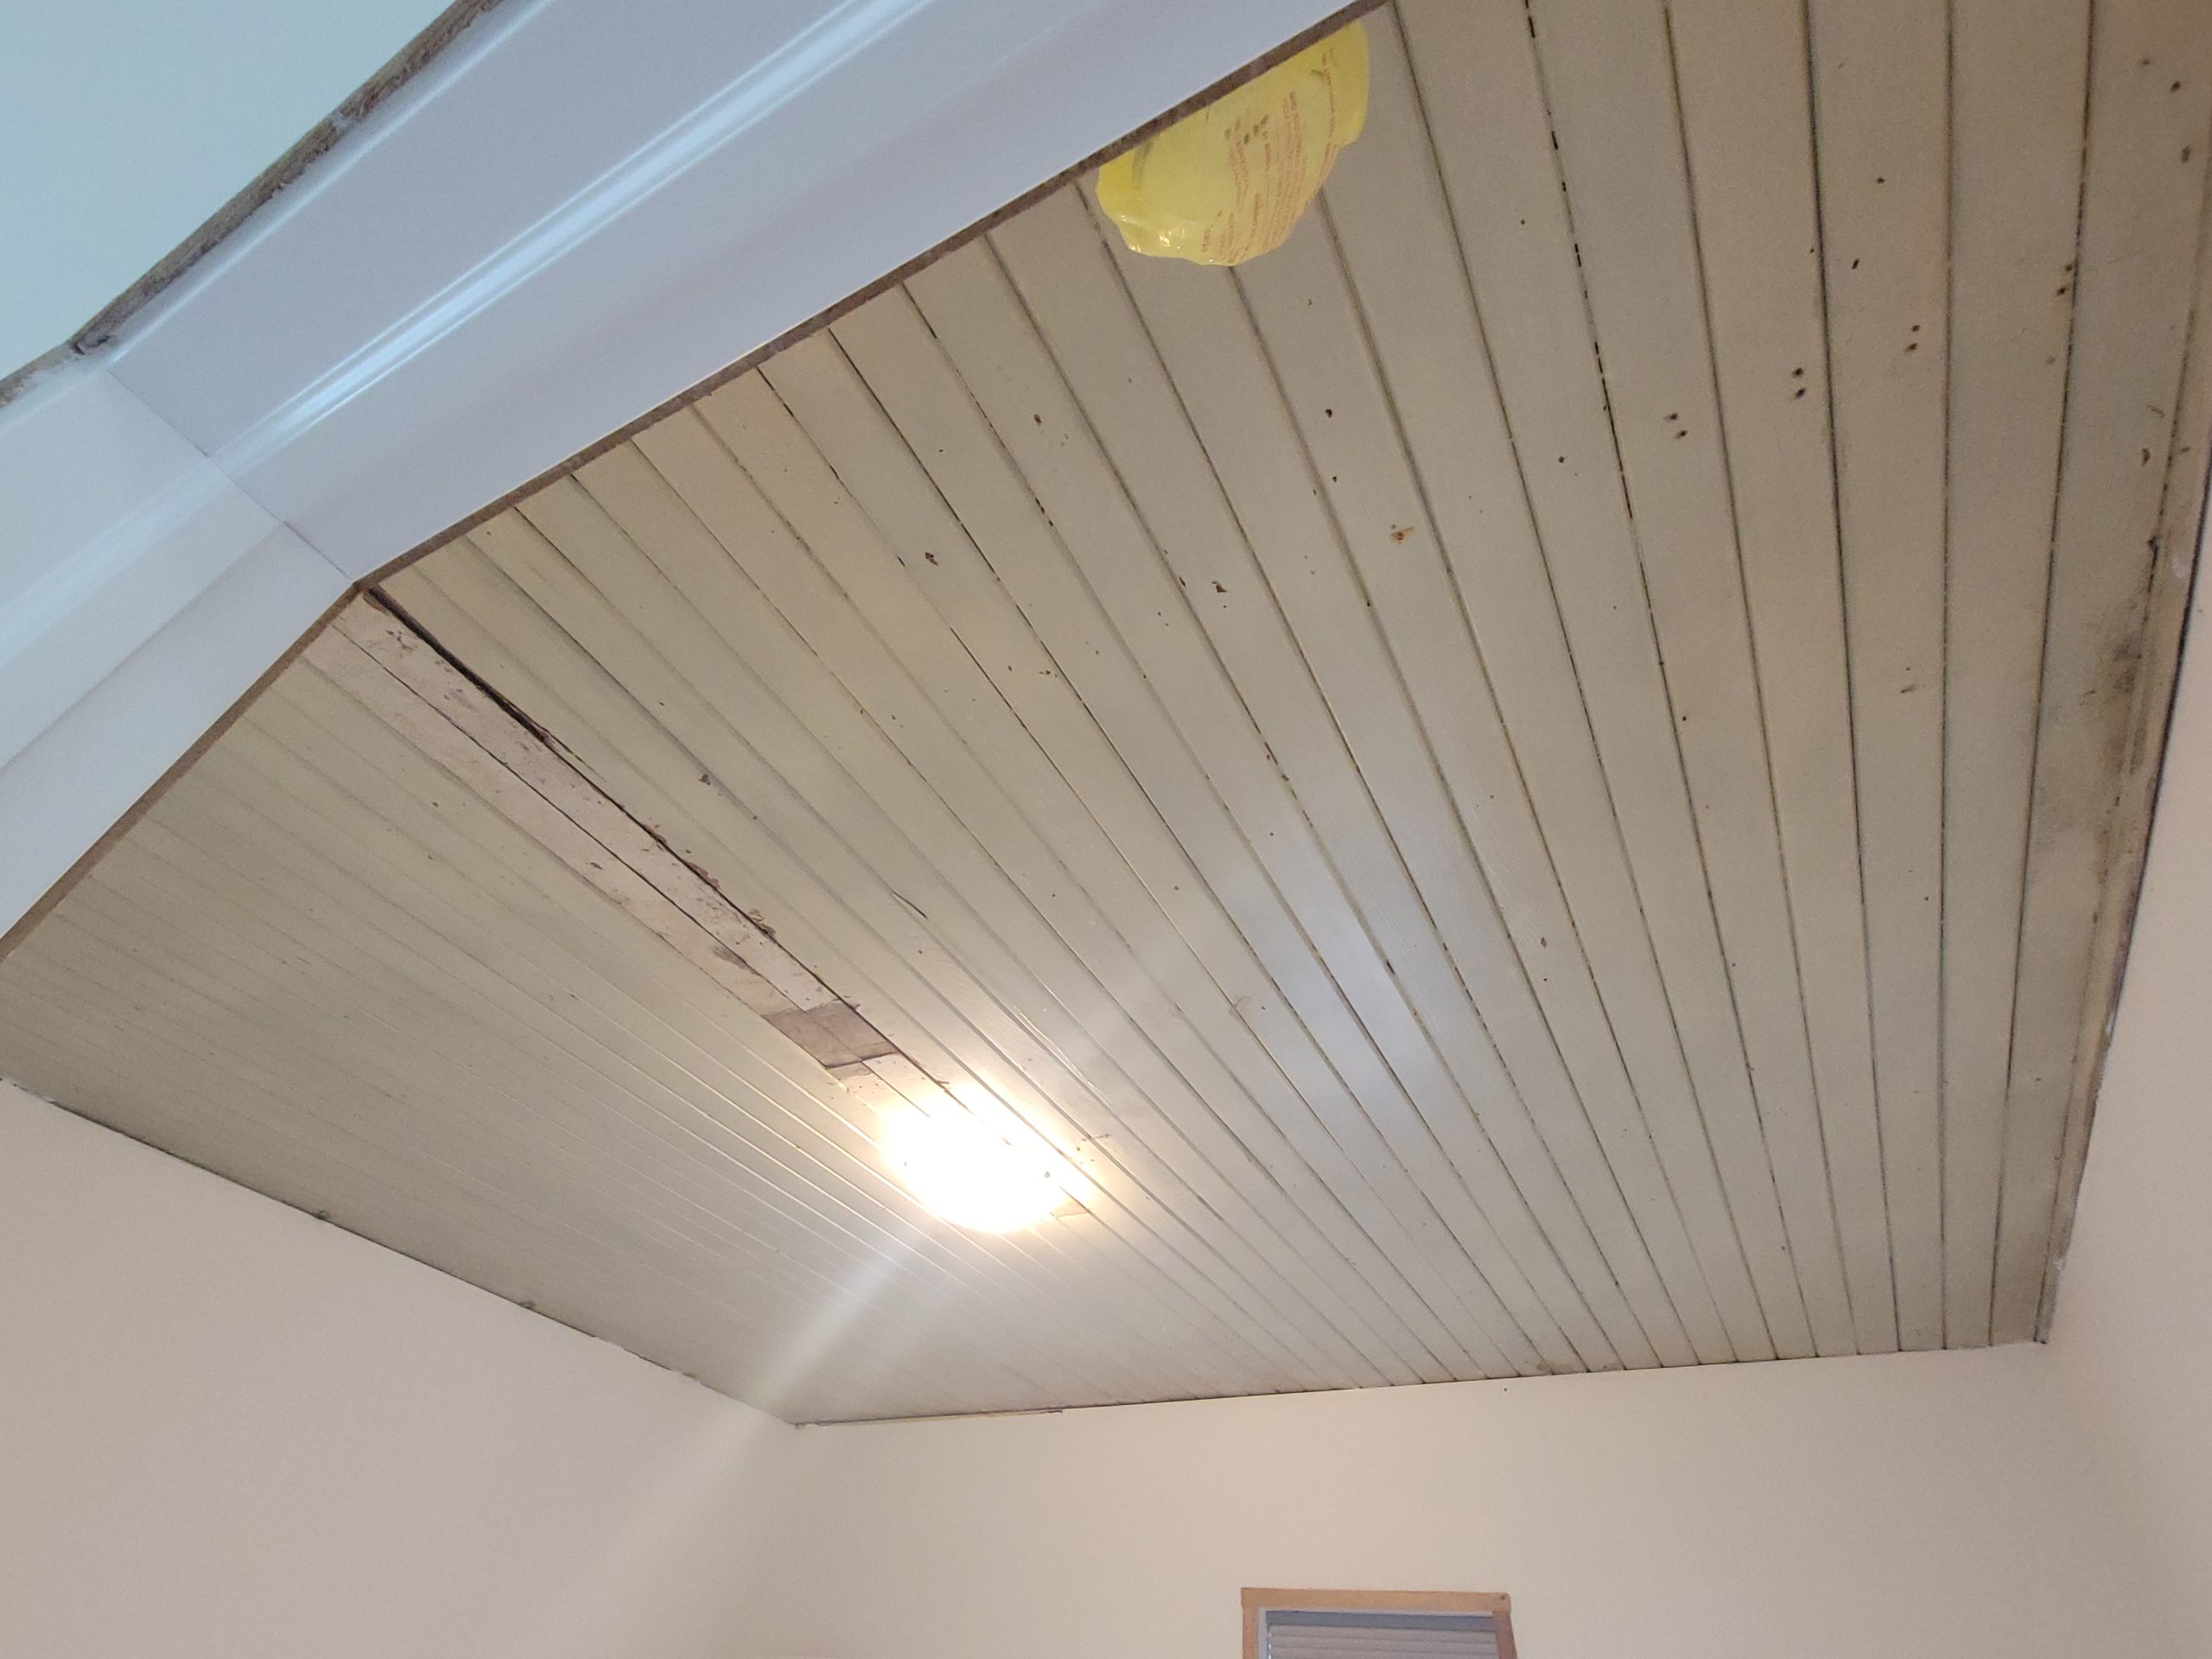
Primer first.
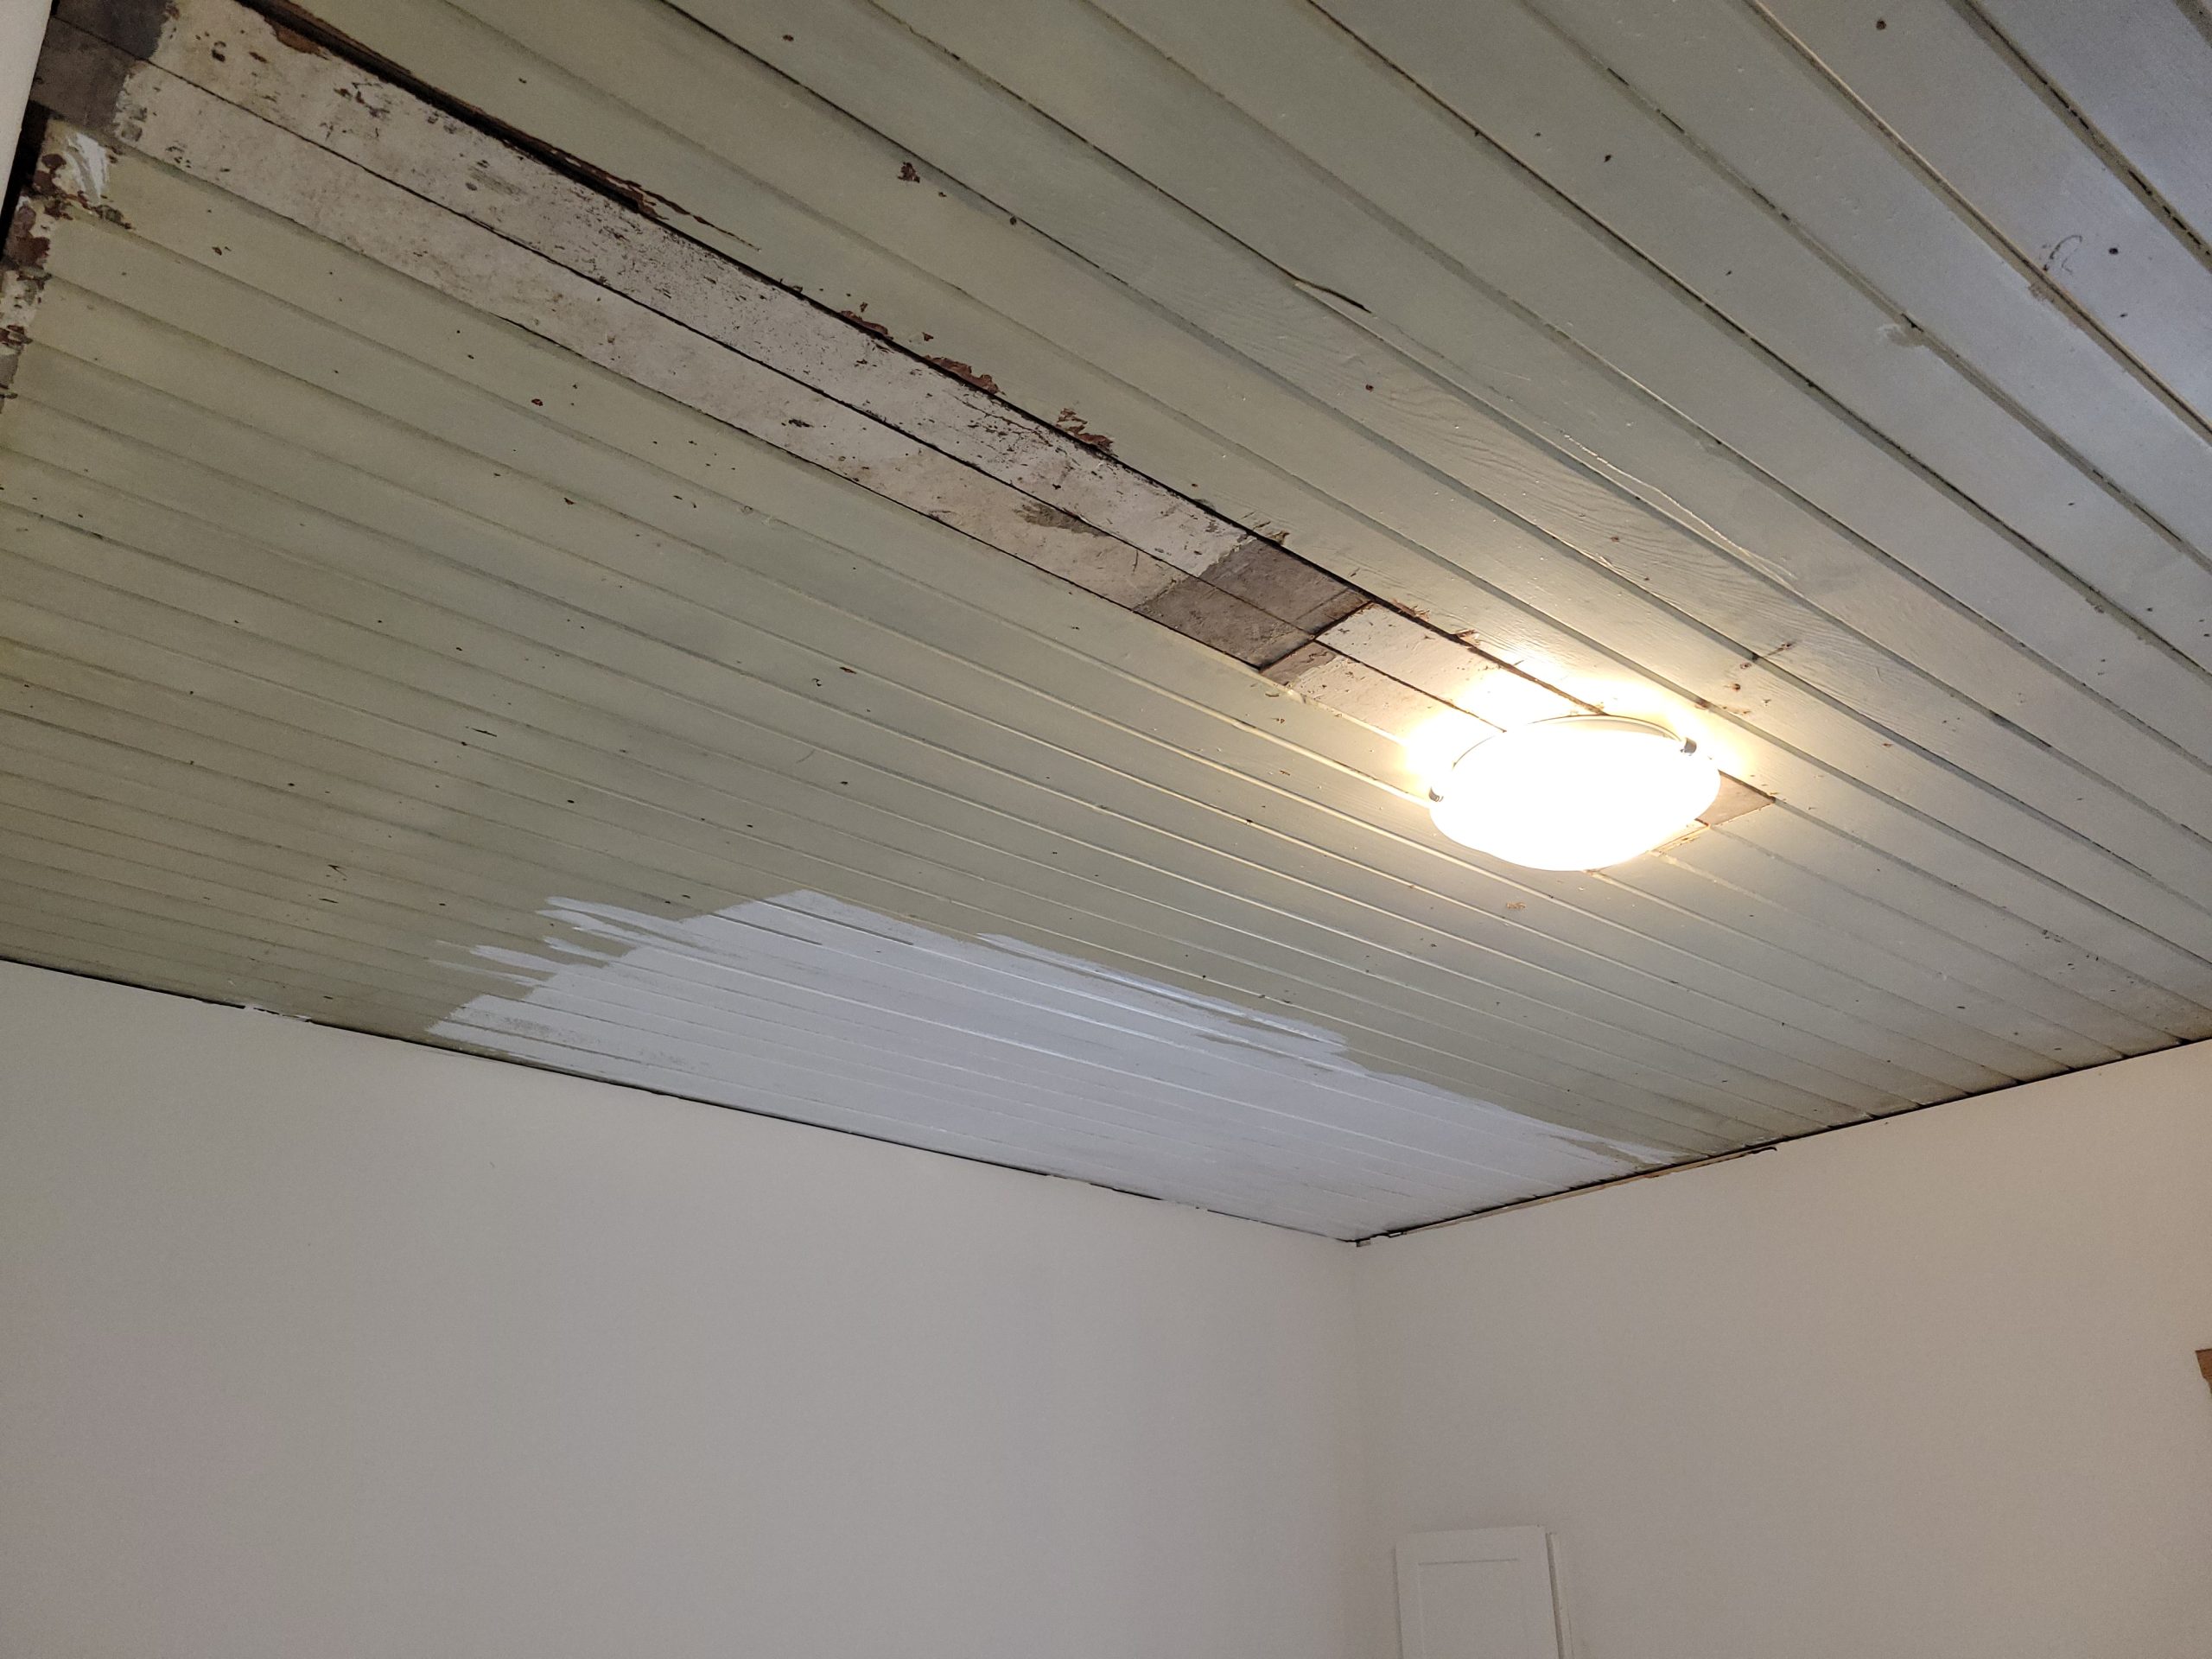
It is covering fairly well. The roller is kind of useless as it doesn’t get into the grooves (tongue-and-groove boards).
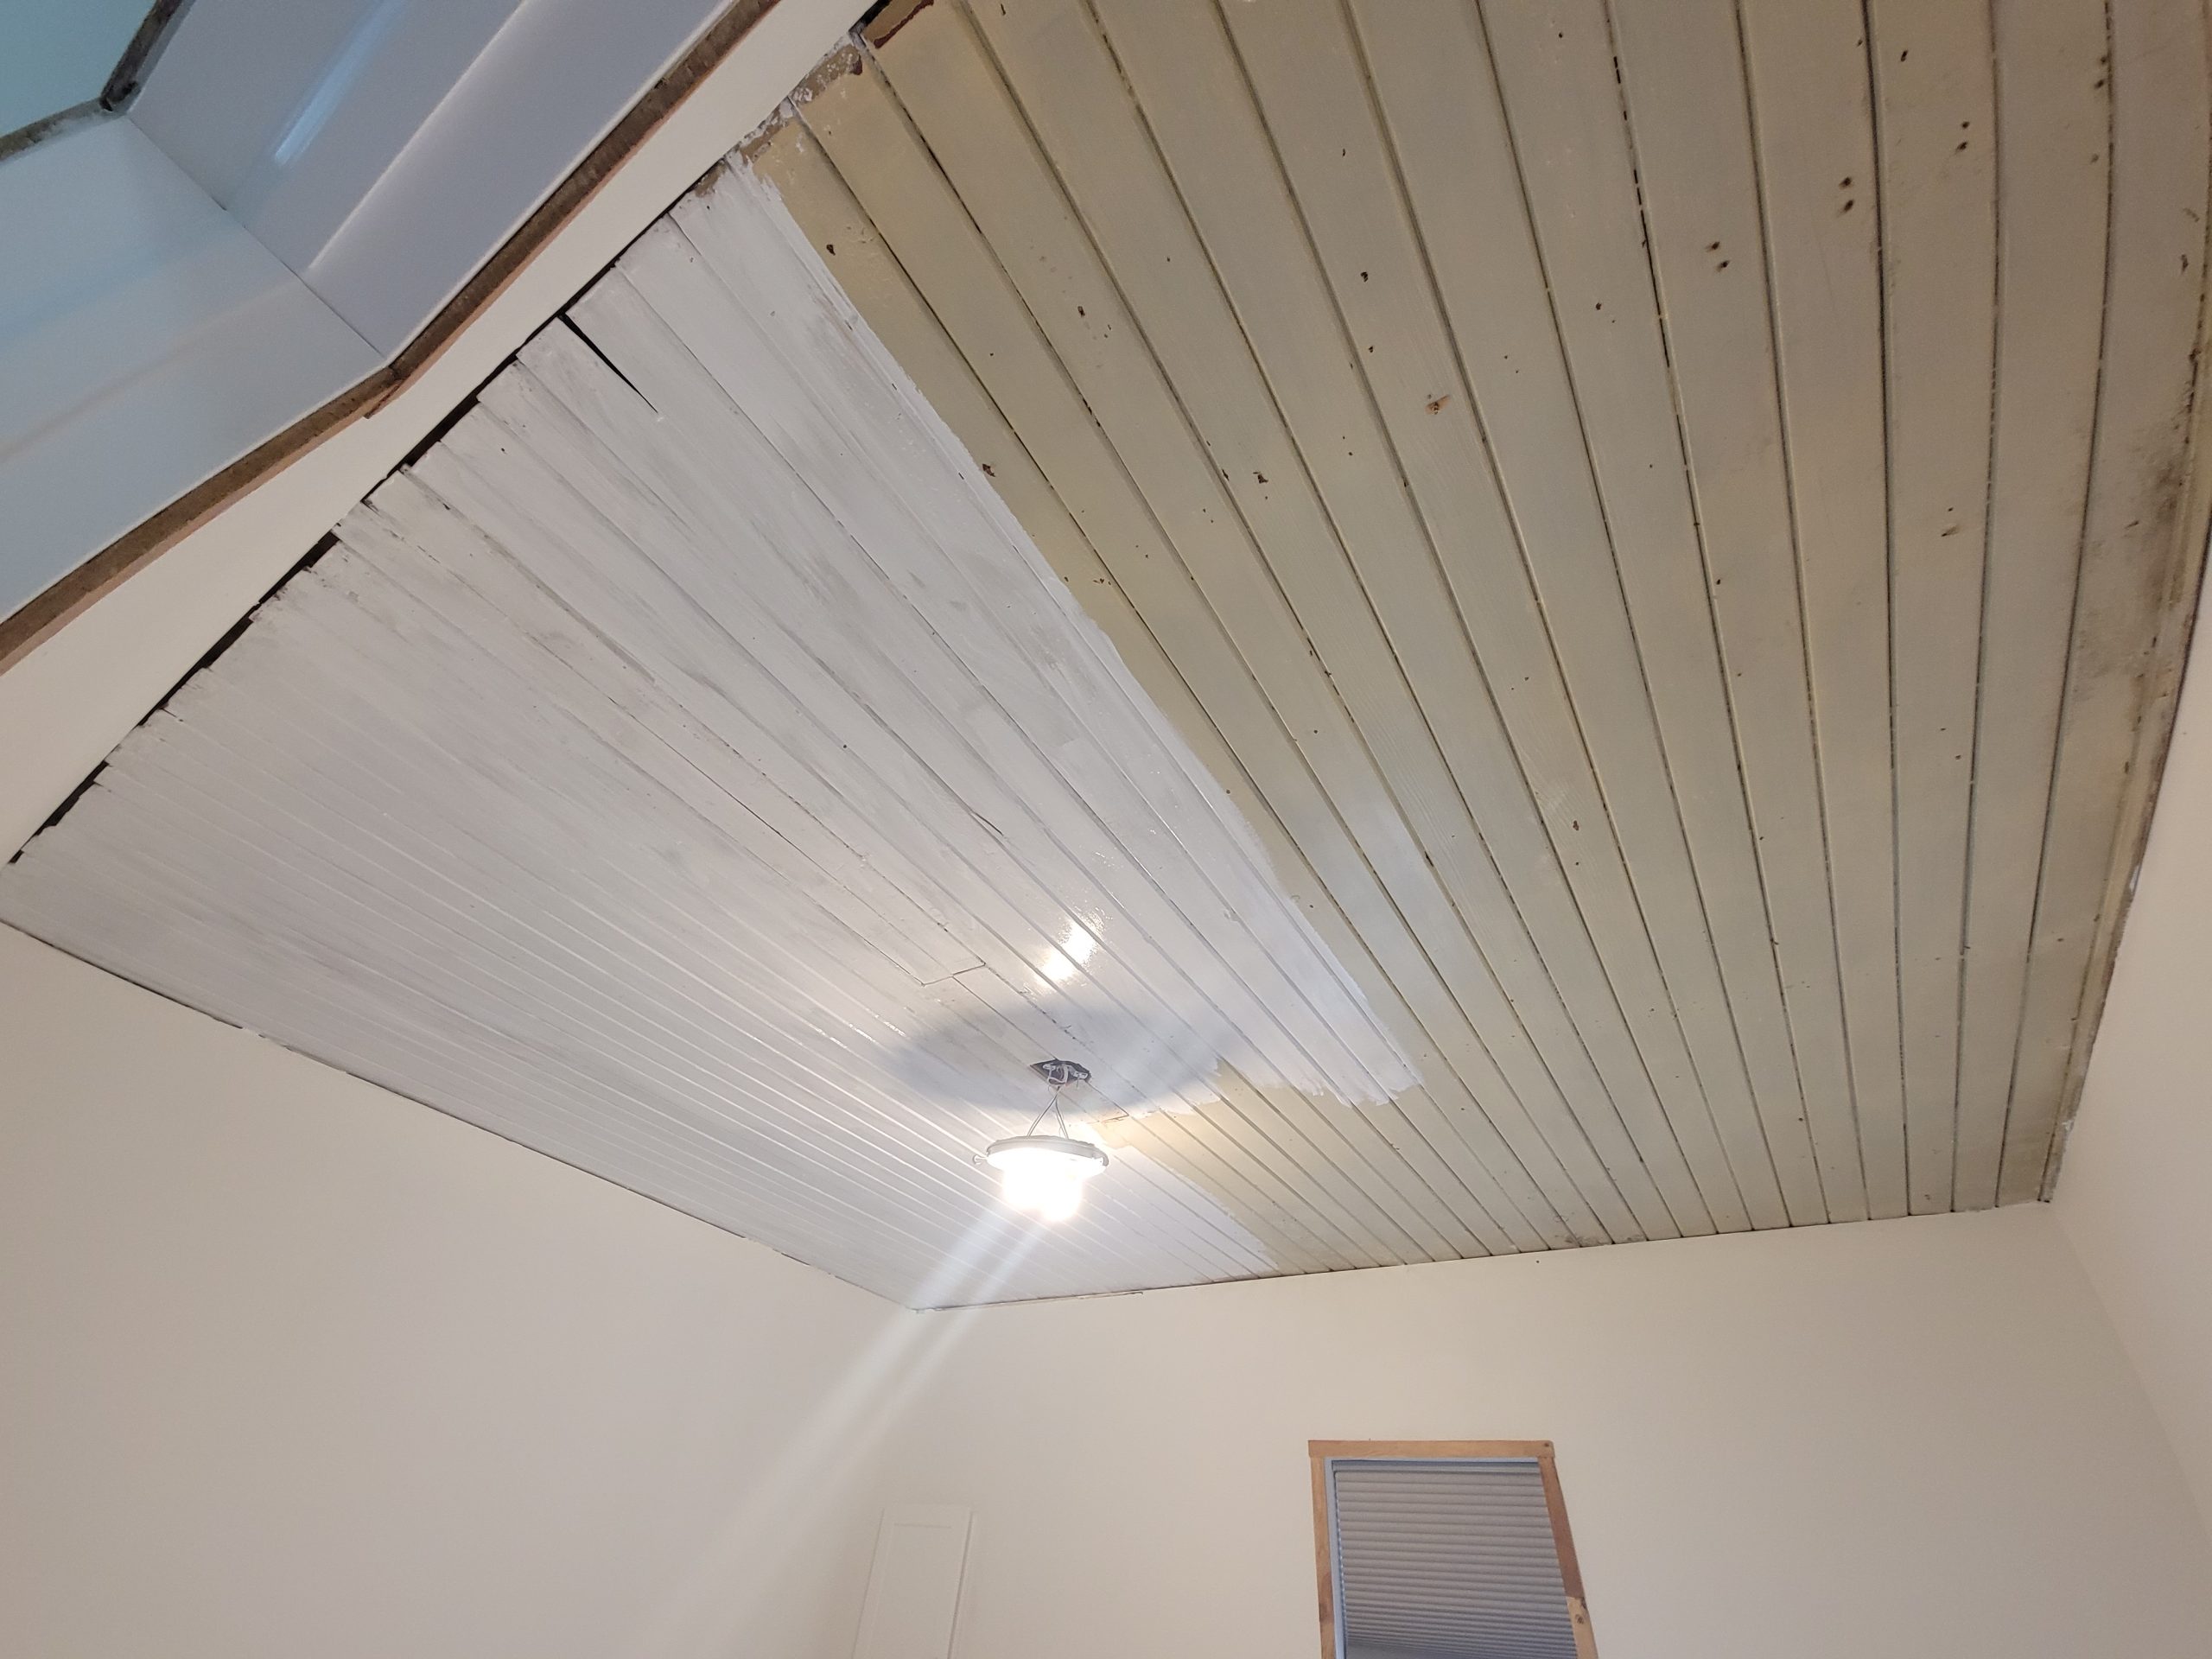
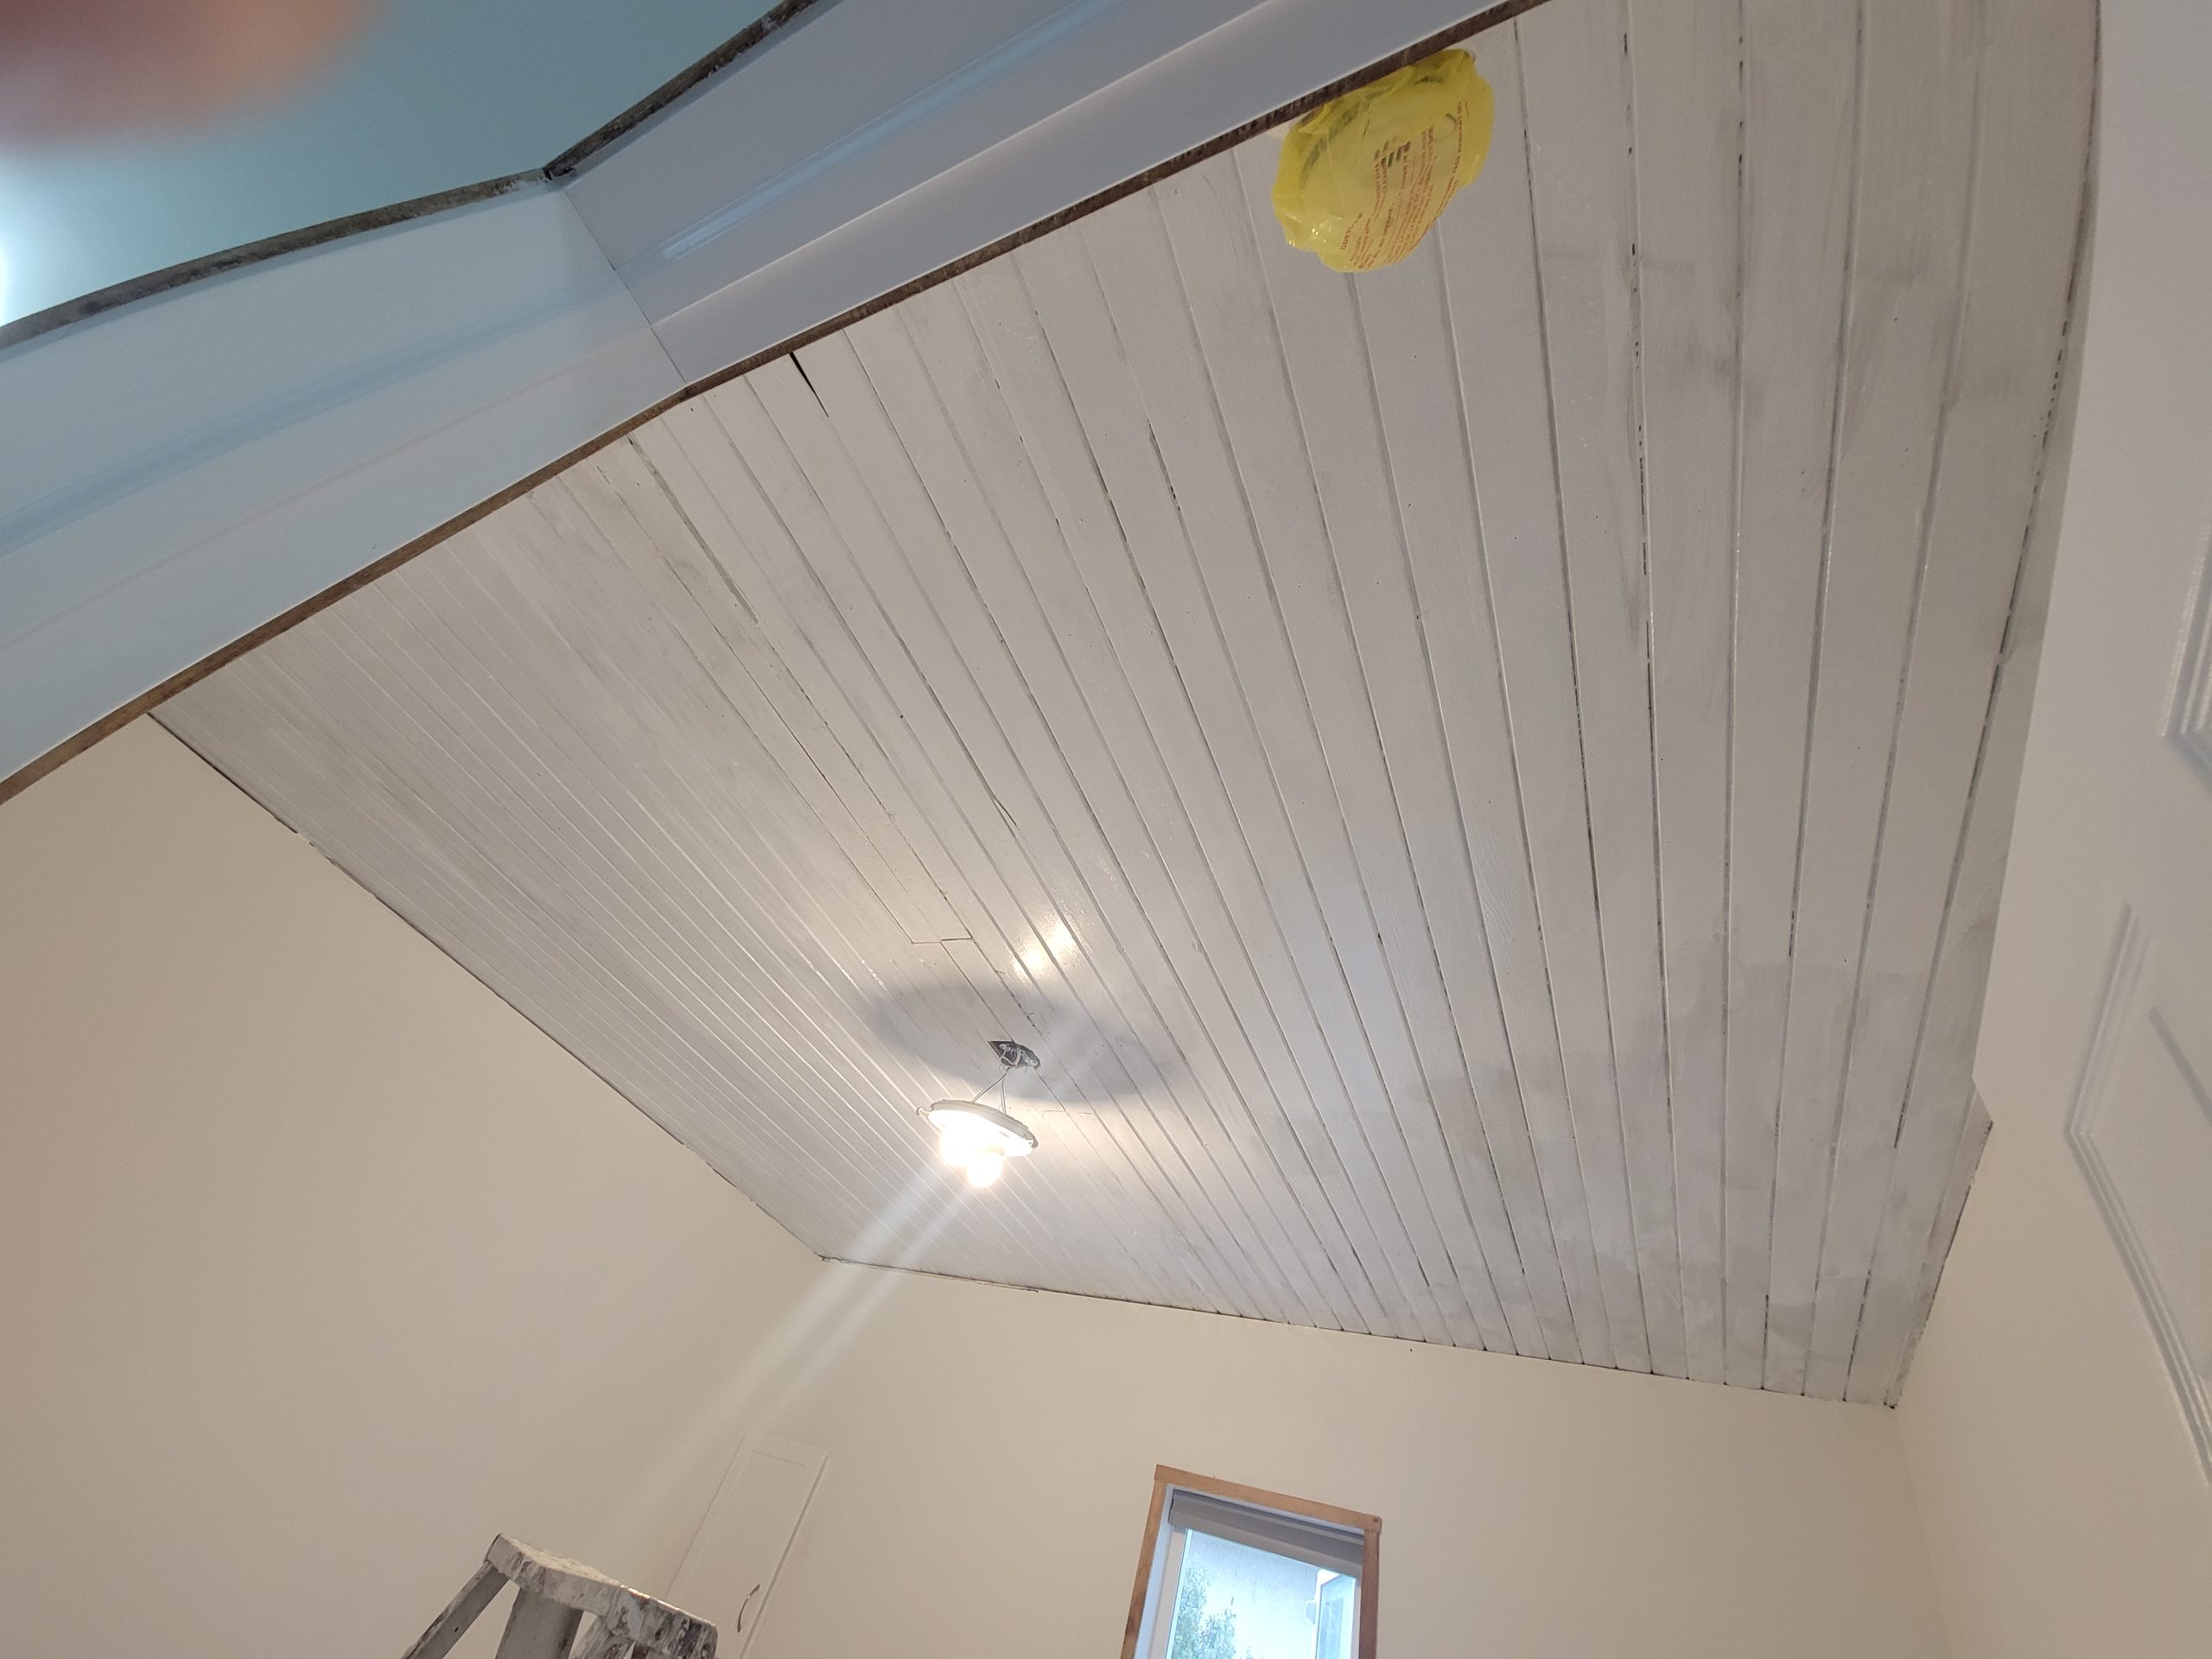
The priming is finished. Next, paint. I wonder how it will turn out.
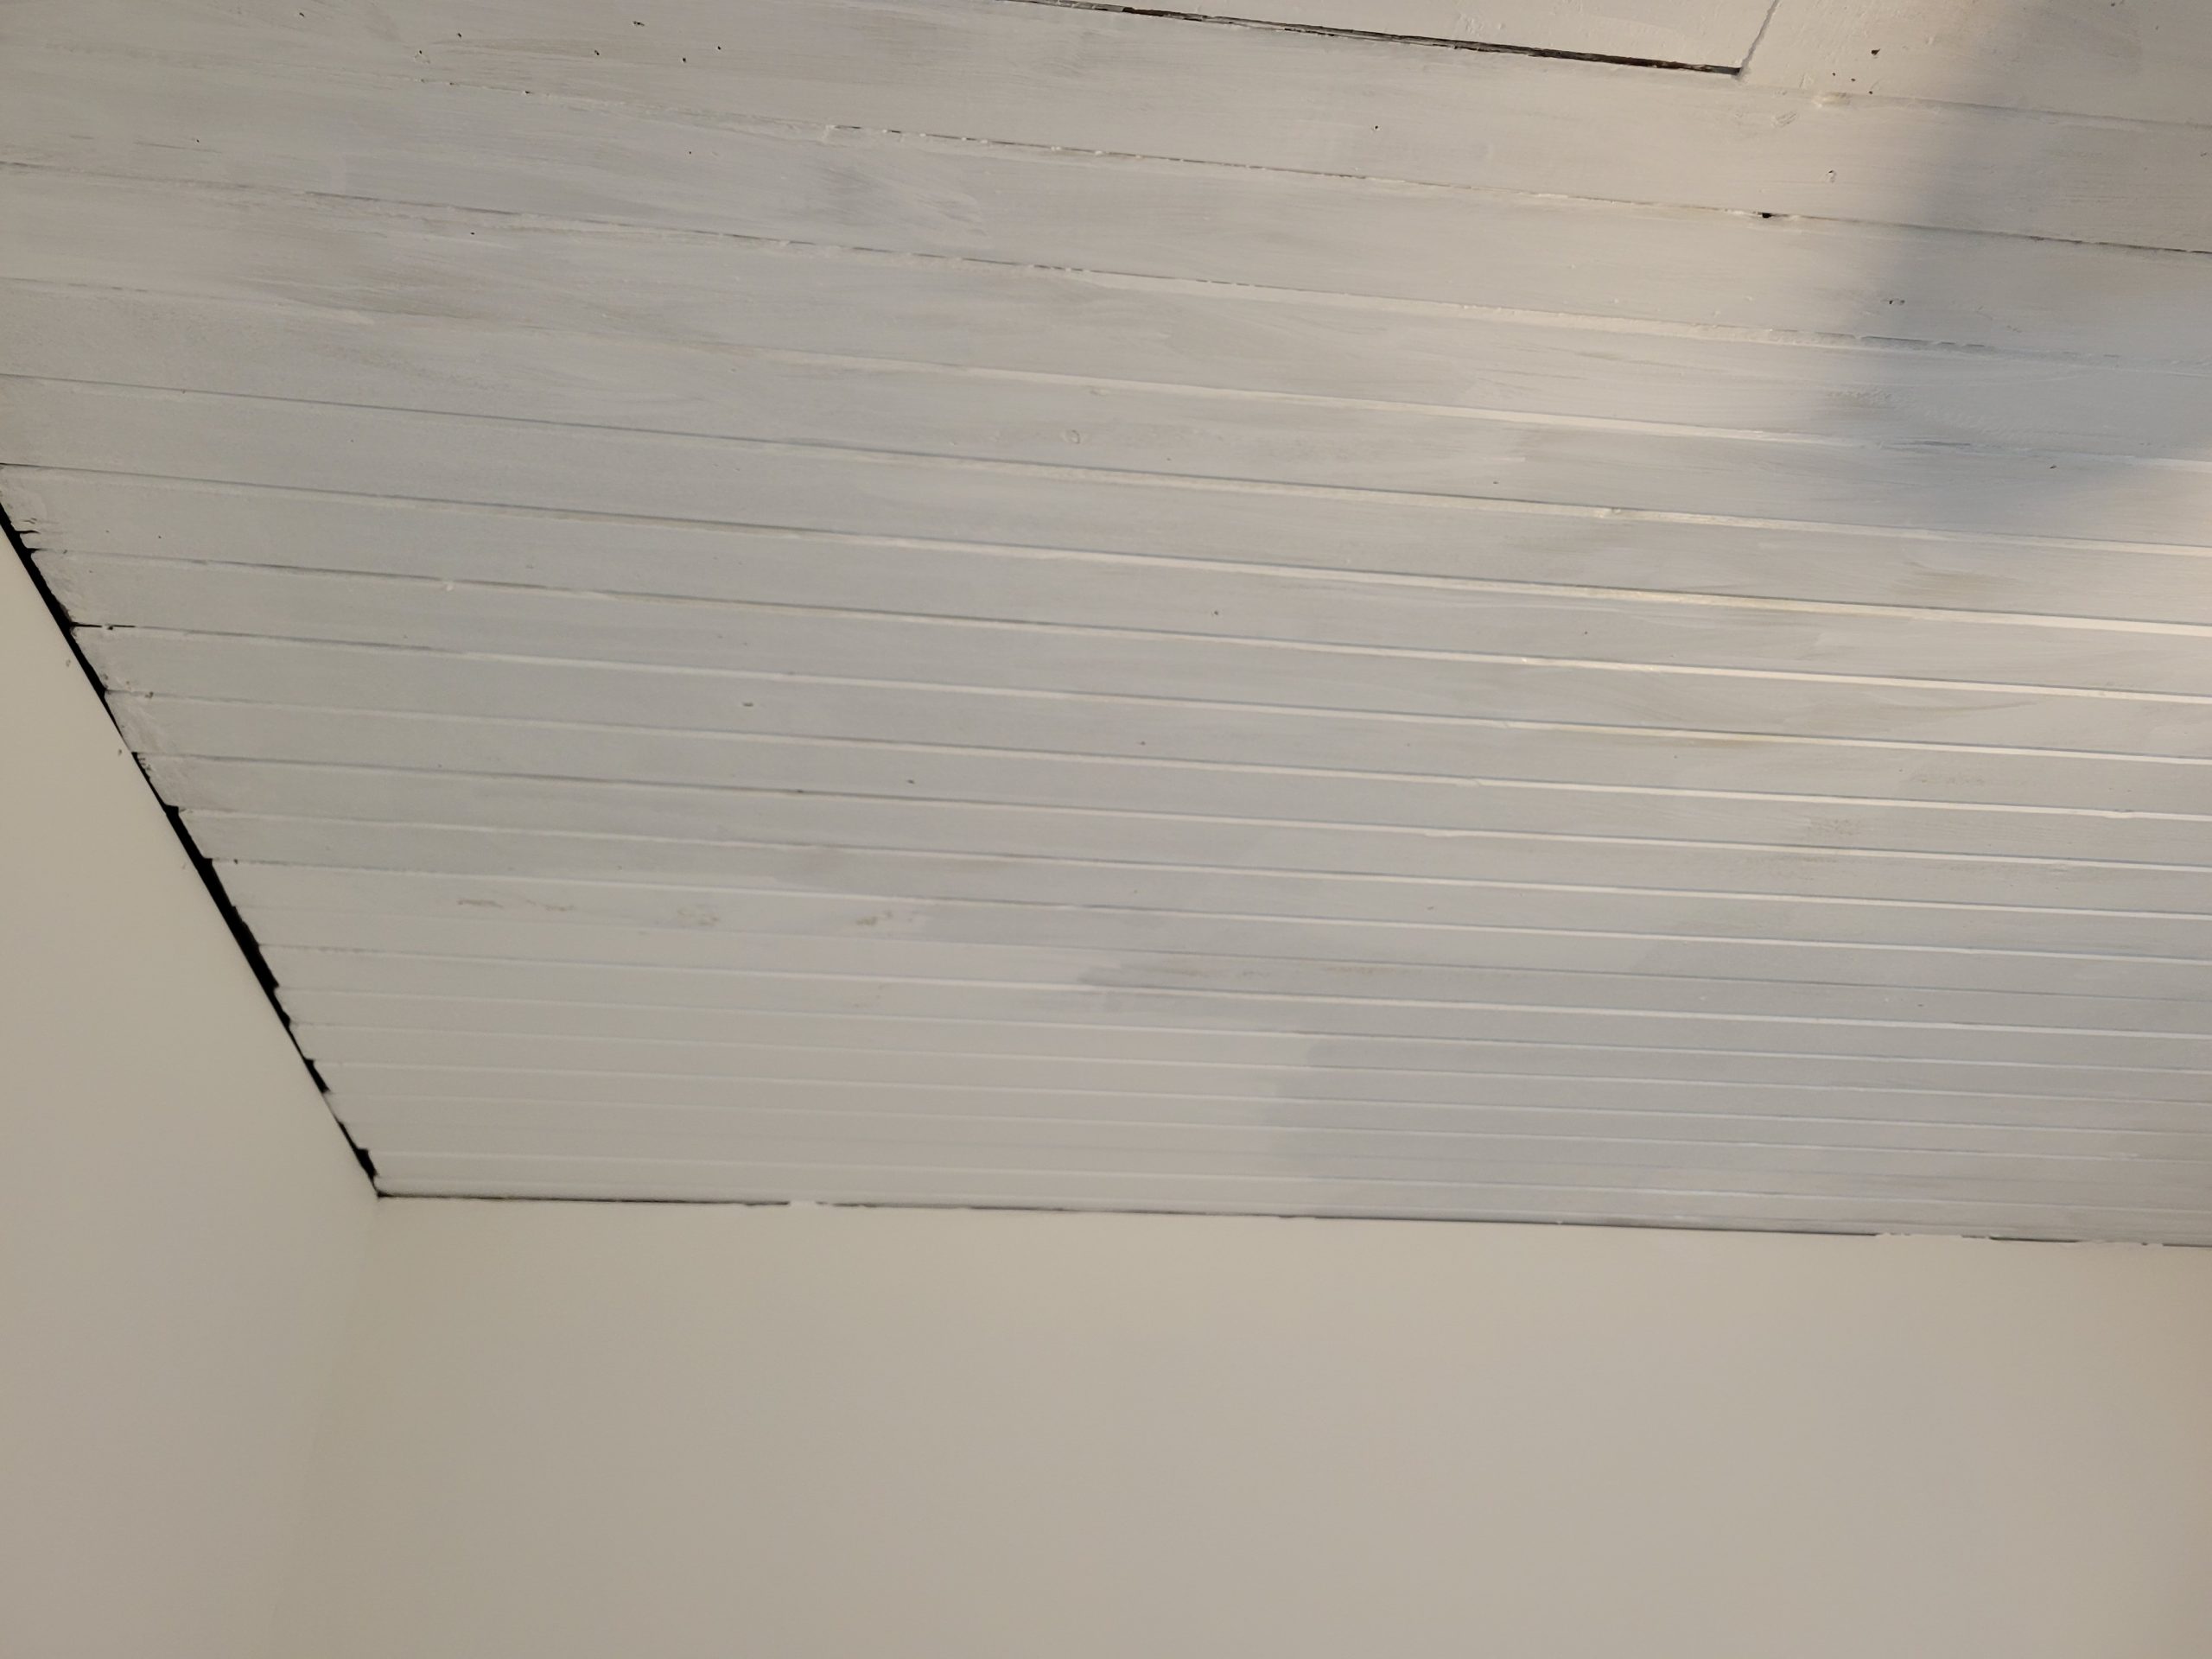
Next, the trim boards. I hope it looks sharp.
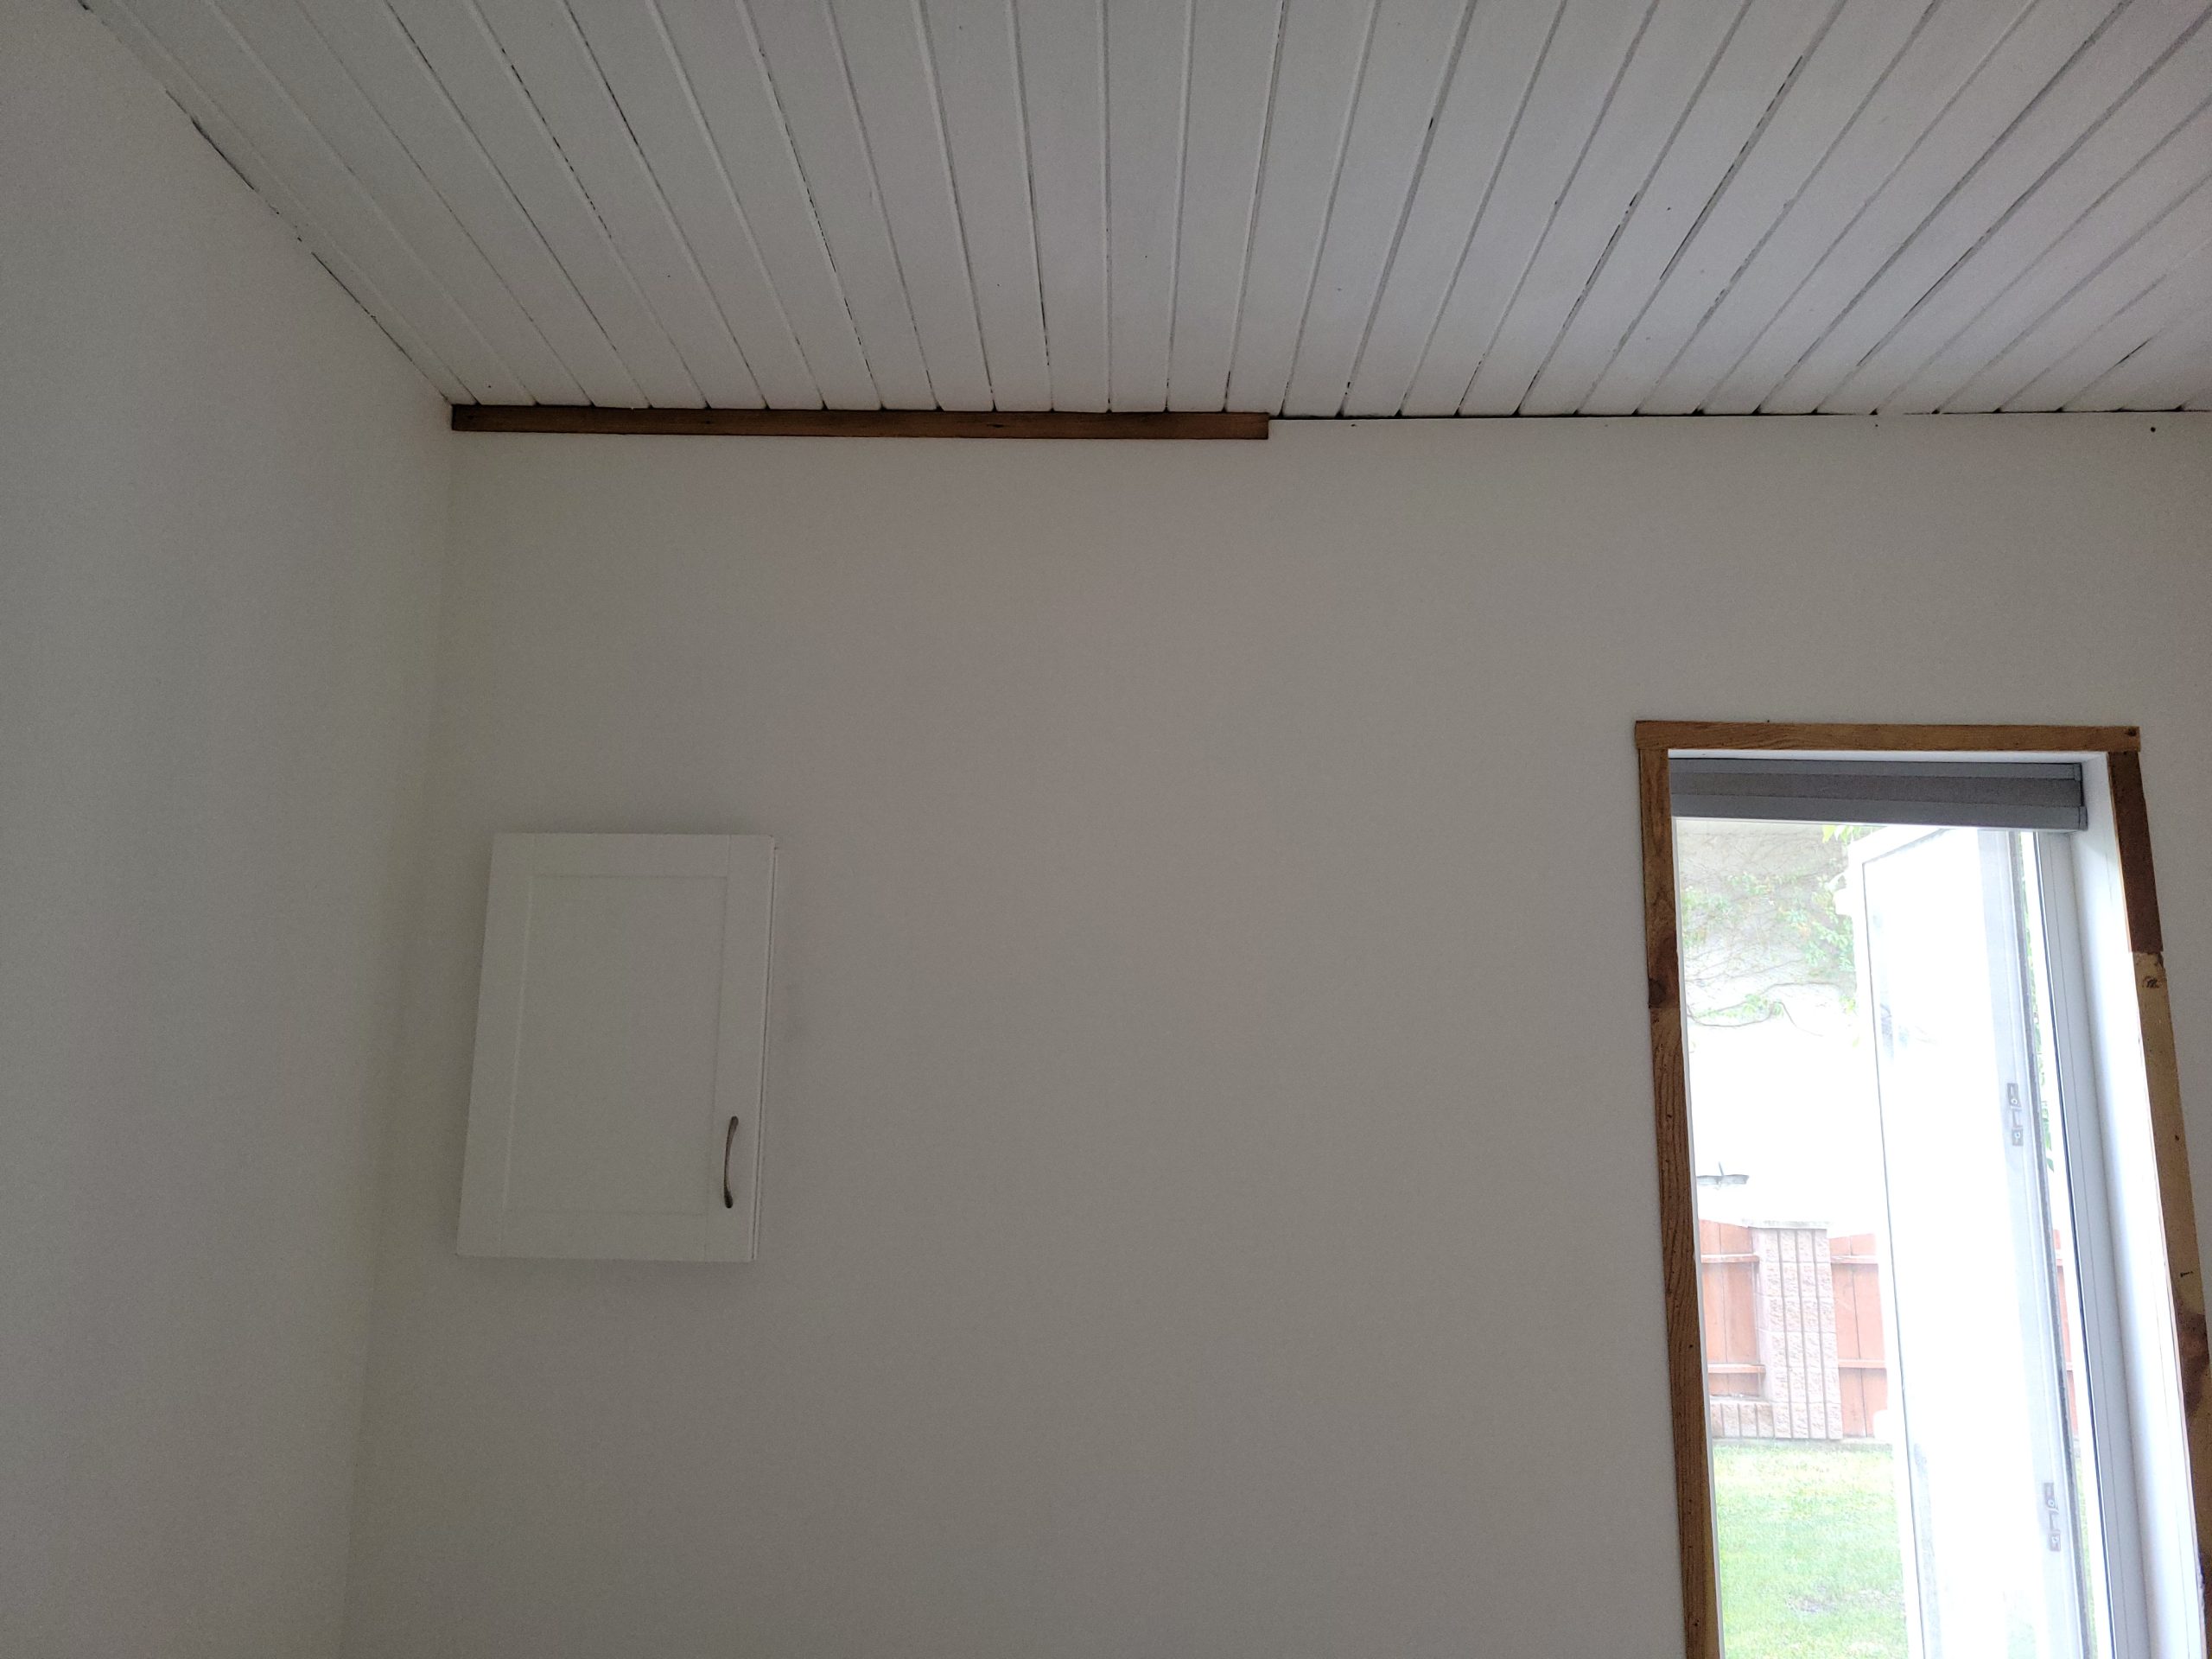
And now it is complete. I think it looks good.
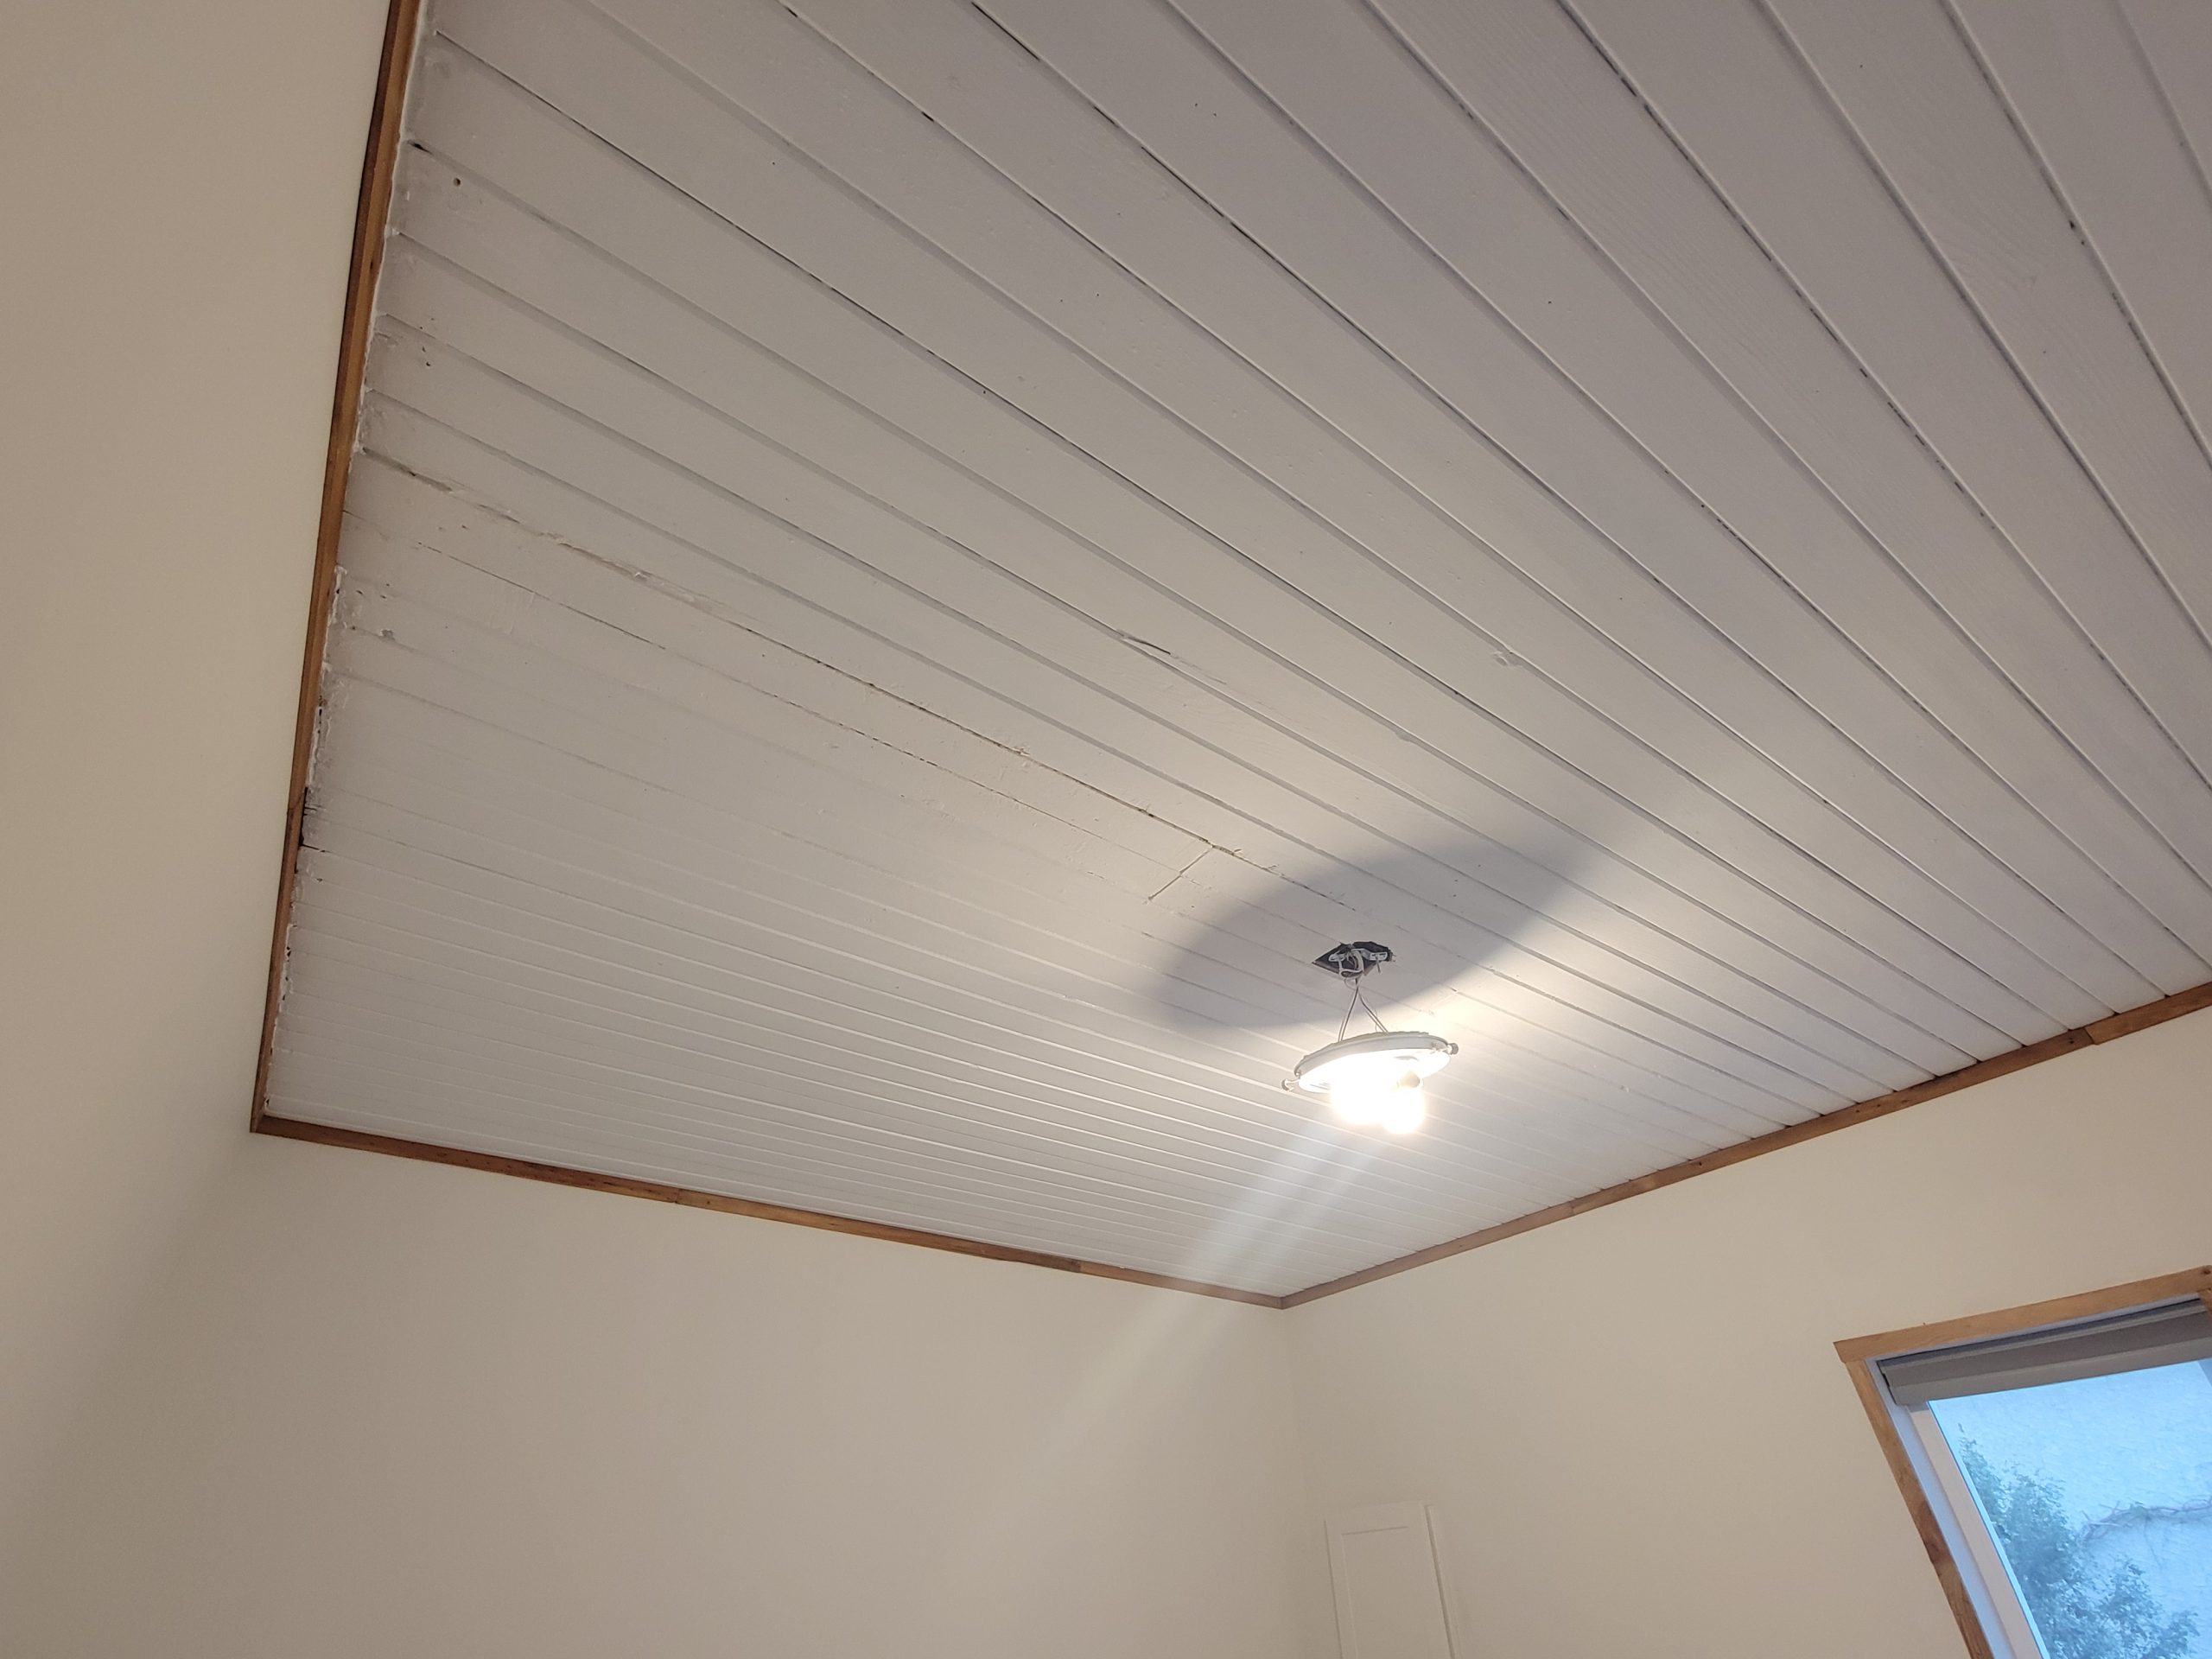
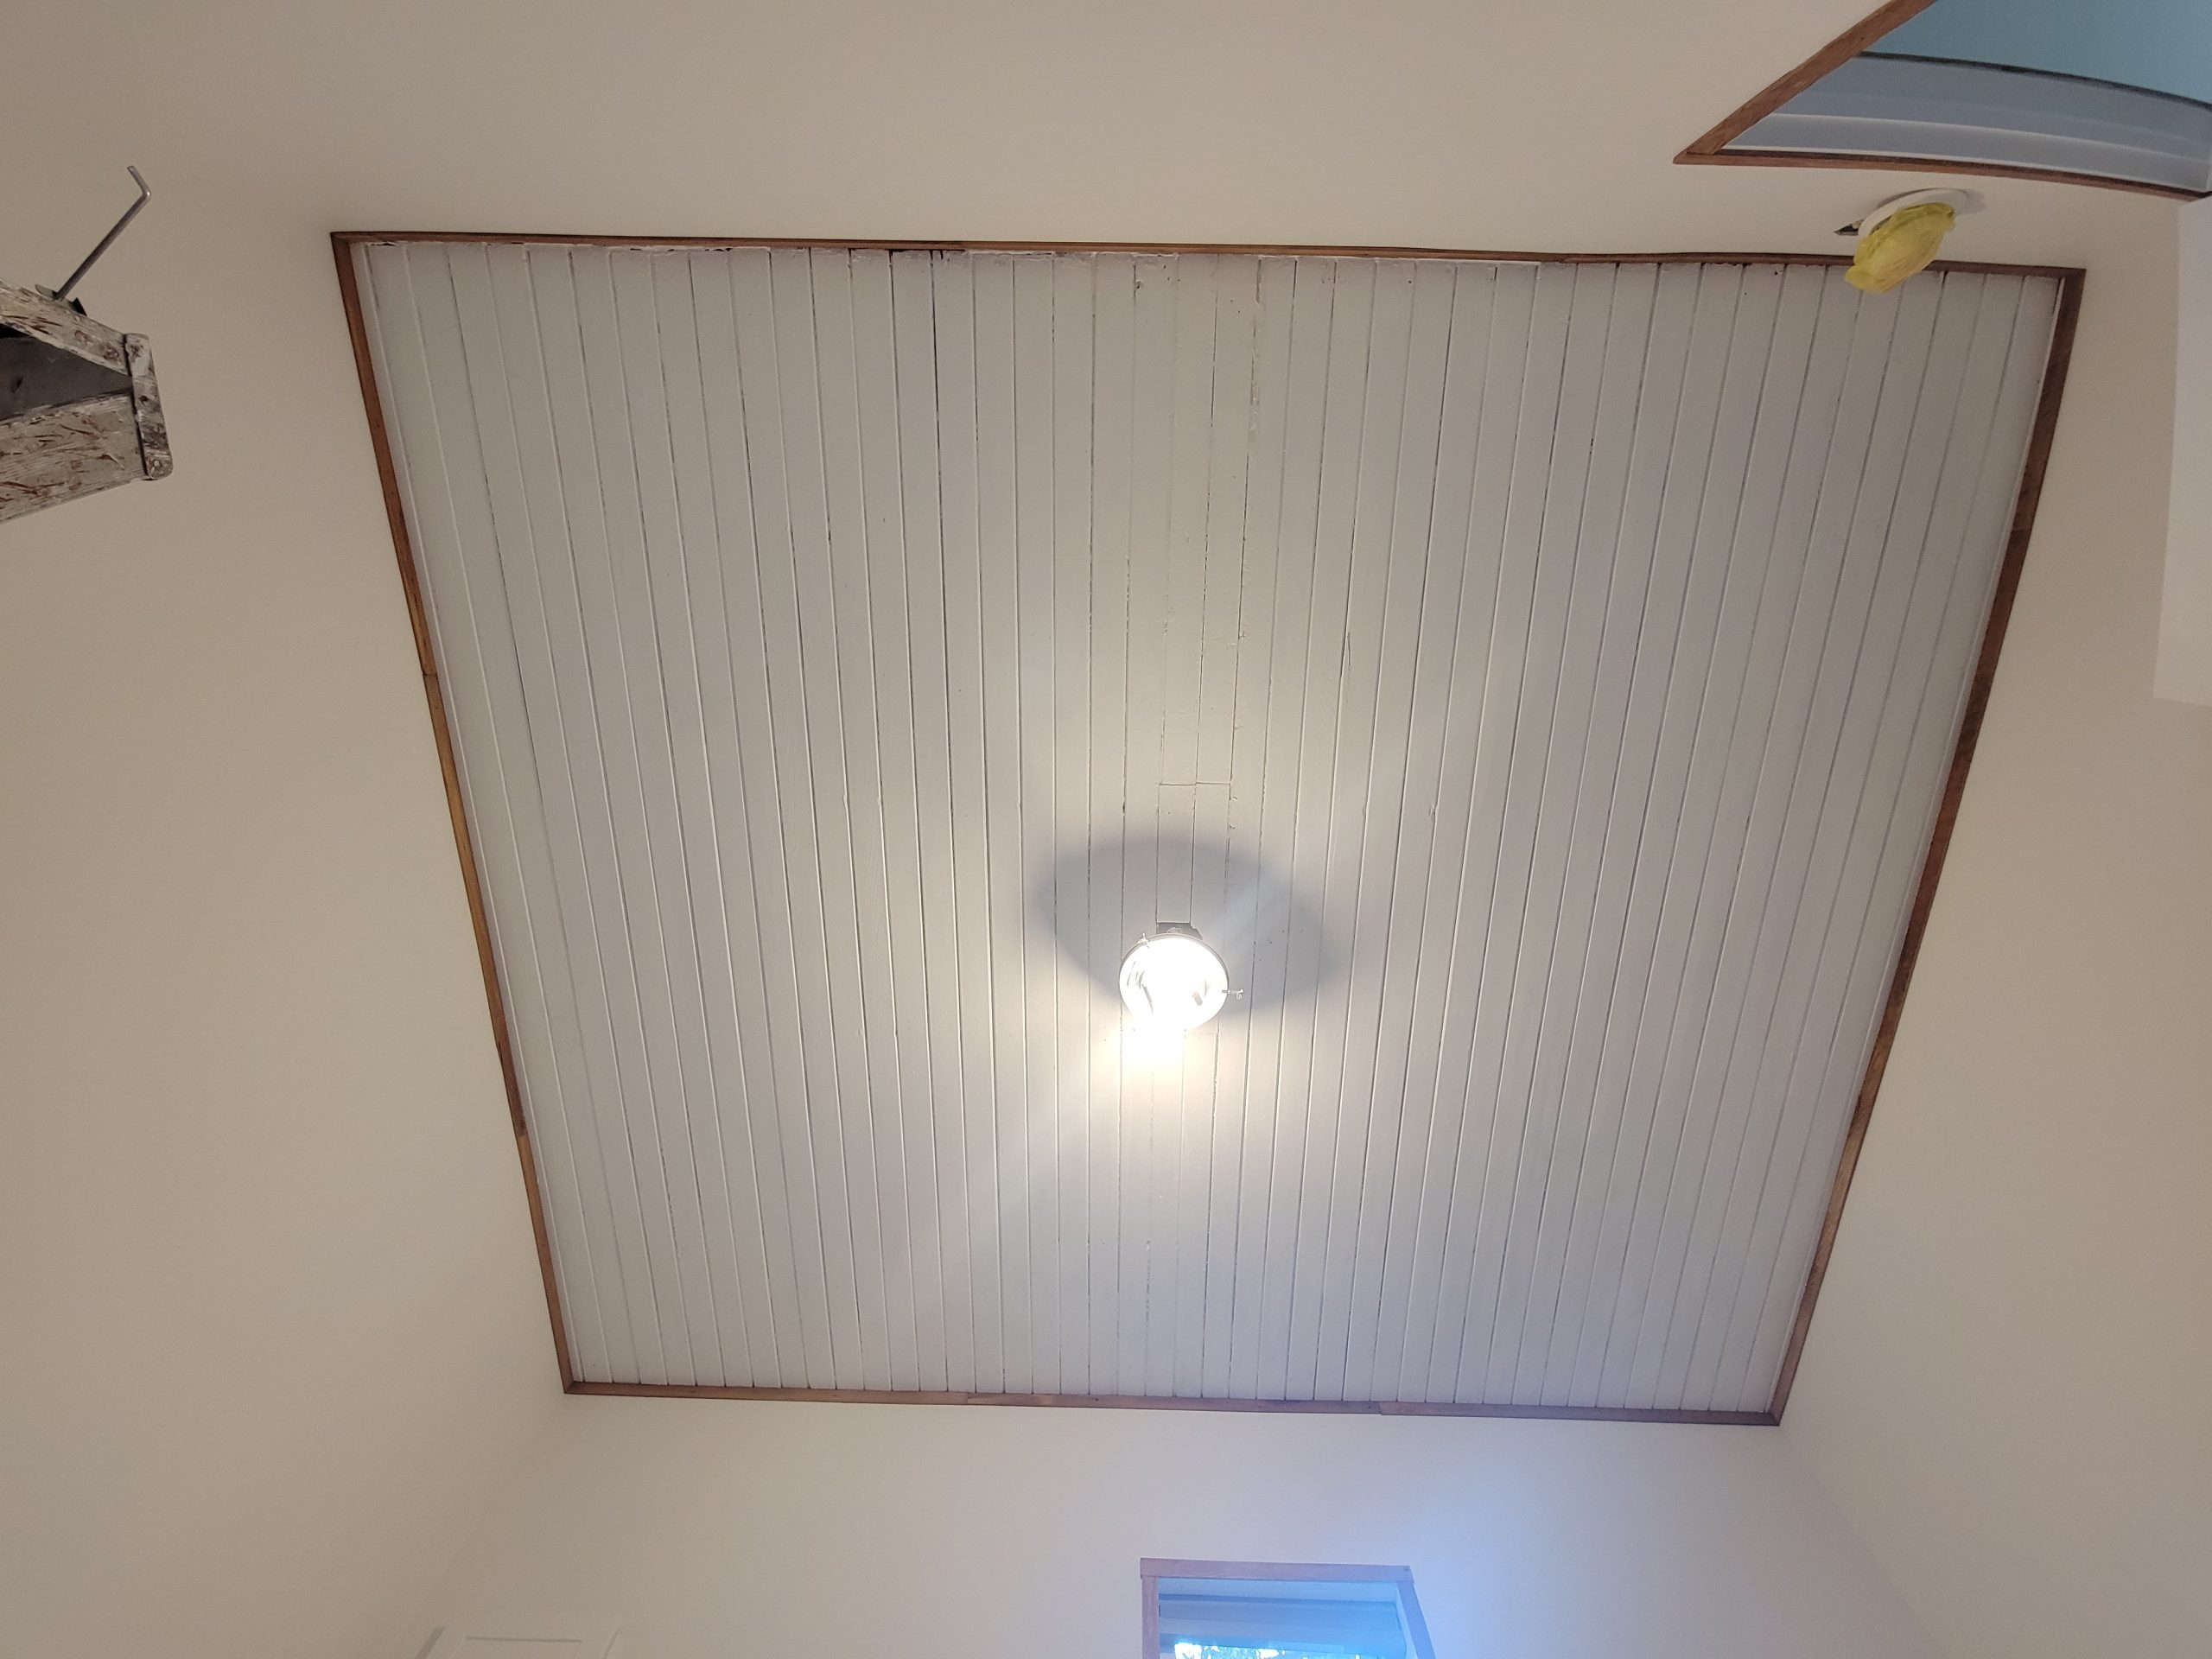
Now for bedroom 2. I started out by cleaning the drywall mud off the ceiling boards but found that it can actually be washed. Because there were no missing boards, and the paint wasn’t in such bad shape (only nail holes), I decided to leave it in its original 1940s paint scheme.
So I started washing it using antibacterial Windex, but this is hard work, and my tennis elbow finally had enough.
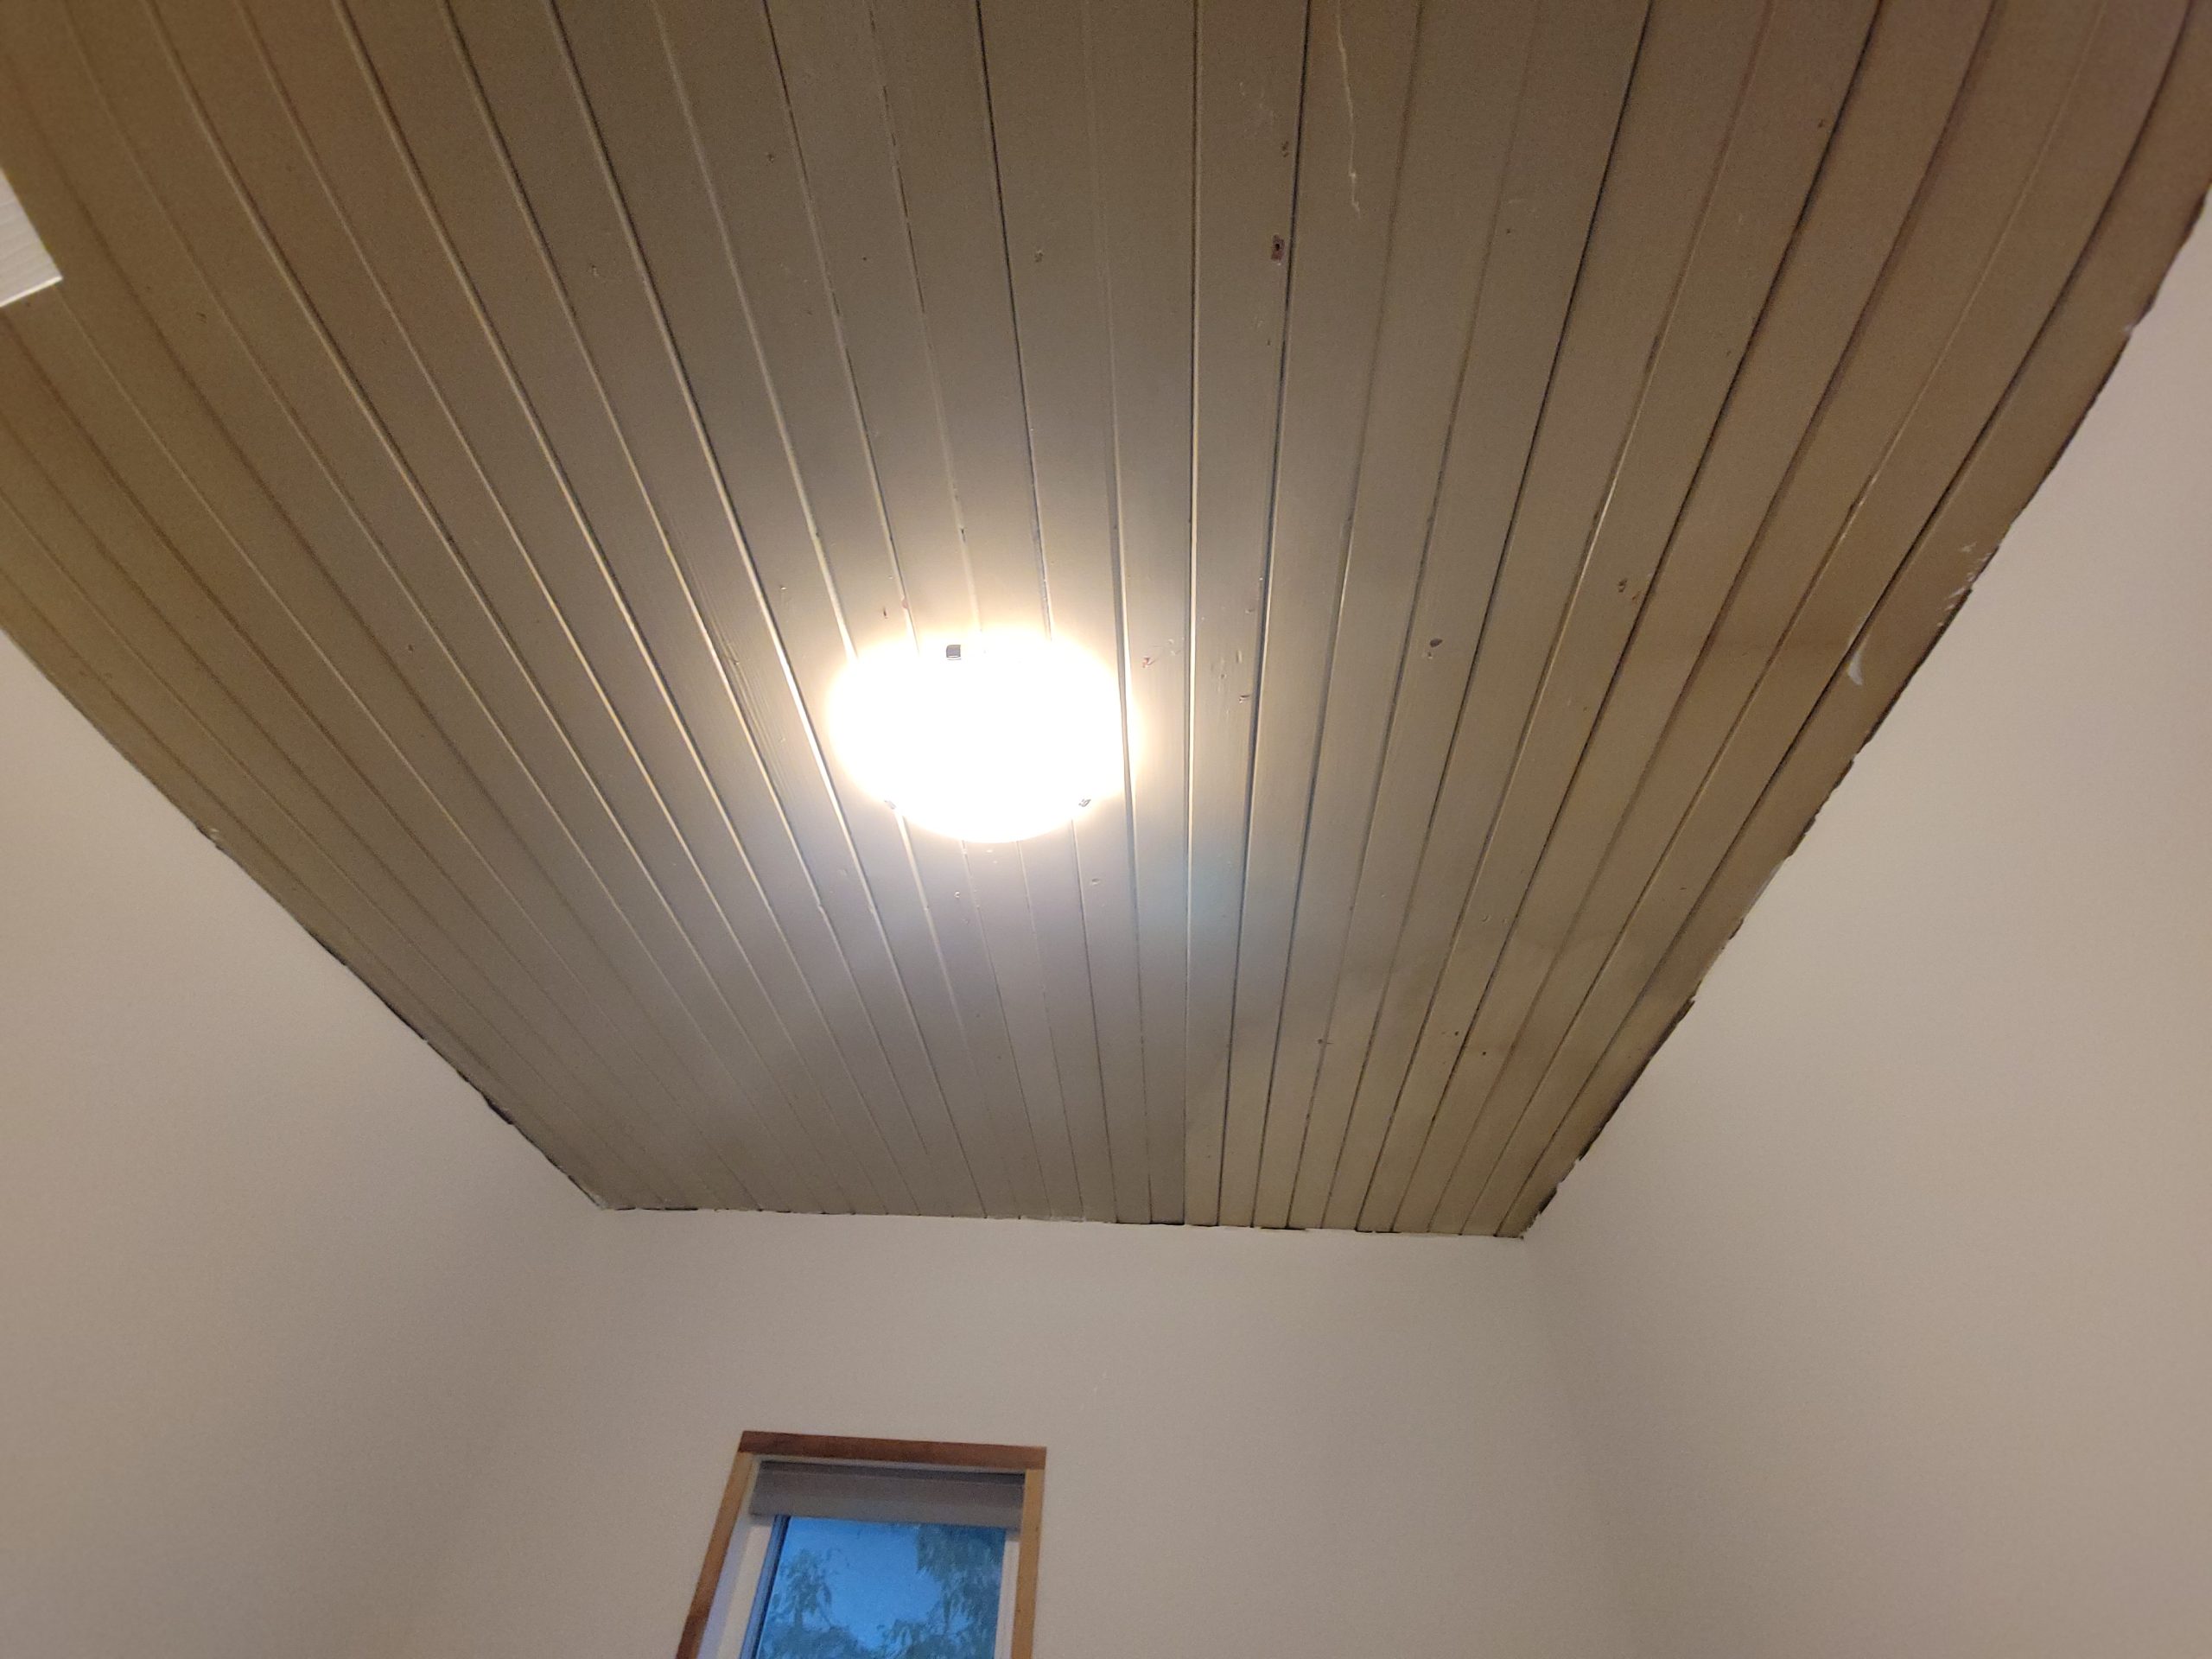
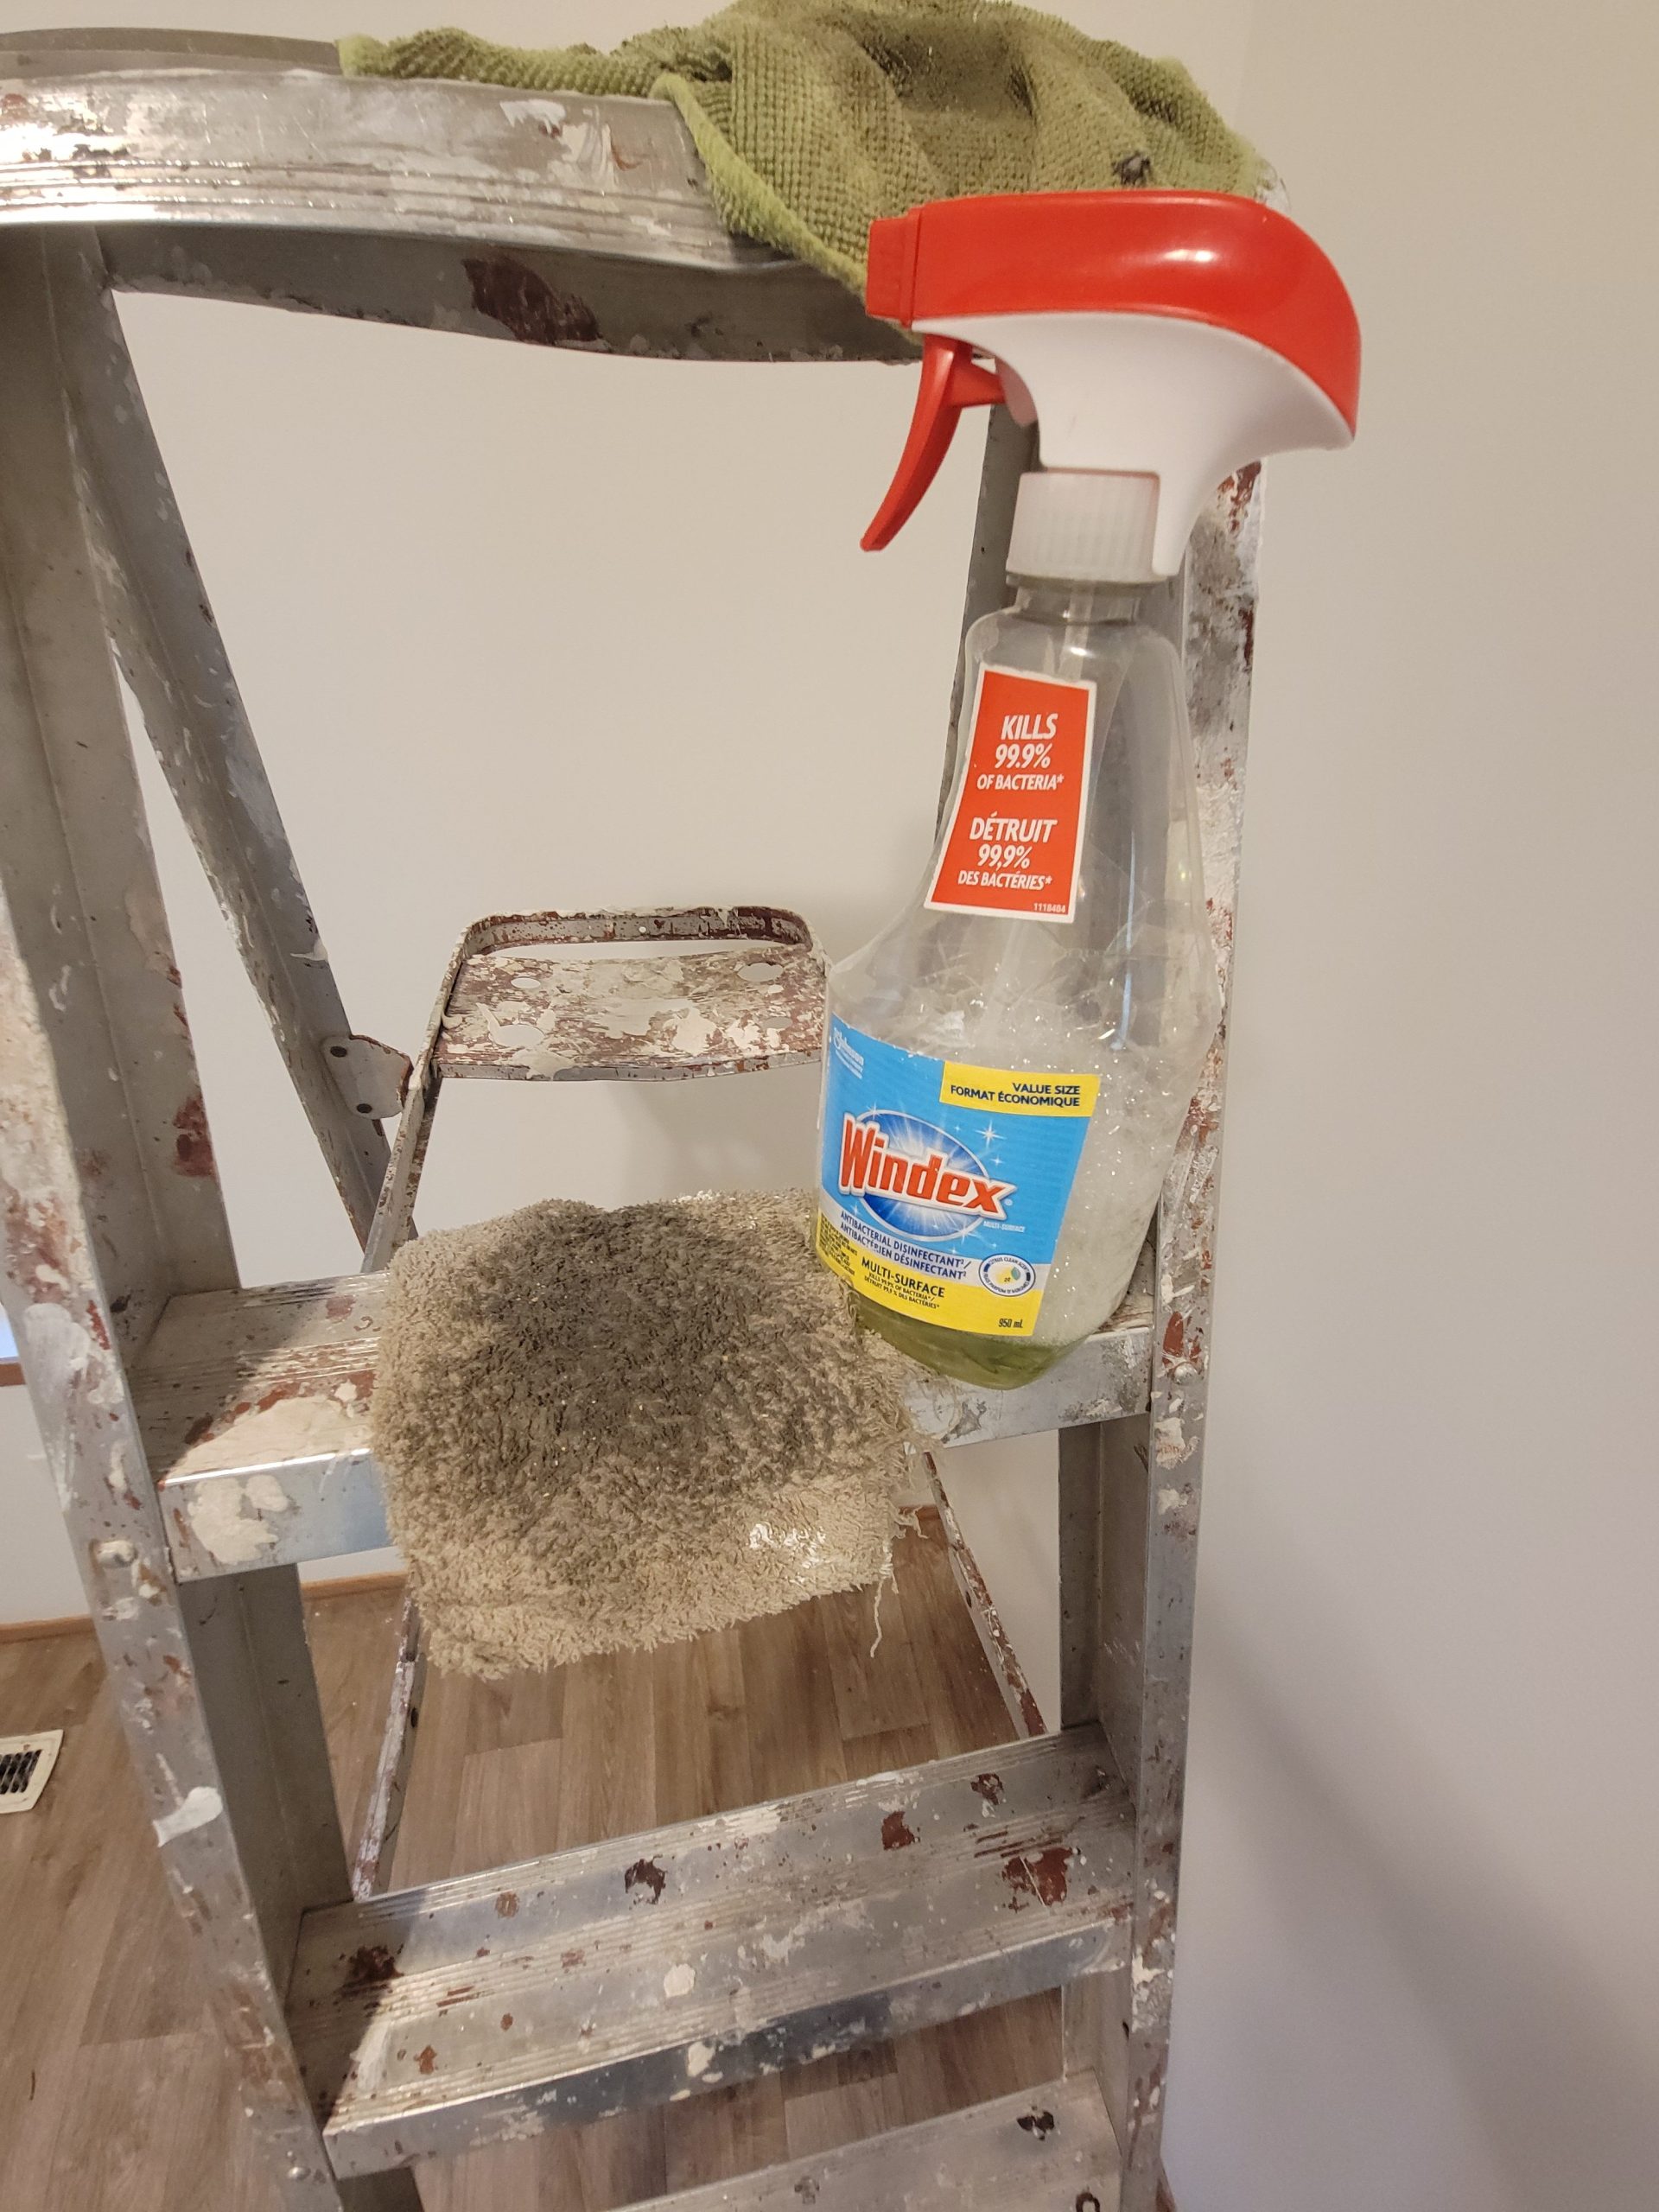
I’ll continue in the morning.
The blind for bedroom 3 finally fits.
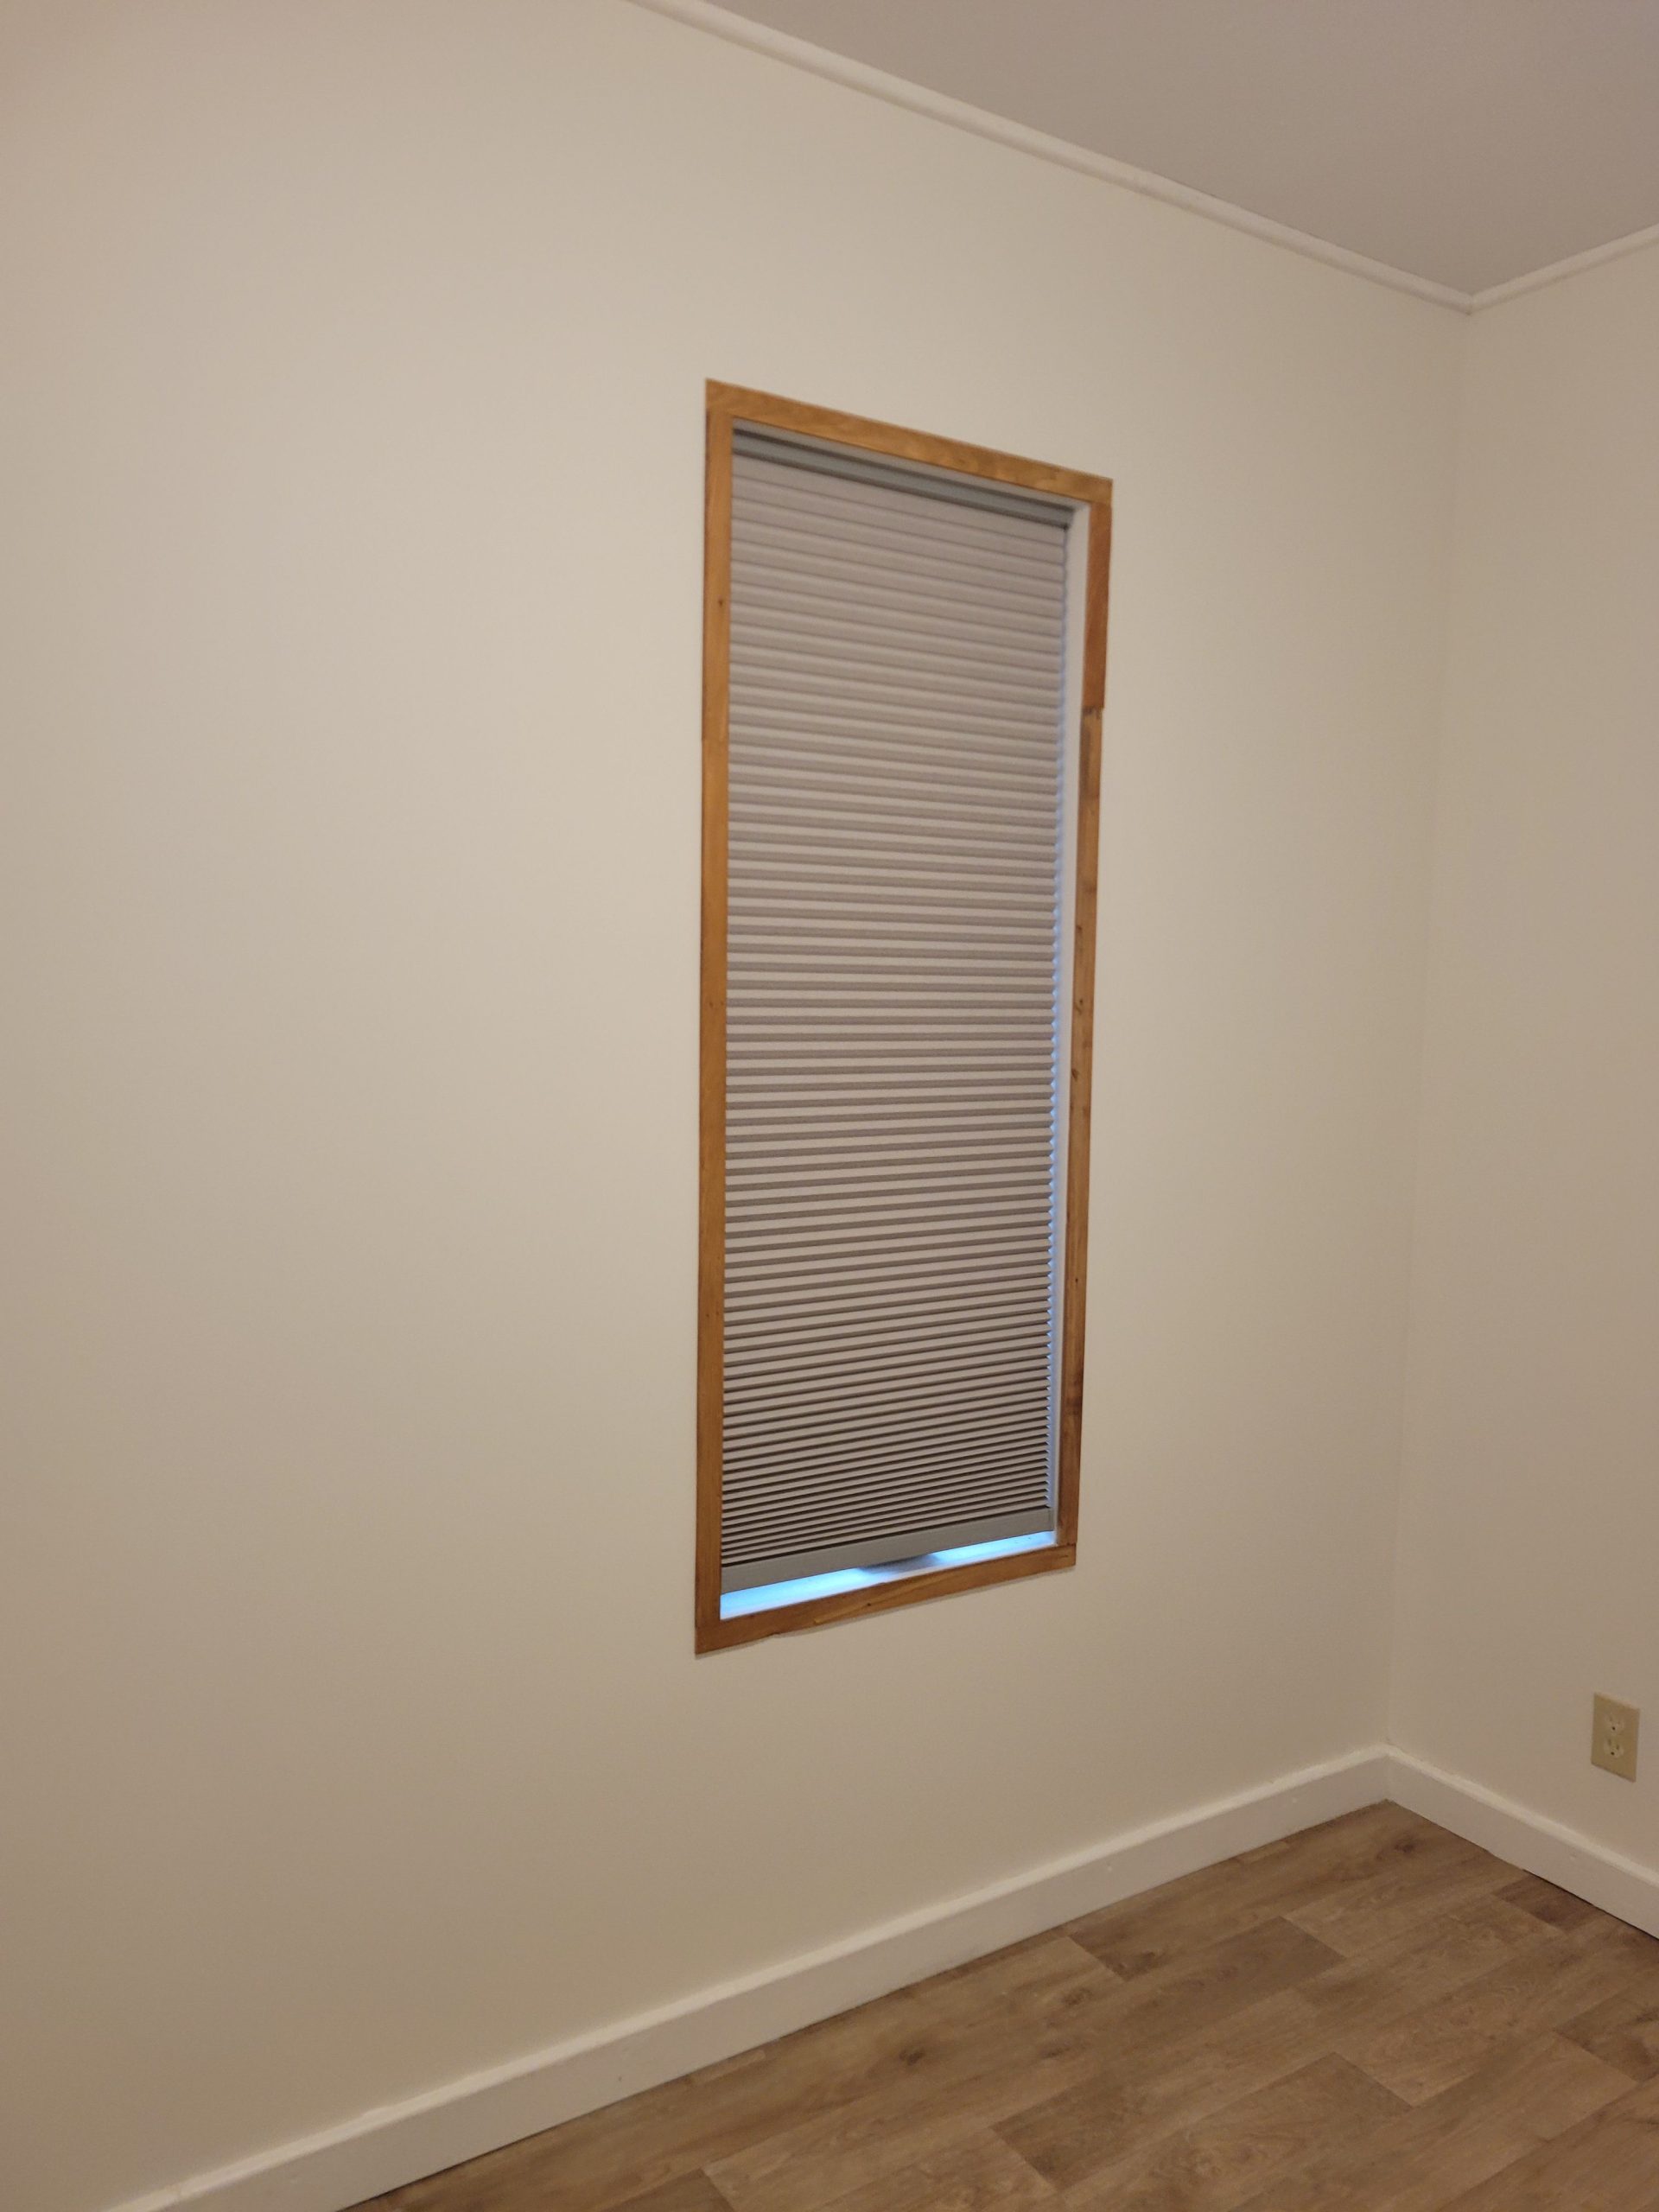
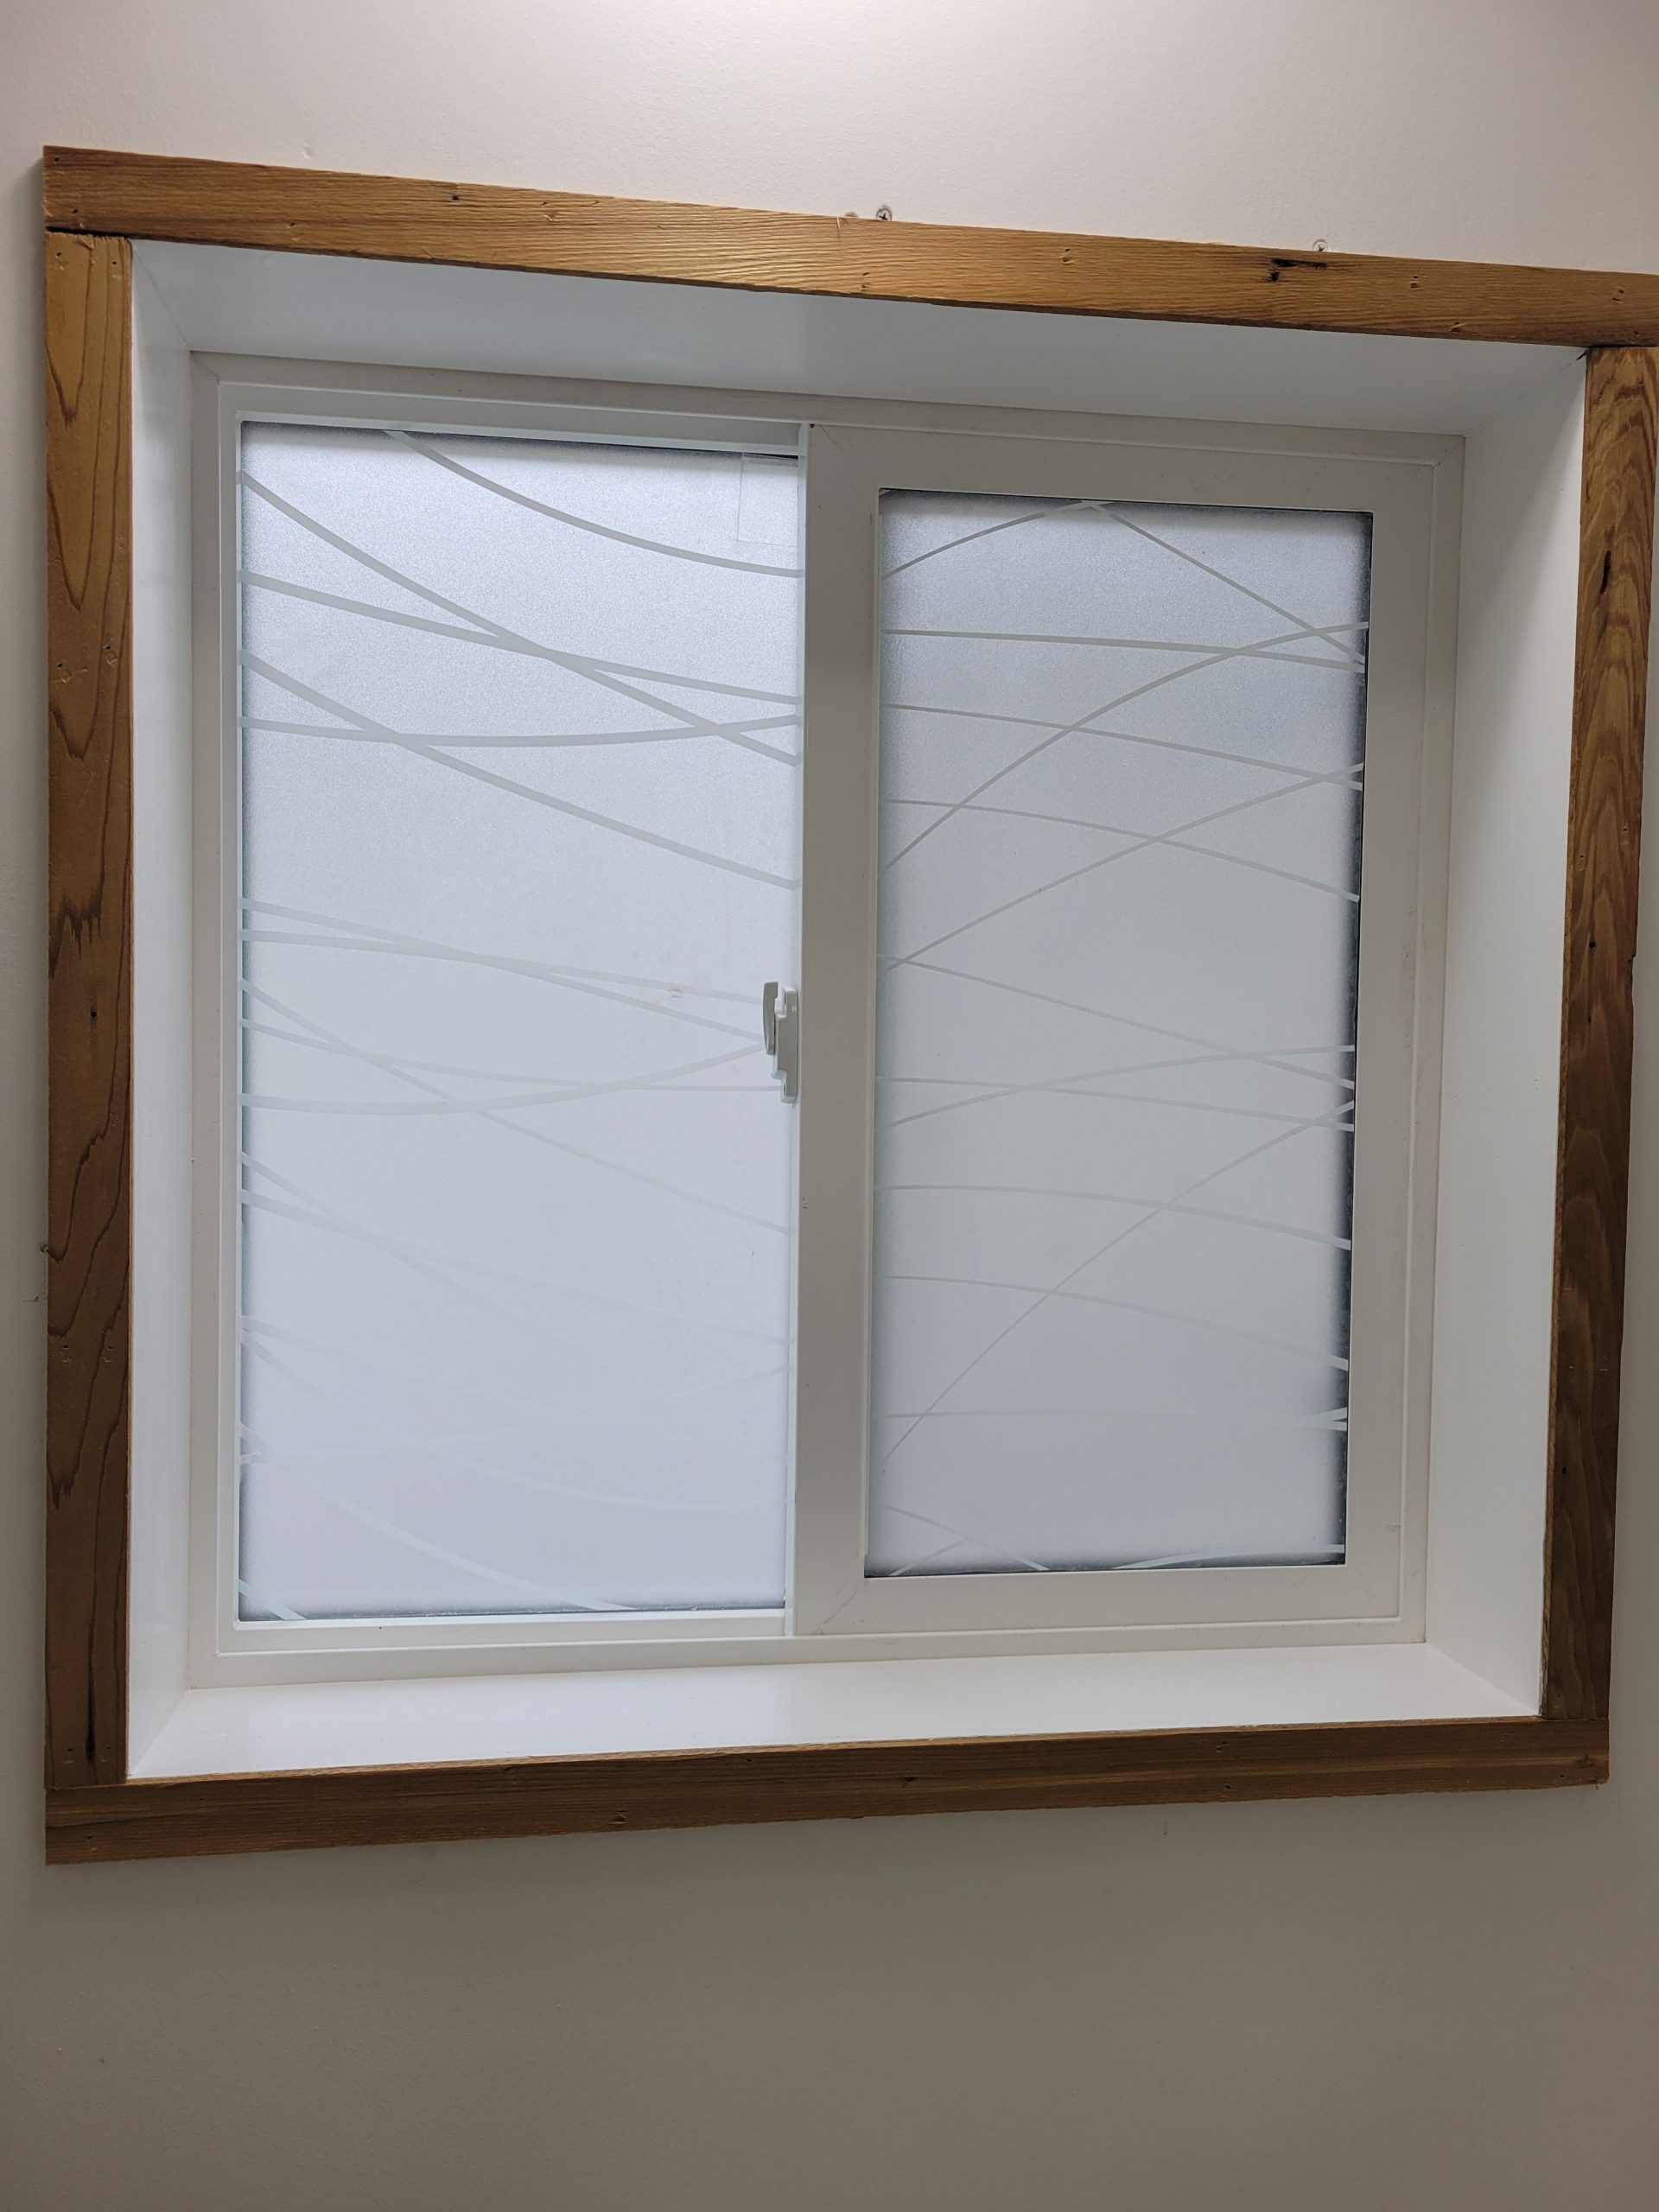
A 2nd coat of white trim paint was added to the bathroom window.
The laundry and toilet shelves were mounted with some more-correct screws. The wide part of the brackets have a sleeve built into it, which guides the screw at the appropriate angle and allows for a screw shorter than the whole width of the bracket. I didn’t know that until fiddling with it (or should I say screwing around with it).
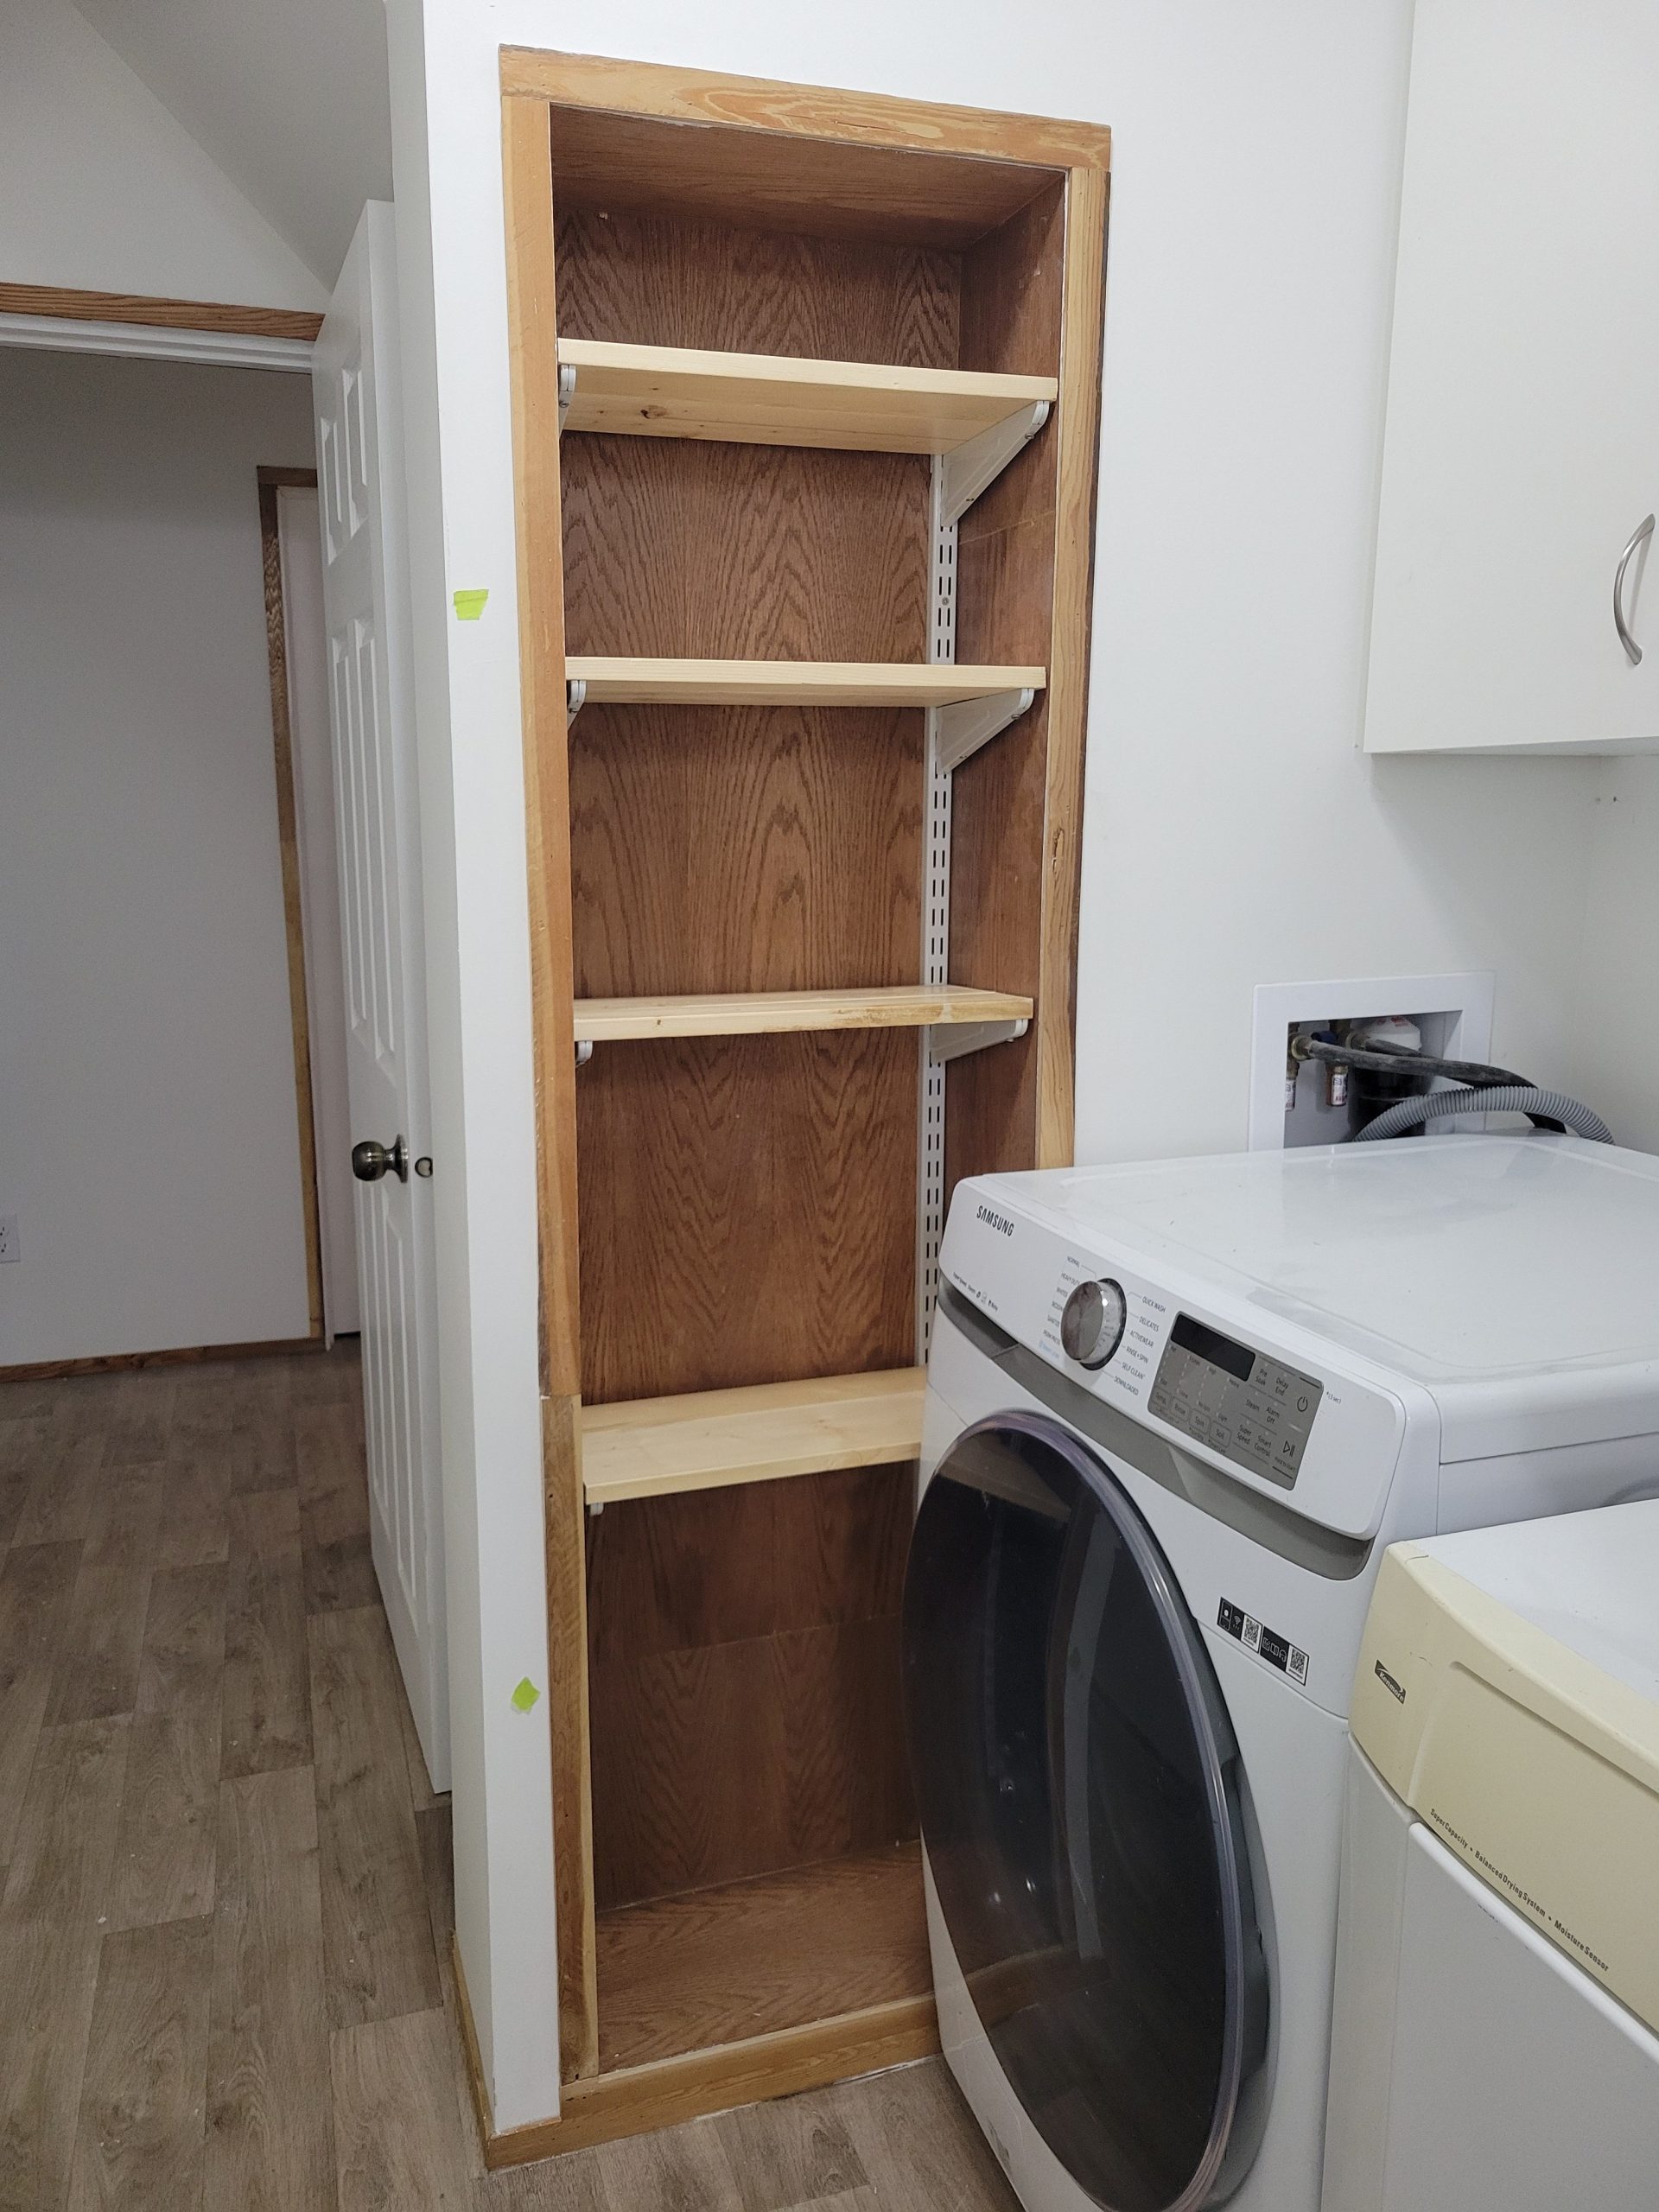
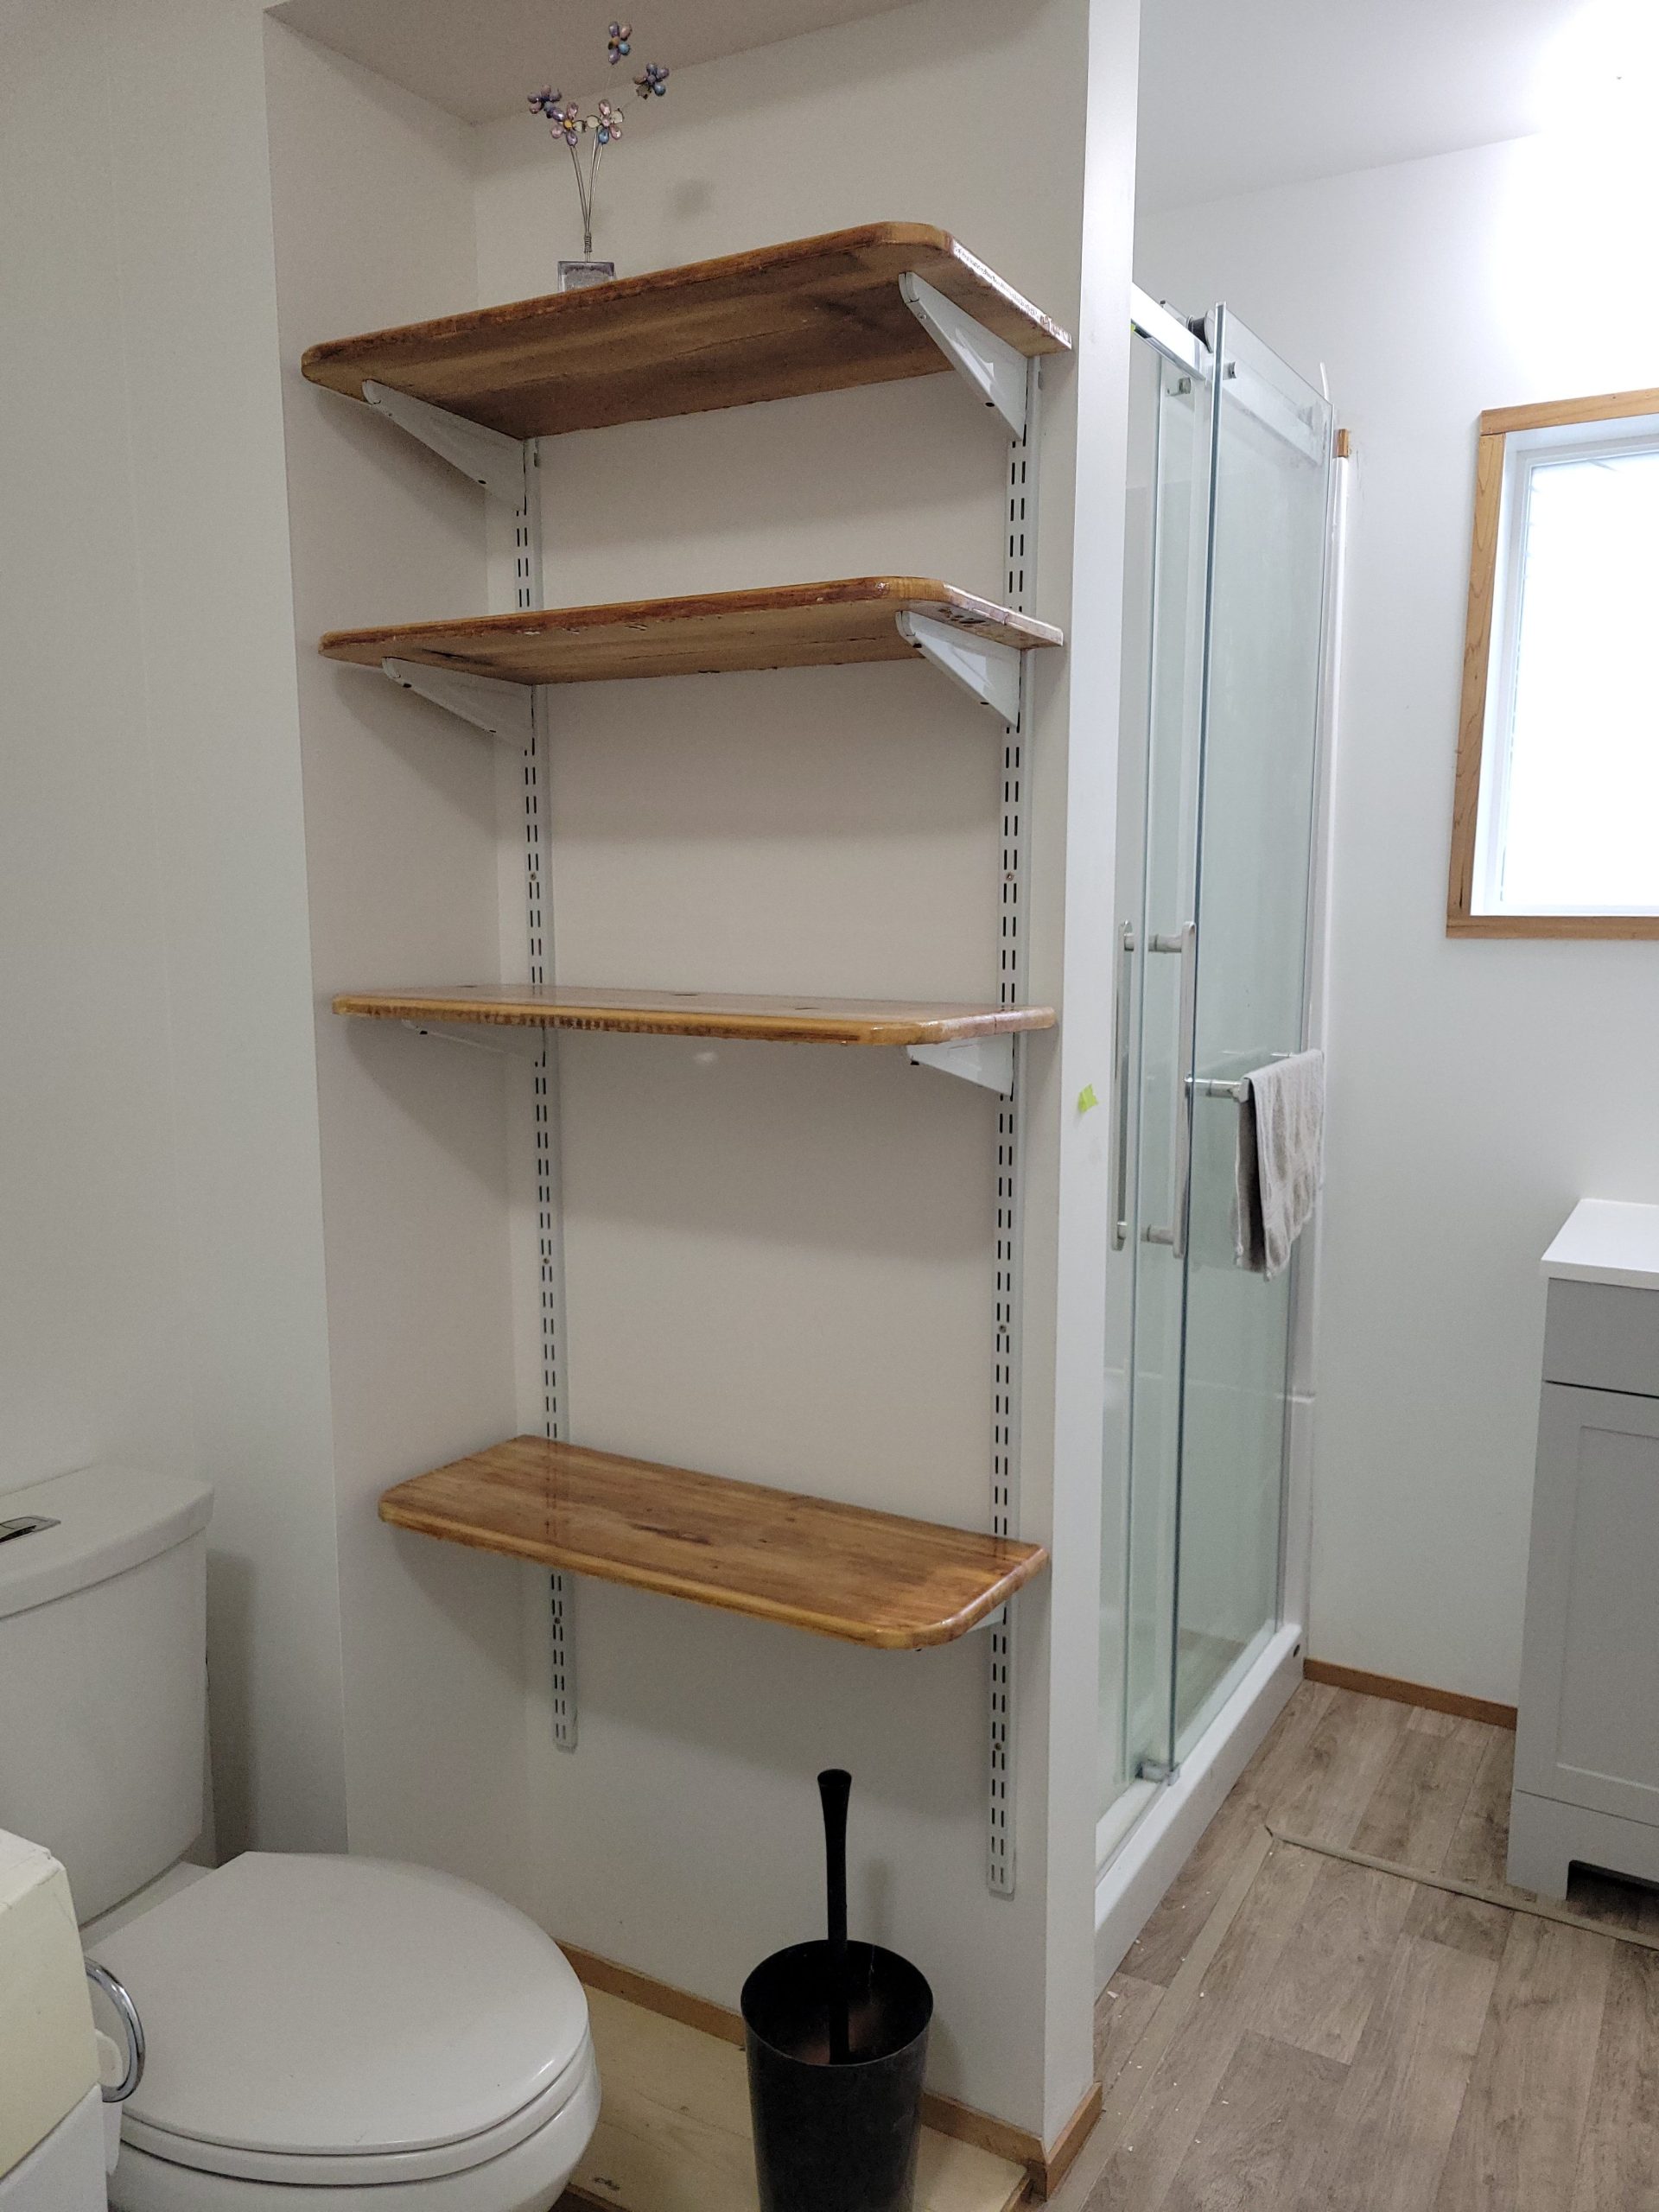
The main floor suite (P1a) is nearly complete. All rooms have been (mostly) done except the kitchen. It is still a disaster. Here is what must be done today:
The tenant asked about curtains. I told them there are blackout blinds in the bedrooms and daylight blinds in the rest. The bathroom window has privacy film.
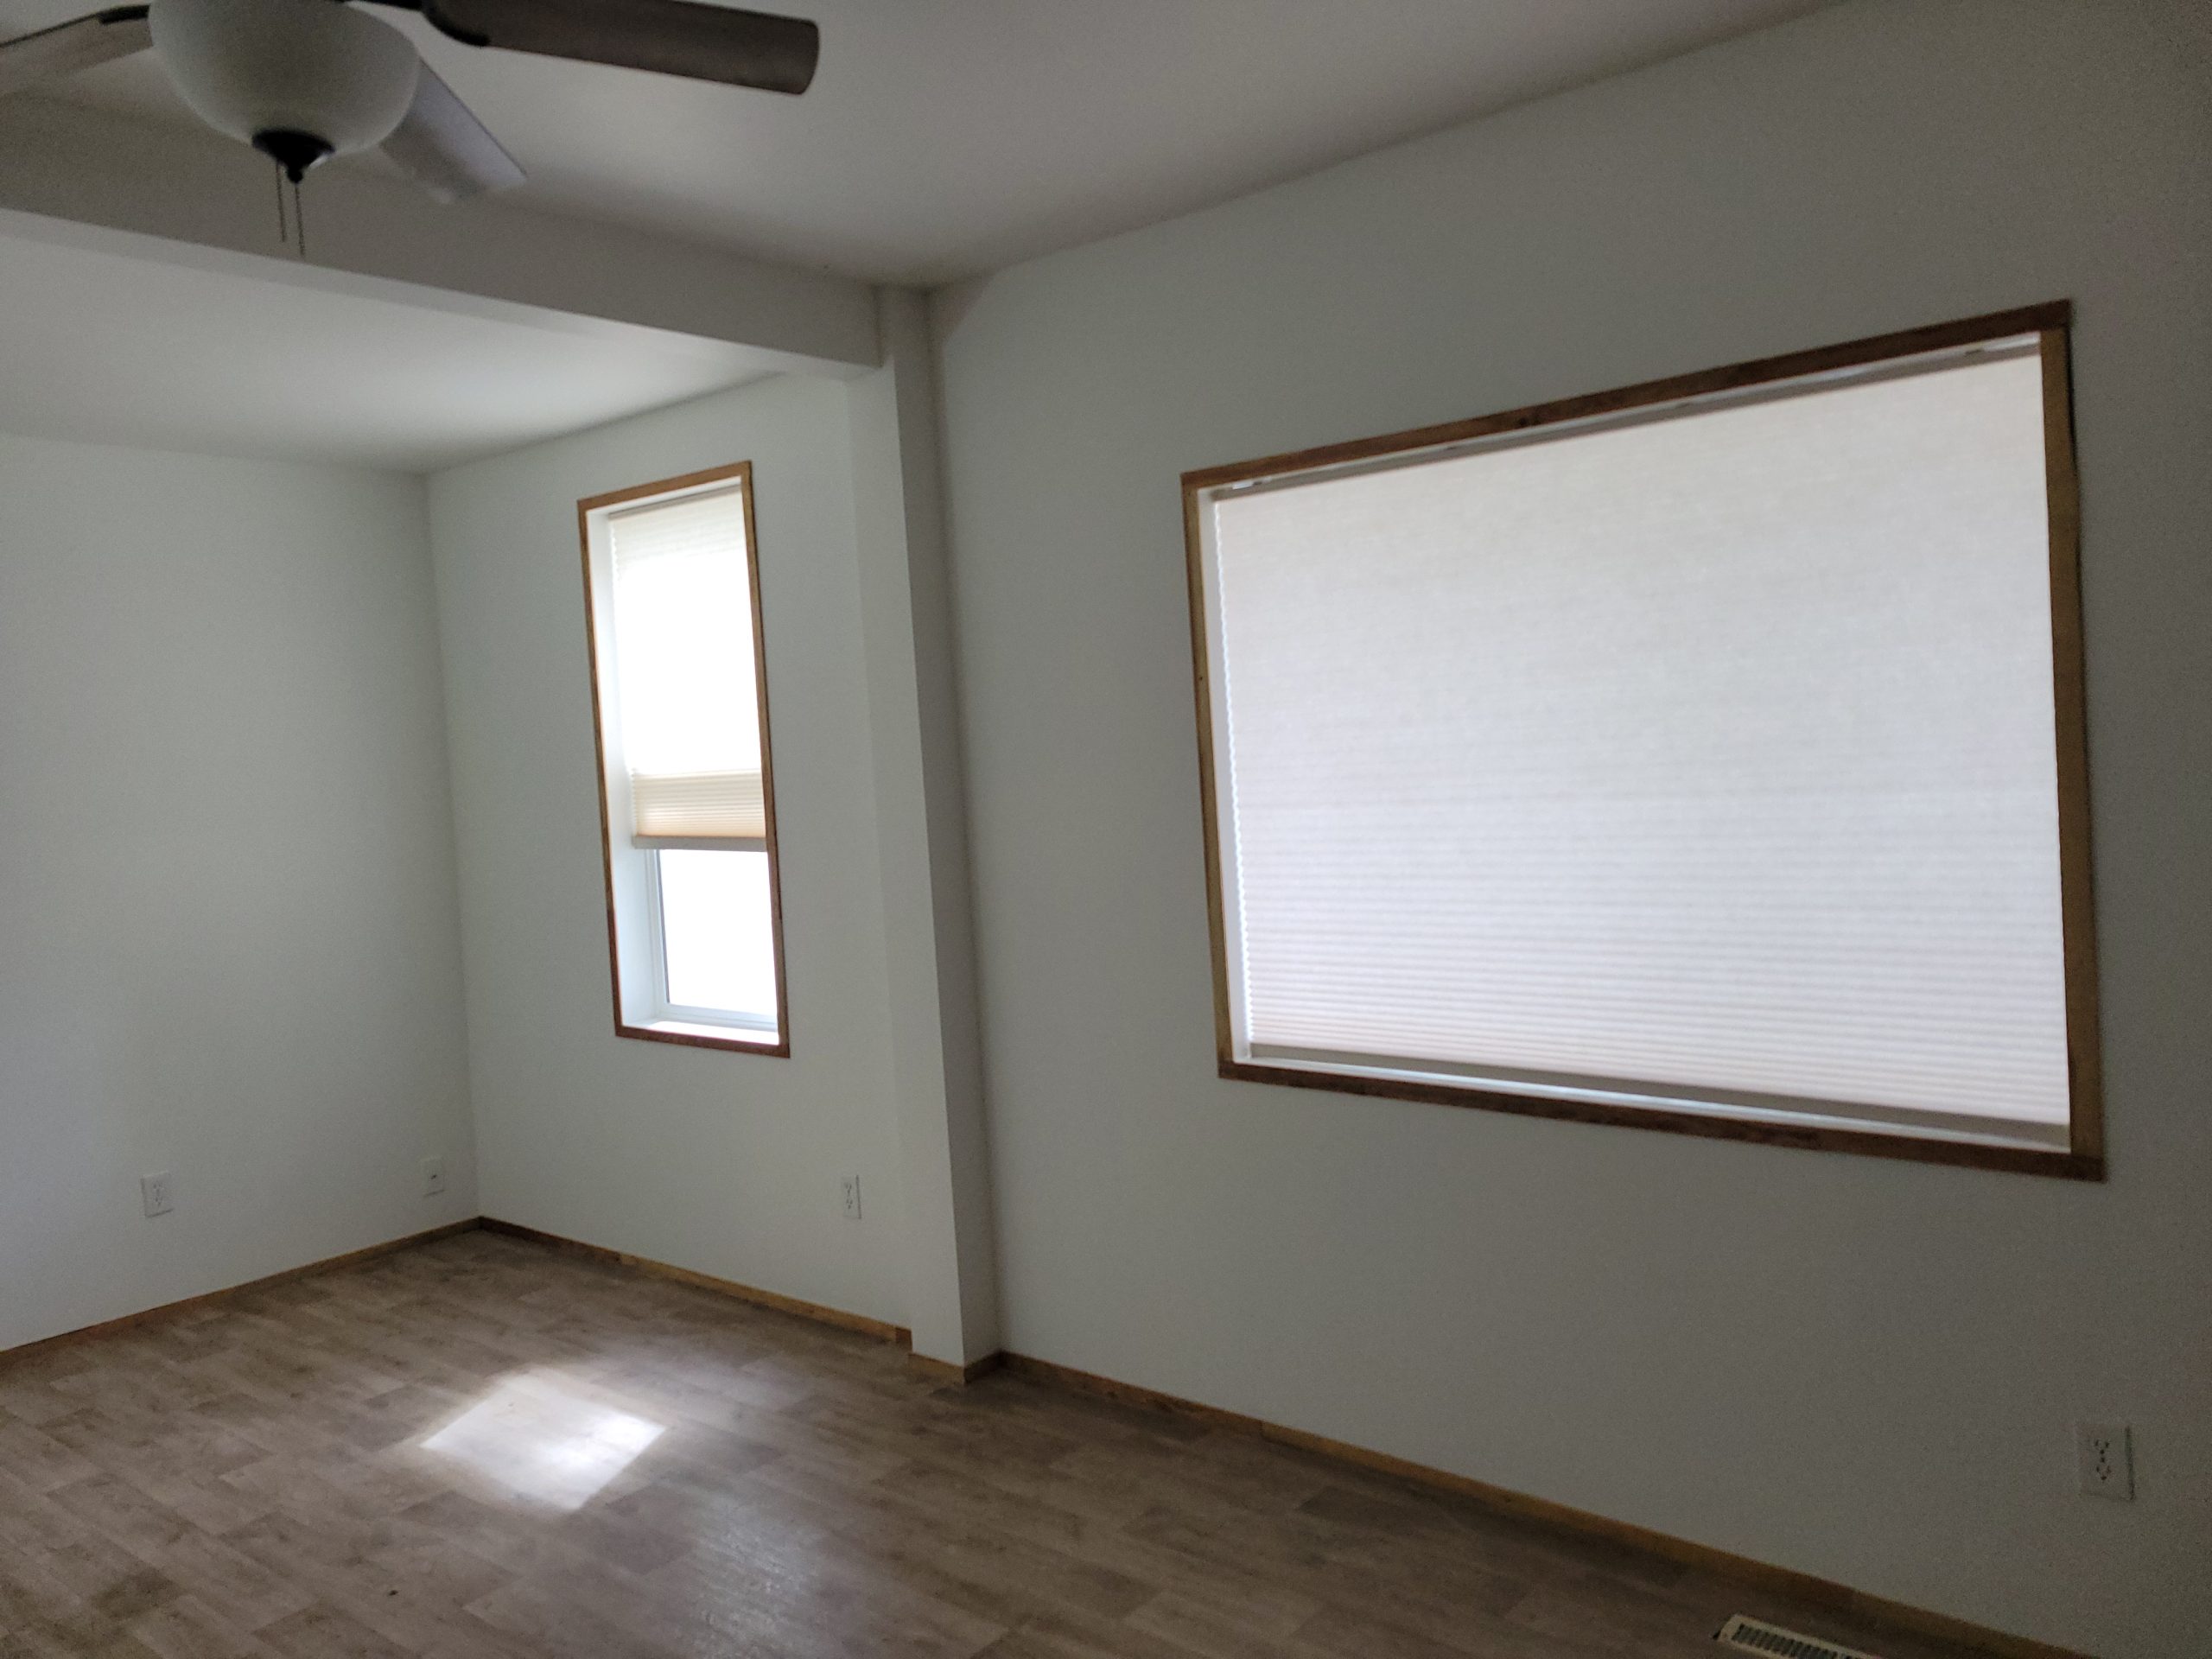
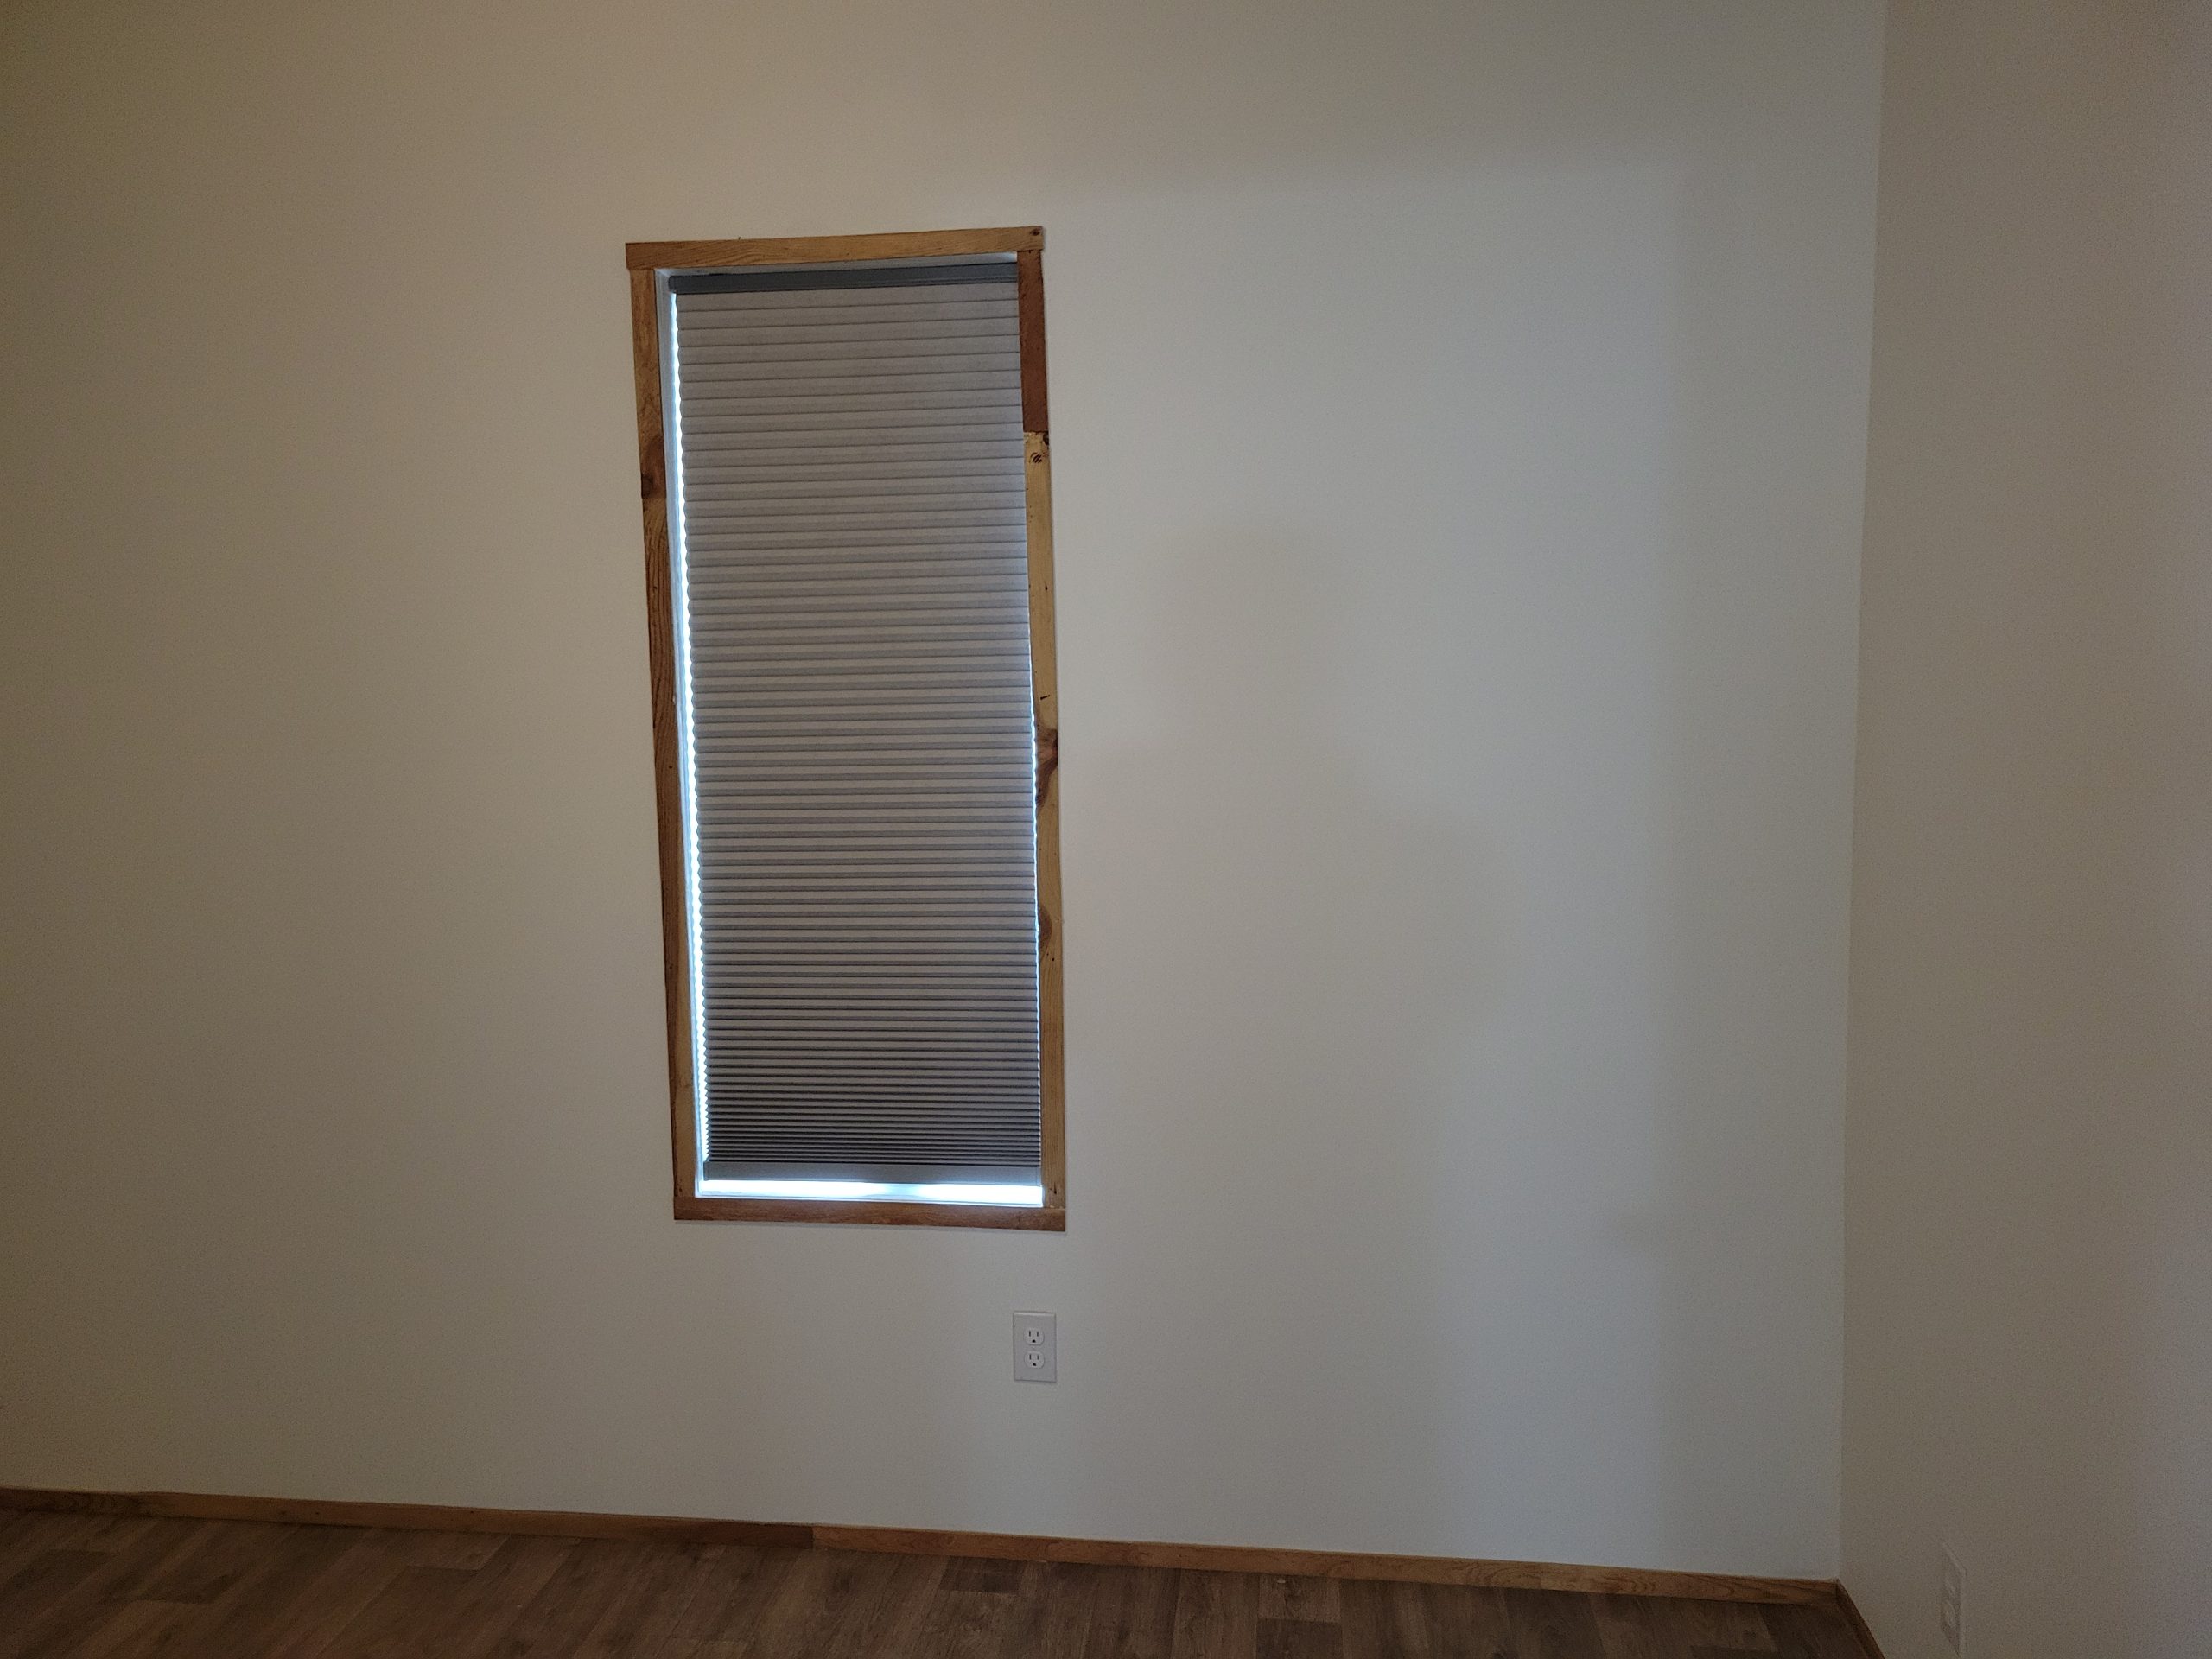
I got the living room blinds (Home Depot) and some screws to put them up (Canadian Tire).
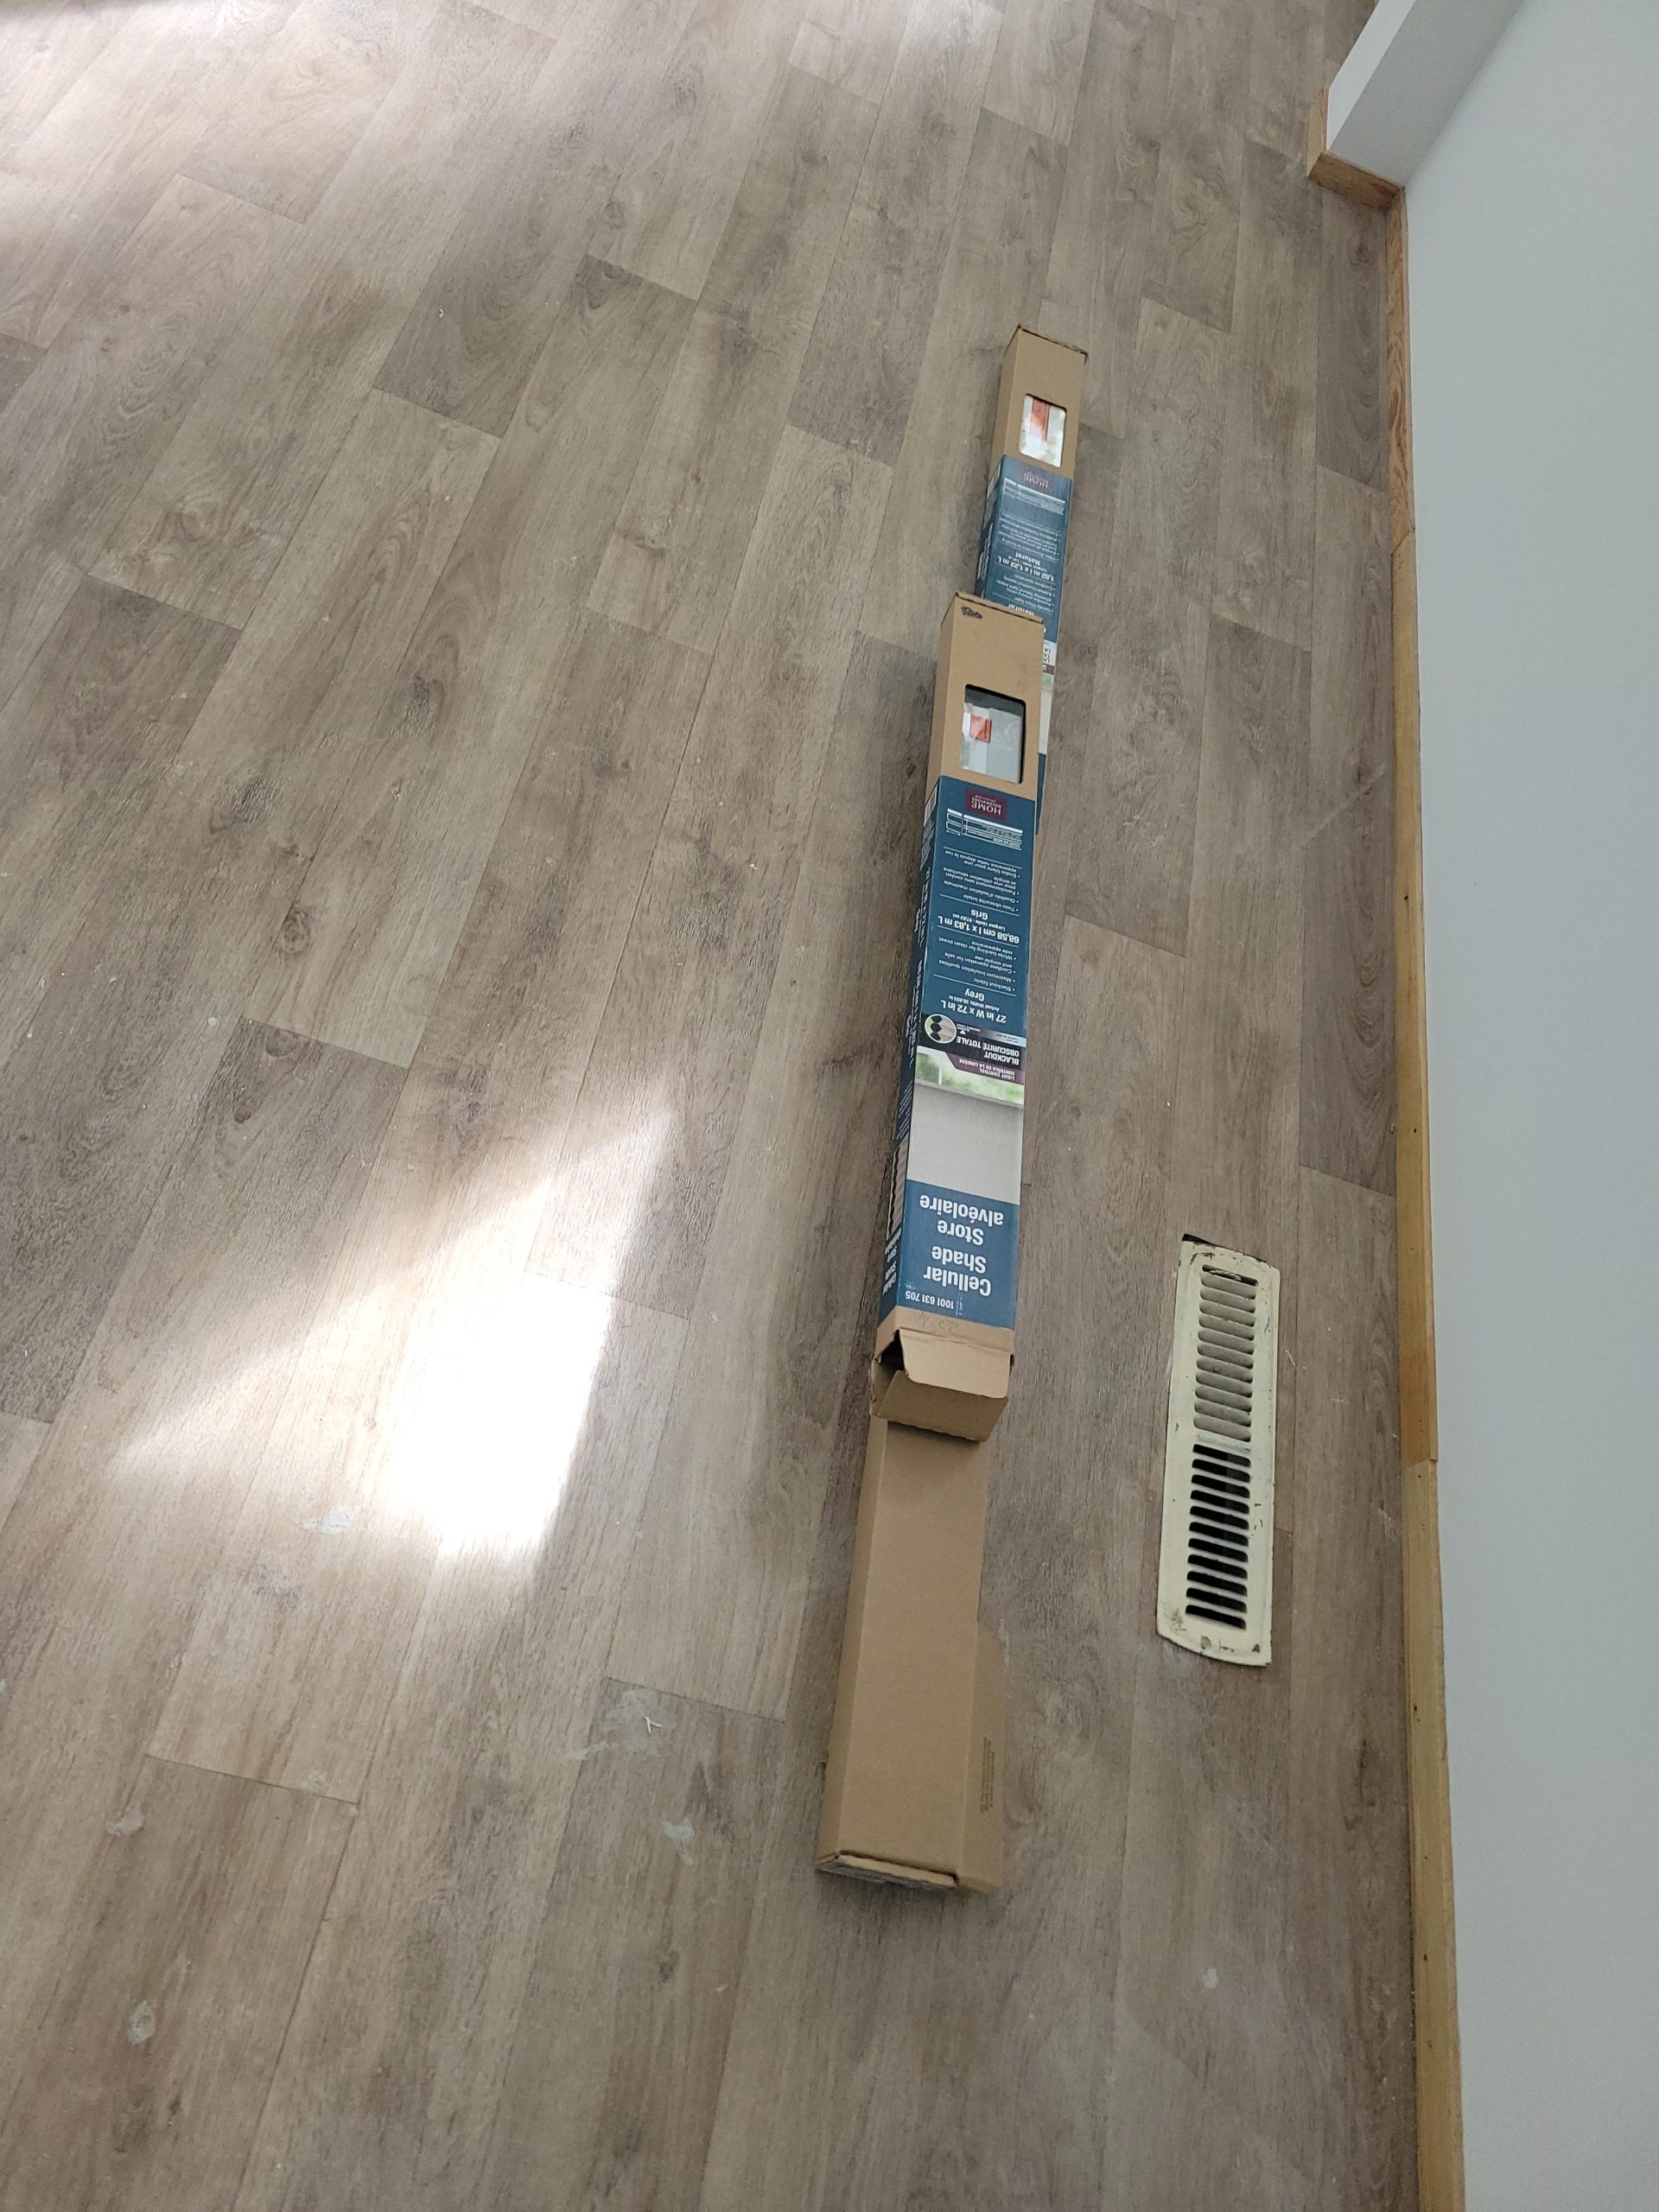
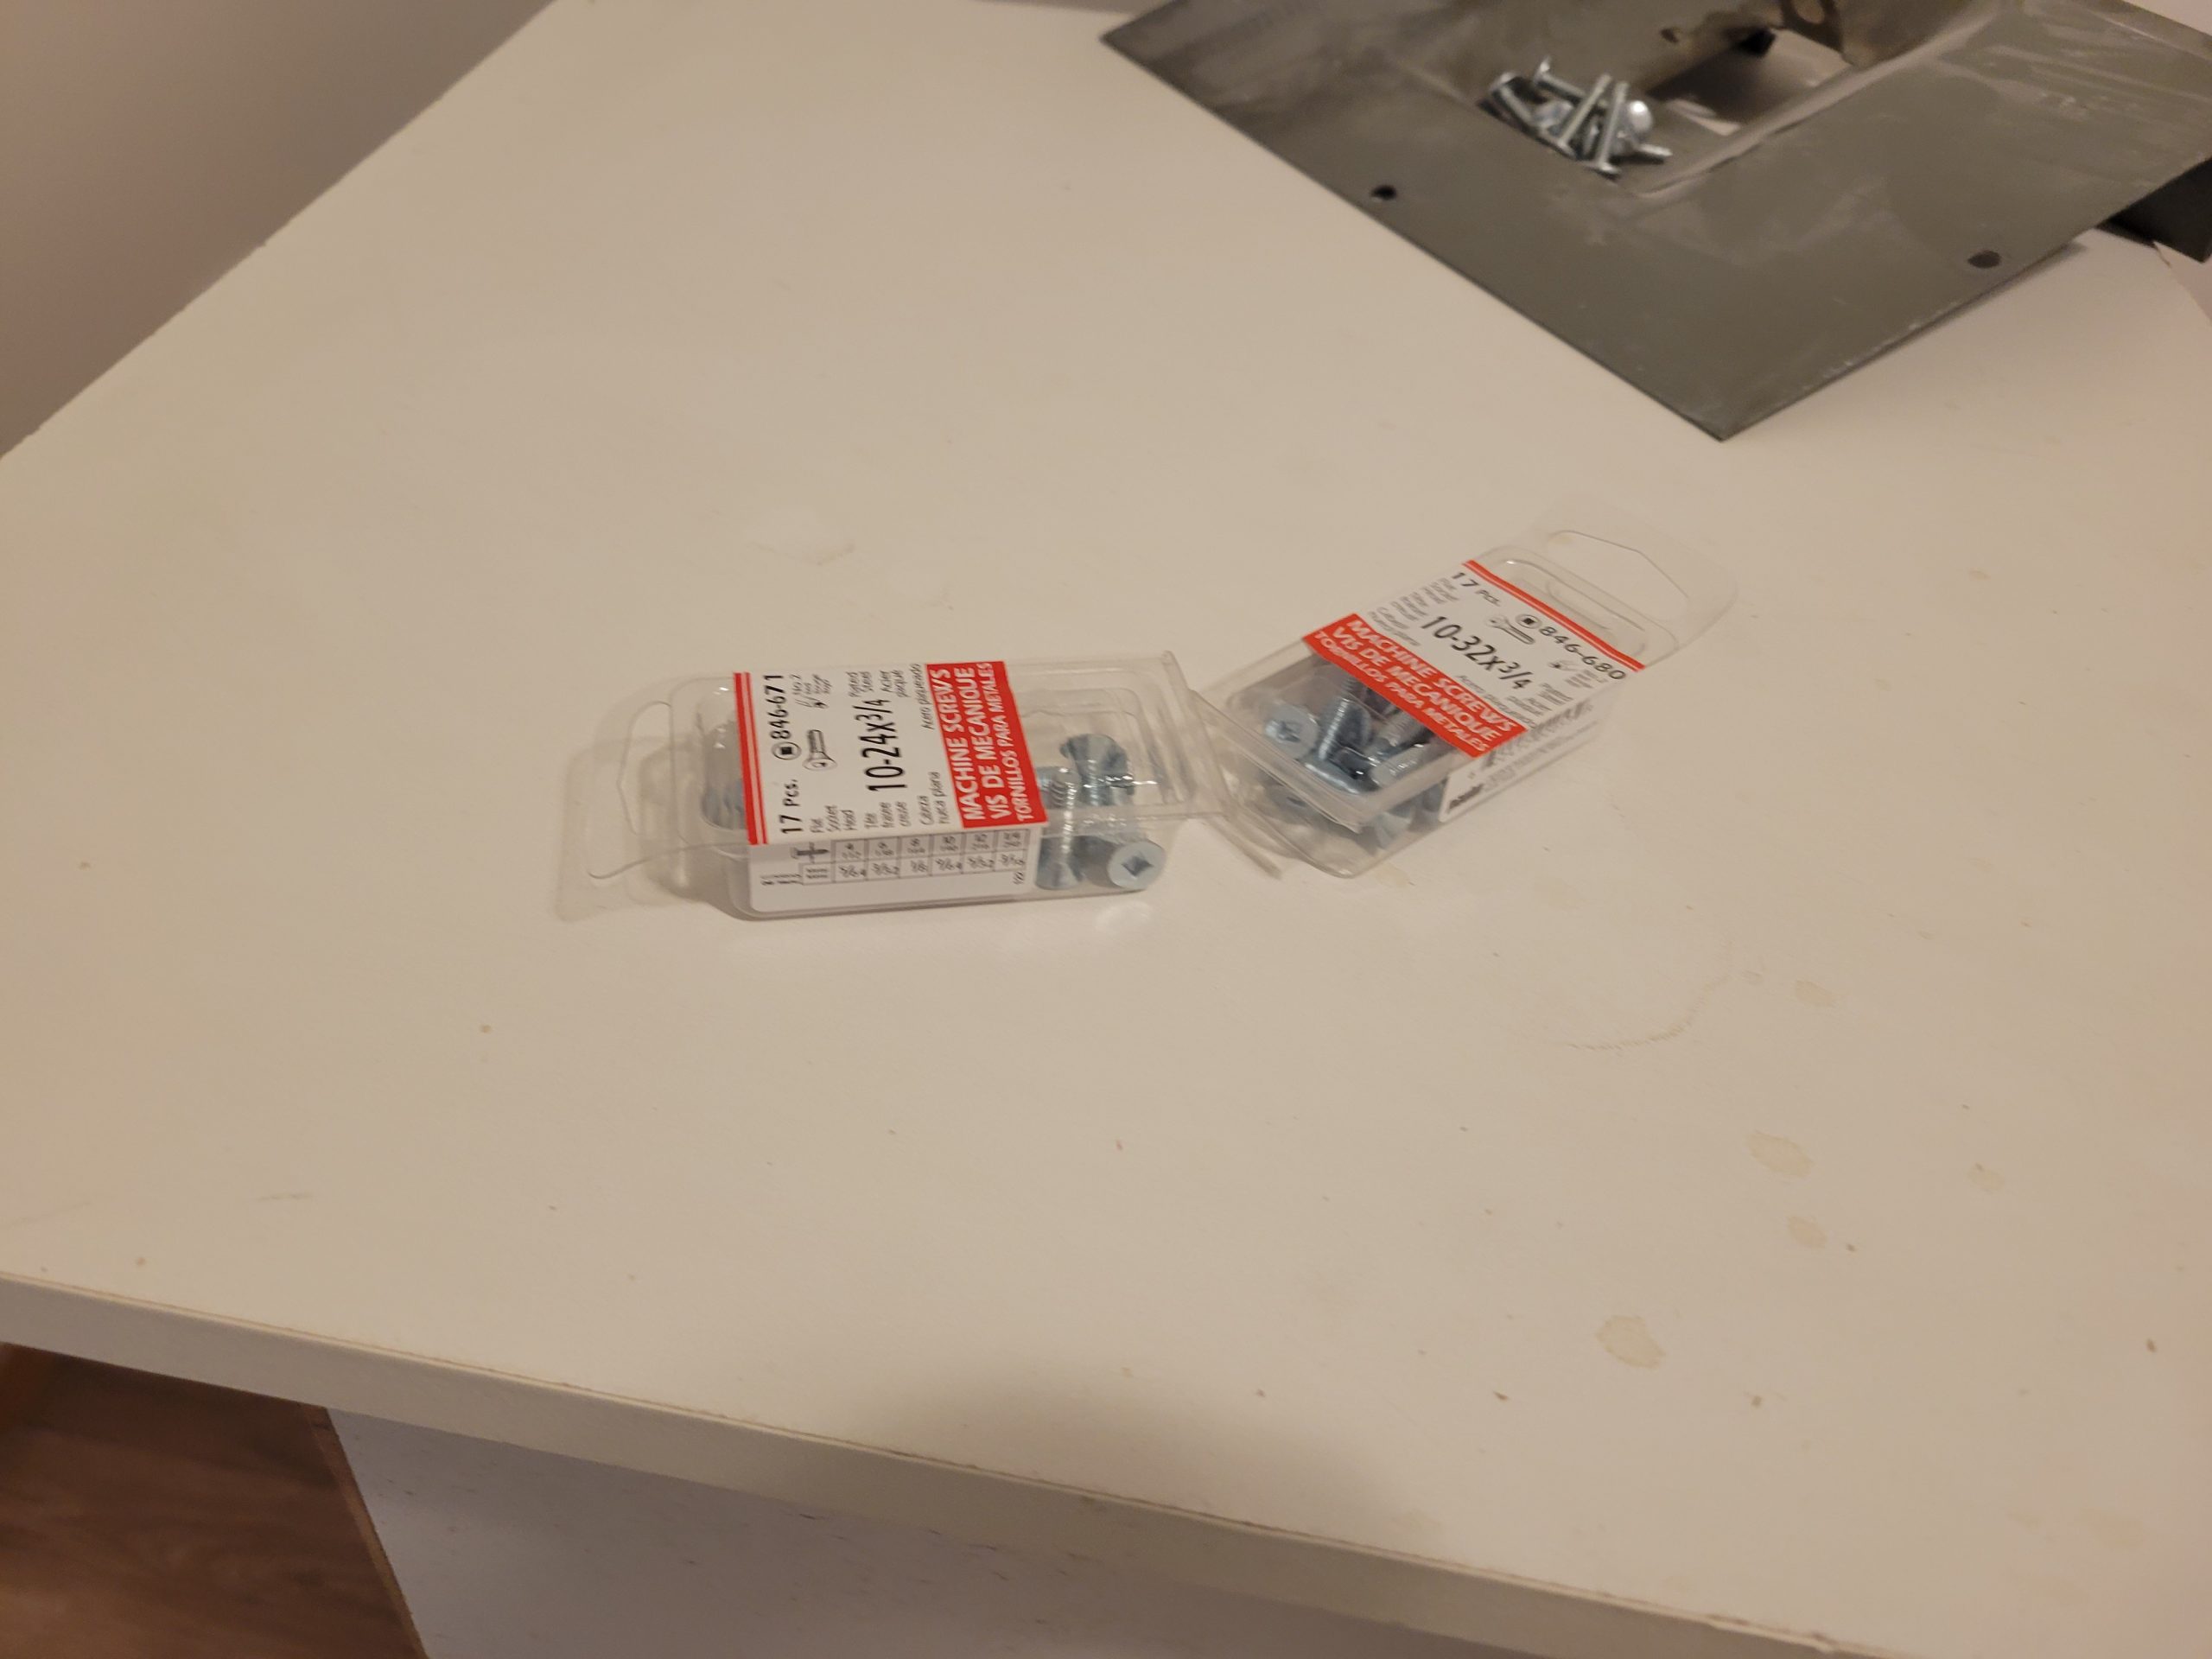
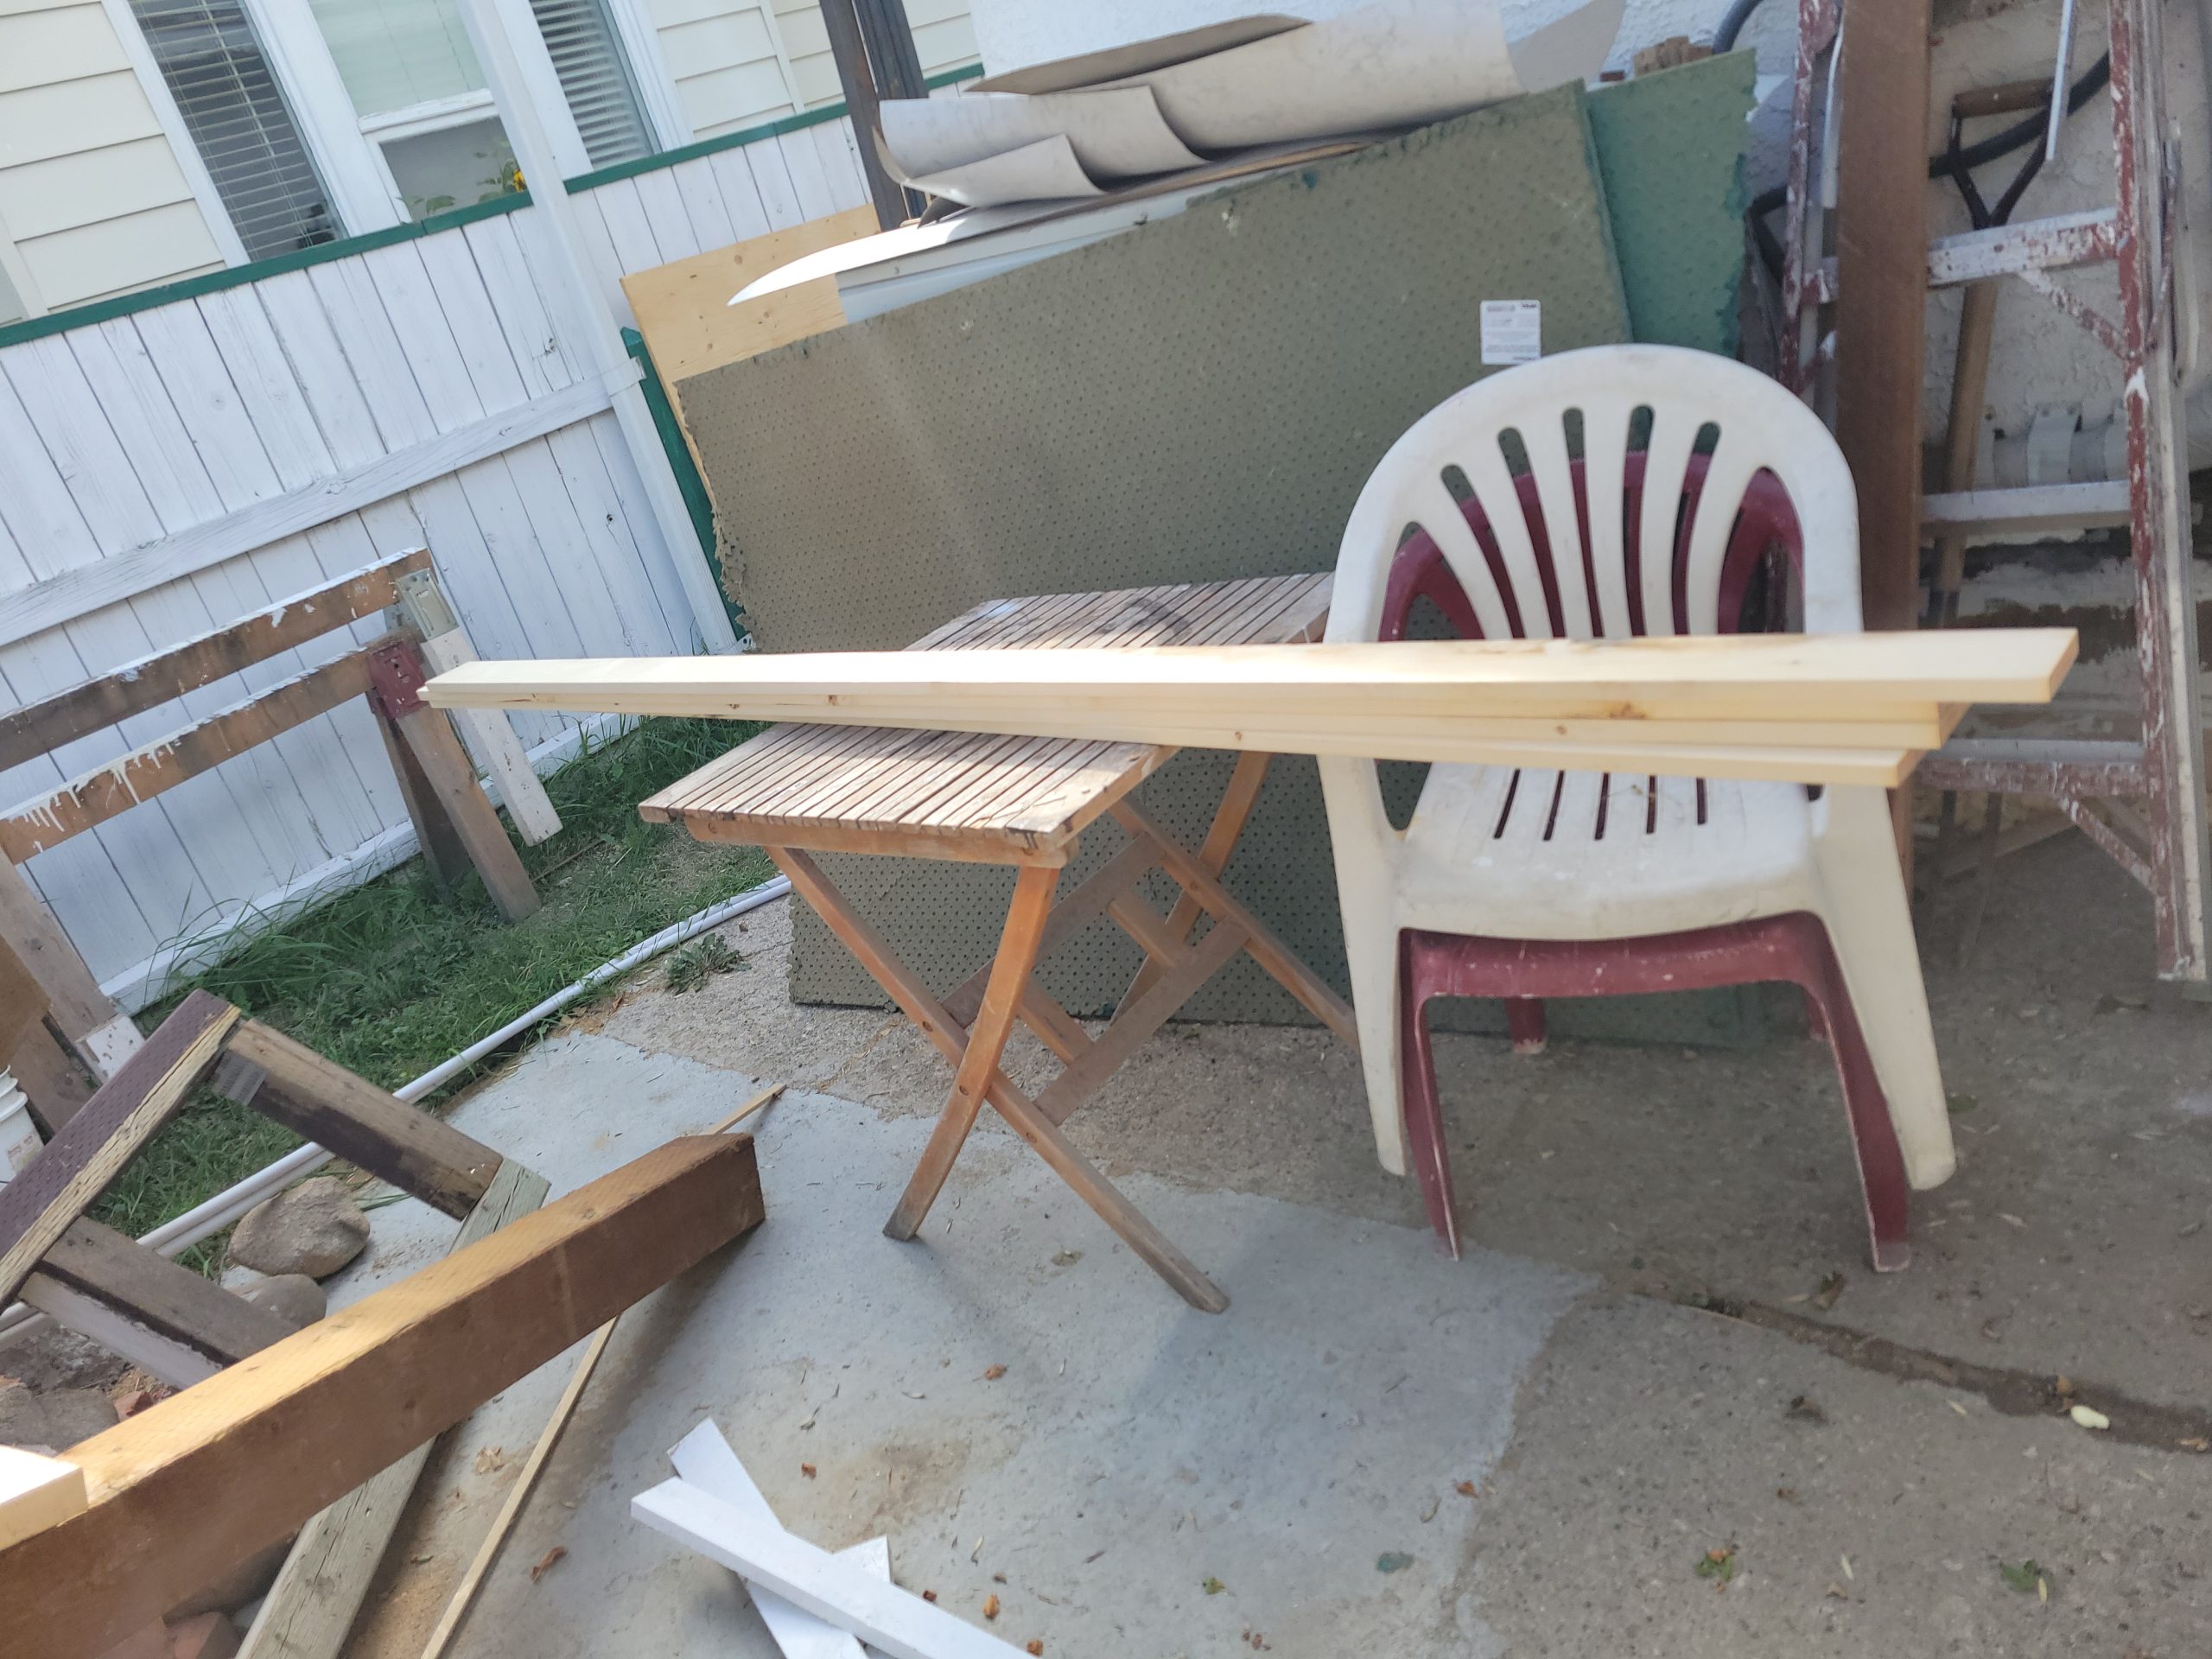
New 1x4s for window framing.
Mostly cleaning today – scrubbing the floor of paint, drywall, glues, spray foam insulation, epoxy, etc.
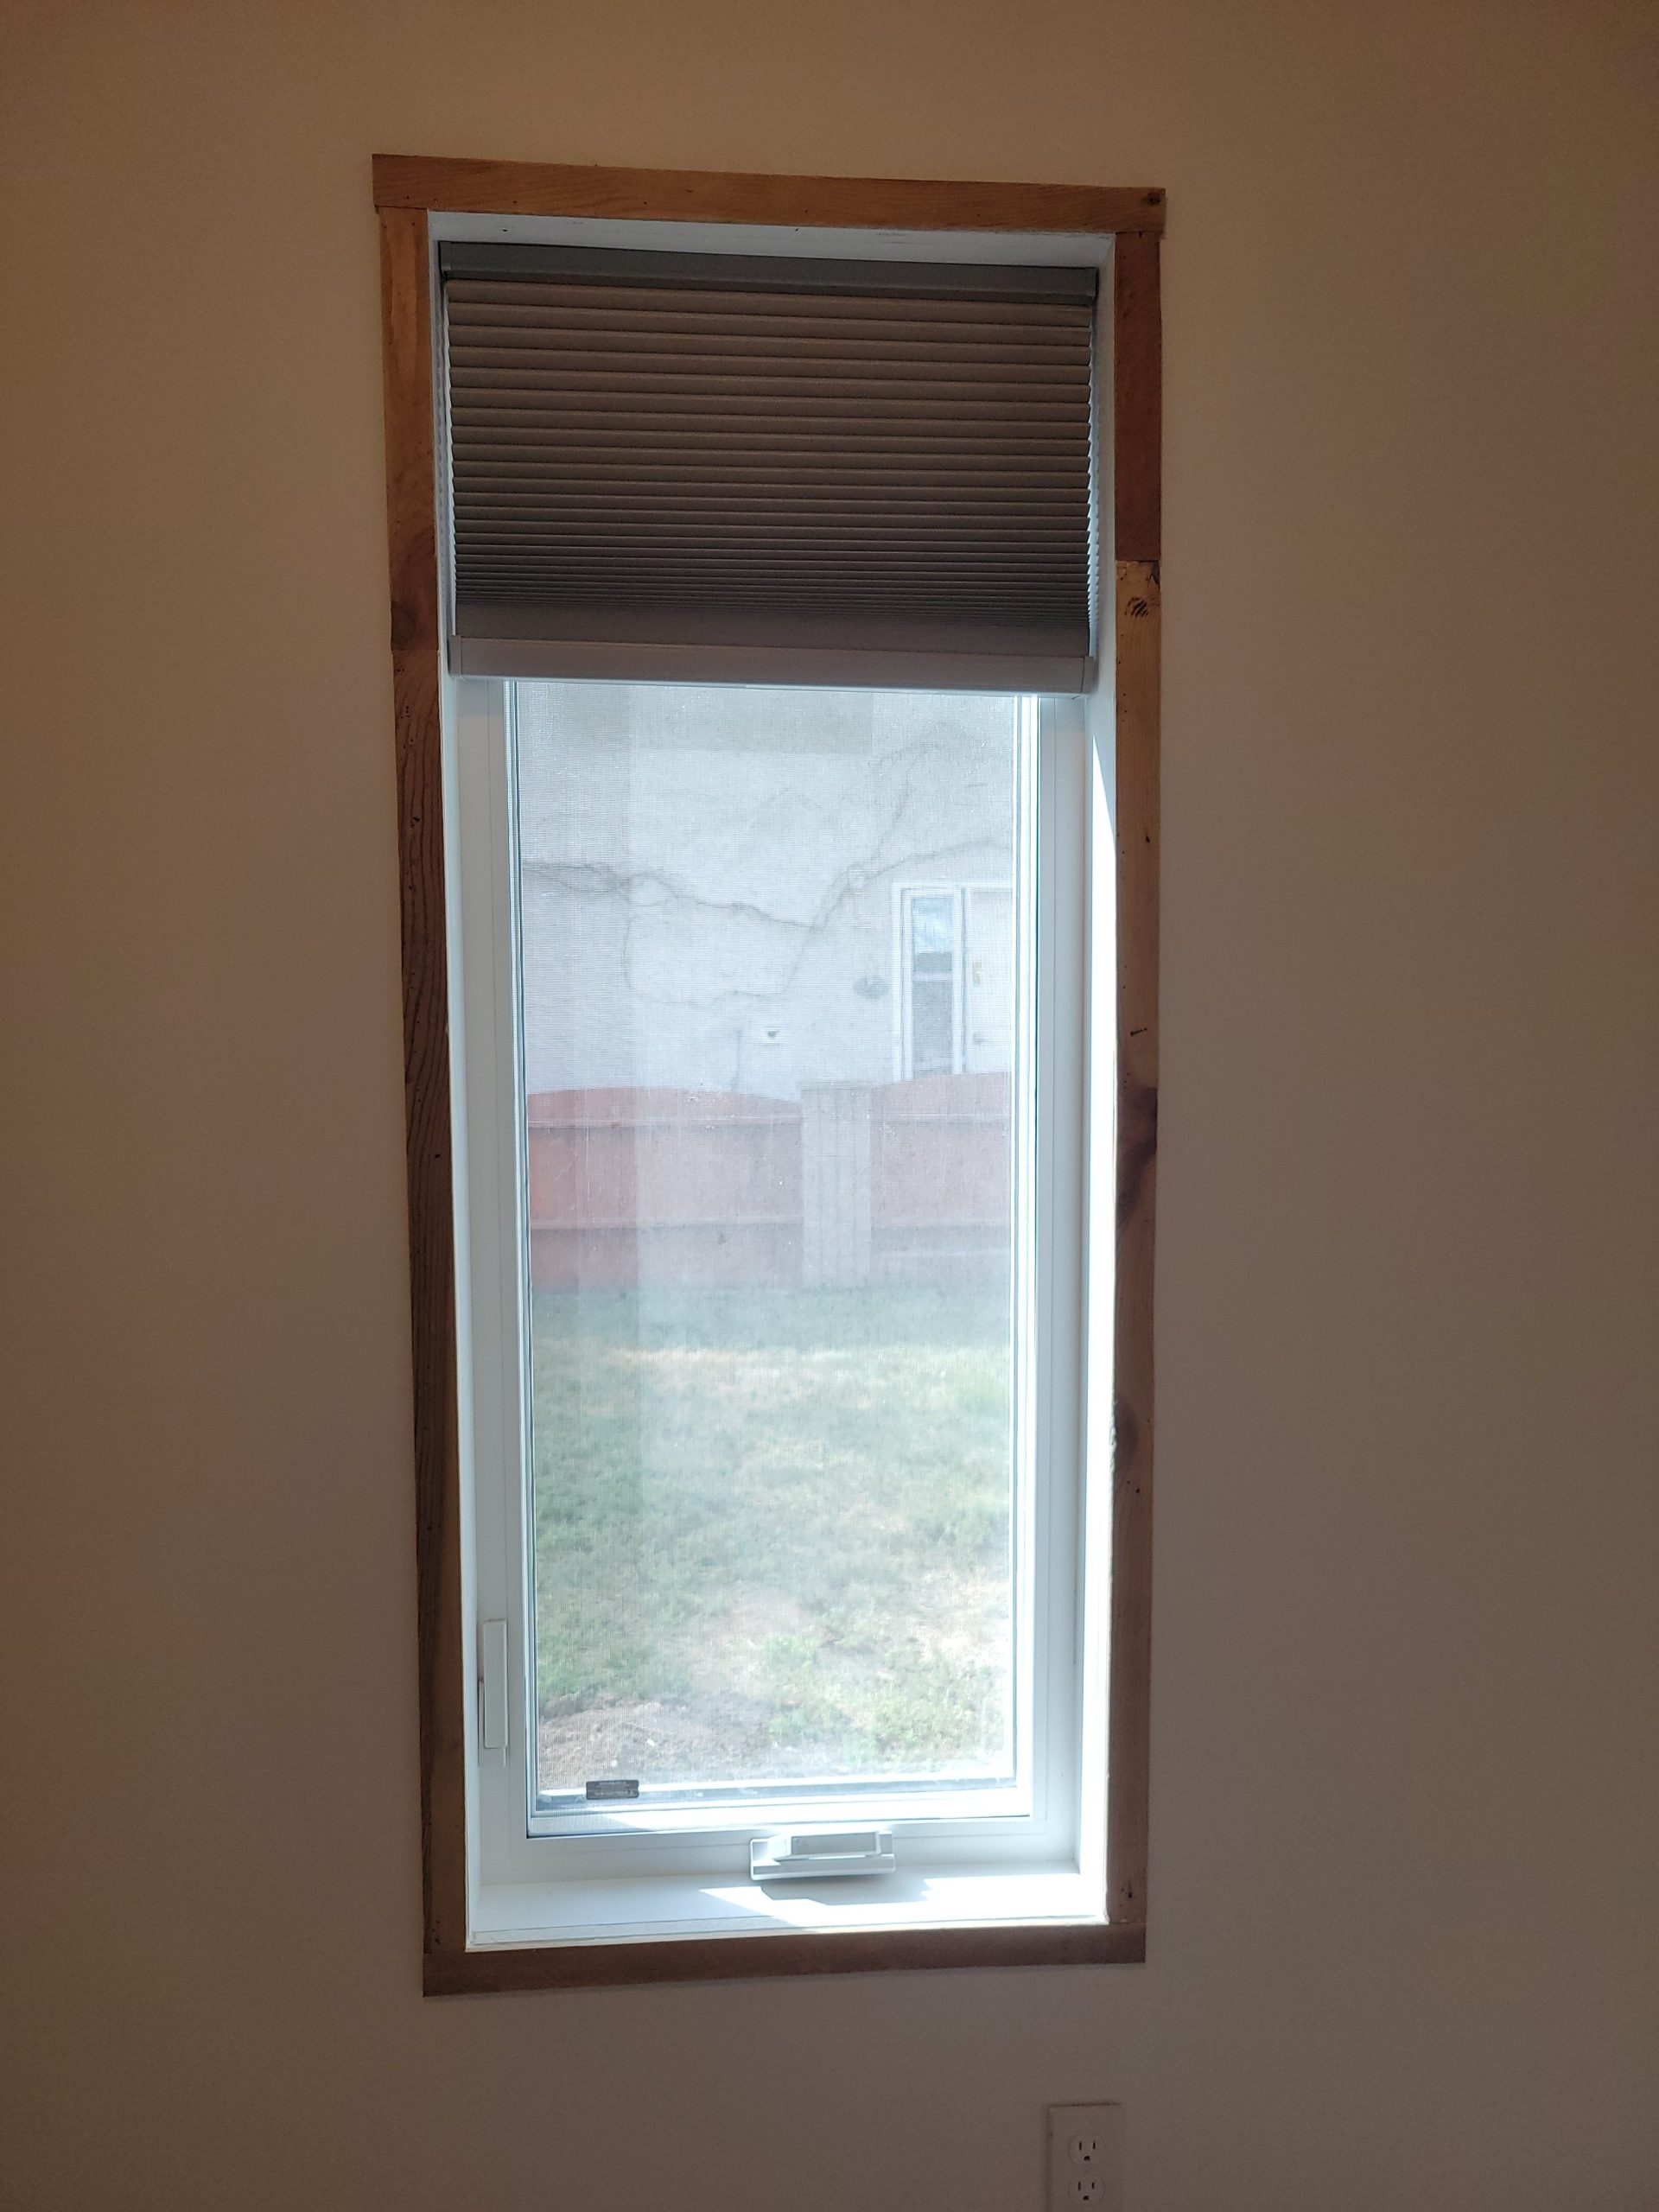
I put up the first blind, in bedroom 1…
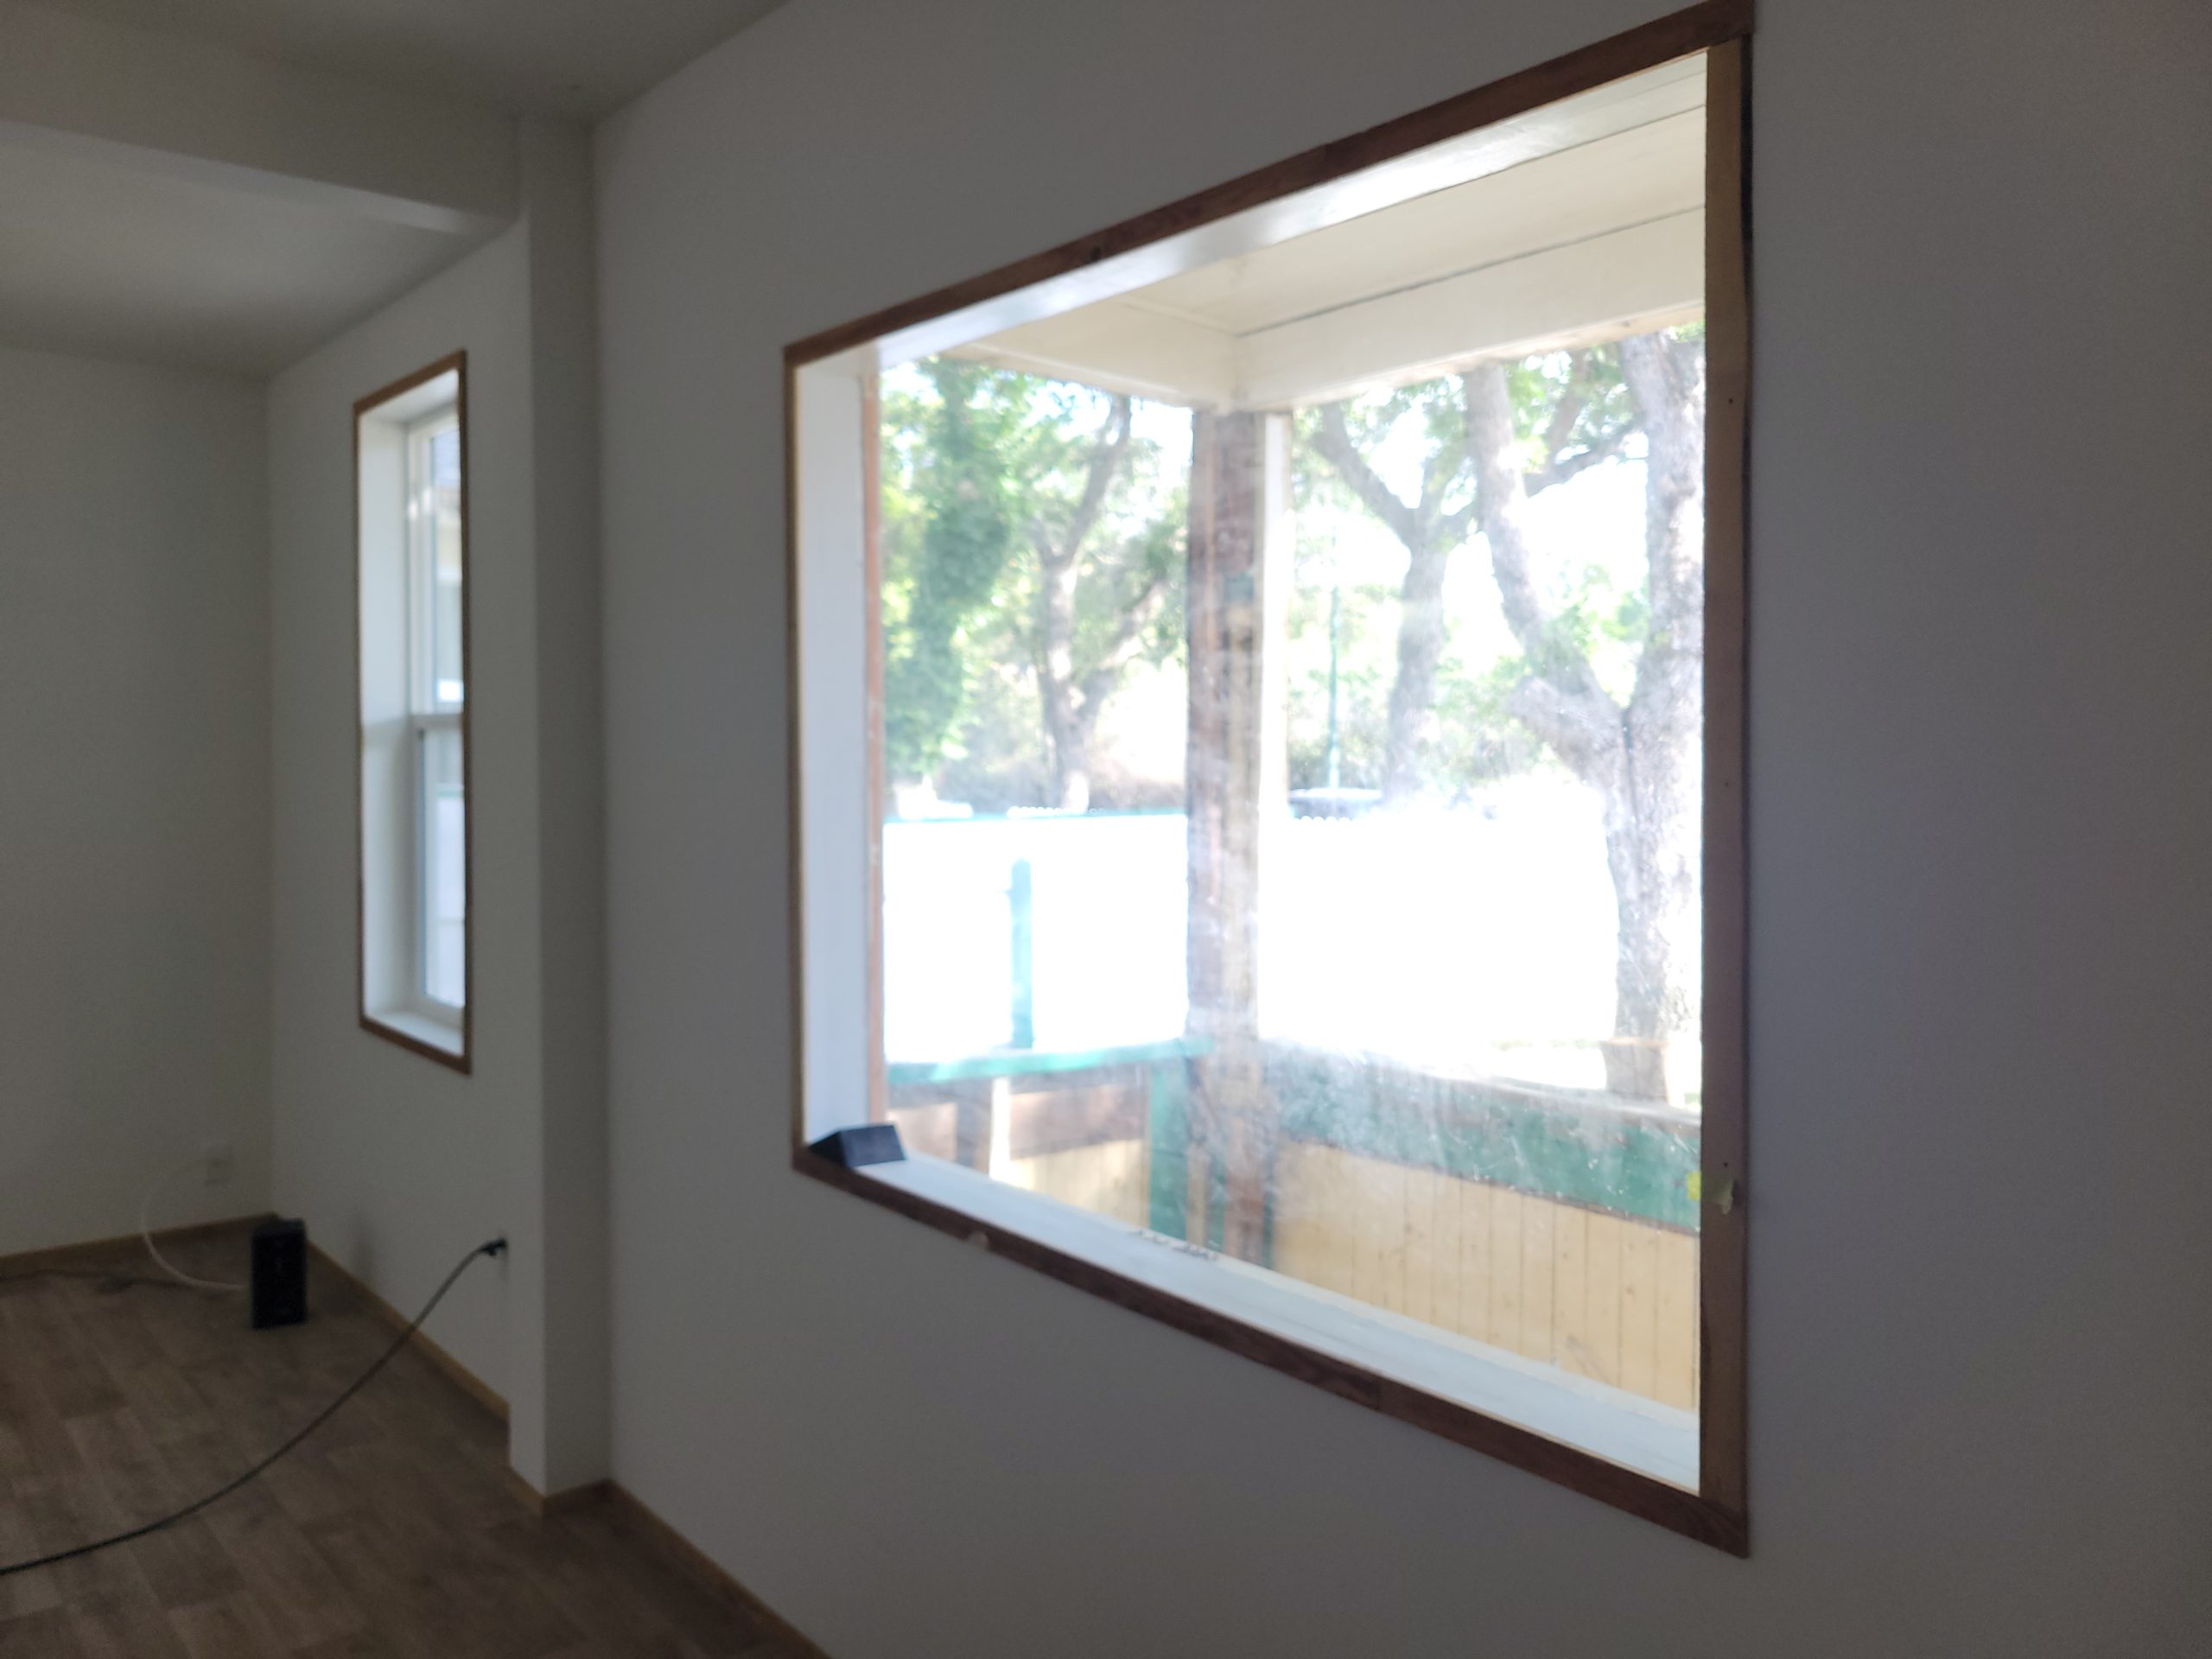
…and cleaned the paint off the large living room window.
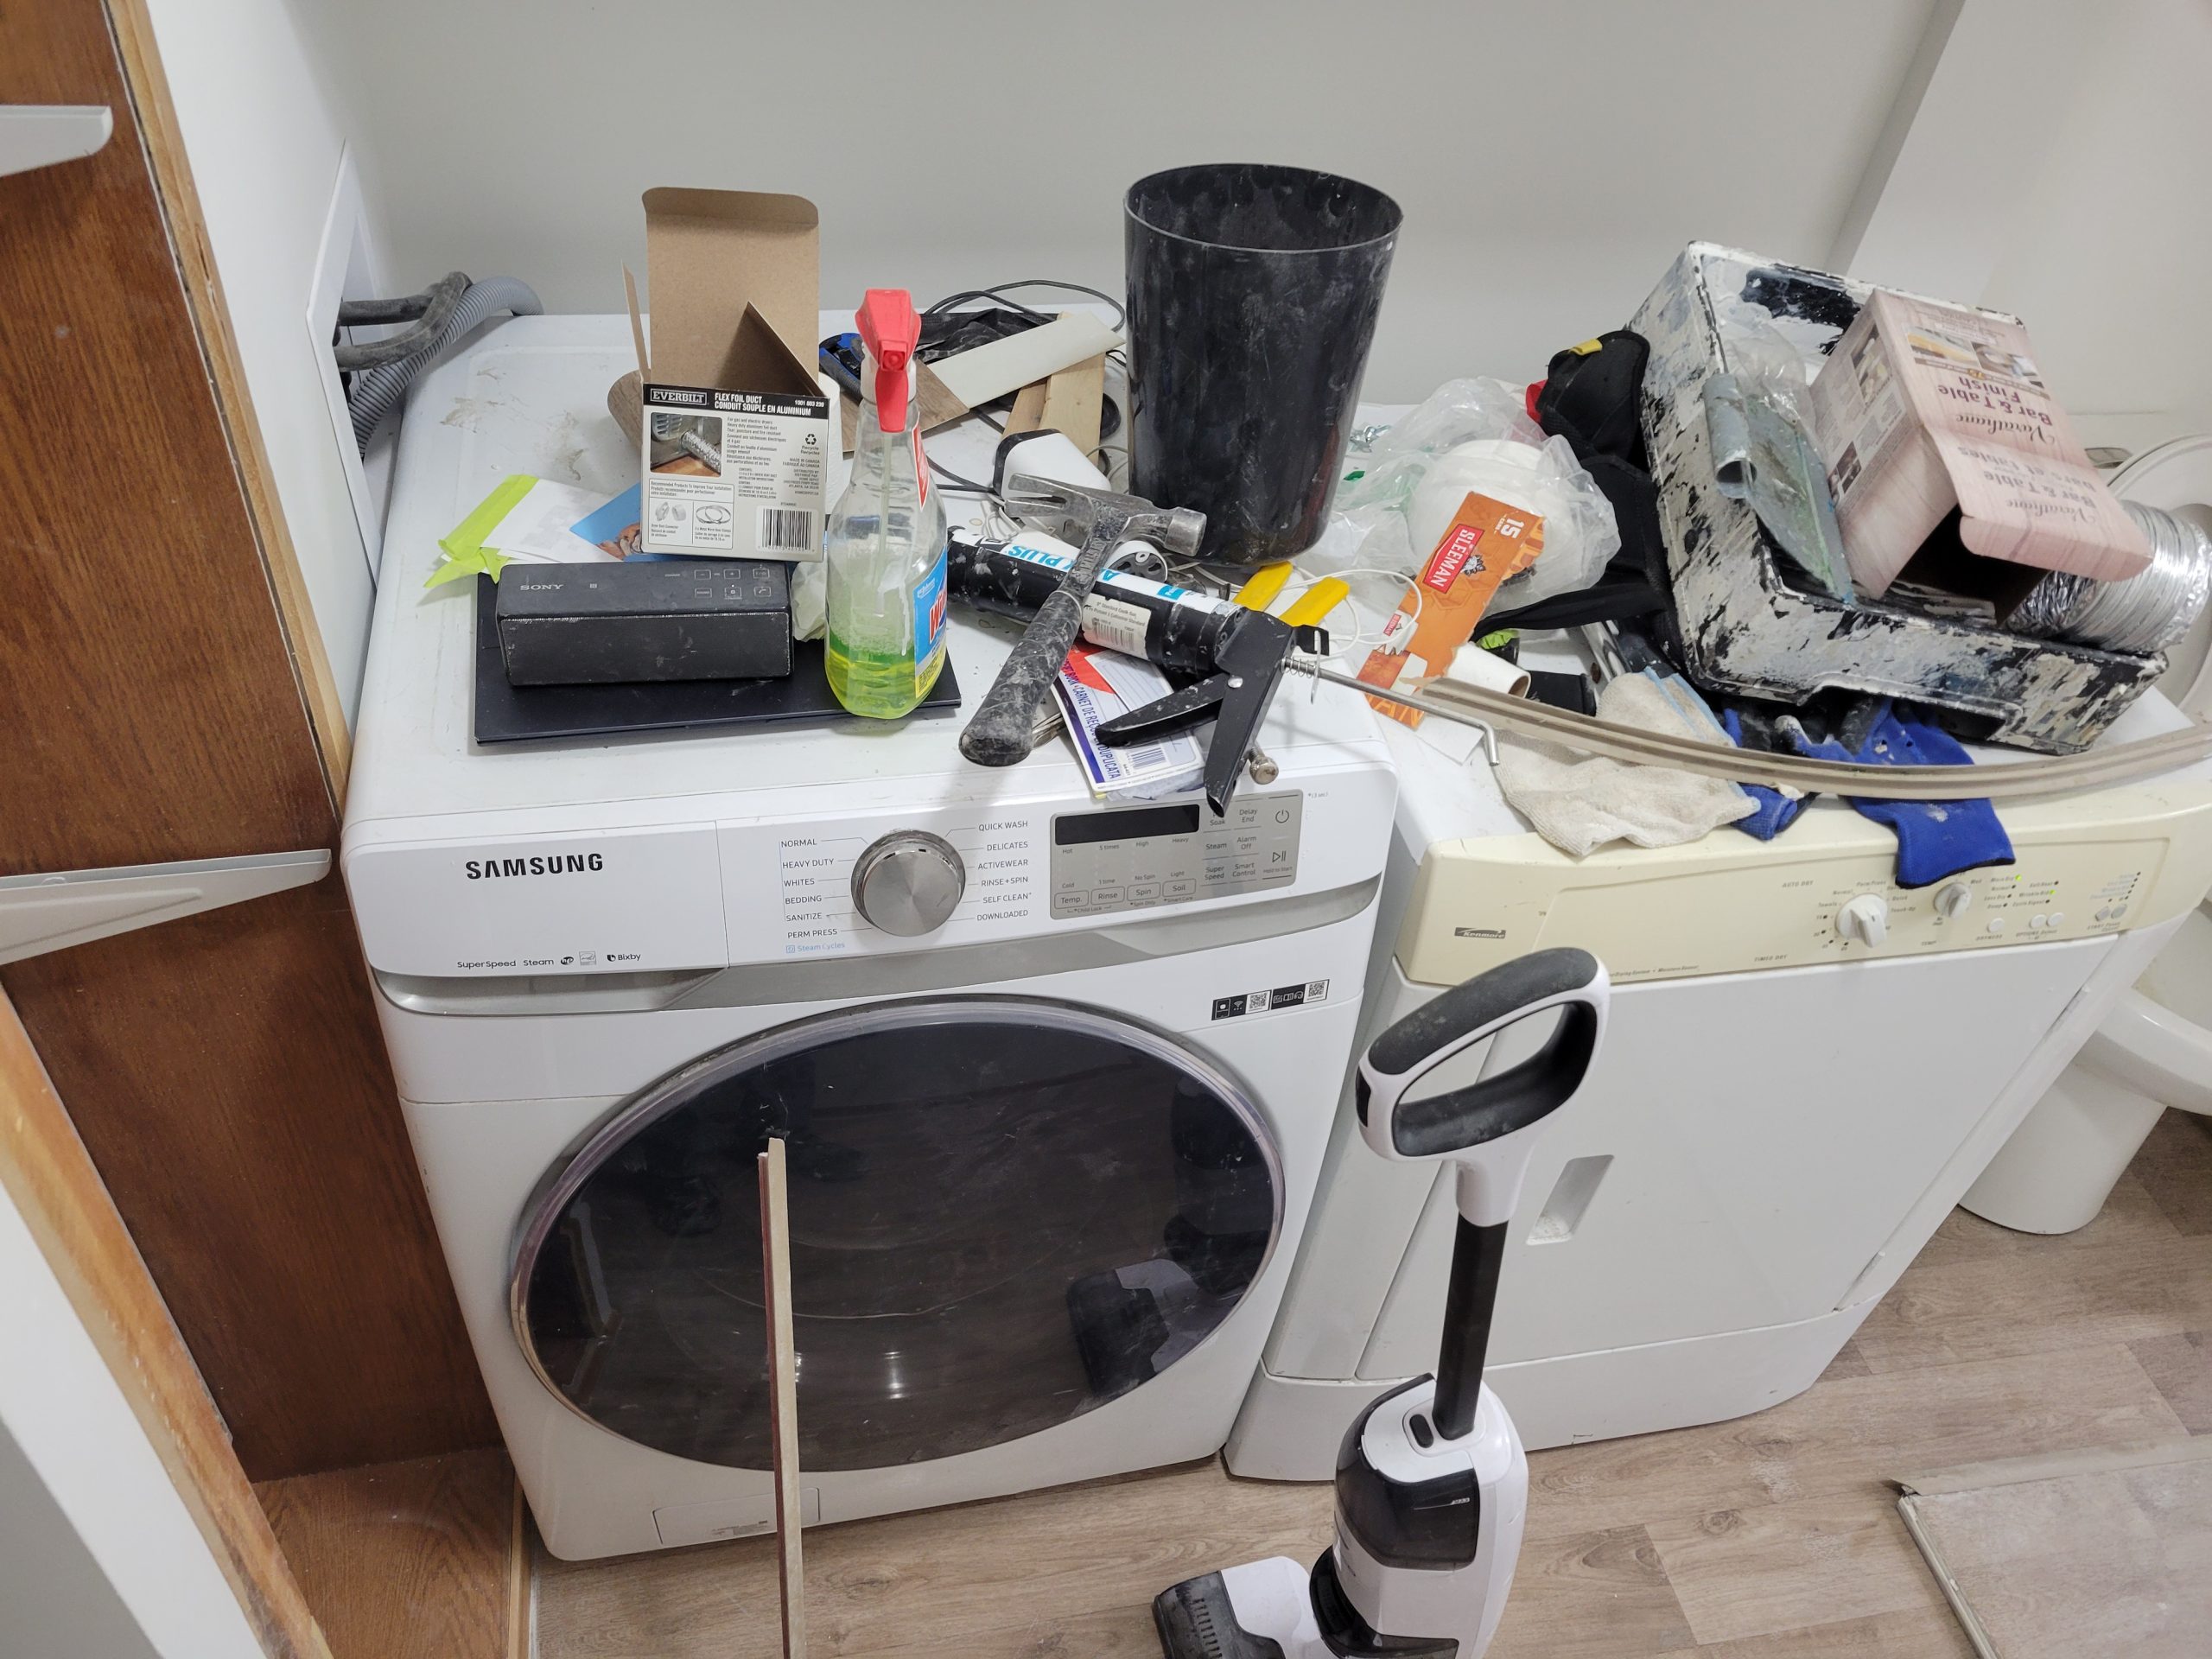
I’m still using flat surfaces as storage facilities.
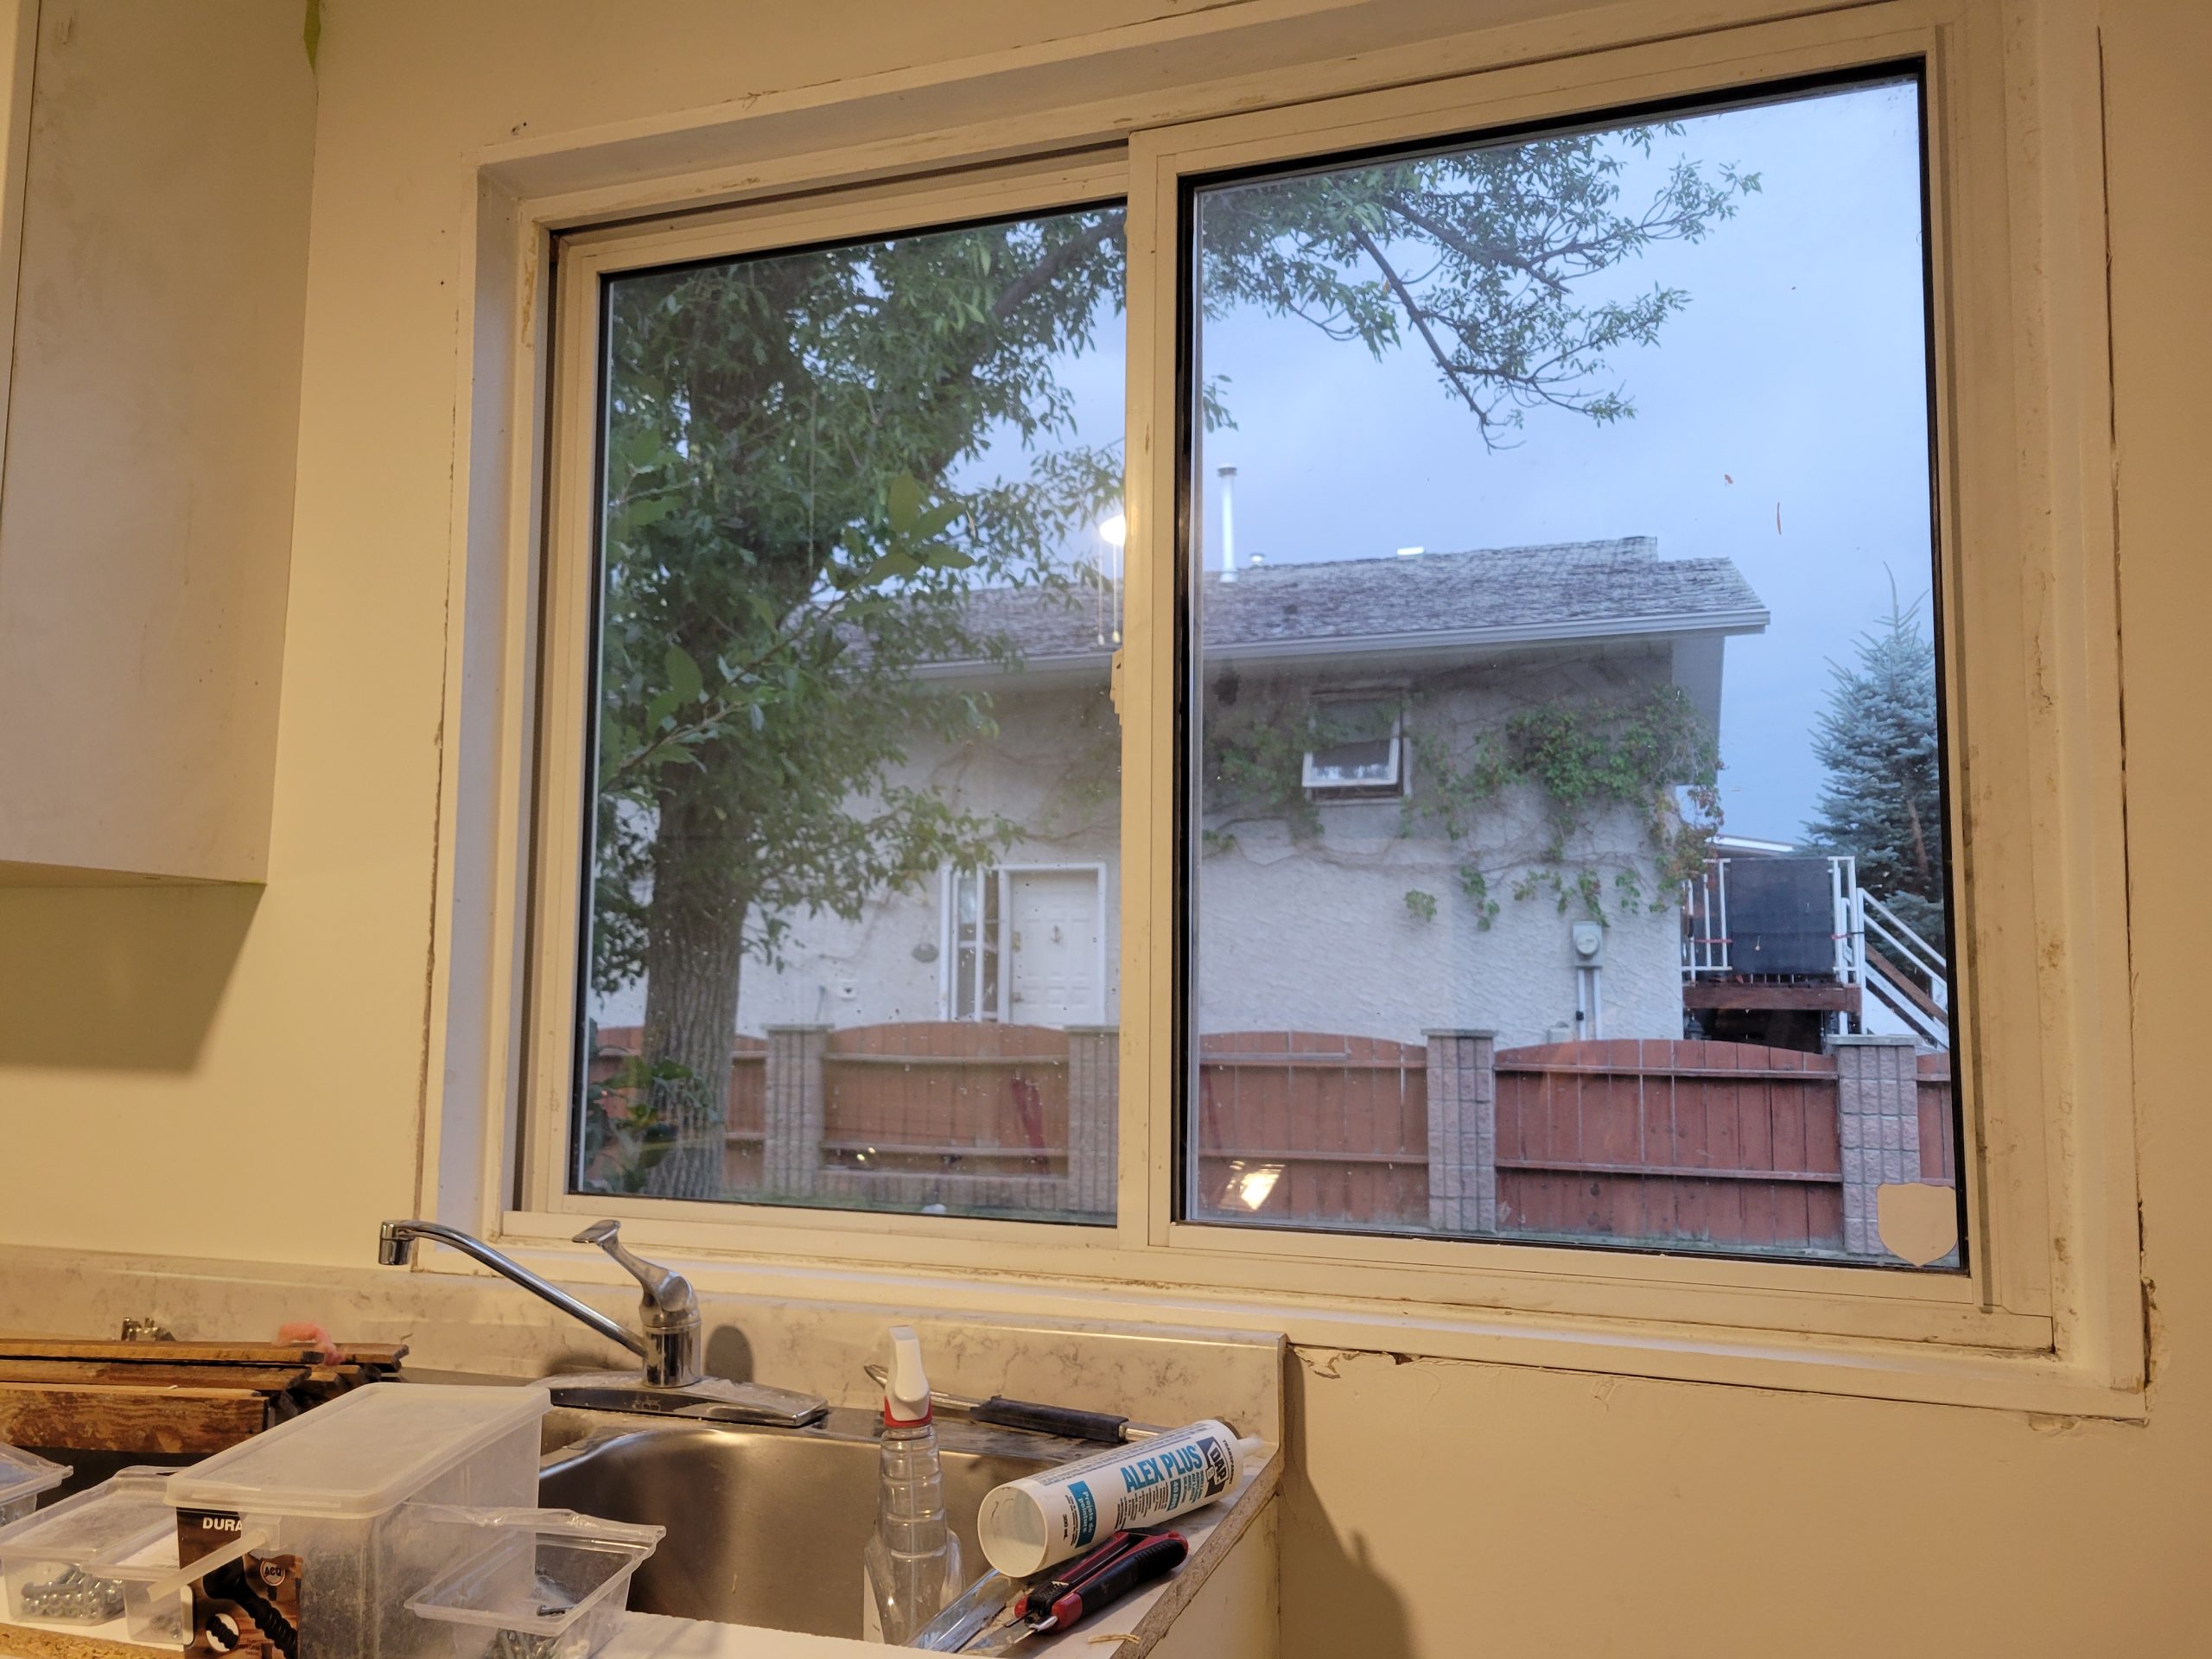
The kitchen window was framed in with painted 1x4s.
Lots to do. More later.
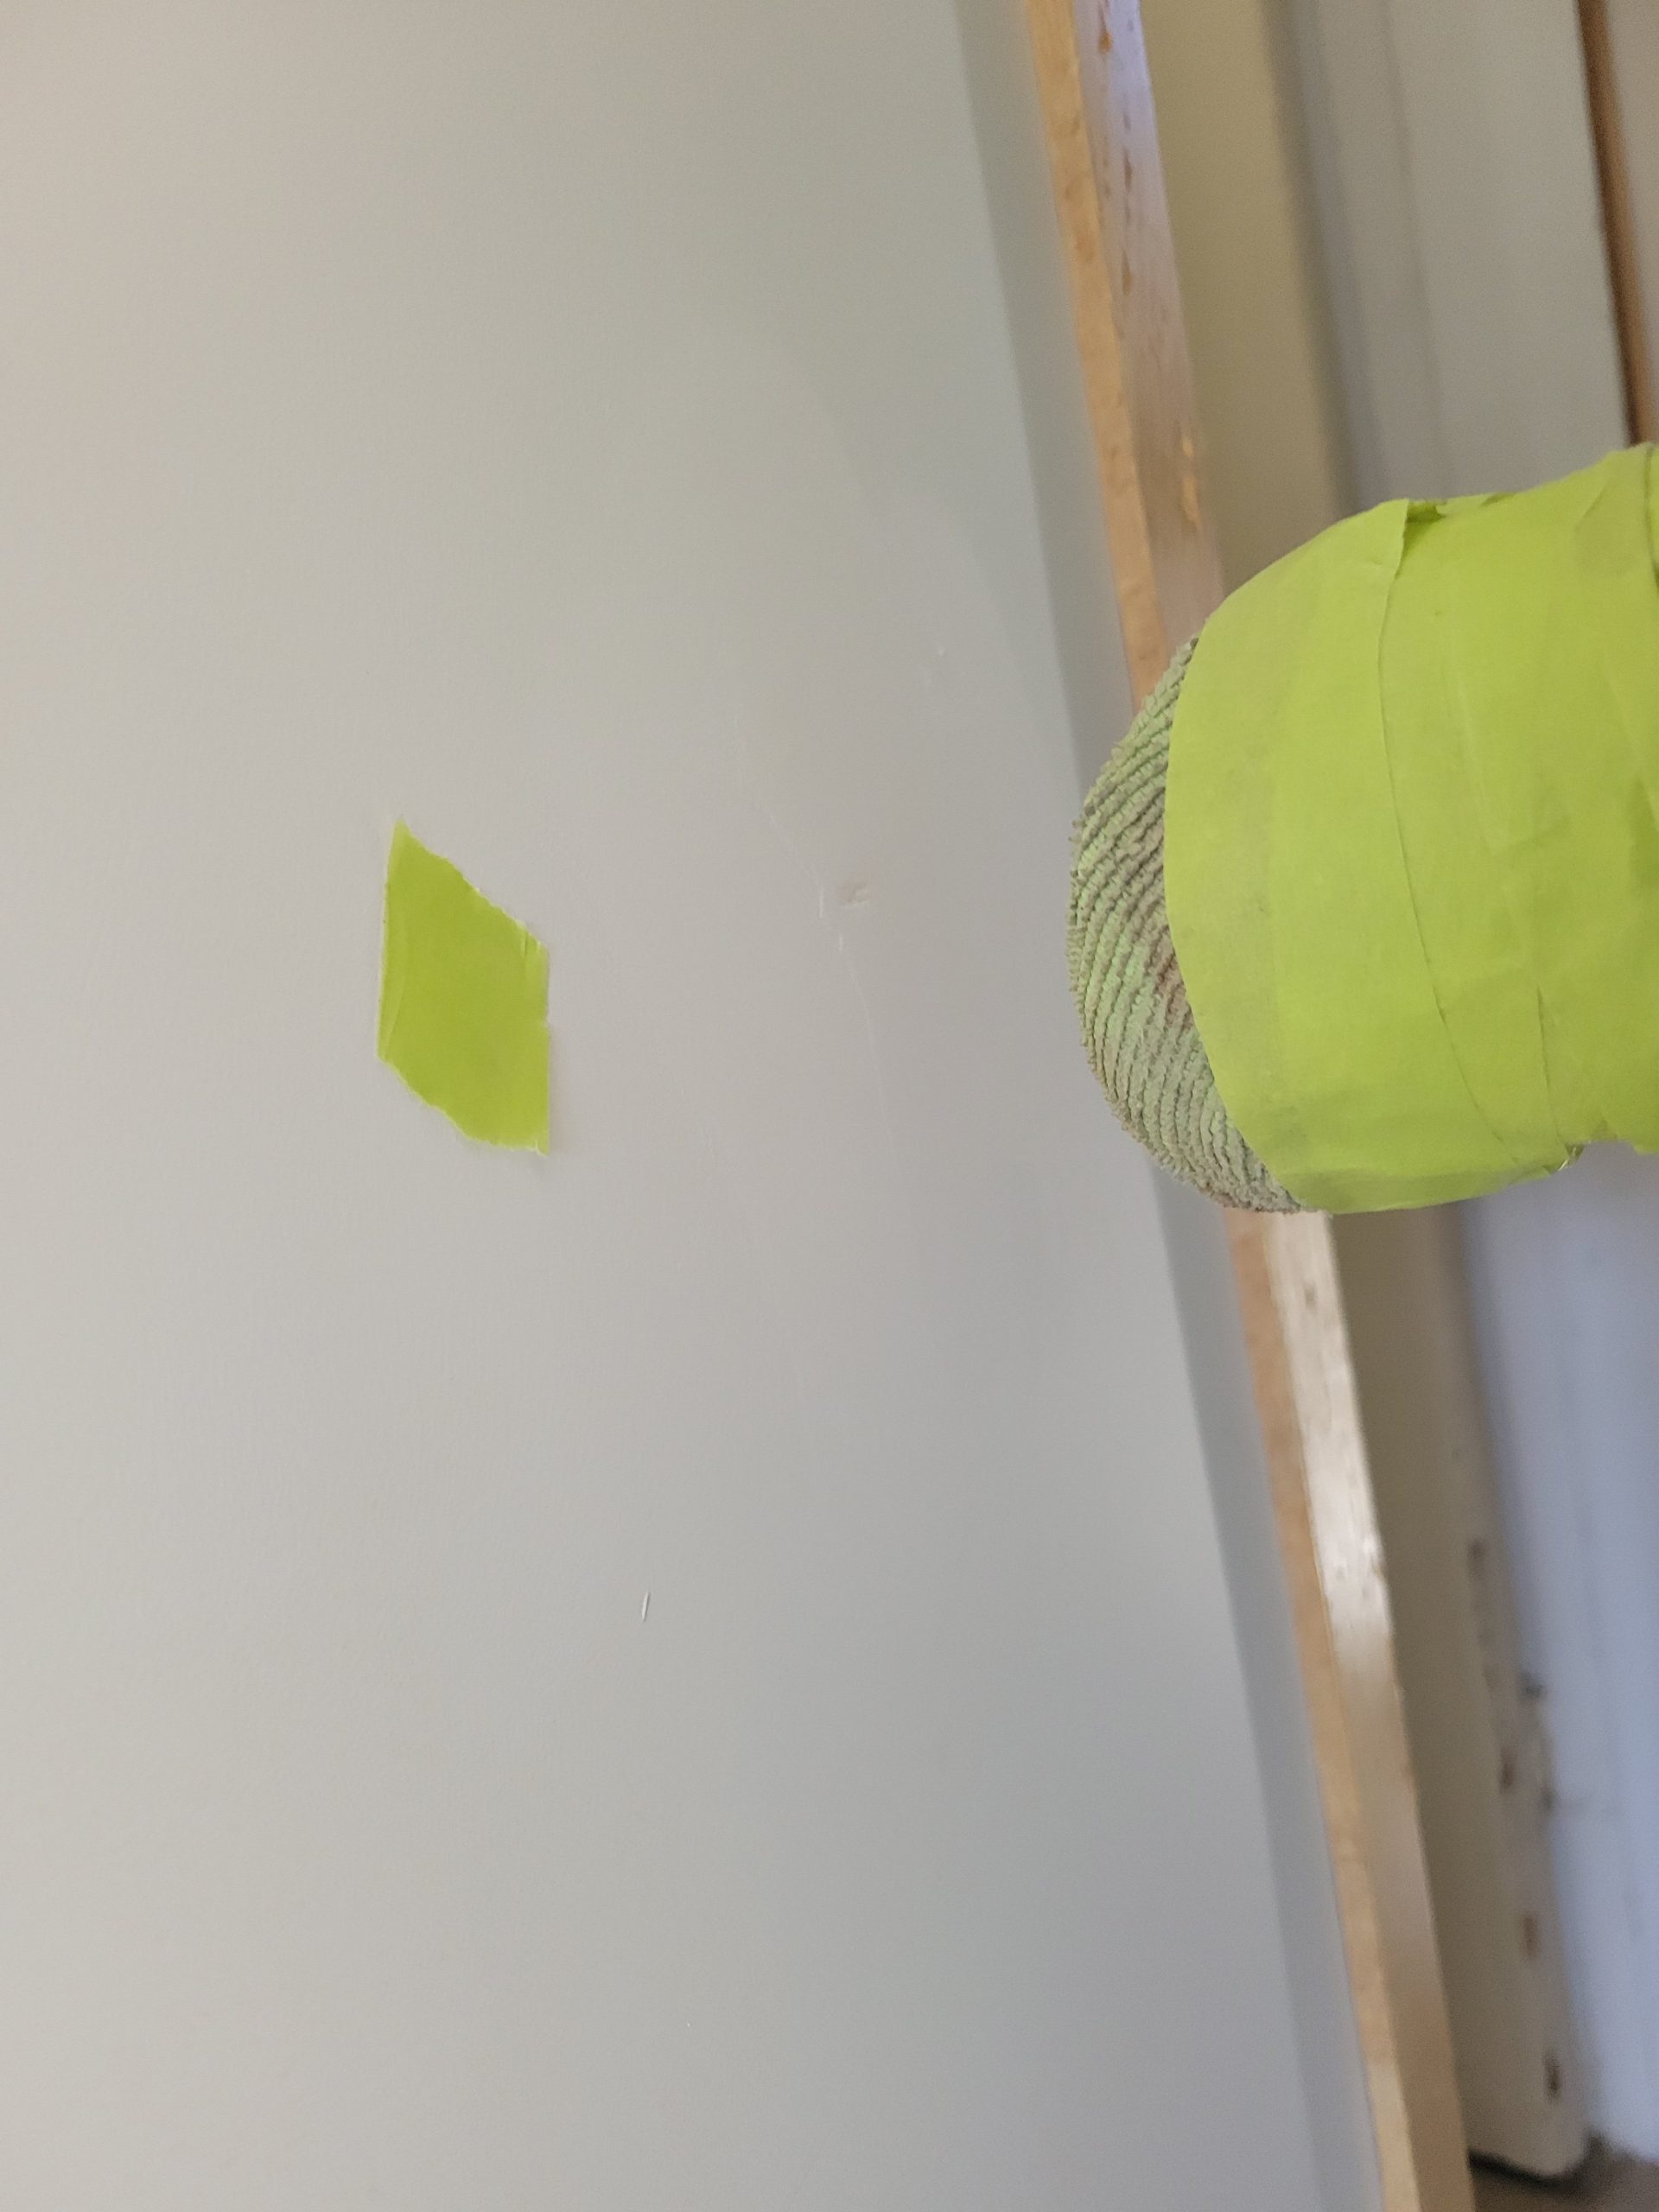
A door stop was added. The door was much higher than the thin wood baseboard trim, so some backing was added.
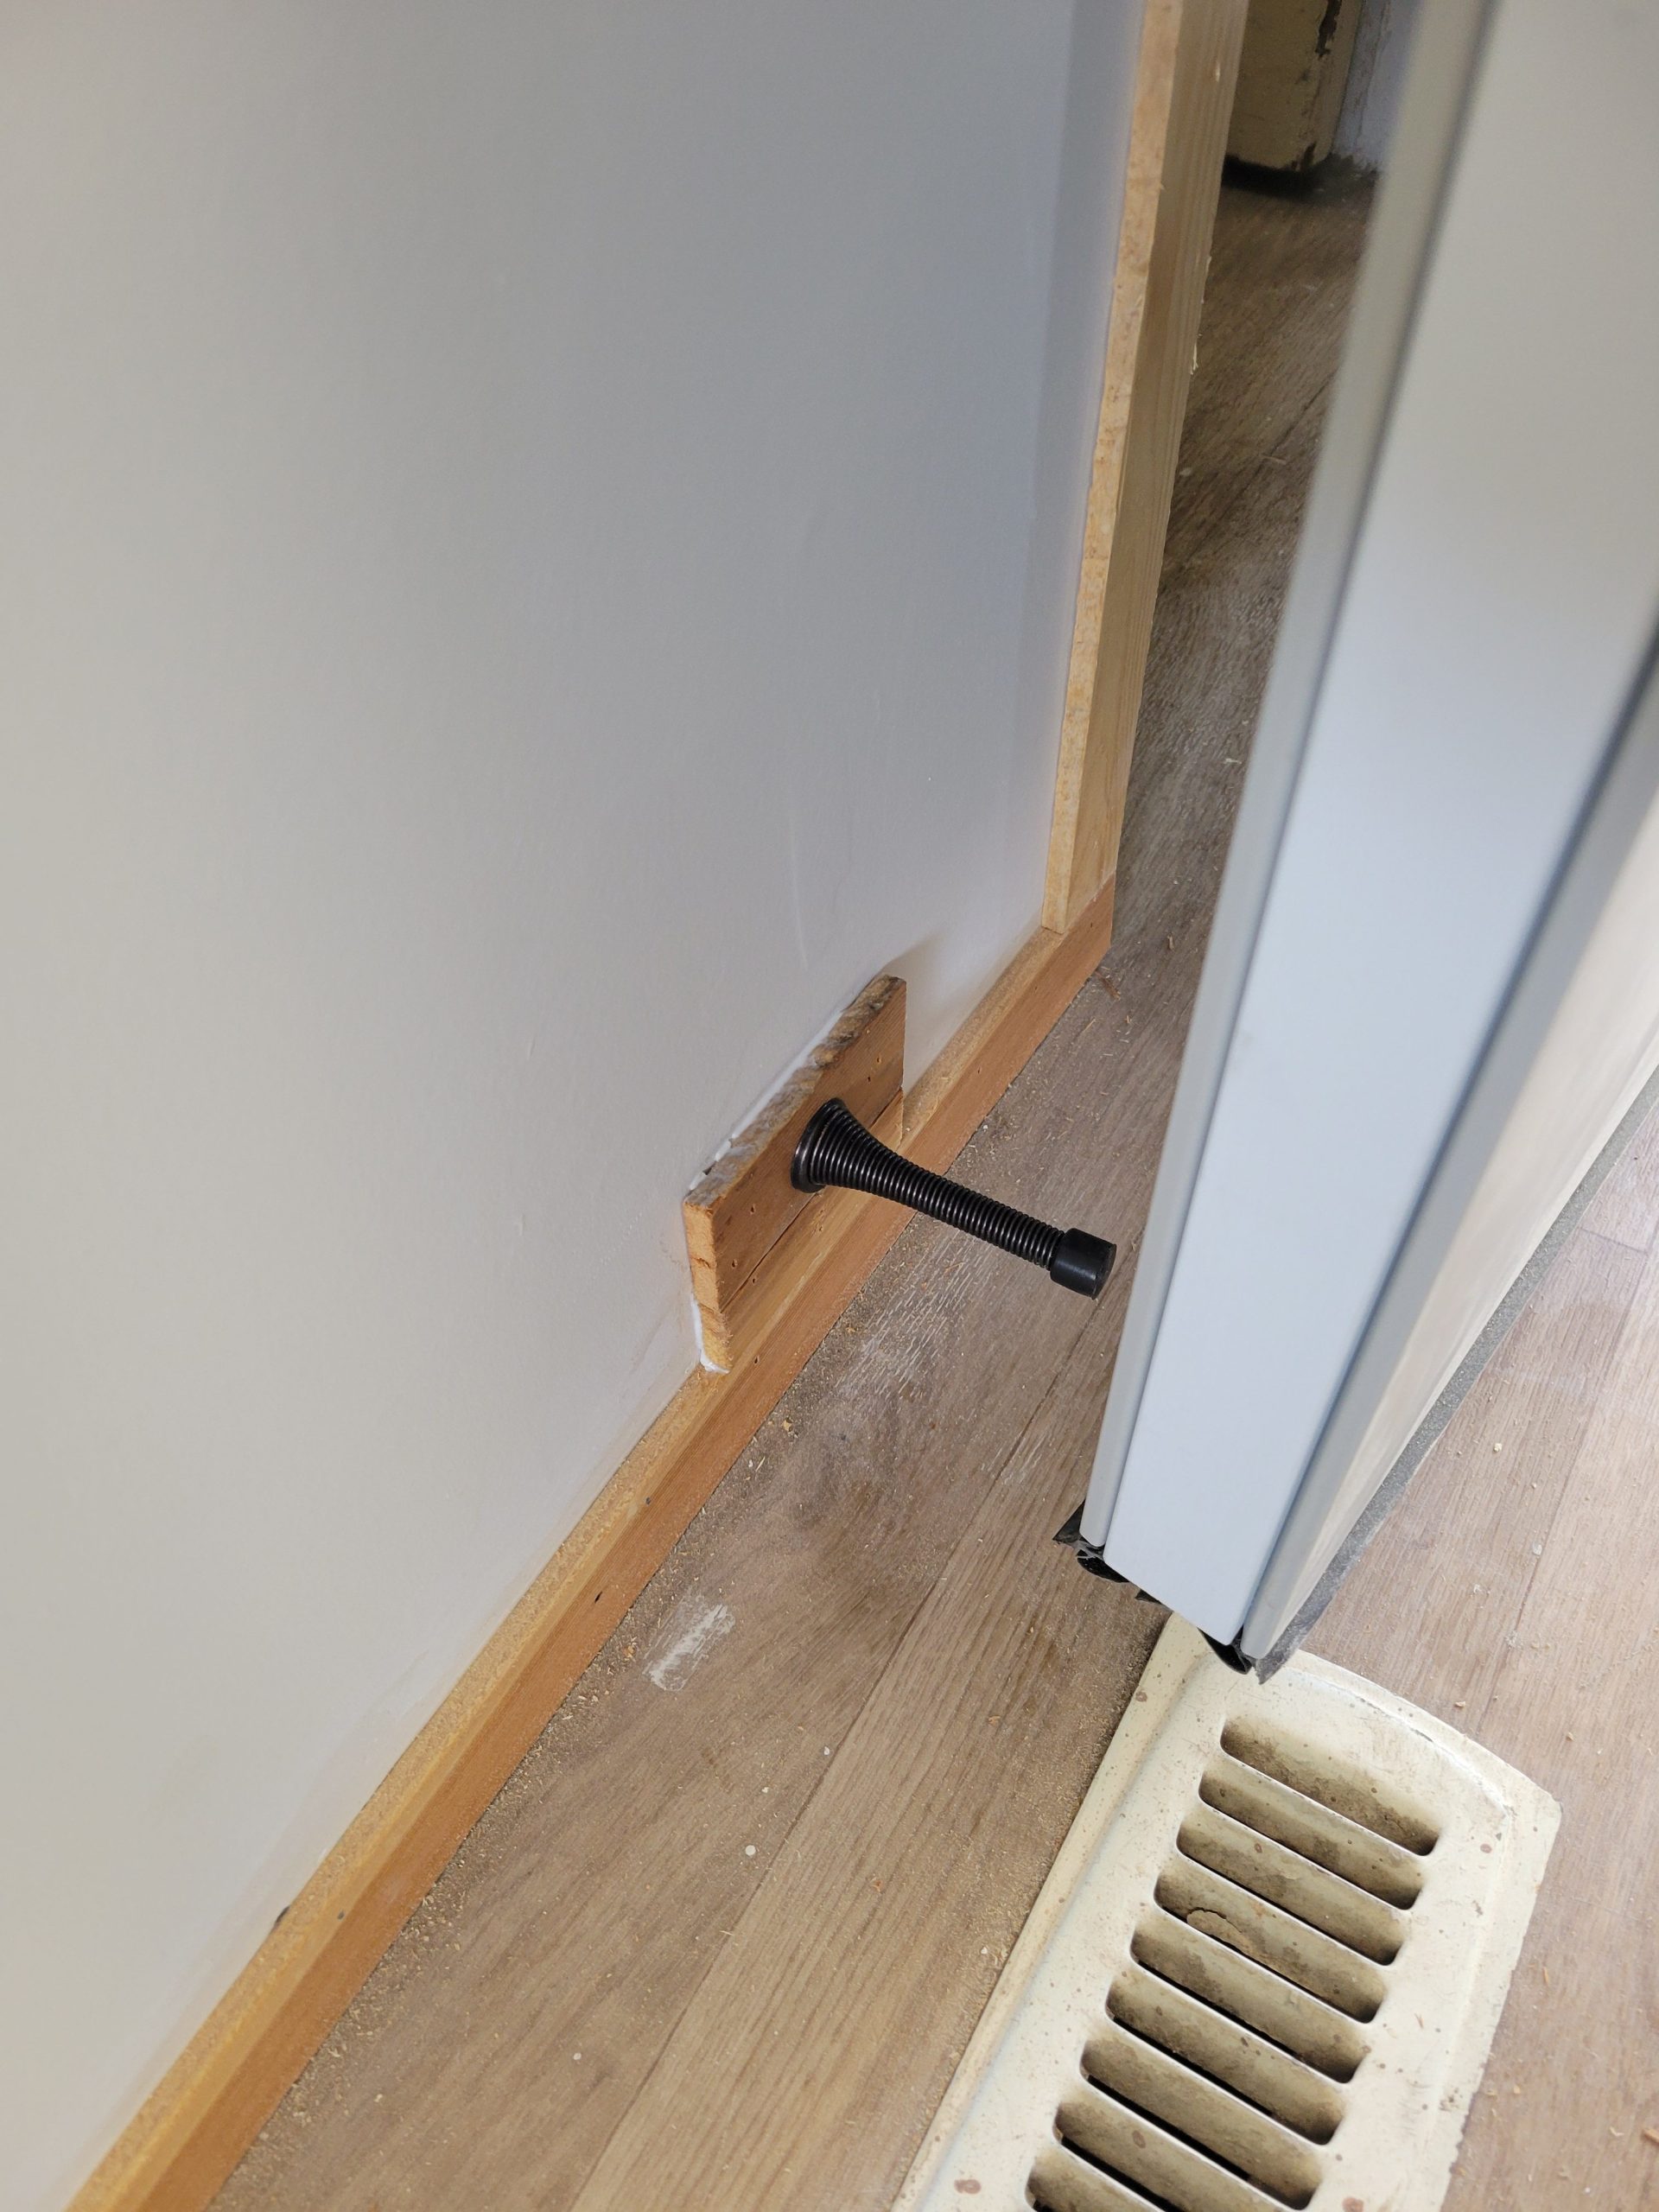
The dent the door created was marked for repair.
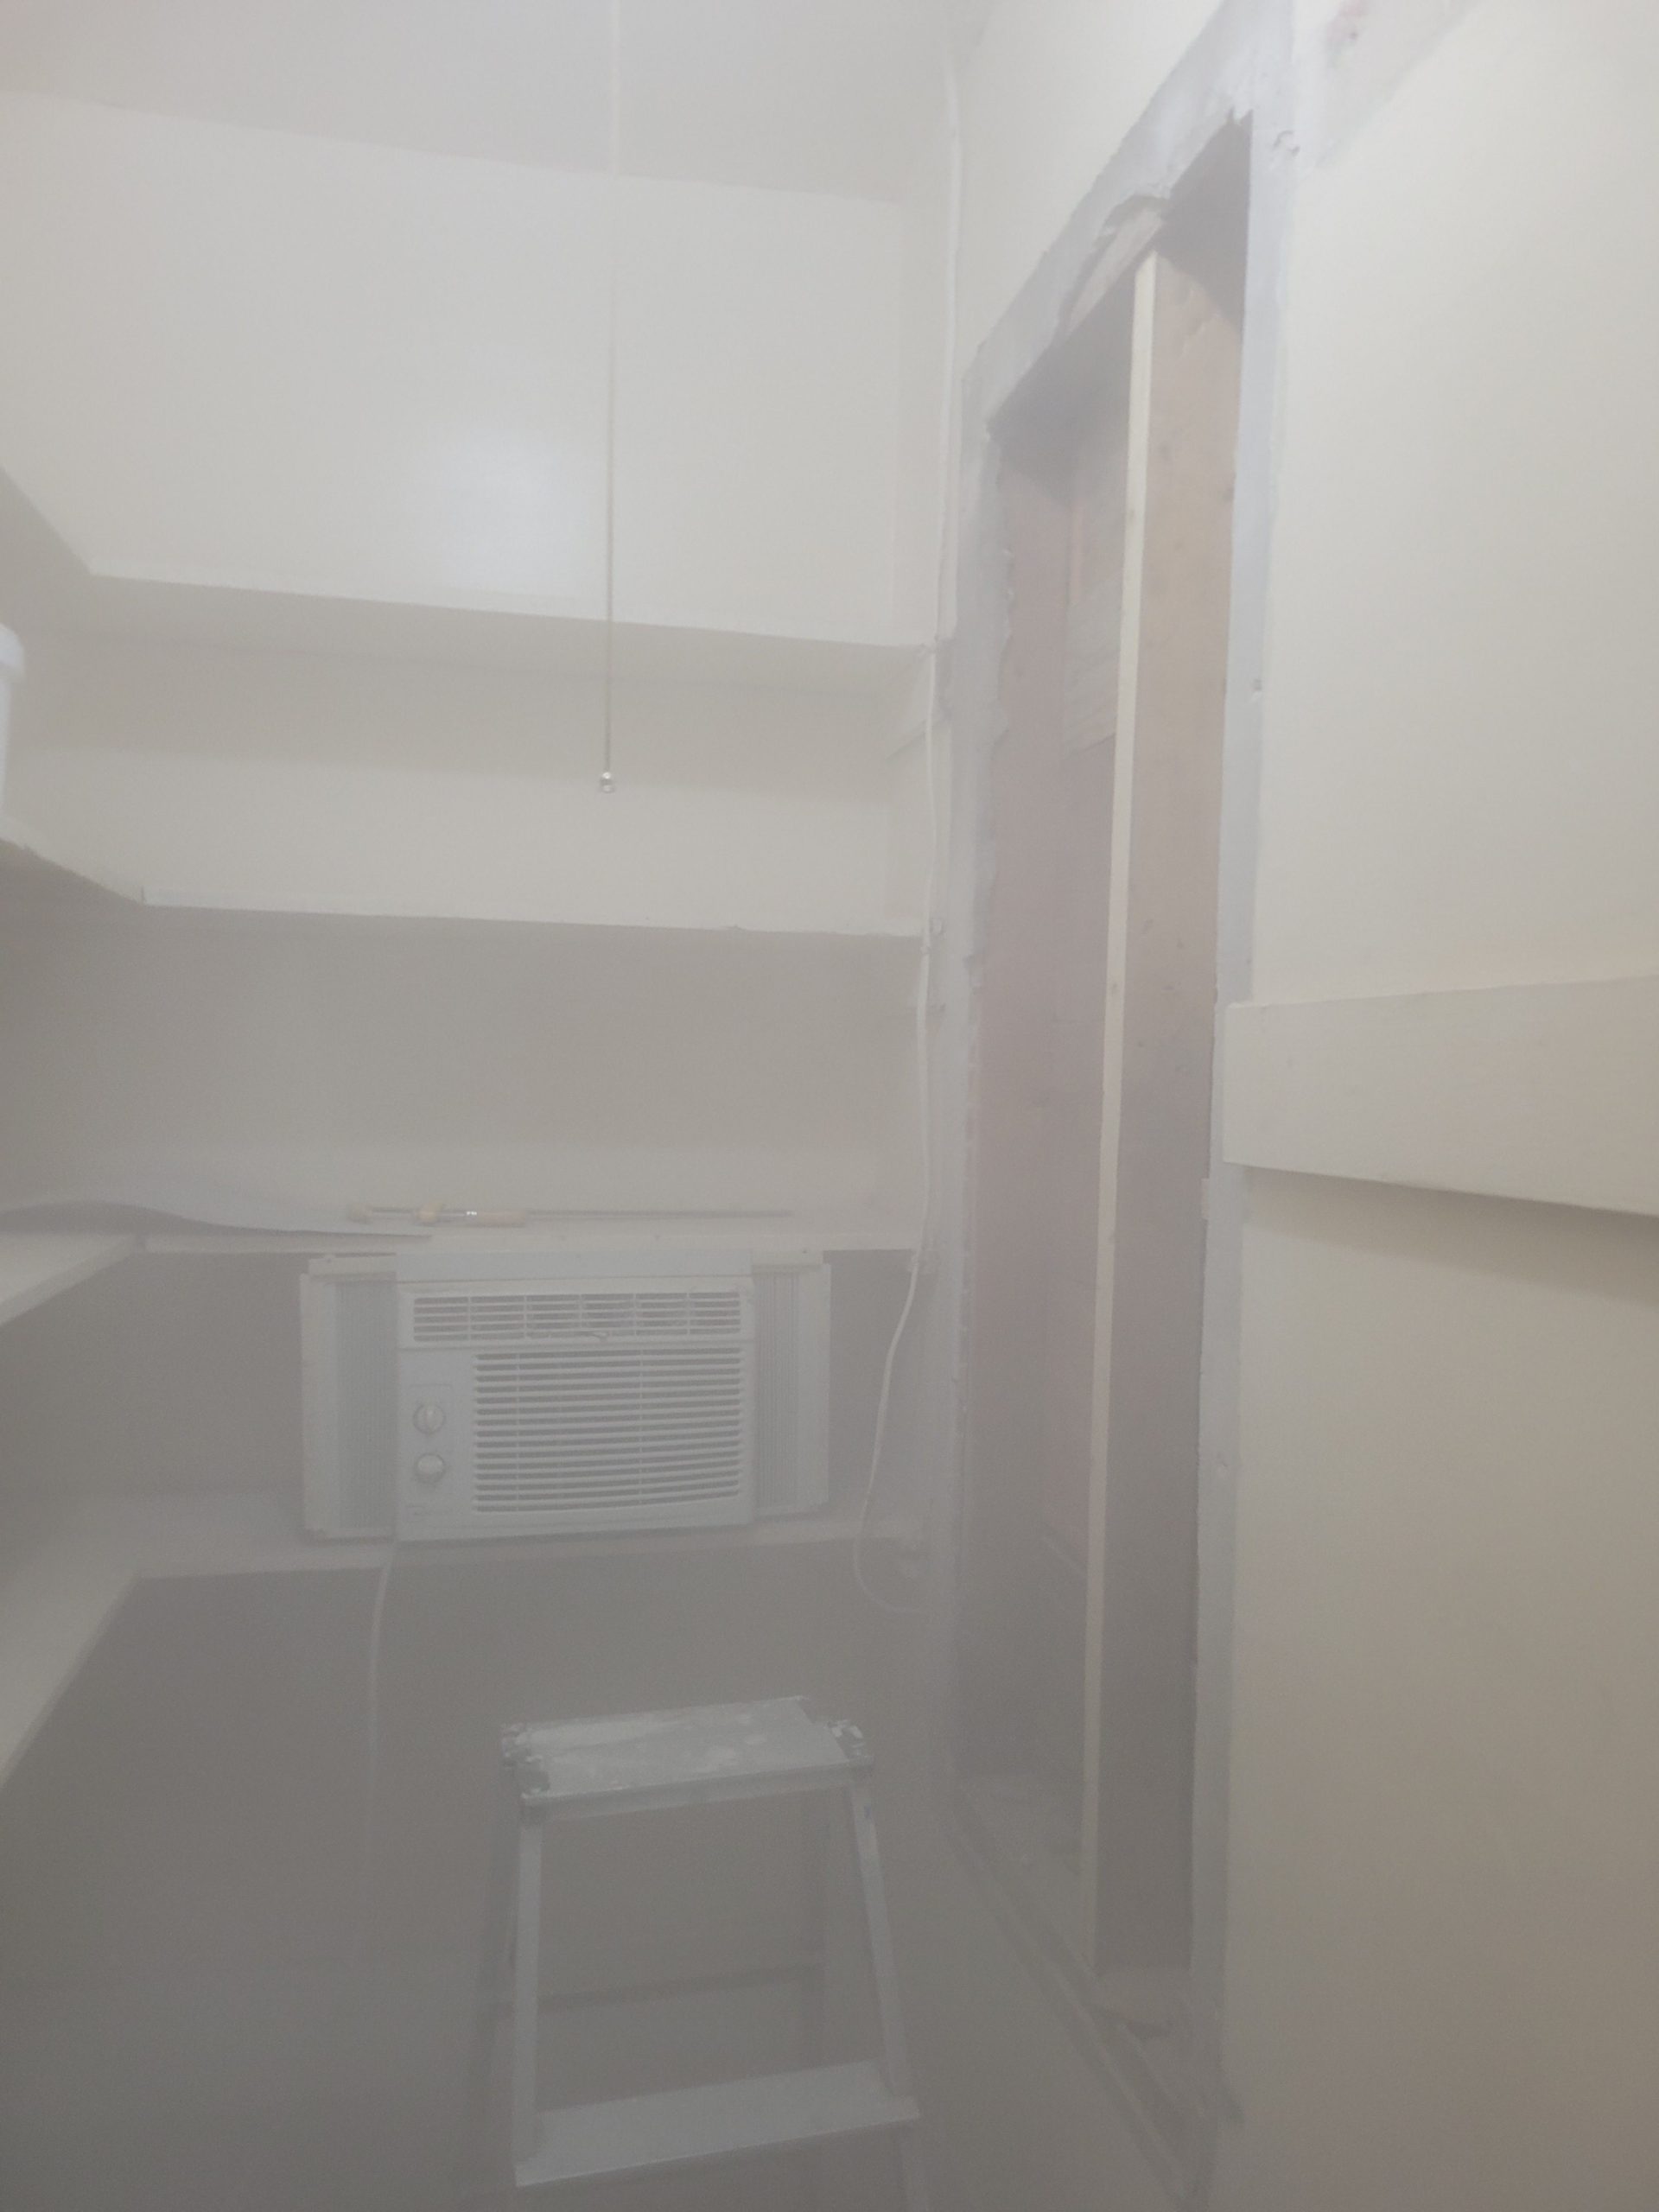
Plaster and lathe boards were cut to expose the framing. (The dust hadn’t settled yet.) Dave did his usual drywall magic. It was his first time matching drywall to plaster.