mud room ceiling, wall

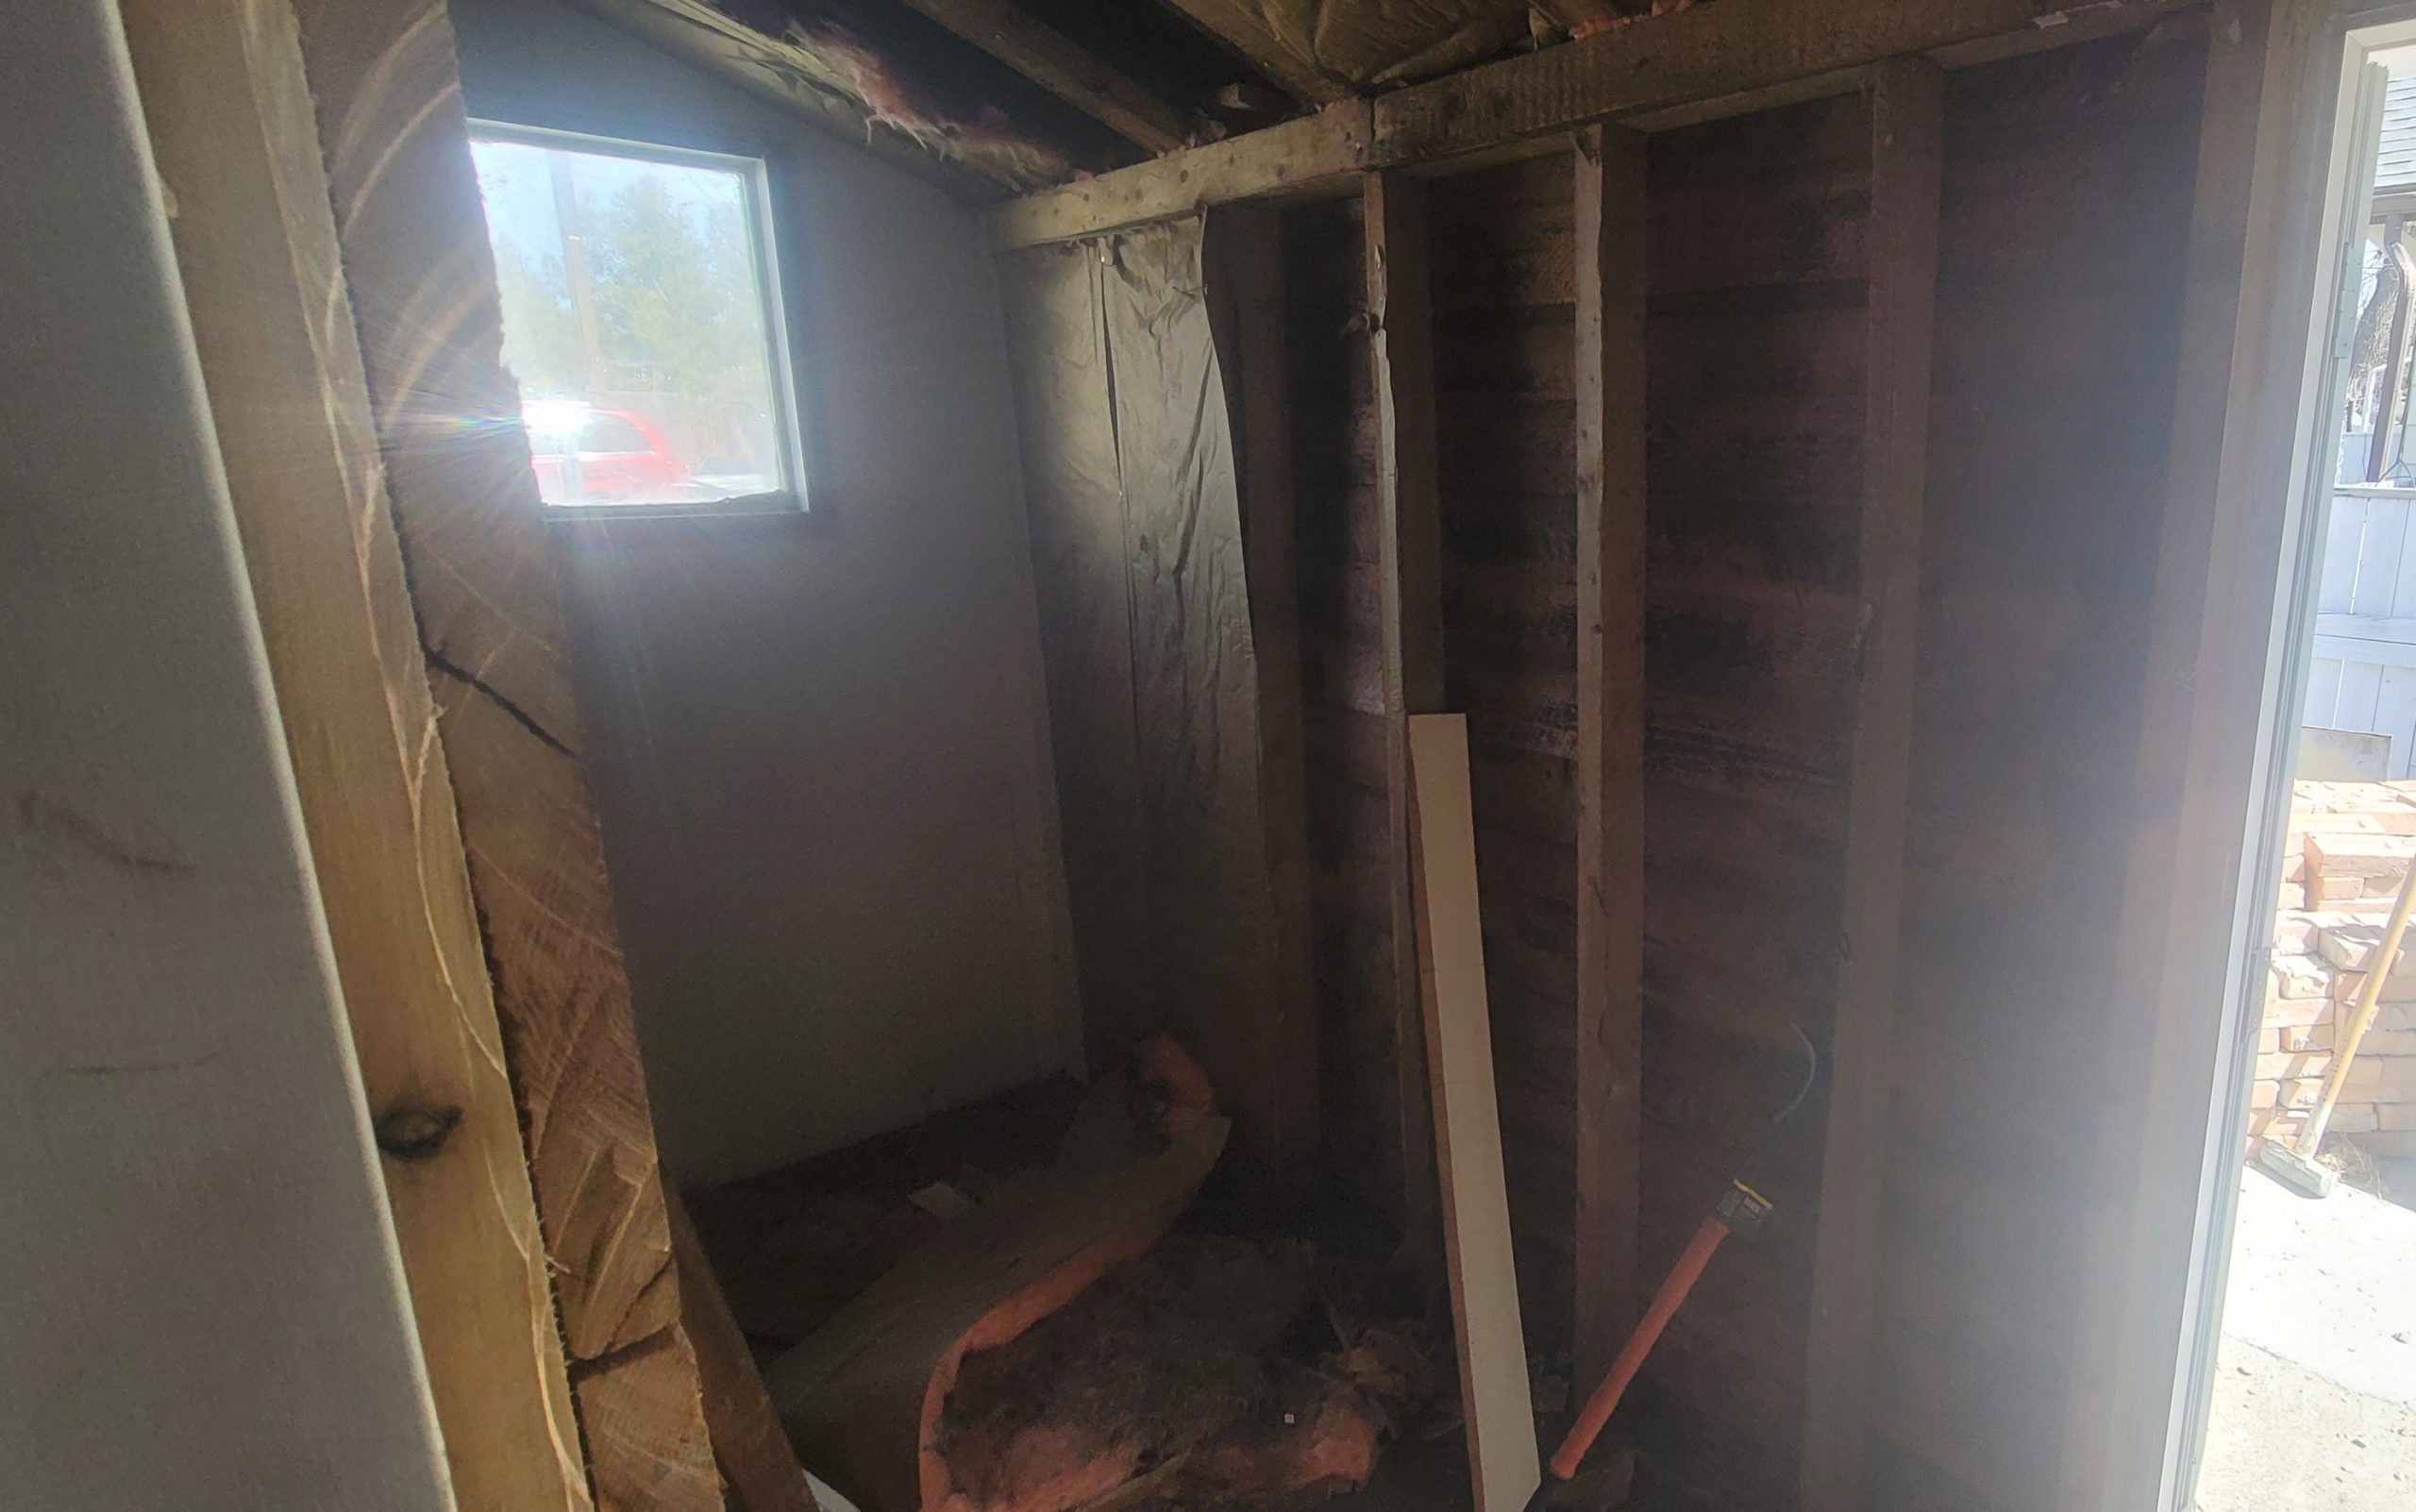
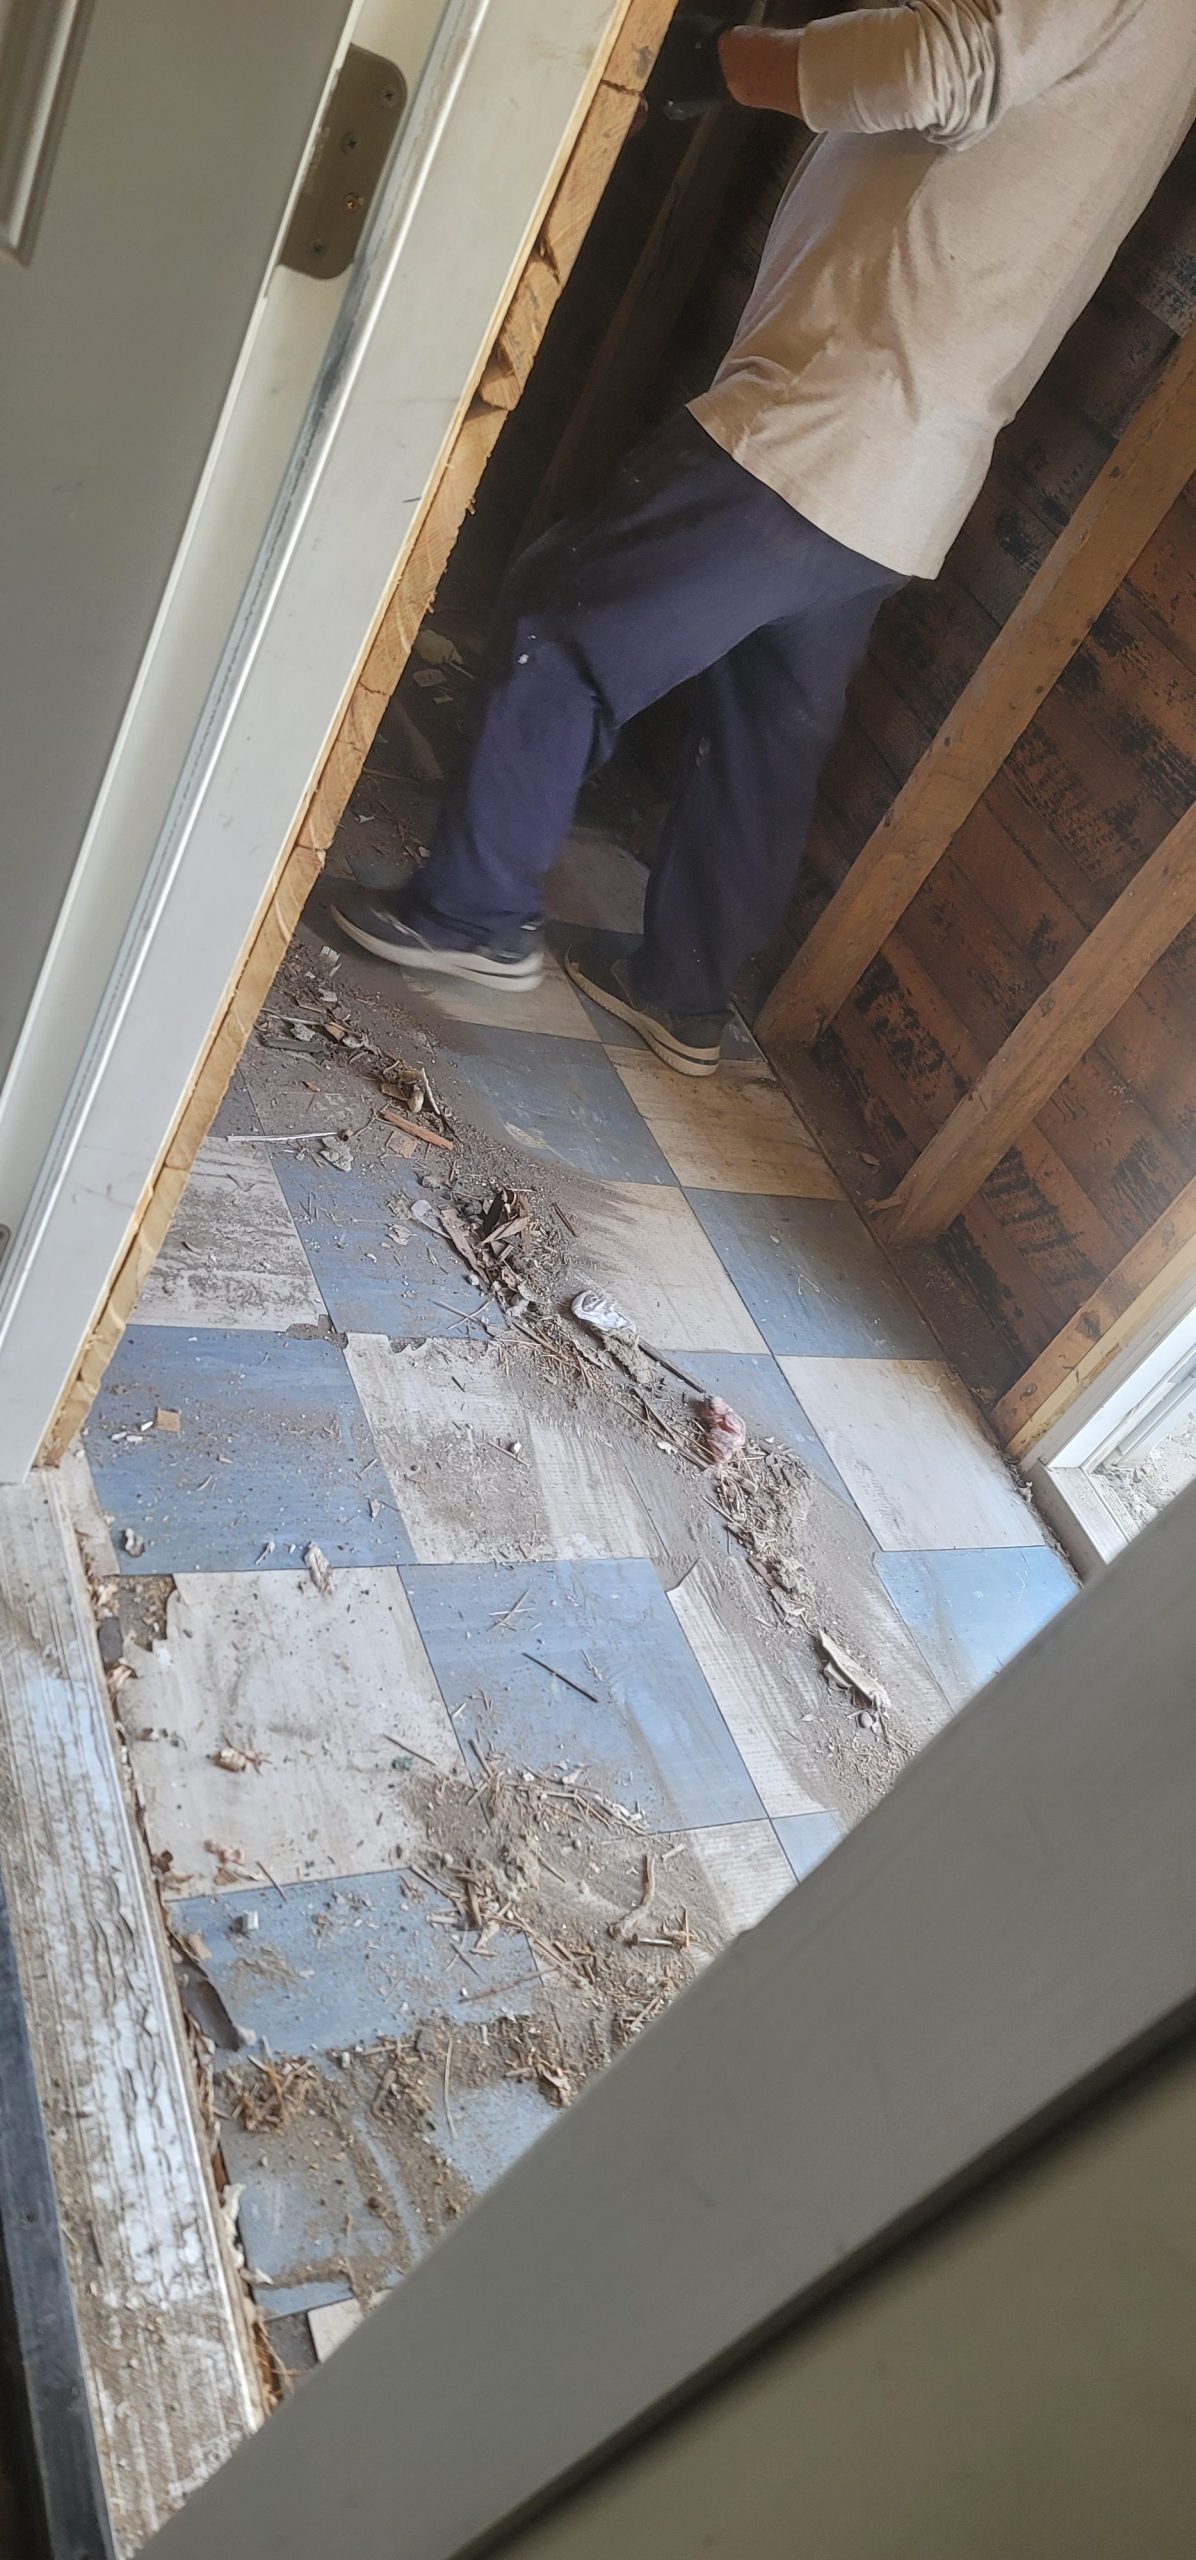
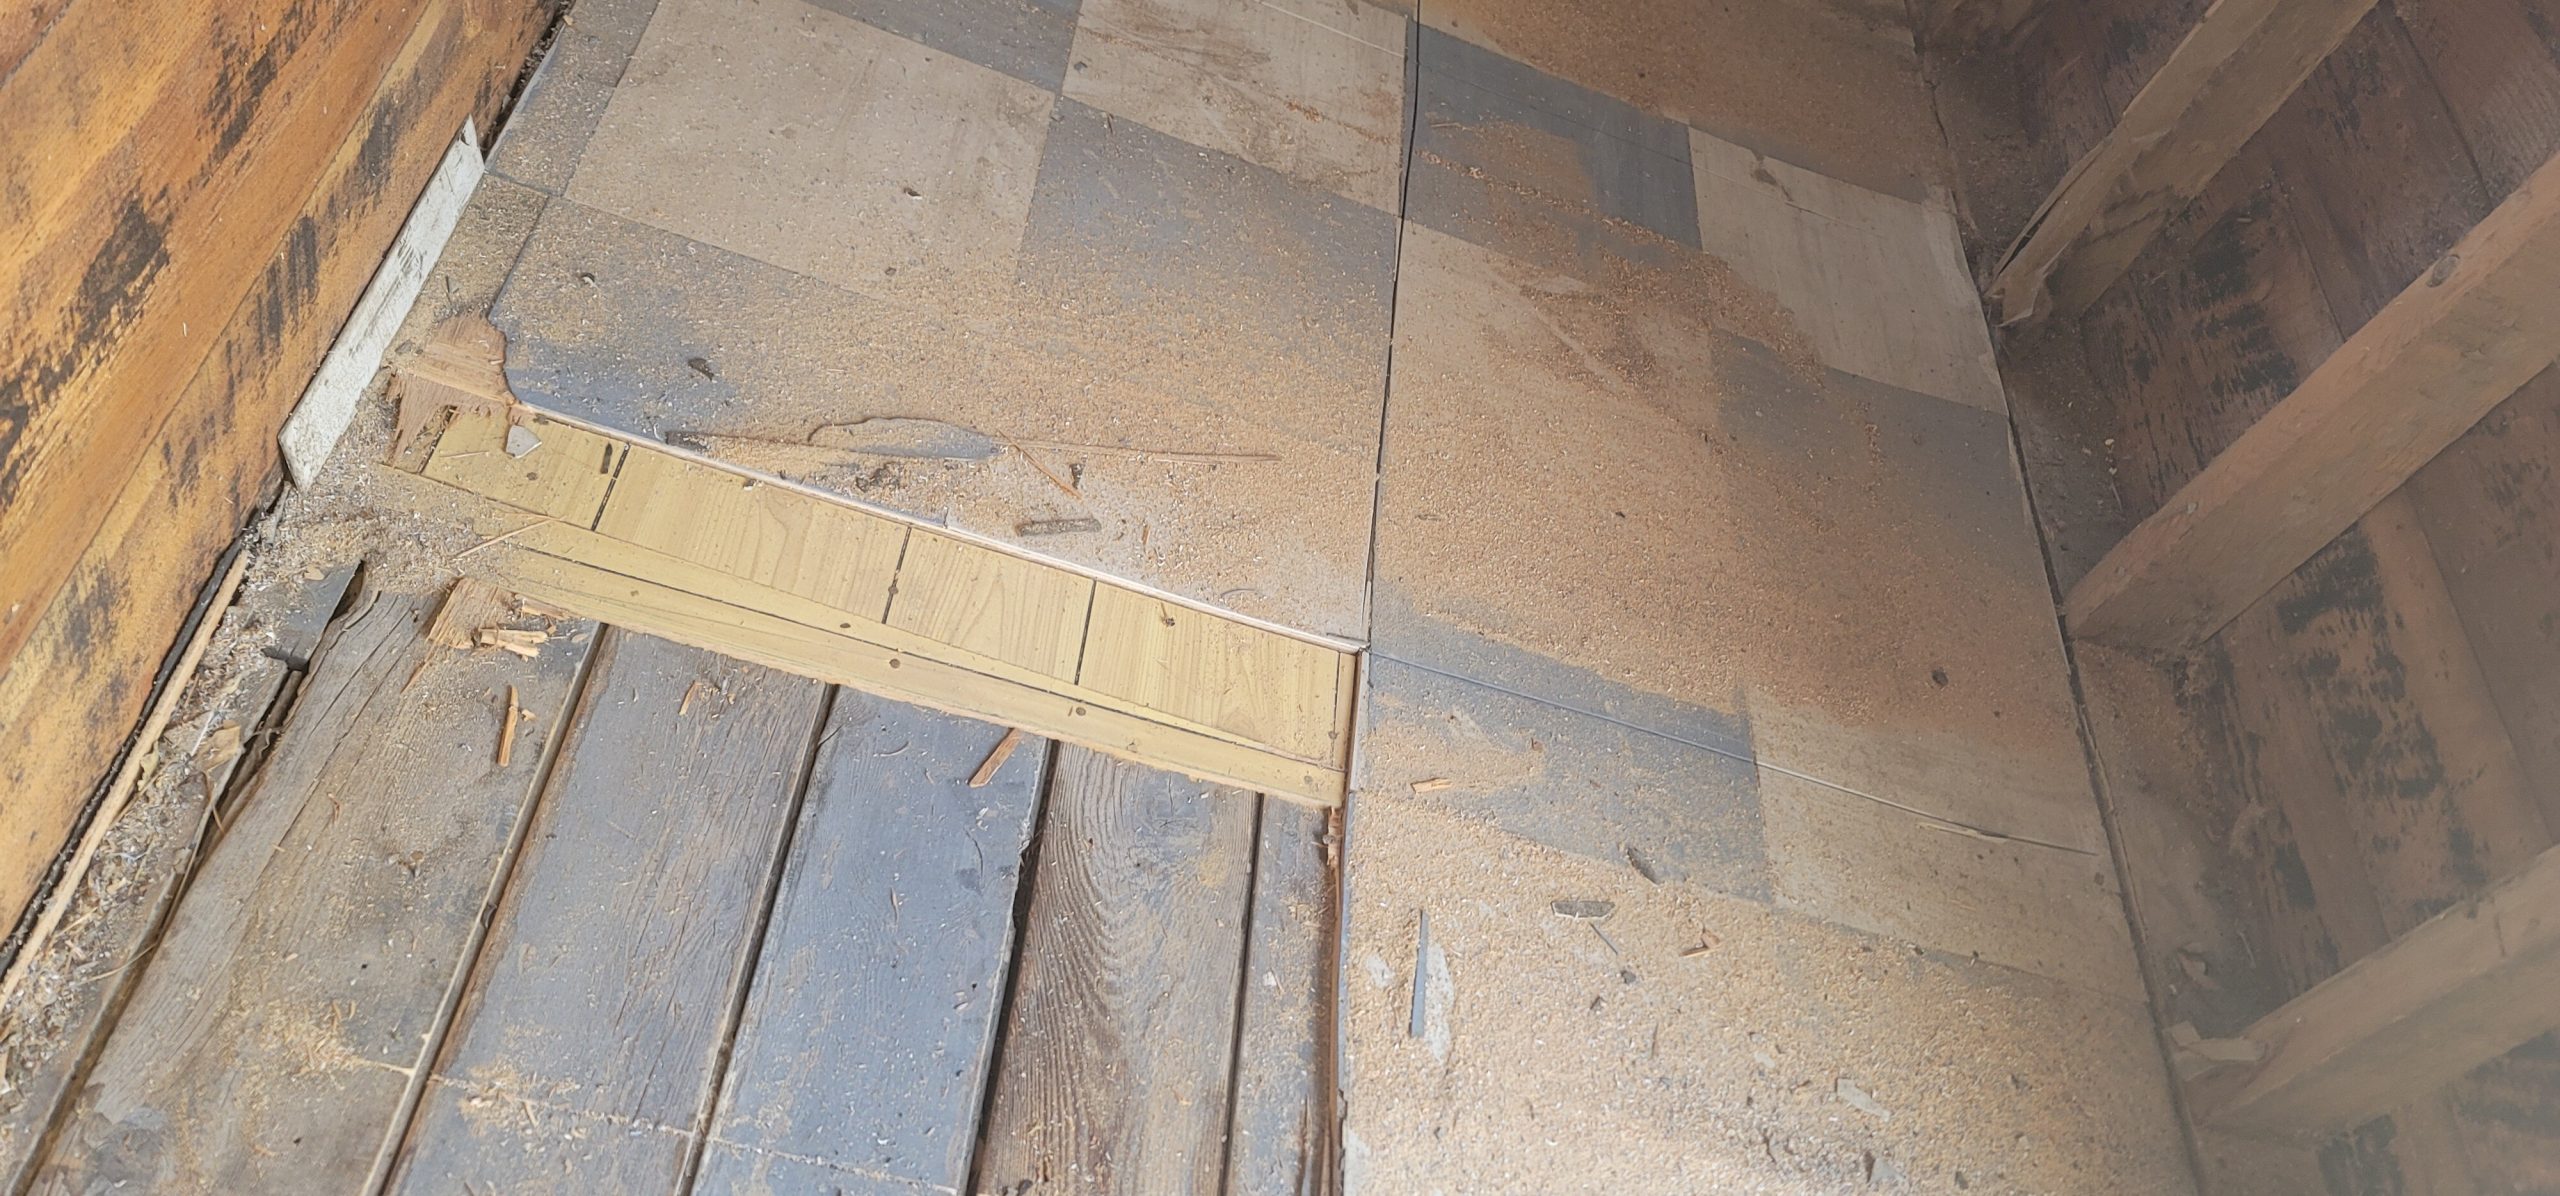
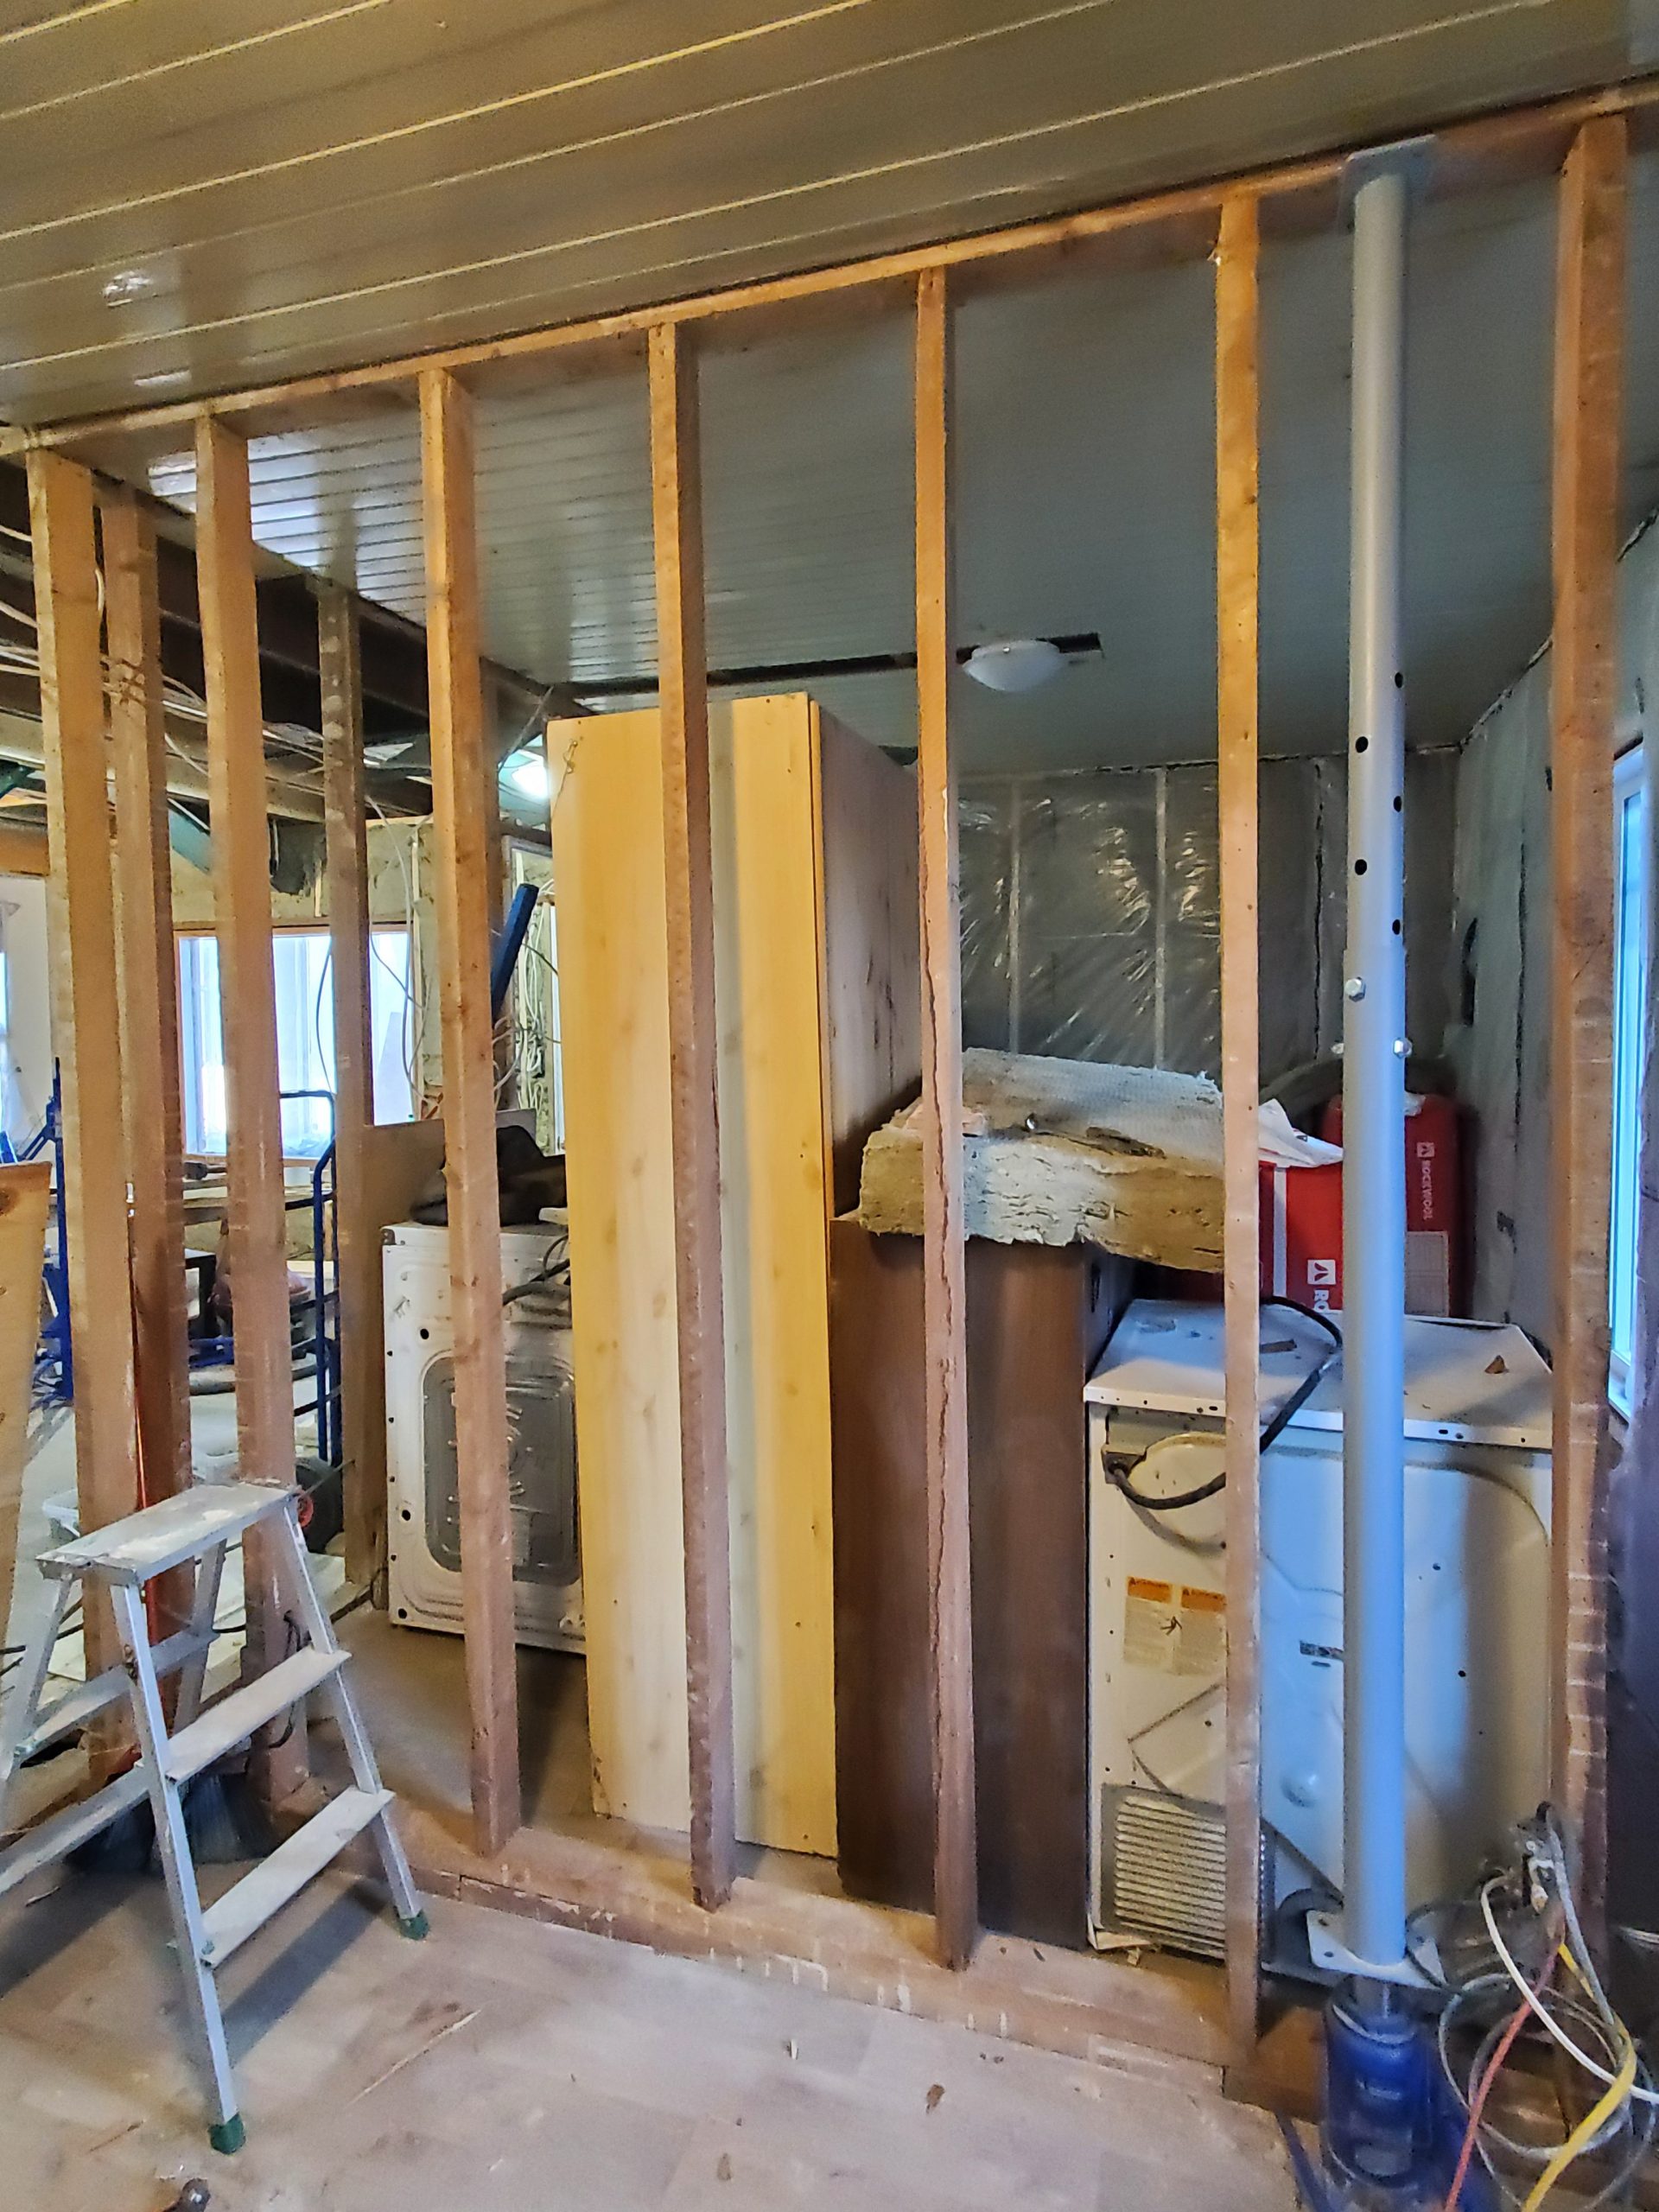
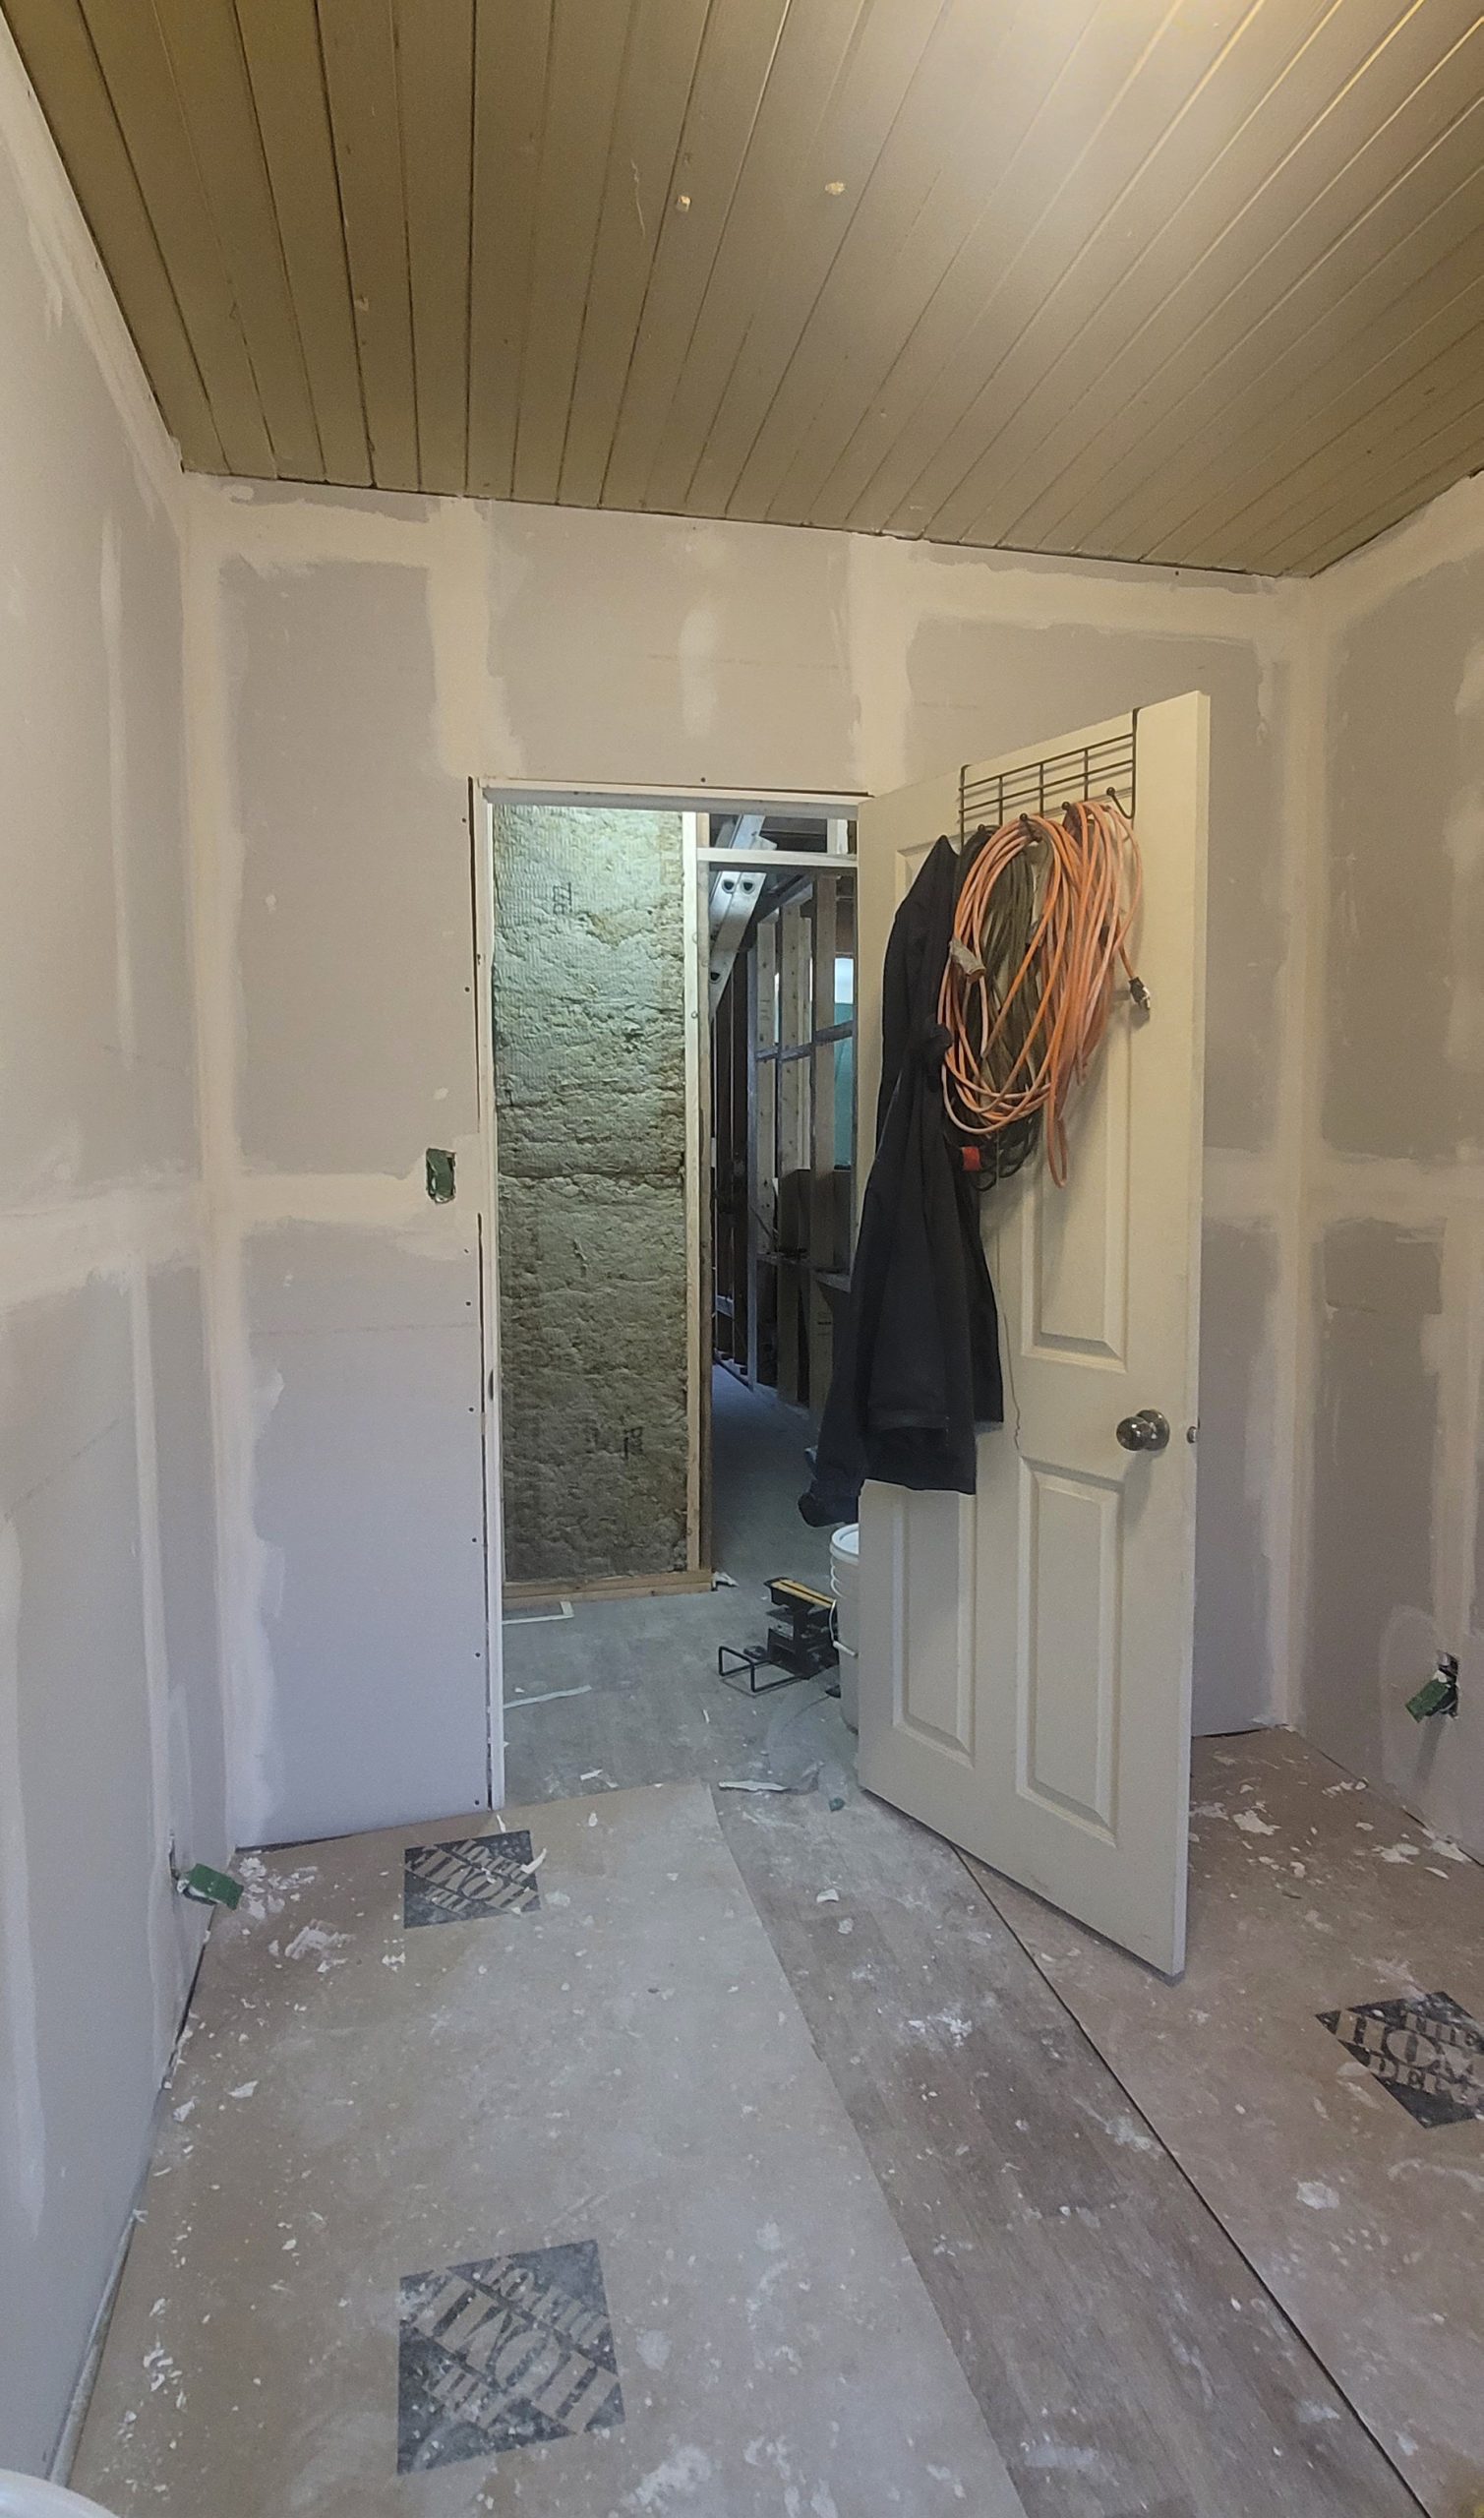
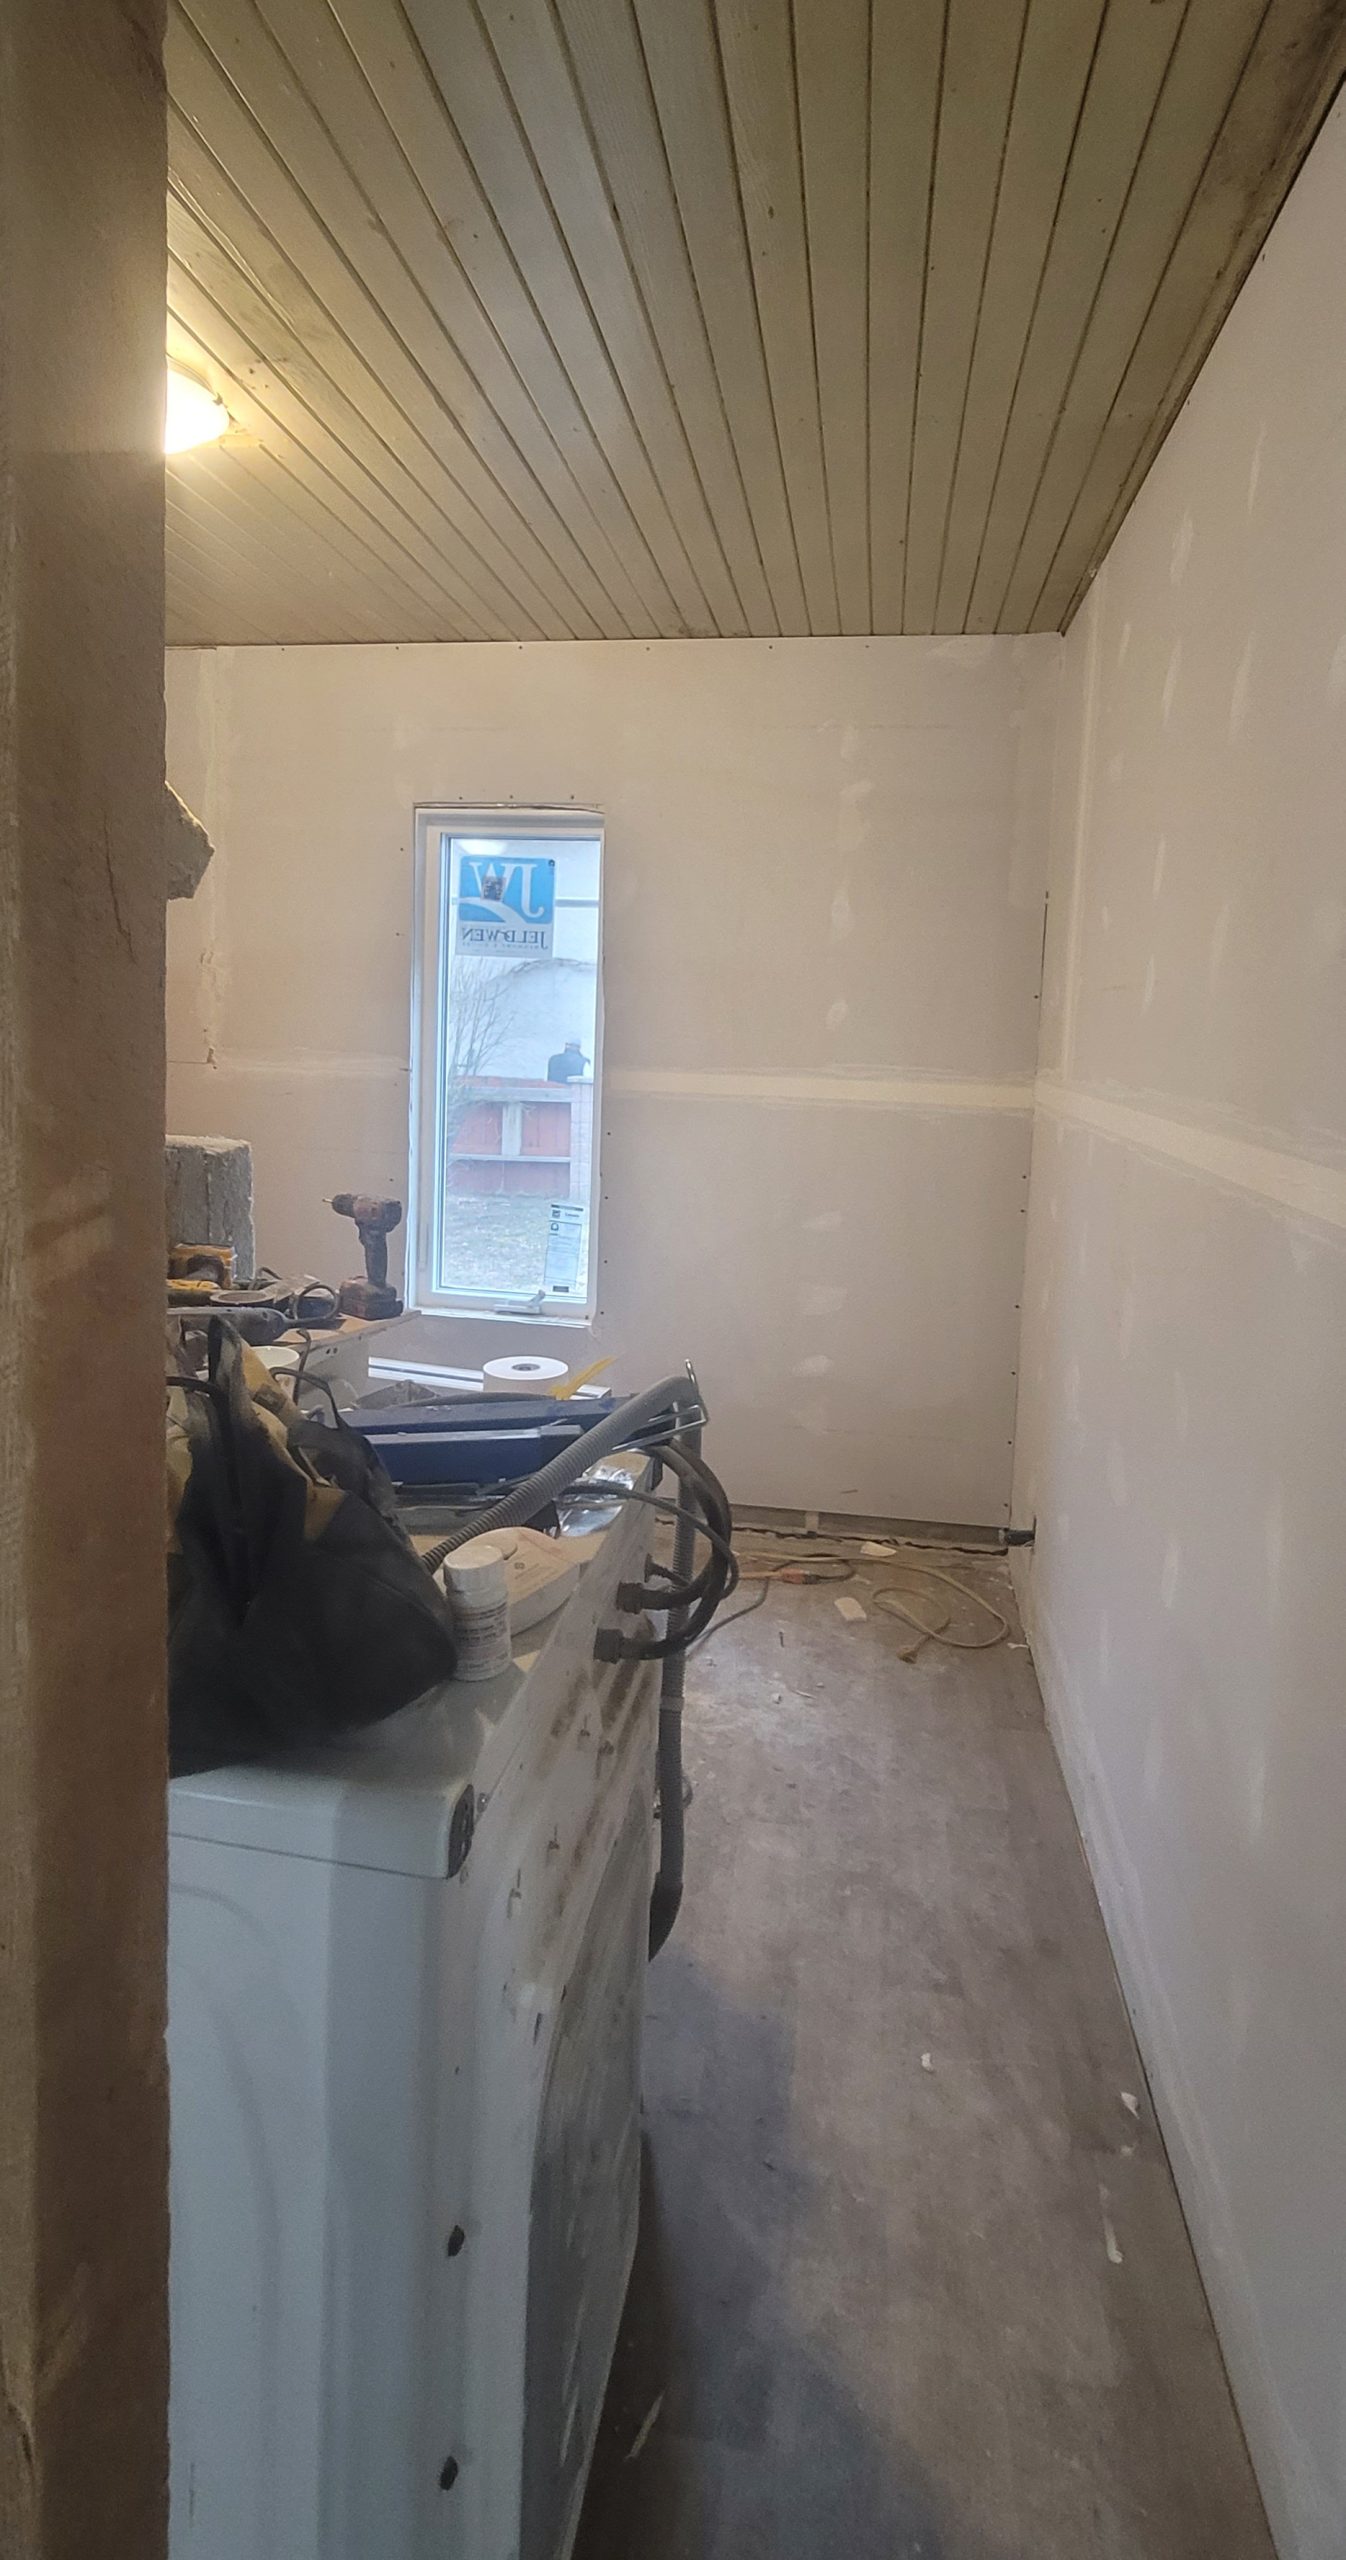
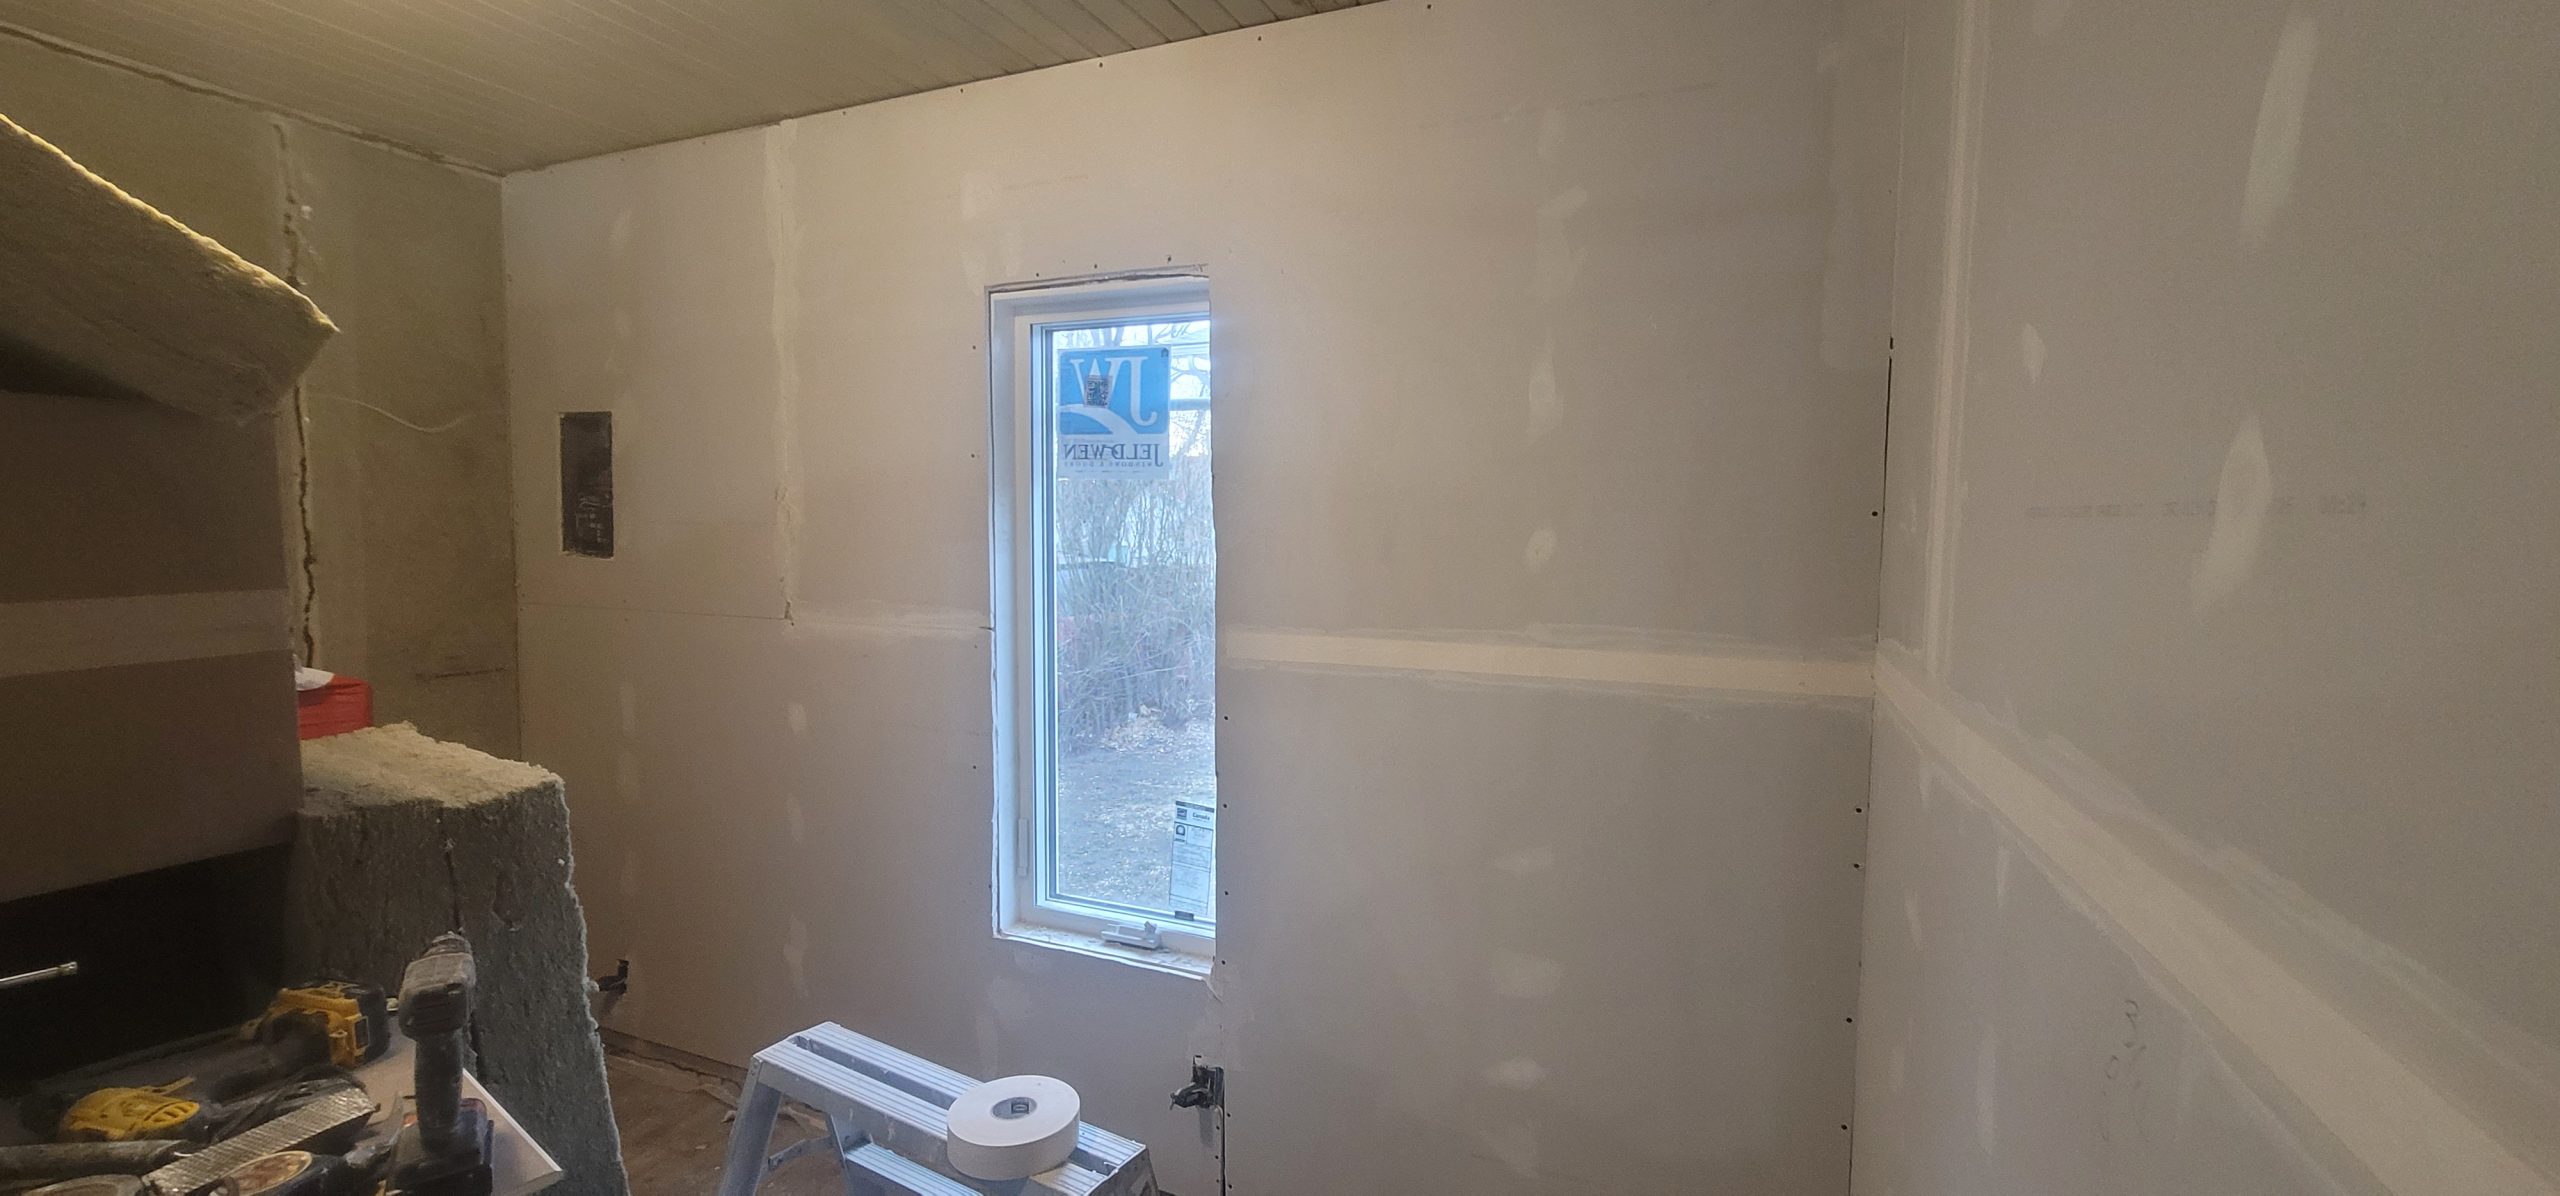
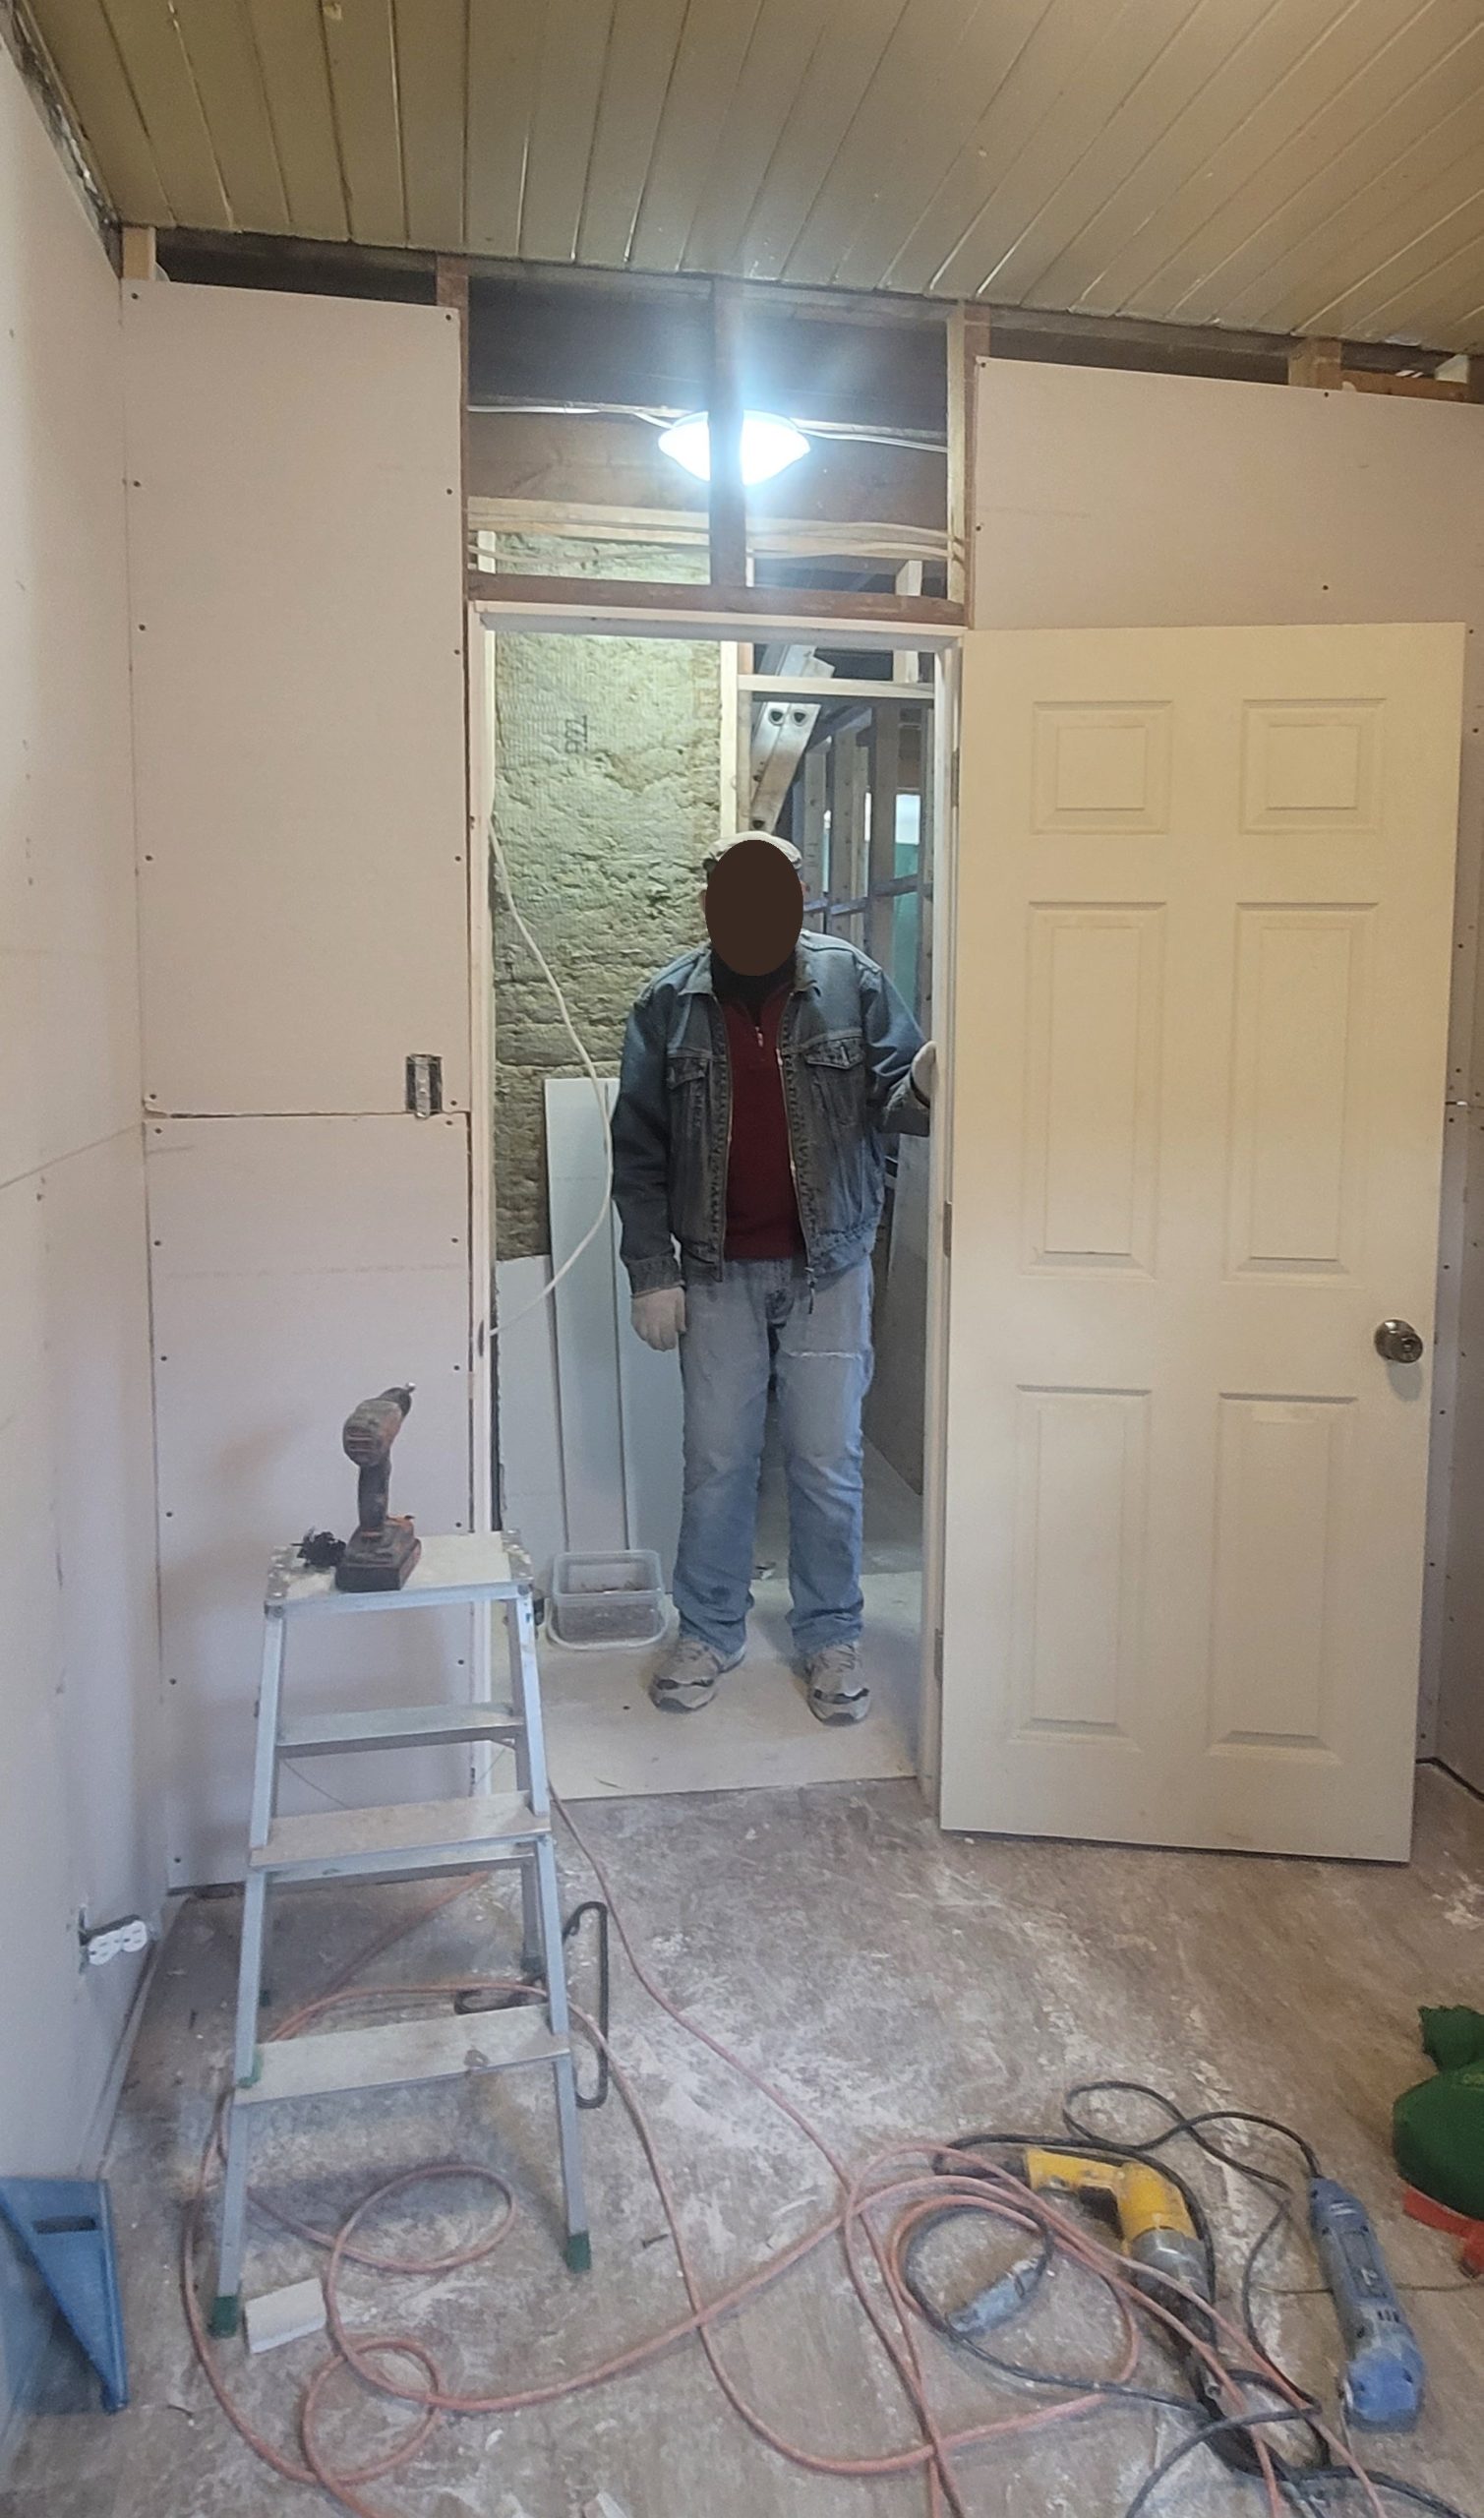
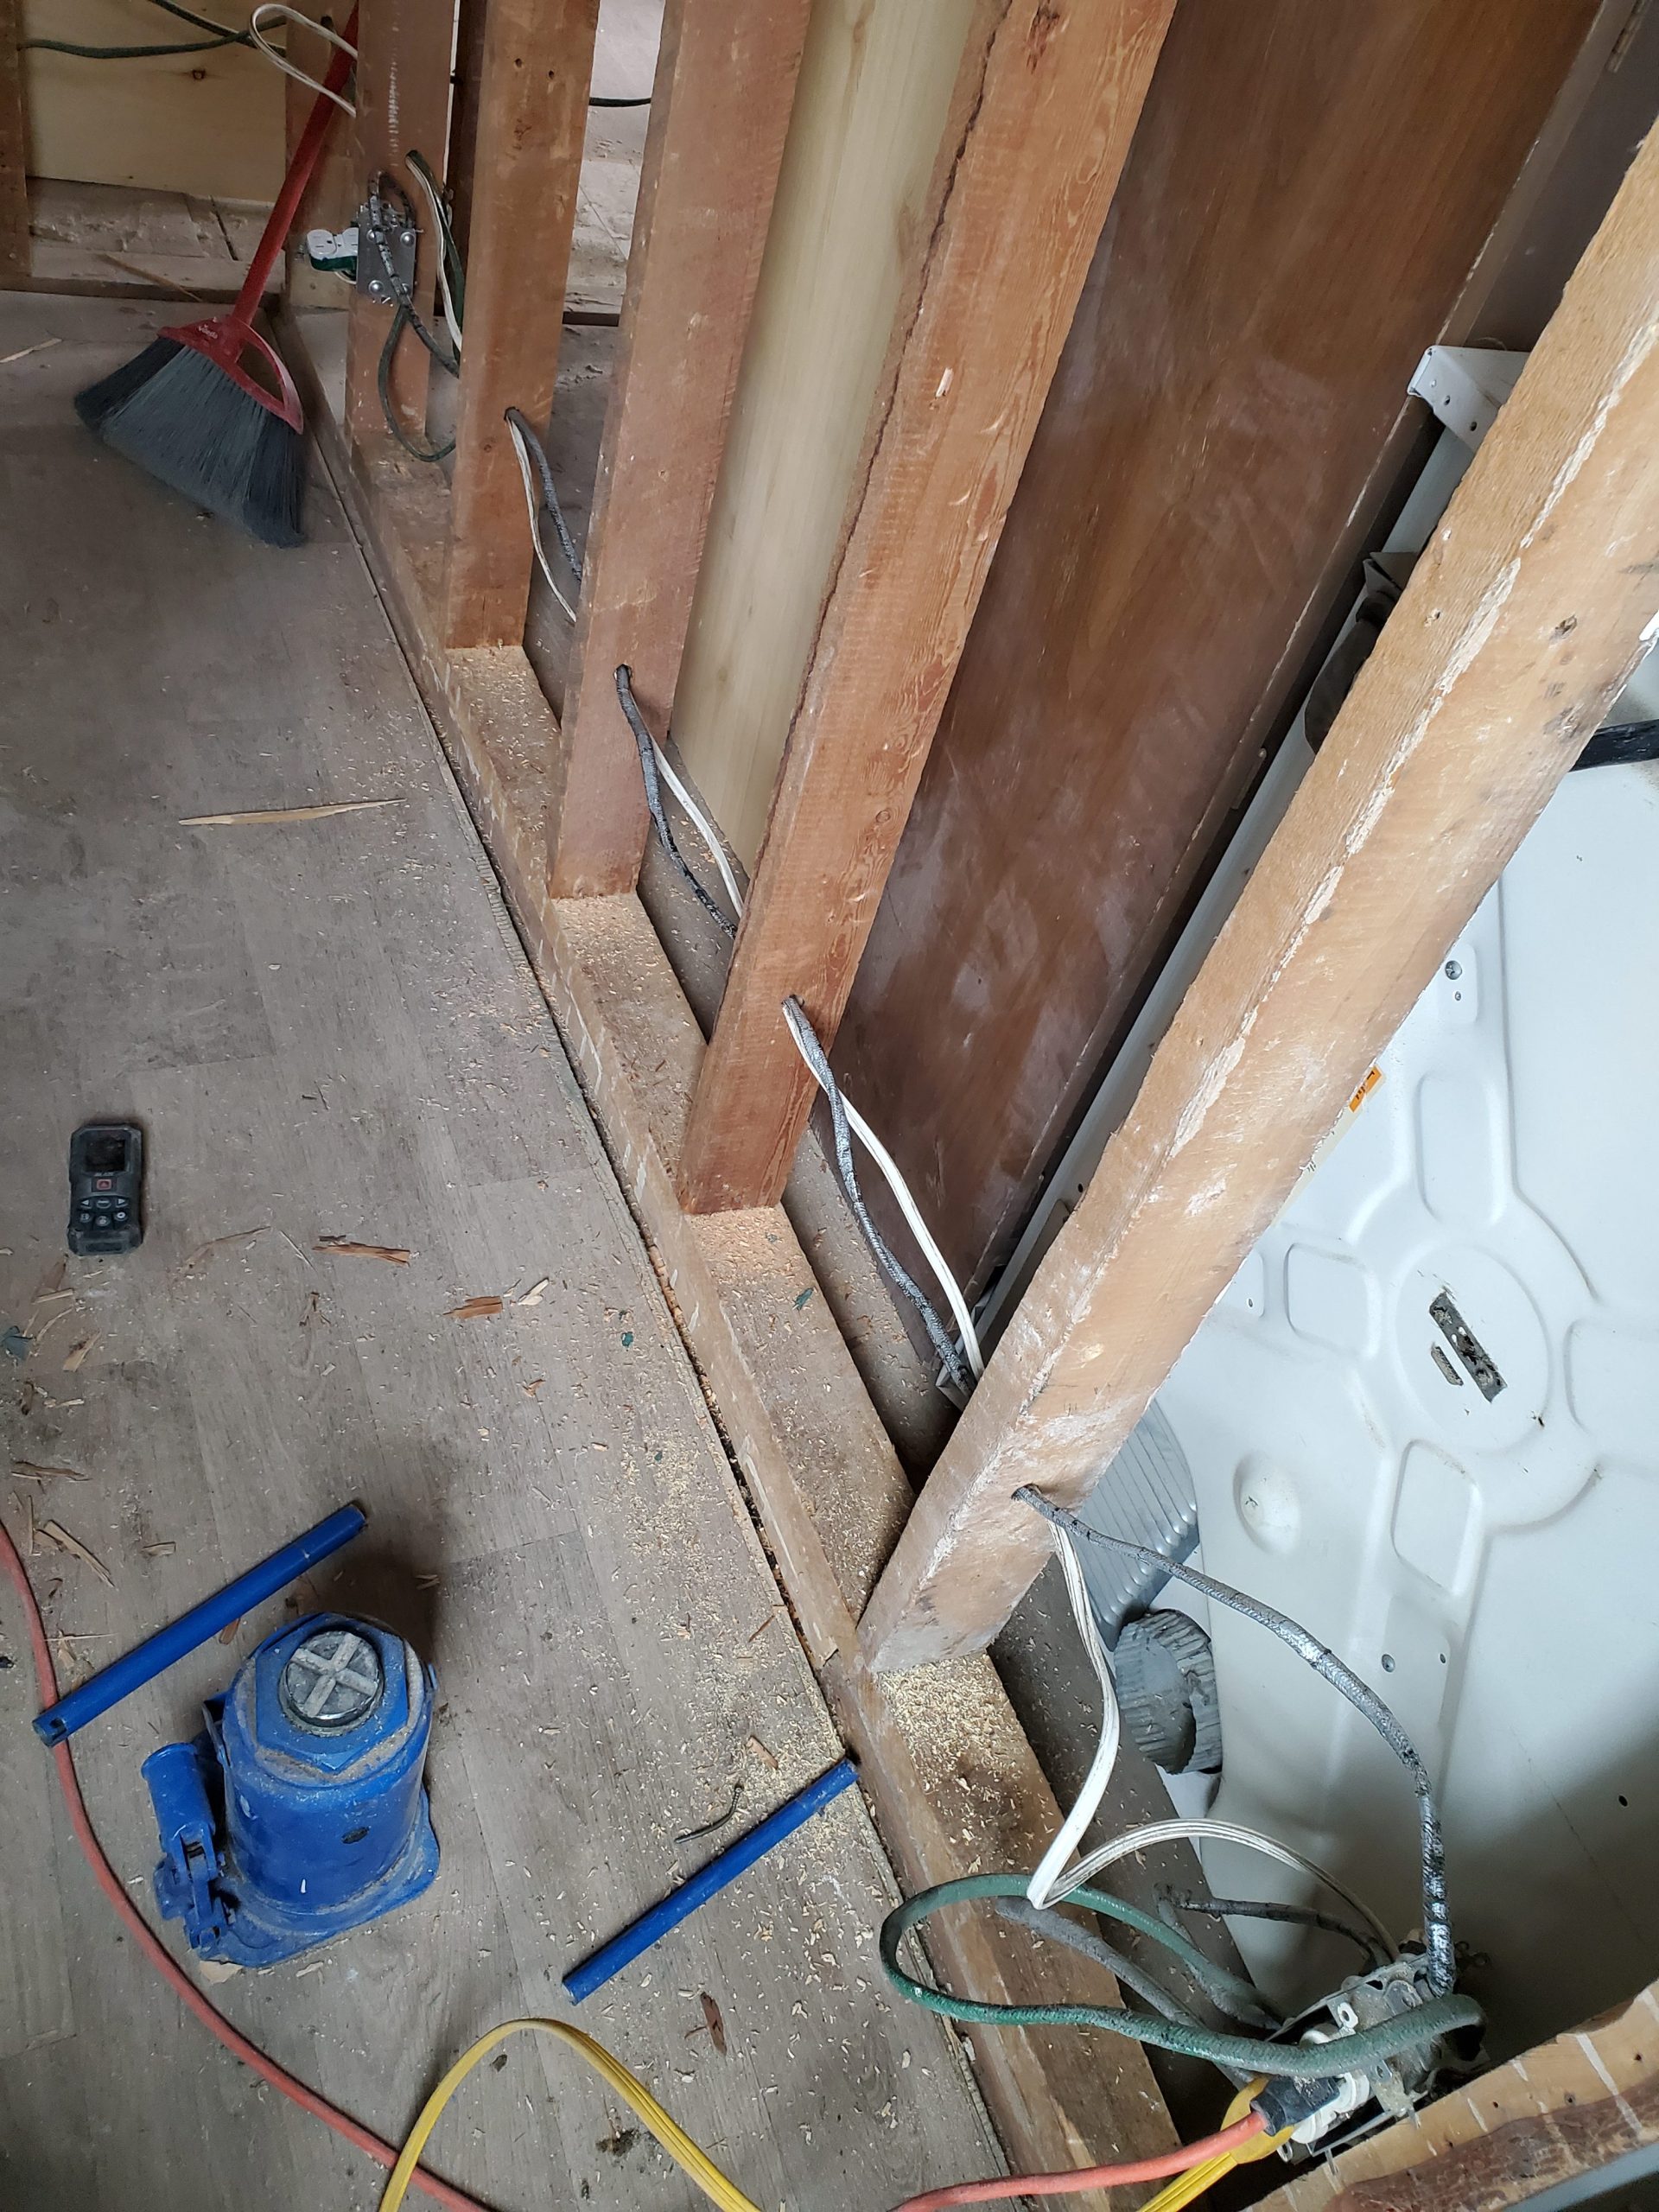
The problems with the mud room continue. 

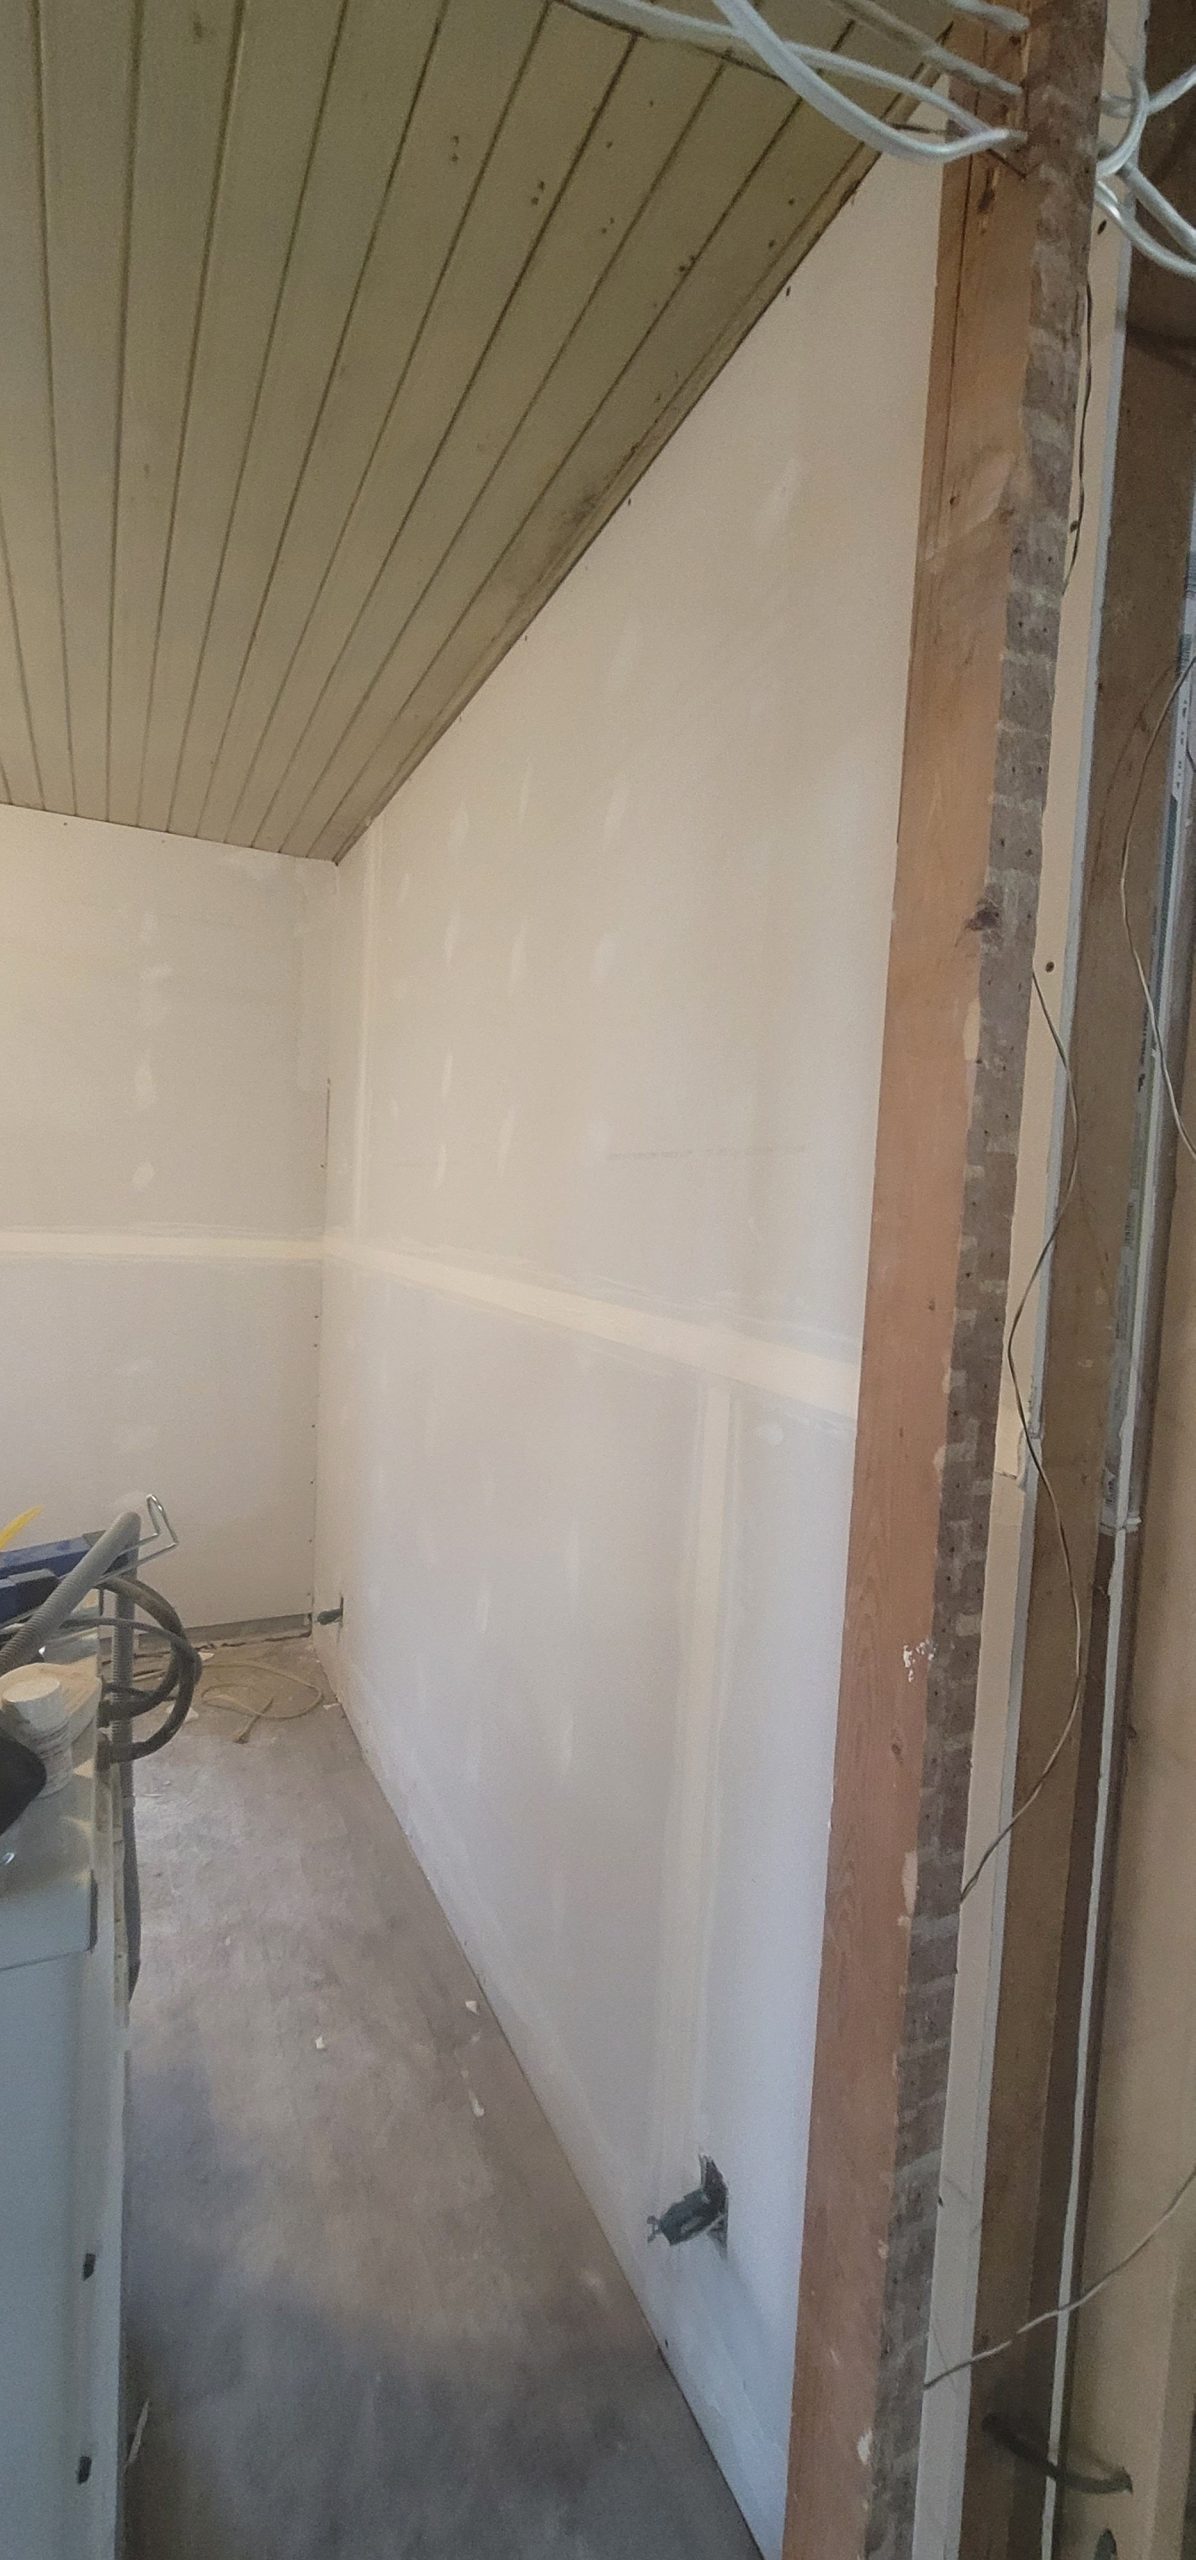
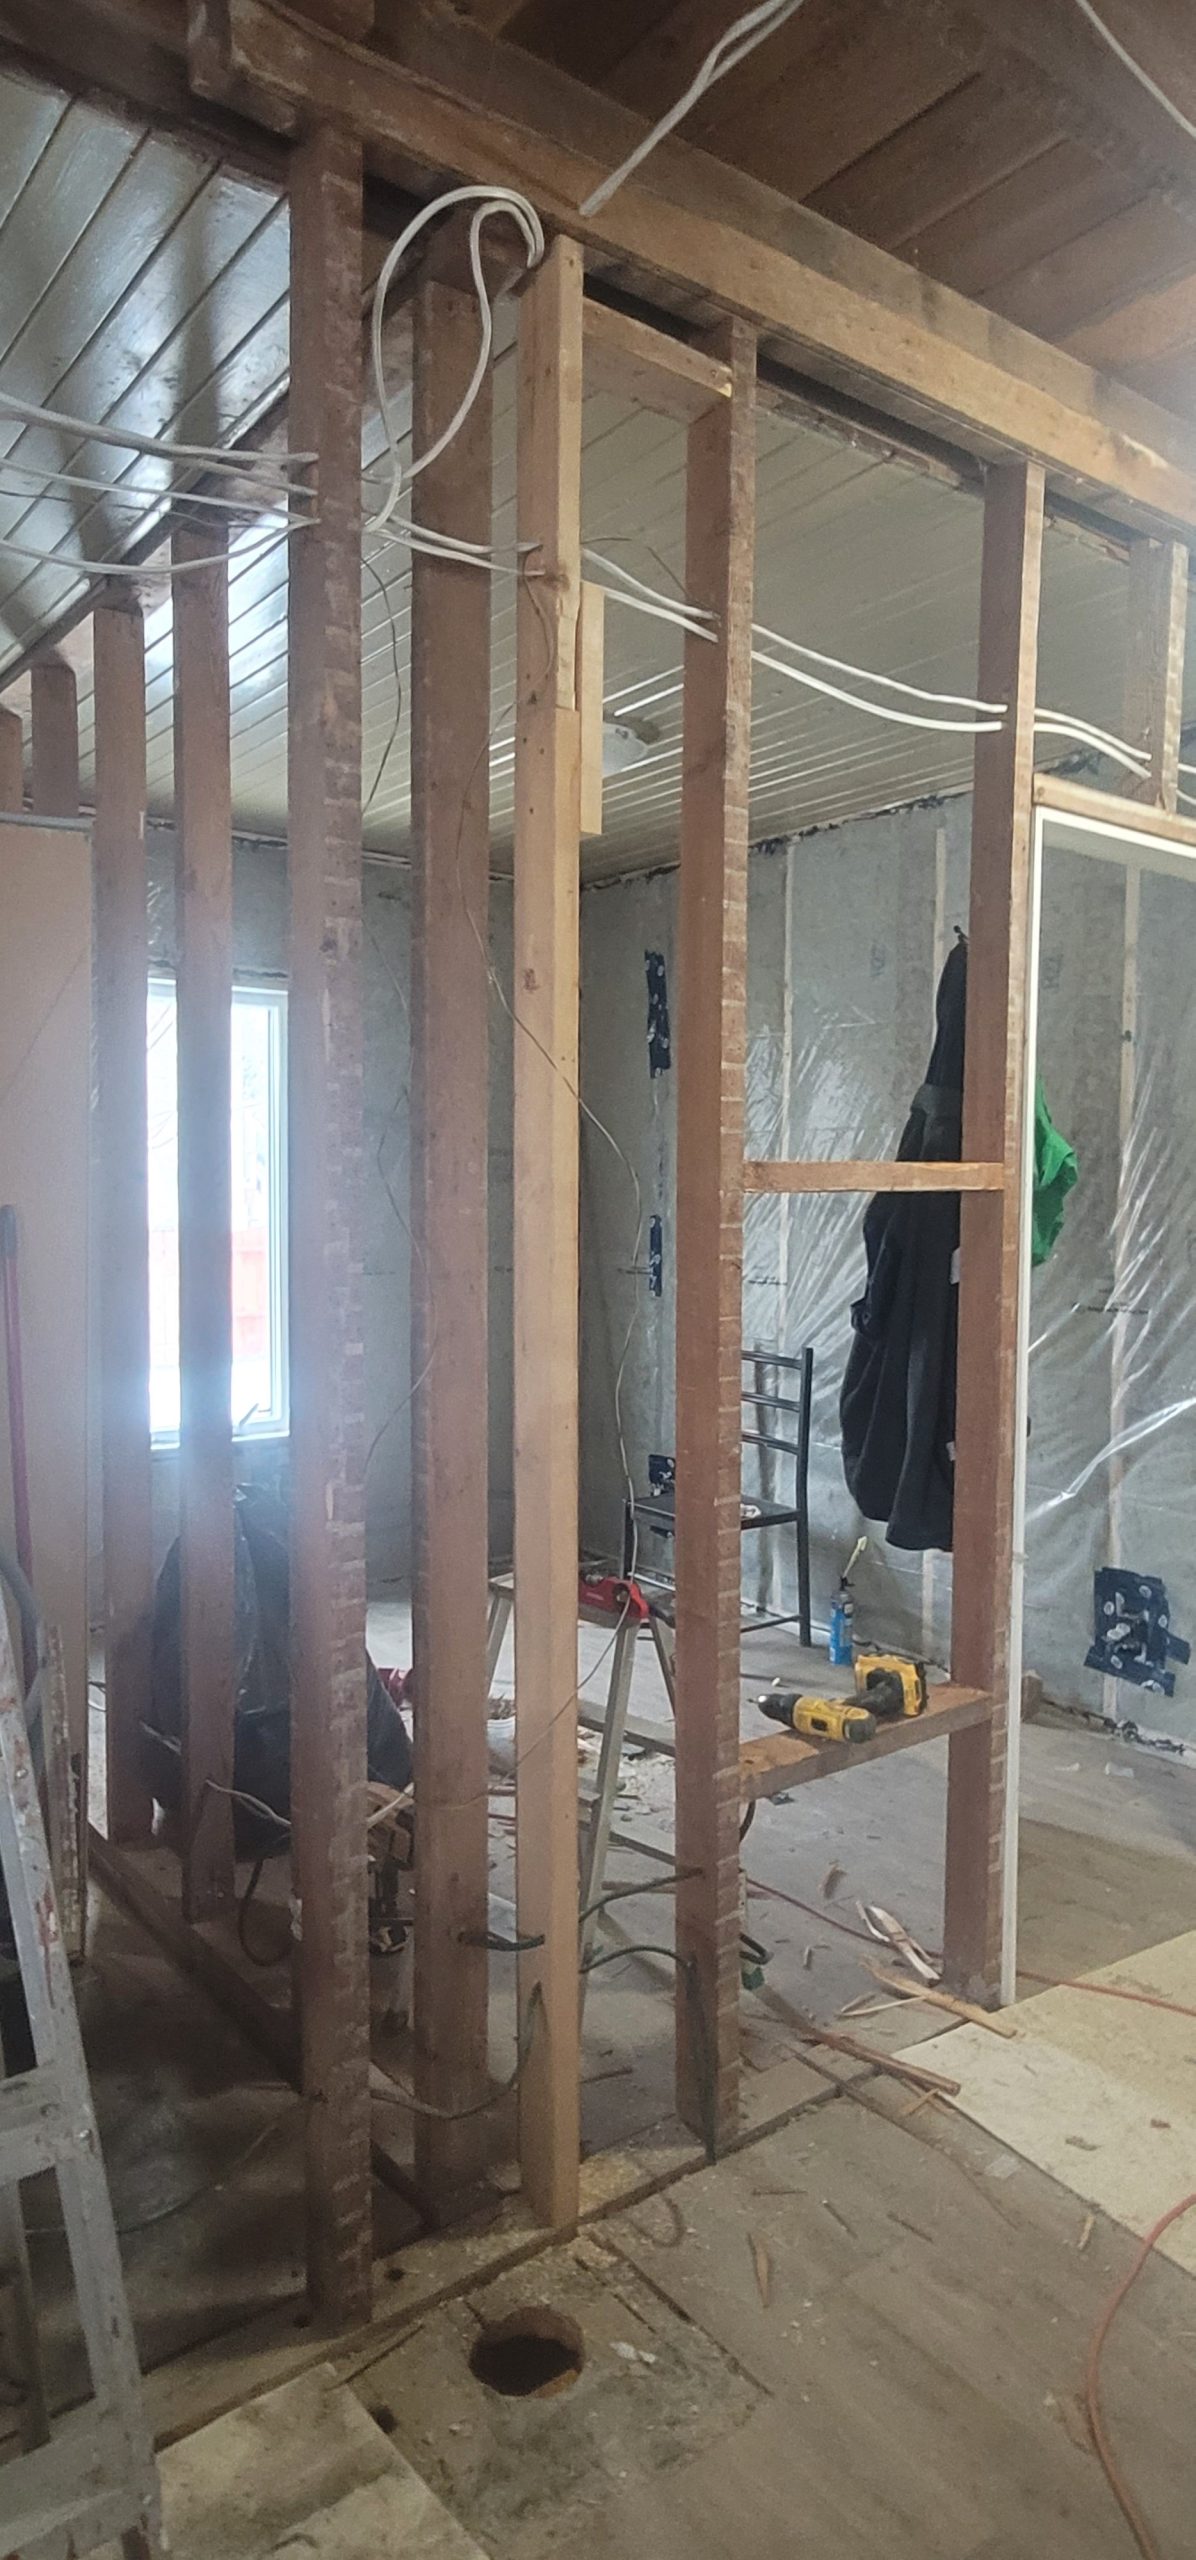
There is more dismantling that … remantling.  (Is that a word?)  We removed the remaining house ship-lap siding from inside the mudroom.  Why?  To get at the 1st add-0n (kitchen BR3) rafters.  We removed: 

  • from wall
    • panelling 
    • ship-lap 
    • tar felt paper 
  • from ceiling 
    • on-the-flat rafters 
    • 1×12 soffit 

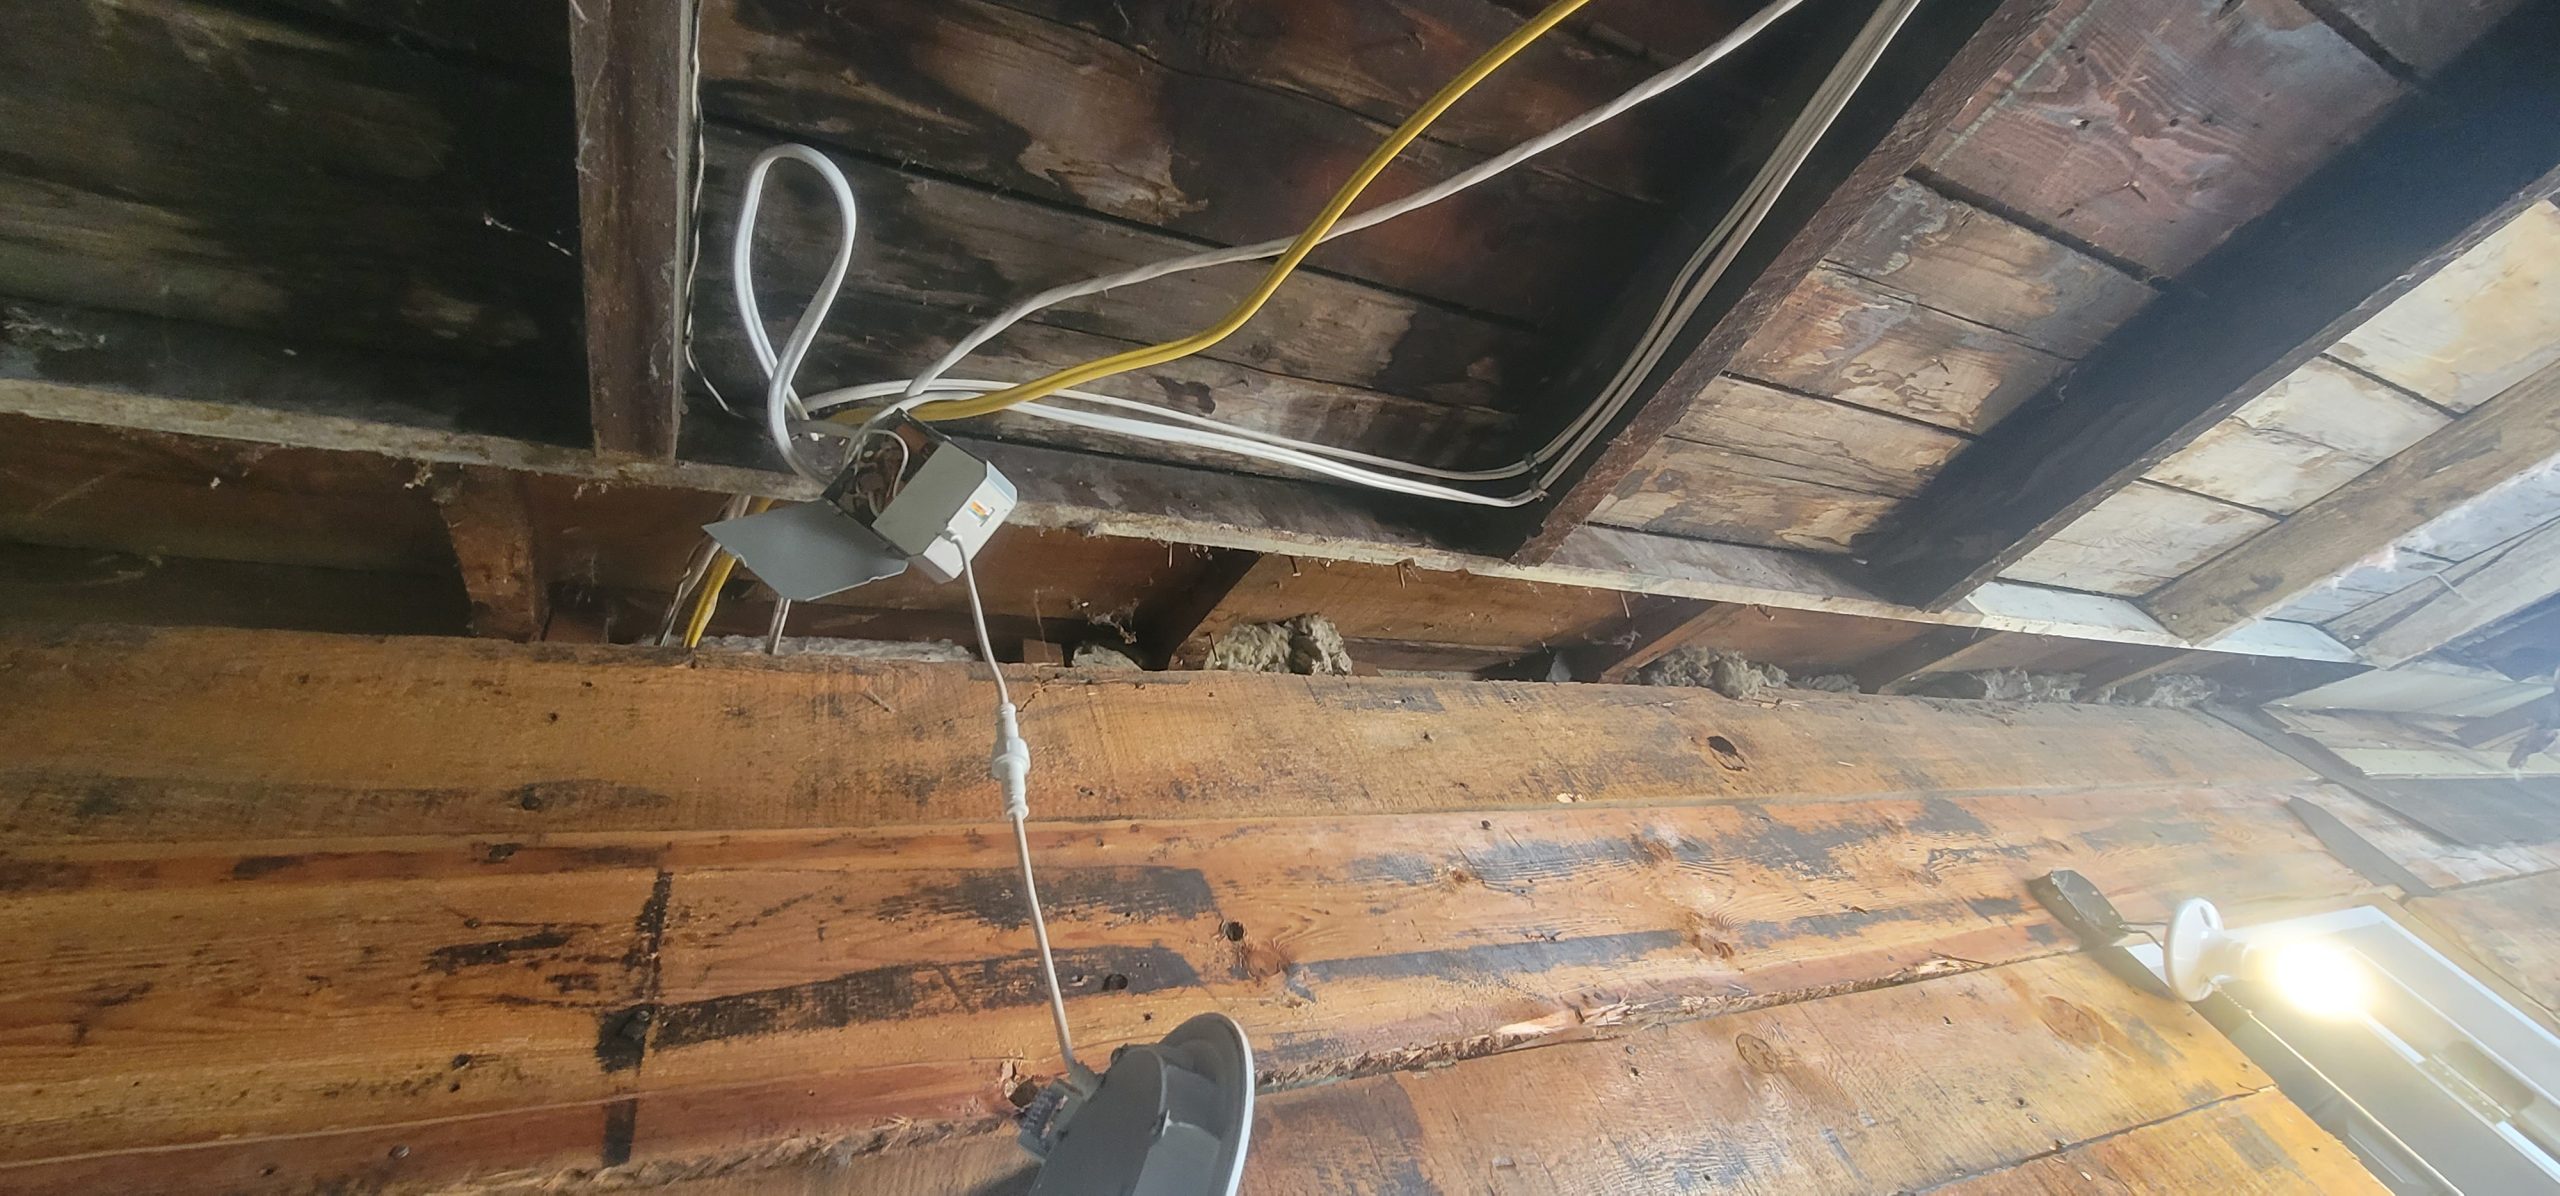
However, the ends of the rafters have been shaved down to make way for a level soffit.  Hence, there is nothing to which to attach new mud room rafters. 

So, the new design is to use hidden-flange hangers to attach them to the house wall studs, rather than to the rafters.  The plan can (/ will likely) change though.

Read more

new, new, new

In an effort to scrape the lipstick off the pig, the bathtubs were removed from both suites, and the old gas stove from the 1940s was brought to the dump.  So what do I put in as replacements? 

The new range for upstairs arrived.  I’m not unboxing it until it is upstairs.  Since I have no stairs, it remains downstairs.  What does it look like?  Wayfair.ca sold it to me

Read more

new BR1-BR2 framing

This is supposed to be a load-bearing wall.  It wasn’t.  It had been hastily reframed when they turned the dining room into bedroom 1 and the kitchen into bedroom 2.  (Or, at least, I’m assuming this was the layout.)  The framing to fill in the passageway from kitchen to dining was uneven, sticking out a quarter inch to the south.  This might be good if you’re covering it with plaster – anything can be covered in plaster – but no good if you wish to sheath with drywall.

So Dave and I redid all the framing in the middle of this wall along with a double-bottom plate to help stabilize the levelness of the floor and squareness of the wall.  PLSS, anyone? Because the house has been like this for 70-plus years, the levelness of the floor fell short by about 1/8 inch.  (I couldn’t jack the above floor any more without breaking something.) 

The wiring was disconnected and pulled.  I’ll reroute the wiring later. 

crank(y)

Start the day small.  Clean up the place.  Put the window crank on.  Organize one’s tools.  Sweep.  All this grunt work must be done at some point. 

Read more

BR2 boarded, mudded, taped

New pan and knife: 

Can’t find my old ones!  They’re probably rusty by now.  520 was a long time ago. 

So bedroom 2 is now done being boarded, taped, mudded.  For those who don’t know what these words mean: 

  • board – New drywall 4′ x 8′ sheets (boards) are attached to the wall studs.  The edges must line up with wall studs (or furring strips) to attach – they cannot just hang in the middle between studs.  1-1/4″ Philips drywall screws are used.  A screw setter is used to govern depth of the screw. 
  • mud – Drywall compound (mud) is mixed with a little water.  No, this is not the old style powder that is mixed with water – it is premixed – but it is too thick to use when taping.  Screw holes, seams, and any other holes and gaps are filled. 
  • tape – A layer of this thinner mud is applied to joints, then paper “tape” (no, not sticky on one side – just paper) is added and smoothed out with a knife (no, not a knife that you would think – a putty knife). 

Later, a “skim coat” (even thinner mud) will be applied and, later once dried, sanded to a smooth finish to paint. 

Bedroom 2 boarded, taped, mudded 


Bedroom 1 half done 


BR2 mostly drywalled

Bedroom 2 is mostly drywalled.  There is still a board missing above the door header and a 4″ strip at the top to do. 


But at least the drywalling has finally begun. 

only one new stud

It seems I was busy all the time I was at this property today.  I got there at 2pm and left at 8pm.  So what did I do?  I put in a stud. 

But it’s more complicated than that.  Also done:

  • wiring – The reframed wall from previous had to be rewired.  Two lengths connected to various outlets had to be redone. 

  • trimming of sills – We put in sills rather than just standard 2×4 framing with outside planks and shiplap and inside furring strips.  As the exterior planks and shiplap had become de-nailed over the past 120 years, they had to be squeezed back together, and the window hole shrunk by 1/4″.  As a result, the top and bottom sills had to be trimmed in the interior. 
  • wall prep – This was mostly pulling of nails all over the place.  But there also had to be framing added to have enough wall meat to which to attach drywall.  One new 2×4 stud was placed here.  This meant pulling out five lengths of wire (14-2, 14-3, and 22-ga.) and feeding them all through the new stud. 

So, all in all, only one “new” thing was done.  The rest of my activities were fixing, completing, or redoing other stuff.  Yay.