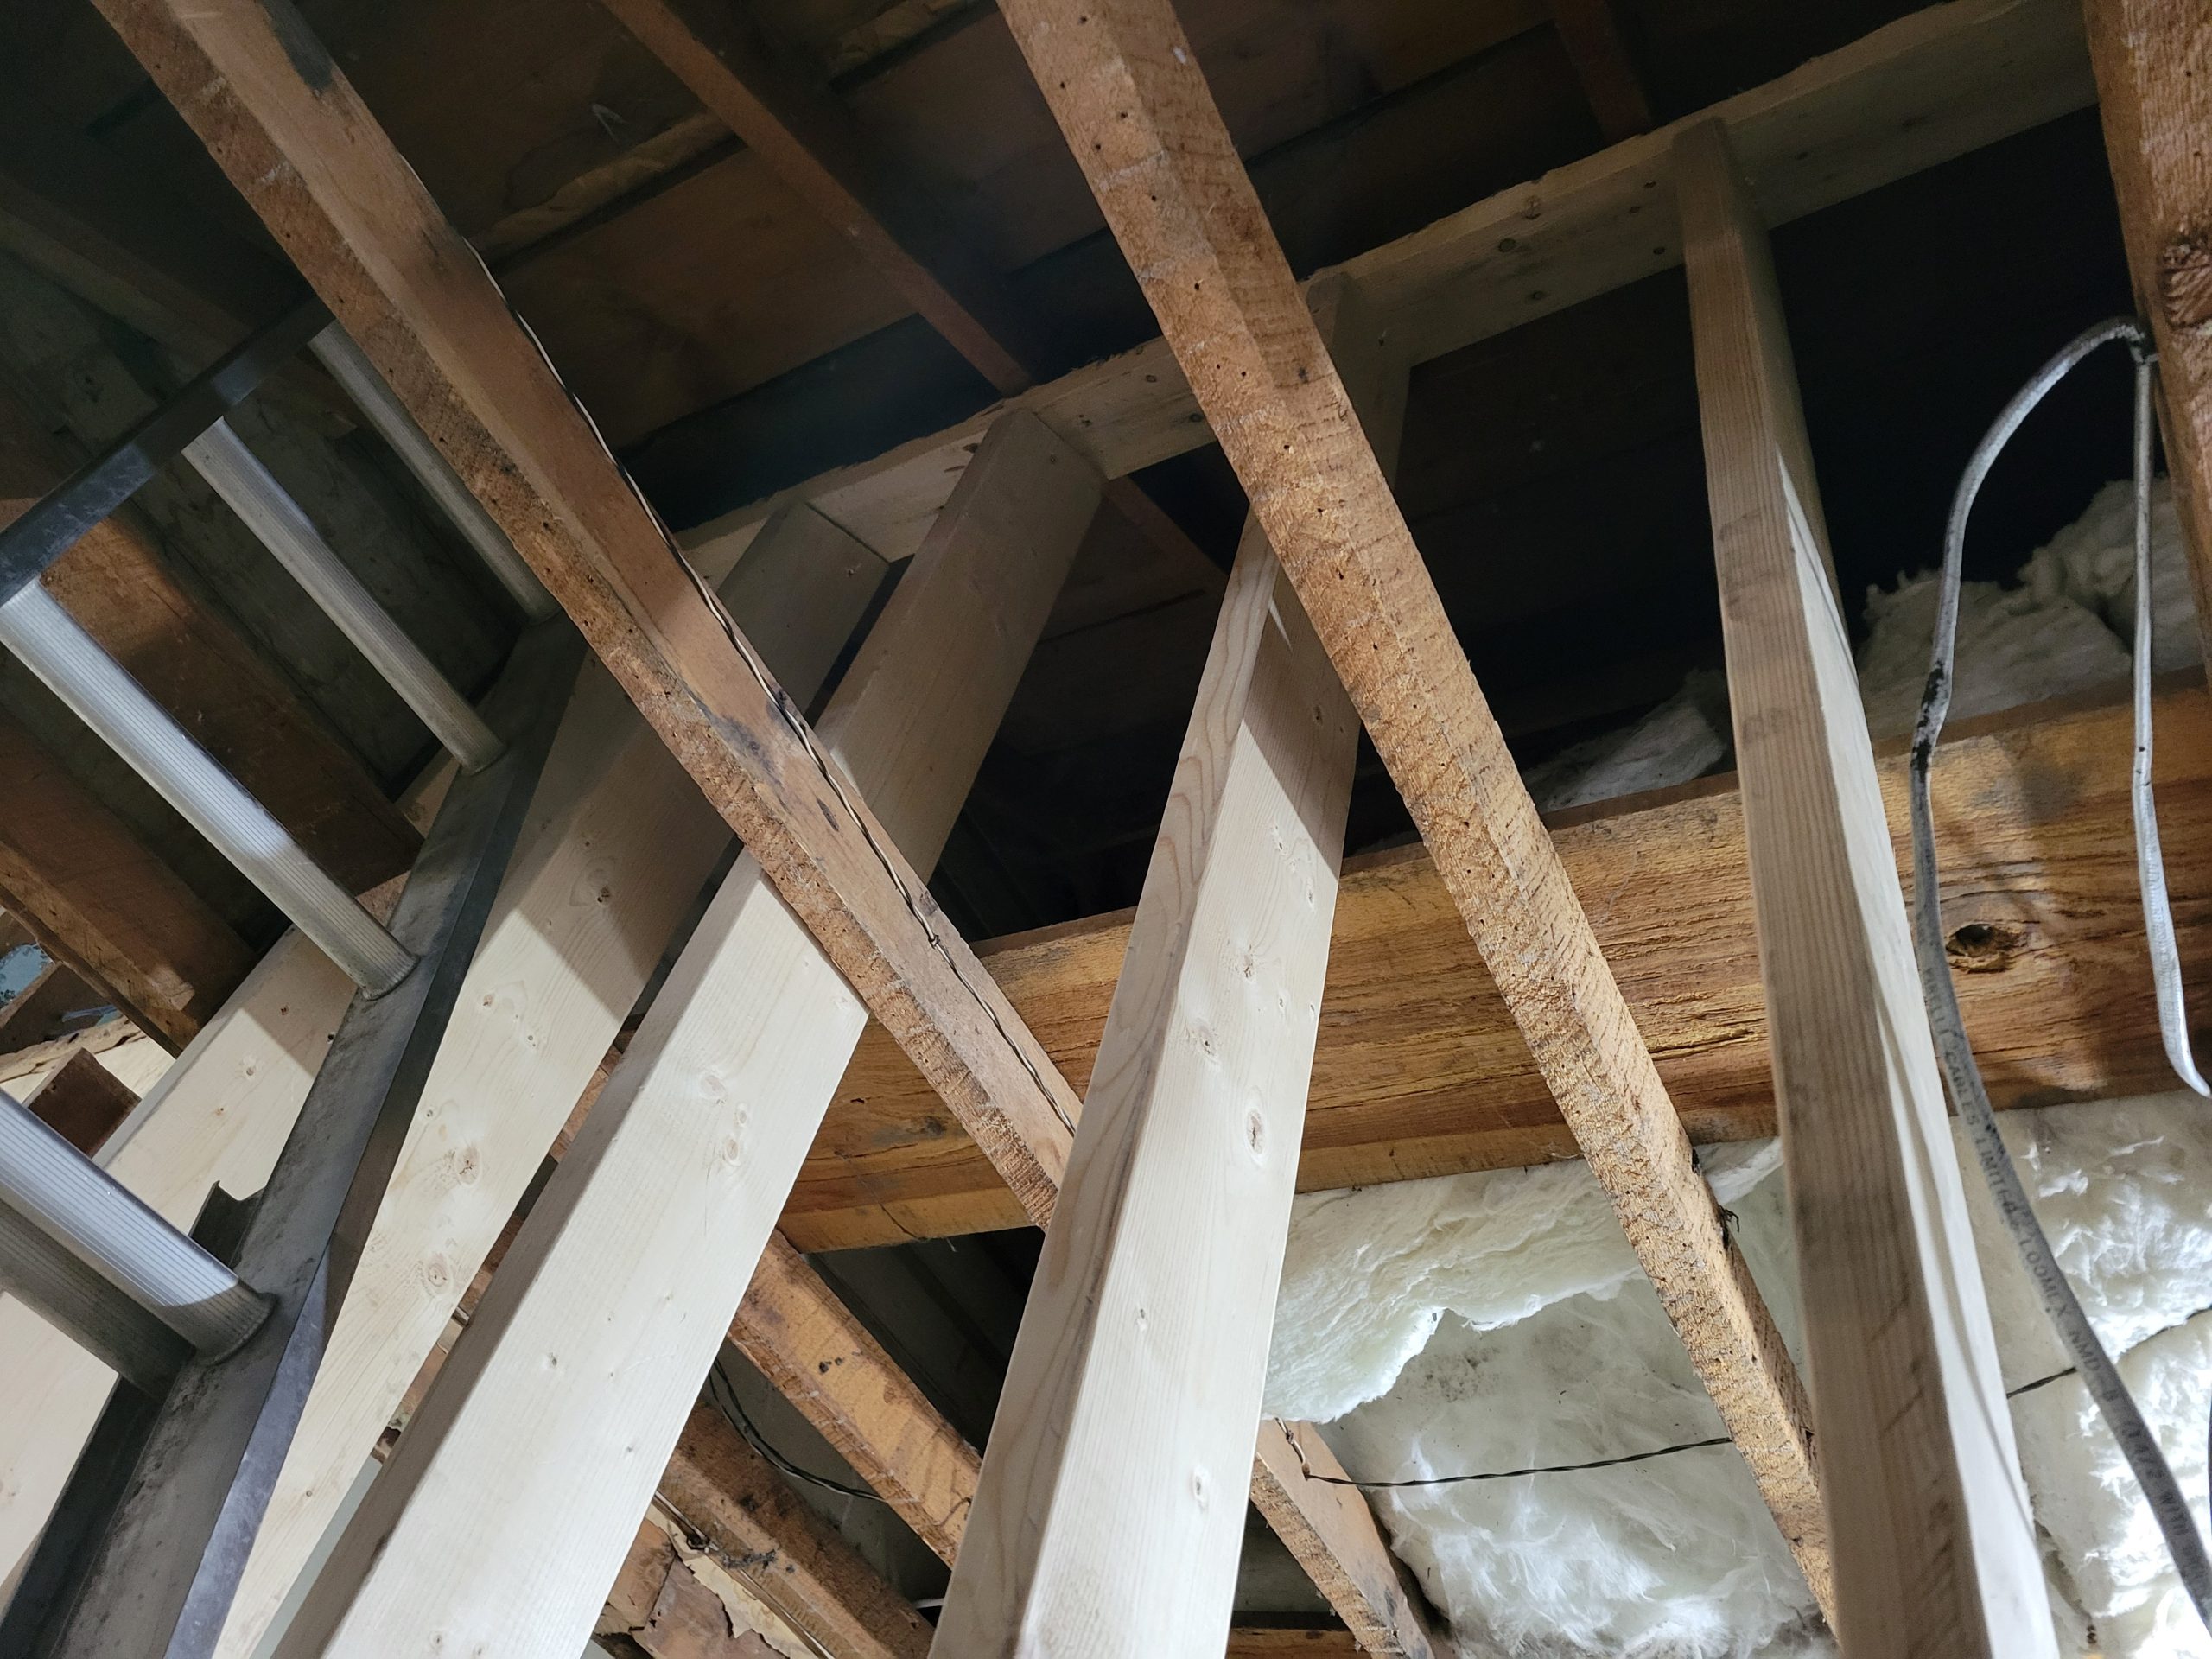
This was a big day in terms of re-construction. Four rafter ties were cut and reinforced by the new 2×6 balloon framing studs.
Before 2×6 bridging:
projects on the go
This was a big day in terms of re-construction. Four rafter ties were cut and reinforced by the new 2×6 balloon framing studs.
Before 2×6 bridging:
This has bothered me for years. I hung these boxes for Mom years ago, but one was always tilted. I straightened it today.
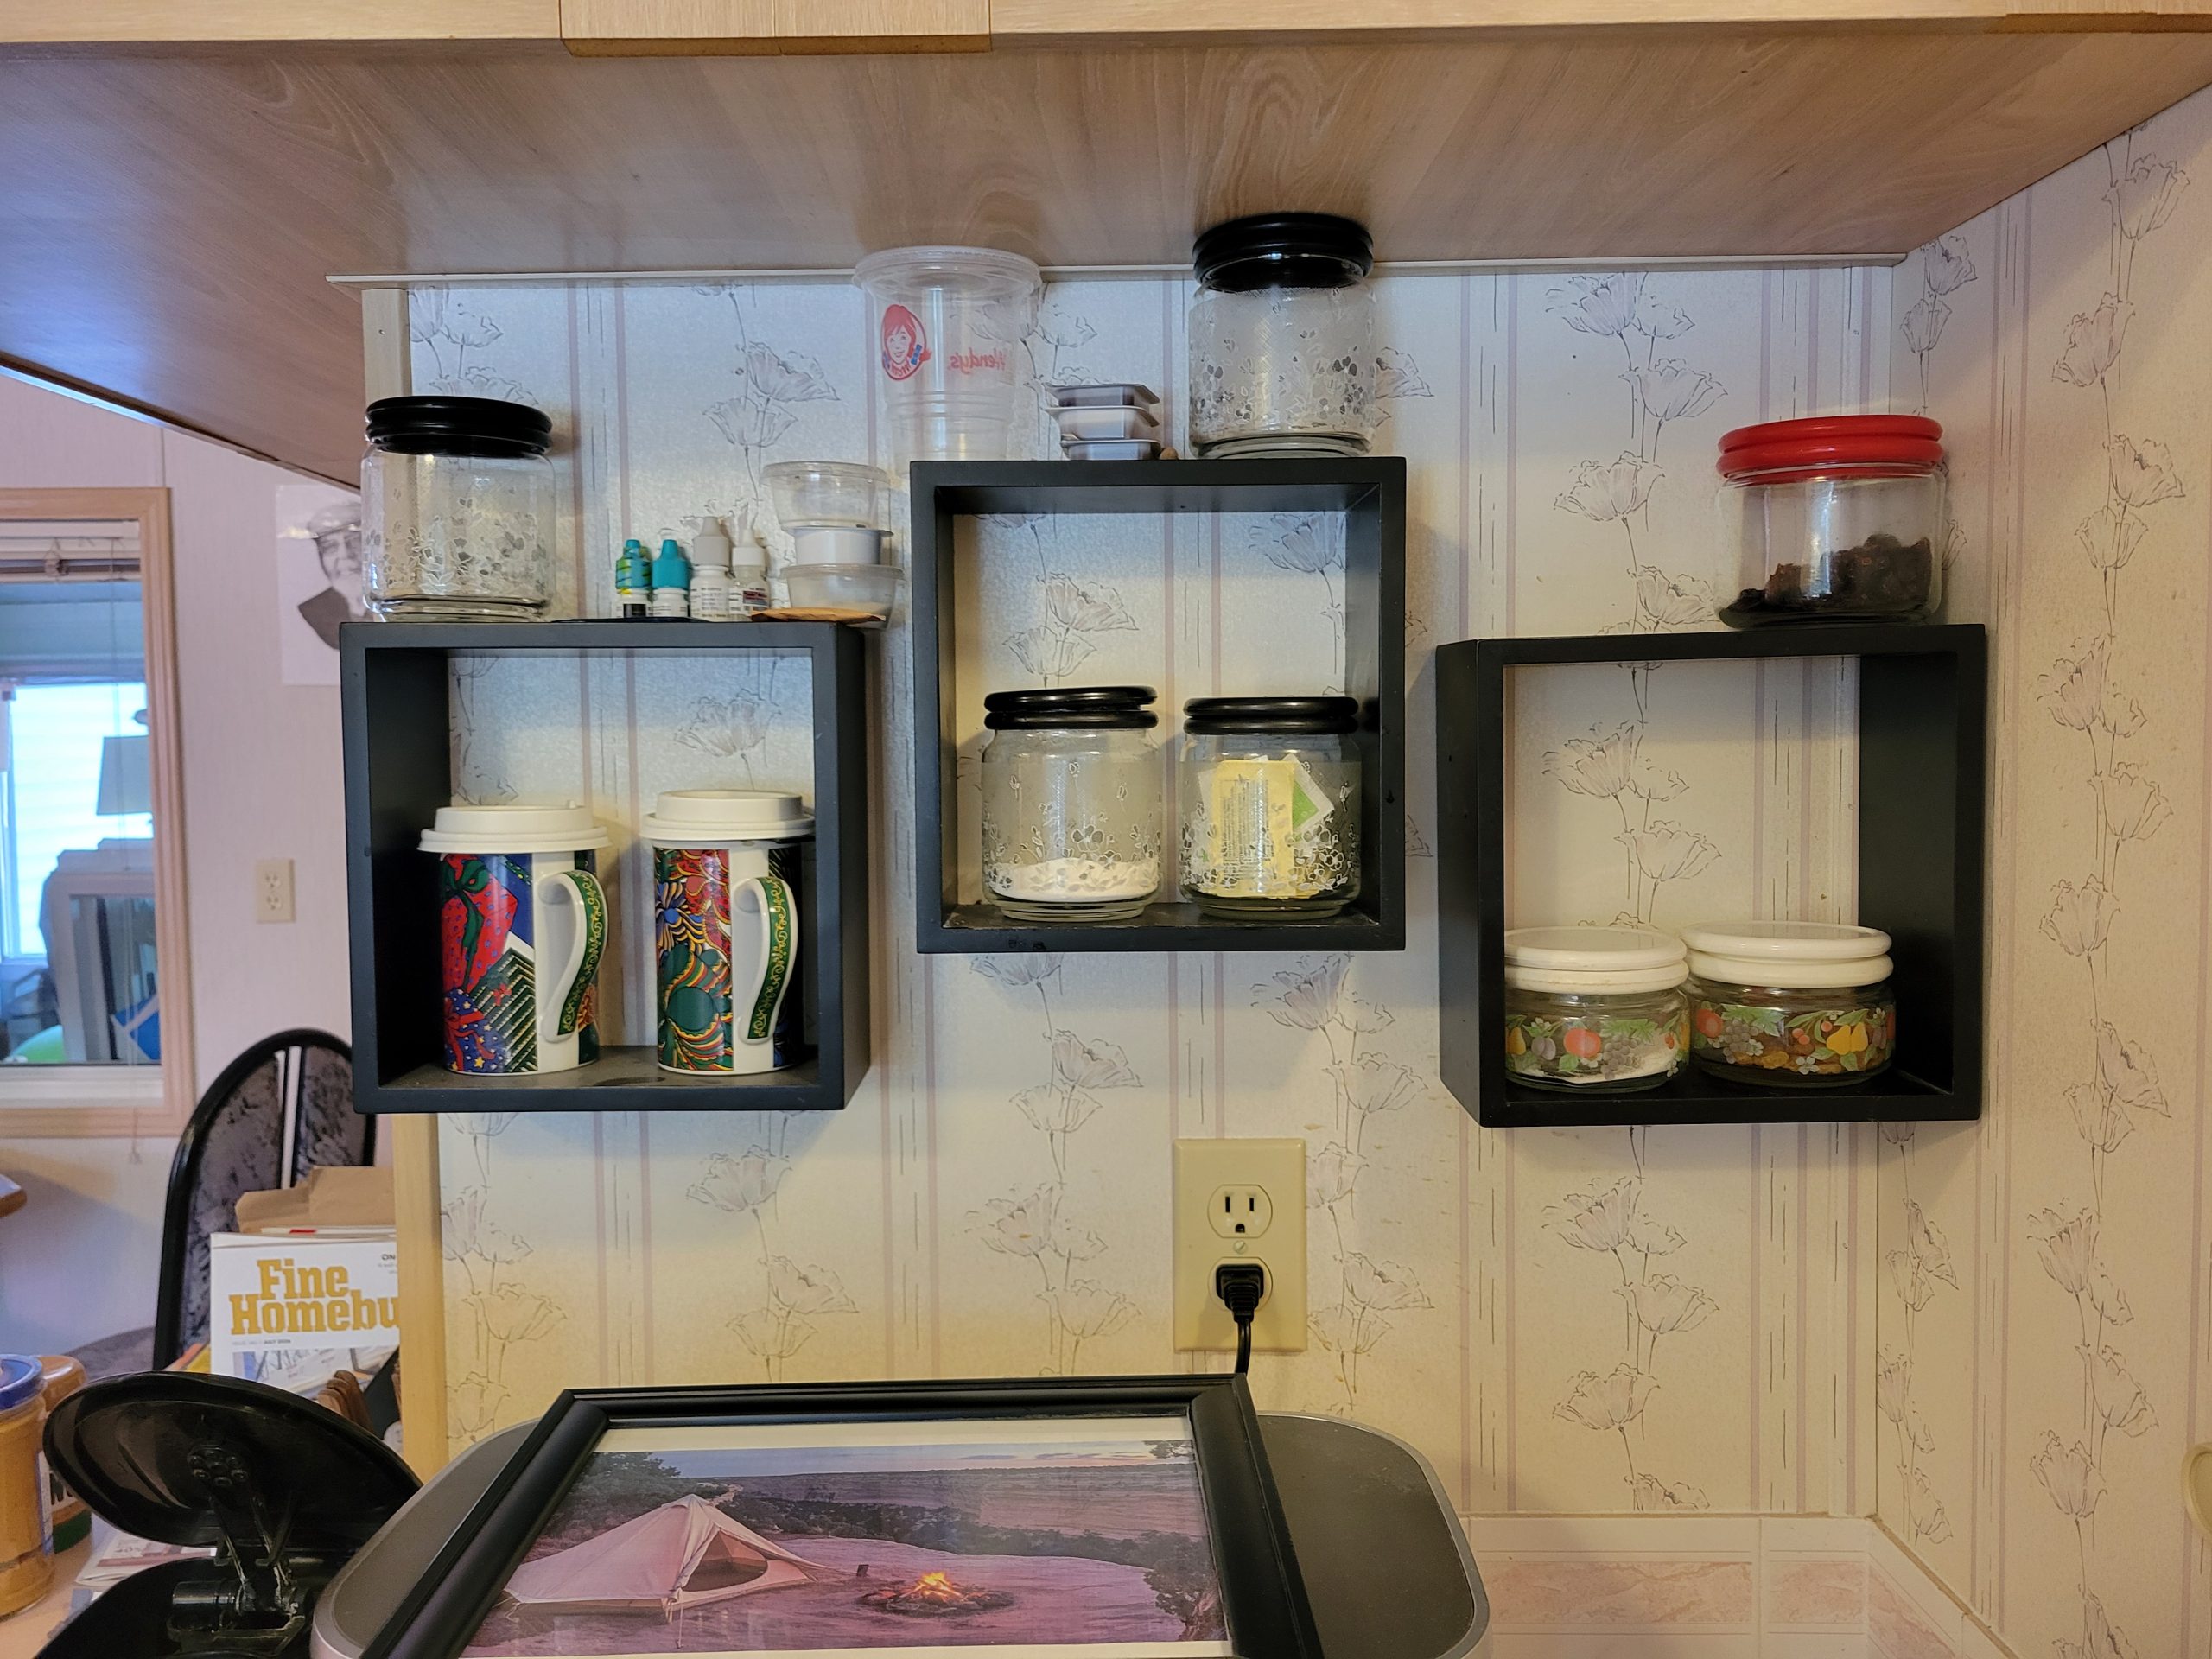
(The one on the right.)
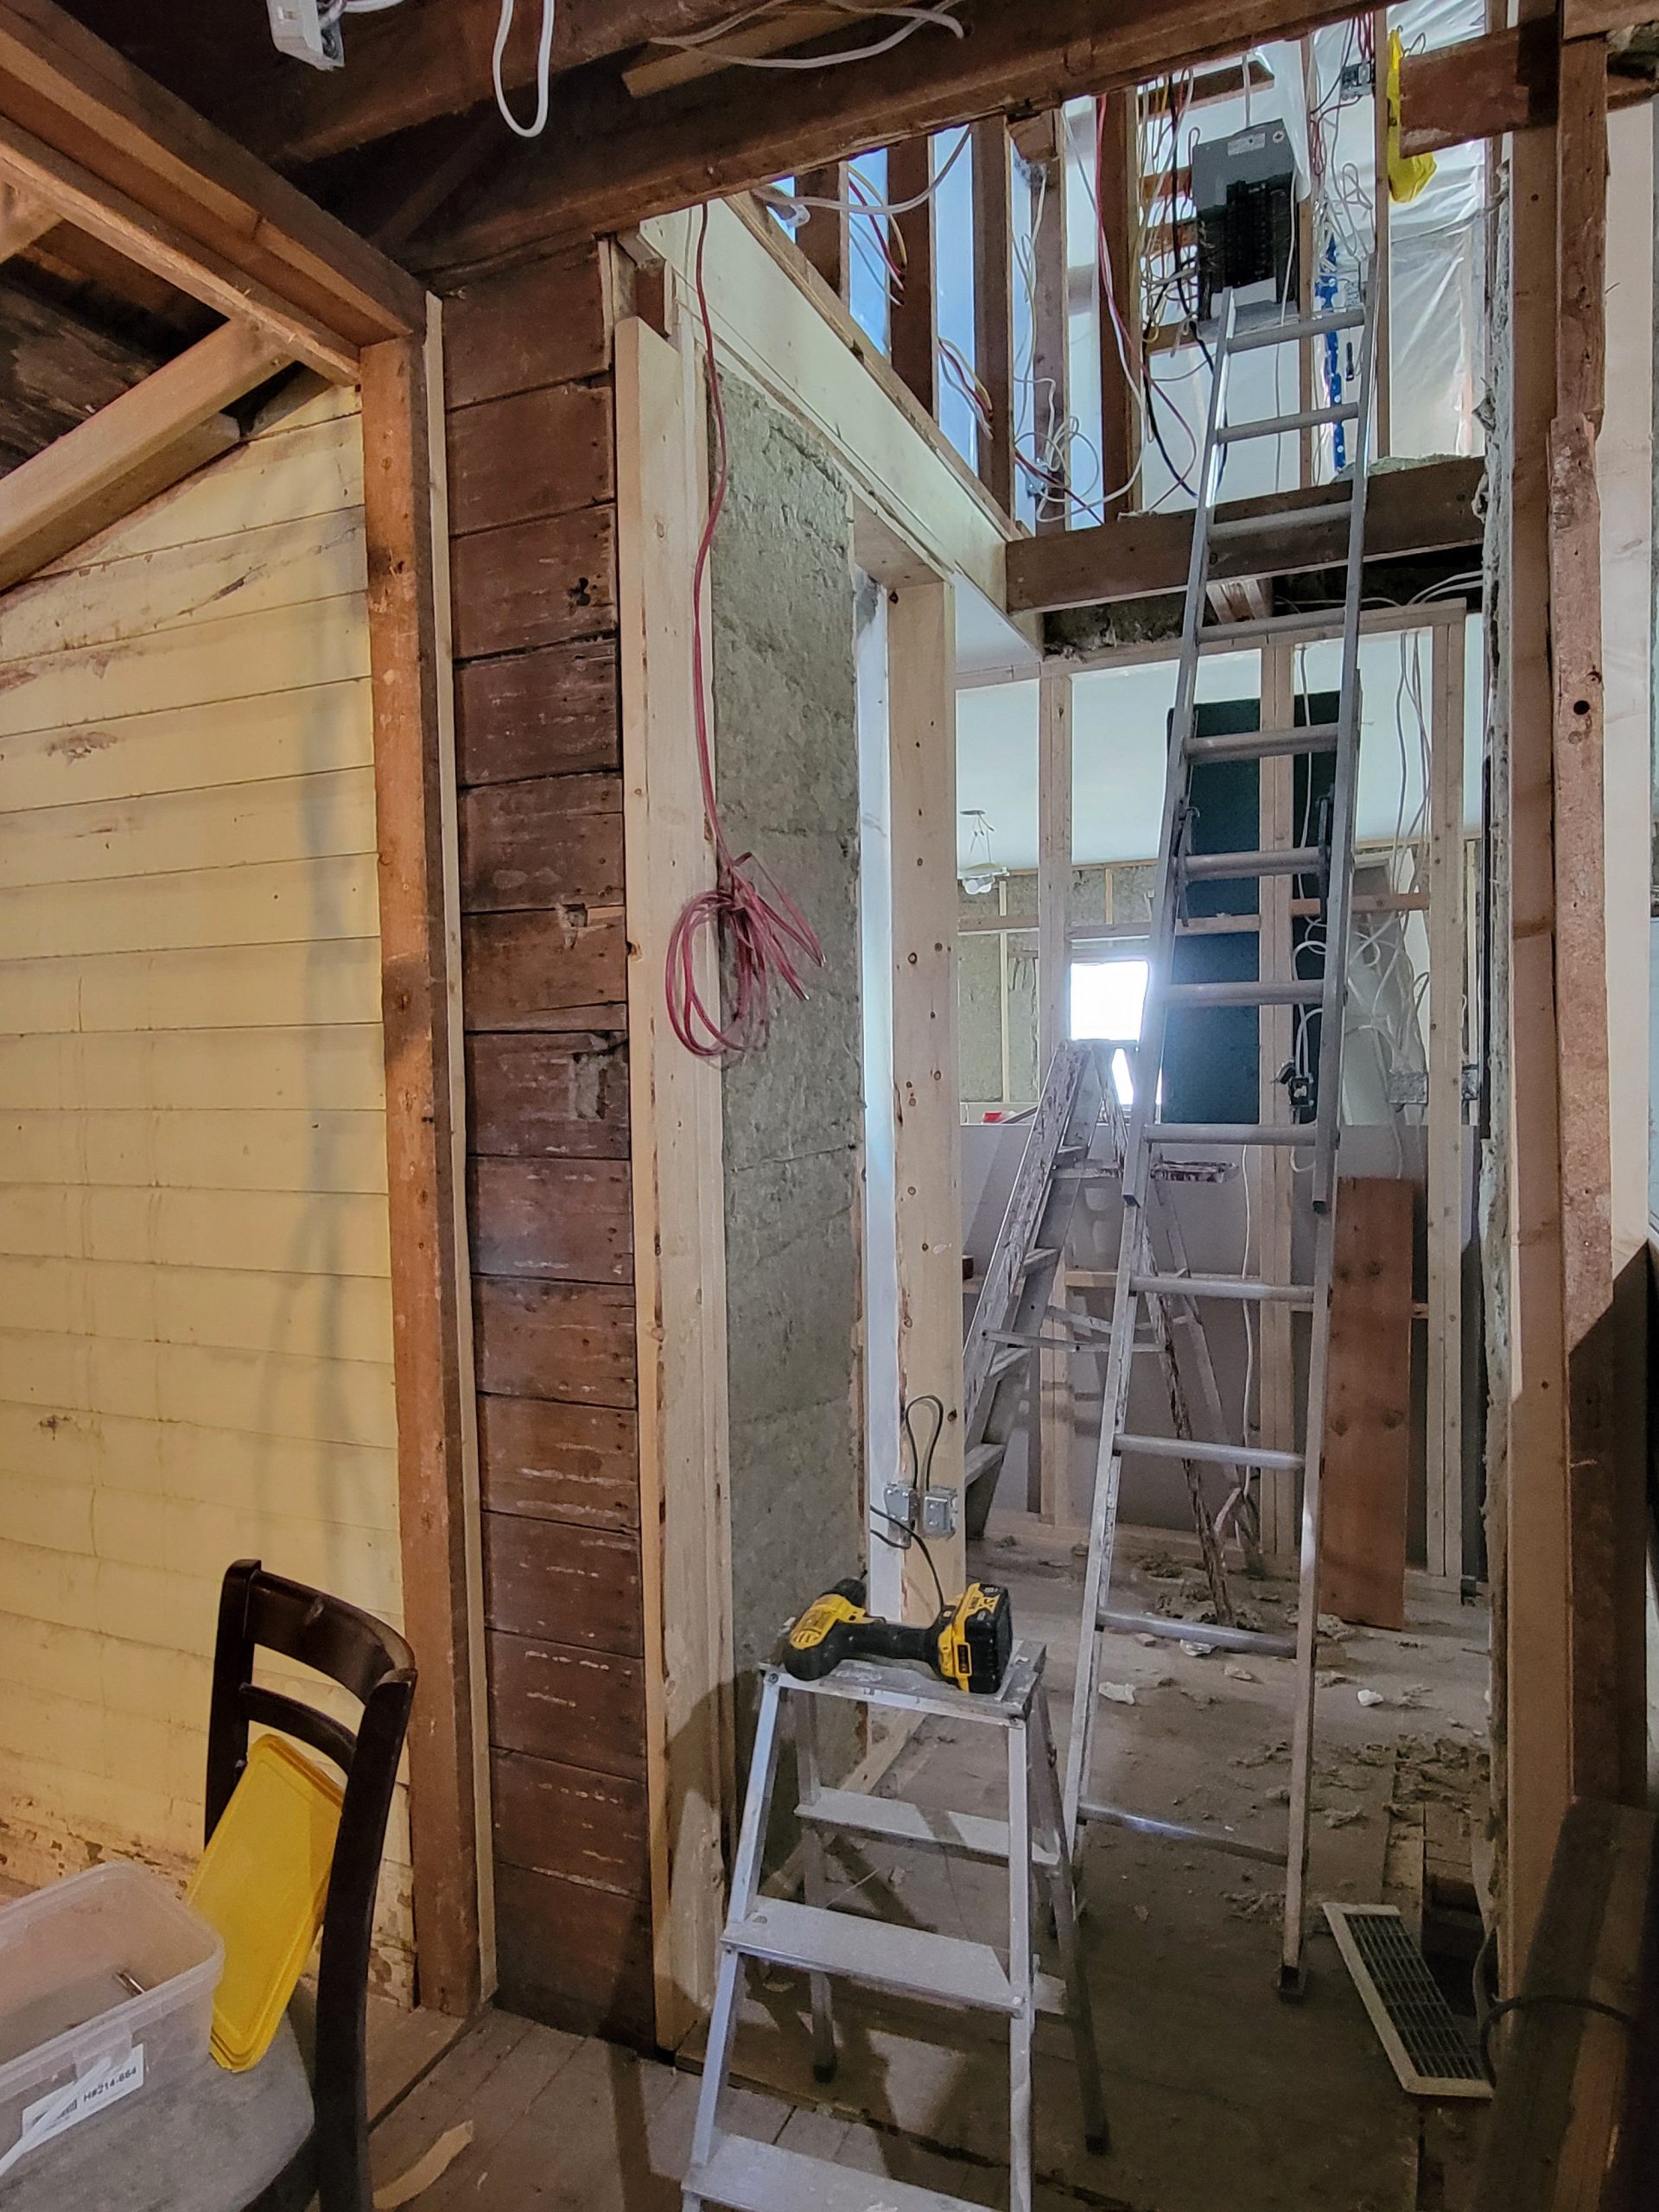
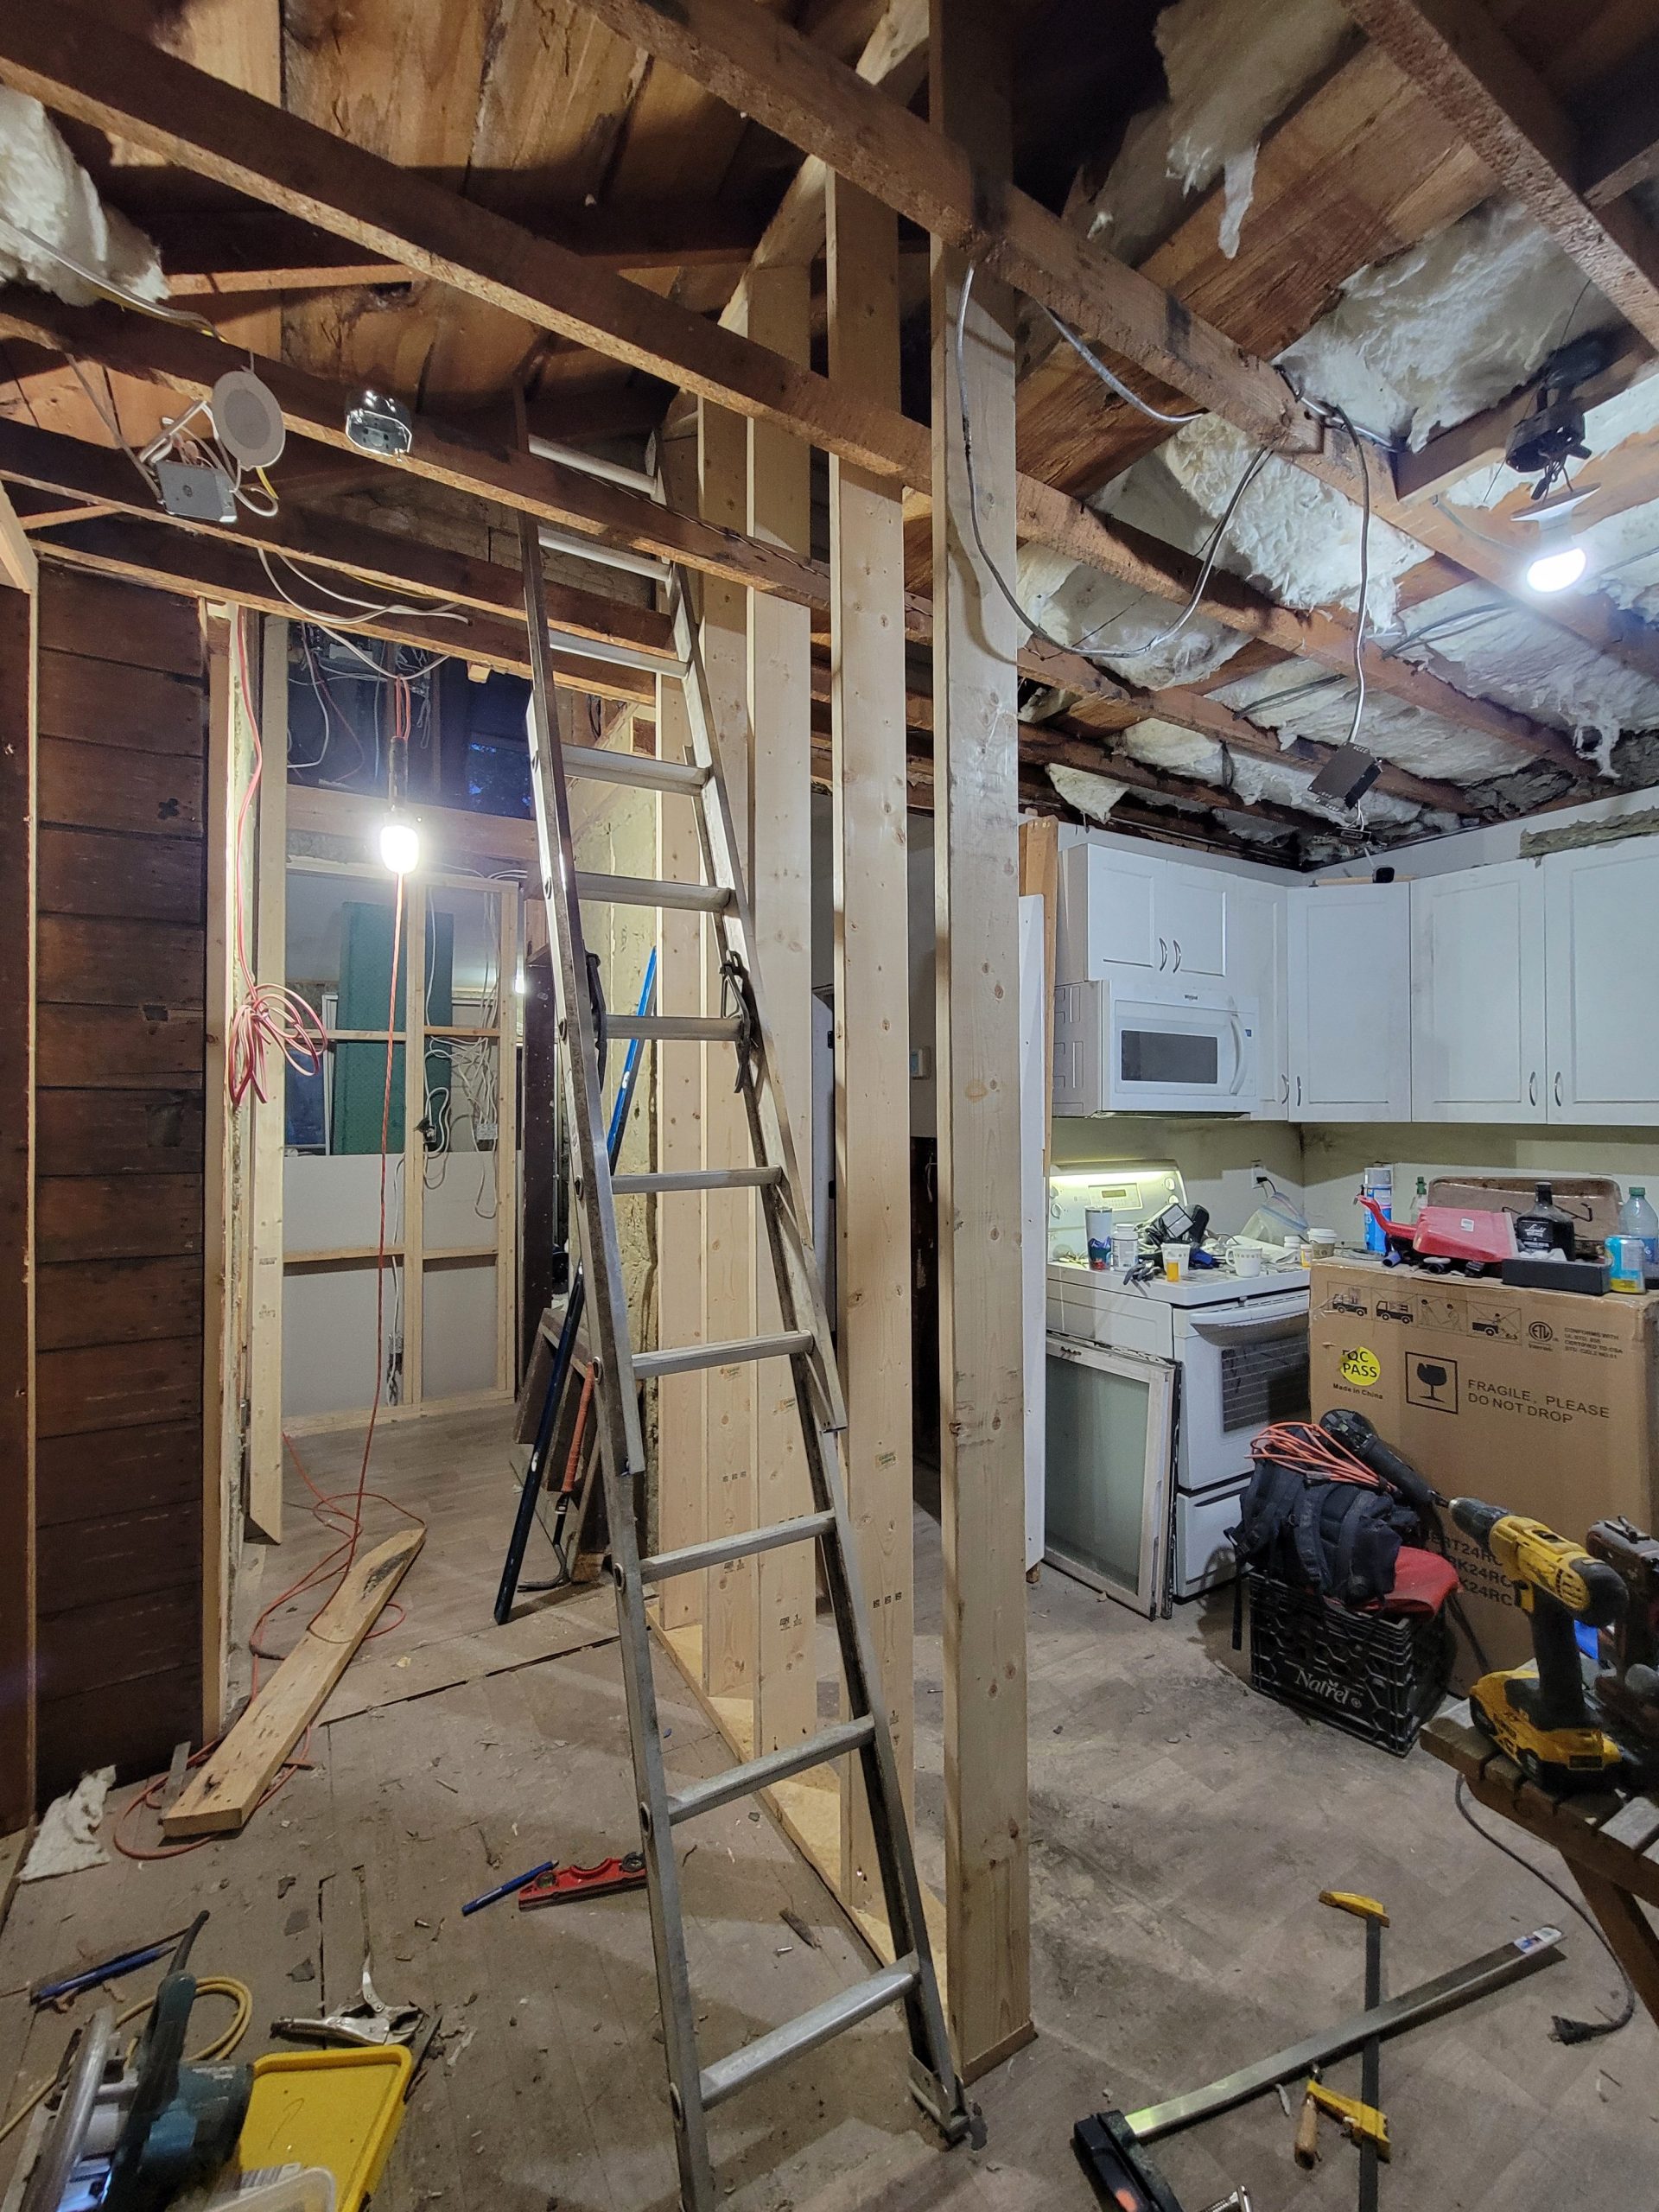
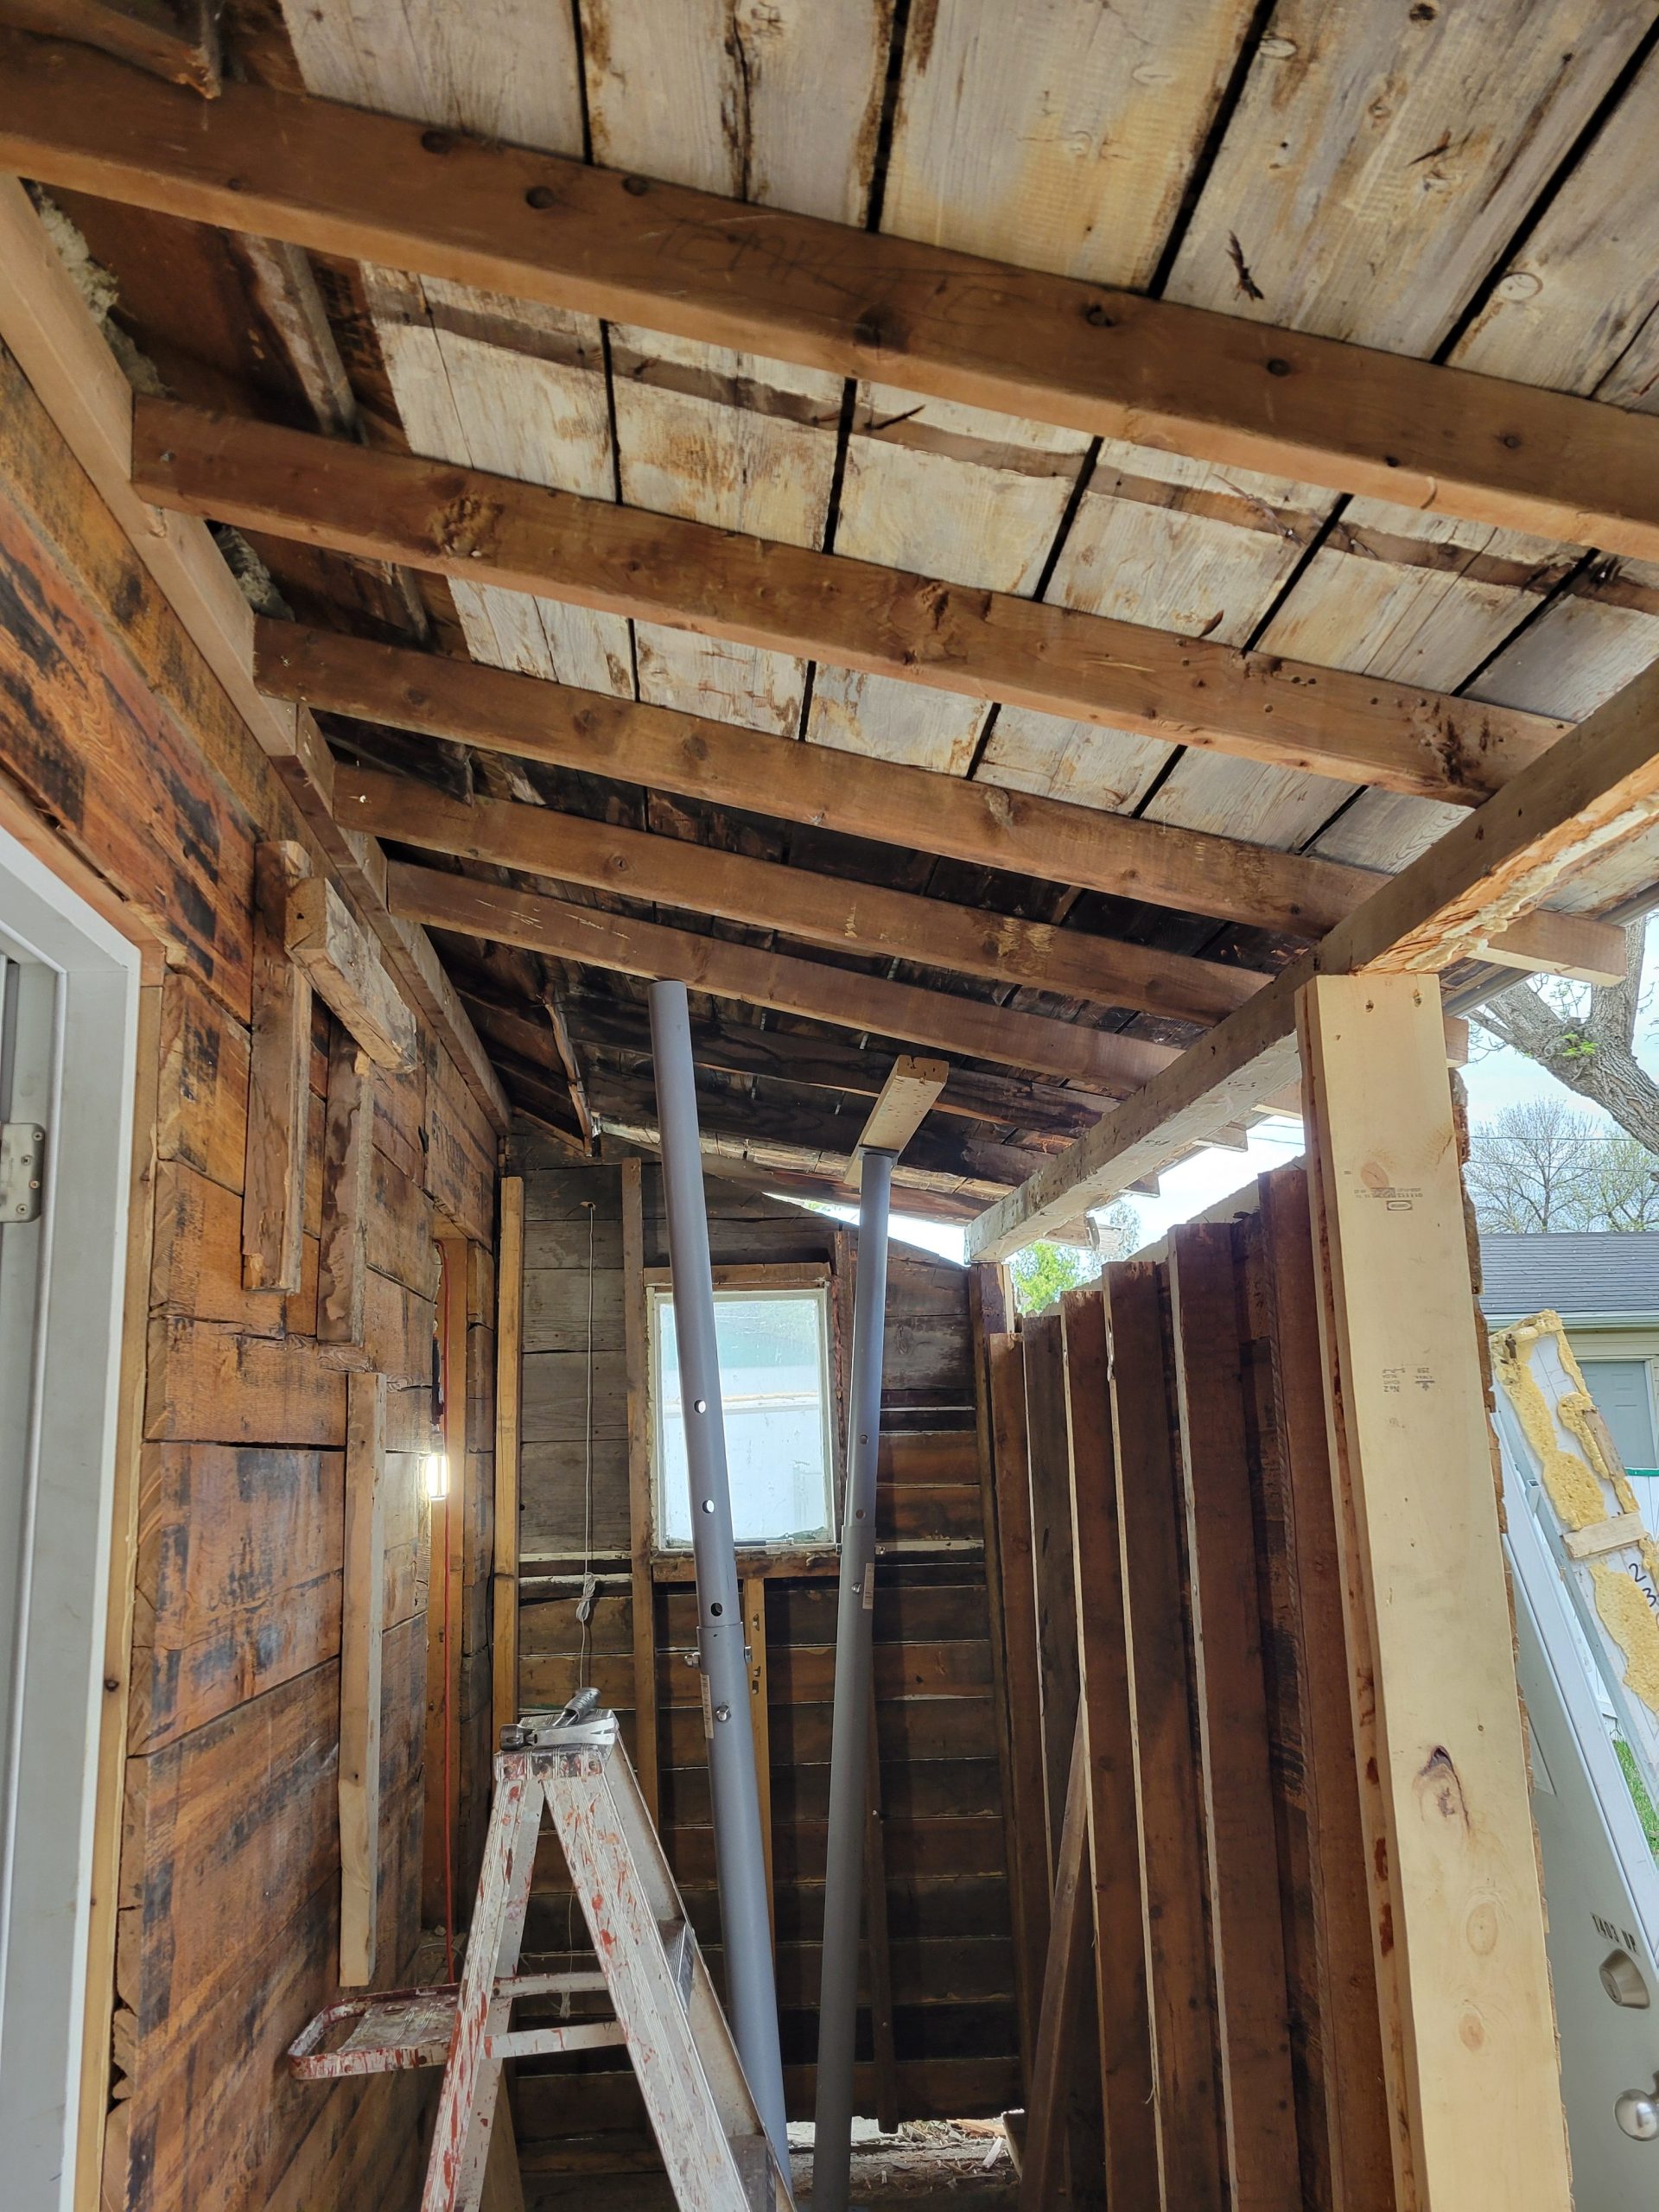
More odds and ends were completed on the framing of the 2nd floor entrance.
(This post is categorized in both “main” and “up” of 1403.)
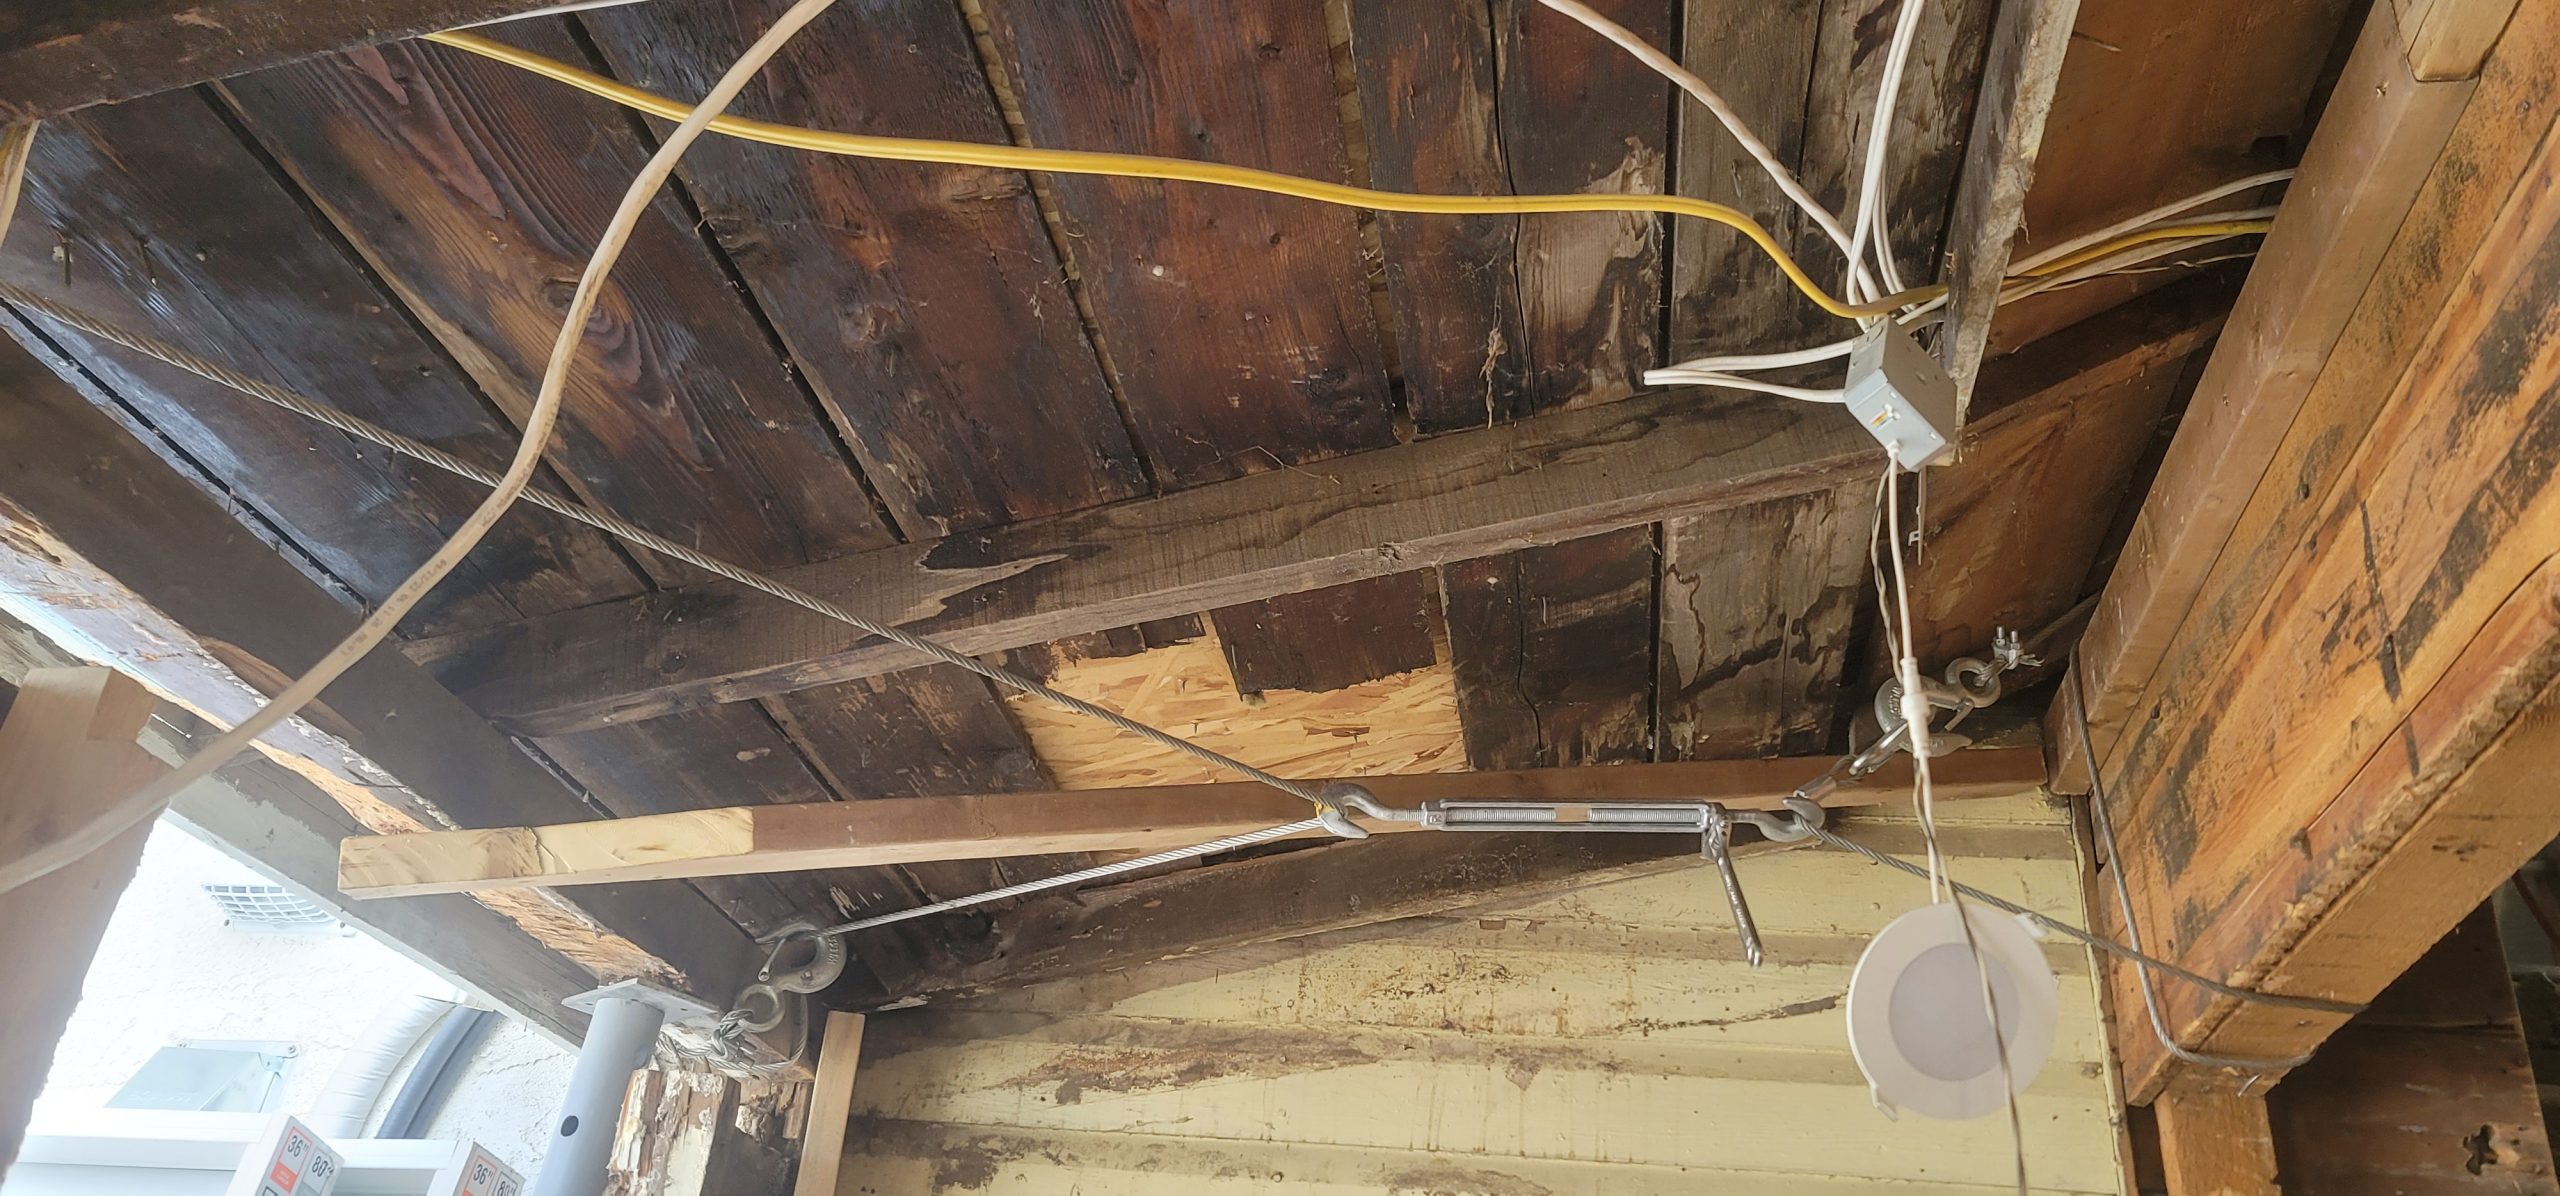
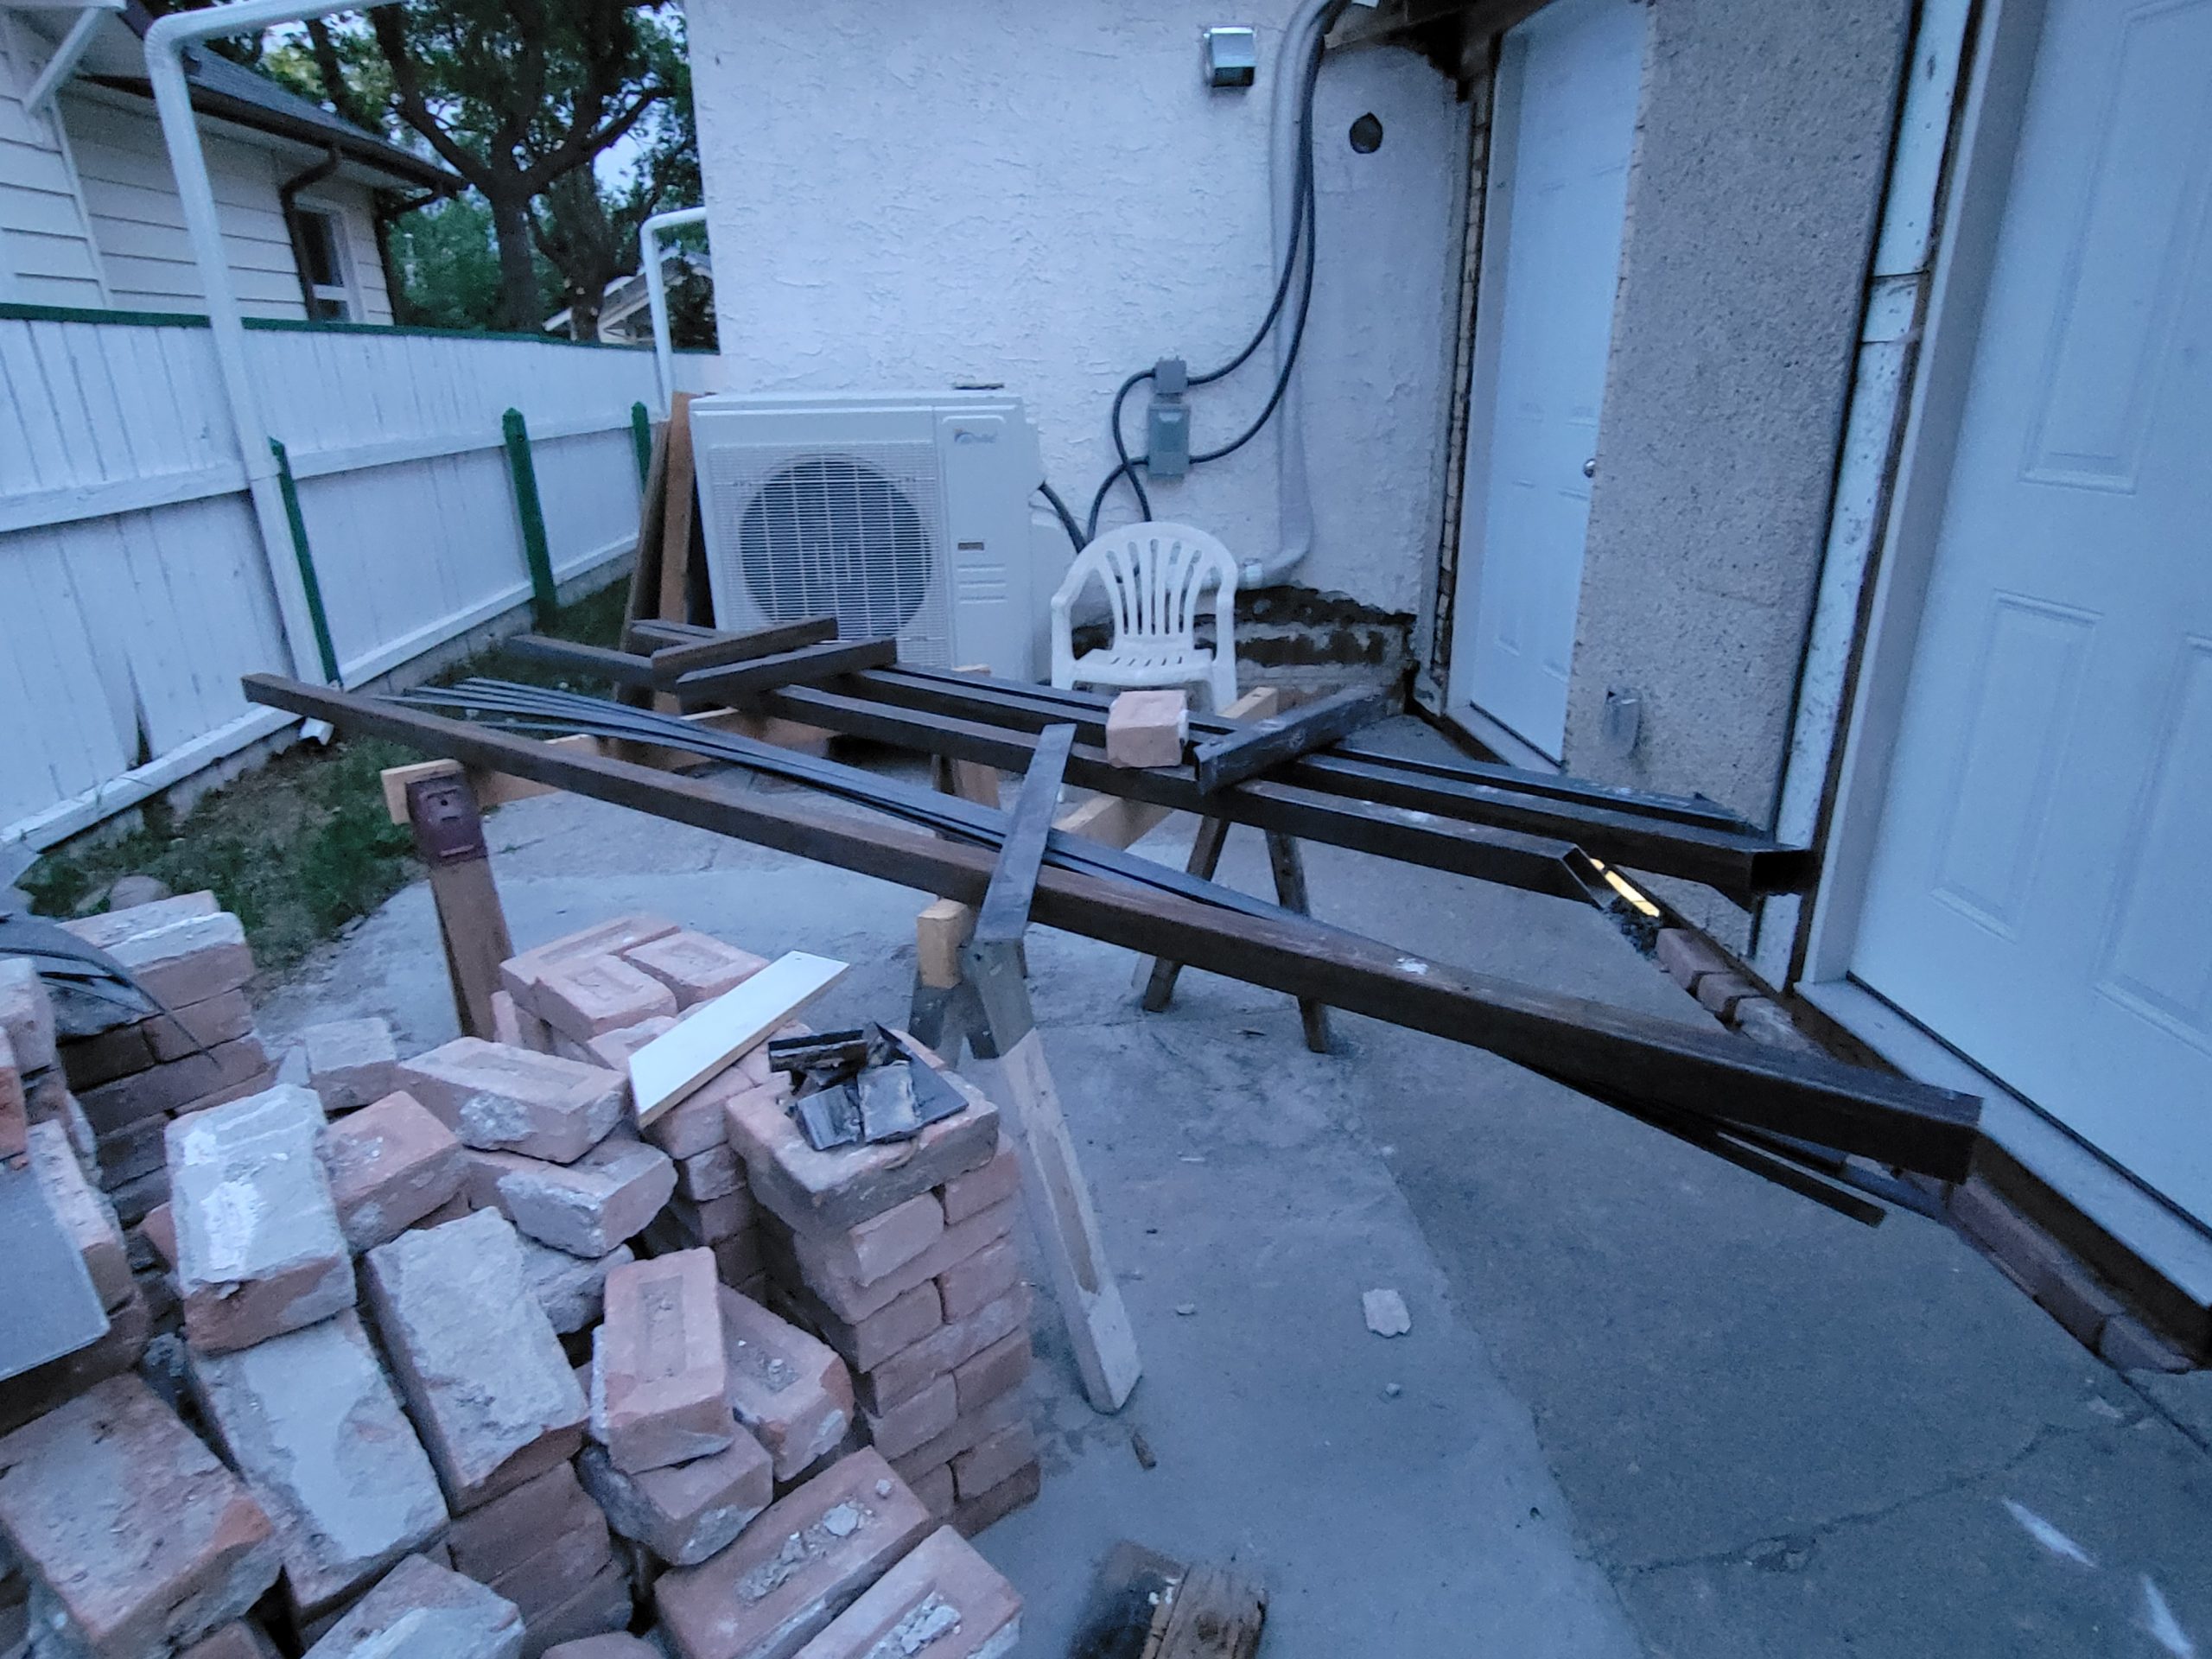
More practise with the welding was done, as well. I bought a new spool of flux core wire from Princess Auto, replacing the Benchmark wire bought at Home Hardware.
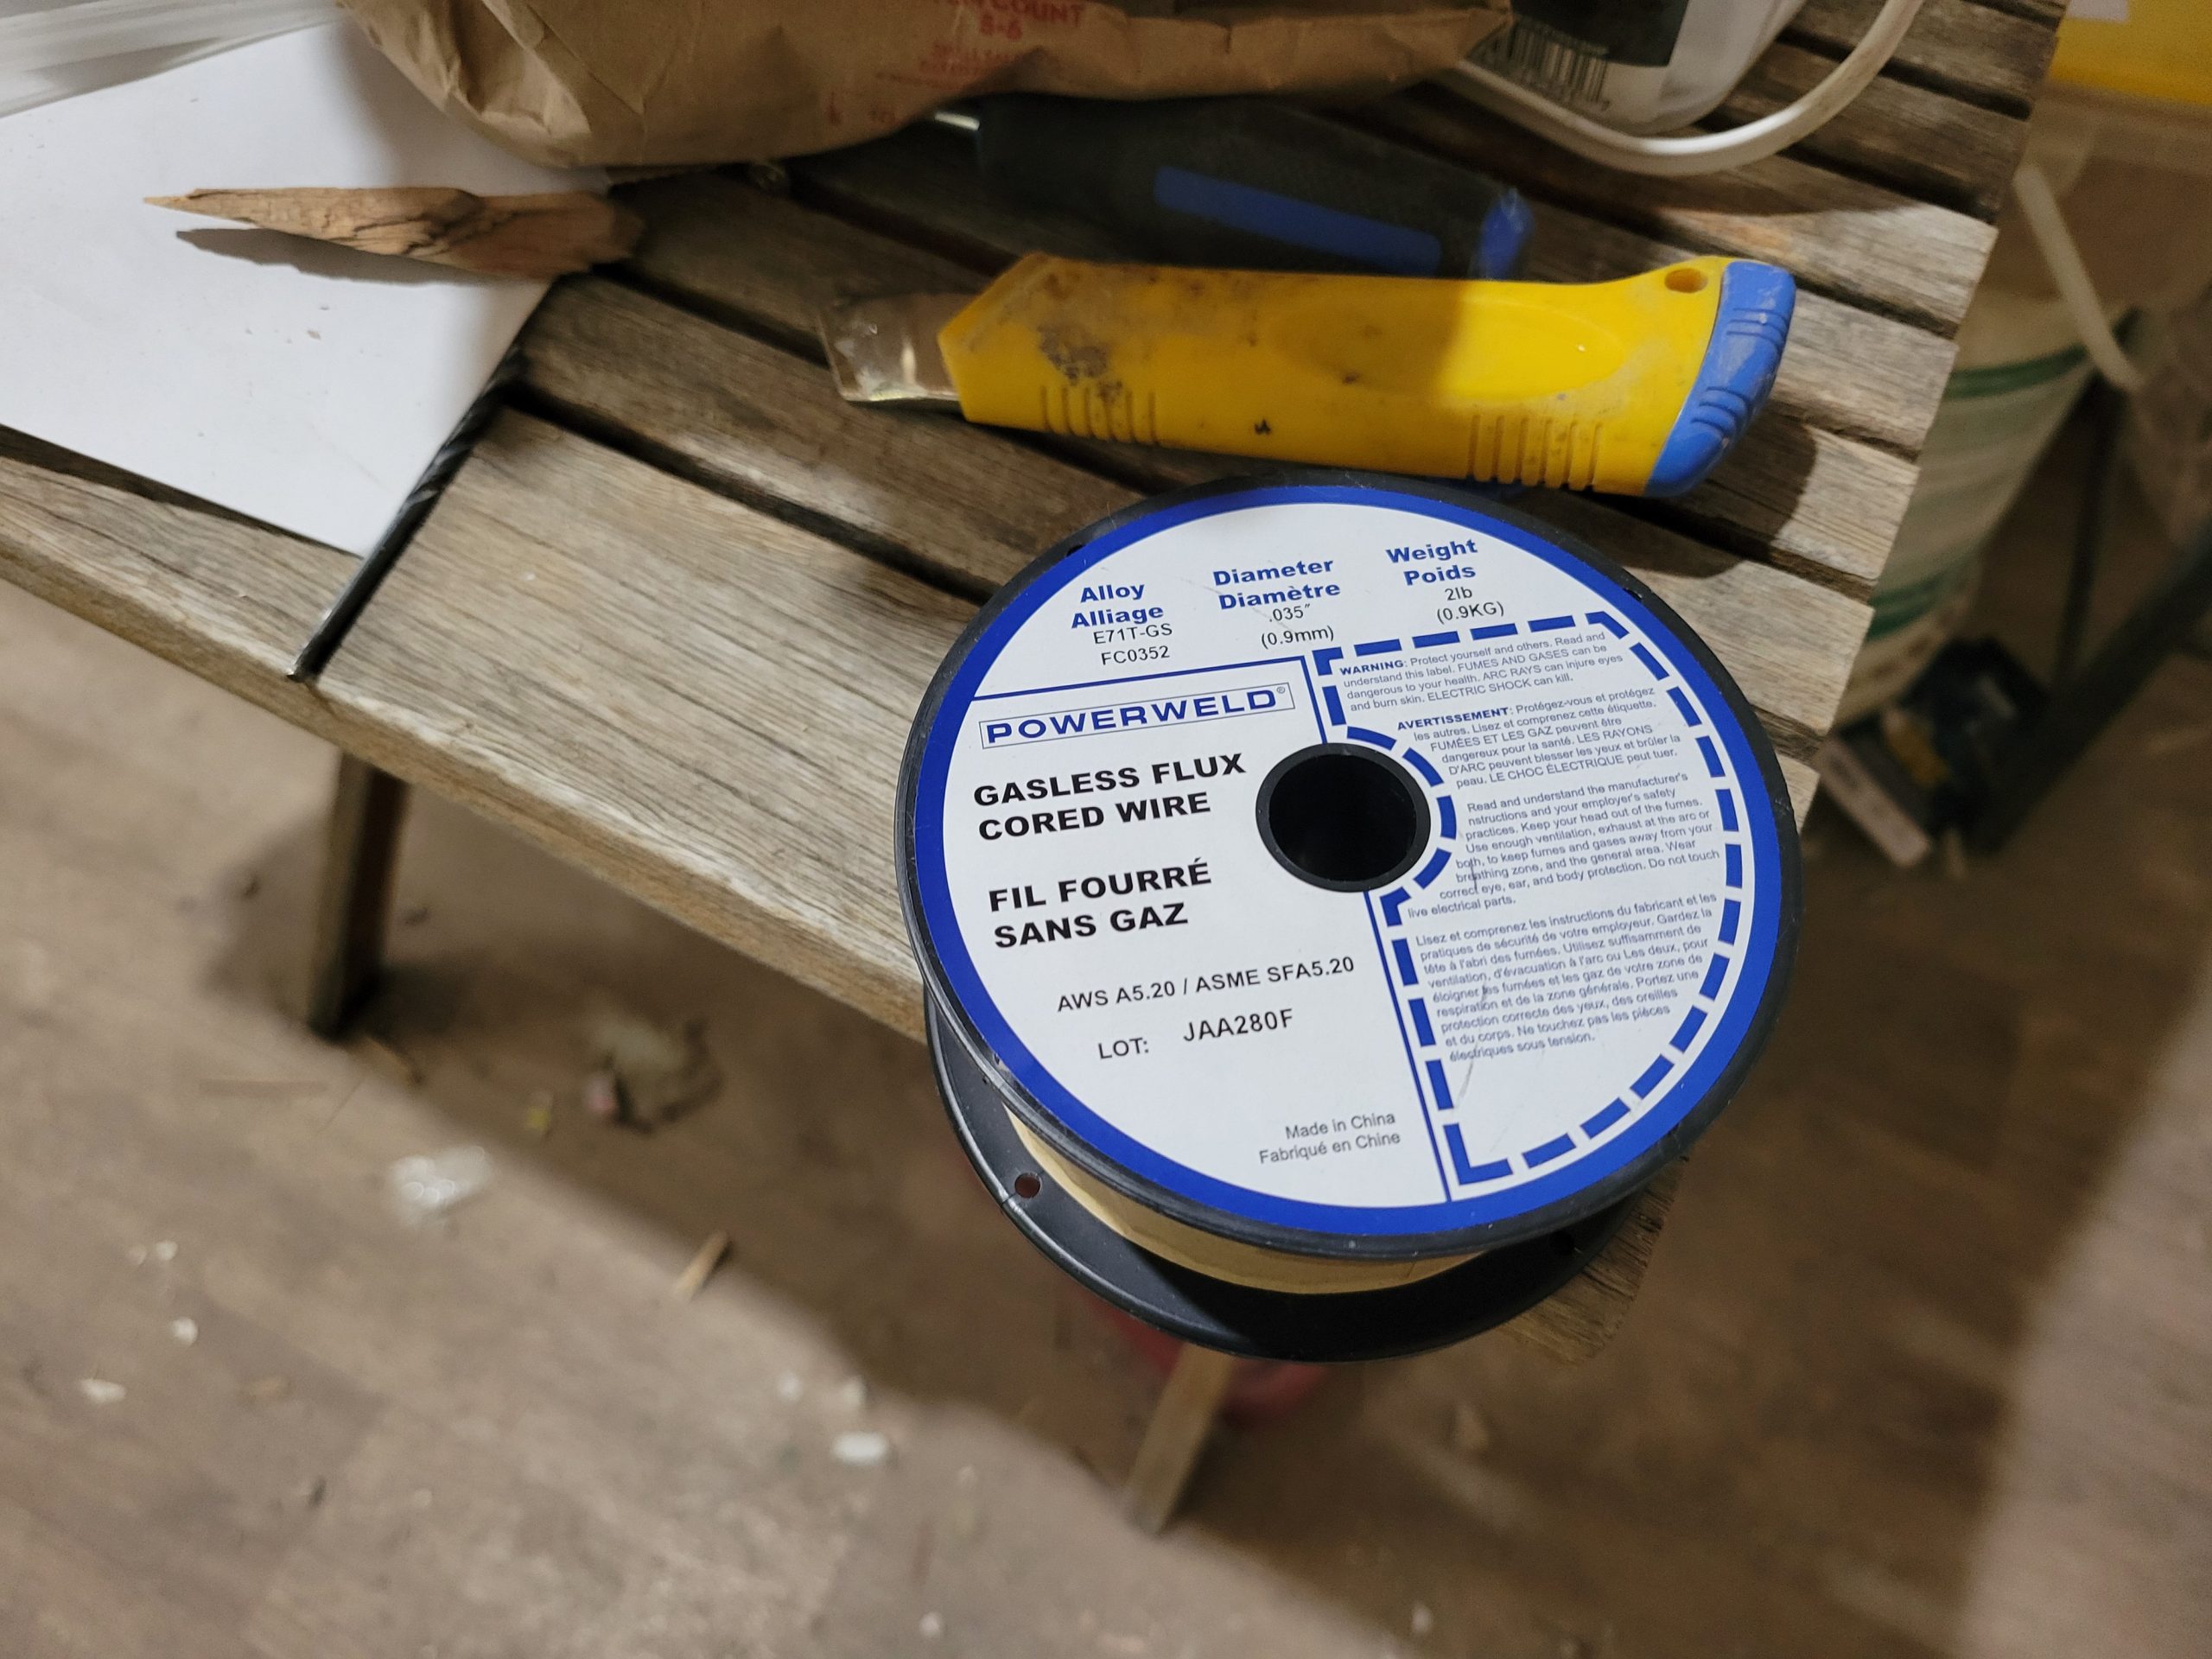
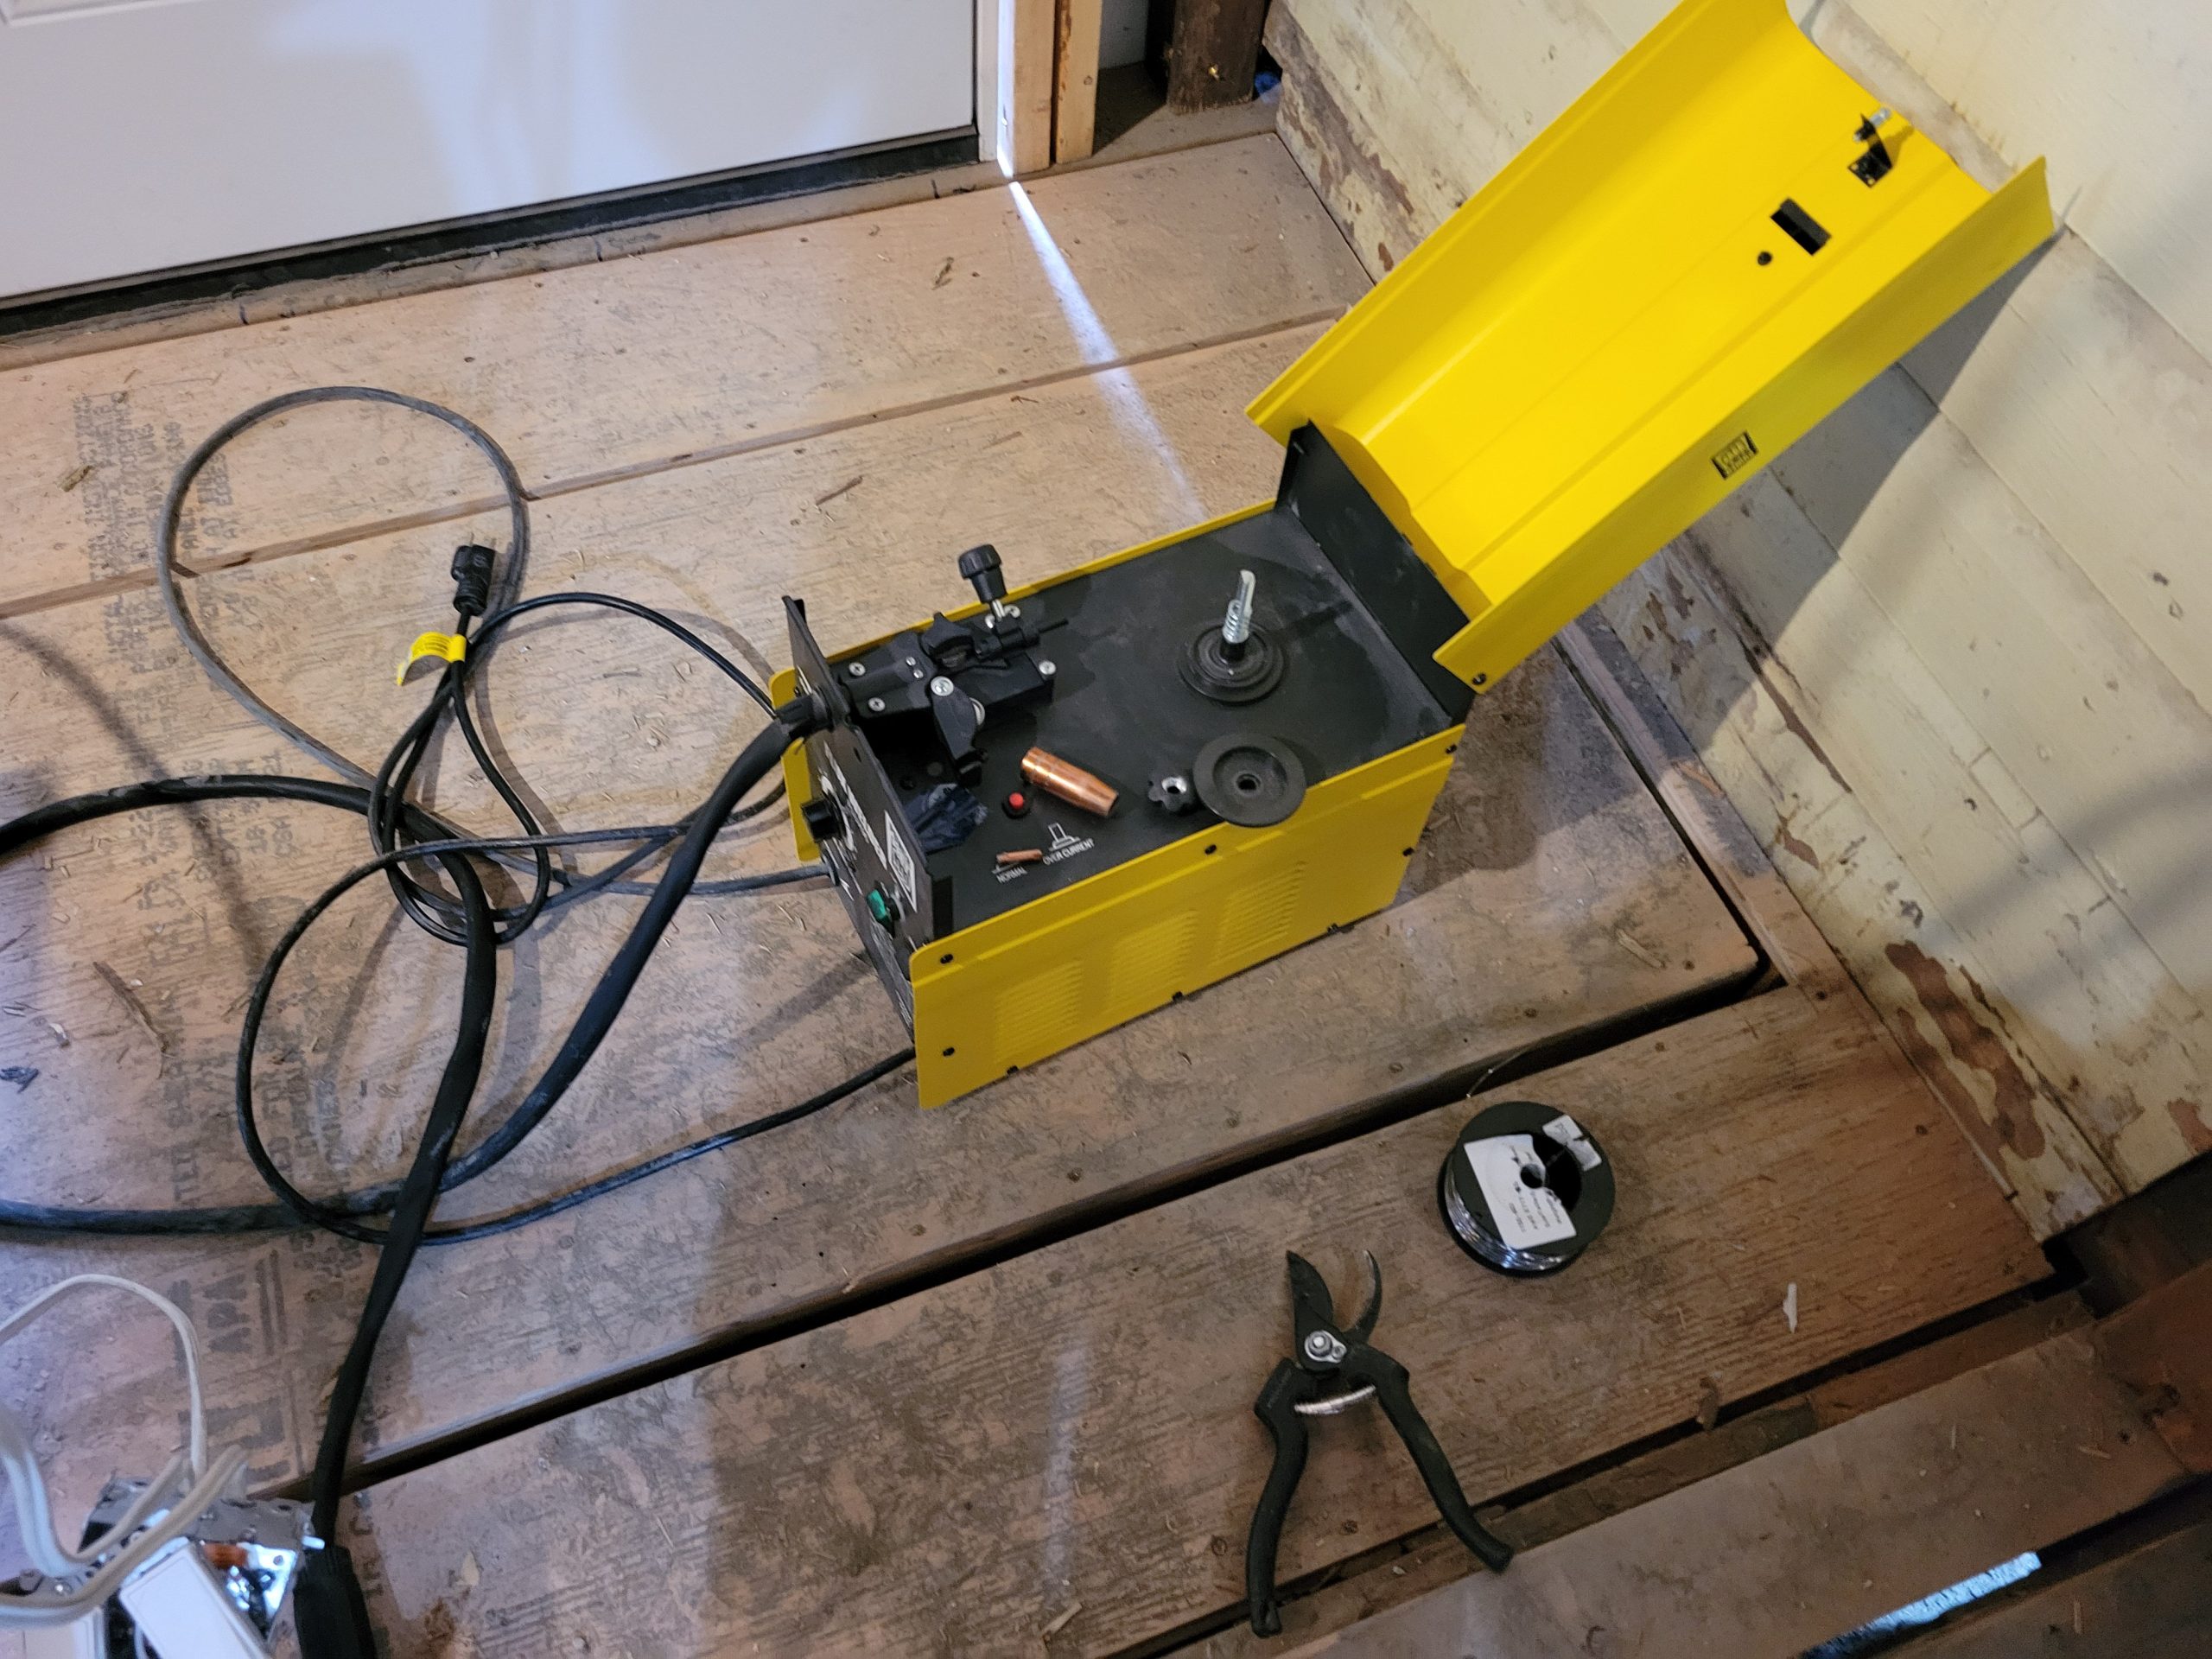
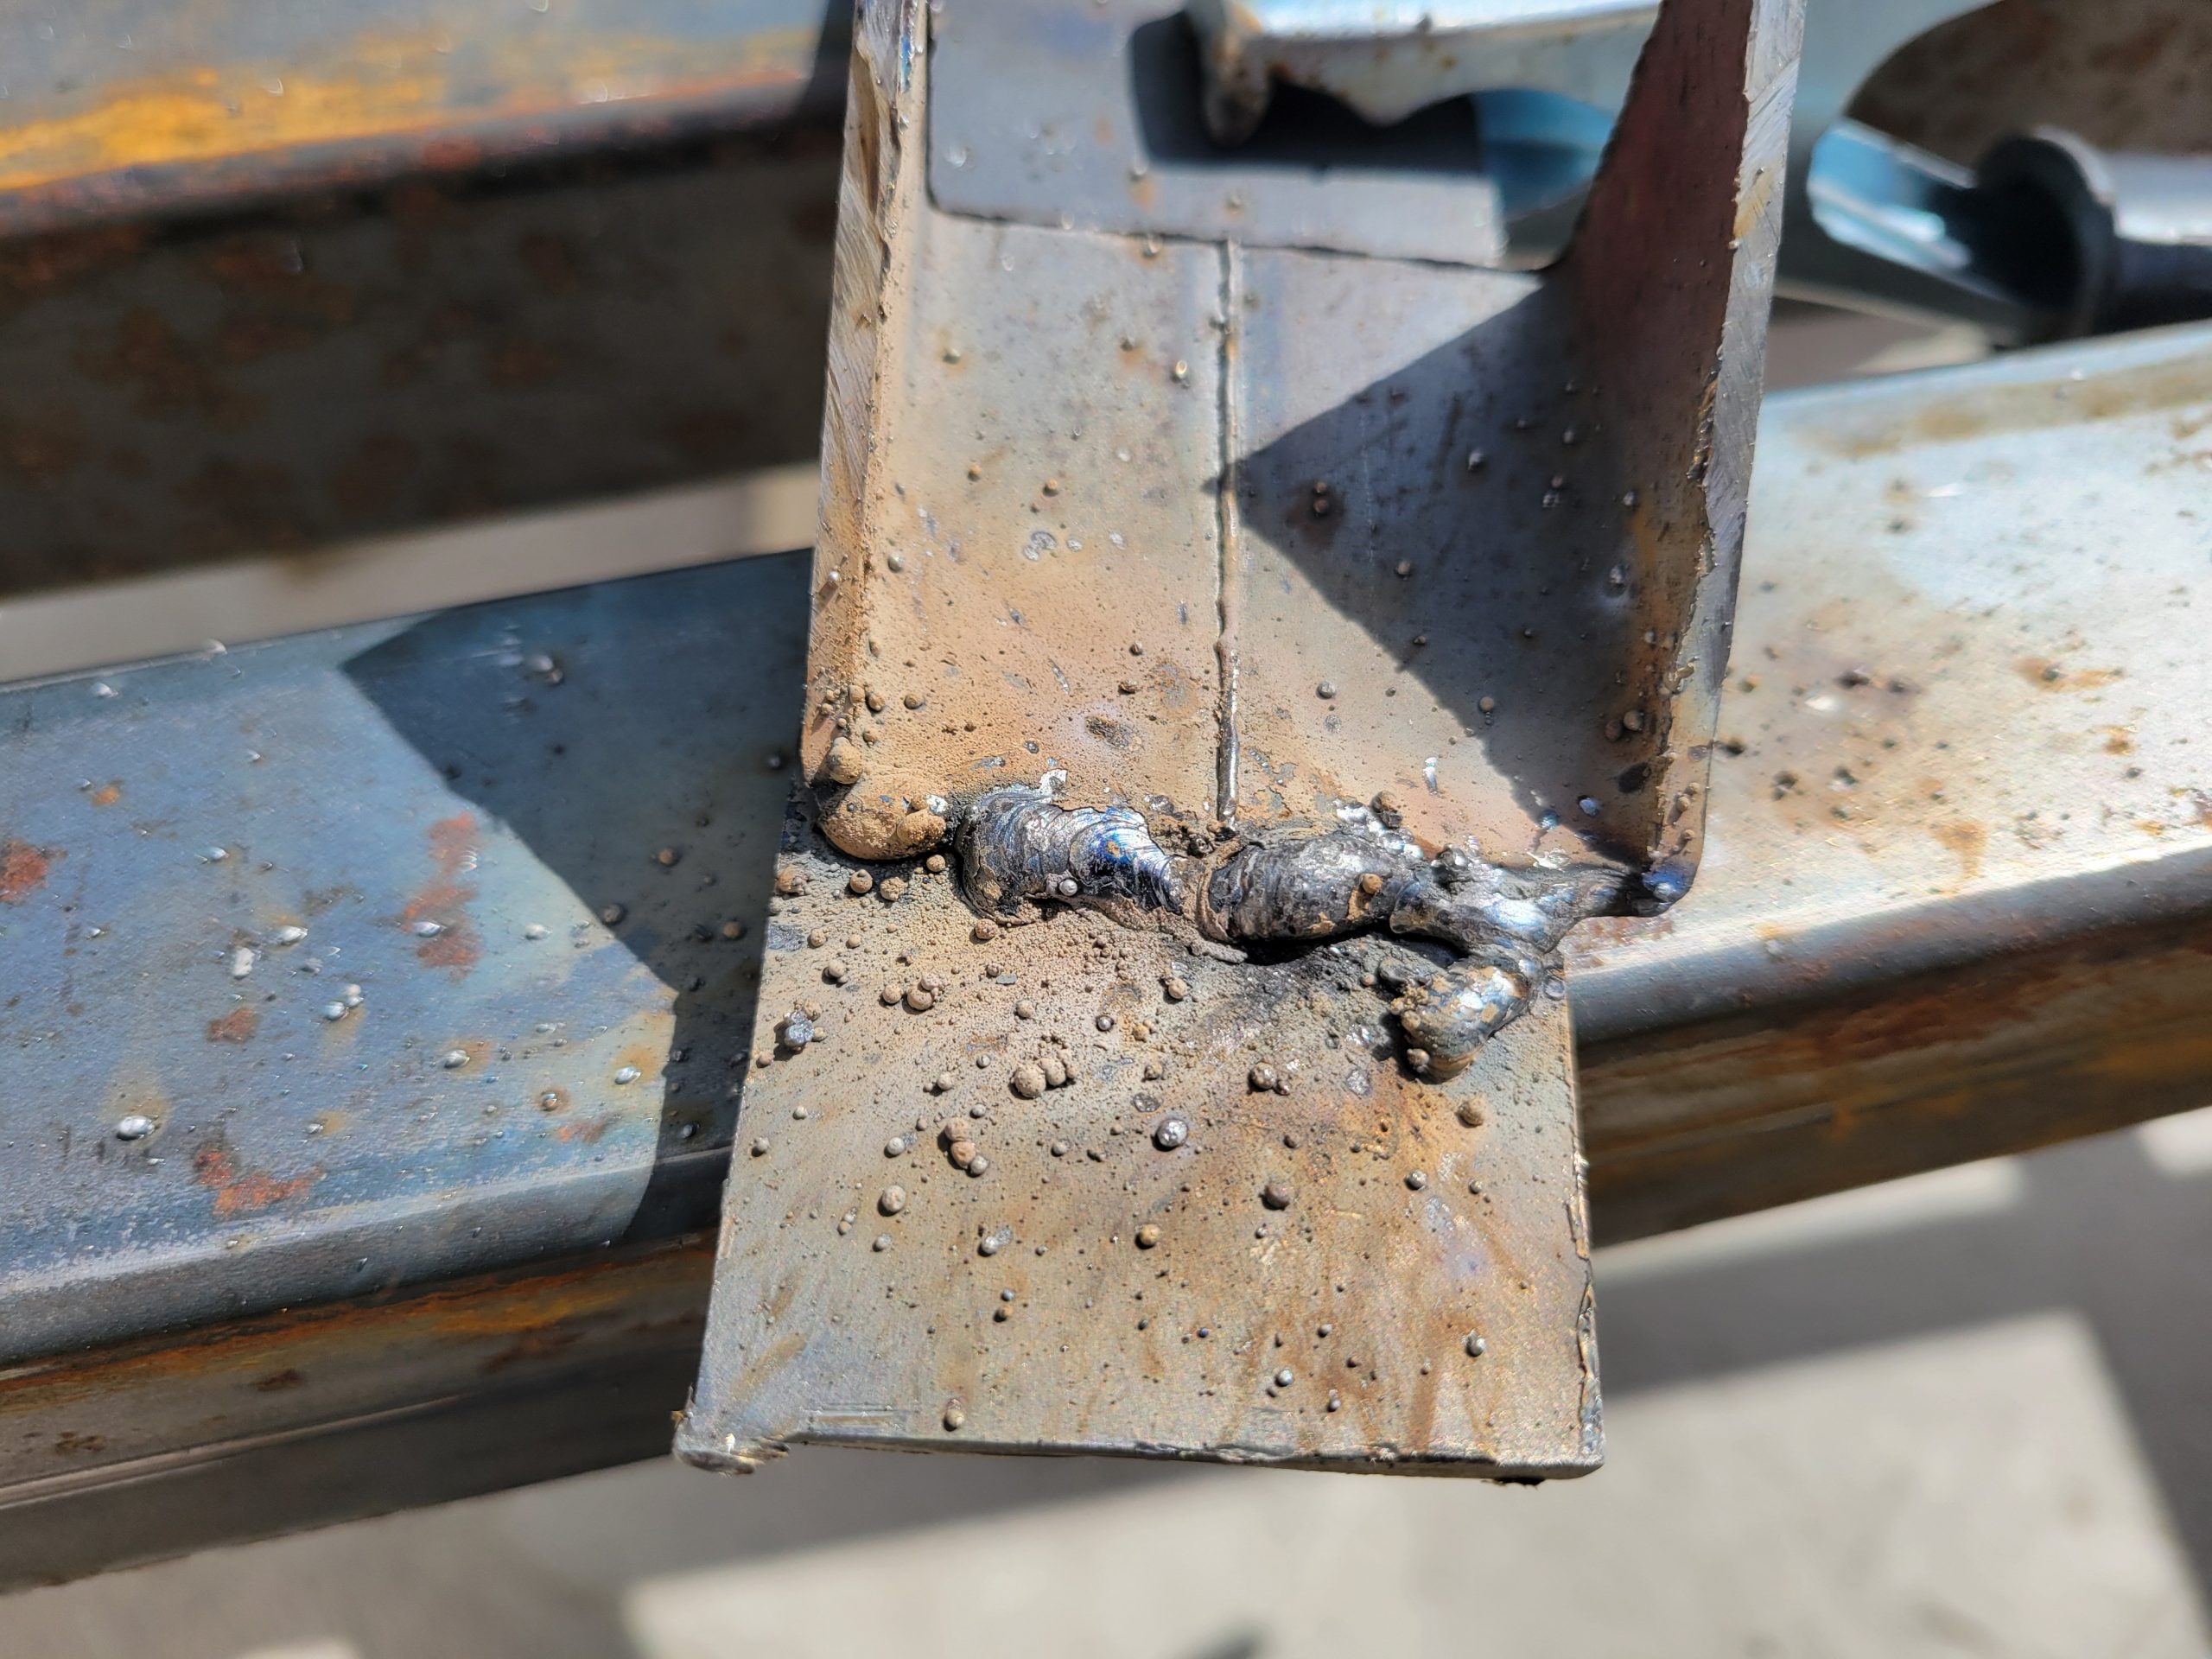
Yes, I know – the welding looks like crap. This is my first time welding – ever. As the day went on, and Brock came by to guide me through it and practise his own welding, things got a little better. However, I am still unsure if the stairway will be made of welded metal or wood. We’ll see.
In the mean time, the new kitchen / entrance wall separating the two suites is up. We started by taping Shane’s level to a 2×4, extended to the rafters, in line with bottom plate, to find where the top plate will sit. I marked it, then Dave and Floyd held the 2×6 in place with some sticks while I fastened it to the rafters.
We then measured the length and angle of these new balloon studs (114 5/8″, 29°) and cut them. This took fiddling about because the roof has a certain amount of sag (about 3/16″) from where it is tied to the house to the middle of the kitchen.
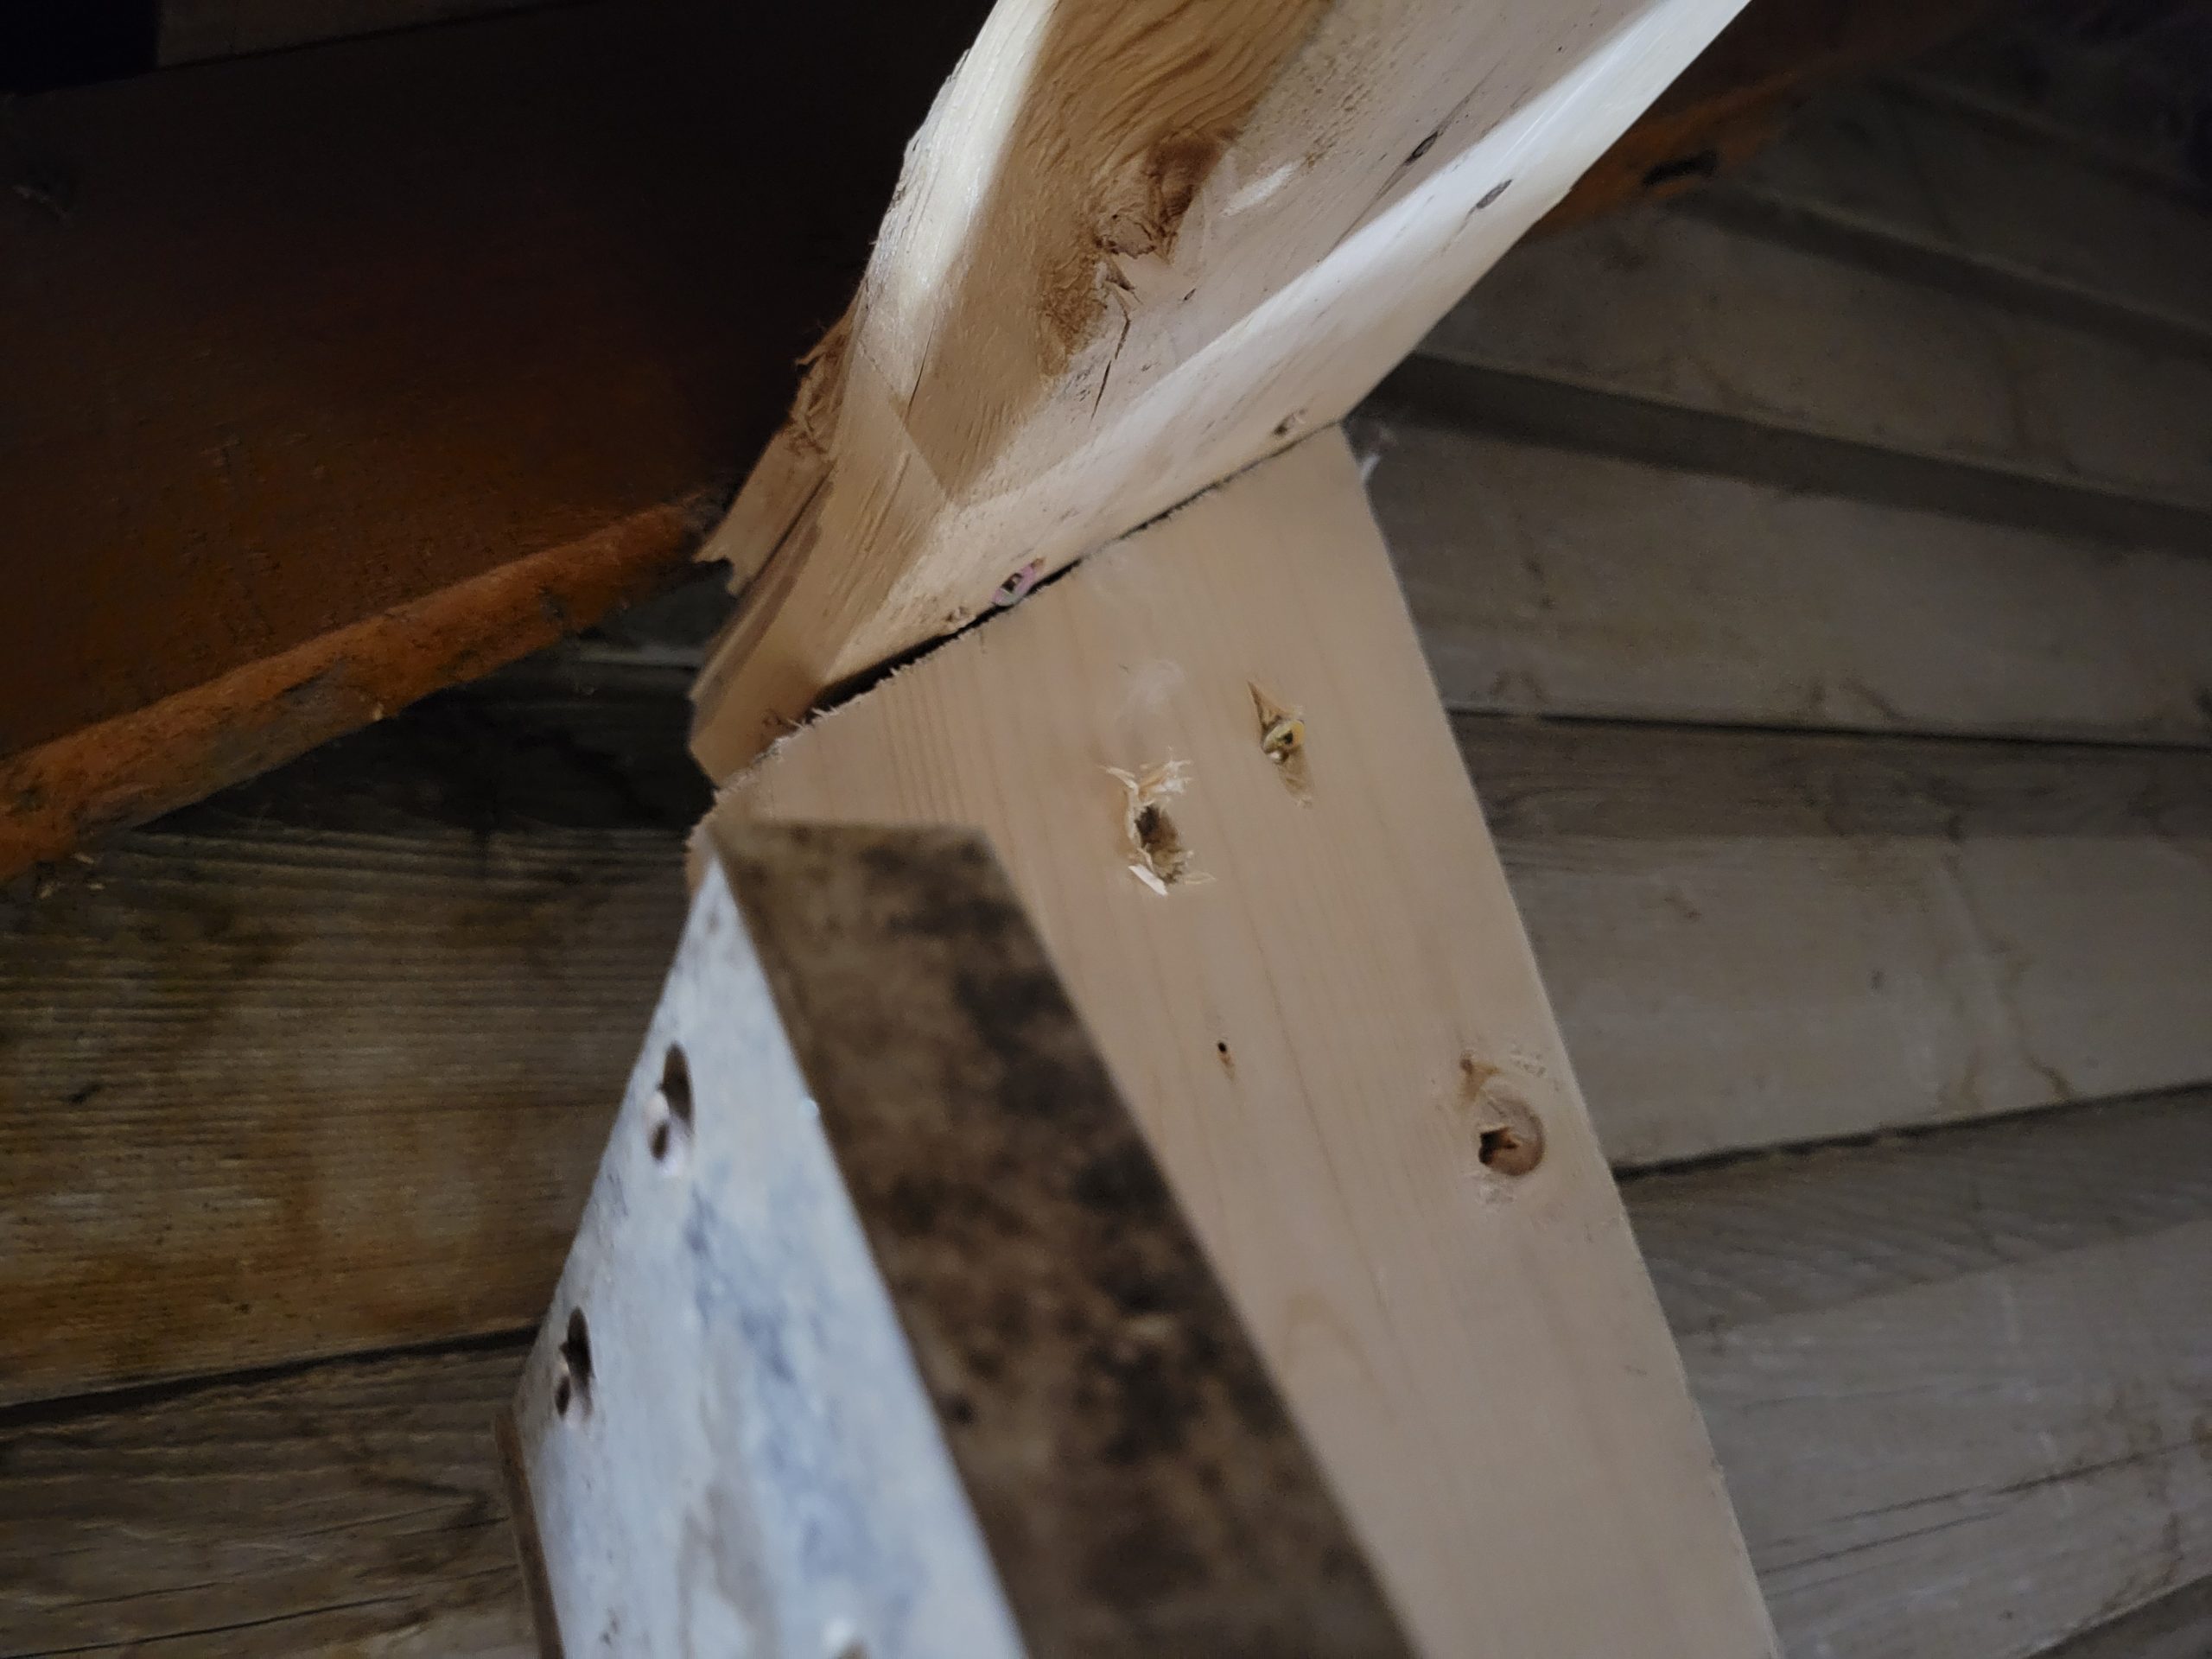
Studs are placed under each rafter (24″o.c.) and one in between (making about 12″o.c.).
As for the stairway itself, …
Is today the day the welding actually starts? I’ve got my 5th or so draft of the staircase completed.

We’ll see.
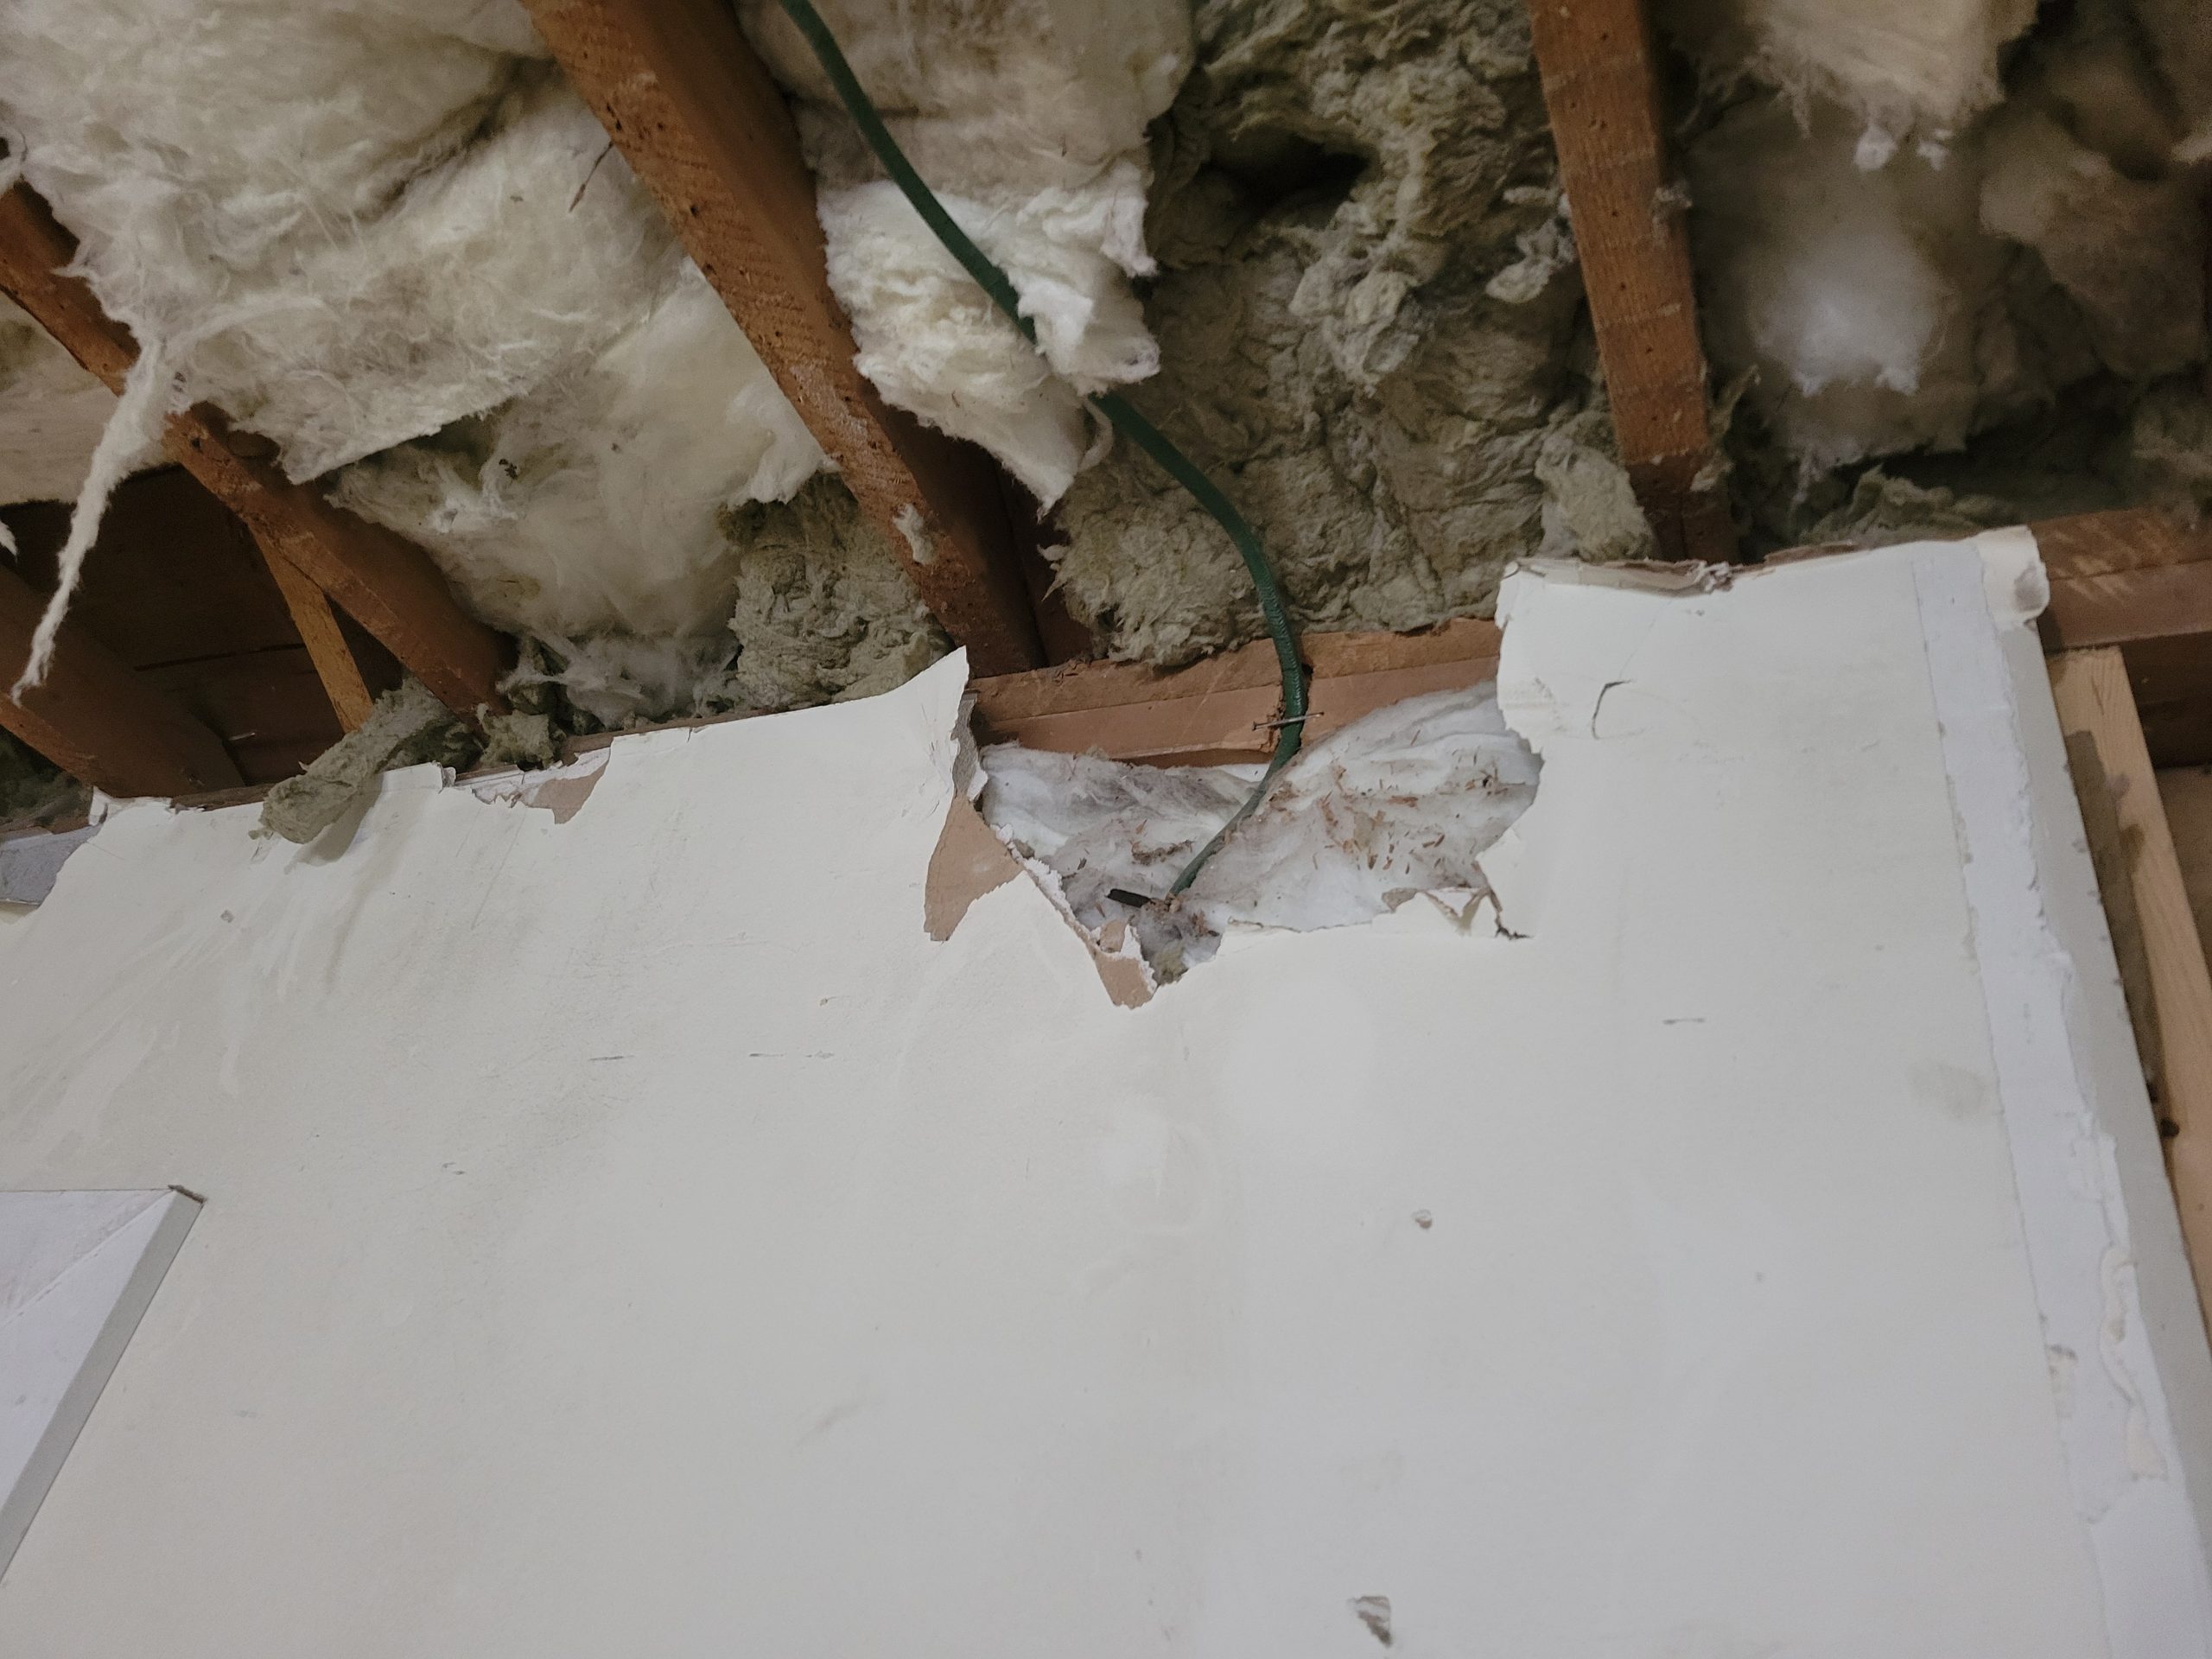
Ooh, I don’t like it when wiring is hidden behind drywall like this. Is using a nail to hold it in up to building code? I wonder.
I also don’t like it when plumbing is not hidden. The washer drain and water lines were previously on the outside. I’d prefer to have them hidden in the wall cavity, so the new location will be to the left of the washer
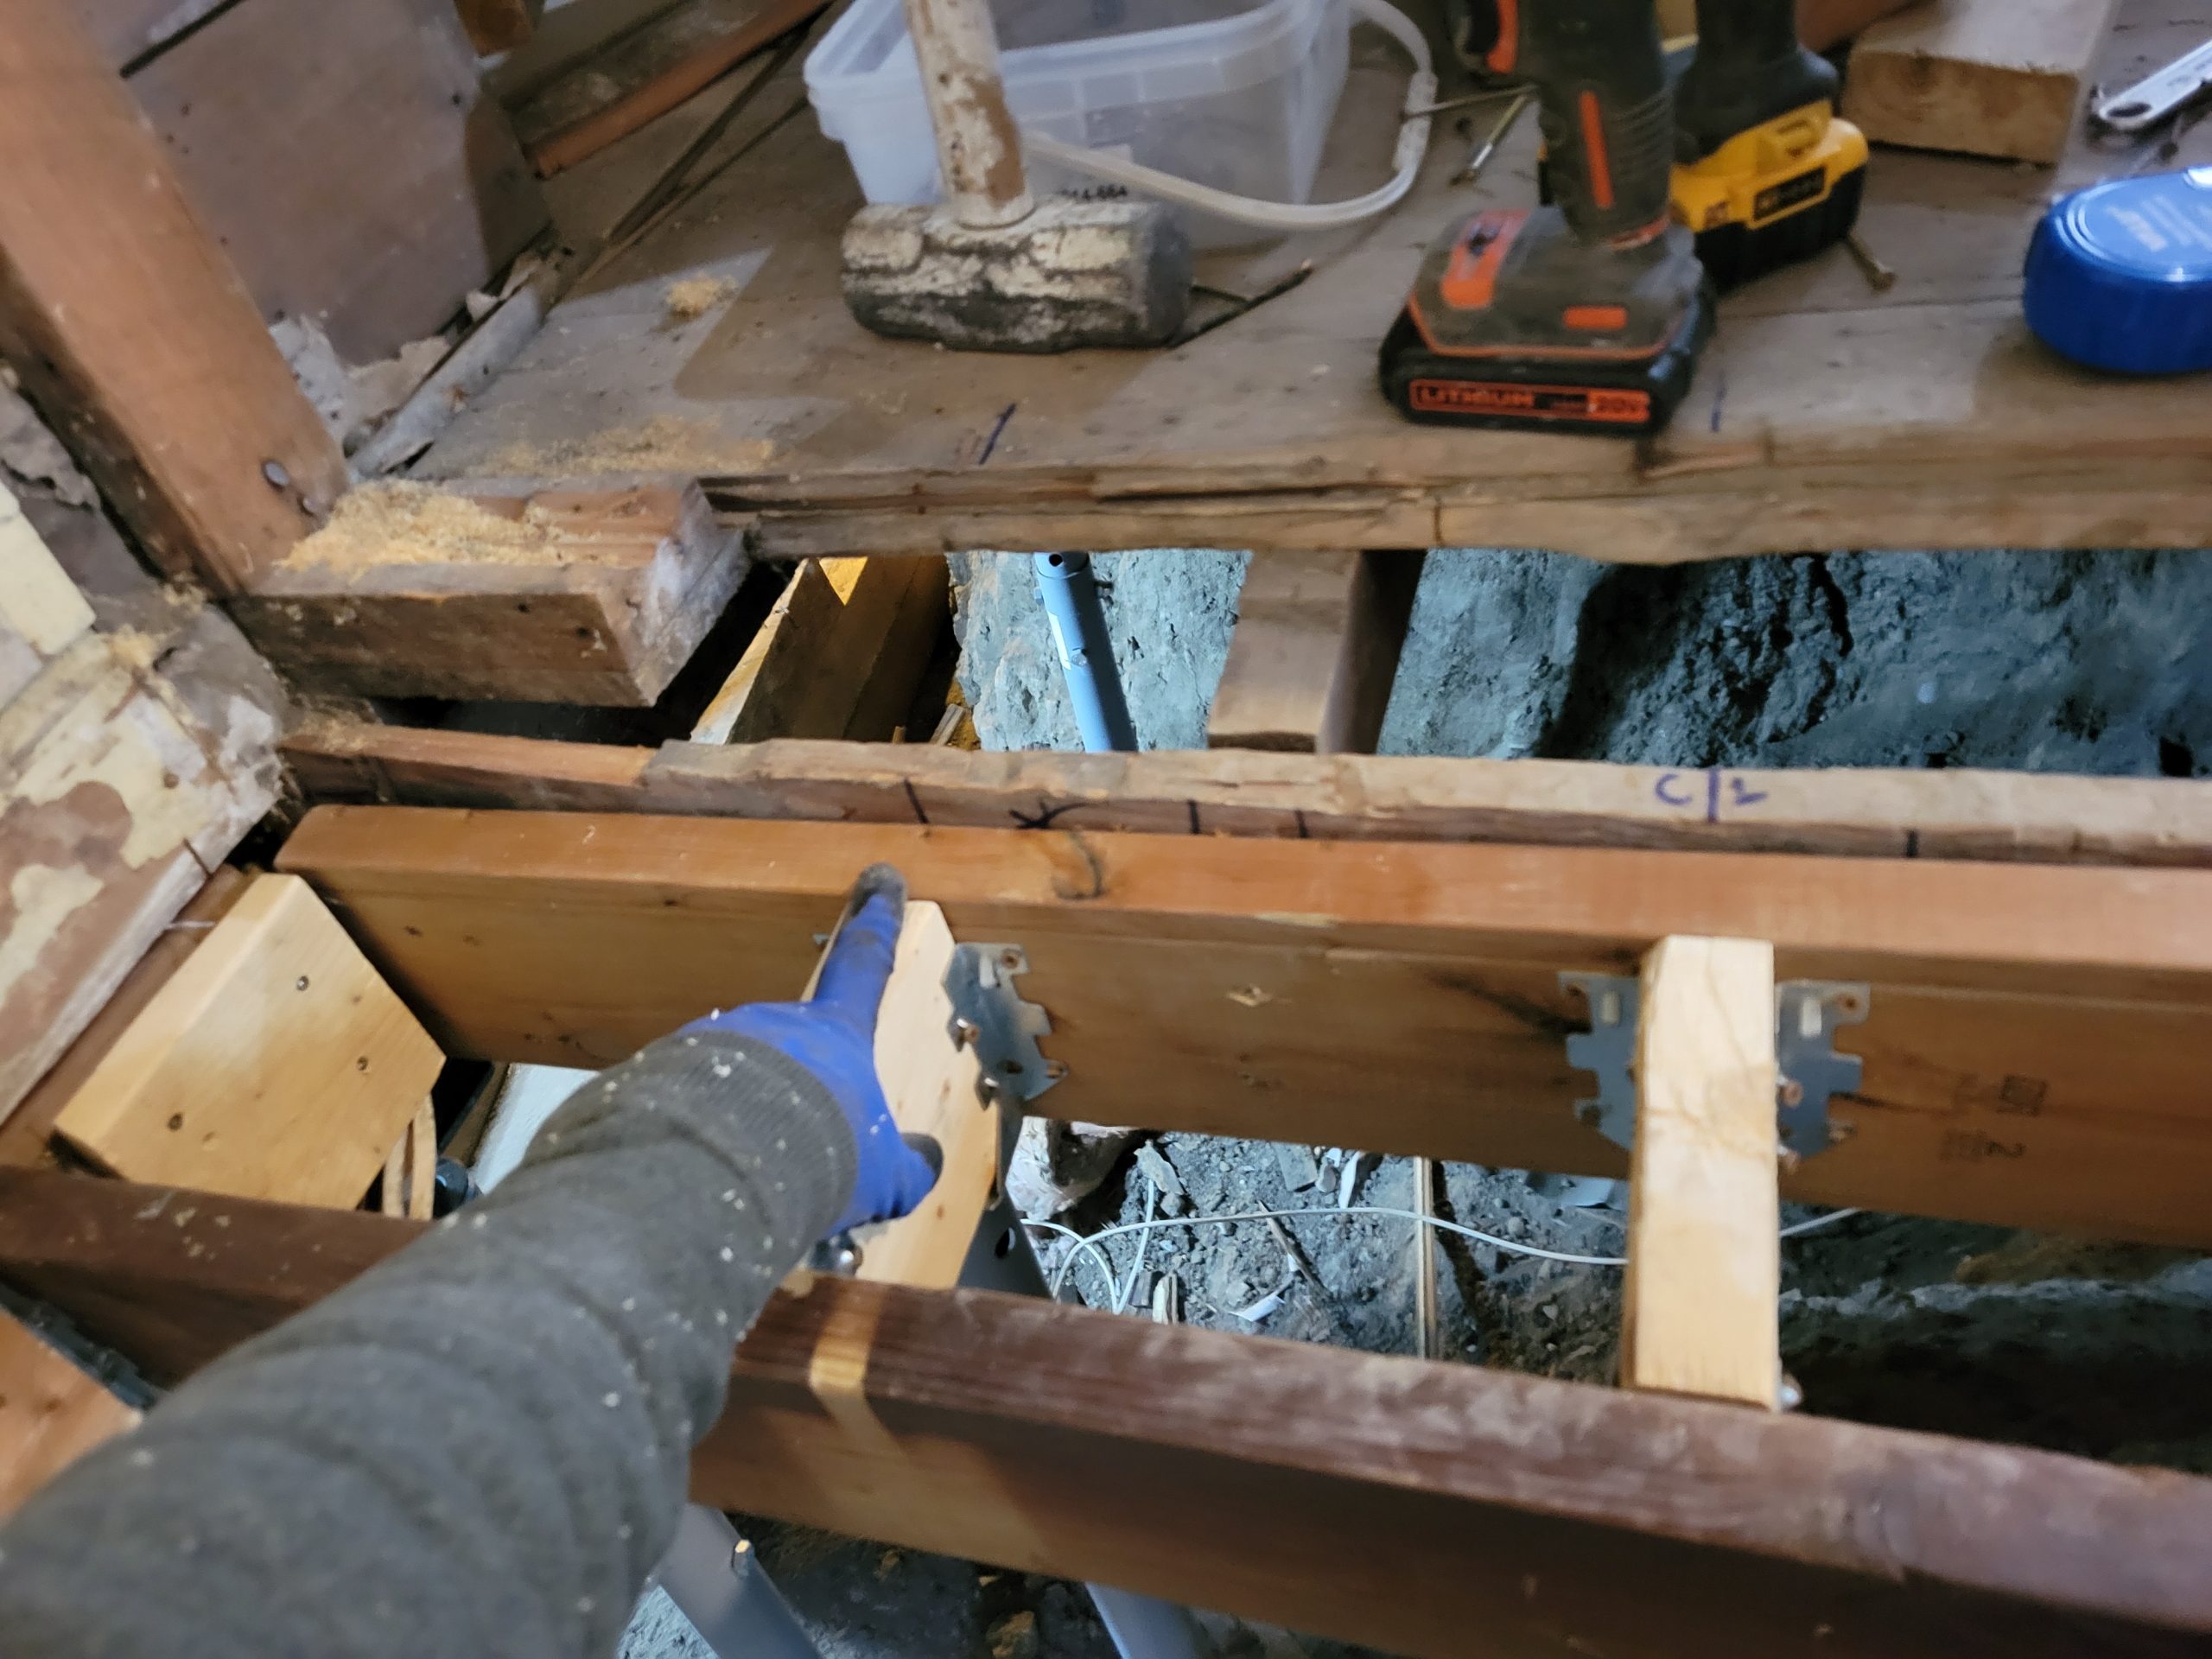
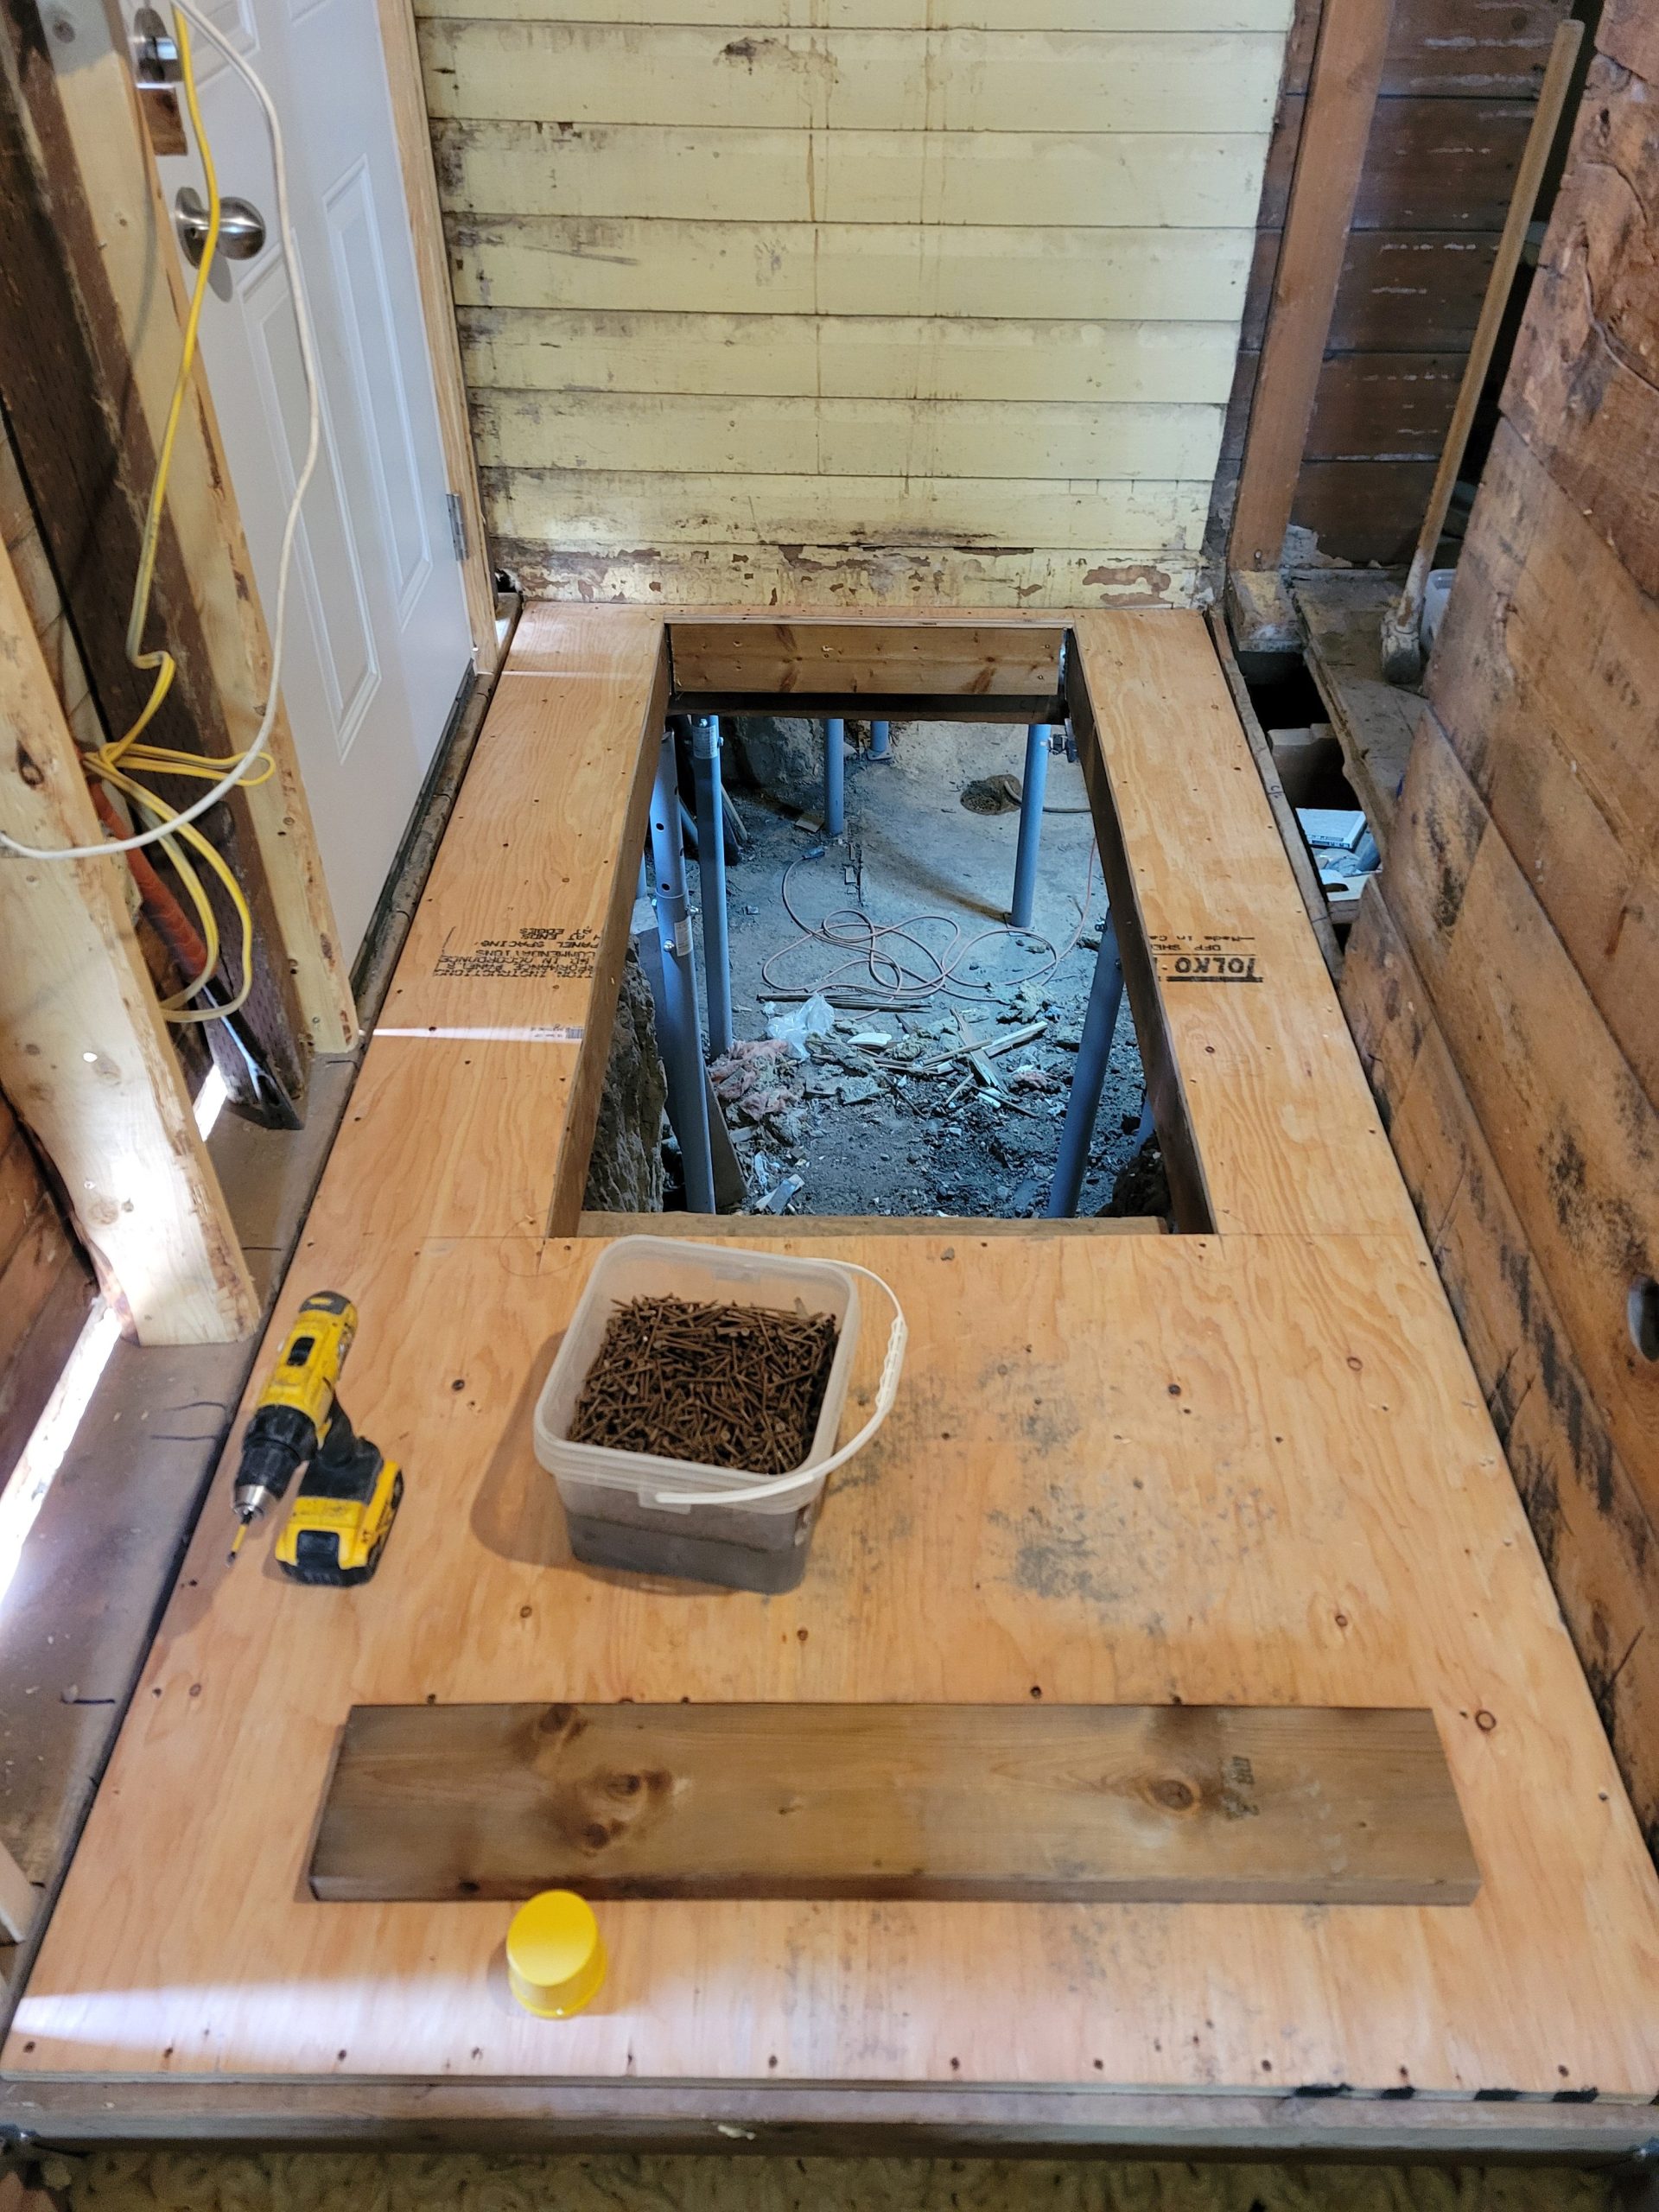
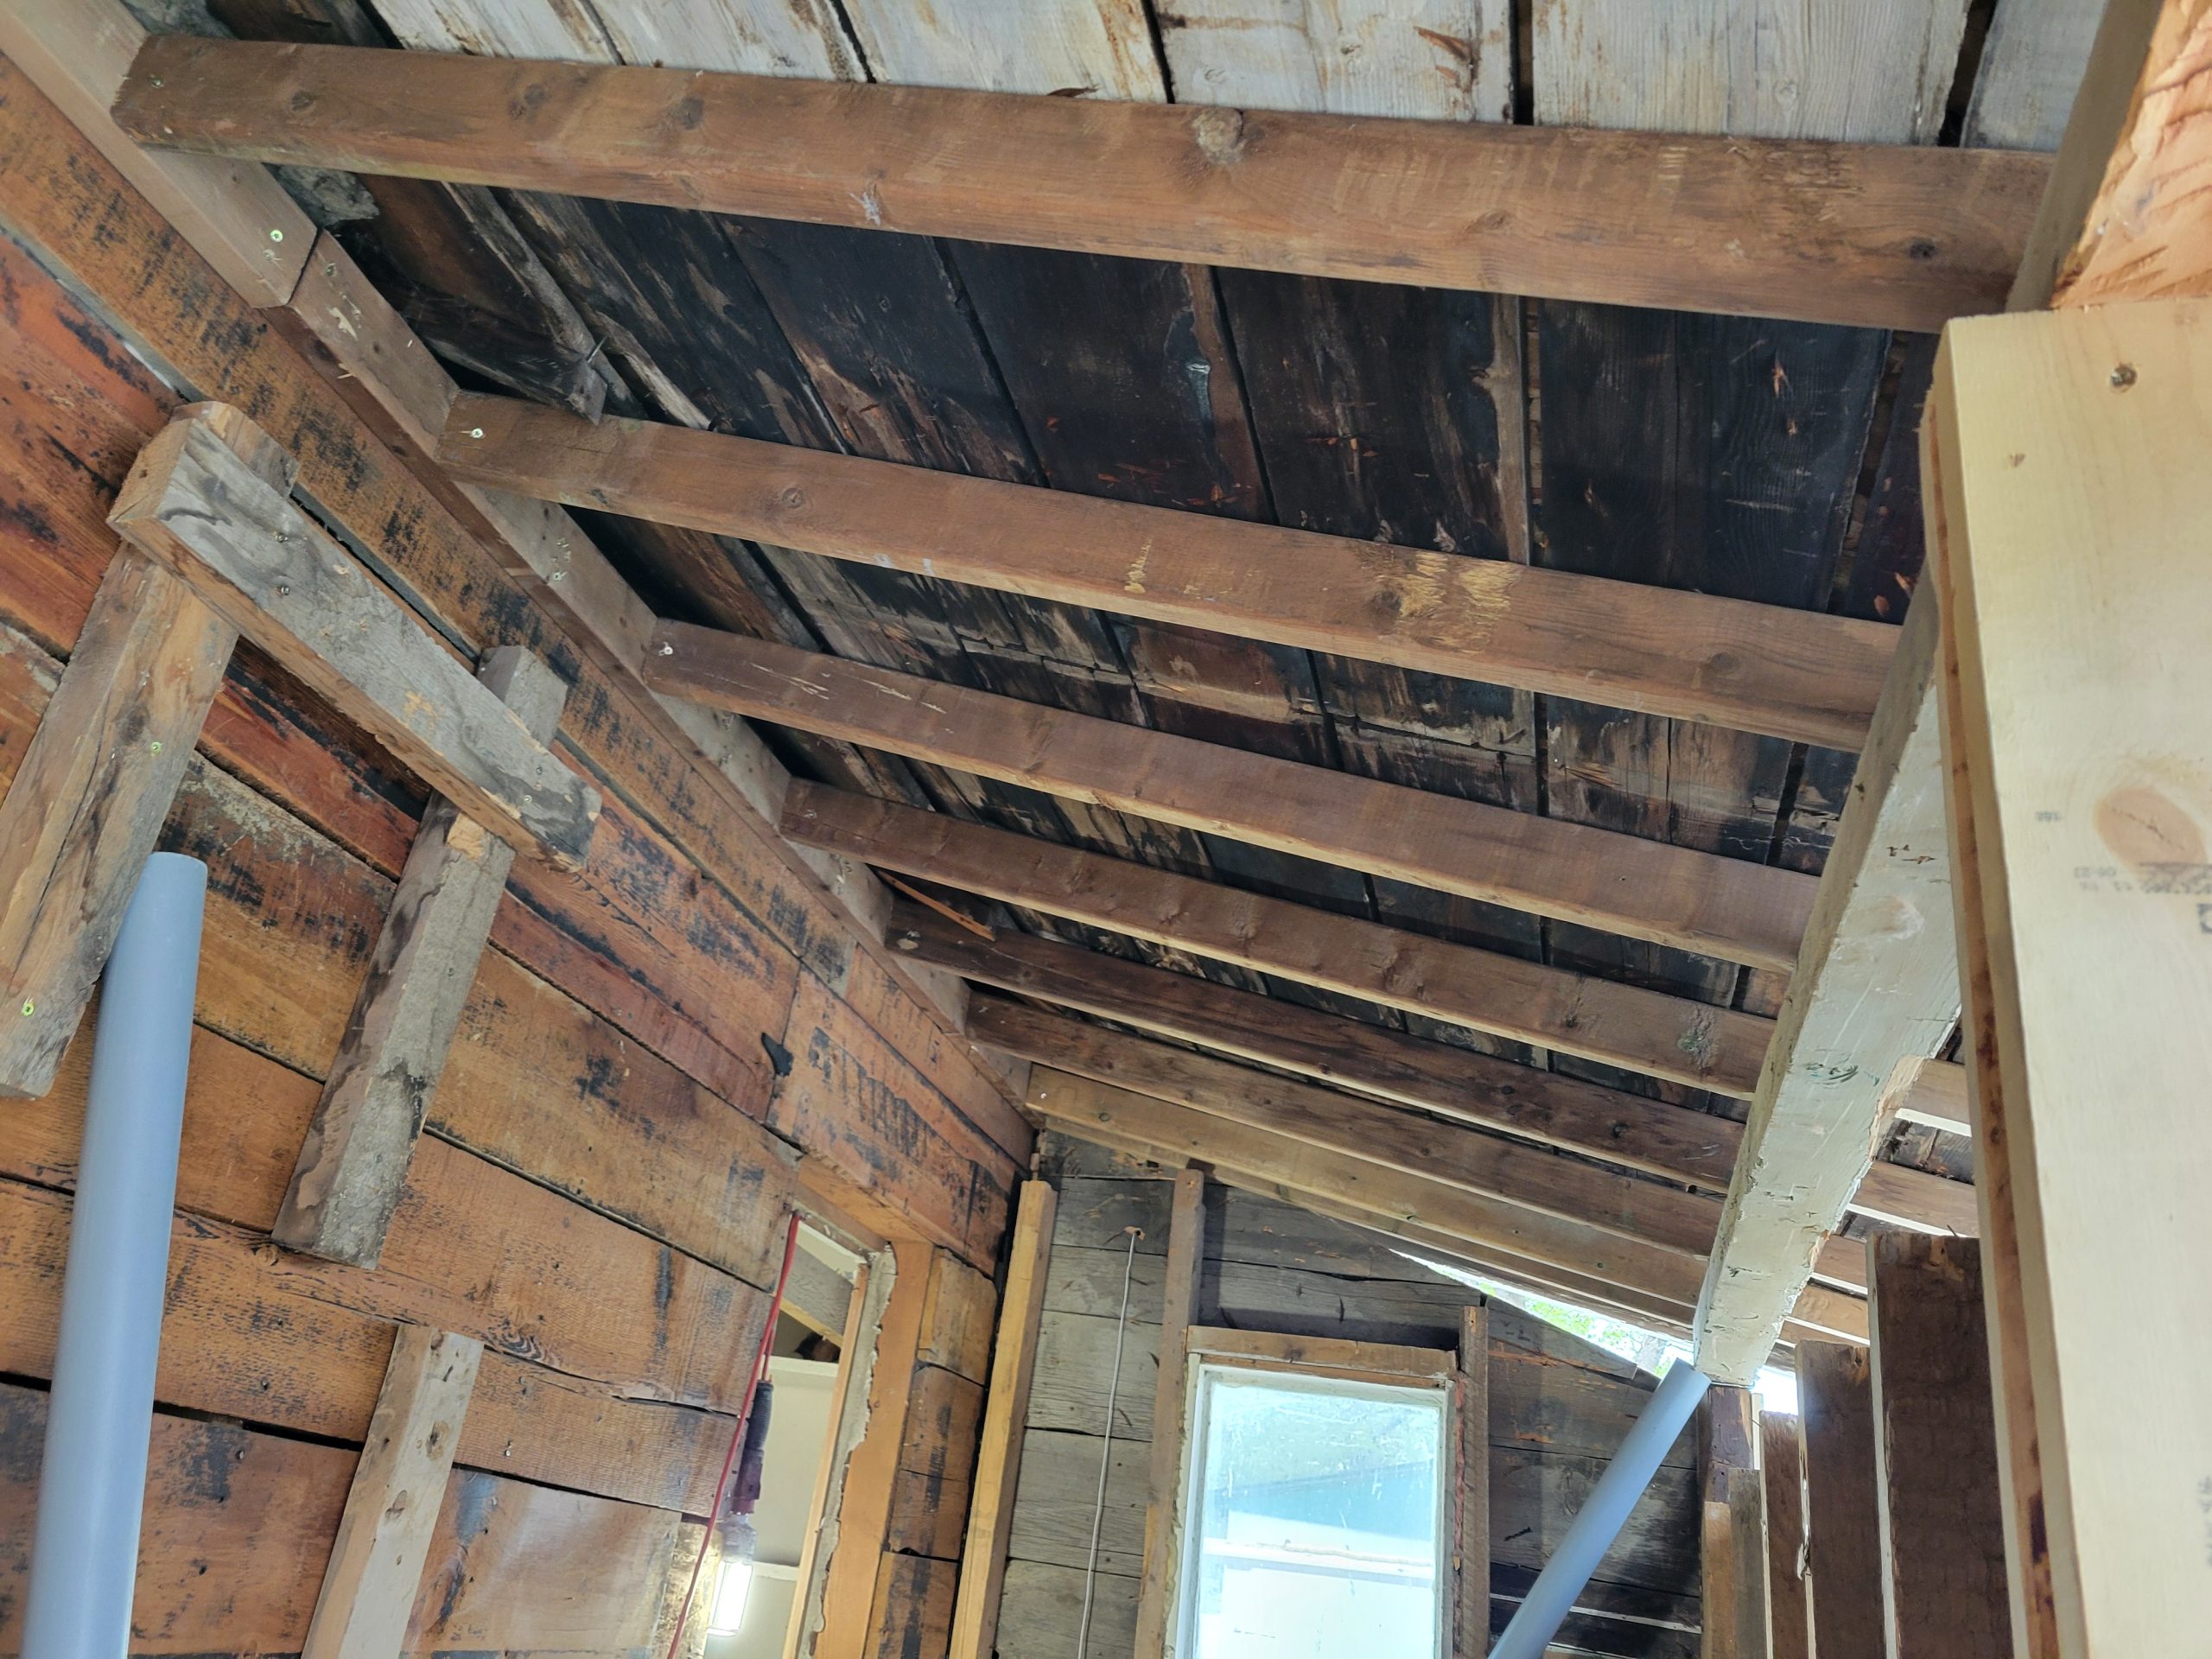
In preparation to build the rest of the mudroom floor (the floor platform and trapdoor leading to the basement), finishing touches must be done to the floor framing. Blocking was adjusted, and a spacer to get the right elevation was added to the ledger against the house.
![]()
Finally, the 3/4 plywood was fitted. (Note to self: When measuring for holes to cut in plywood, always measure from the same place, not from two different places (i.e. left side & right side) or you will end up having to move the framing to match the plywood hole rather than the plywood hole matching the framing.)
The remaining old mudroom rafters are removed. New rafters are placed in. Without Dave, I used a bottle jack and telepost to hold them in place. With Dave, I pushed up and he hammered them flush with the 2×4 ledger.
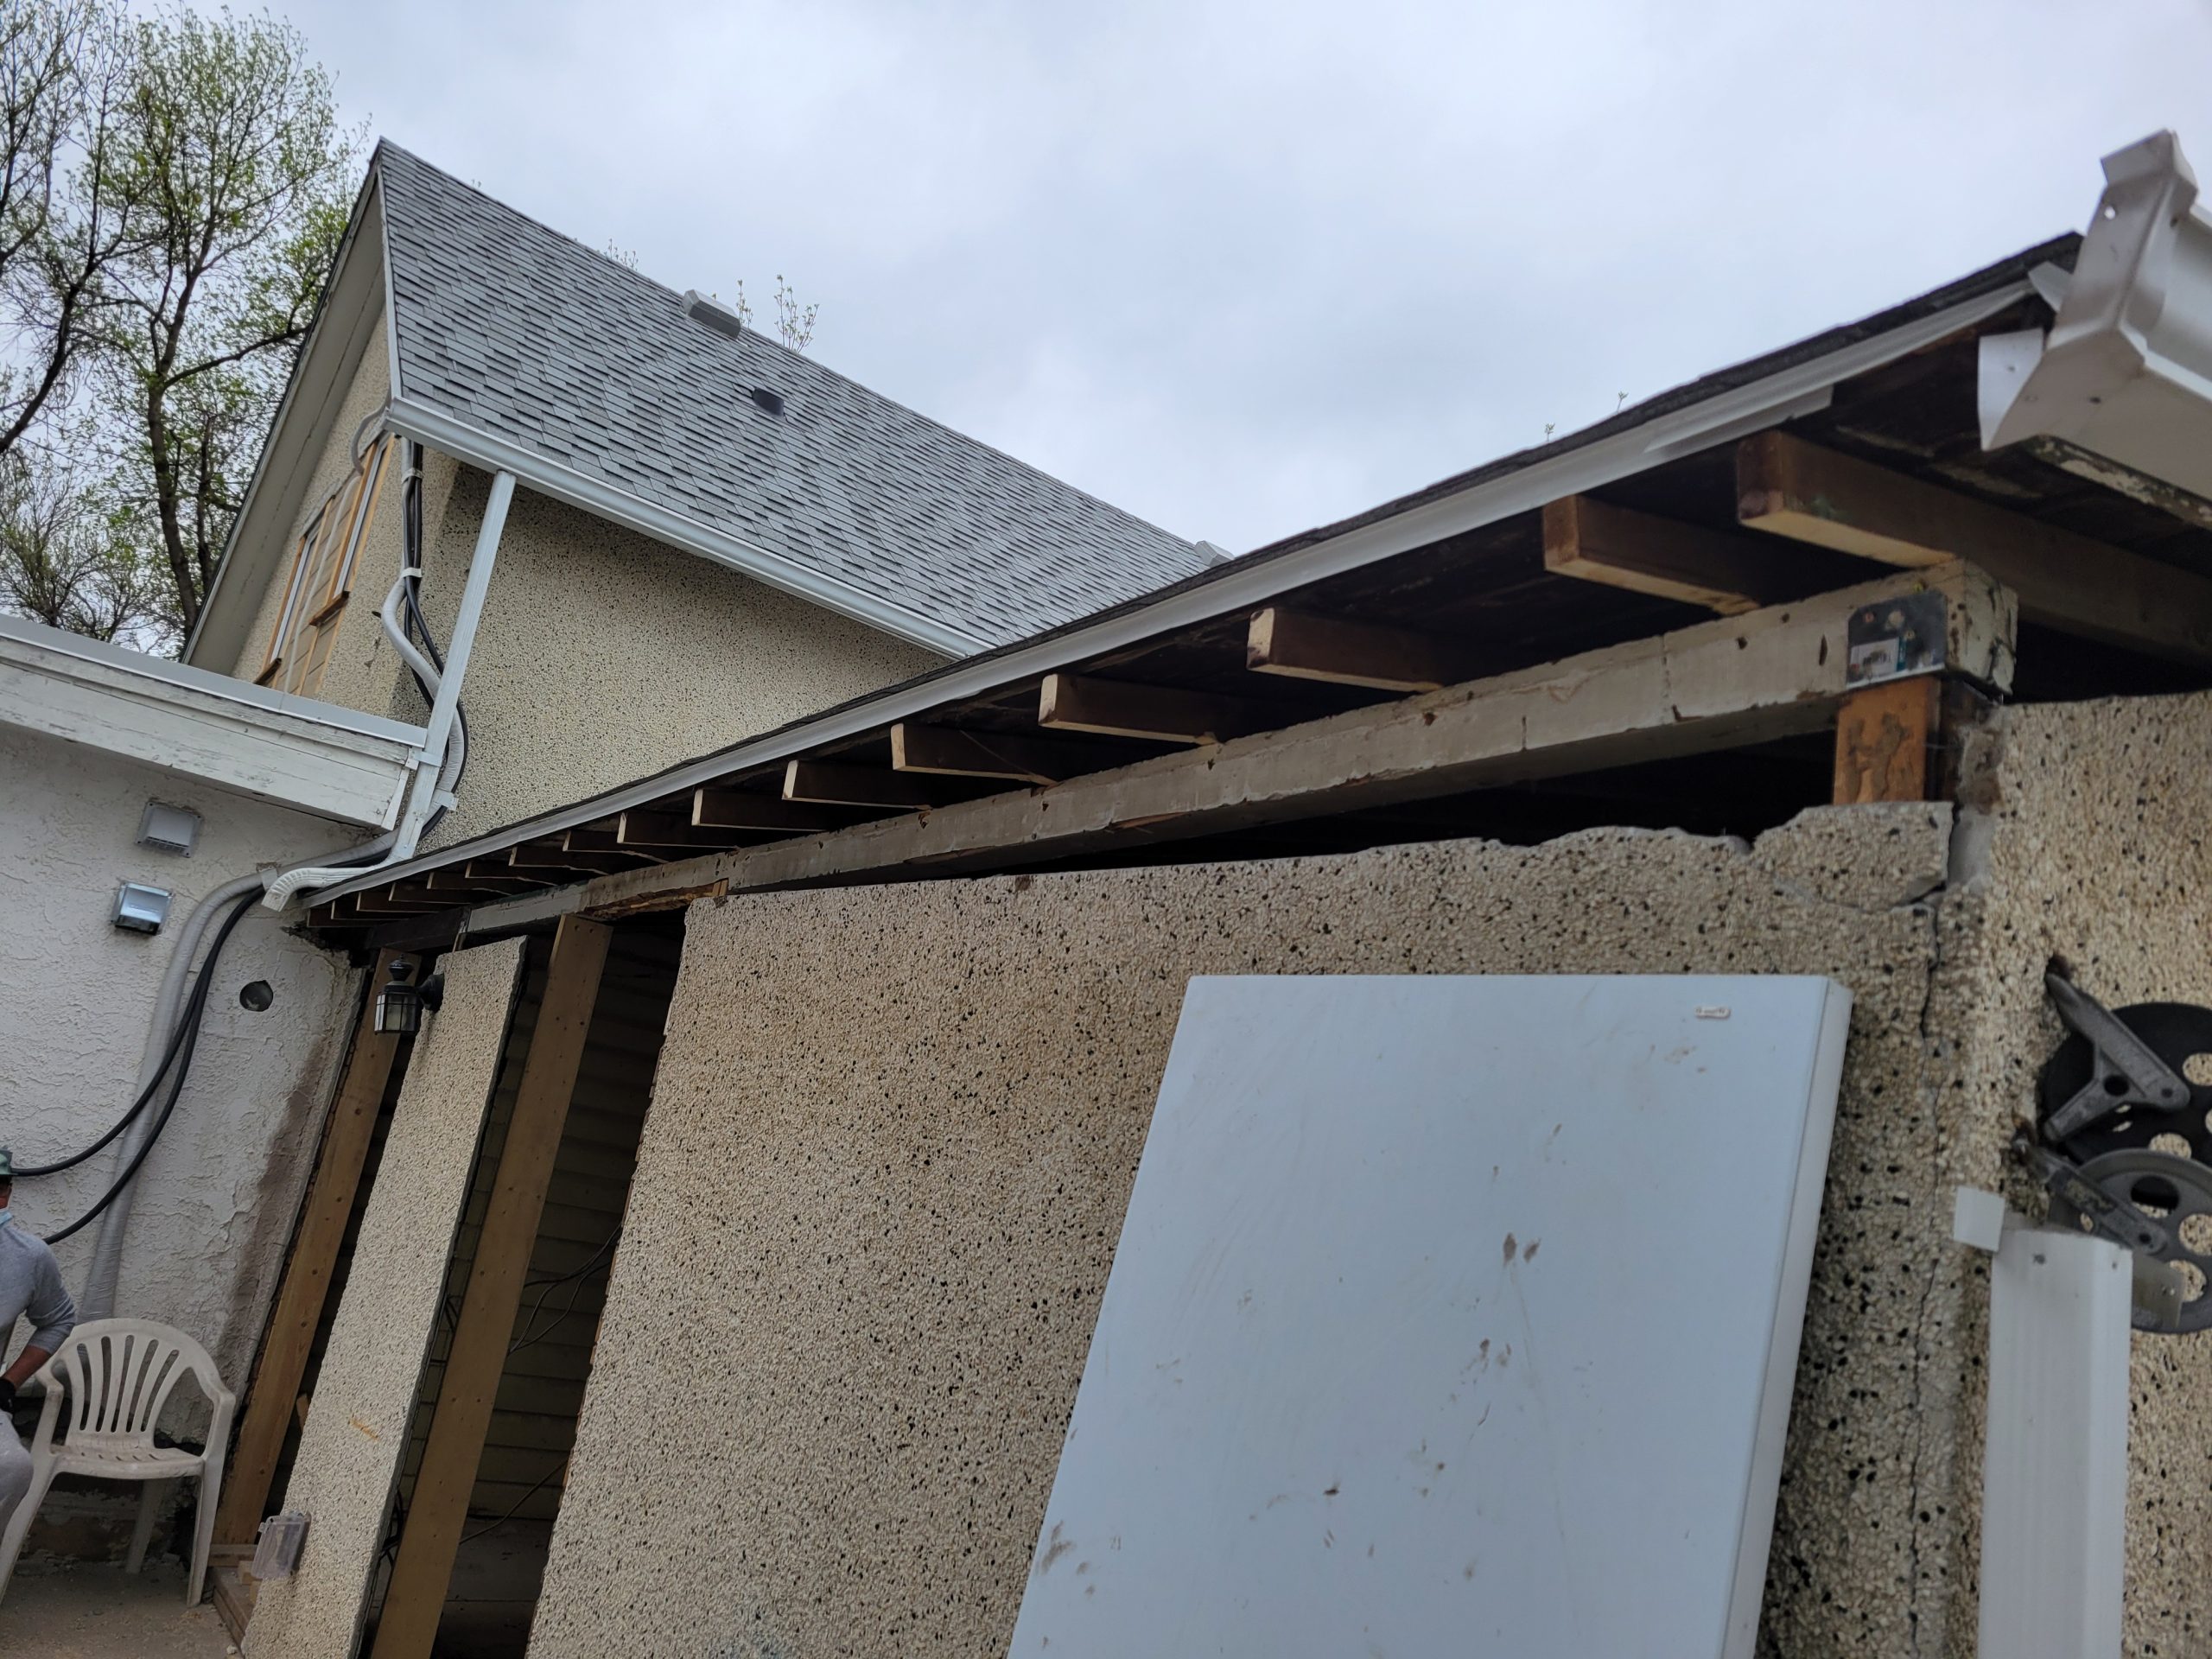
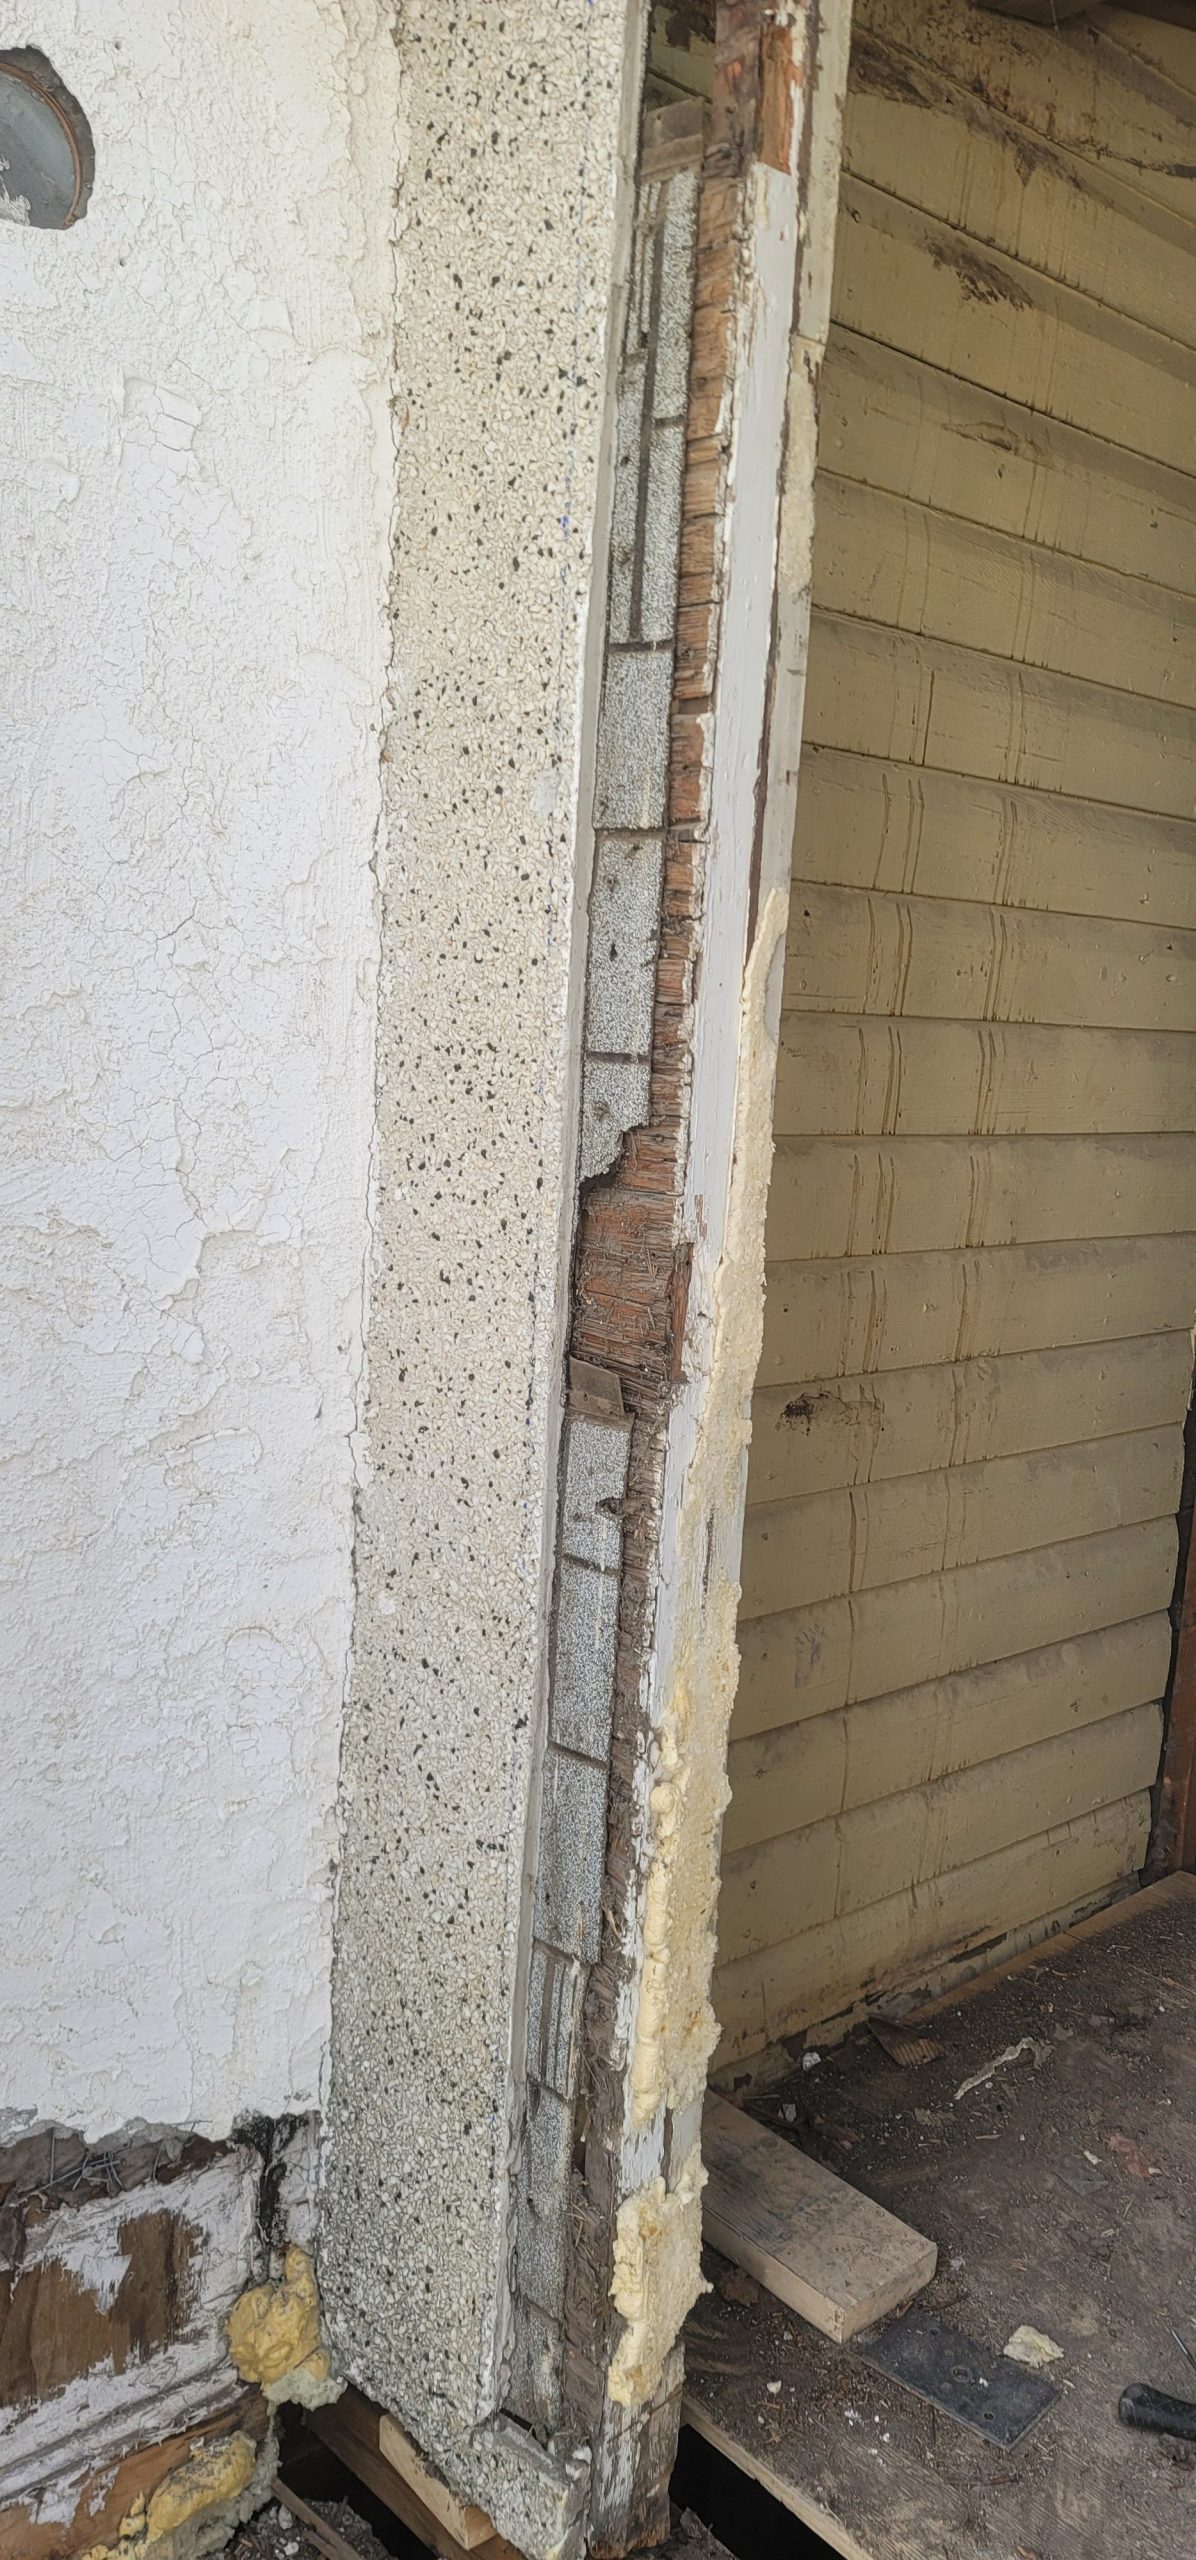
Next, the stucco around the 1F mudroom door frame was cut to accommodate a wide trim board to match the windows. Before that, the framing had to be moved over 1-1/2″ to ensure an even stucco cut line.
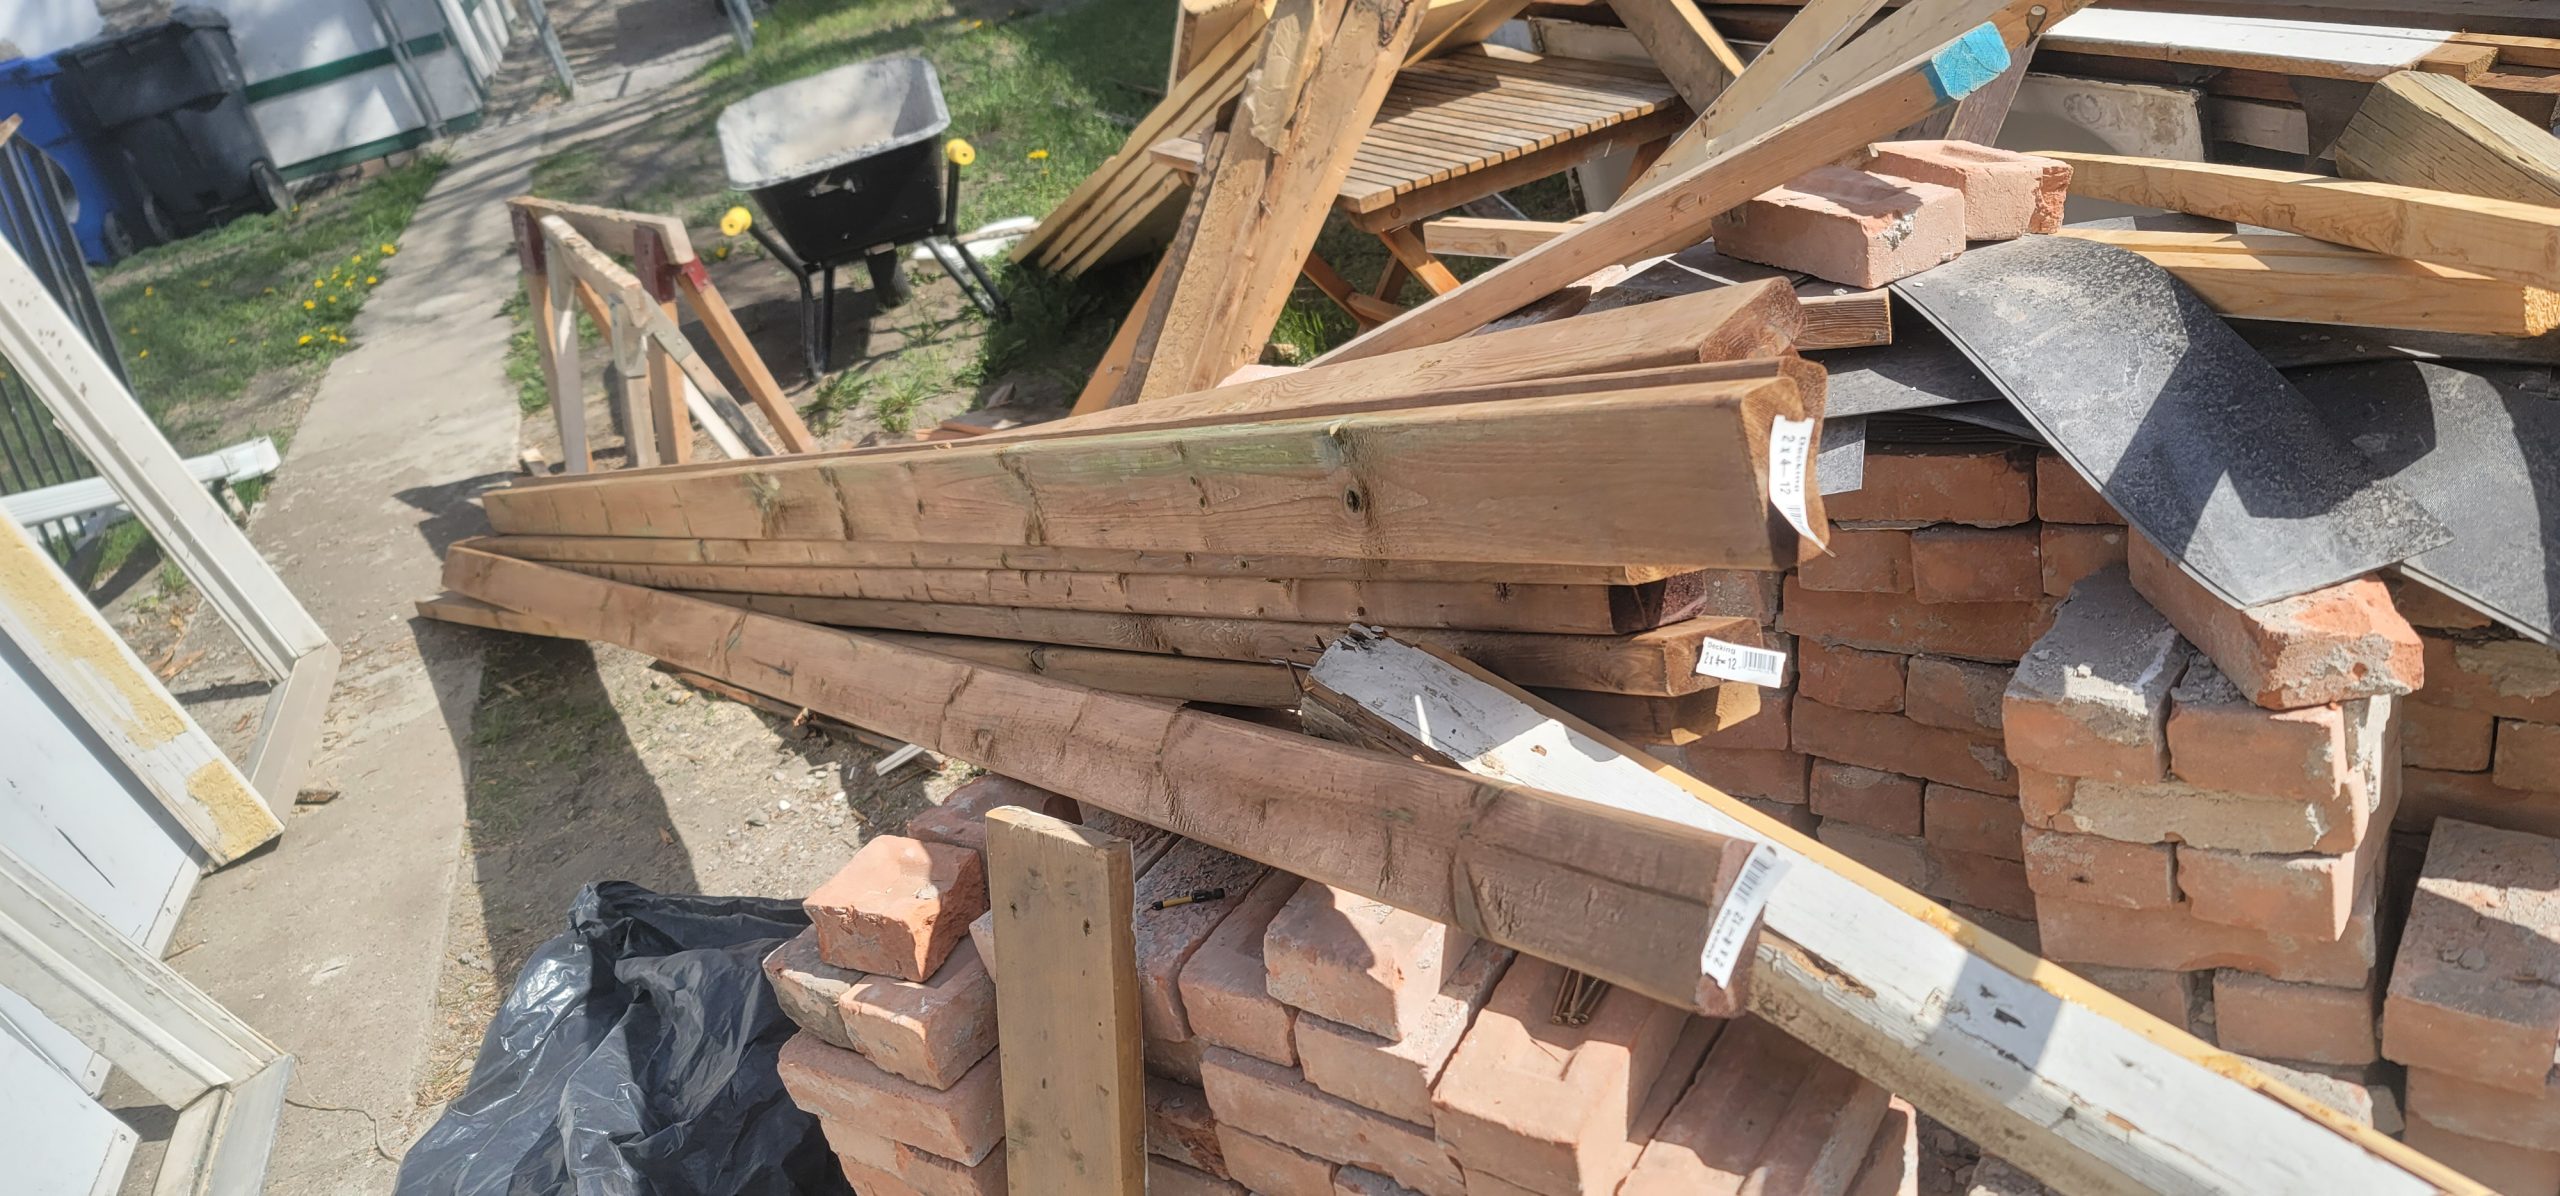
New rafter 2x4s bought:
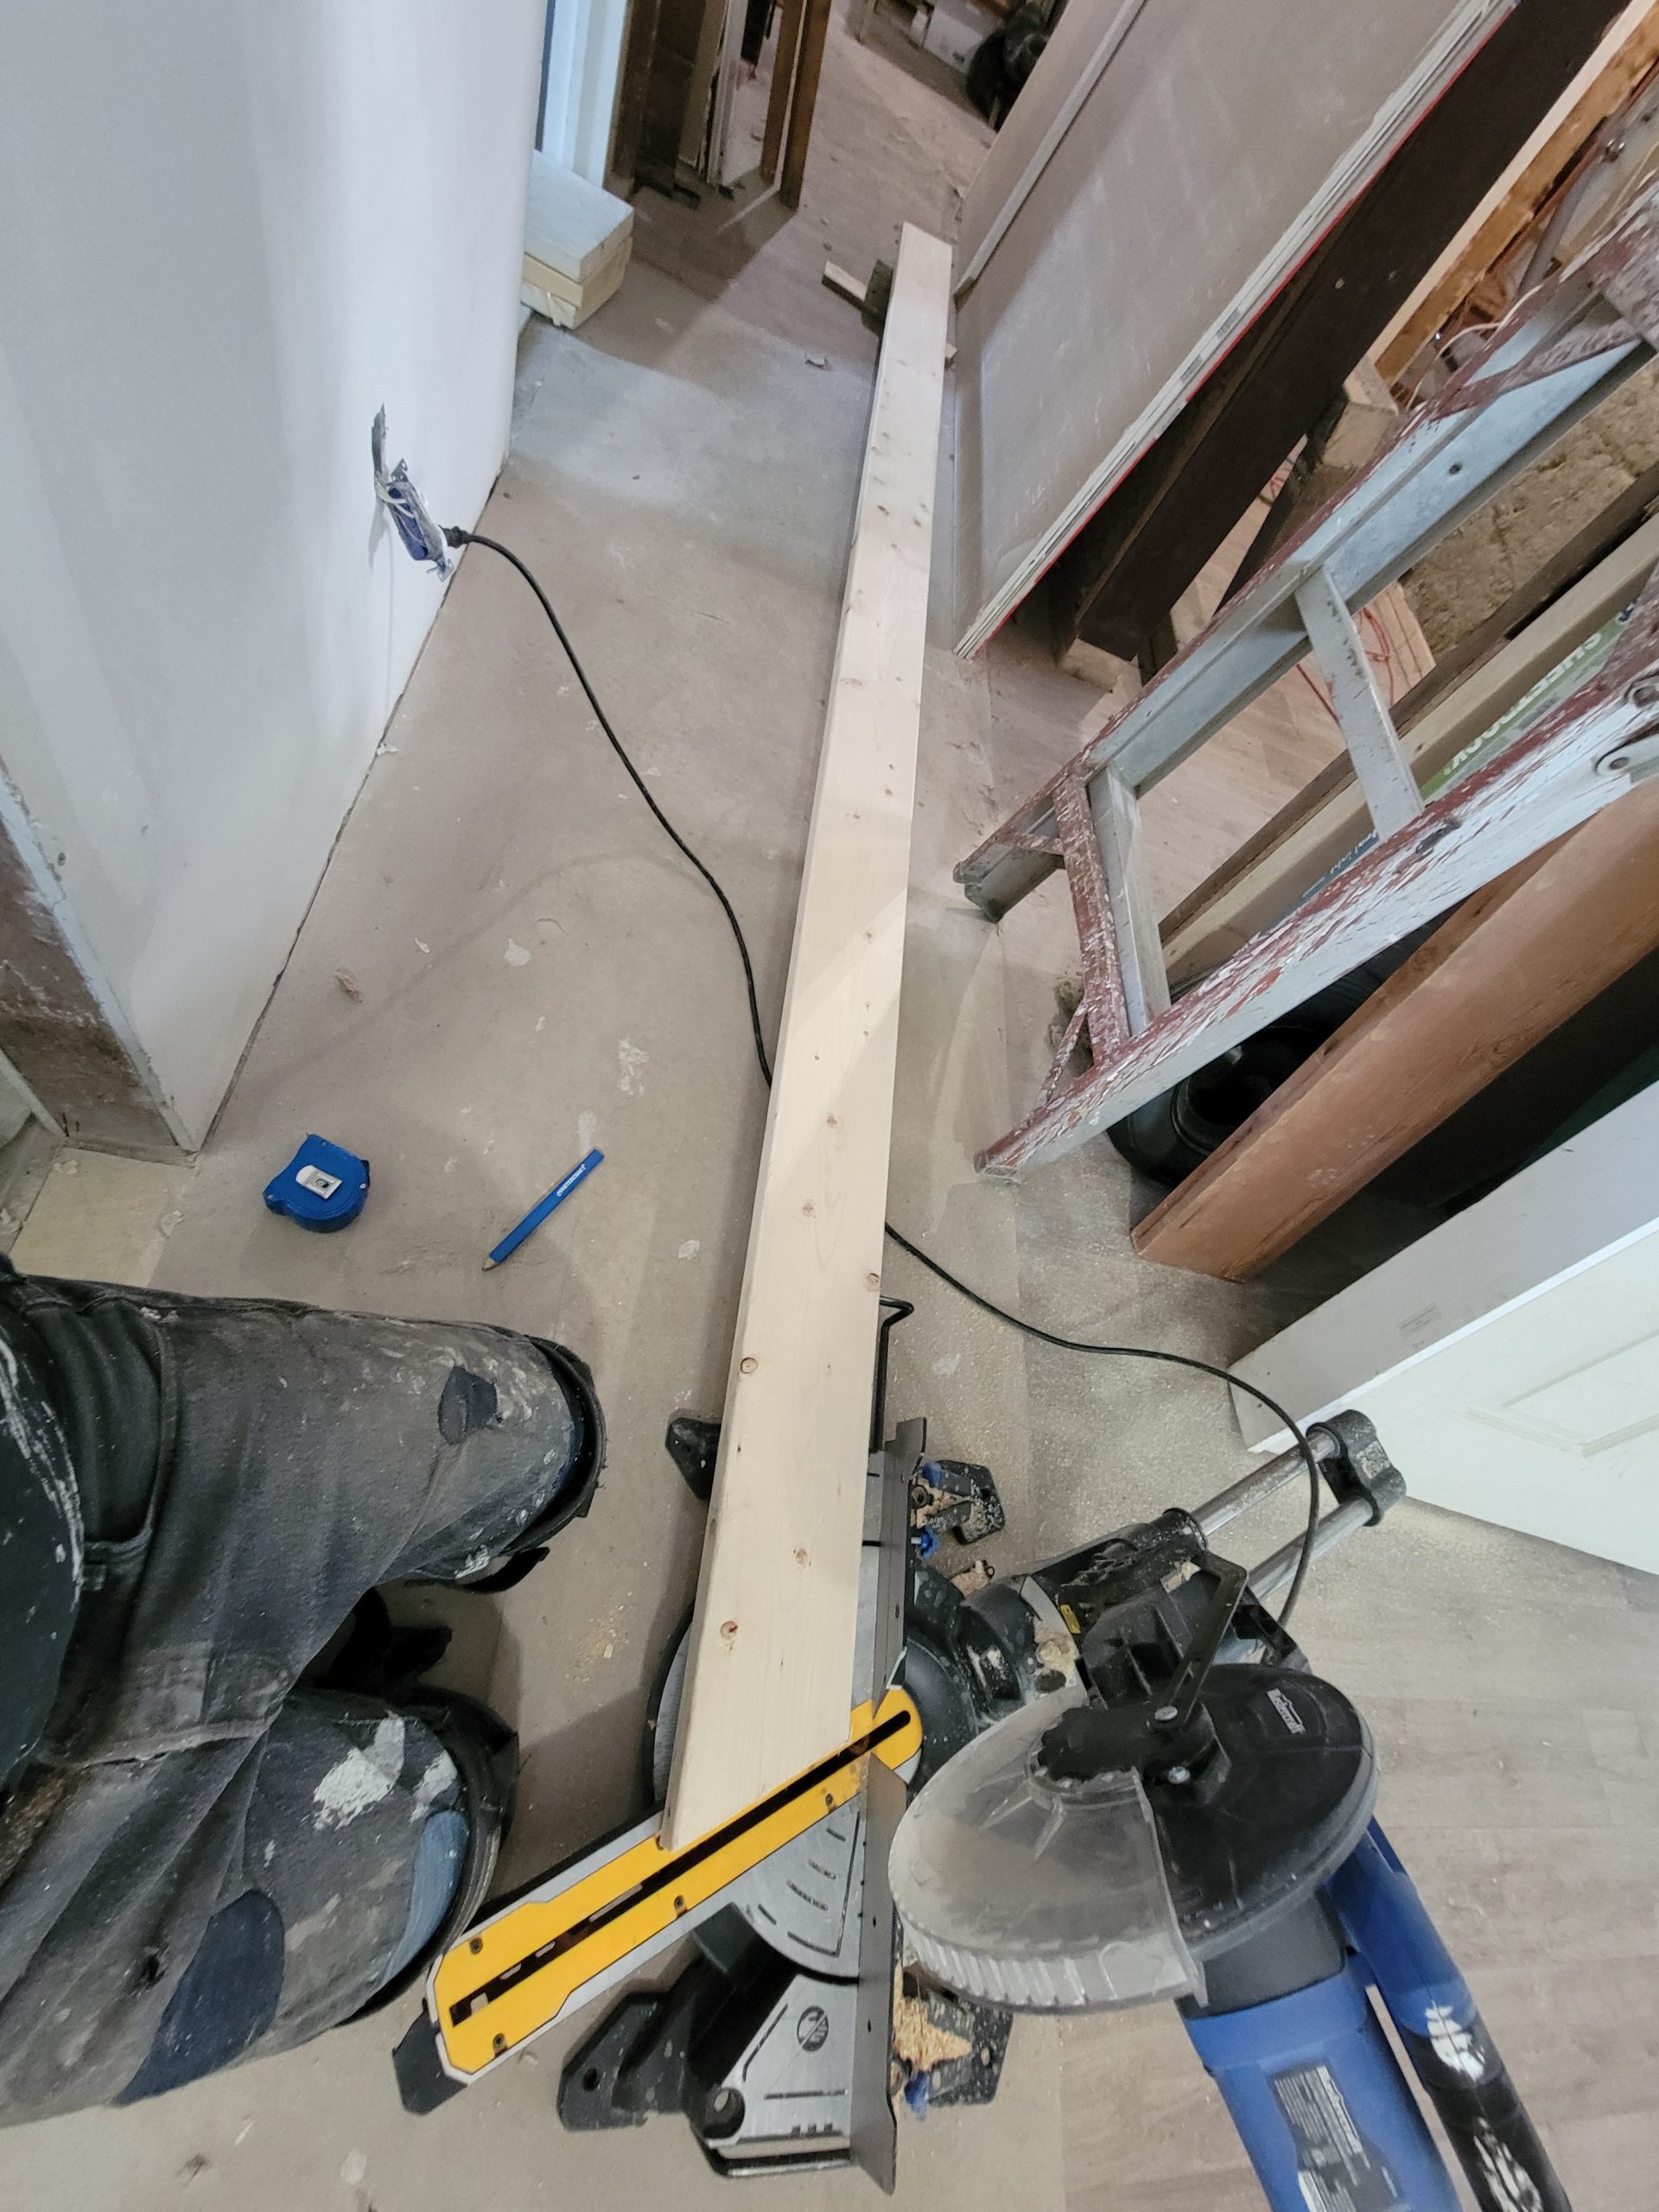
Unfortunately, I bought 12′ instead of 10′. My mind is not on my work recently. Now I have two-foot-something boards I cannot use and money gone that I could have used.
The 2nd floor (“up”) suite door must be a 36″ opening by code. The old door was a 34″, I believe. Since we’re reframing the whole area, the grandfather clause doesn’t apply.
So the mudroom rafter replacement began today. I bought a turnbuckle and found my stump-pulling cables and rigged up a way of pulling the 4×4 header (a.k.a. top plate) back to where it needs to be, 3-1/2 inches (9cm) from where it was. No easy task. It is held in place by the rafters. I have to disconnect each rafter and replace it with a new one as I go.