After work in the main floor suite, we began work on the stair stringers. The drafting was a somewhat frustrating experience. My software kept snapping to 45°, but the slope of the stairs is not 45°, so every time I drew lines from which to dimension, things became annoying. As well, the printer kept jamming, so I couldn’t print any plans. I wrote all the pertinent dimensions on a piece of paper, and we went outside to tackle the stringers.
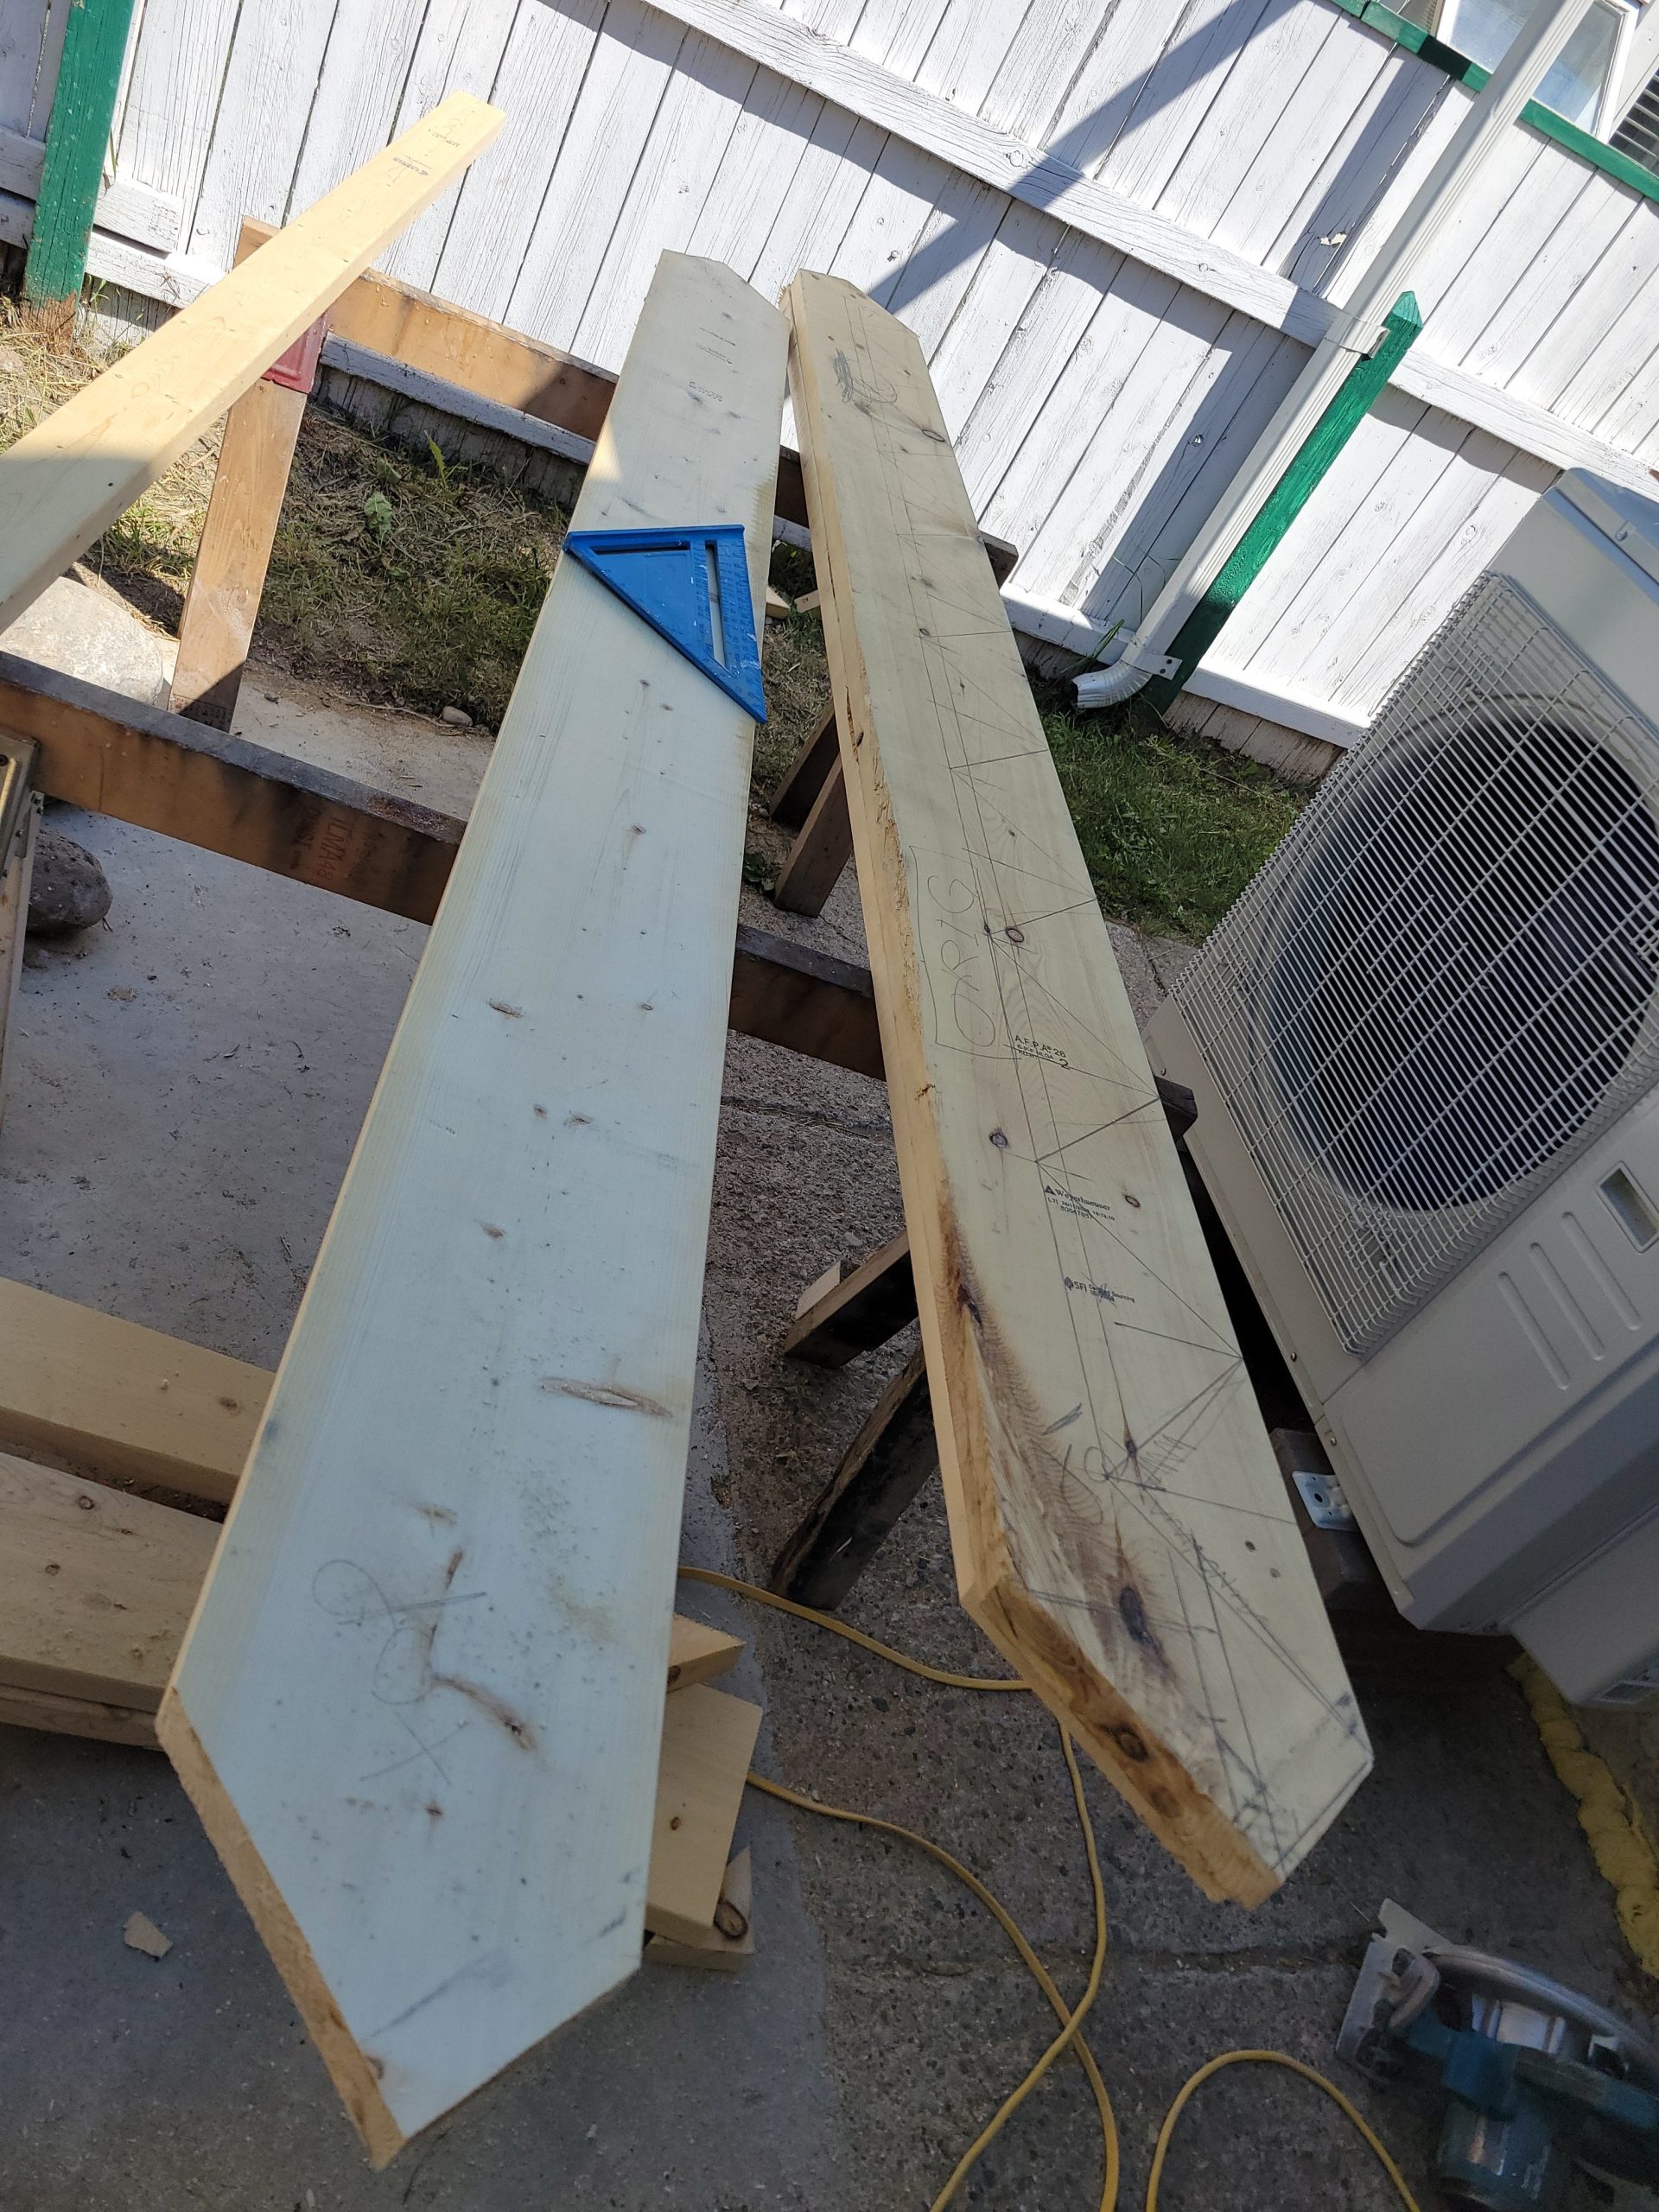
We cut it to length and added the angles.
Keep reading…
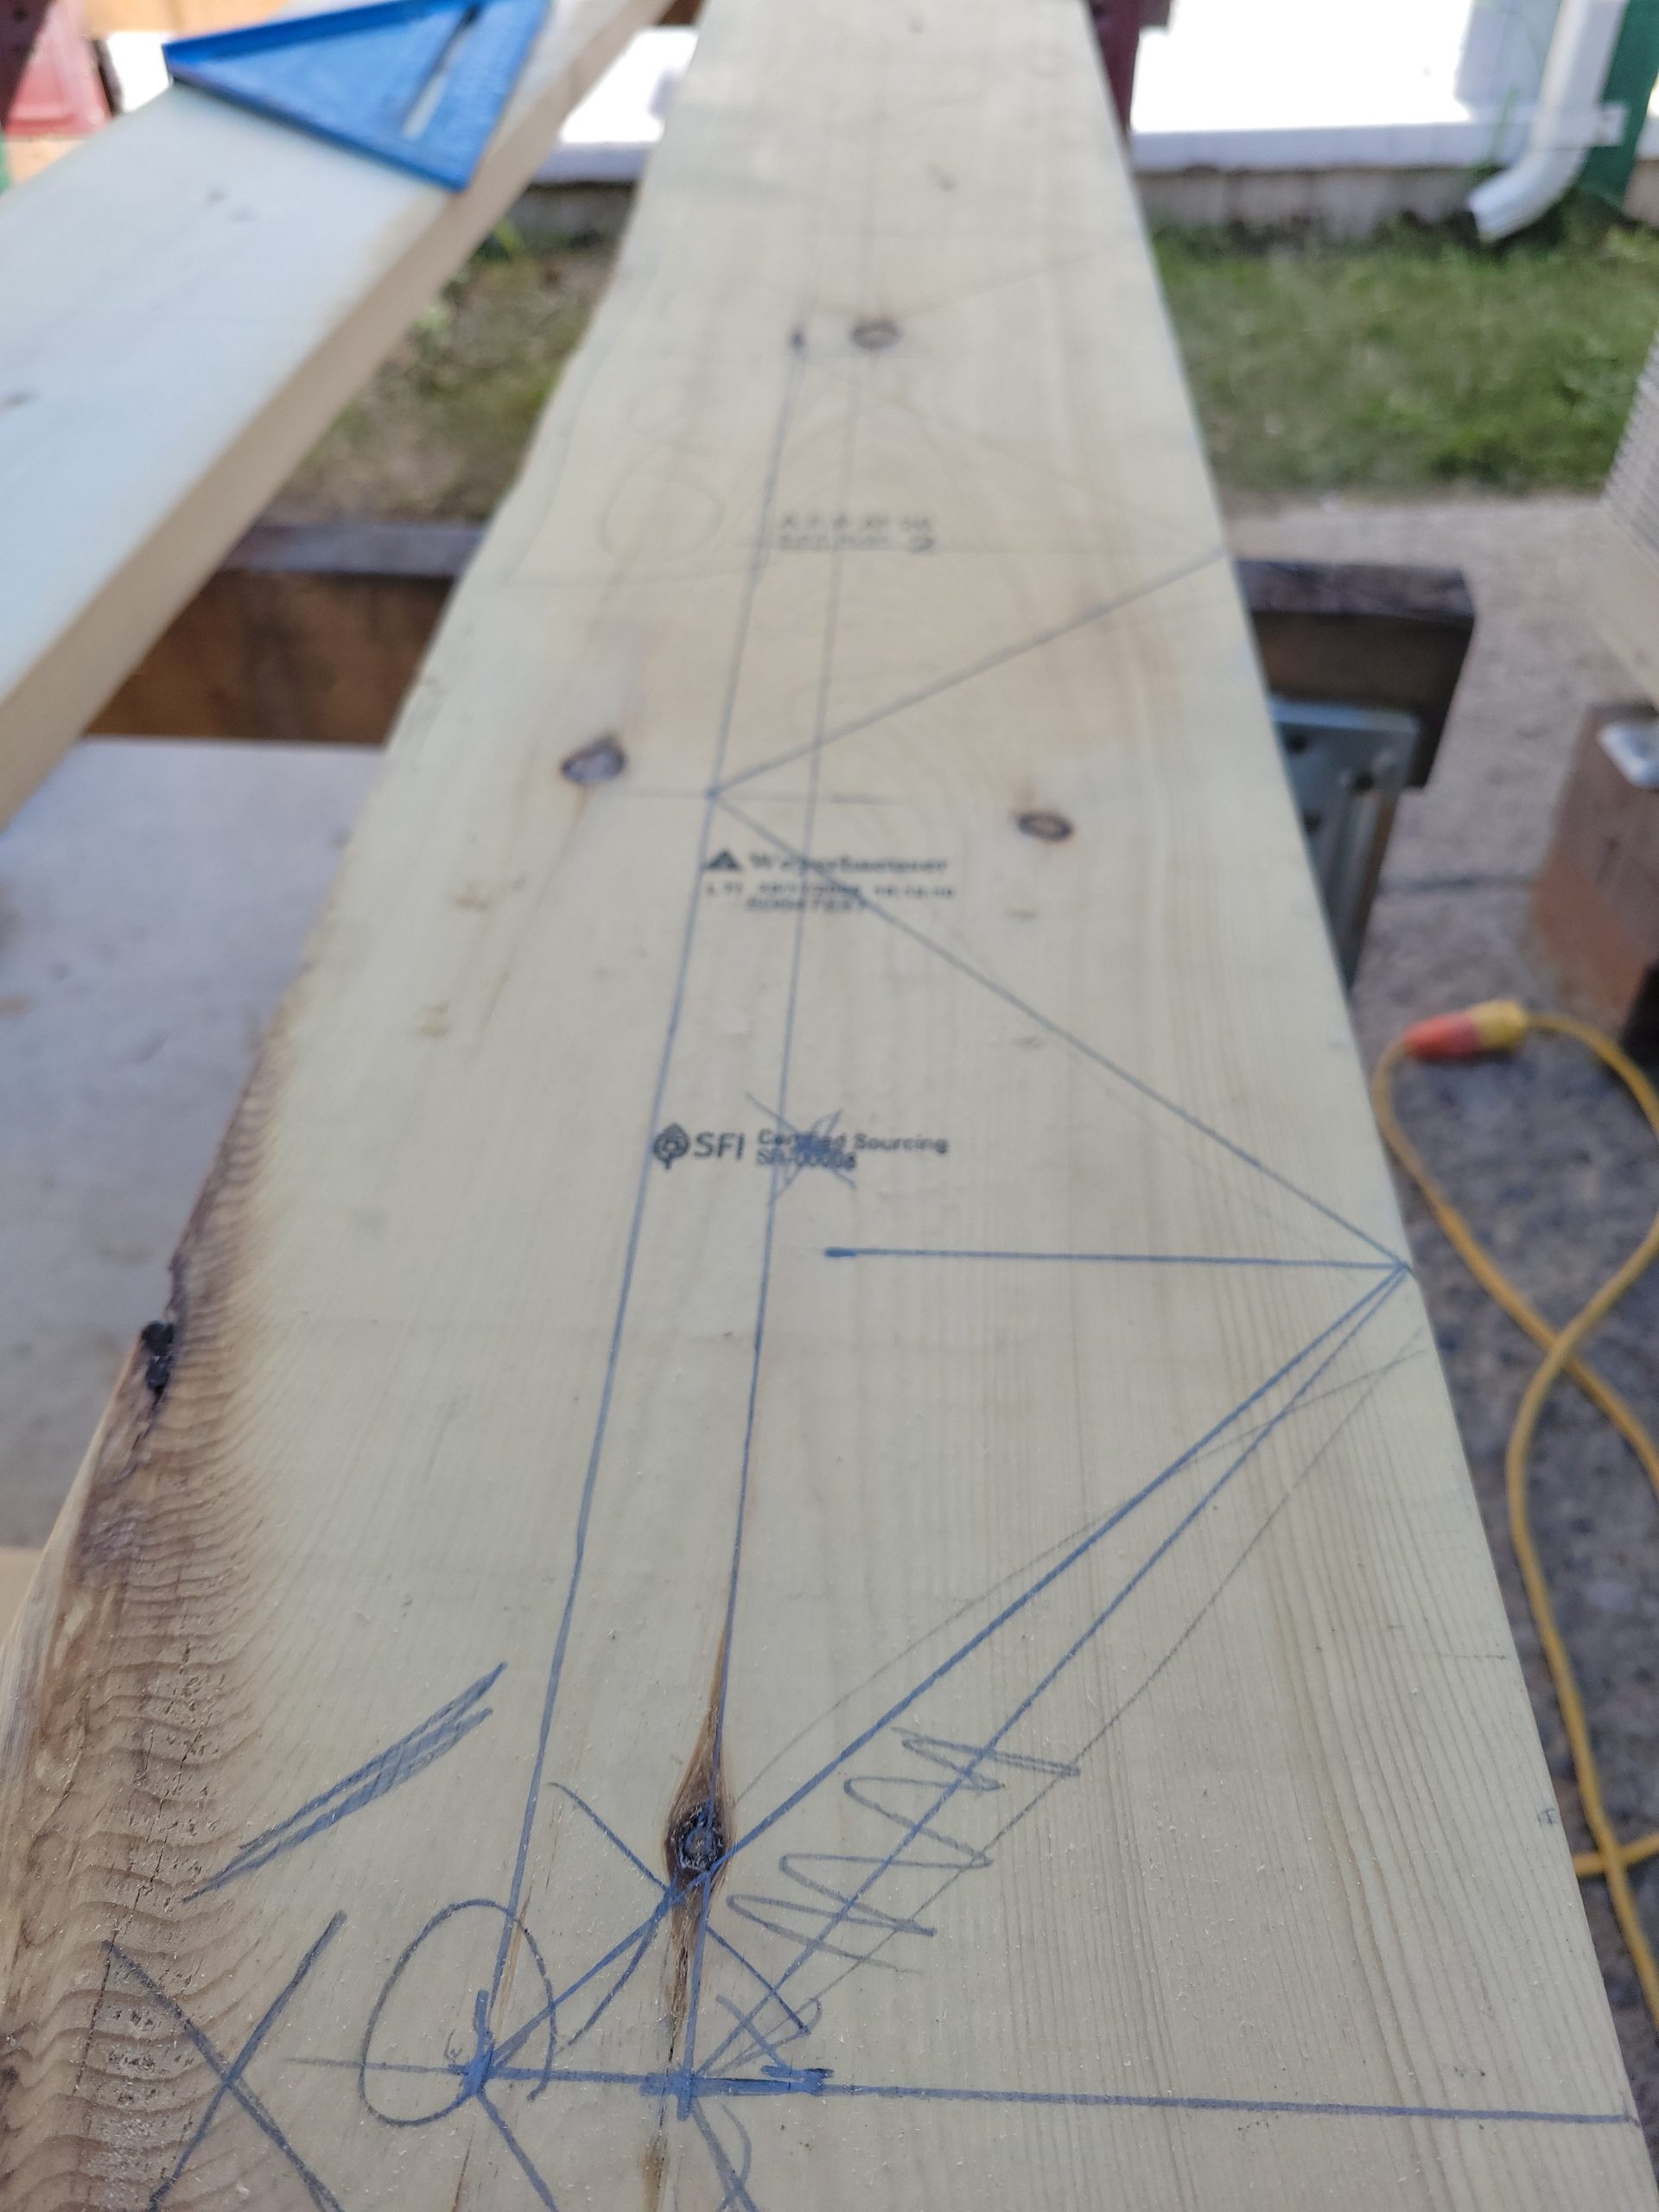
We drew out the cut lines.
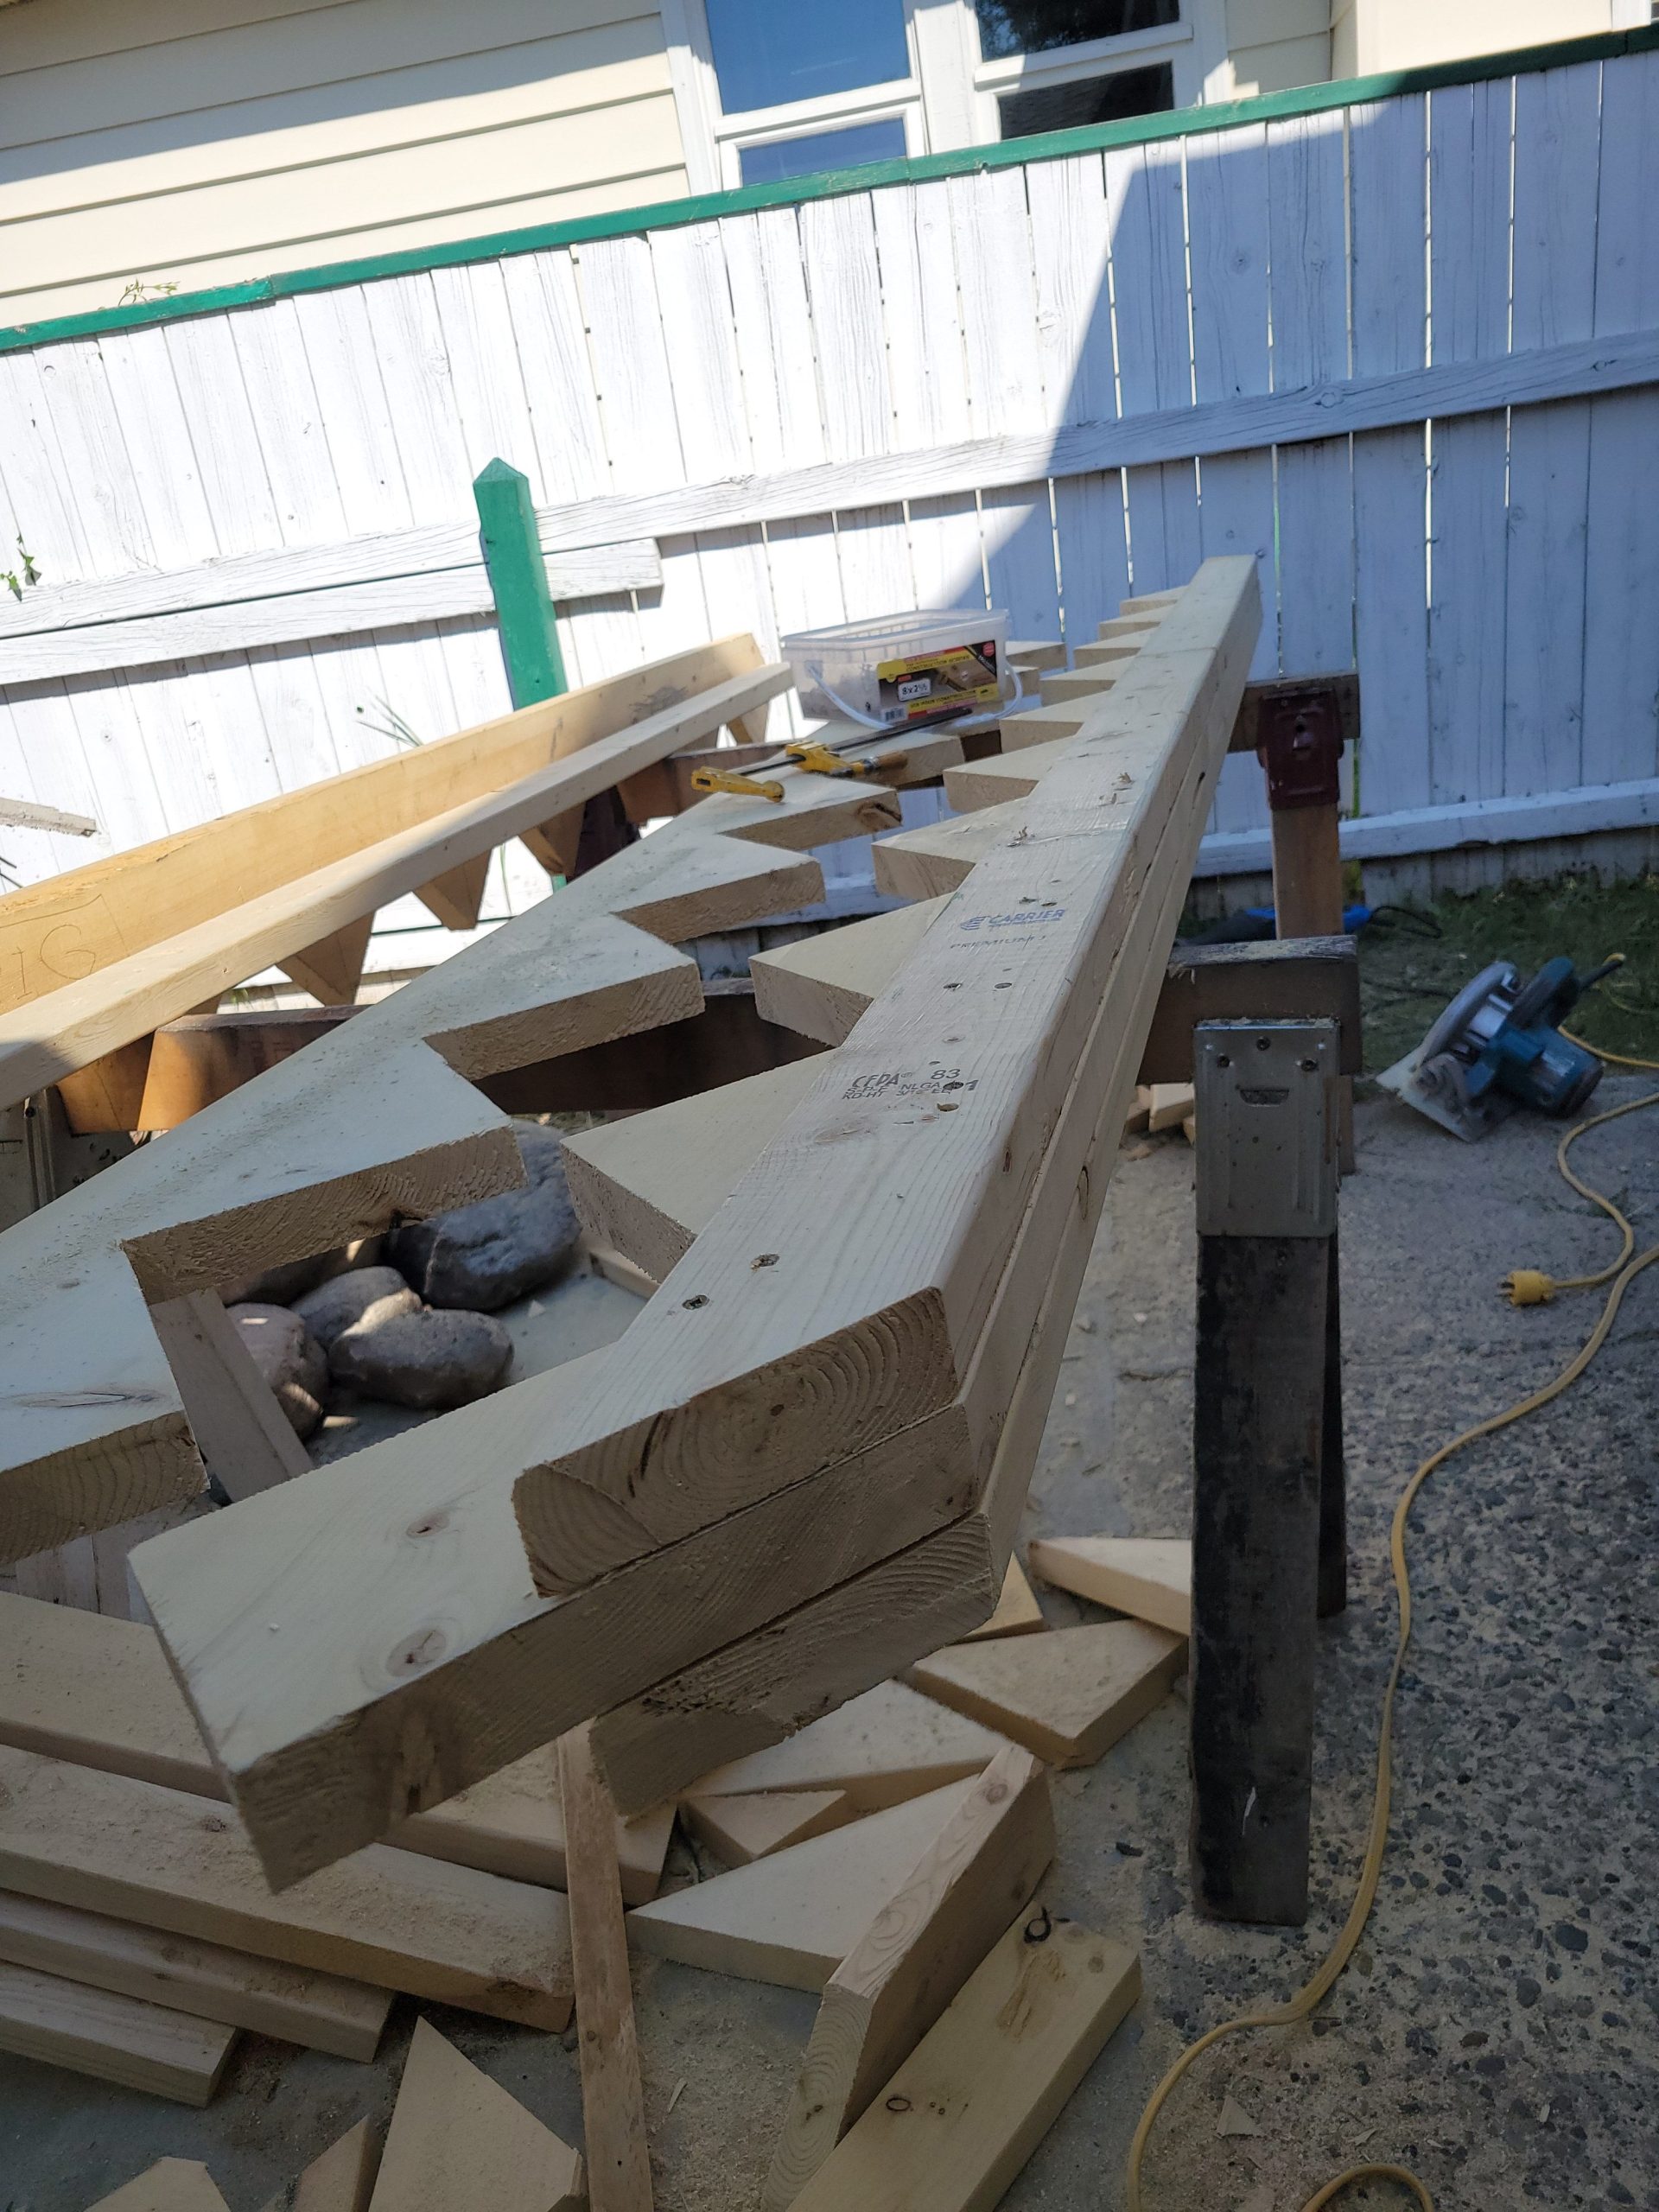
After the cuts (done with circular and reciprocating saws), we added the support 2x4s to both sides. This allows the depth of the stringer to be shallow enough to avoid cutting across the main floor suite bathroom entrance. This was the deciding factor to use this design (rather than full 2×12 or welded steel stringers) and one that allowed us to continue without much more navel-gazing and walking around in circles. My calculations say it is much more load-bearing than 2×12 single-width stringers.
We placed and mounted the left and right stringers.
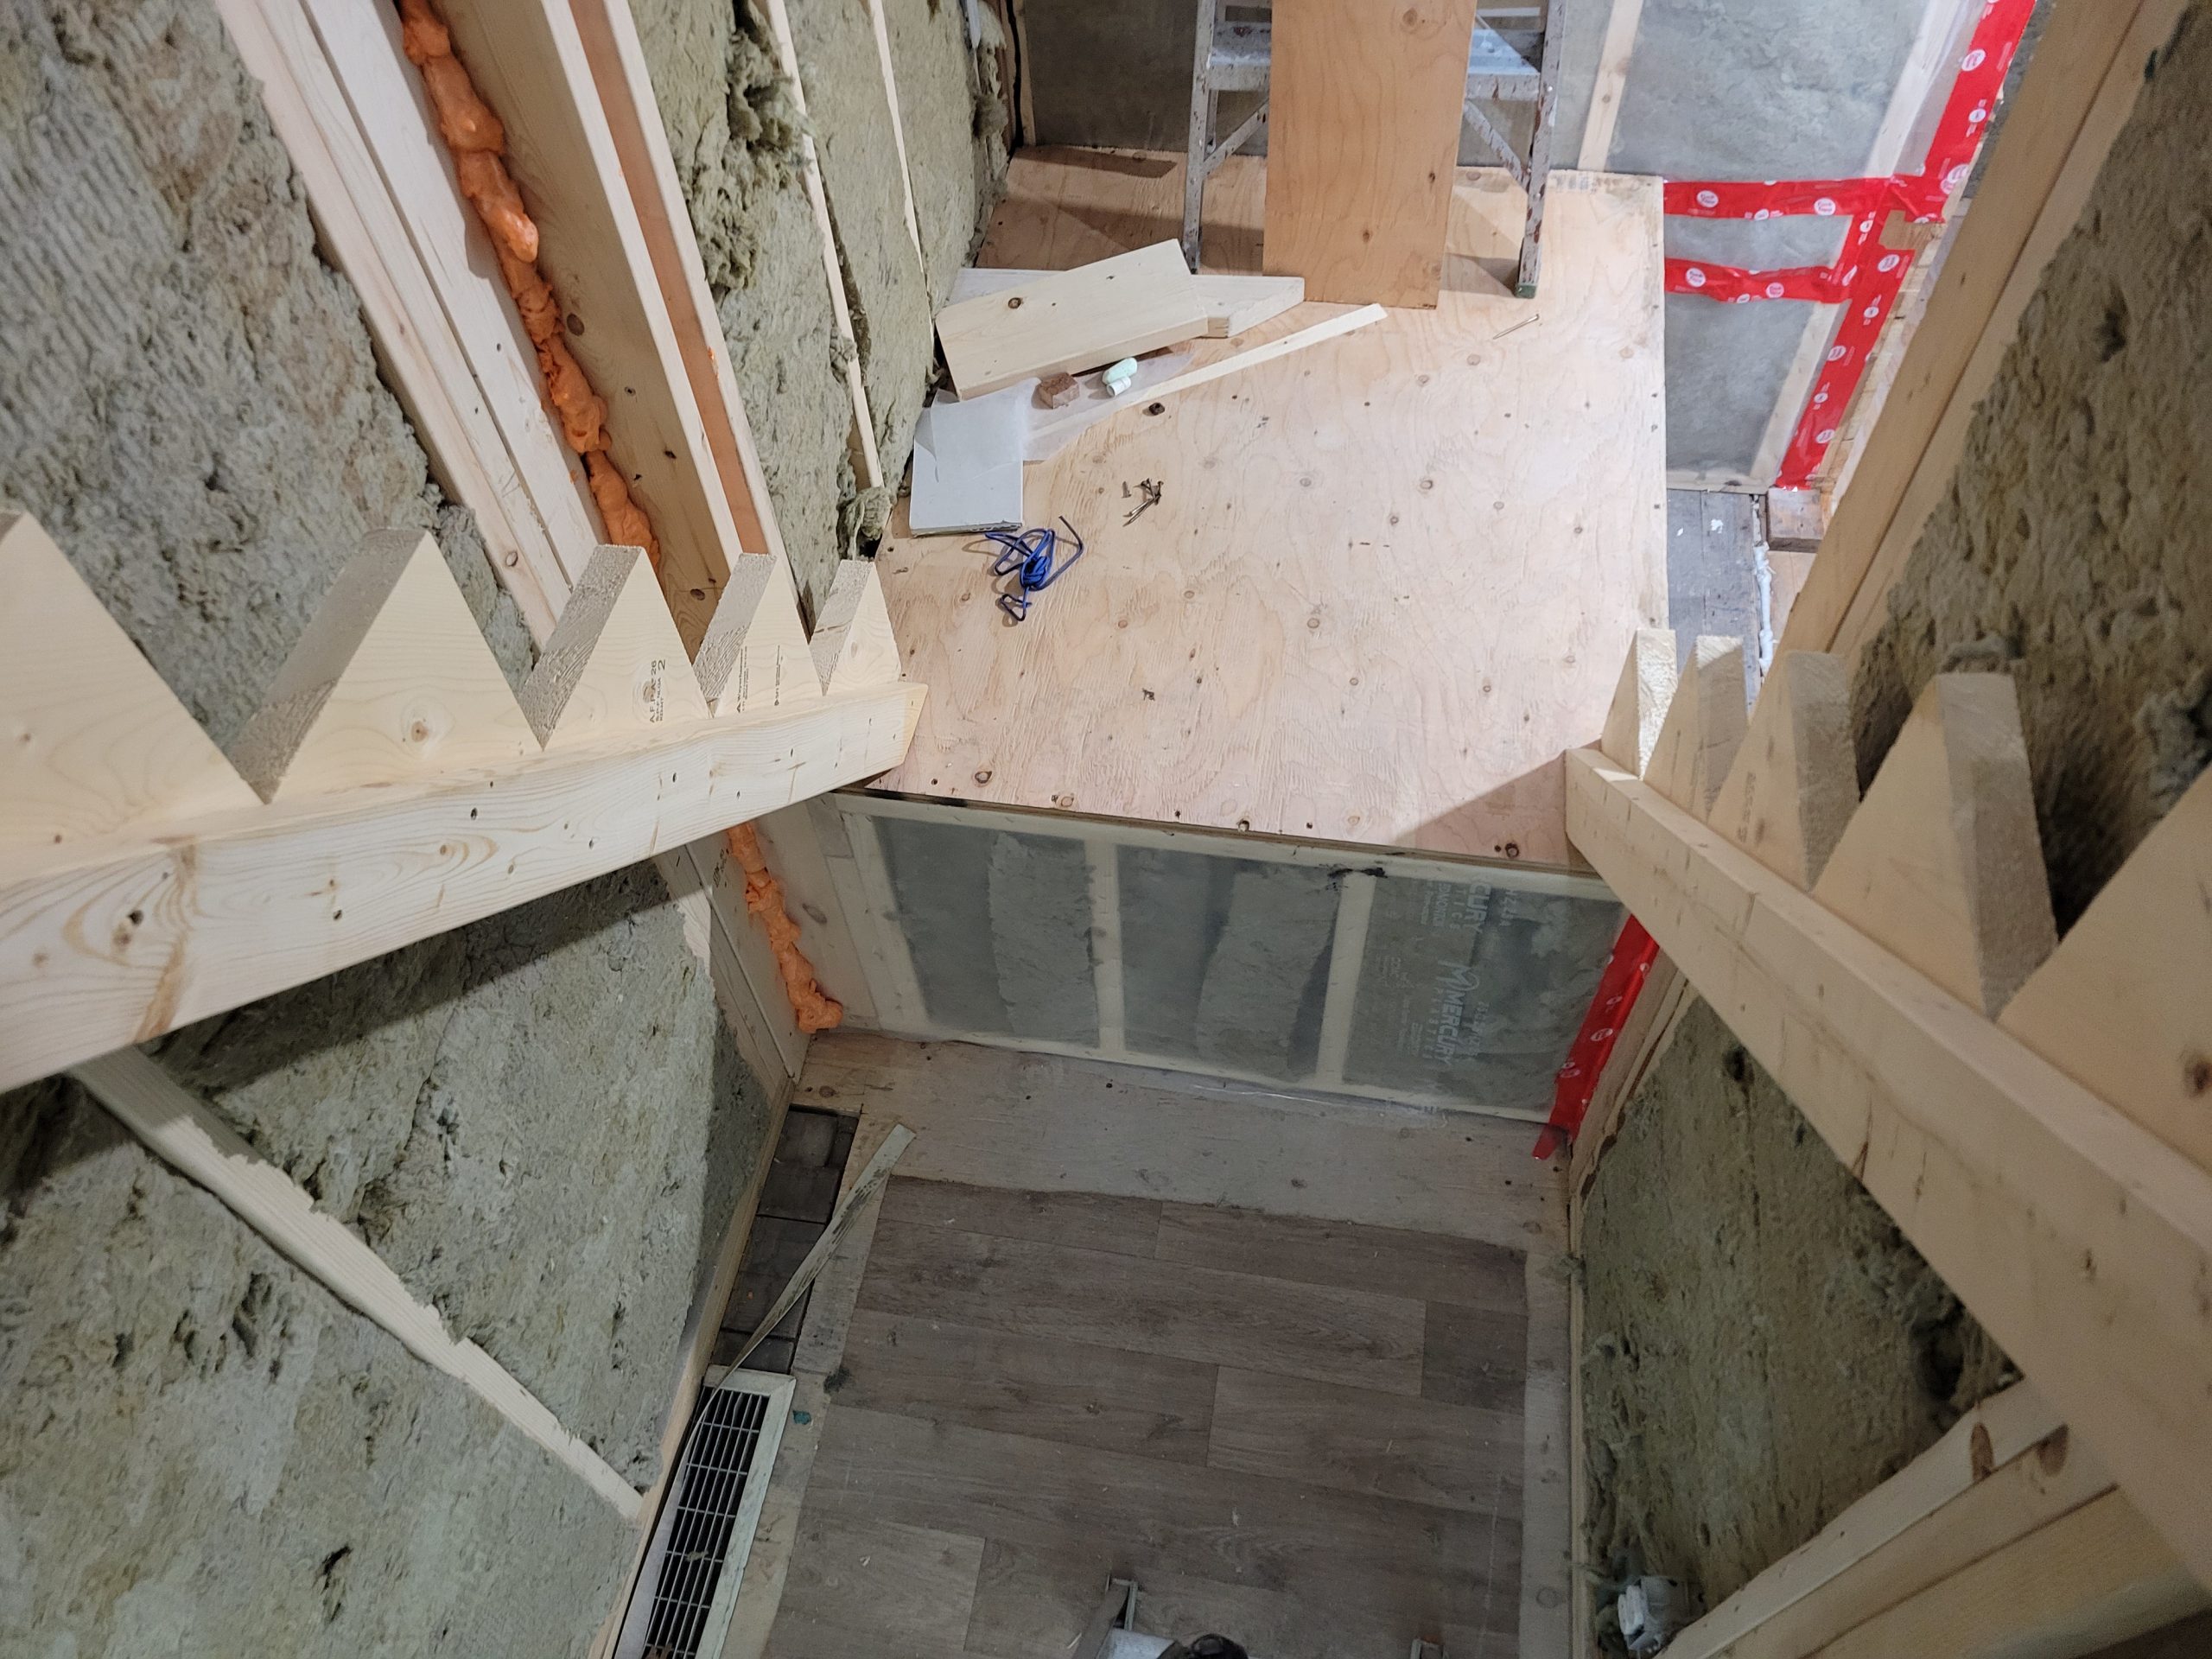
We tested their deflection, bounce, torsion, and overall stability without being side-mounted with screws, lag bolts, or machine bolts. More testing will happen when all three stringers are in place, steps added, and side-mounting is in place (side mounted to the 2×6 framing members of the adjacent walls).
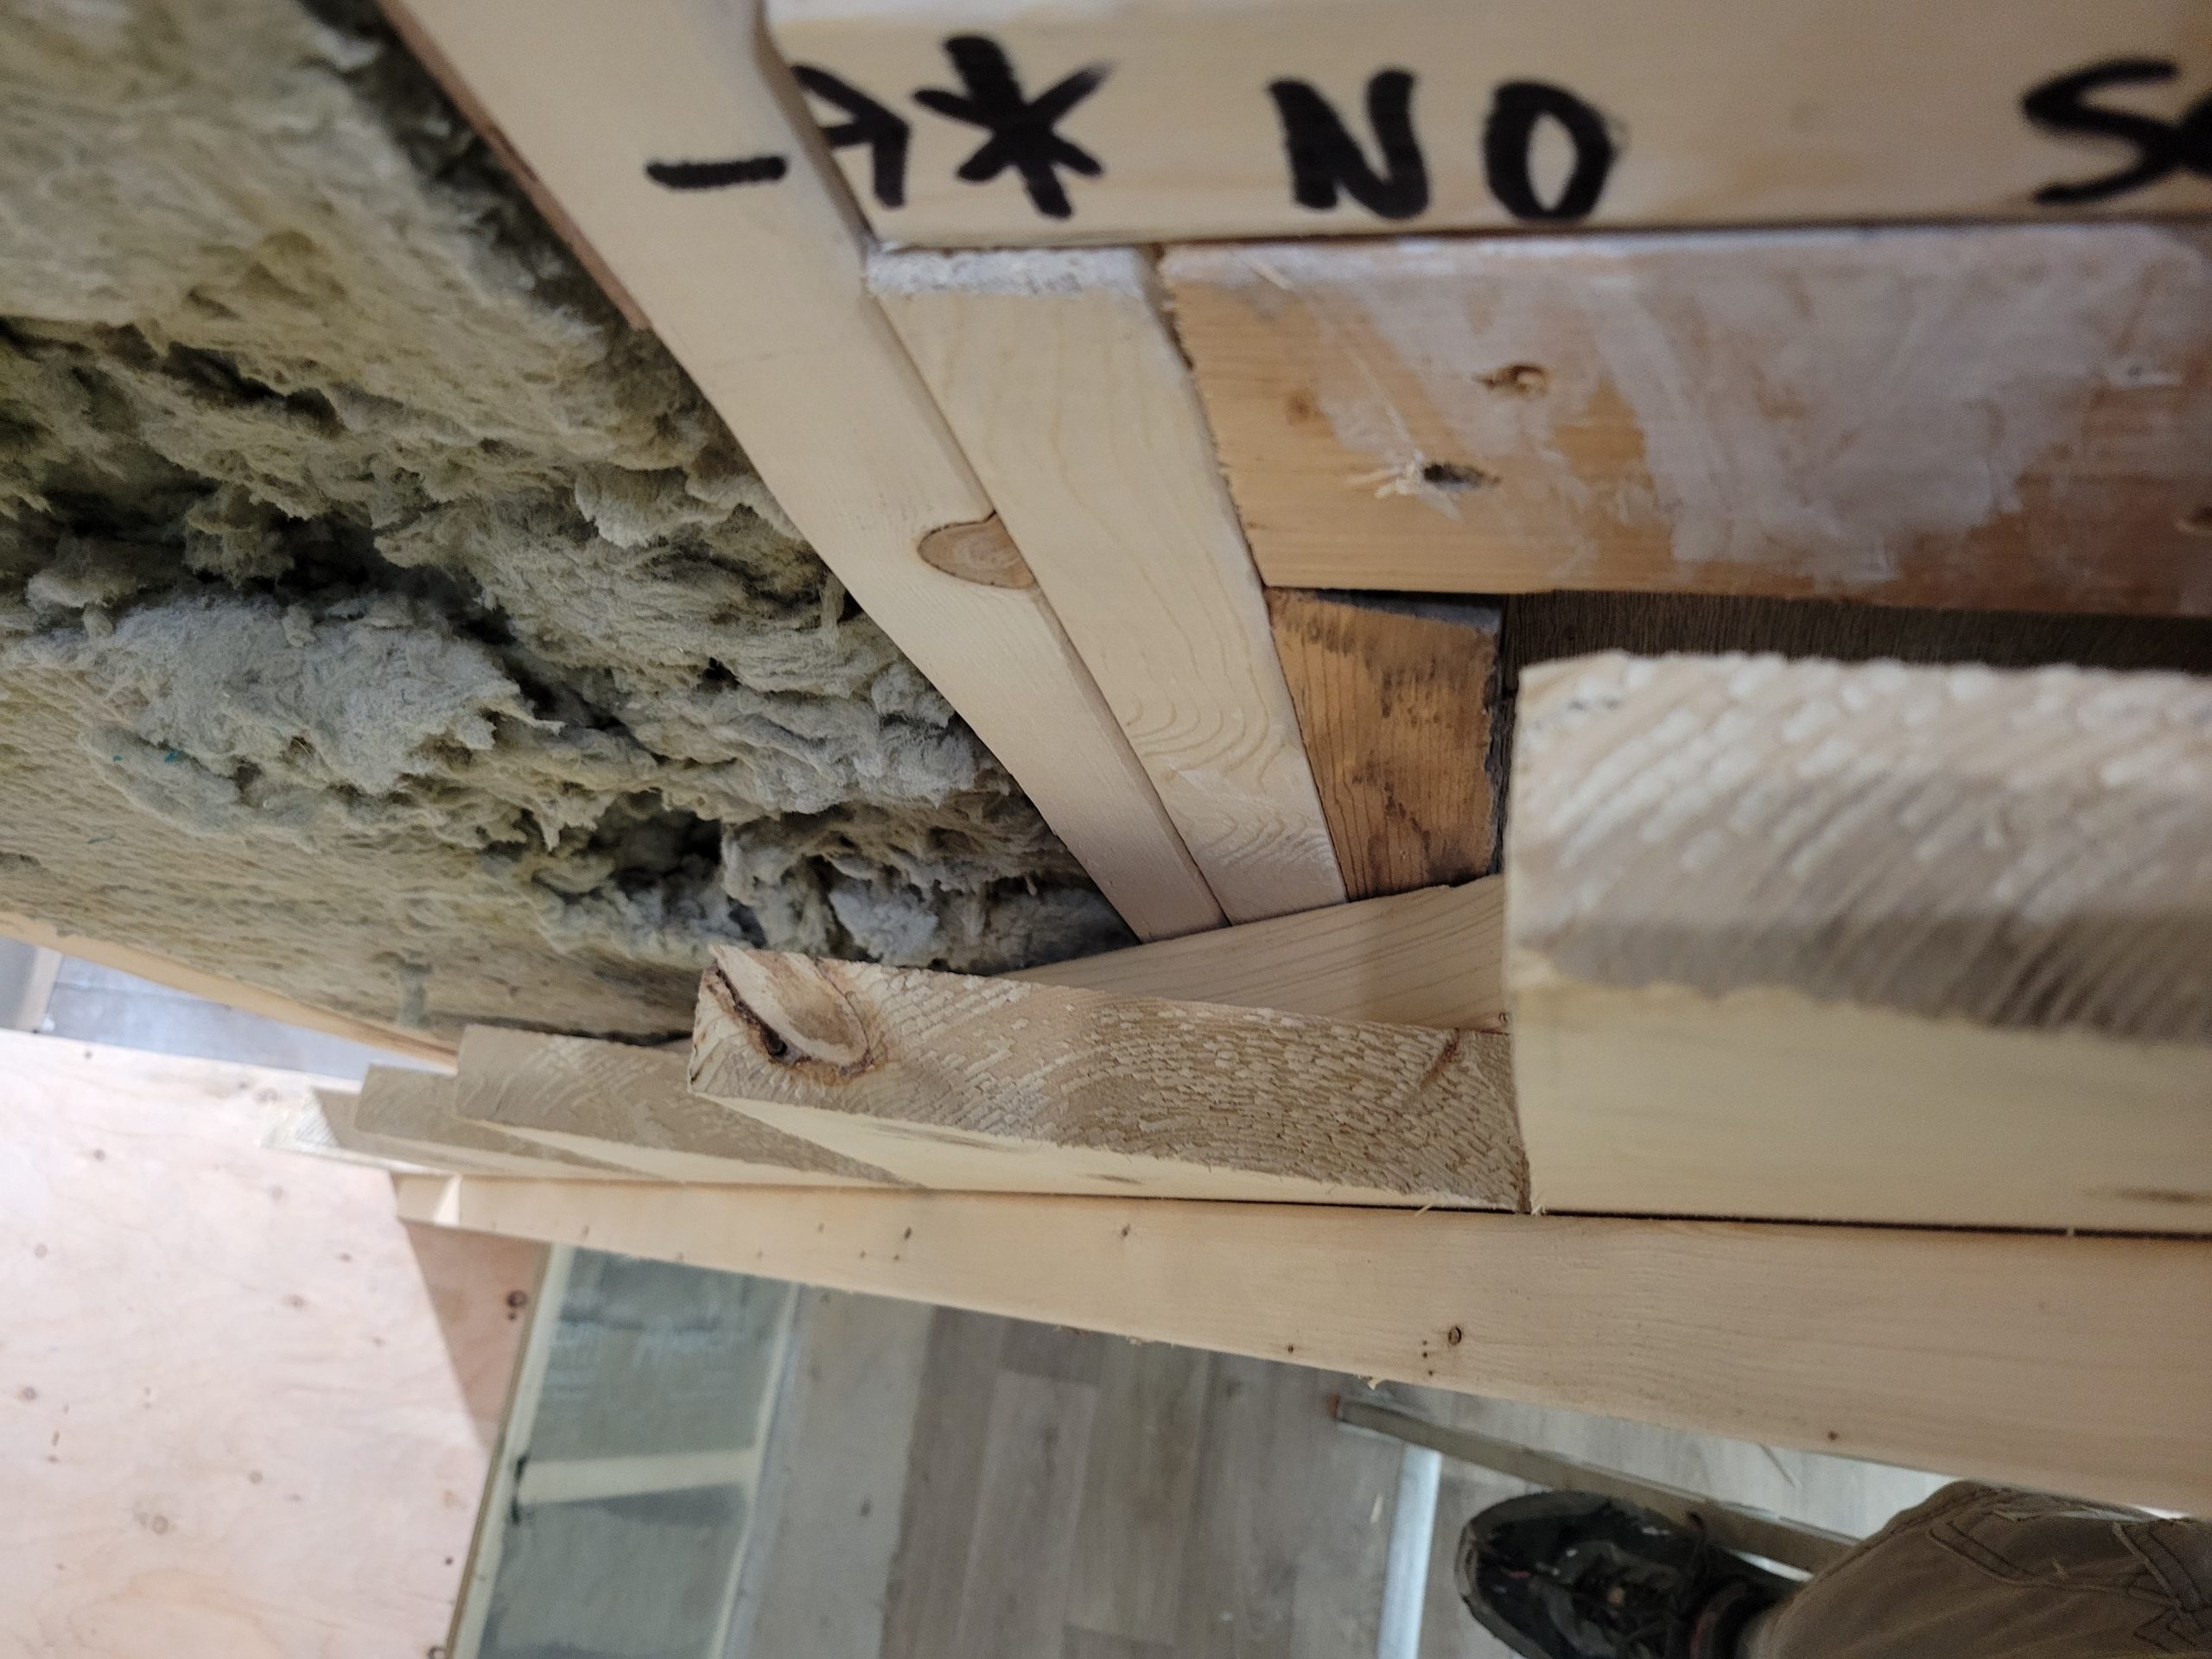
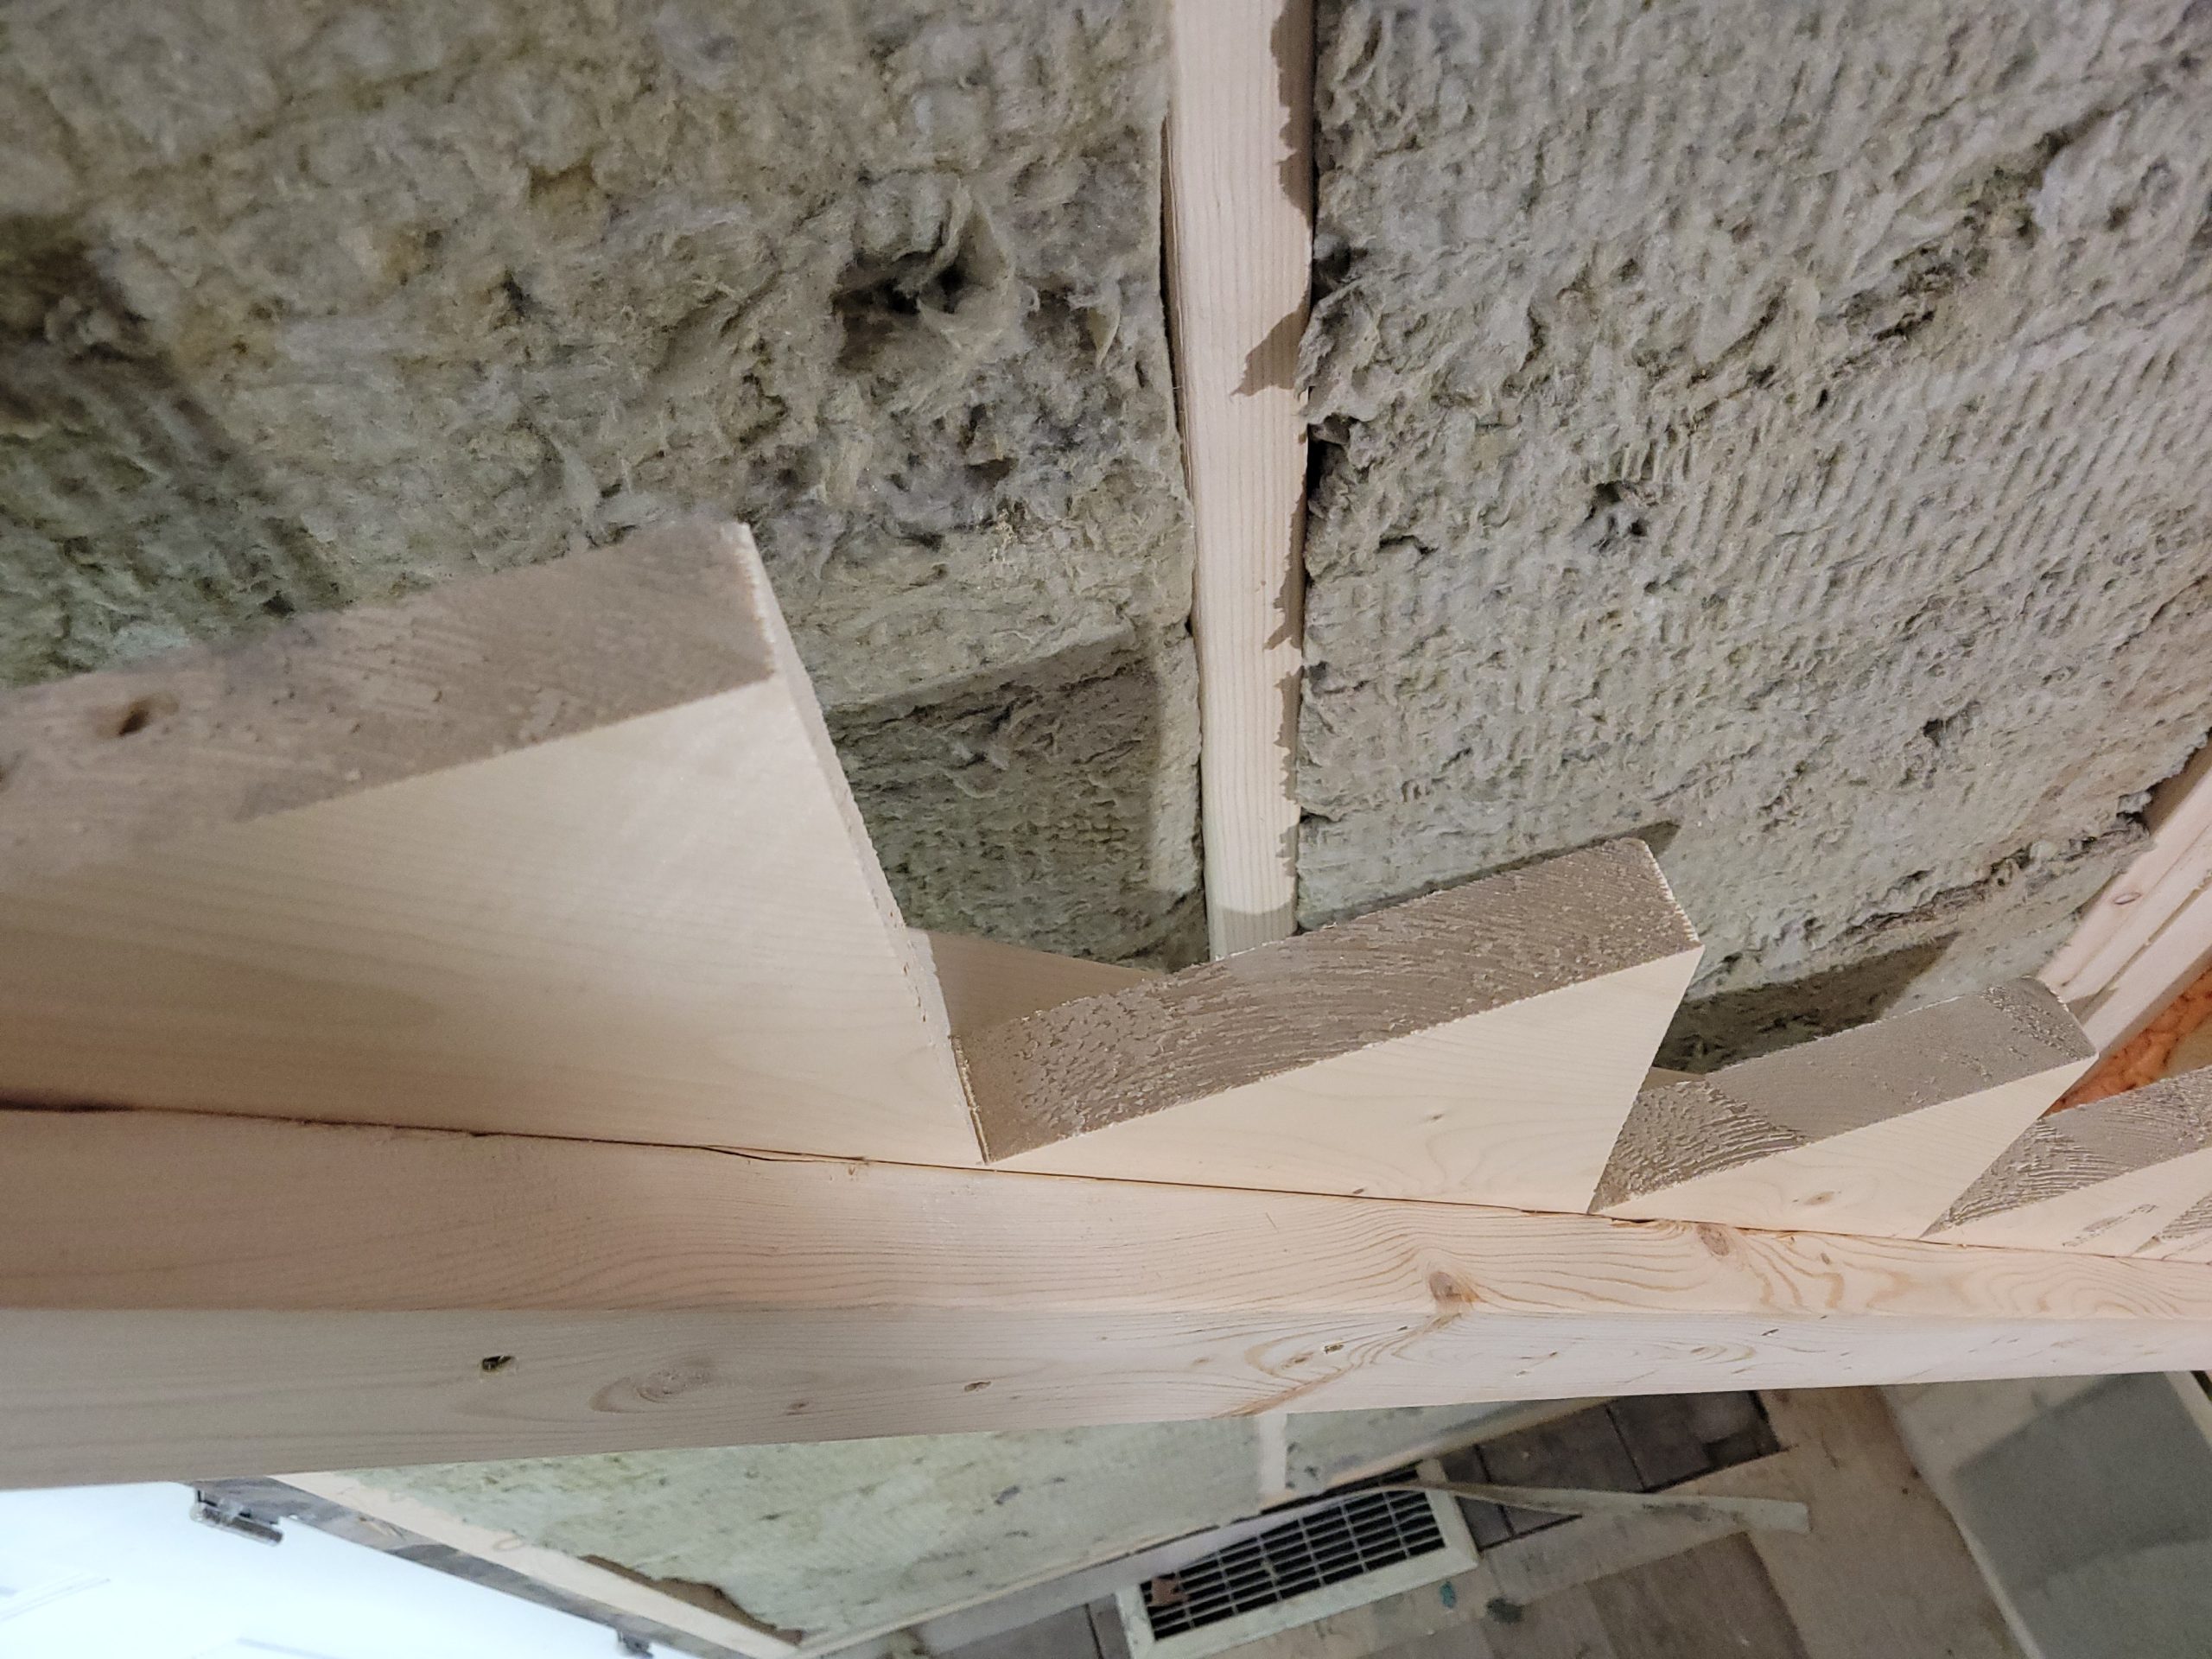
And there we have the two side stringers. This is when help left for the day.
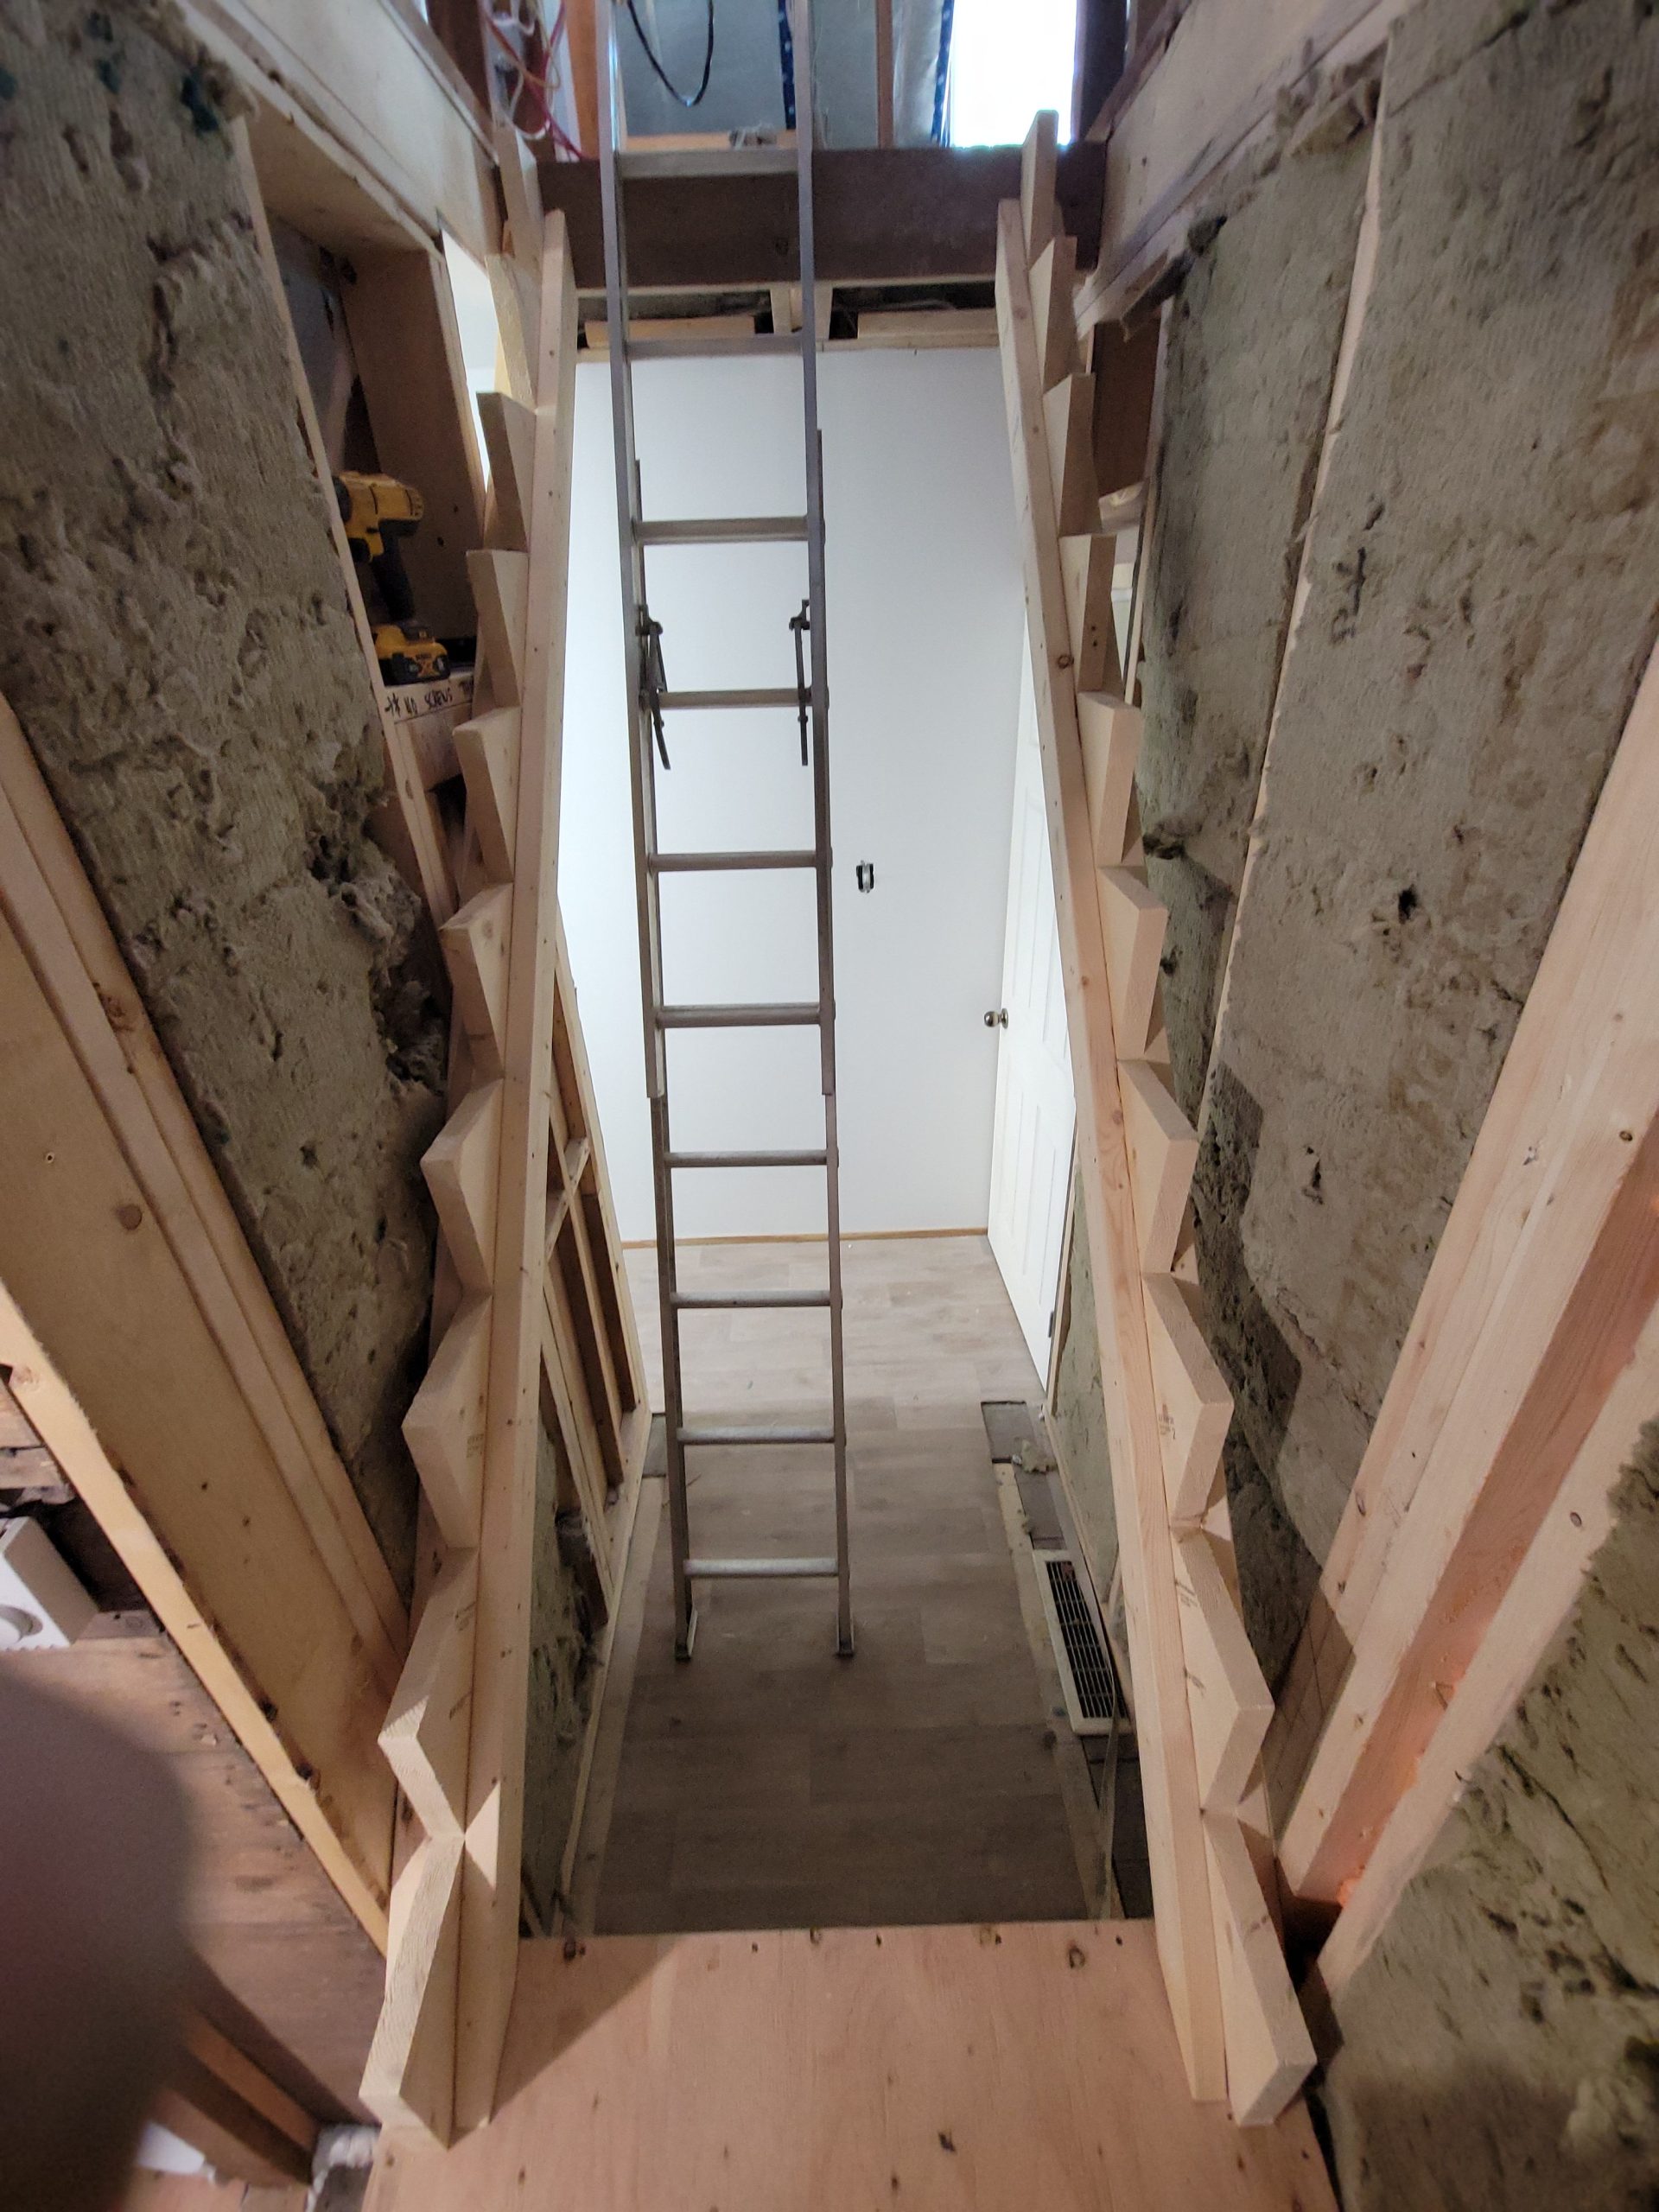
The center stringer was added.
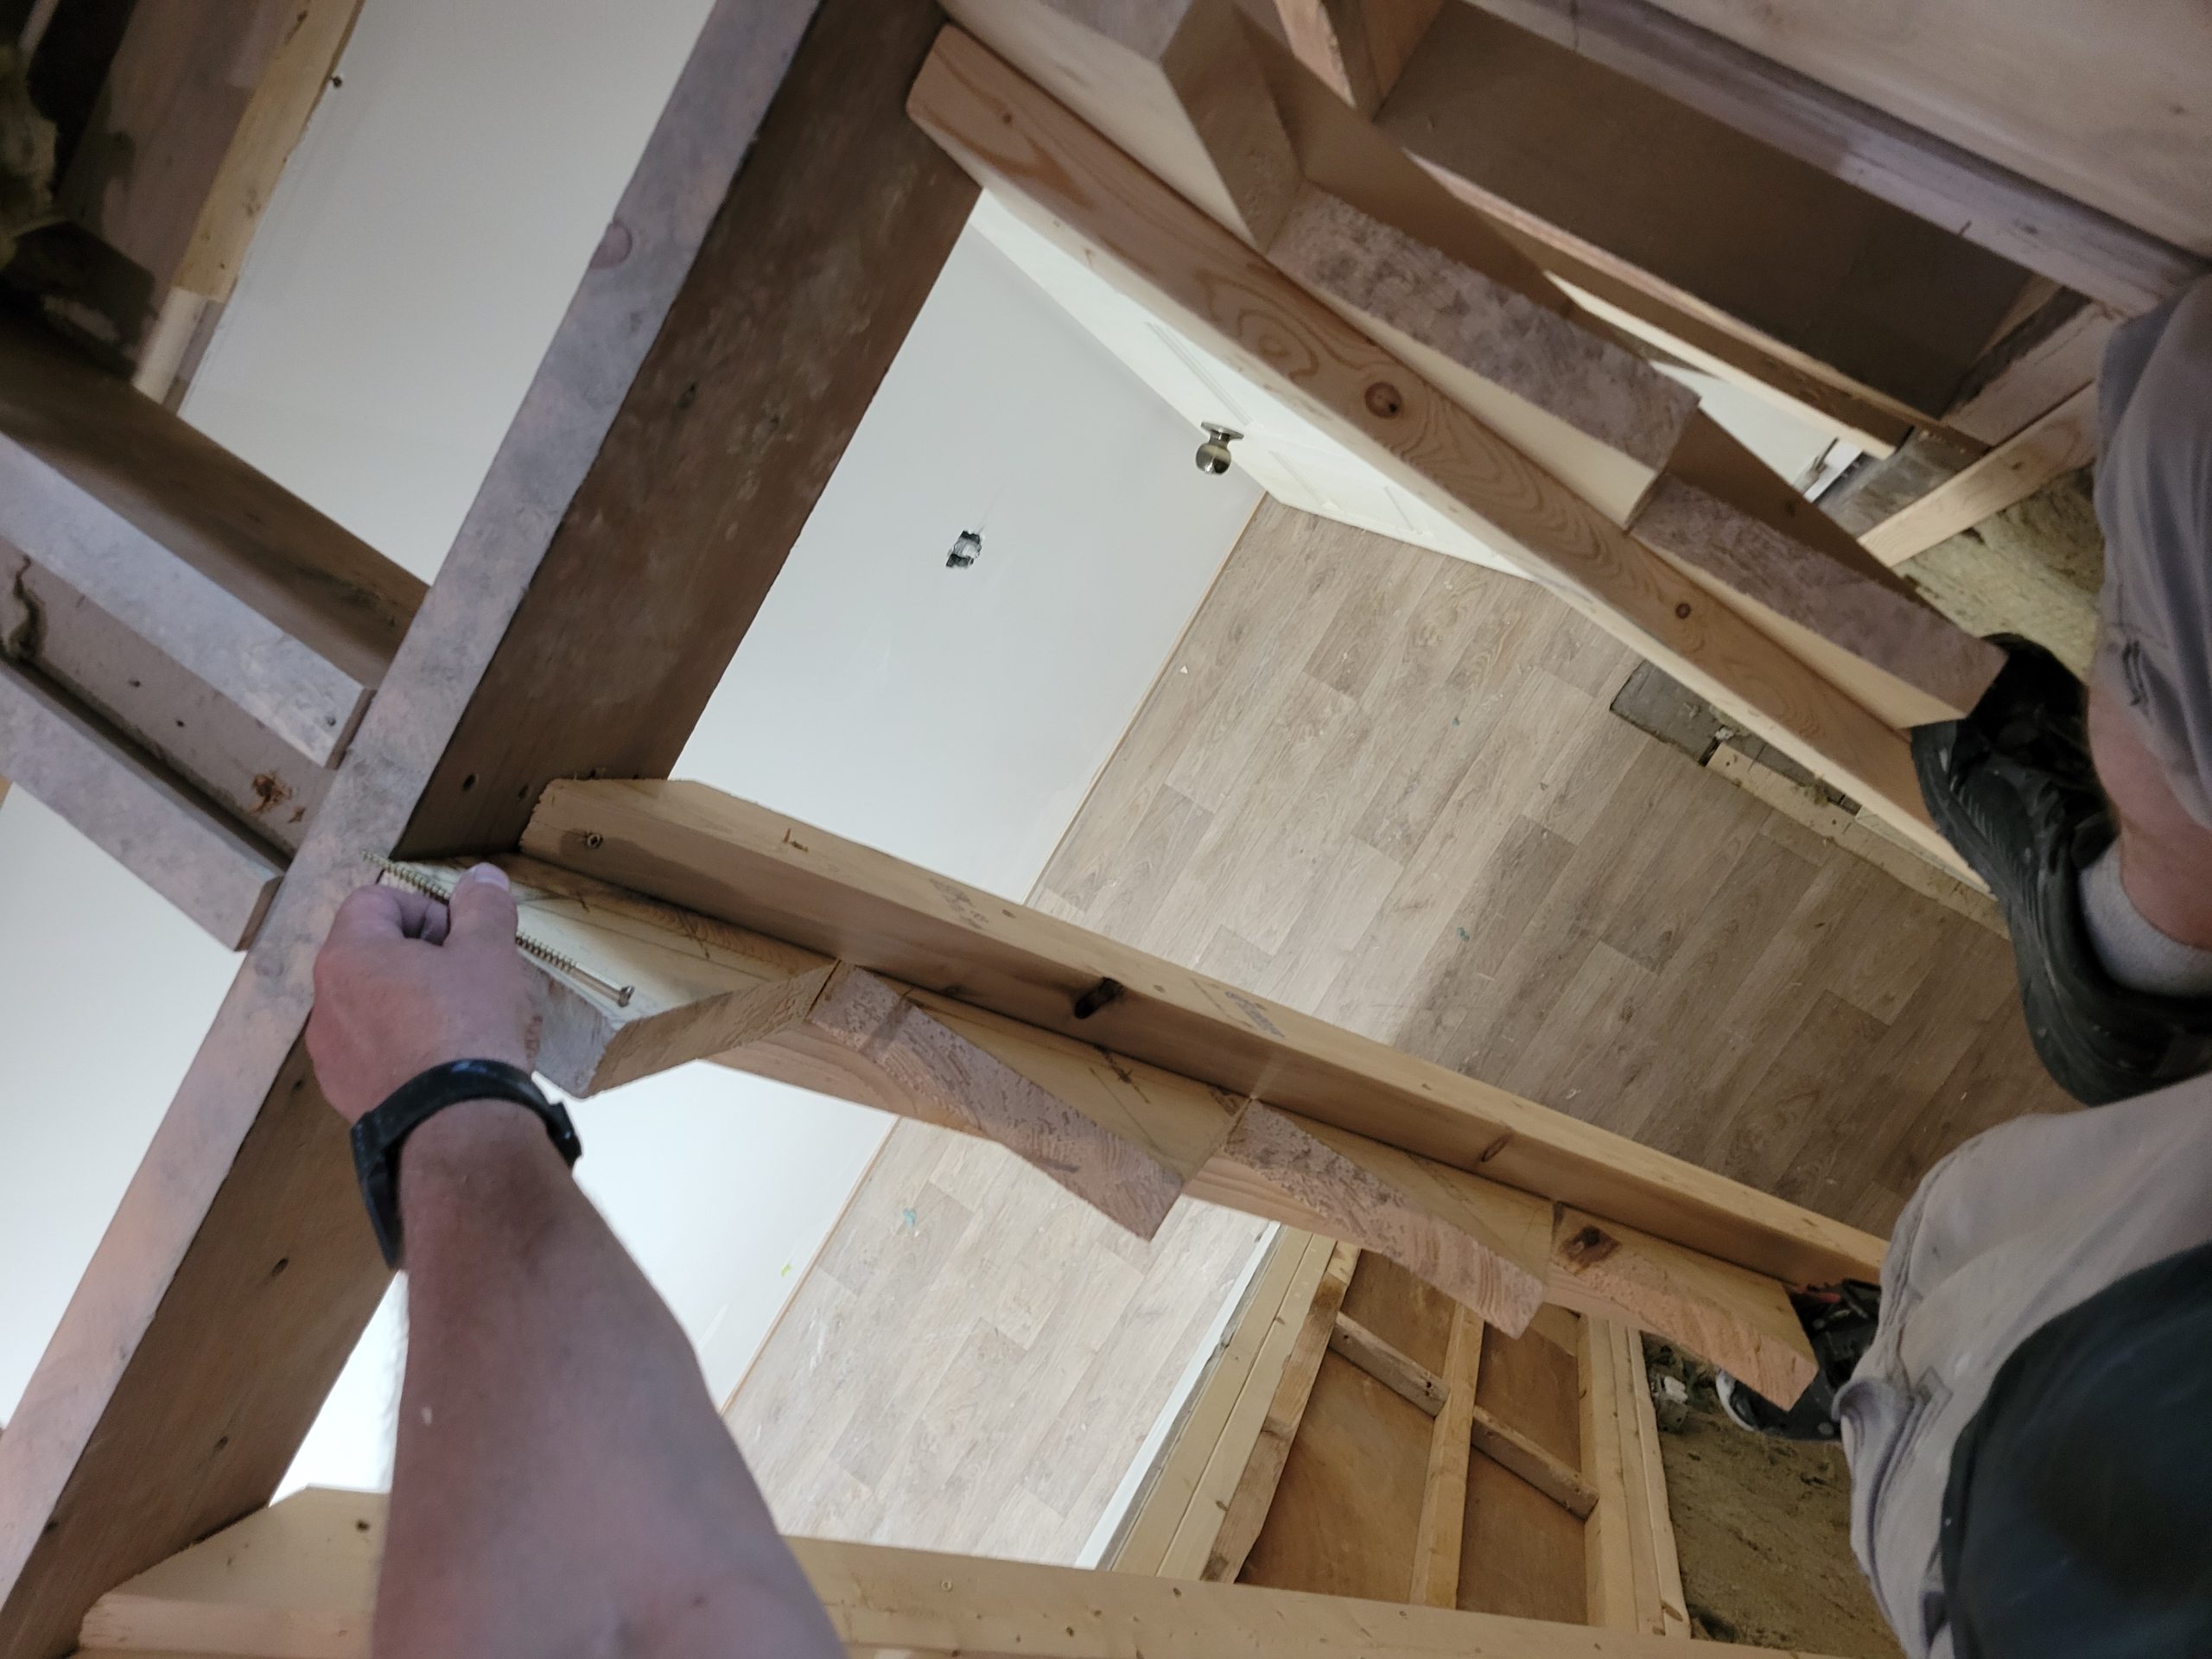
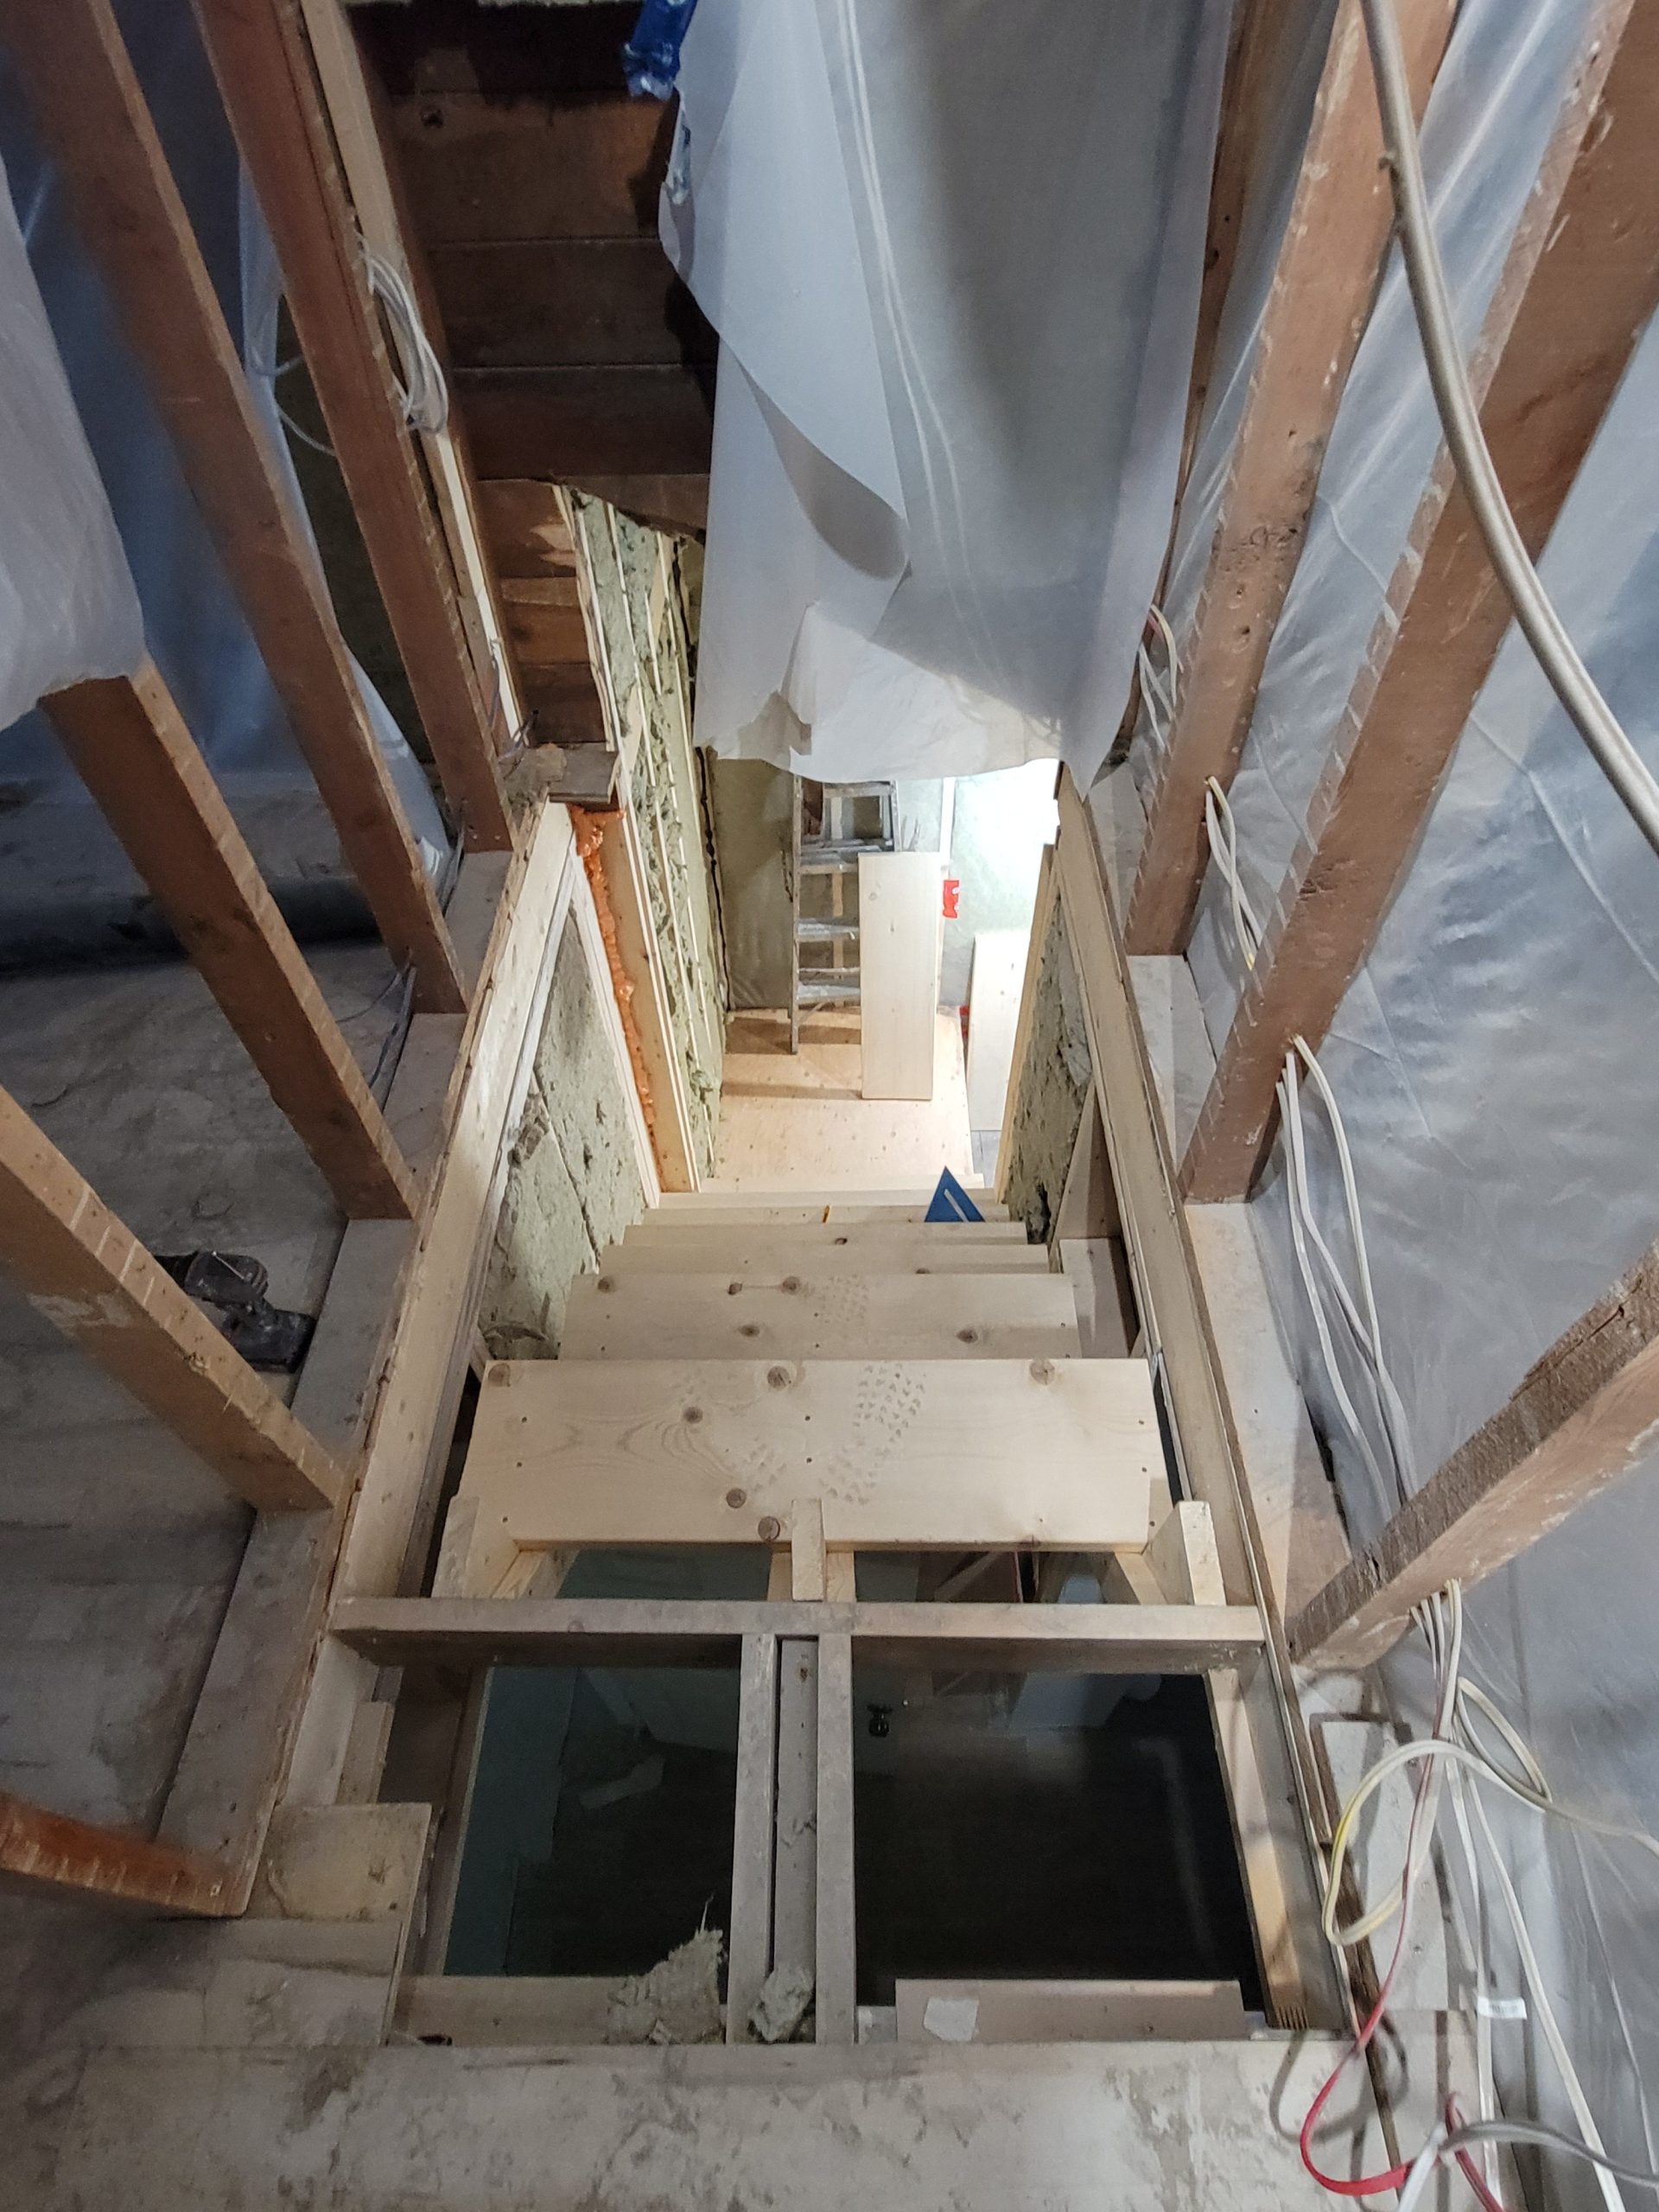
Now, before everyone gets their collective noses in a twist over having a single 2×10 stair header rather than two sistered together, I’ll explain. The header is 120-year-old fir, not the SPF s*** found today. It is solid. Very, very solid. There is no deflection. Furthermore, 2 of the 3 the stringers are mounted with 5- and 6-inch screws into the adjoining floor joists using 3 different planes, not just attached to the header. The header is, more or less, just to have something to rest the stringers upon. Furthermore, the two end stringers (including the one not directly mounted into the floor joists) will be mounted, in two planes, to the 2×6 framing members. The one with space between it and the framing will have blocking added to prevent bolt sheer. This is the job of an Engineering Technologist. This is my title. No, I’m not an “Engineer” but, rather, a Technologist who involves engineering (with a little e) in designing stuff.
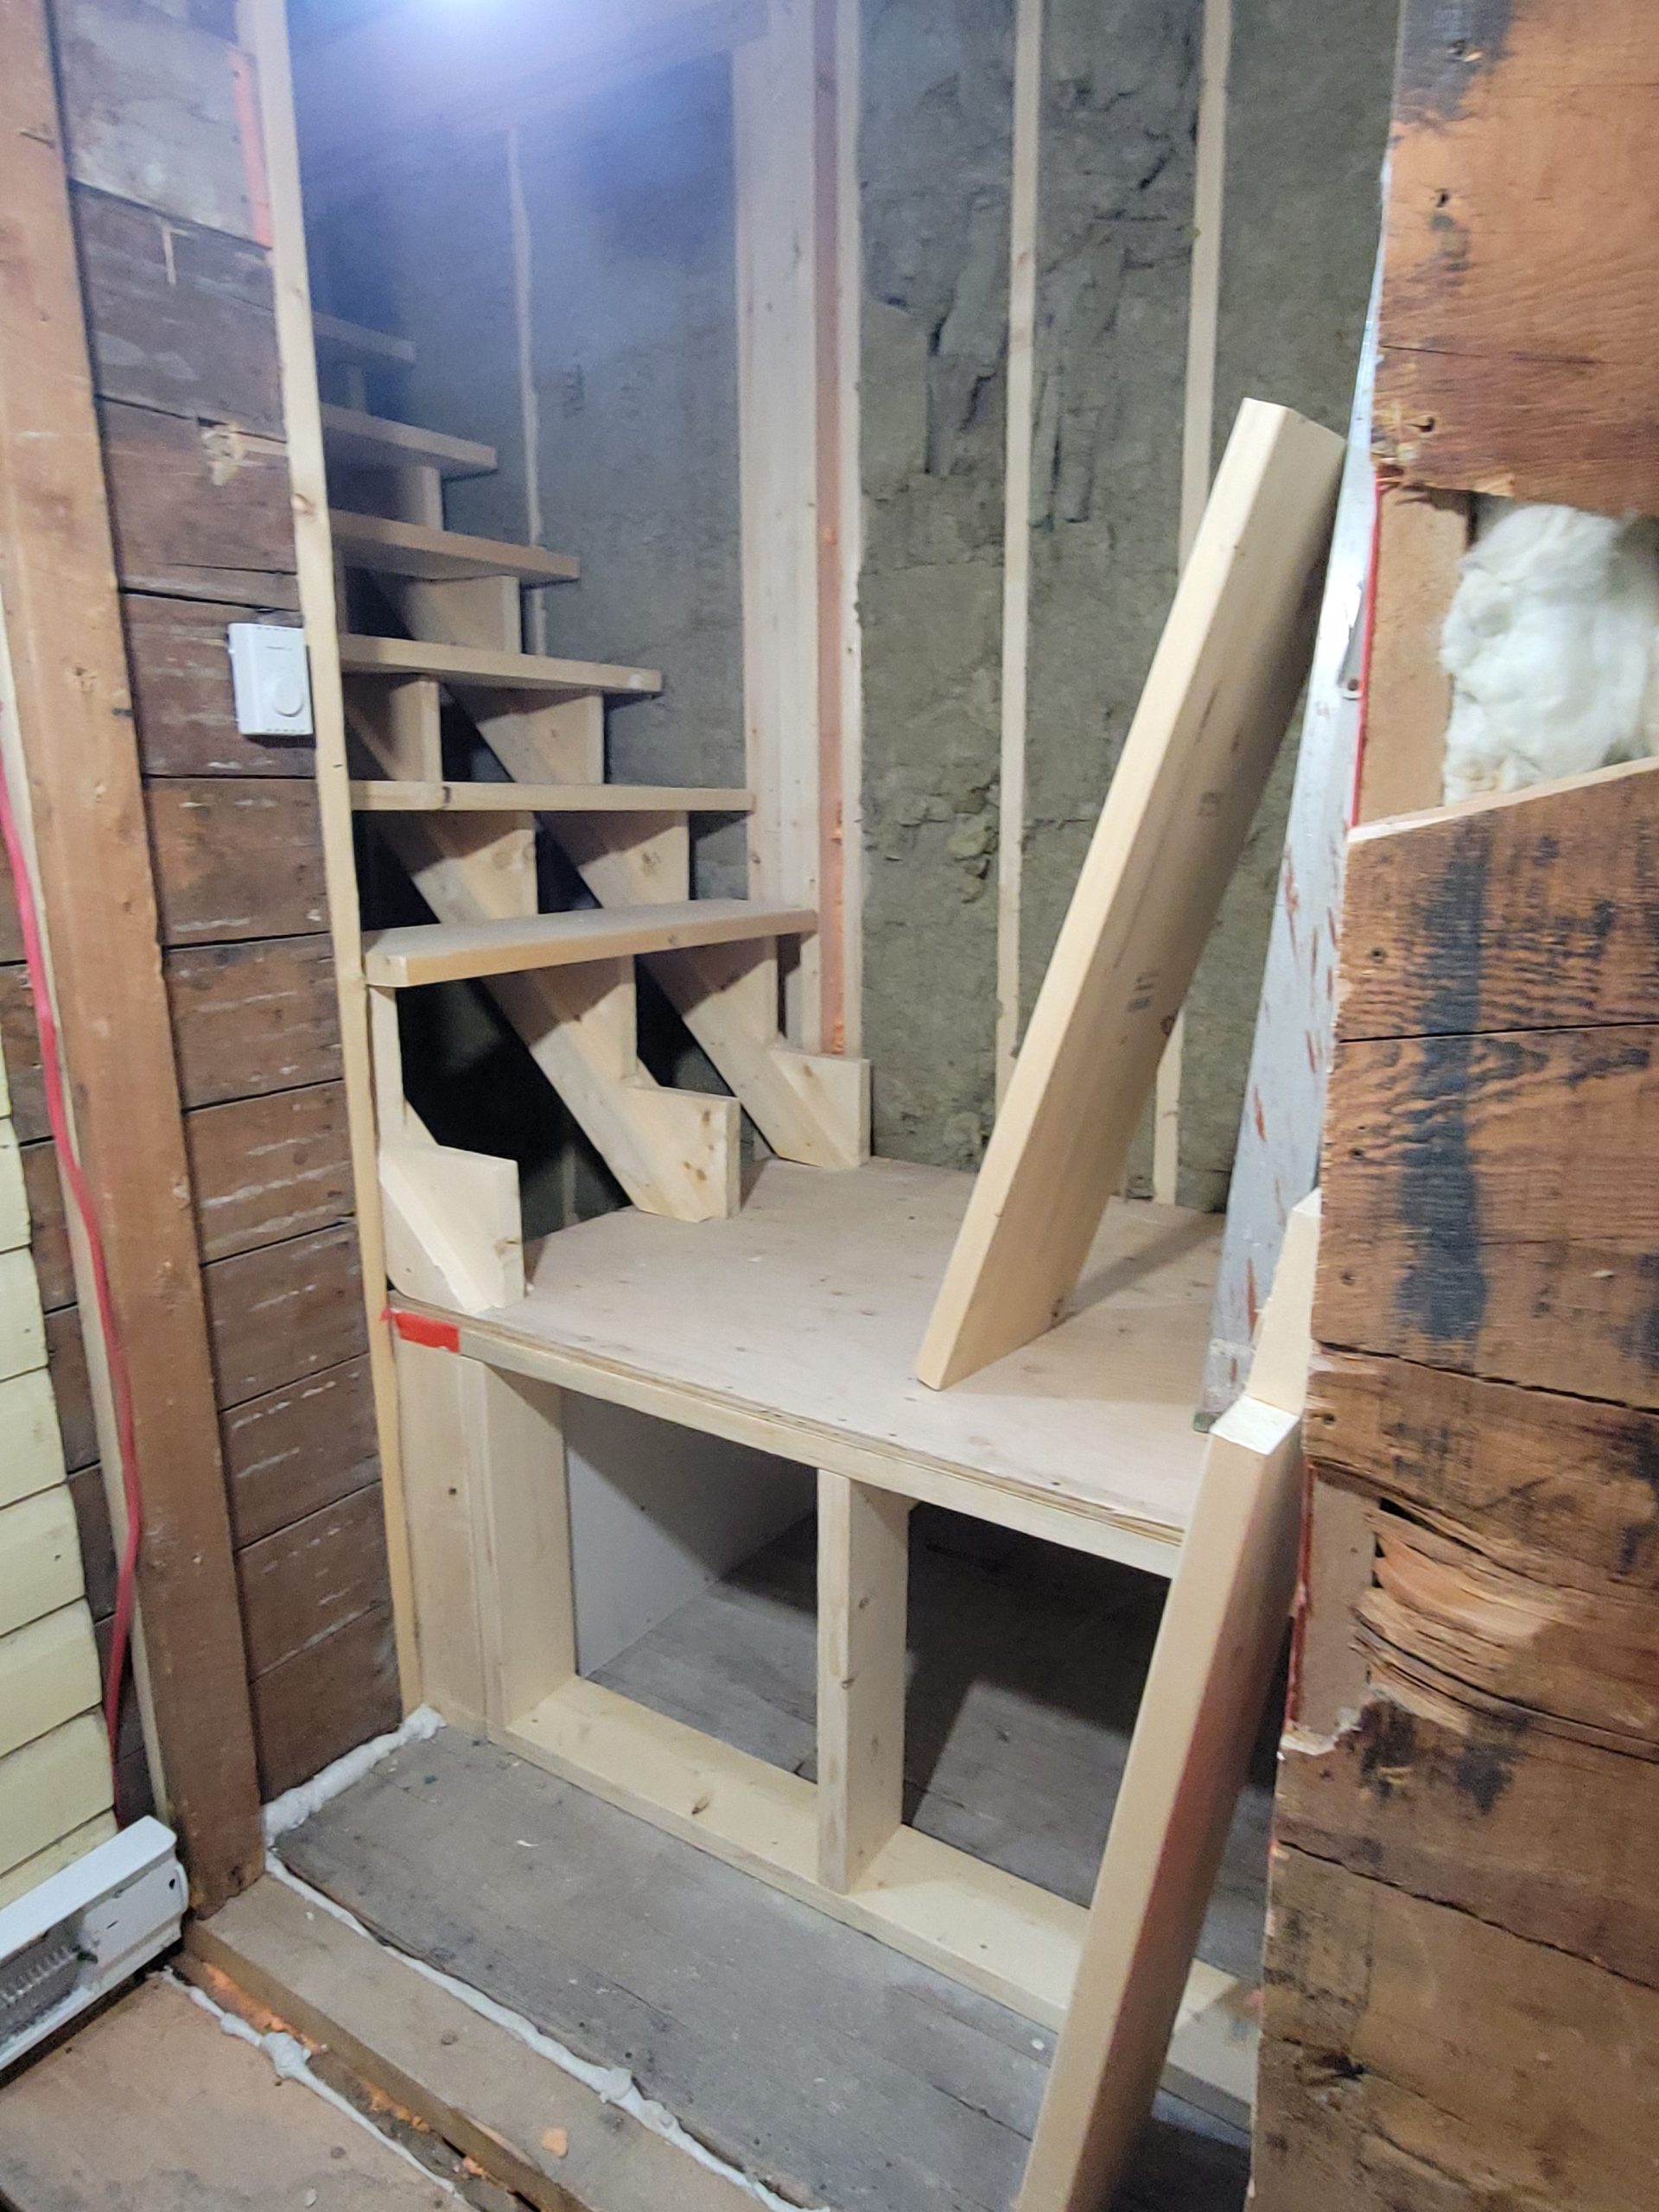
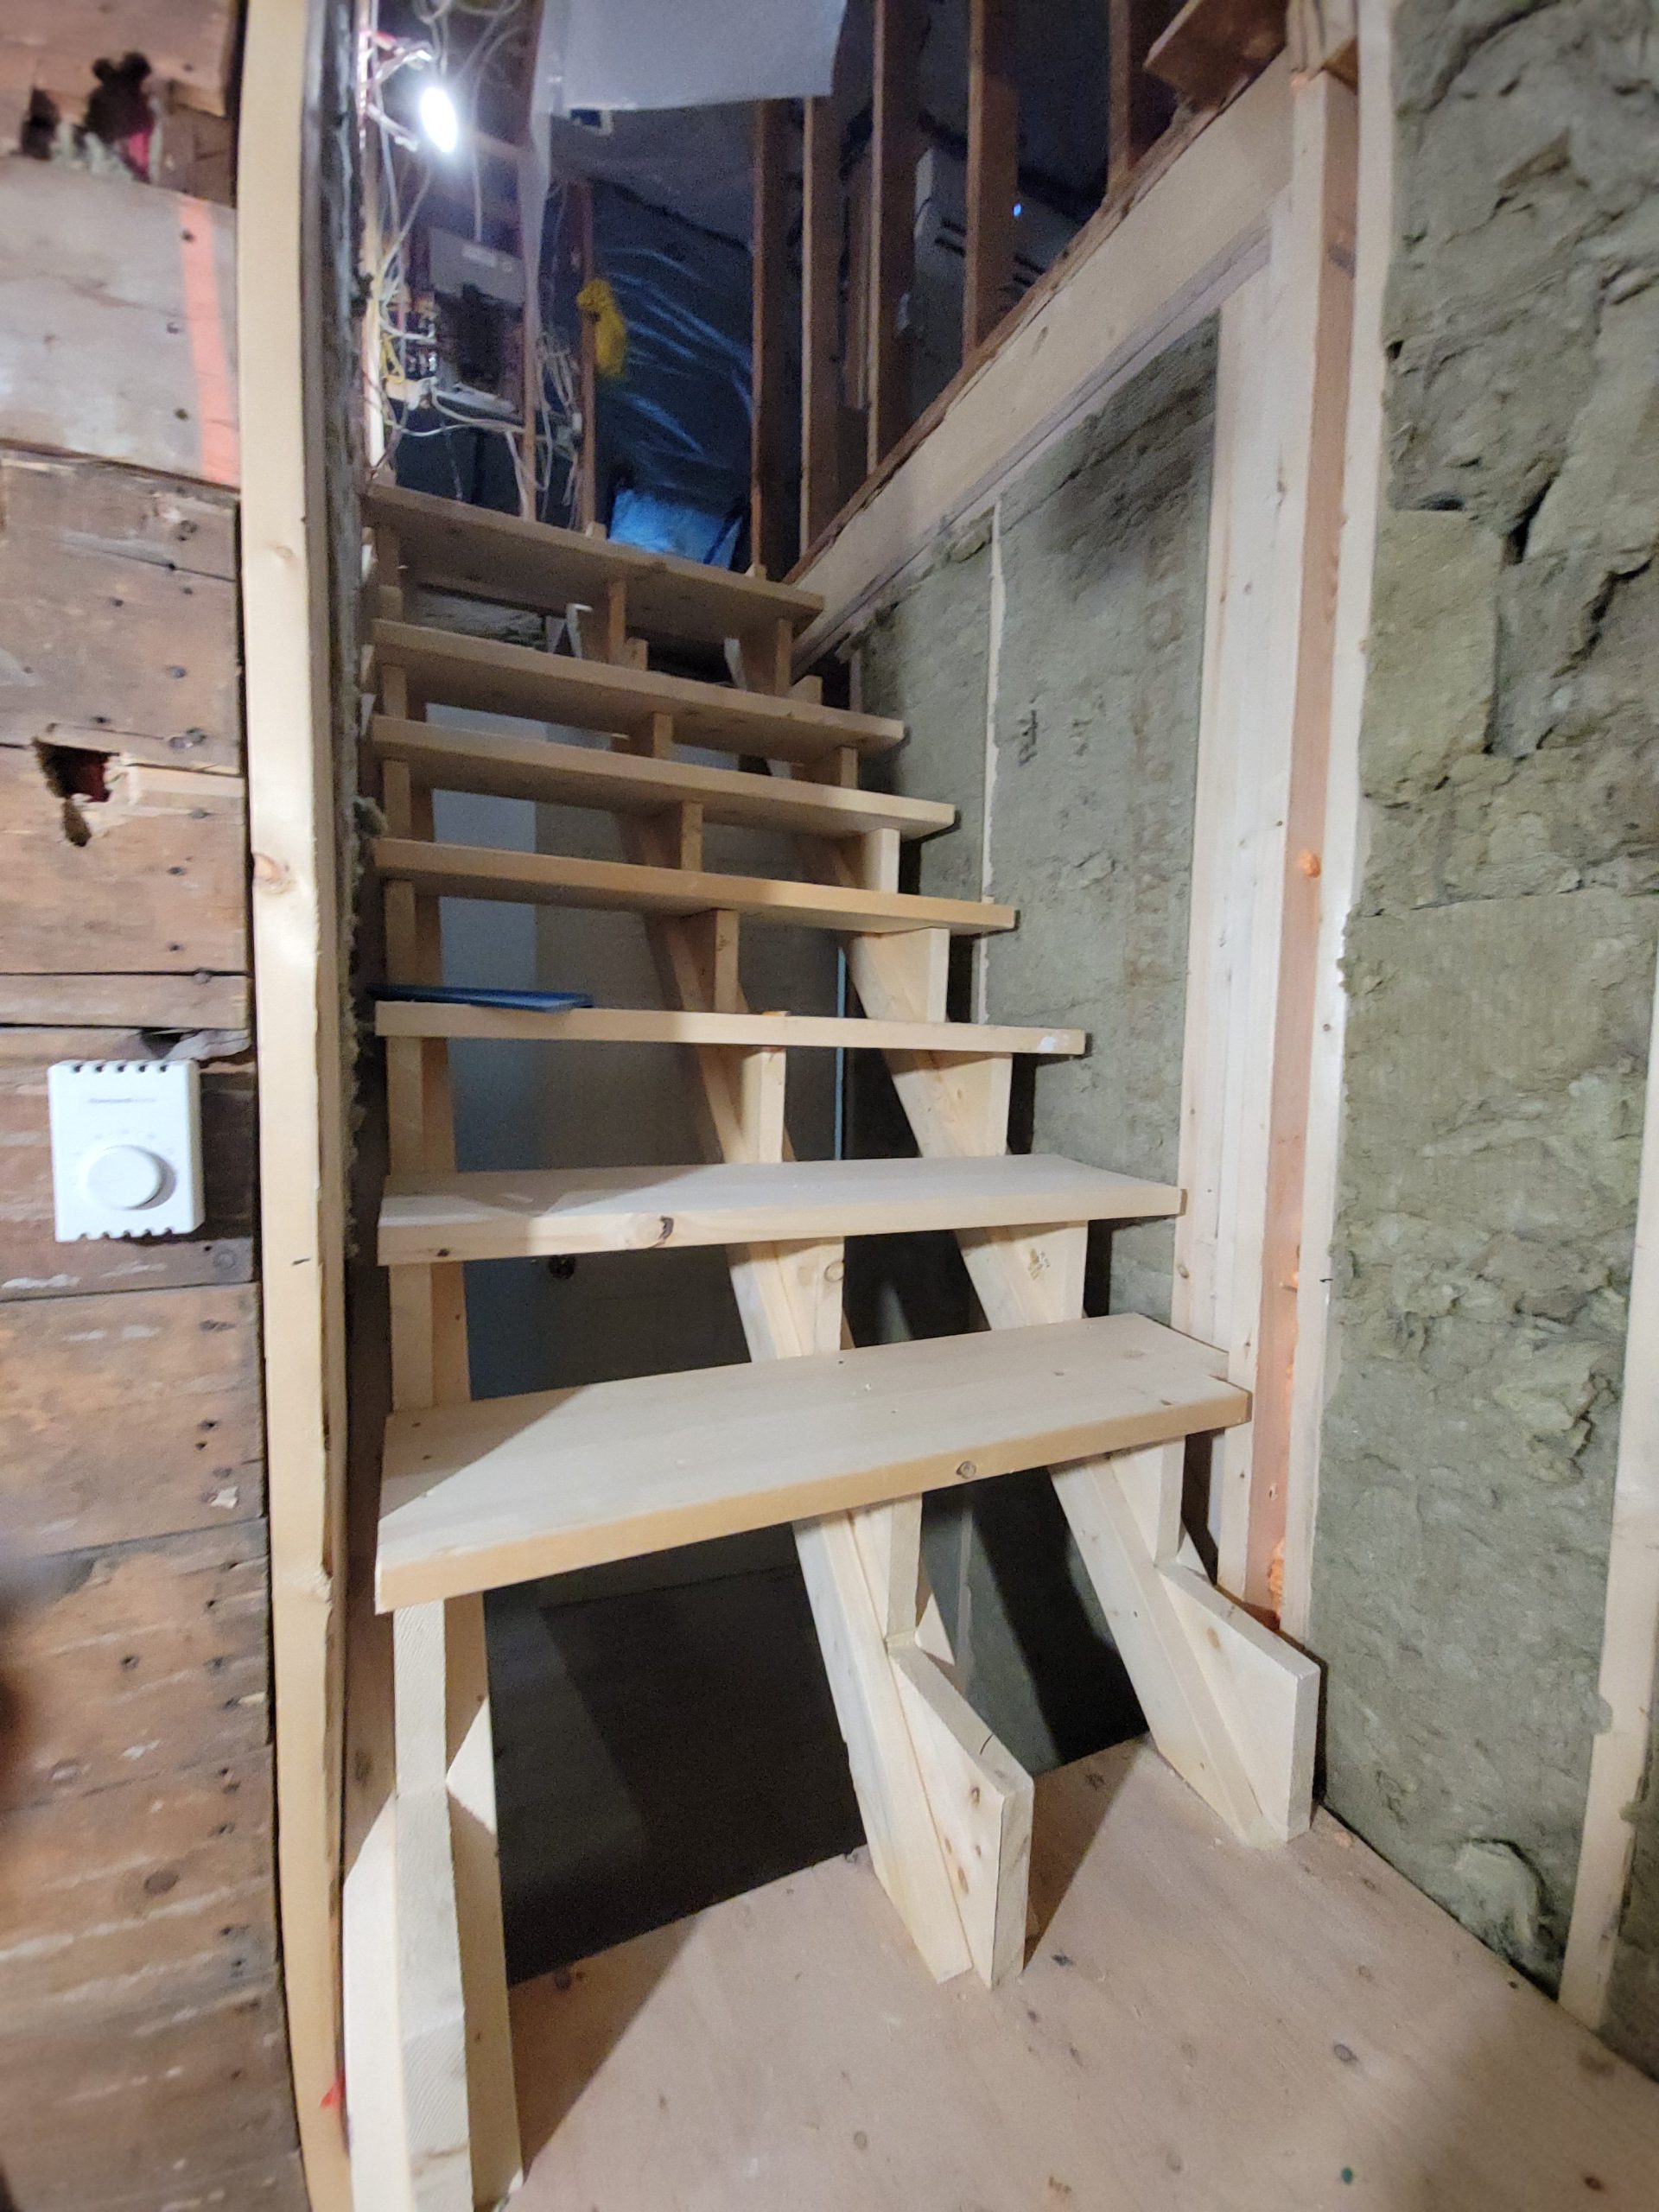
Next, 2×12 steps were added. (Gotta use up these 2x12s bought long ago.) The nosing will be 1½ inches (38mm) making 7½-inch (190mm) tread depth.
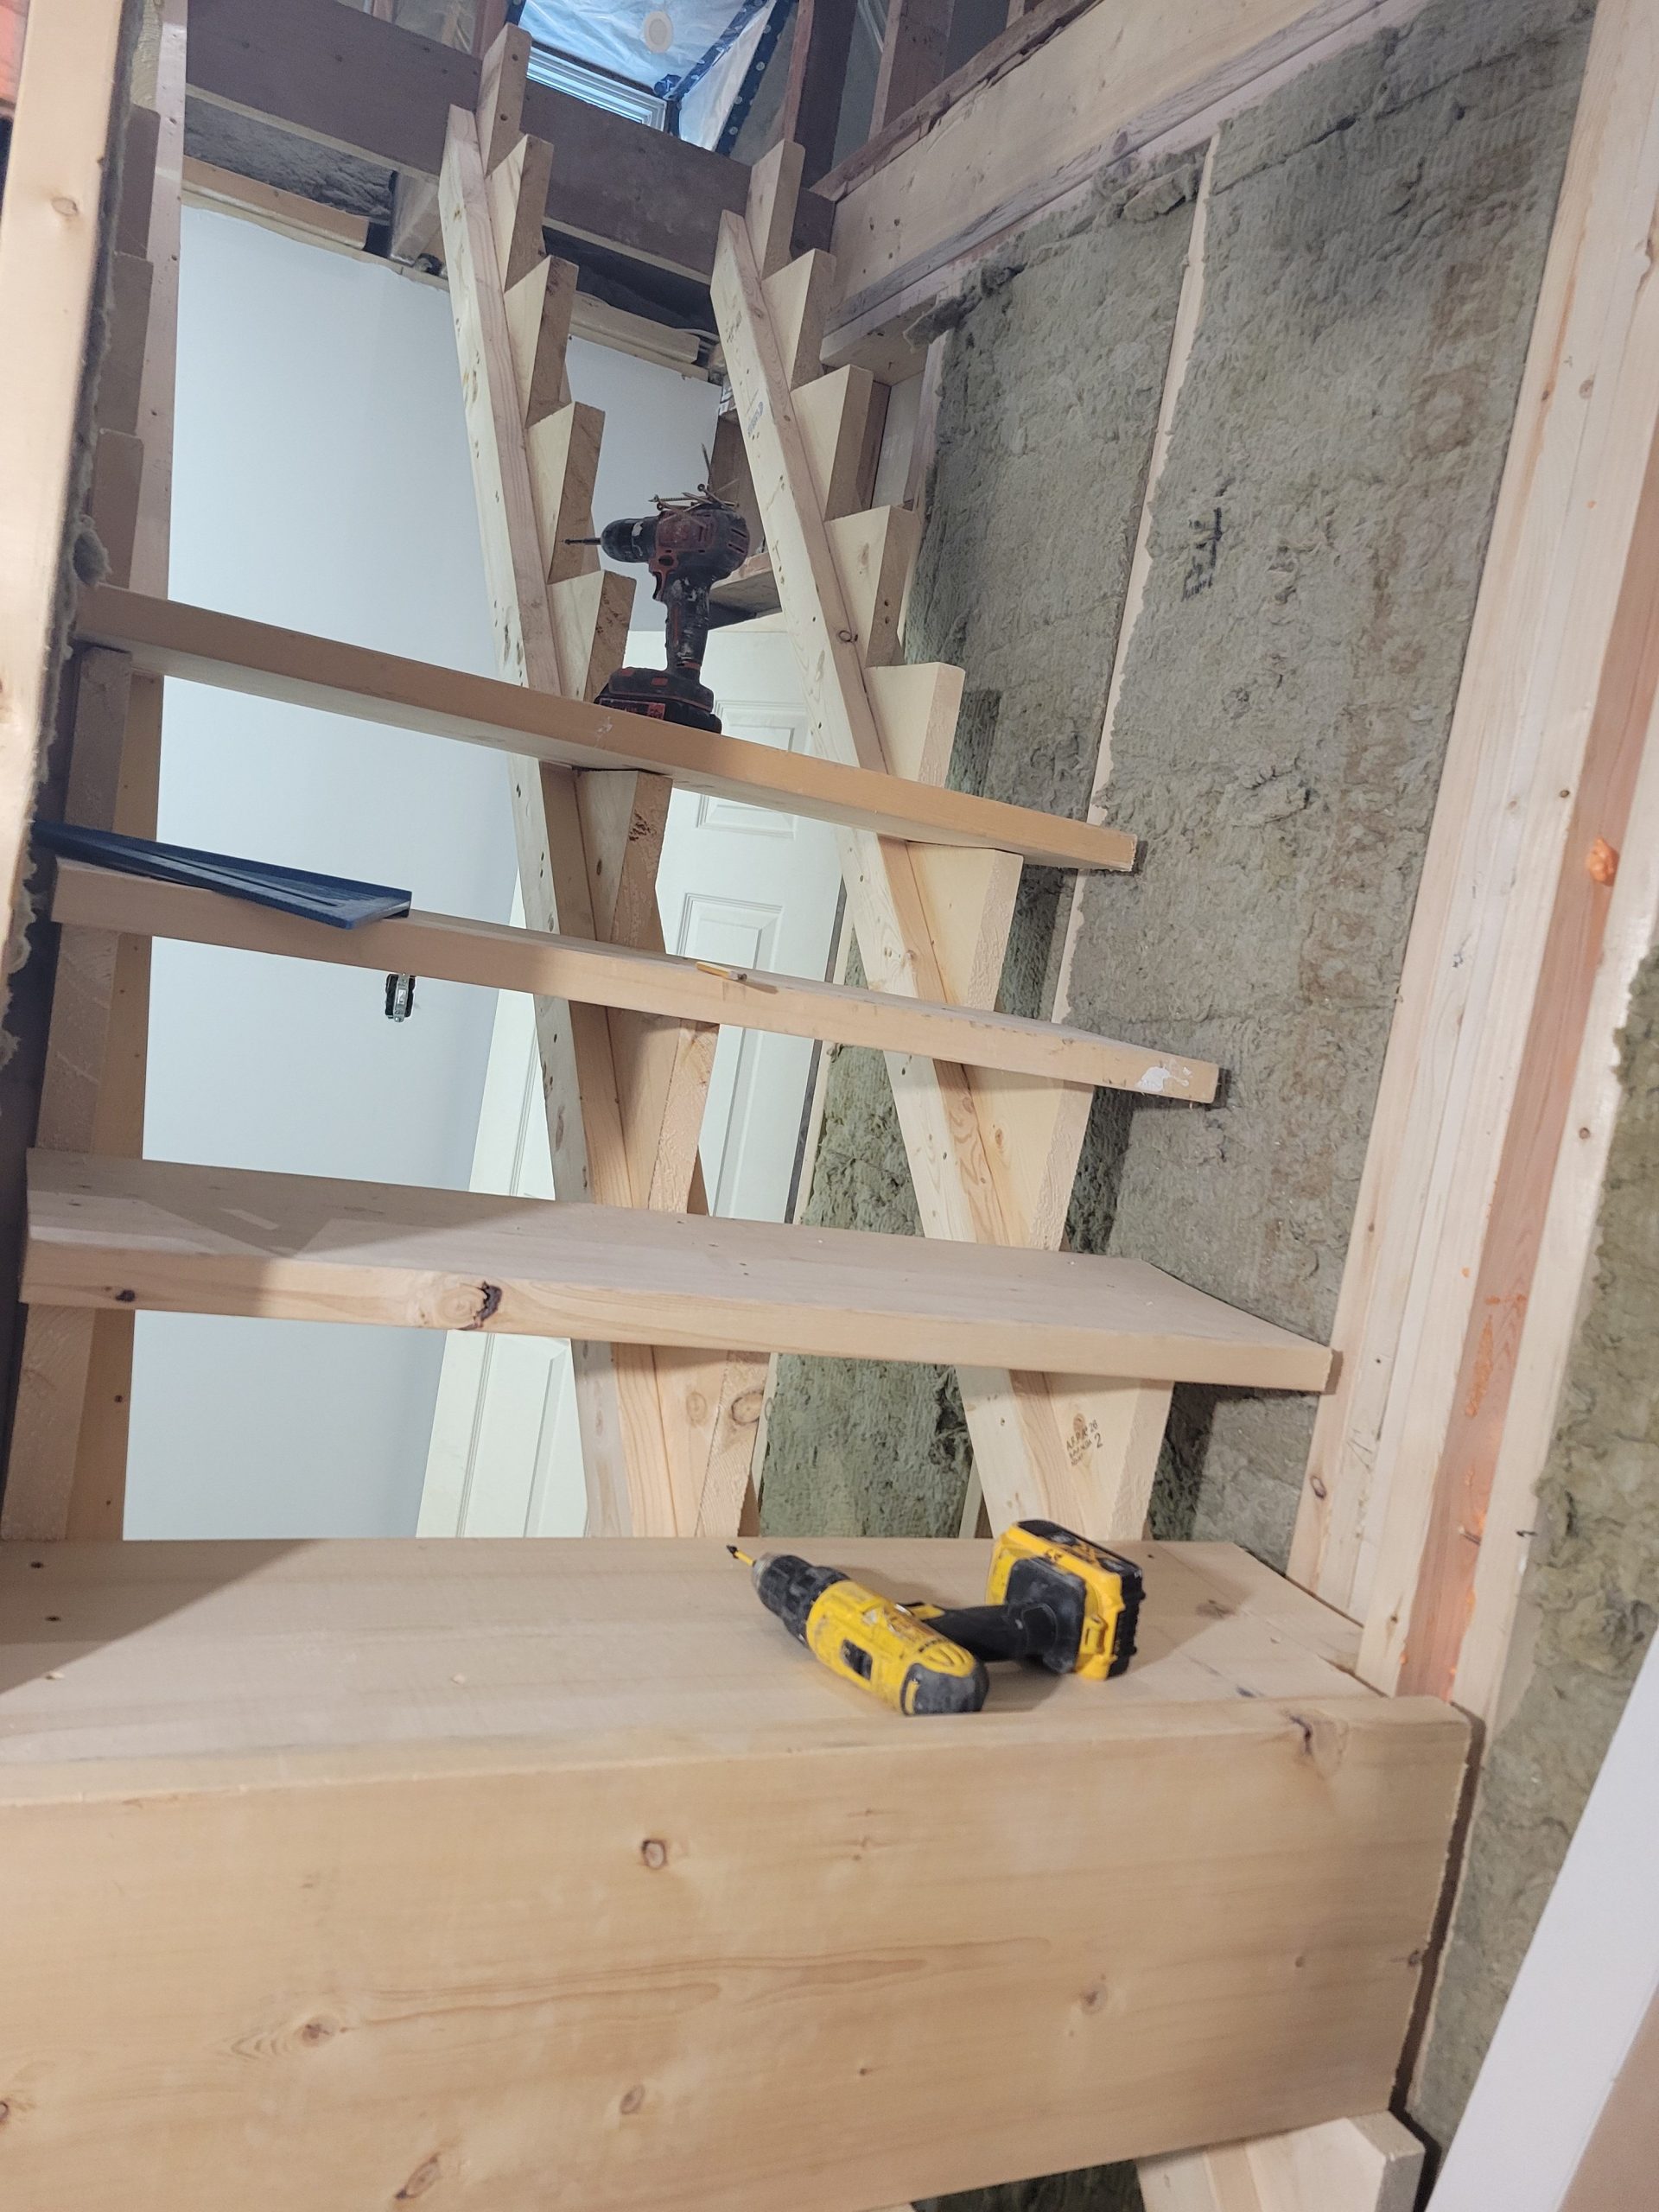
At the end of the day, this is what it looks like from the bottom.
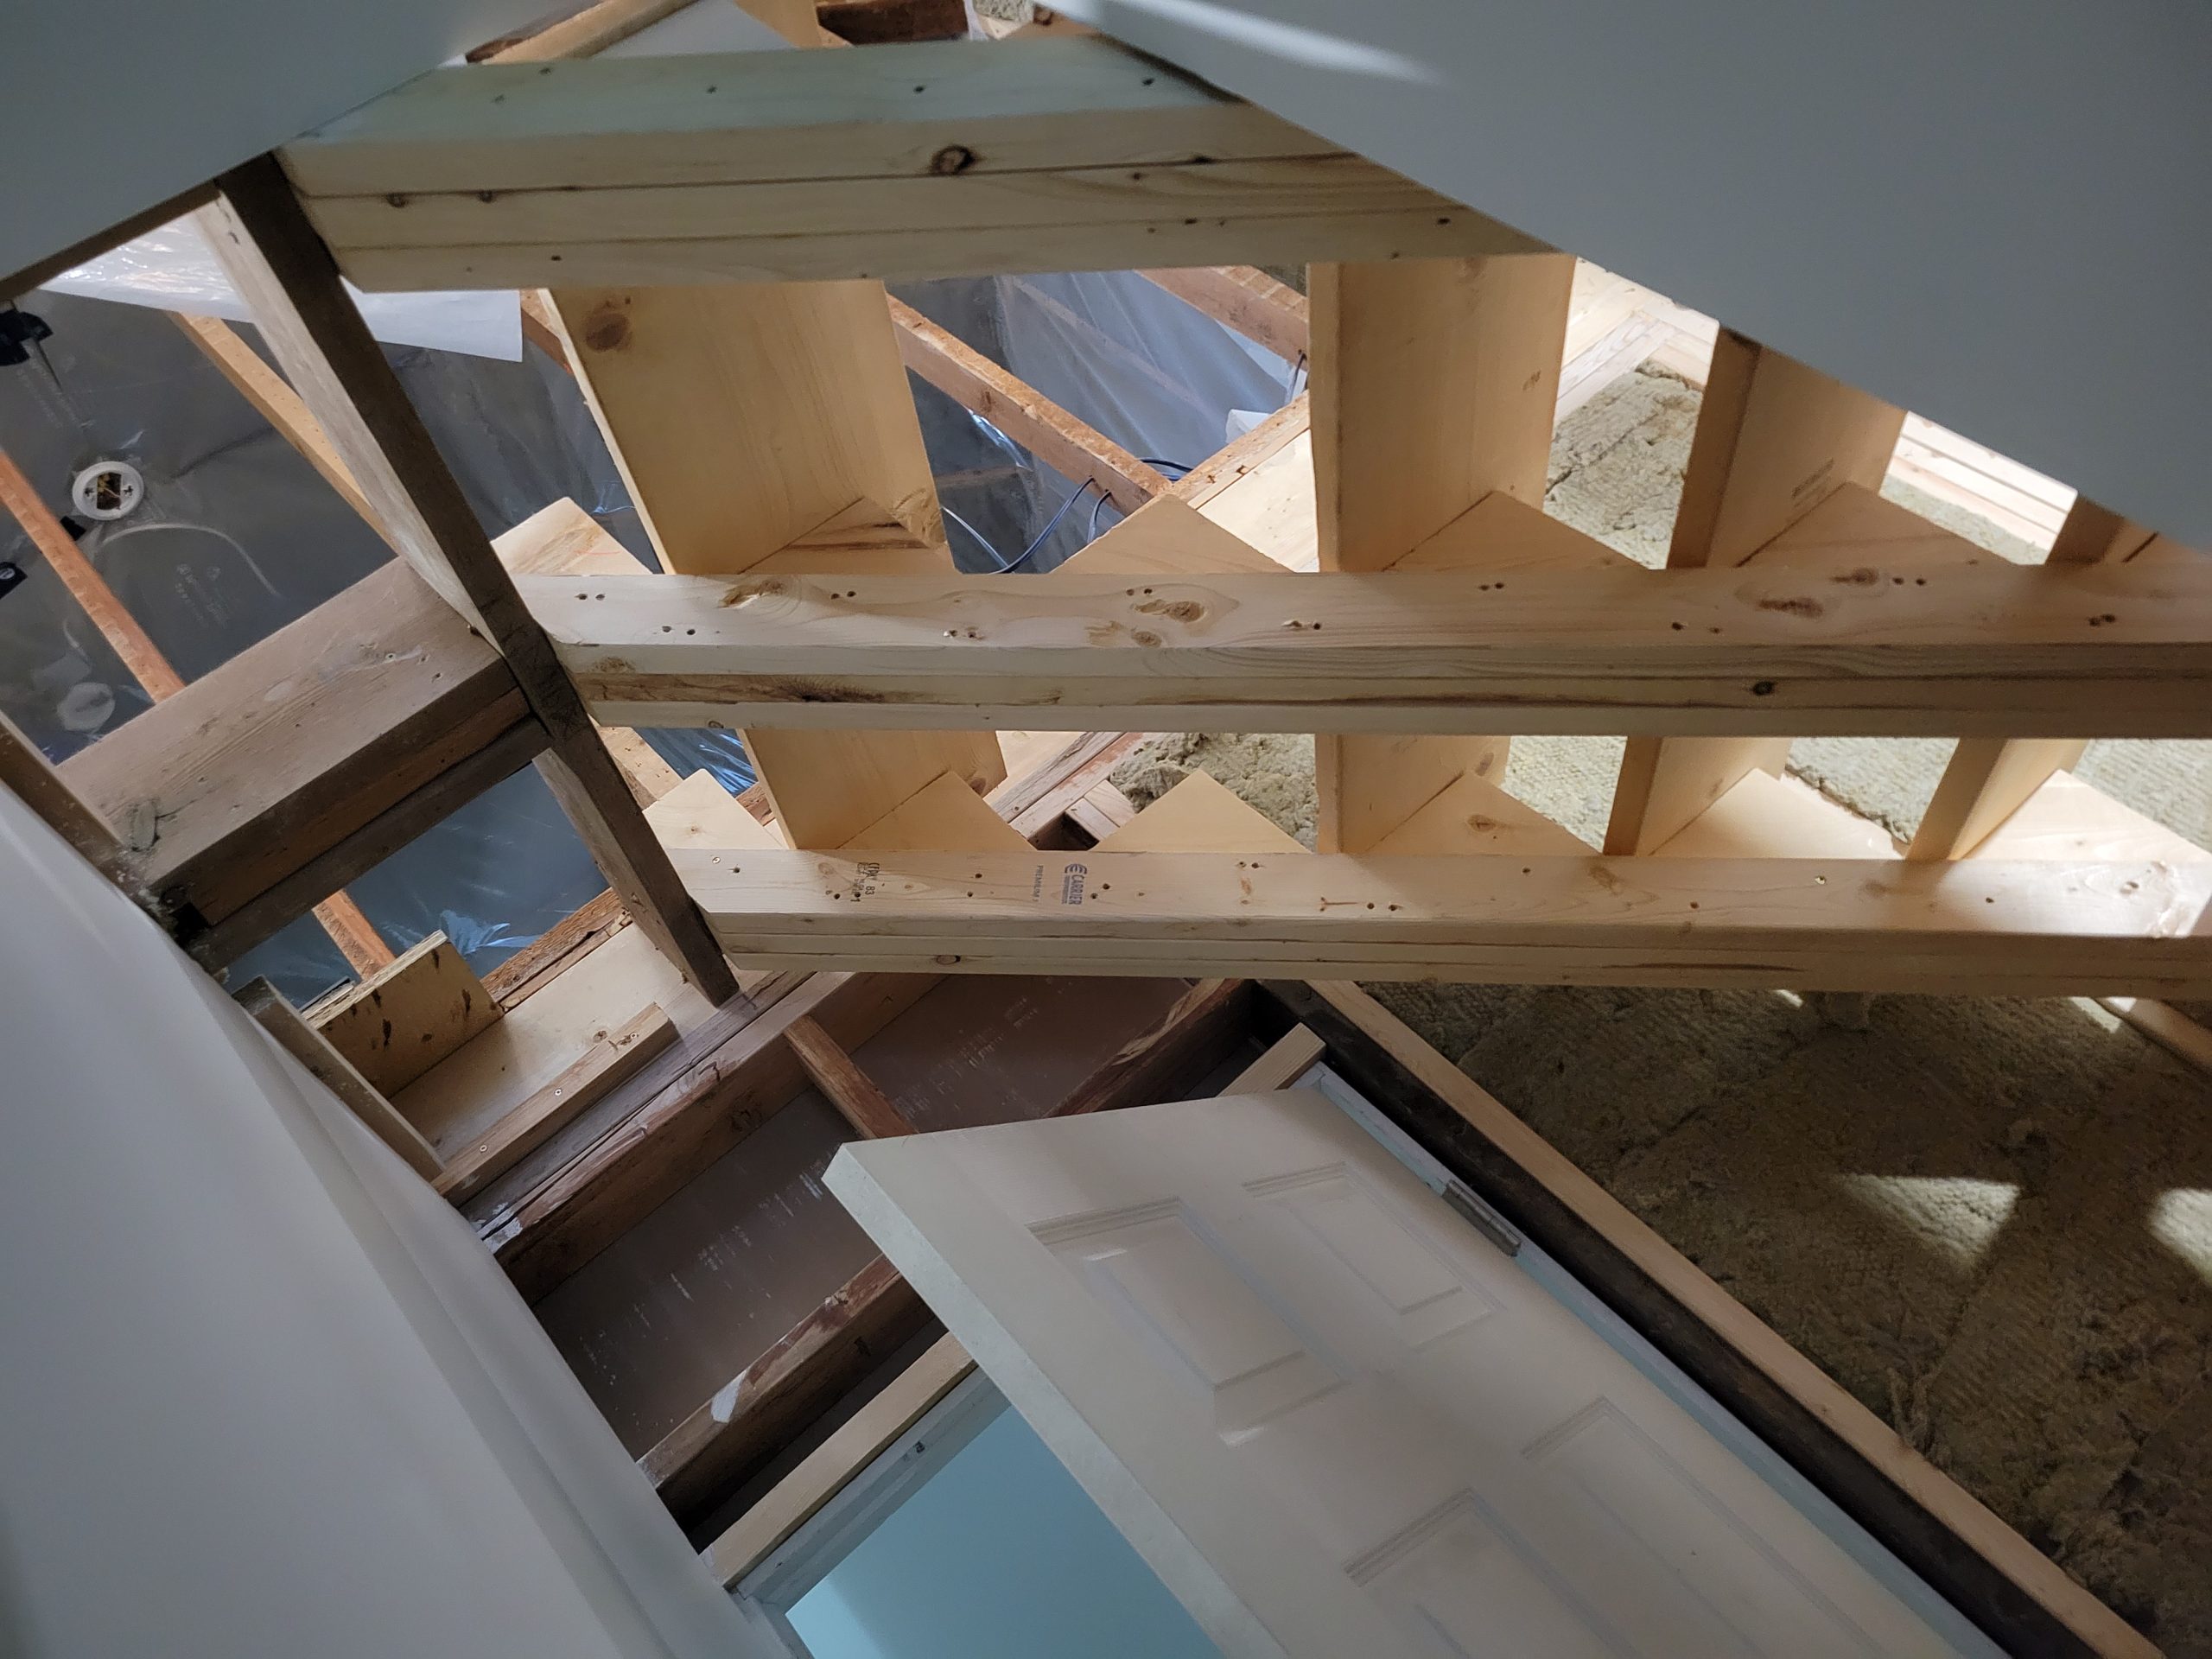
The main floor suite will have storage underneath.
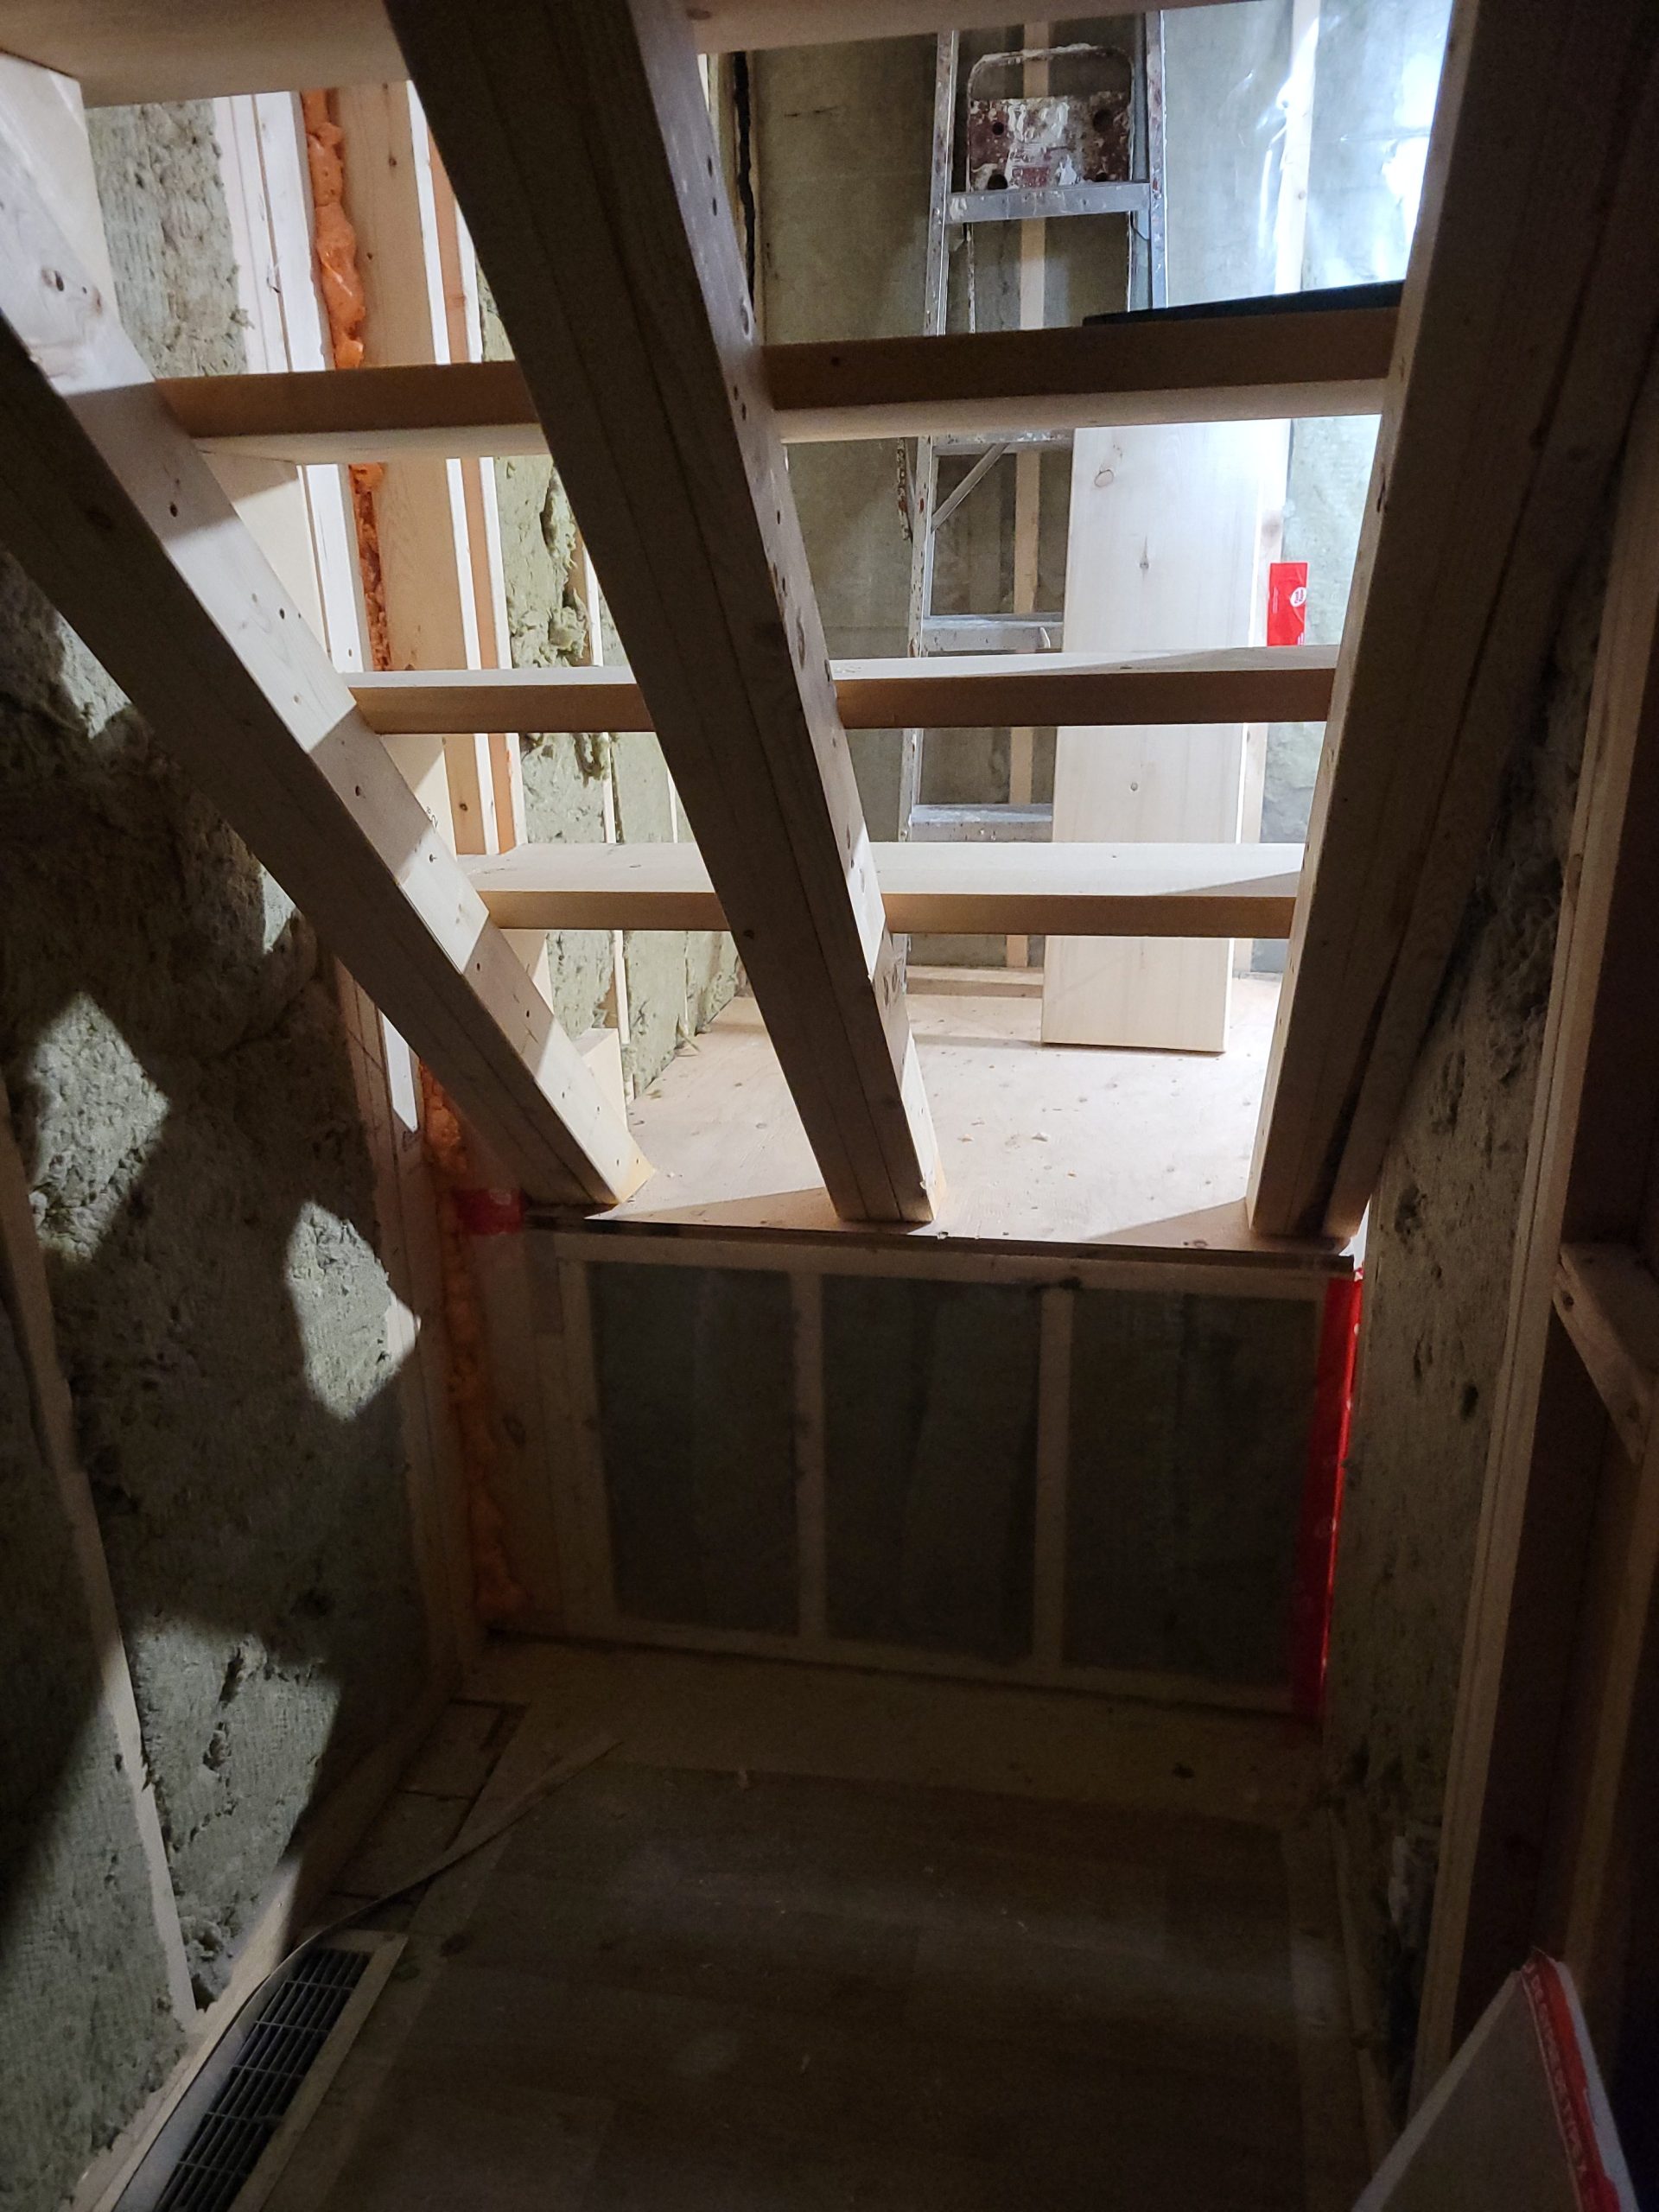
And, most importantly, and the whole reason for redesigning the stairs, the main floor bathroom door can swing inward and without hitting the stairs. <enter happy face 6 months in the making>
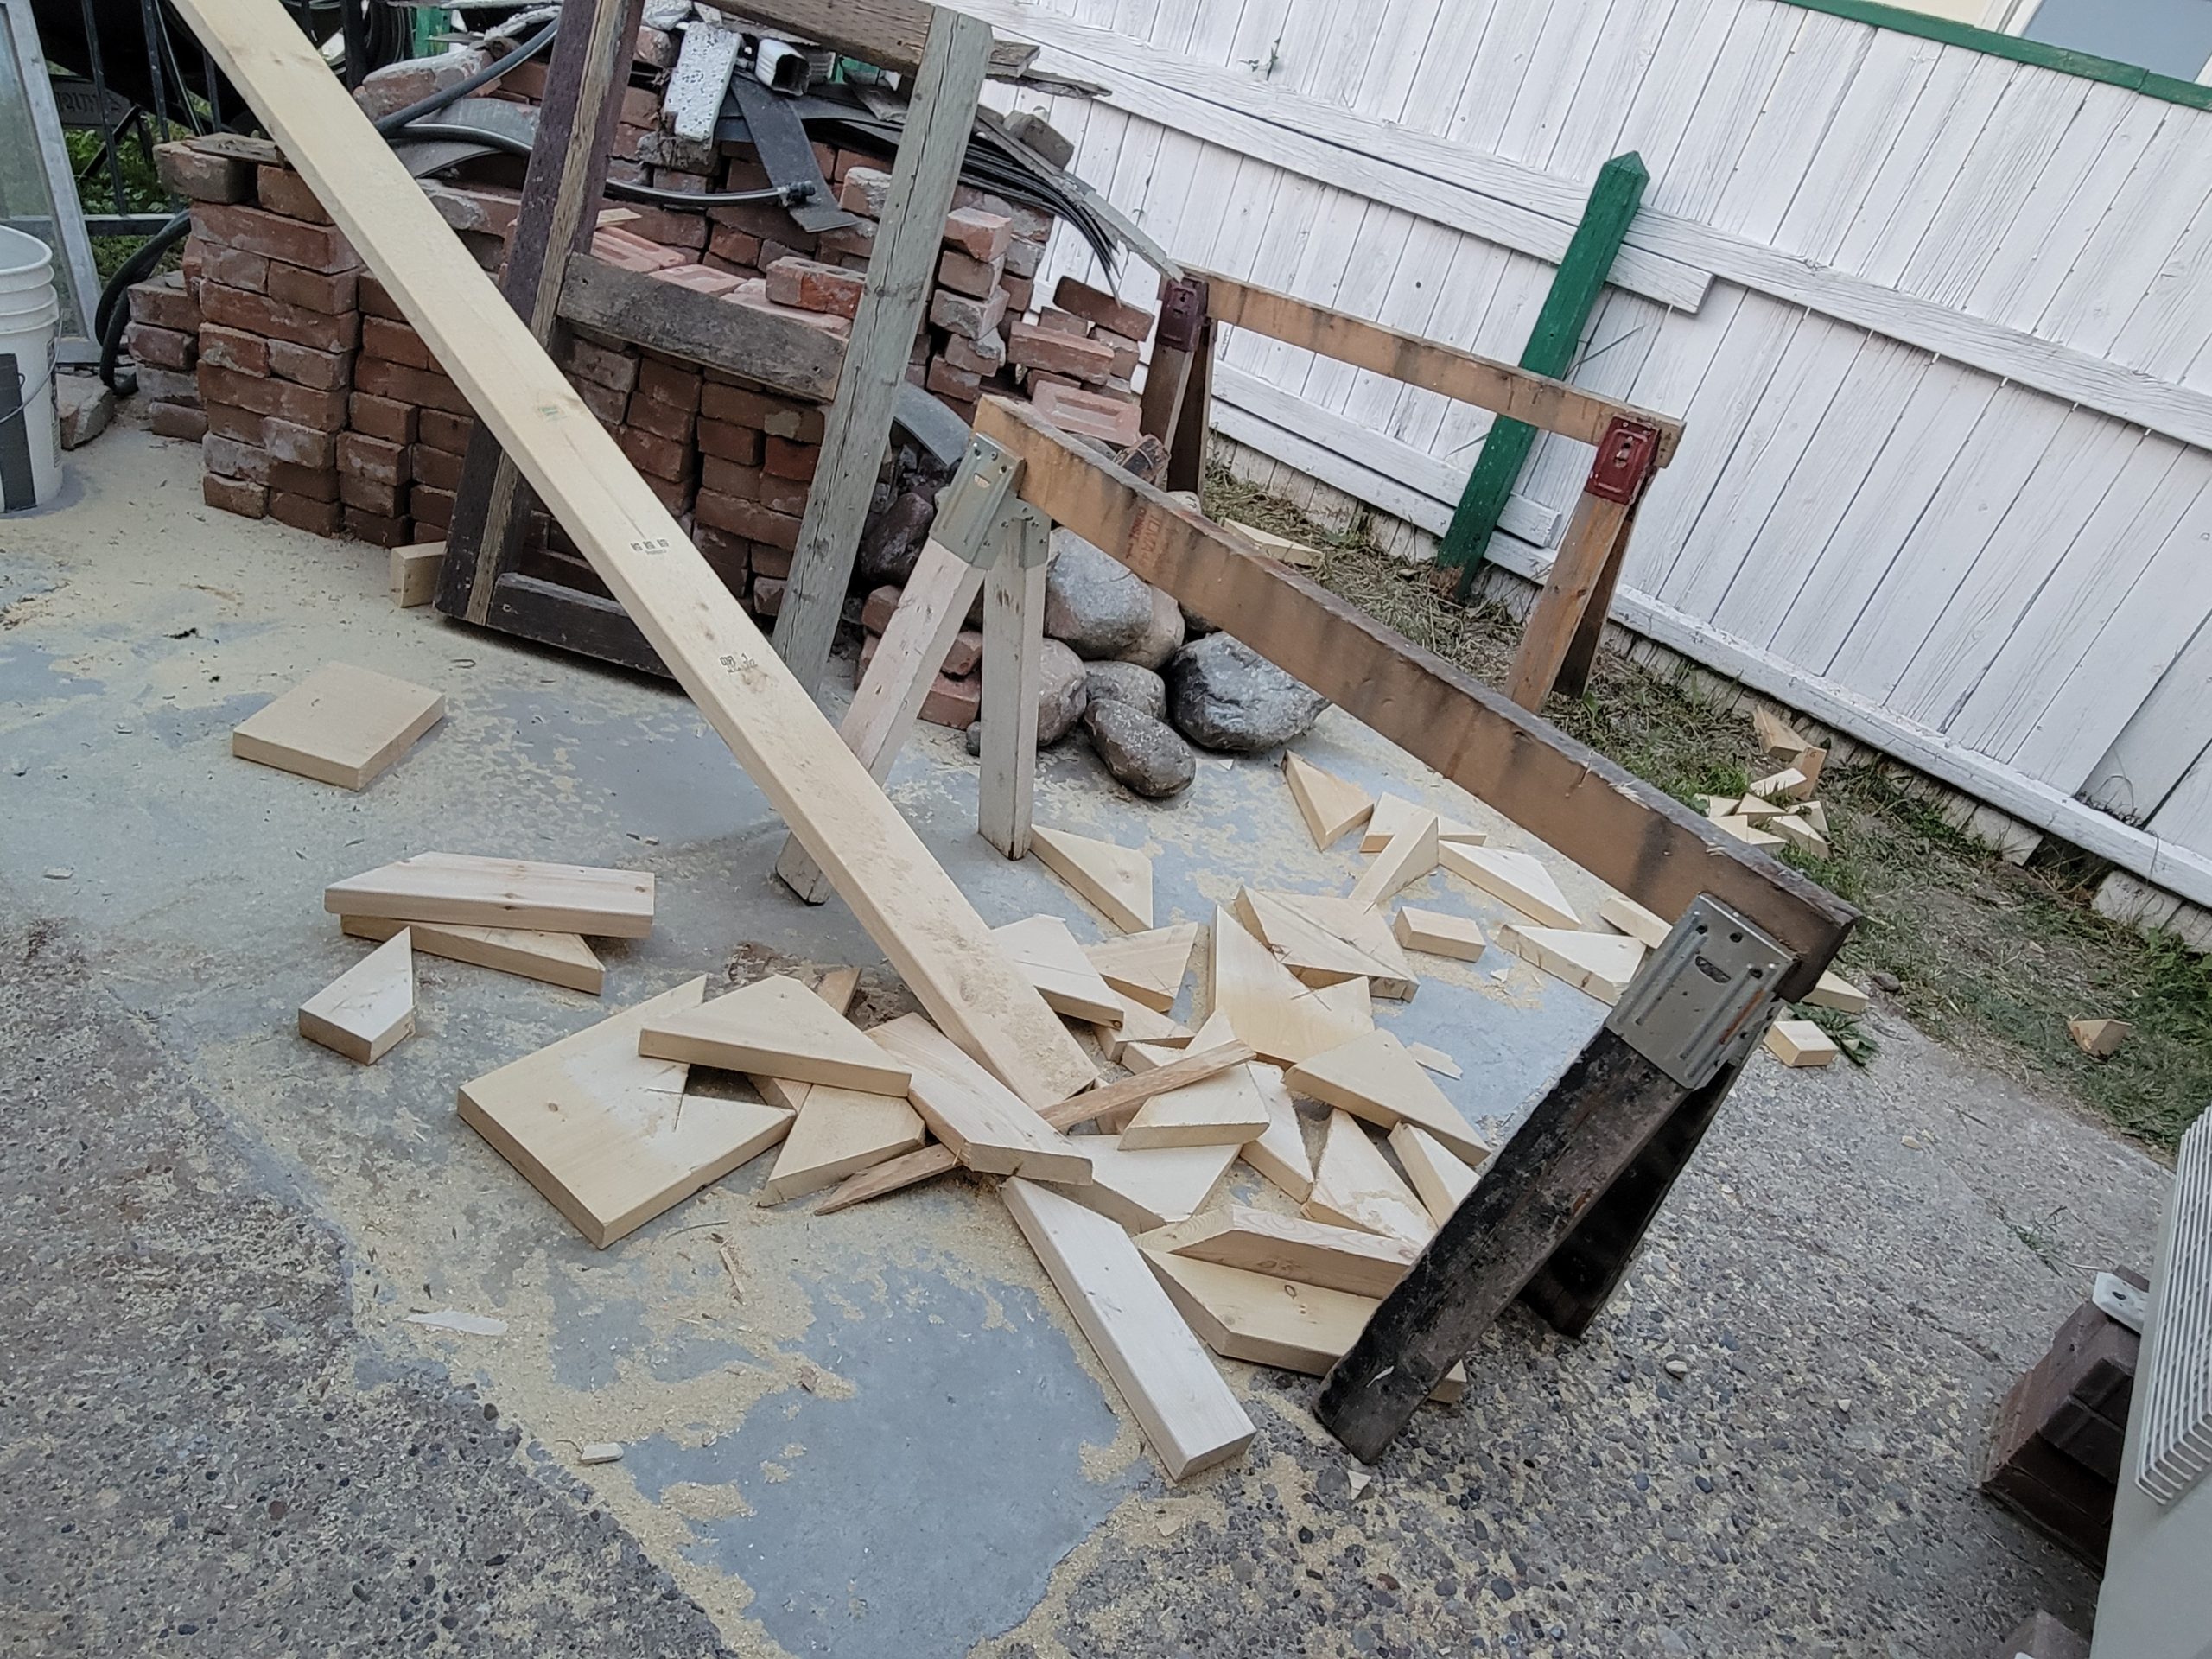
Cleanup will have to wait.
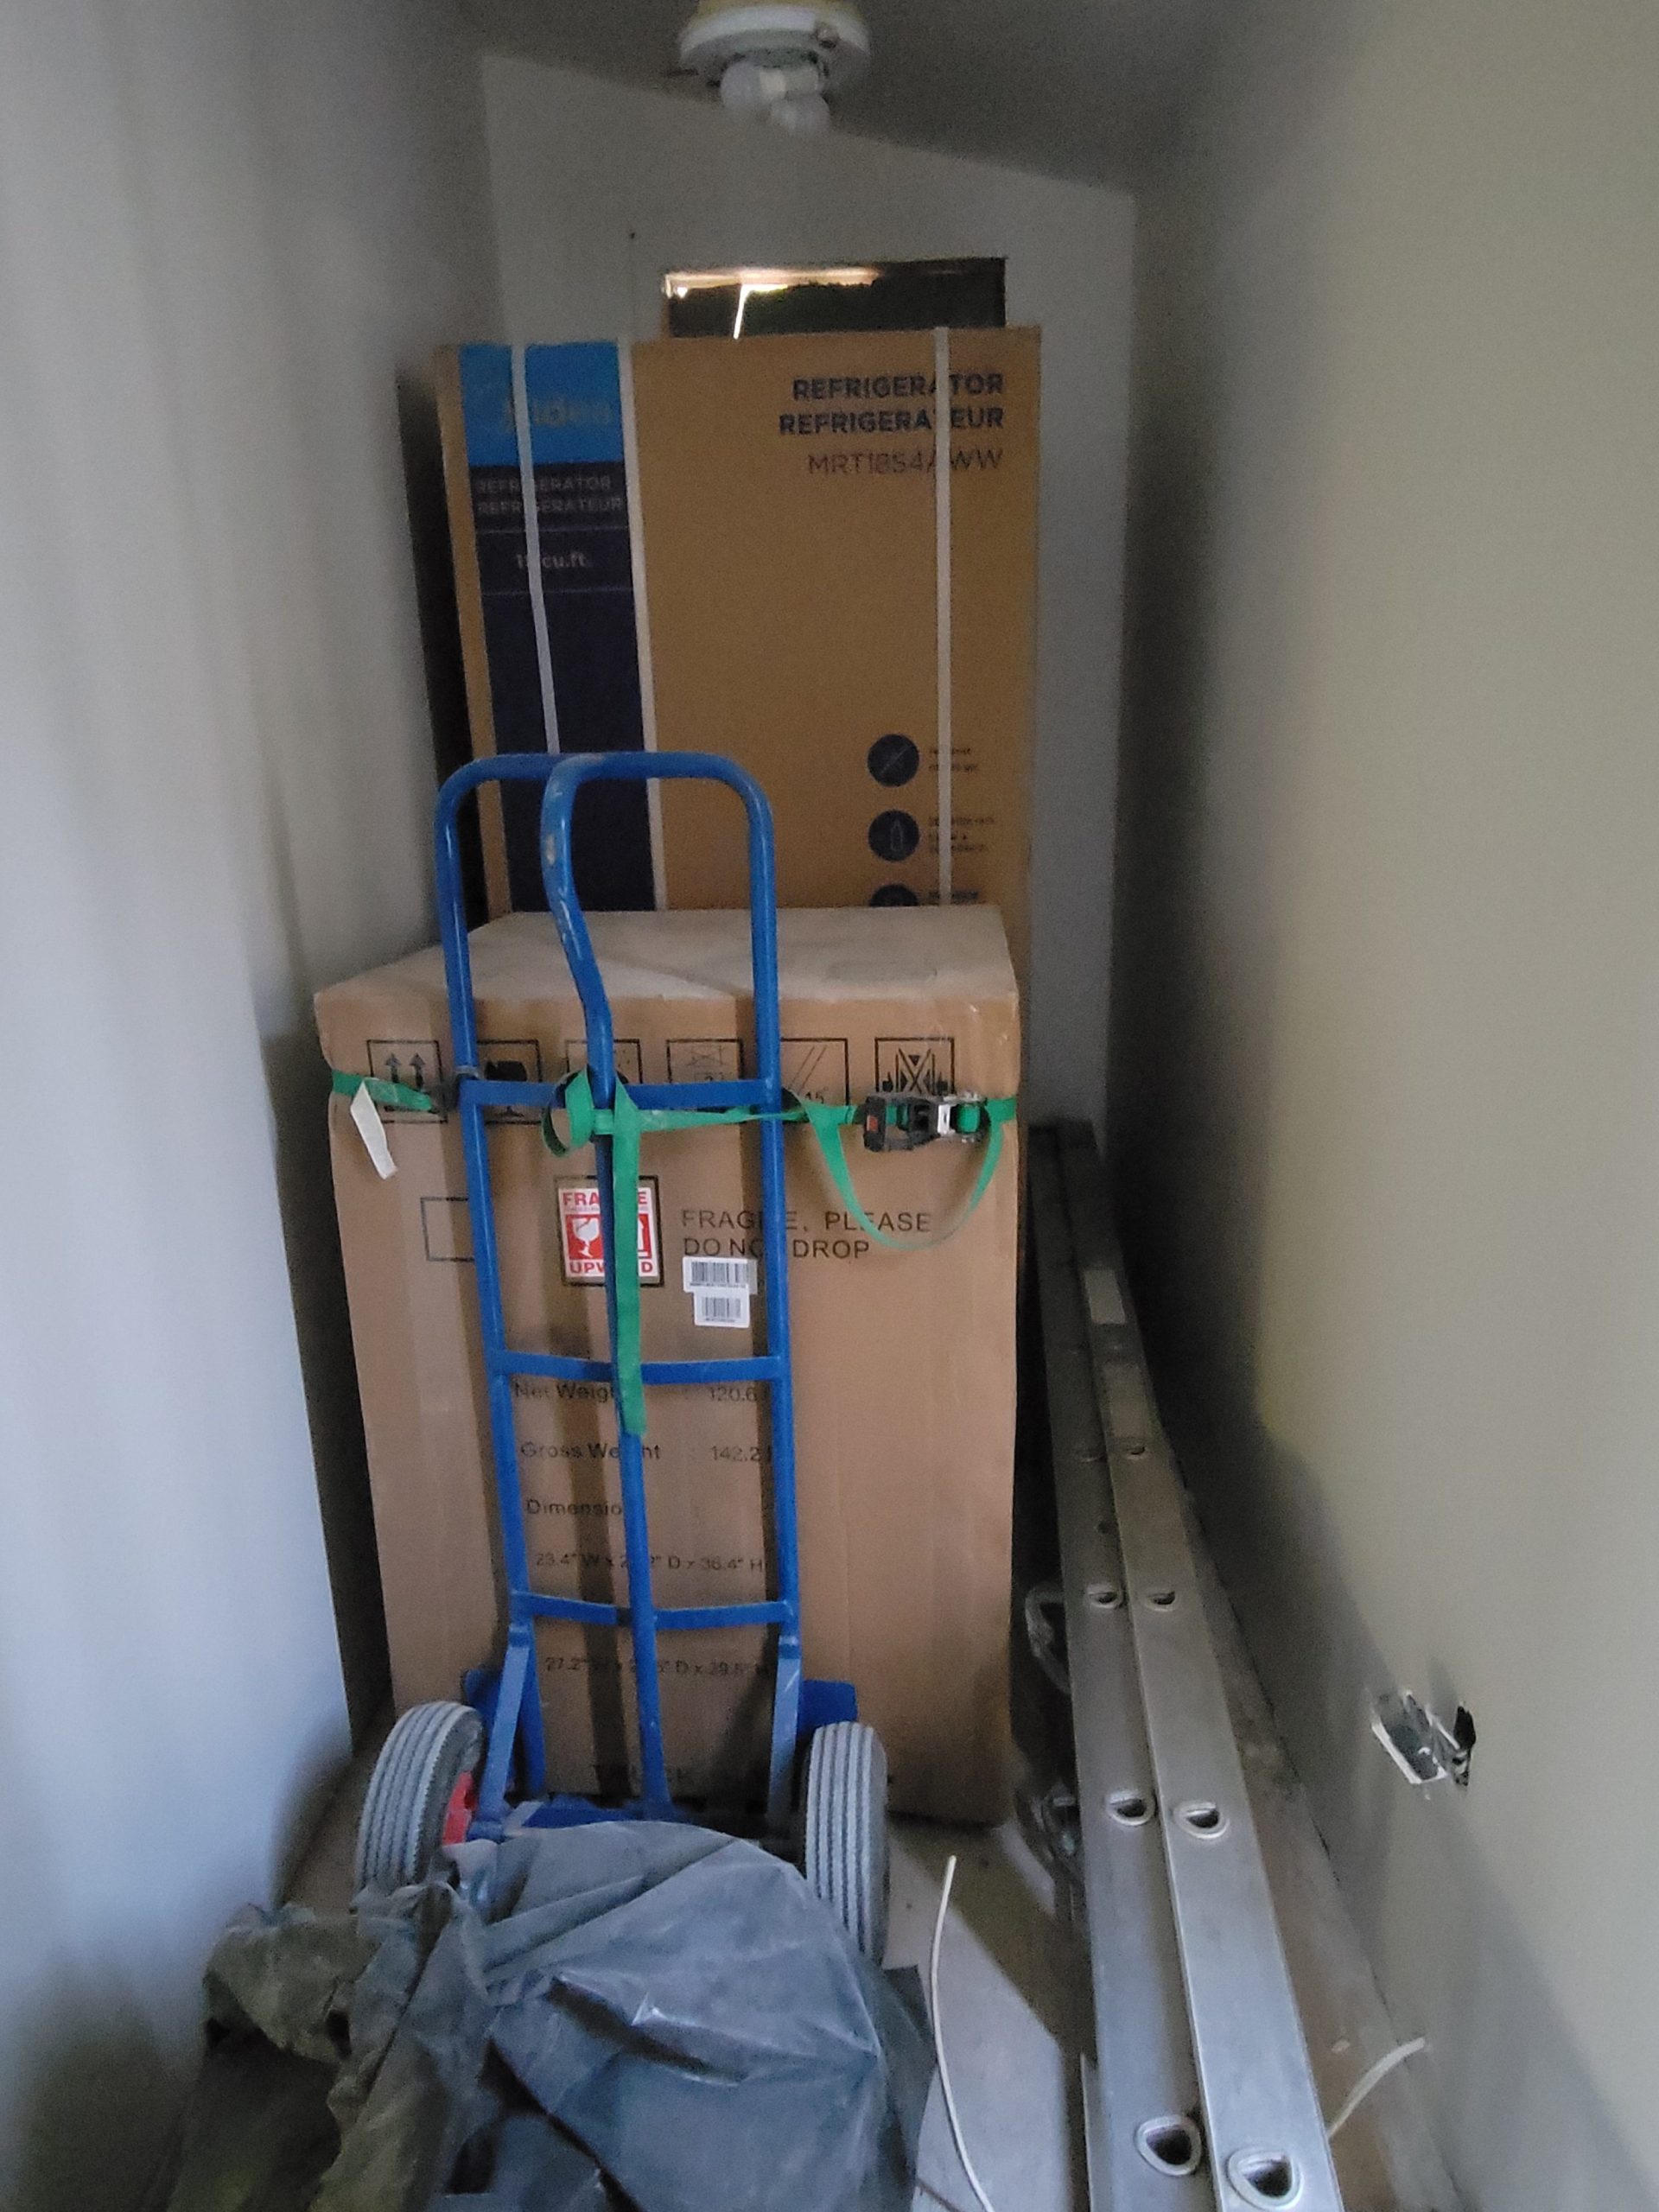
The refrigerator (fridge) and range (stove) are in the 1st floor suite mudroom awaiting their move to the 2nd floor.
End of the day…