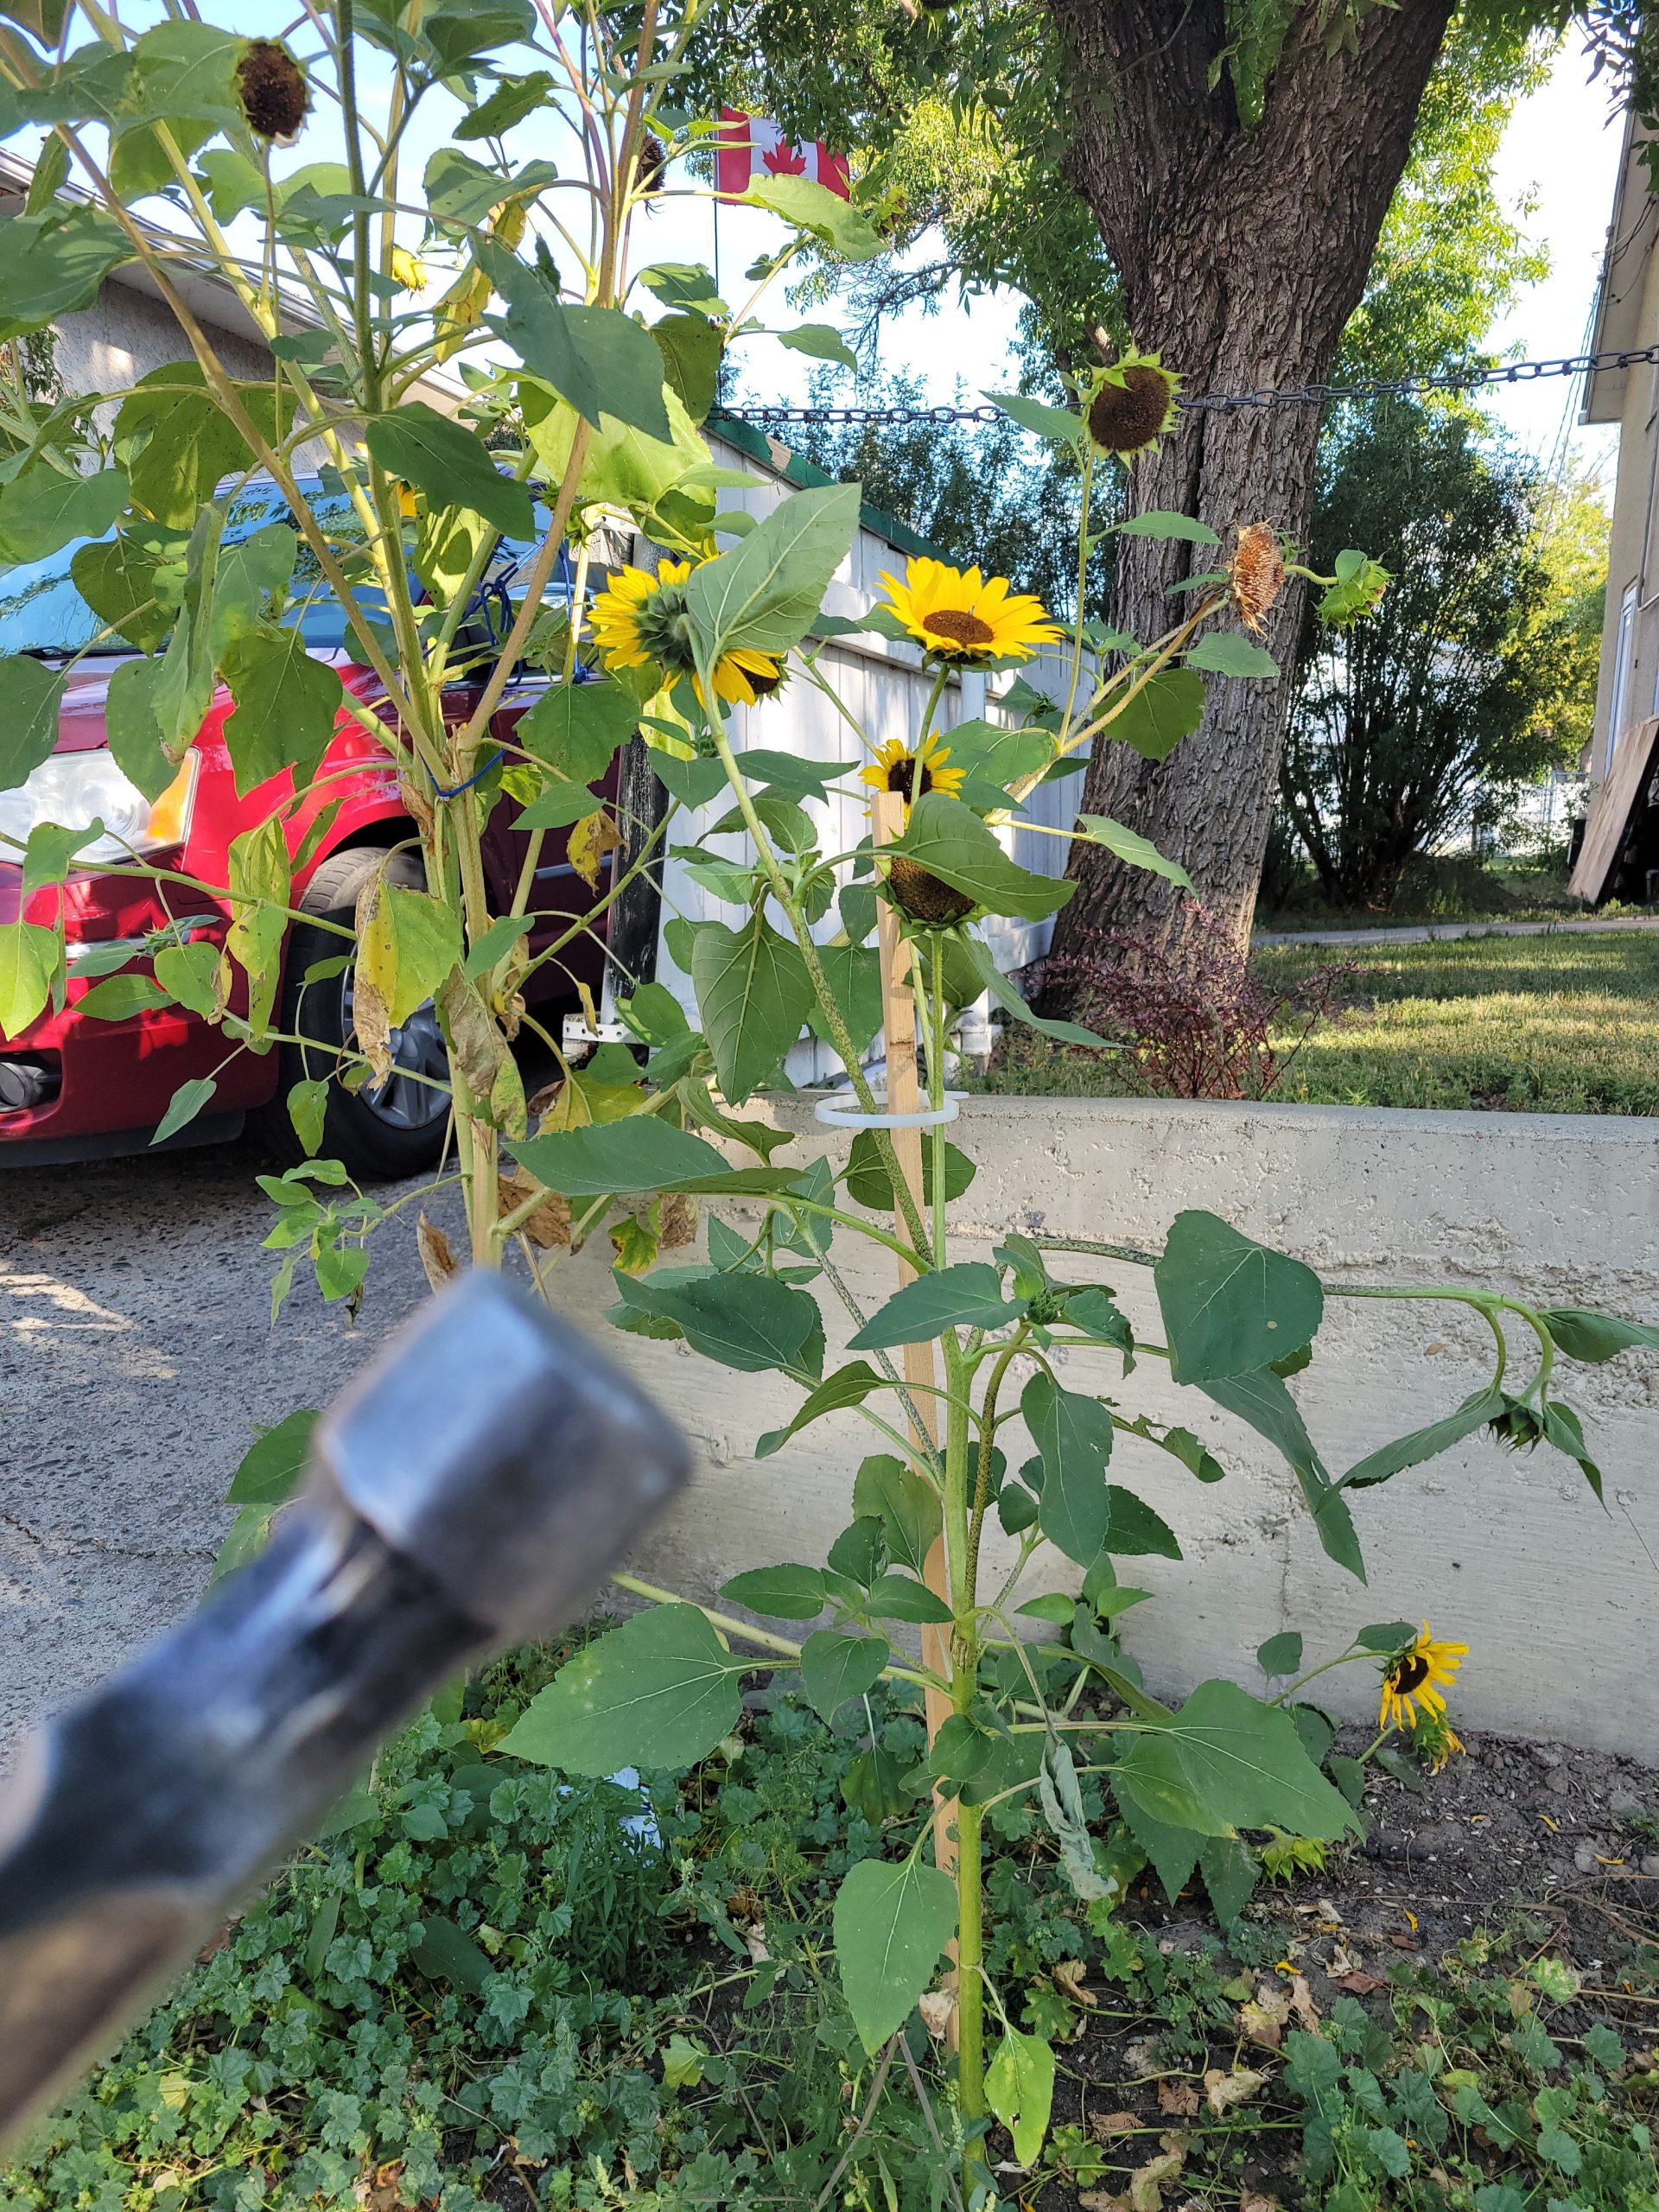
The property needs some TLC. However, the priority is to get the suites done first. In the mean time, a little help is given to the sunflowers at the front.
projects on the go
The property needs some TLC. However, the priority is to get the suites done first. In the mean time, a little help is given to the sunflowers at the front.
The tenants will be here at 10:00am to begin moving in. Still lots to do.
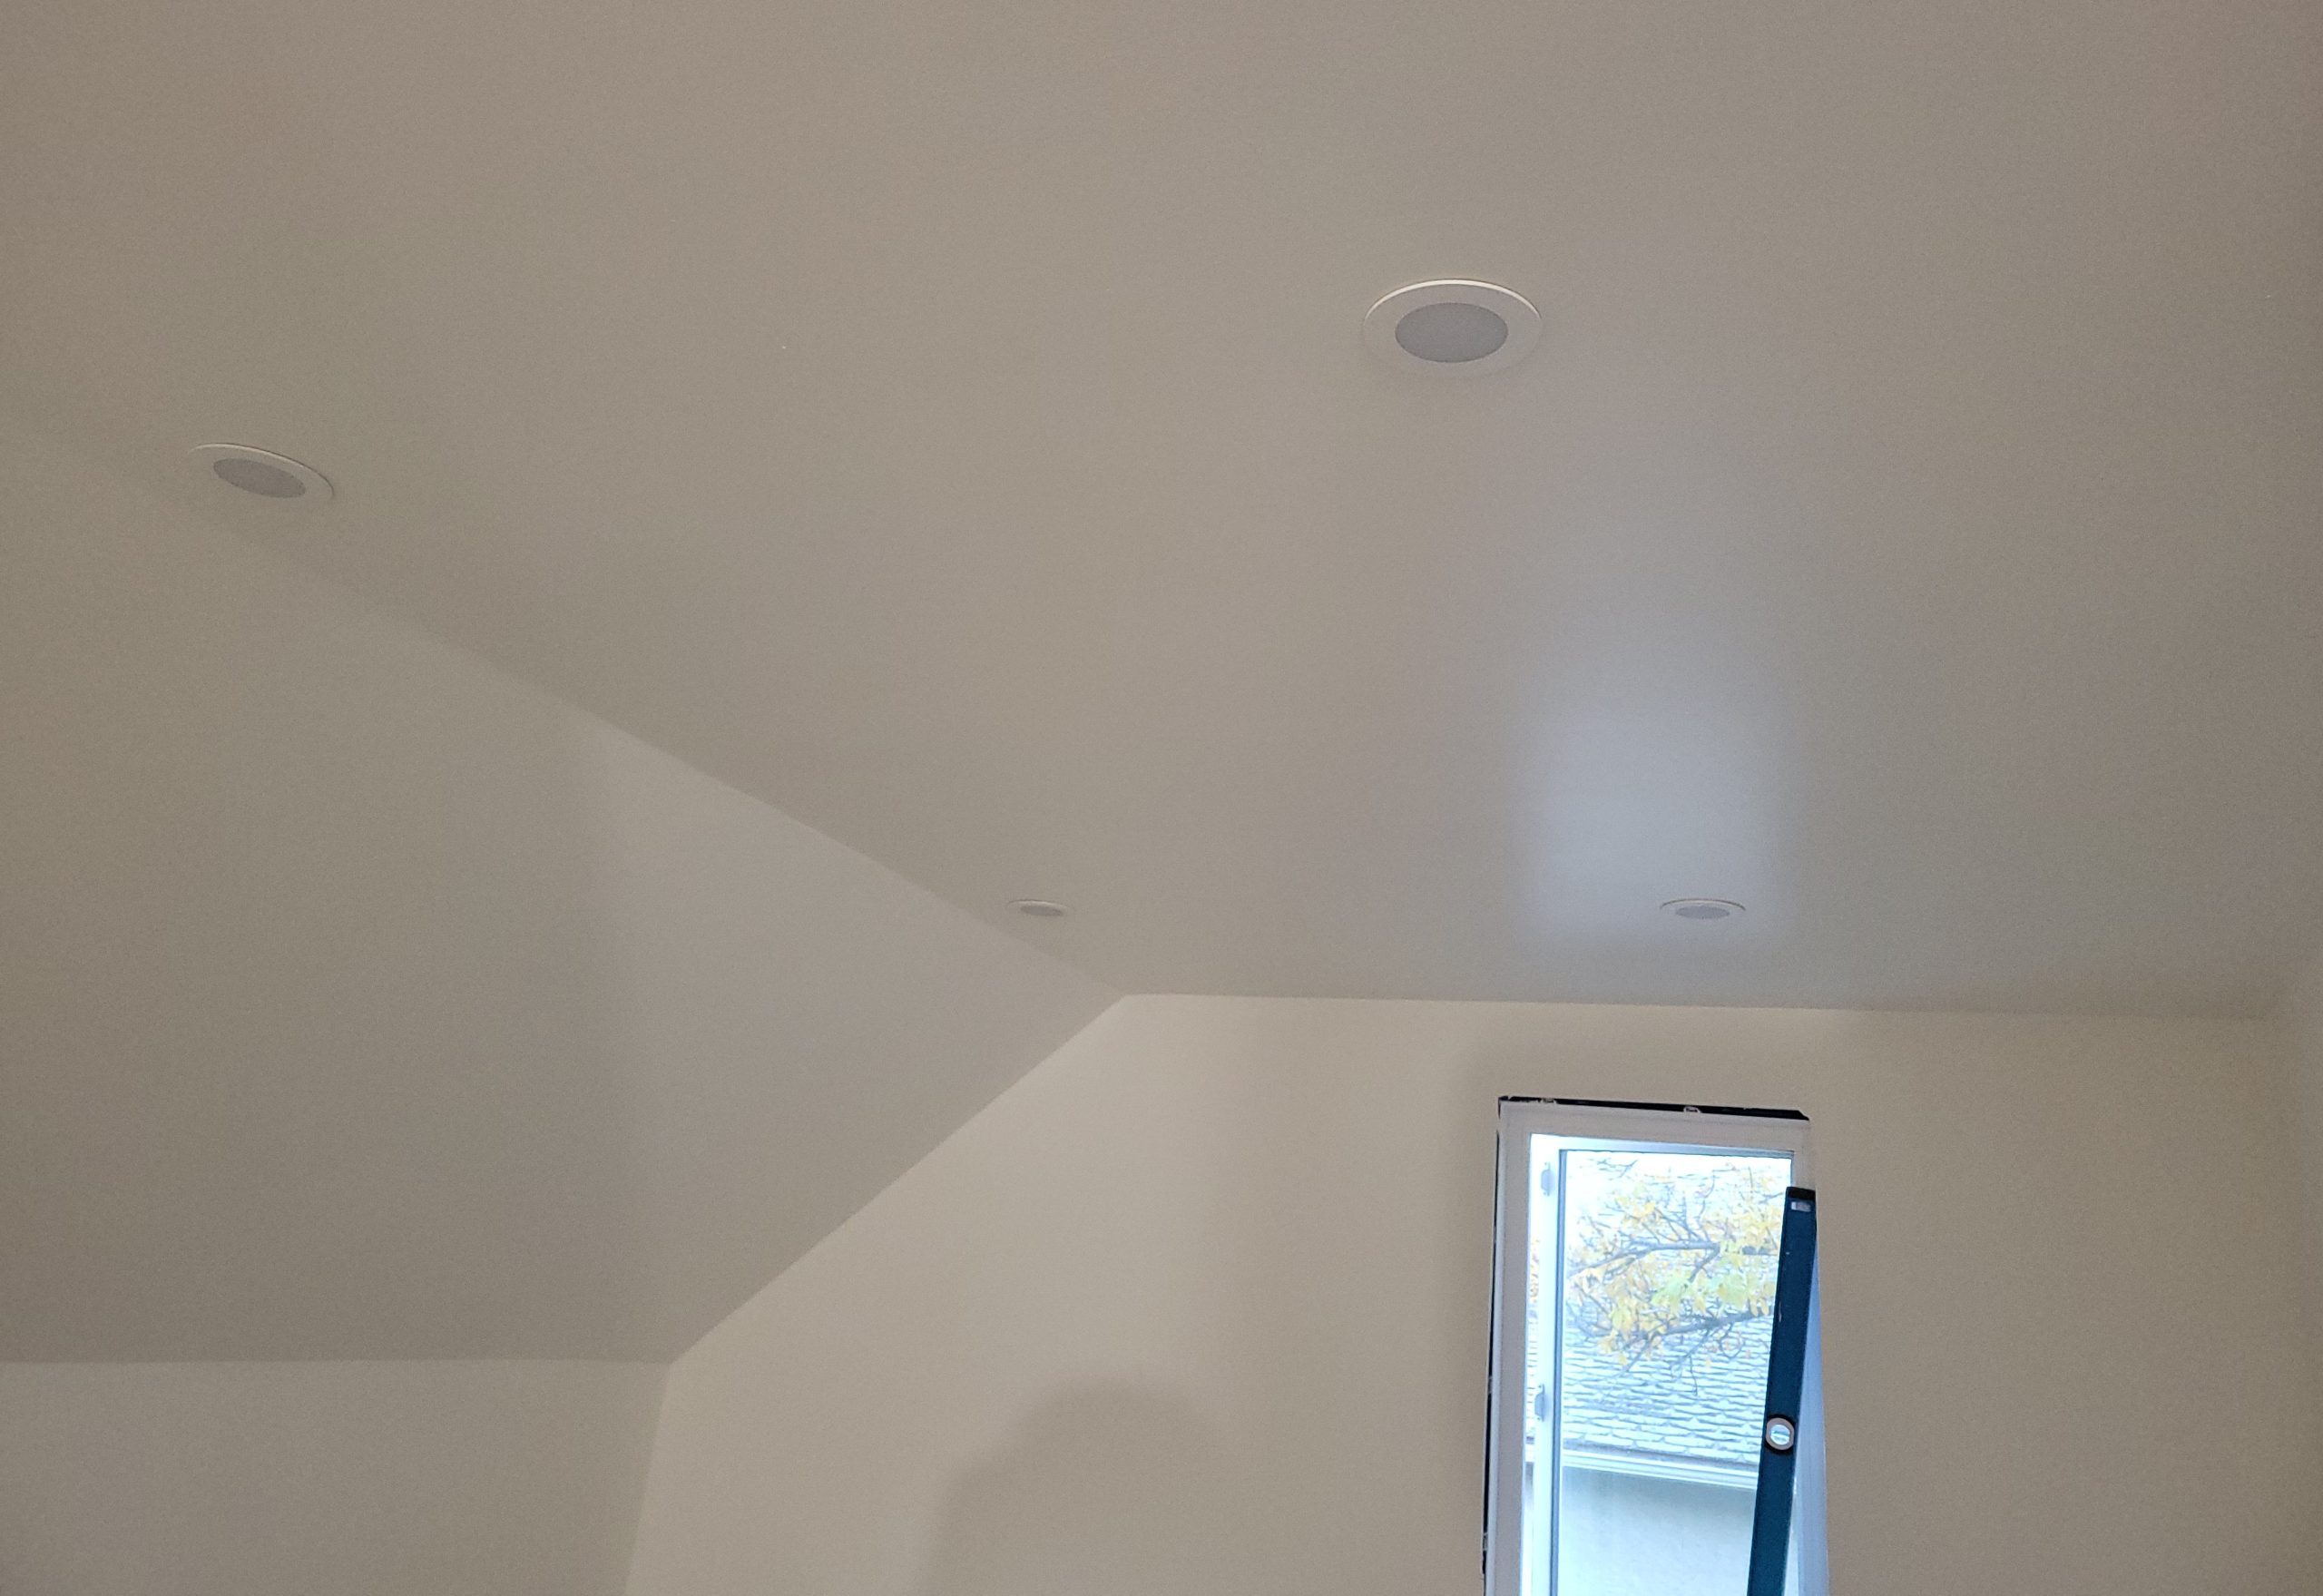
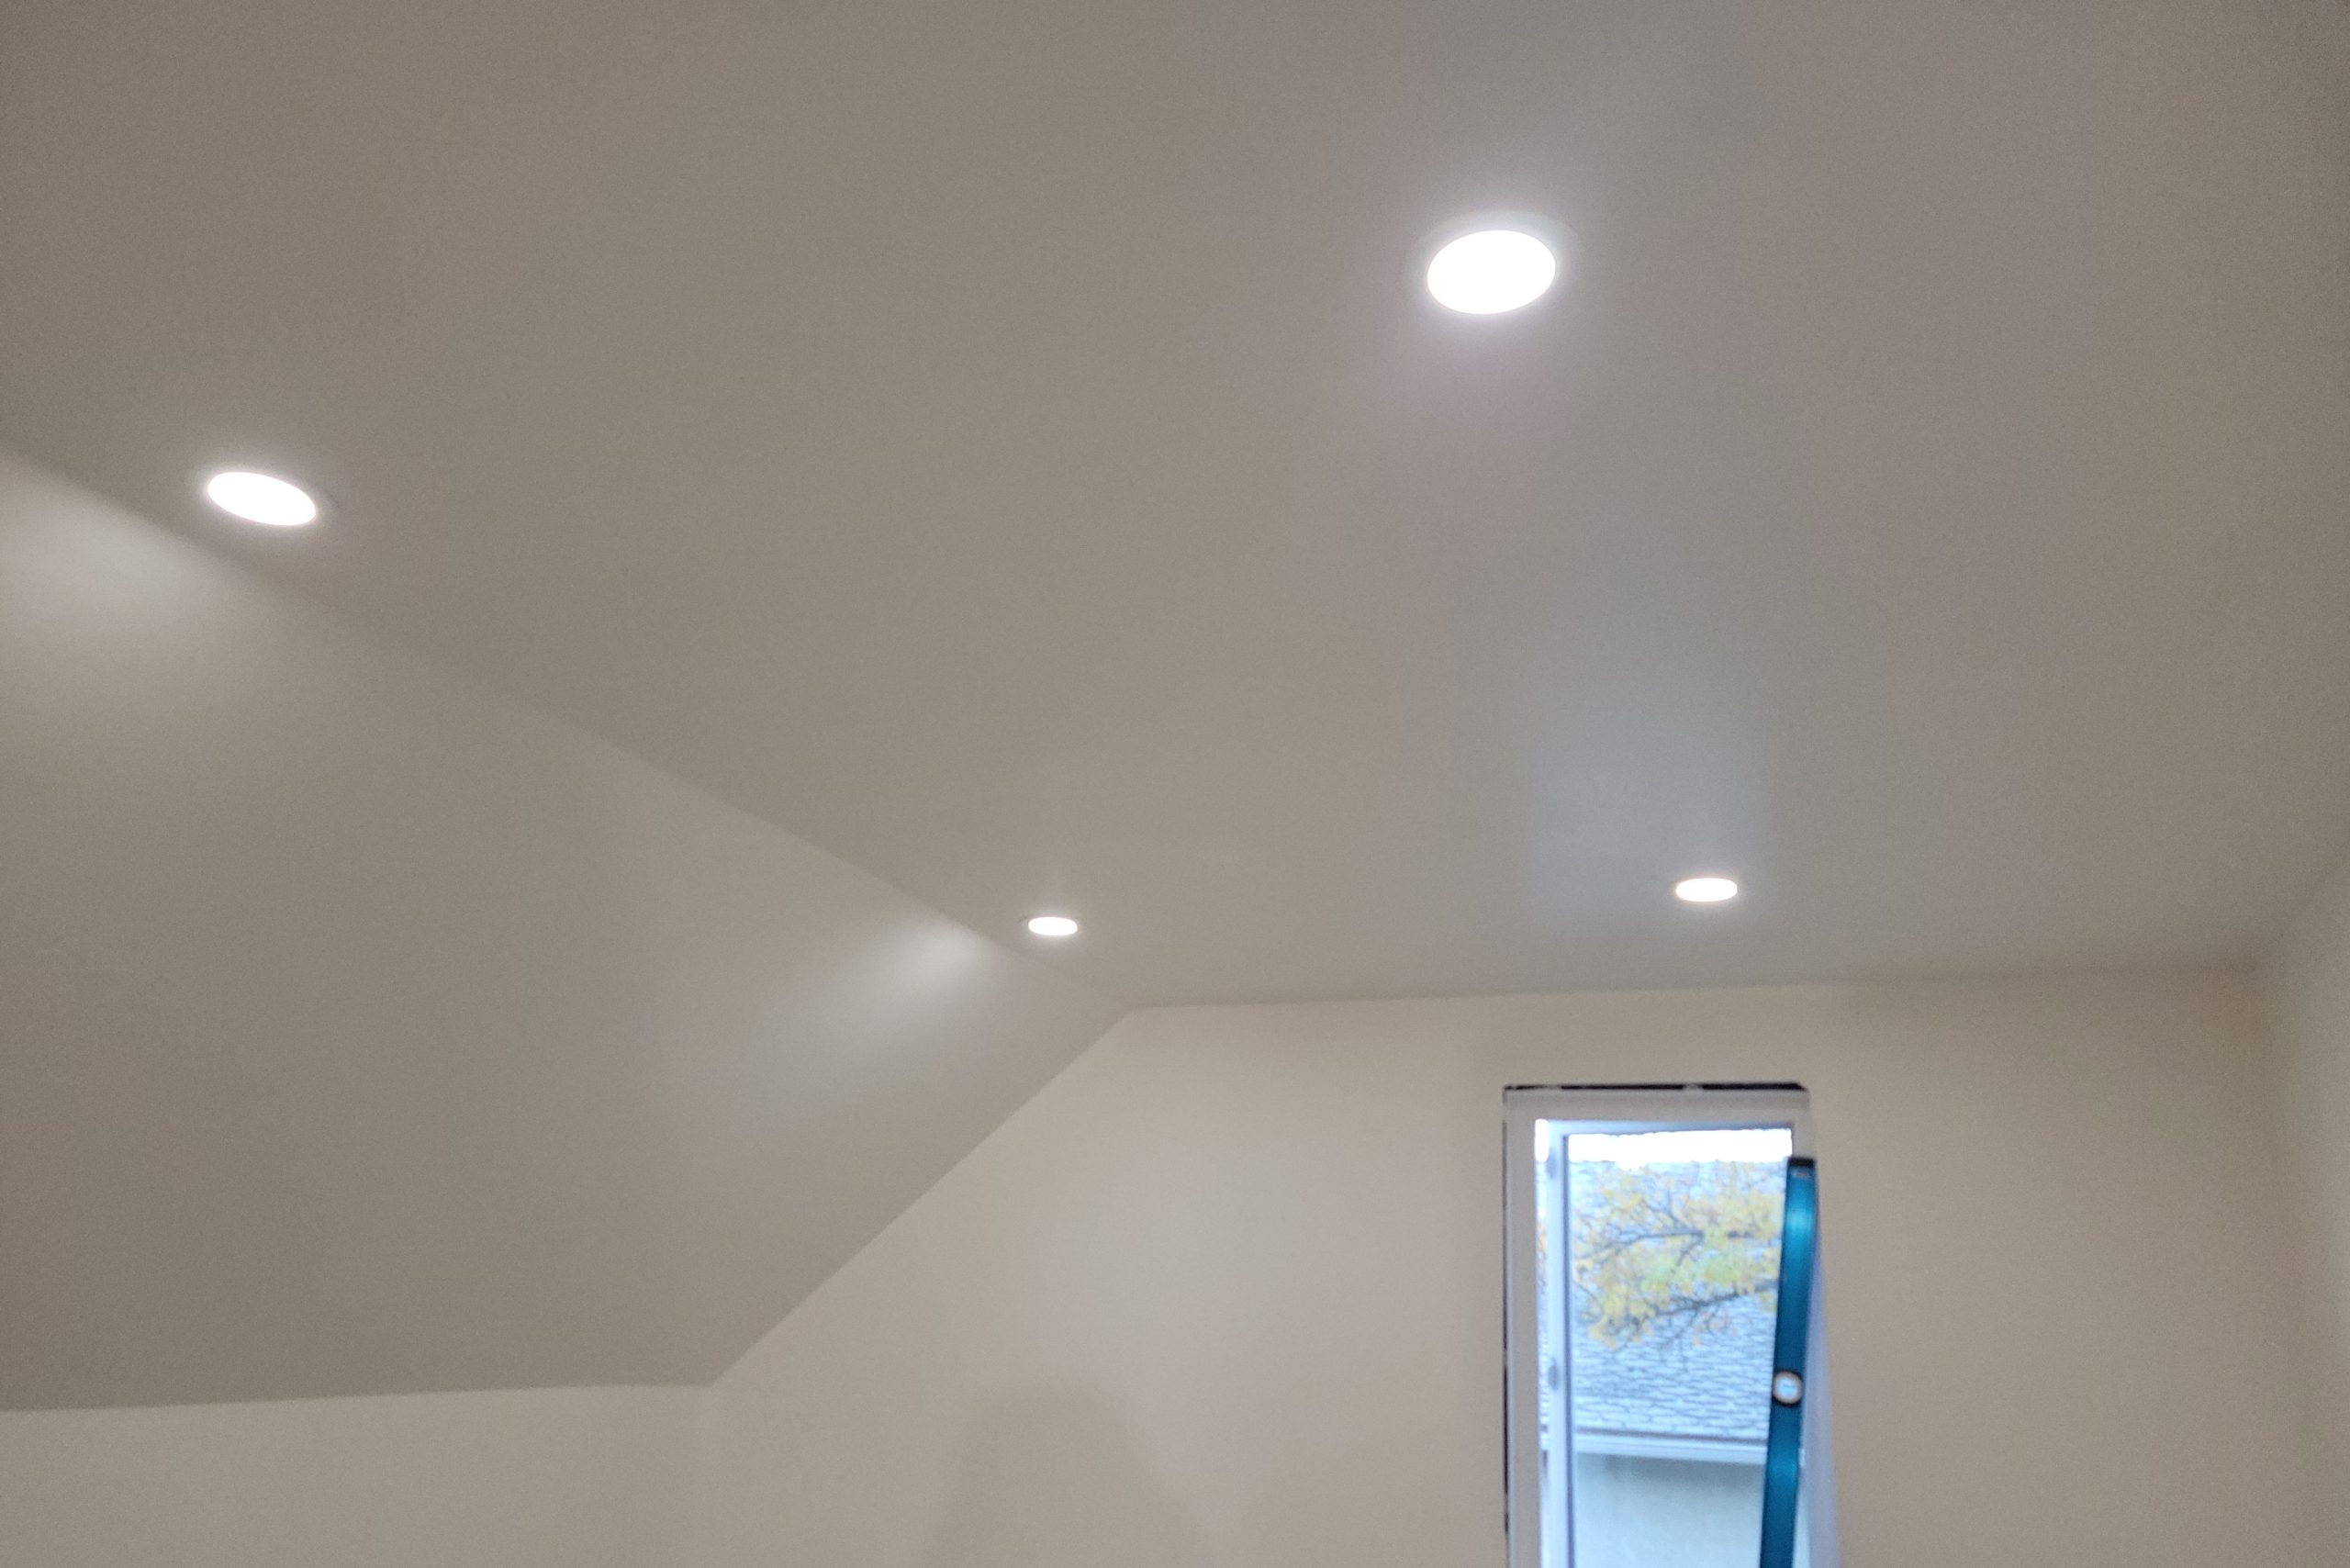
7:45am – With the painting done in the kitchen and living room, the living room lights were mounted.
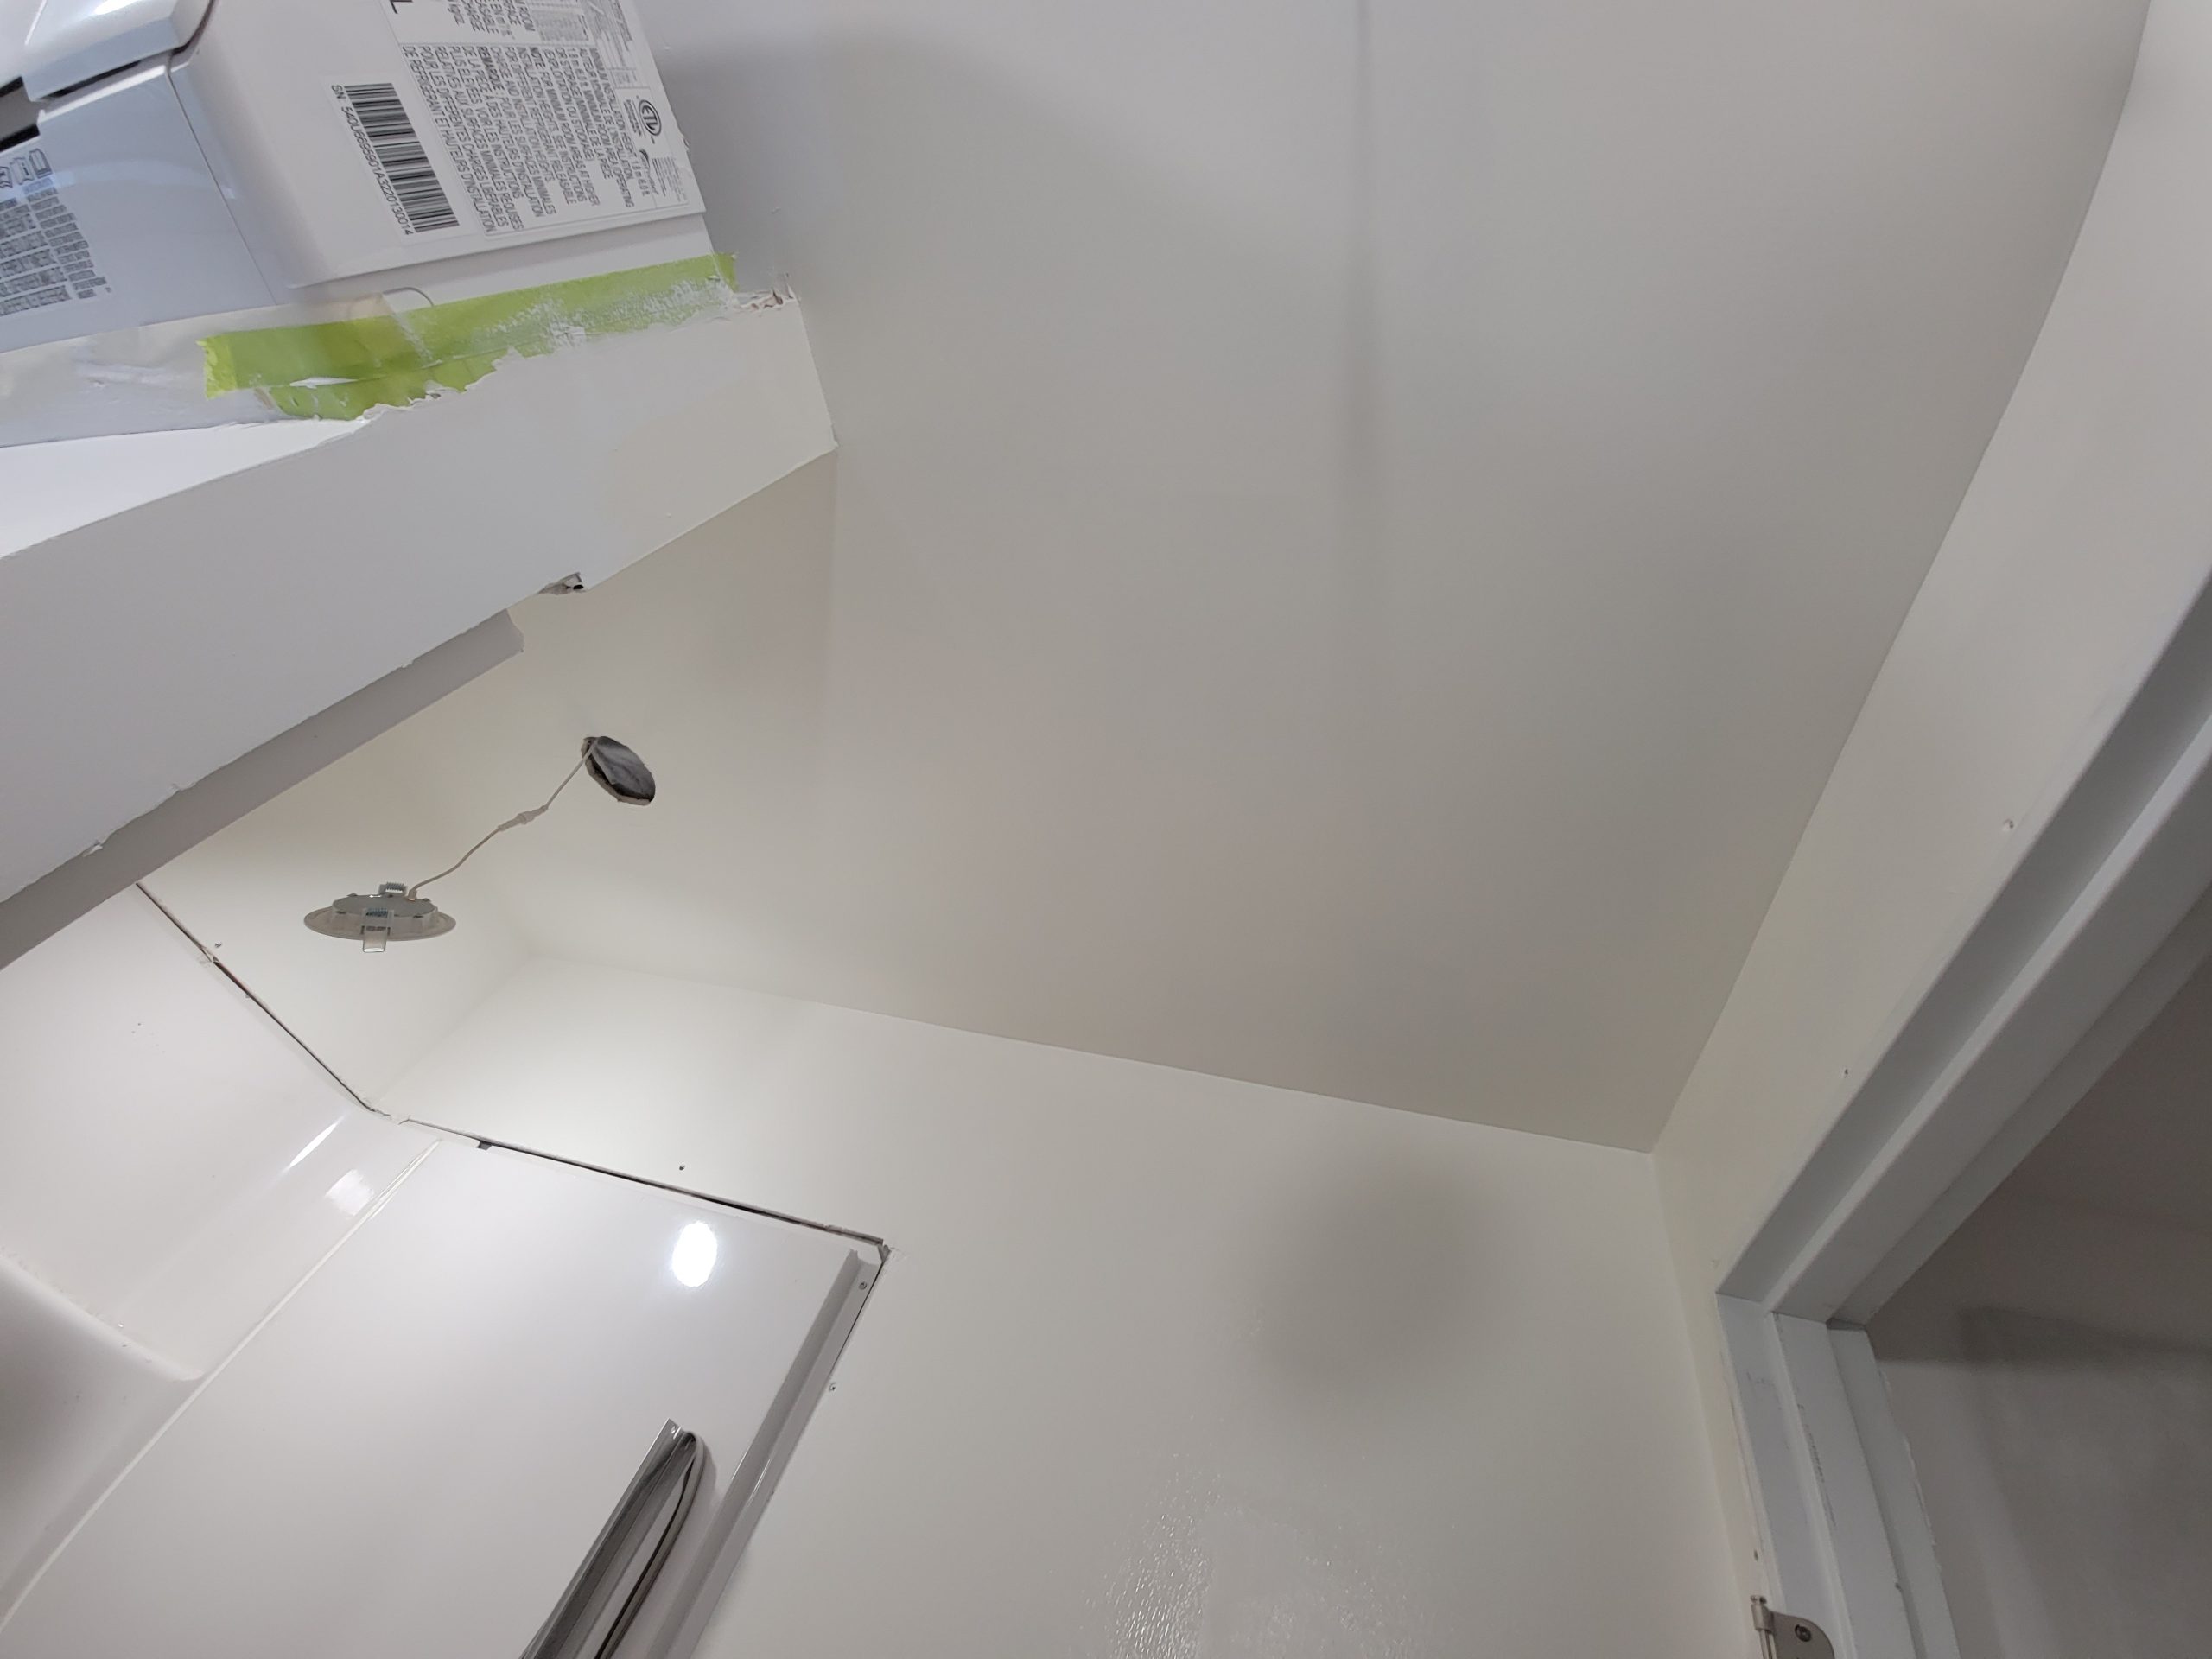
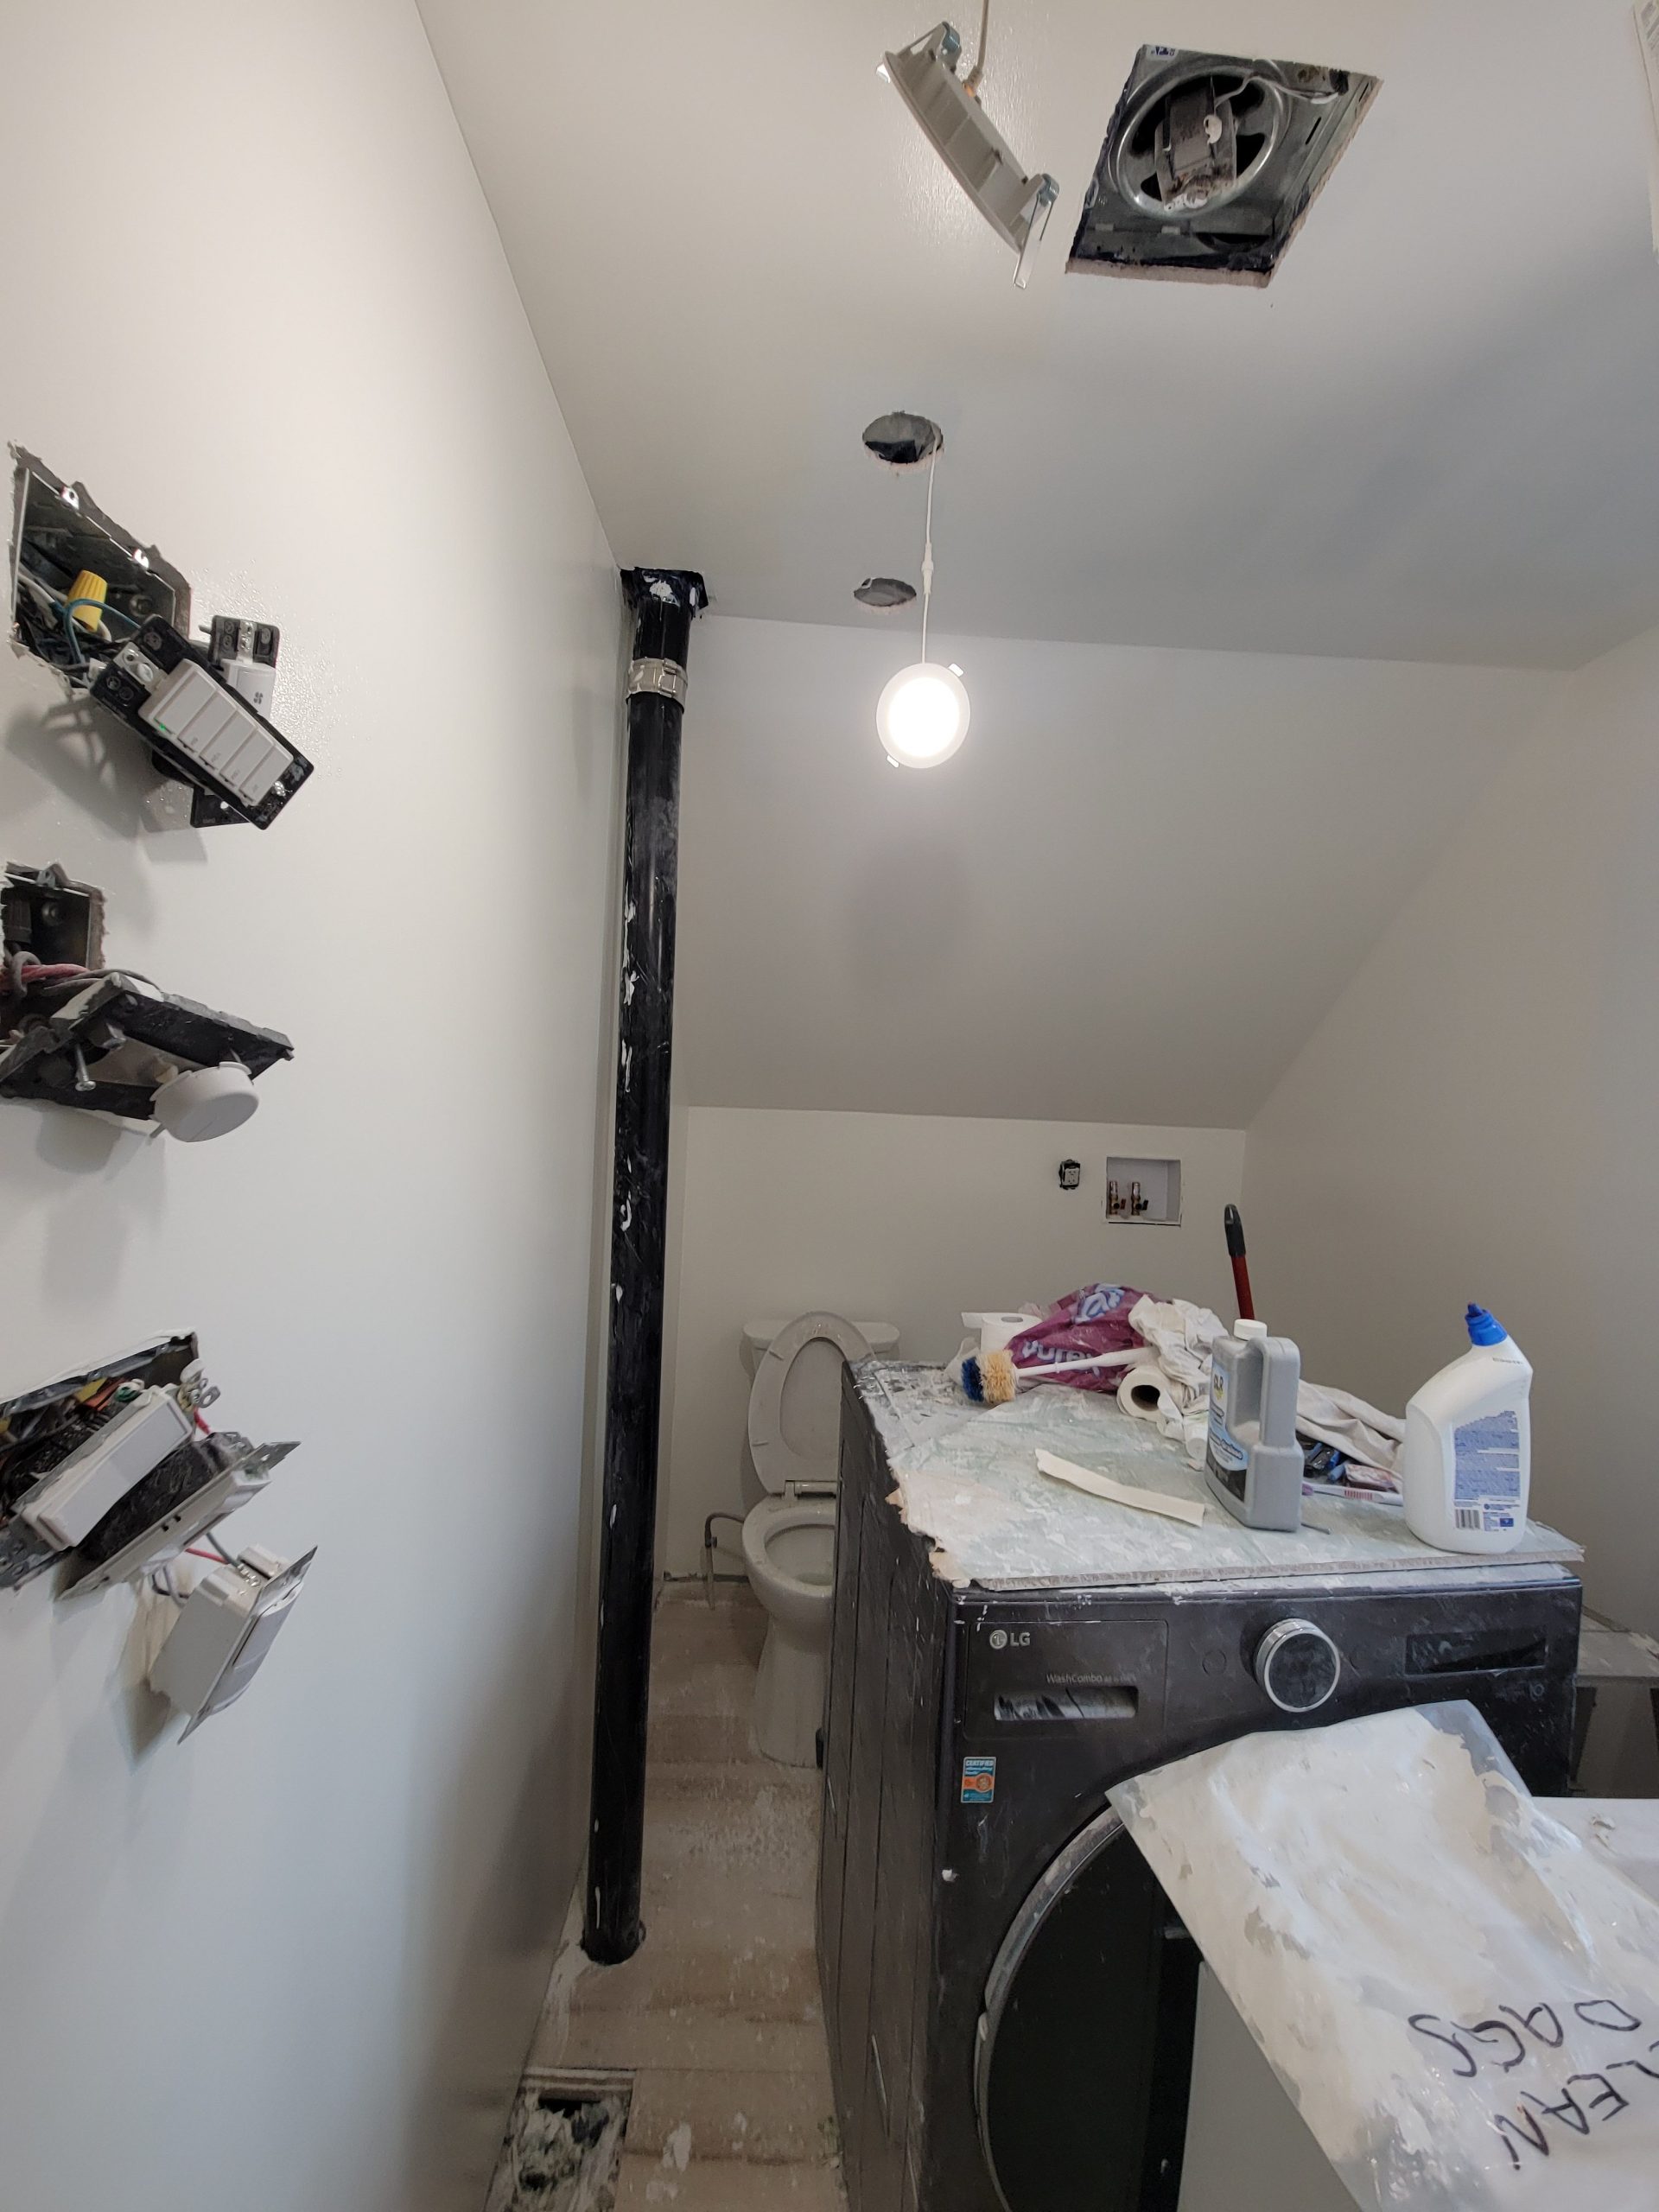
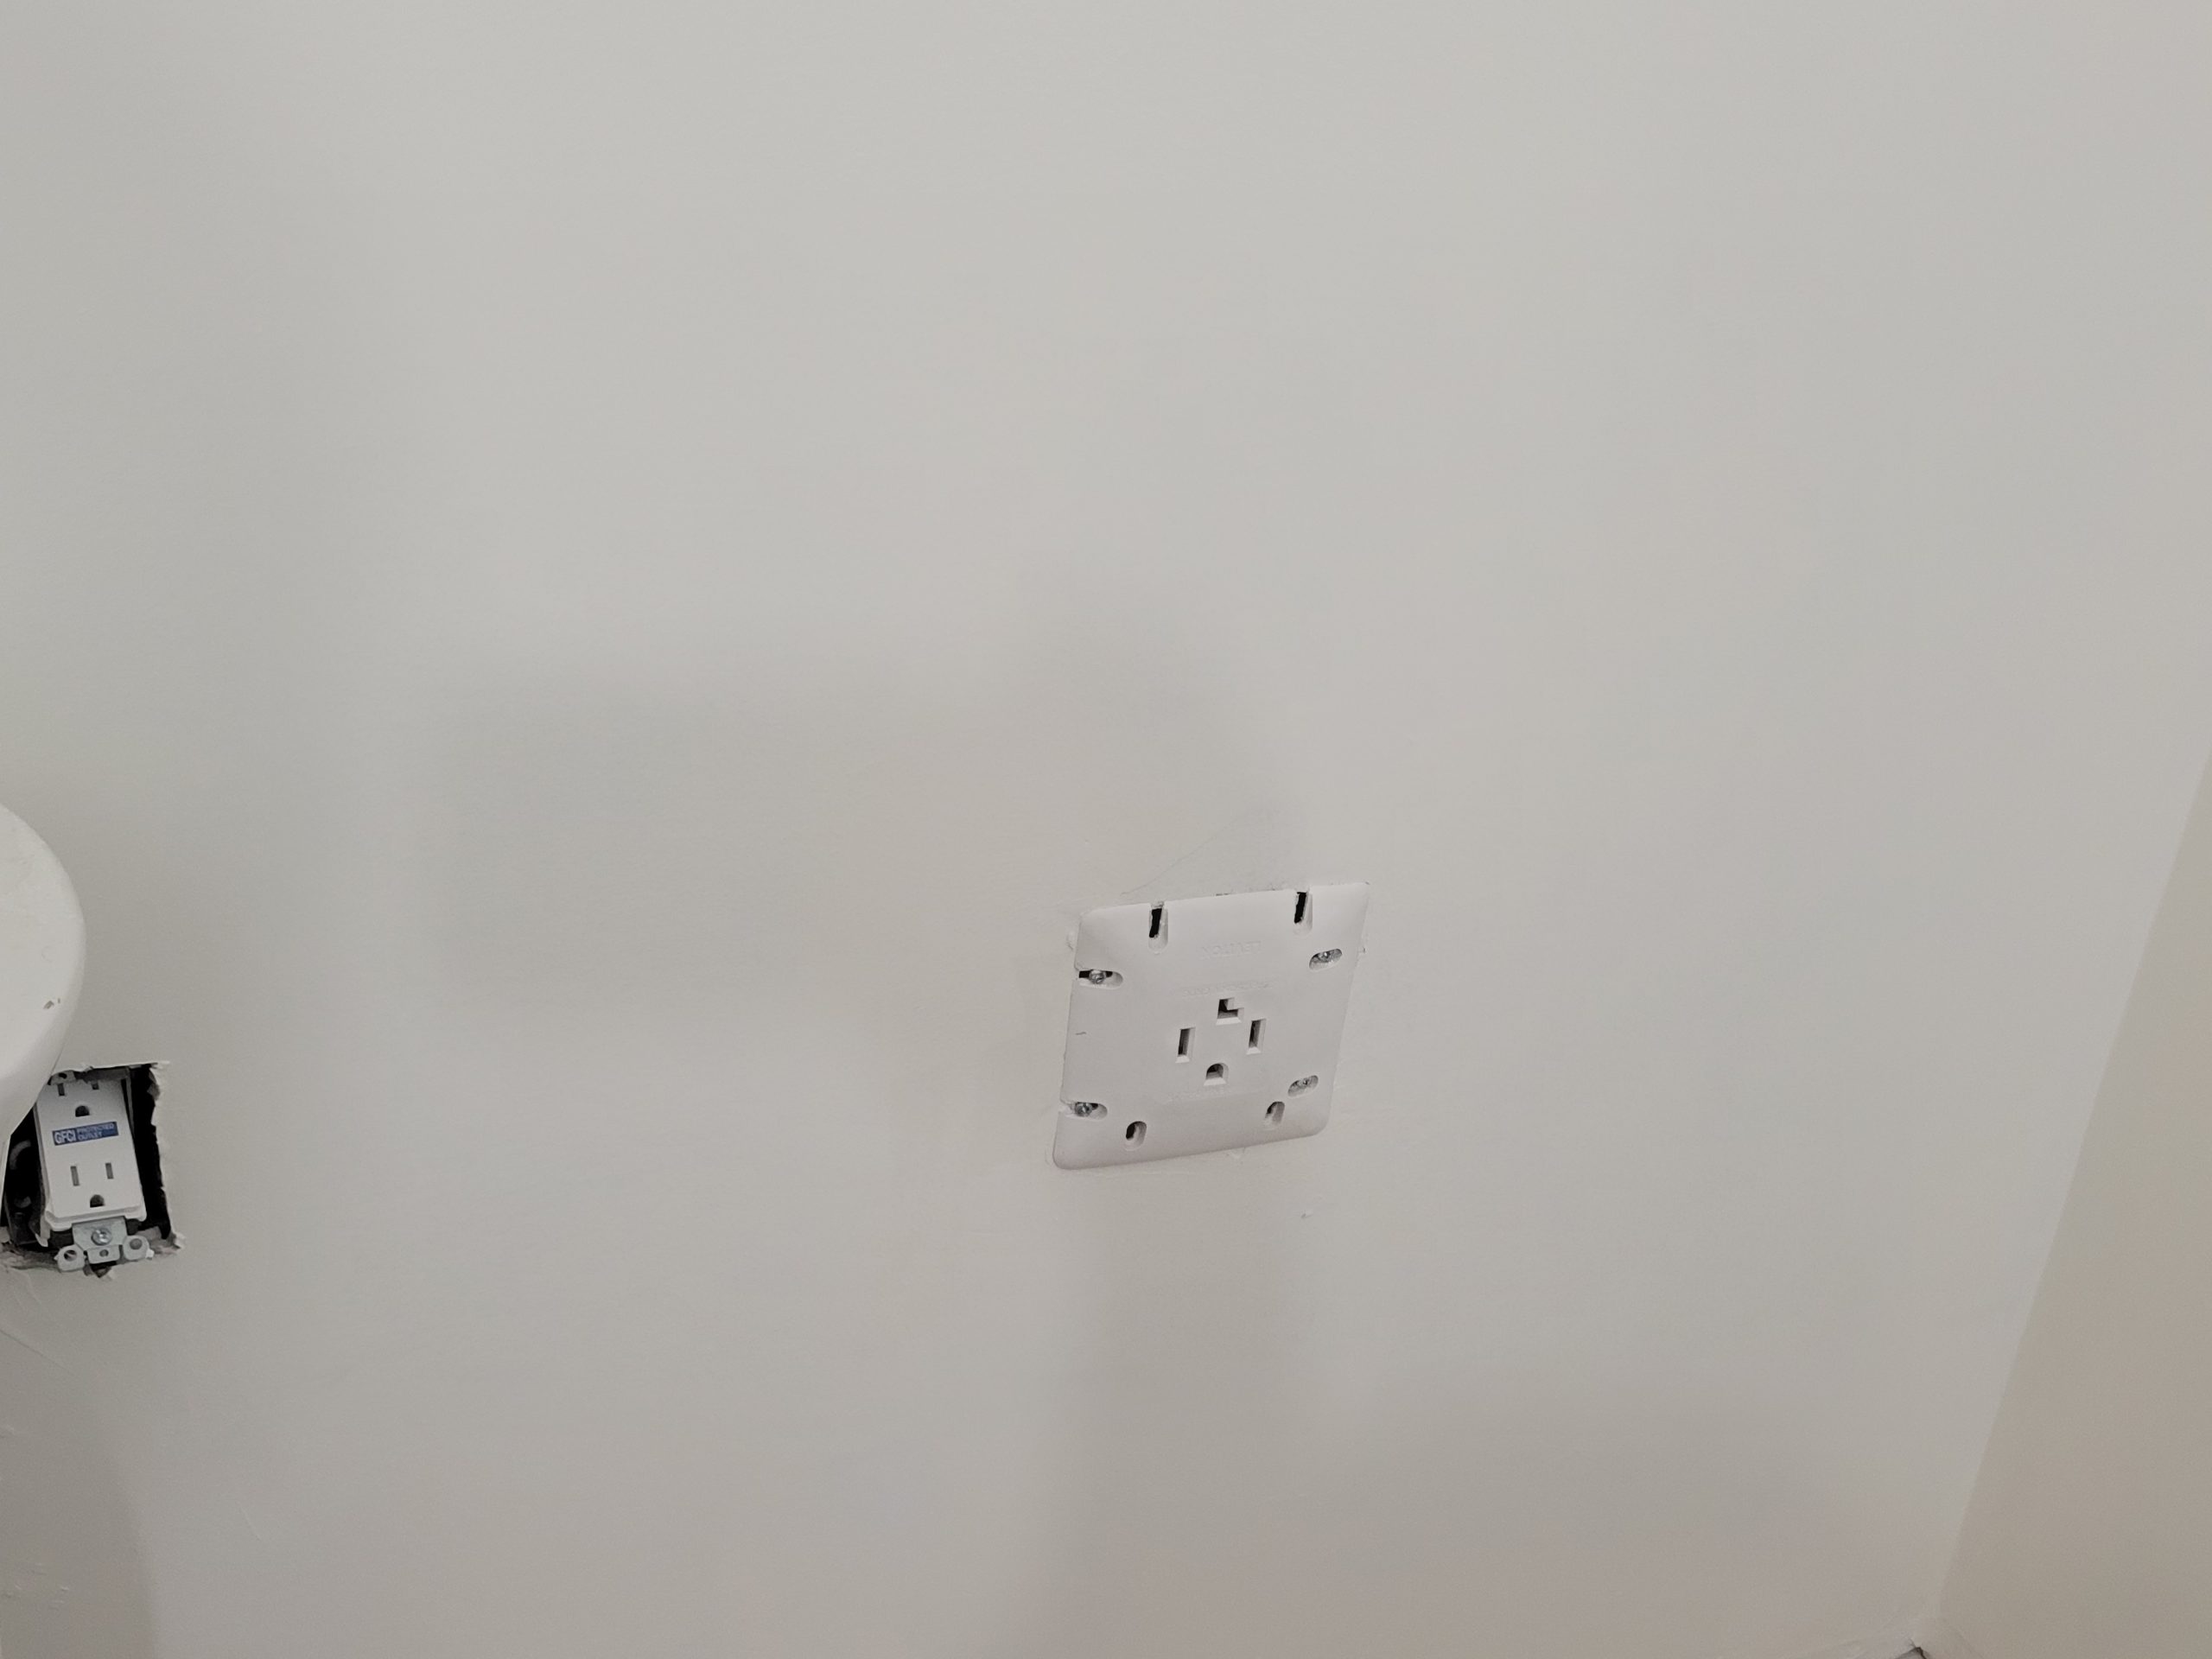
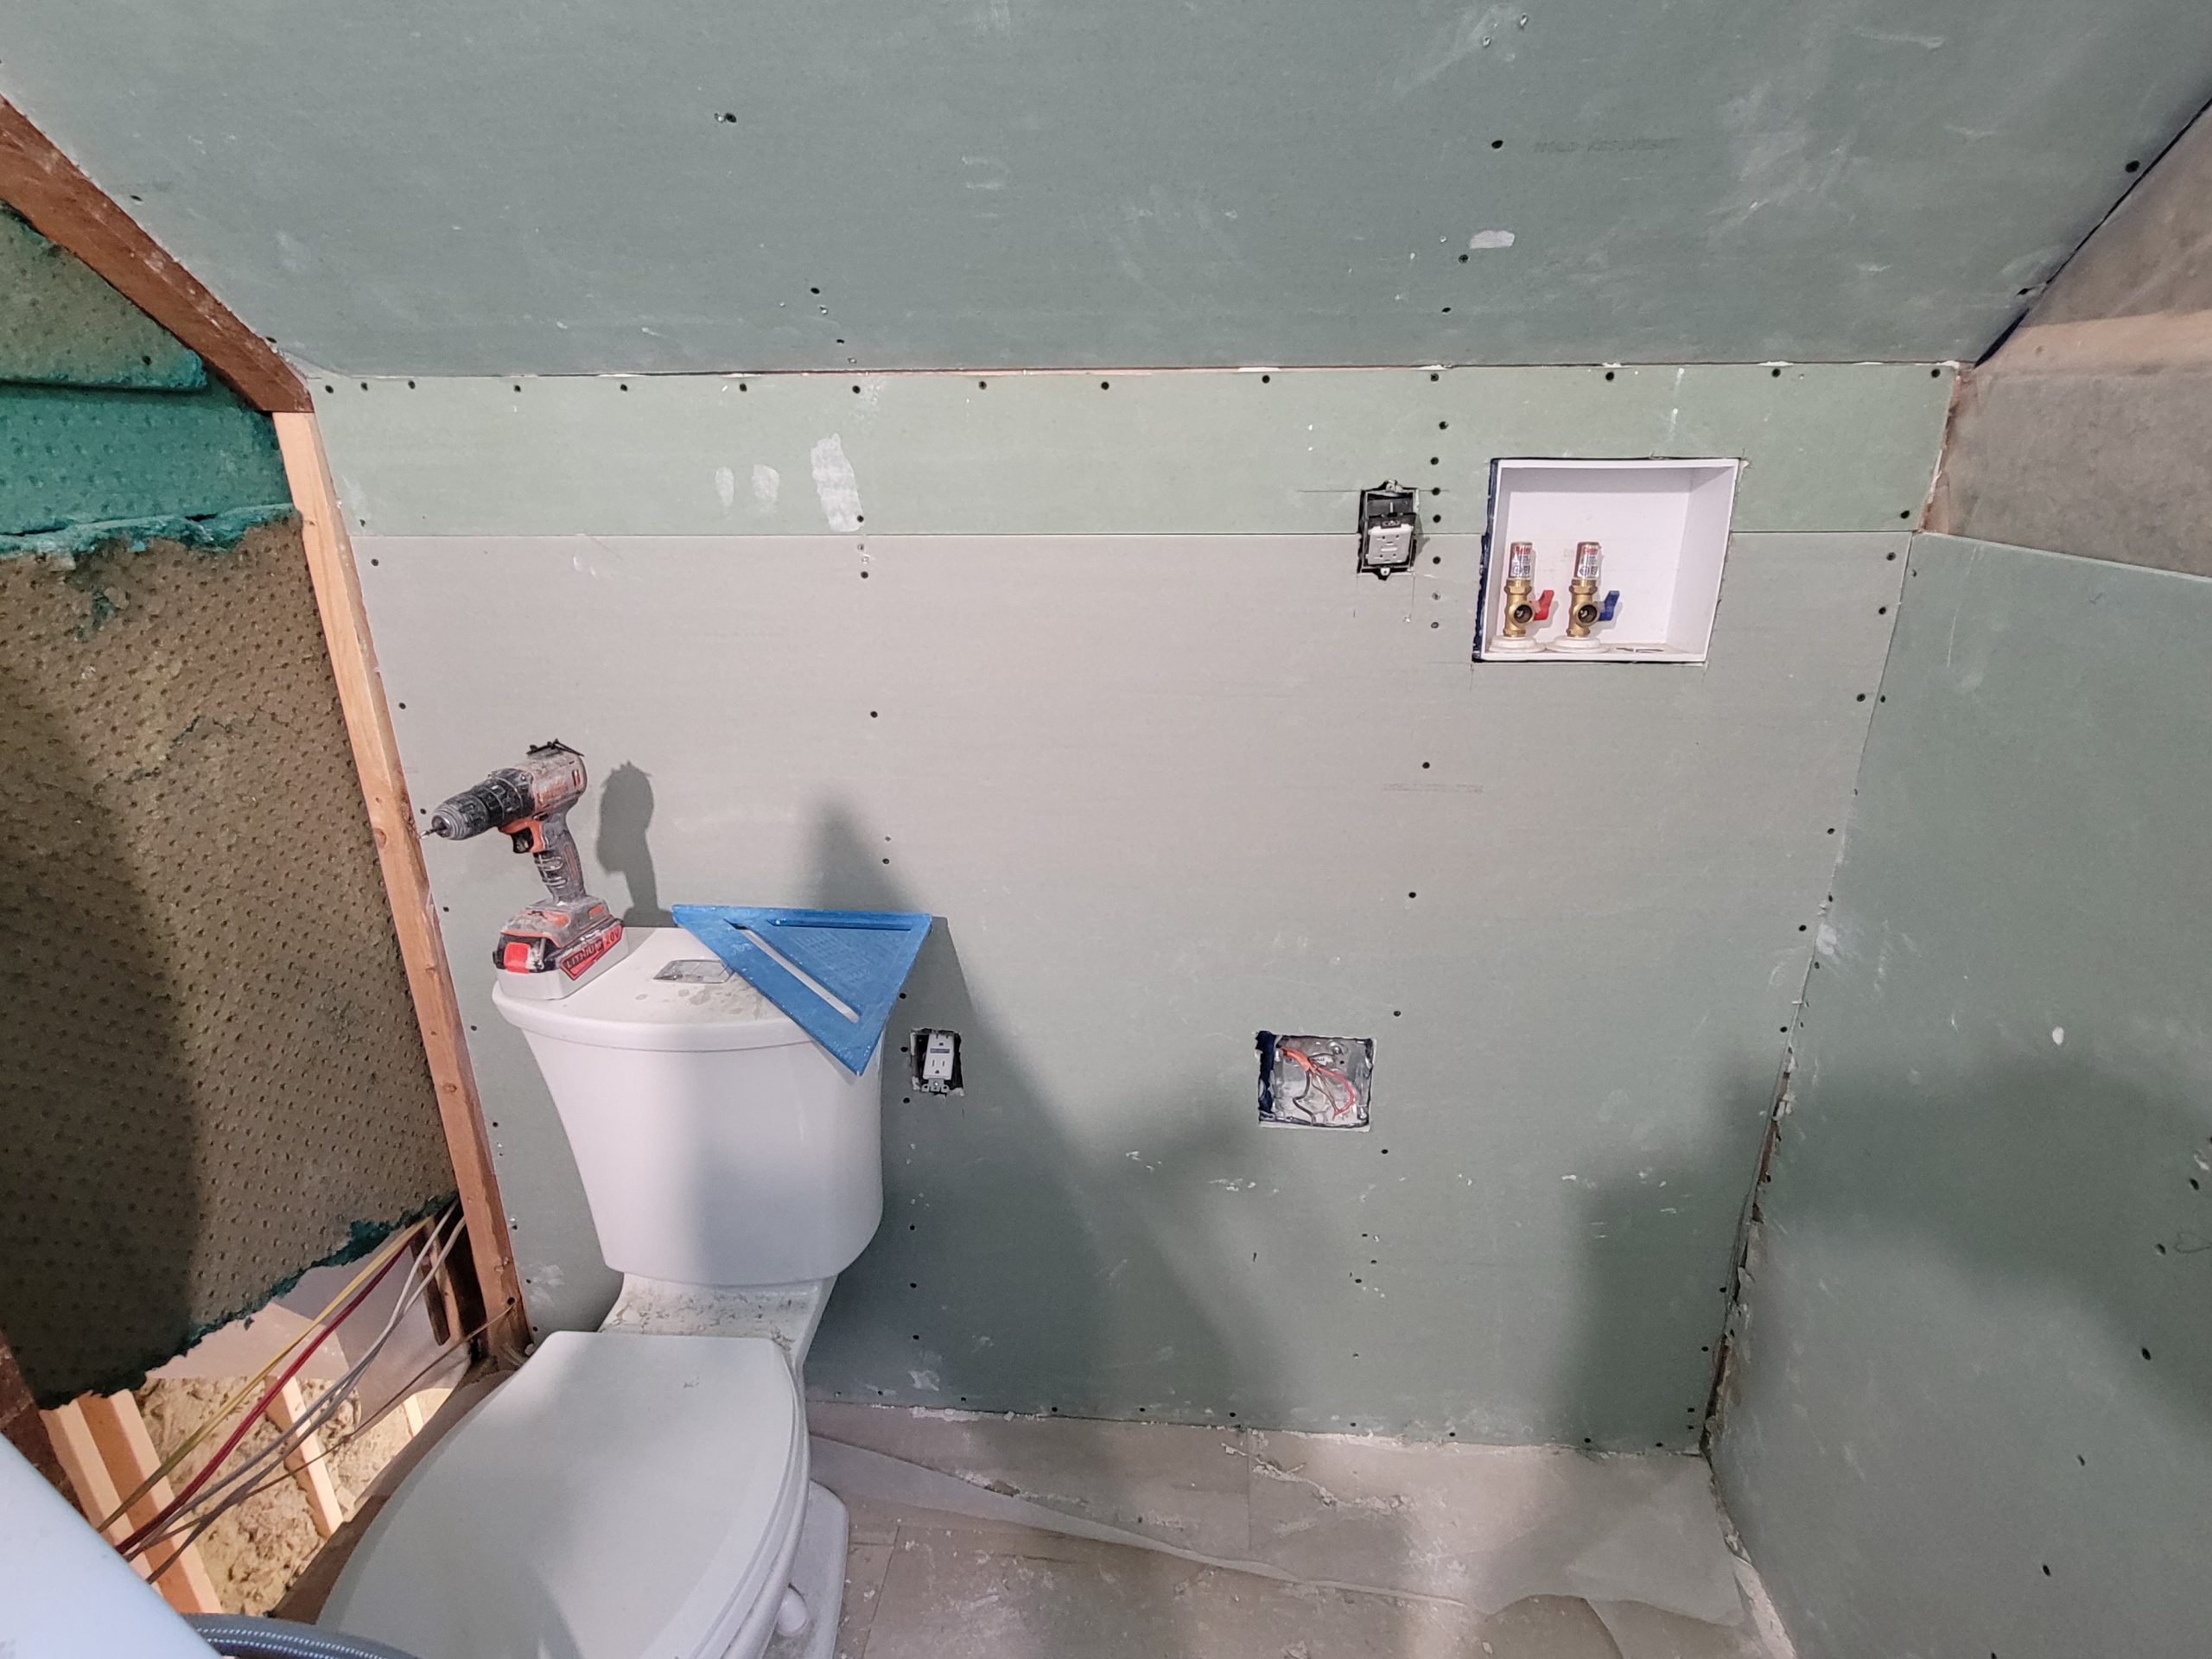
9:09am – The bathroom was primed yesterday and painted this morning. The walls need some drywall mud and paint touch-ups but are adequately done. Even though there is no 240VAC dryer, the outlet was mounted.
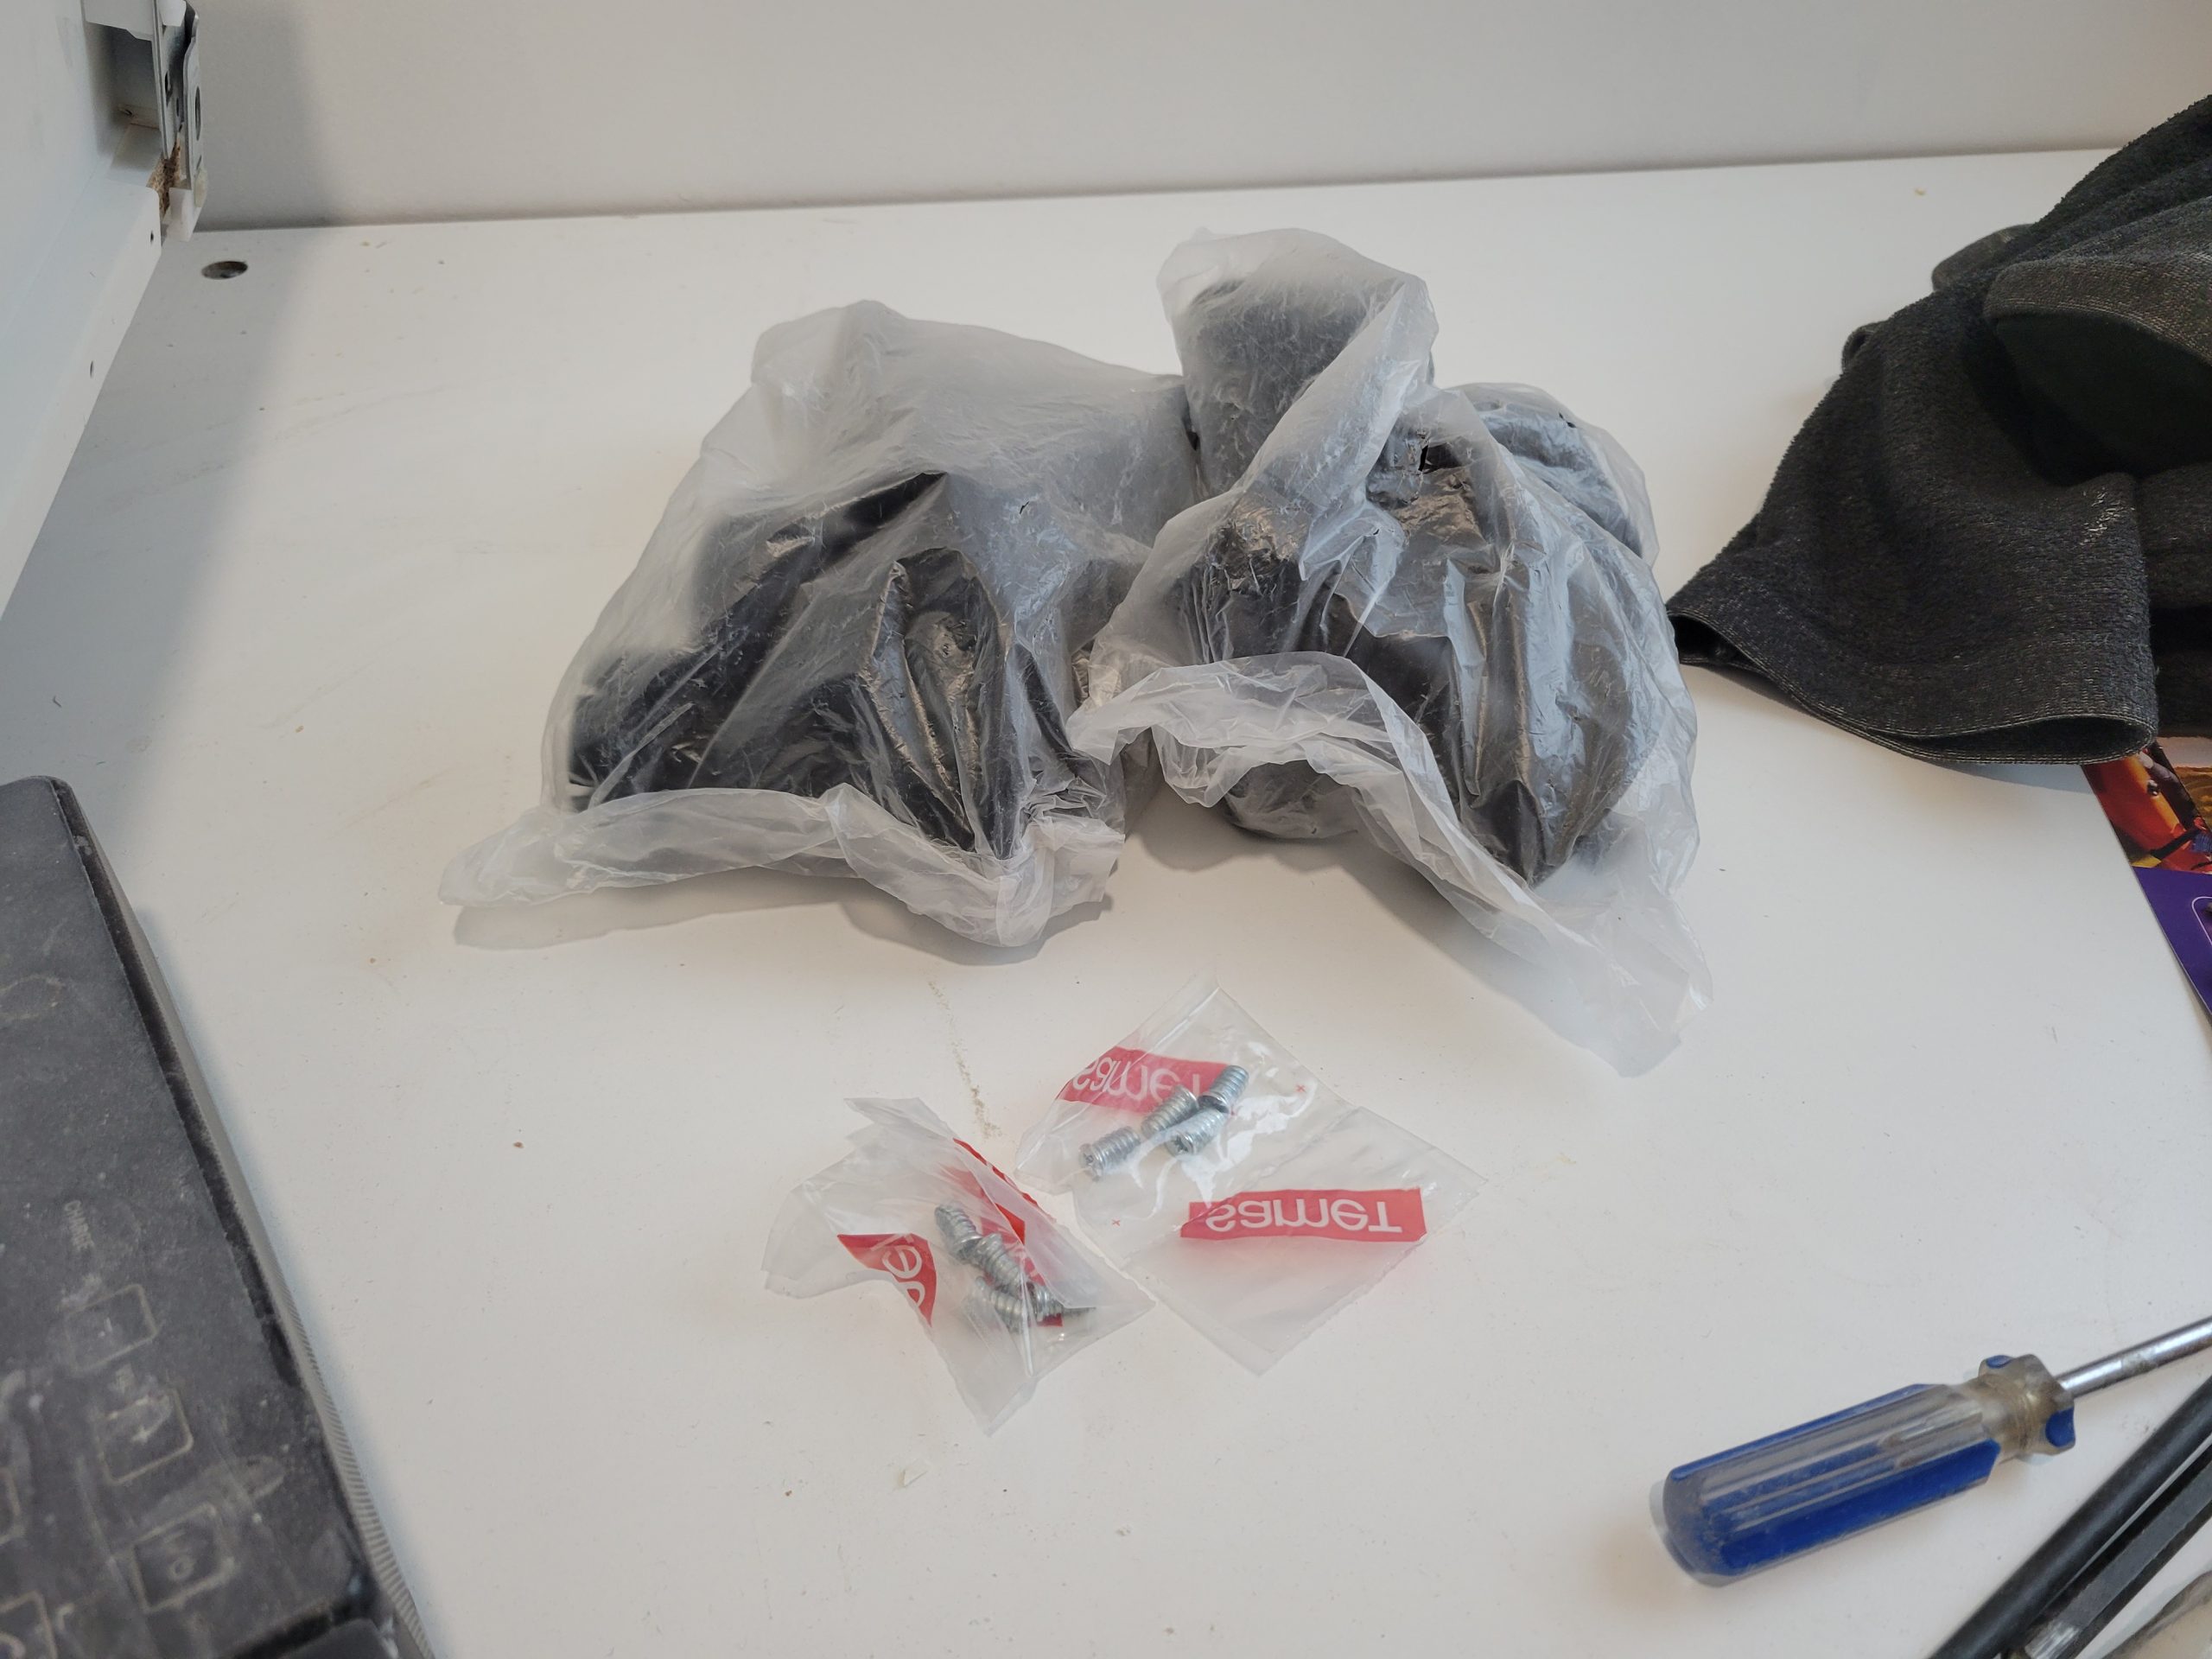
This morning, Erin at Home Depot set me up with new cabinet legs and the little screws needed to hold the soft-close mechanisms in place. Perhaps I can still find the others, but, in the mean time, I need these to move forward. The 36″ corner cabinets have 8 legs.
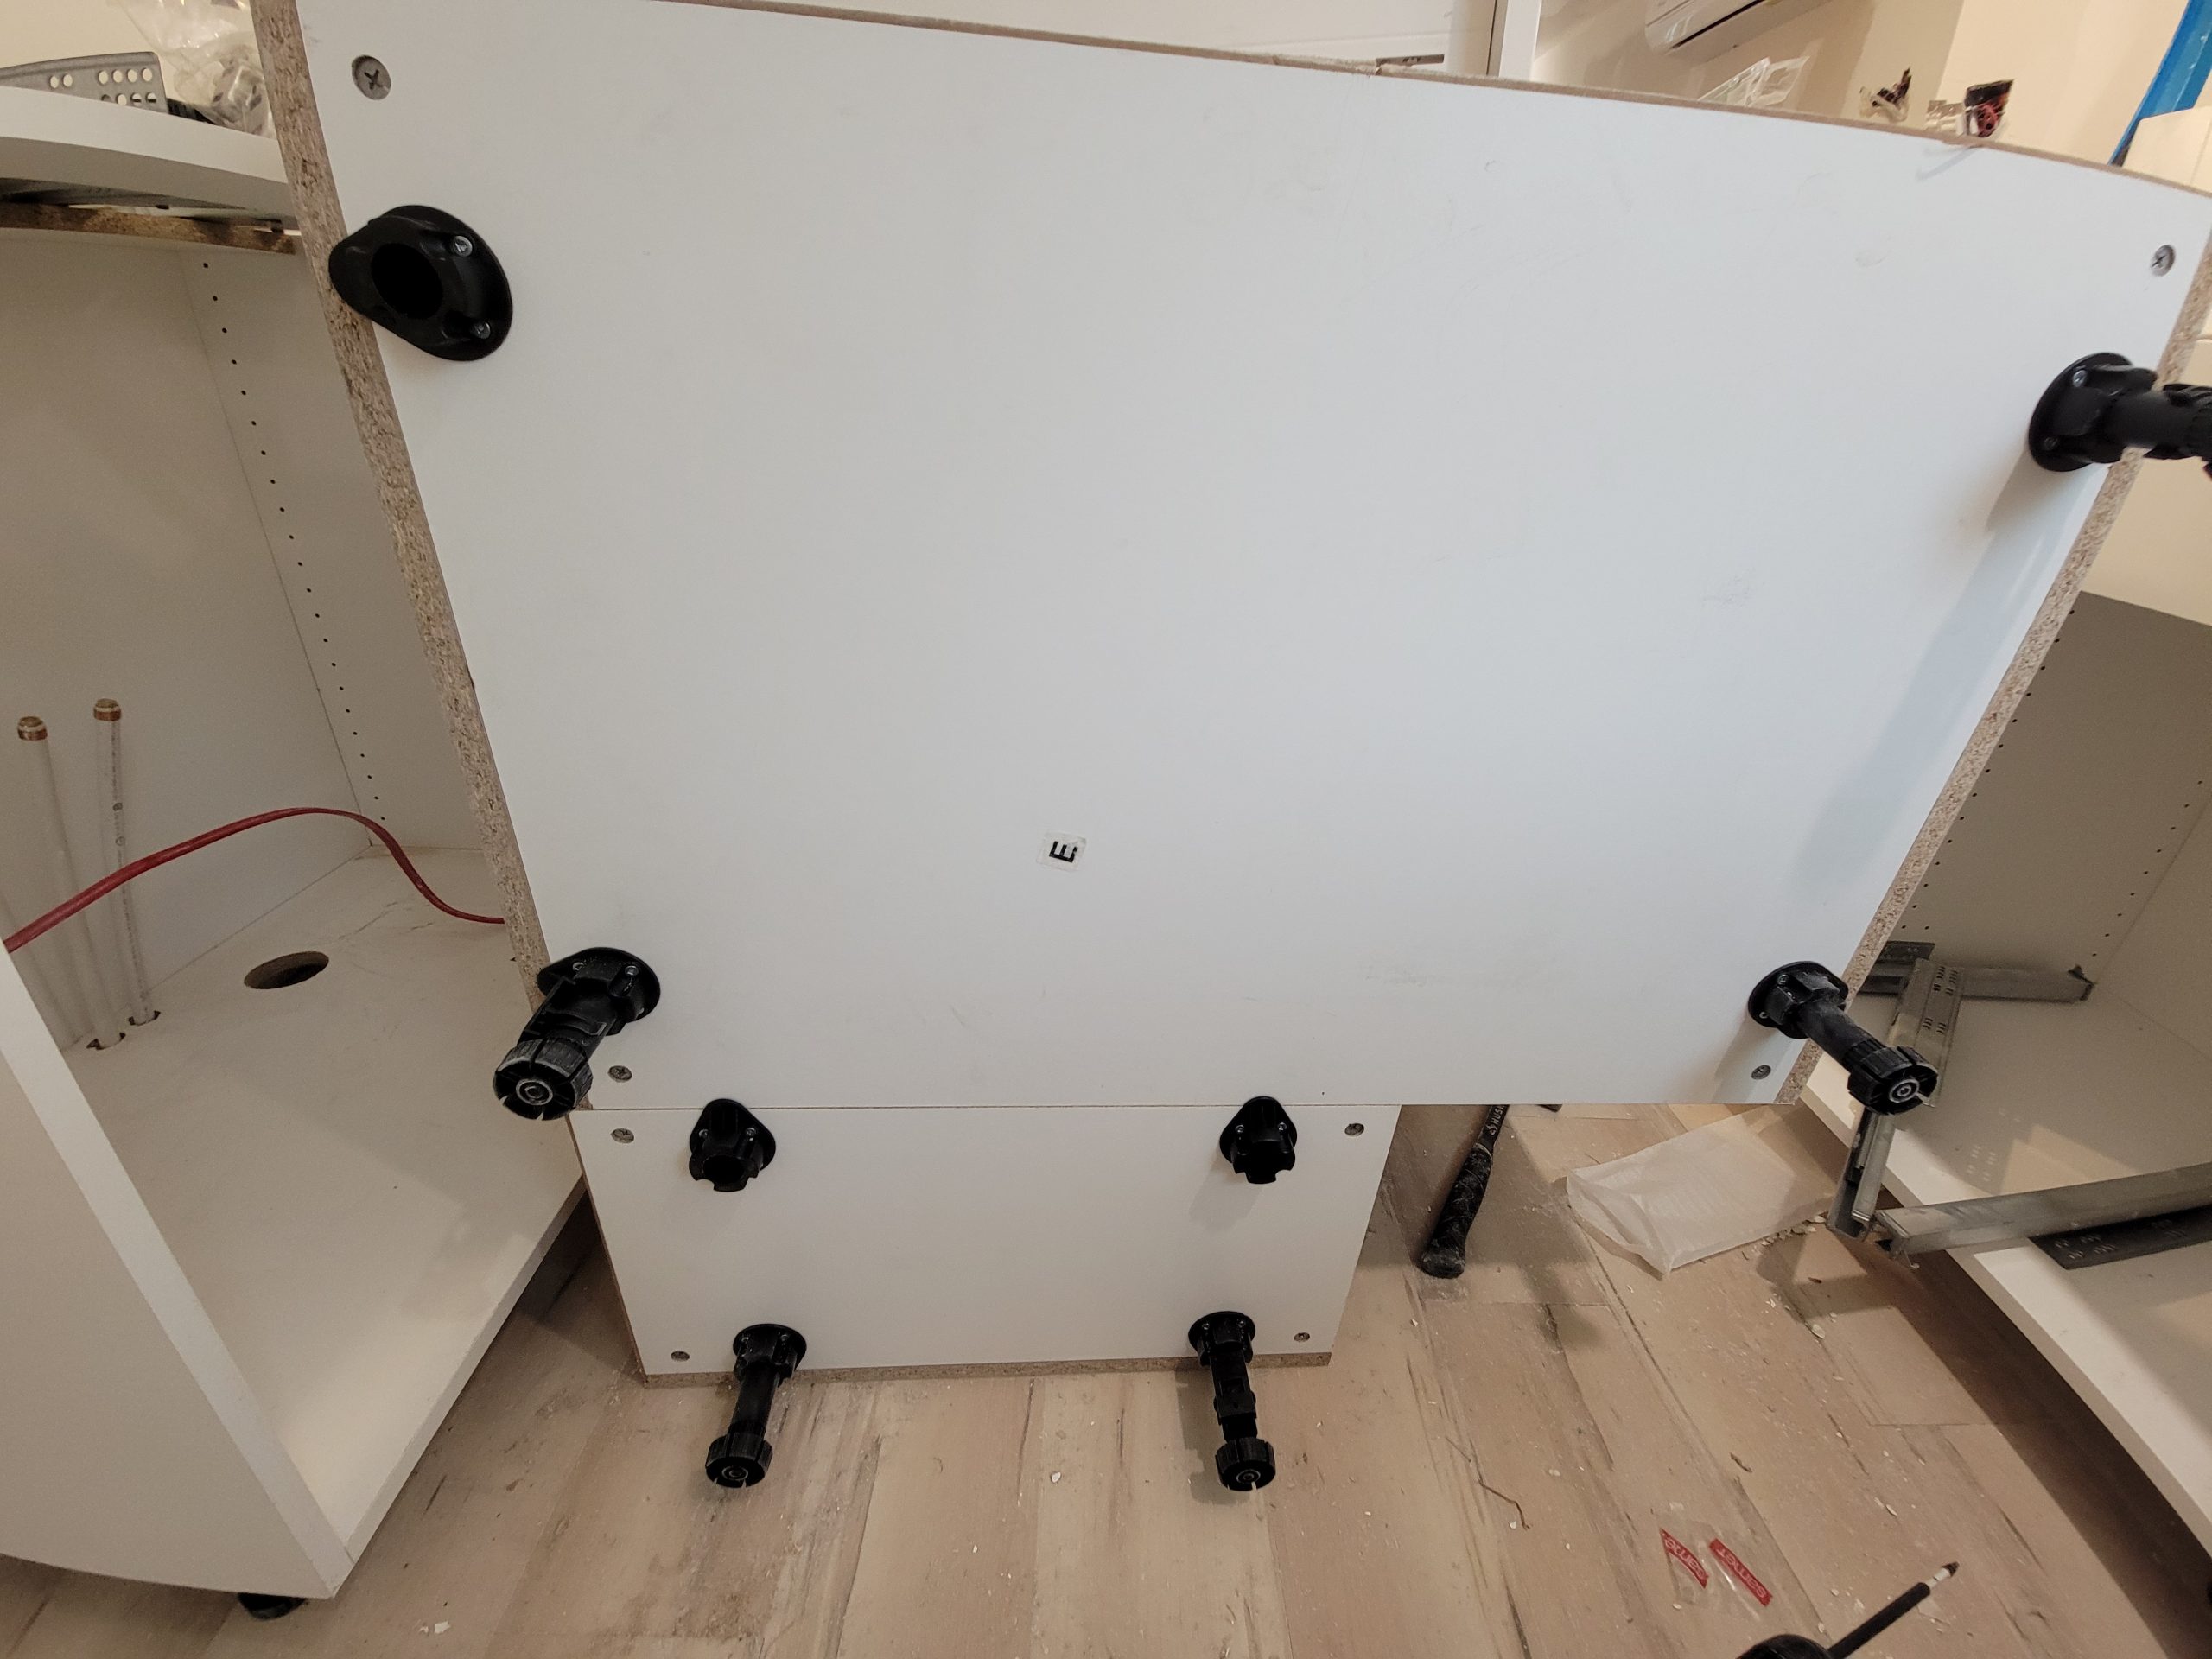
Levelling these is pretty easy. You just twist the legs in or out.
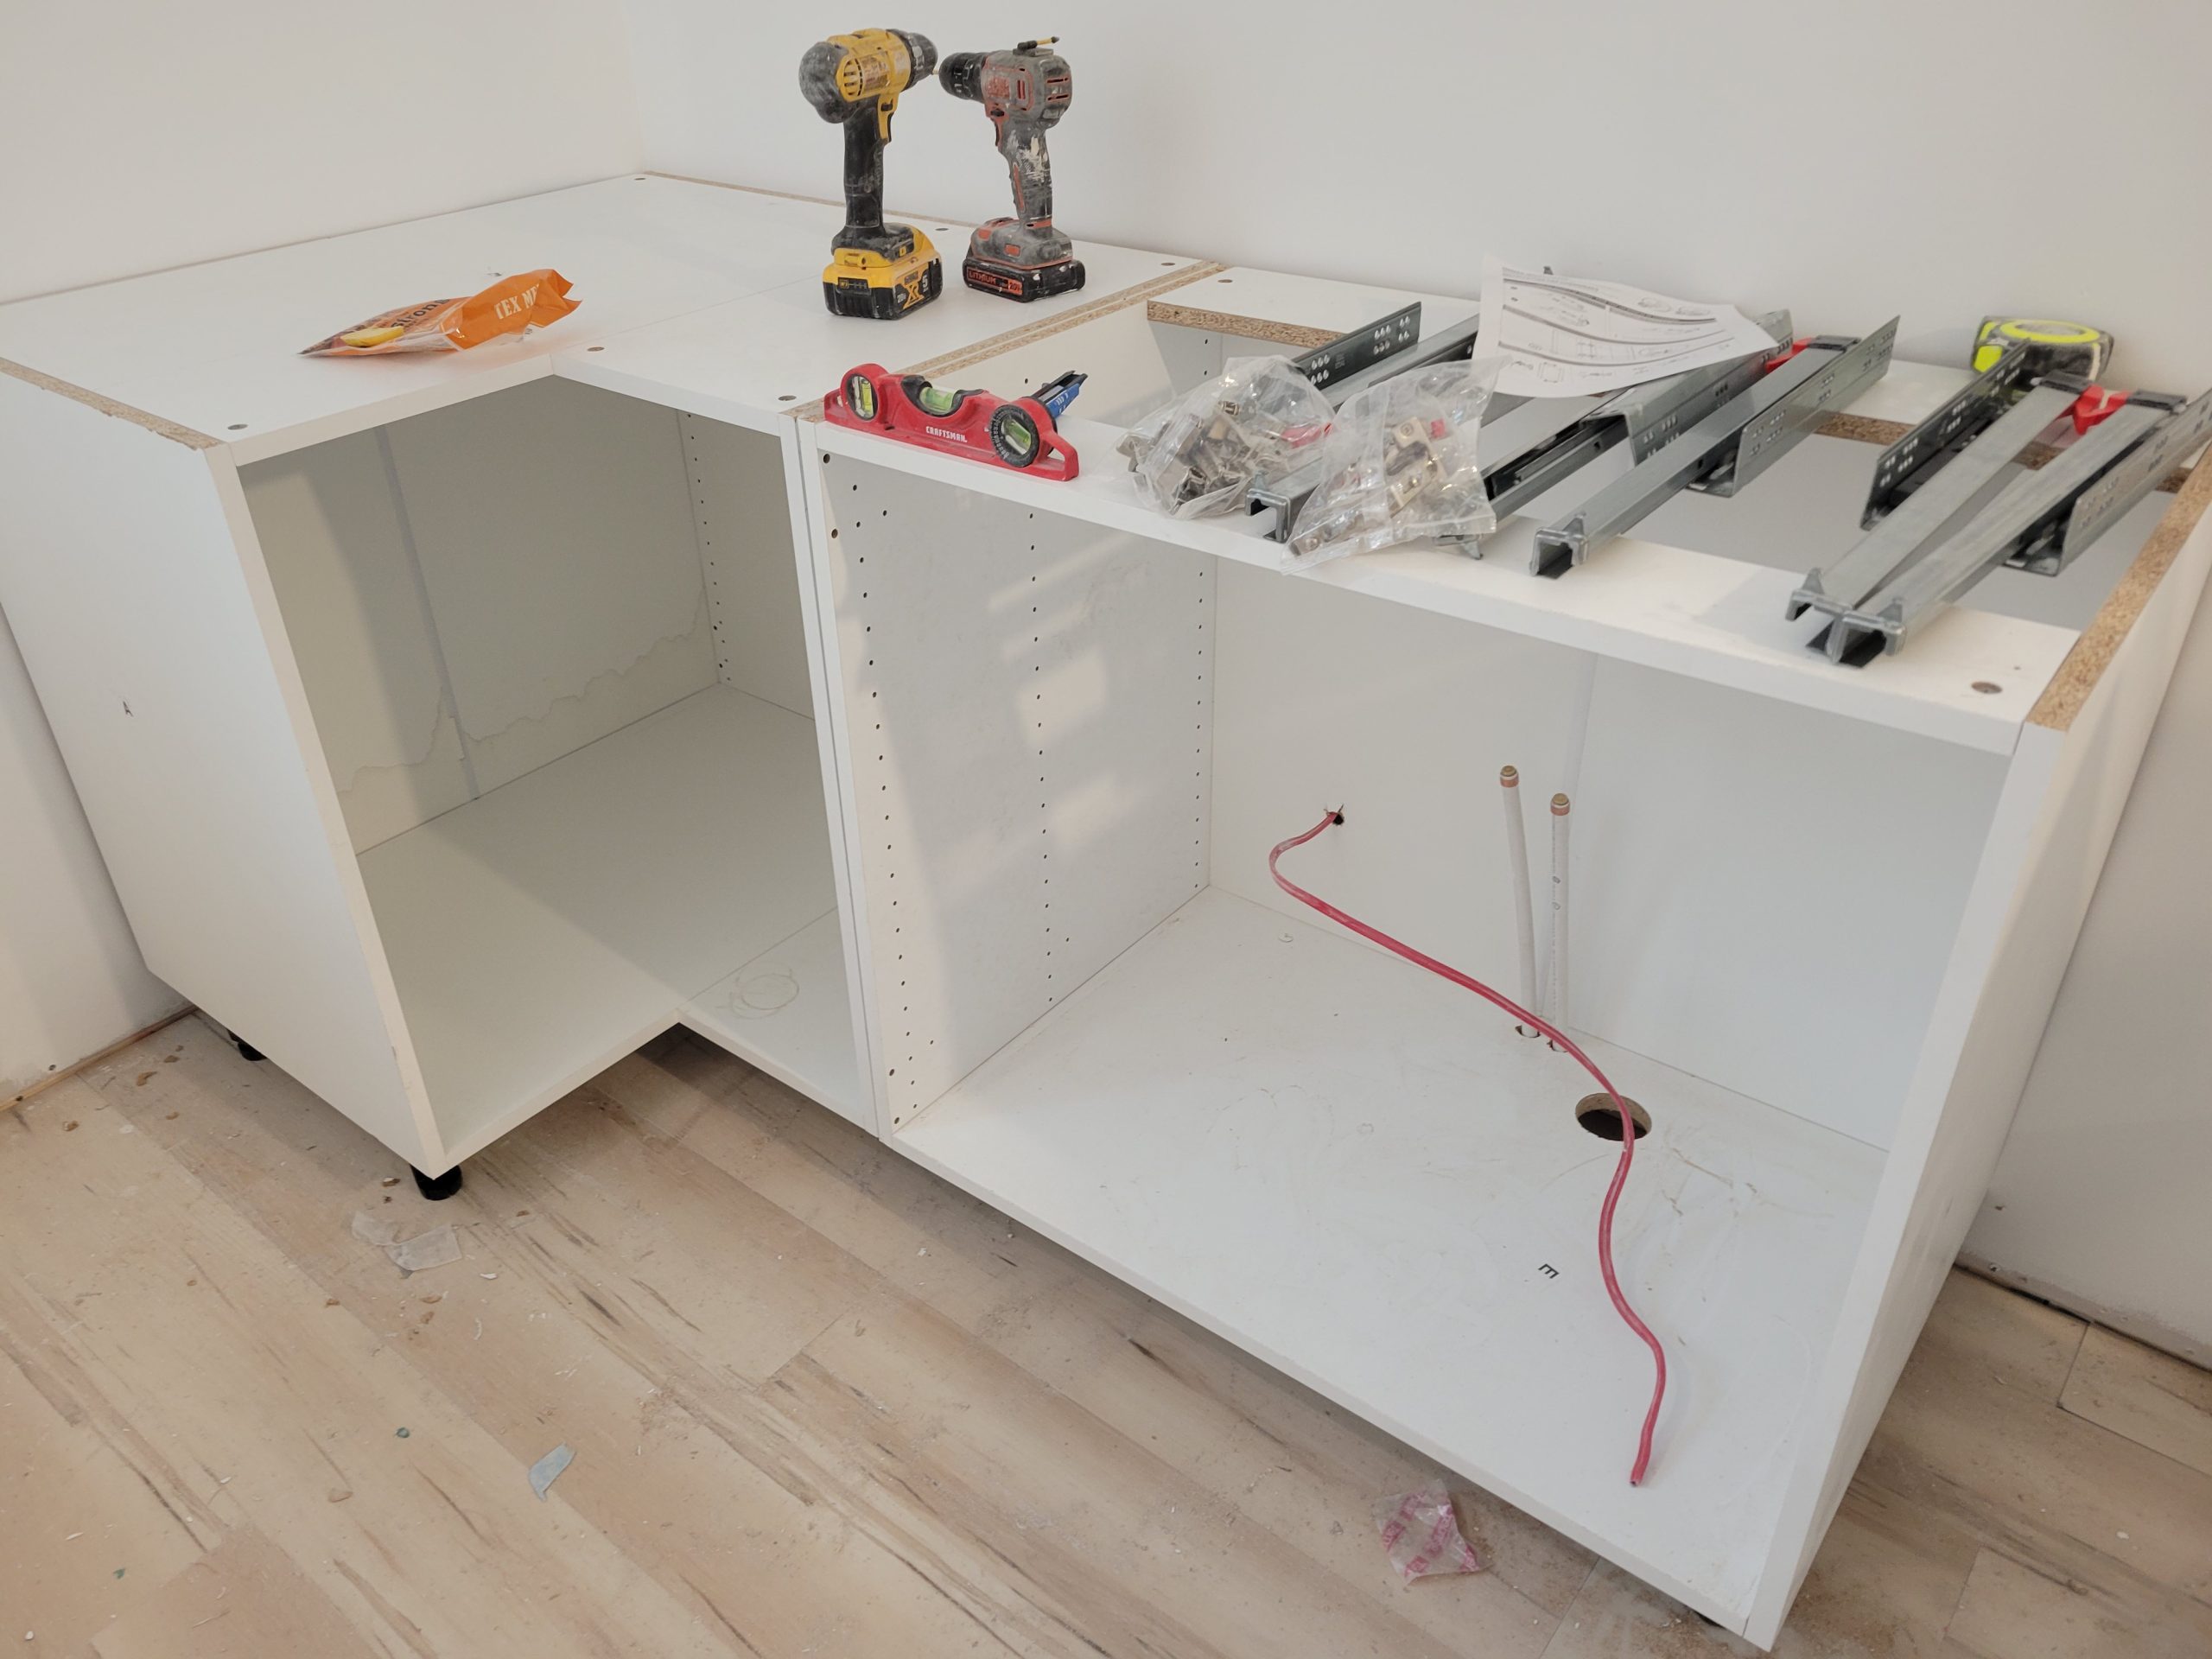
The 30″ cabinet drawers next to the fridge were installed, as were the 36″ next to the sink.
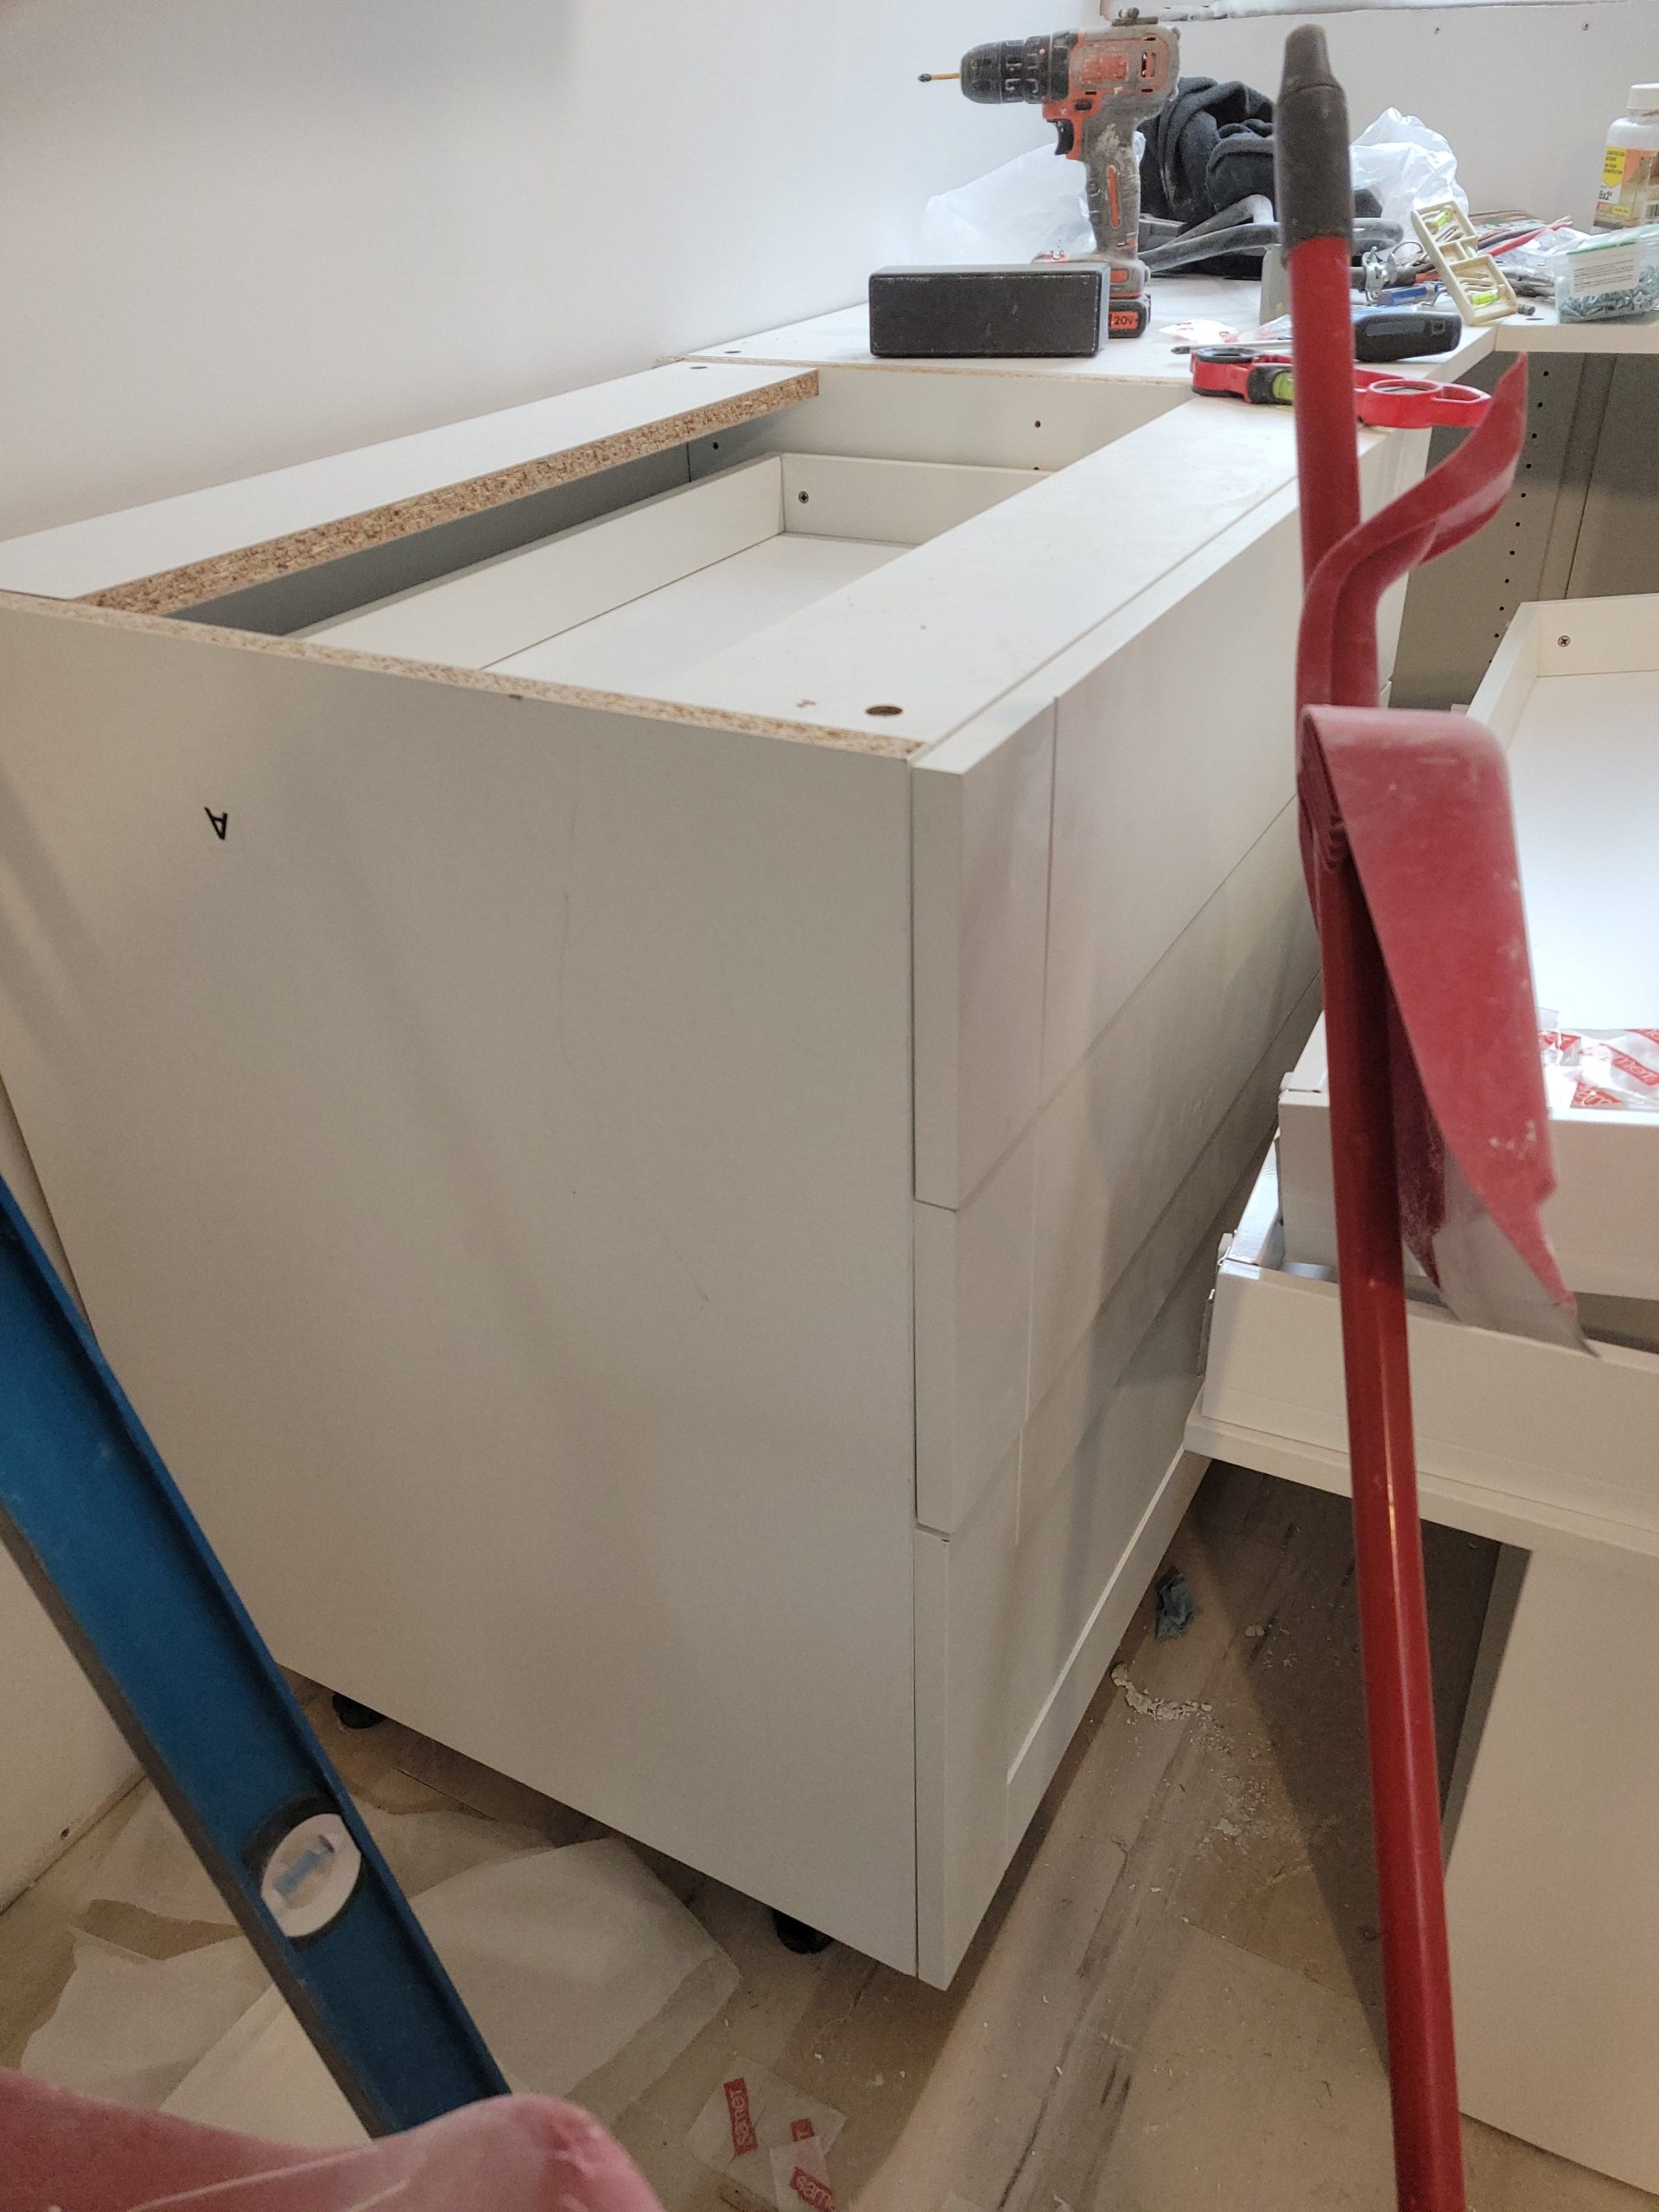
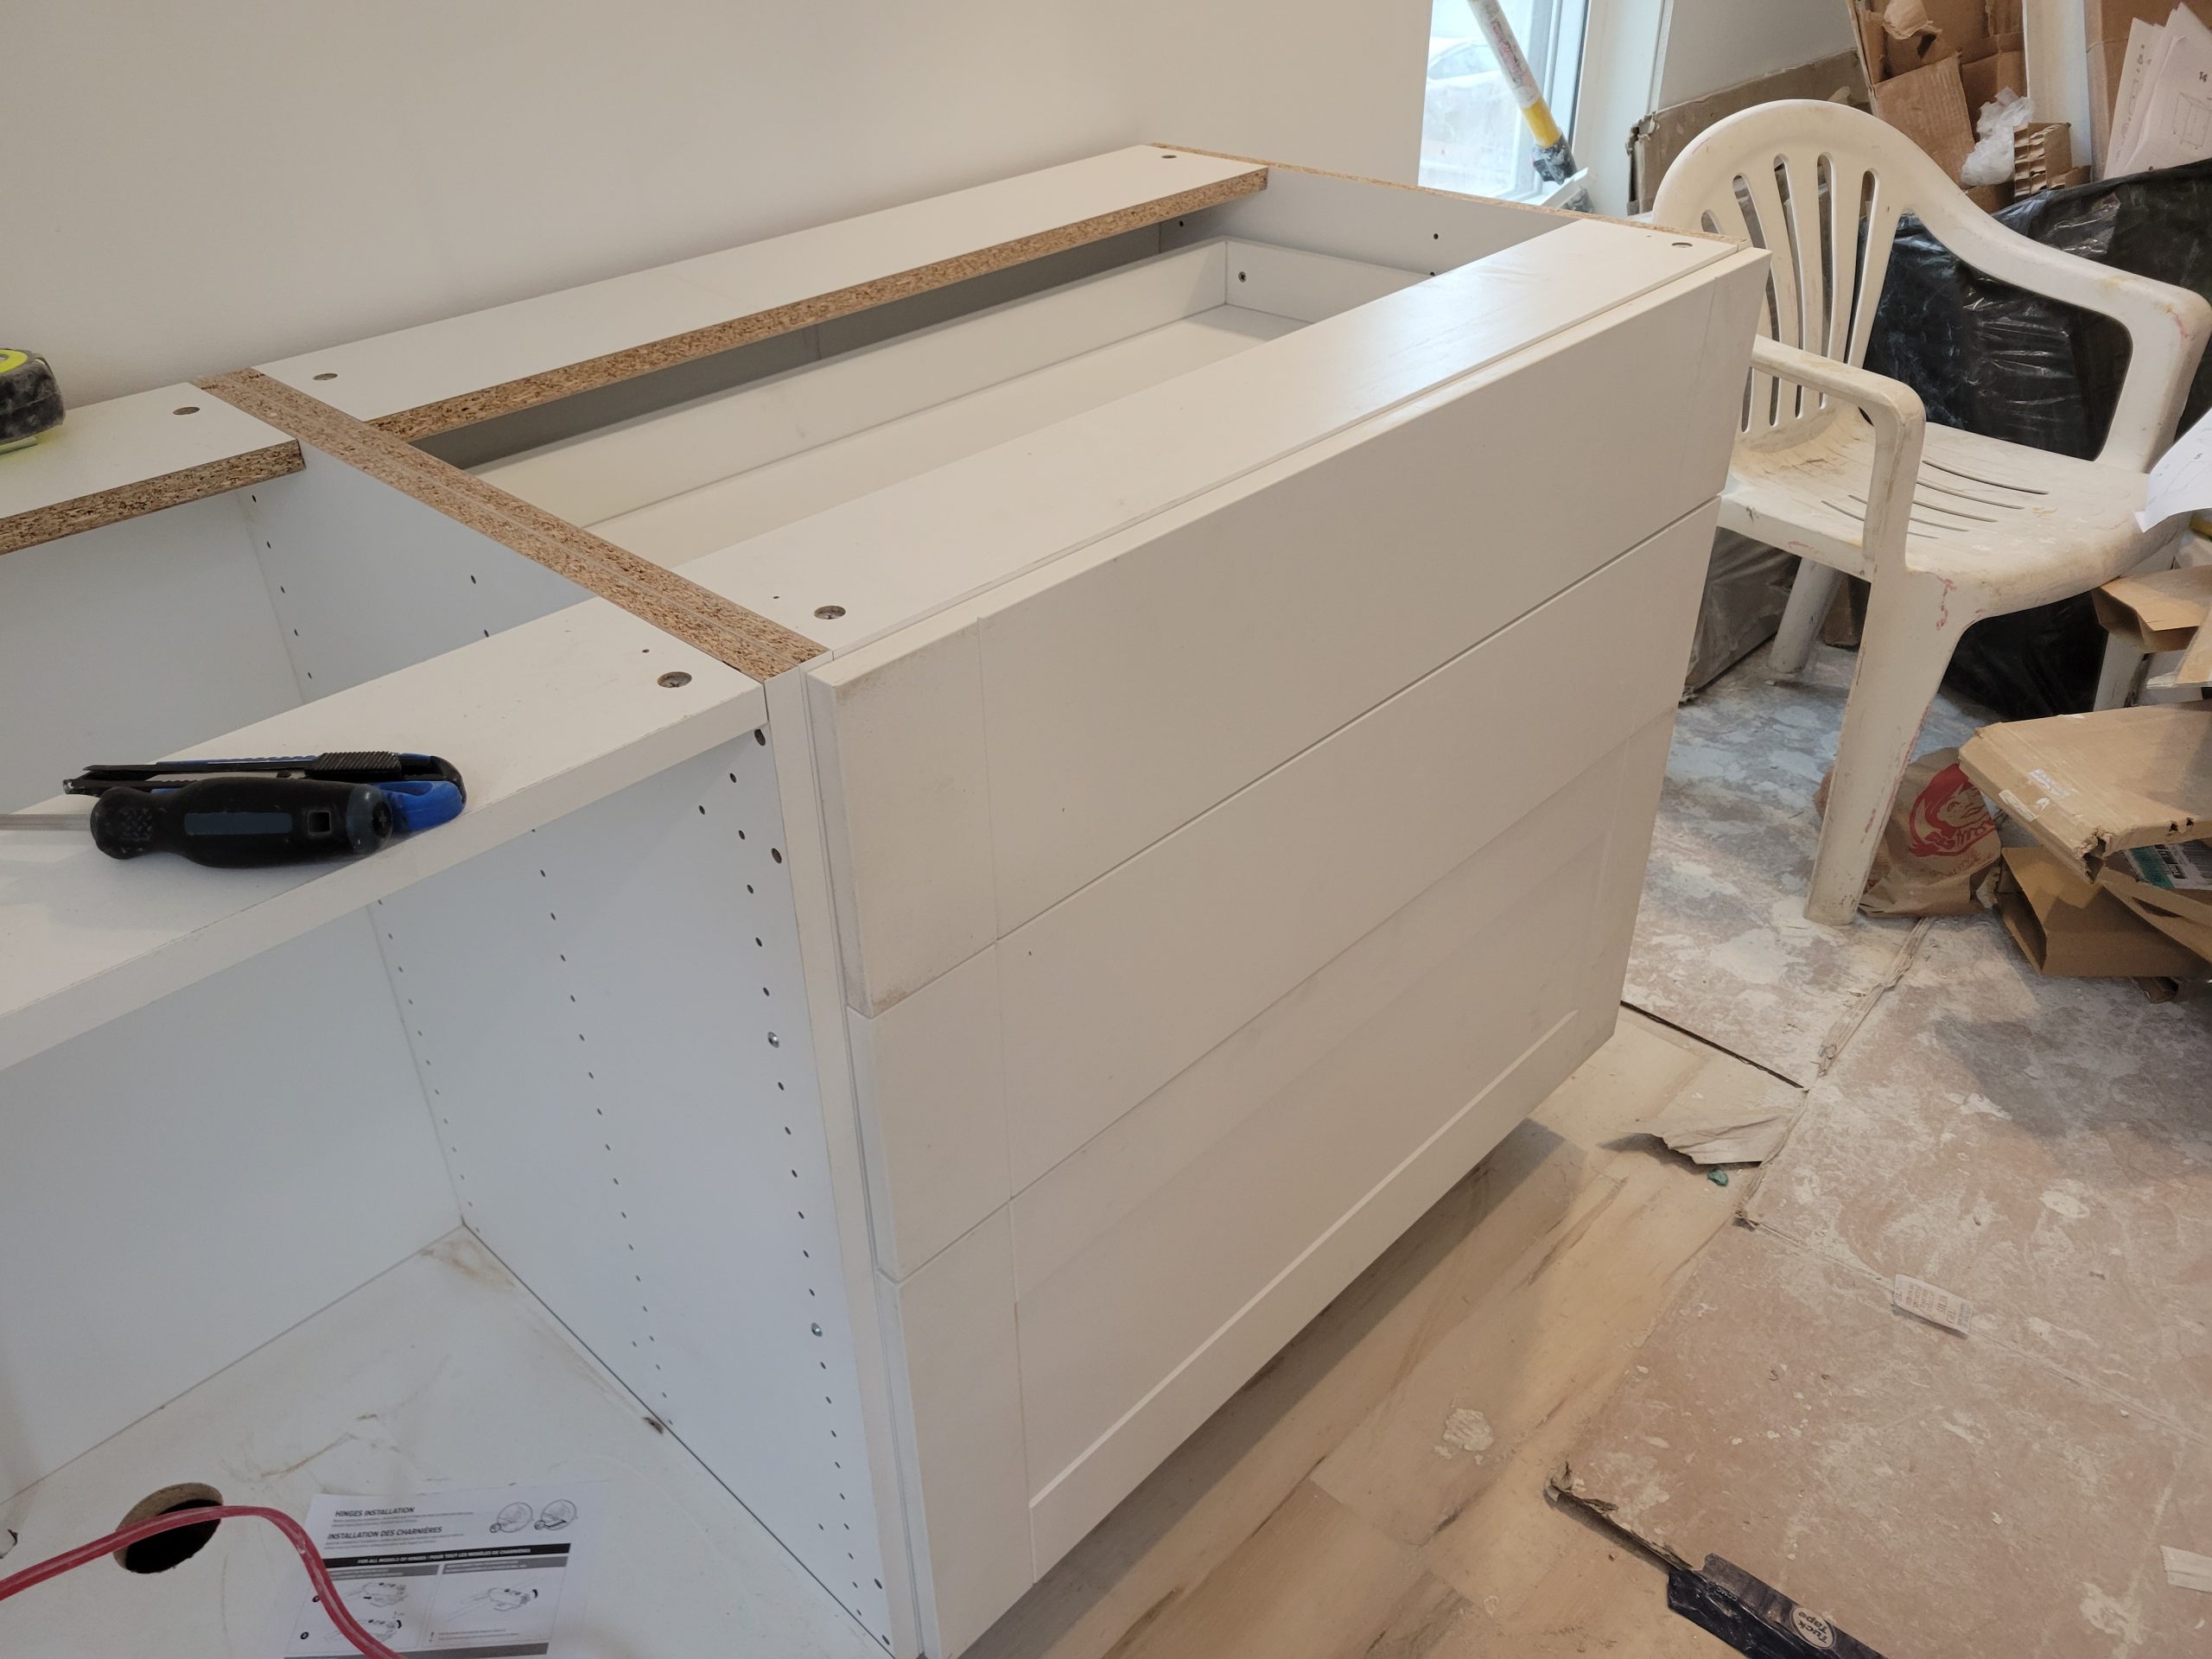
Little rubber bumpers were added.
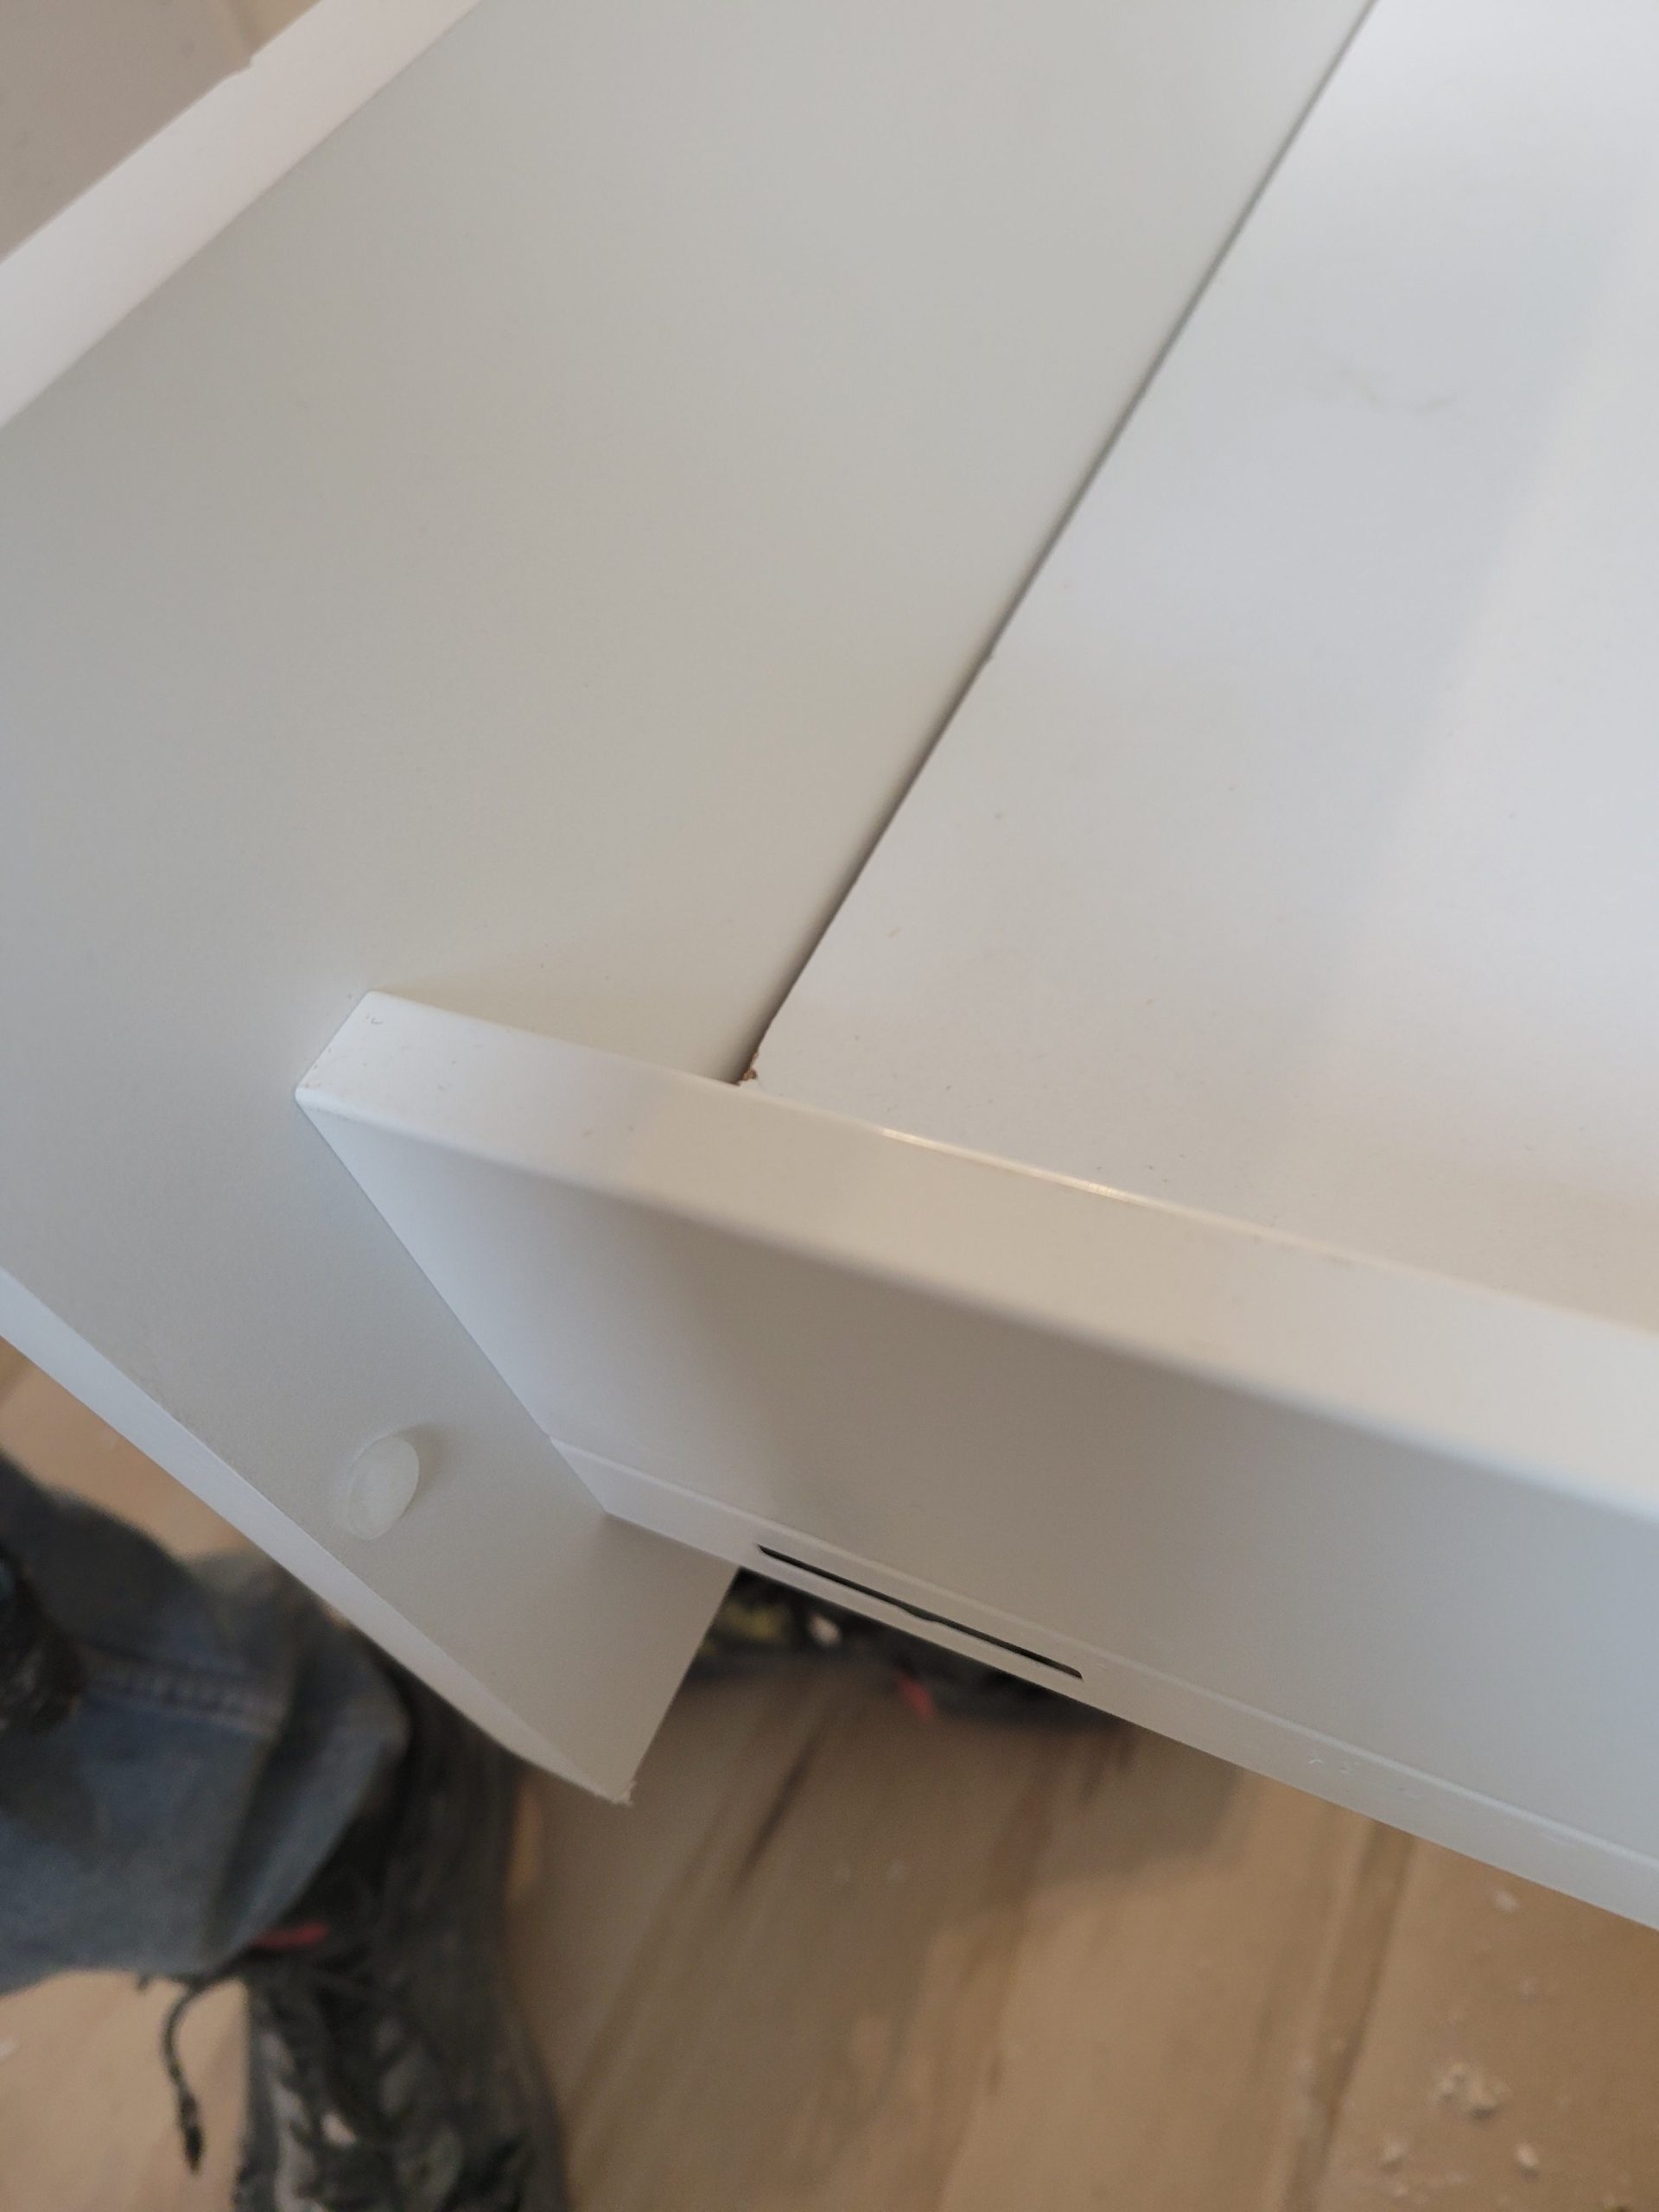
I wish we had a few more days of preparation. The place will not be ready in time. I’ll have to negotiation a deal with them.
I started the kitchen. I removed all the stored boxes and began priming. As it turns out, Dave was not done mudding some of the ceiling. I saw one piece of green tape but didn’t know how far it went out.
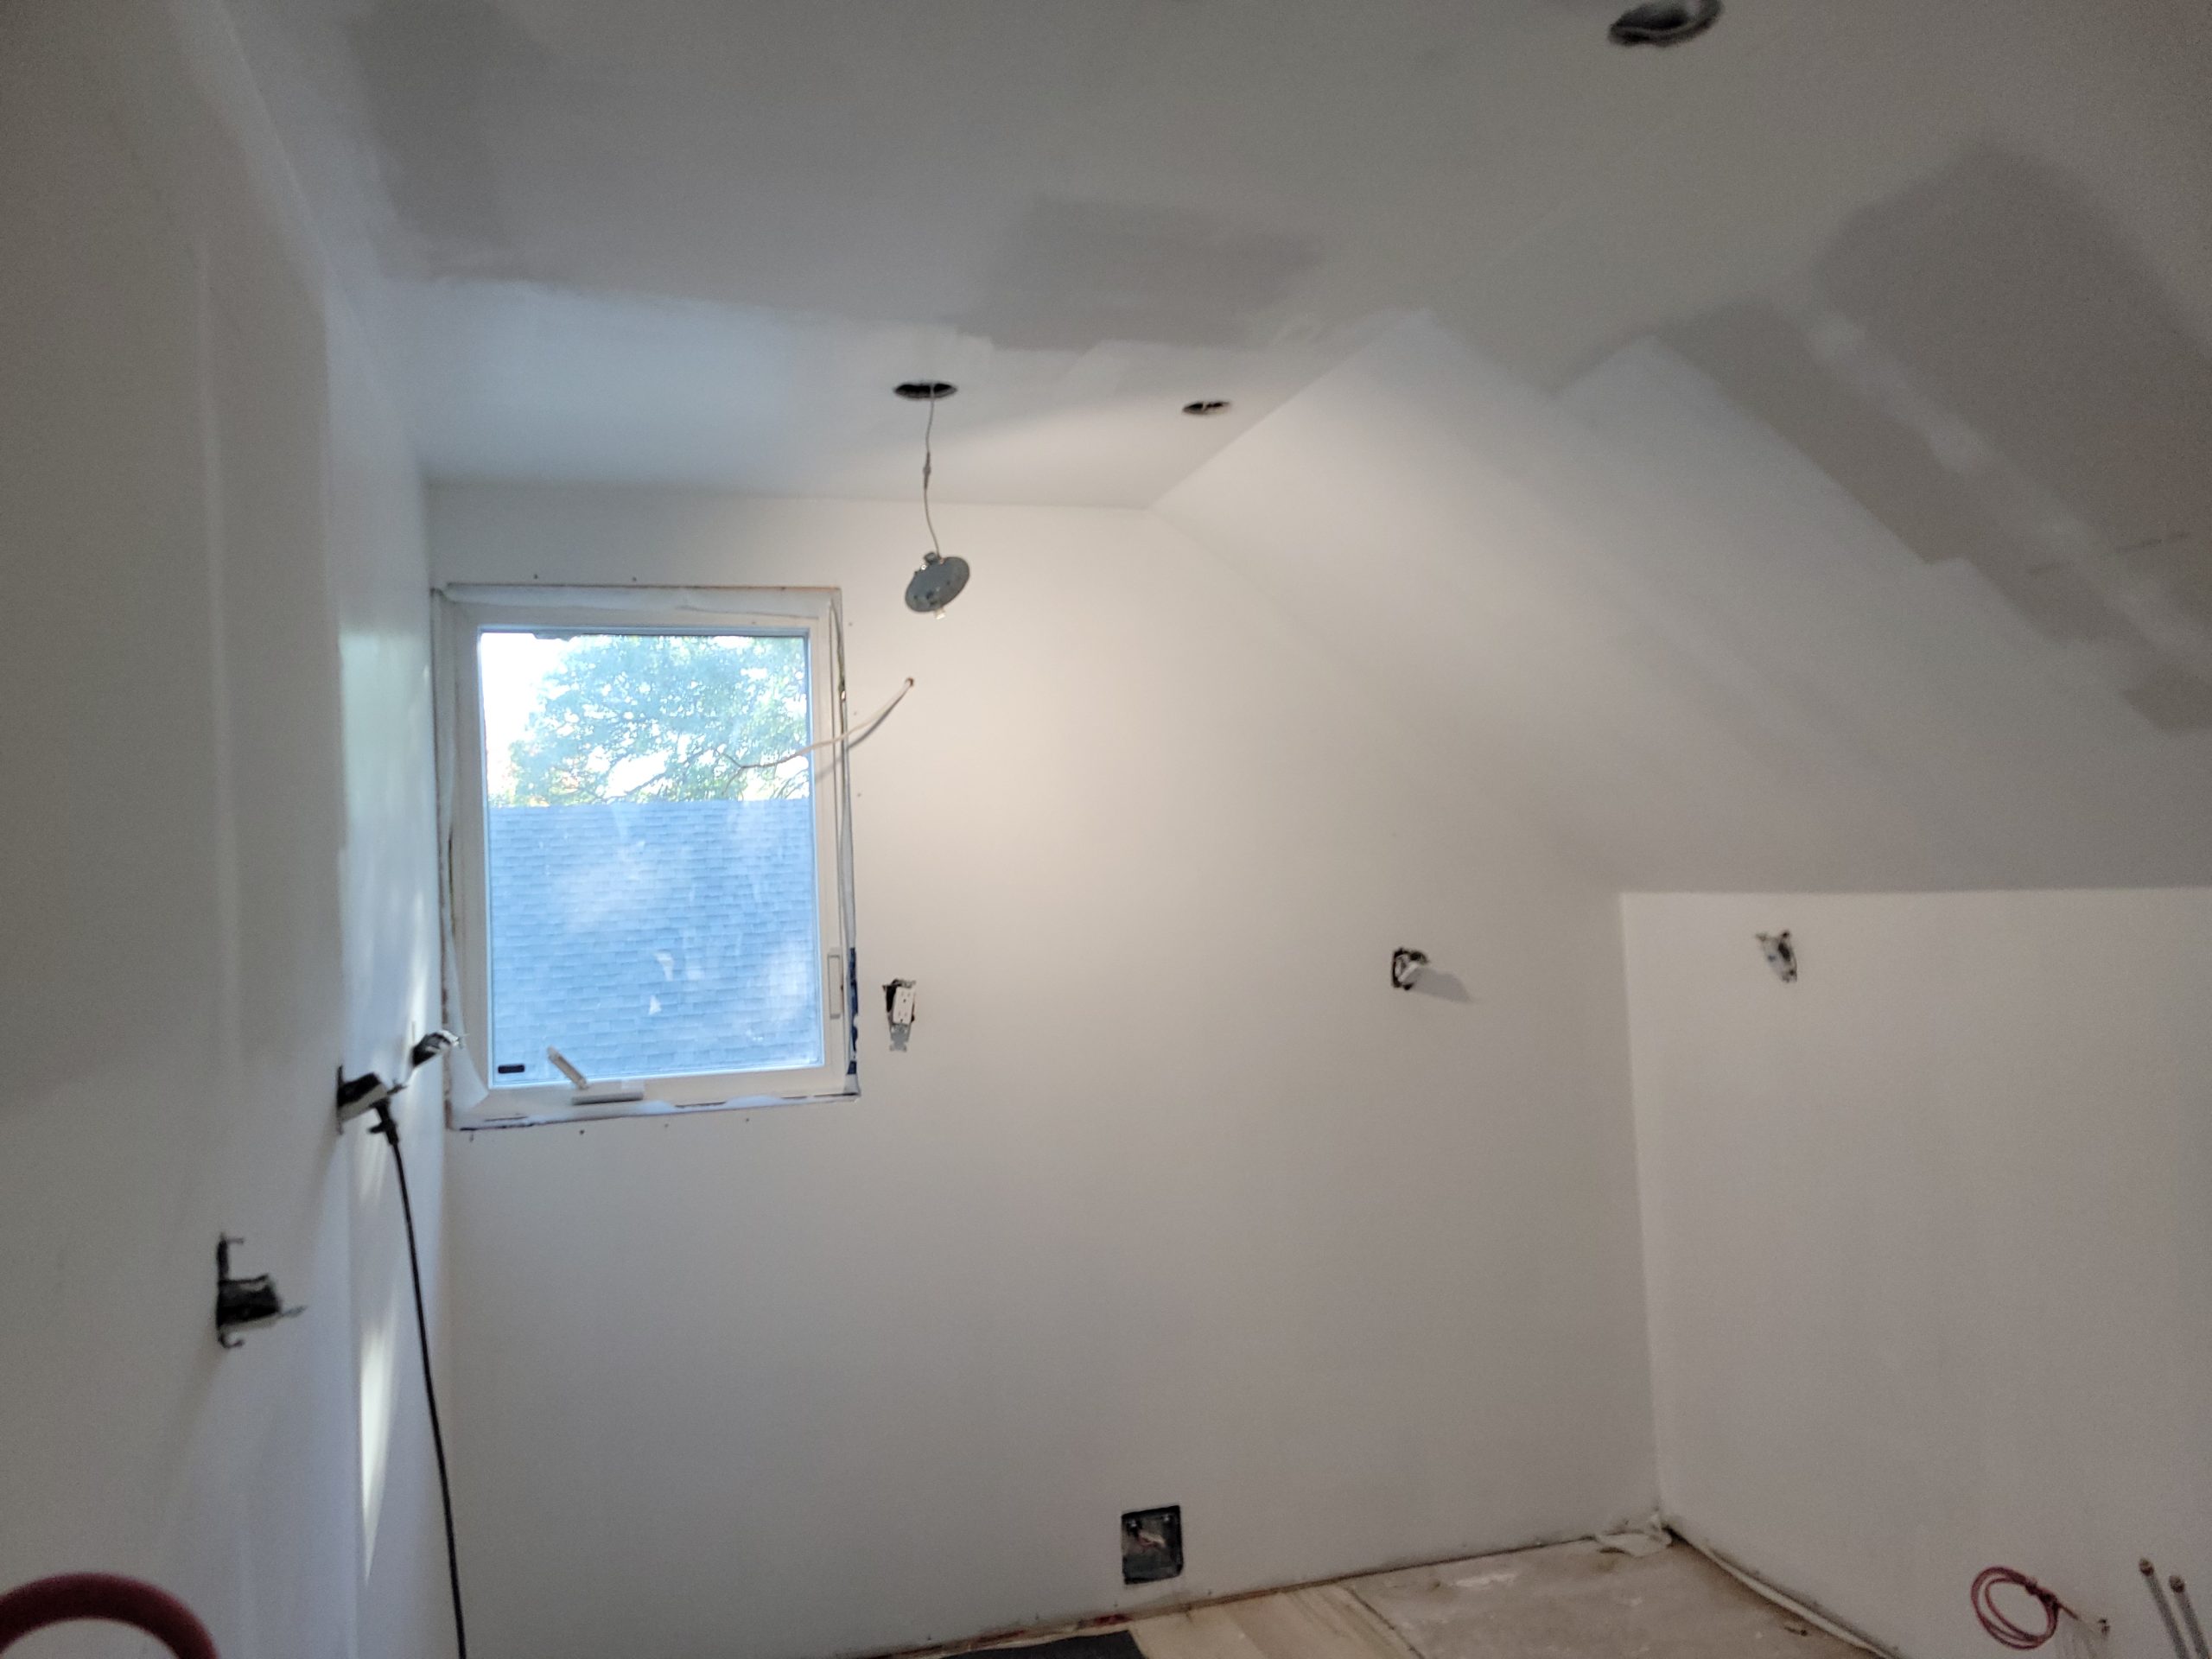
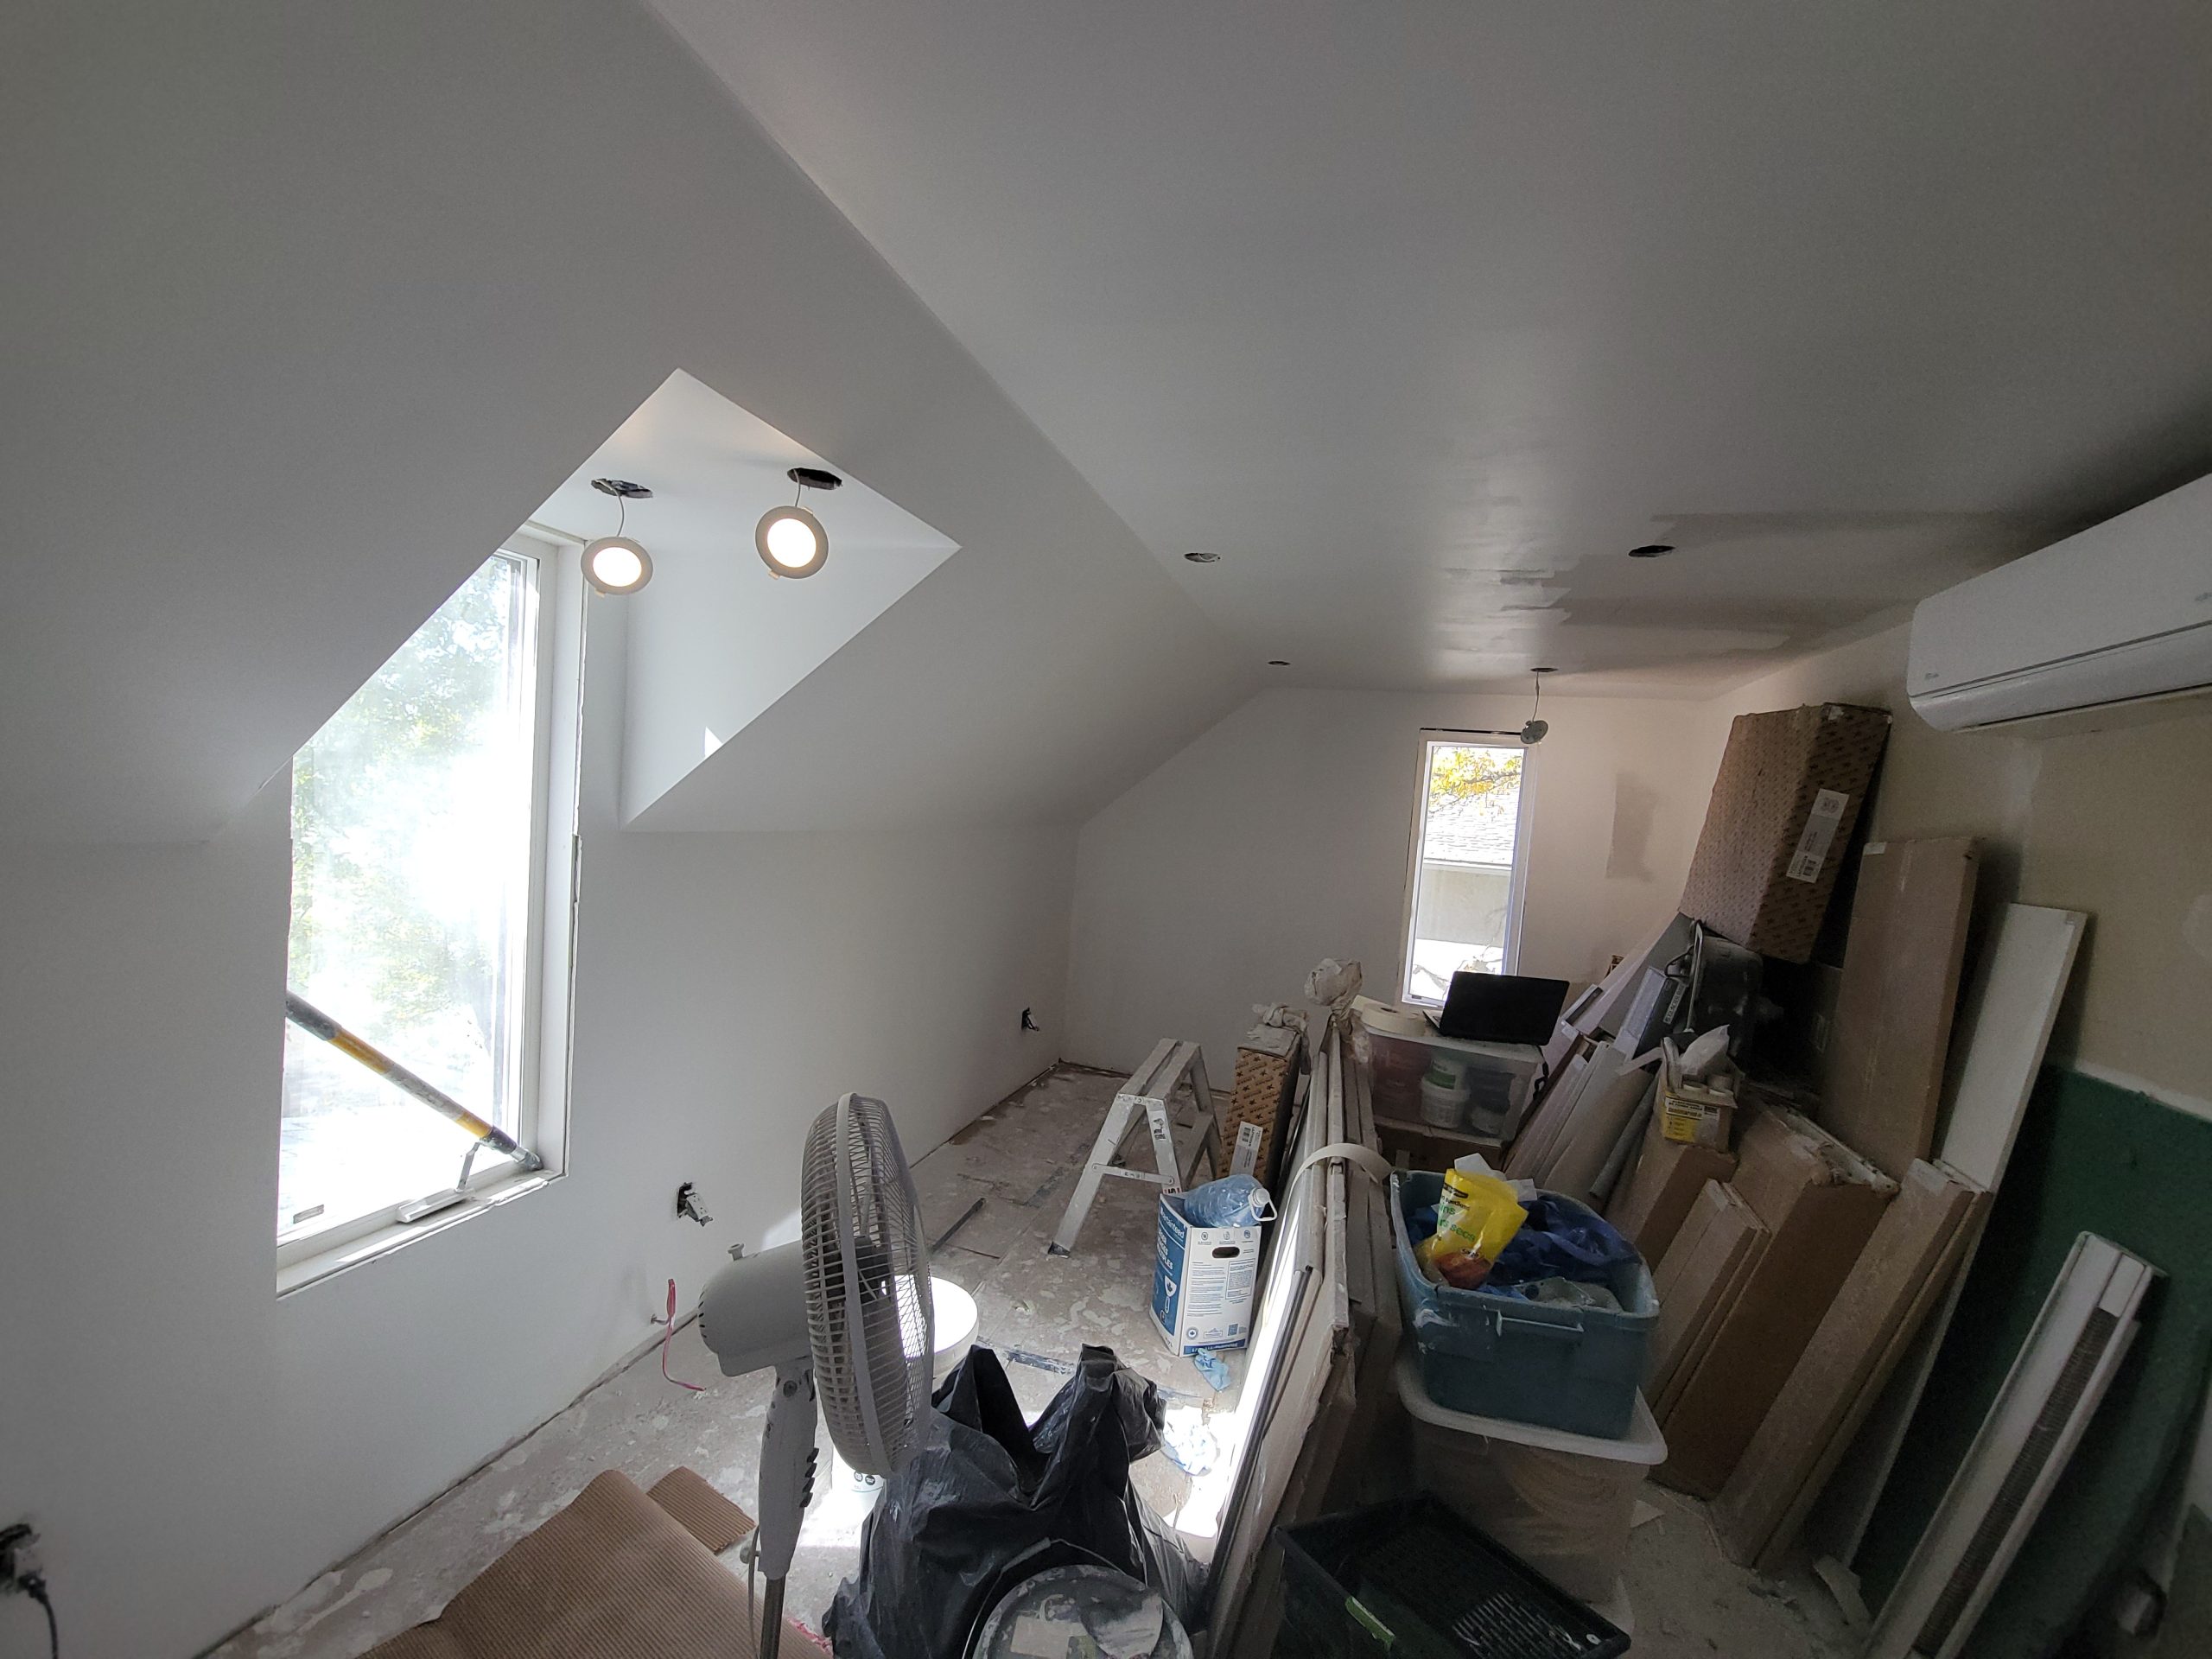
Next, priming the living room. Primer complete, this is how things stood.
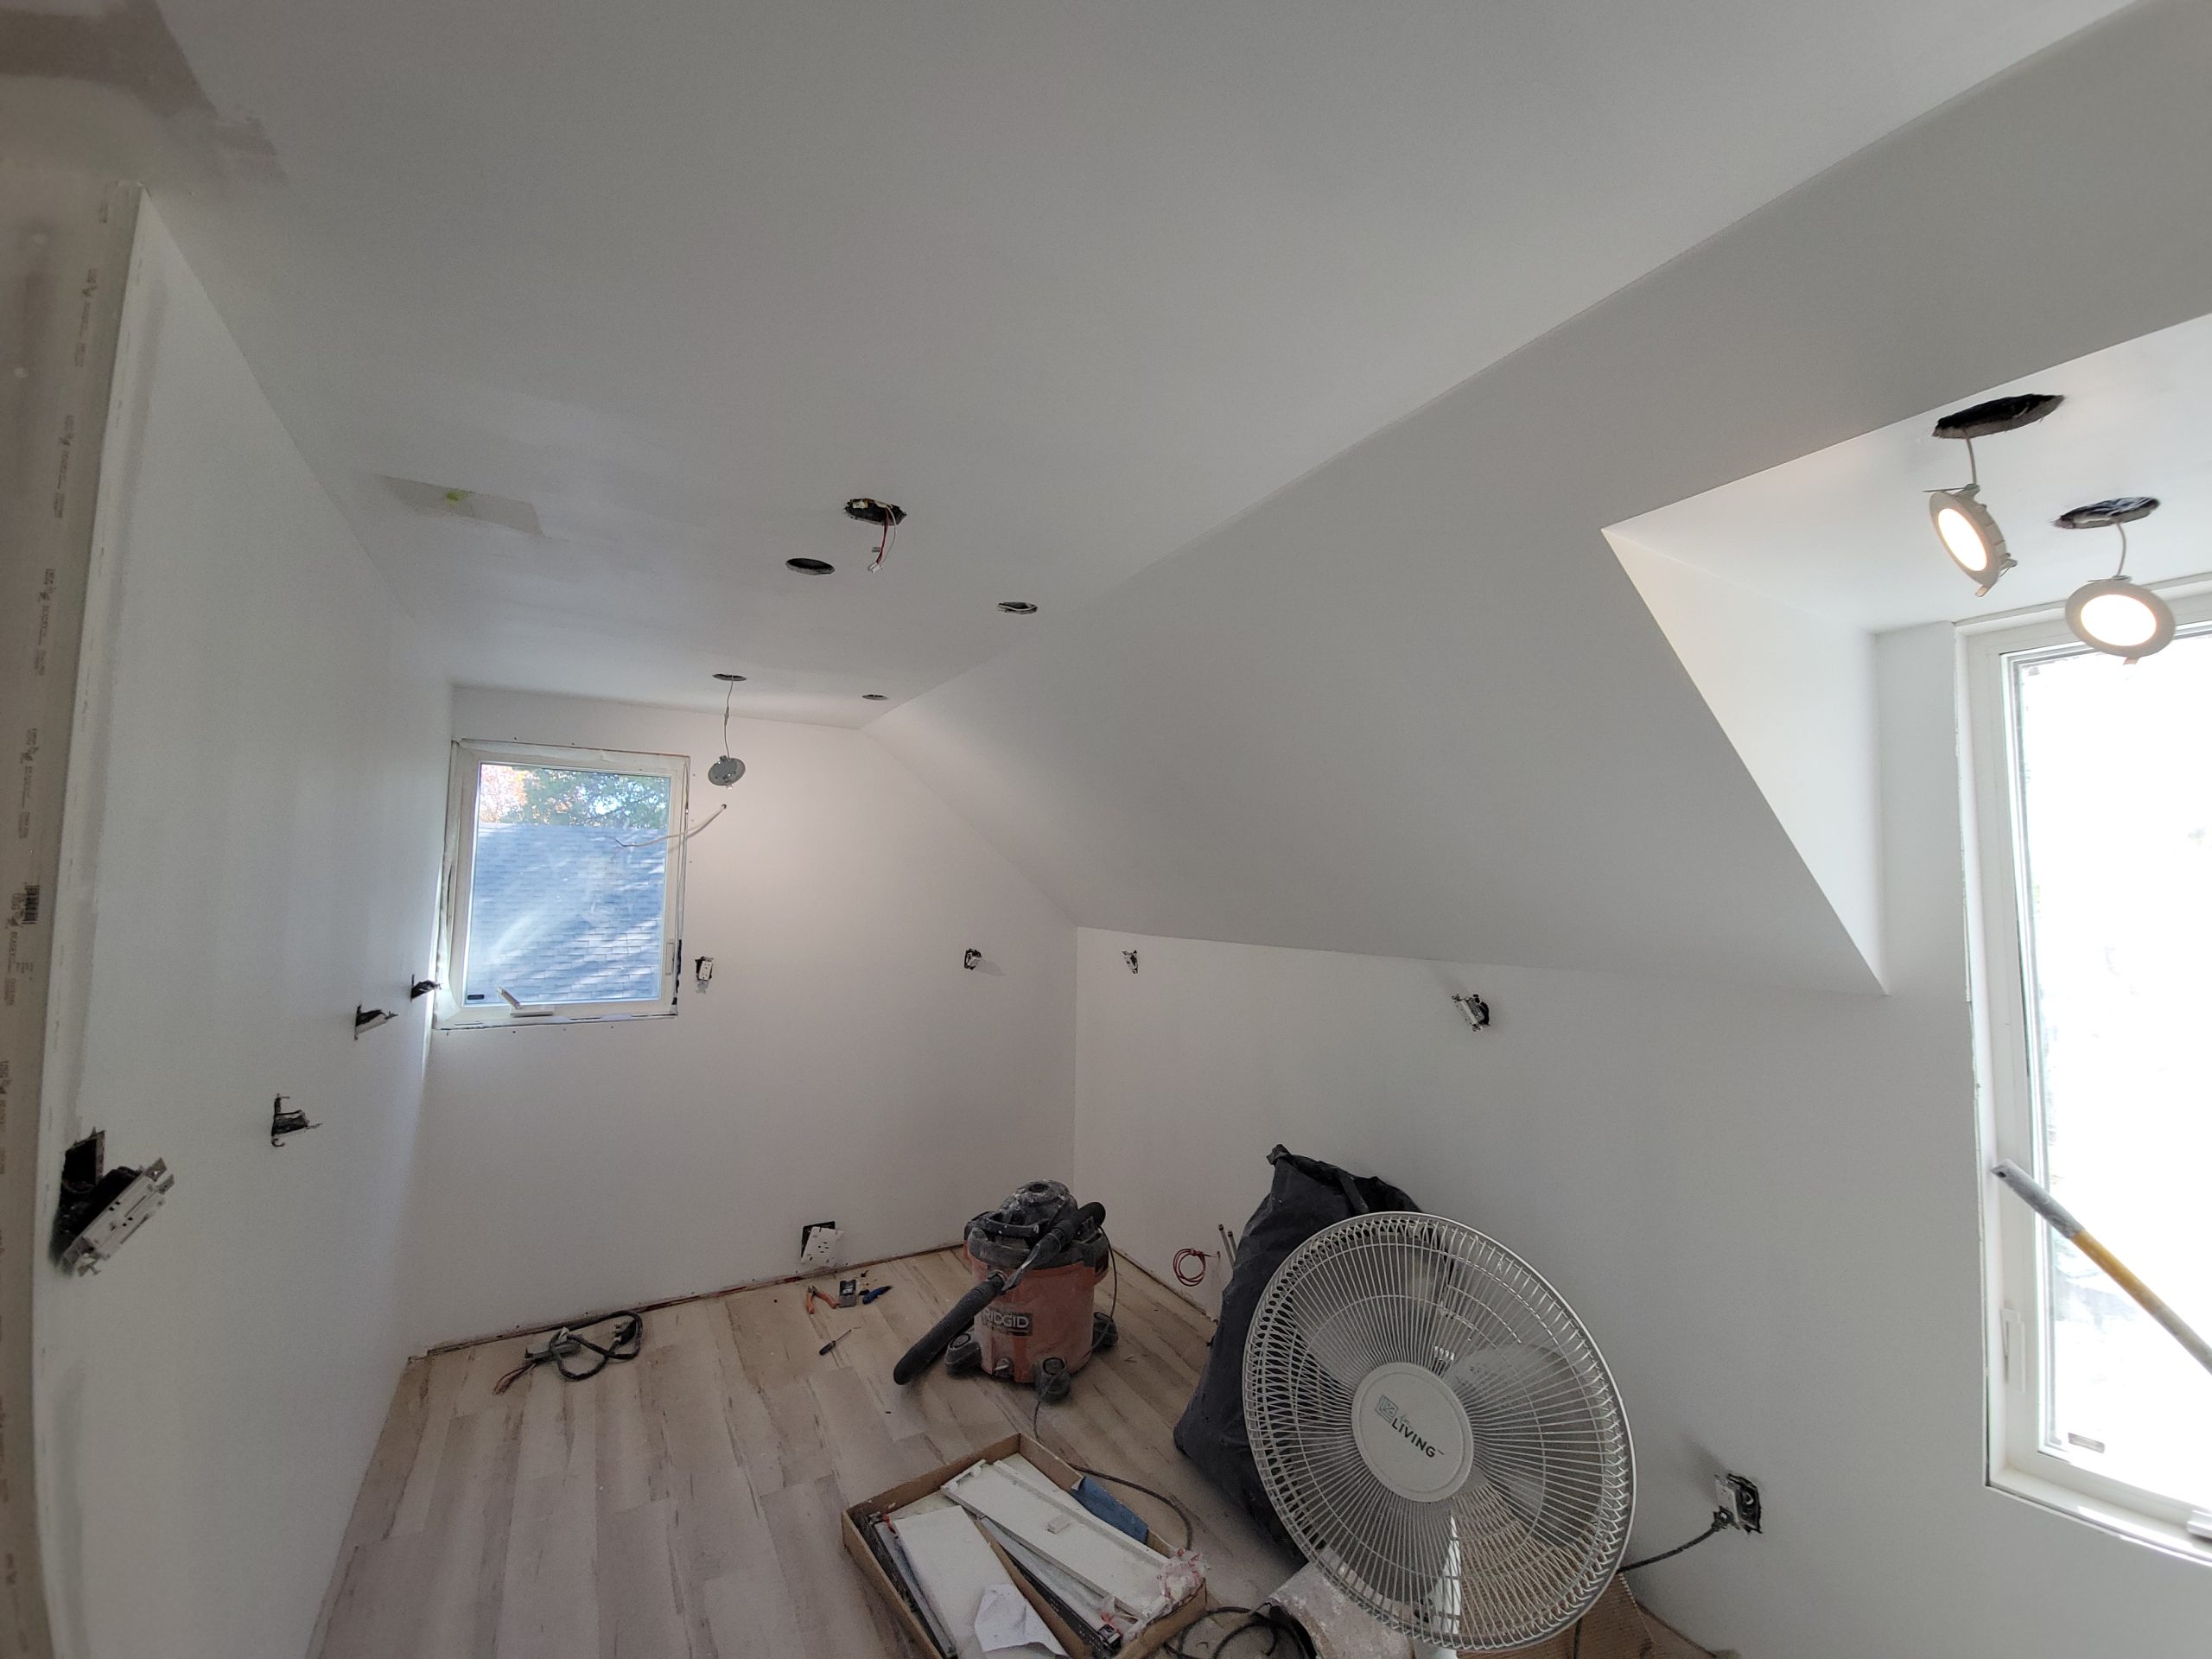
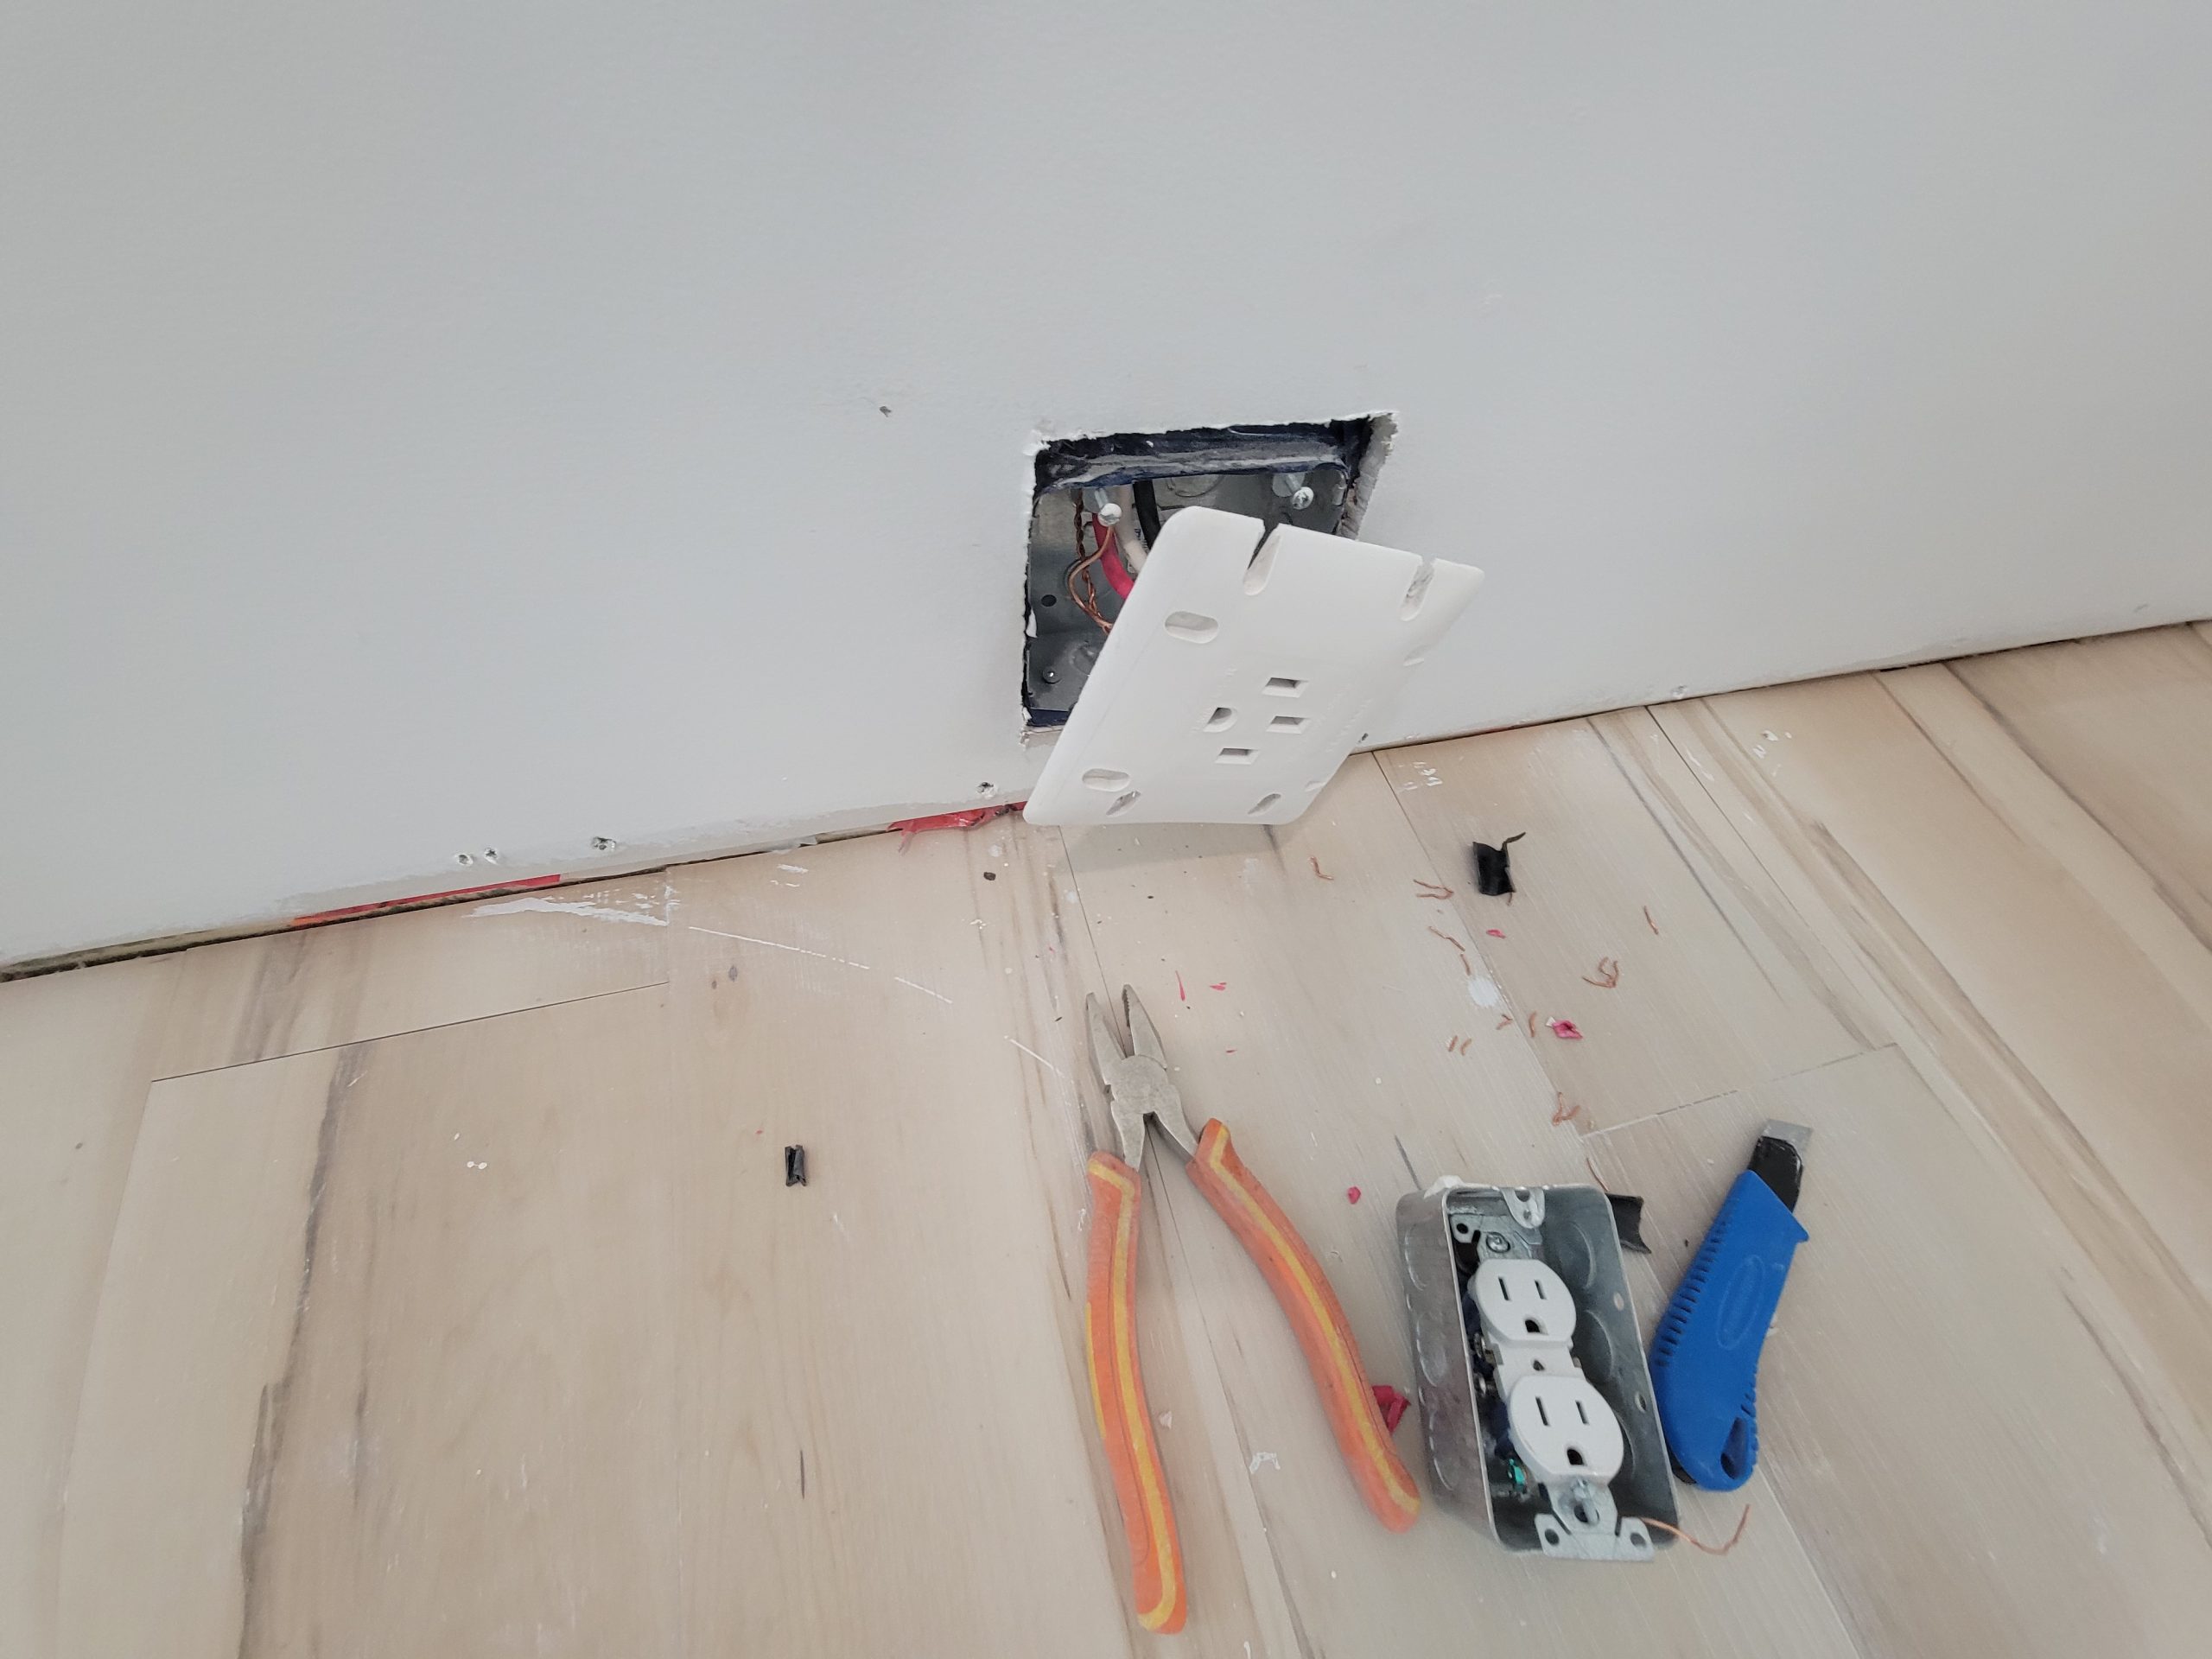
Next, the range outlet wires were mangled and had to be trimmed as the outlet had been put on and taken off so many times.
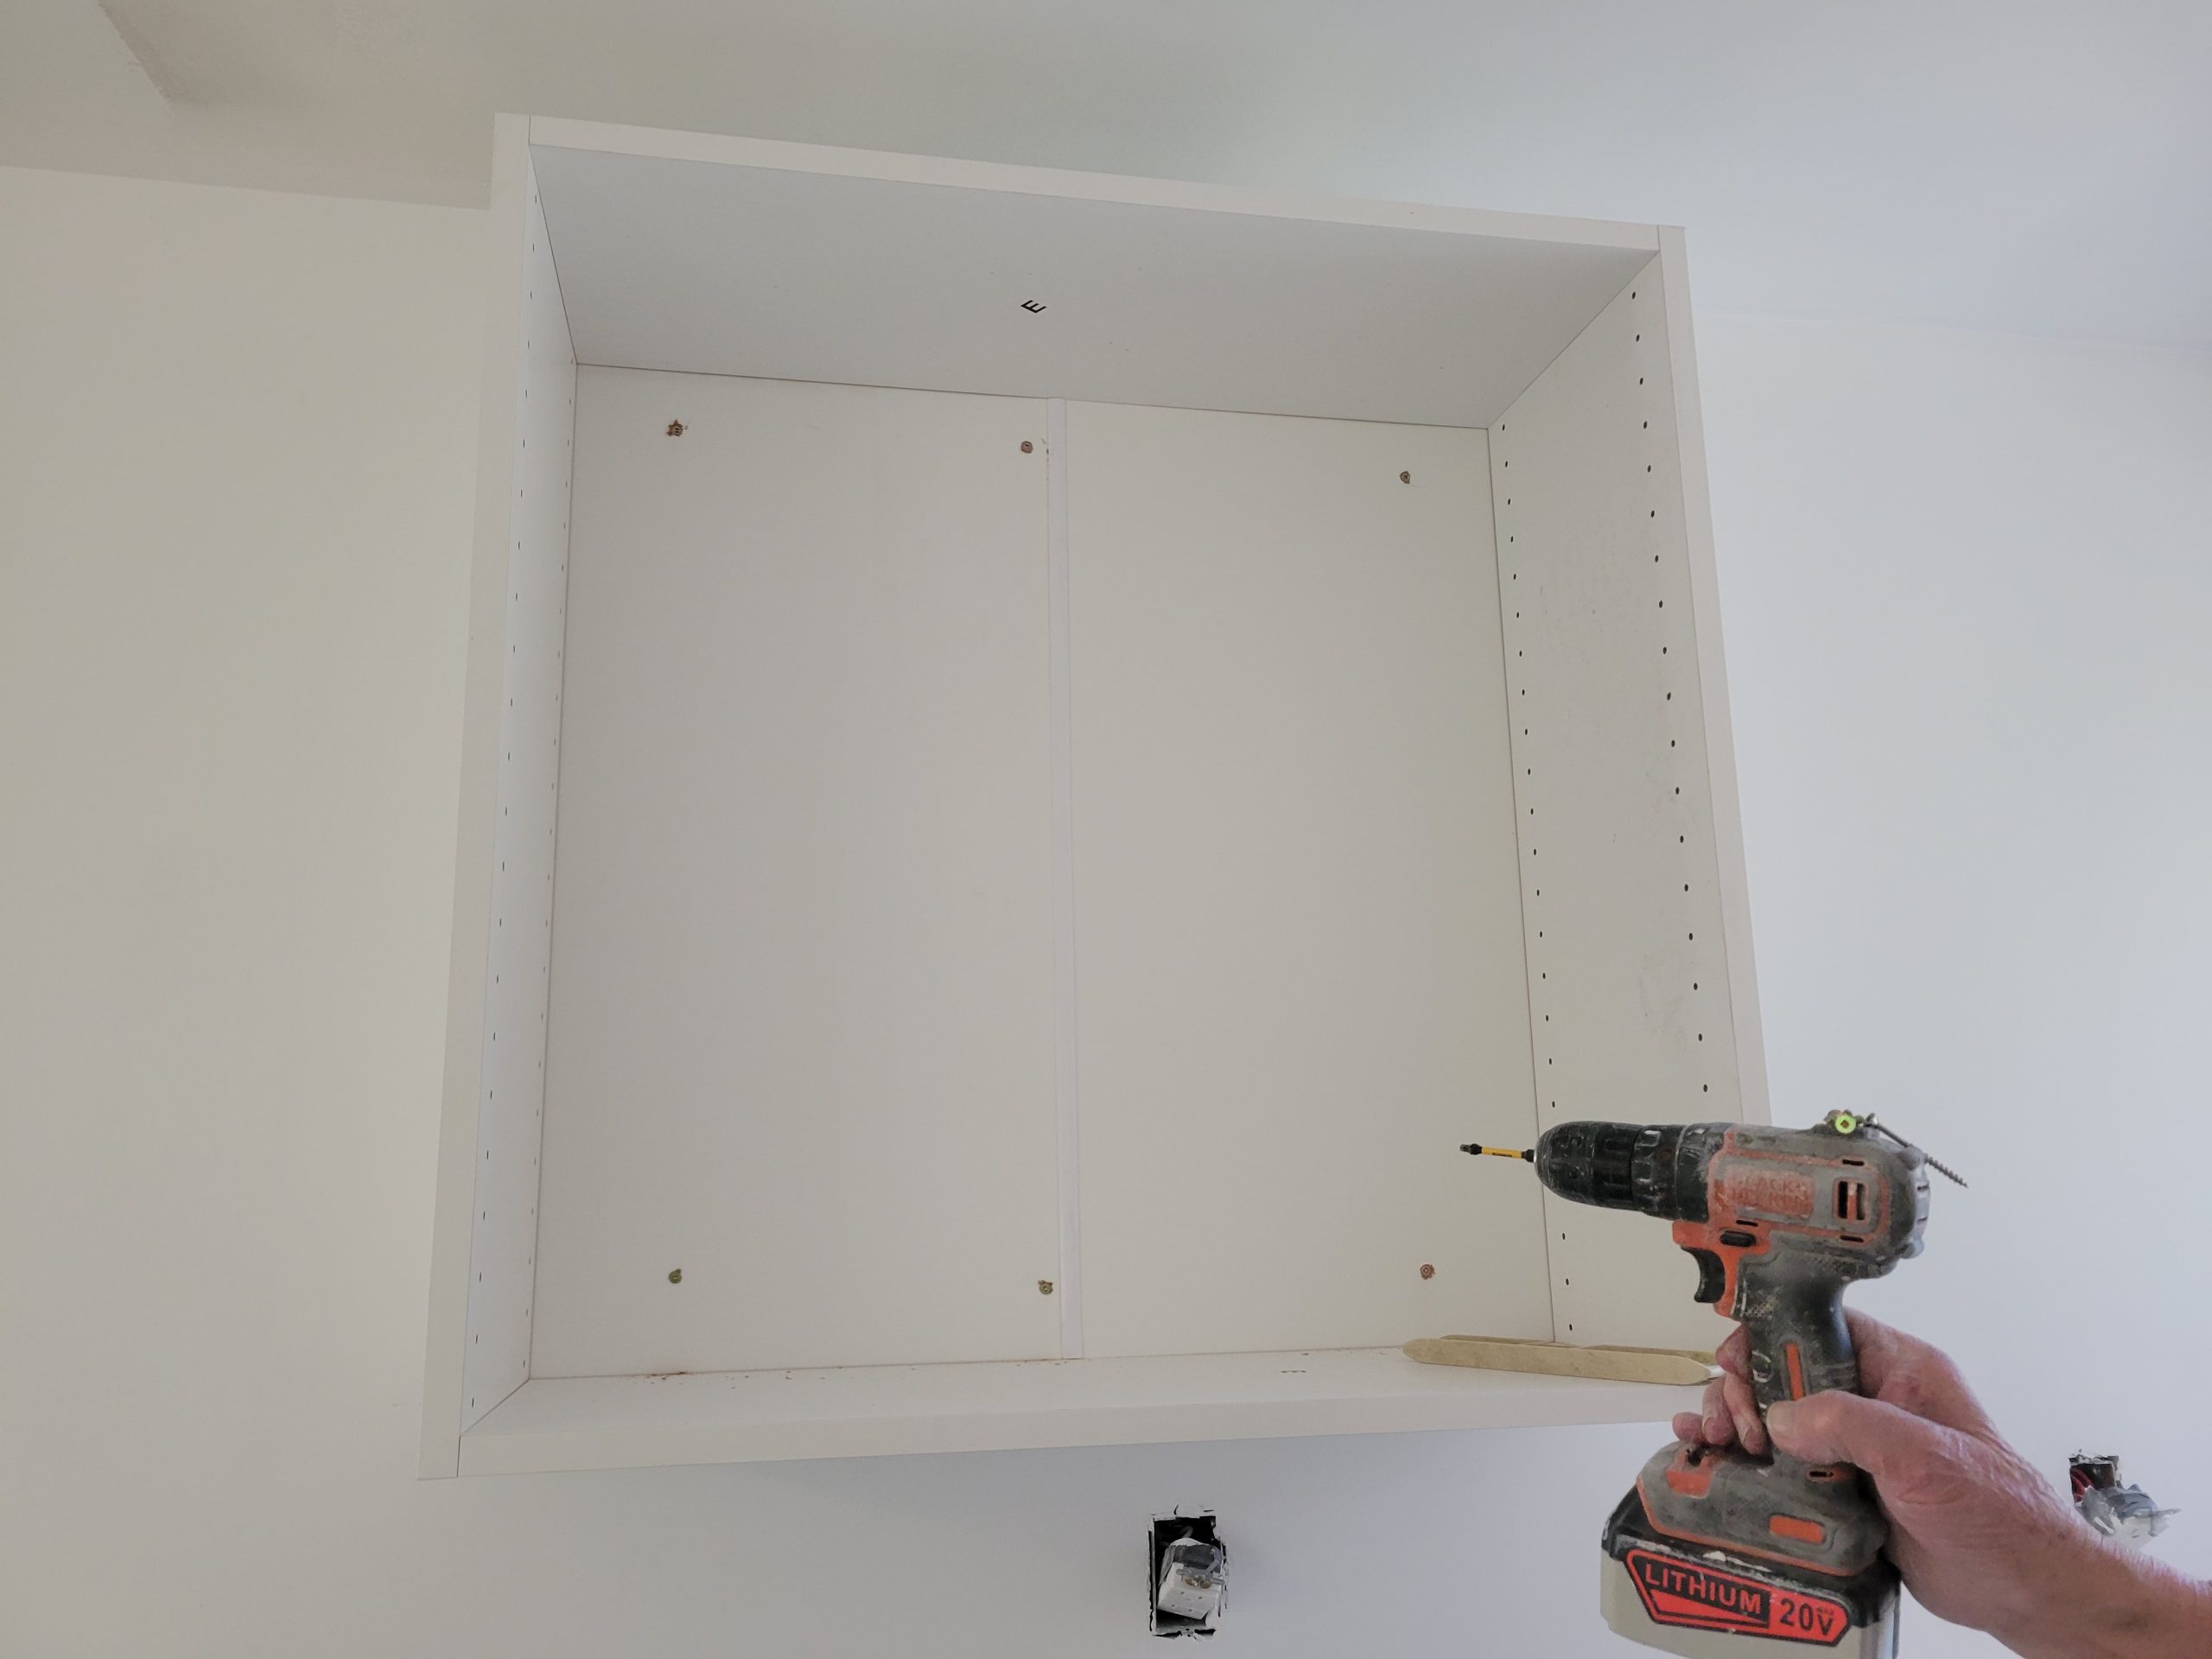
Next, the cabinets. The floor was cleared of paper and cardboard, and building began. The first upper cabinet is up on the north wall.
As the title says, more drywalling was done today. The bathroom must be finished soon so that Dave can come in and tape. However, more fiasco happened as well.
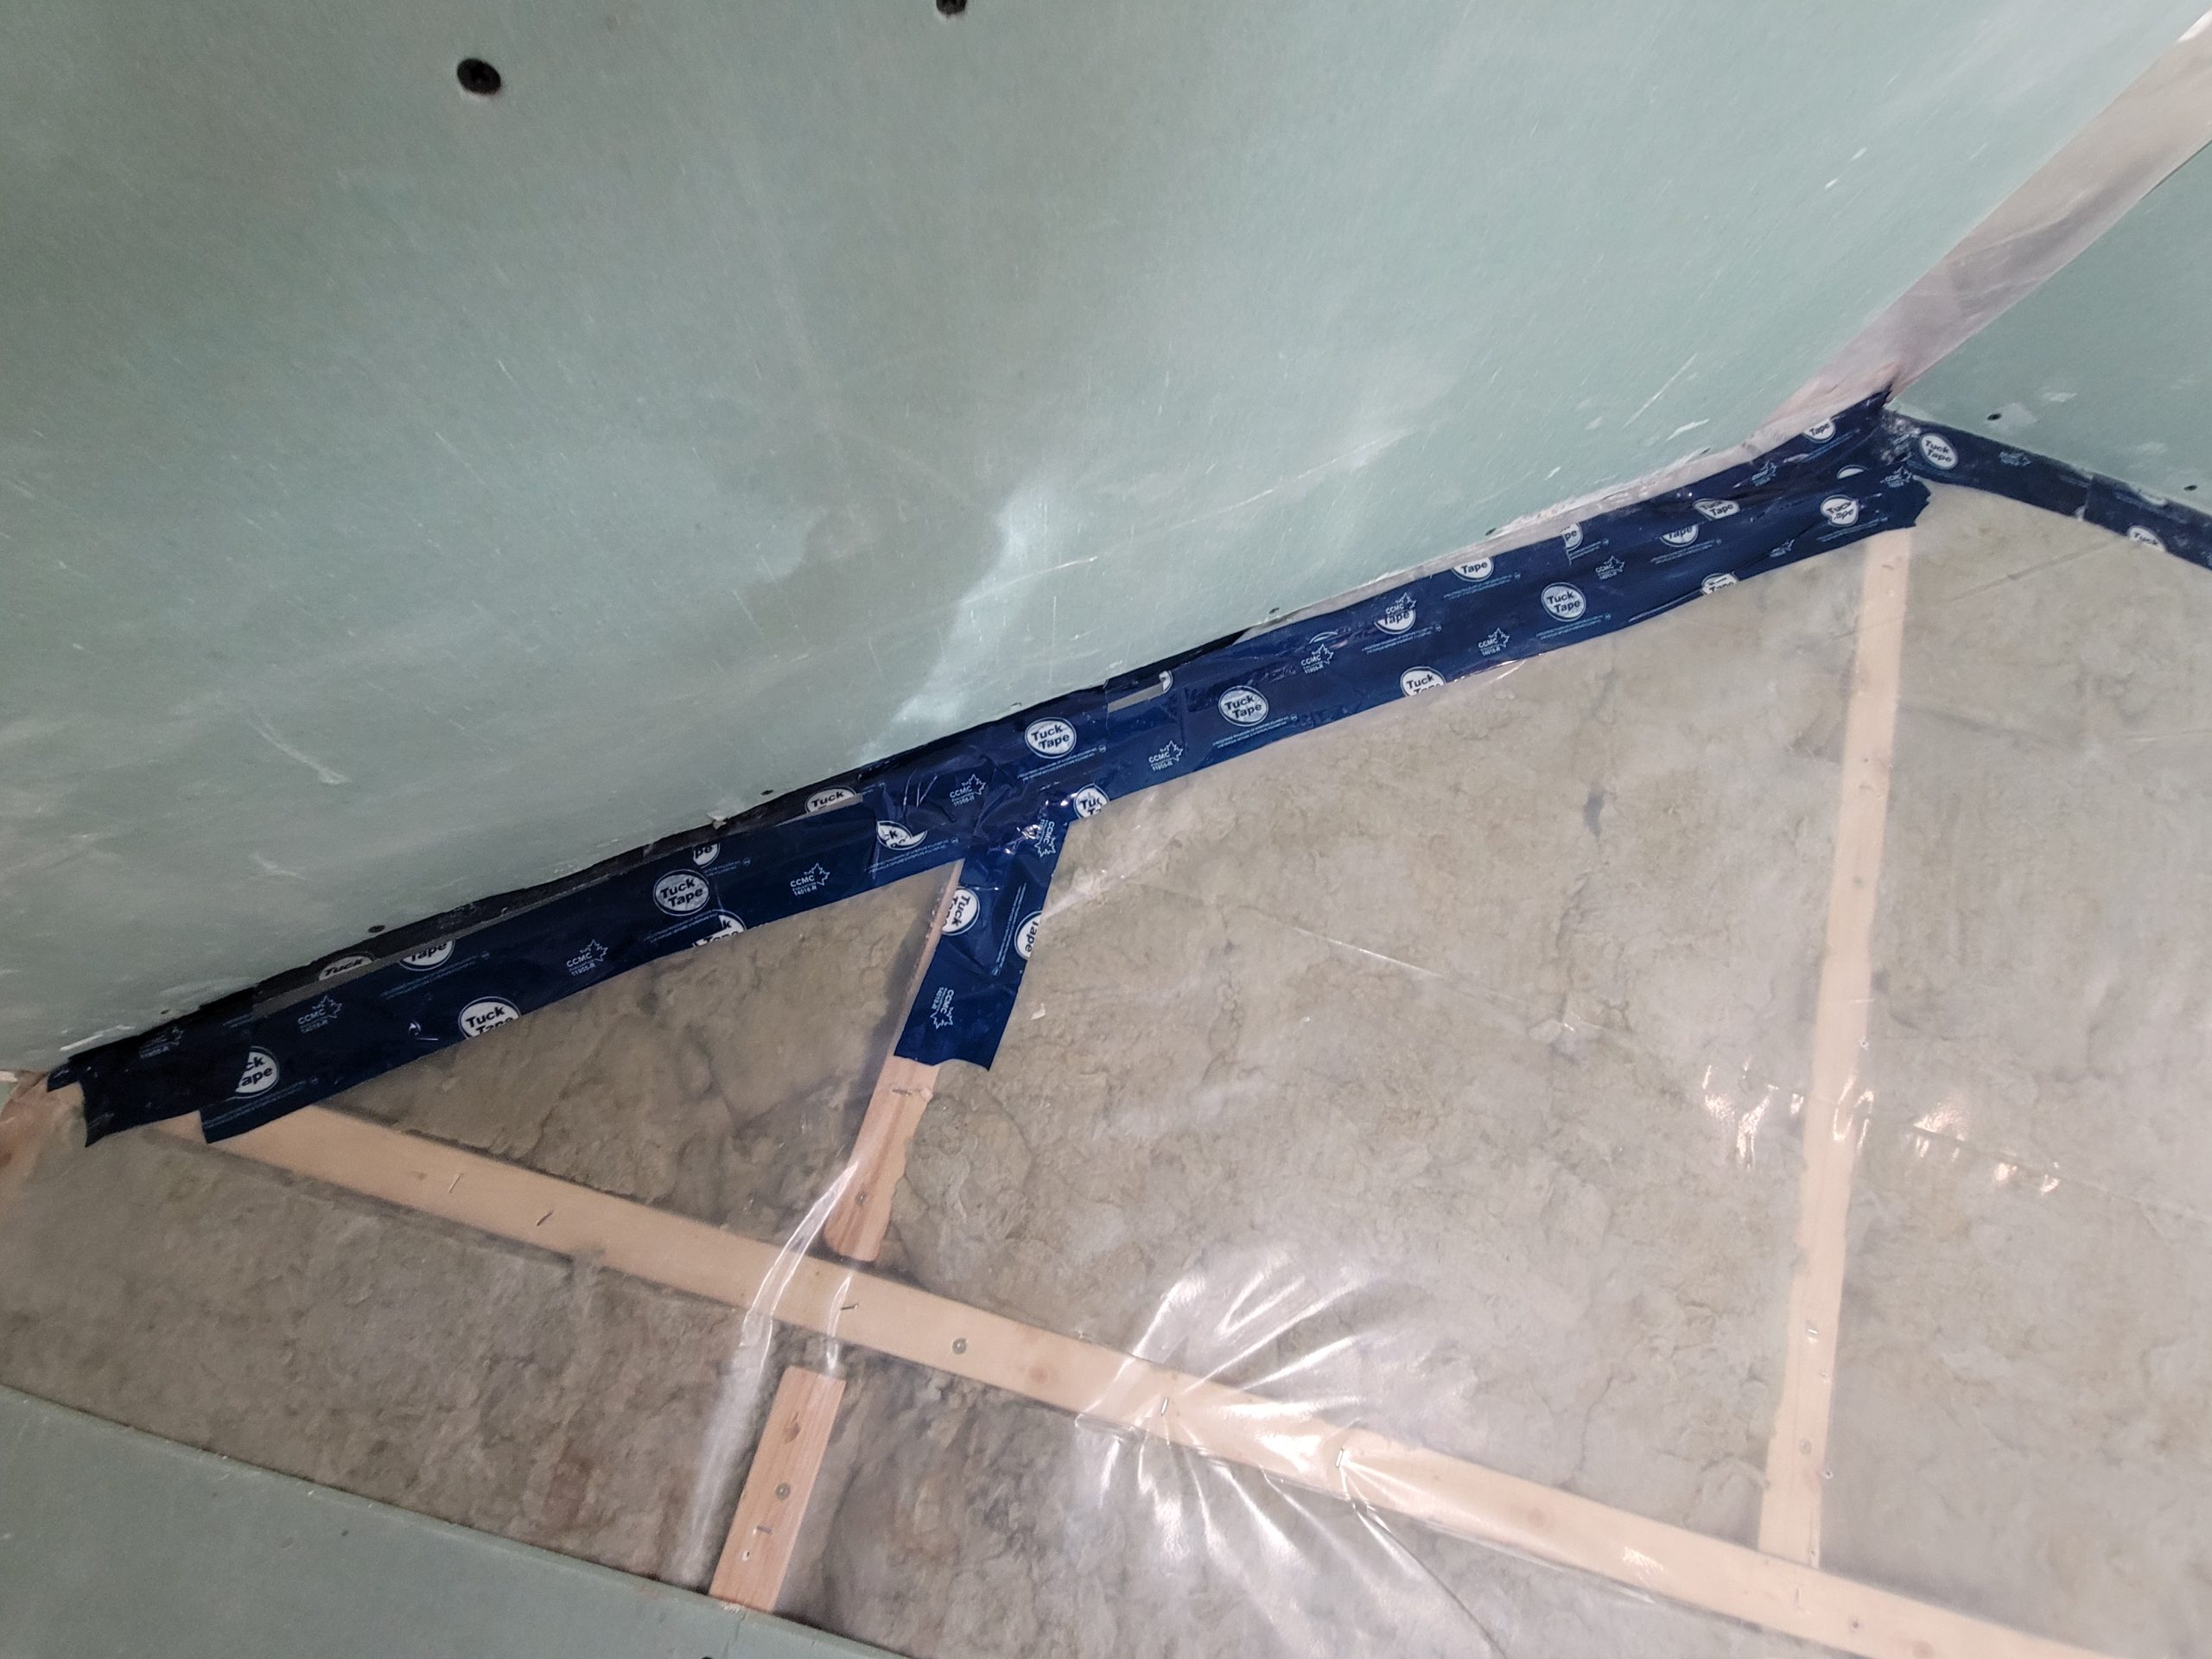
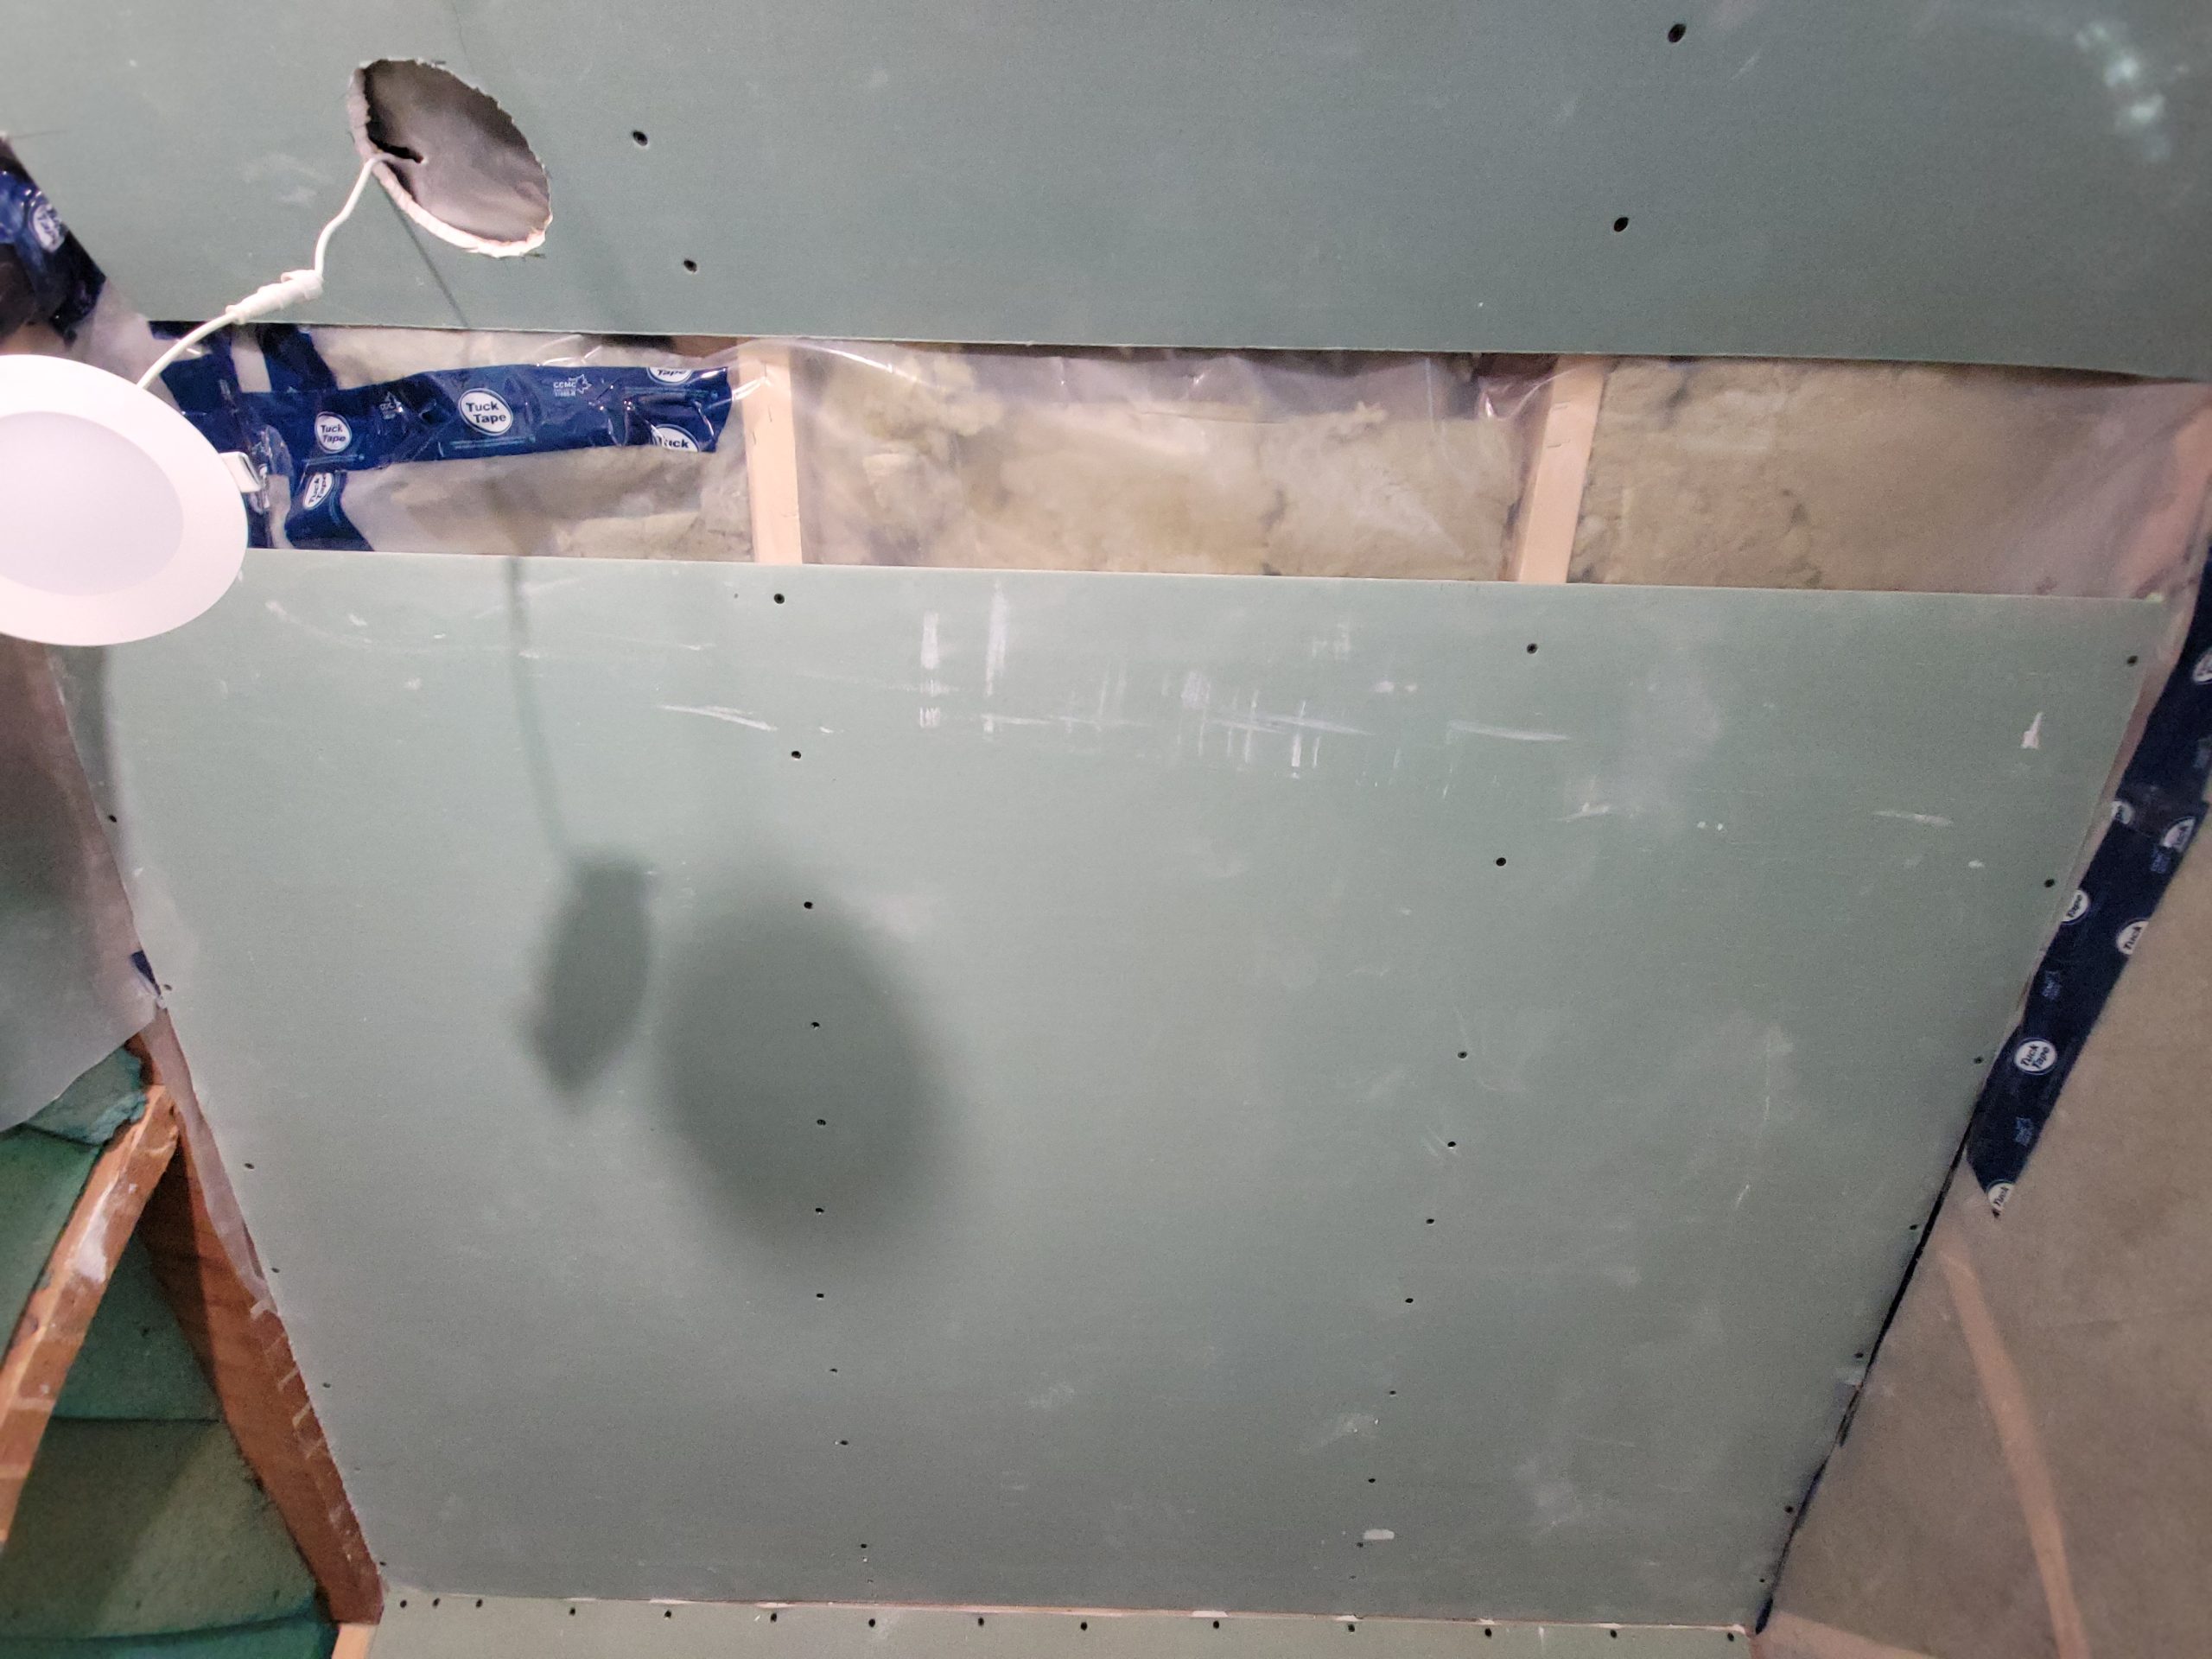
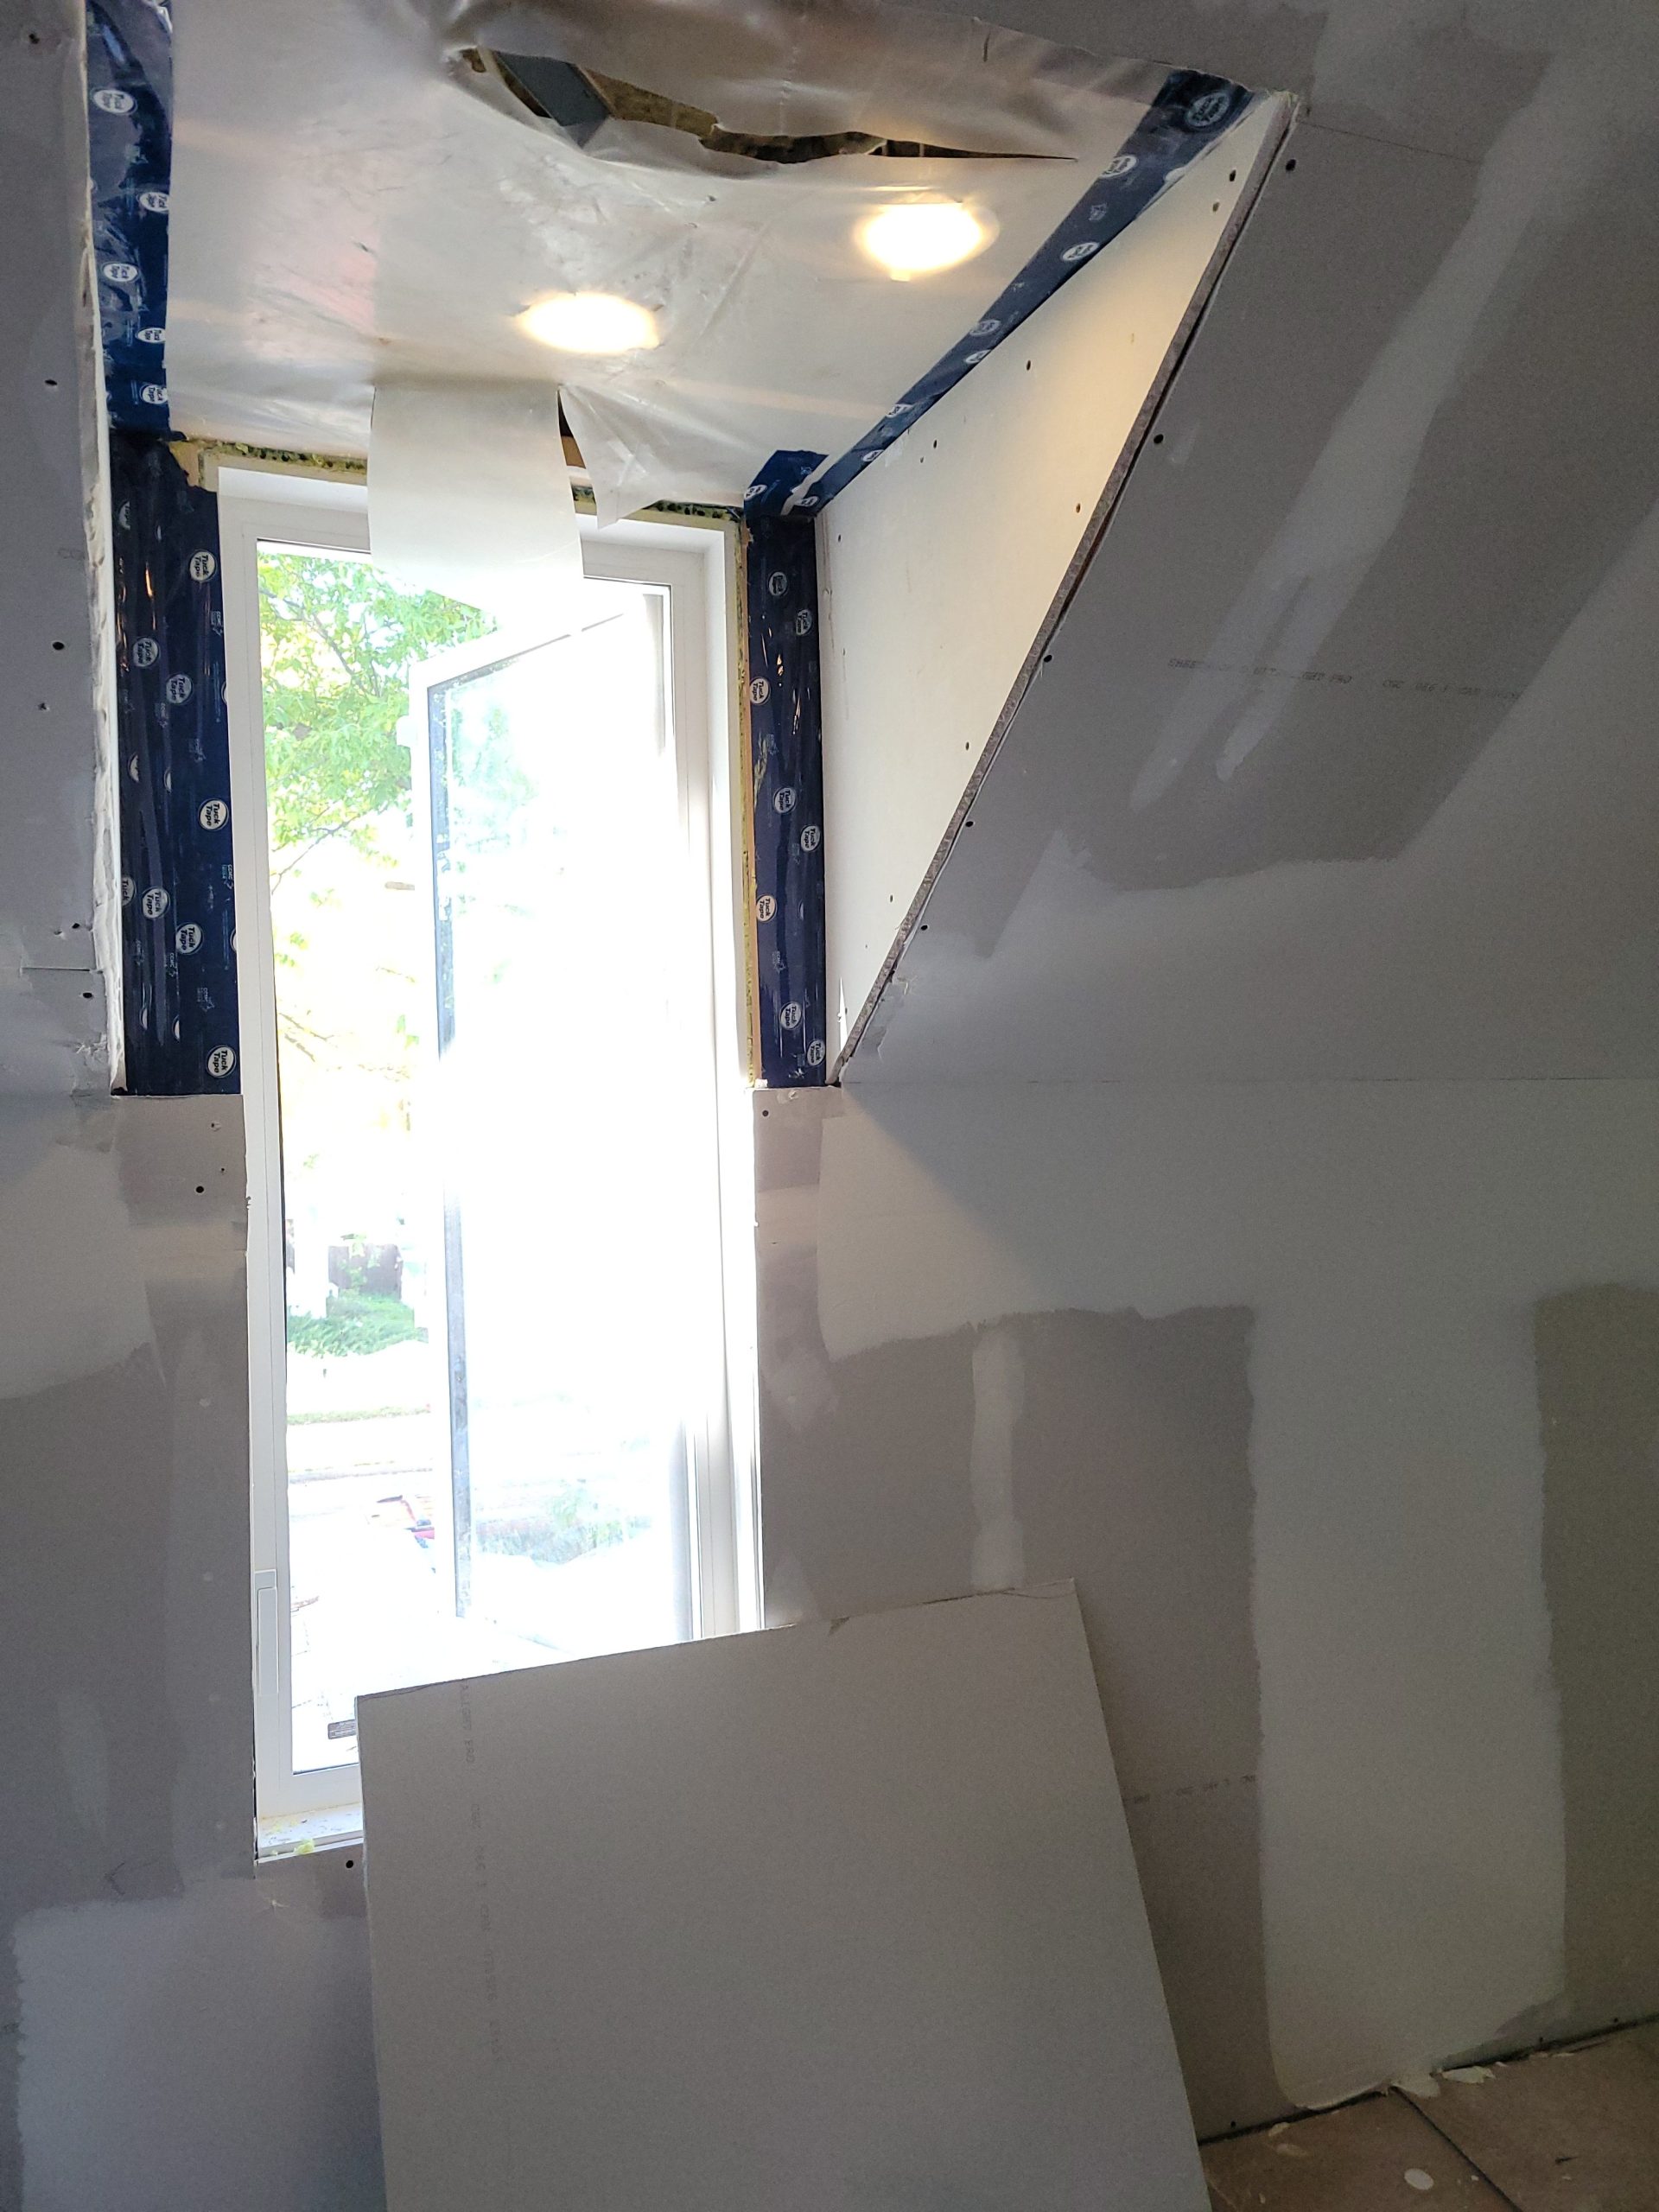
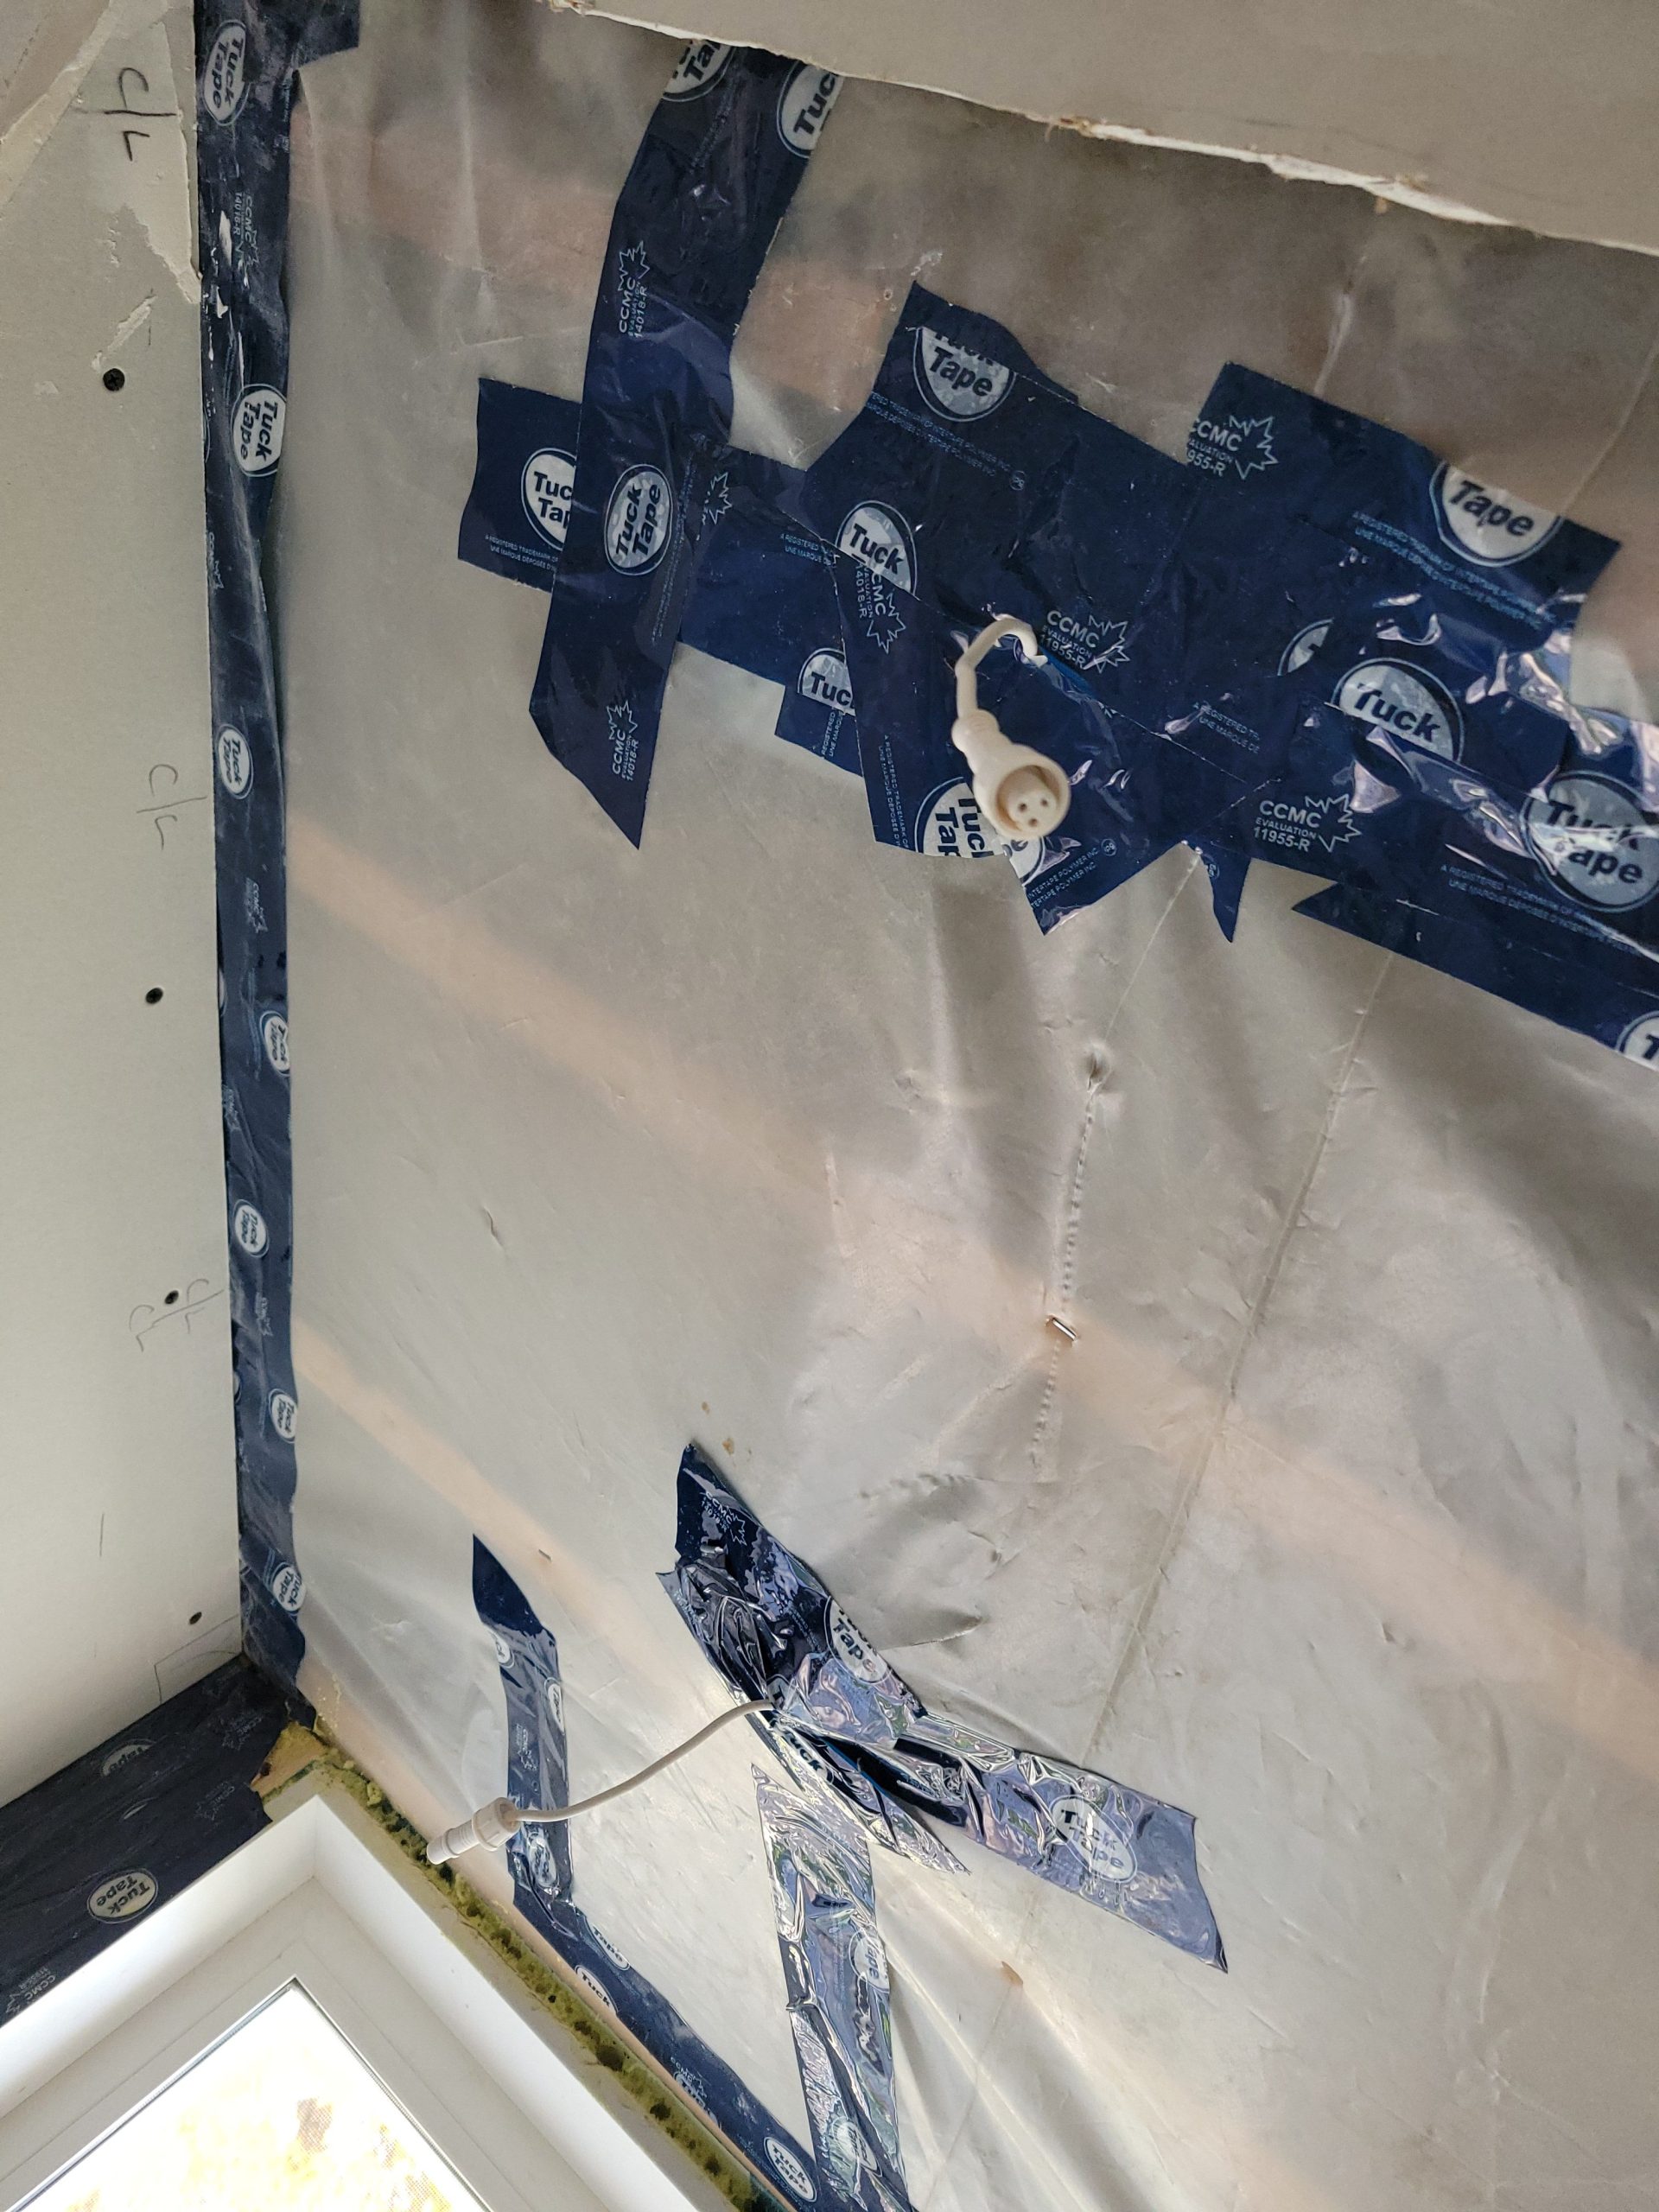
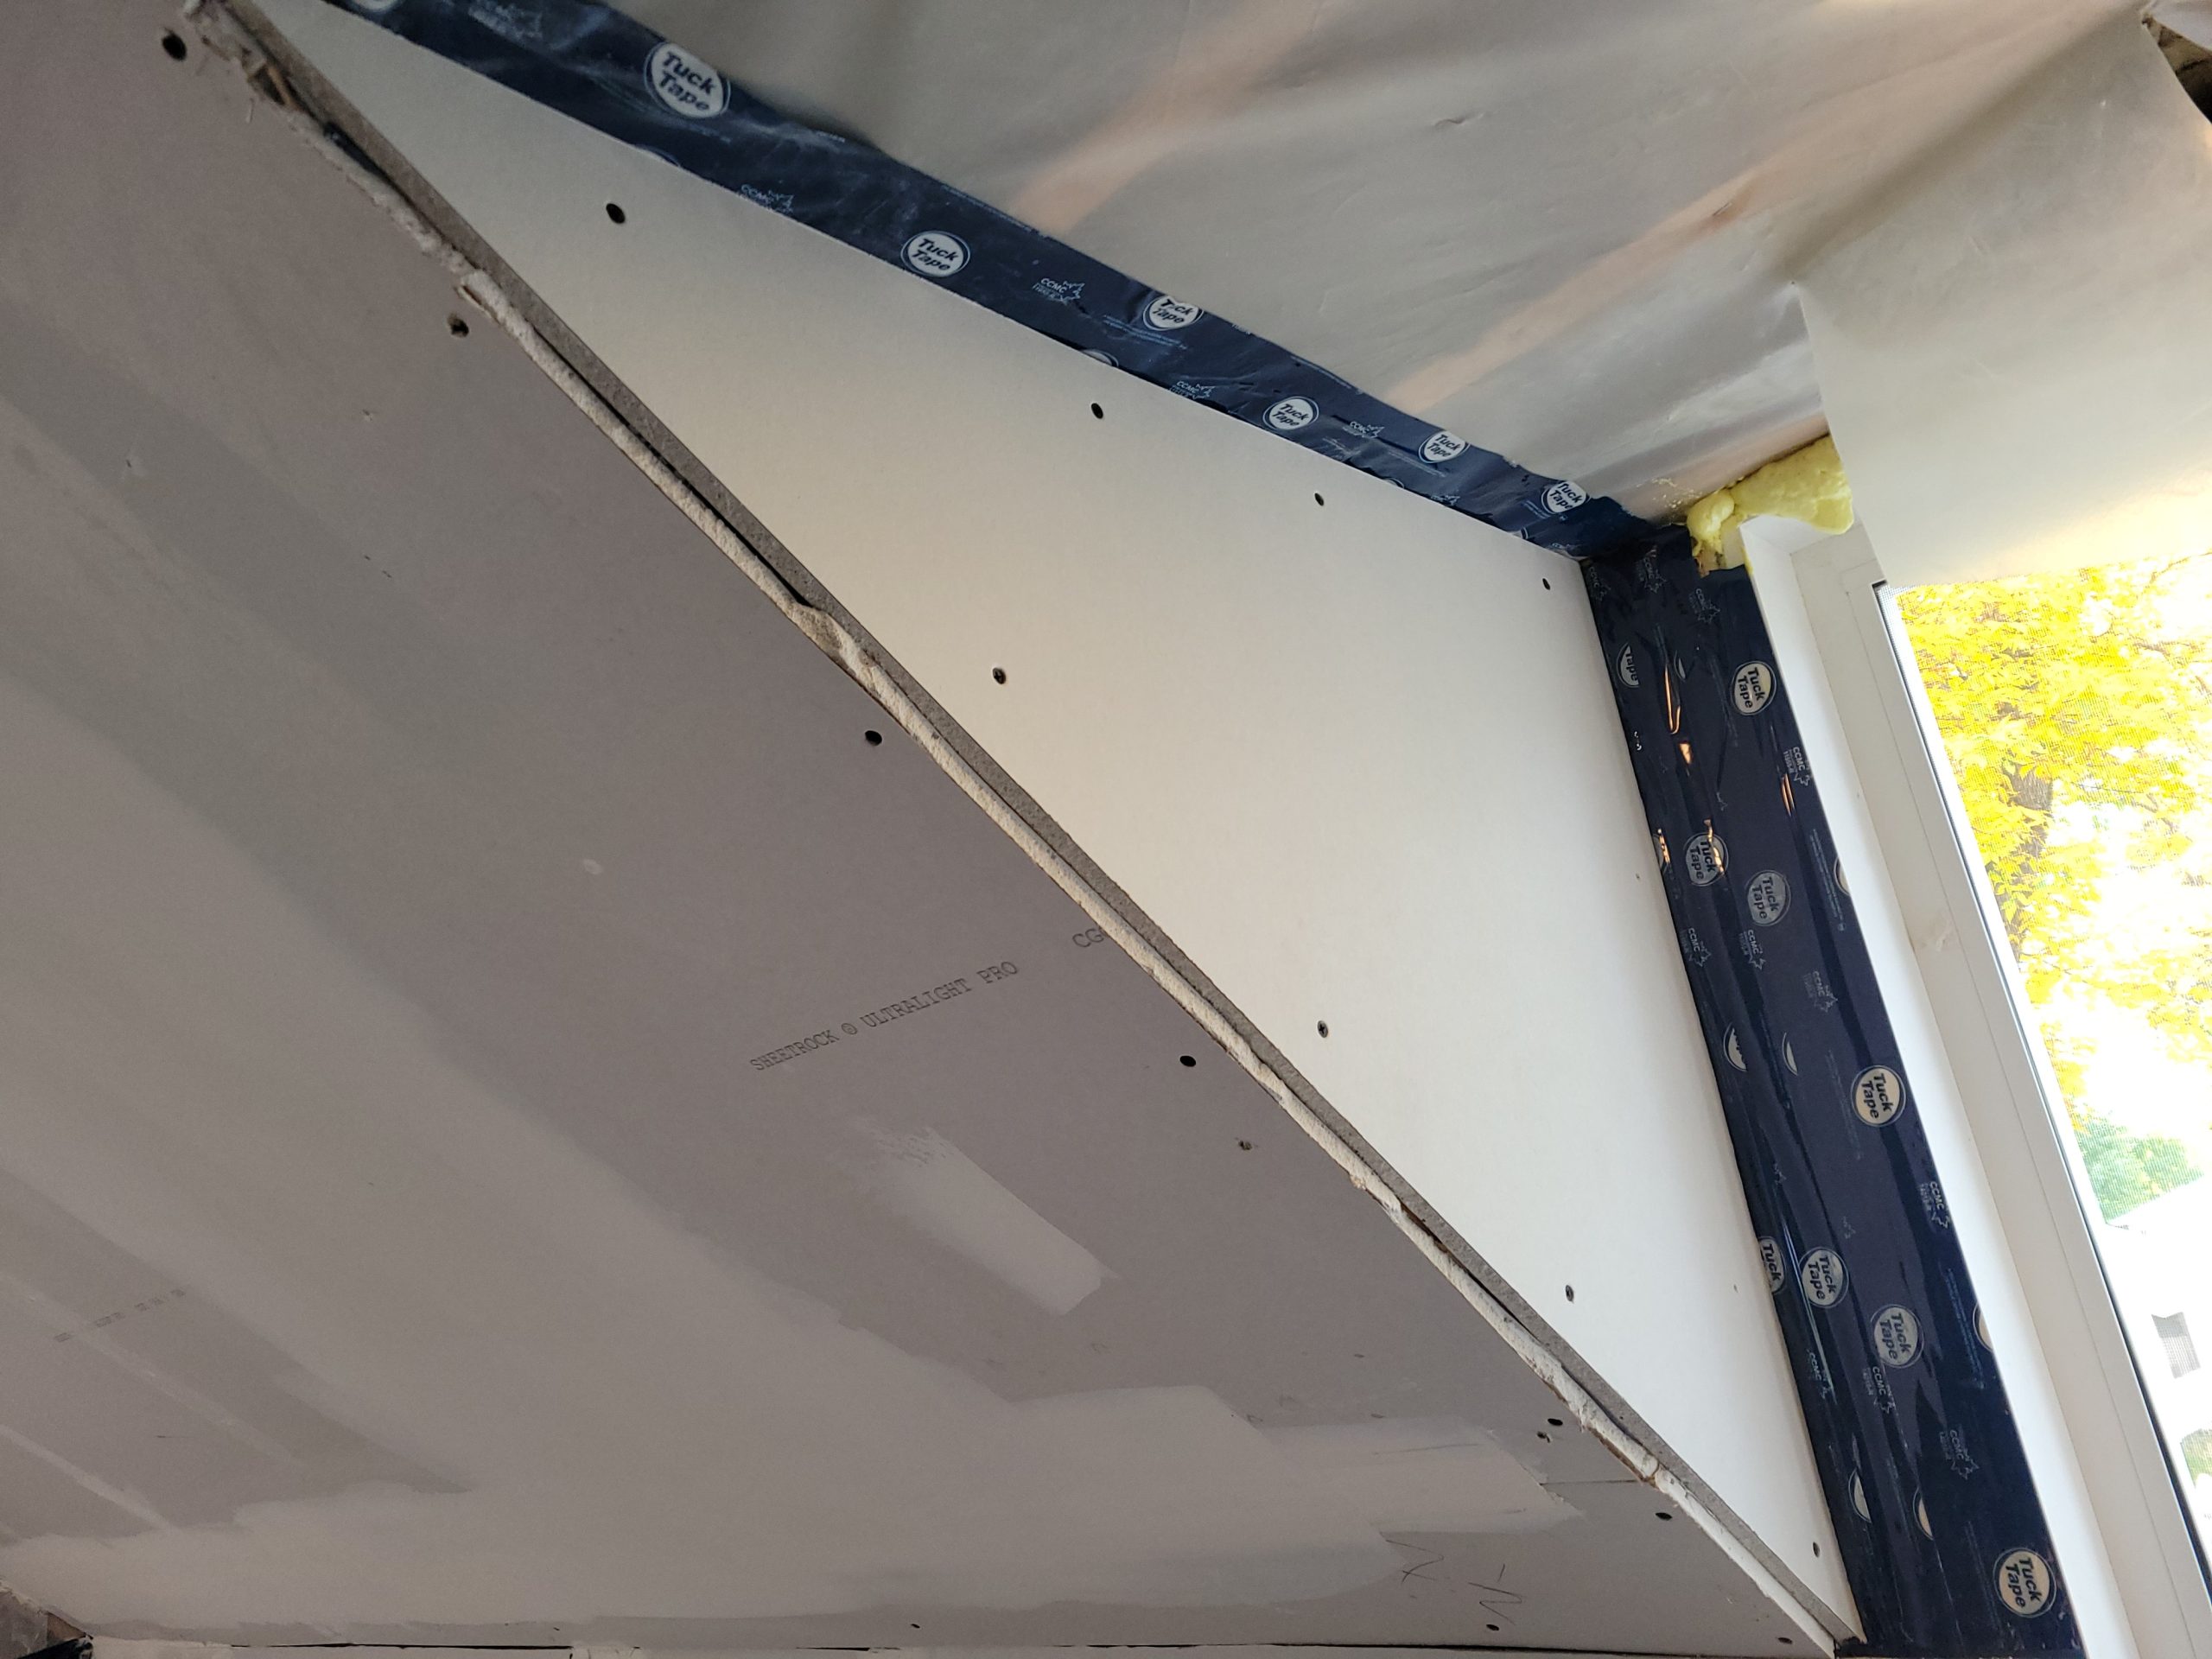
I found, in trying to put up this sheet on the top half of the east wall, that there was no backing at the top. I added some angled pieces and Tuck taped the cut vapour barrier.
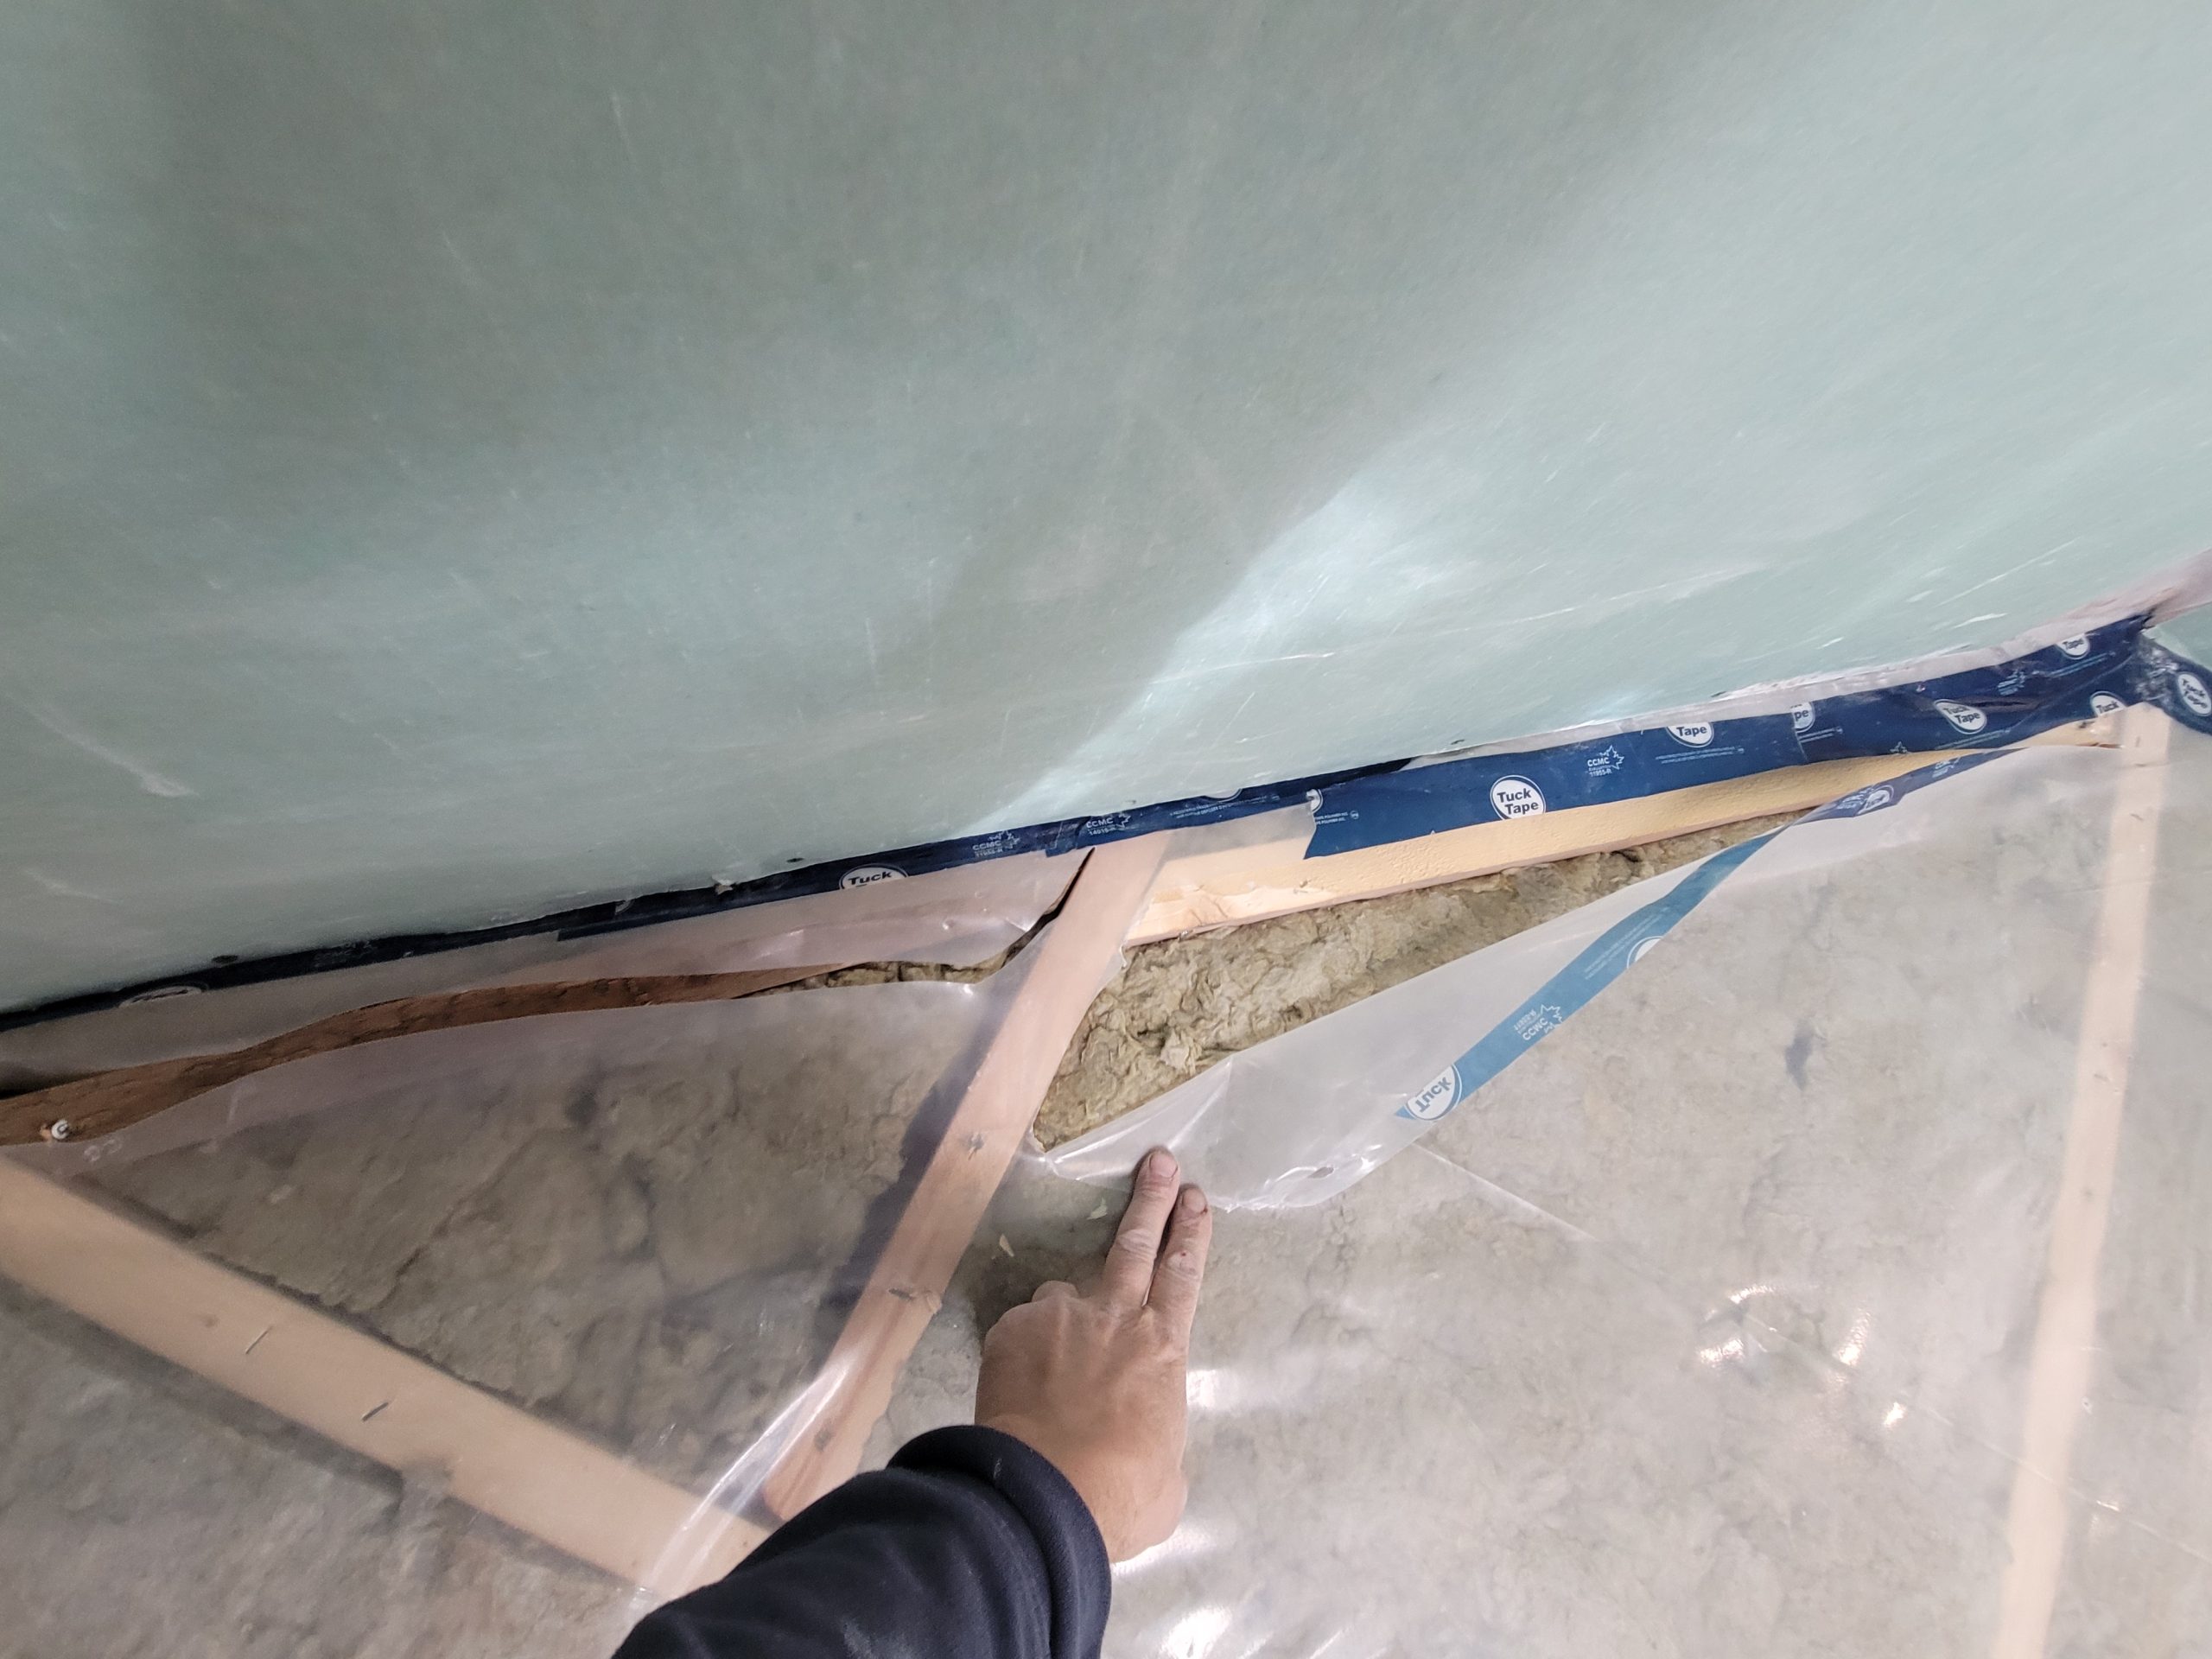
I say fiasco because it was a miserable failure, bulging, breaking, sticking, being the right size but not shape, etc. I ended up ripping it from the wall in many pieces and tossing it outside.
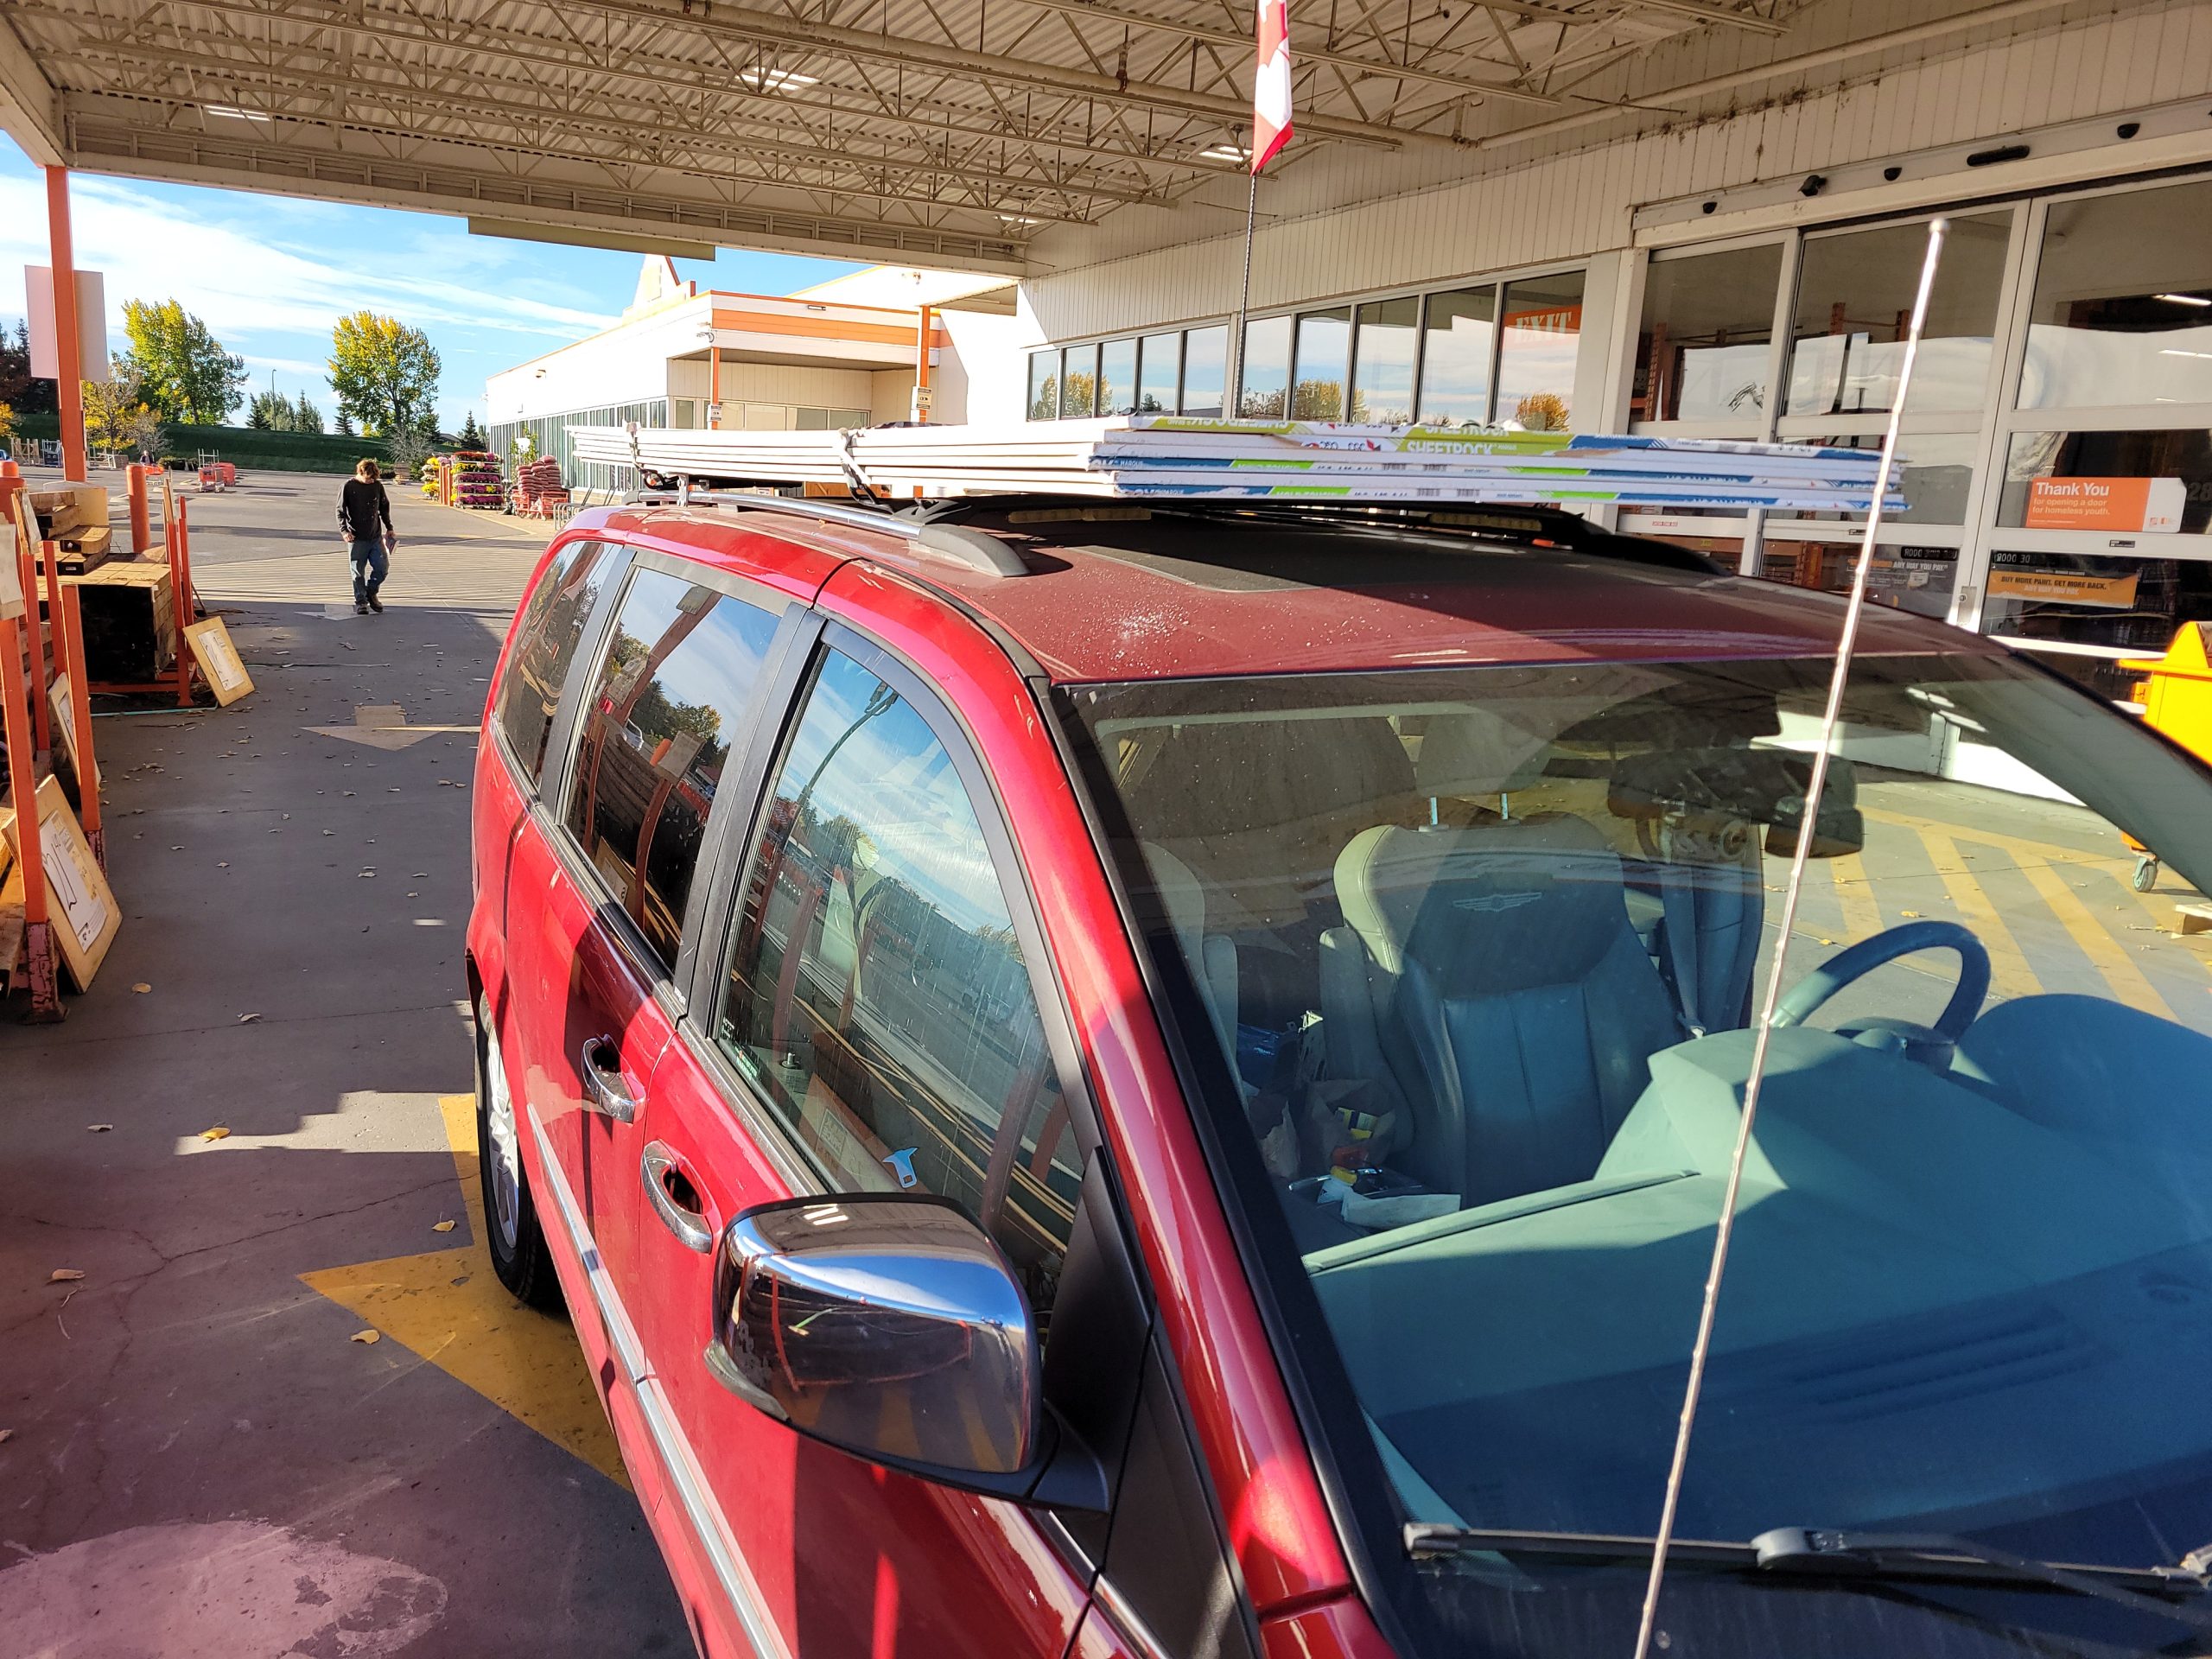
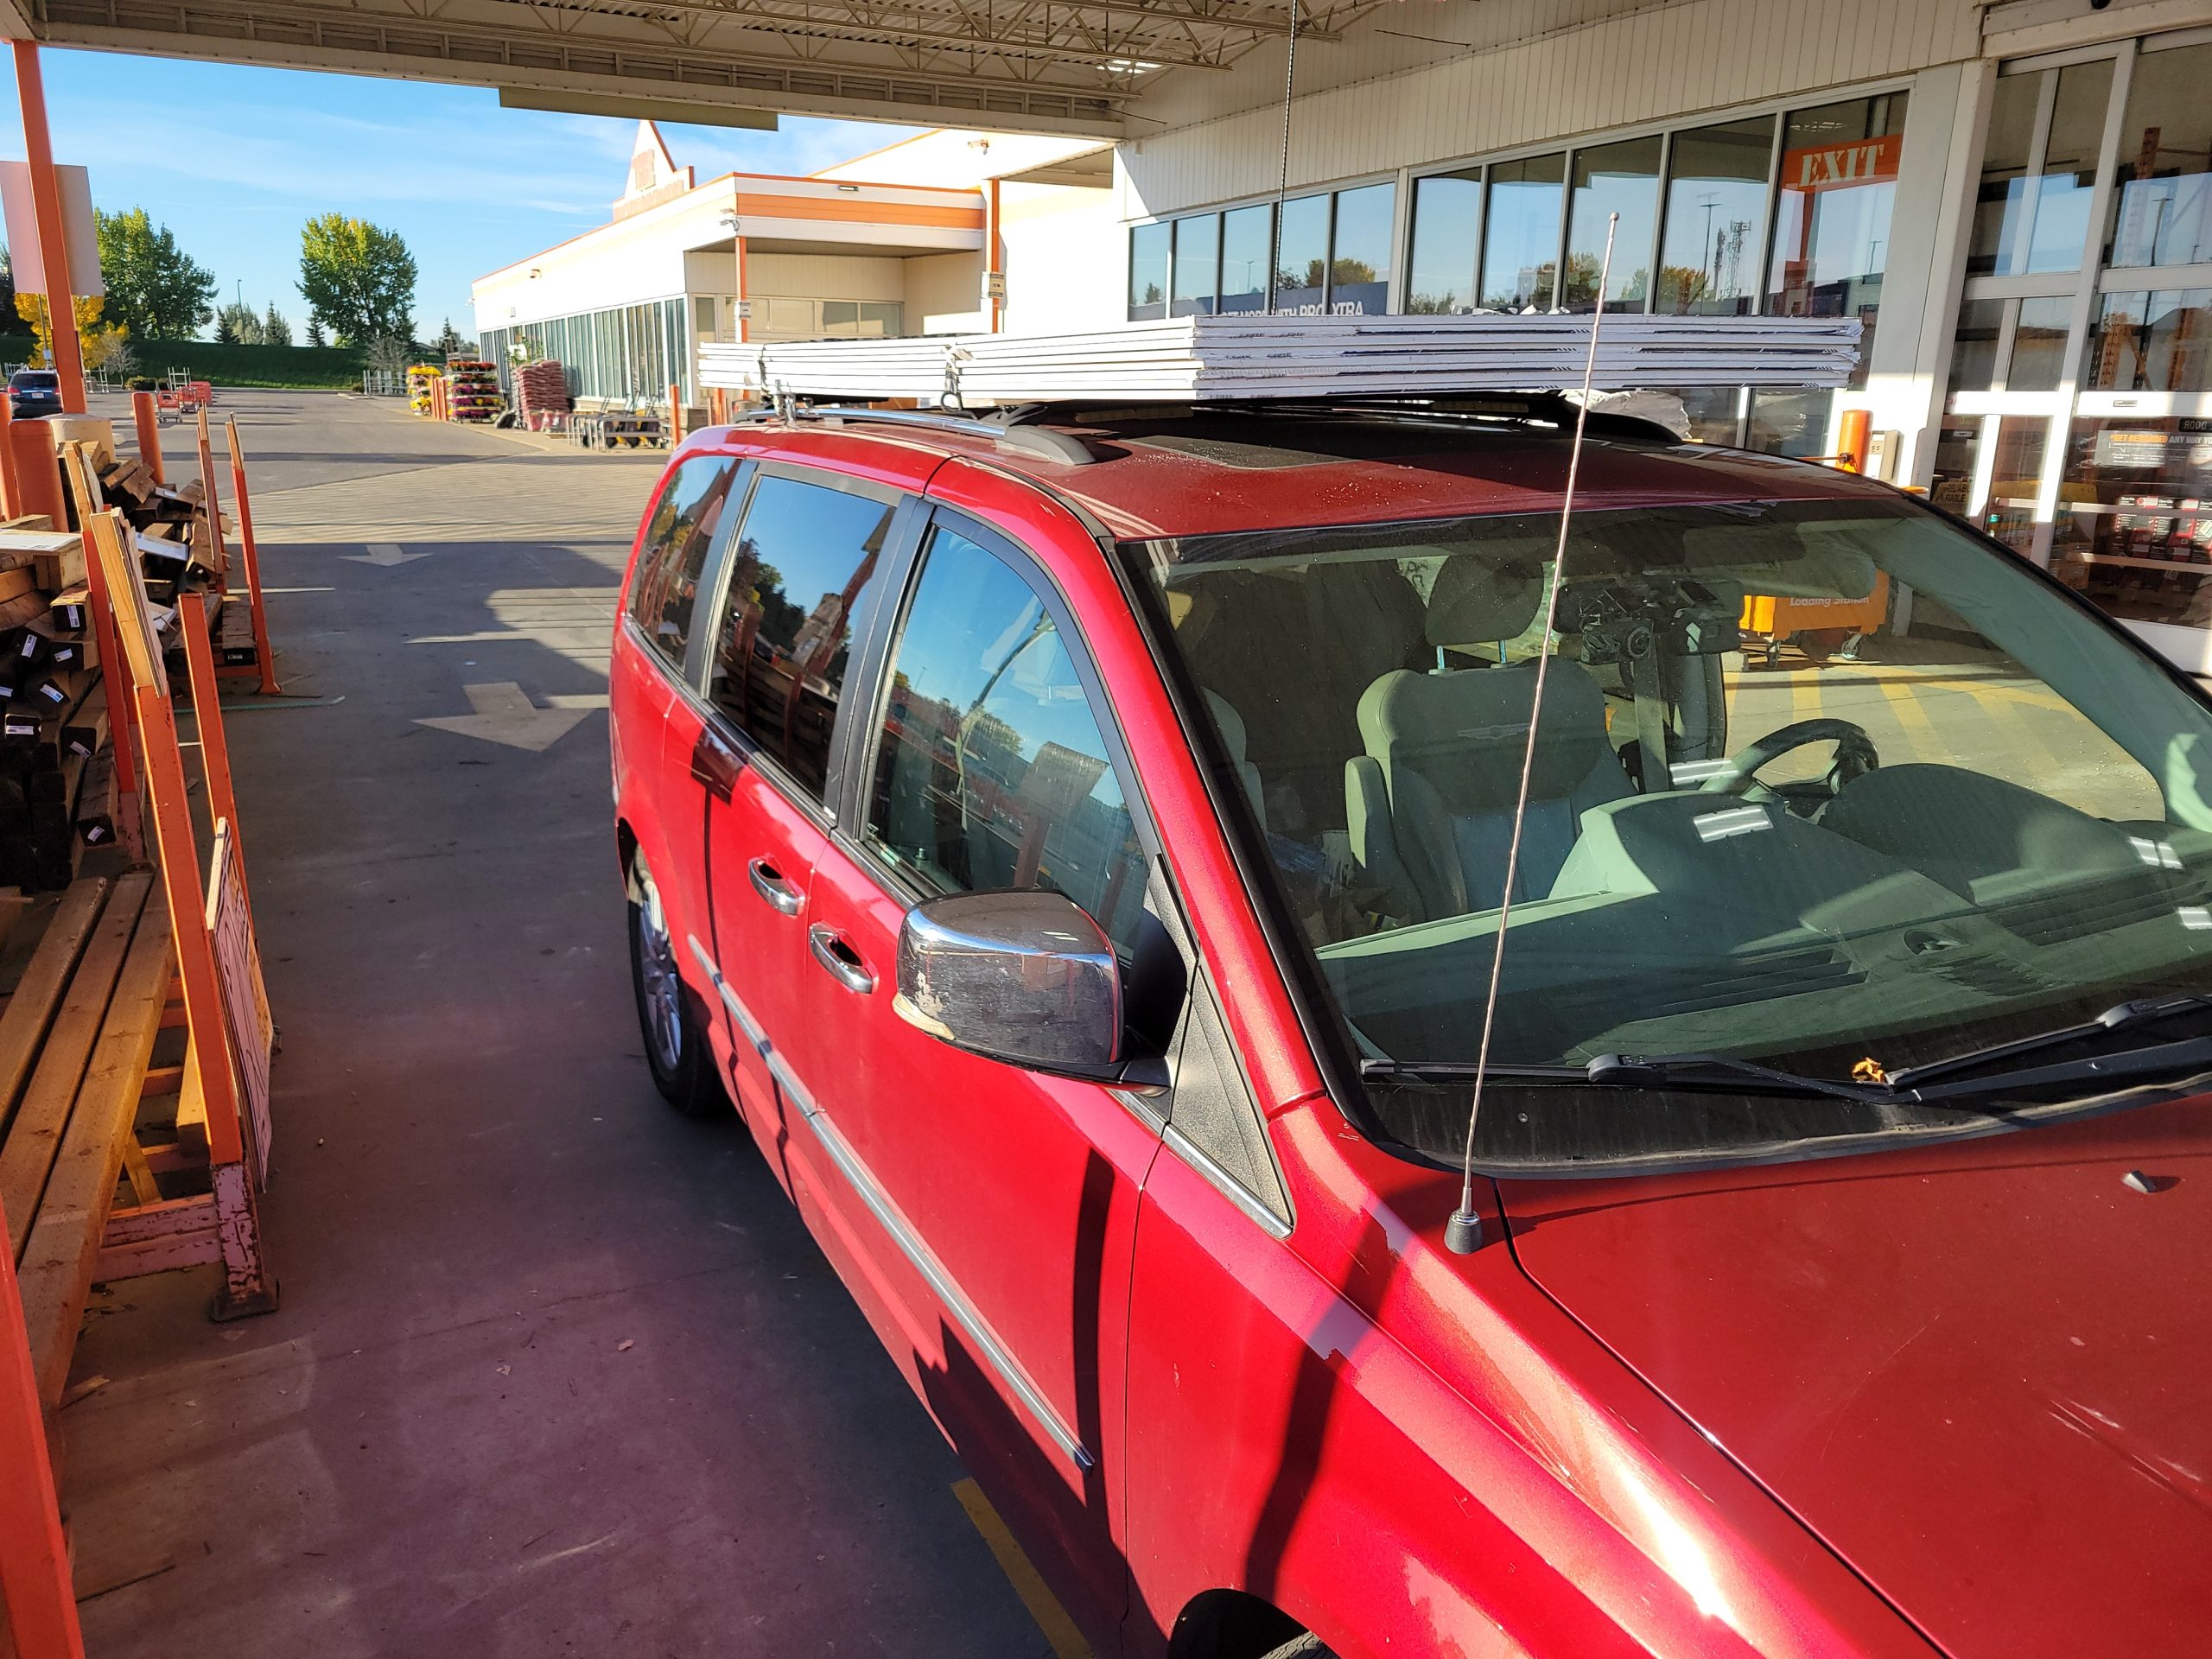
More drywall from HD.
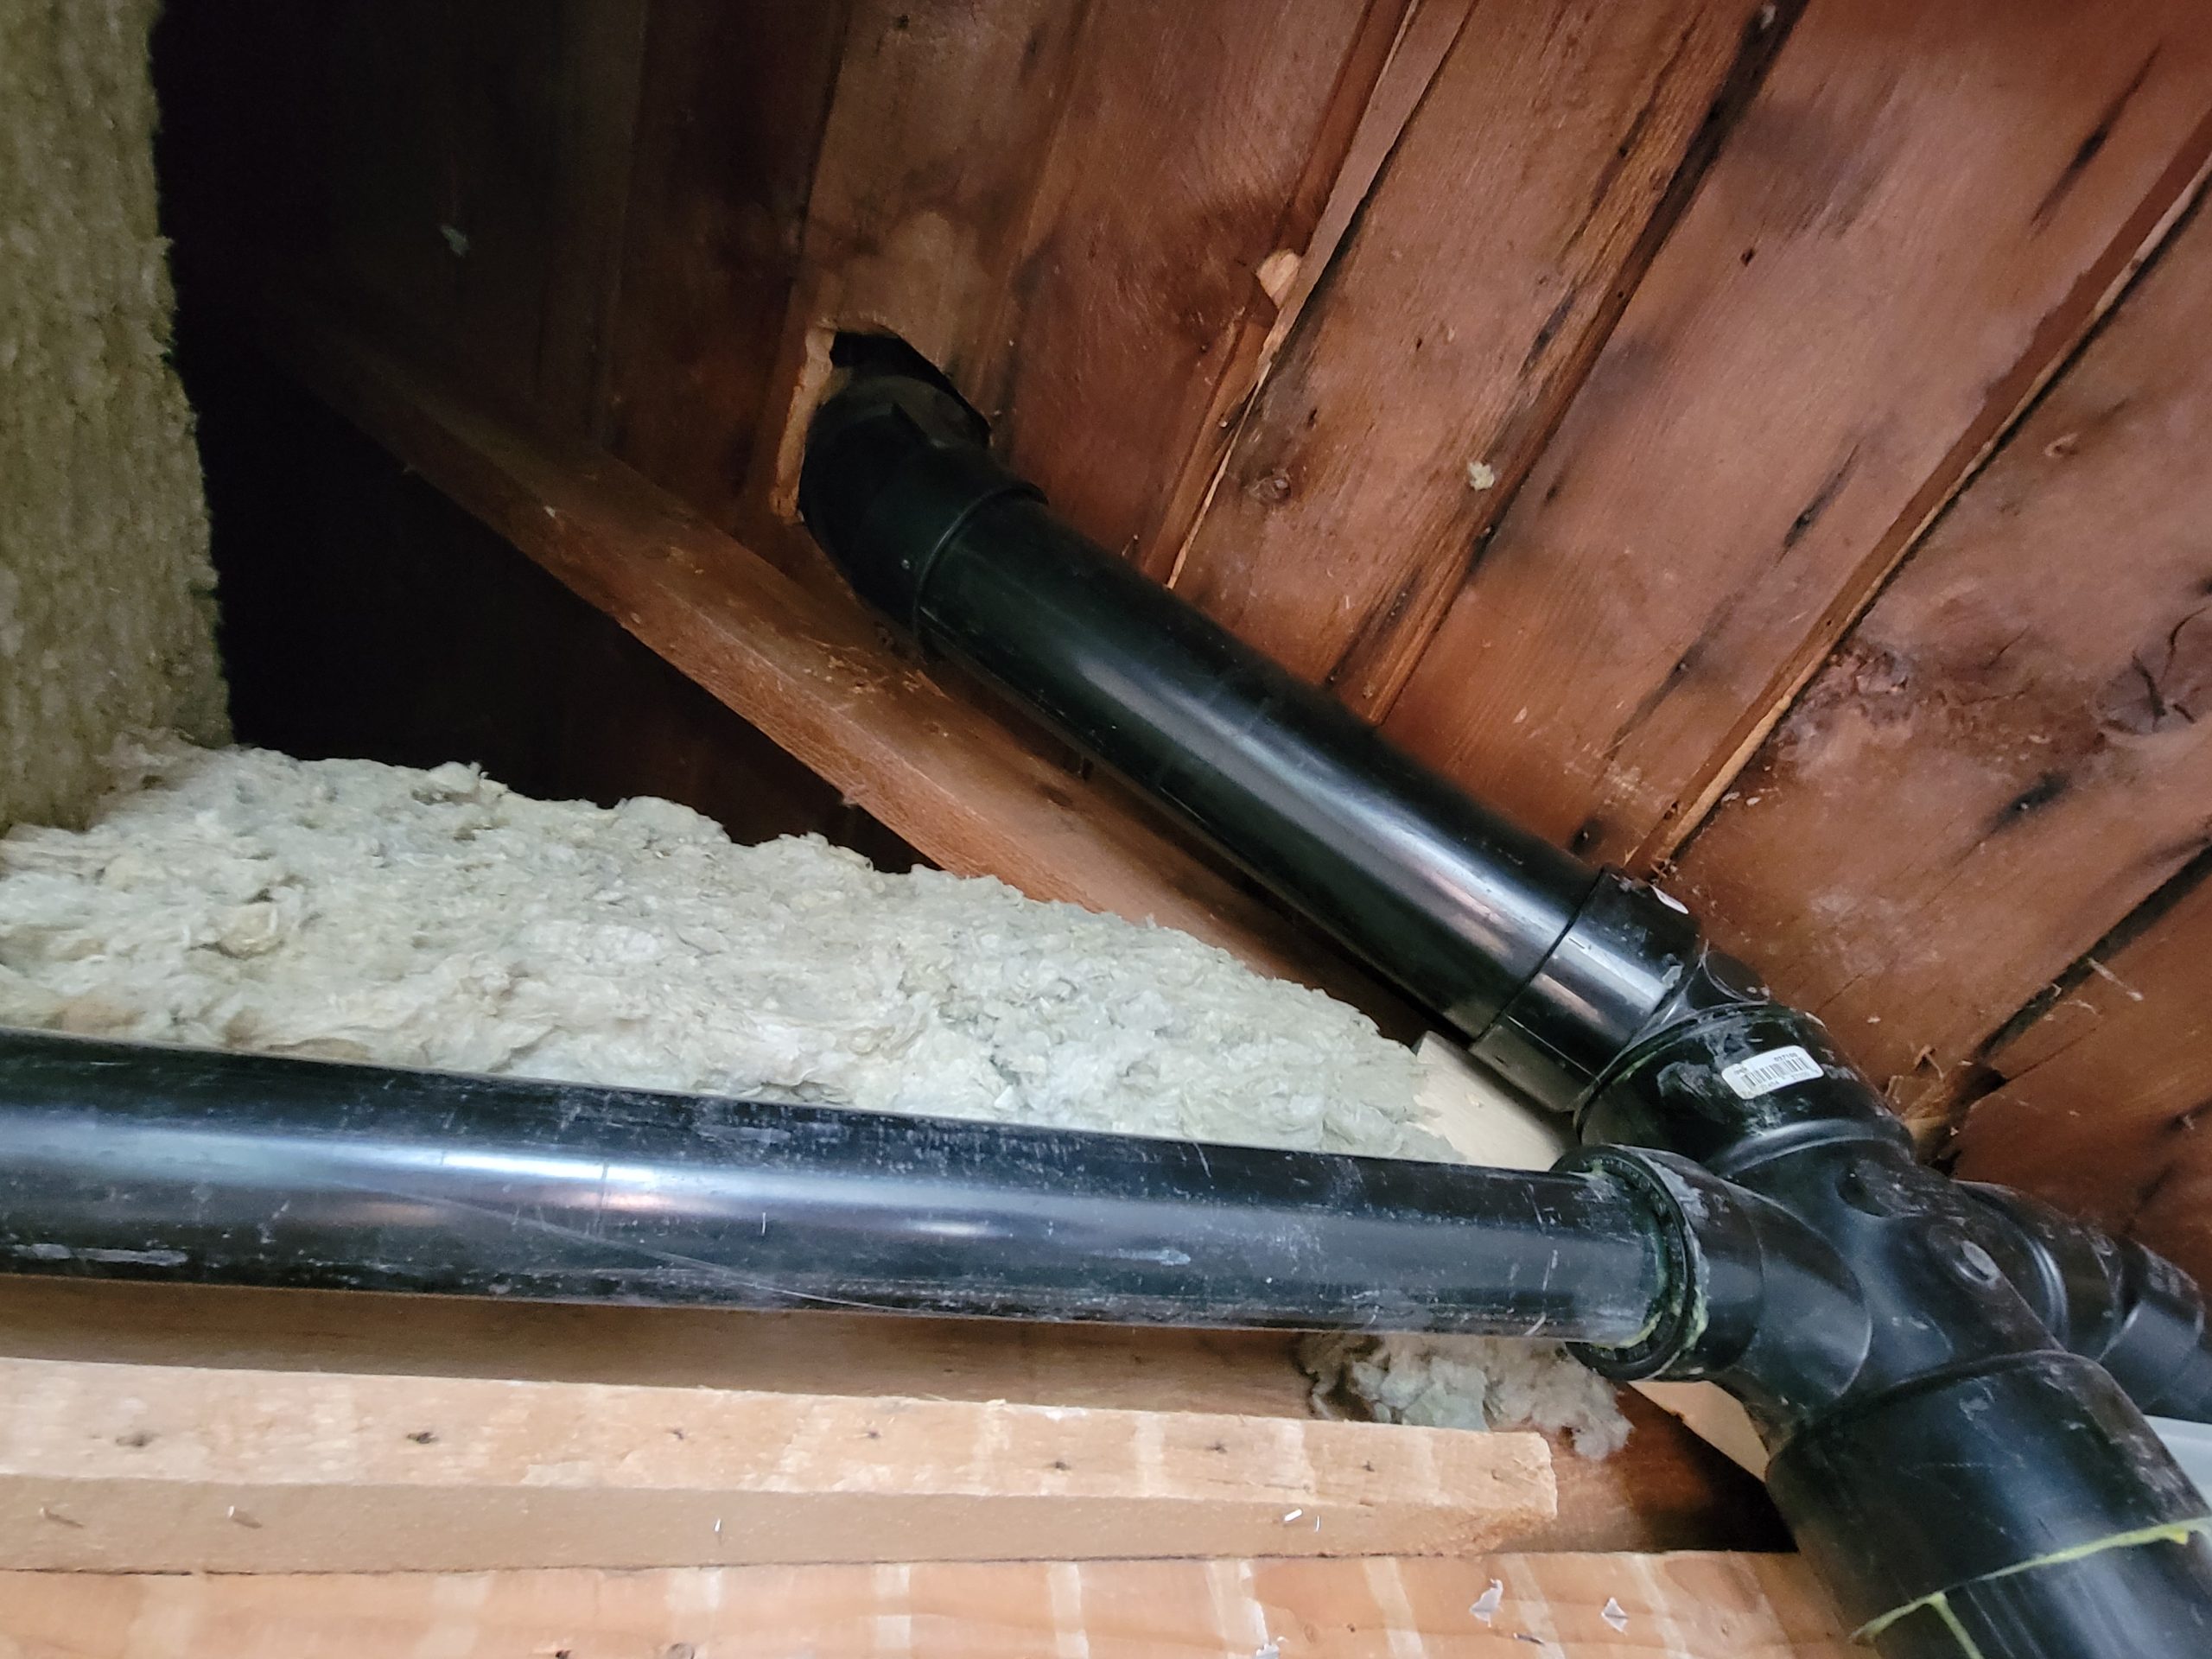
Along with the drywall, I got a regular 3″ ABS elbow and finished off the vent stack.
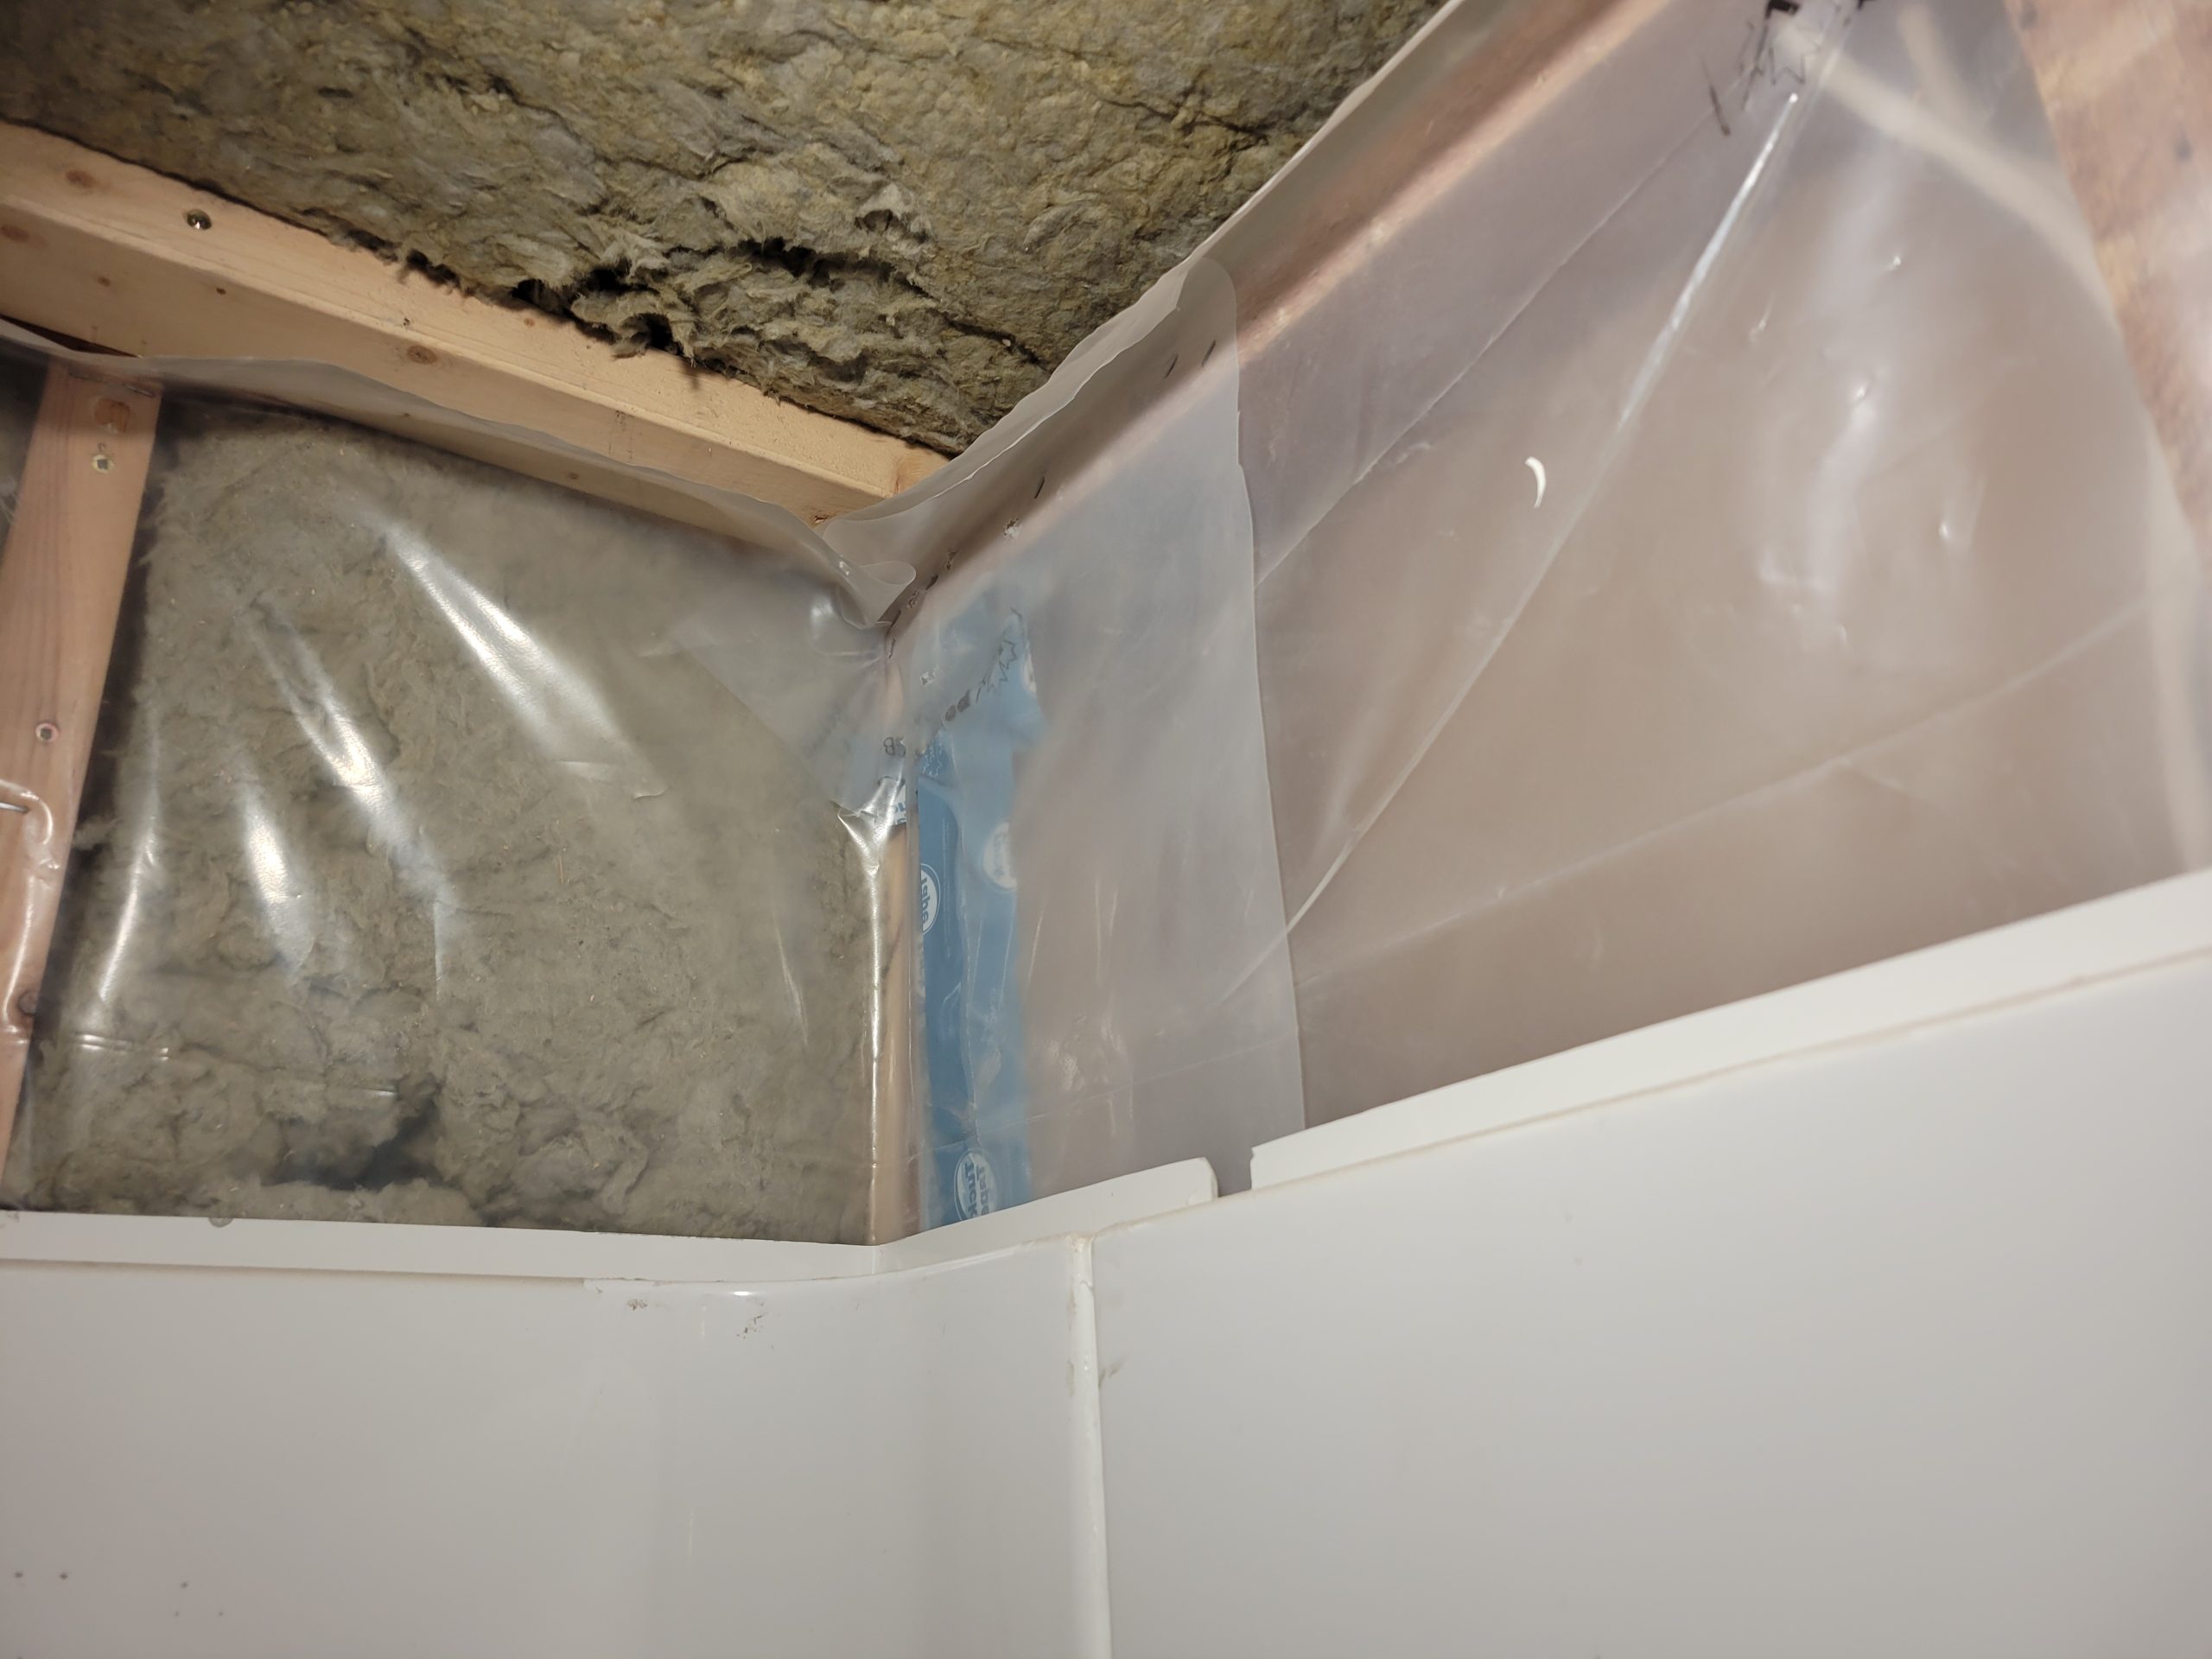
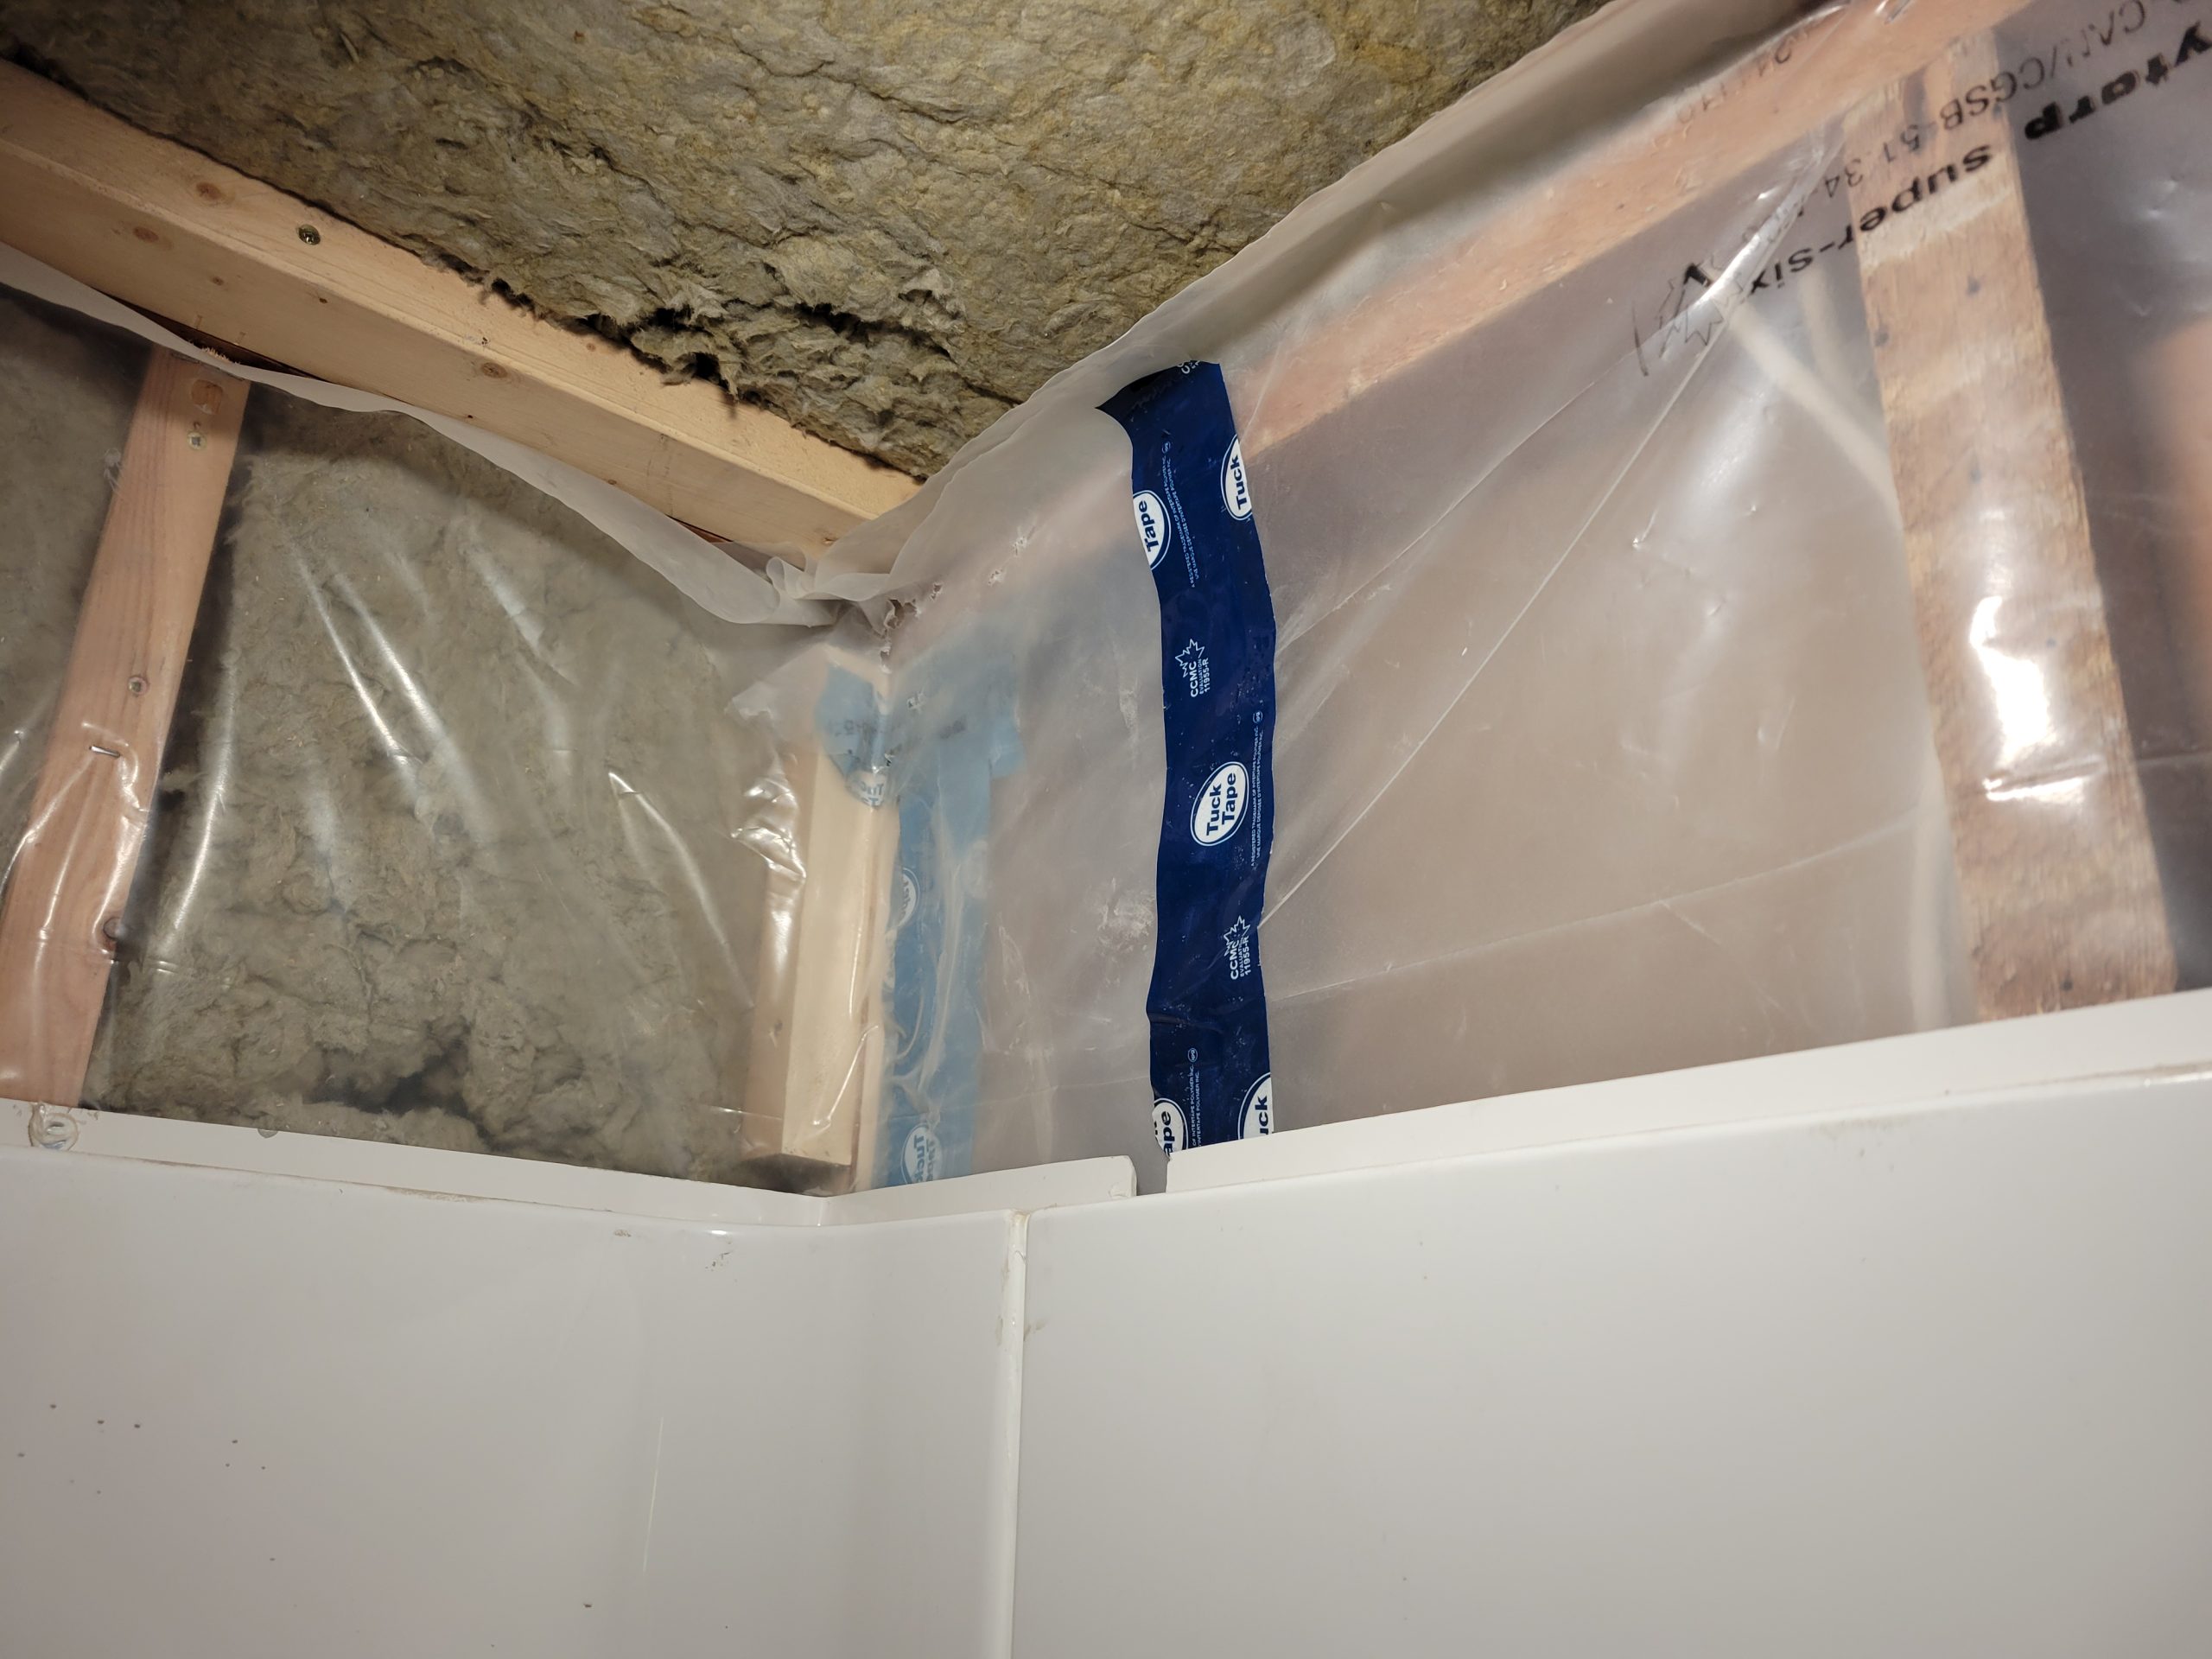
After adding vapour barrier to the WC ceiling, I made sure the framing / backing was in for drywall and found that the corner above the shower wasn’t framed as such. I used 2x2s. I dropped one of them down the wall and had to cut another. Oops.
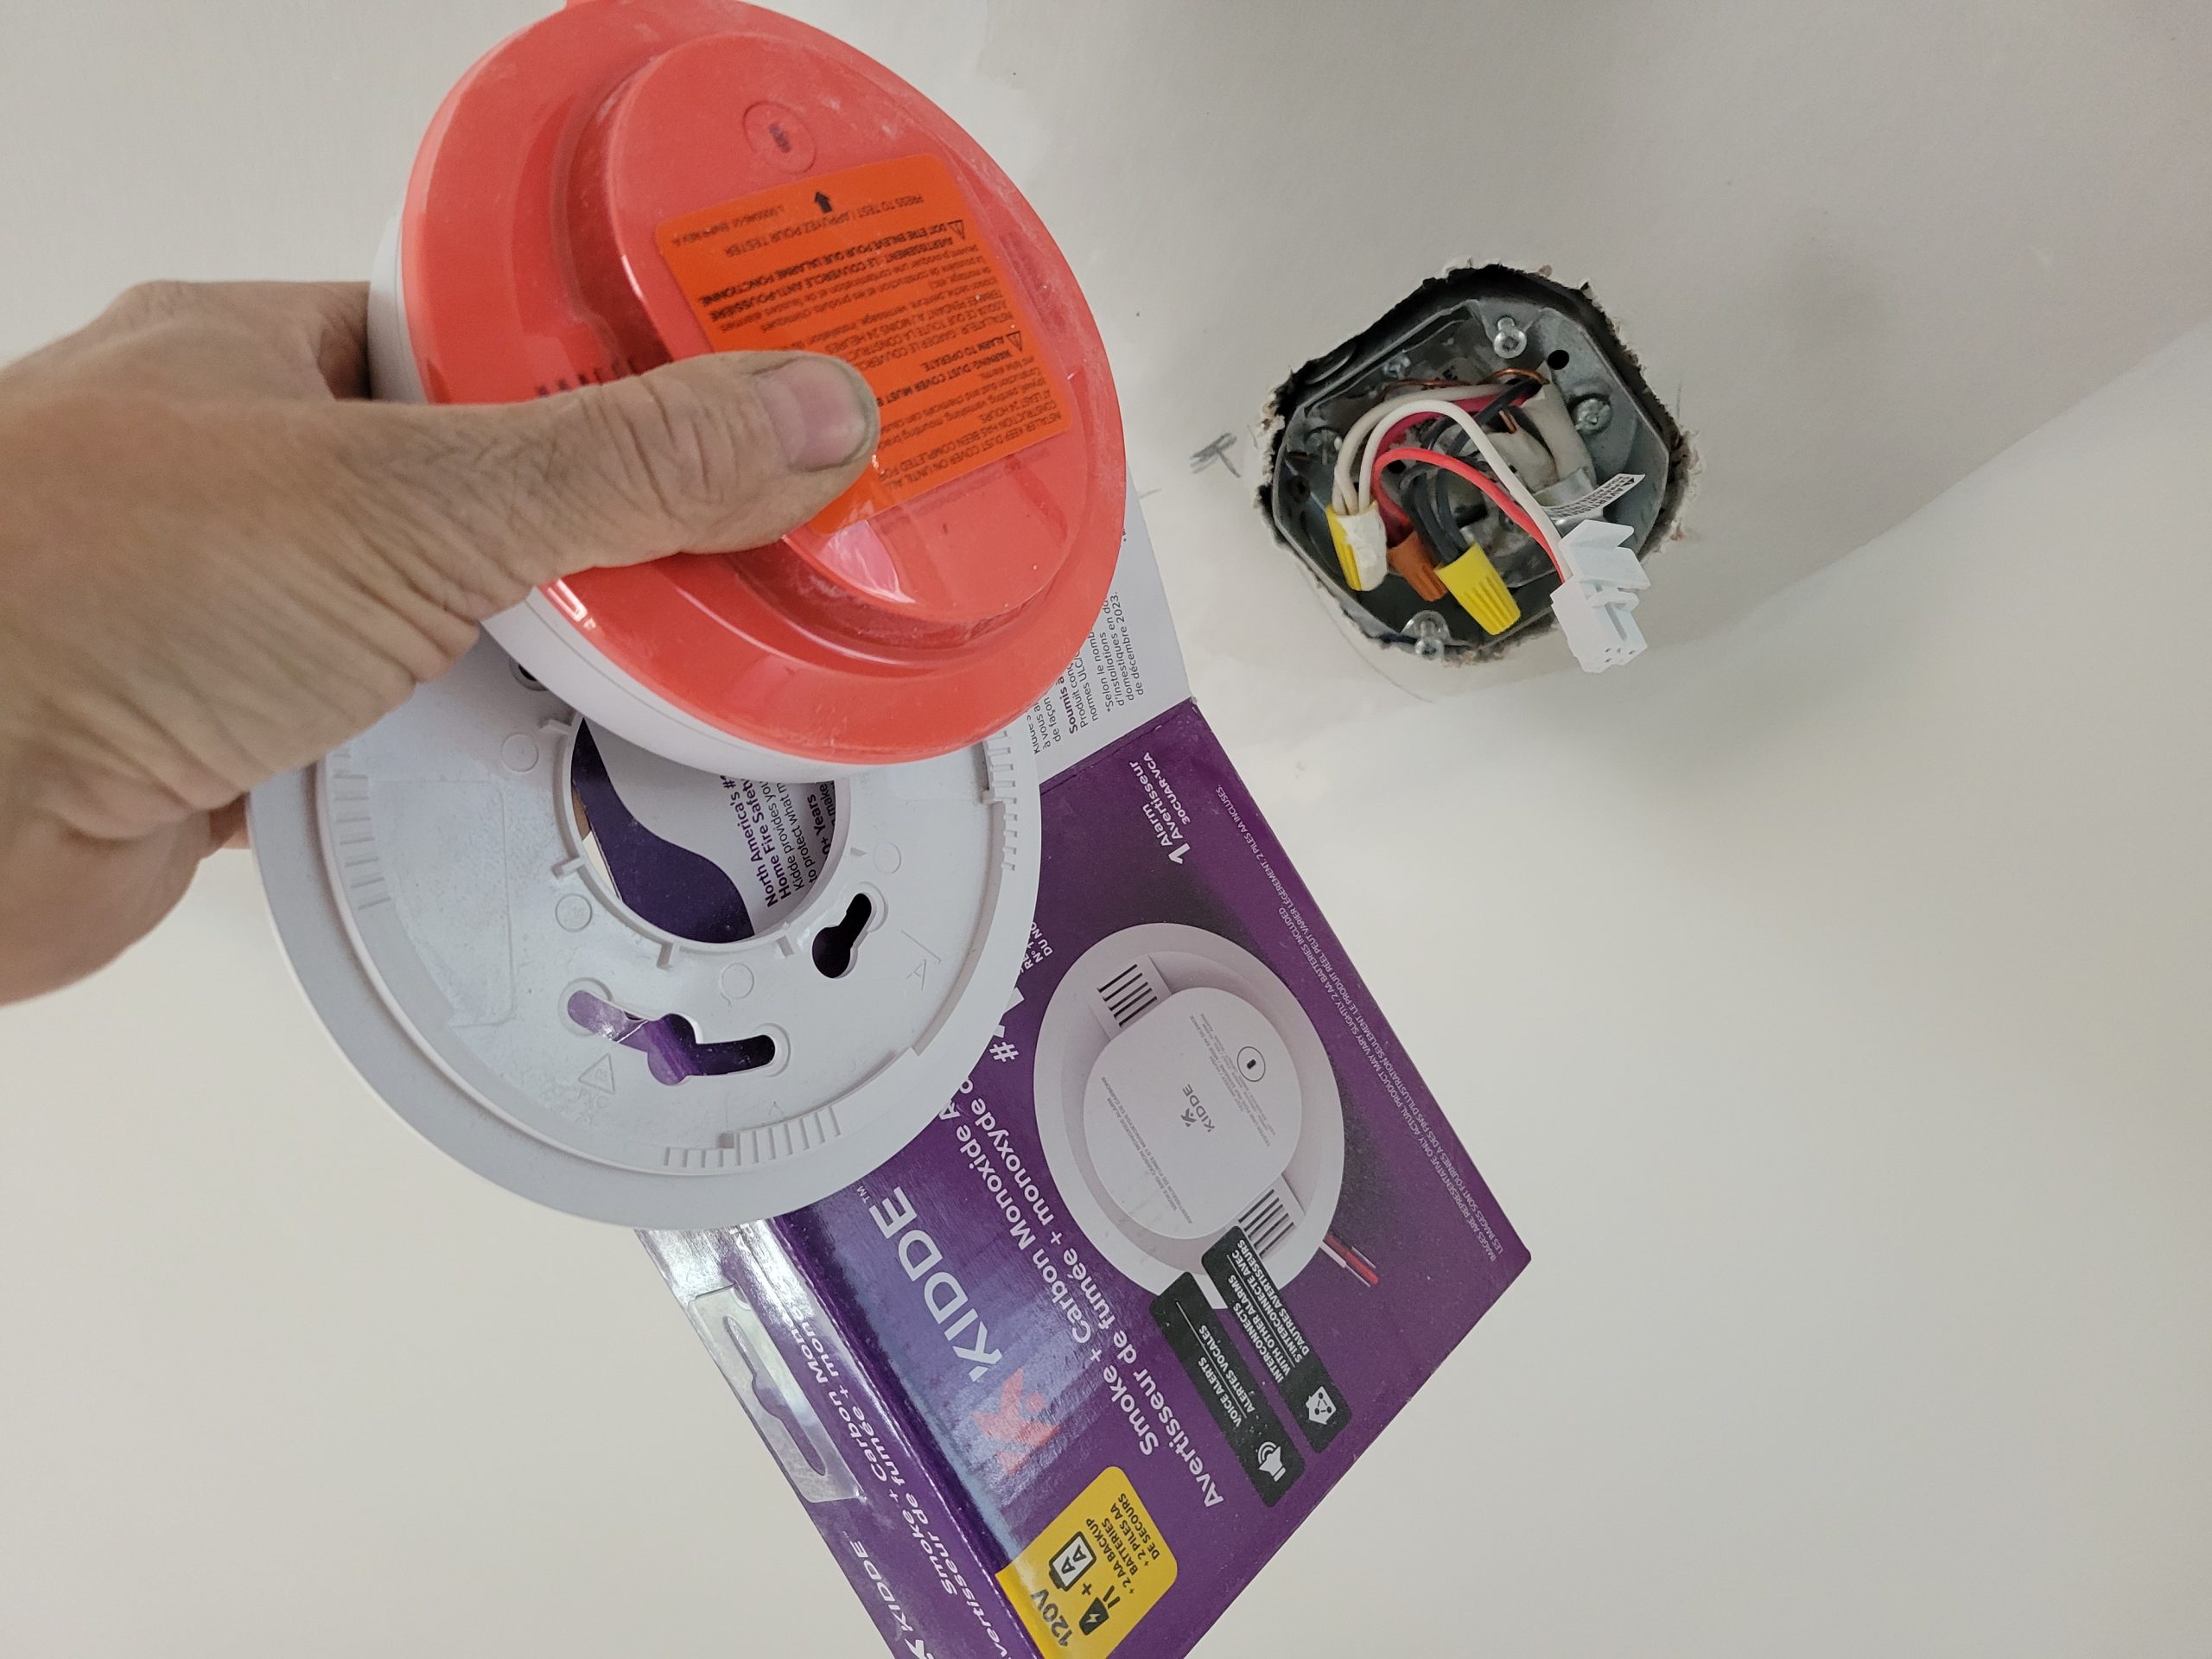
Electrical Code says that a CO smoke detector must be installed in the common area. Why a CO detector is installed up high, I’ll never know. (Carbon monoxide is heavier that air and drops.)
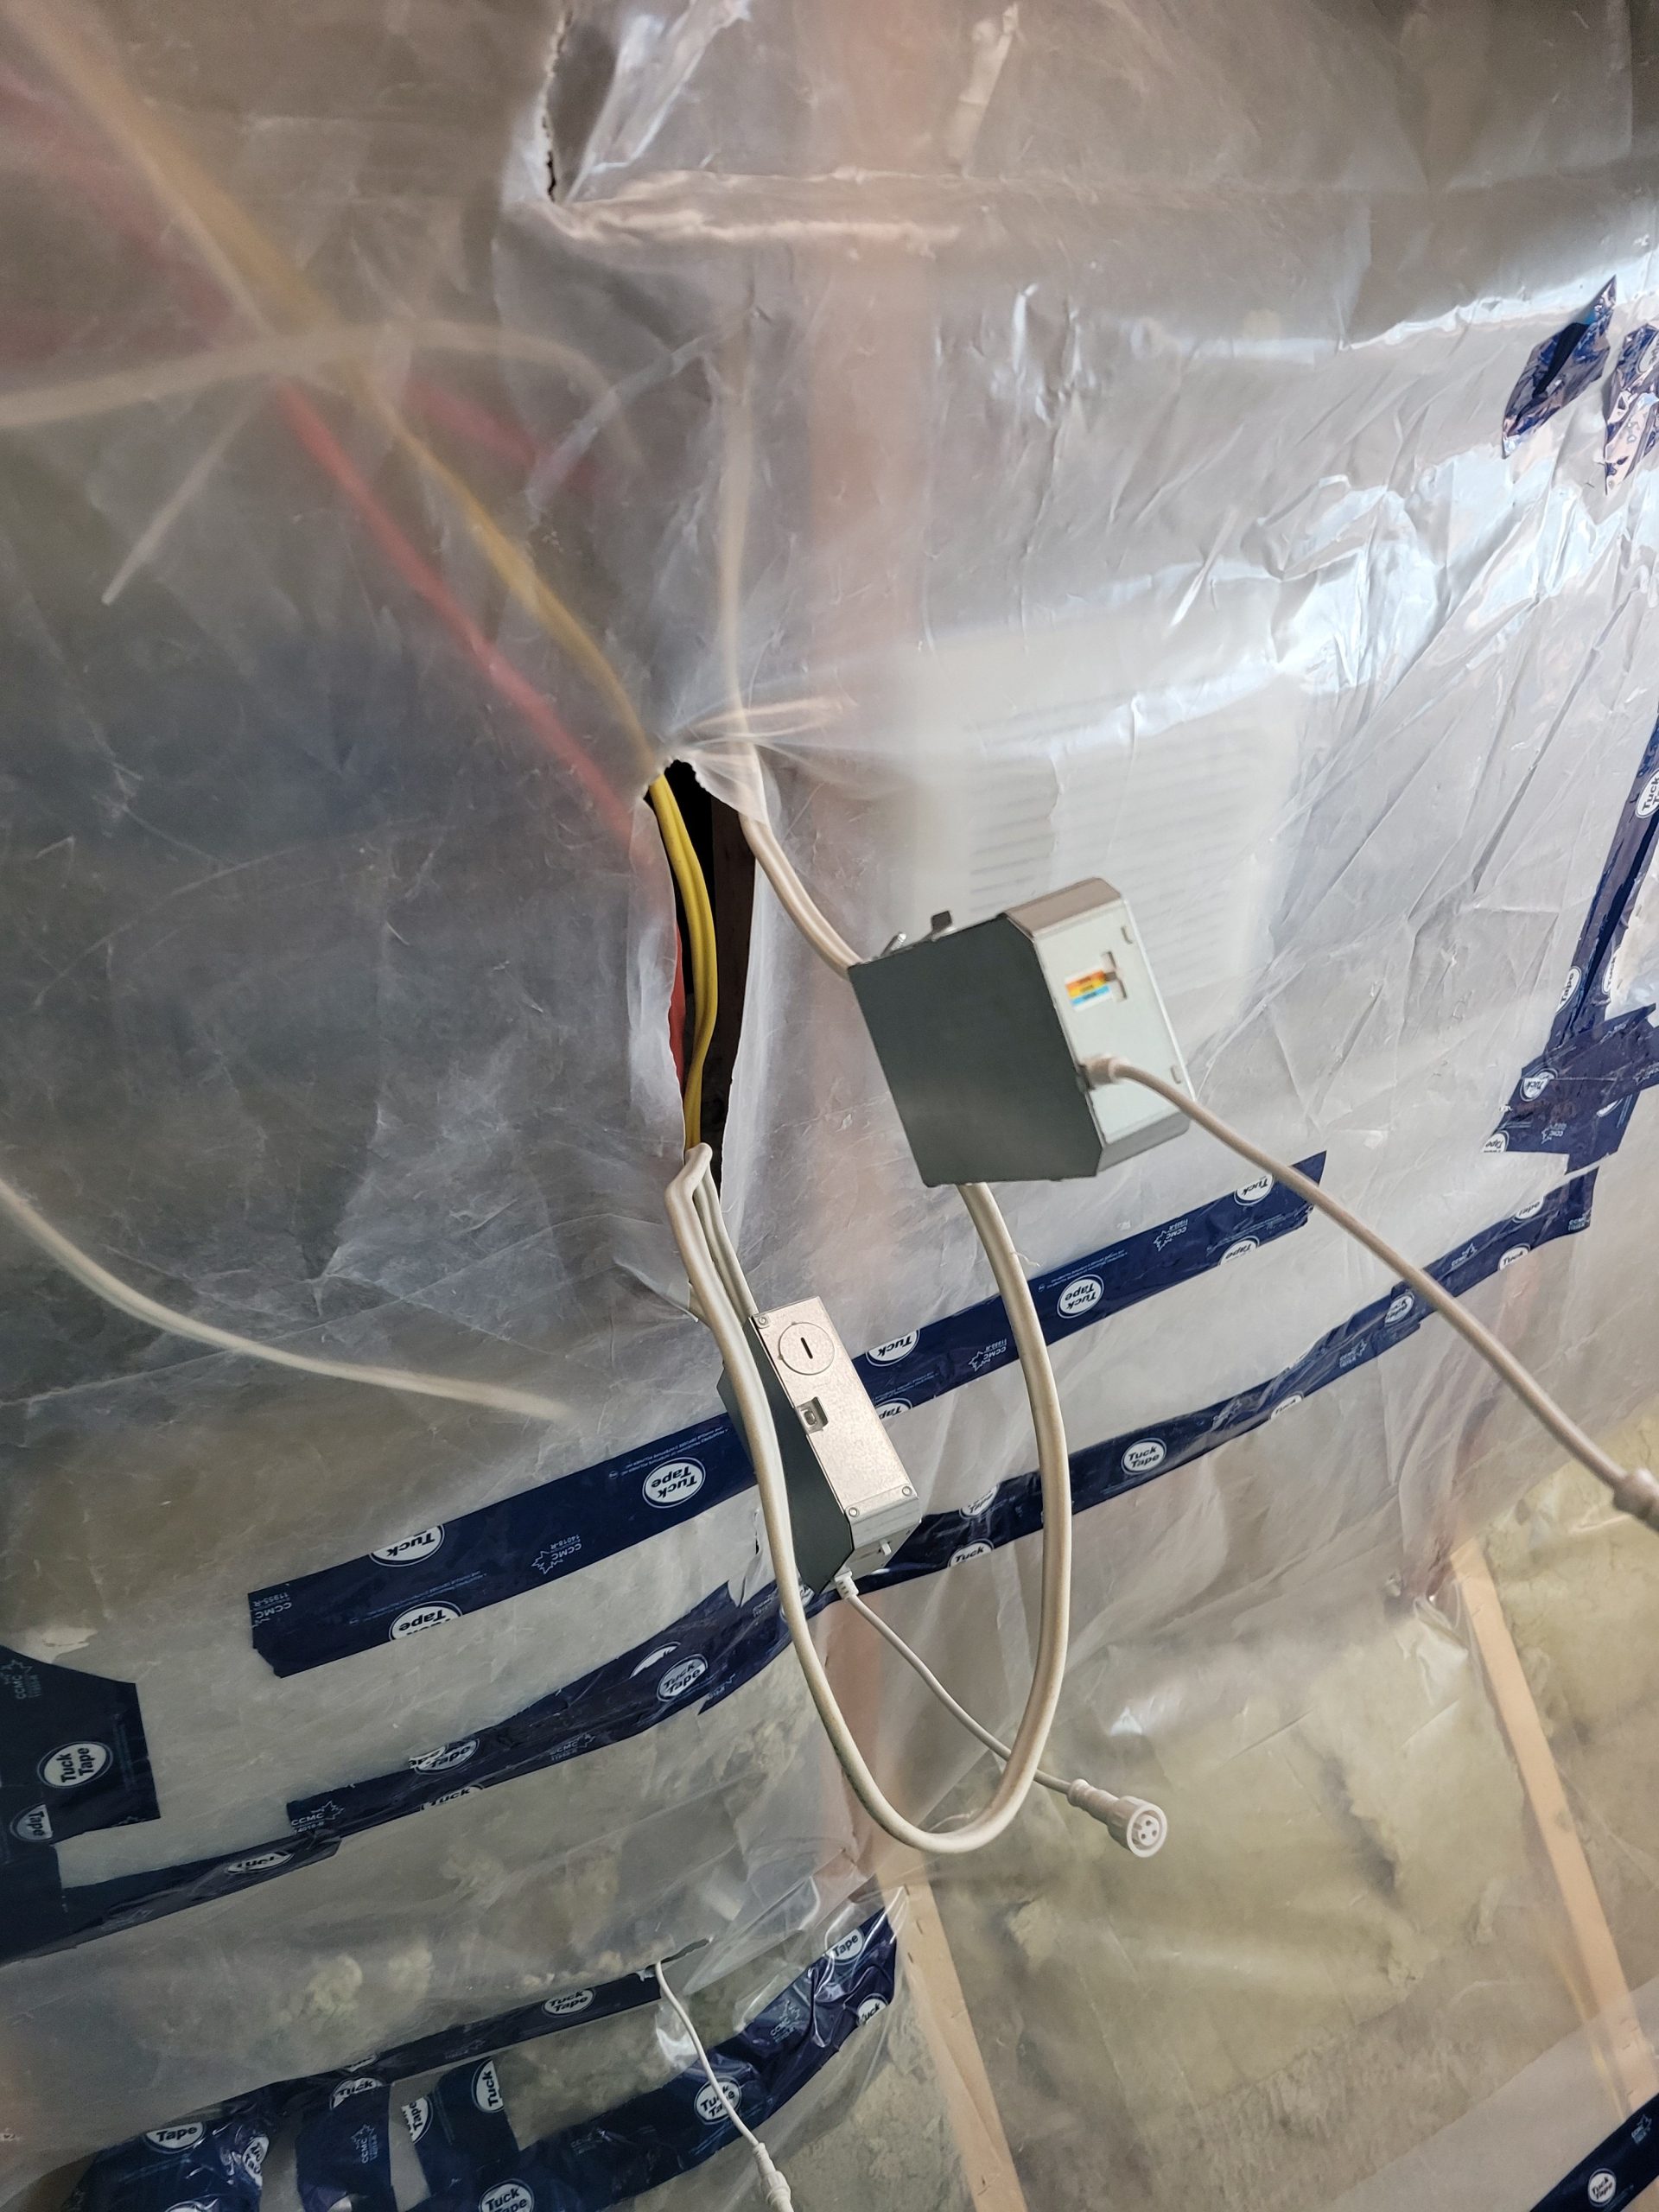
A length of bath ceiling light wiring was switched out to allow for more room between the fixtures.
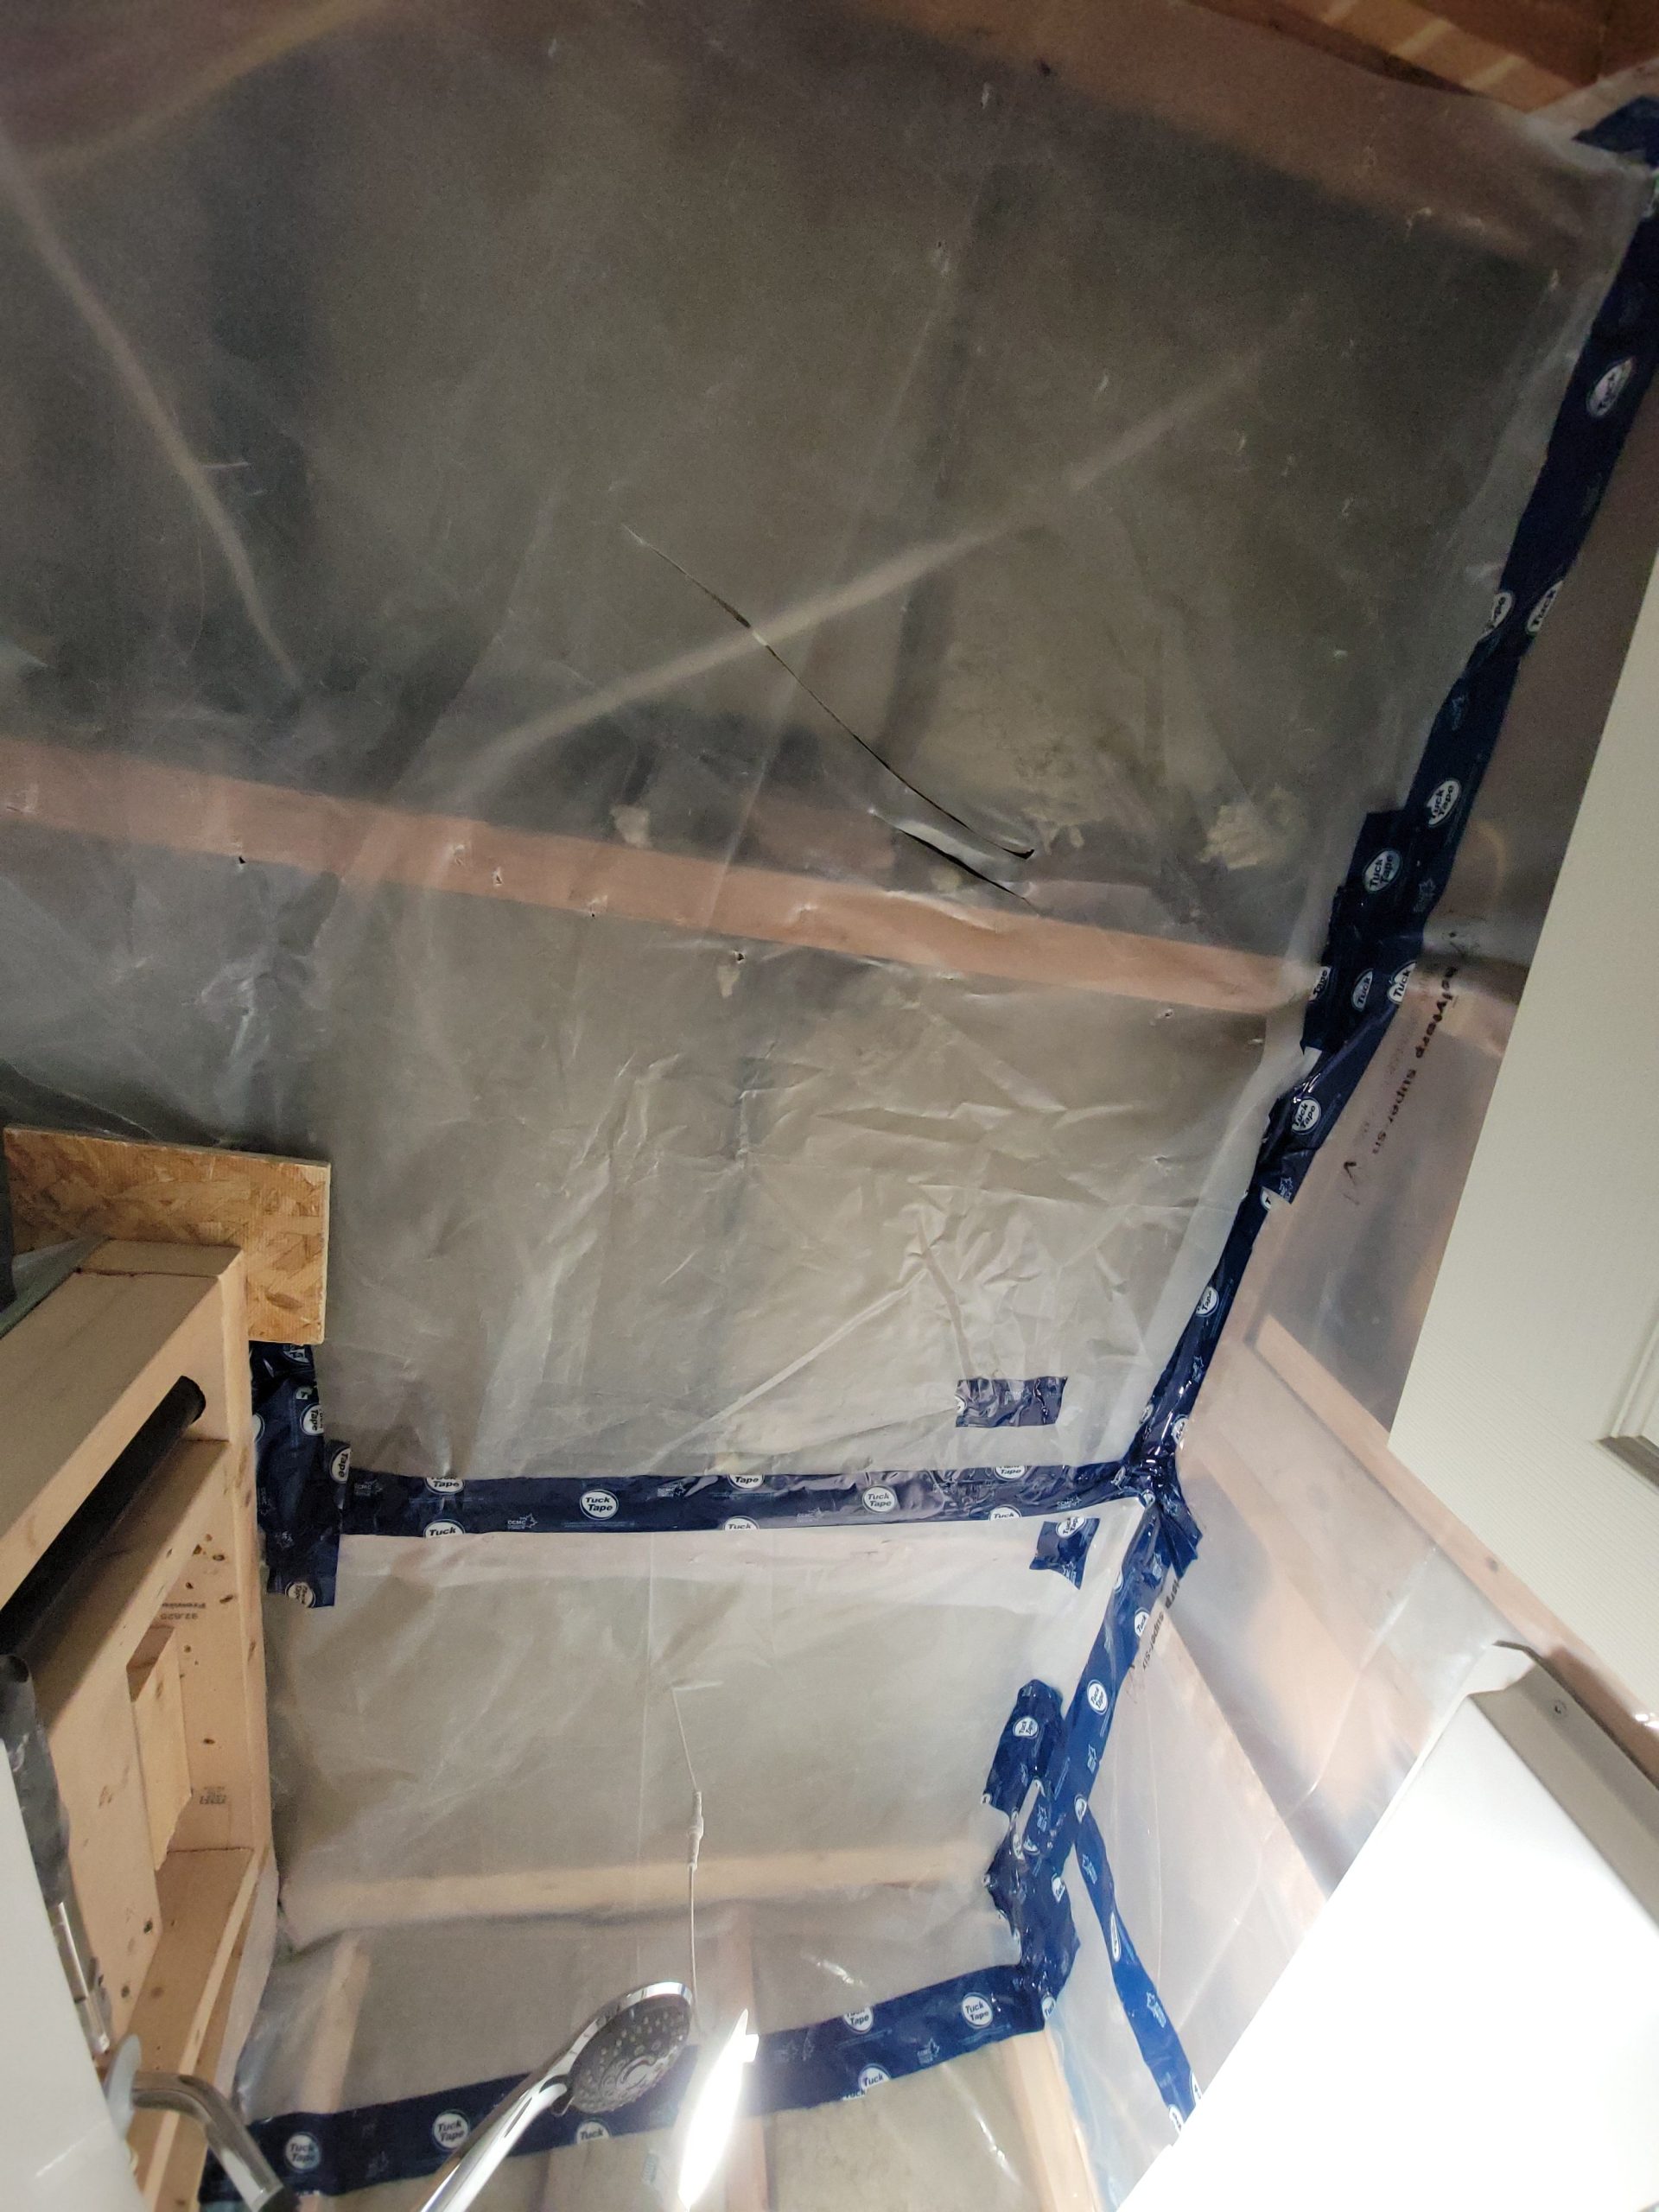
The ceiling is ready for drywall.
It is now complete.
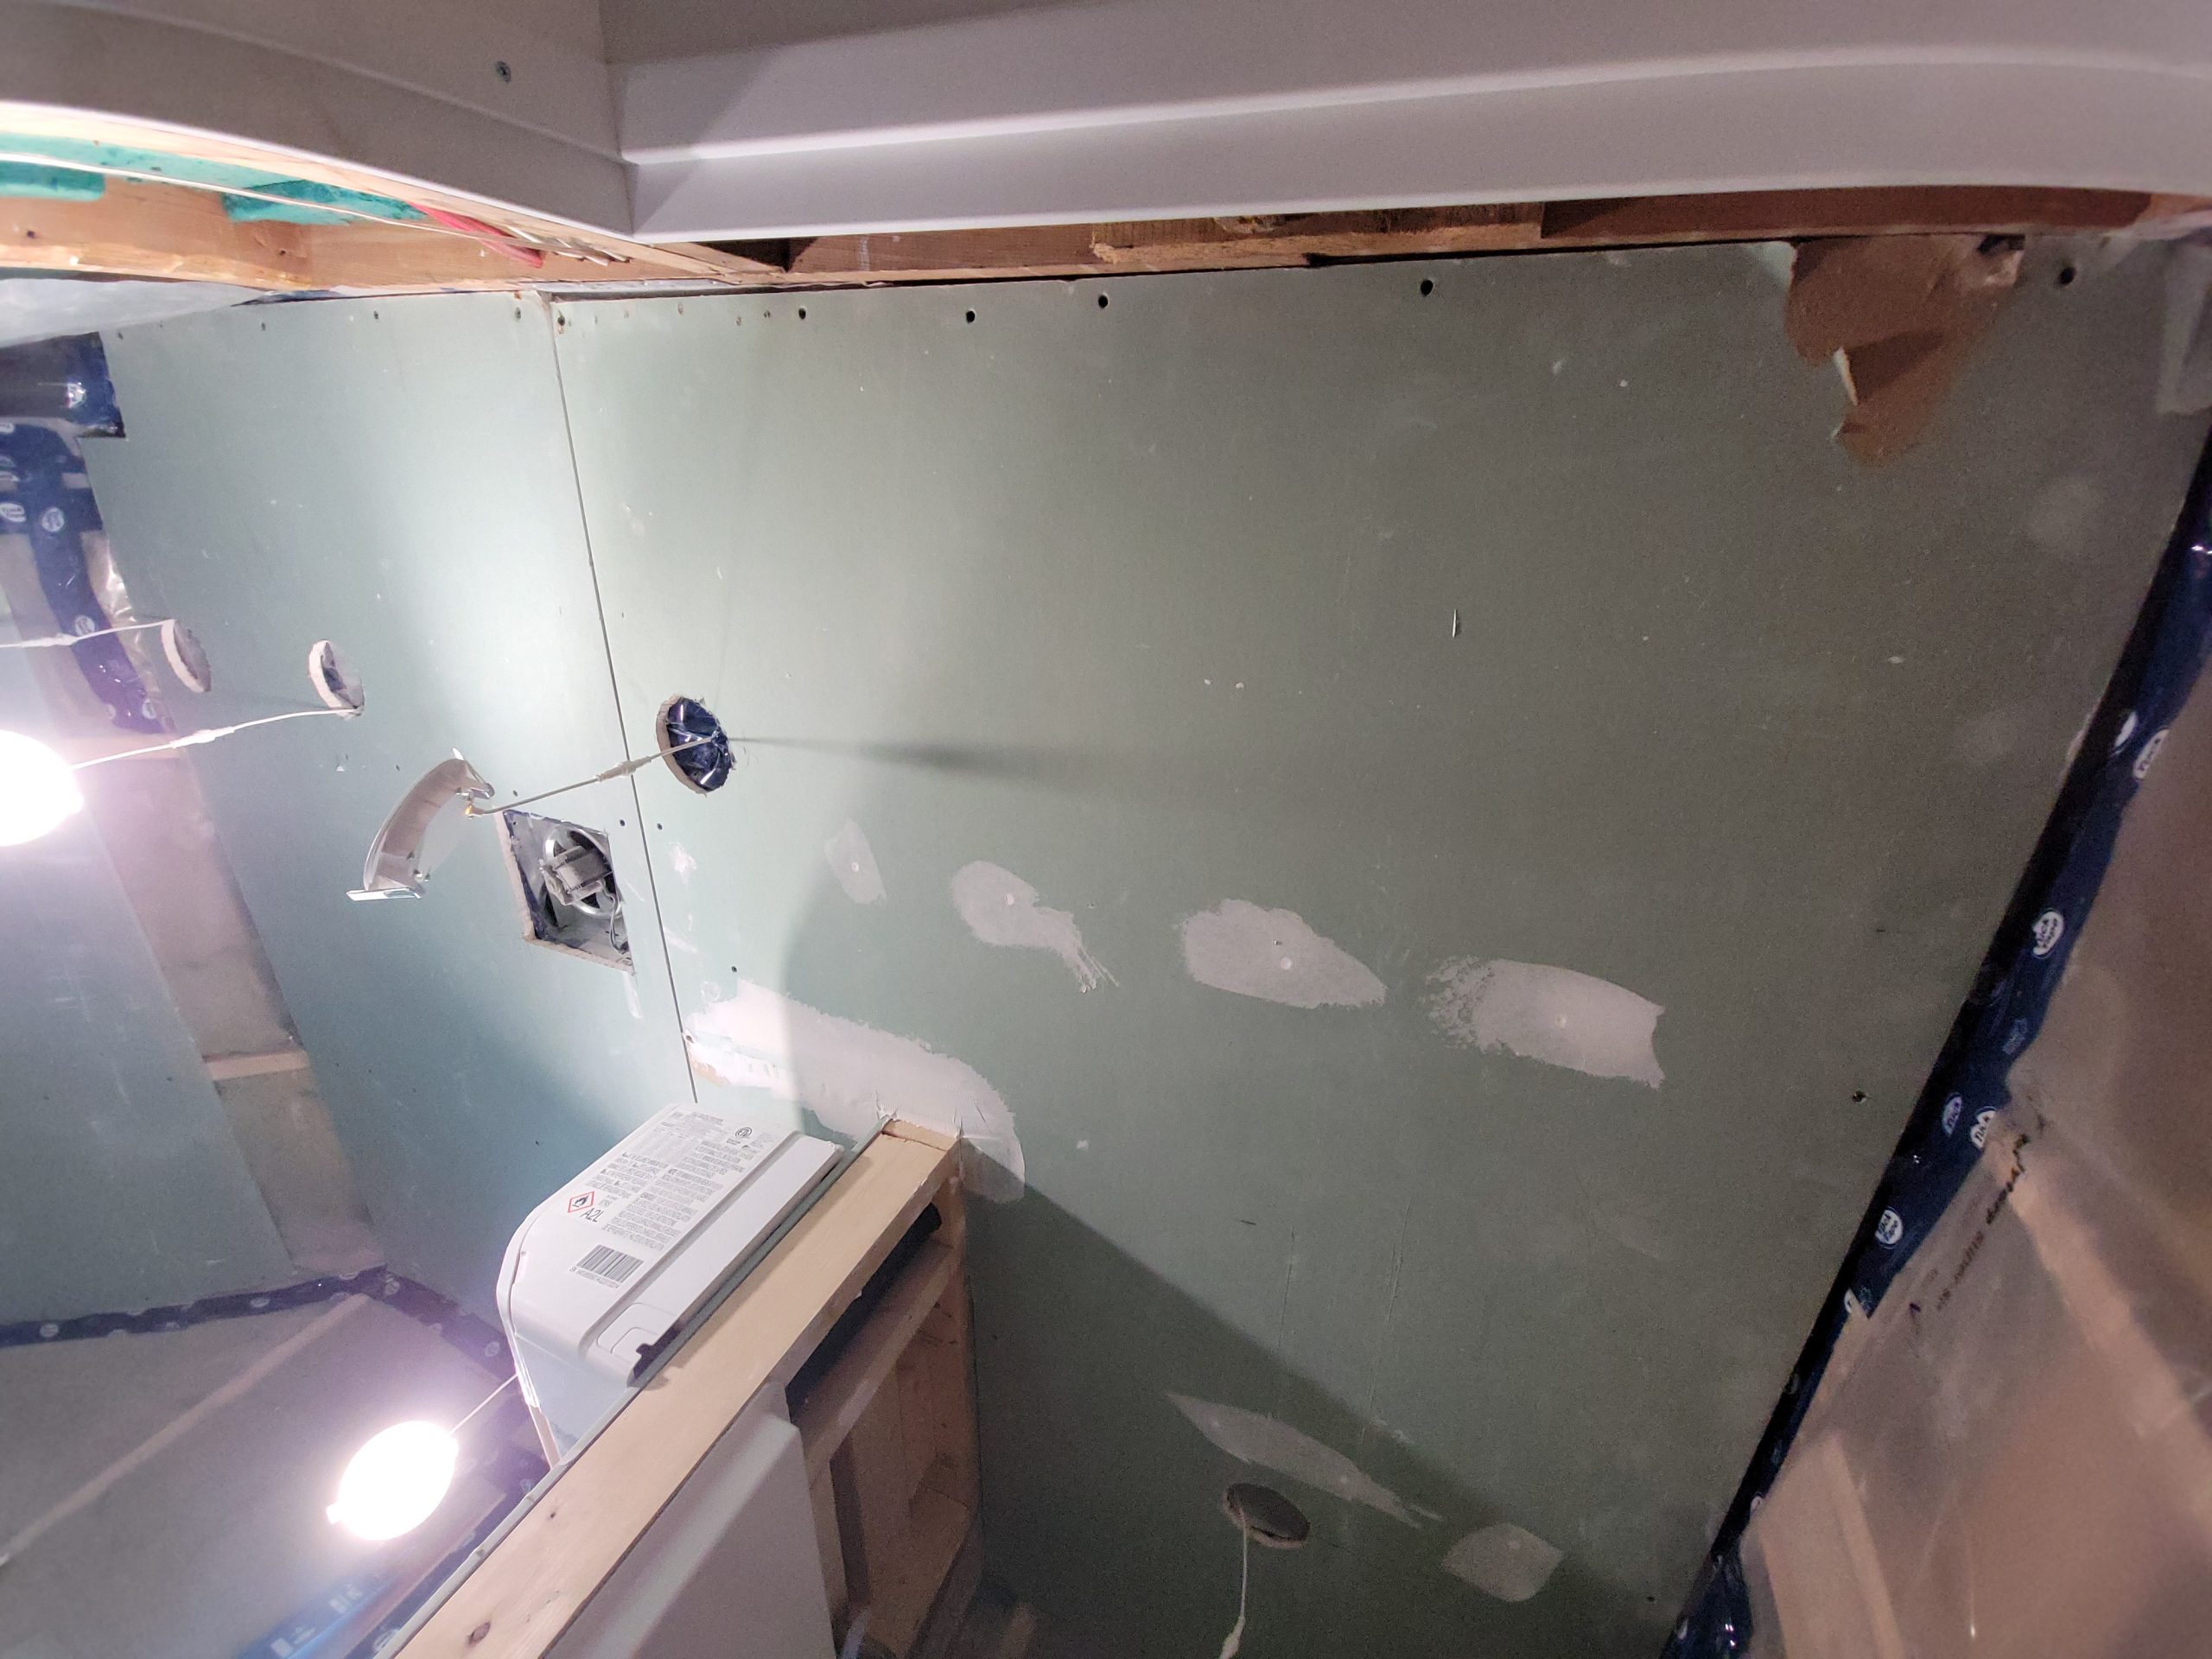
Next, the walls. I had to score the back of this piece along a stud line to fold the sheet. I tried for over an hour to make it fit without folding it without success. In the process, I damaged the left edge and the window area.
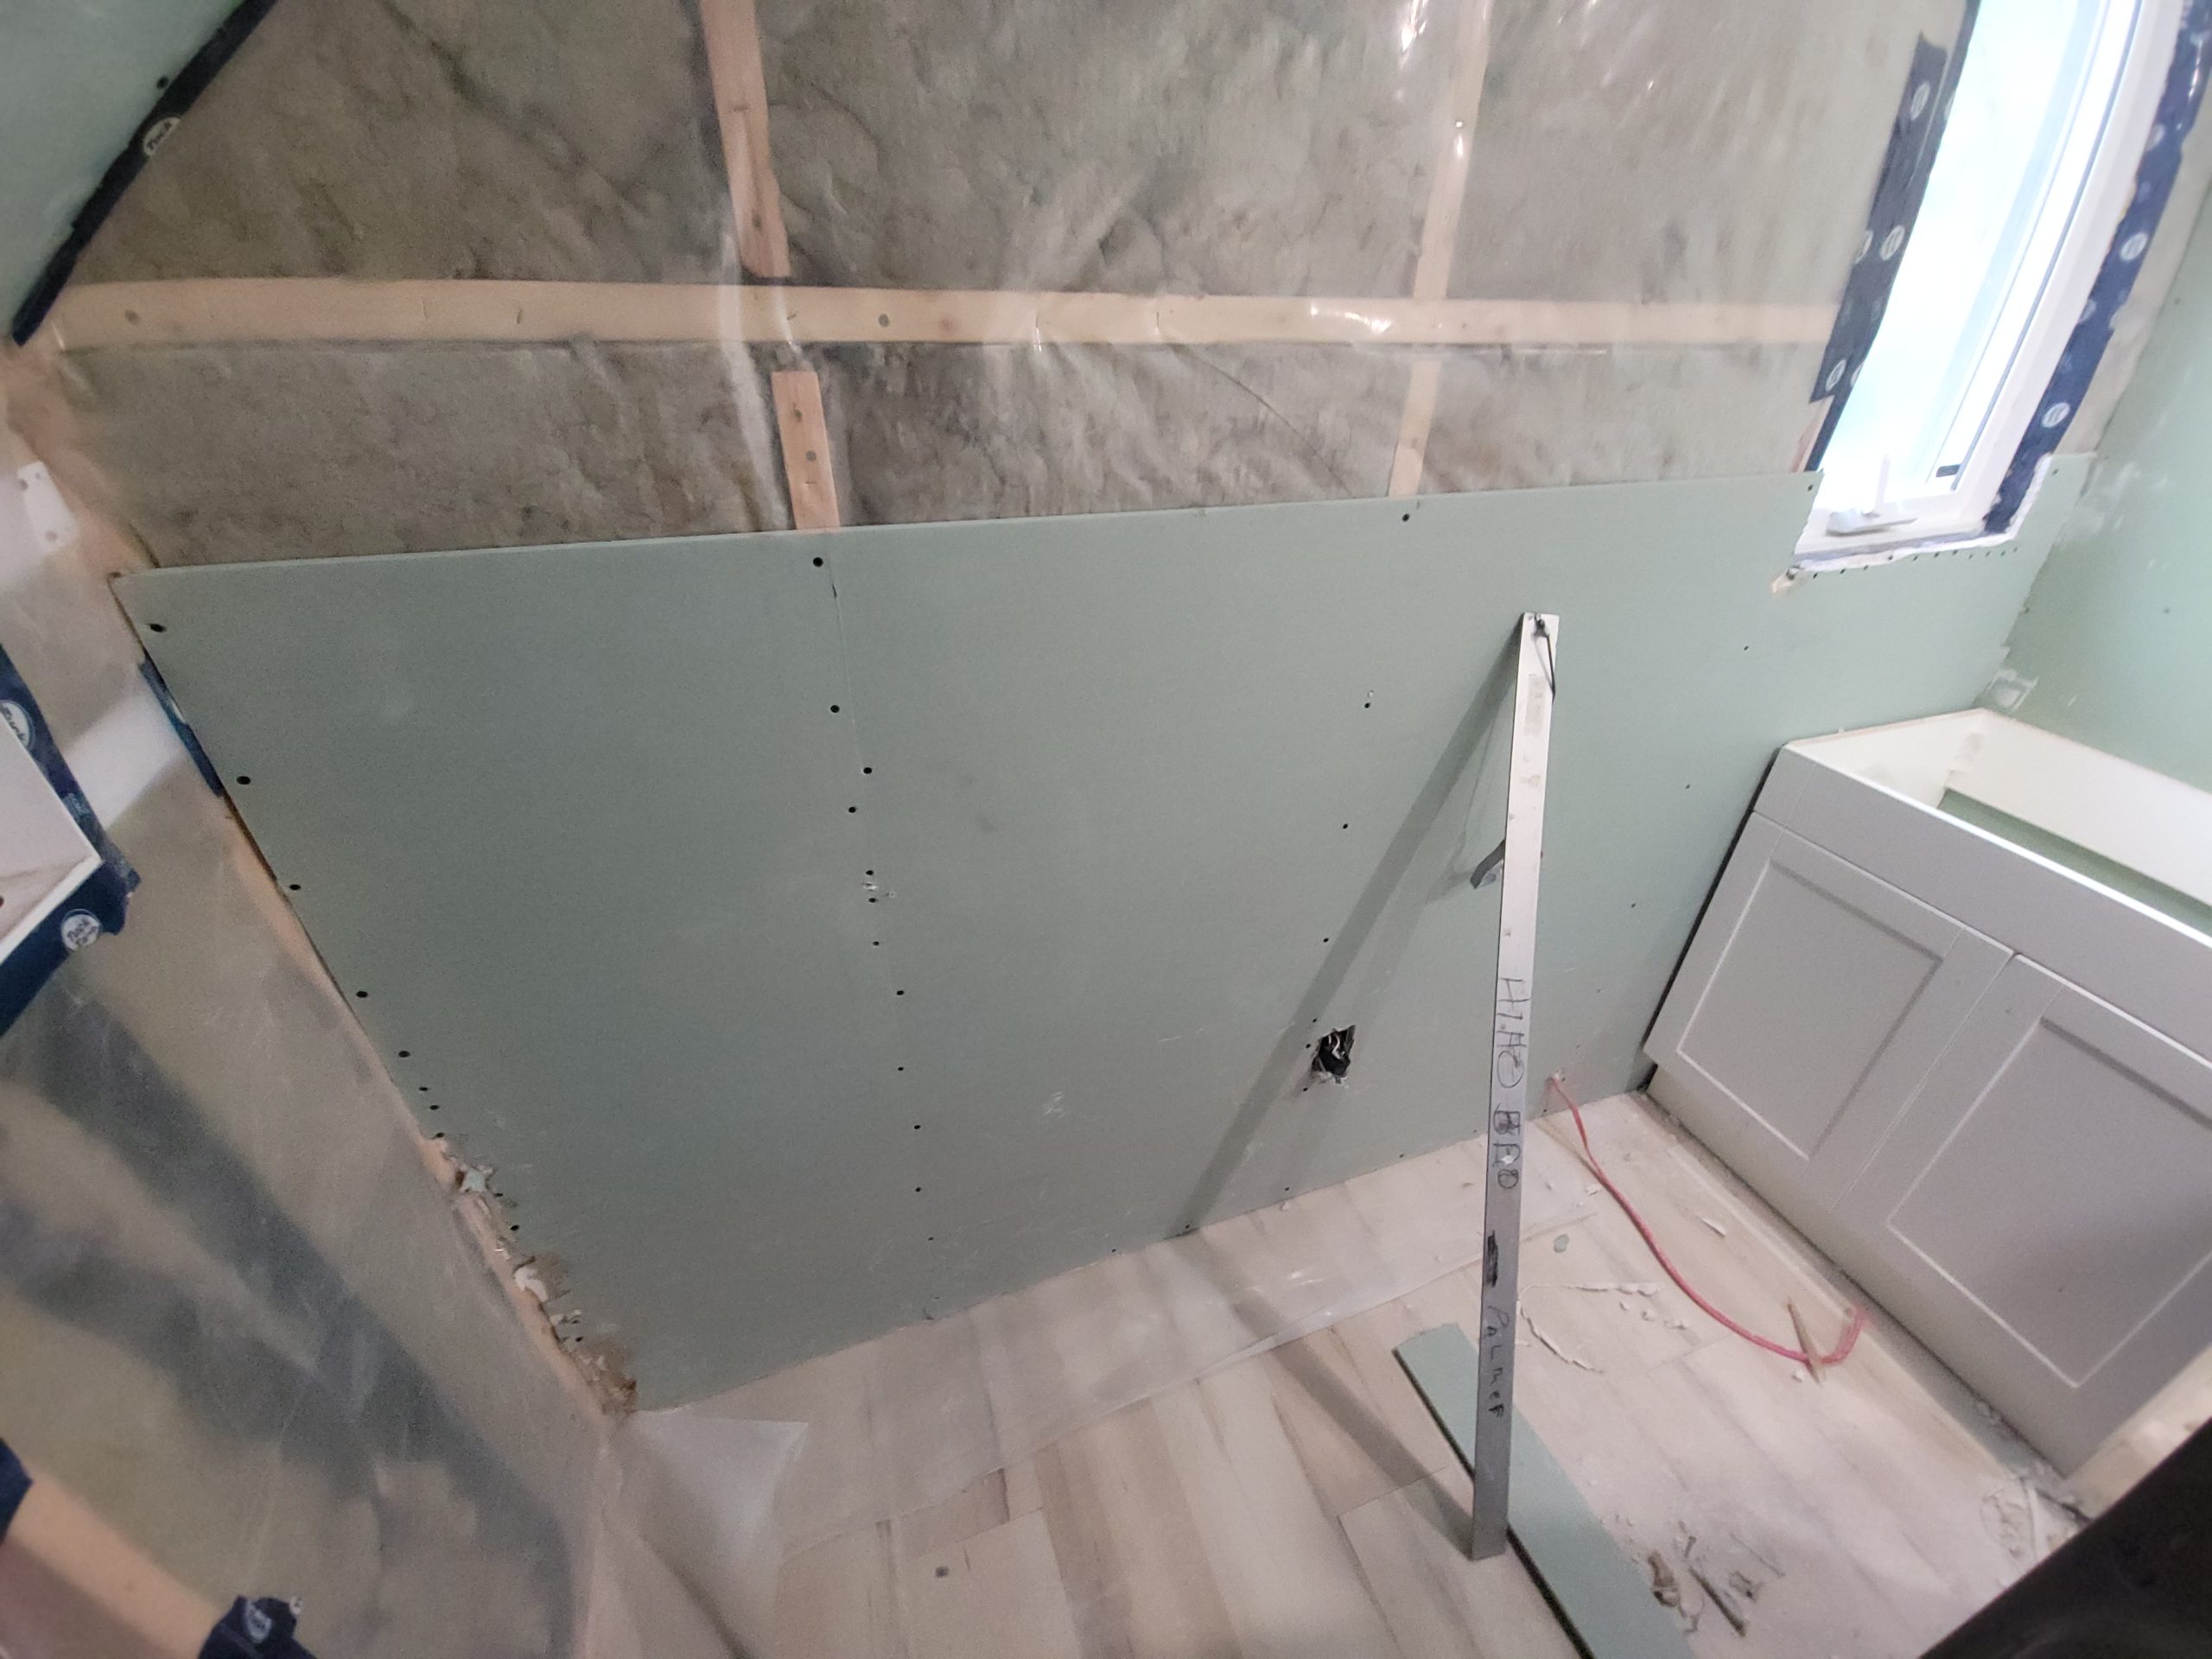
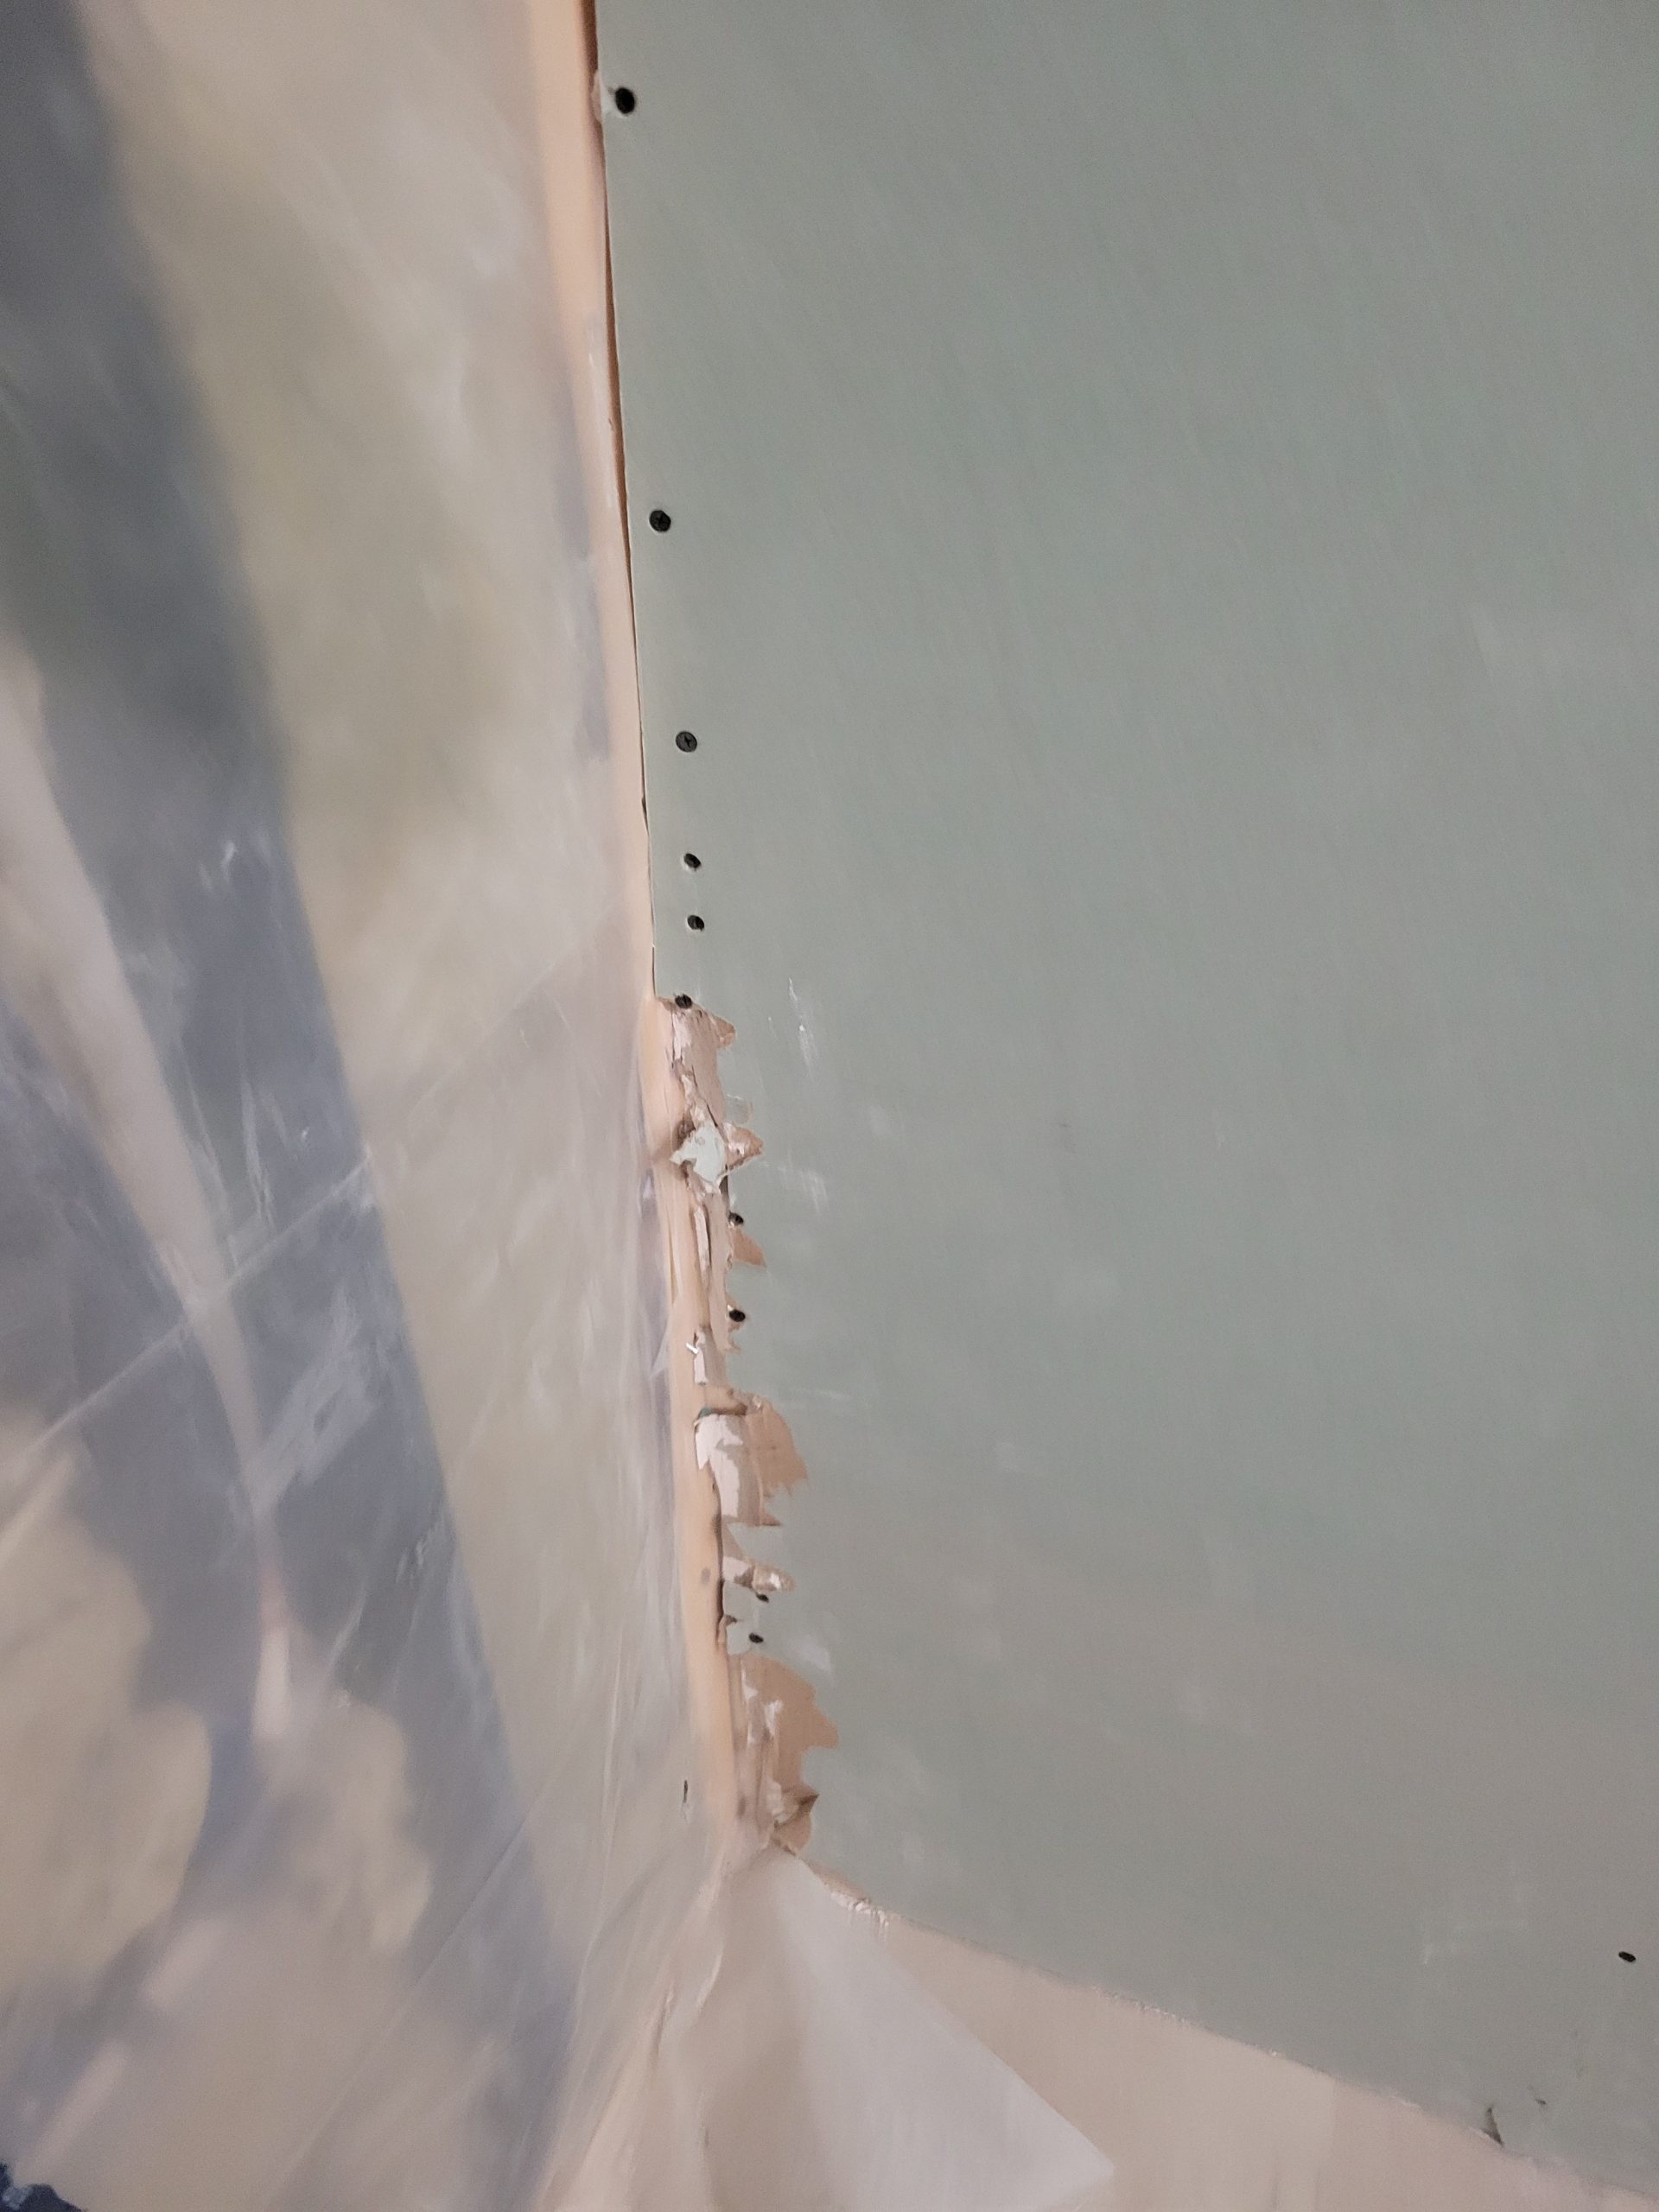
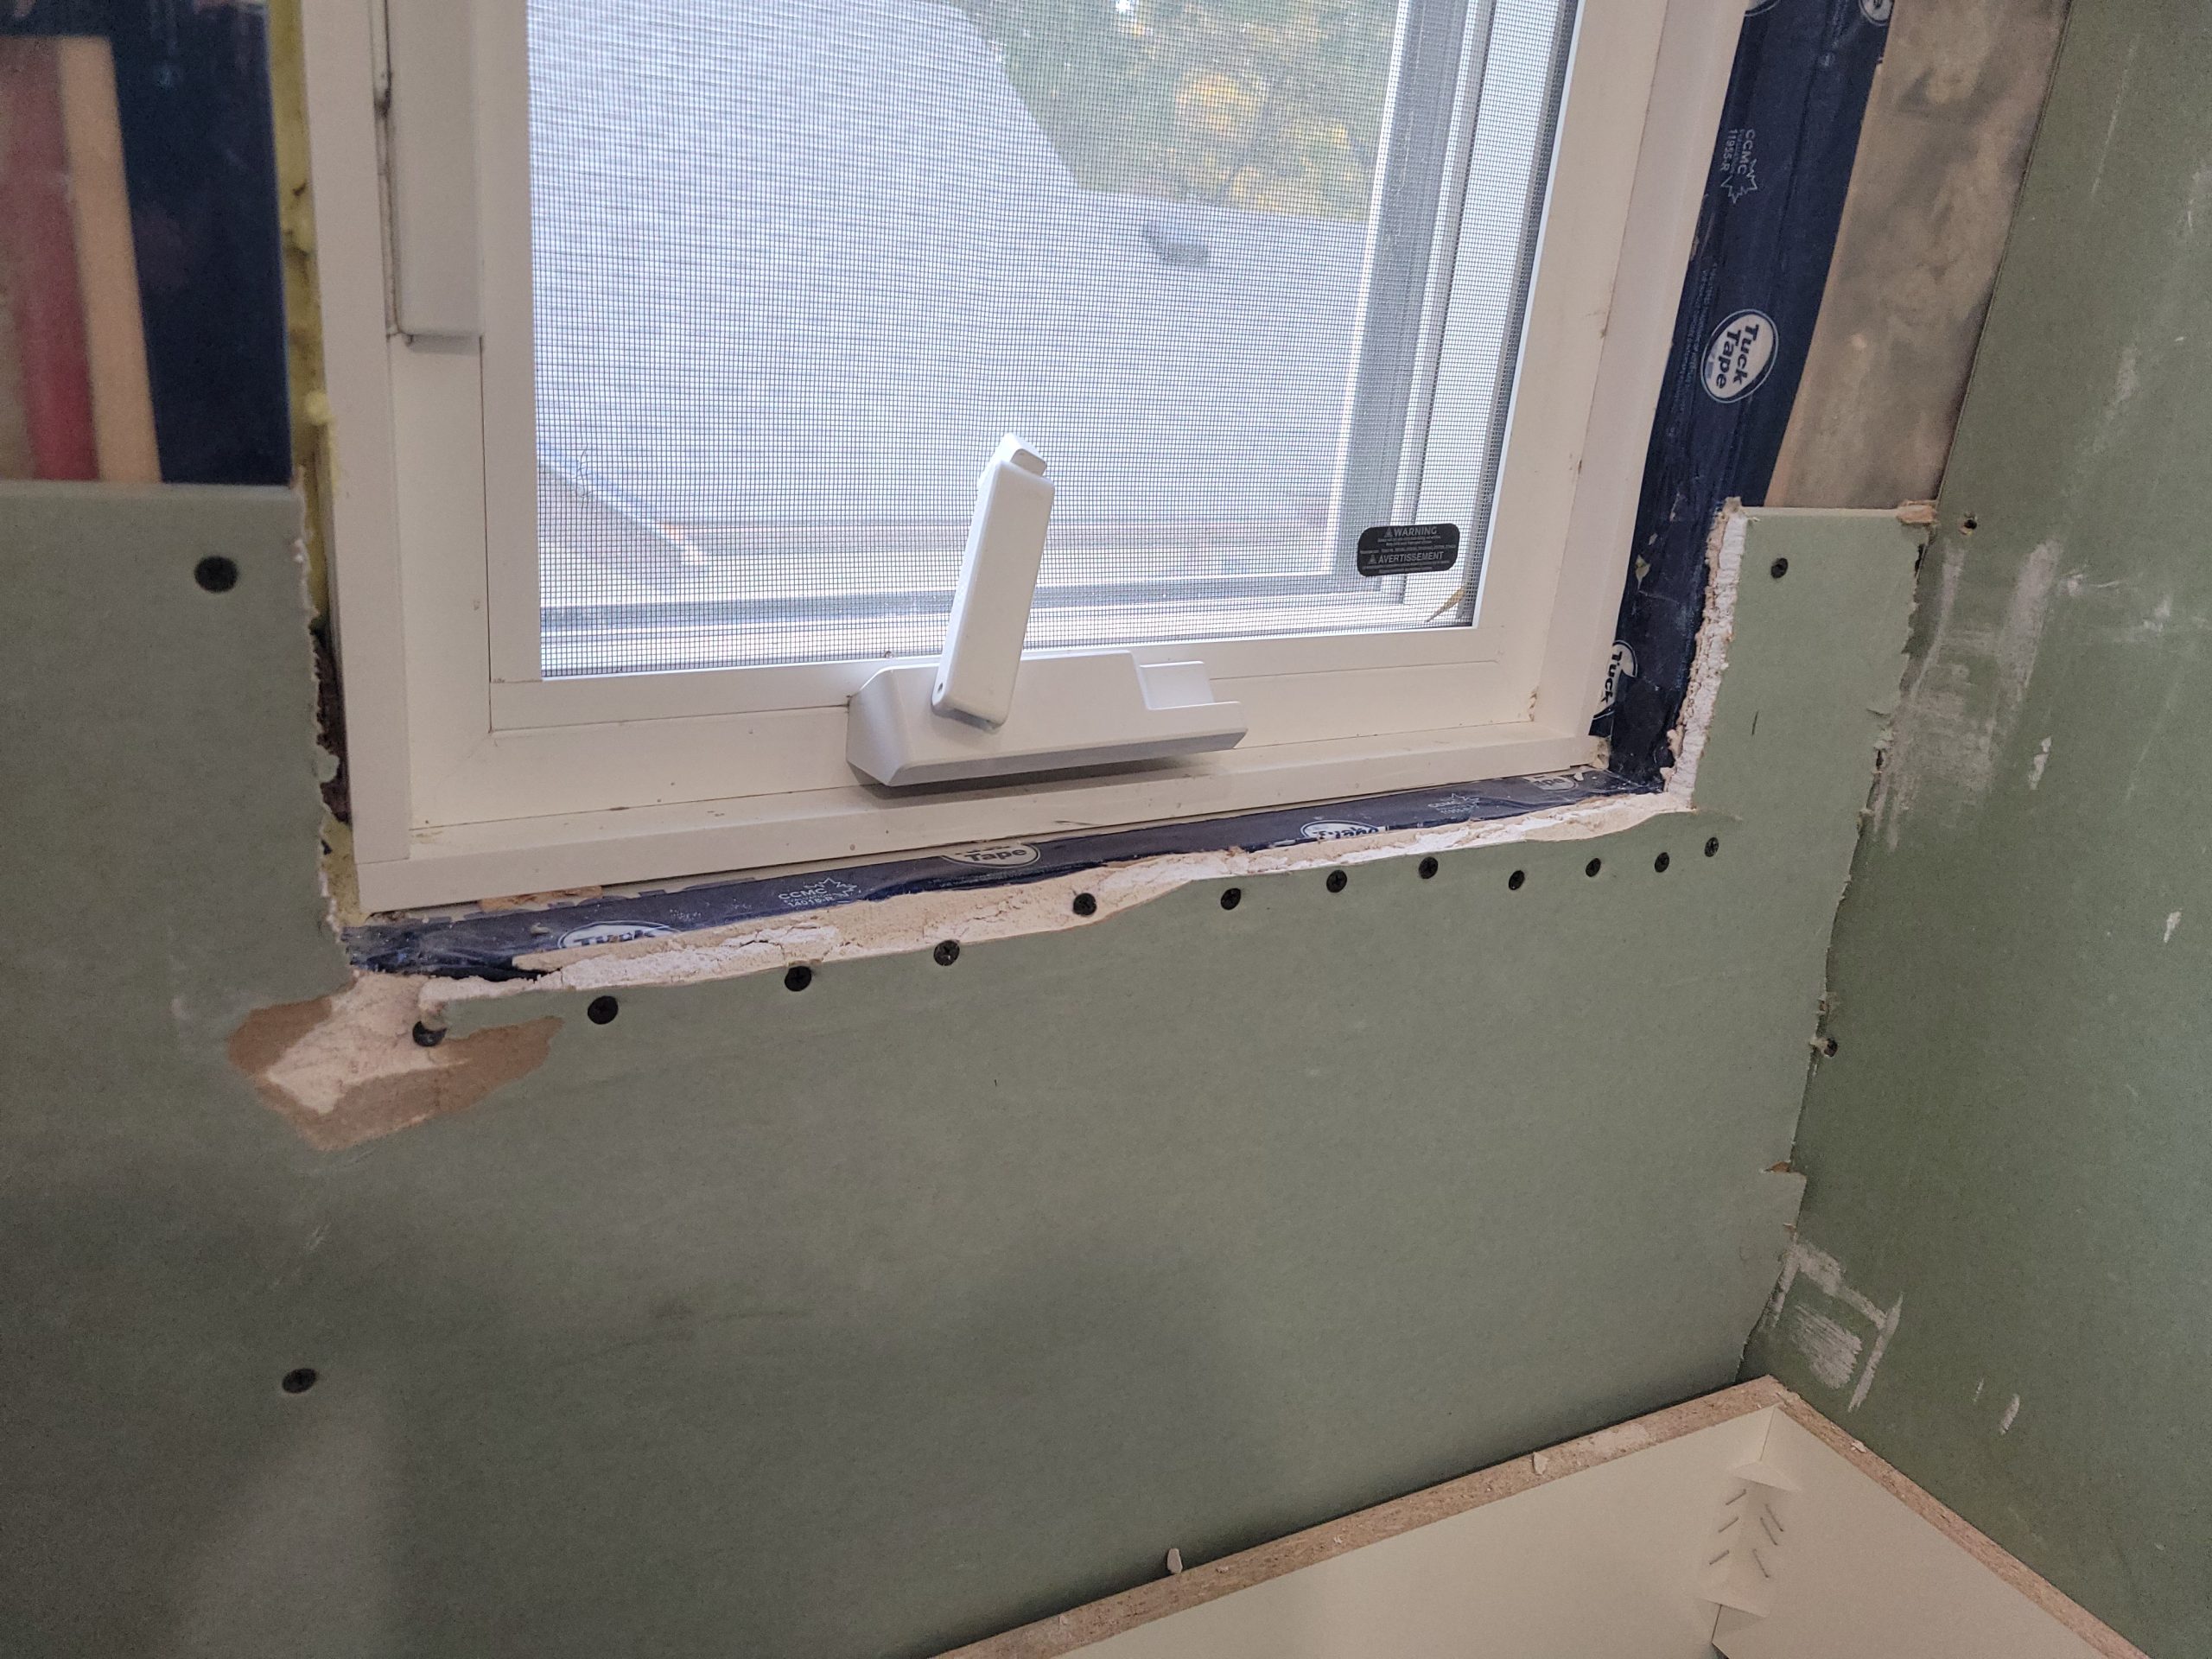
Frustrated, I went for a drive and saw this.

I felt somewhat renewed and drove back to do more work.
Things seem to go so slowly until I look back at the pictures of what has been done so far. Progress is being made.
Today the rest of the ceiling drywall in the suite went up. The stairway slanted wall was done first. I had cut it a little too big, not being able to measure accurately. Dave and I struggled to get it into place. As well, the backing put into the east side wasn’t staying in place, so the drywall kept raising up. I’m confident the weight of the ceiling will keep it down. I’ll get up into the attic and secure it when there is time.
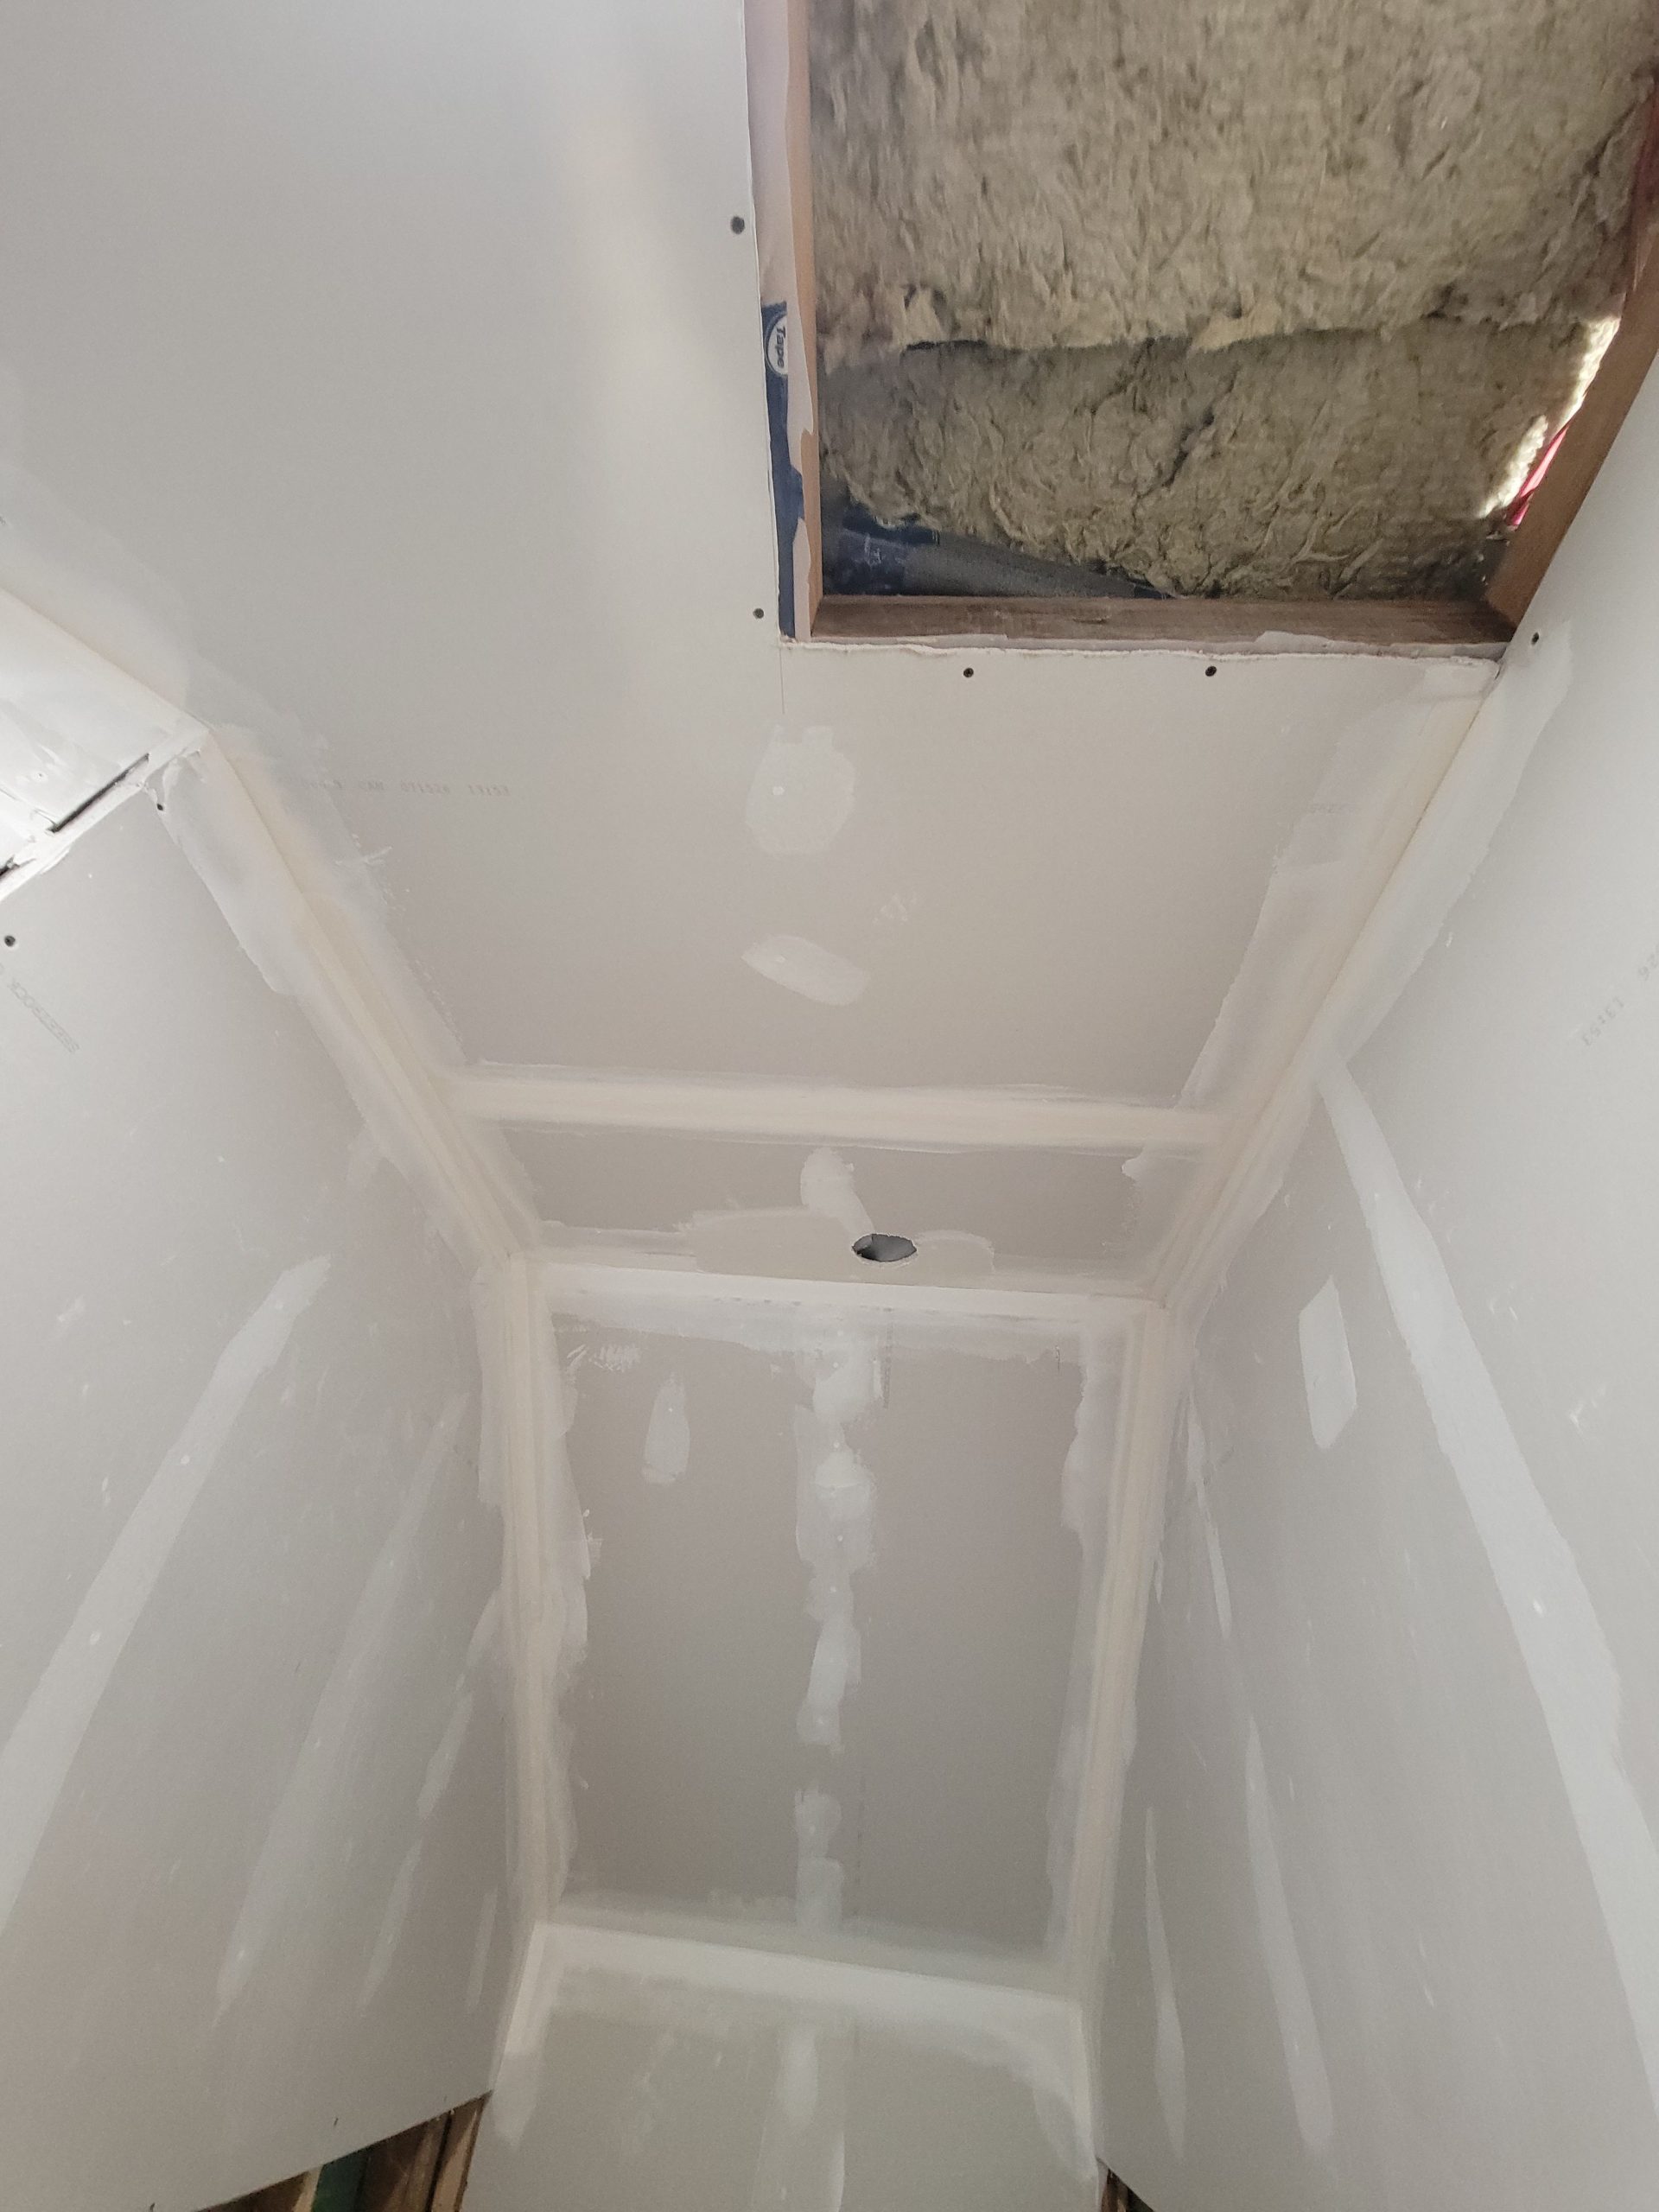
The attic hatch was cut from the ceiling before putting this piece up. Again, a measurement glitch meant that the piece was two inches too long.
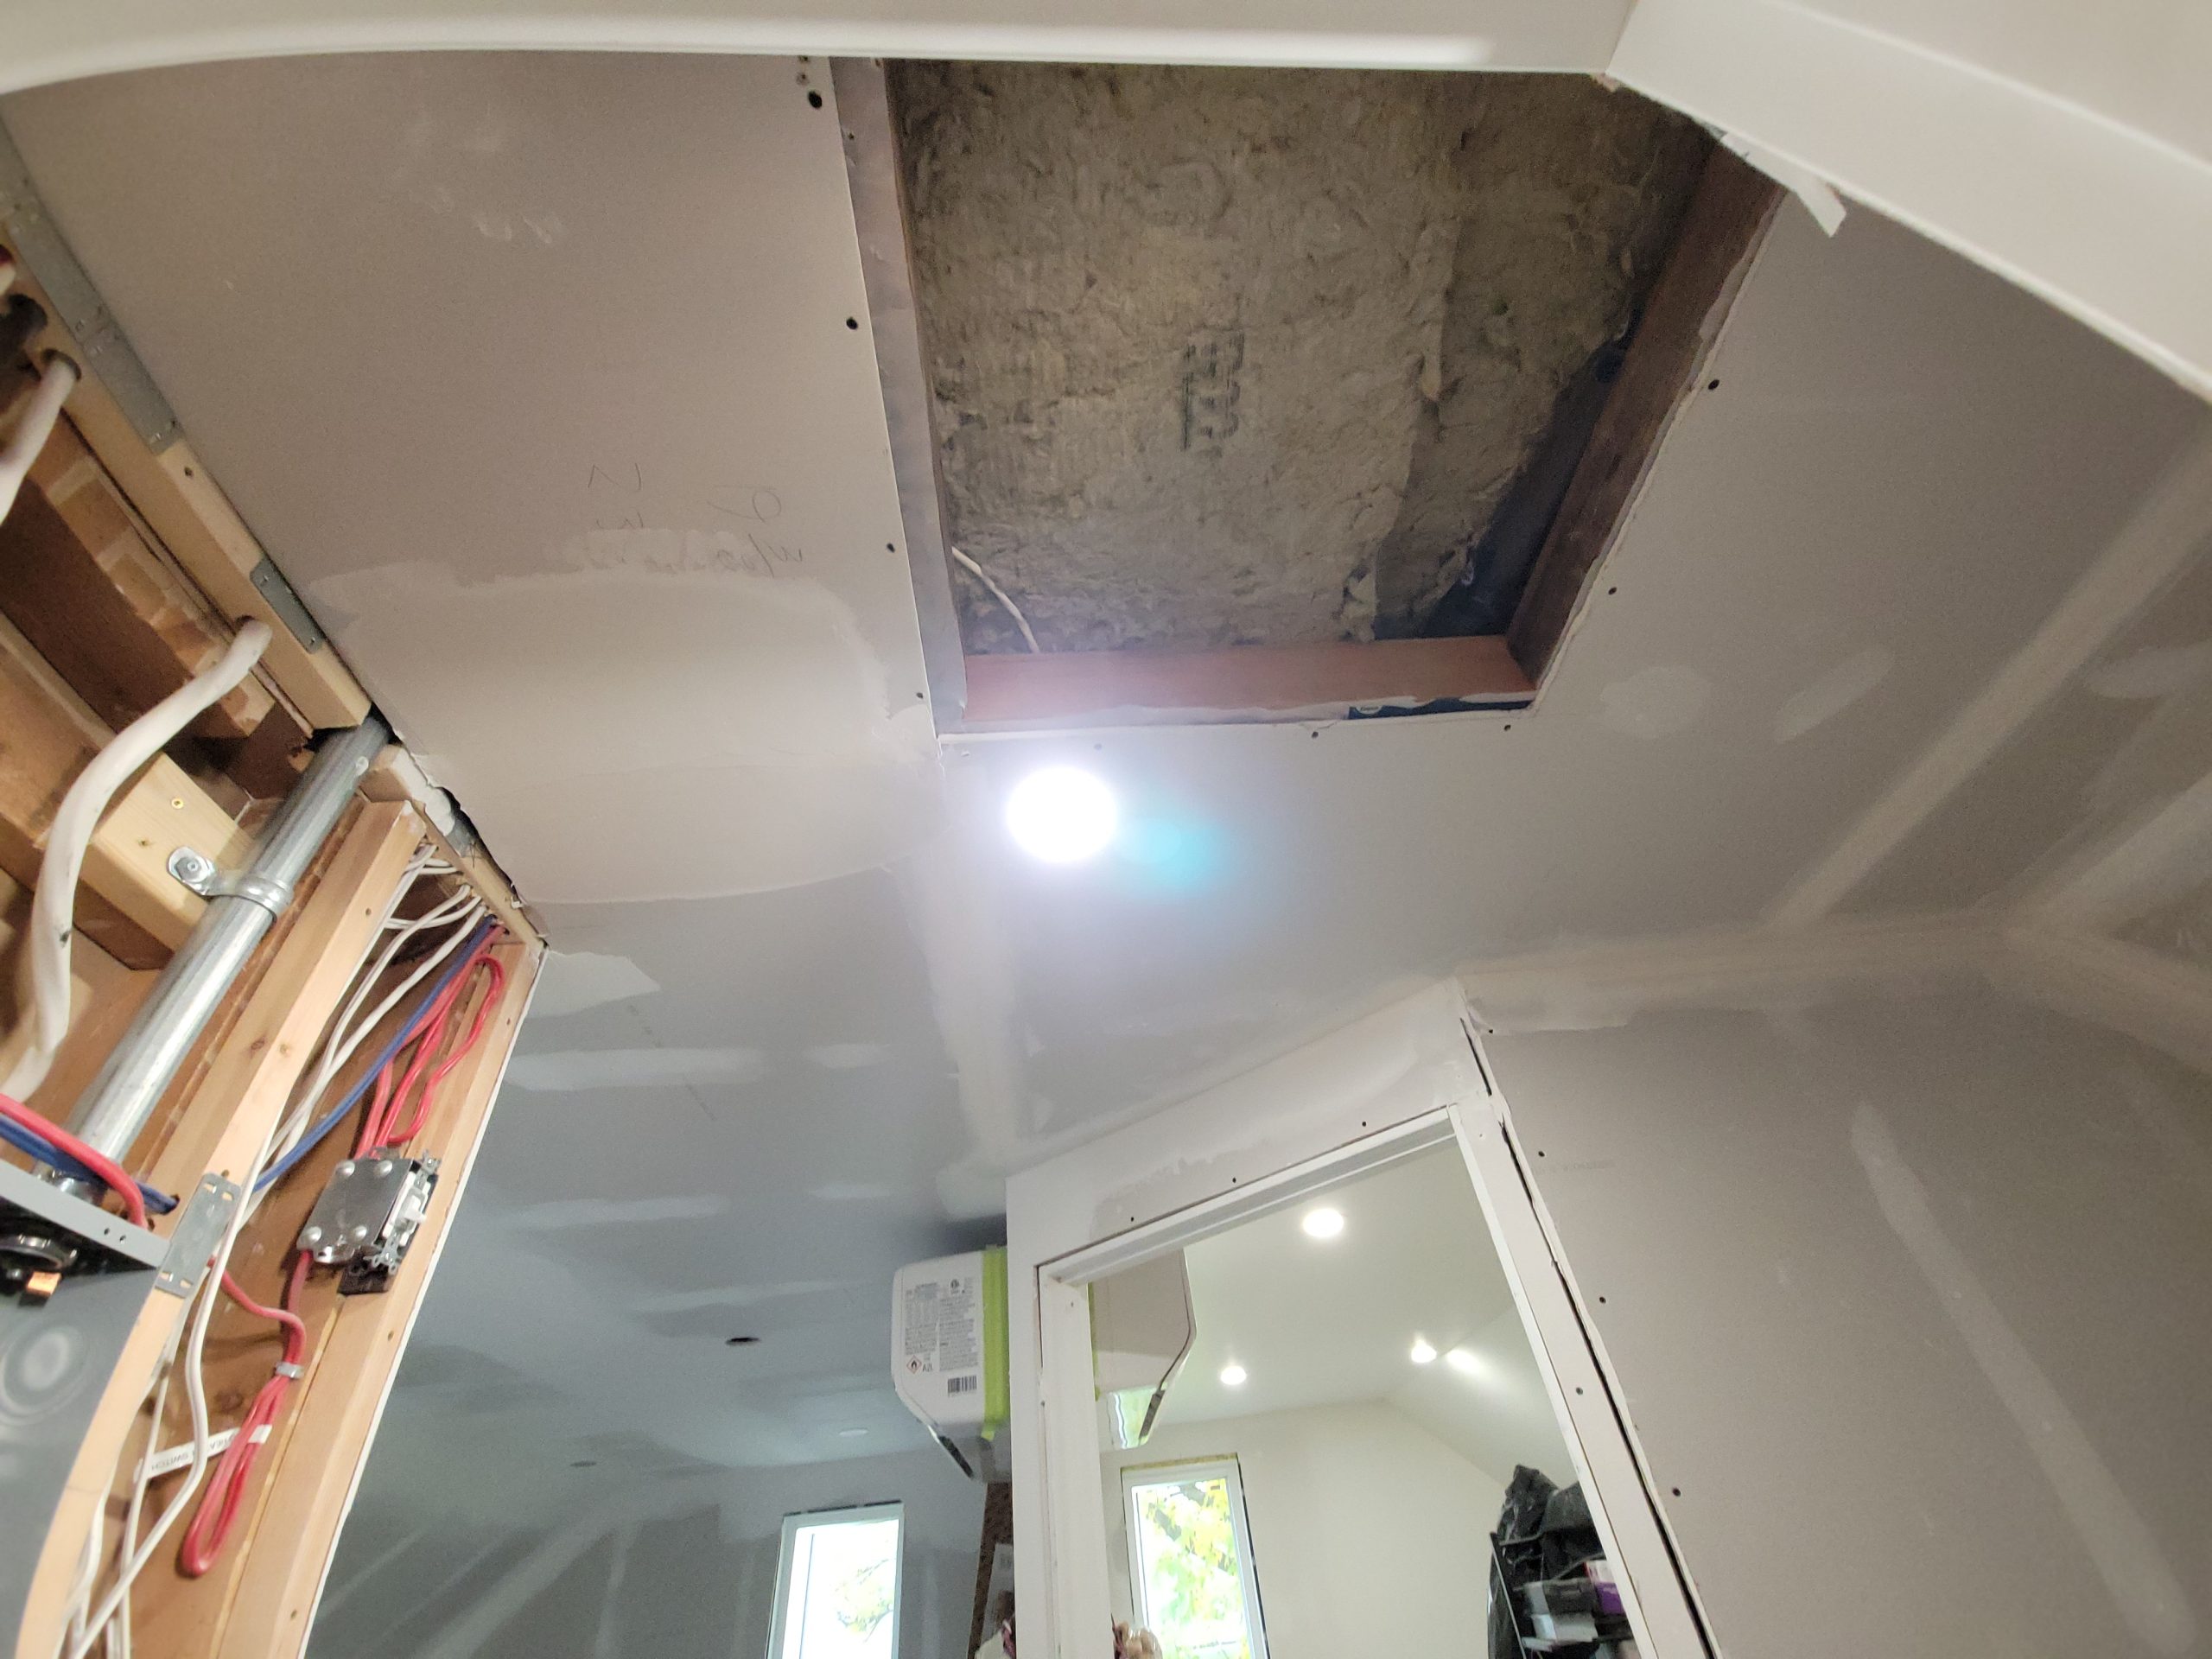
This is the story of this house renovation. To do this, you must do that first. It seems that anything done was to cover up something else. It was had been a constant battle, one that makes every task take forever.
Outside correcting old mistakes, ordinary renovation tasks always seem to play out this way, too.
The goal was to add drywall to the bedroom door frame.
To do that, I have to drywall the stairway wall.
To do that, I have to fur the adjacent wall directly over the stairway.
But first, I have to rebuild the header to fix the hanging balloon stud that was cut through decades ago.
To do that, I have to reroute all the wiring.
But before that, I have to chip away at some of the rabbeted shiplap clad boards and planks.
Etc. etc. etc.
So Dave ended up adding the drywall himself. <sigh> Someone else is doing my job.
I was going to add stairway ceiling drywall yesterday, but first I had to add furring strips. I couldn’t mount them with screws in the sloped wall area as there was no room above the rafter to stuff the drill (driver). So I went to Canadian Tire and found a 2-pack similar to this for $4.99. Two! The floor clerk was there and asked me if I needed help, and I told her I need 50 or 100, not 2. She didn’t have any.
Among today’s tasks
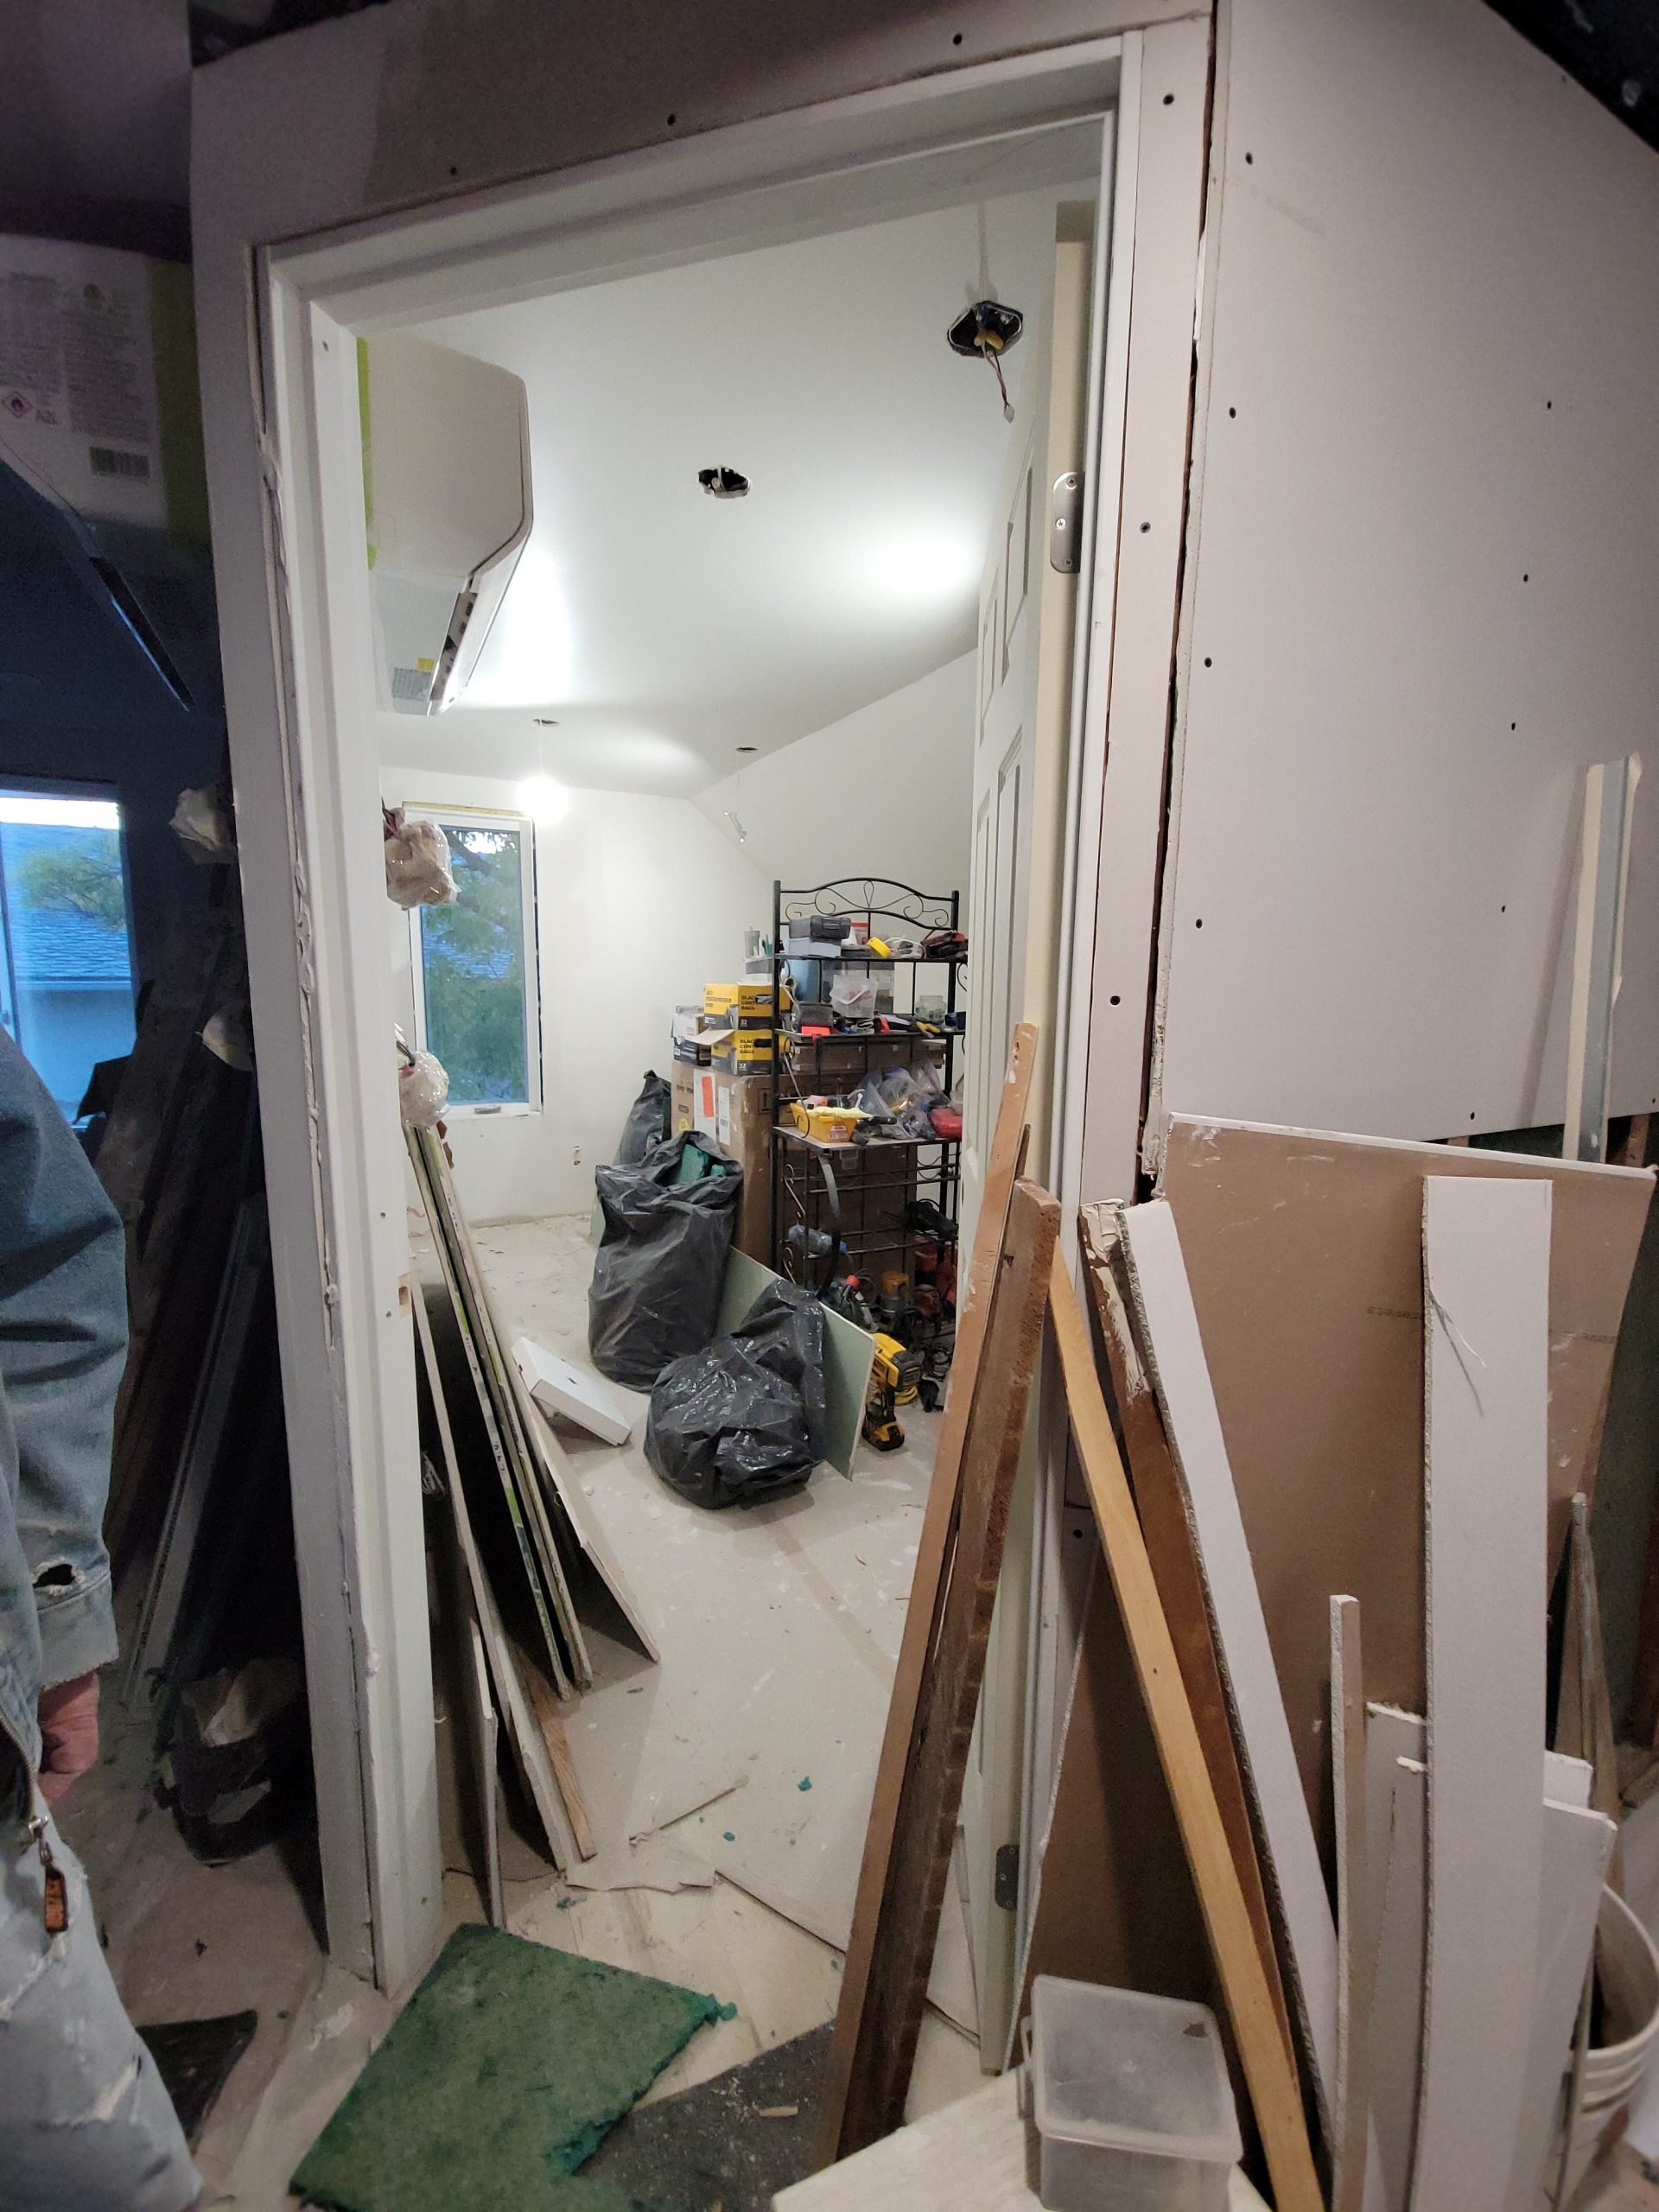
Here’s the bathroom door before being hung.
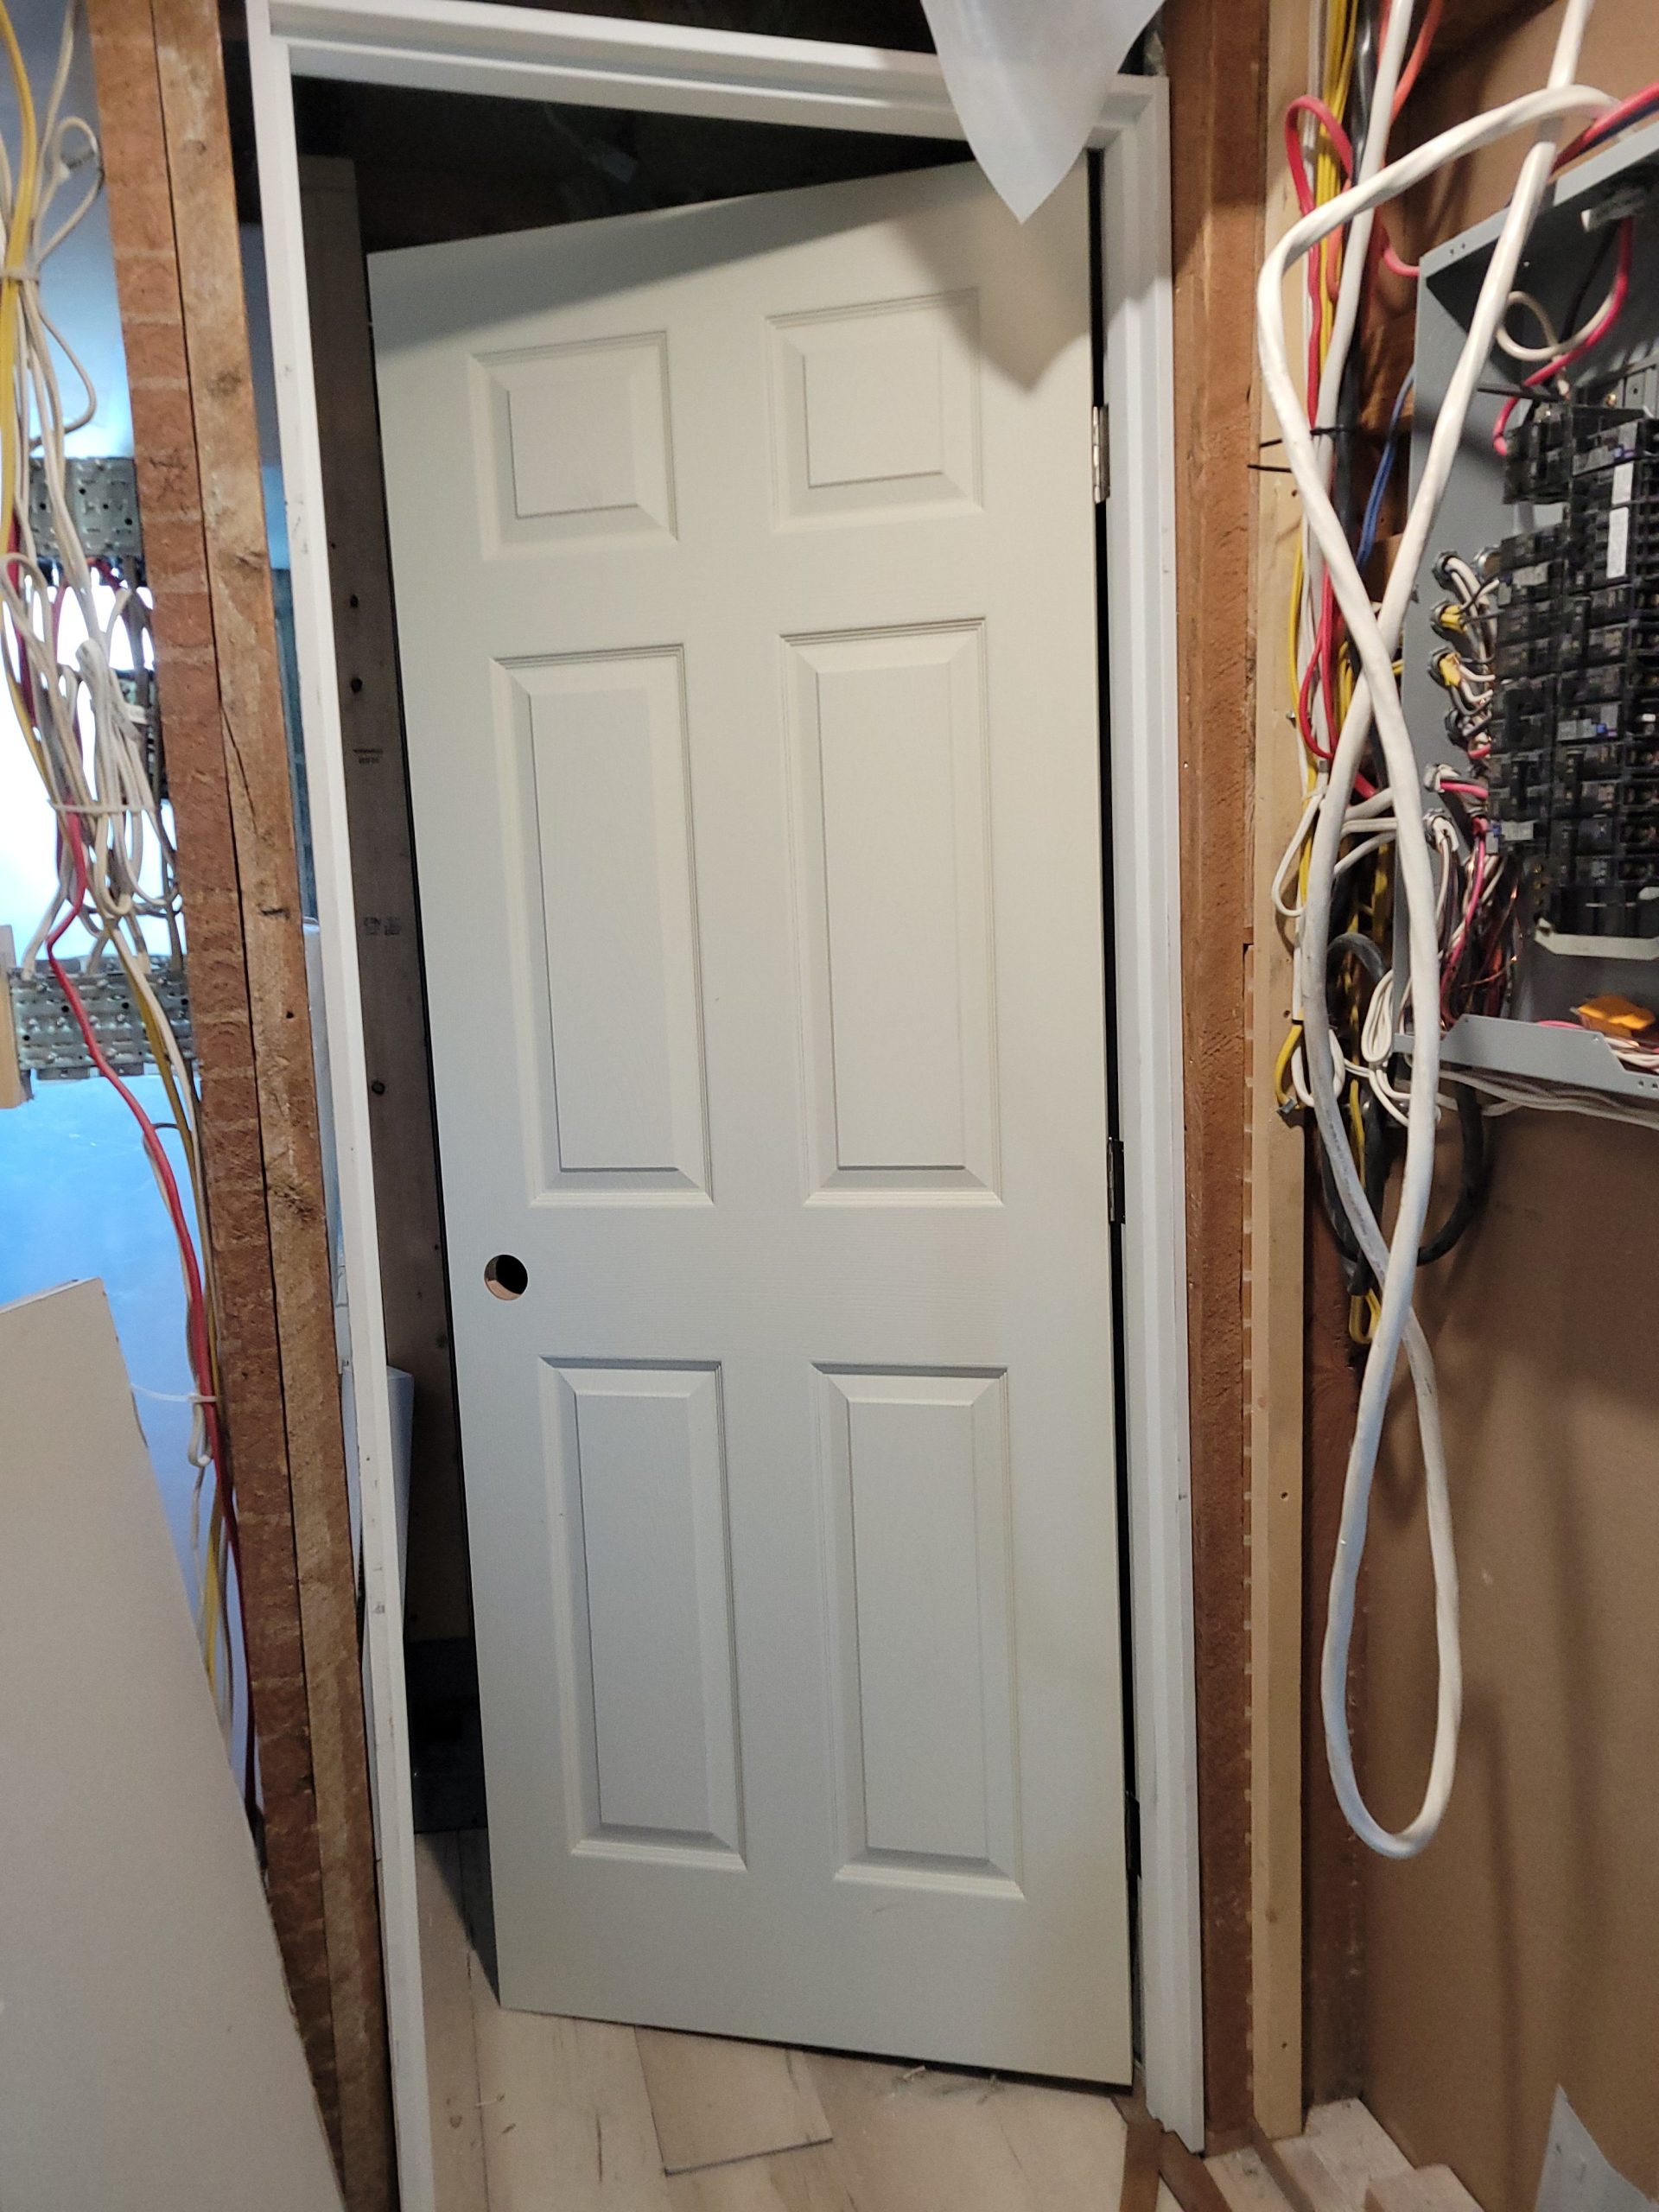
The dormer needs a ceiling and drywall on both sides.
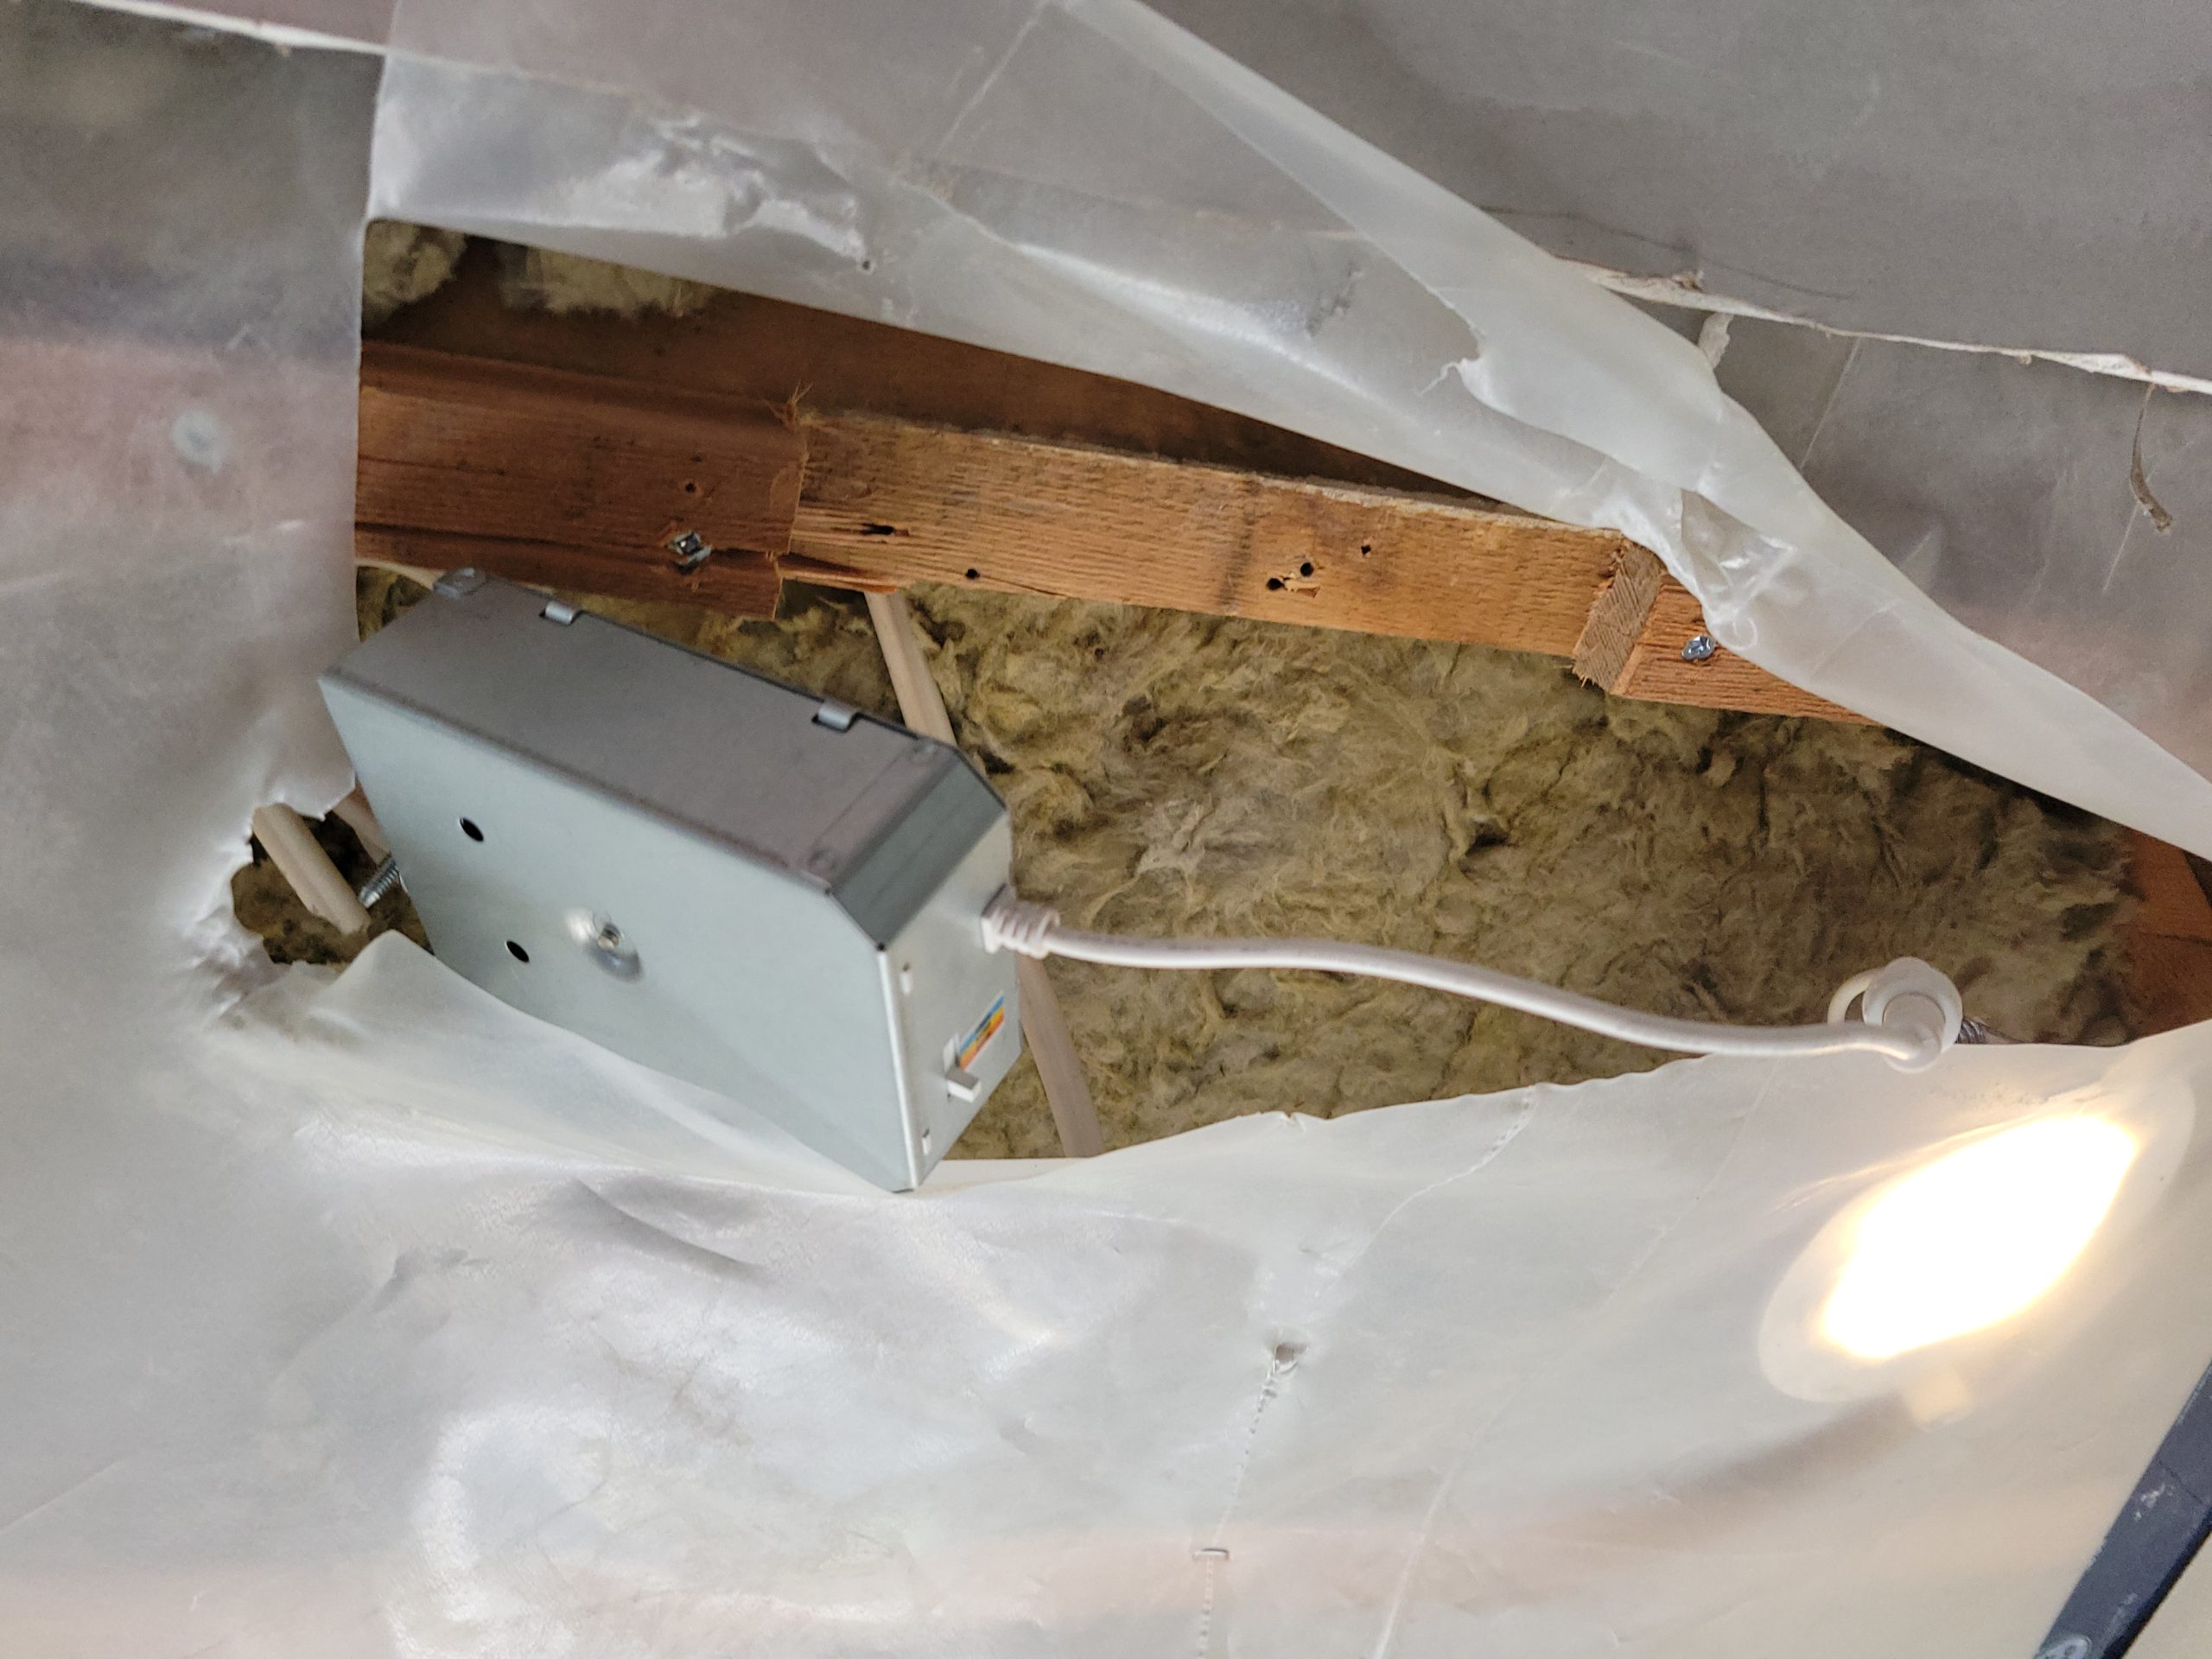
The wires have been secured and the poly taped.
Eight more sheets of 1/2″ drywall.
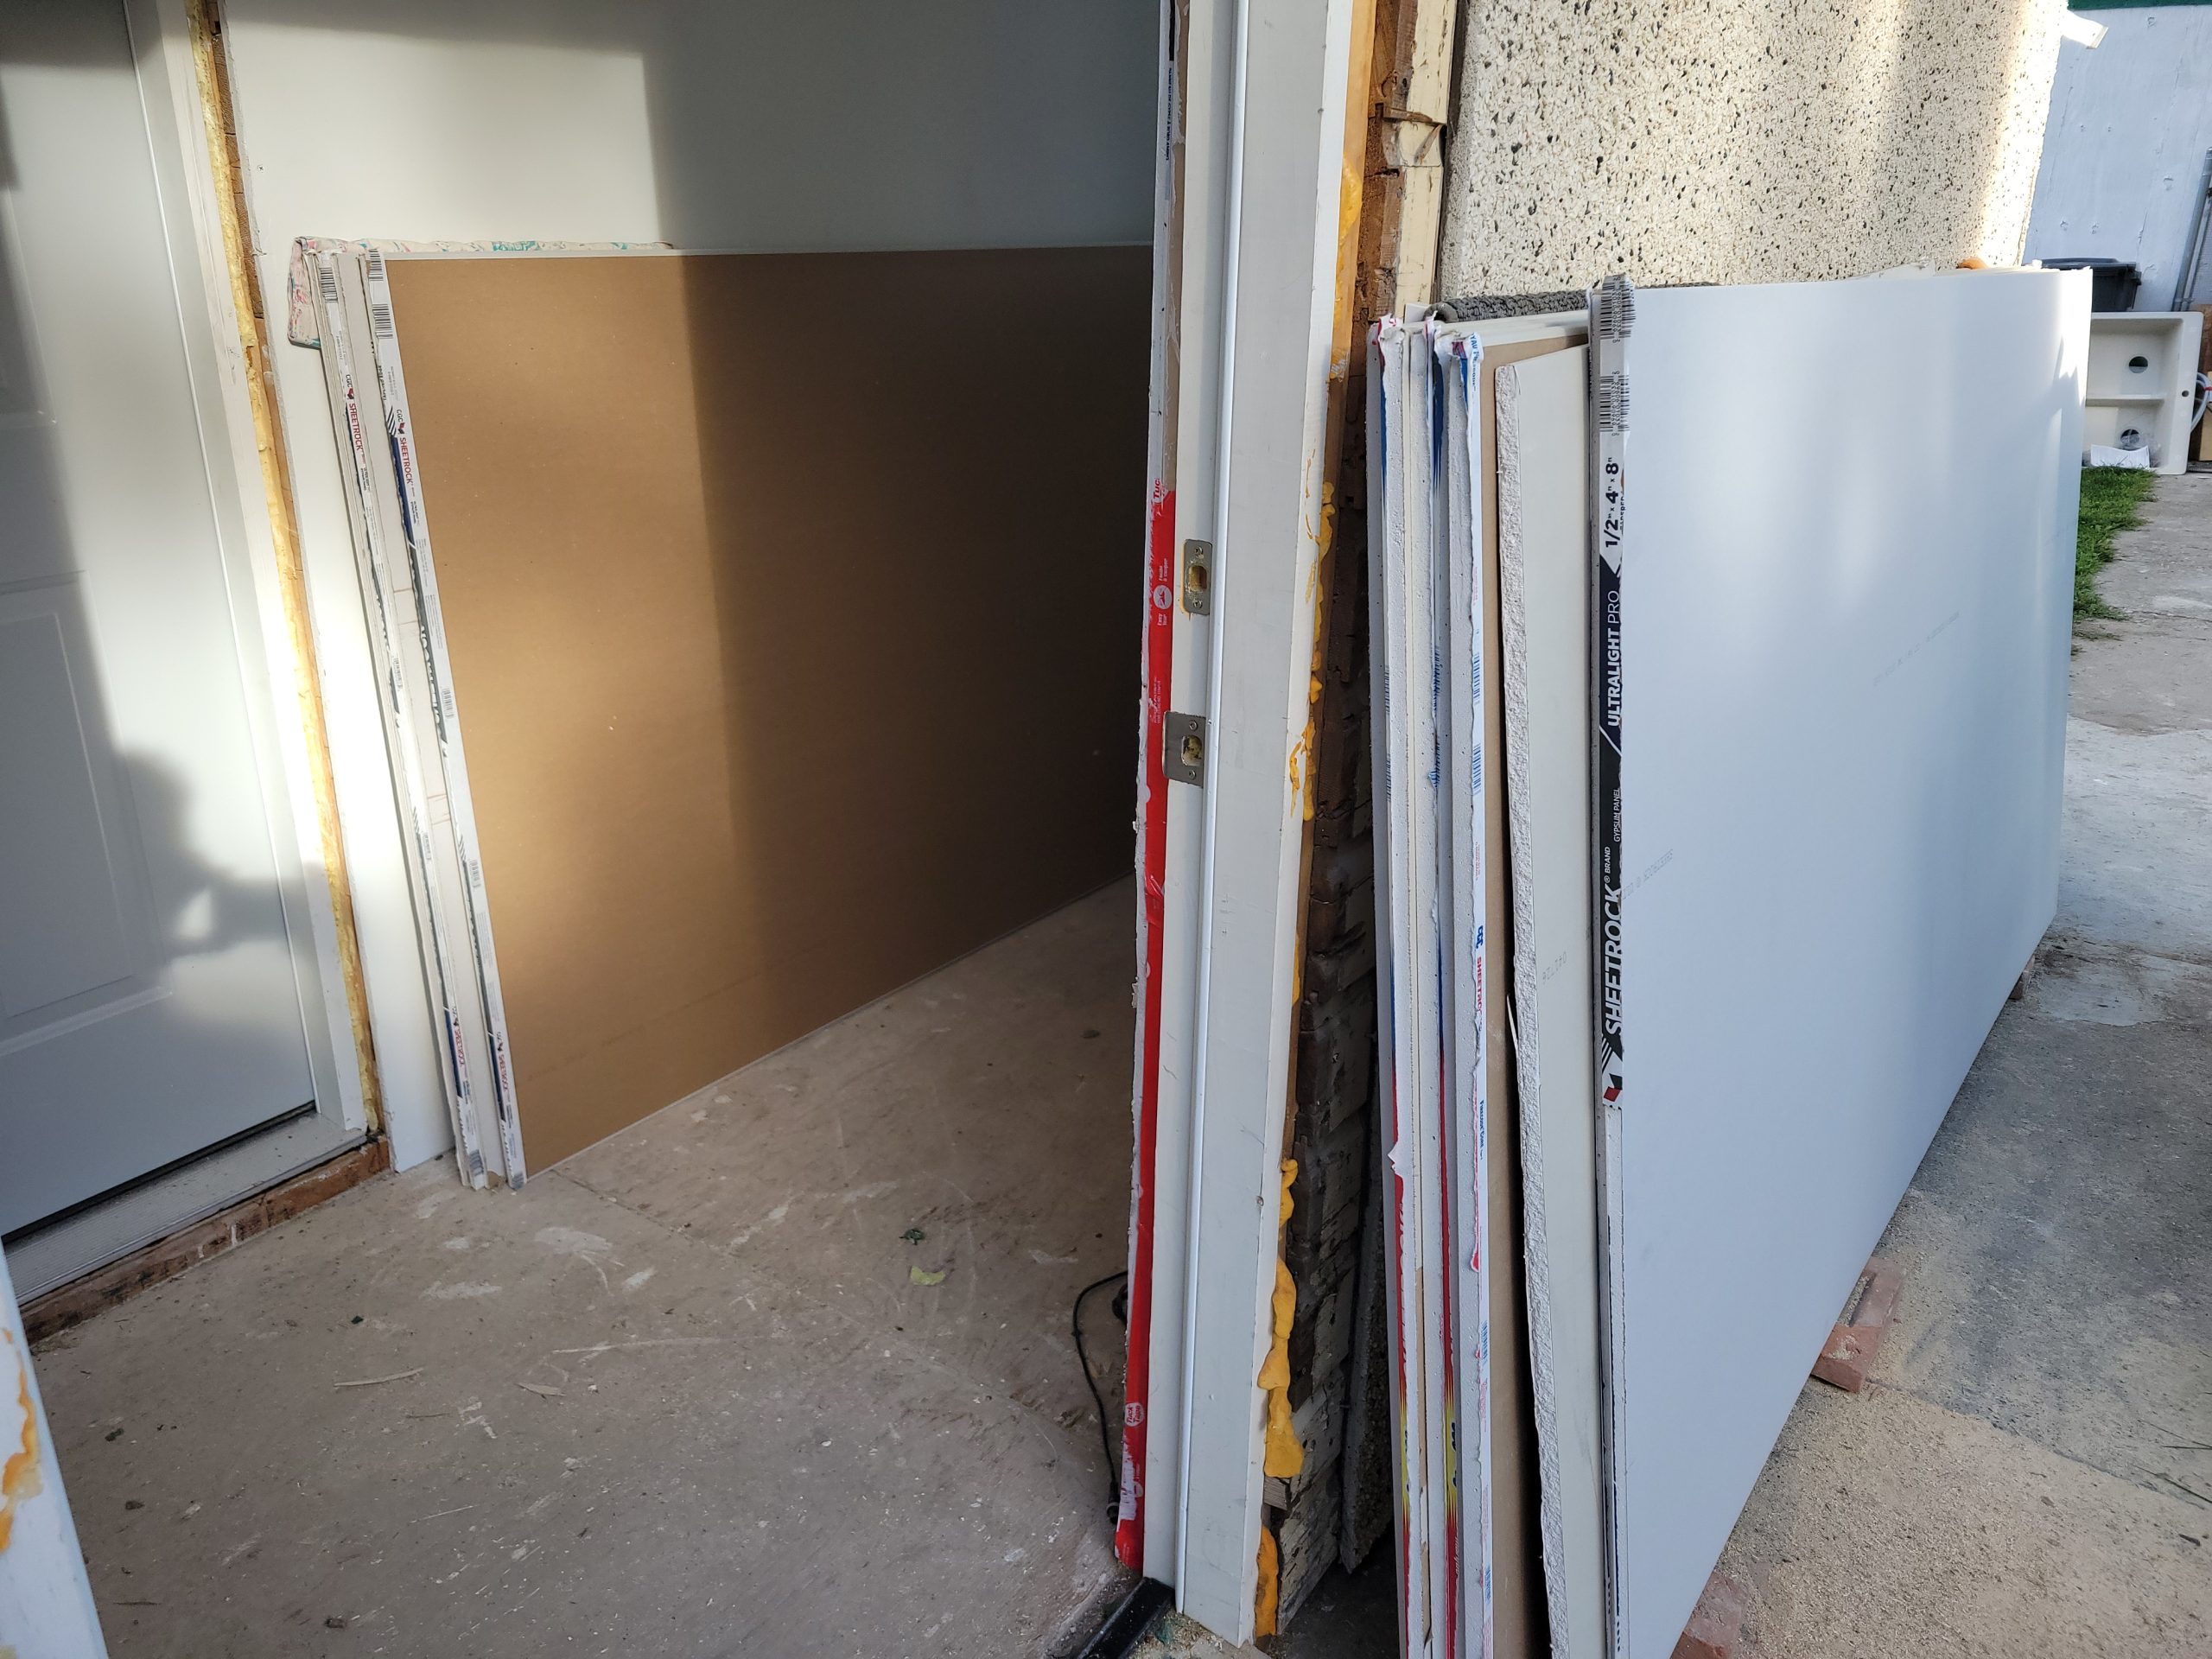
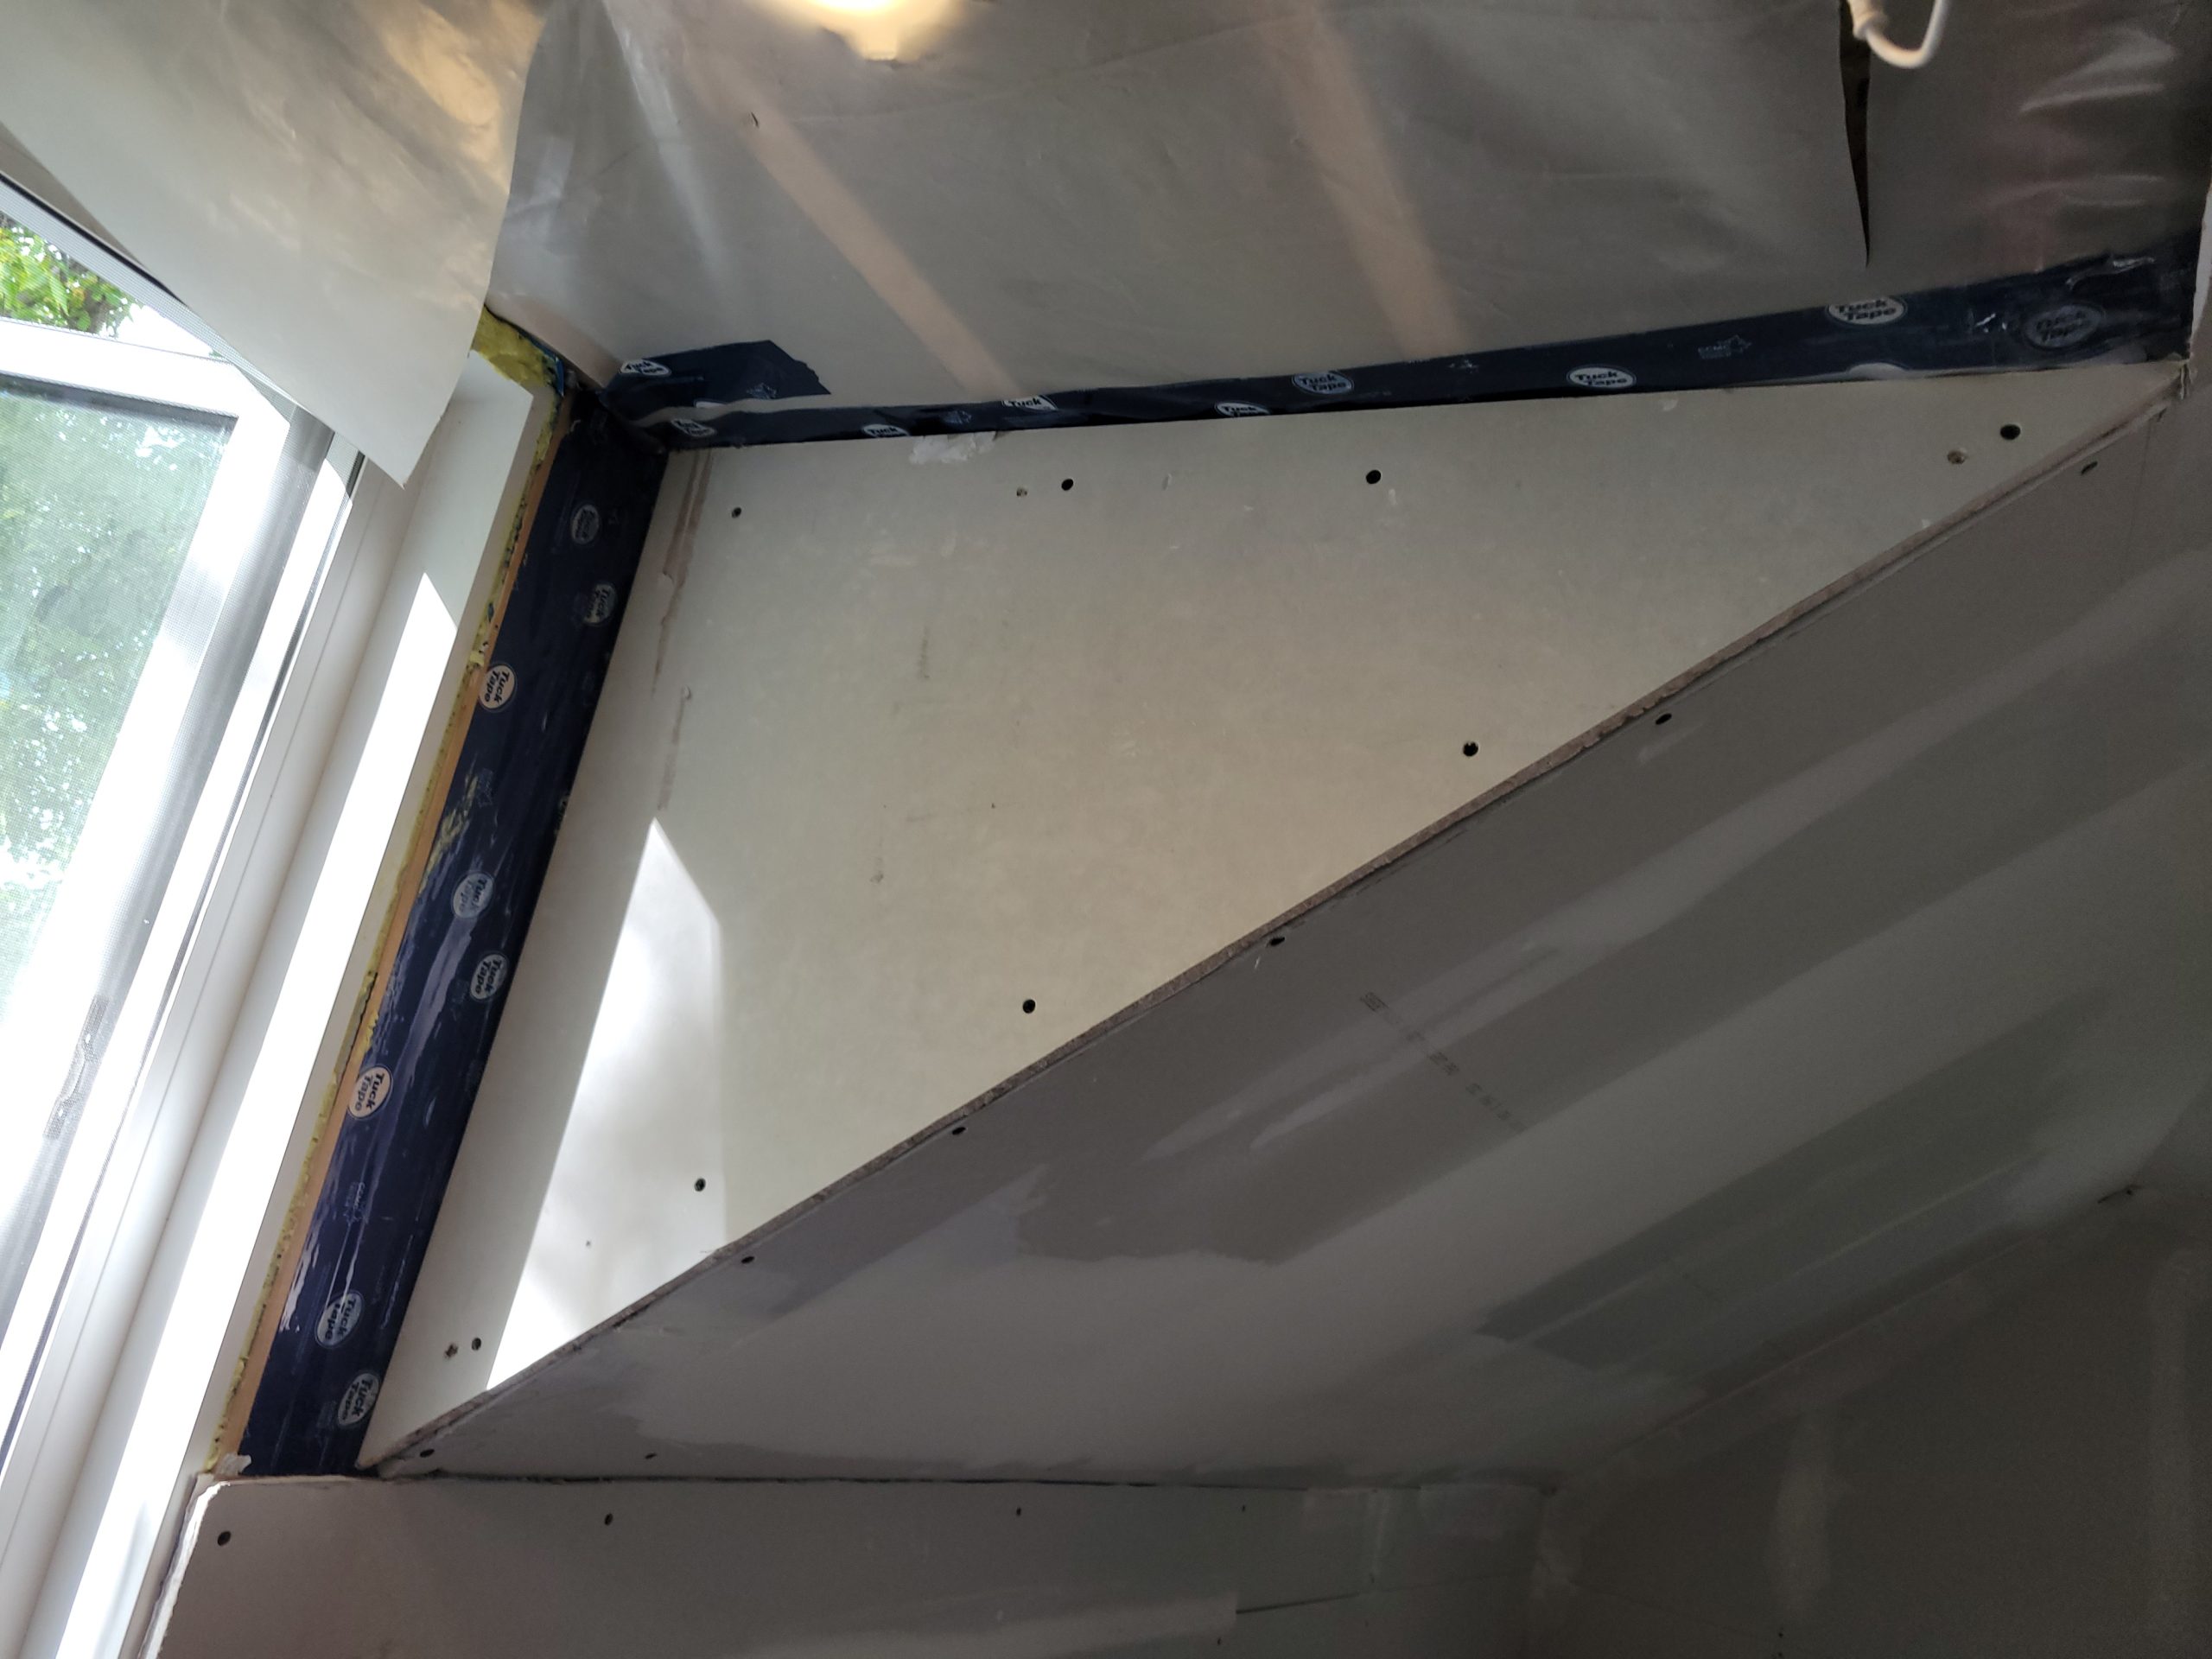
The dining area dormer drywall took a couple of tries. I mistakenly assumed one side would take the opposite cut of the other. Oops. Not enough coffee yet (10:00am!). But it’s done now.
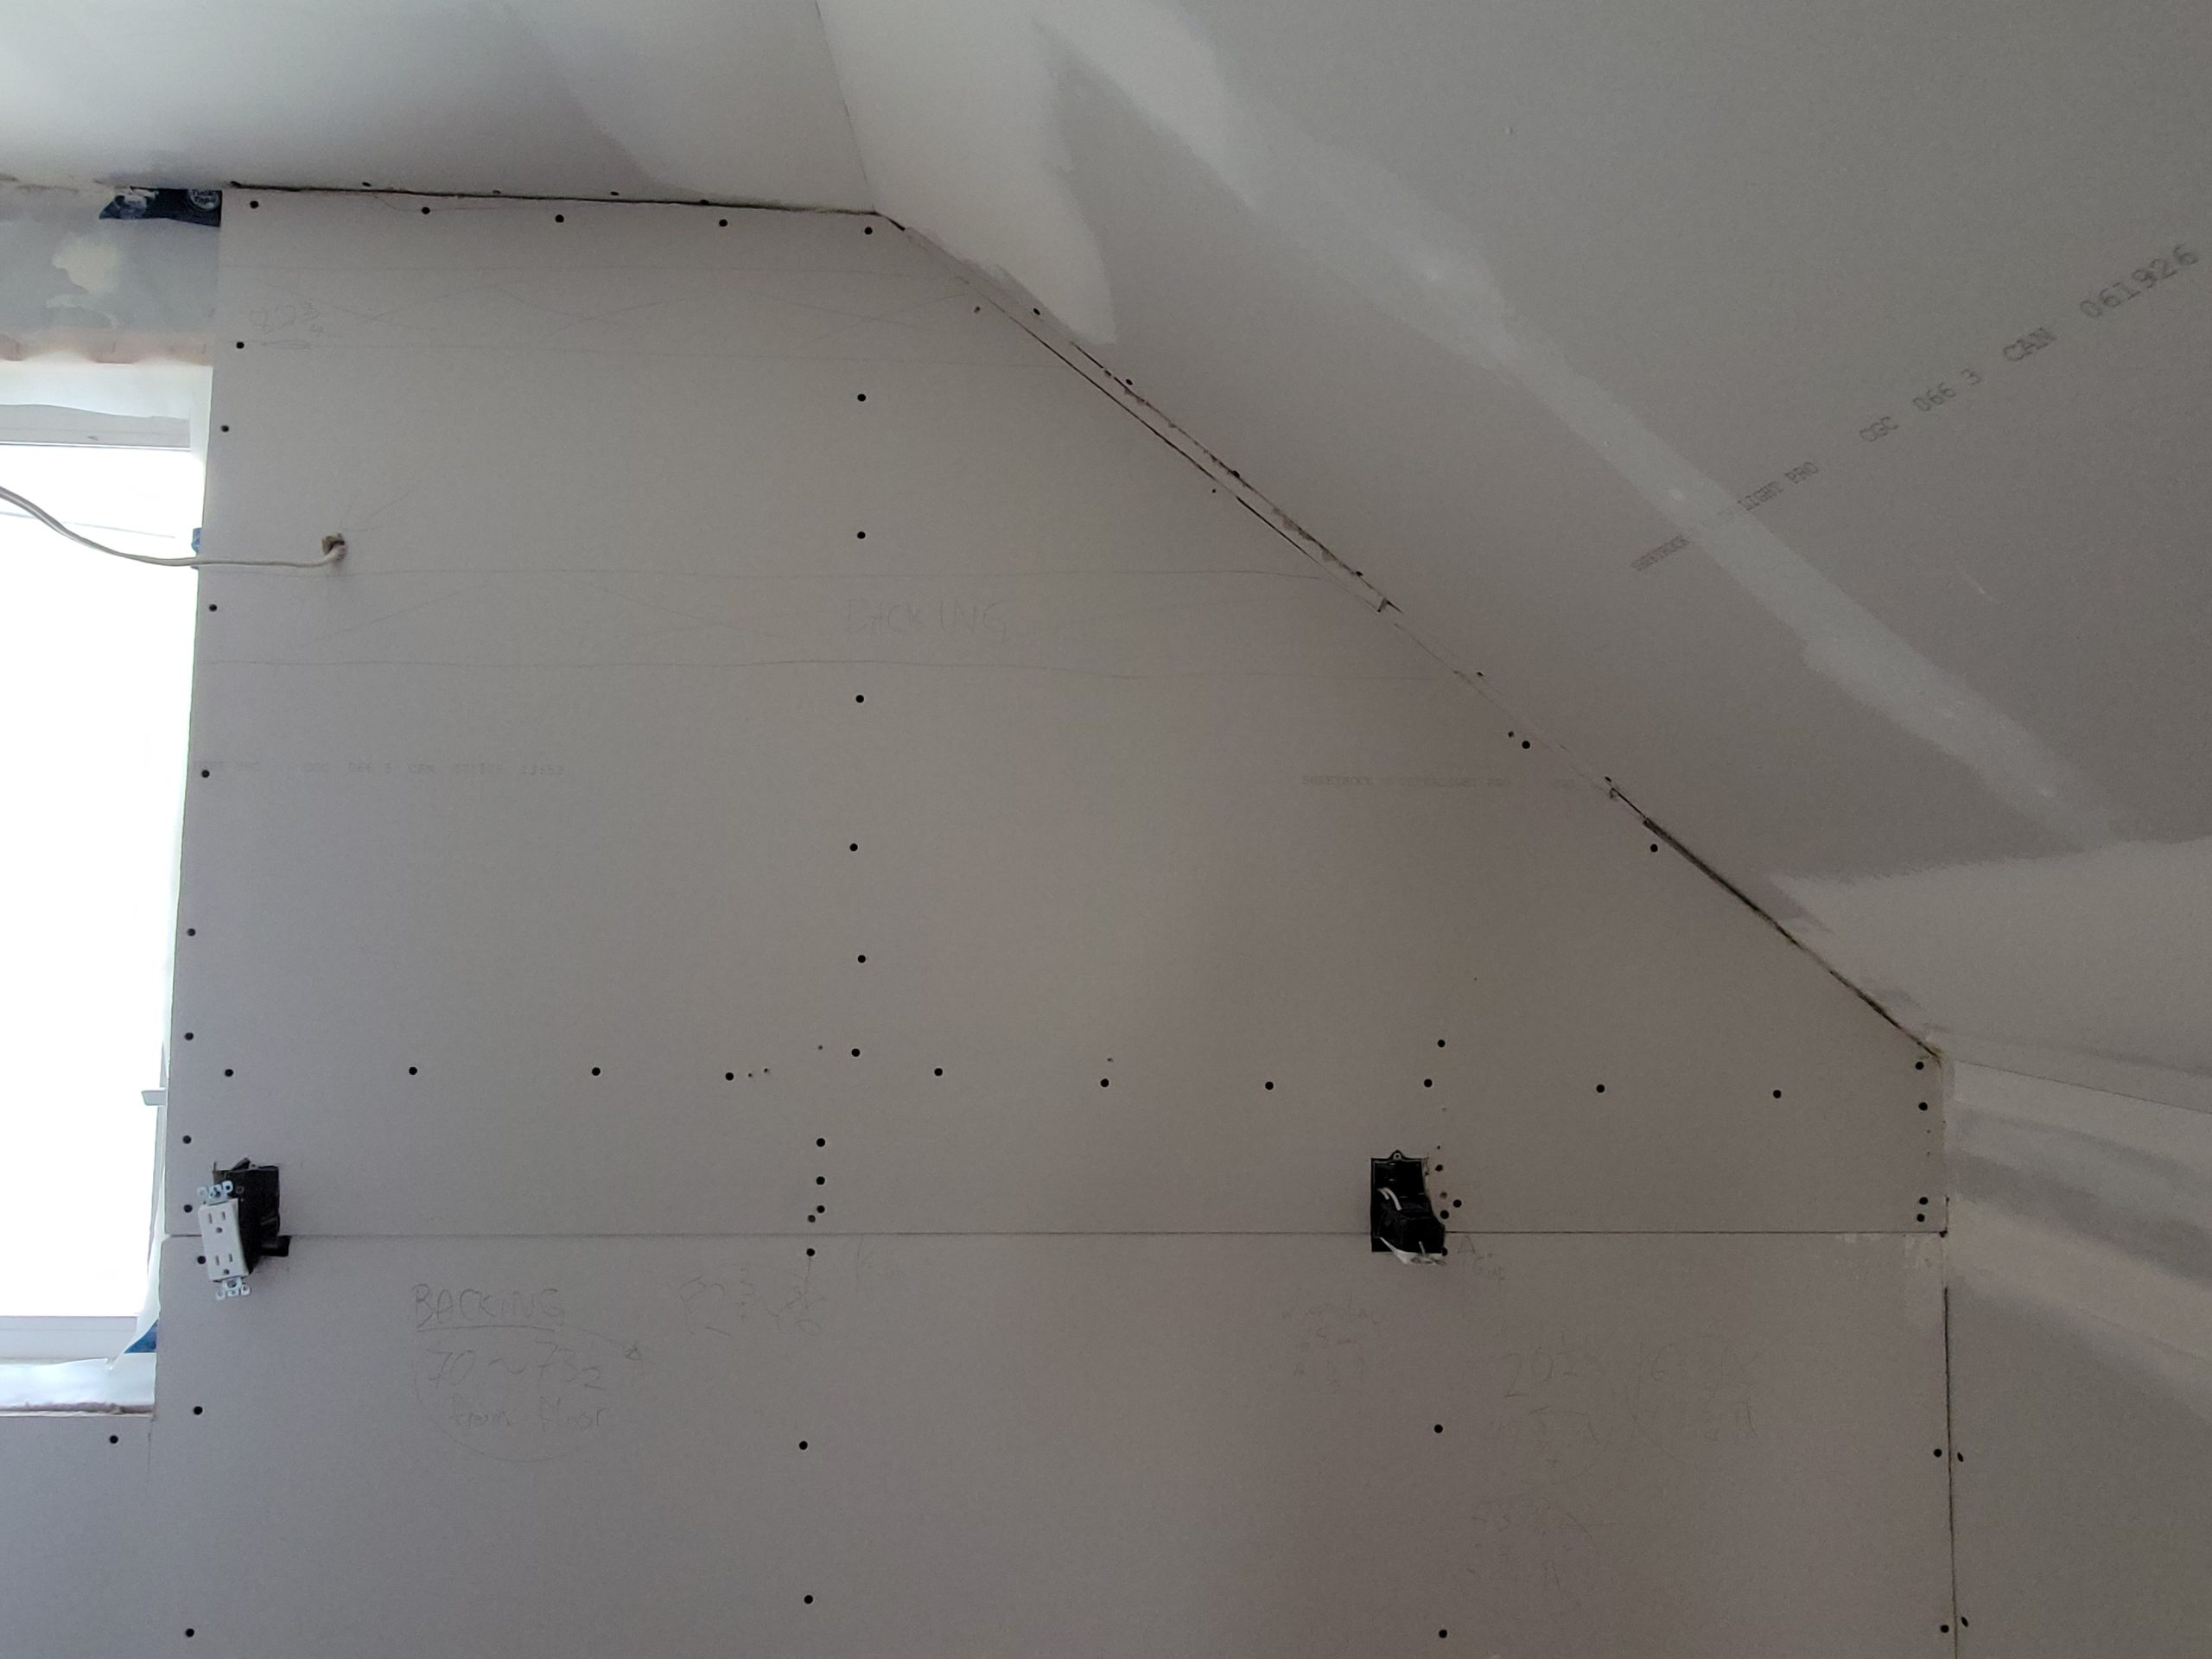
The kitchen east wall was drywalled. Floyd came by and helped, and Dave came a little later.
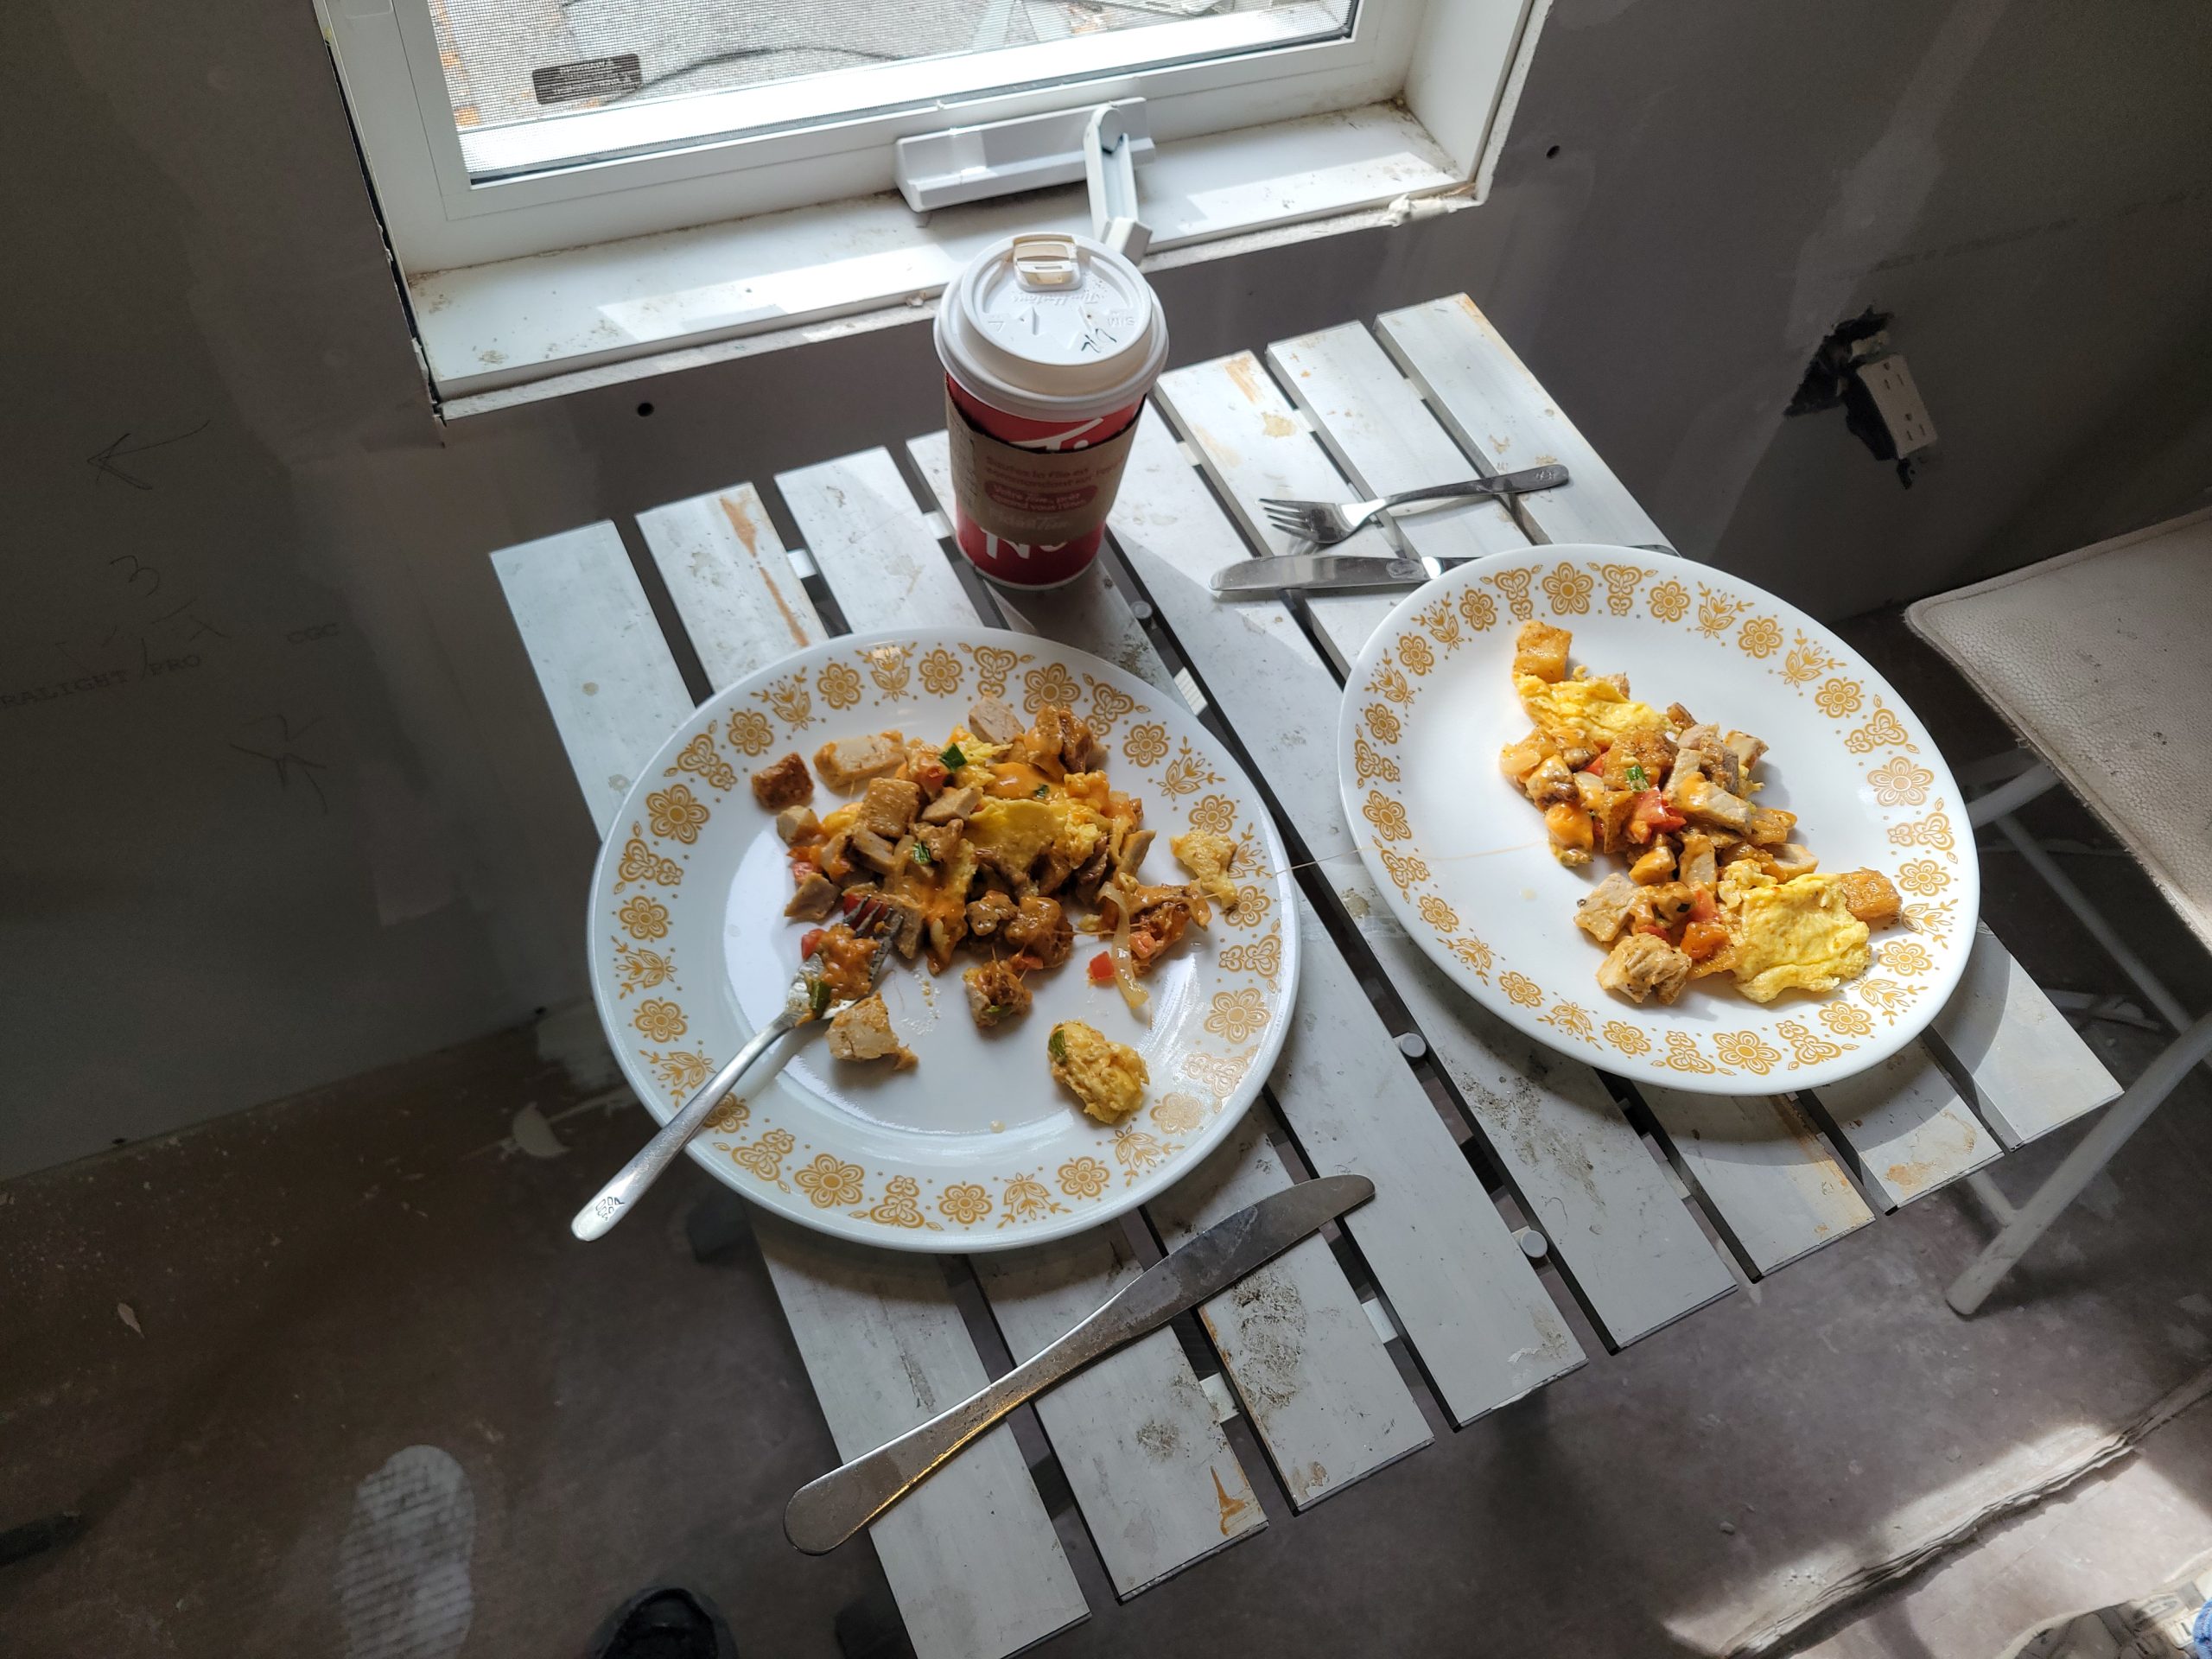
lunch
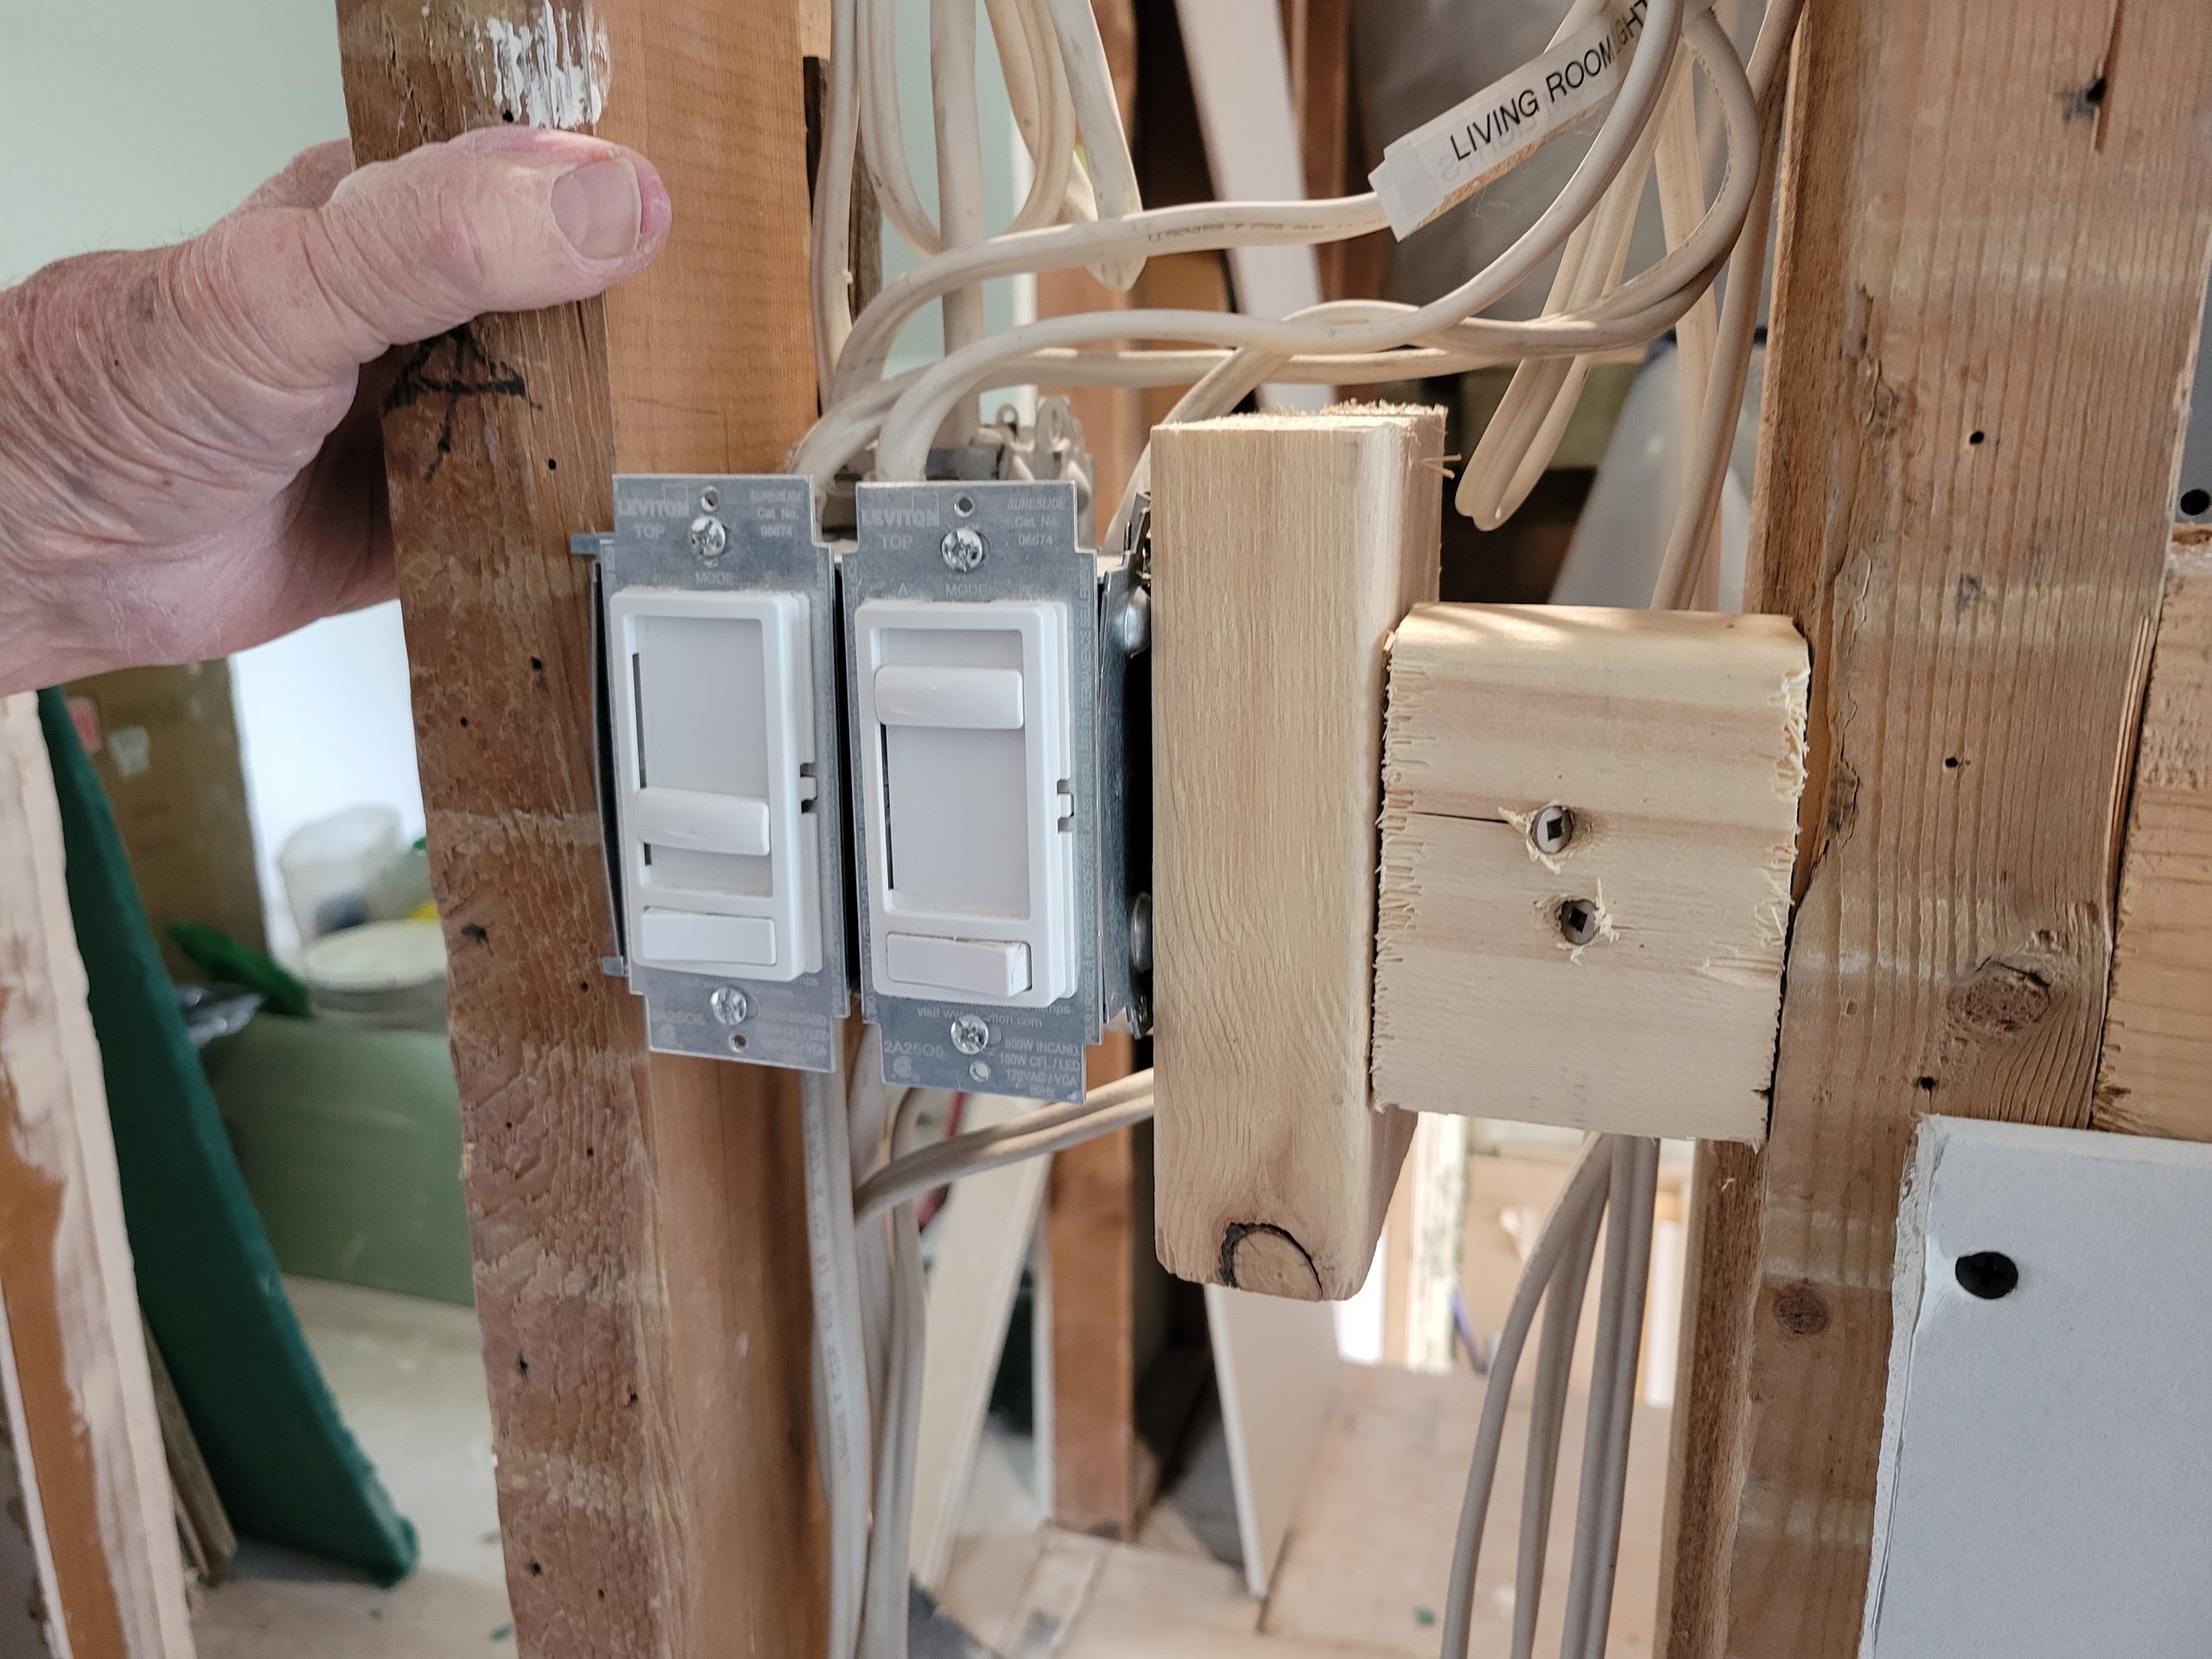
Because I tend to use gangable boxes, they had to be blocked and fastened to the next stud.
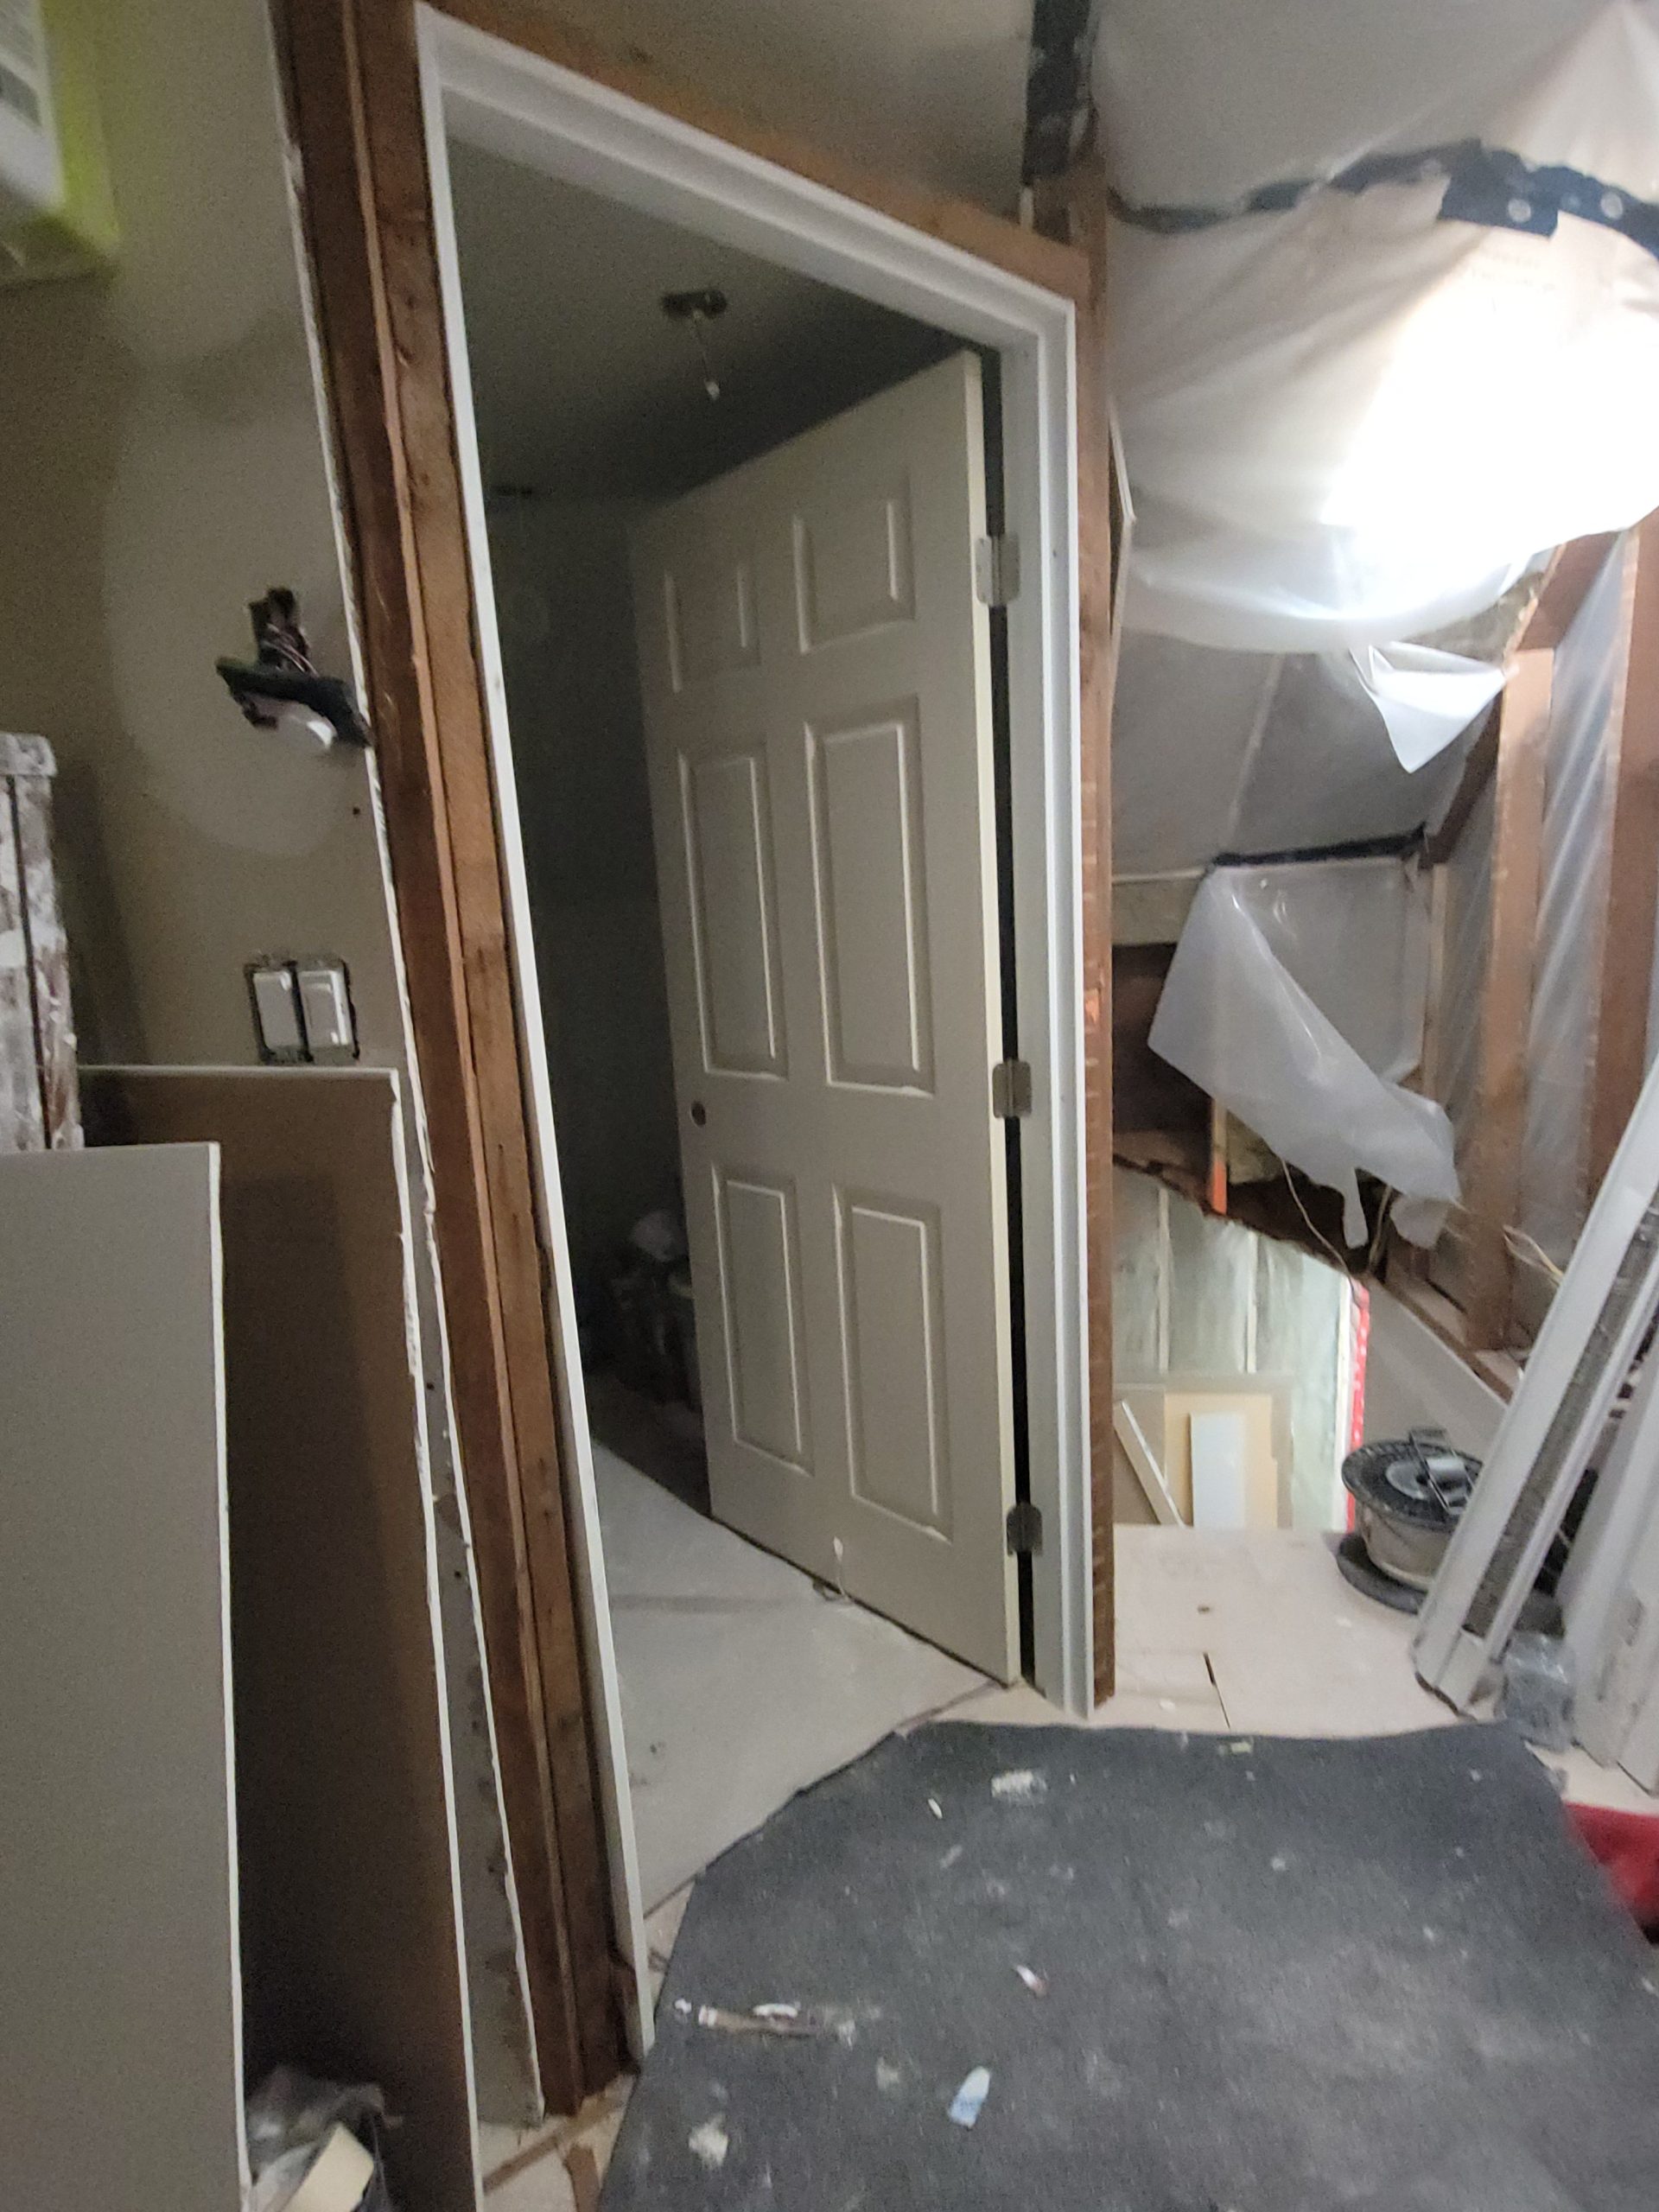
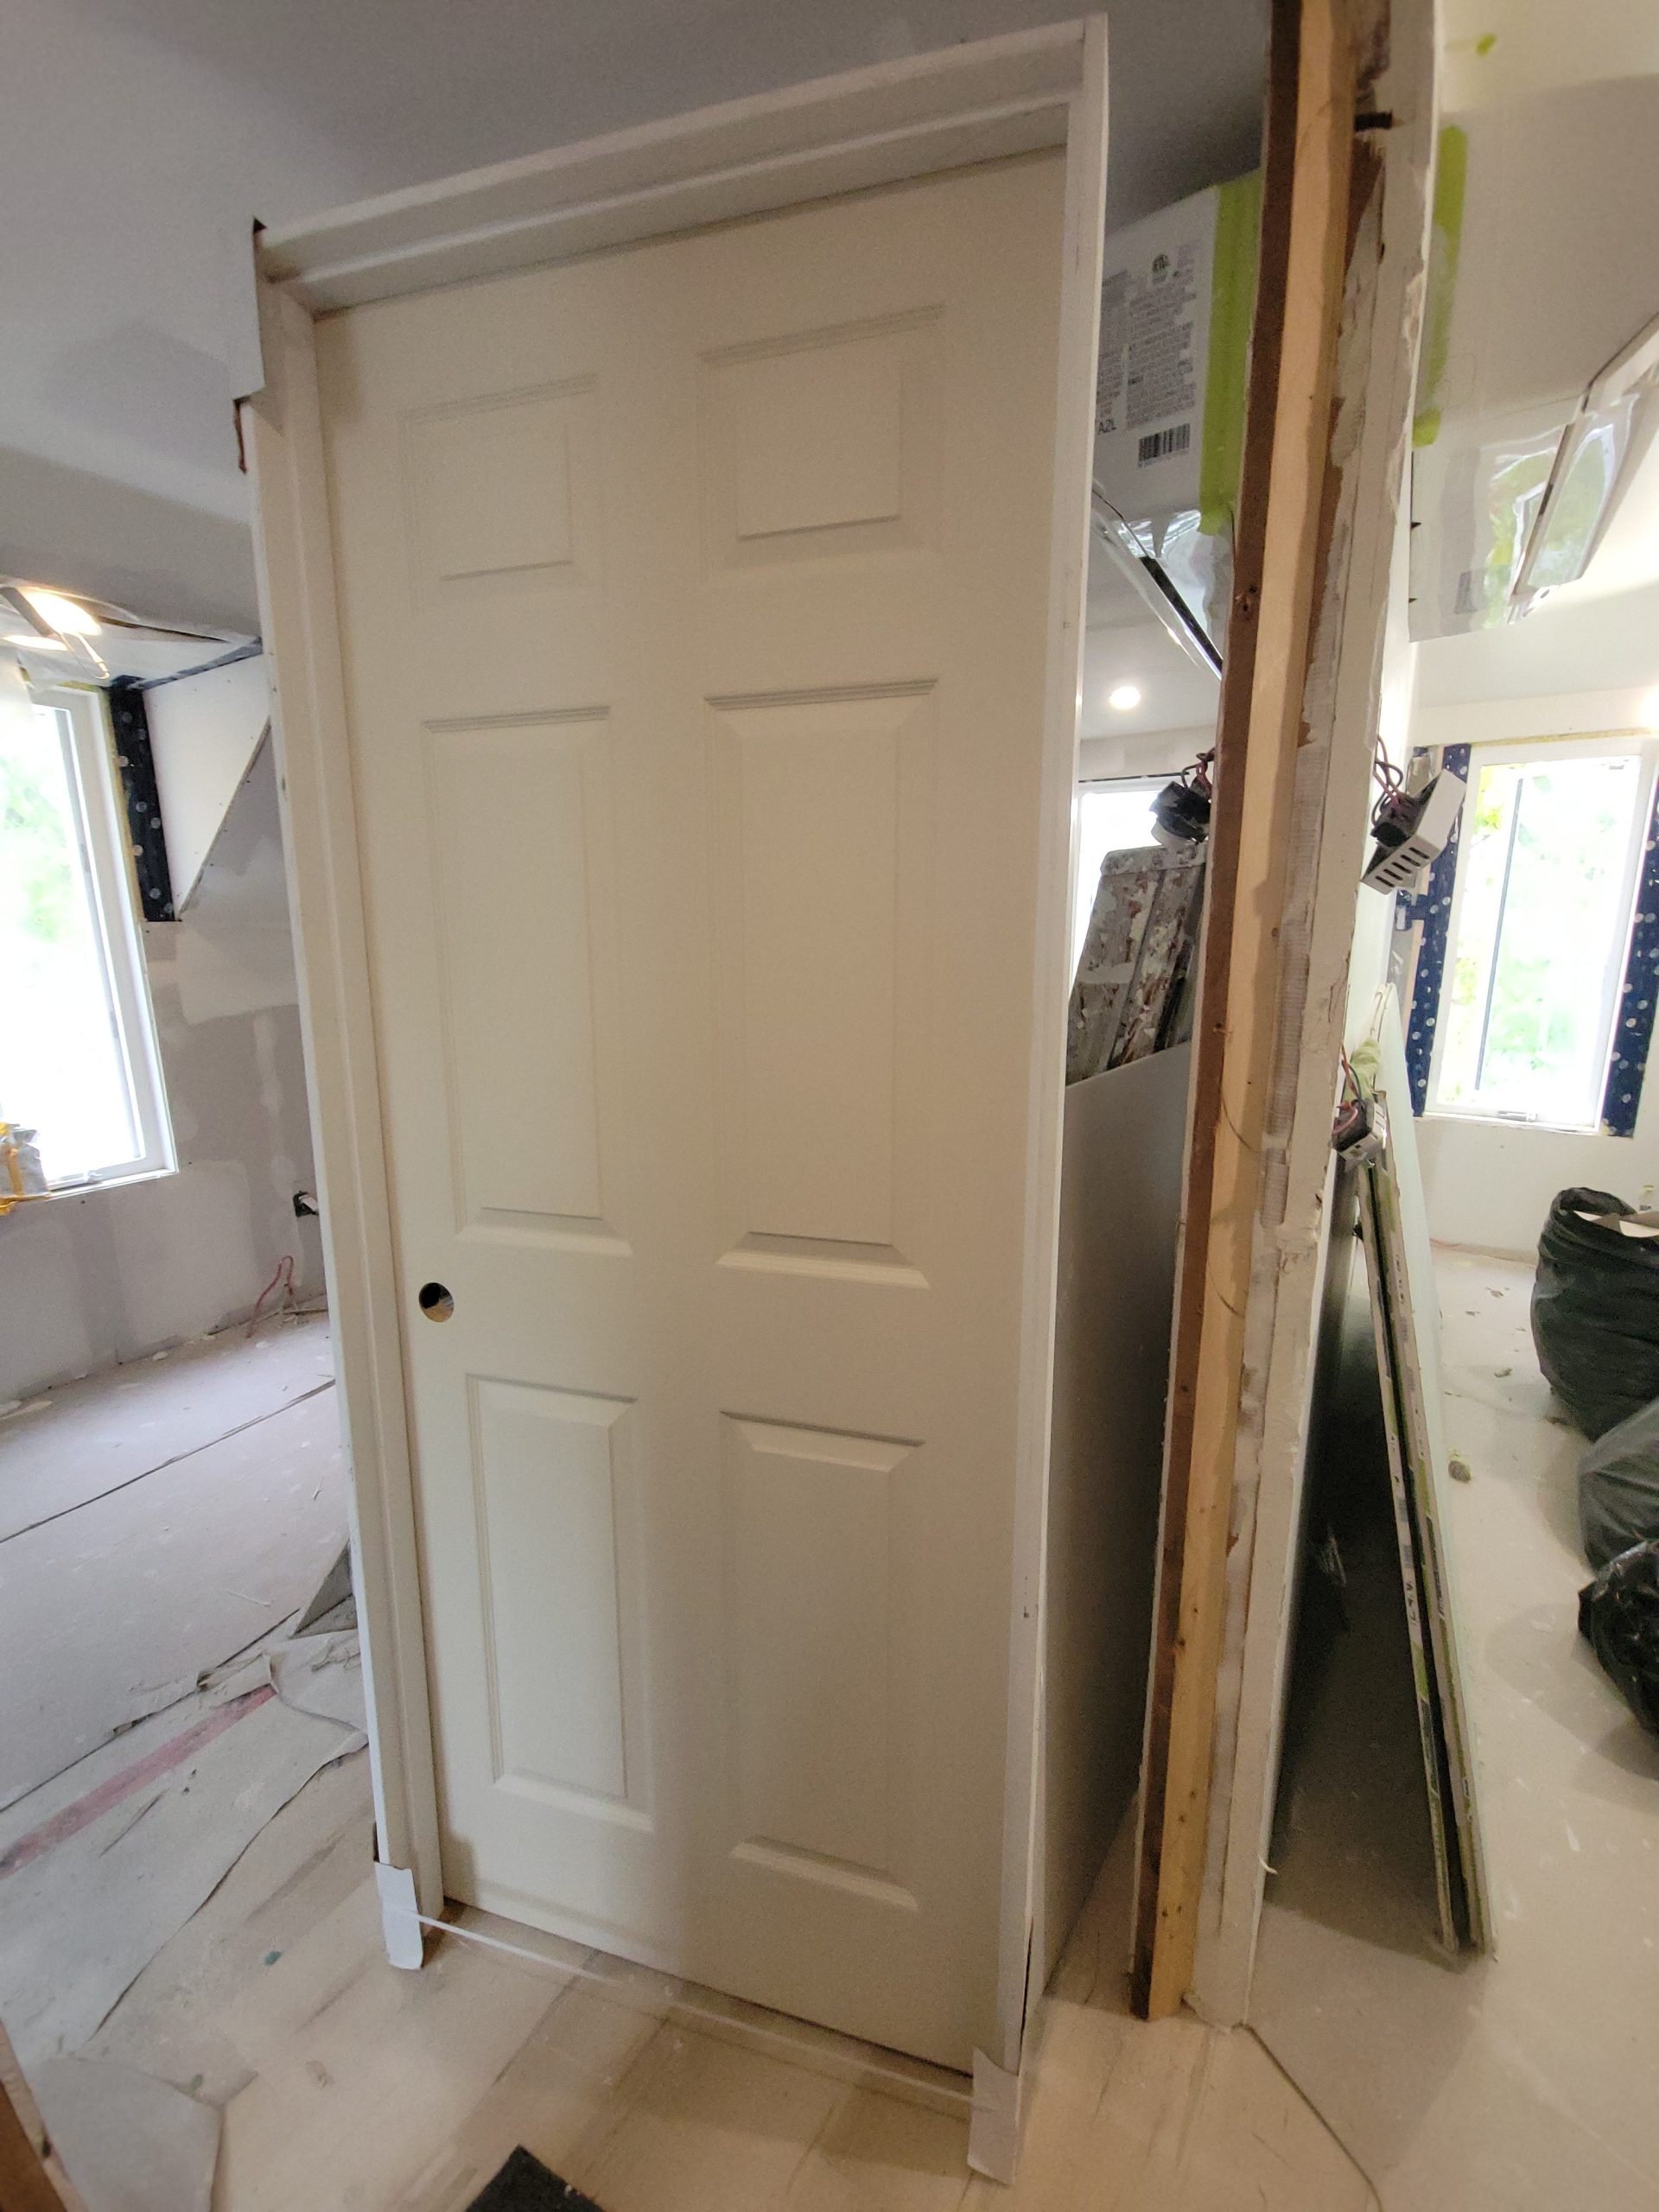
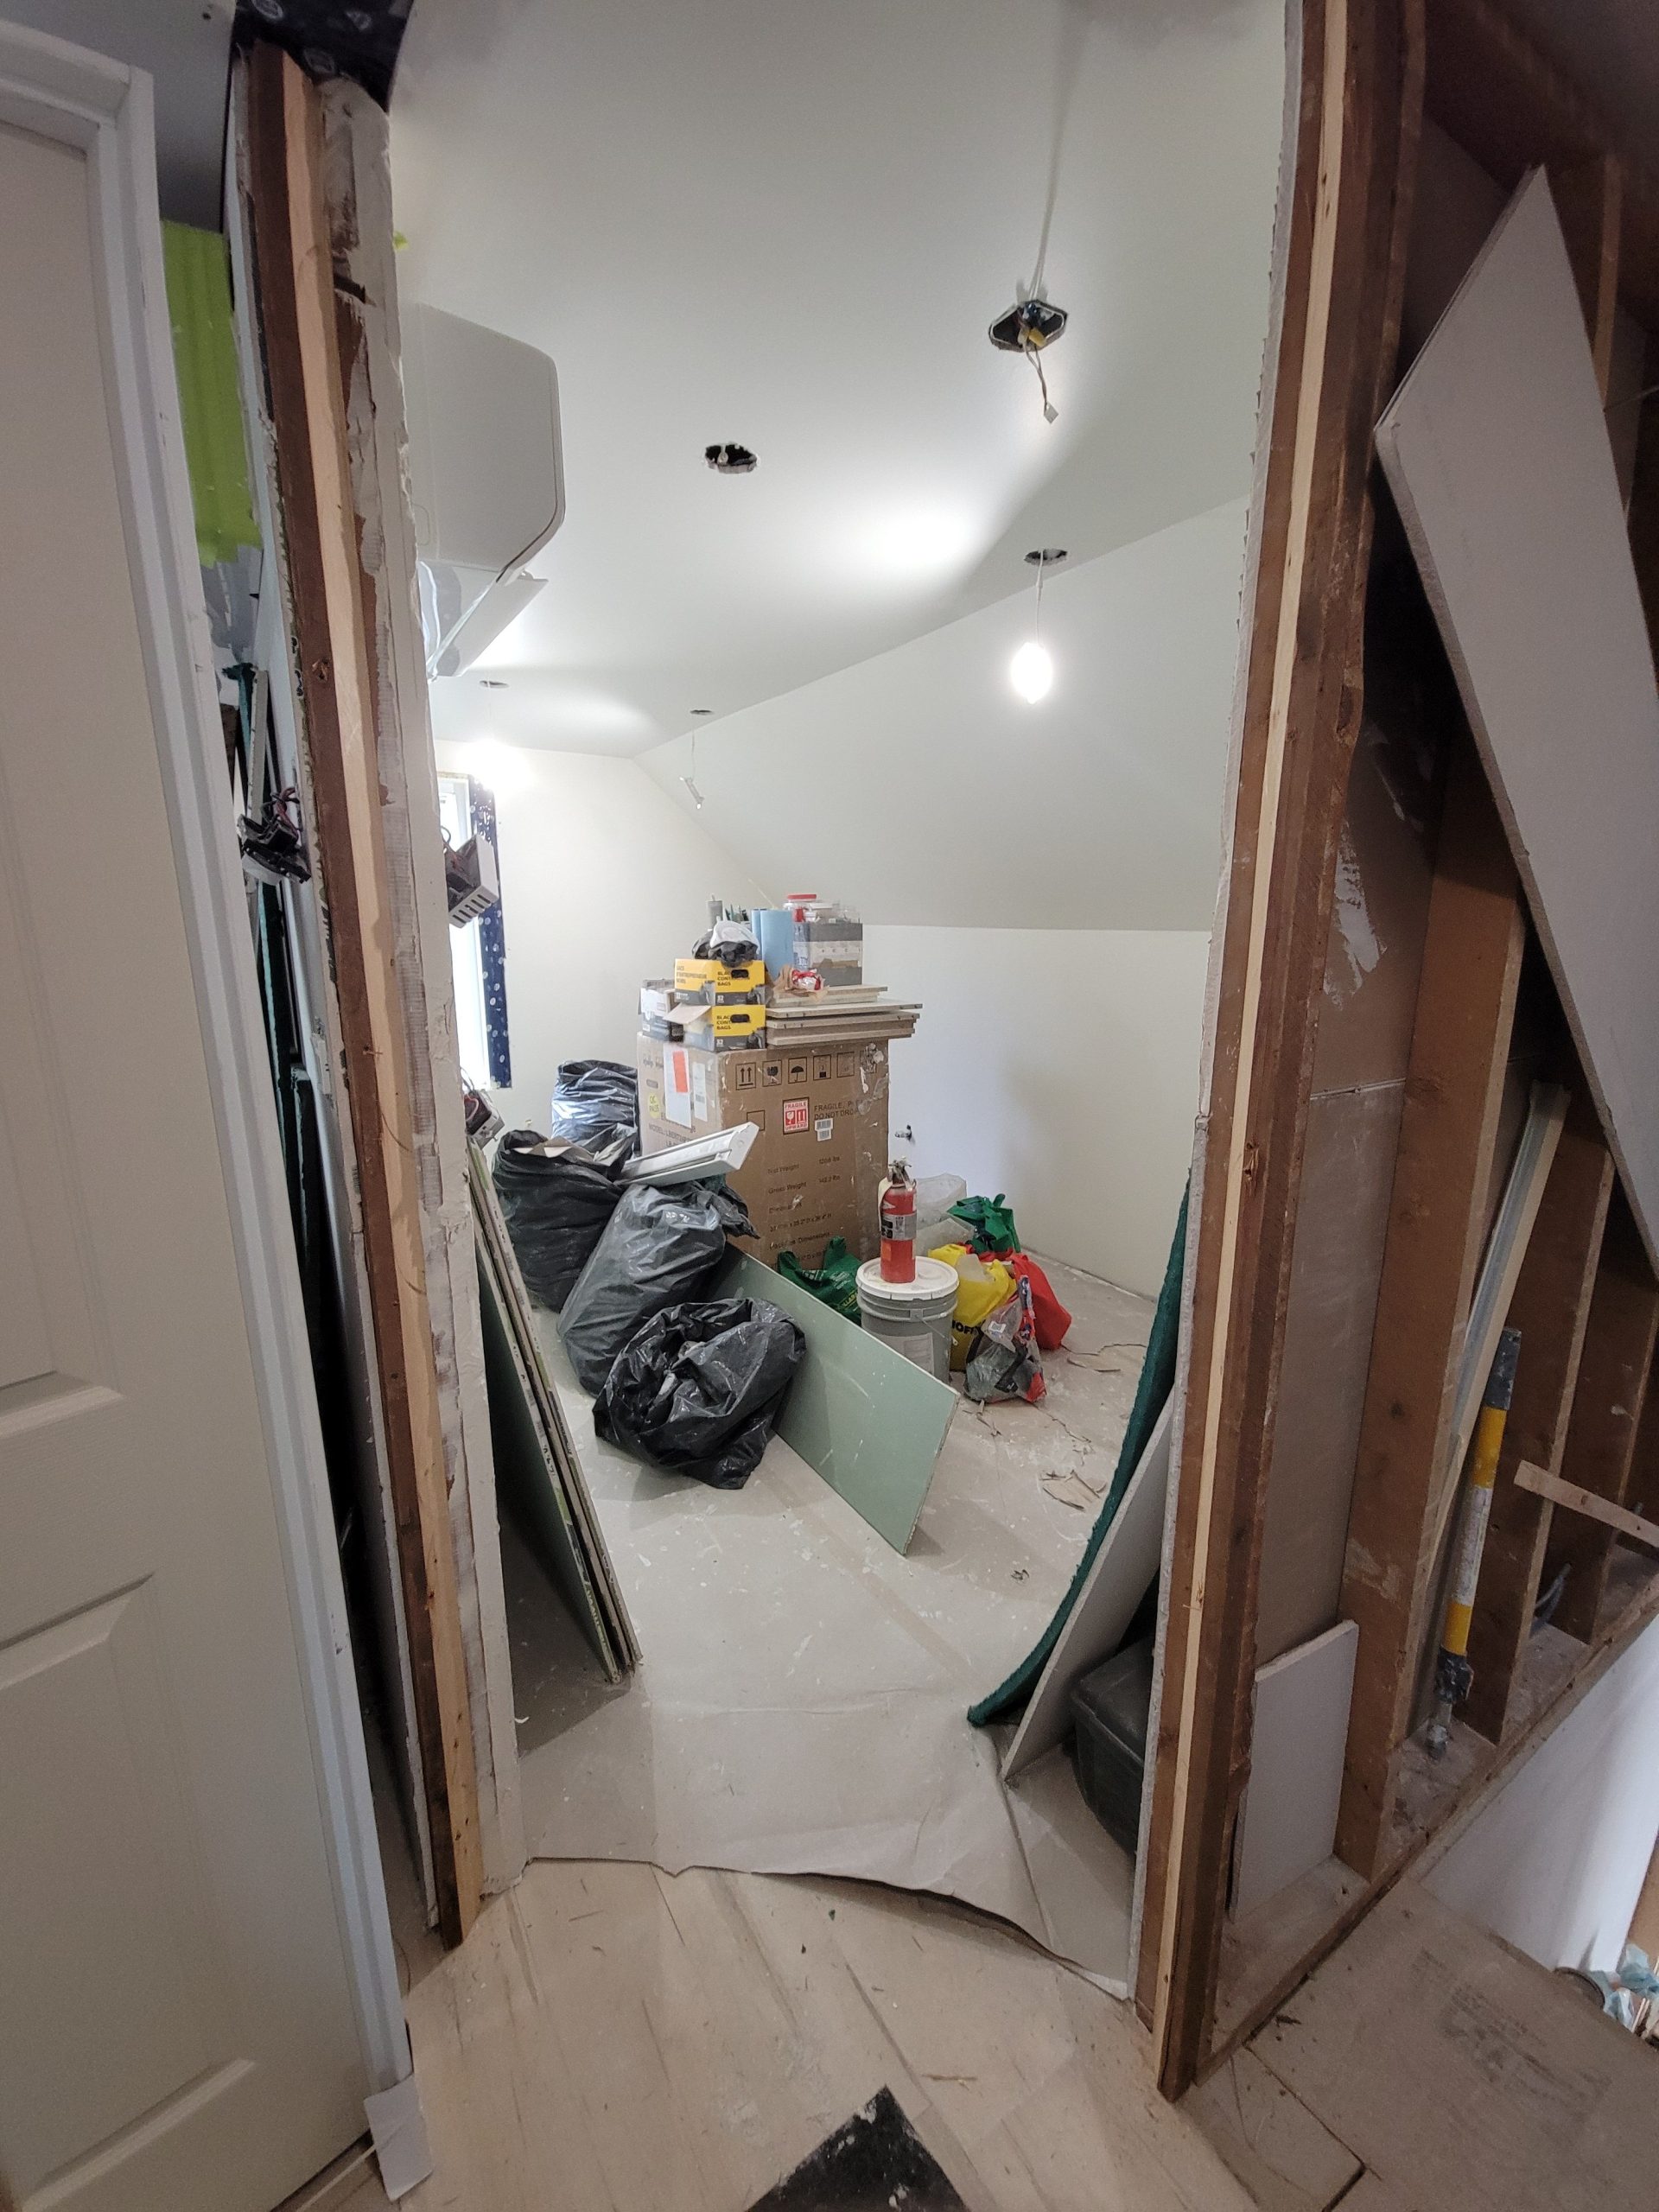
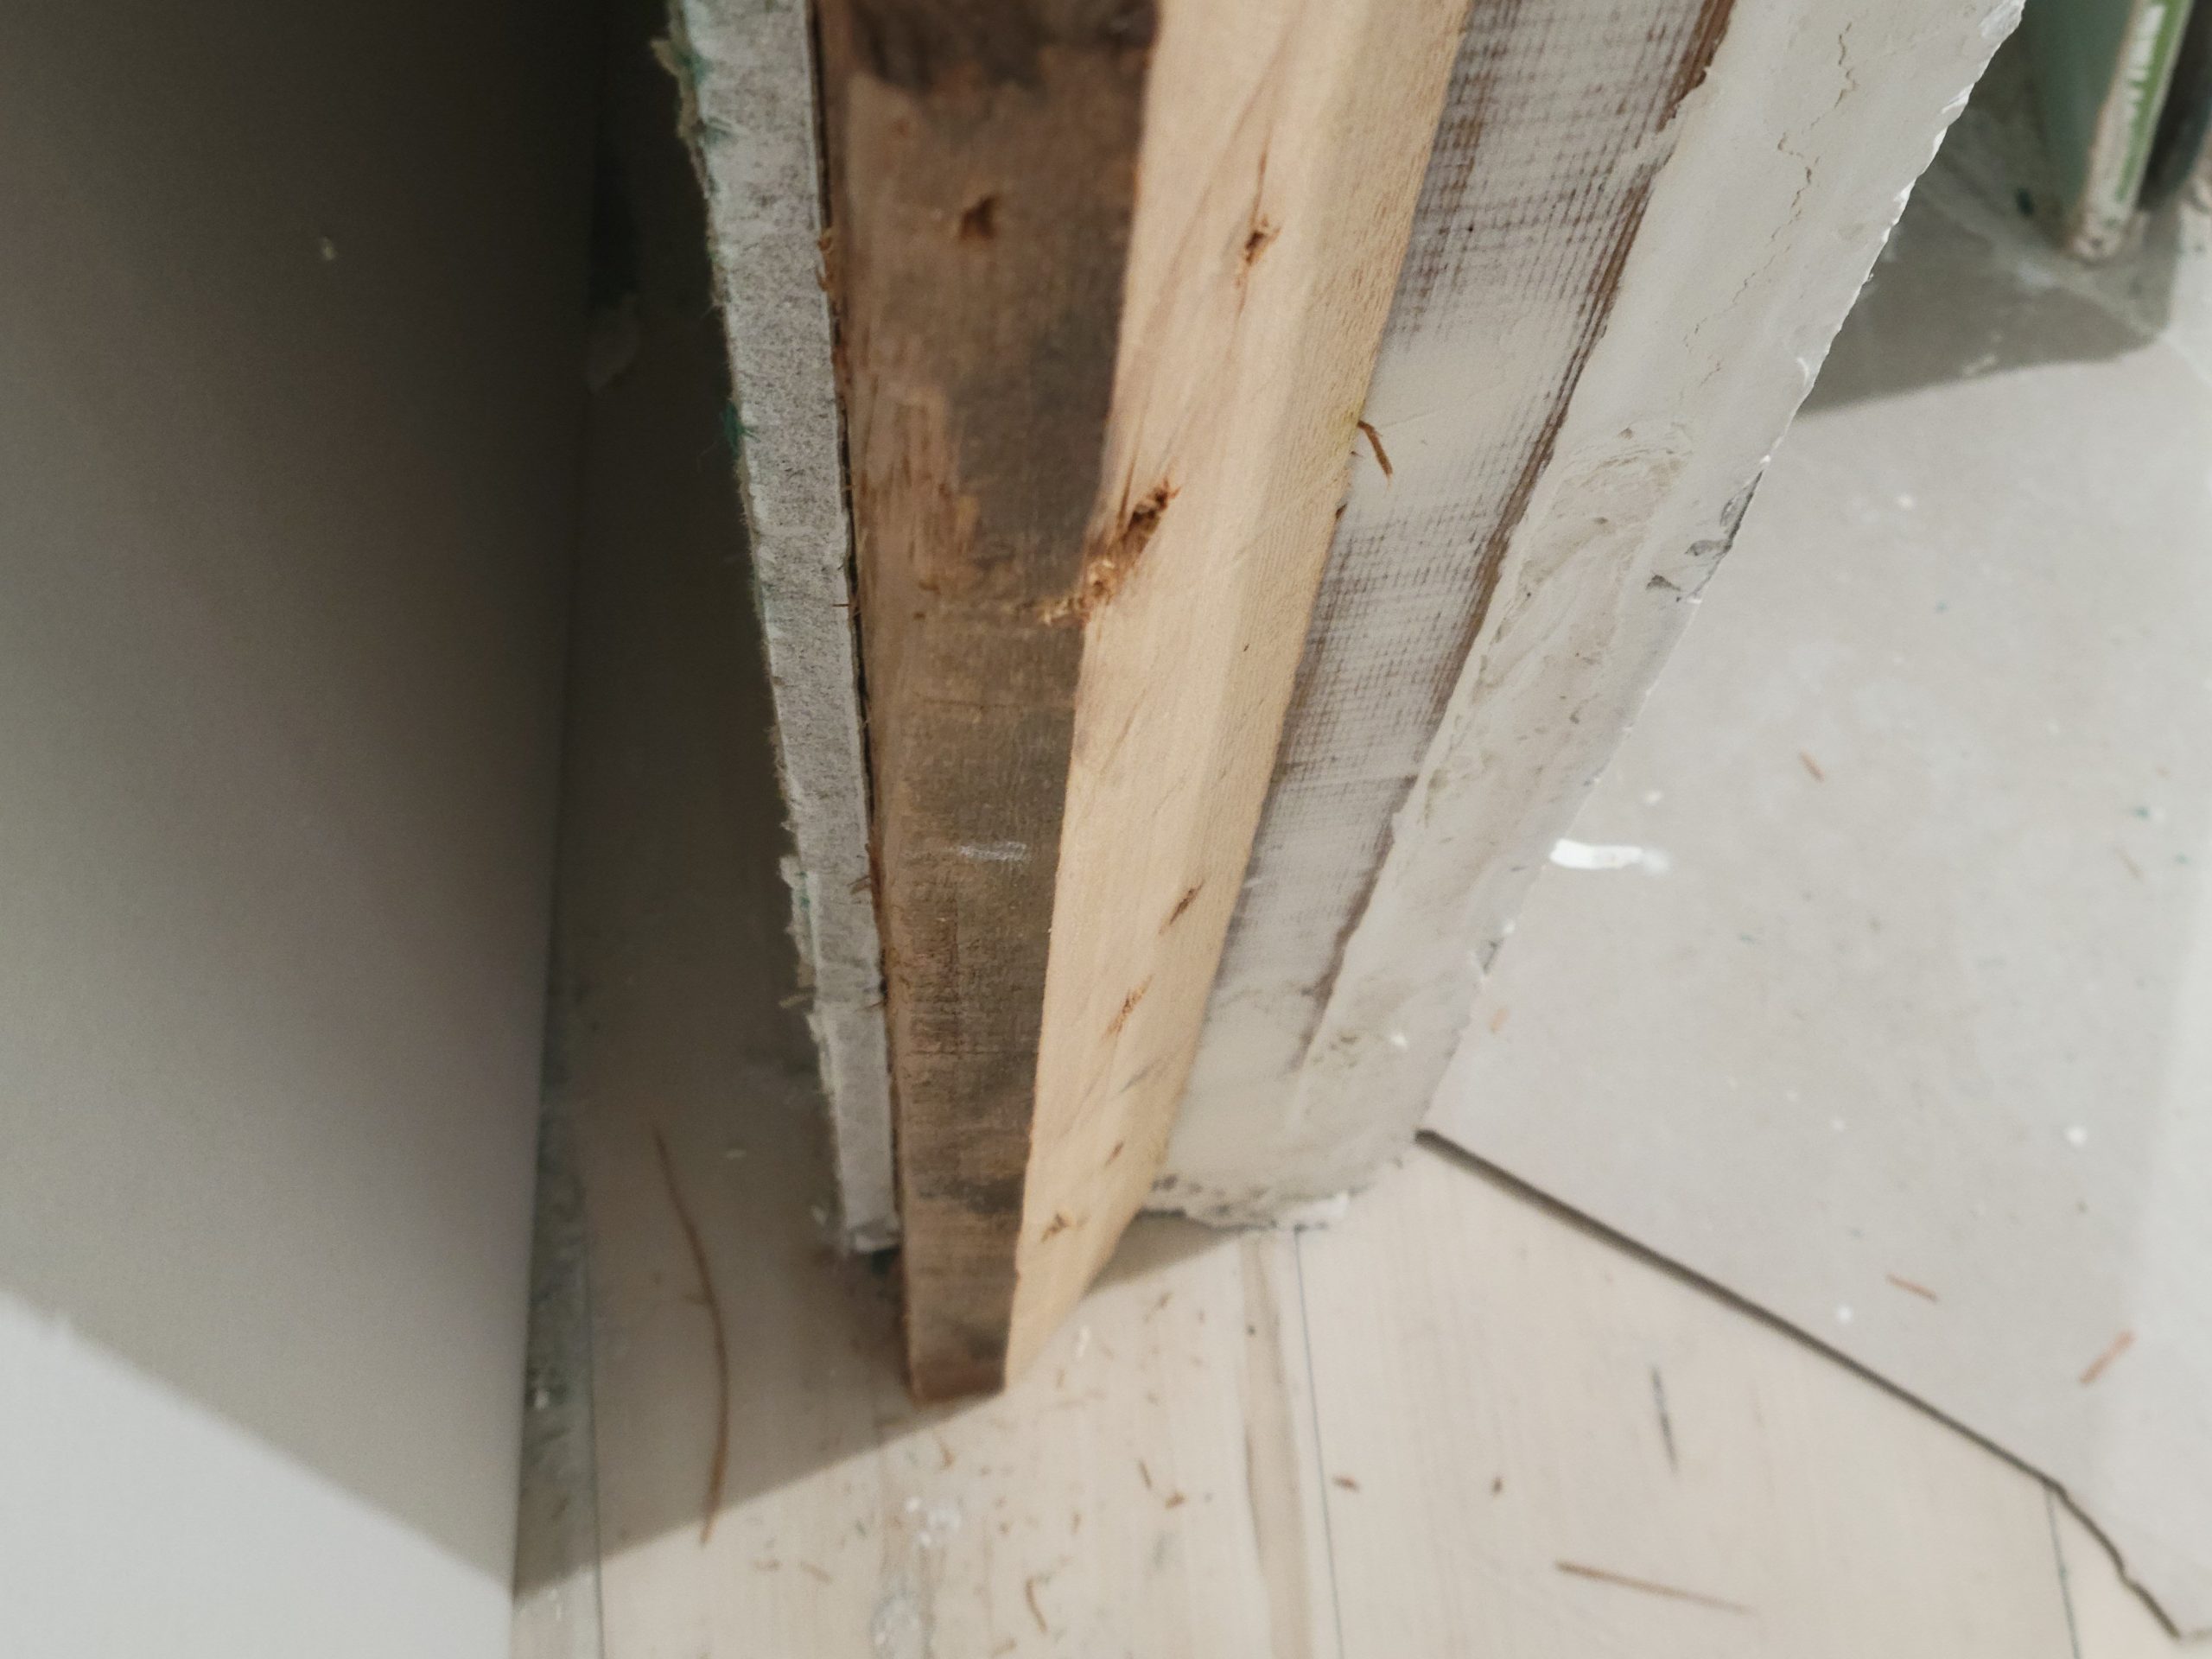
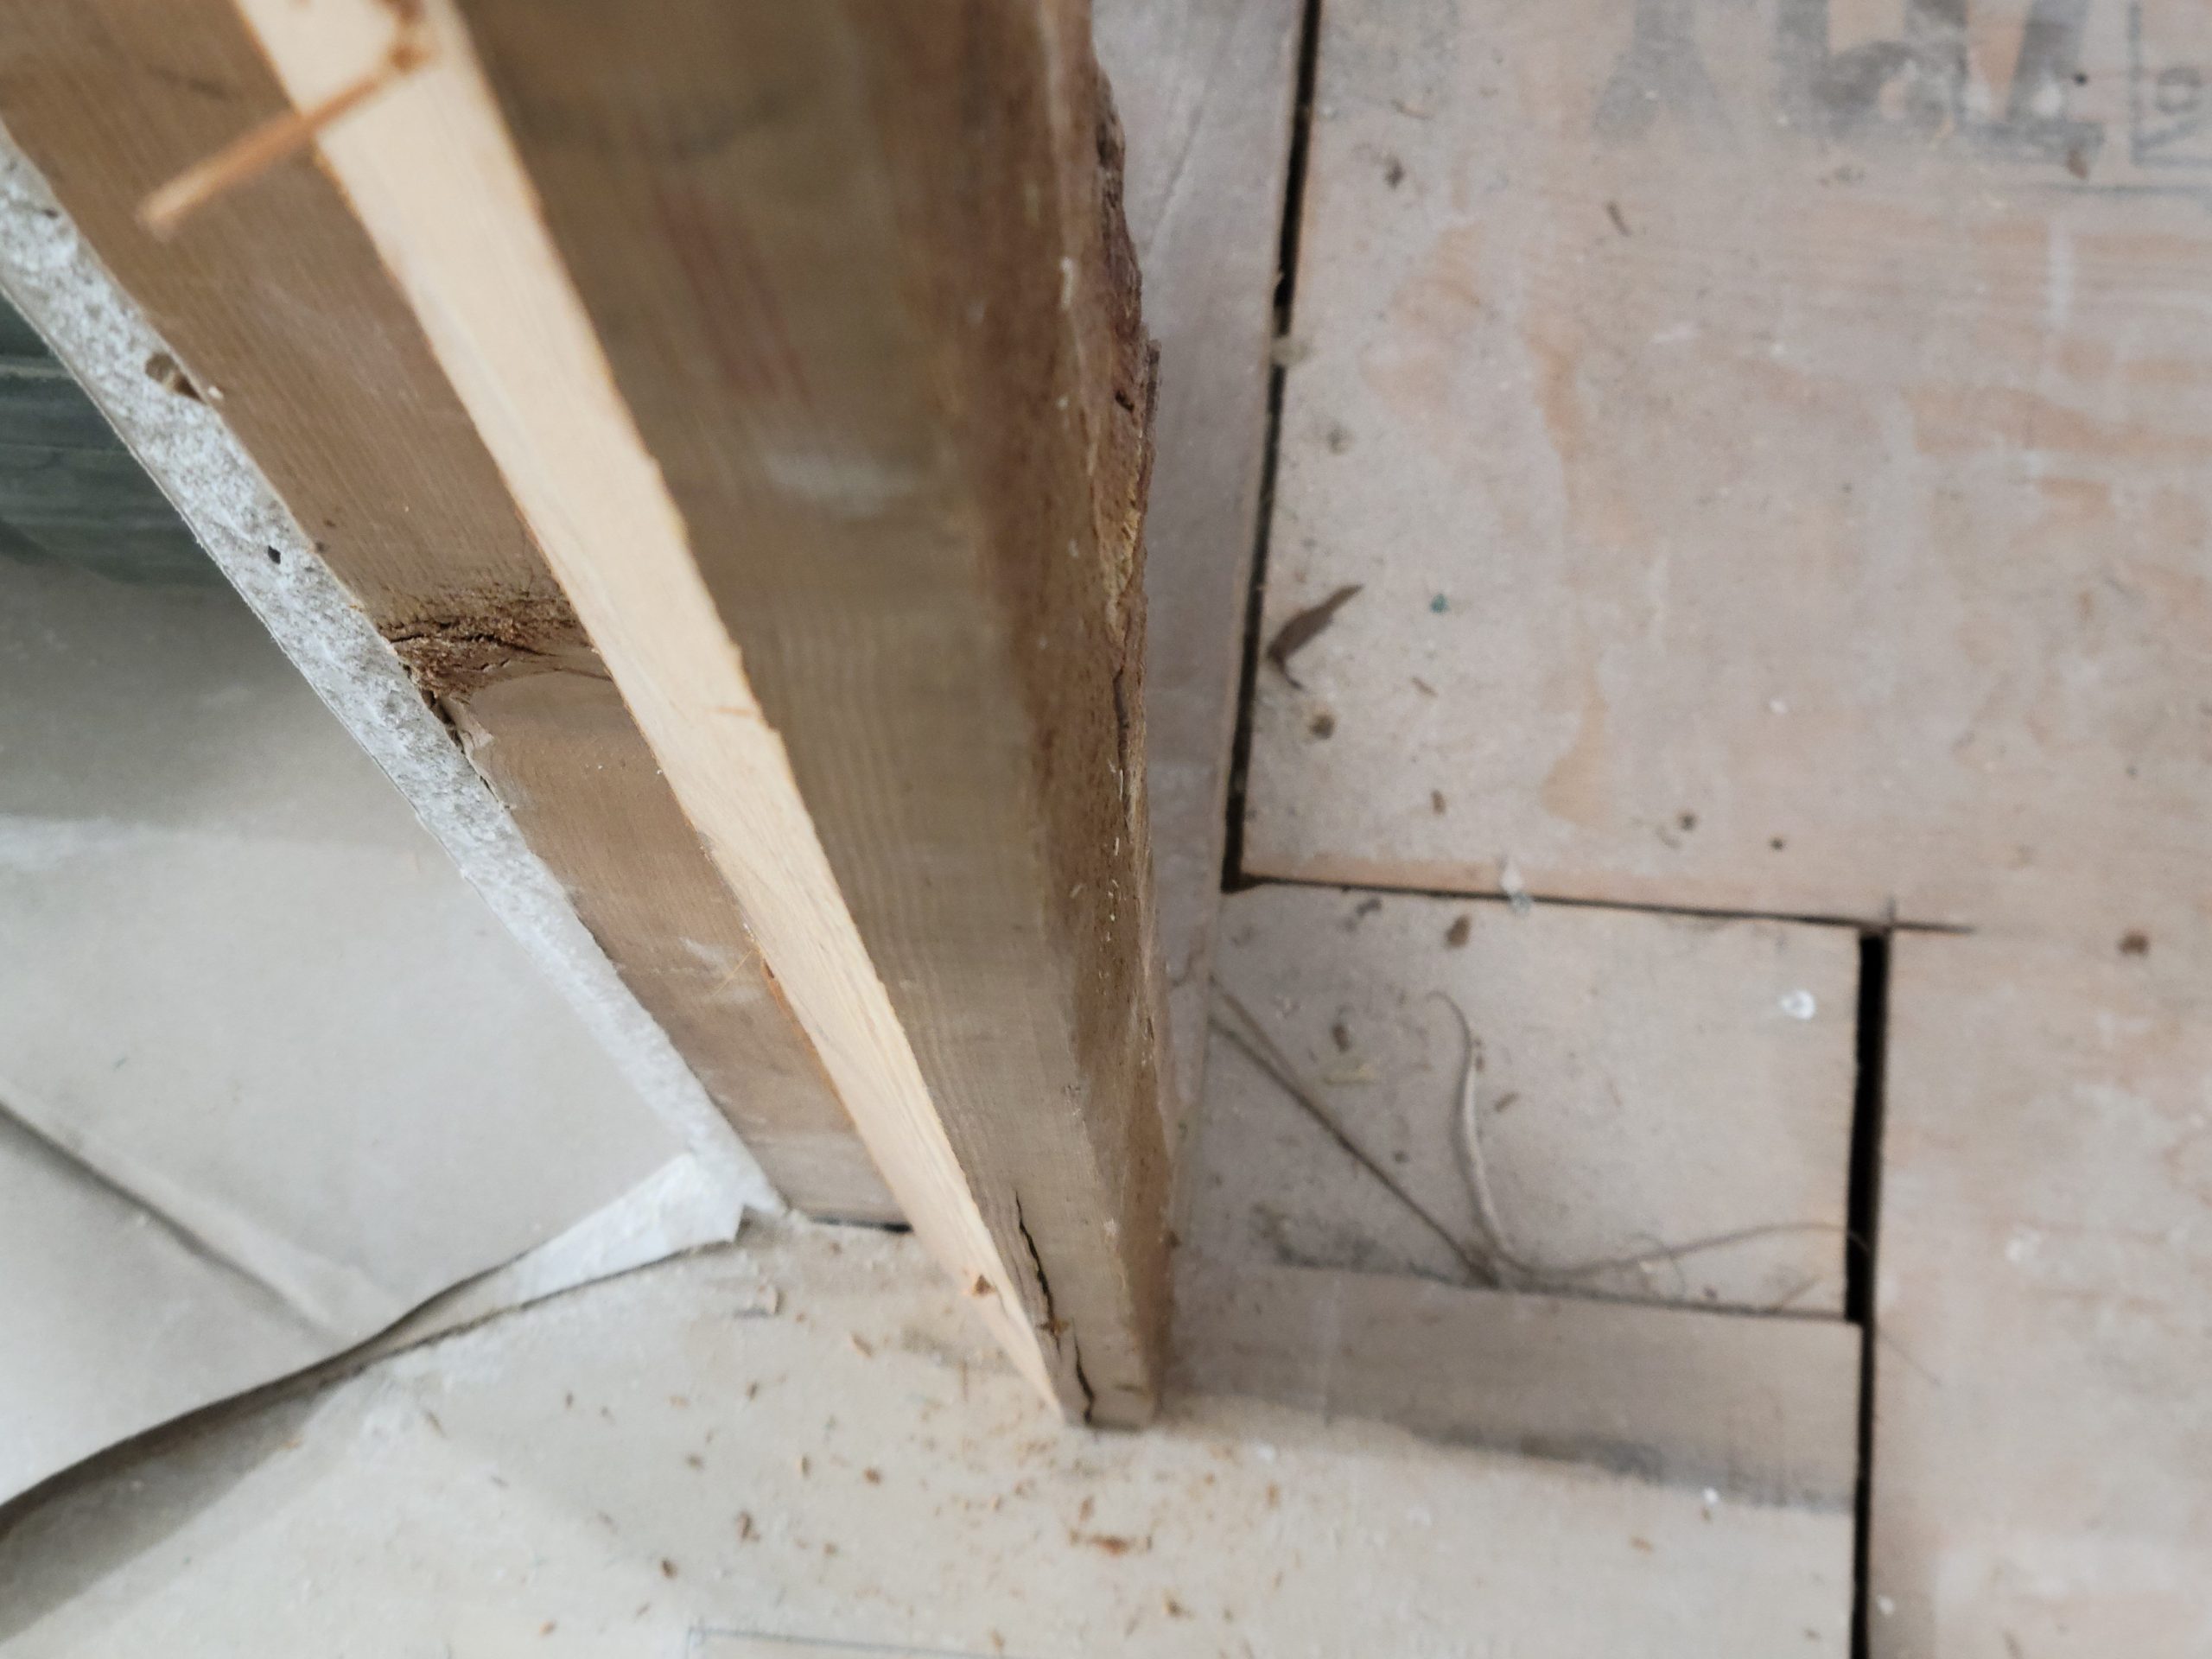
Here’s the bedroom door not quite in the bedroom yet. The rough opening must be framed at 45°.
I was thinking to rip a 2×4 22.5° and sandwich them together. However, my table saw doesn’t quite reach out far enough to get the whole board sawn all the way through. I tried, with Floyd’s help, to cut the remaining 1/2″ reach with a reciprocating saw (saws-all), but this did not work well.
Change of plans – just saw a 2×4 at 45°, and use each half for each side of the door.
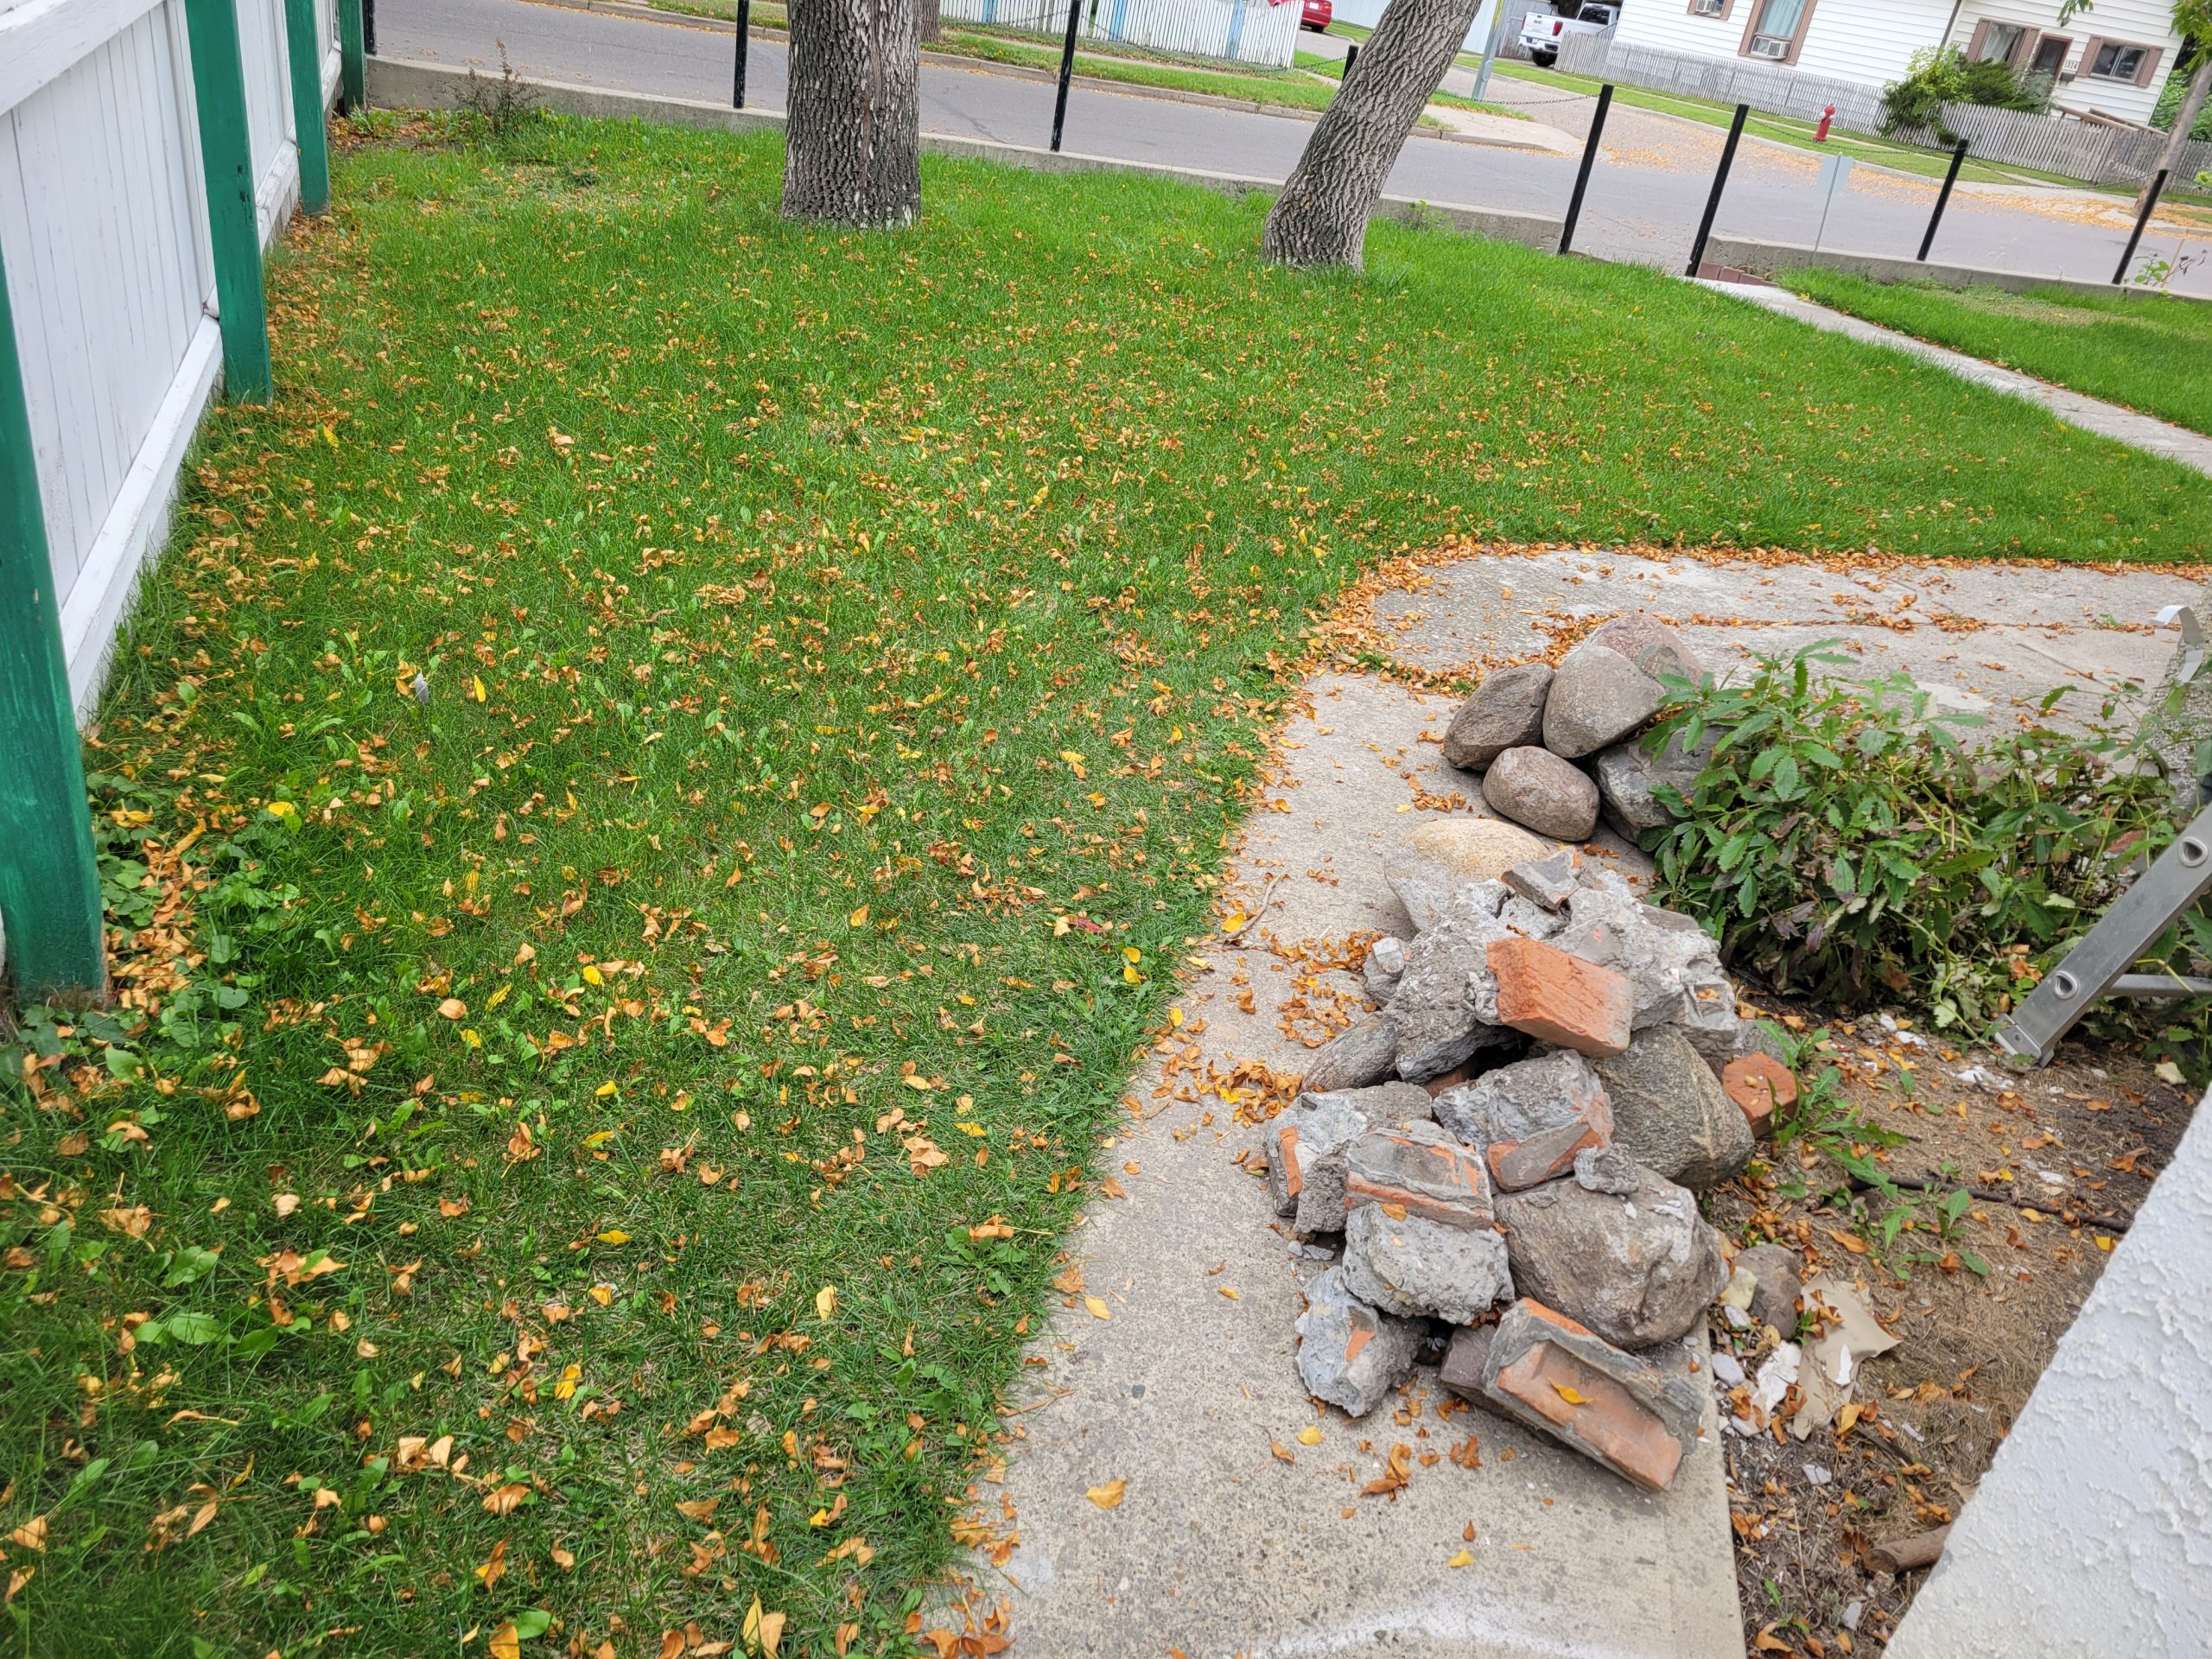
This is the first day of fall (equinox), and this is the first day I see leaves on the ground.
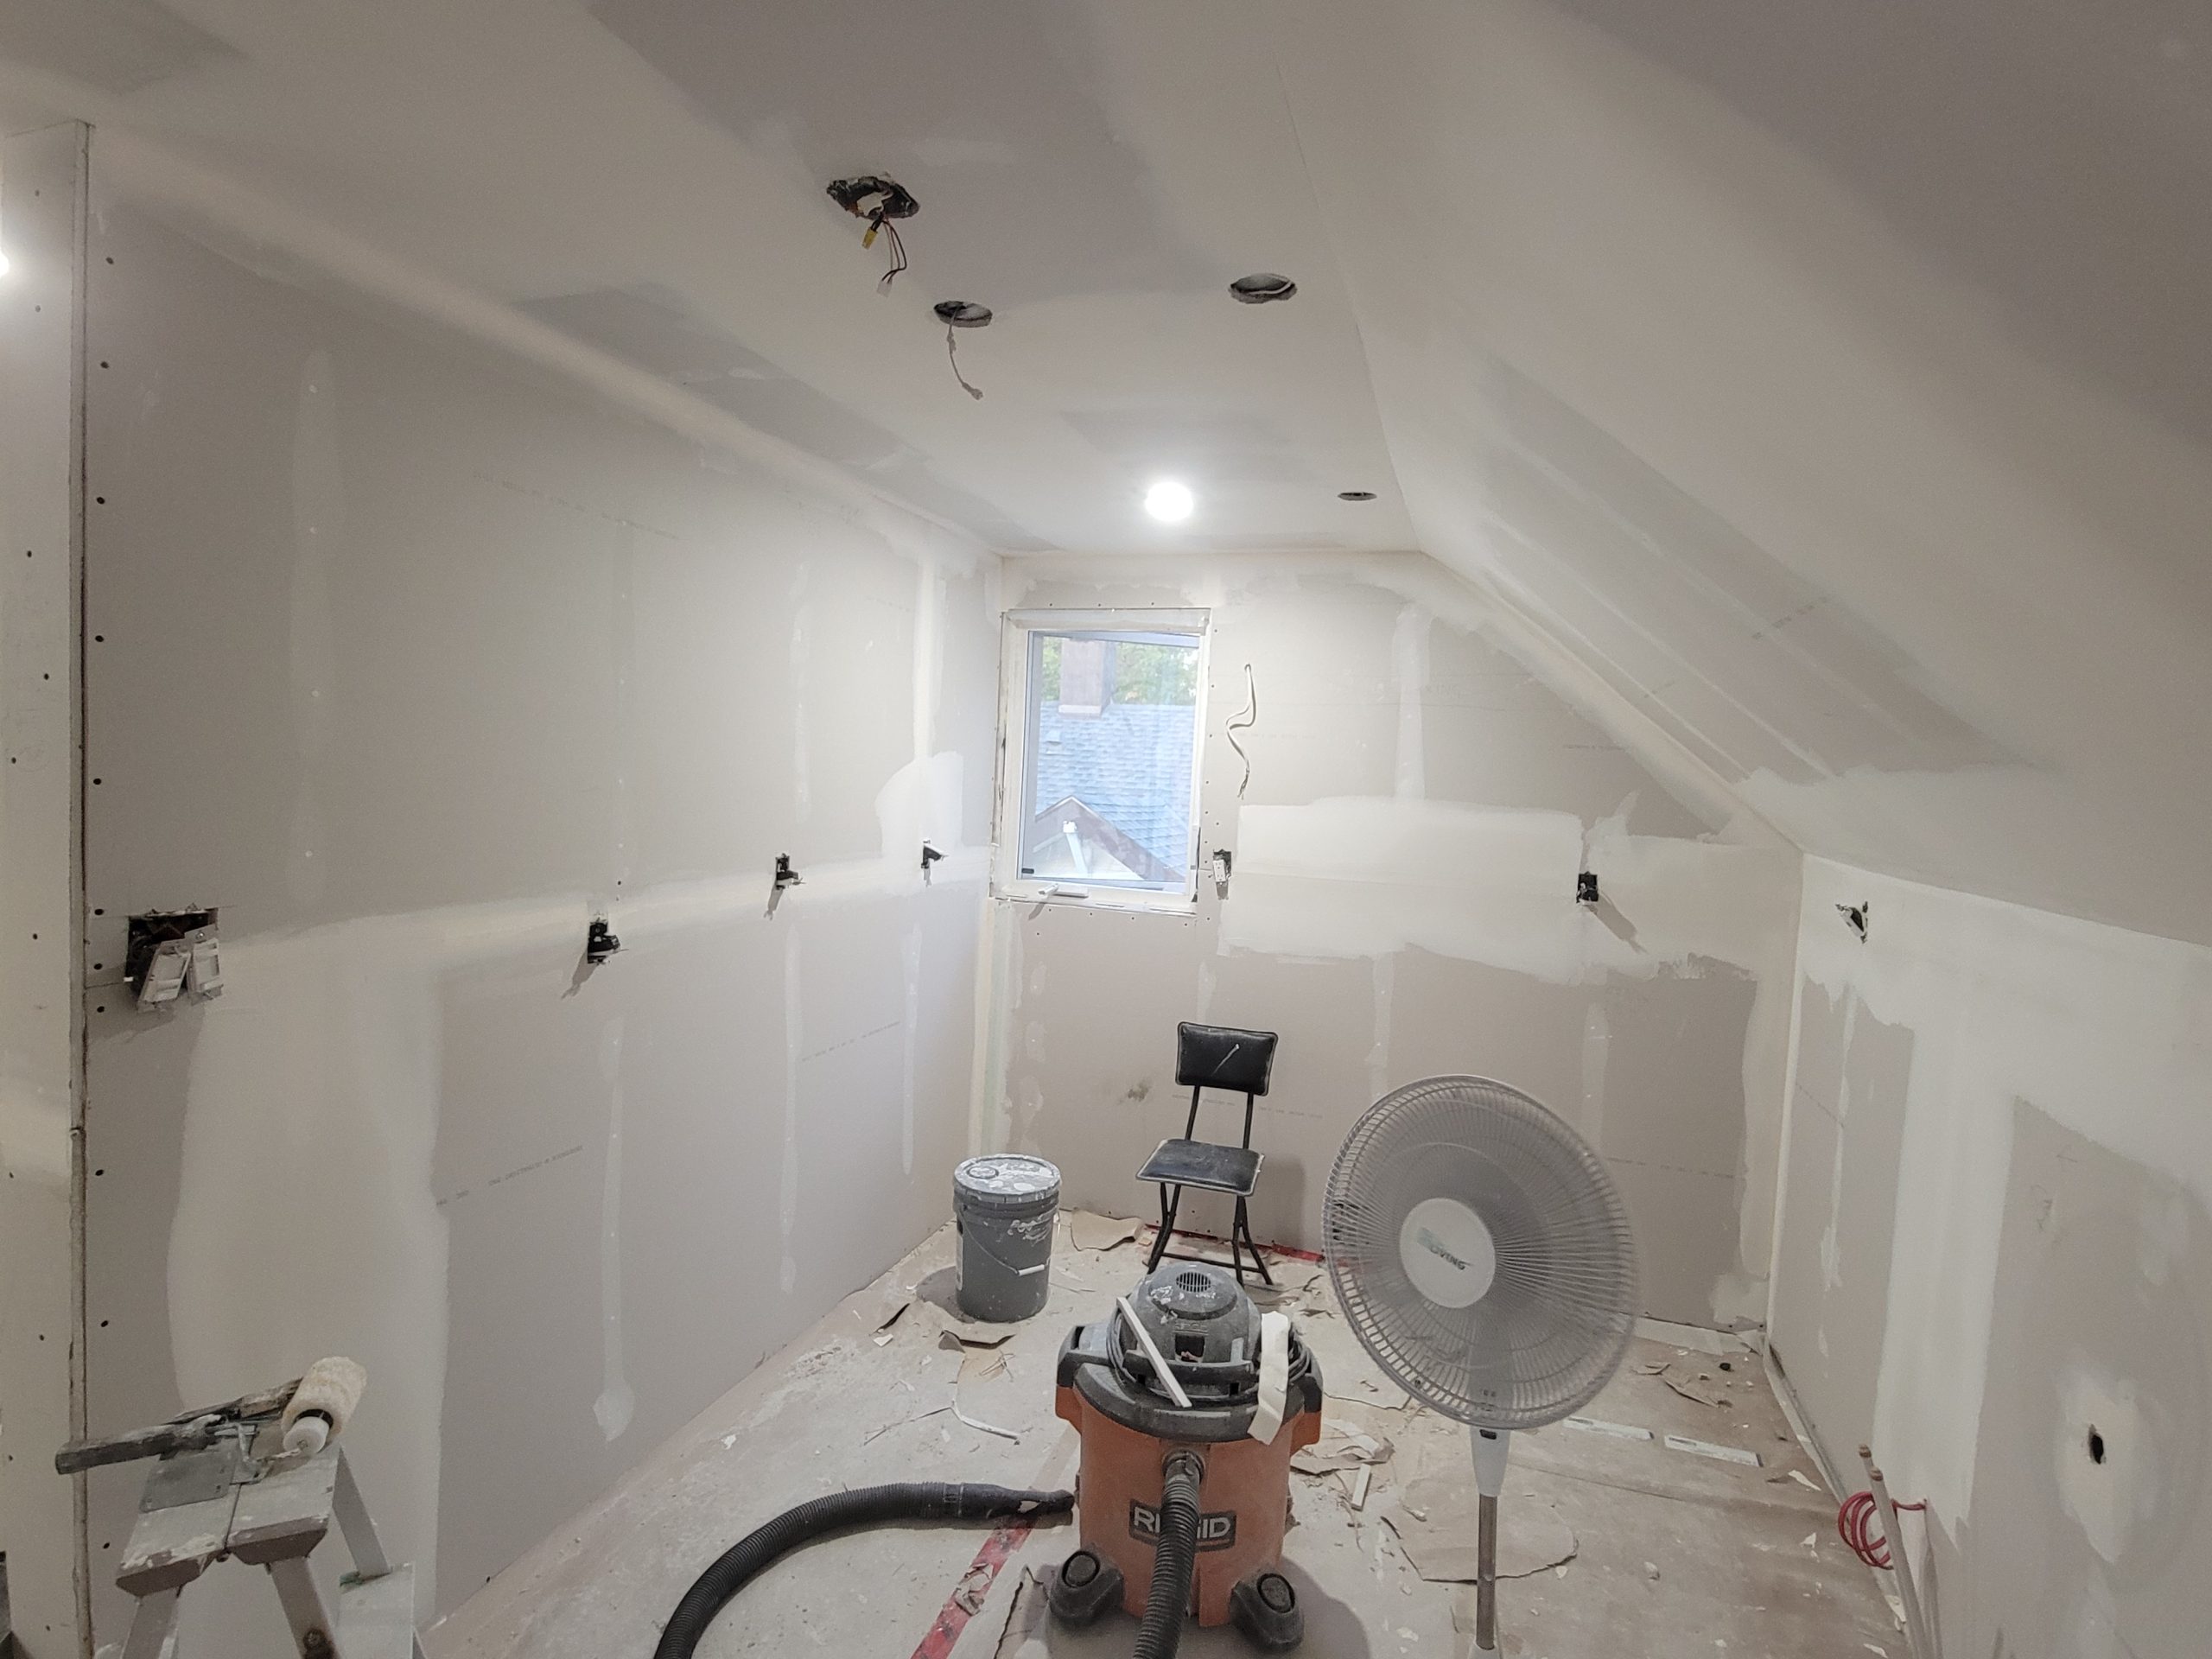
Dave taped and mudded the kitchen. Looks really good.
The bedroom door is now in. I must talk with Dave about off-angle corner beads.