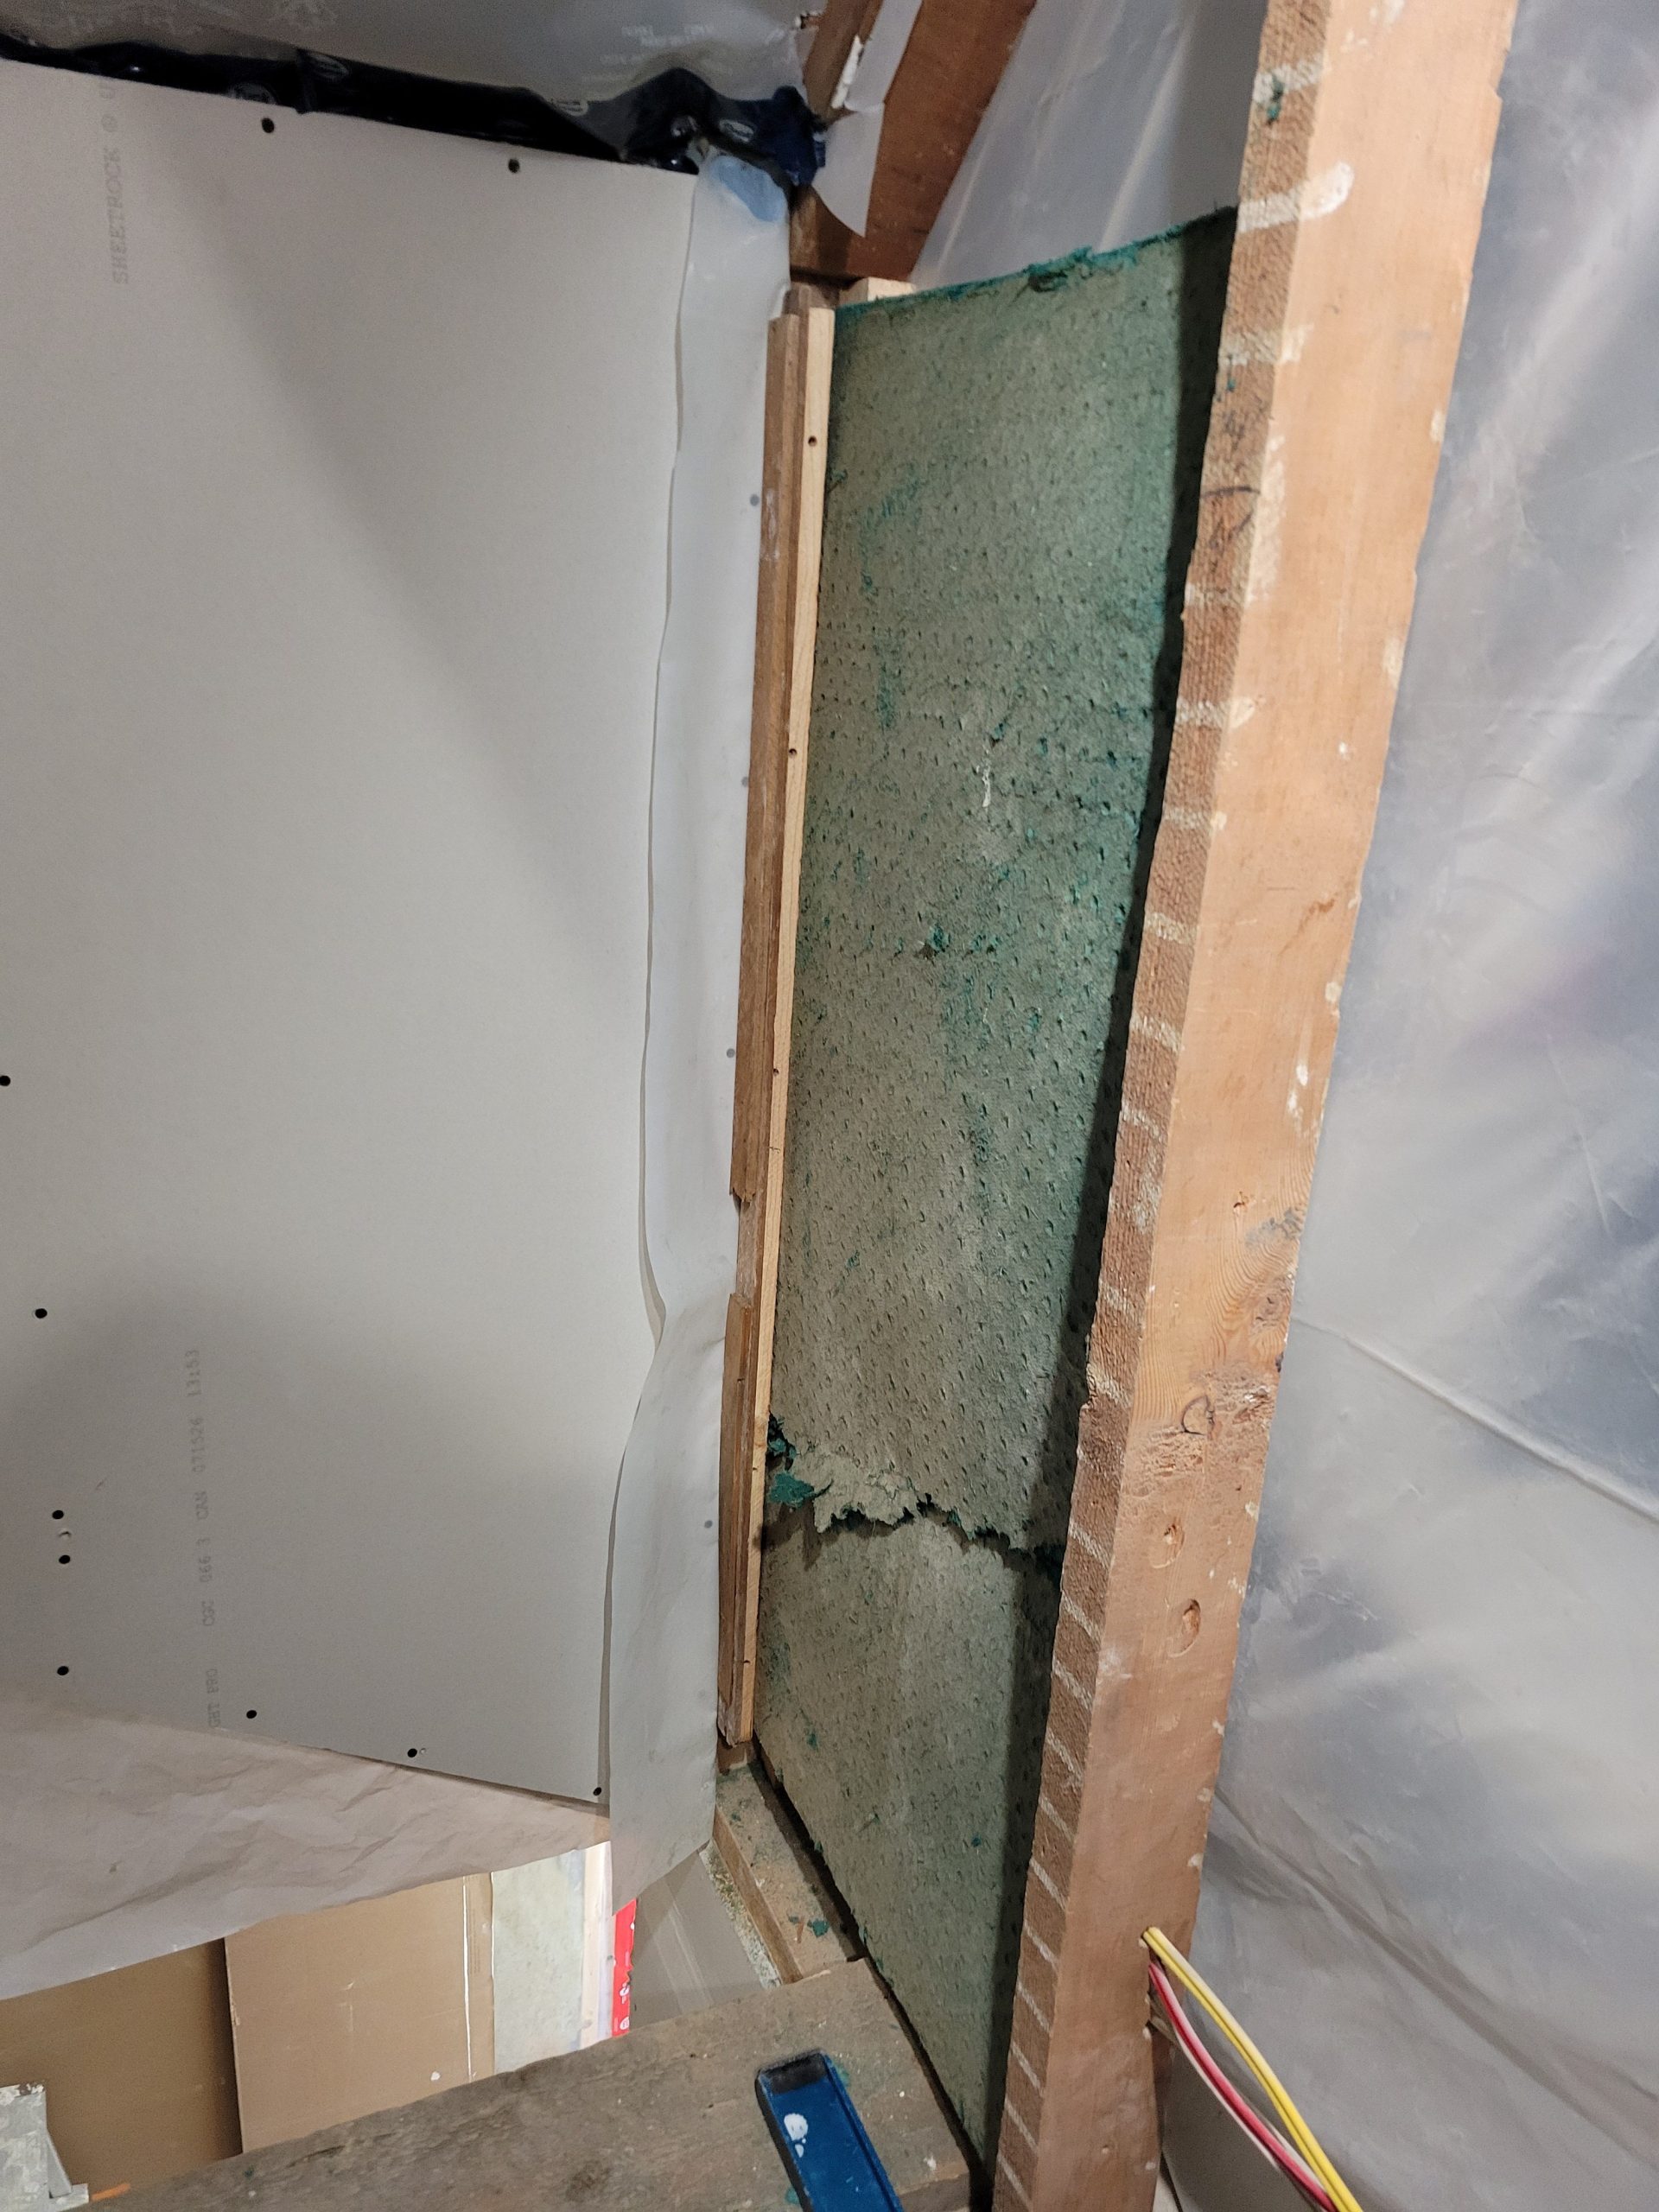
This is the story of this house renovation. To do this, you must do that first. It seems that anything done was to cover up something else. It was had been a constant battle, one that makes every task take forever.
Outside correcting old mistakes, ordinary renovation tasks always seem to play out this way, too.
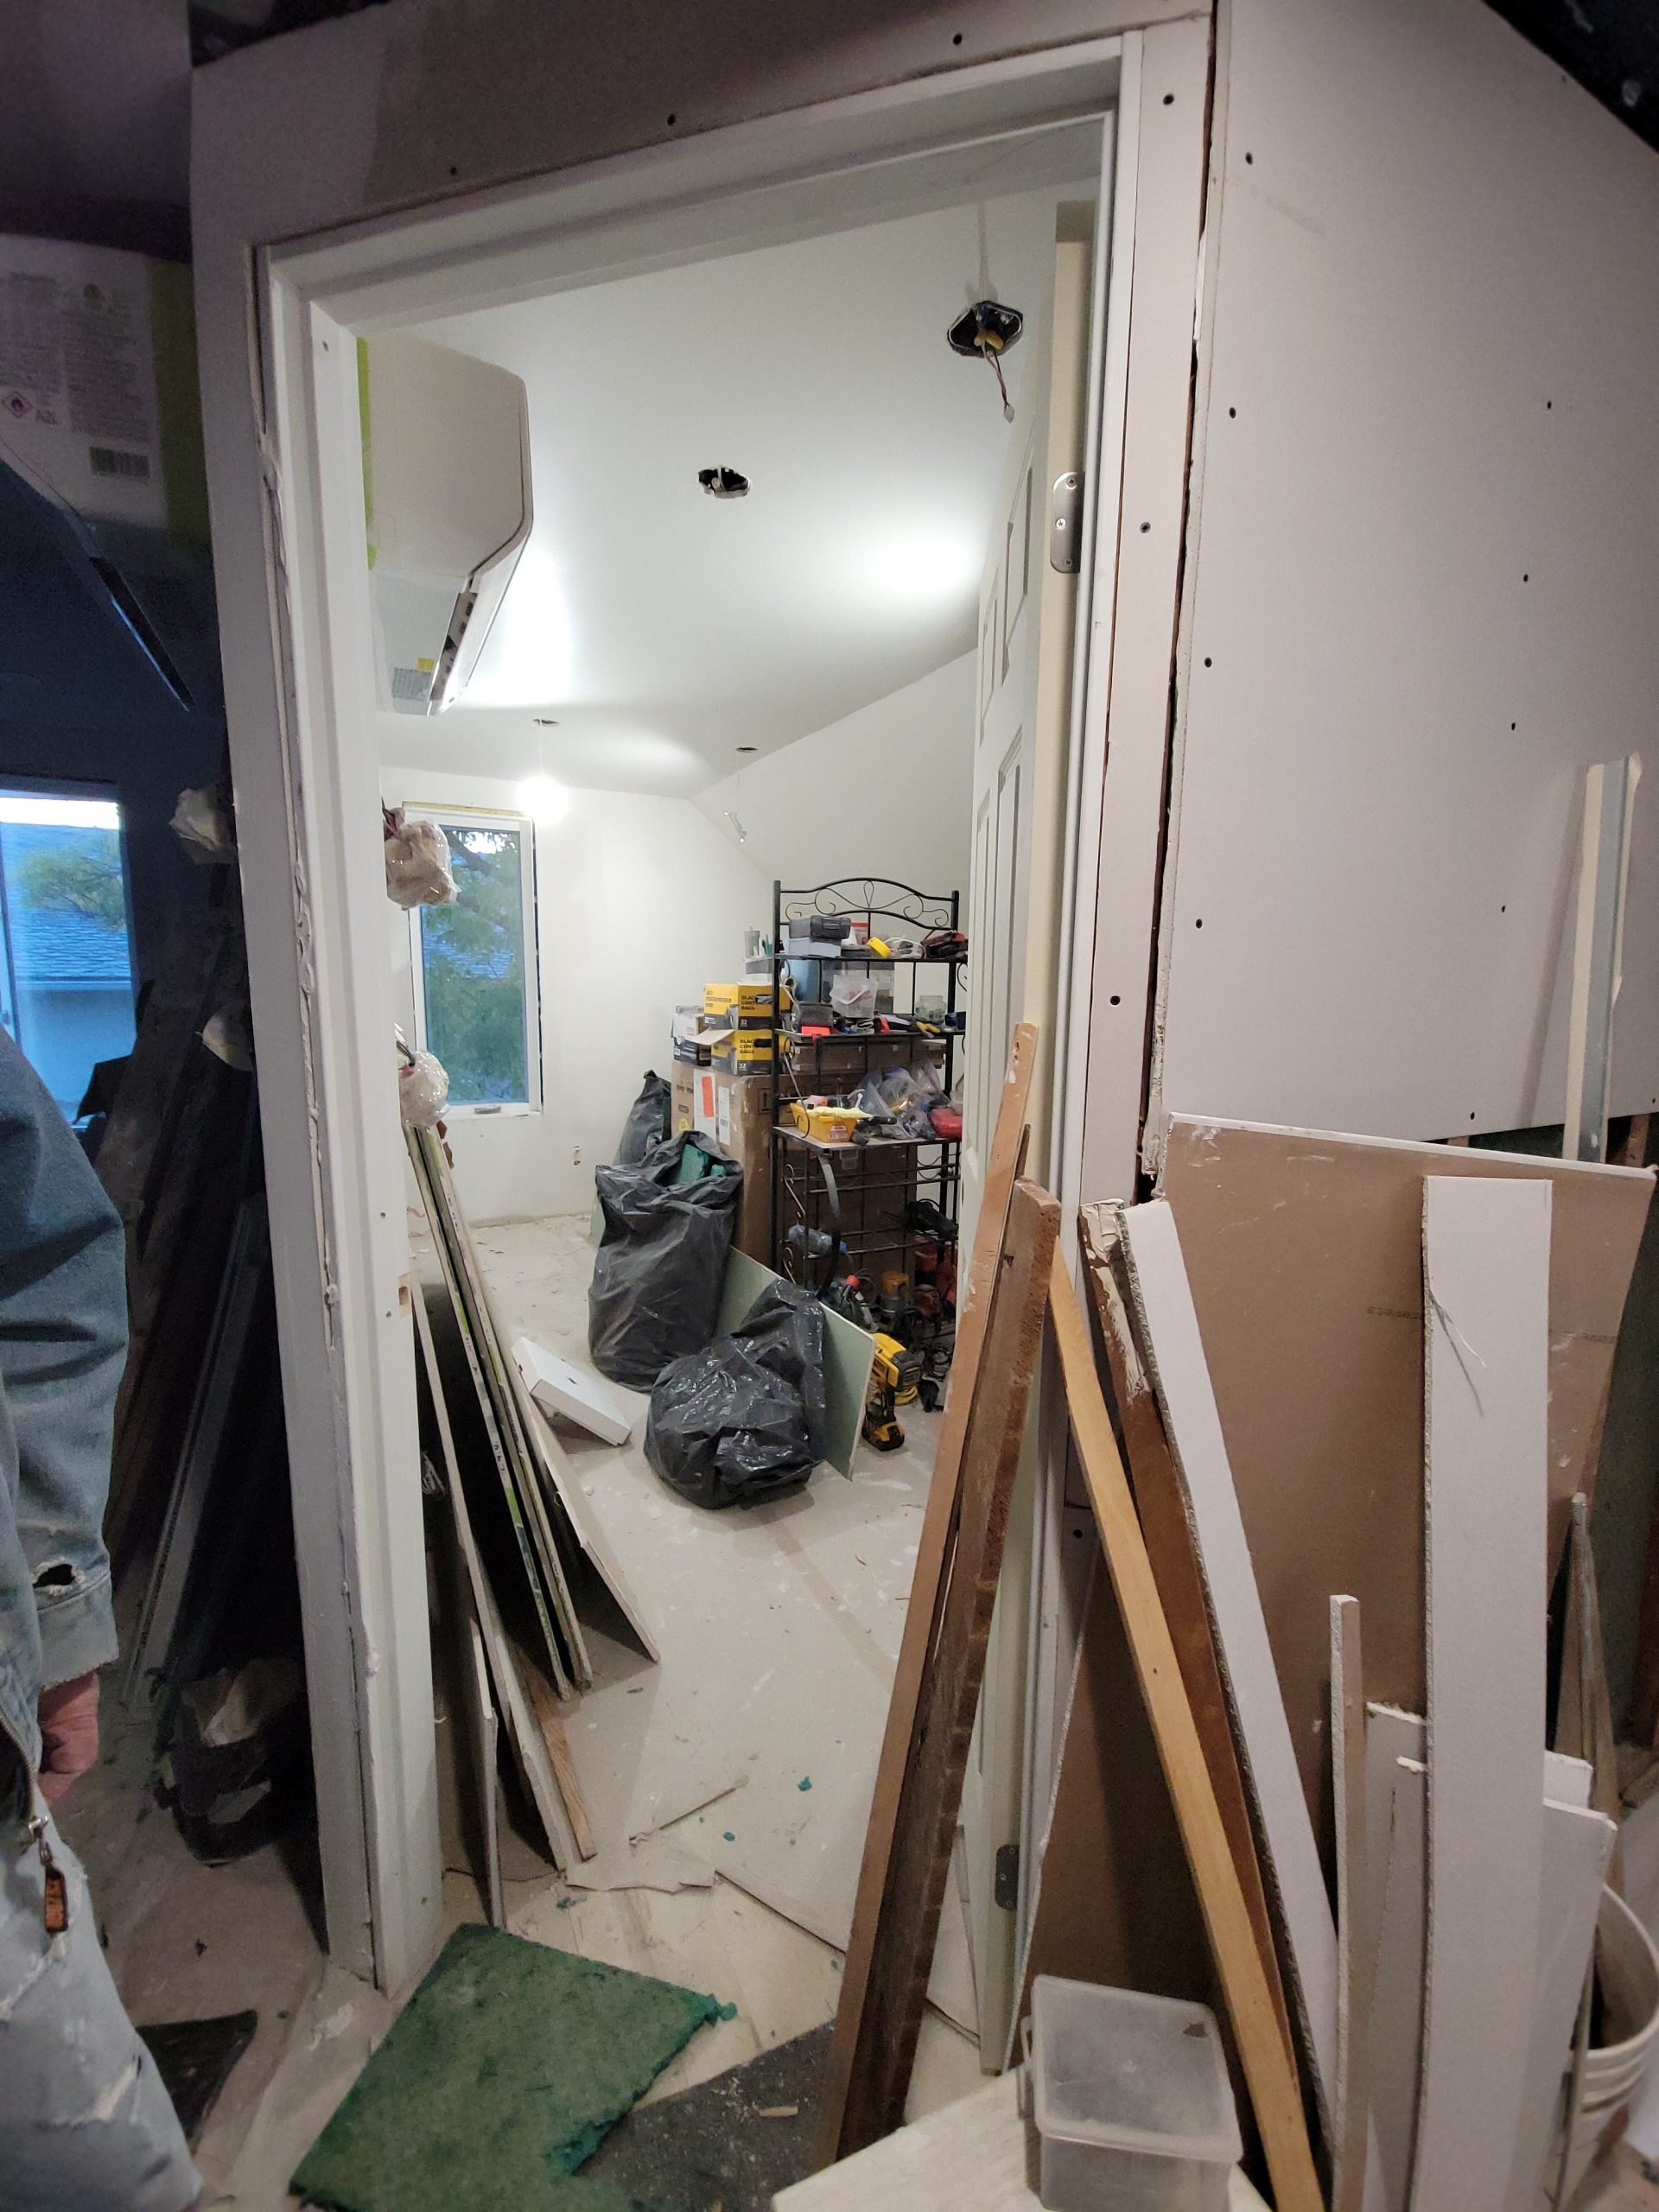
The goal was to add drywall to the bedroom door frame.
To do that, I have to drywall the stairway wall.
To do that, I have to fur the adjacent wall directly over the stairway.
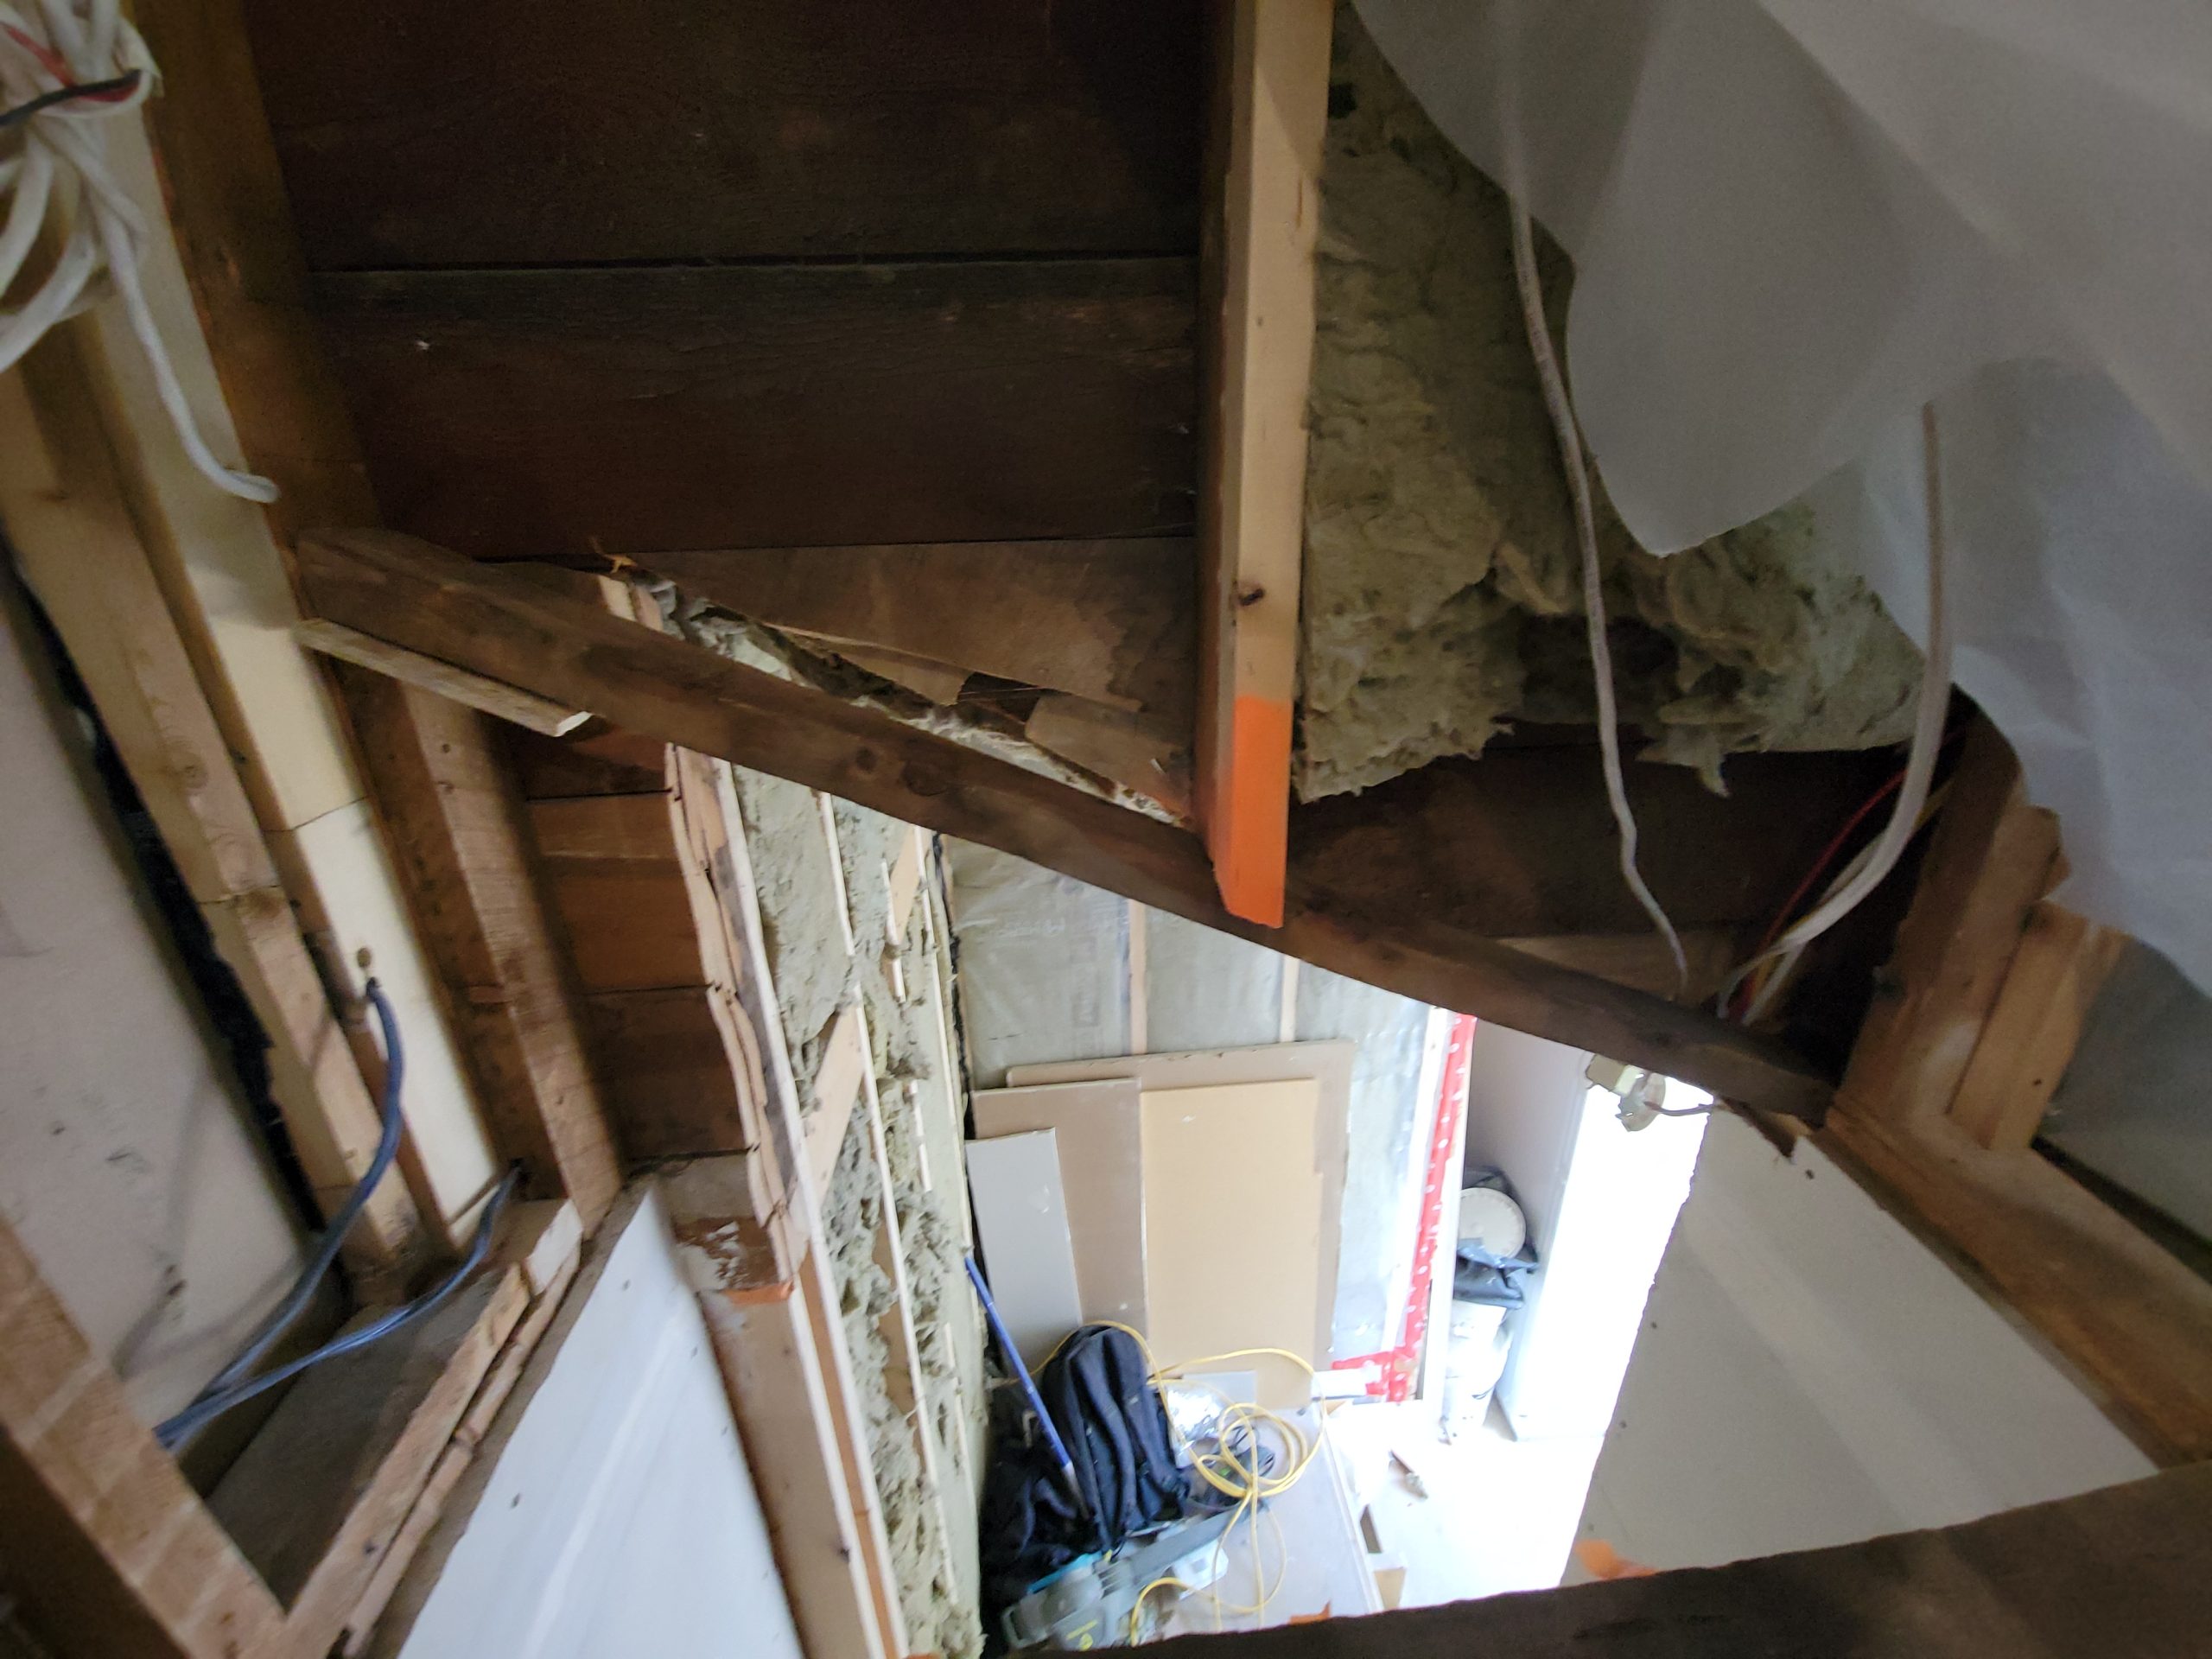
But first, I have to rebuild the header to fix the hanging balloon stud that was cut through decades ago.
To do that, I have to reroute all the wiring.
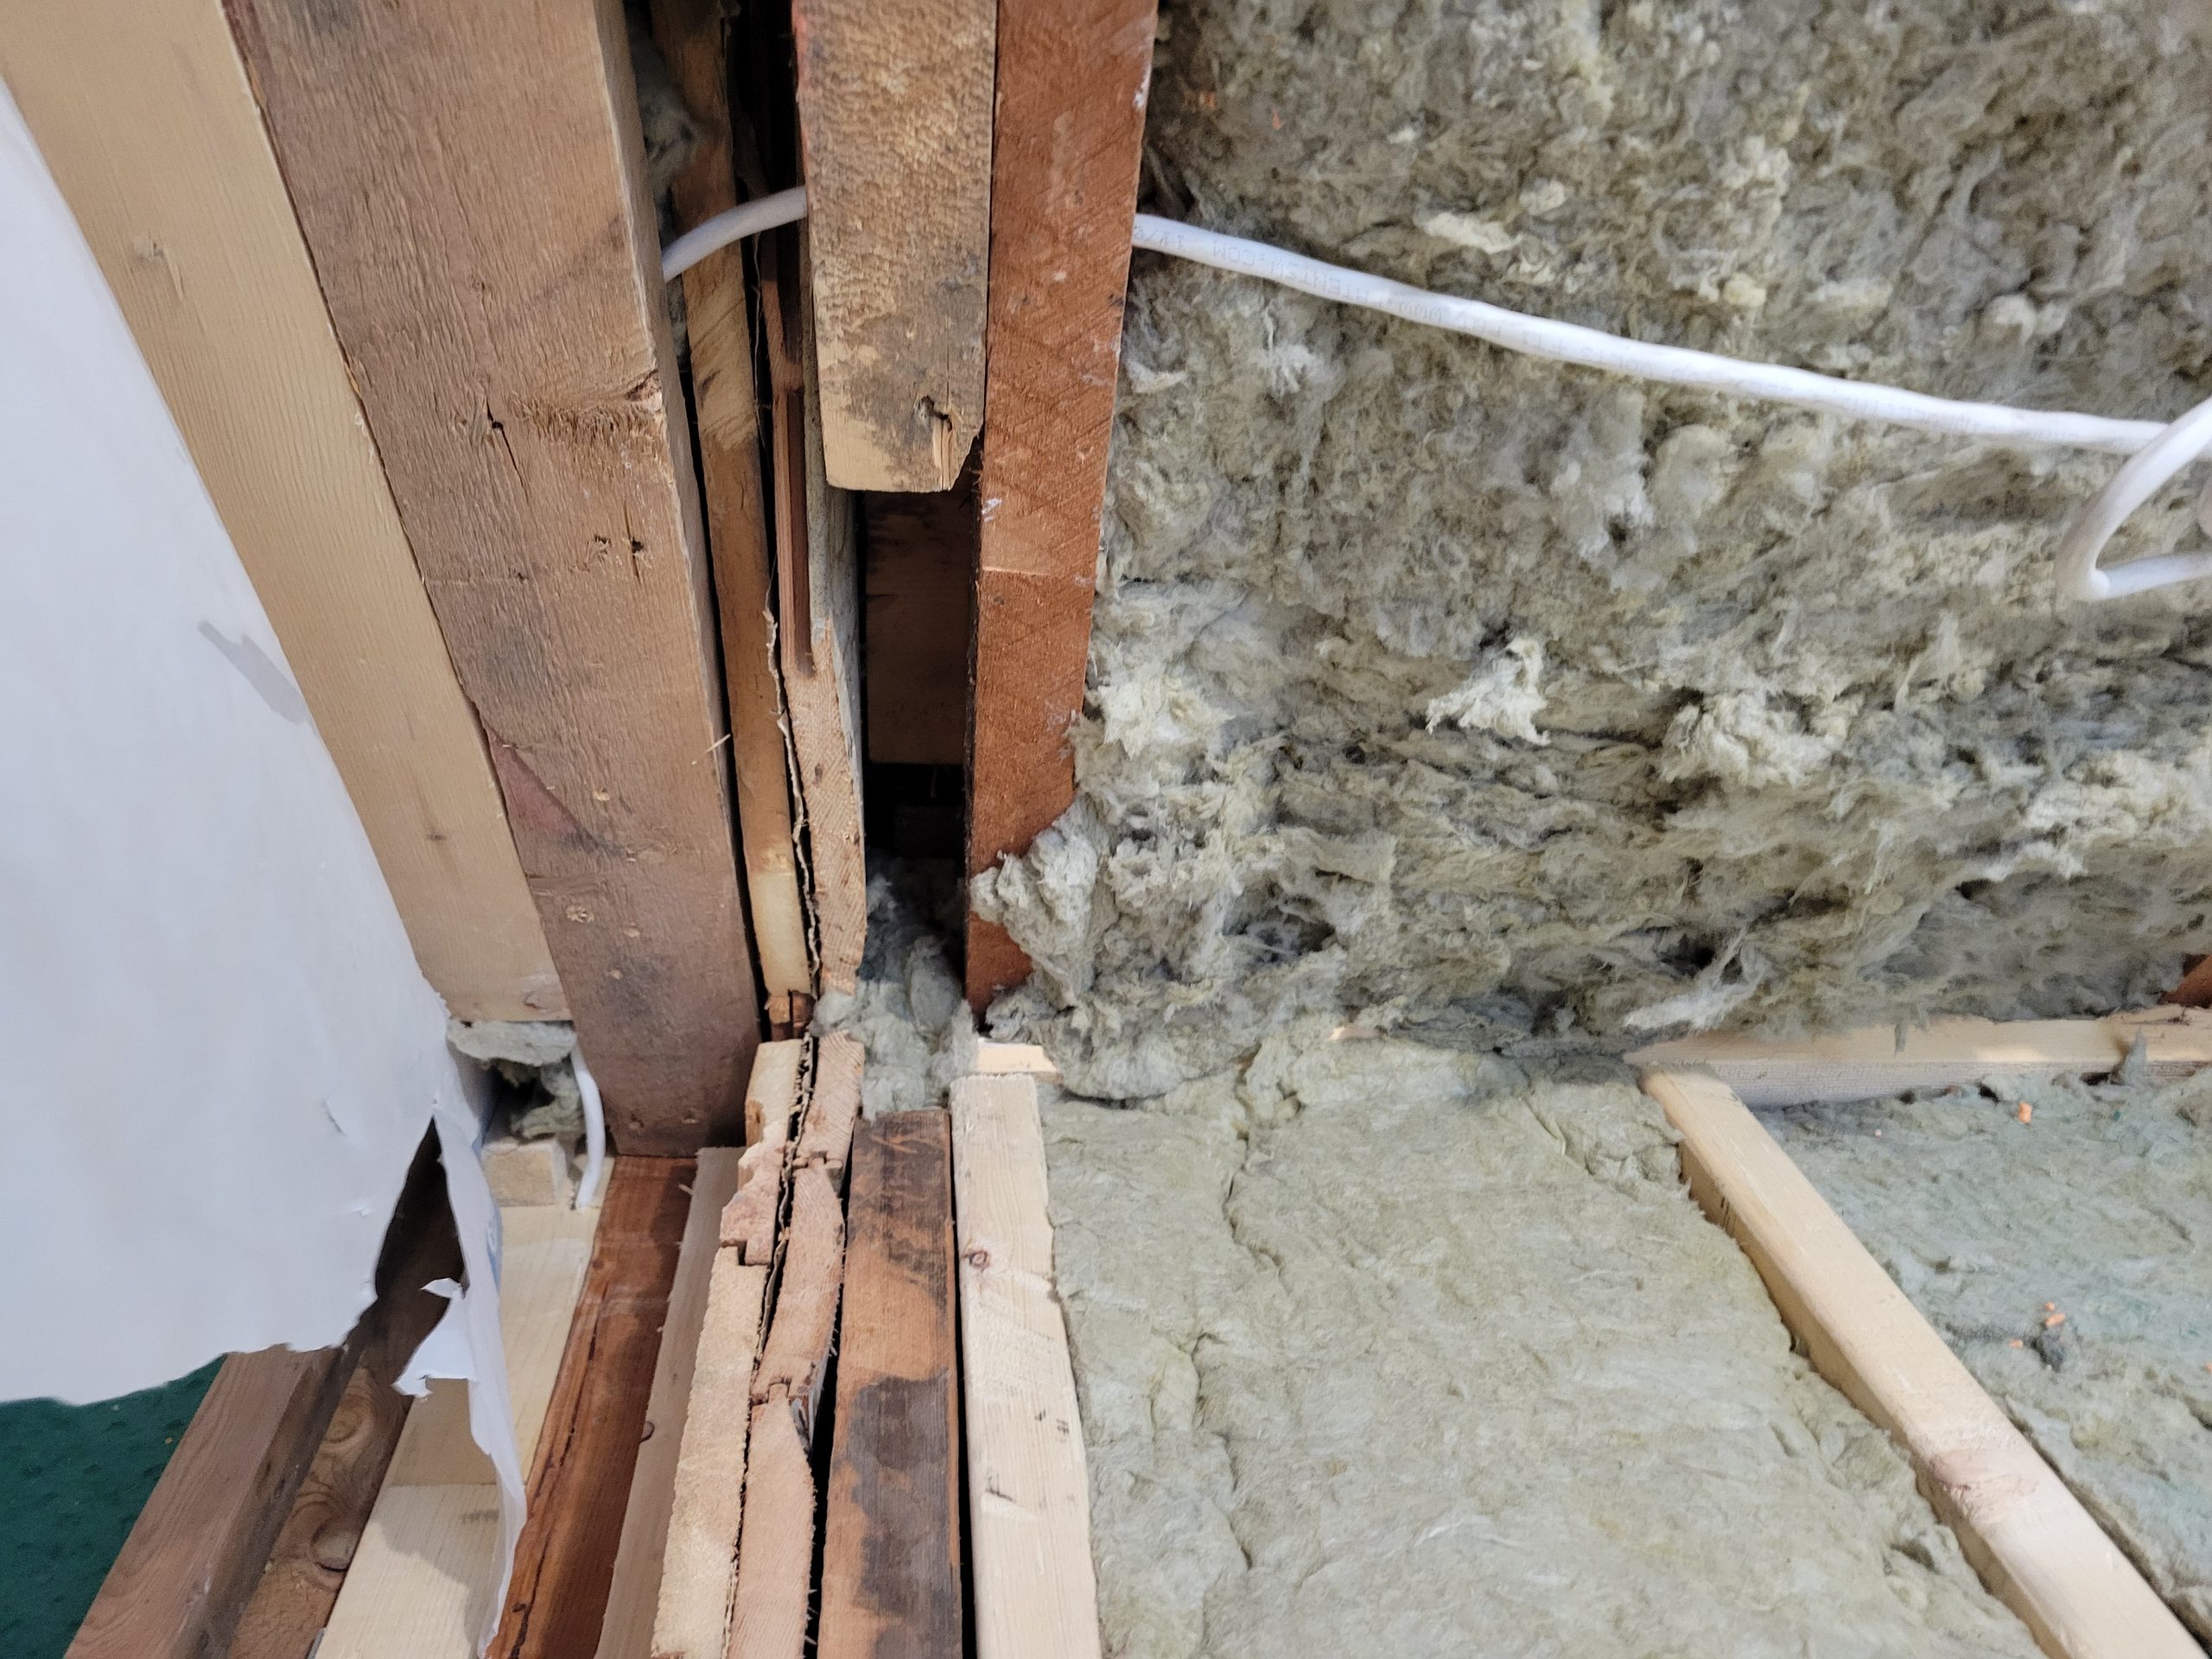
But before that, I have to chip away at some of the rabbeted shiplap clad boards and planks.
Etc. etc. etc.
So Dave ended up adding the drywall himself. <sigh> Someone else is doing my job.
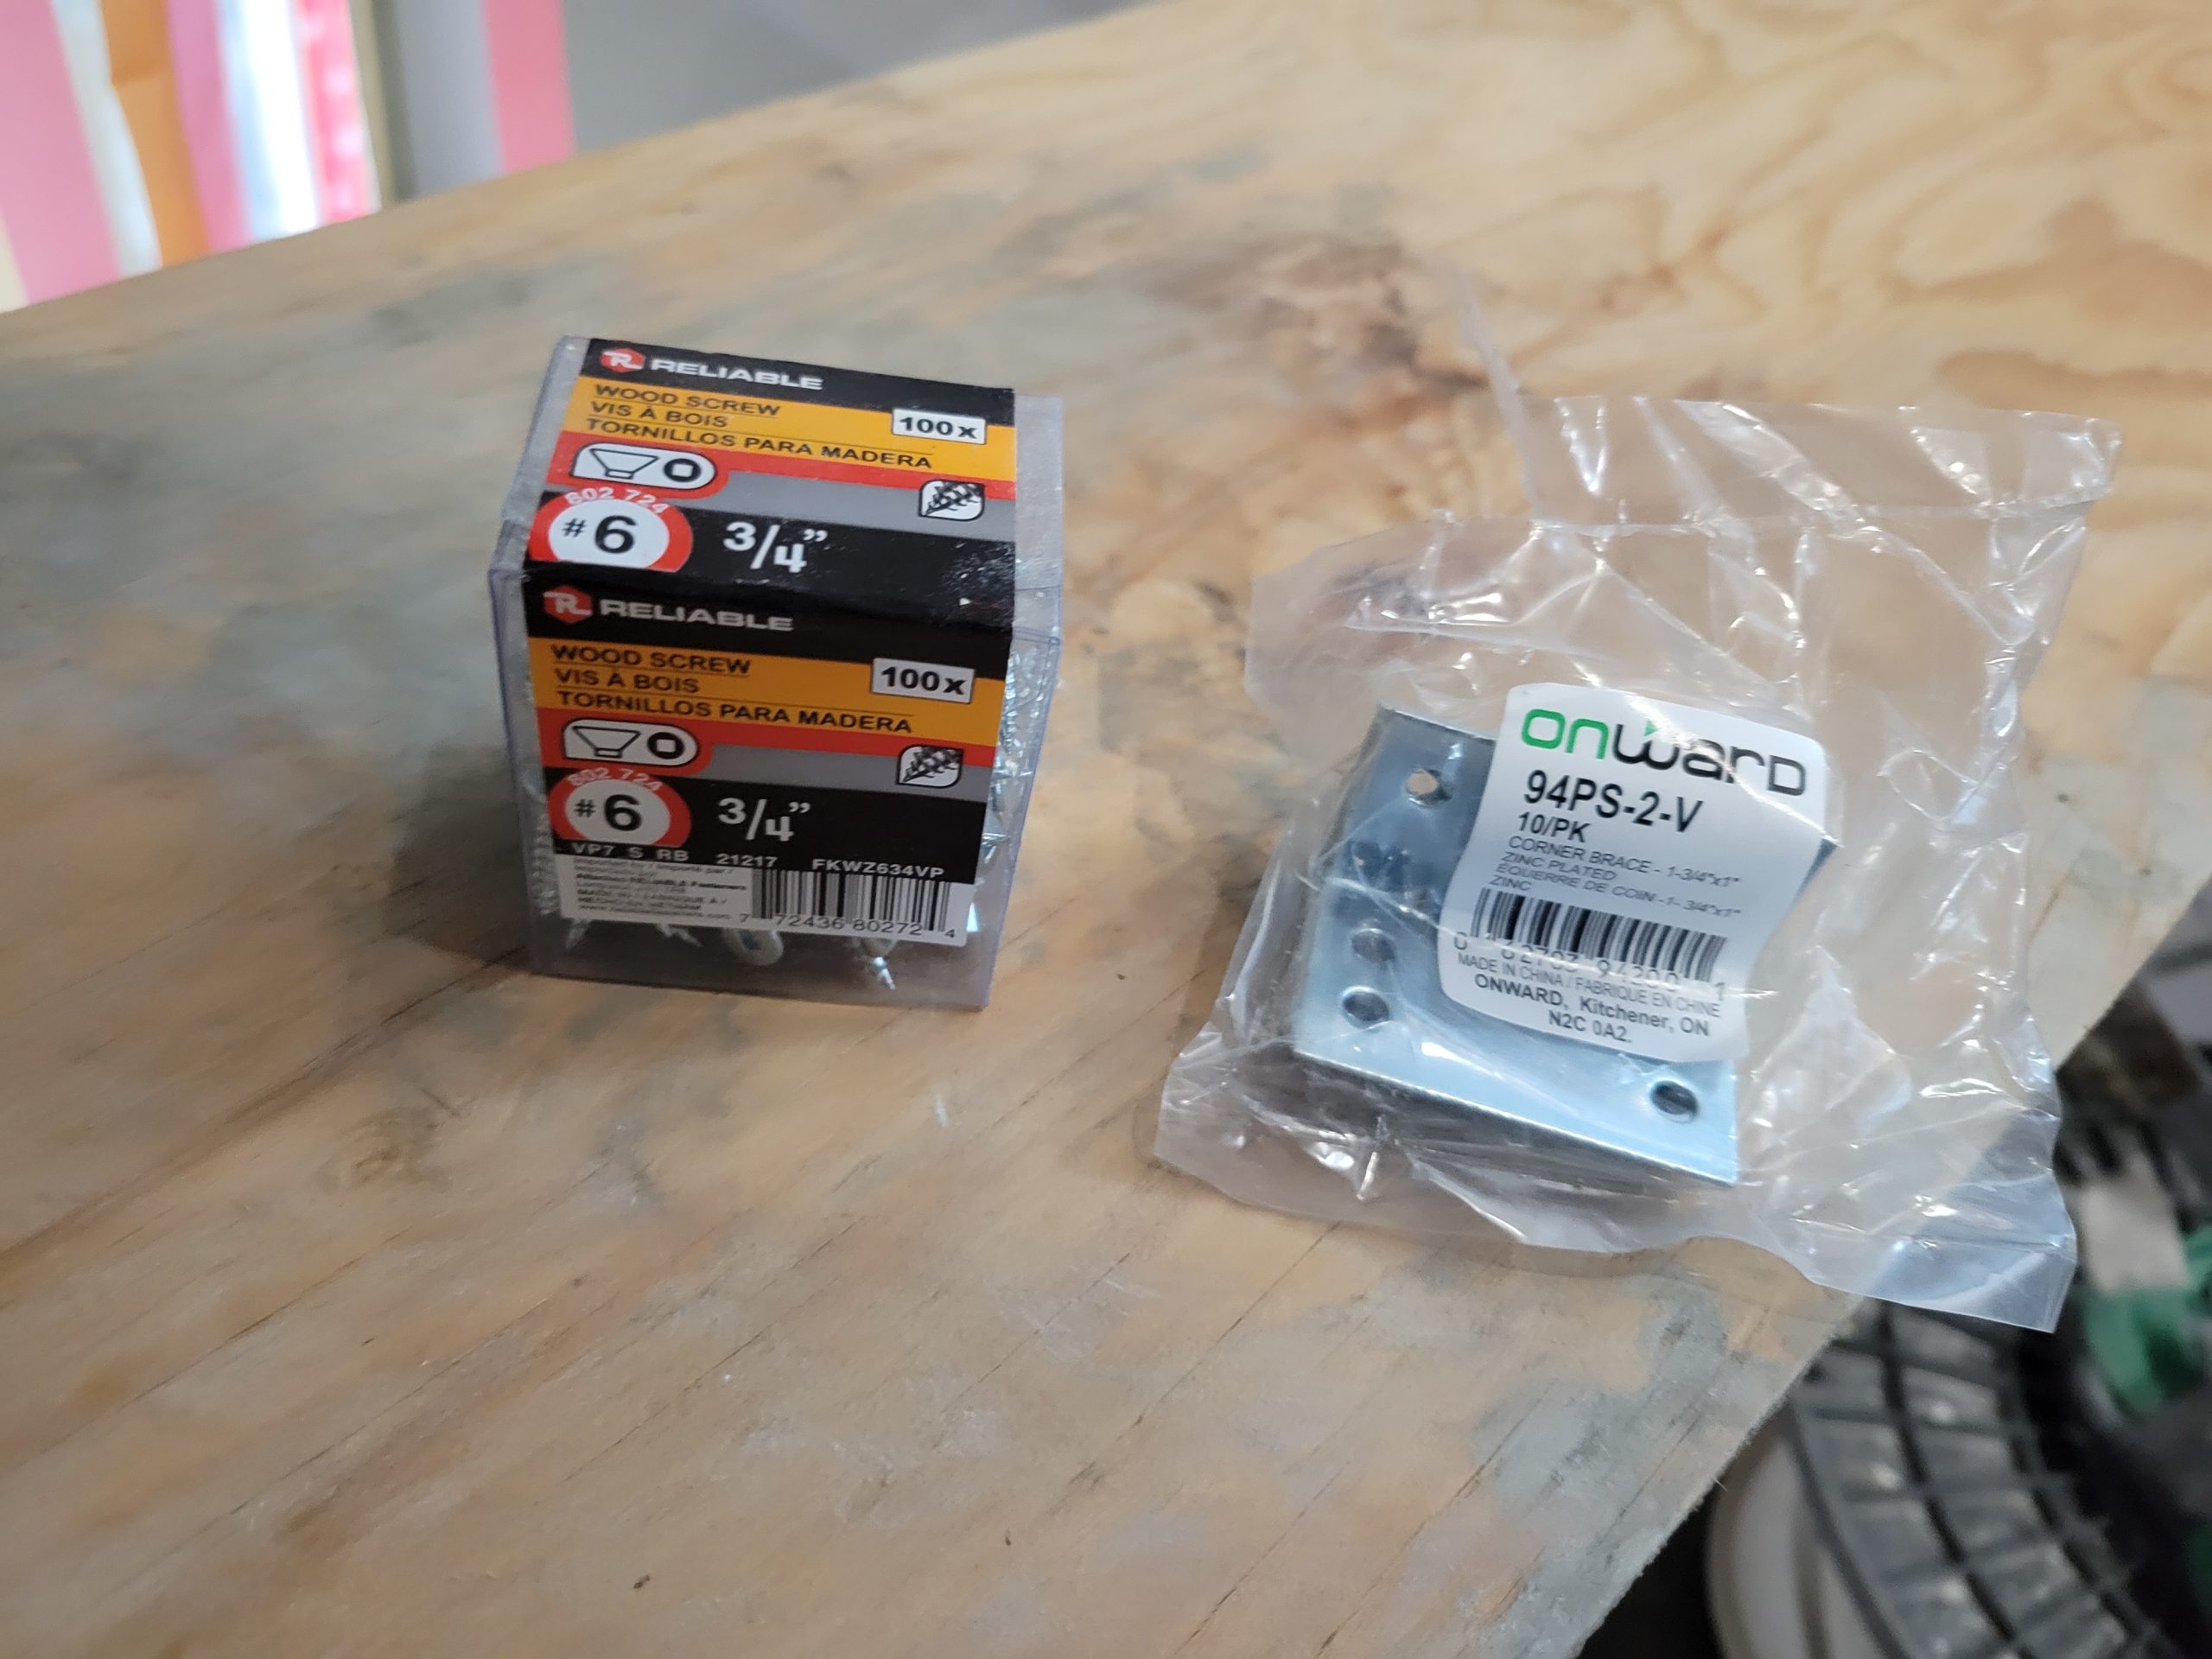
I was going to add stairway ceiling drywall yesterday, but first I had to add furring strips. I couldn’t mount them with screws in the sloped wall area as there was no room above the rafter to stuff the drill (driver). So I went to Canadian Tire and found a 2-pack similar to this for $4.99. Two! The floor clerk was there and asked me if I needed help, and I told her I need 50 or 100, not 2. She didn’t have any.
I went to Lealta and found these. I got two packages of each and added the top backing 1x2s.
Next, the header – the one that should have held up this part of the house when the doorway was cut when they moved the stairway when they suited the upstairs back in the 1950s or so.
I originally thought it would be a 2×12 to cover the entire thickness – 2×3 furring, 2×4 framing, 3/4″ plank, 3/4″ shiplap siding, 2×4 spacer, and 2×4 rafter for the kitchen / bedroom #3 add-on. Instead, I used a 2×4 and added furring to it as making a 2×12 fit would require lots of weird, precision cuts.
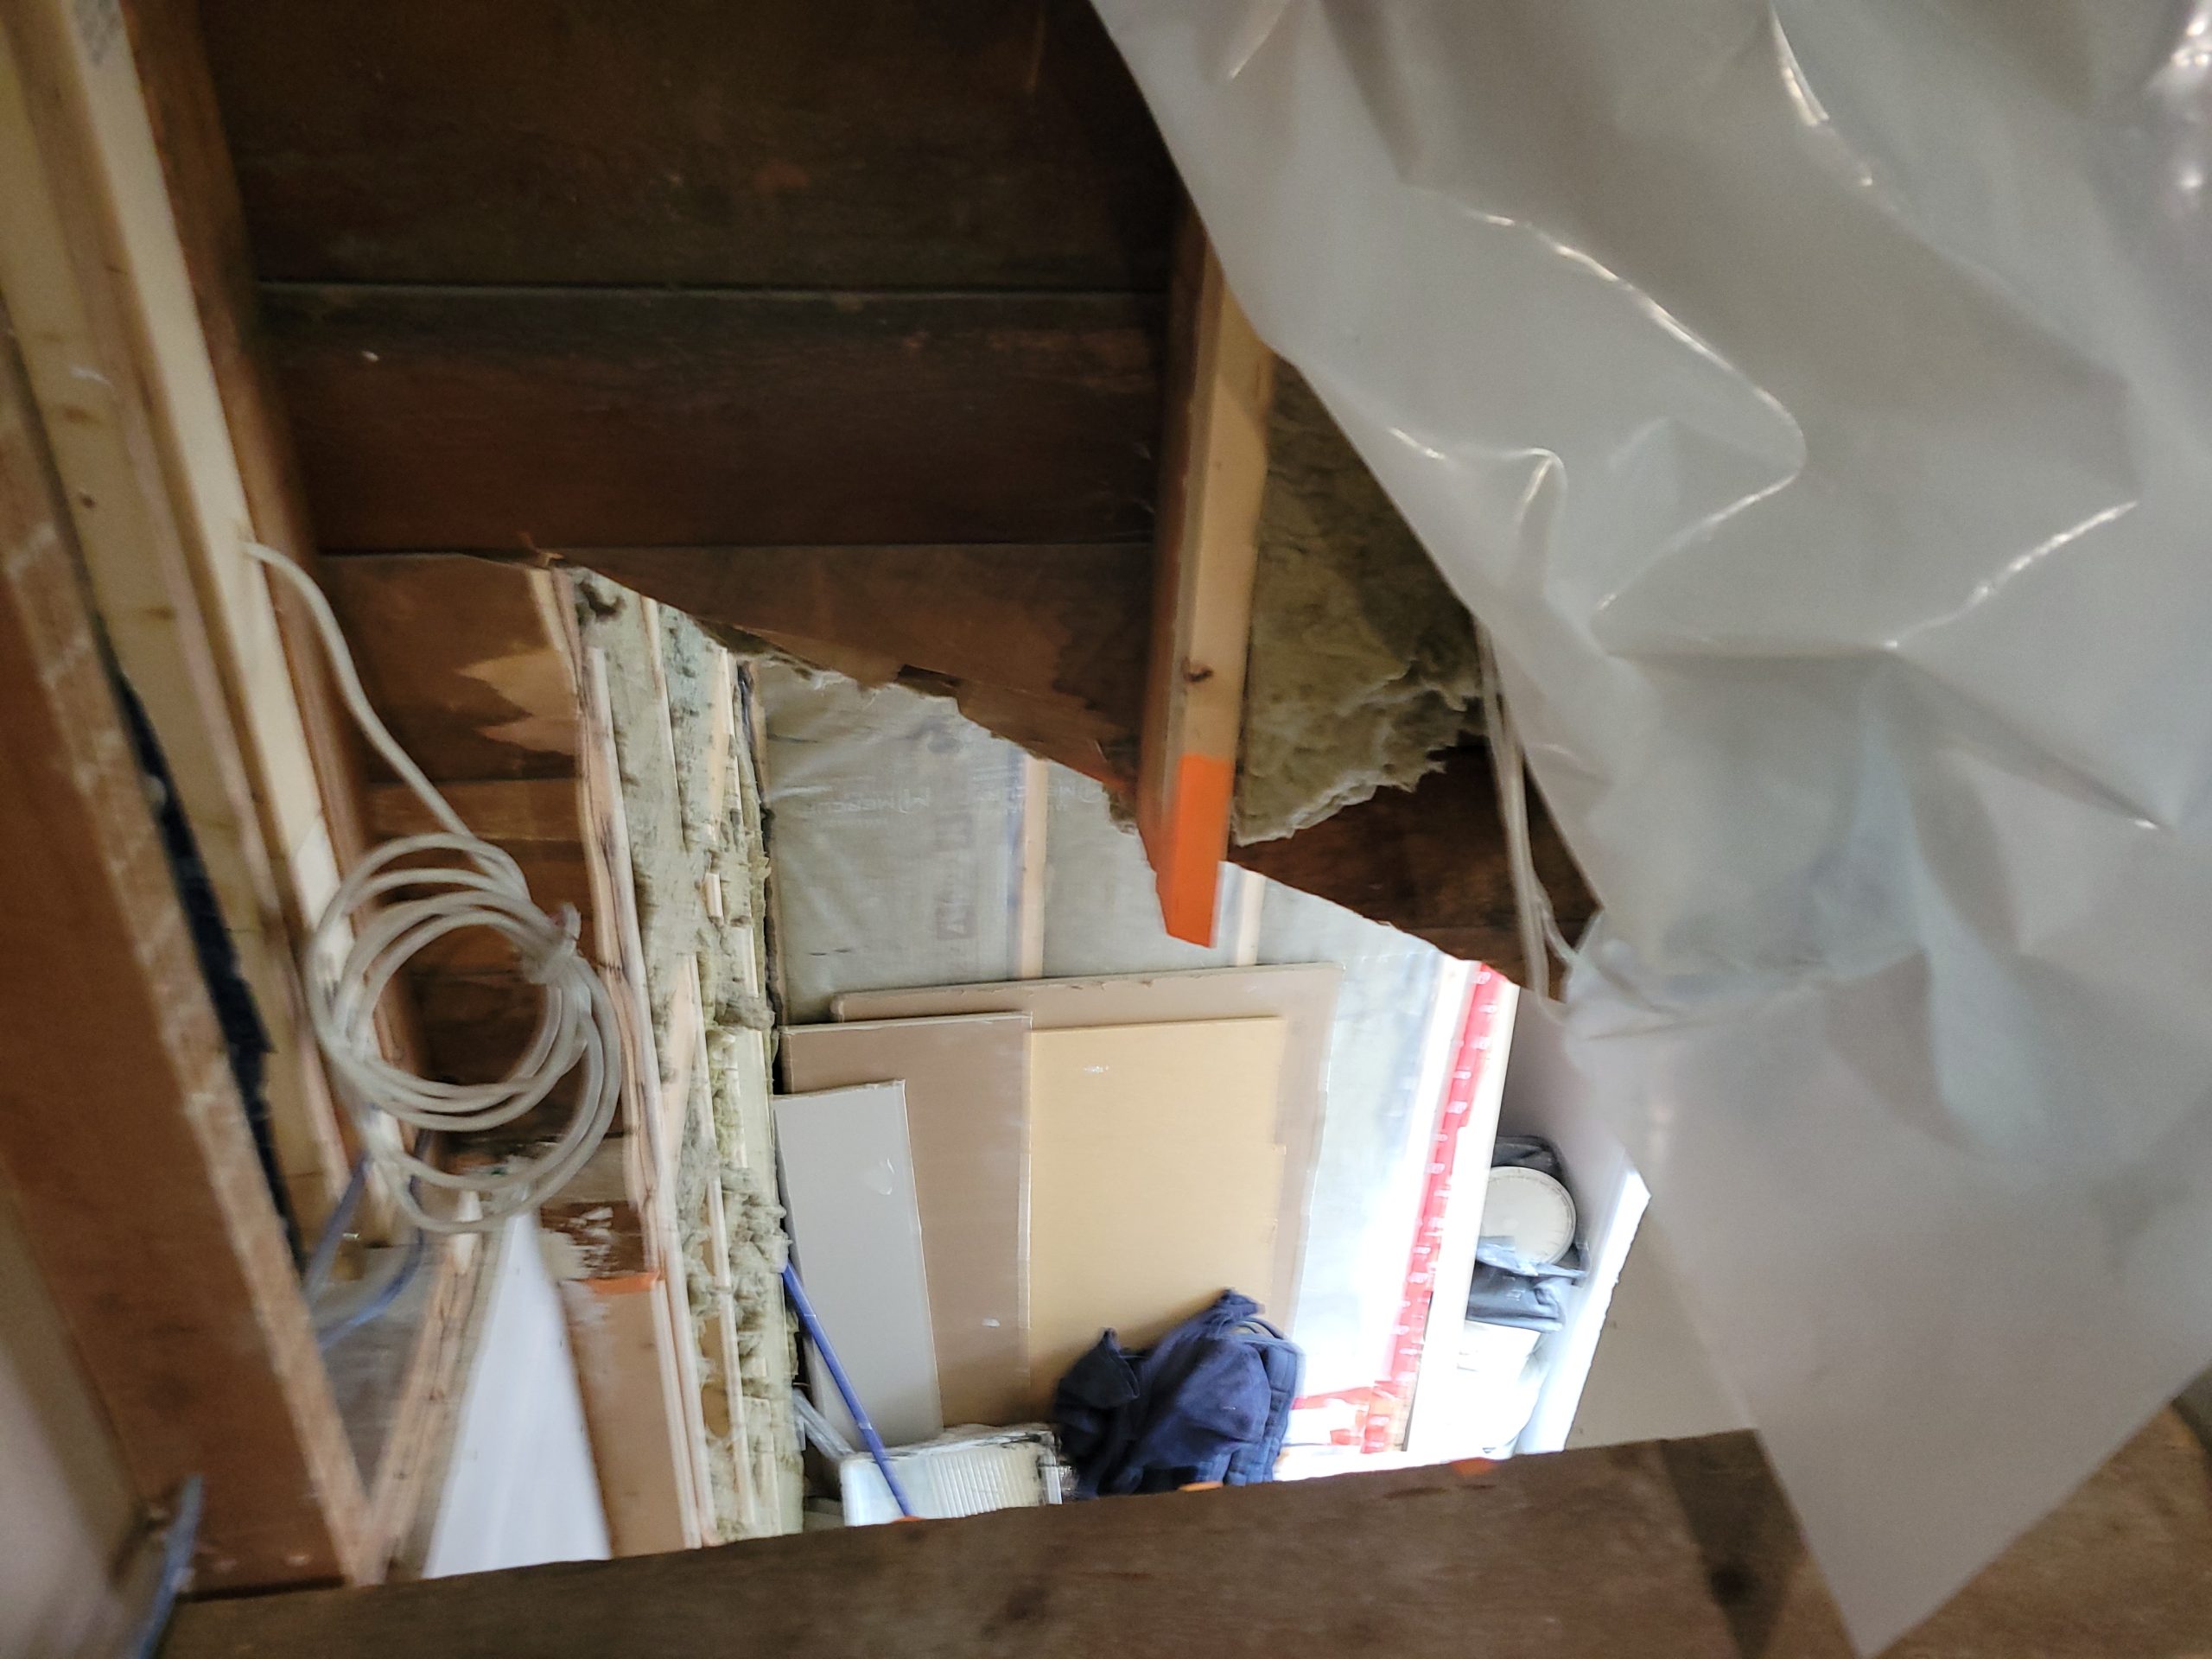
I made a mistake in the first one I added. I couldn’t see beyond various parts, especially the east end of the header area, and I ended up making it flush and one end and furred 1-1/2″ at the other. Lesson learned: the board has thickness – add that to your measurement. Dumb mistake.
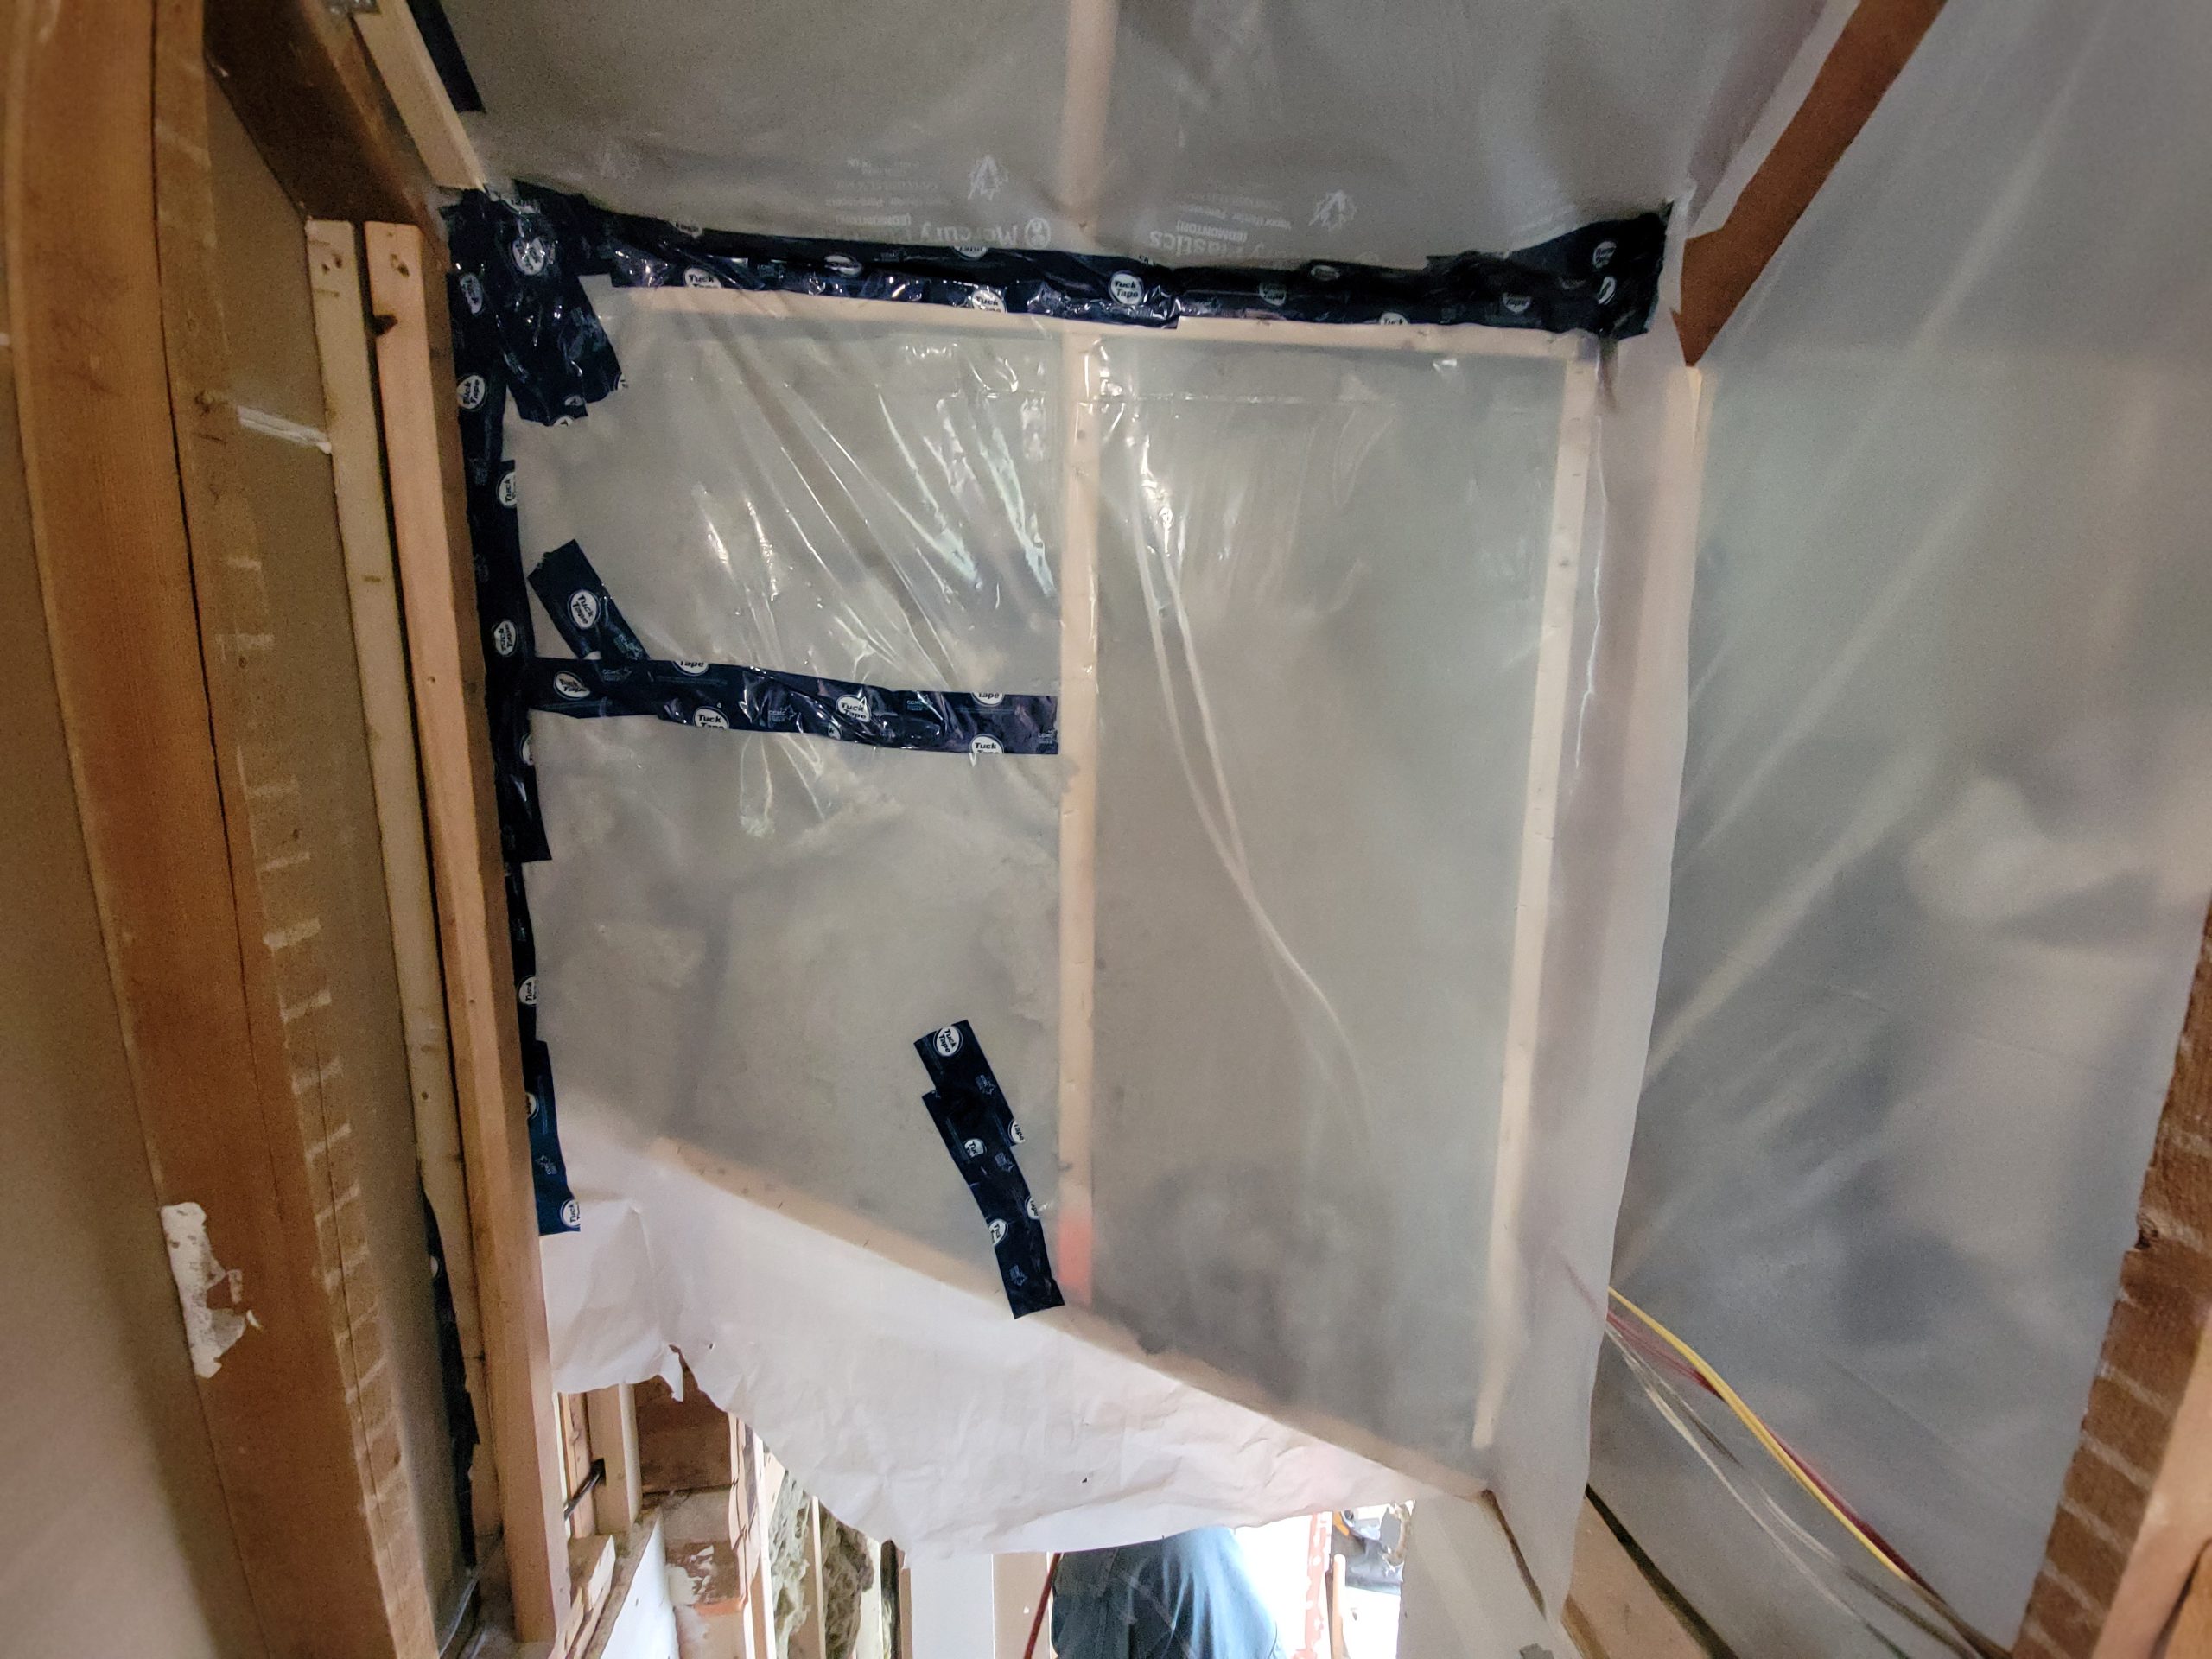
The second attempt went more smoothly as I had immediate experience. A jack stud was added at the west end that sits directly on the floor joist and is mounted to the next balloon stud. The east end of the header now rests upon the floor joist. A 2×3 furring was then added to match the rest of the framing, insulation was put back in, and poly was stapled and taped in place.
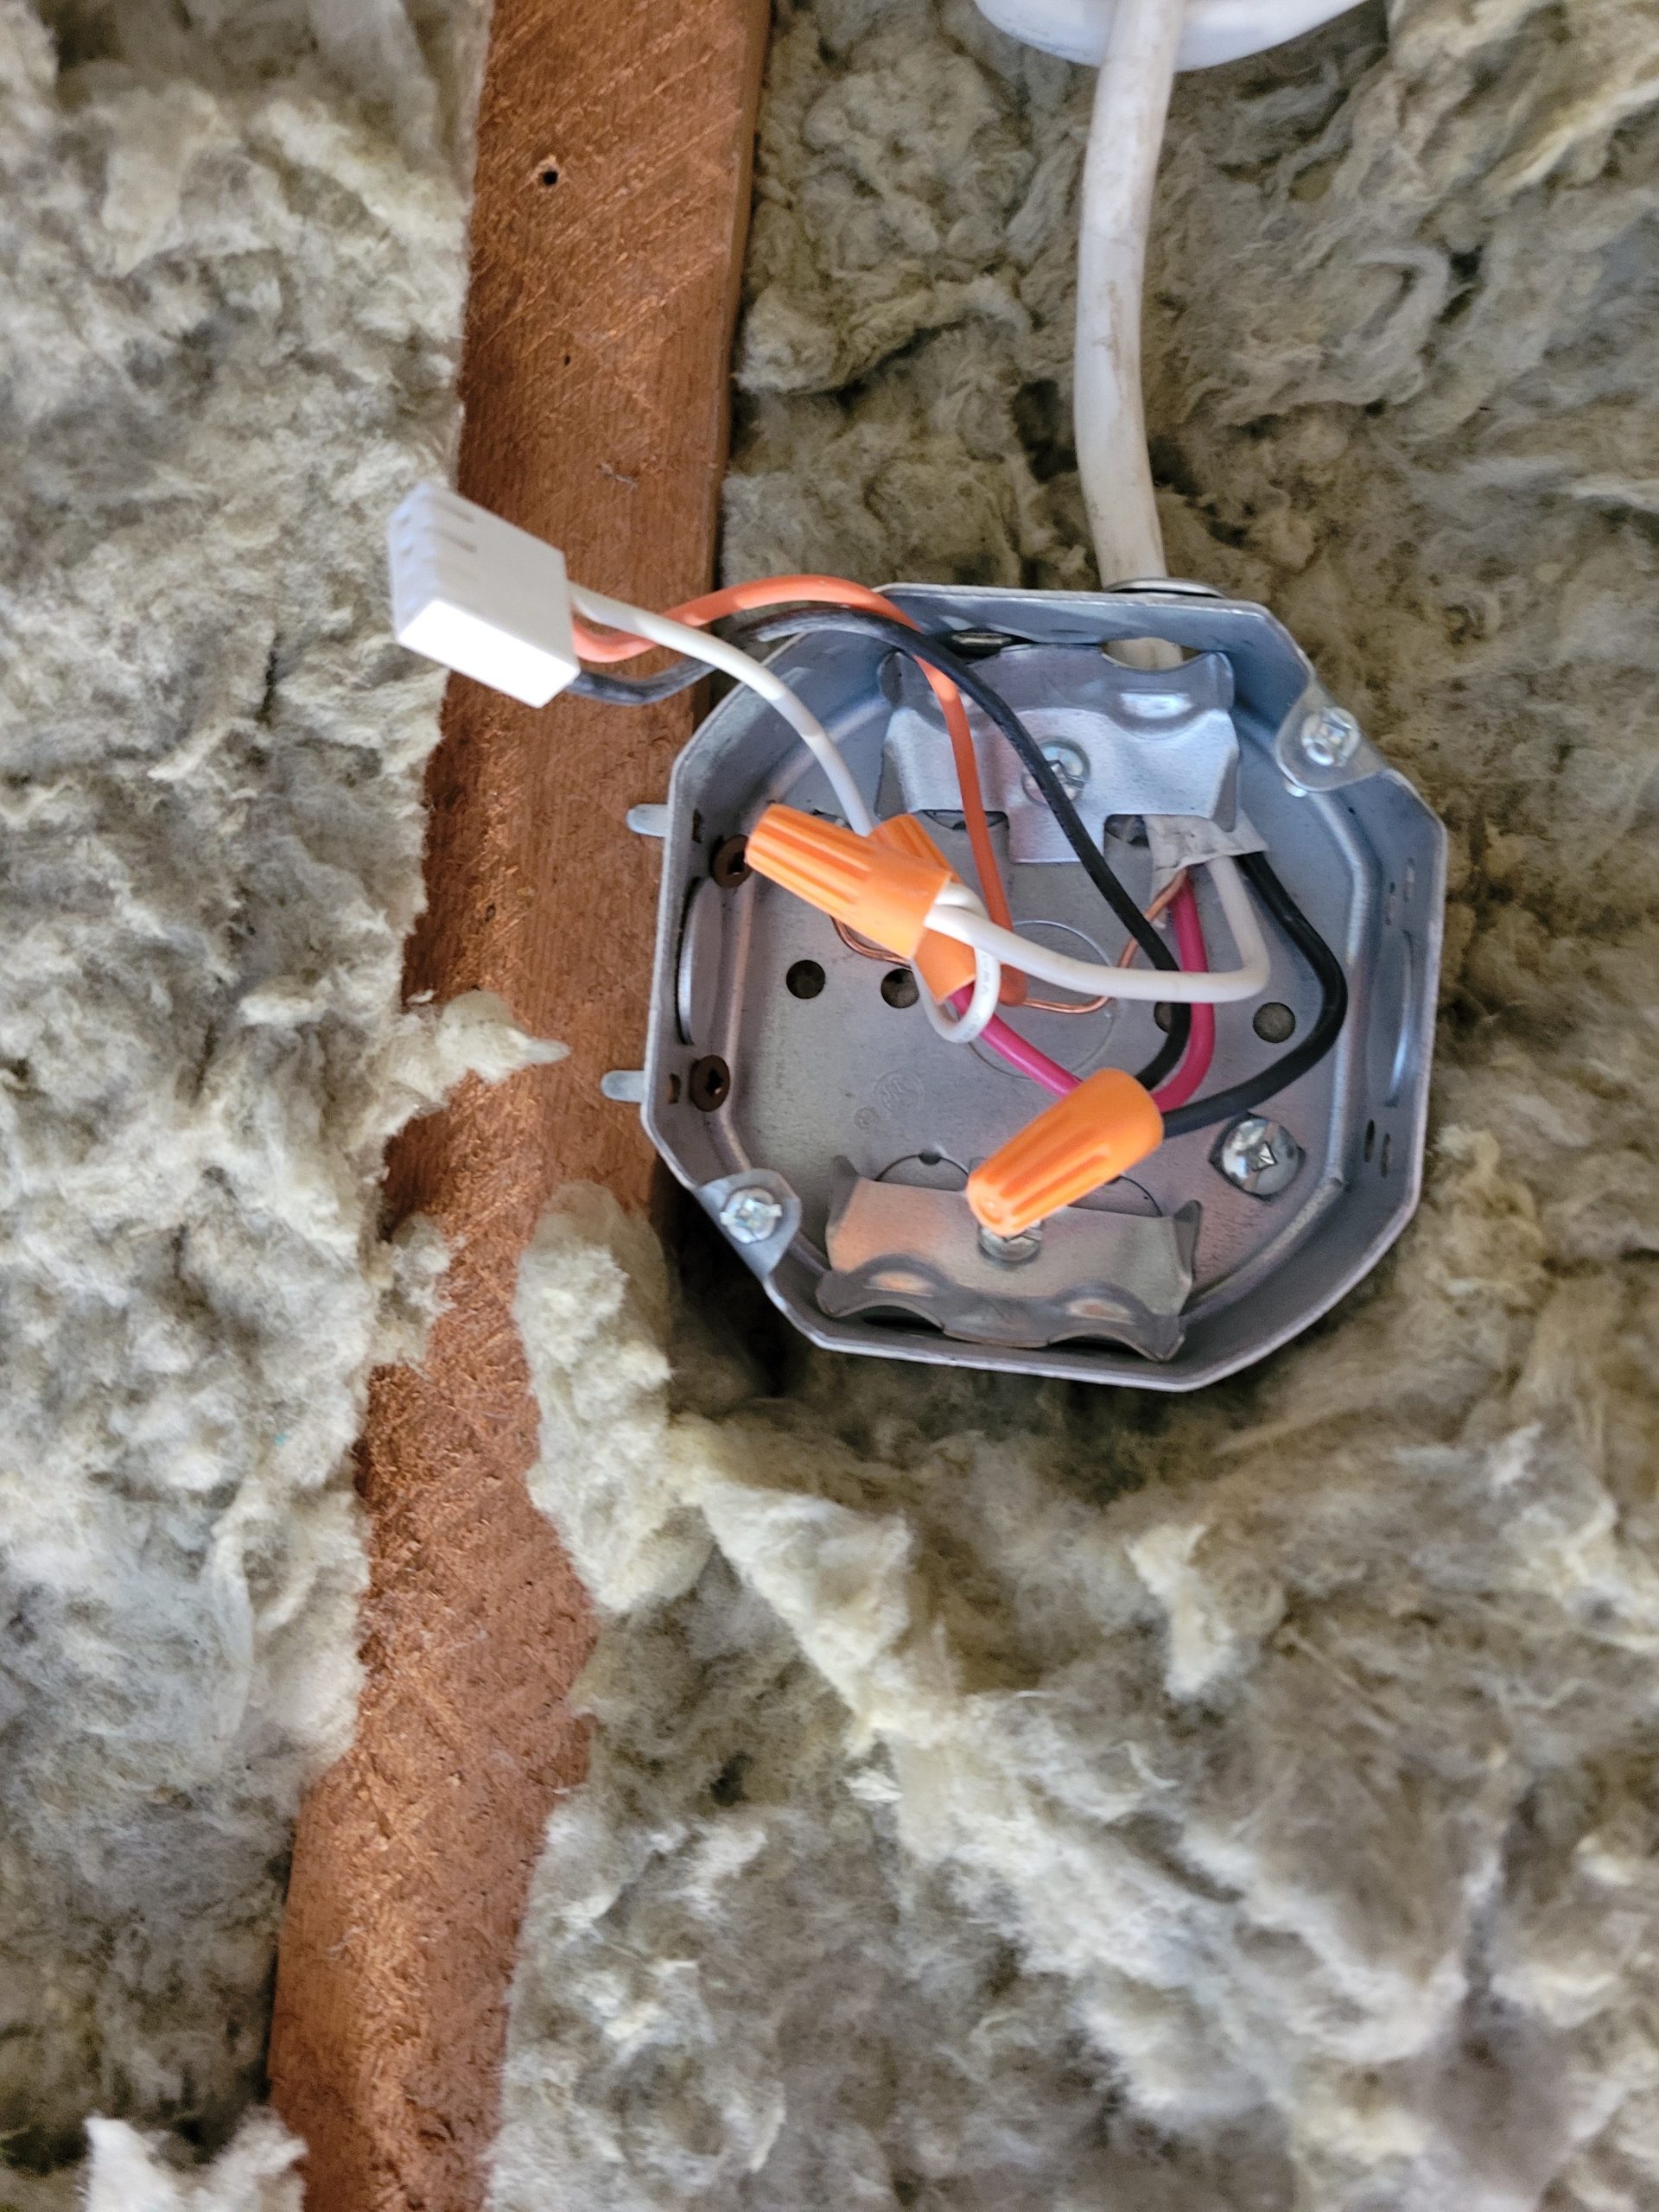
Wiring for the smoke detector was rerouted through the rafter (yes, I had to drill a hole directly through one rafter – hate that) as the furring strips were removed to a) make more headroom and b) match existing framing on the east end. This was on the list of electrical code improvements as it was just hanging in mid-air previously.
Dave had gone home at that point. Family needed him. Floyd and I put up the first piece of stairway drywall. It ain’t perfect, as my measurements weren’t perfect, but it’ll do.
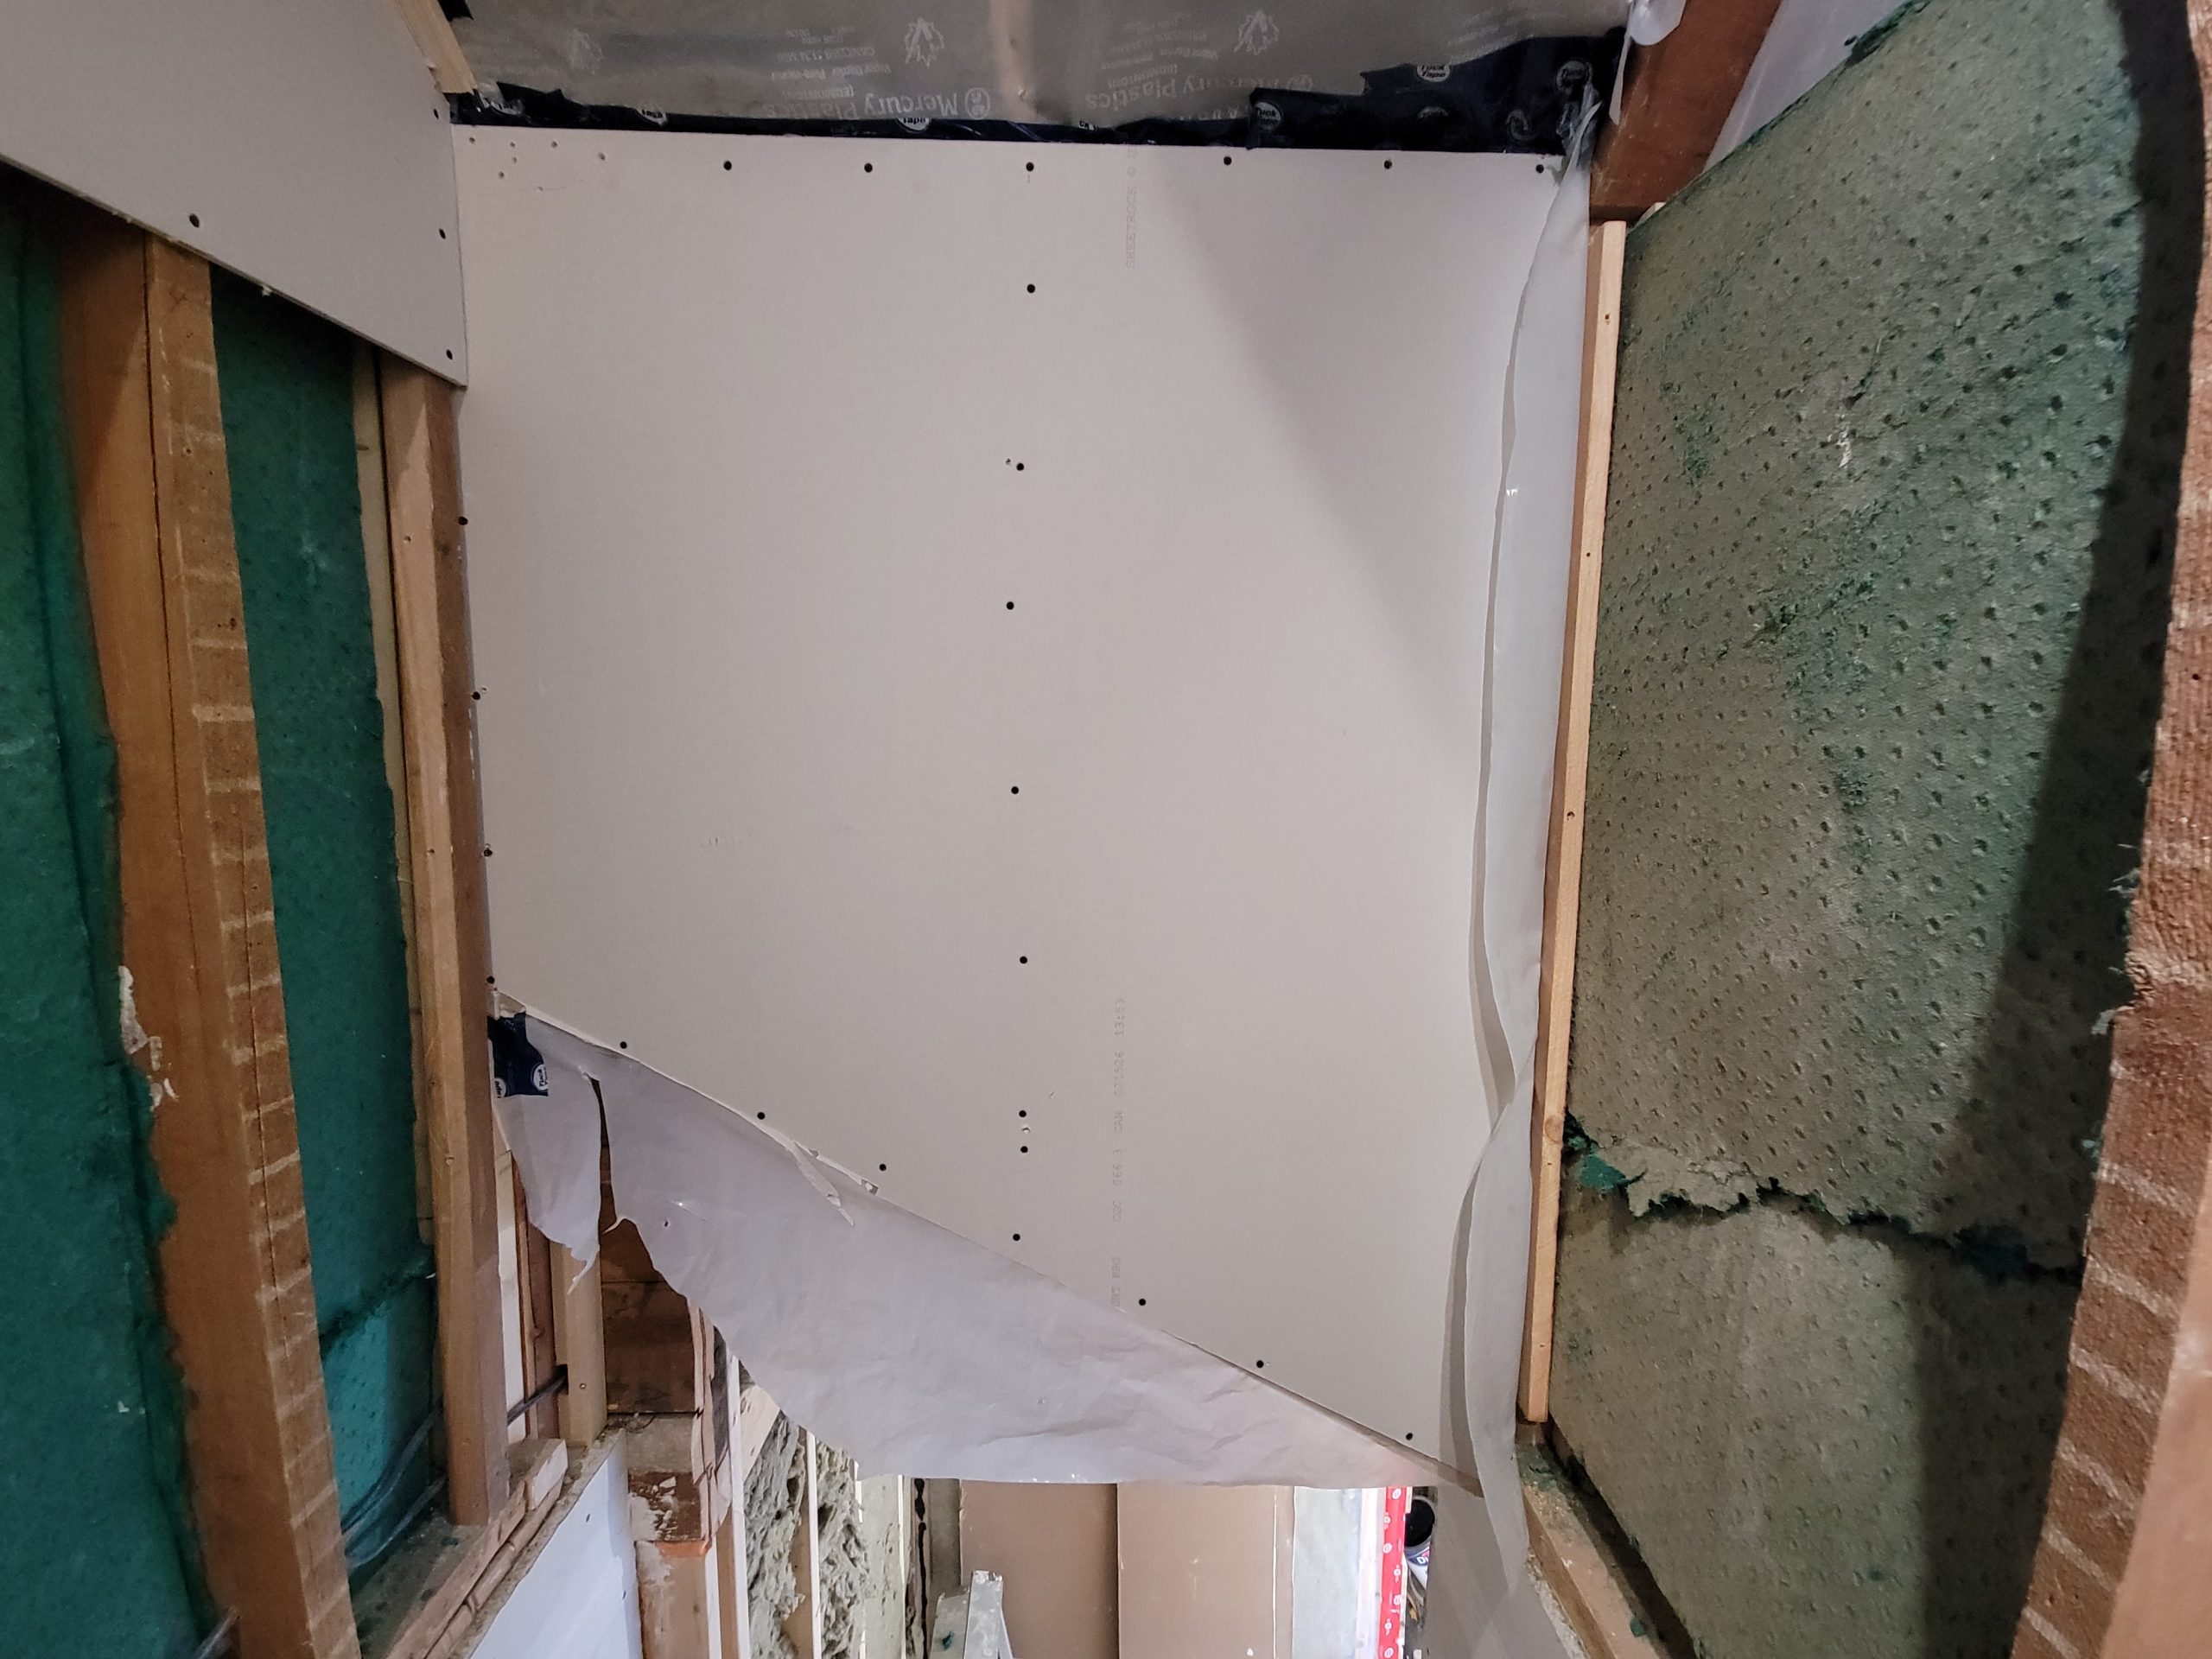
Then the stairway / bedroom upper wall was soundproofed and drywalled. The SONOpan soundproofing was a challenge to cut as it had been sitting outside and was bent and hard to cut.
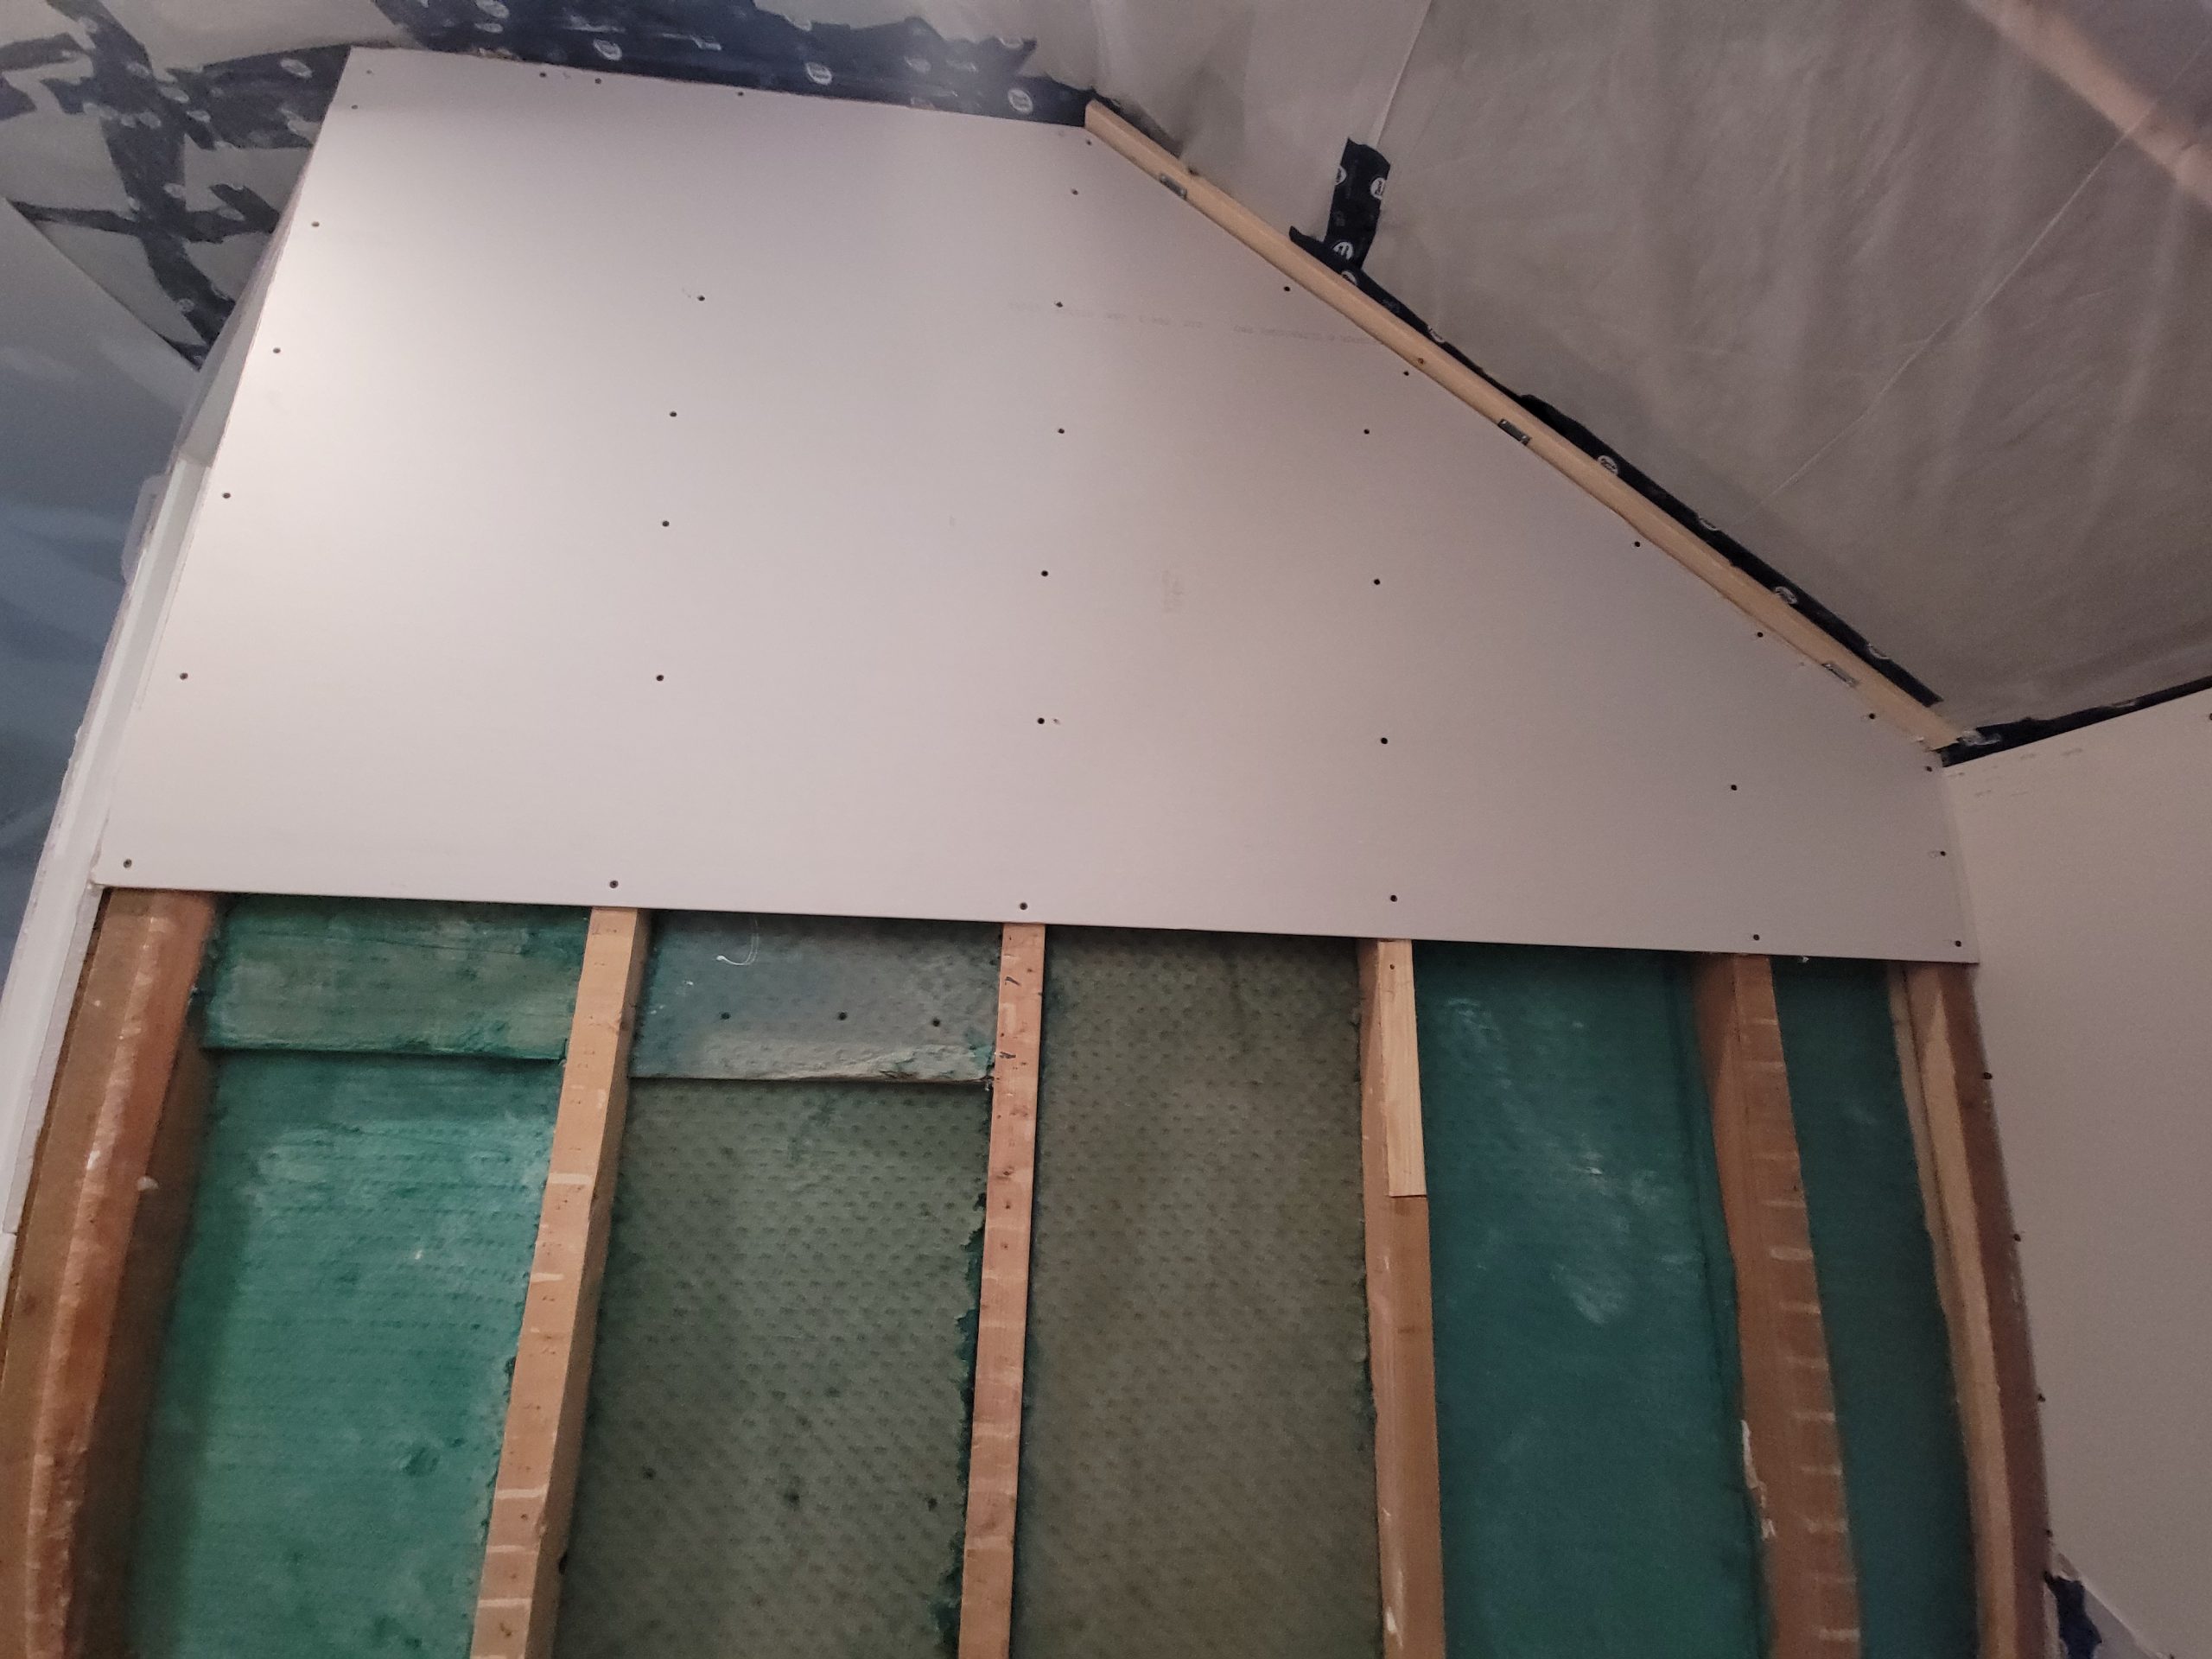
We ran out of SONOpan when doing the stairway / bathroom wall. I will look tomorrow to see if we have another 4×8 sheet of this stuff. Besides, it will be easier to install it from the bathroom side.