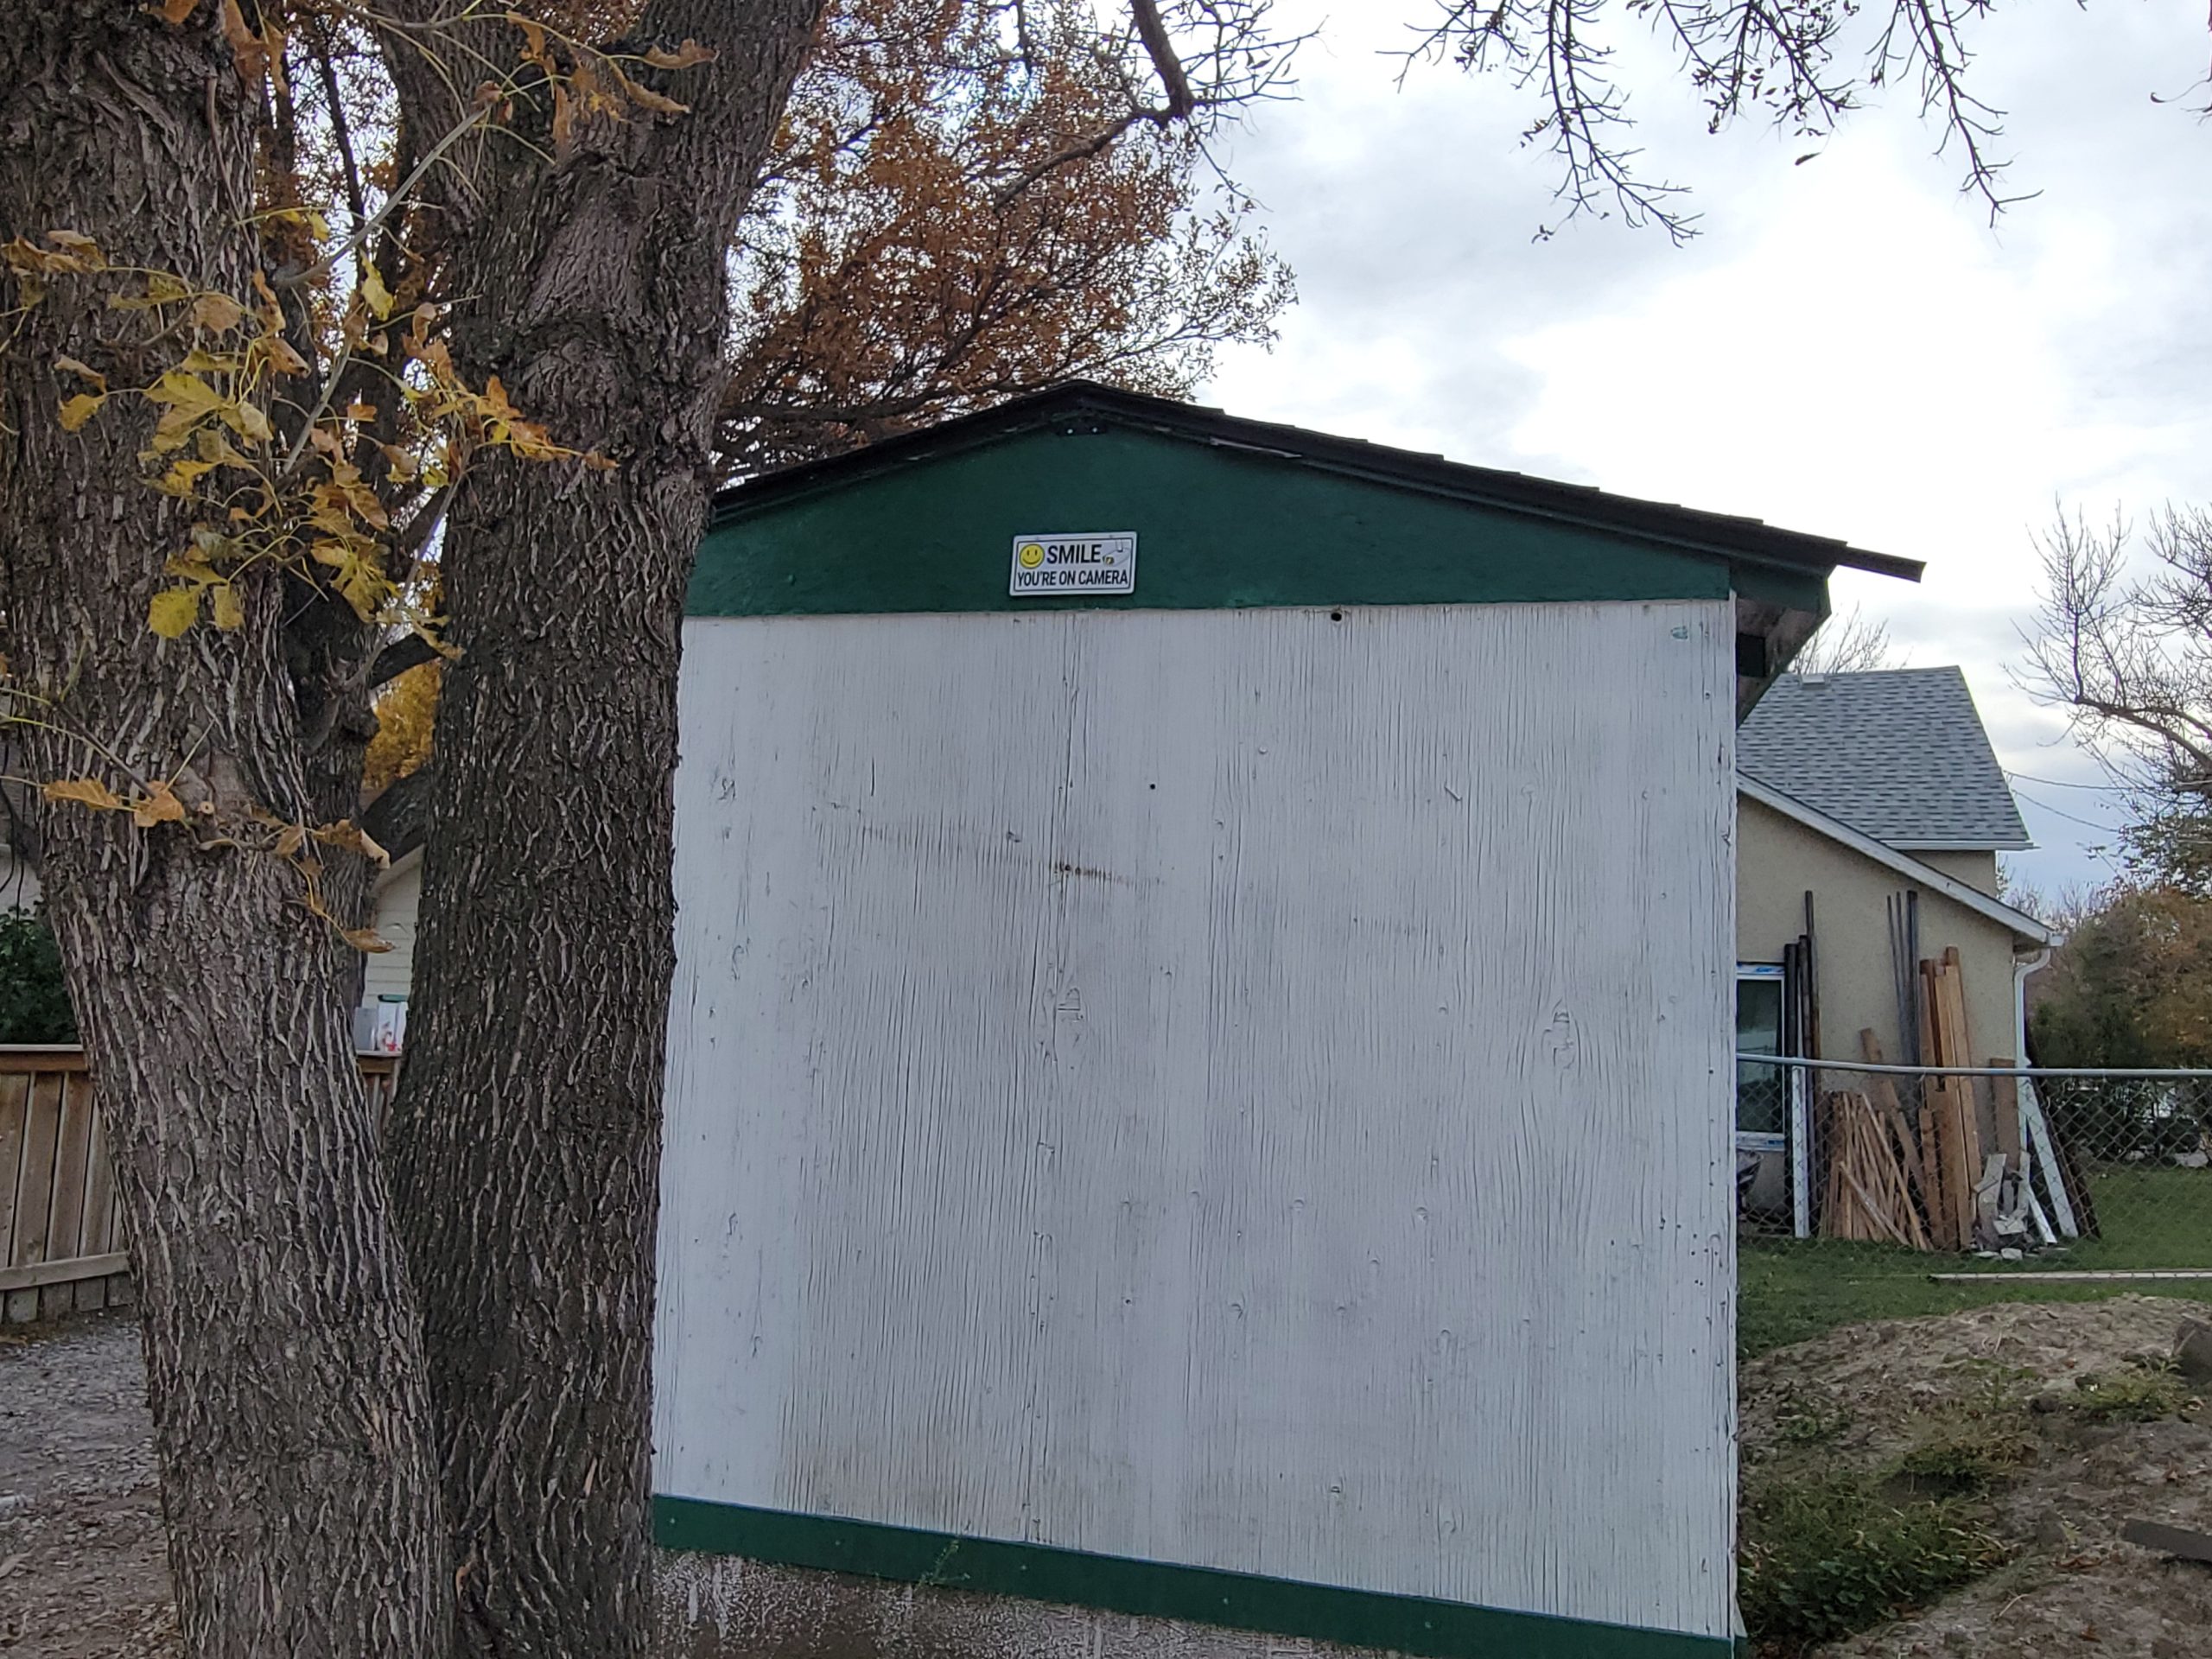
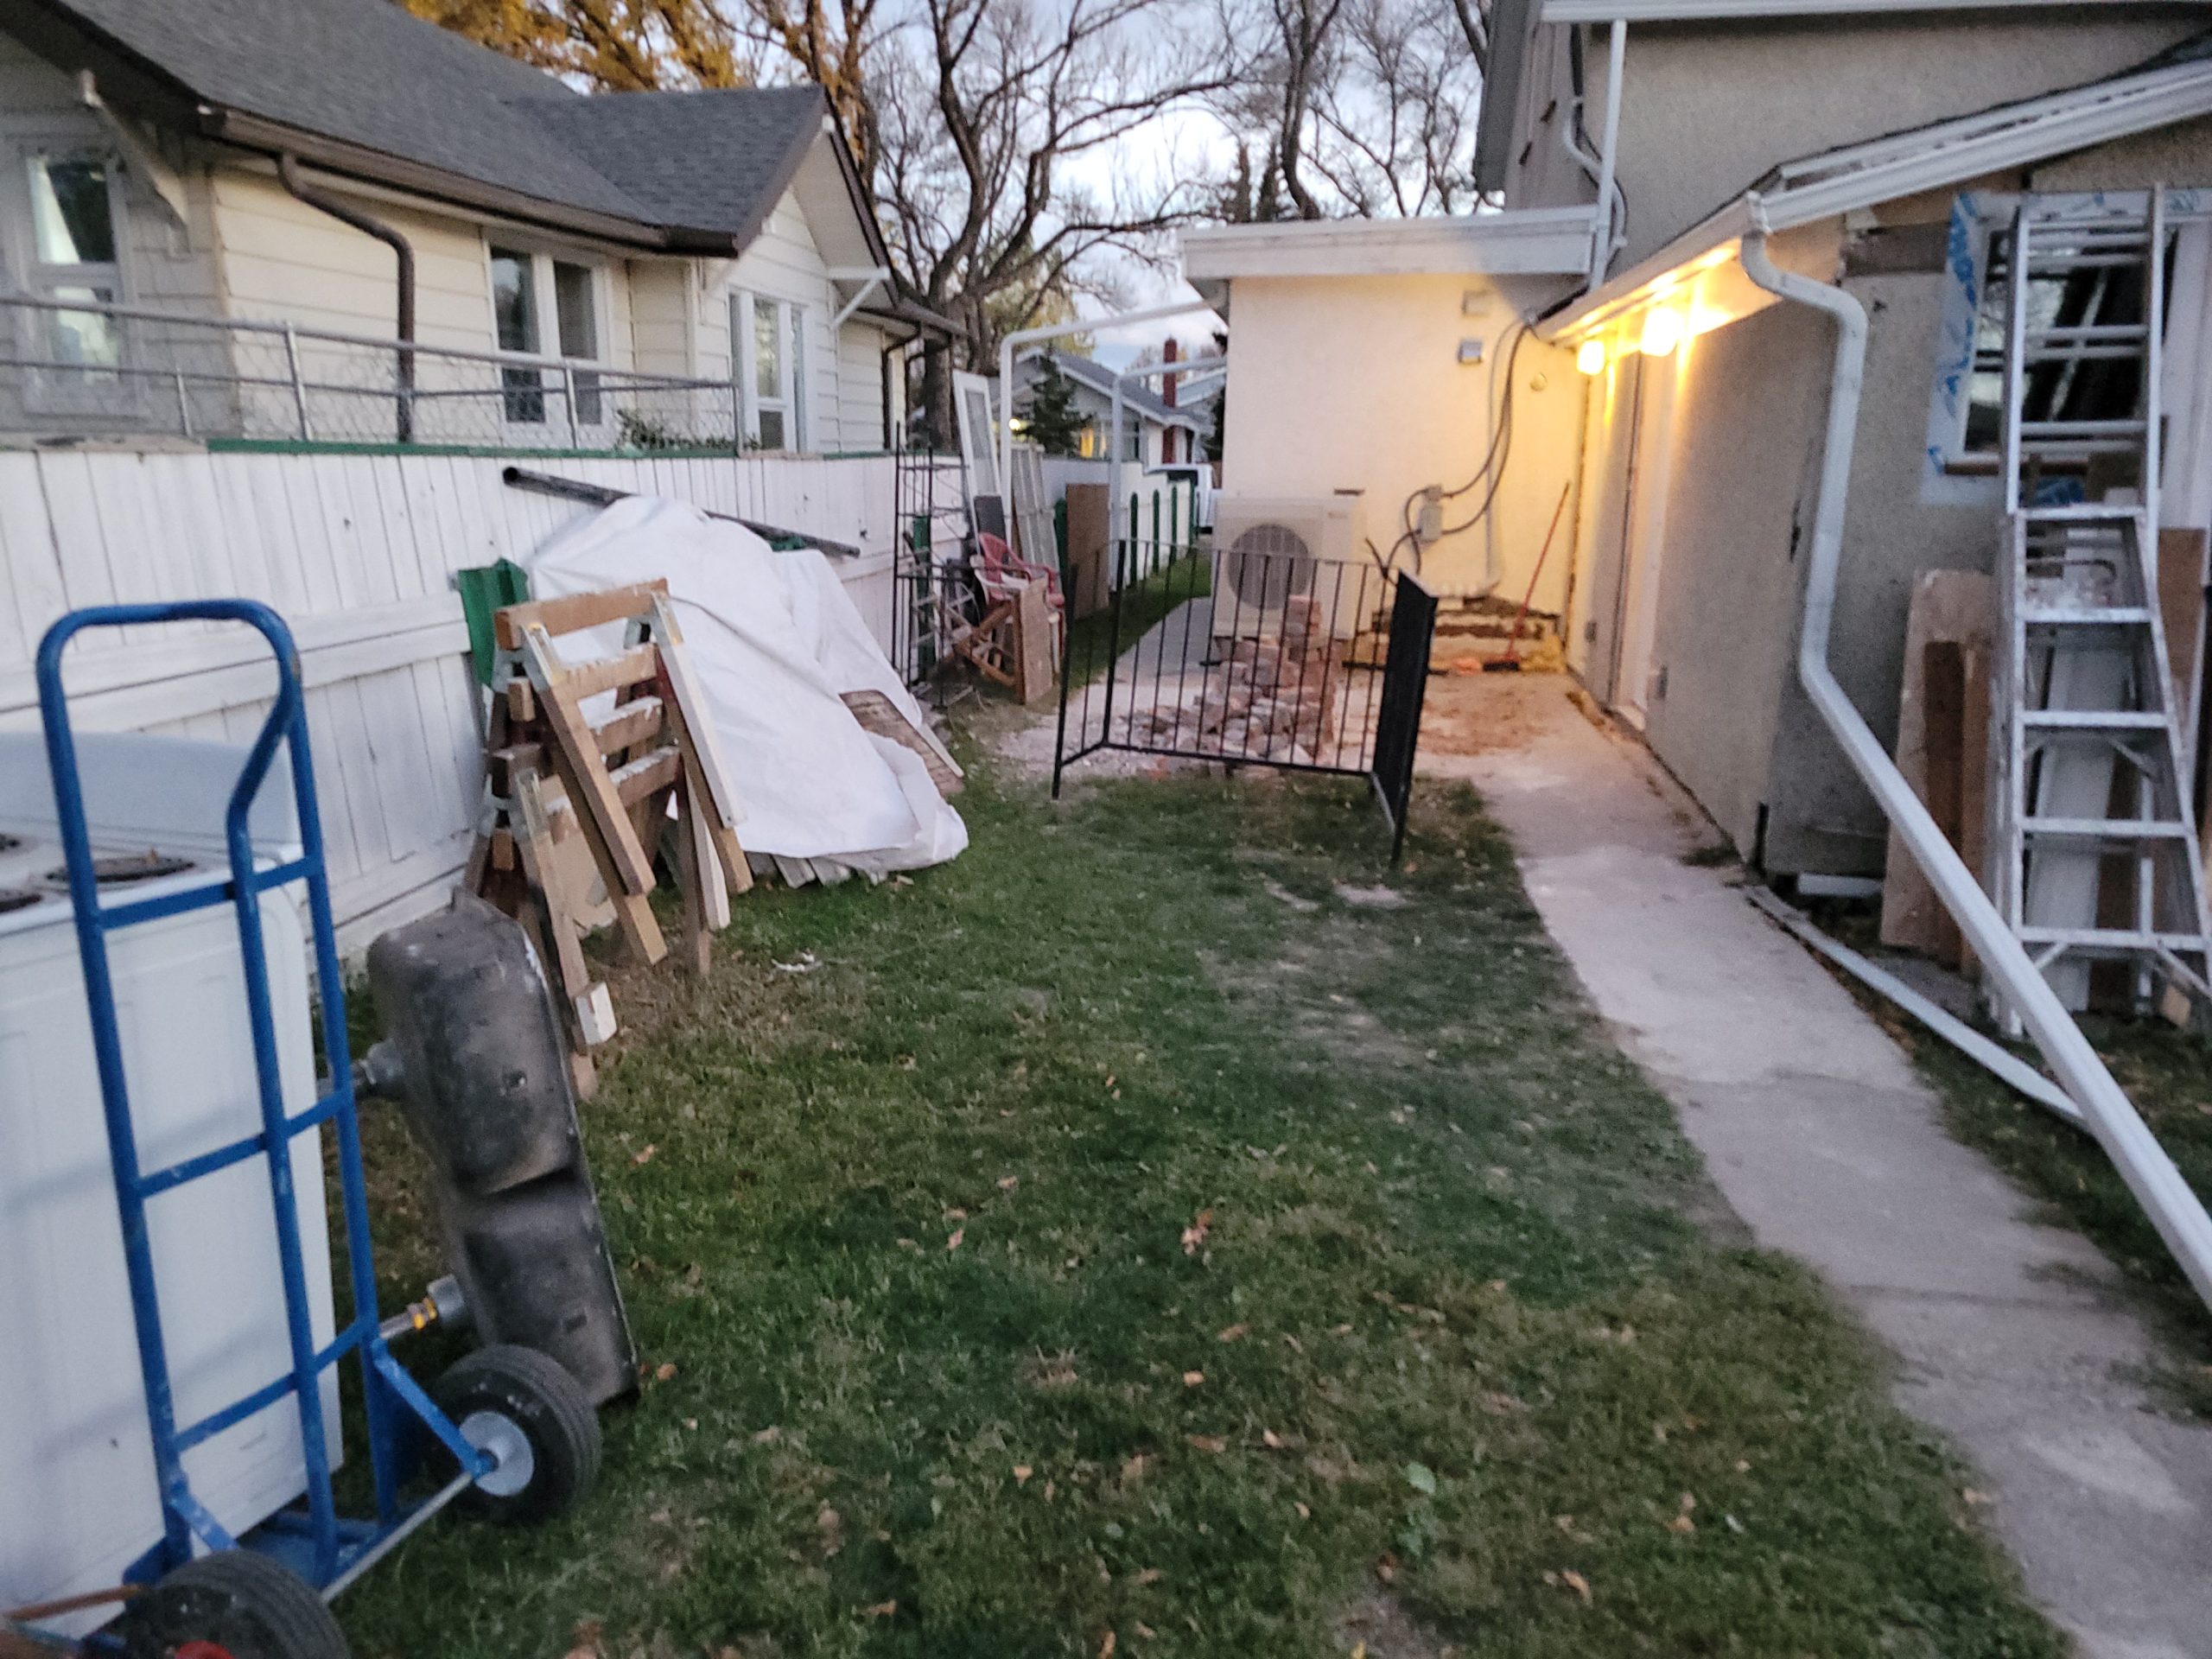
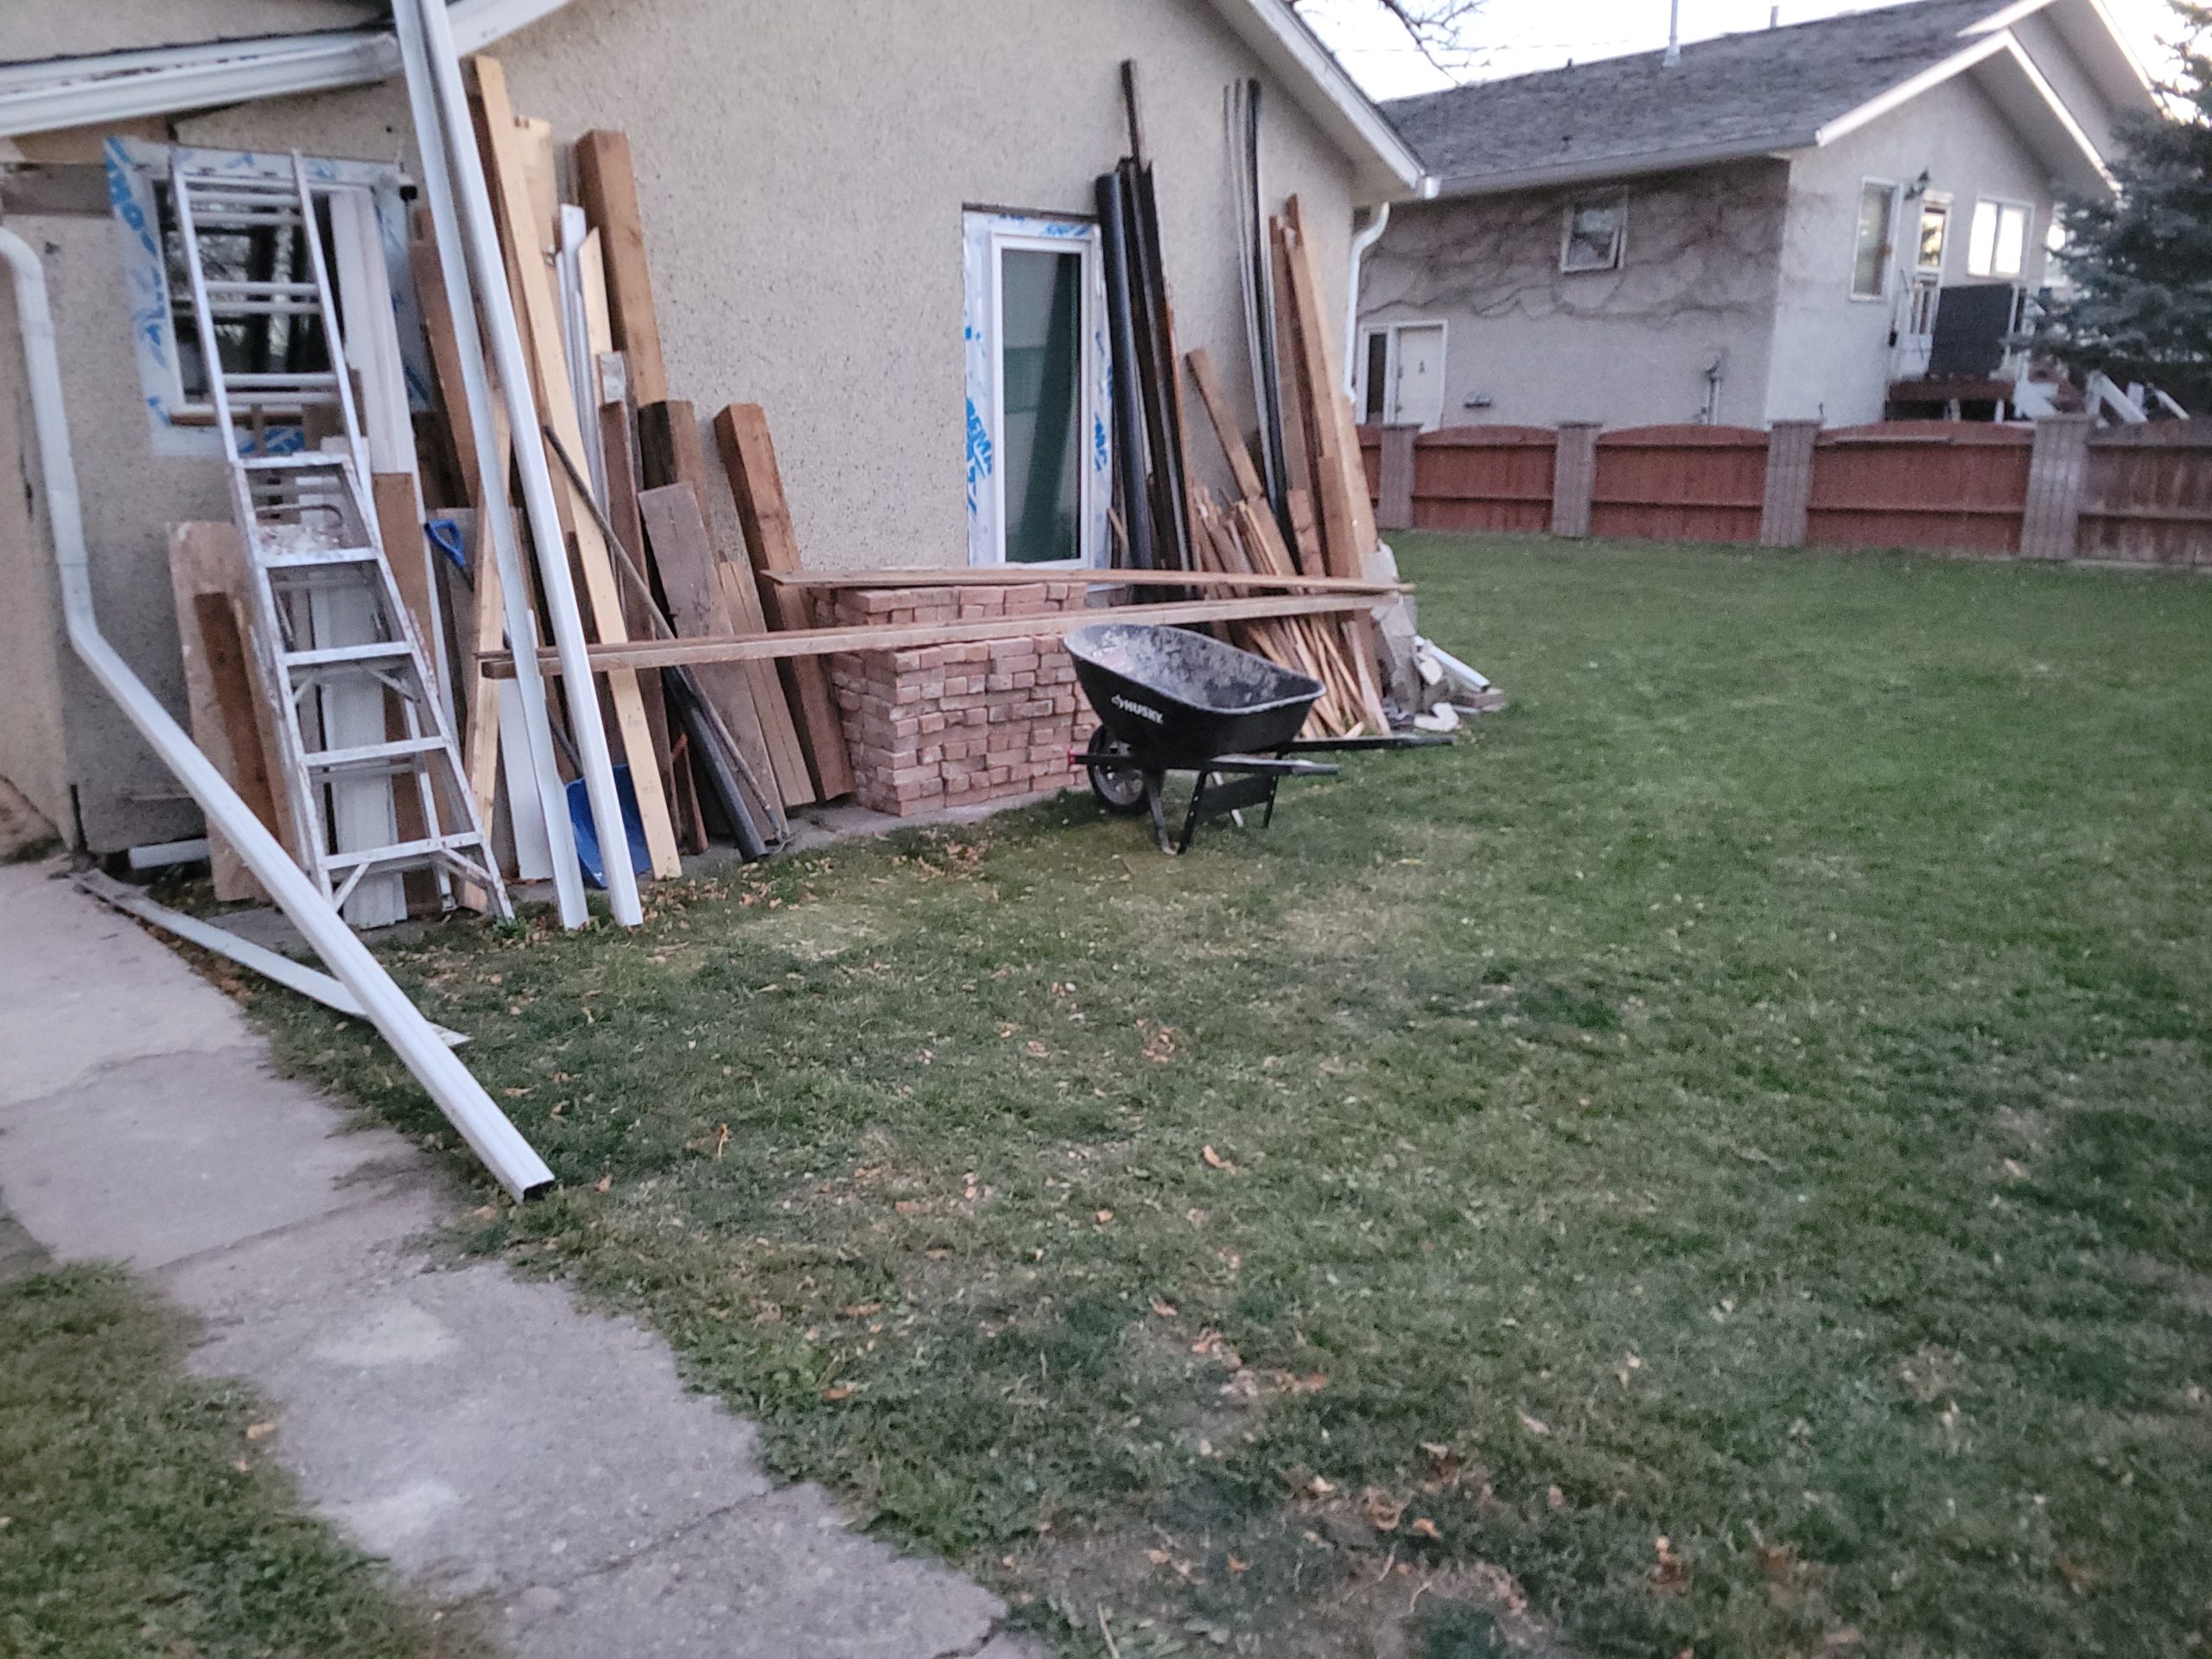
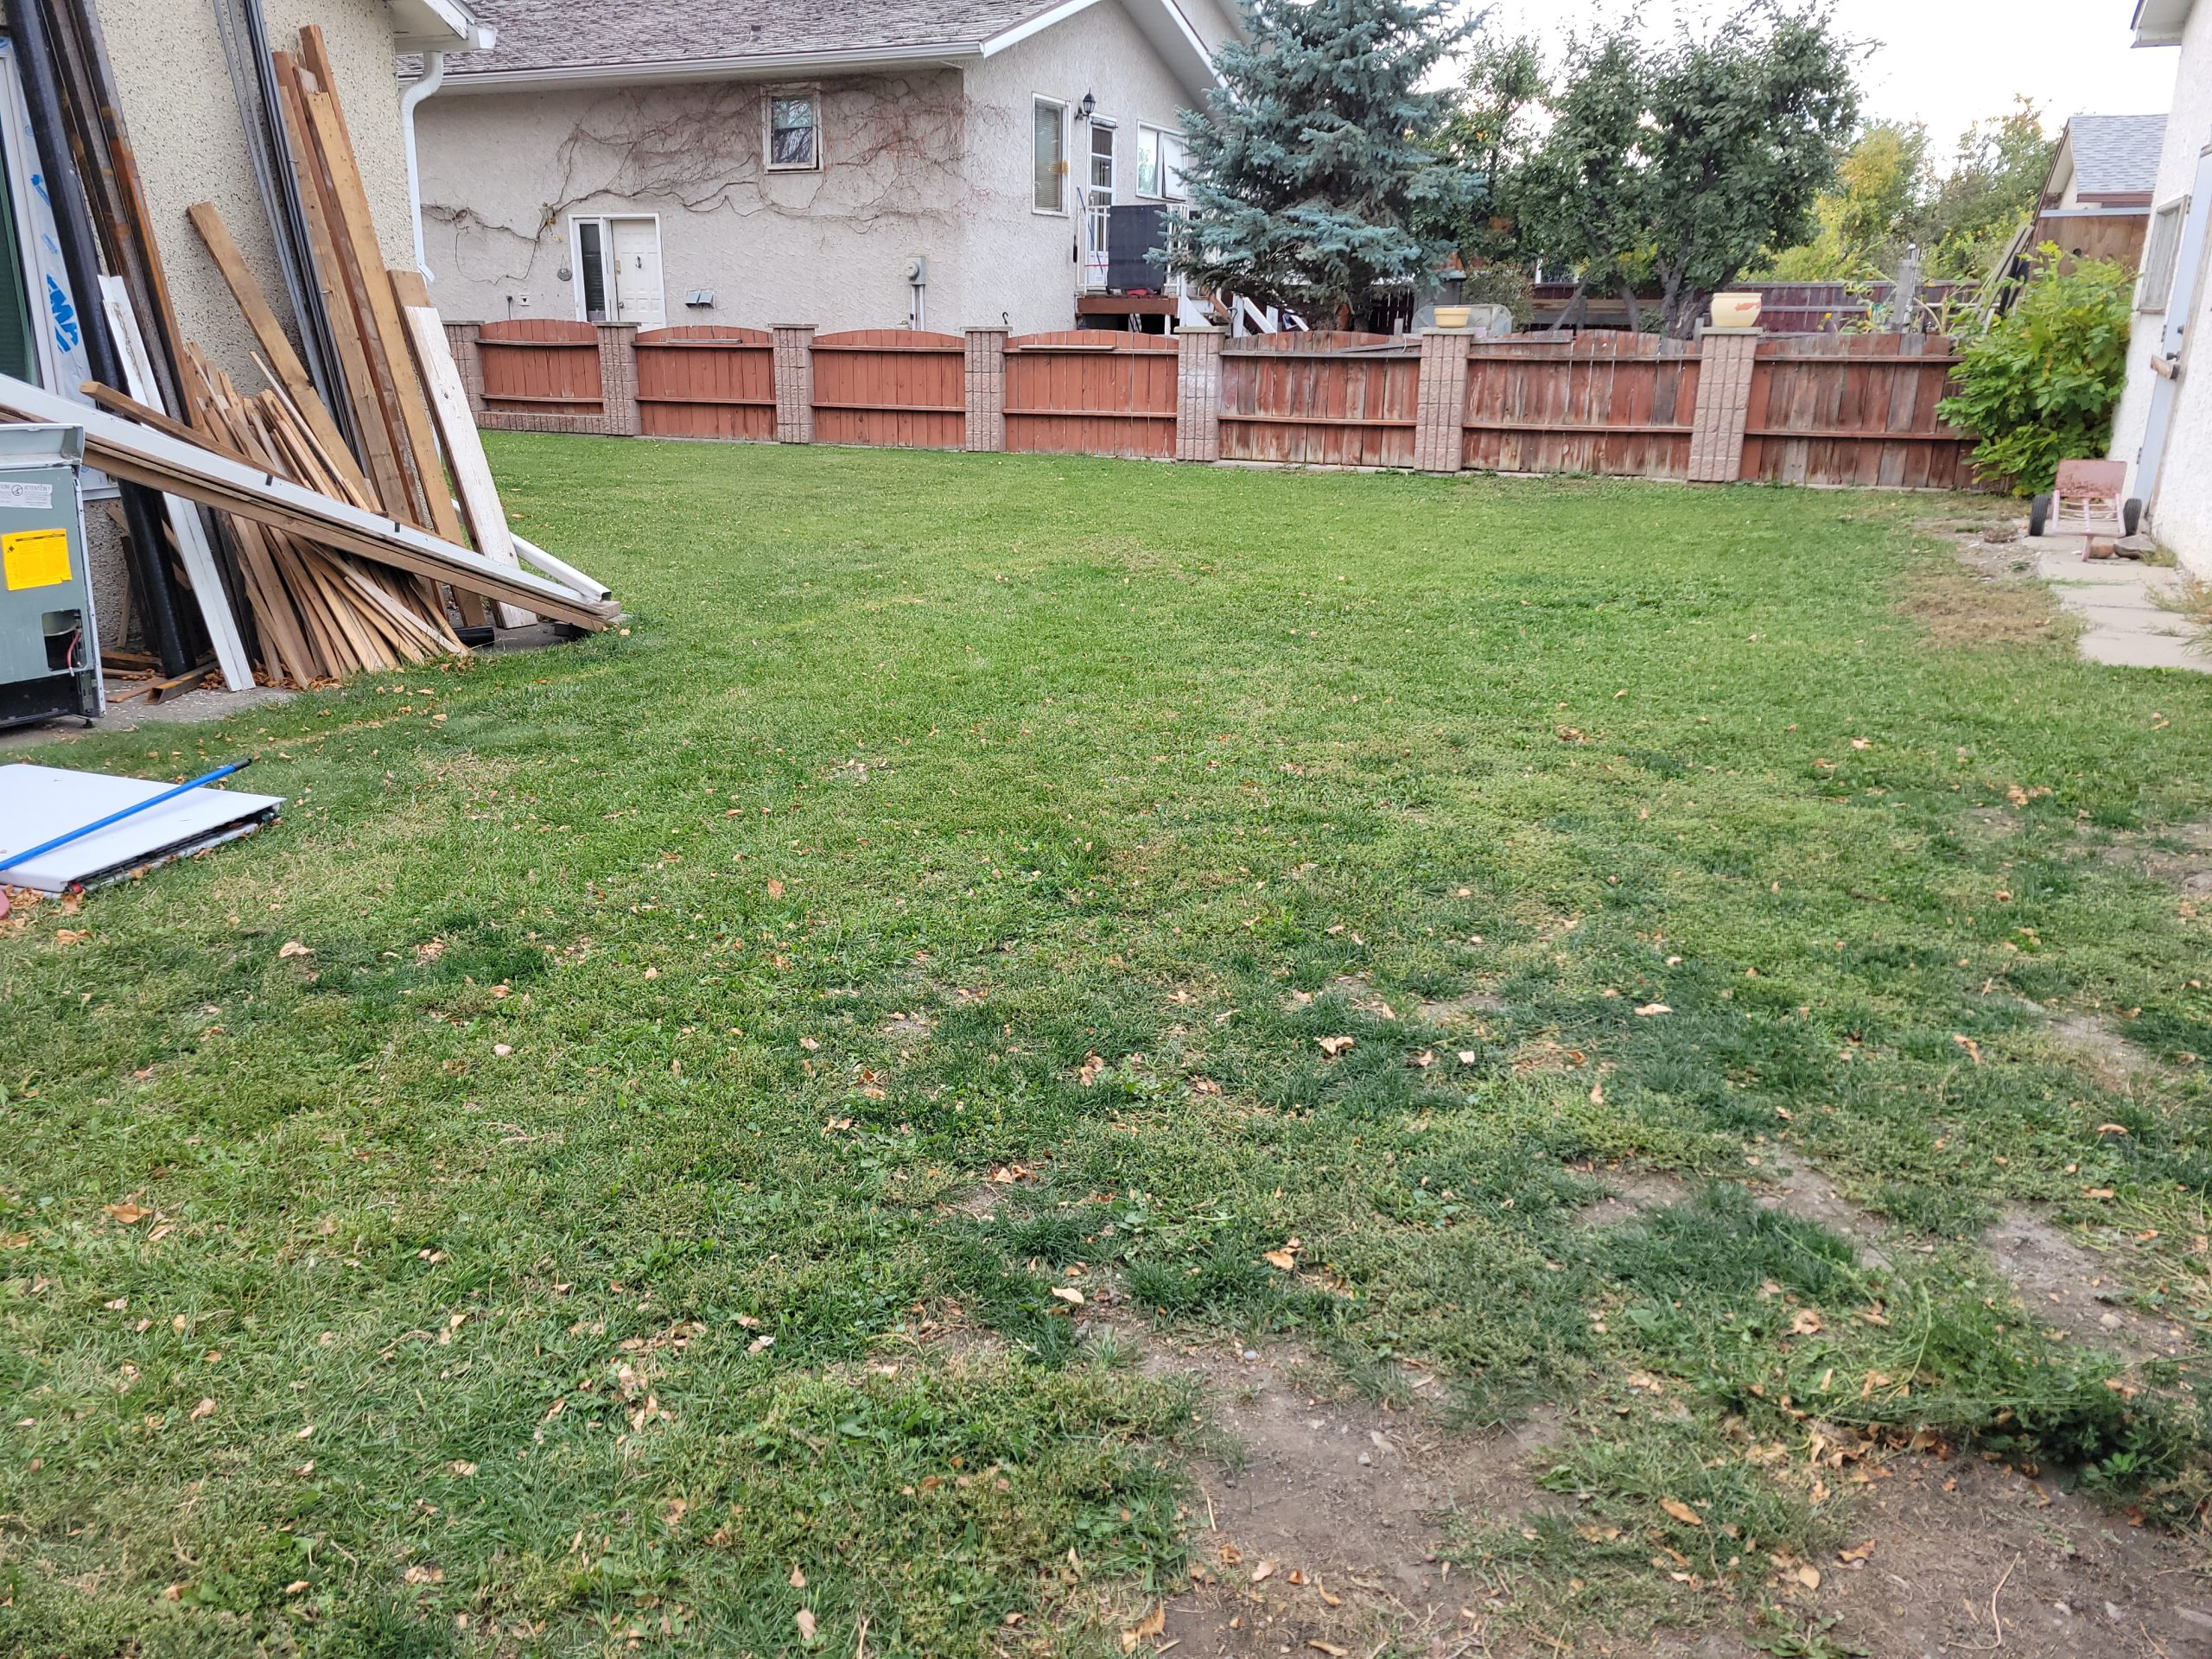
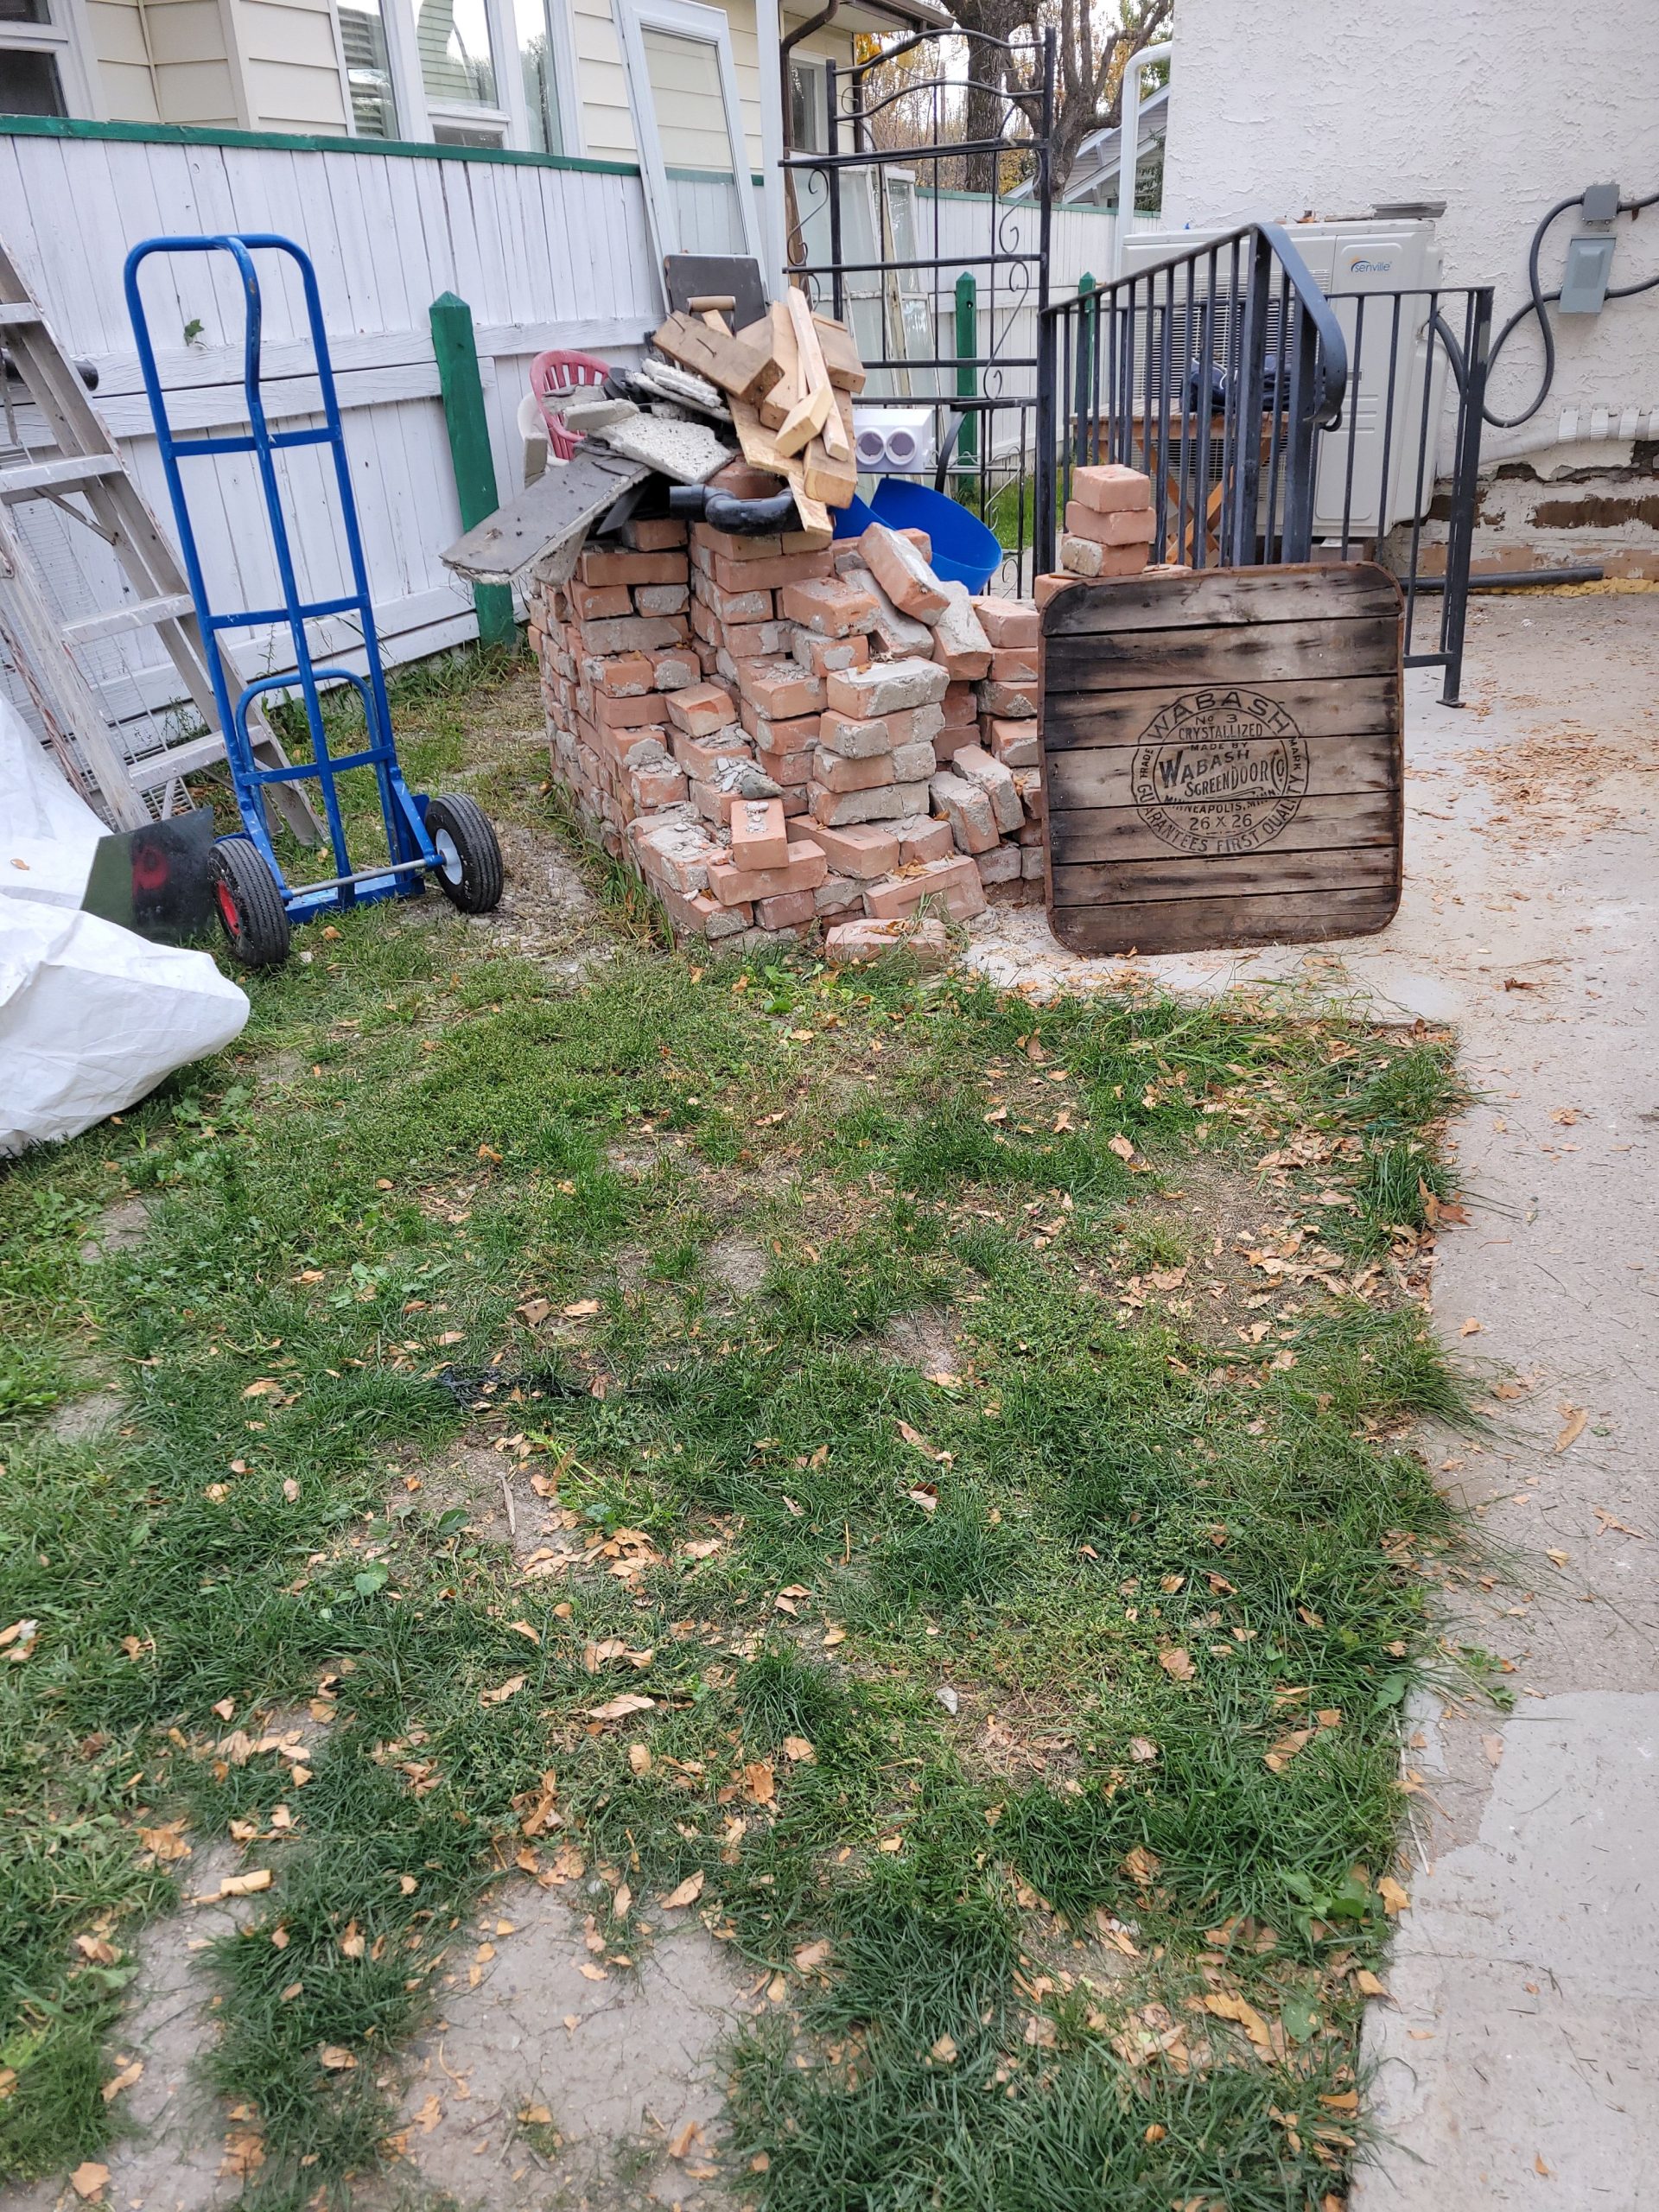
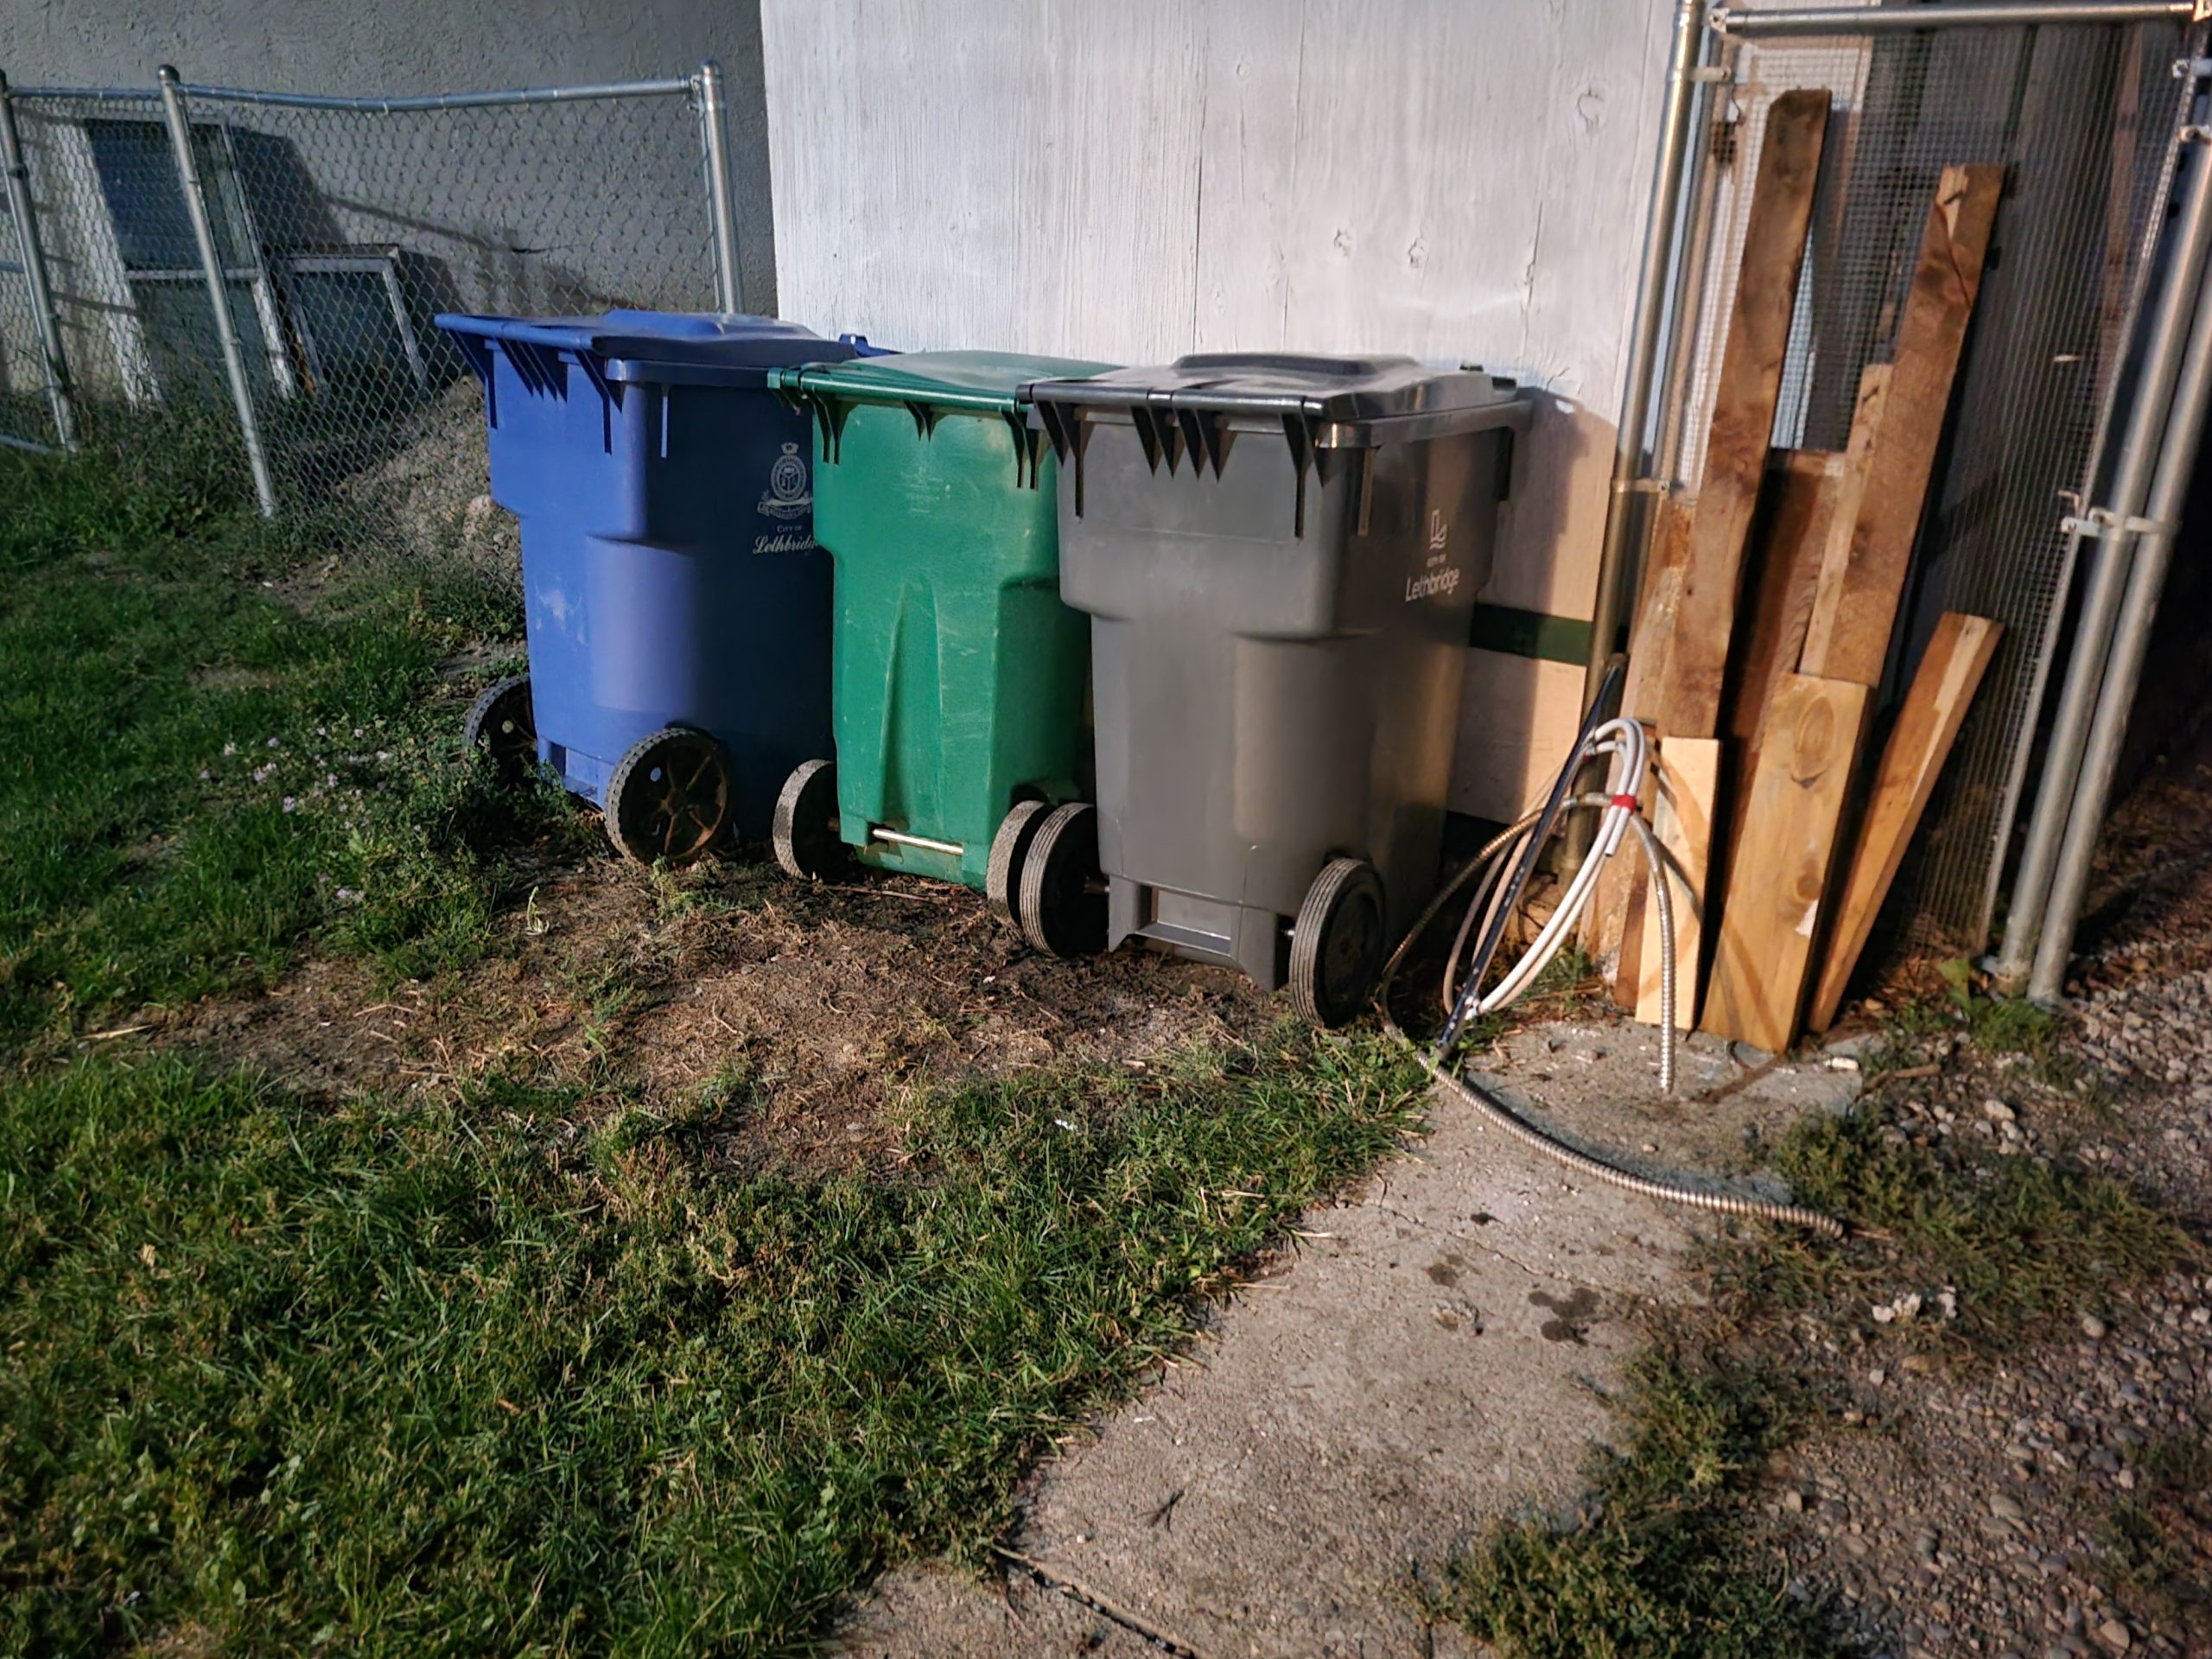
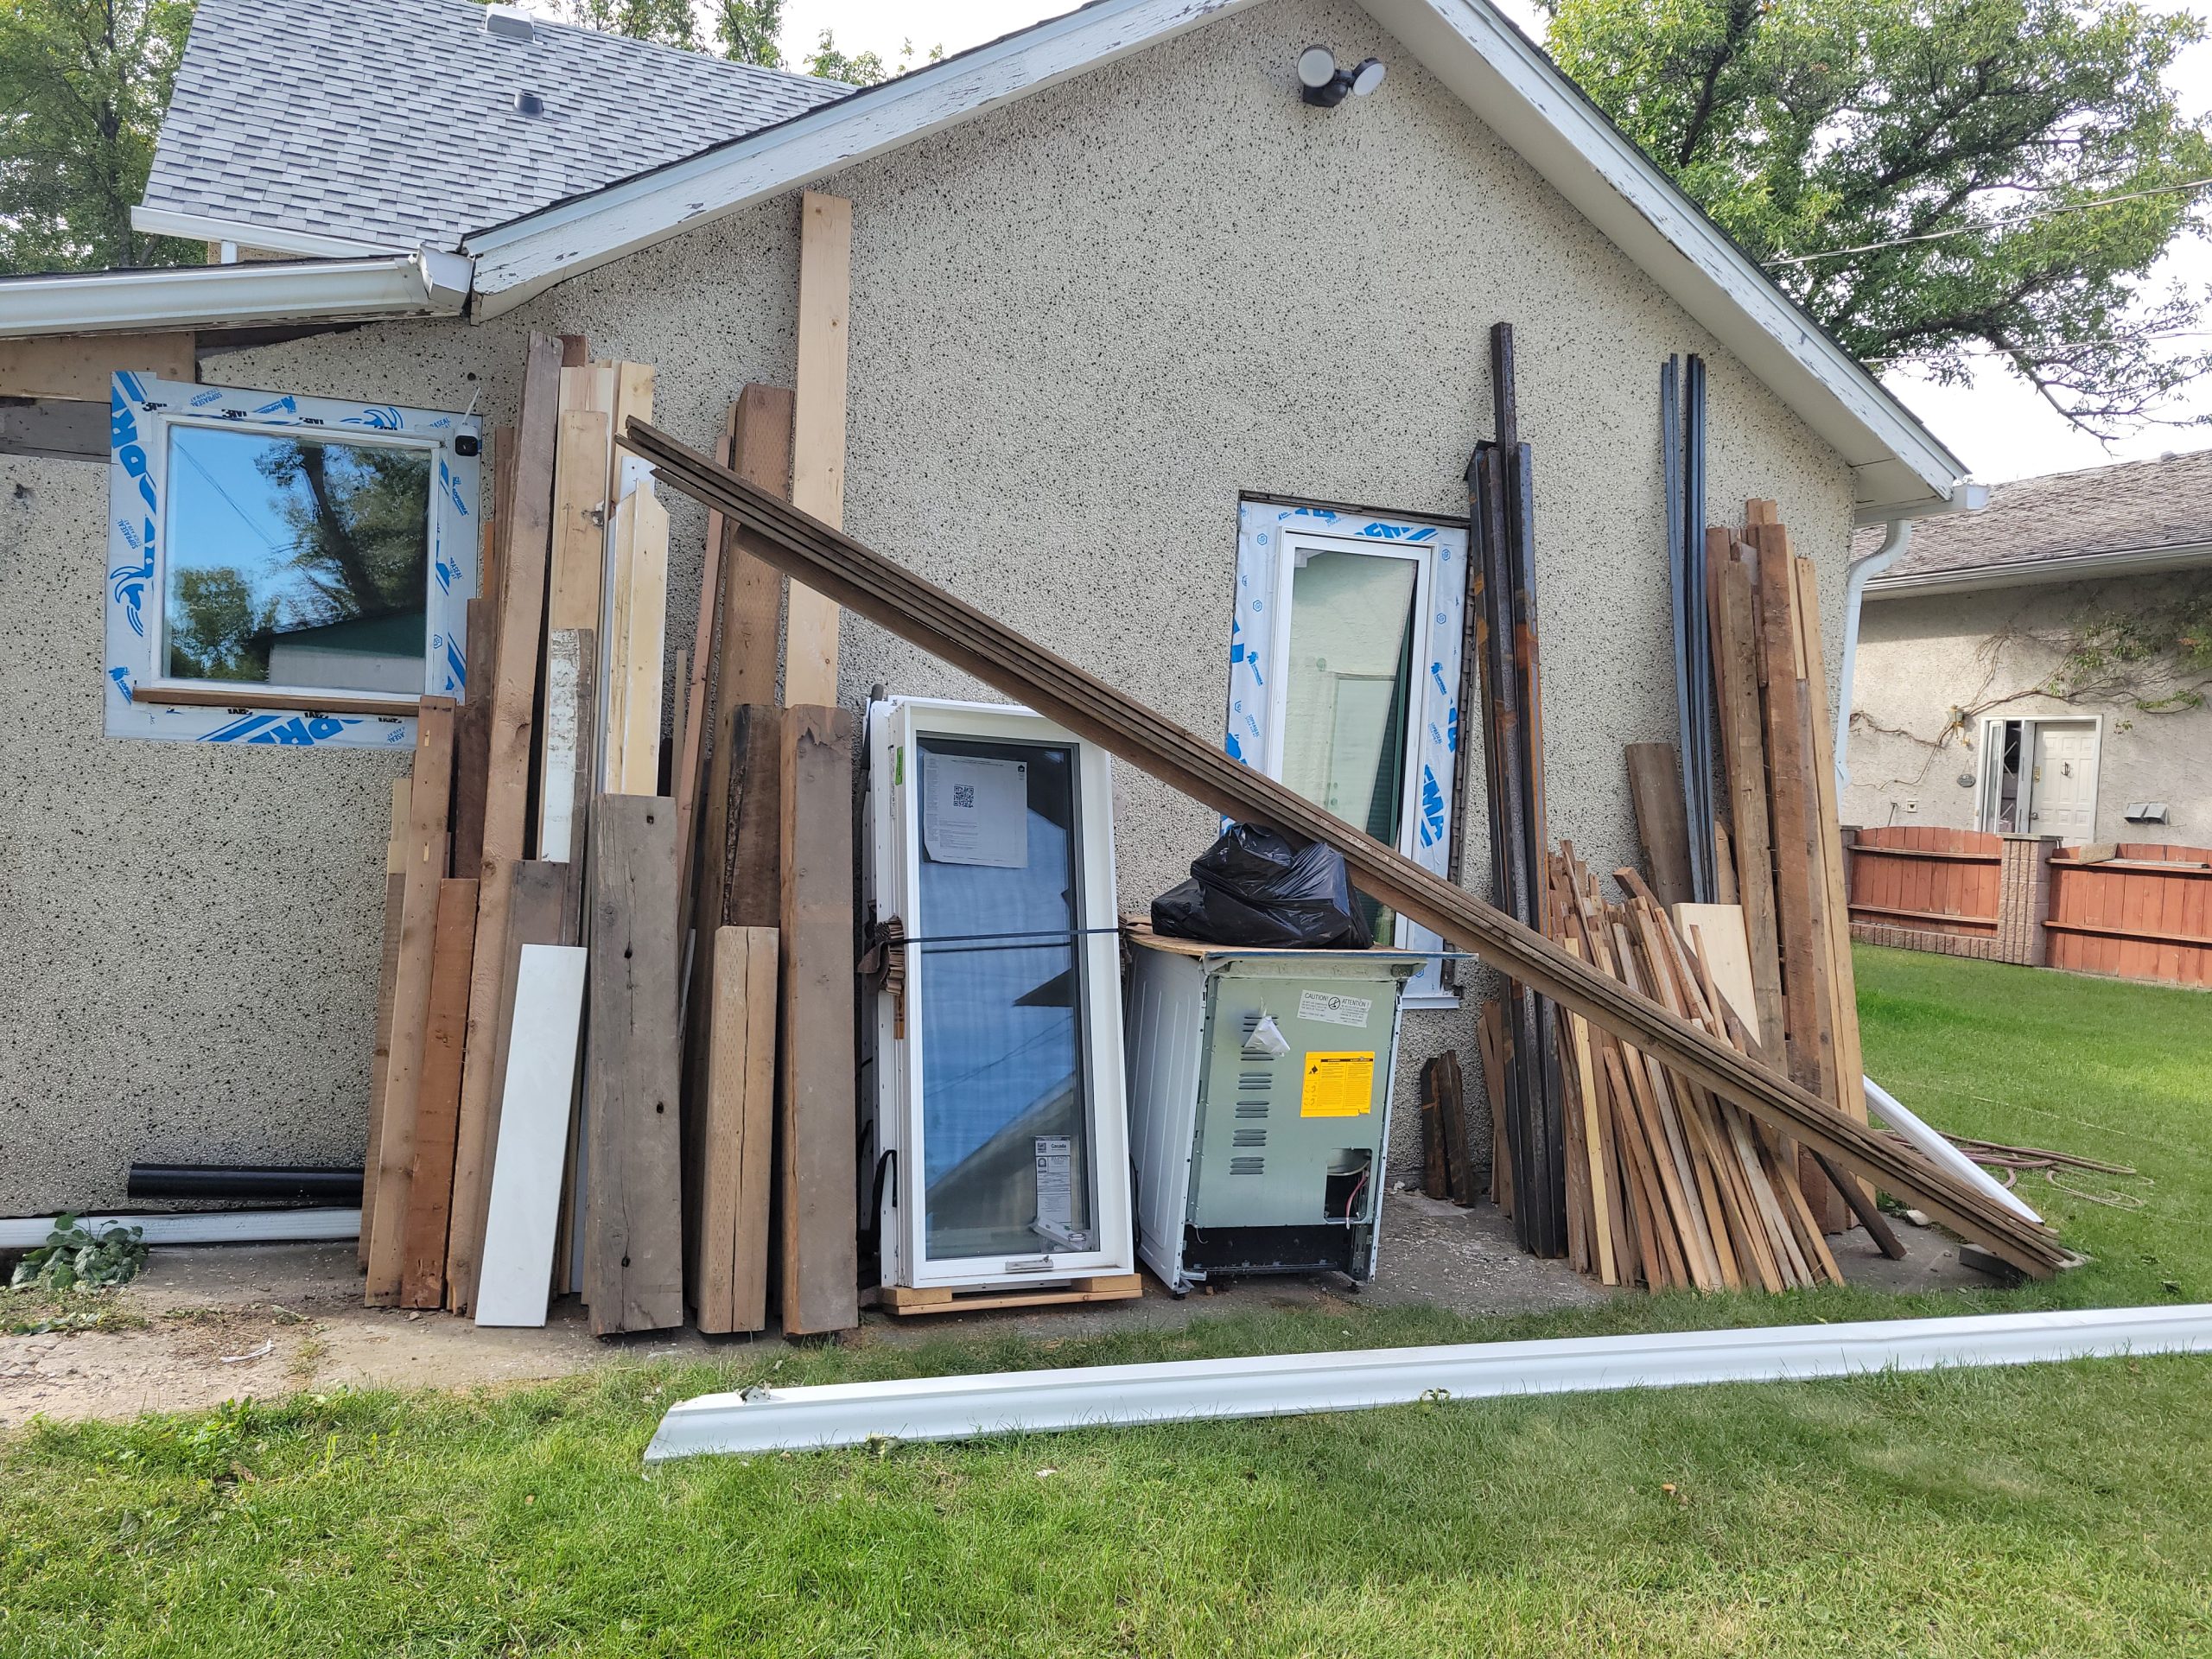
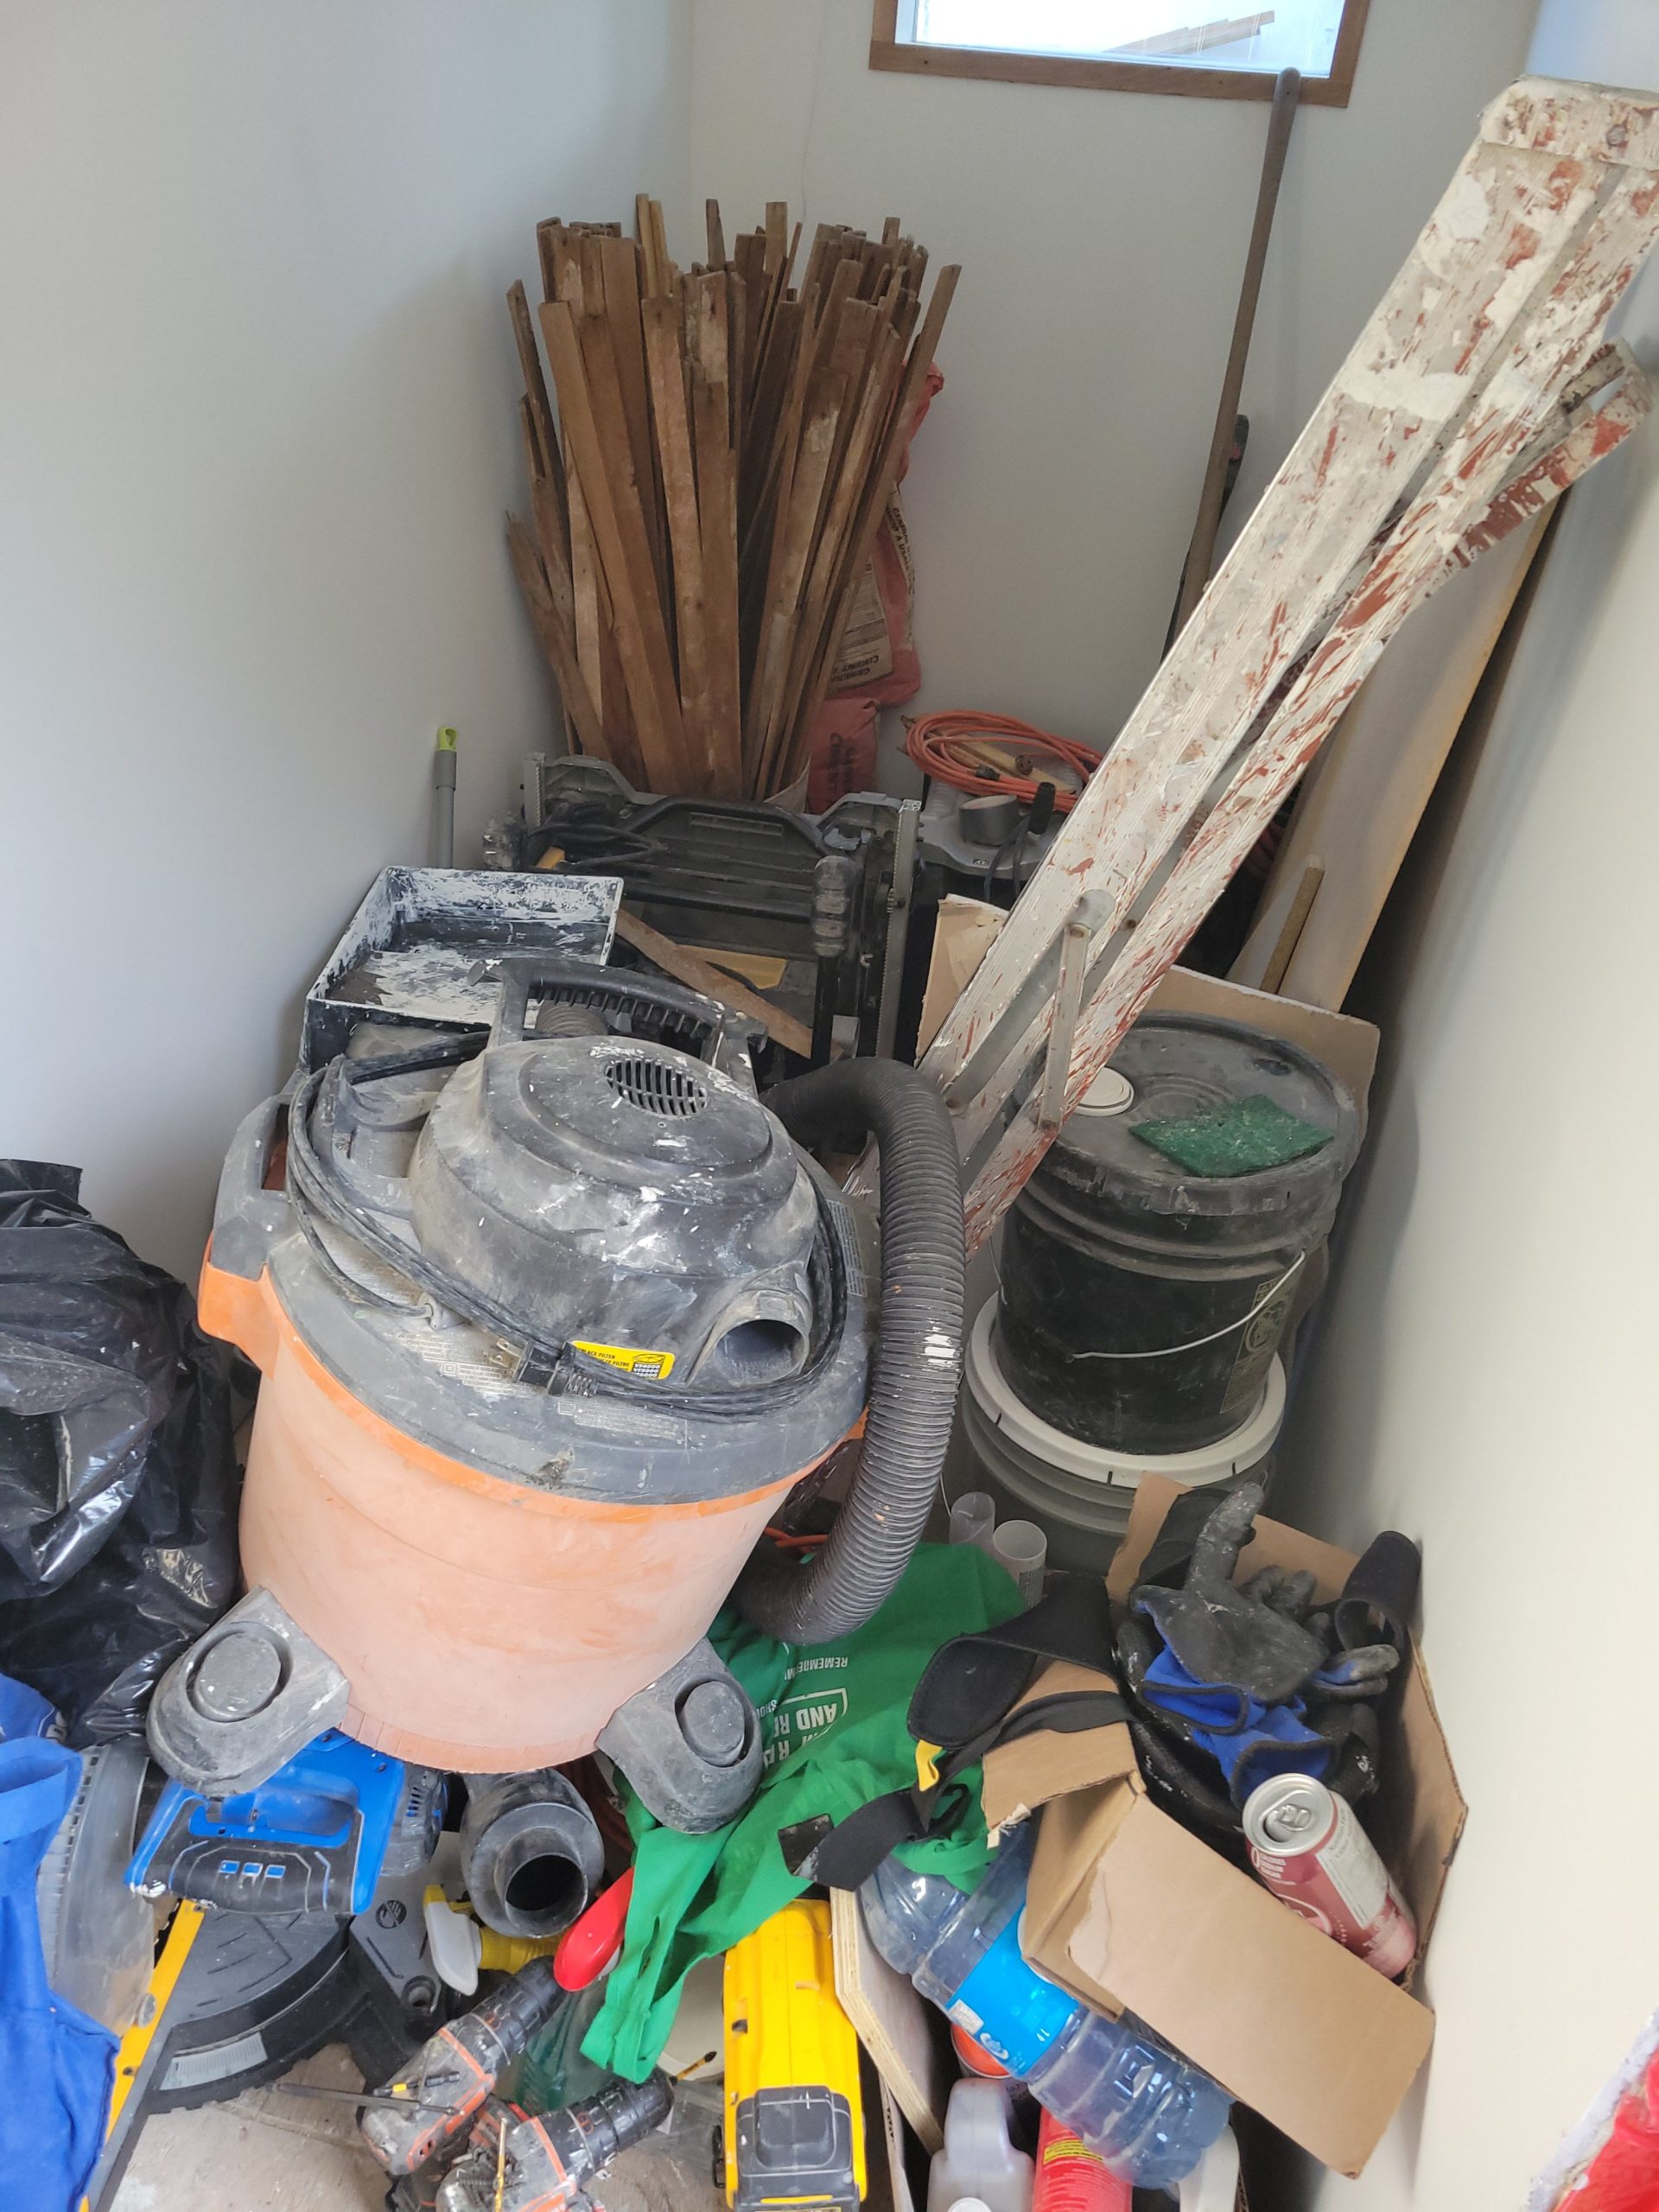
The lumber we stacked at the rear of the property did not blow down. It was really windy last night. I was expecting to see them stacked randomly like a bunch of t’an in a game of Kal’toh gone wrong.
1403 3 Ave N property
This is a house built in 1906 at 1403 3 Ave. N., Coalbanks (later to become Lethbridge), AB, Canada. It was the same year the Lethbridge Viaduct (commonly called the High Level Bridge) was built. It is one of the only two-storey houses built in the area. It’s been added on to four times but still maintains close to its original look. I bought the house in Dec. 2021 as a rental property. It has a 3-bedroom suite on the main floor and a one-bedroom suite on the second. This blog is an account of all that we (FT and I) have done to make it rentable. Read about the main or 2nd floor (“up”) by going to that category. Comments are welcome (but moderated)!
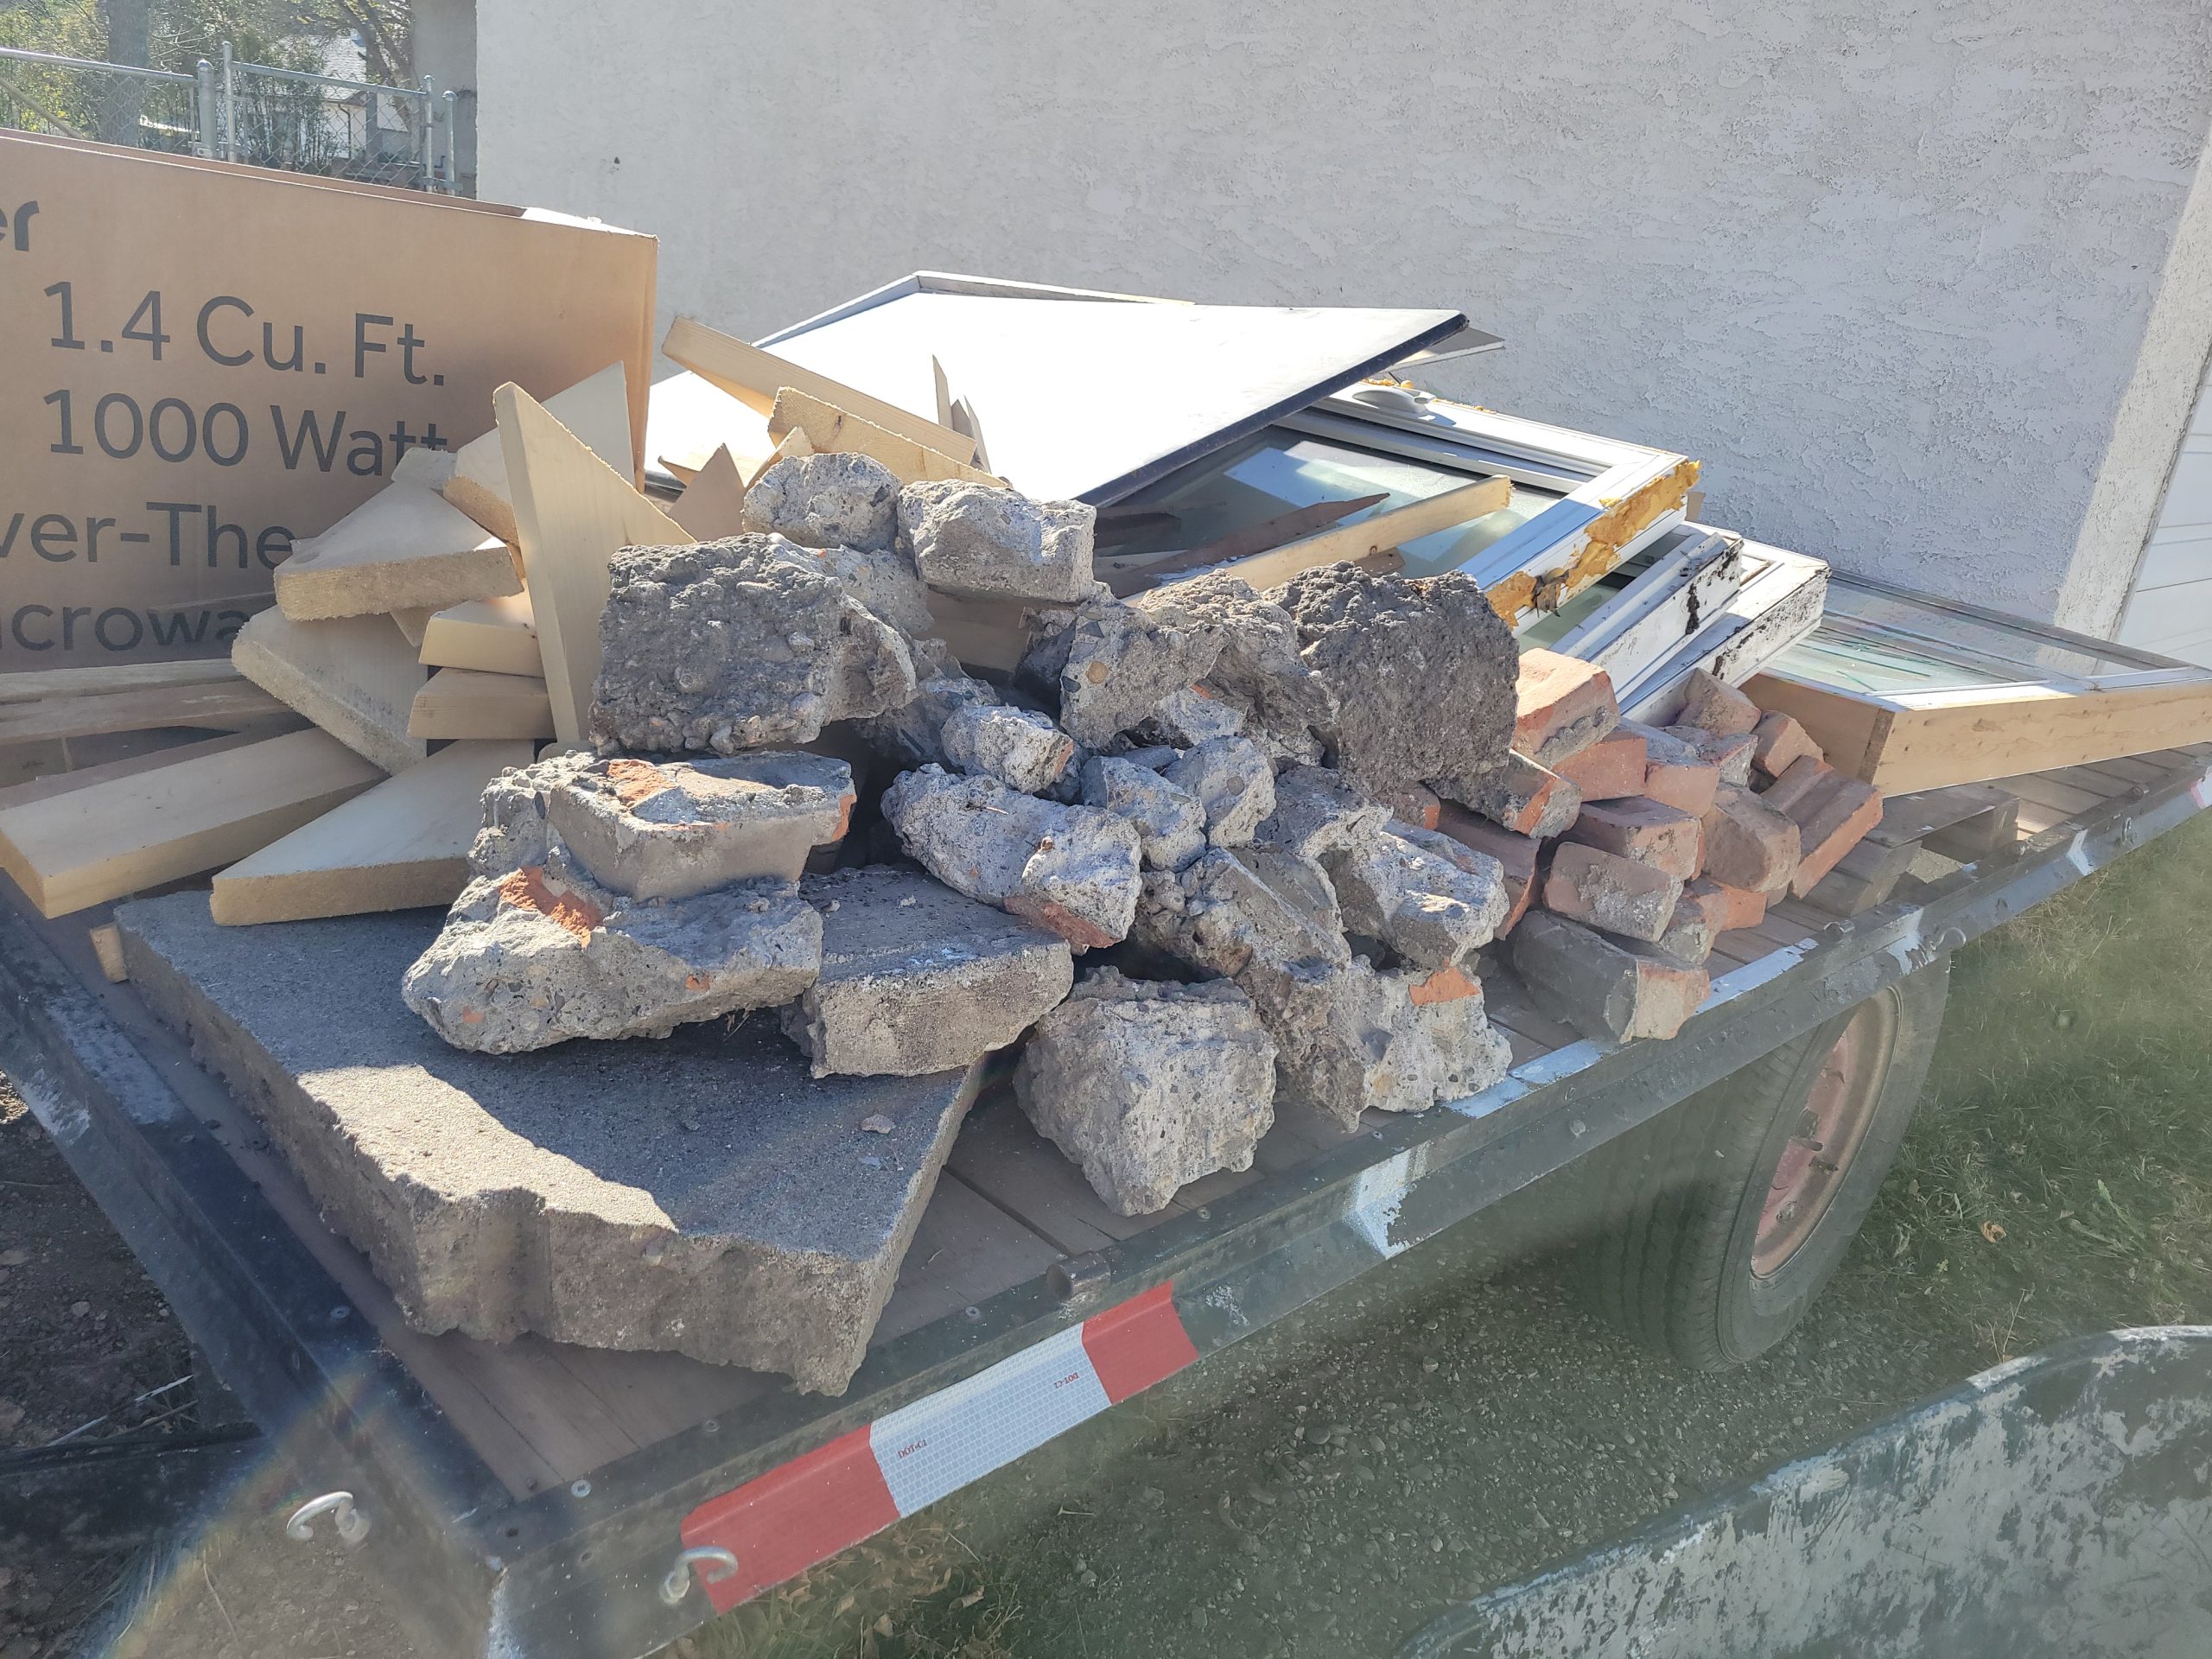
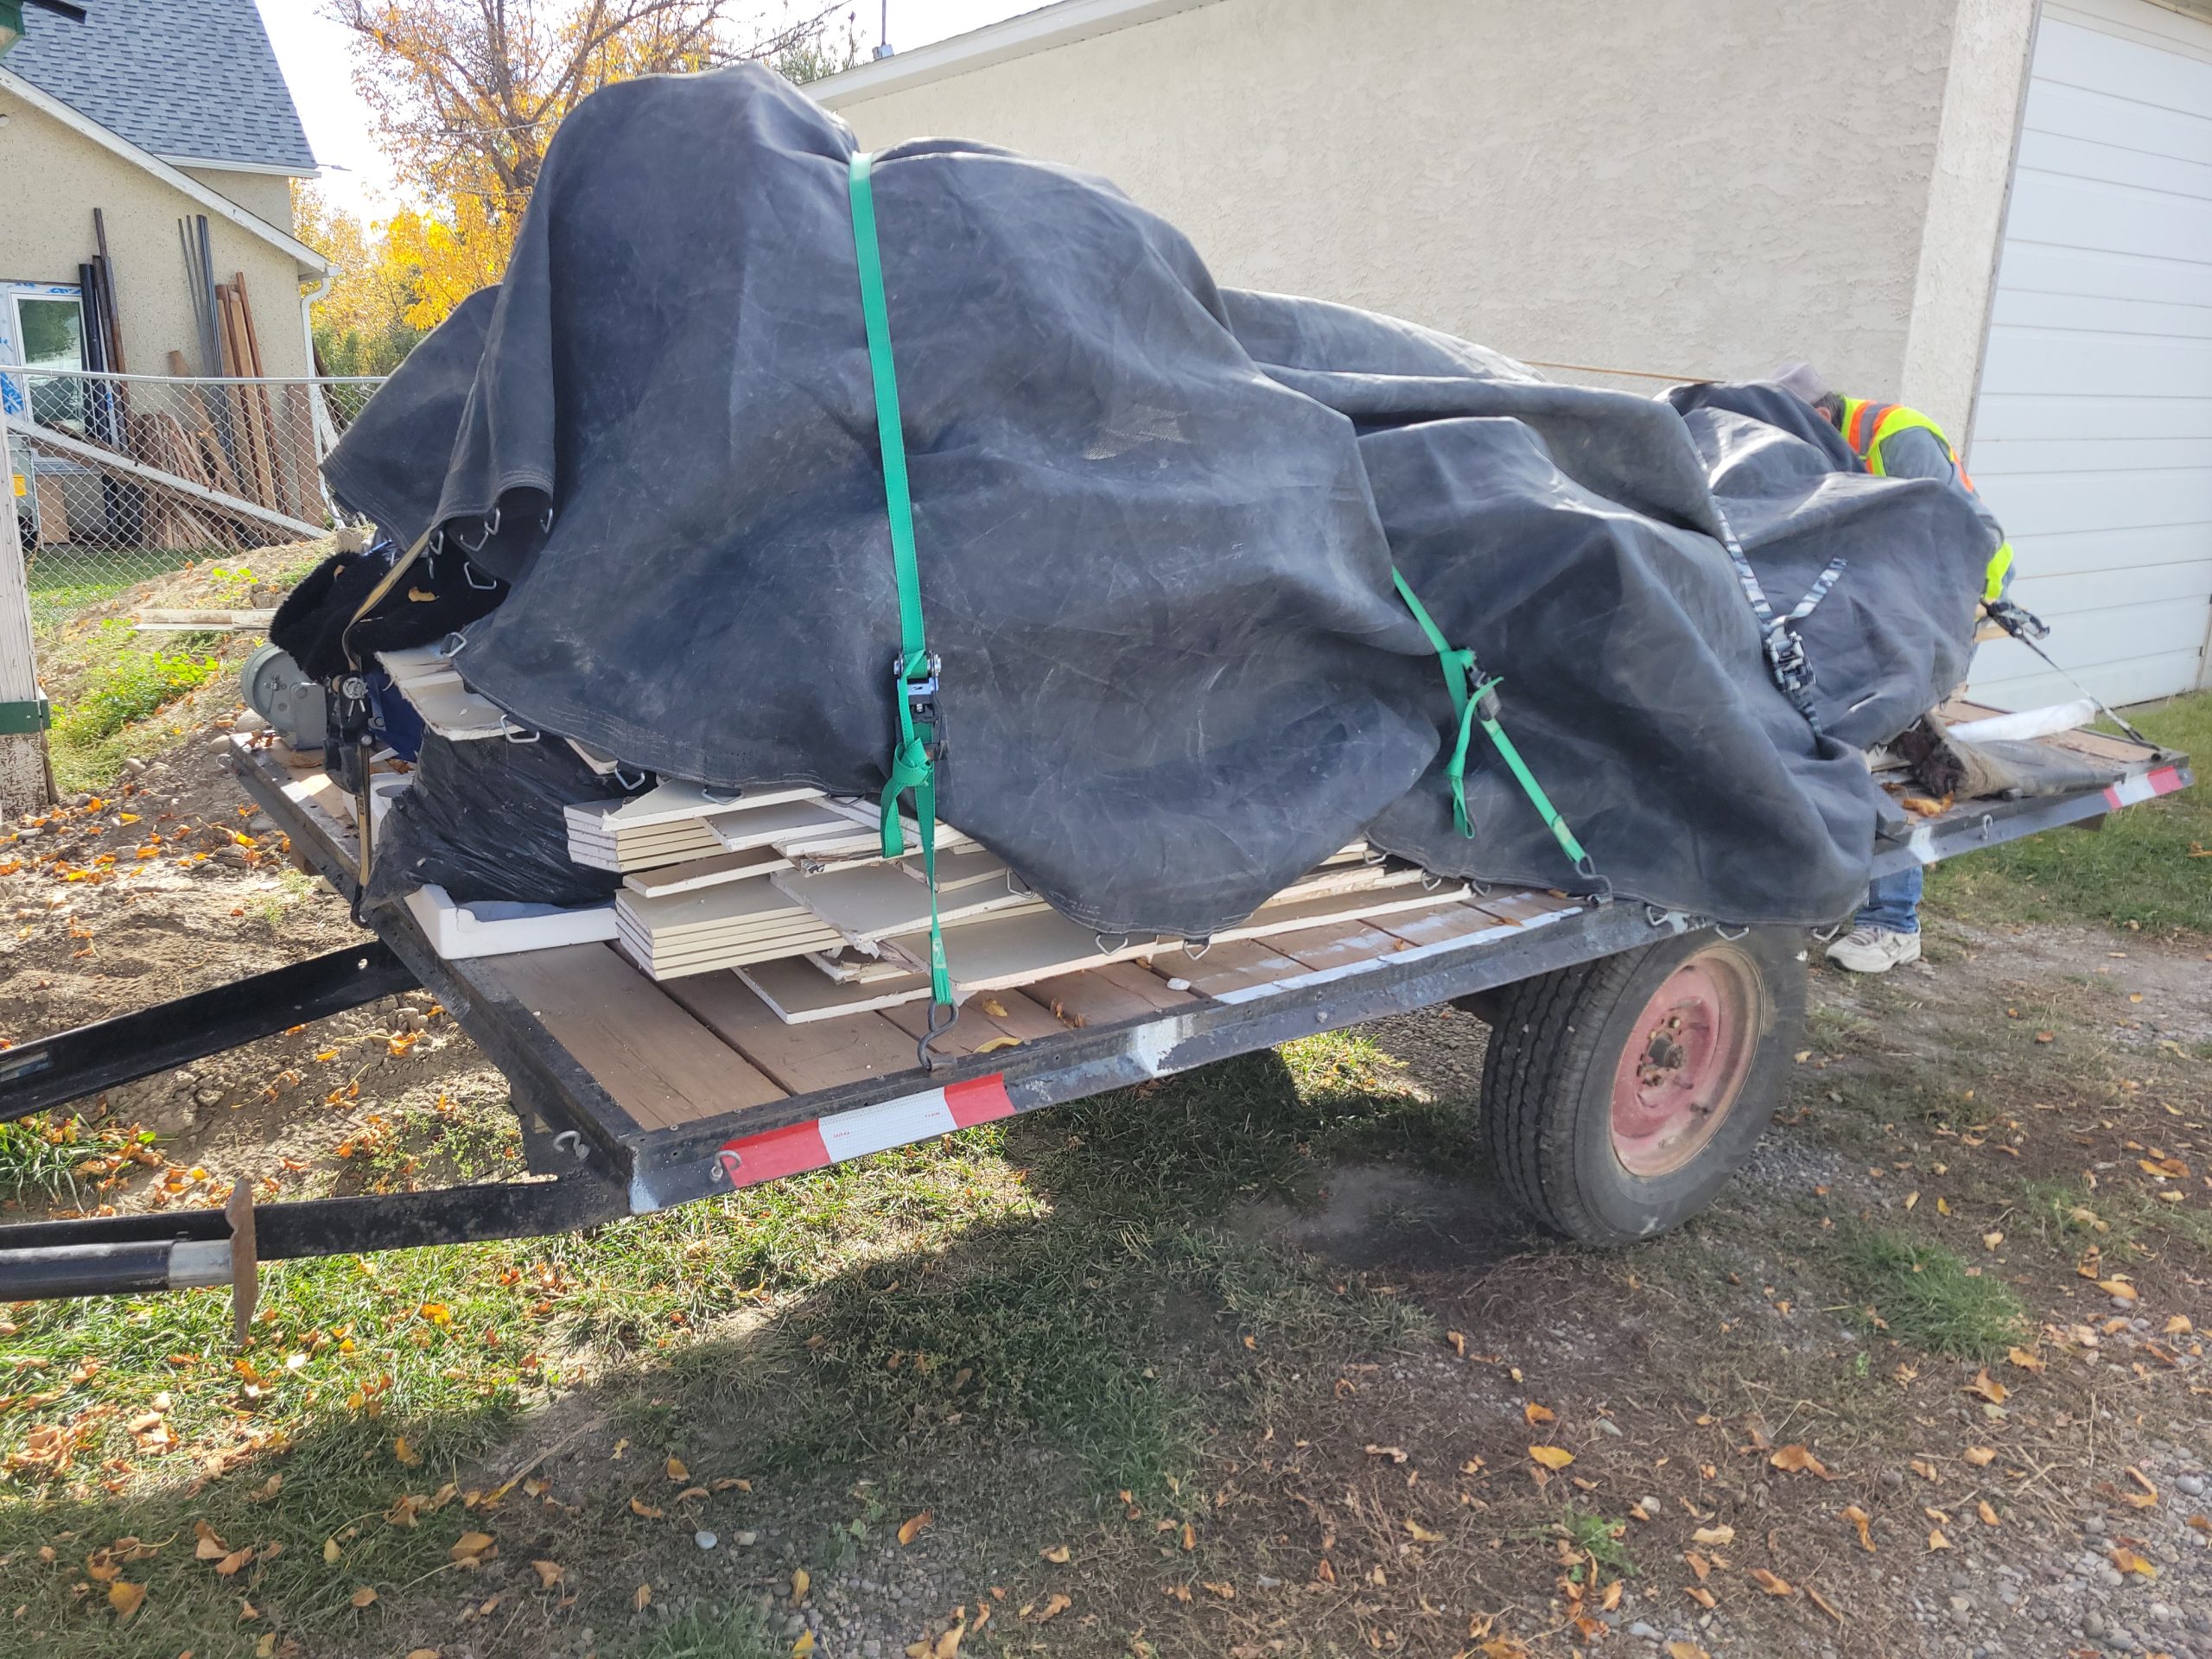
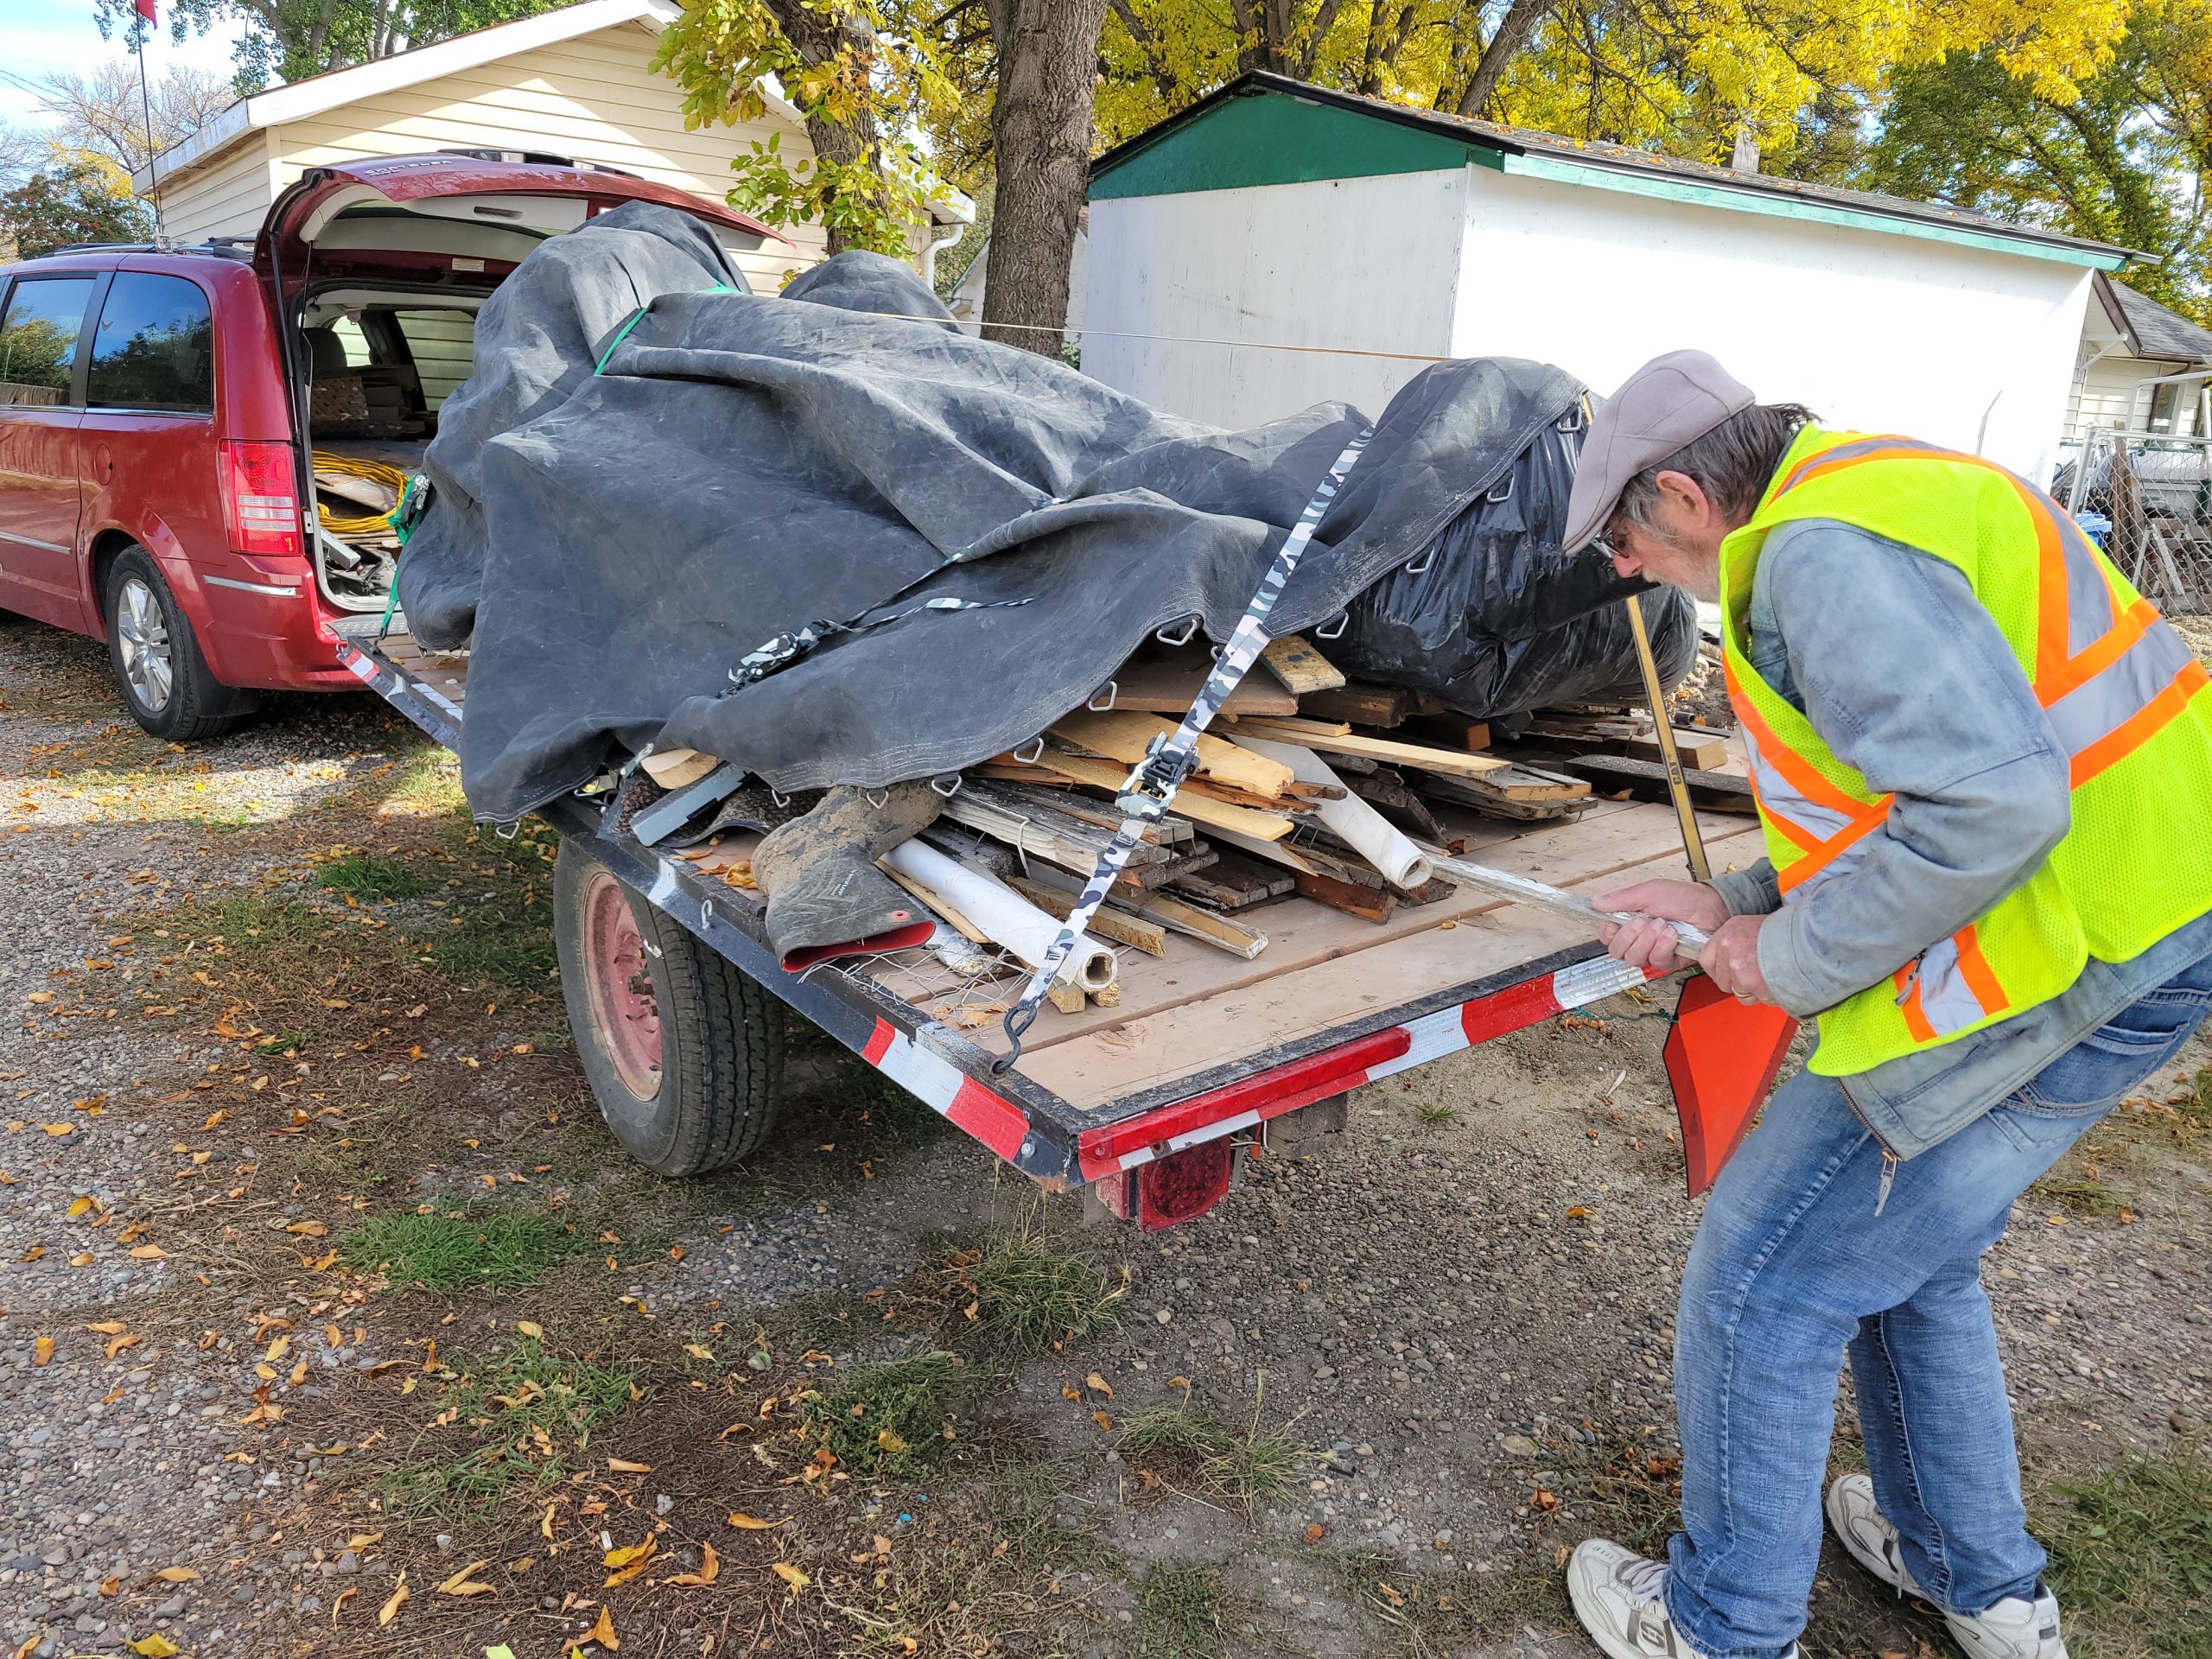
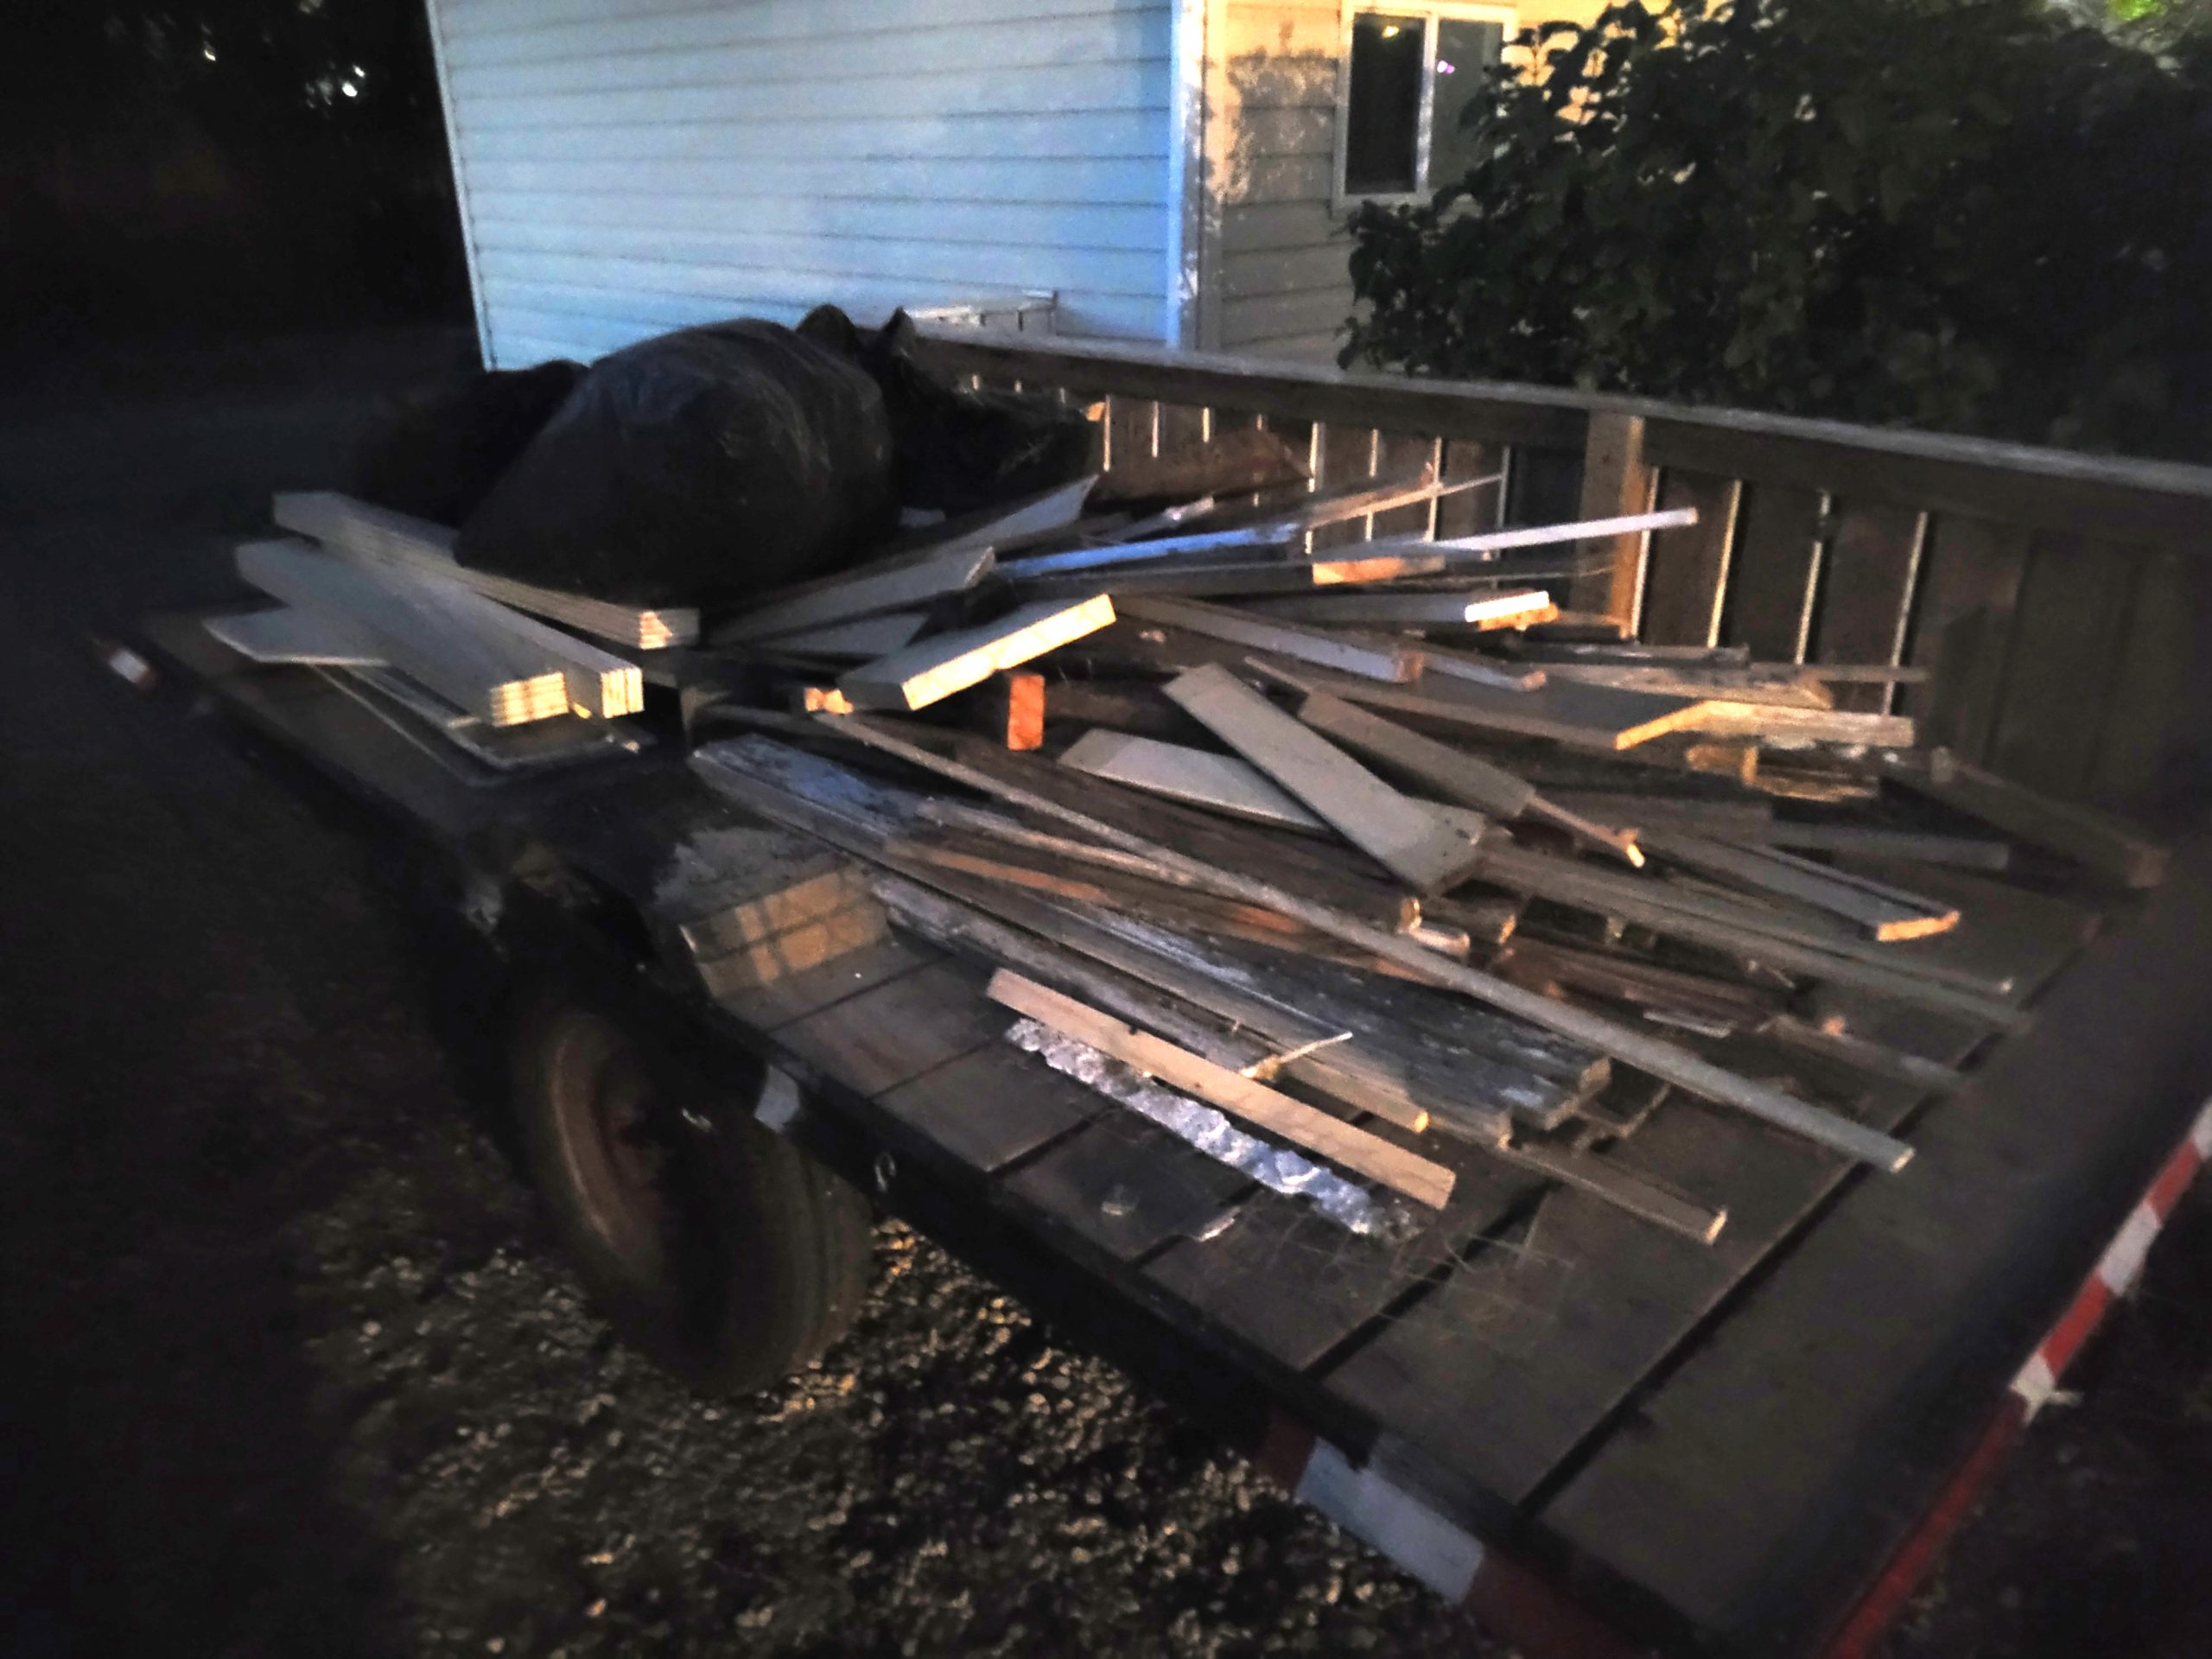
gravel on trailer
Floyd came early today while I was shovelling the last of the gravel onto the trailer. In completing the main suite of 1403, the trailer had to be freed of gravel and road crush. It’s been sitting in the rear waiting to be moved and used at 520.
When we got back, we began work on the list. I think there are now 40 or so items on the list to complete.
lift complete
Finally! The house is finally level and stable.
I thought about it all last night – whether to rent the jack hammer again for $40 and chip out more concrete to put align the bottle jack with the stable part of the sill plate and rim joist. I wracked my brain to find another way.
The way, it turns out, was simple. The house was stable, yes, but it was still holding the add-on down. So, I screwed the new screw jack stands up and pumped the bottle jack until they are both up high enough to add the last course of bricks in between the foundation and sill plate.
The five little red screw jacks at the end in question were easy to screw upward one-at-a-time. Together, they had enormous lifting power.
The gas line, with the hole through the rim joist elongated, sits stably on the rim joist hole.
While down there, I talked with my sister in England via WhatsApp. Between jacking and bricking, I weeded.
Now that the lift is complete, on to the main floor living room drywall and window.
drywall – but before that…
I picked up more drywall for the living room from Home Depot.
But, before that, I wanted to check their spray foam bottles and applicator. It seems that that little plastic thing stuck in the applicator was not part of it but likely broke off from another spray foam bottle.
Before any drywall is put up on the final living room wall, several things must still happen.
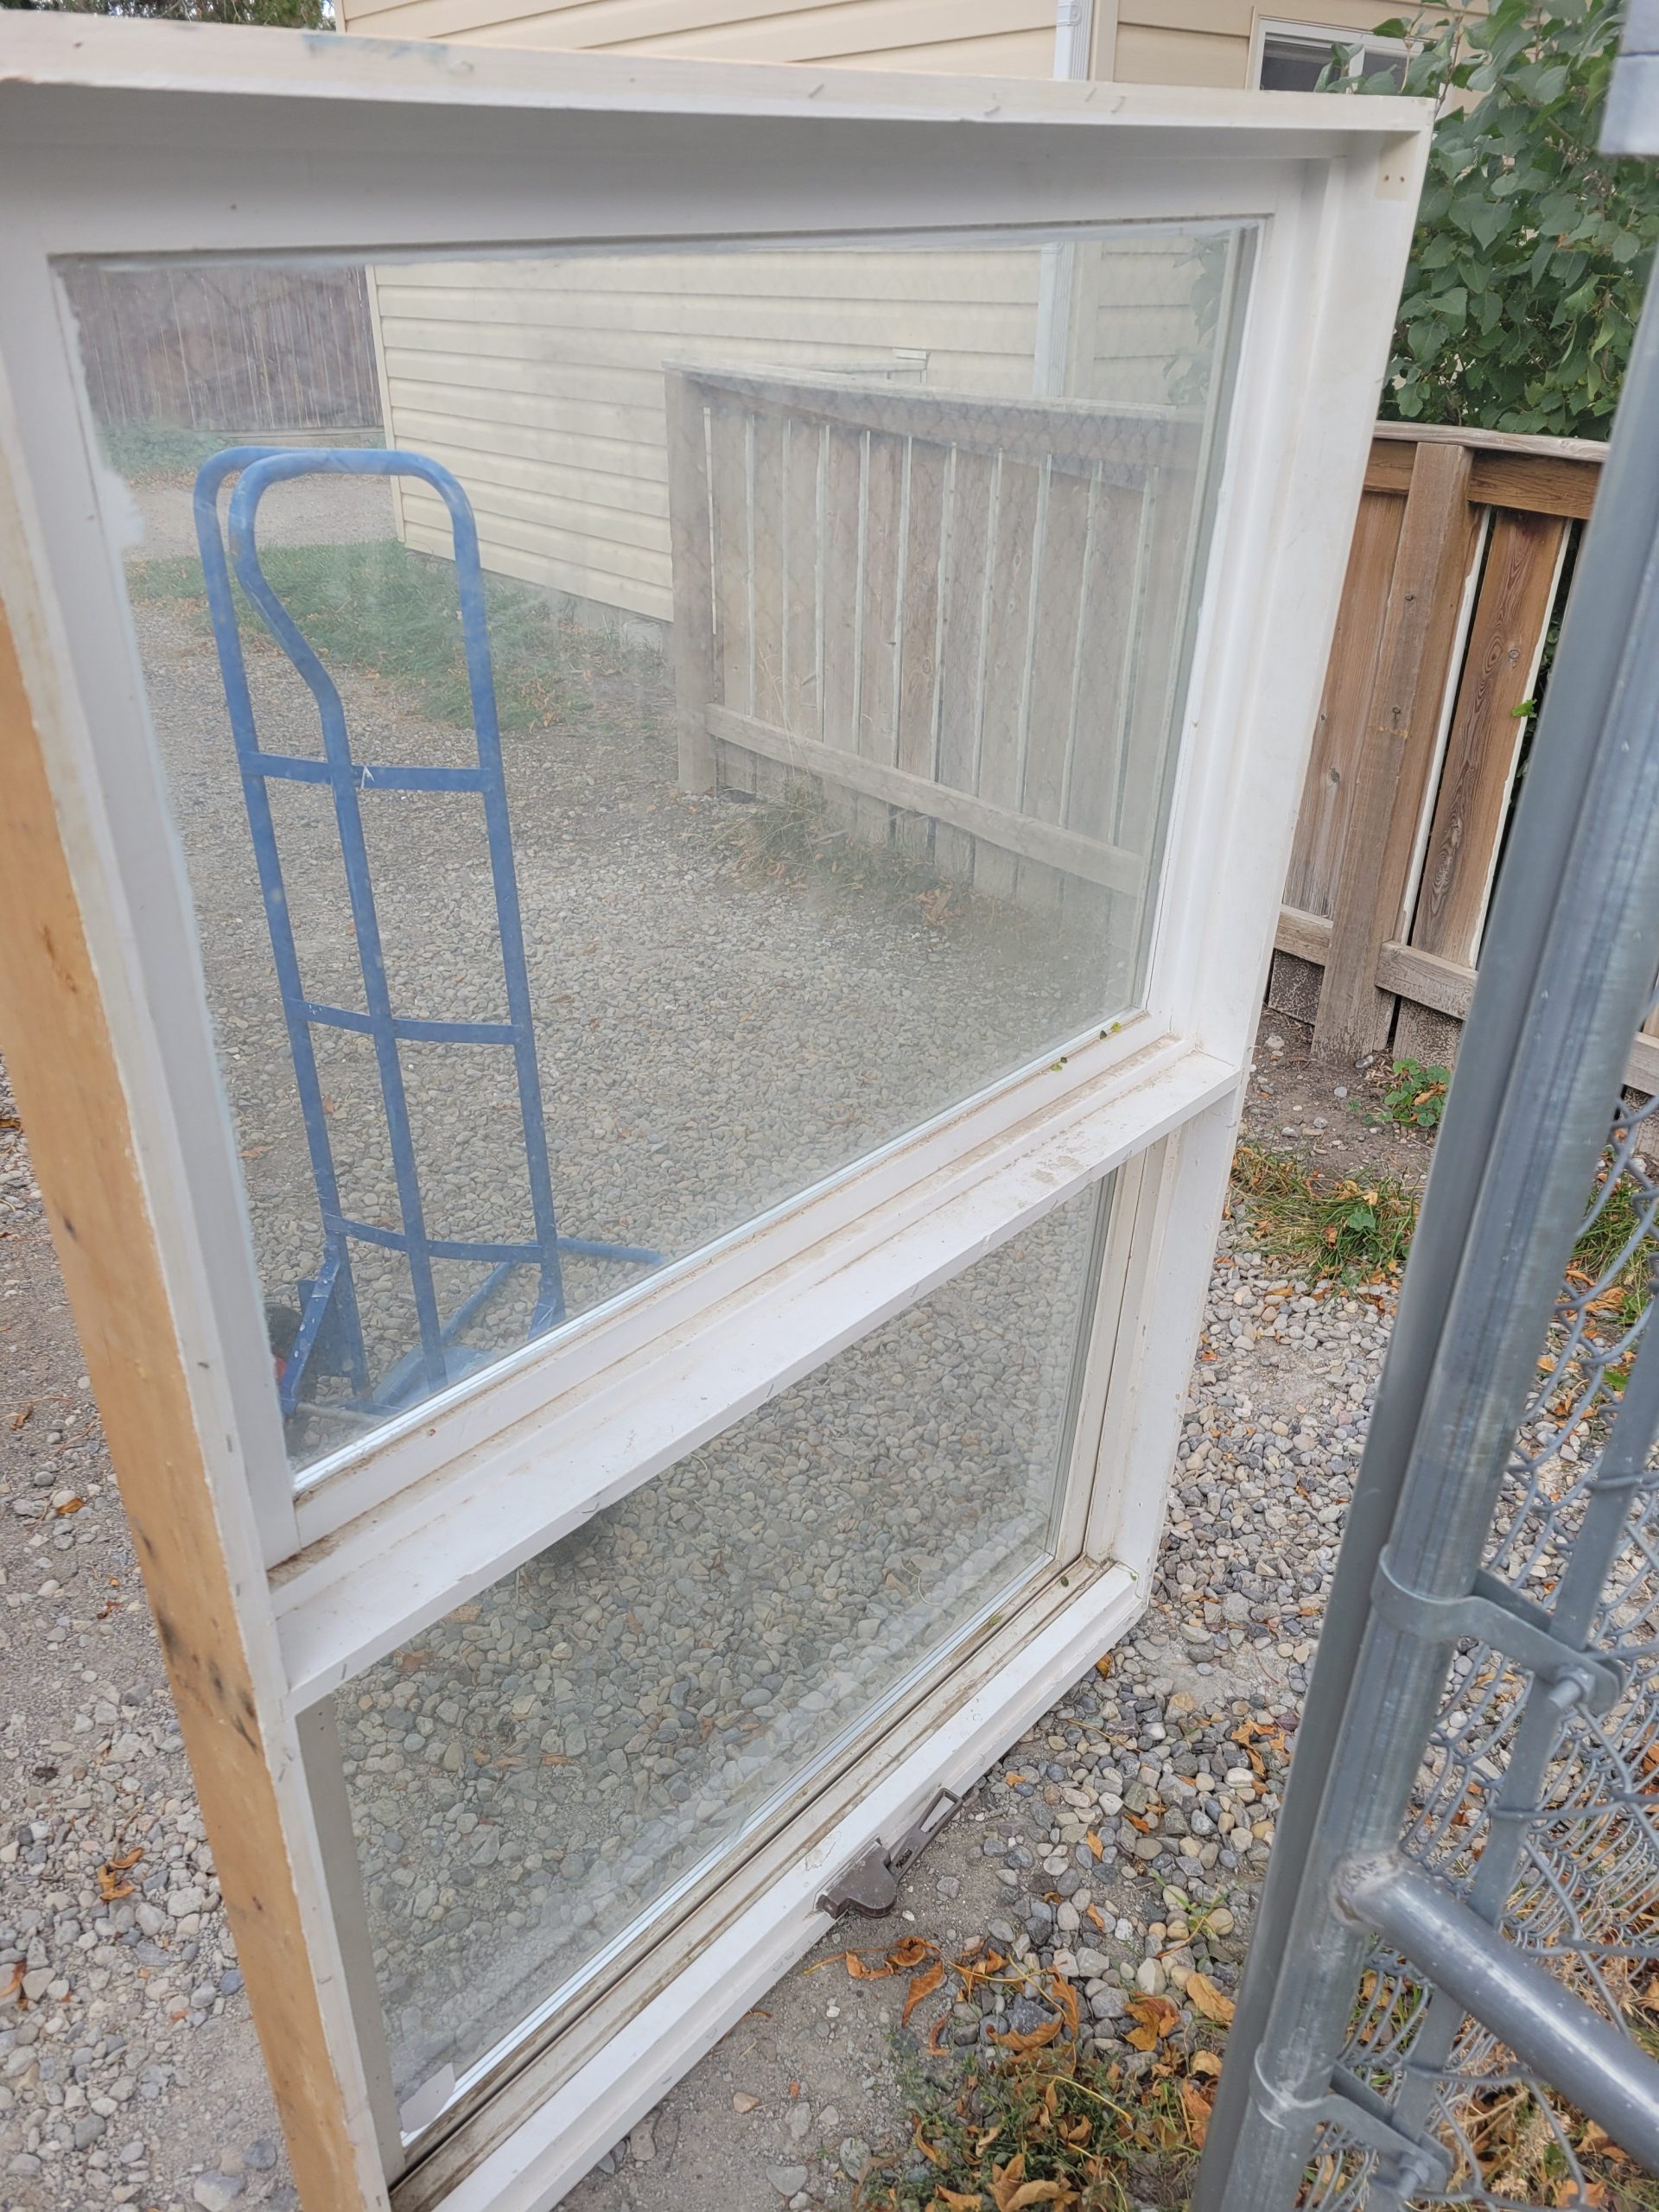
- Insert living room window glass into its frame, seal it, install window frame into rough opening.
- Reframe rough opening if window does not fit. (That corner of the house had been lifted, so most certainly the rough opening shape has changed.)
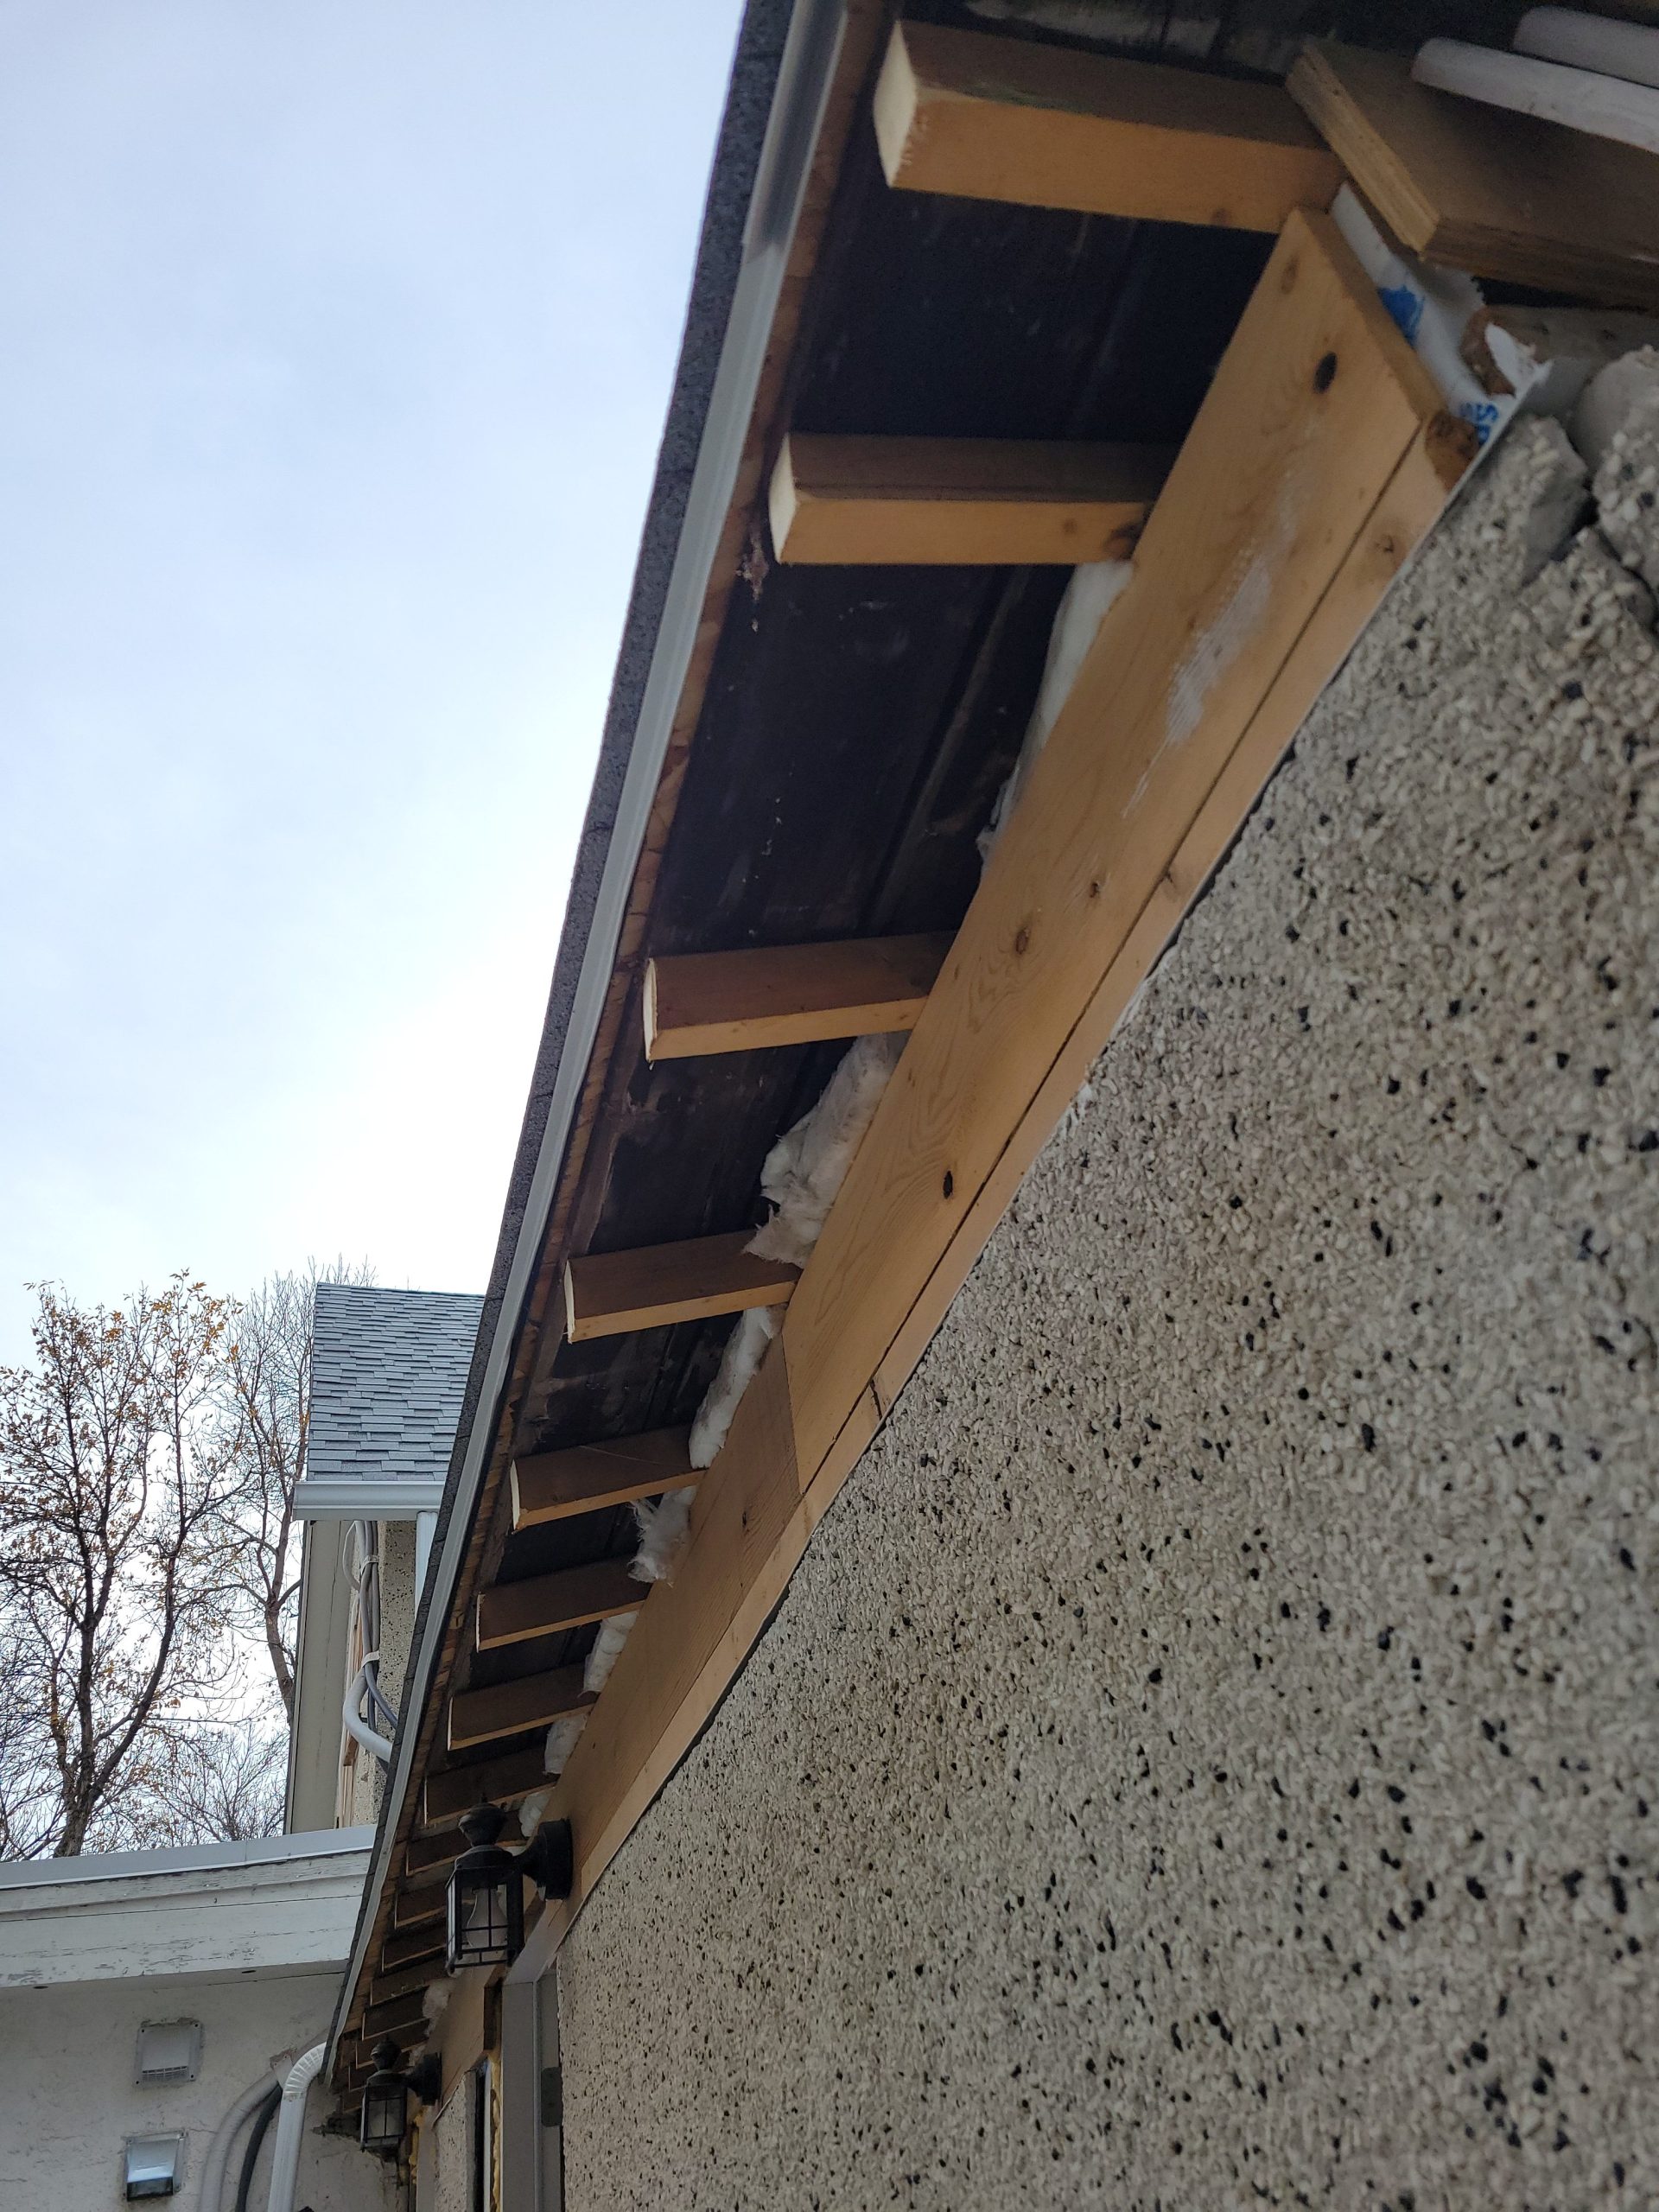
- Insert bricks under add-on sill plate. Raise the room enough to do so.
So, that means no drywall, taping, or mudding yet.
LR beam support stud, jacking SE corner
The living room support stud was there, right where I left it.
I got some long drill bits from Canadian Tire again for pilot holes – #6 and #7, I think. The first five wore out from fatigue (or misuse).
The second support stud went in. I used 3½” screws to mount the first and second stud to the existing balloon studs.
front jacking dry-run, new beam supports
Dave arrived shortly after I did, and we kicked the front forms from the footing.
Before putting the beam in, I inspected the balloon studs and floor joists. One is badly worn, rotted. The rot should be cut, and a shim should be added.
The beam I was going to use fell short. It must span five studs / joists.
reasoning for renovations
I have some explaining to do. The reasons renovations to the main floor suite were started in the first place were
- 1st floor suite bathroom was cut across by 2nd floor stairway (duck your head!)
- sloped floor
- 2nd floor suite had stairs so steep that a mountain goat couldn’t climb them (although this was not tested with real mountain goats)
Some other reasons were
- no insulation at all – just bricks acting as heat sinks (not even structural)
- no bedroom or living room ceiling lights
- bad location of bedroom doors
- bad windows
- BR1 had a window opening into the front porch – no fresh air, not to mention illegal as all hell as there was no means of egress
- BR2 had a tiny, leaky awning window
- BR3 had a large, leaky window
- living room window leaked, would not close
- dated, painted 1960s panelling
- no 36-inch egress doors
- and many, many more
grounds maintenance
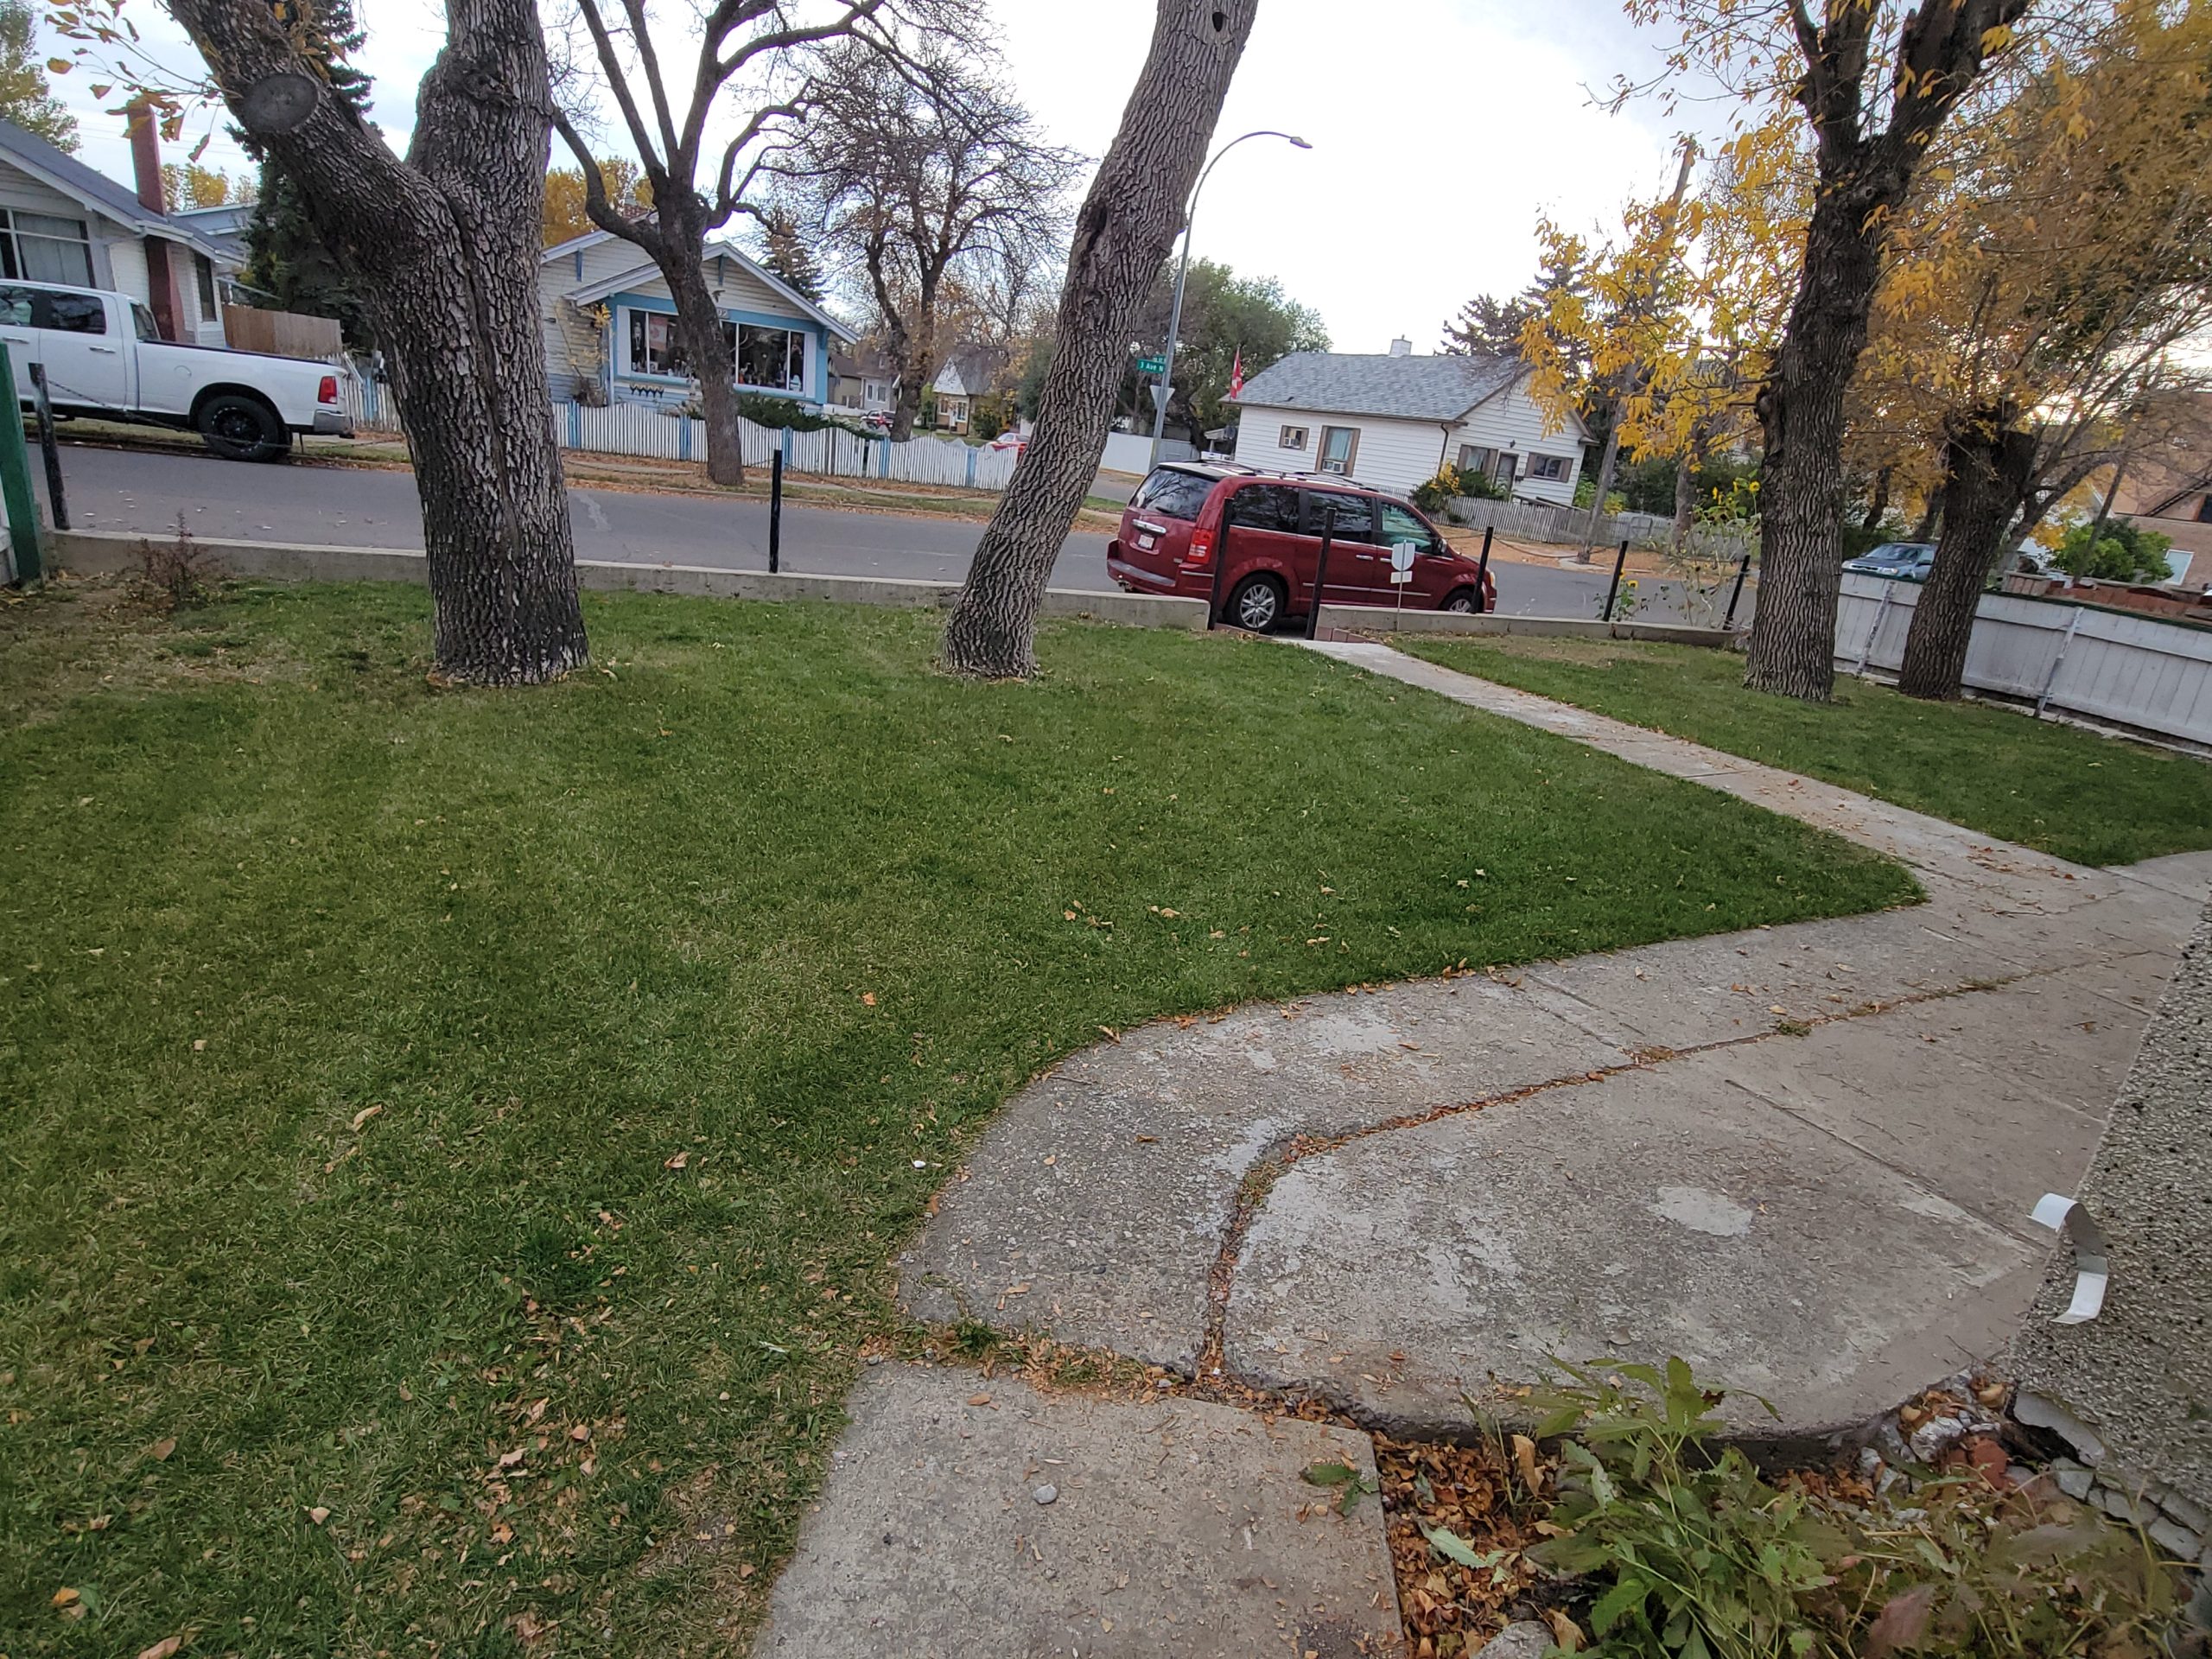
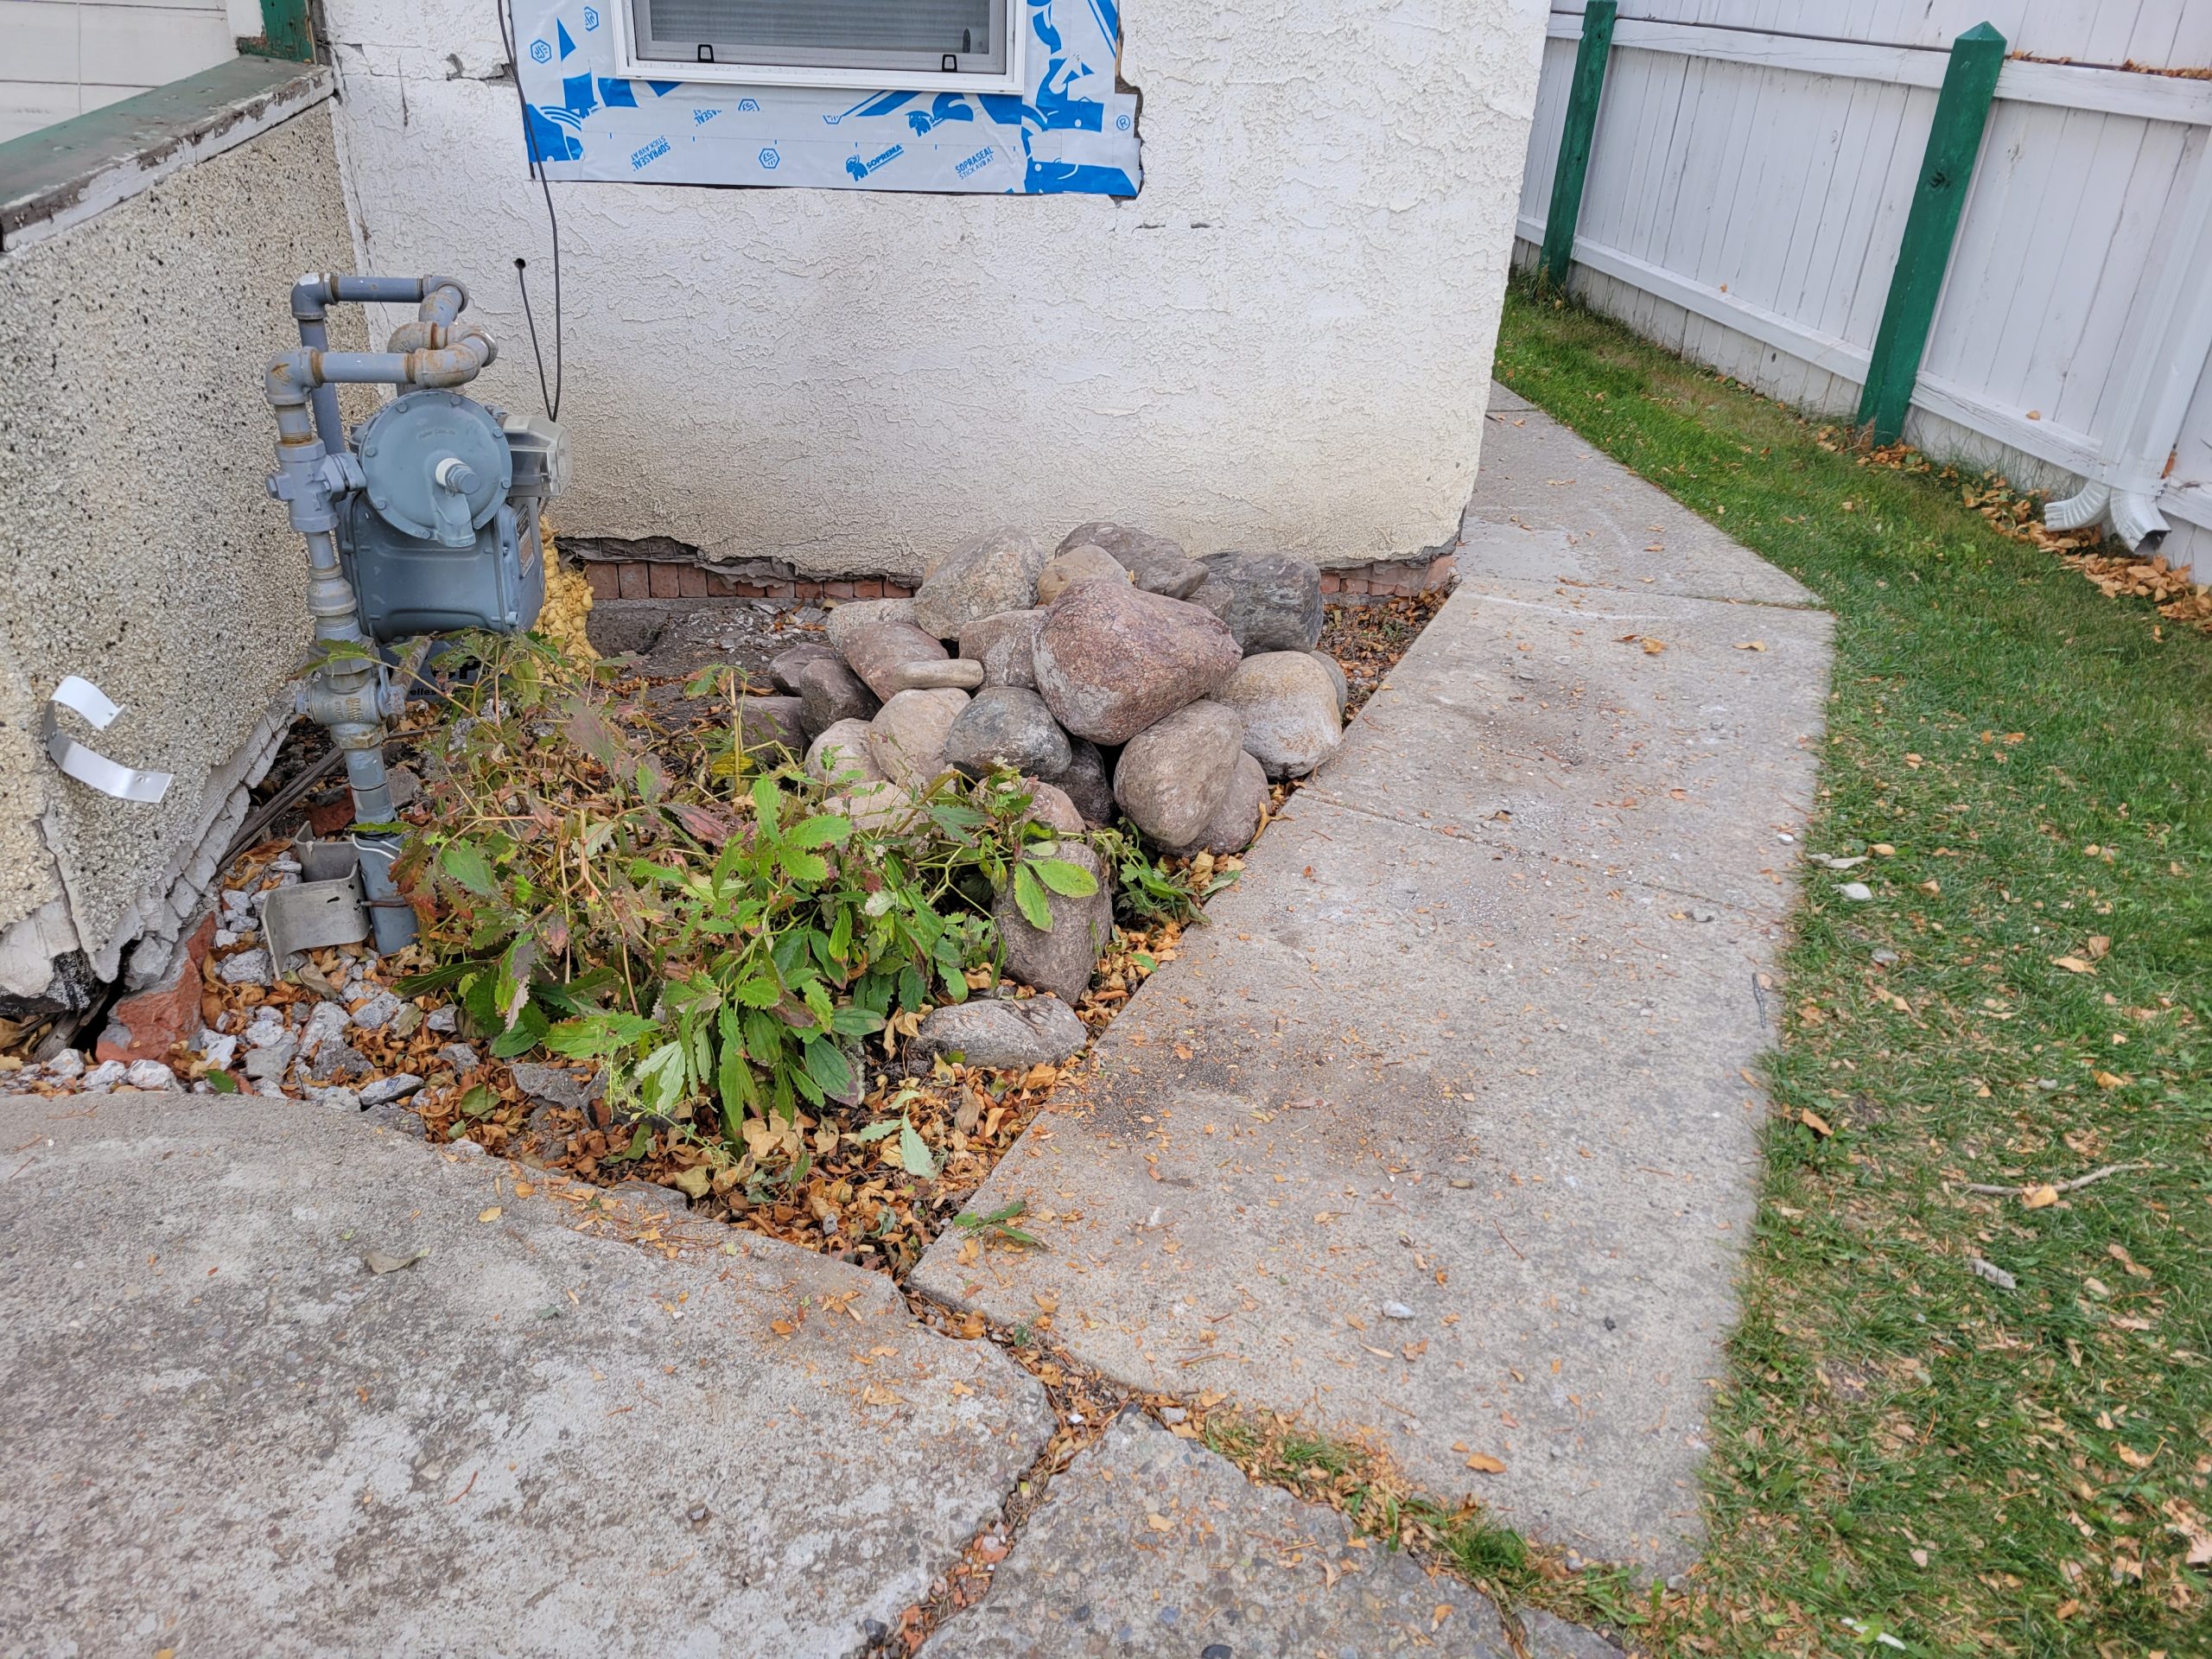
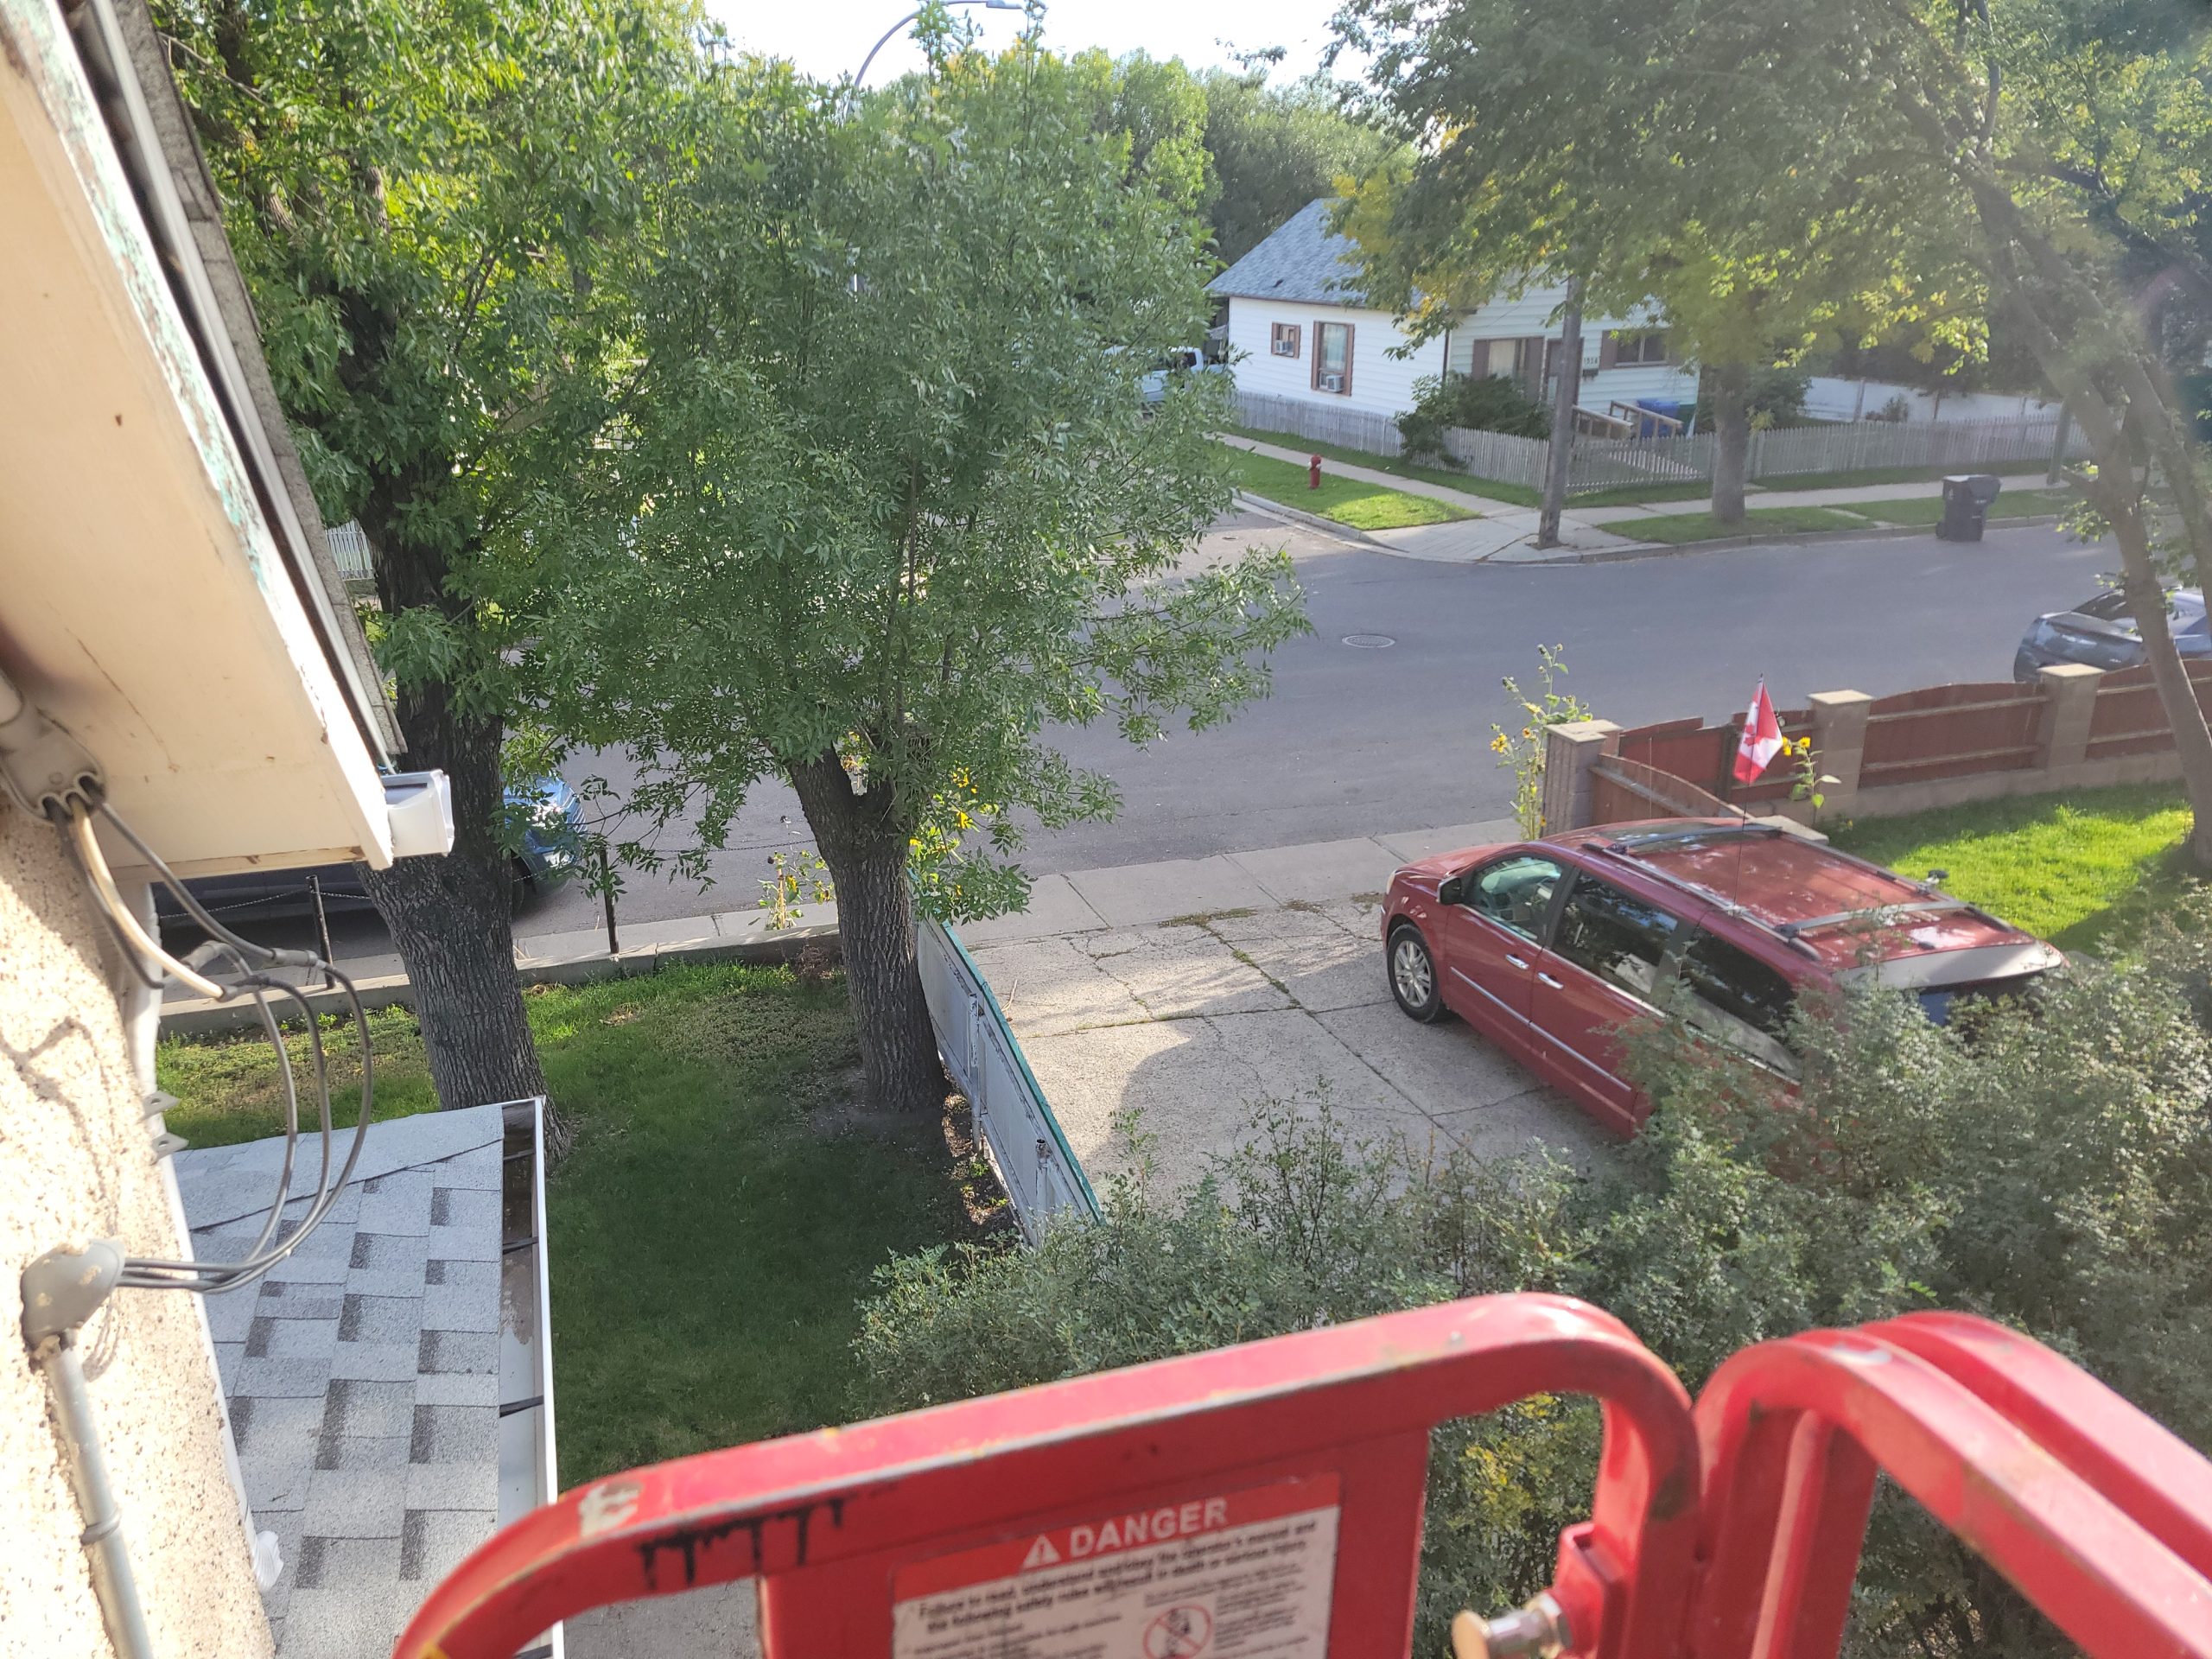
This shrub needs to be gone. I’m sure its roots are messing with the house. I would like to … Then again, maybe it’s the only thing keeping that side of the house up.
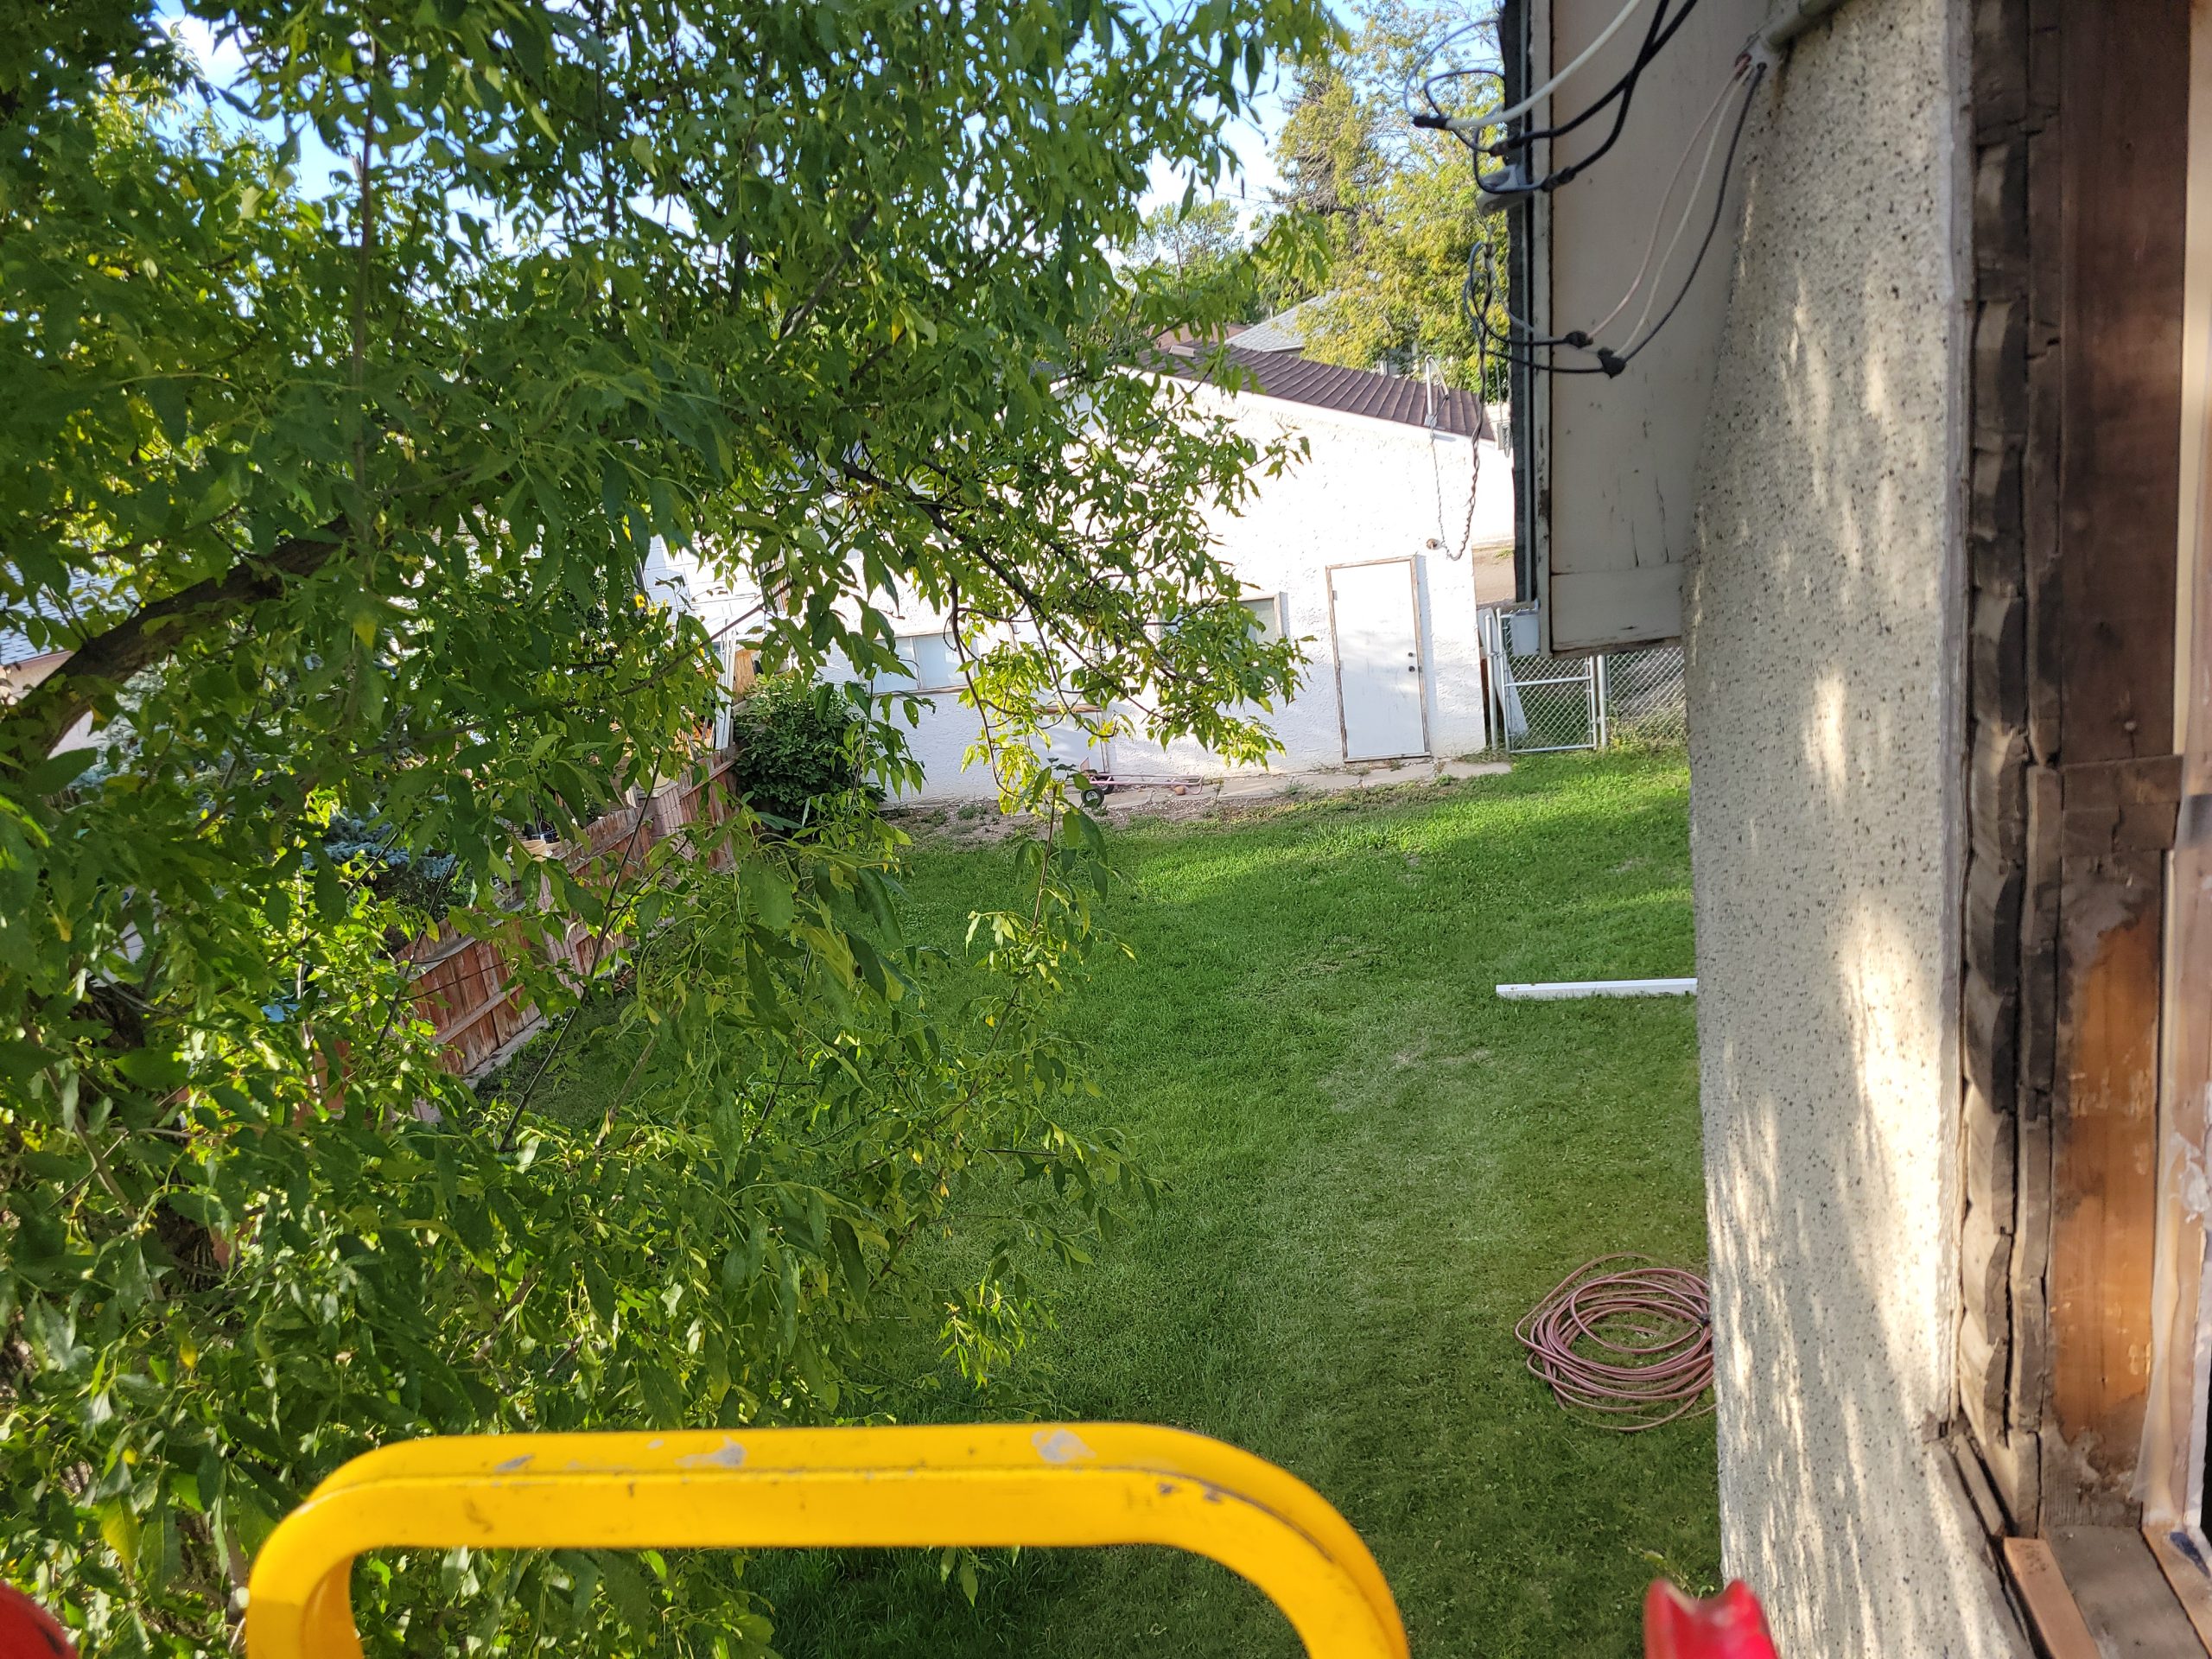
Meanwhile, the lawn was cut.
But, there are thousands of these little plants growing all over. What are they? I think they may be tiny trees hoping to grow. I bought some week killer to help tamp them down.
final(ly) wall
The next batch of lumber is for framing the last wall and building the 2nd floor suite stair landing.
As Dave was priming and re-mudding, priming, and painting walls, I framed the final wall separating the two suites. It is a 2×6 fire-rated wall. This seemingly took forever (2 hrs, 20 min after arriving with lumber) as my Bosch laser meter wasn’t accurate, out more than four inches. Someone mentioned, “Maybe the batteries are low.” But the speed of (laser) light doesn’t change when batteries are low.
Now that that is done…