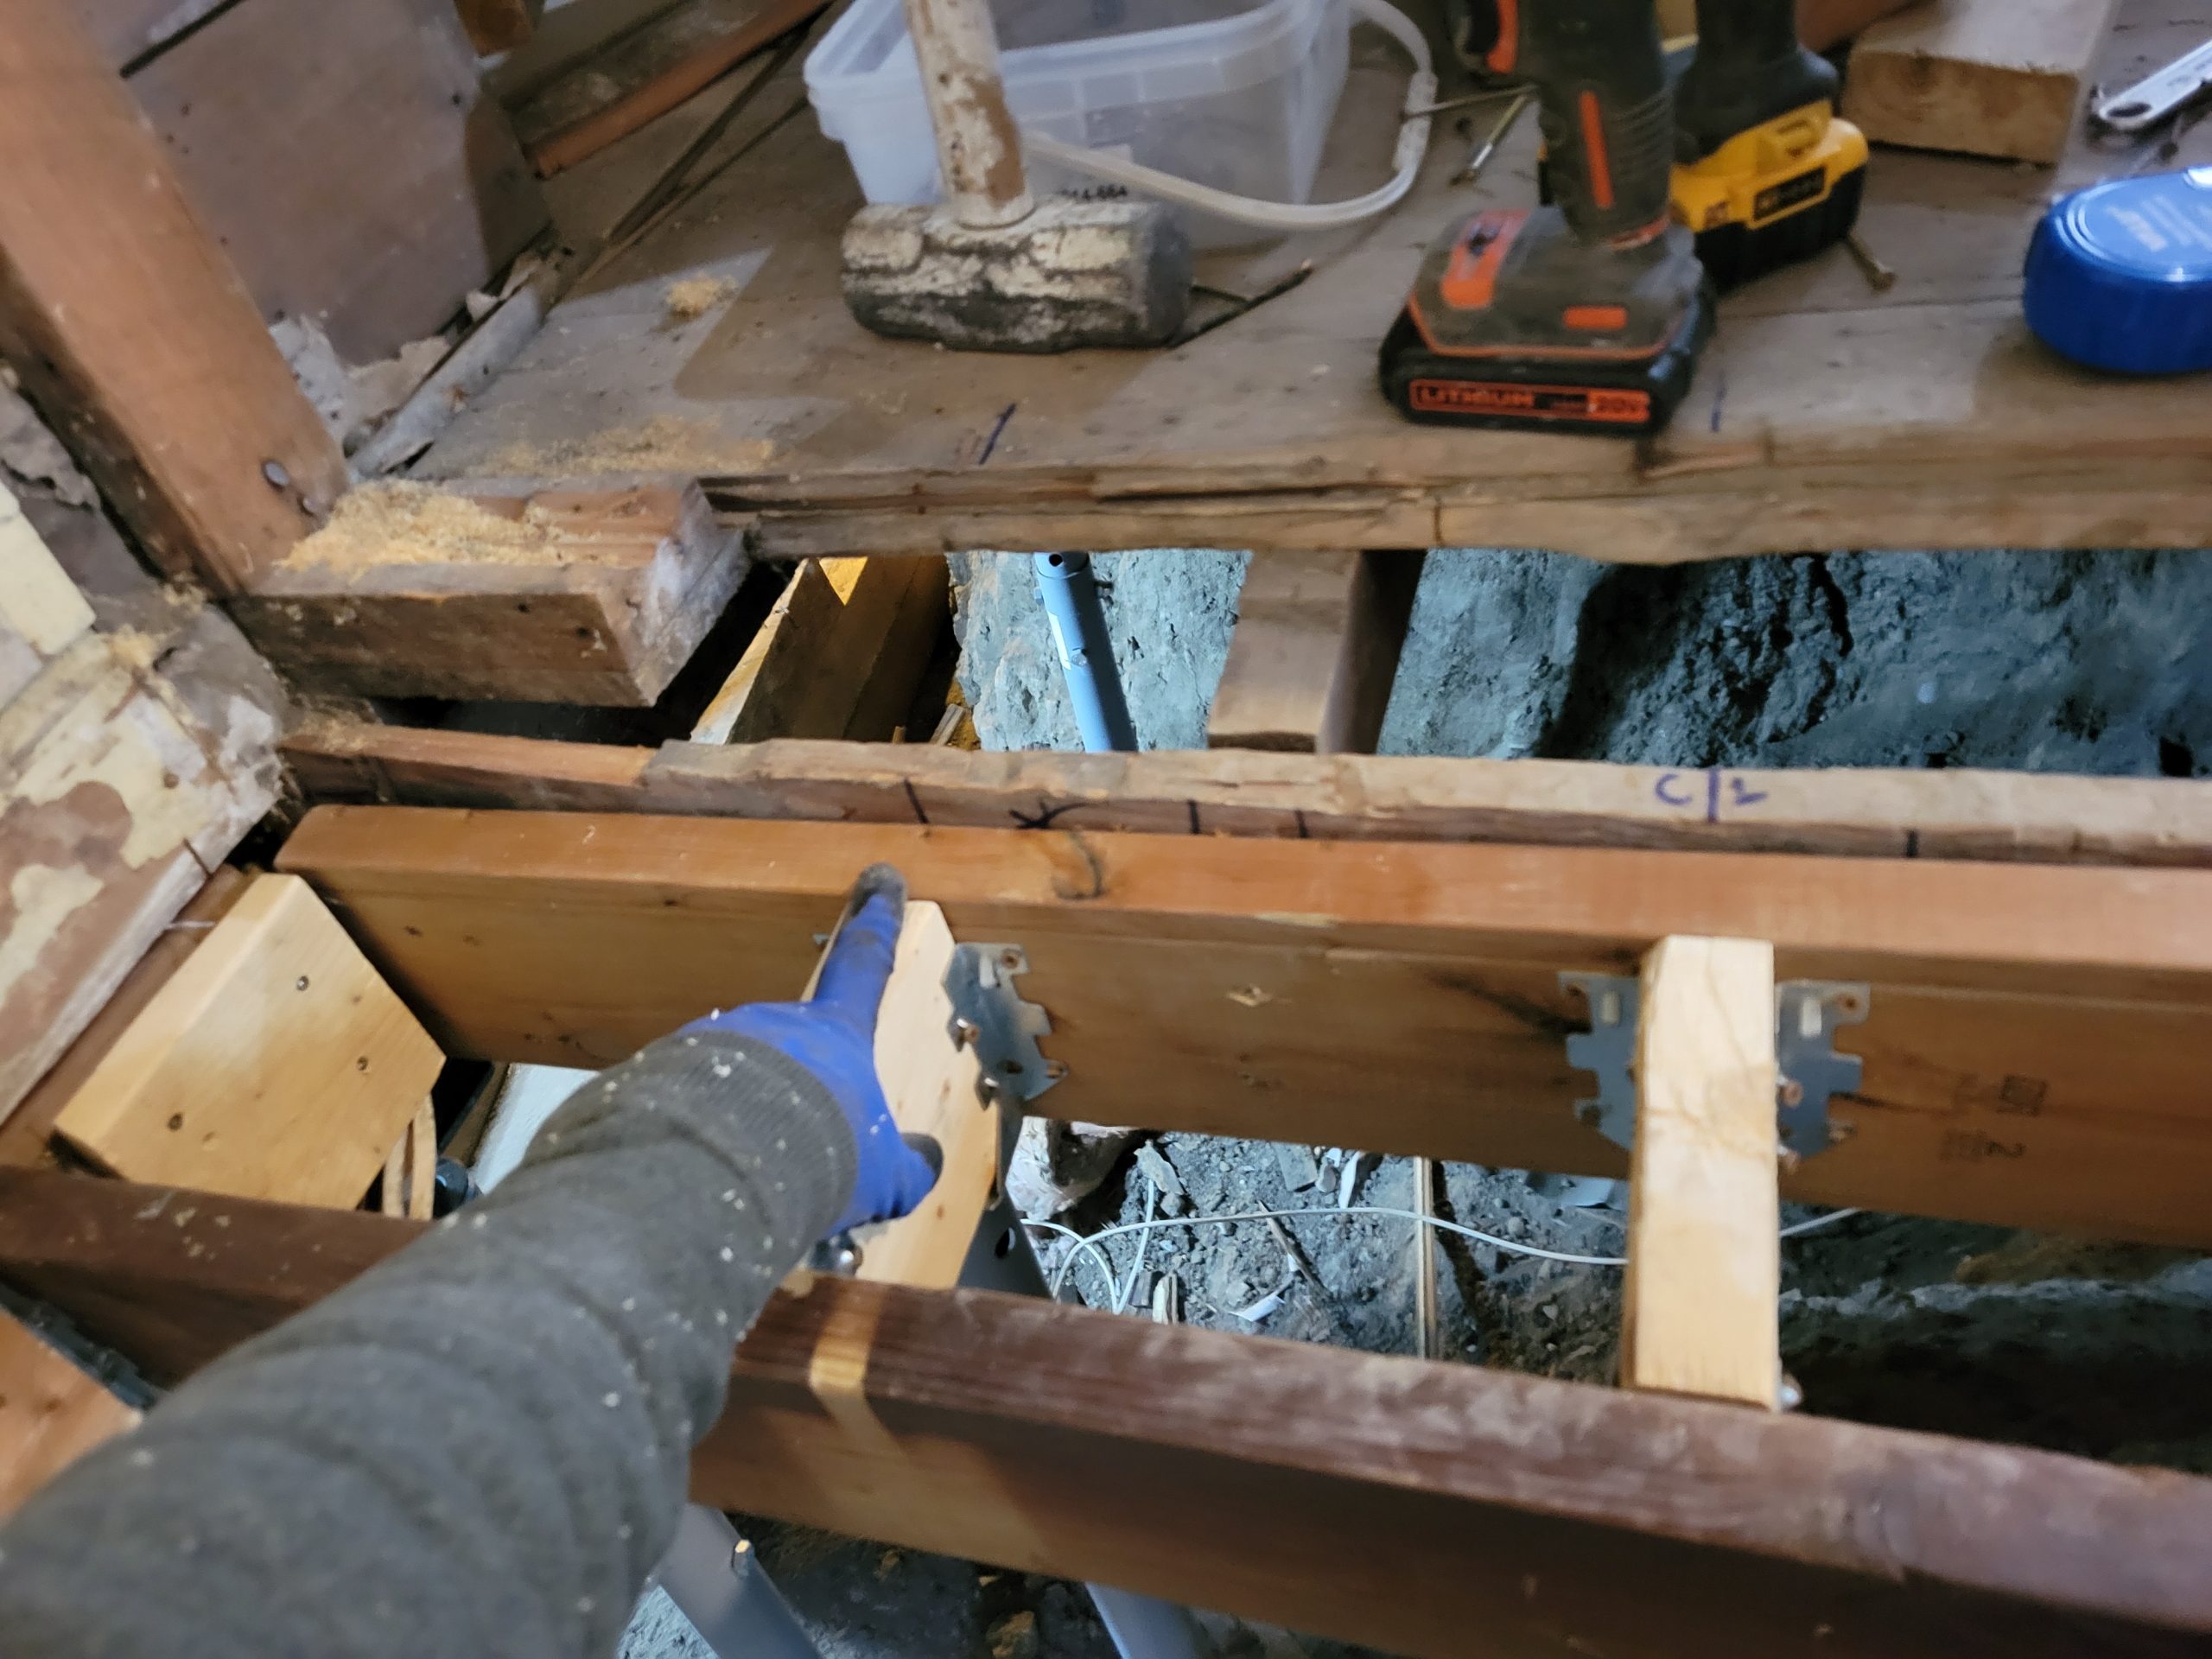
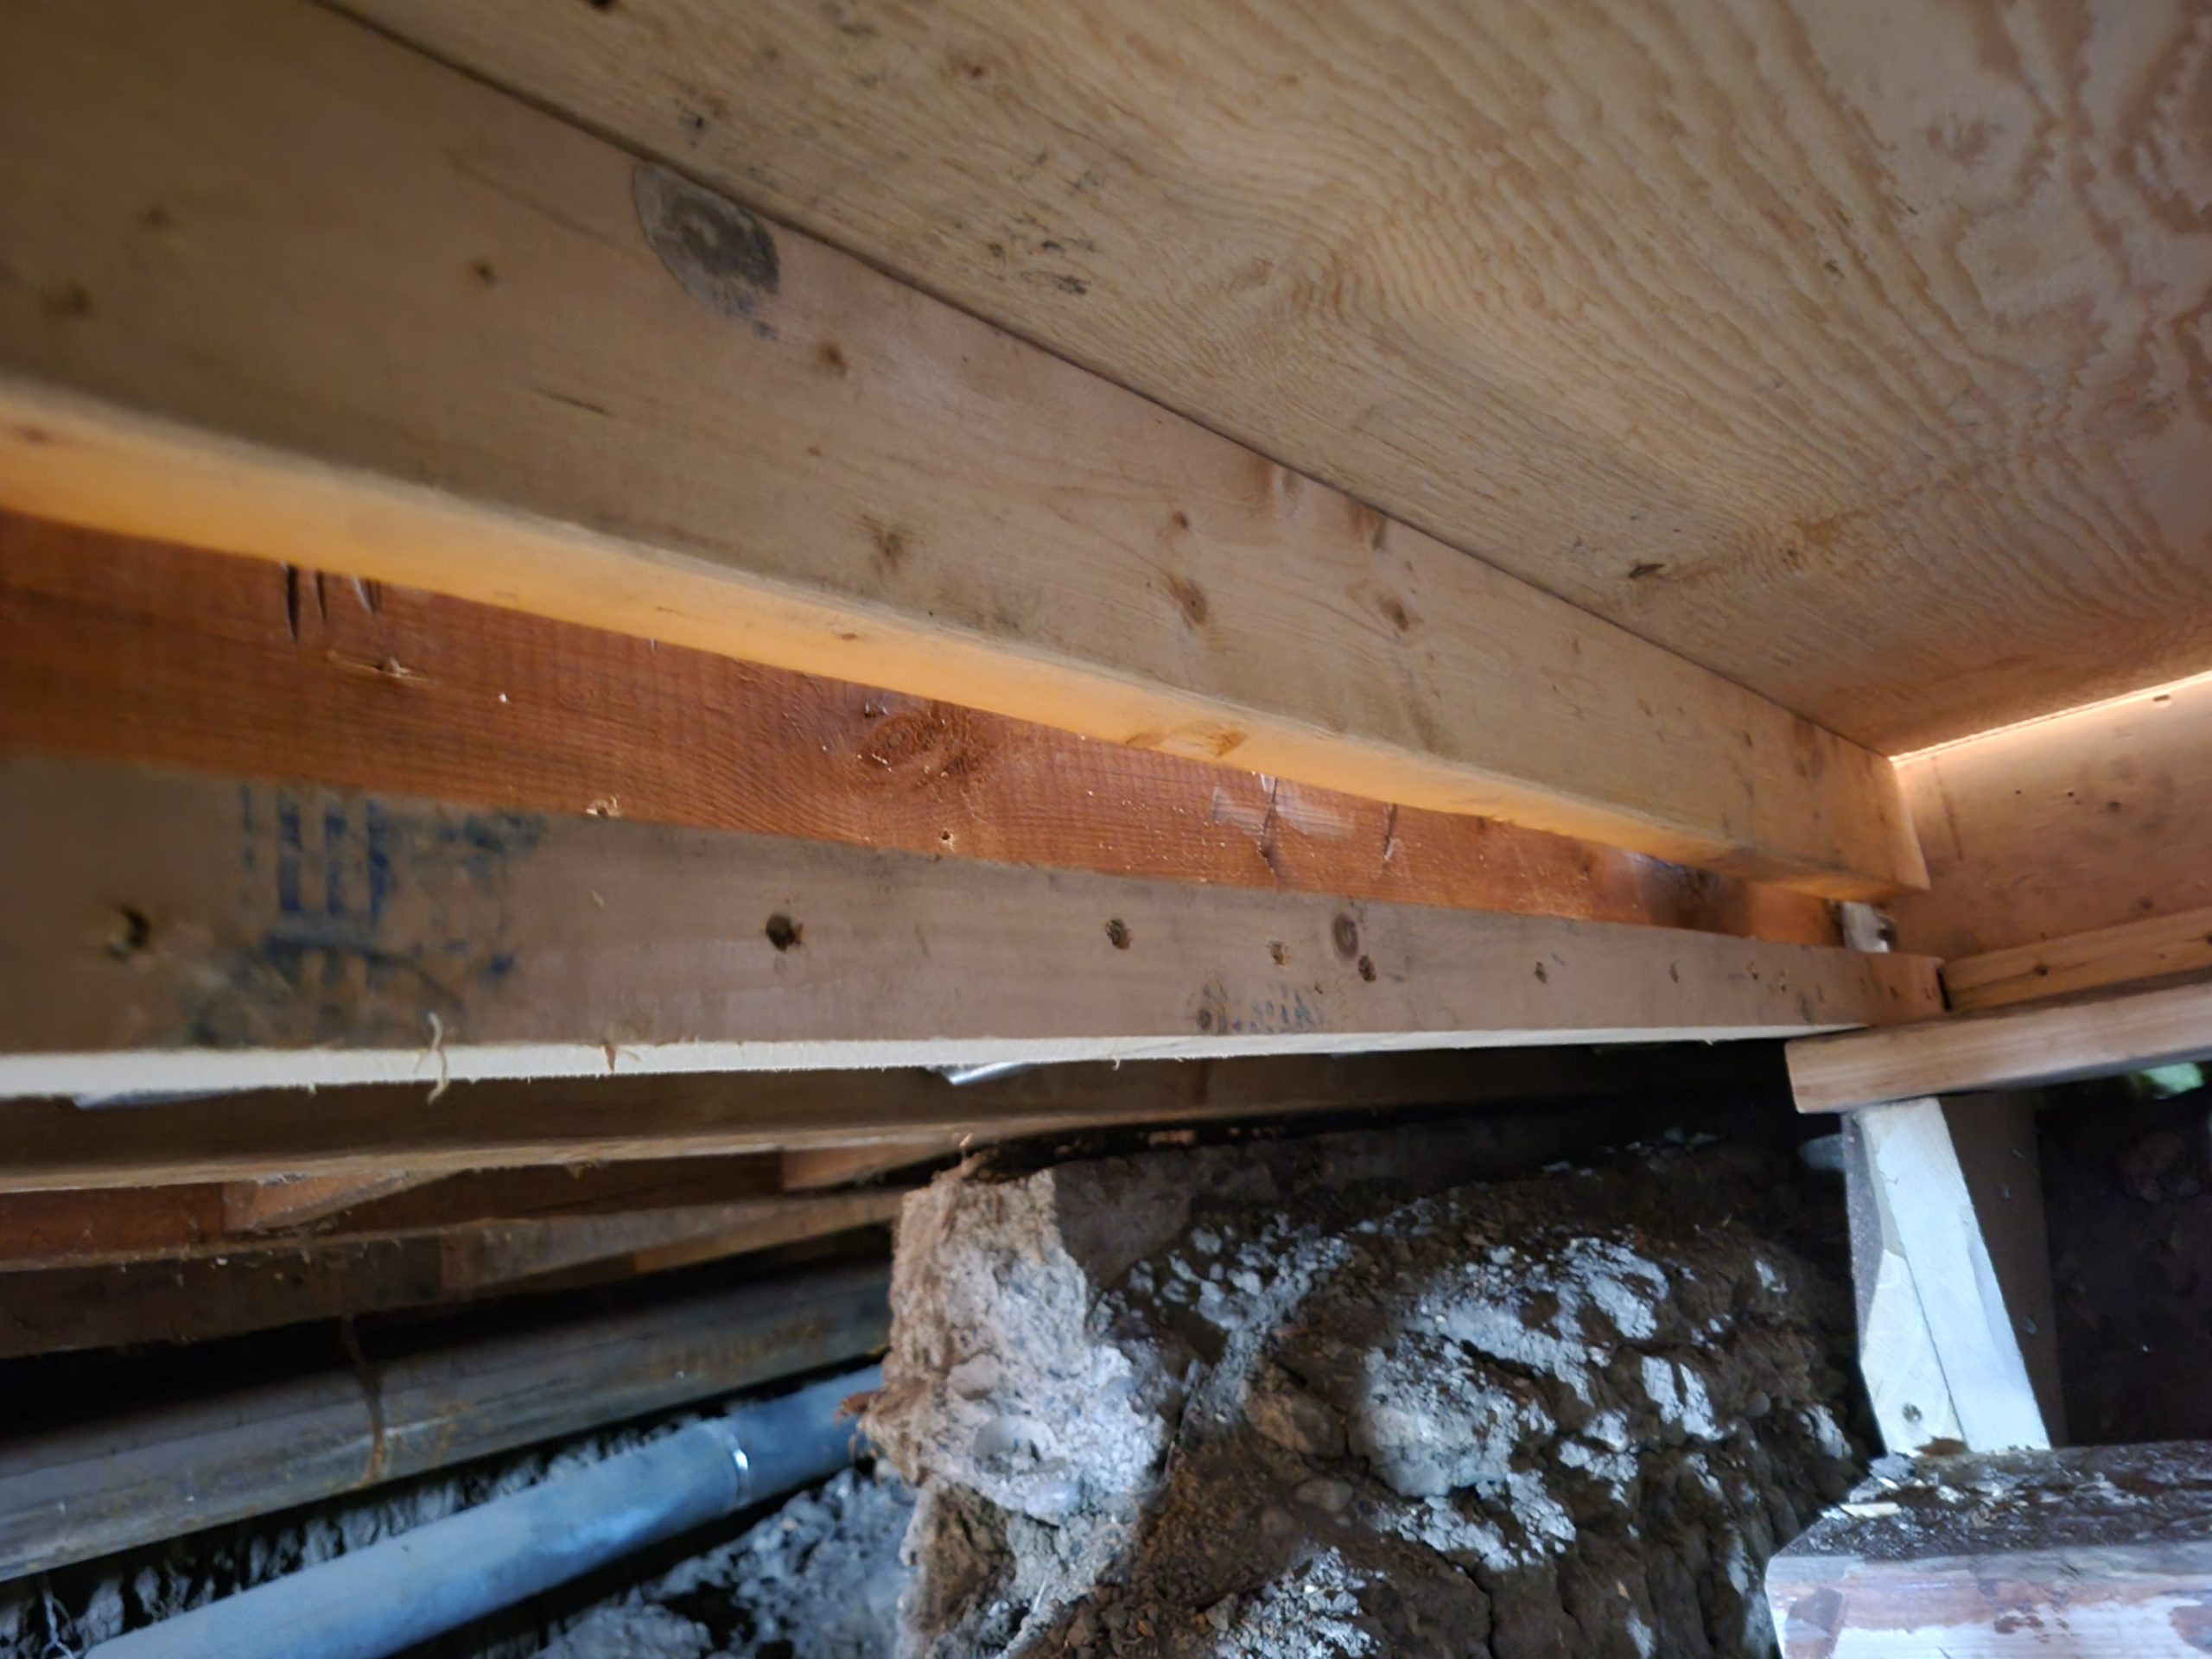
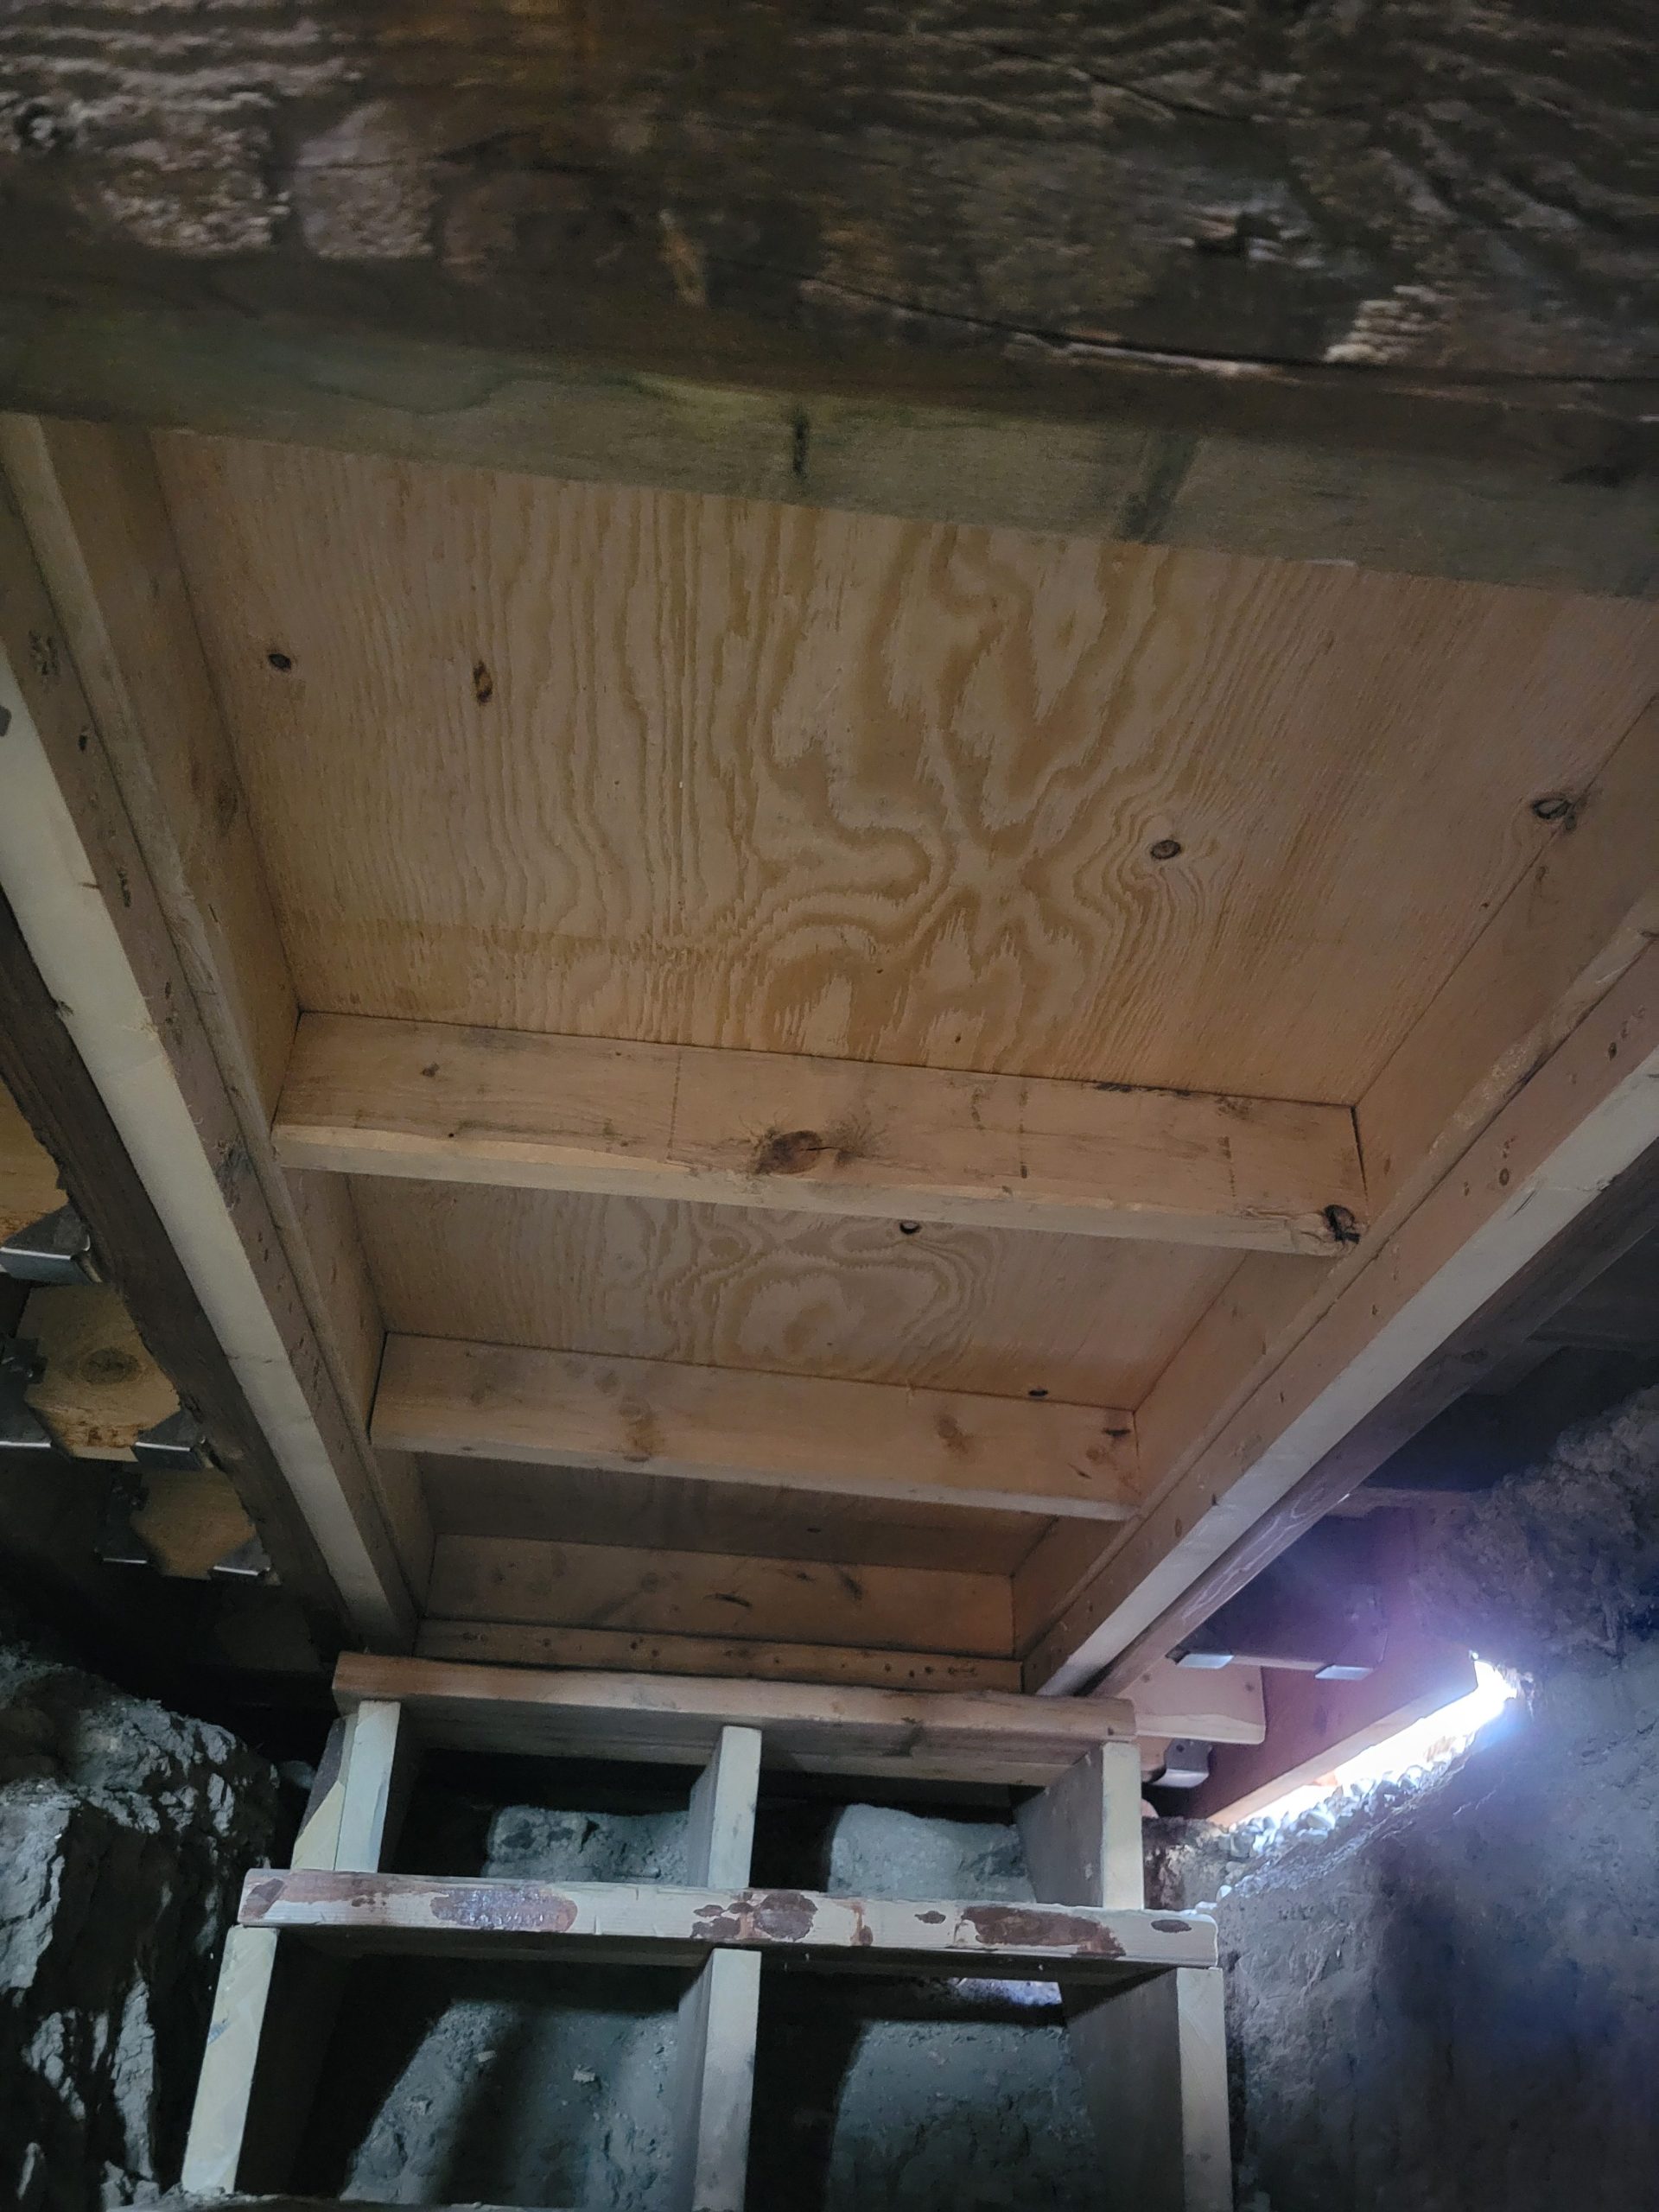
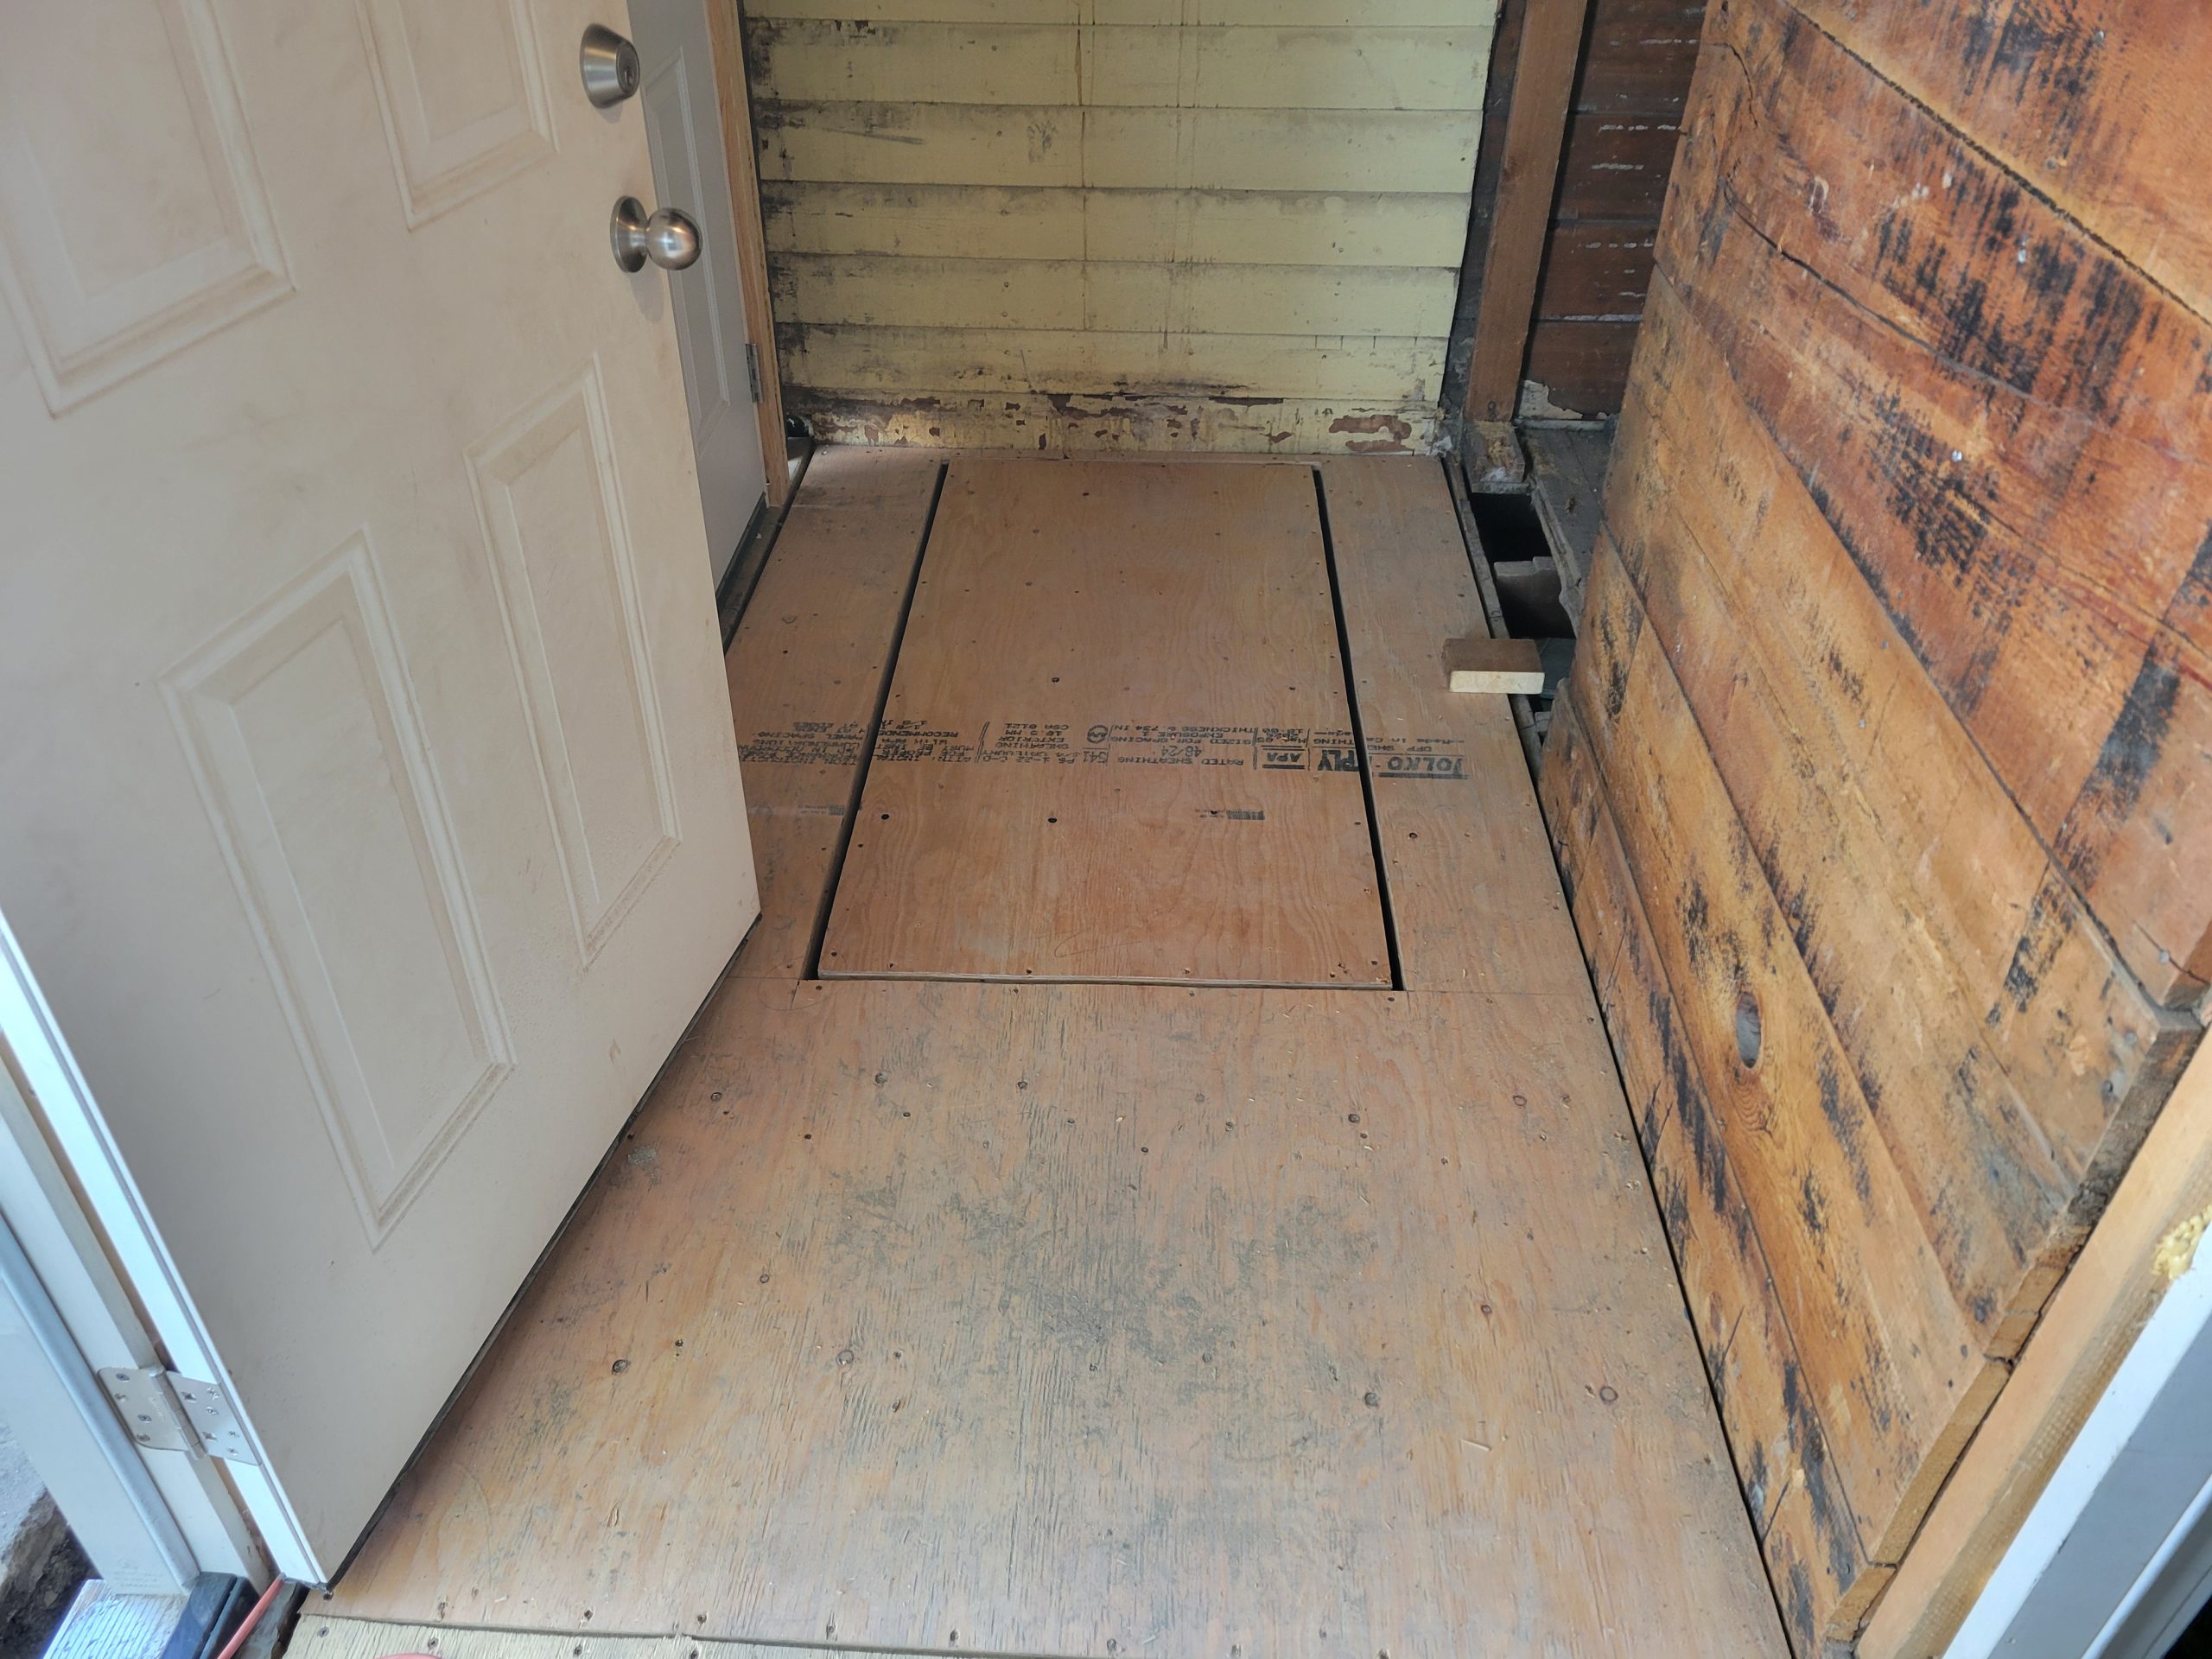
In preparation to build the rest of the mudroom floor (the floor platform and trapdoor leading to the basement), finishing touches must be done to the floor framing. Blocking was adjusted, and a spacer to get the right elevation was added to the ledger against the house.
![]()
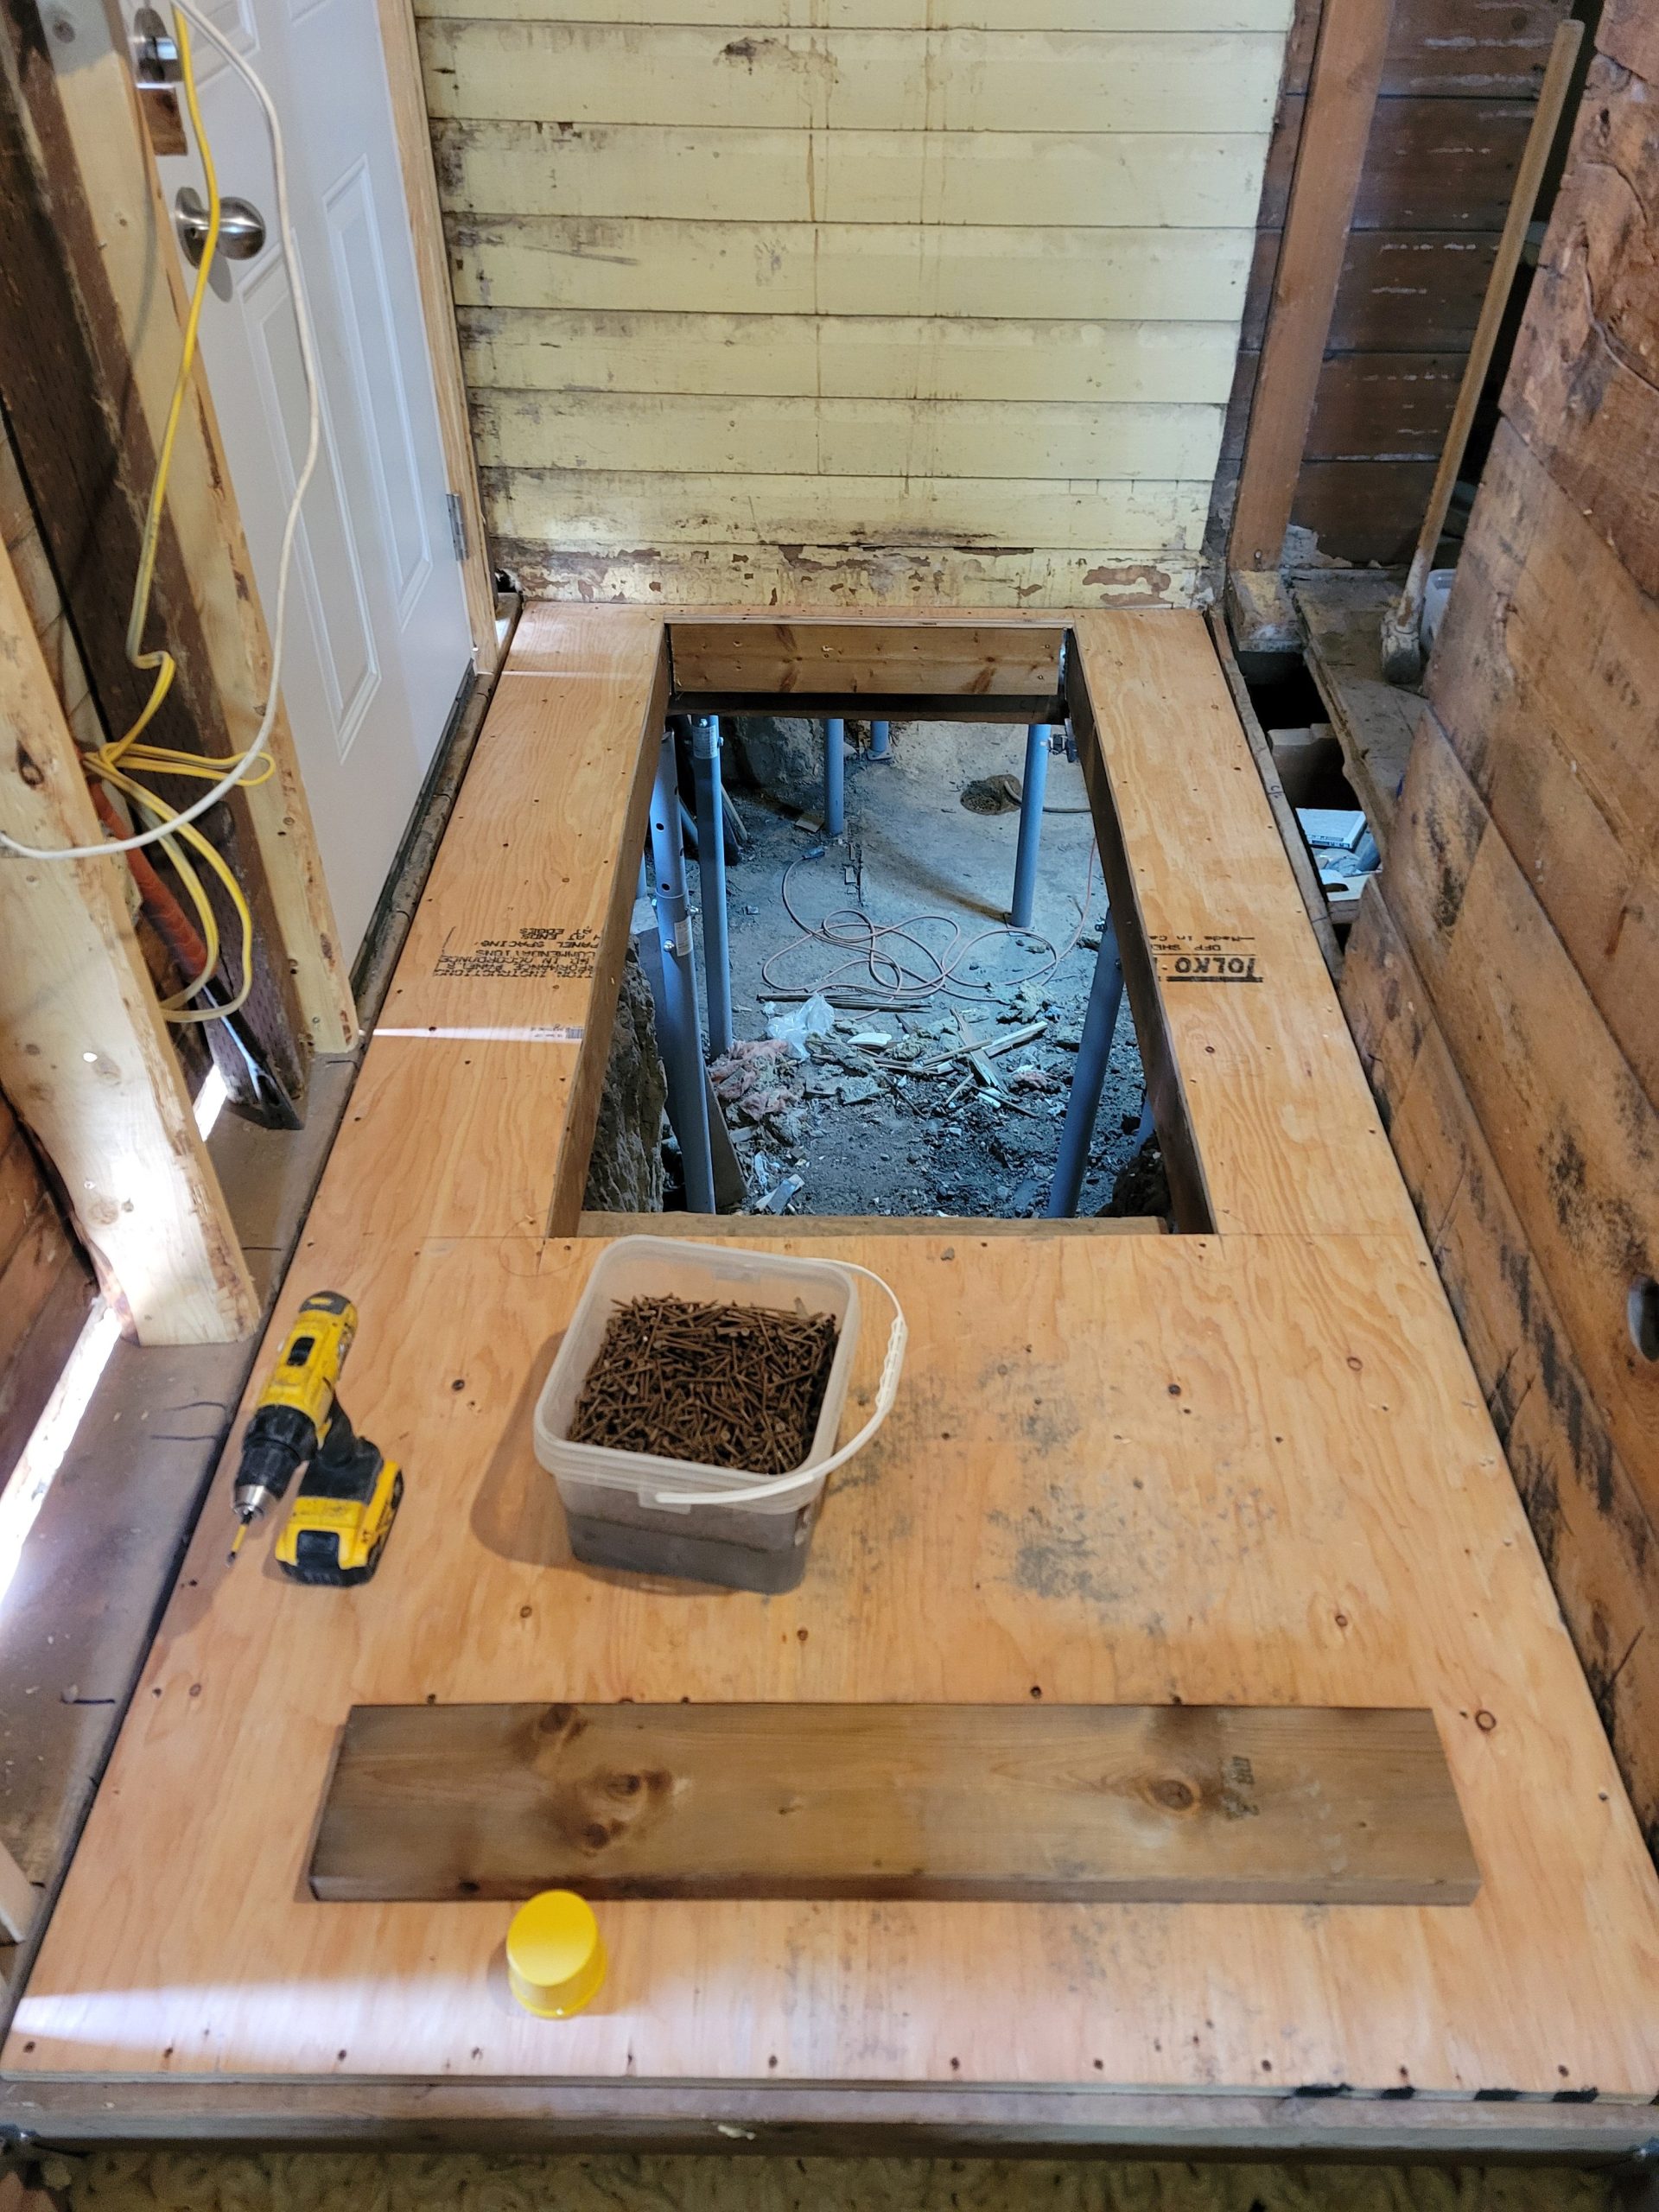
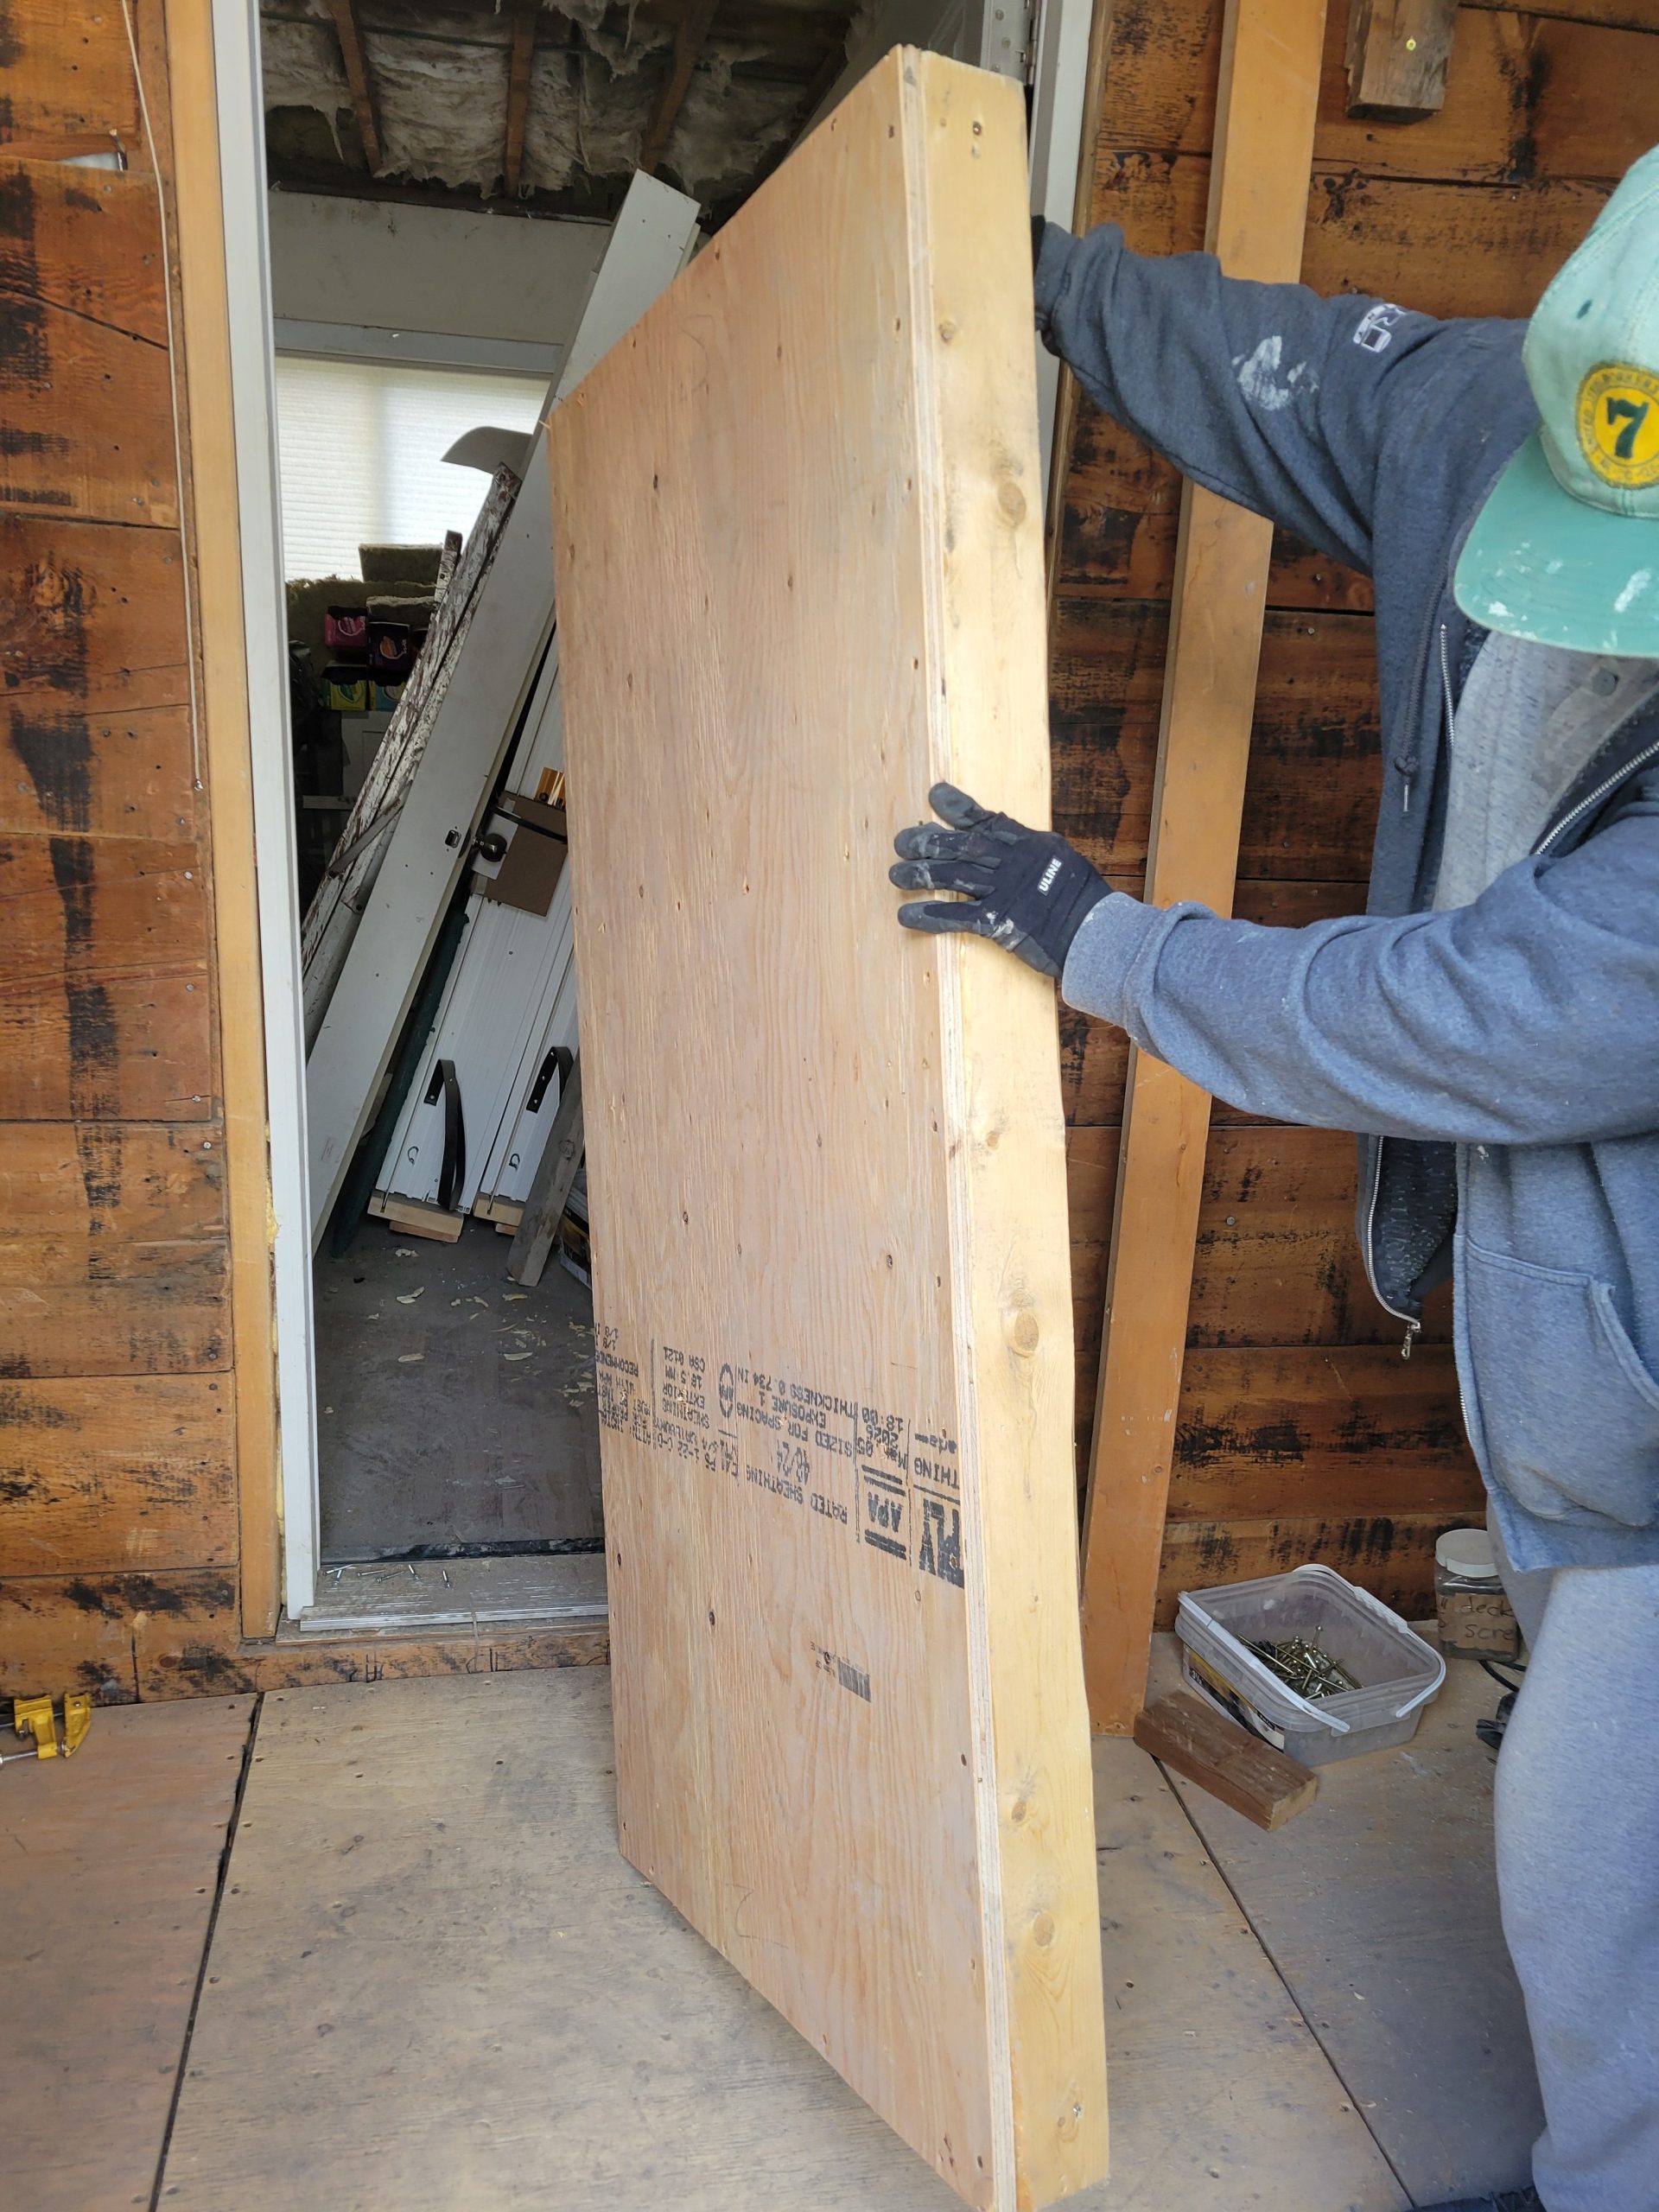
Finally, the 3/4 plywood was fitted. (Note to self: When measuring for holes to cut in plywood, always measure from the same place, not from two different places (i.e. left side & right side) or you will end up having to move the framing to match the plywood hole rather than the plywood hole matching the framing.)
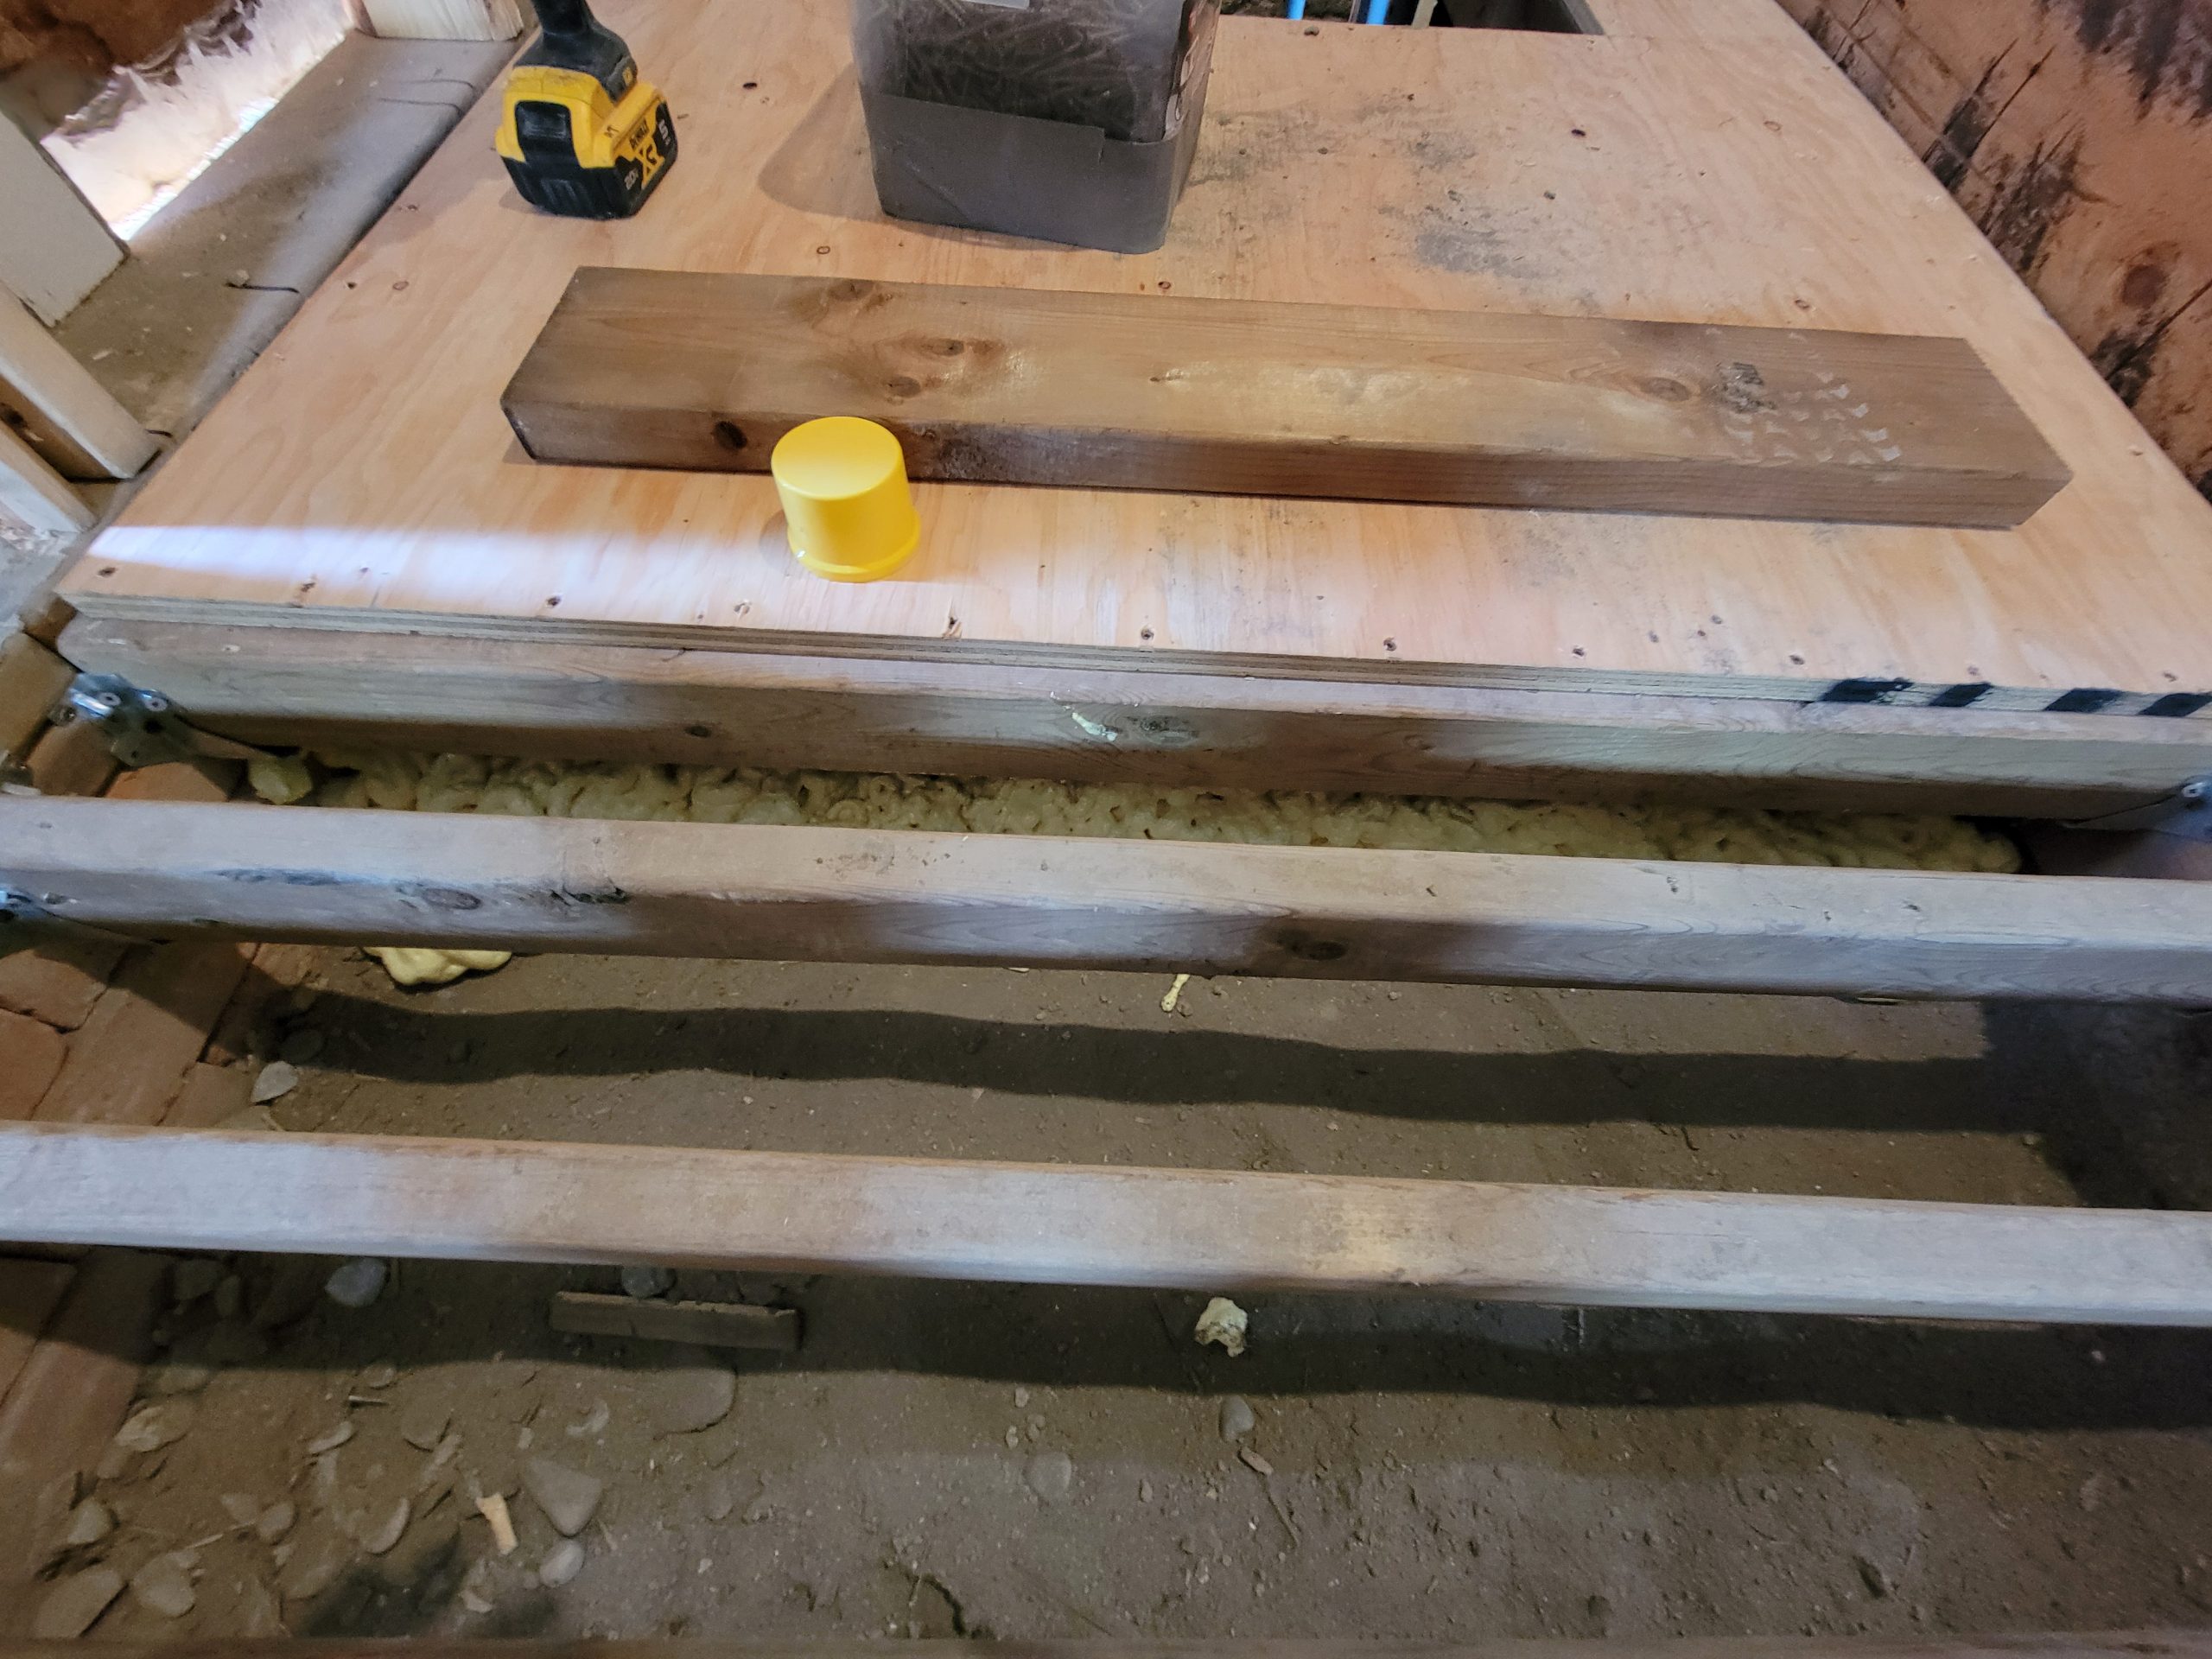
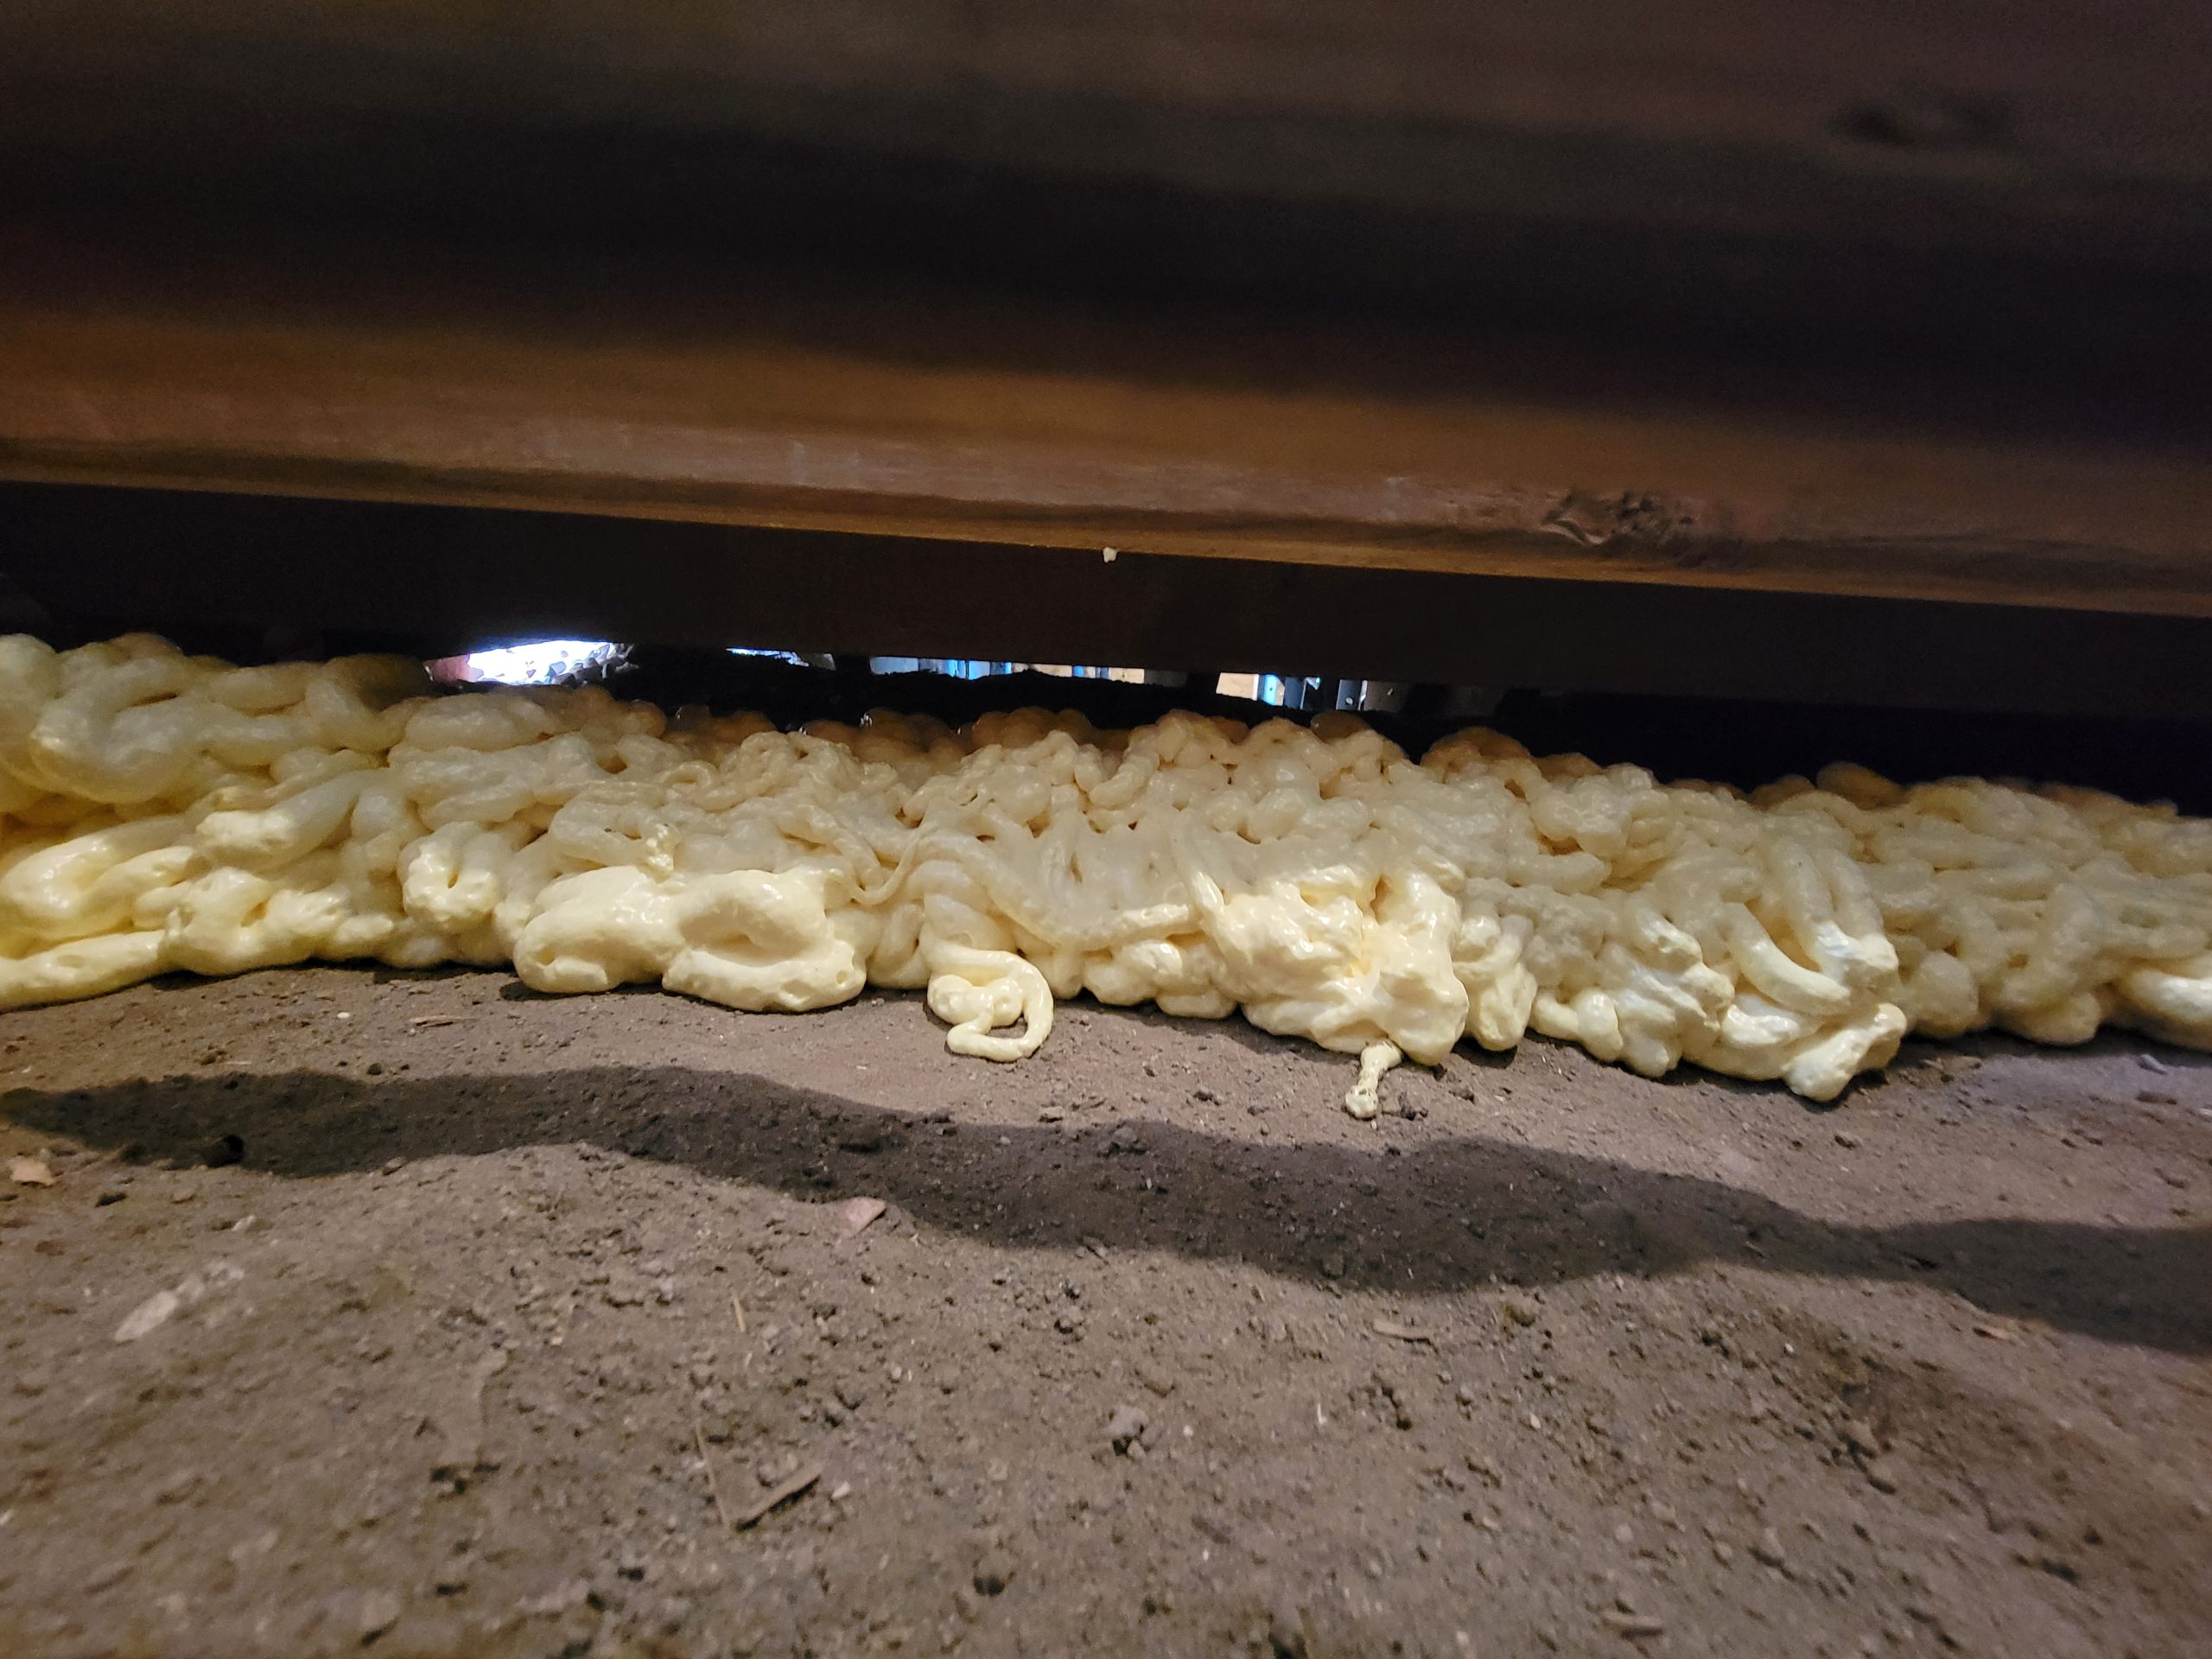
As the 1F (that’s short for “first floor”) mudroom will not be treated as interior space but the 2F will (there is no 2nd door separating the mudroom from the stairway), spray foam insulation was added between the sections of flooring. It will serve as a block against which more insulation will be added in the 2F mudroom area.
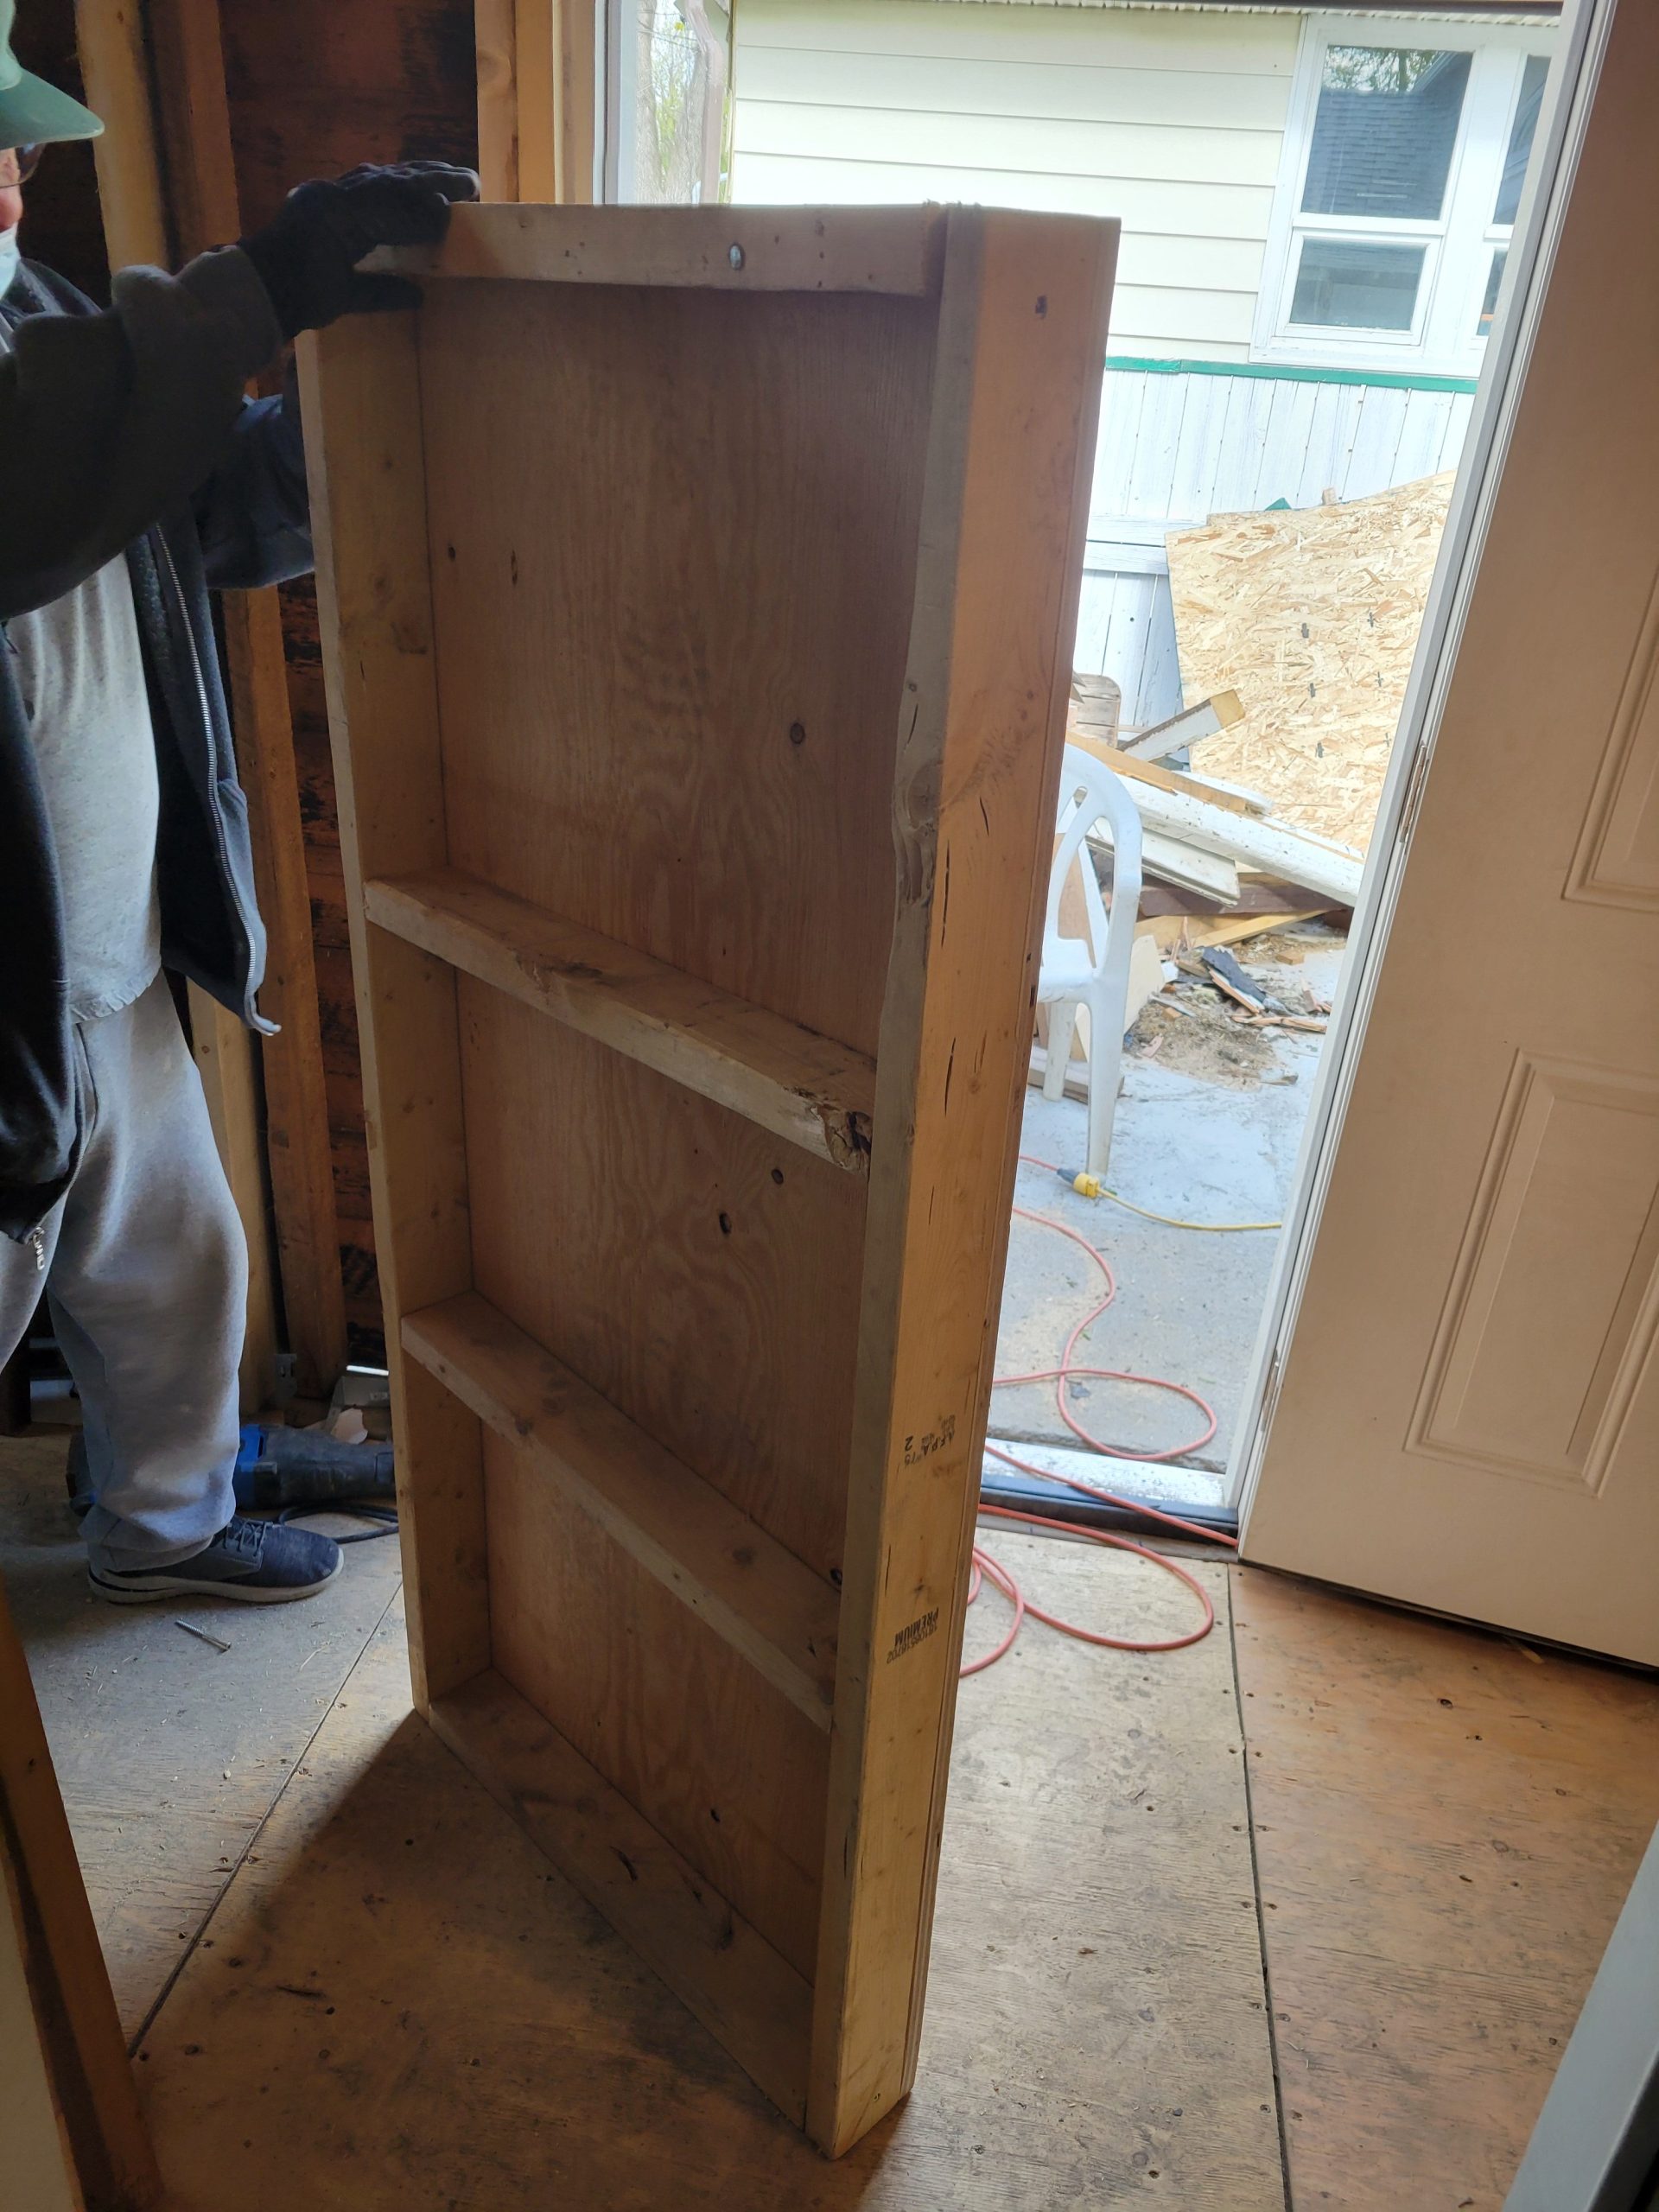
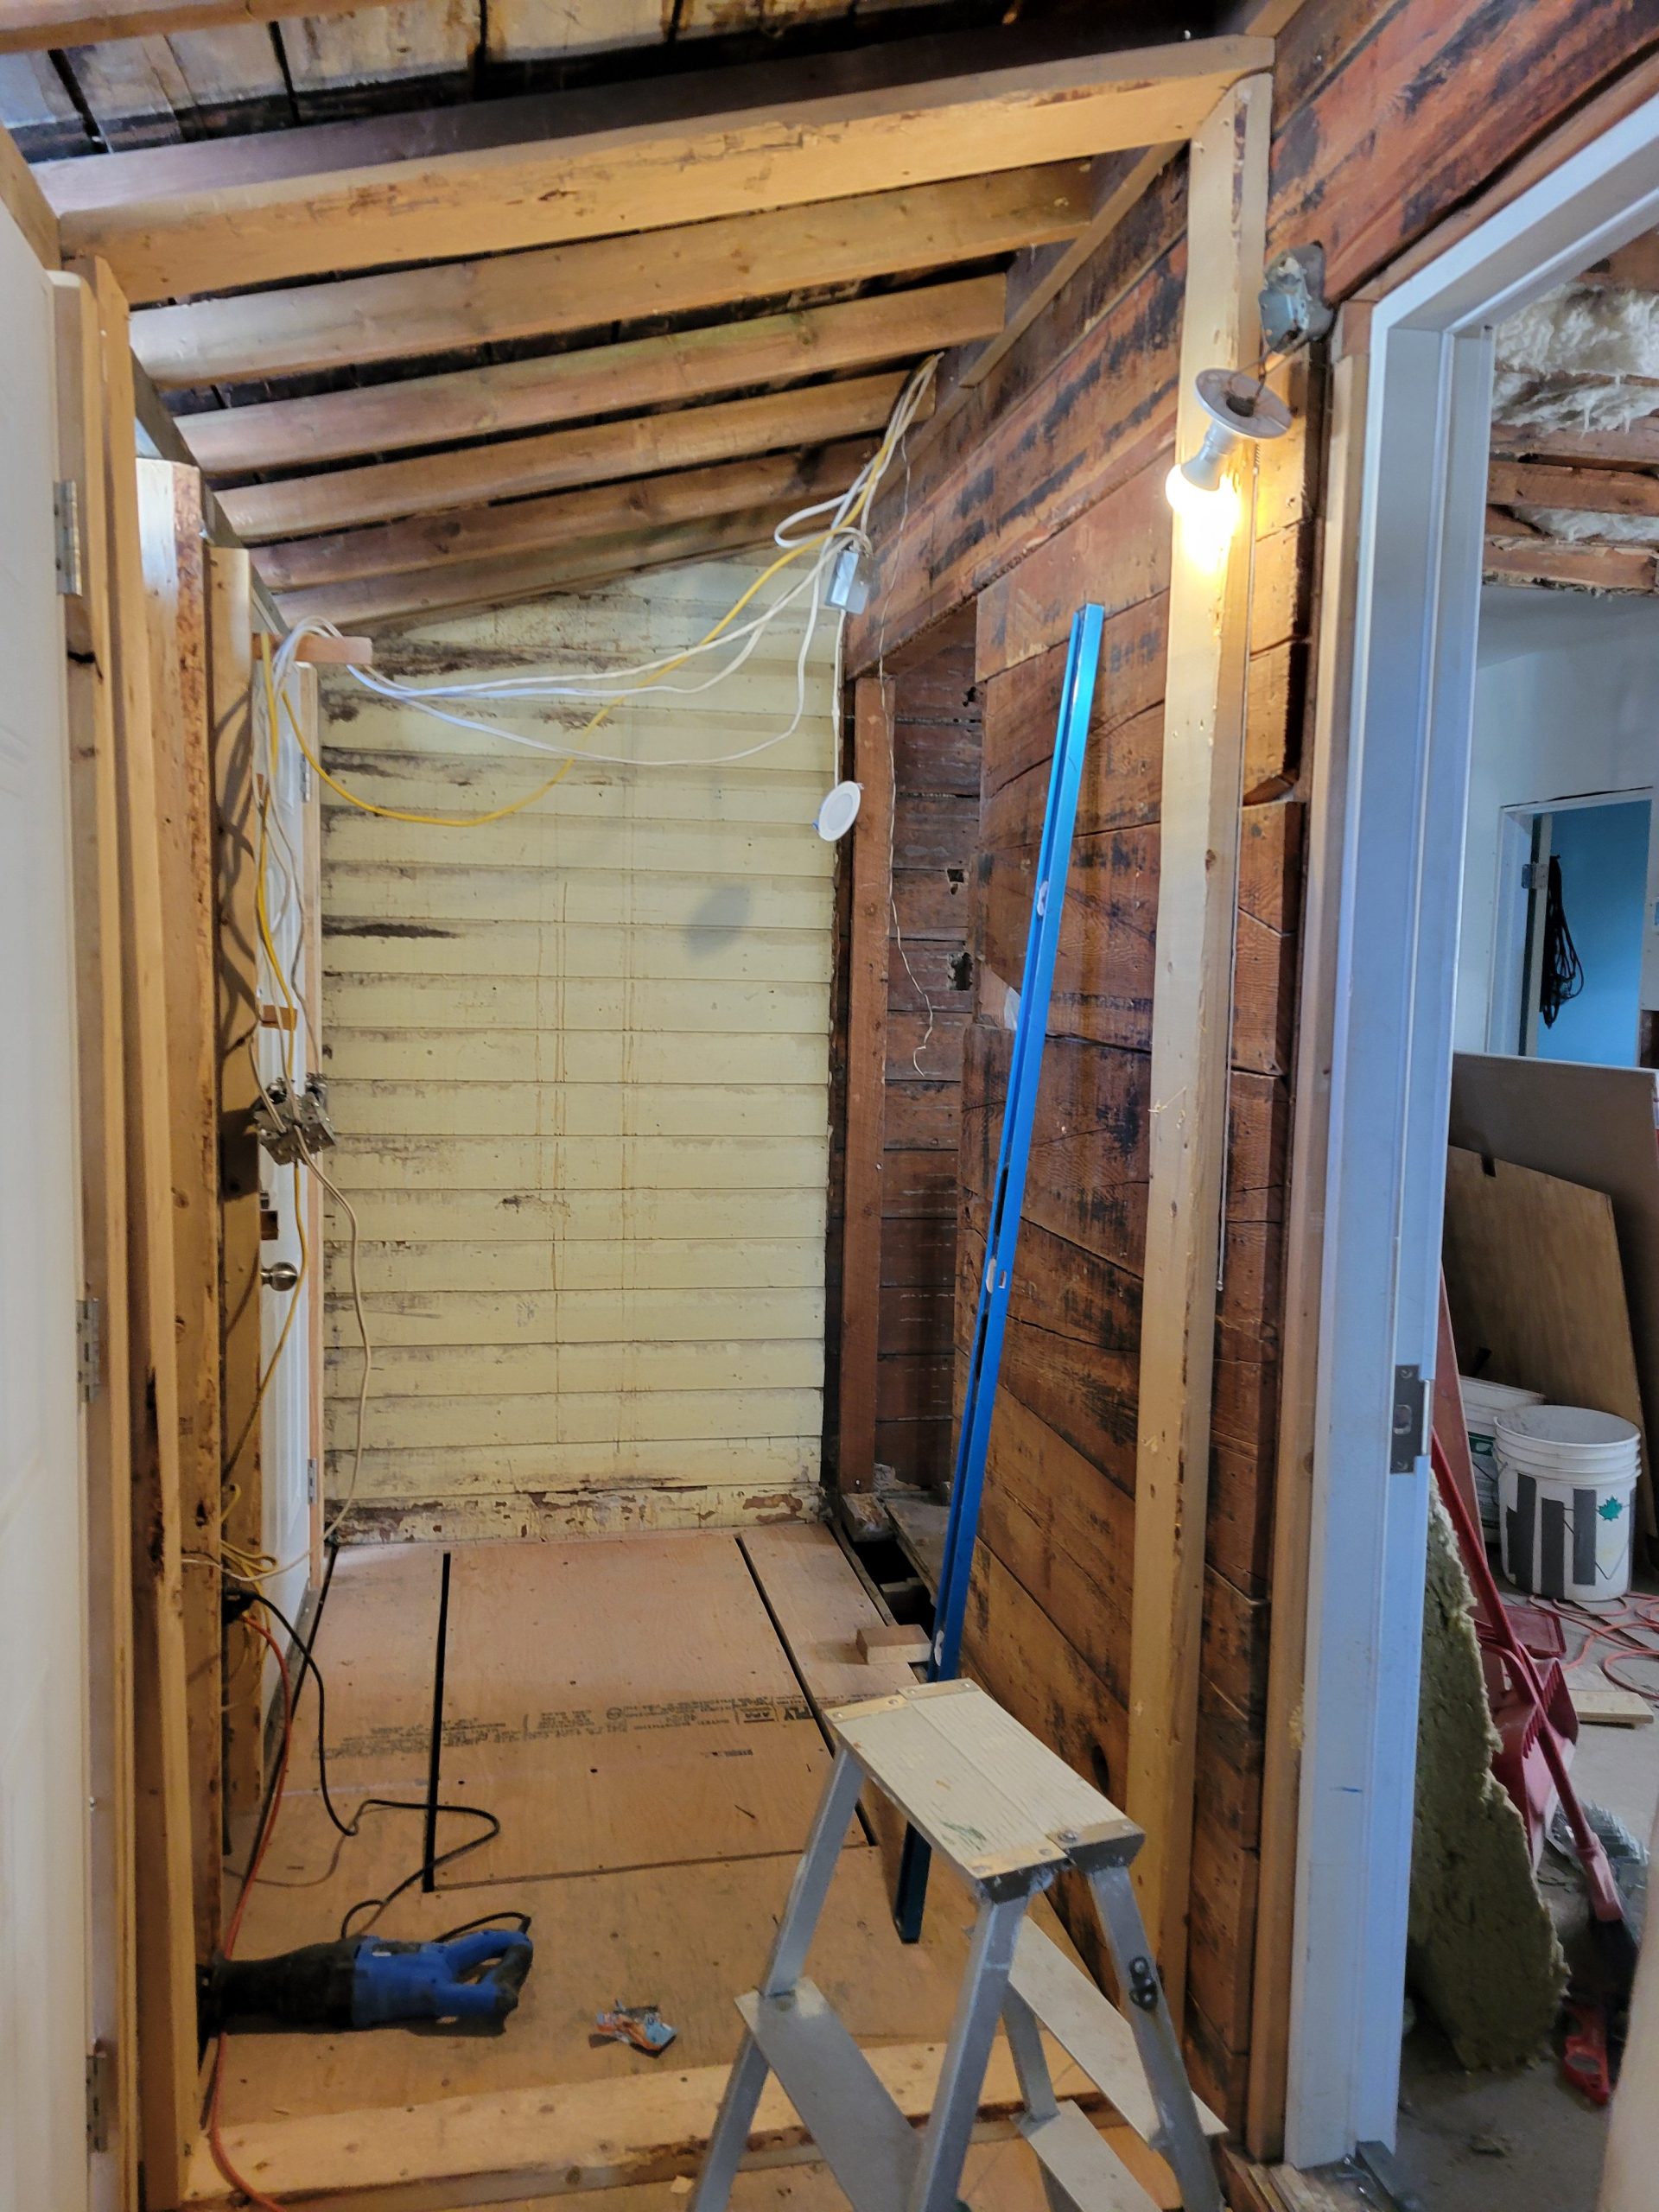
The partially framed trapdoor was fitted to see what’s what.
Dave helped with designing and framing it.
We also looked at the 1F bathroom trapdoor flooring trim strips to see how much gap needs to be.
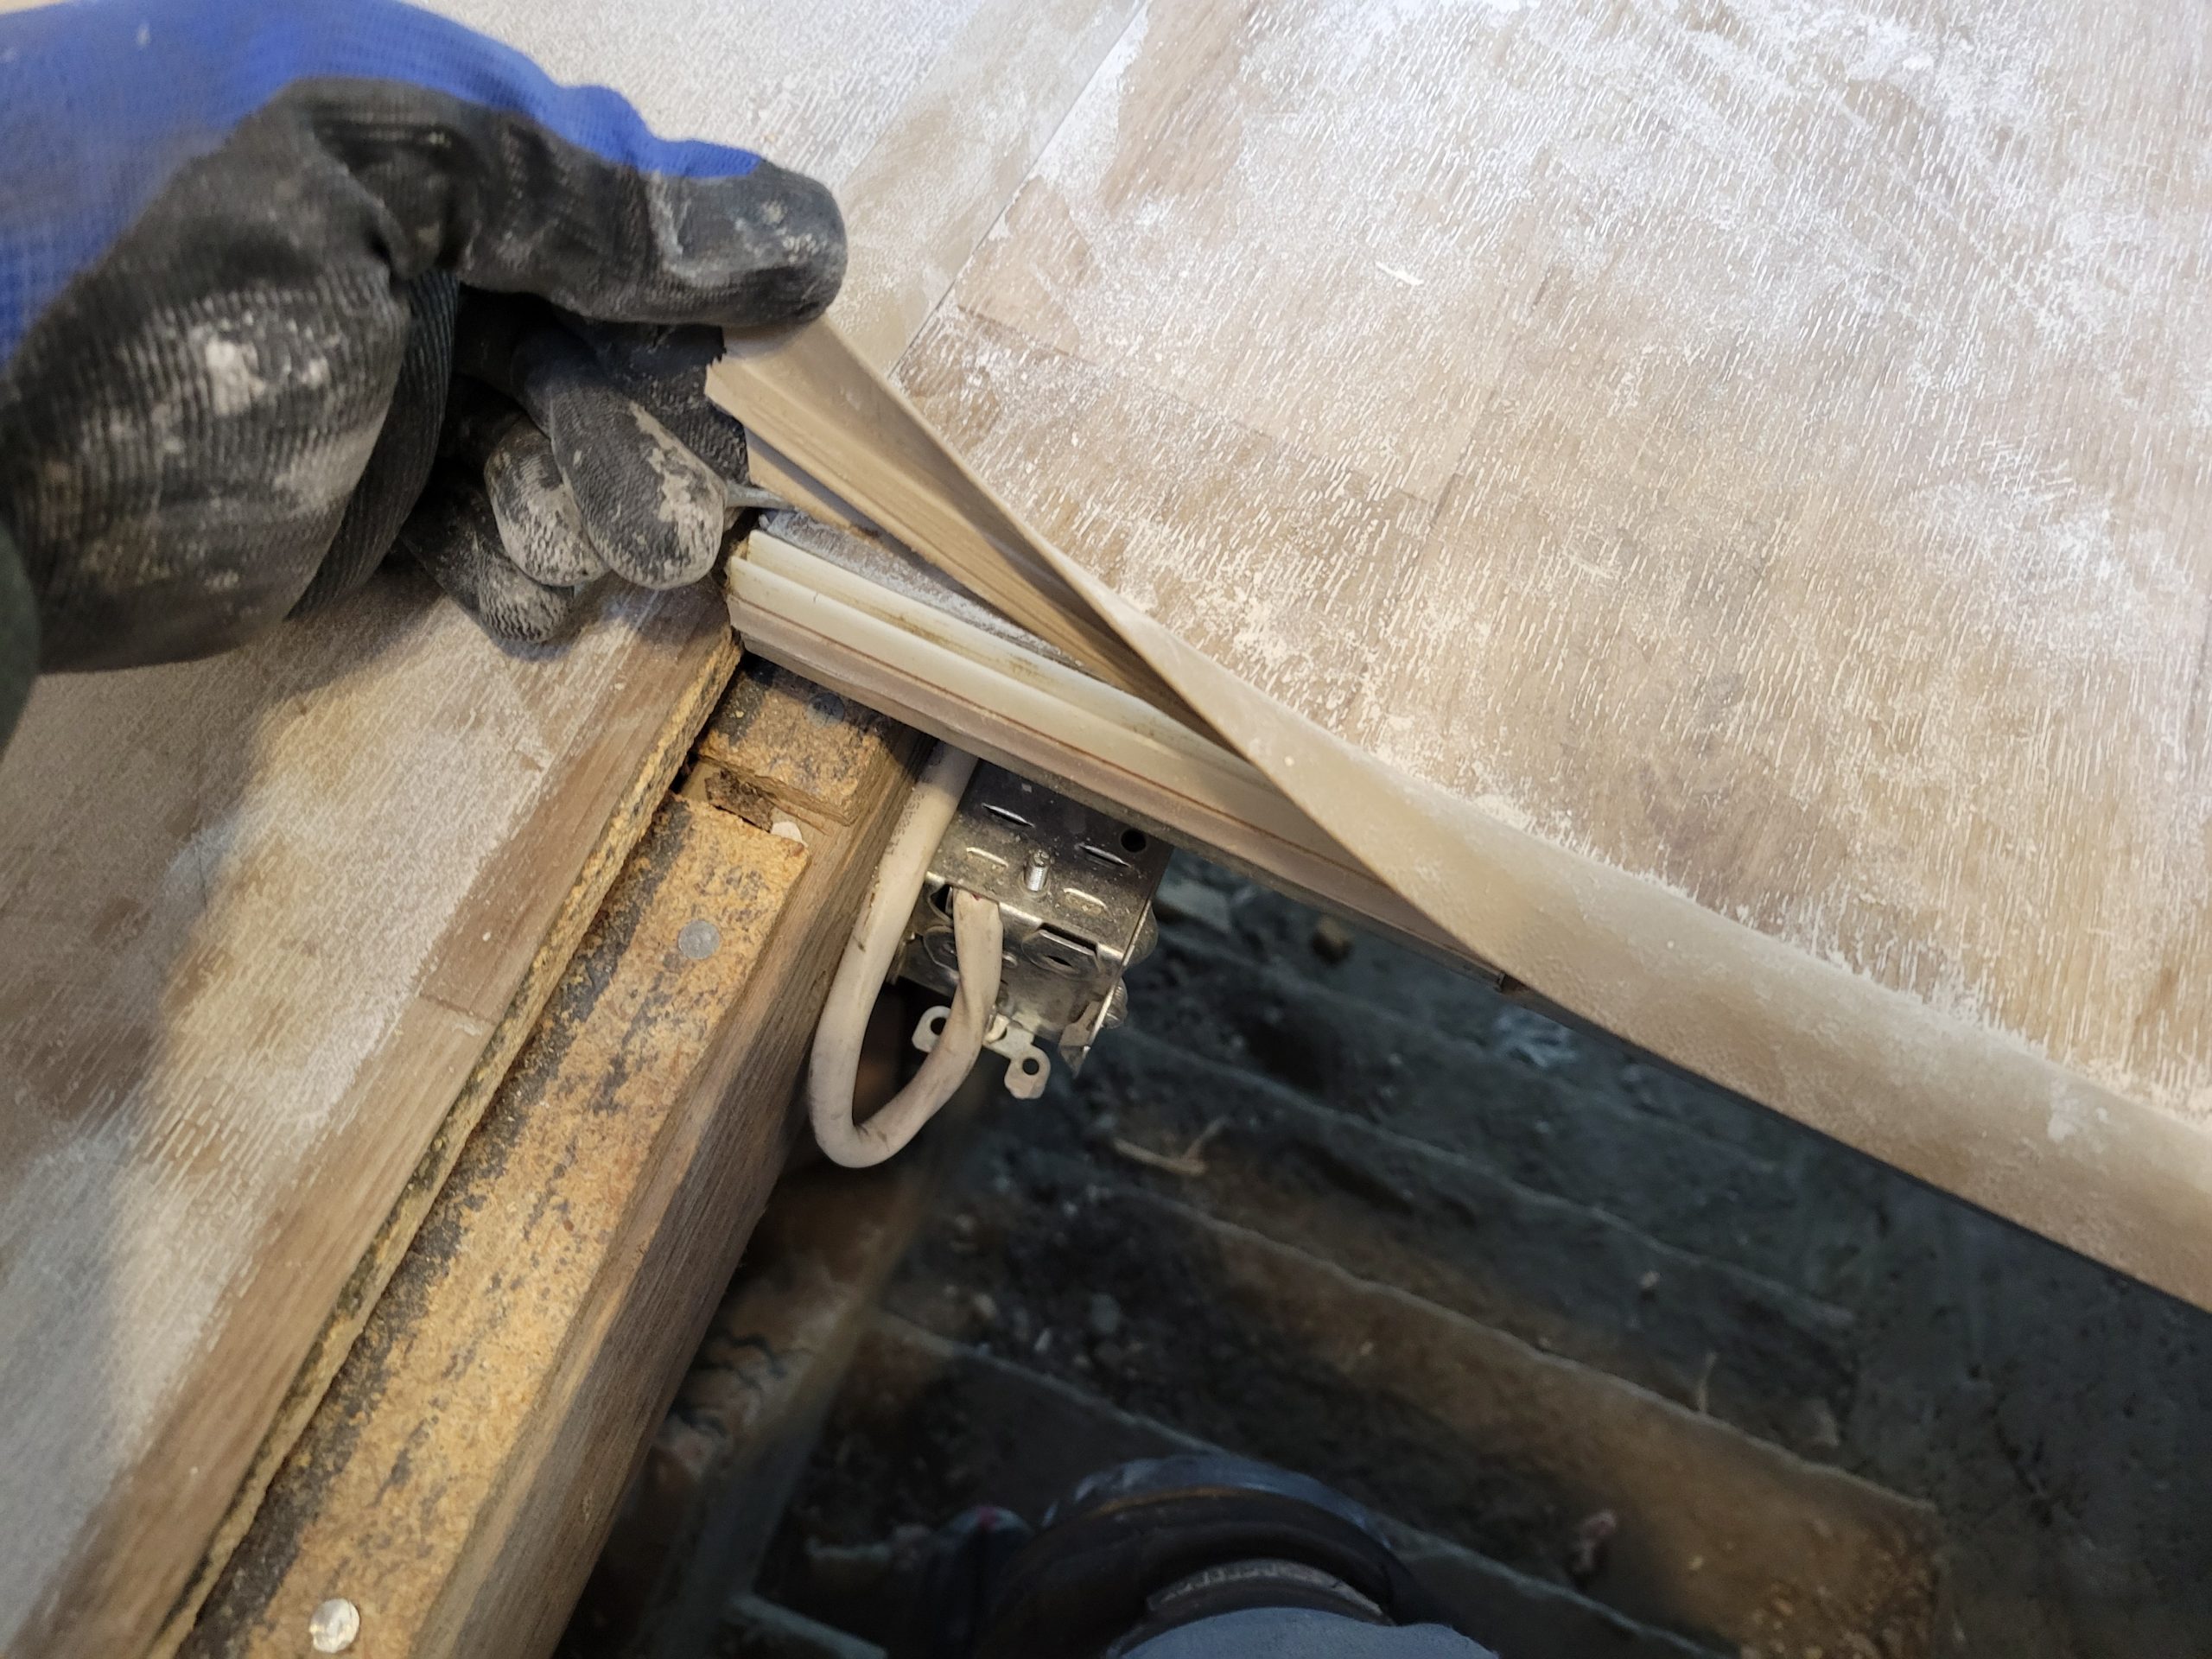
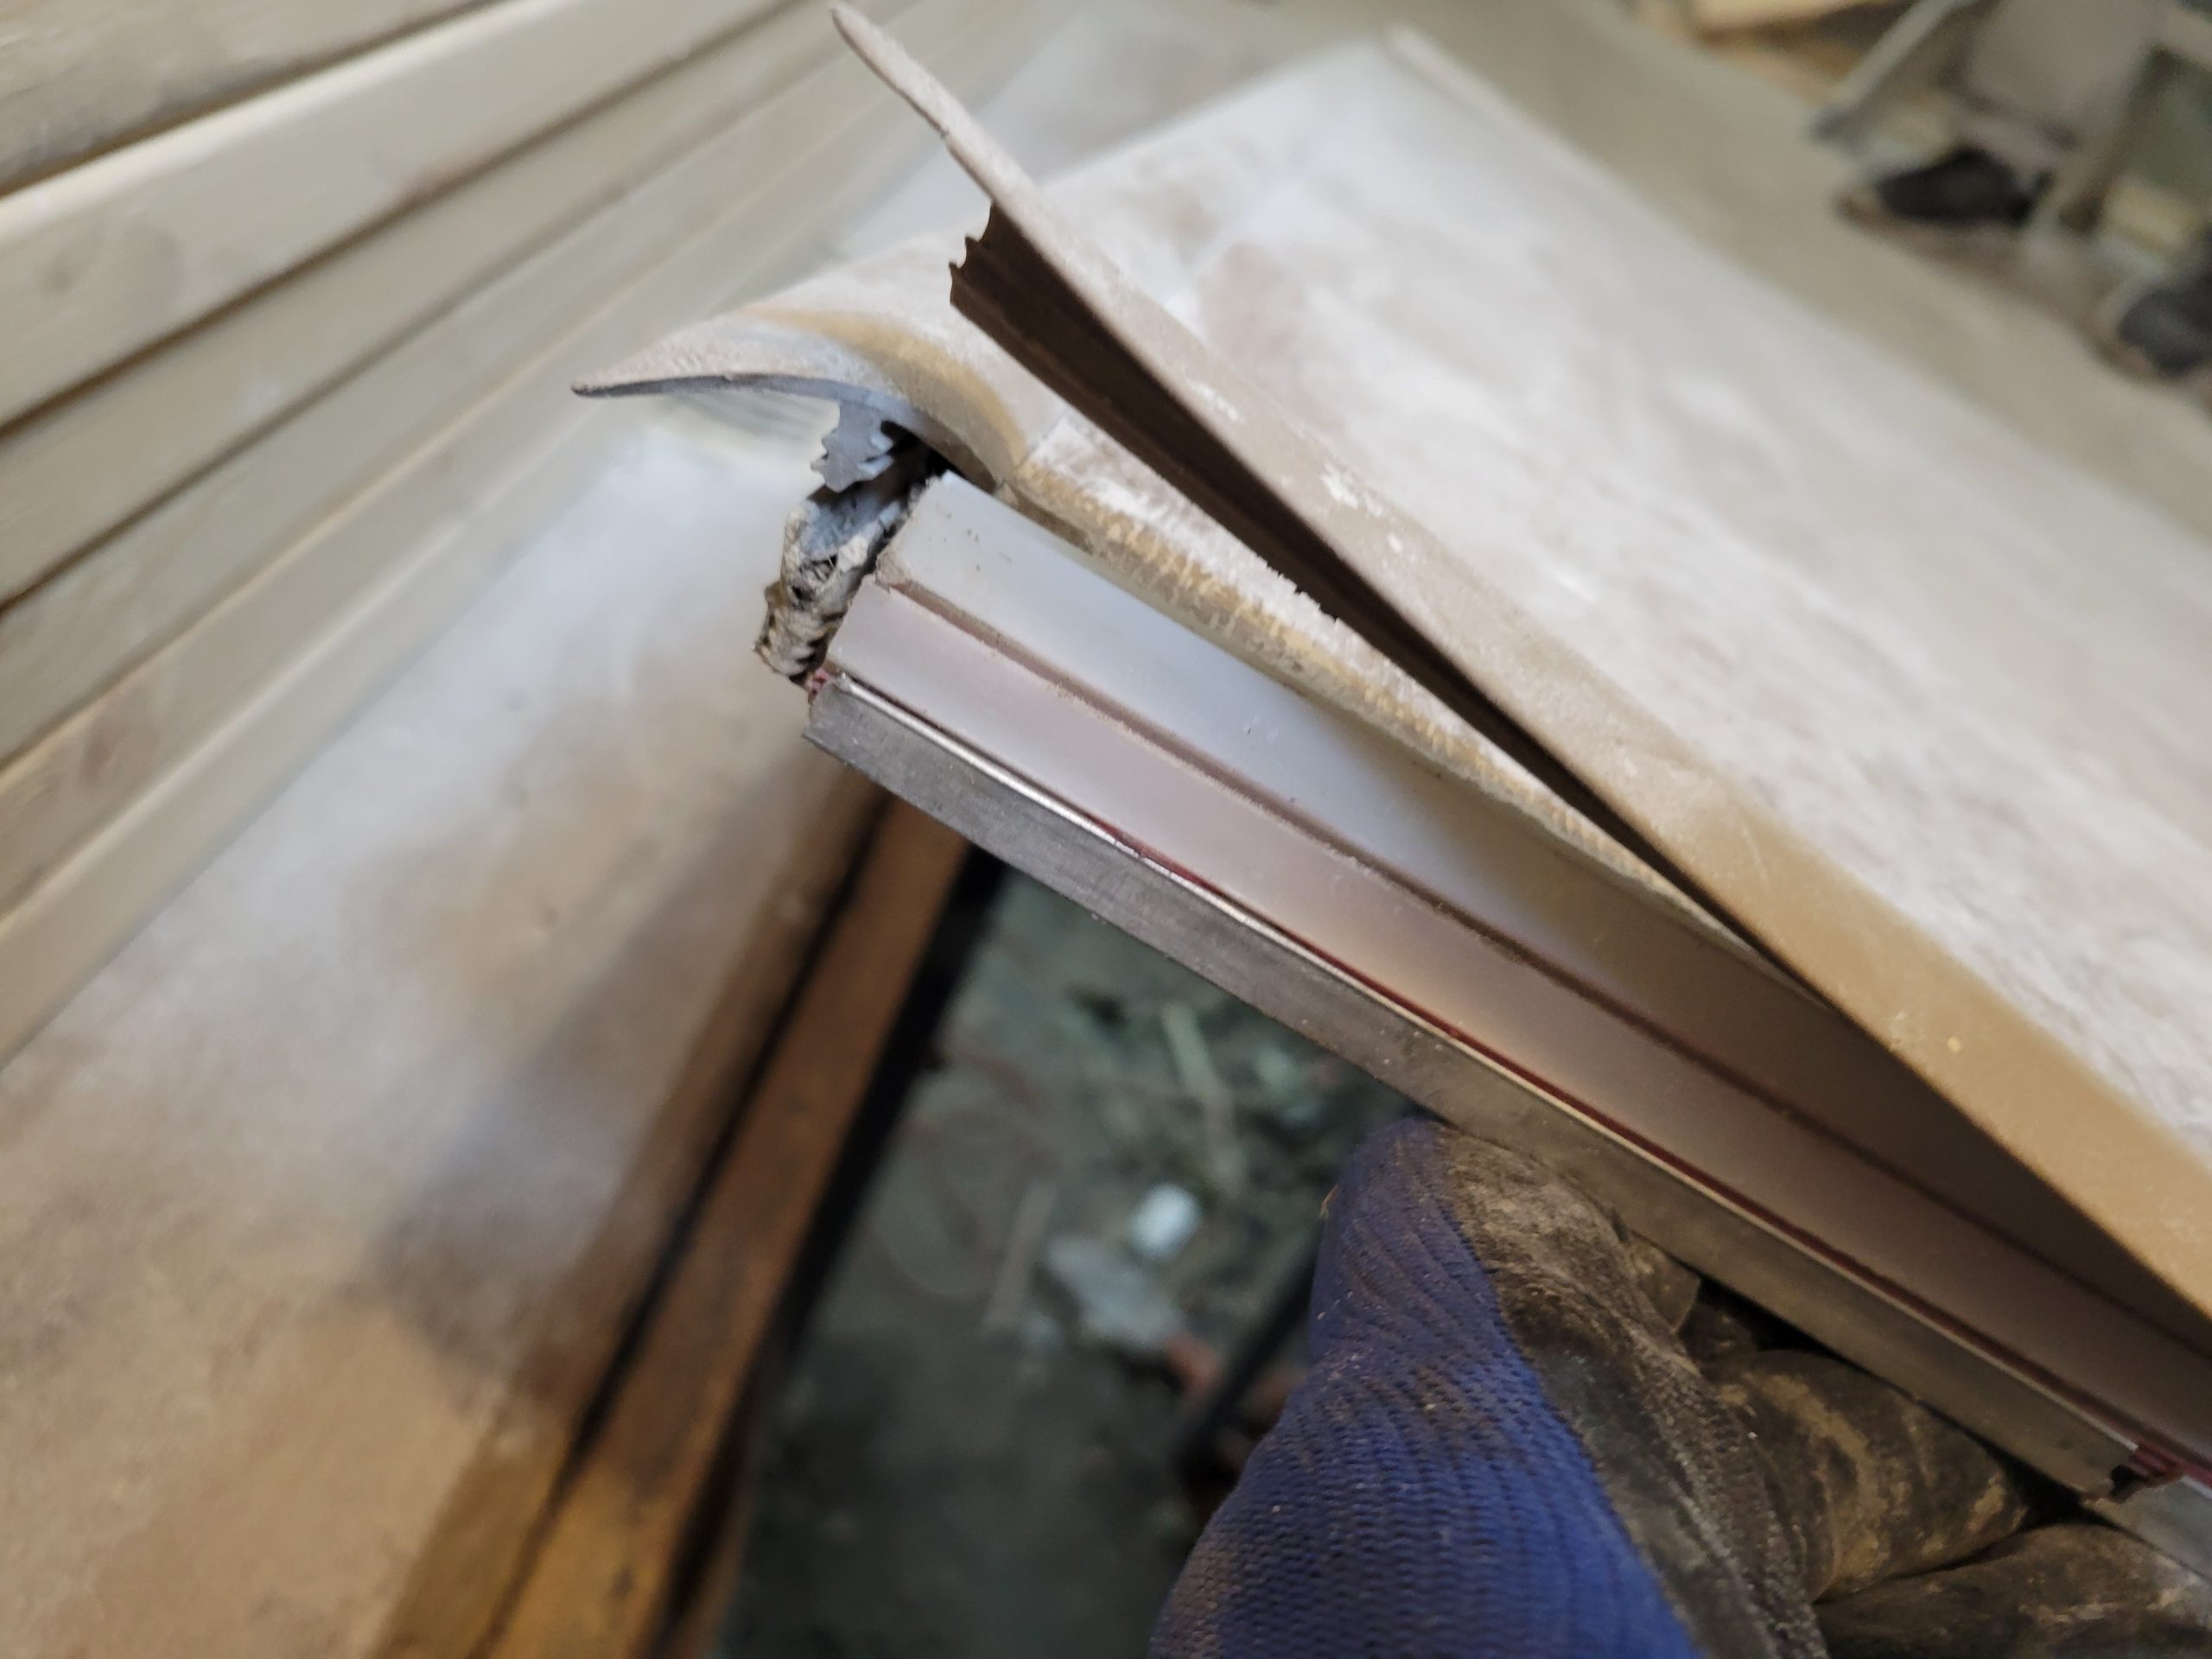
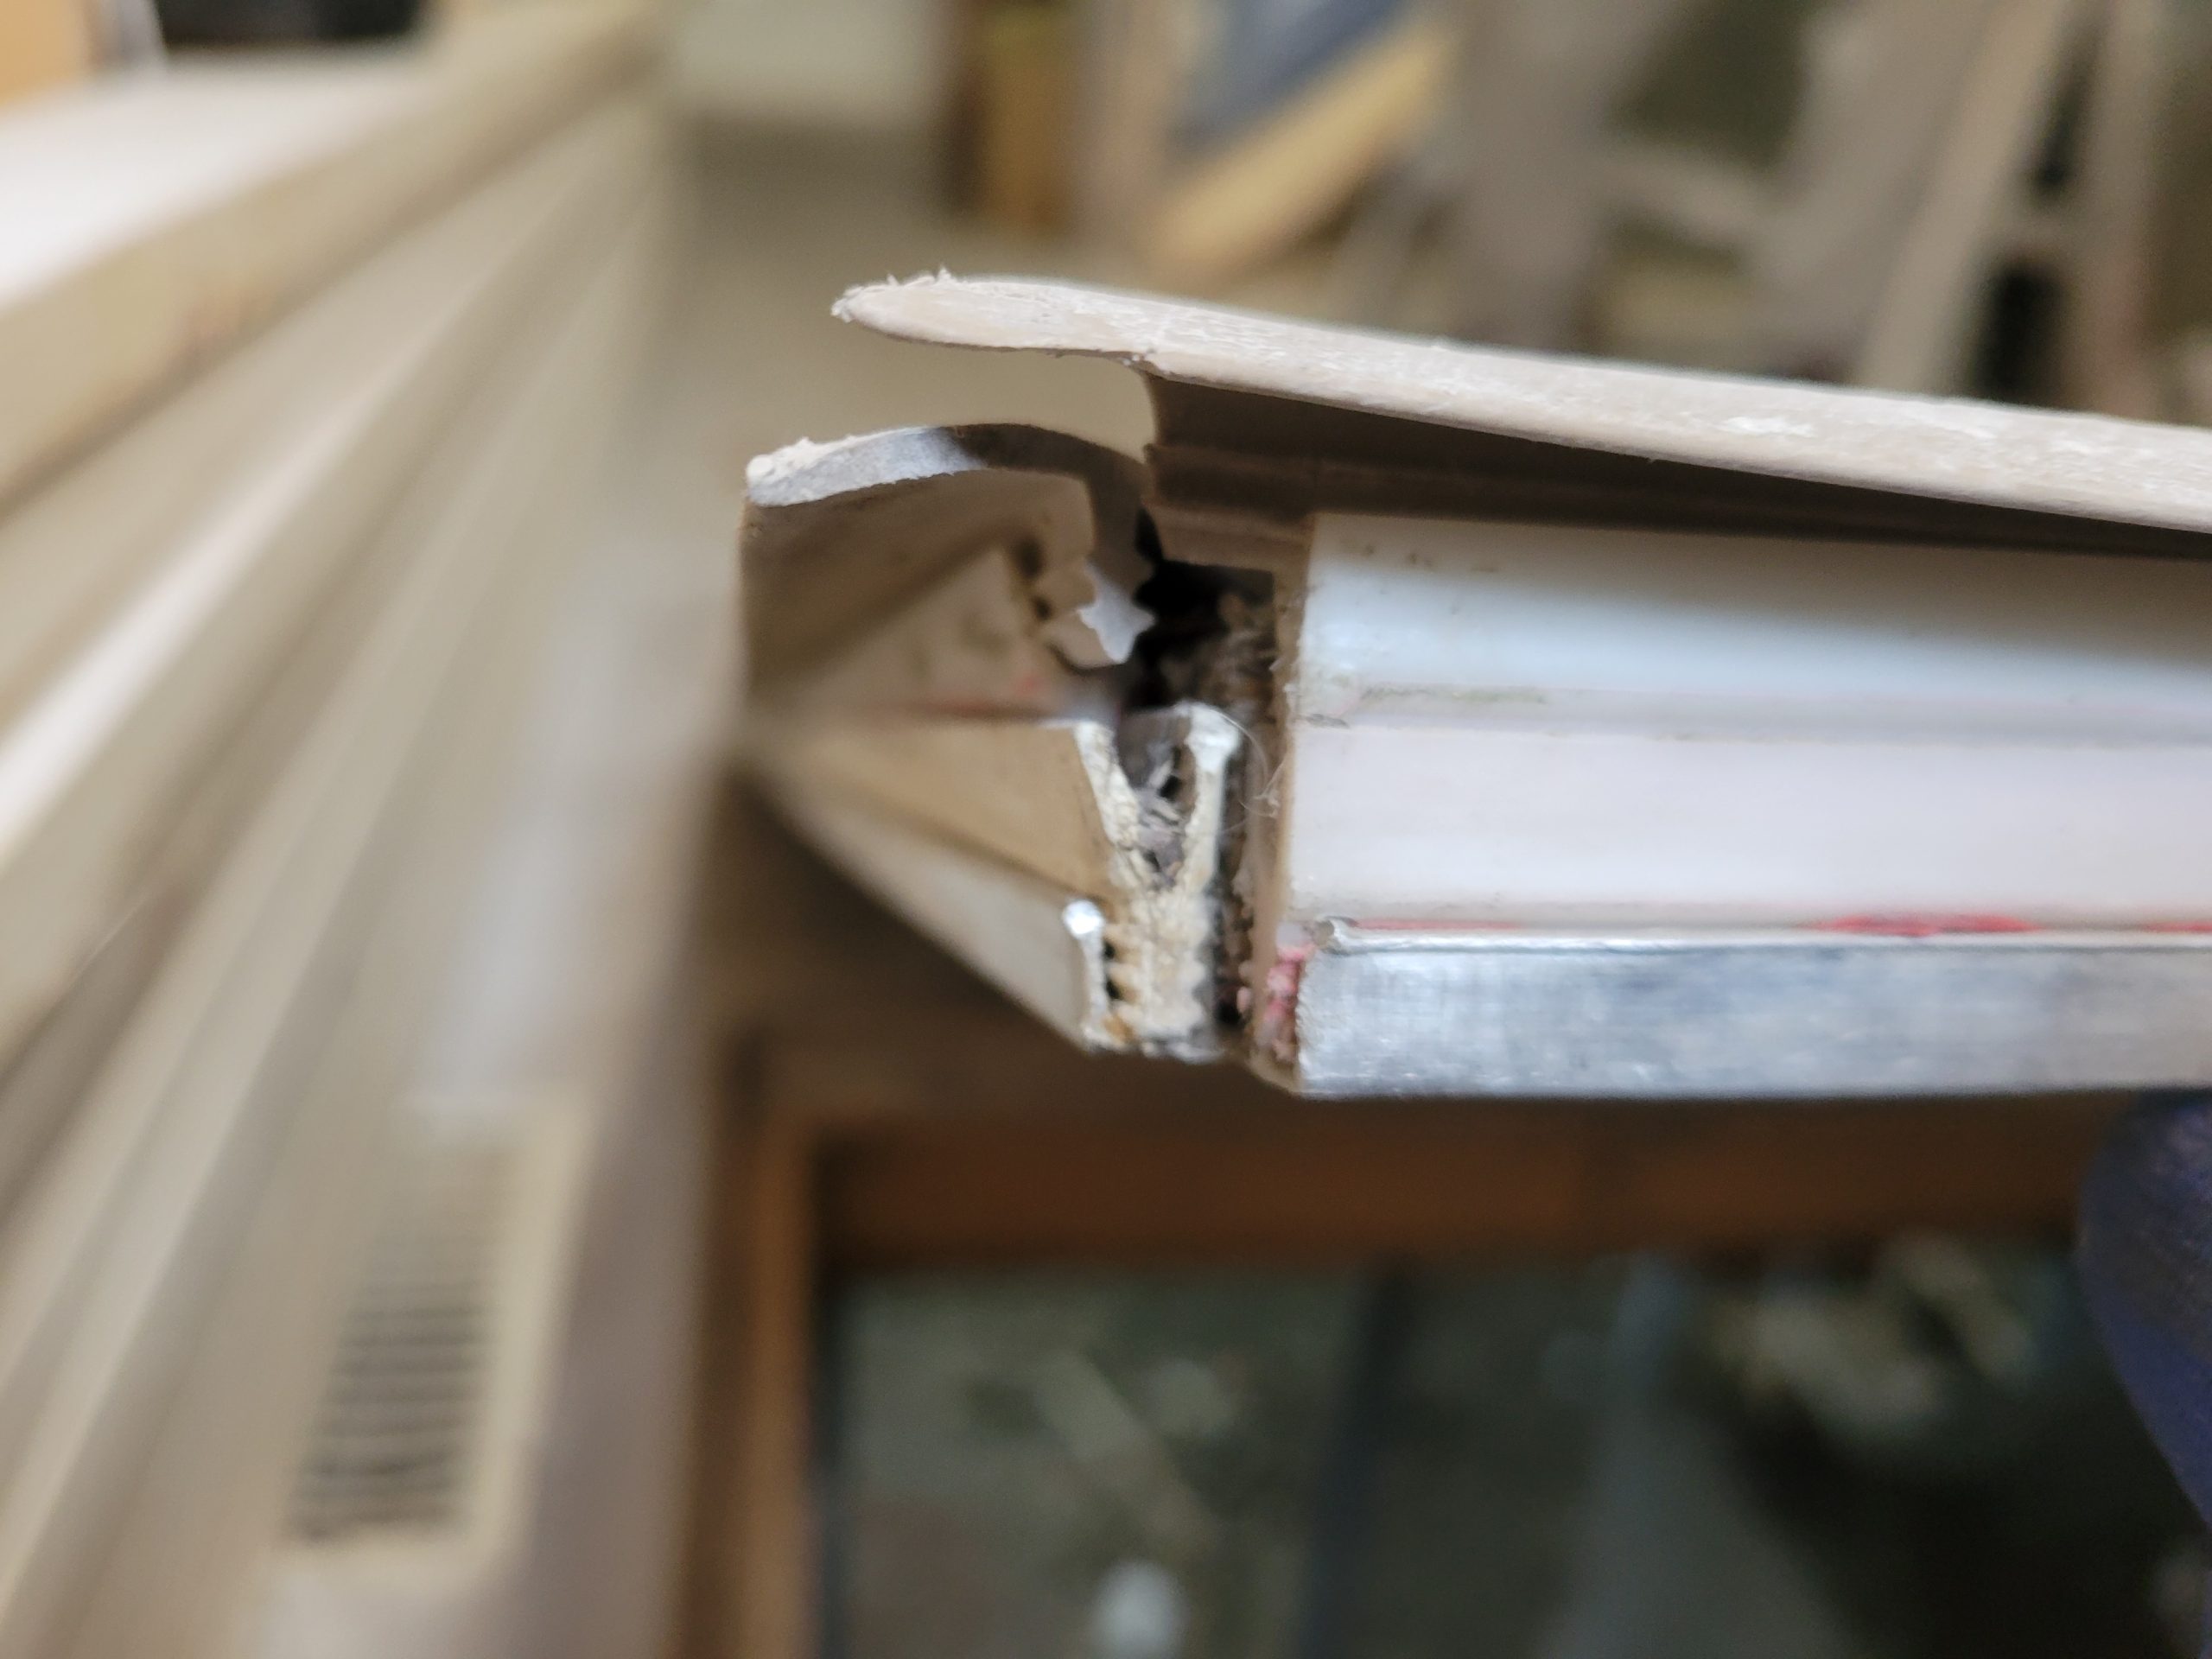
Another note to self: Never trust dimensional lumber. Newer 2x4s are often no longer 3-1/2″ but, rather, 3-3/8″. Is that metric? When checking the elevation of the trapdoor against the surrounding floor, we found a lip all around. The 2x4s I used to determine the space of the 2×2 ledgers were non-standard. In fact, the standard today seems to be non-standard.
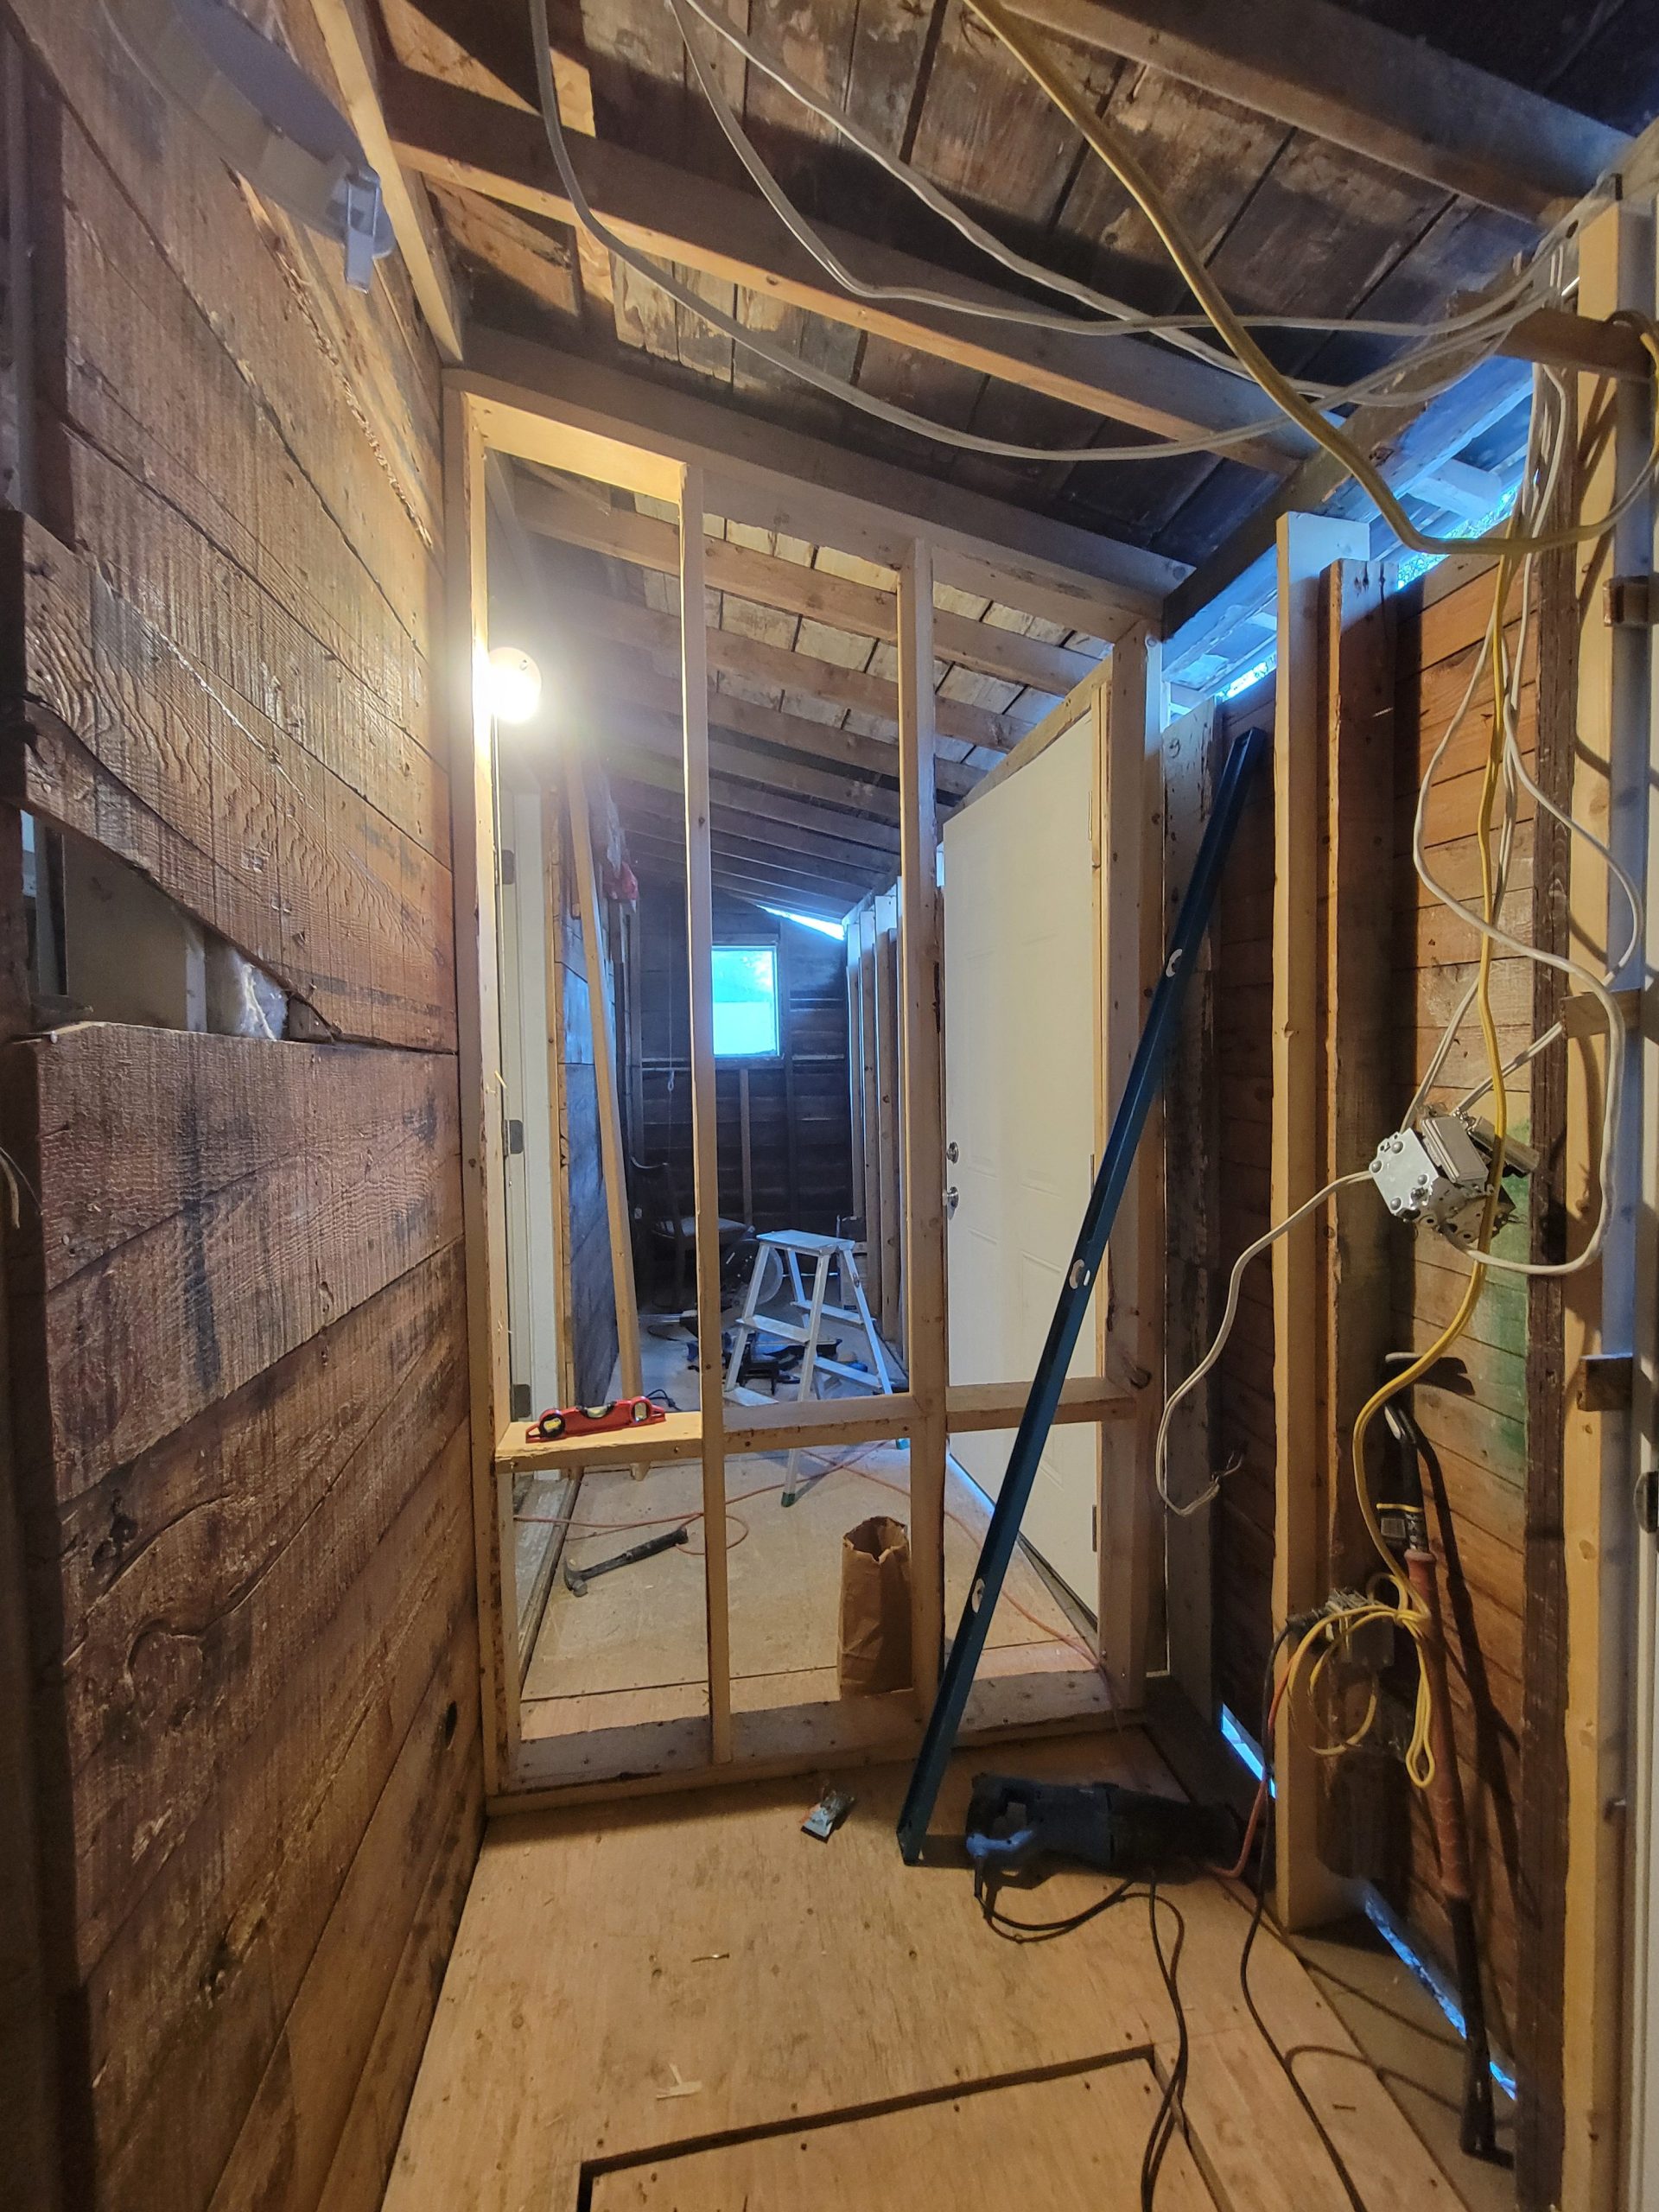
After Dave left for supper, I started the partition wall separating the 1F mudroom and 2F entranceway…
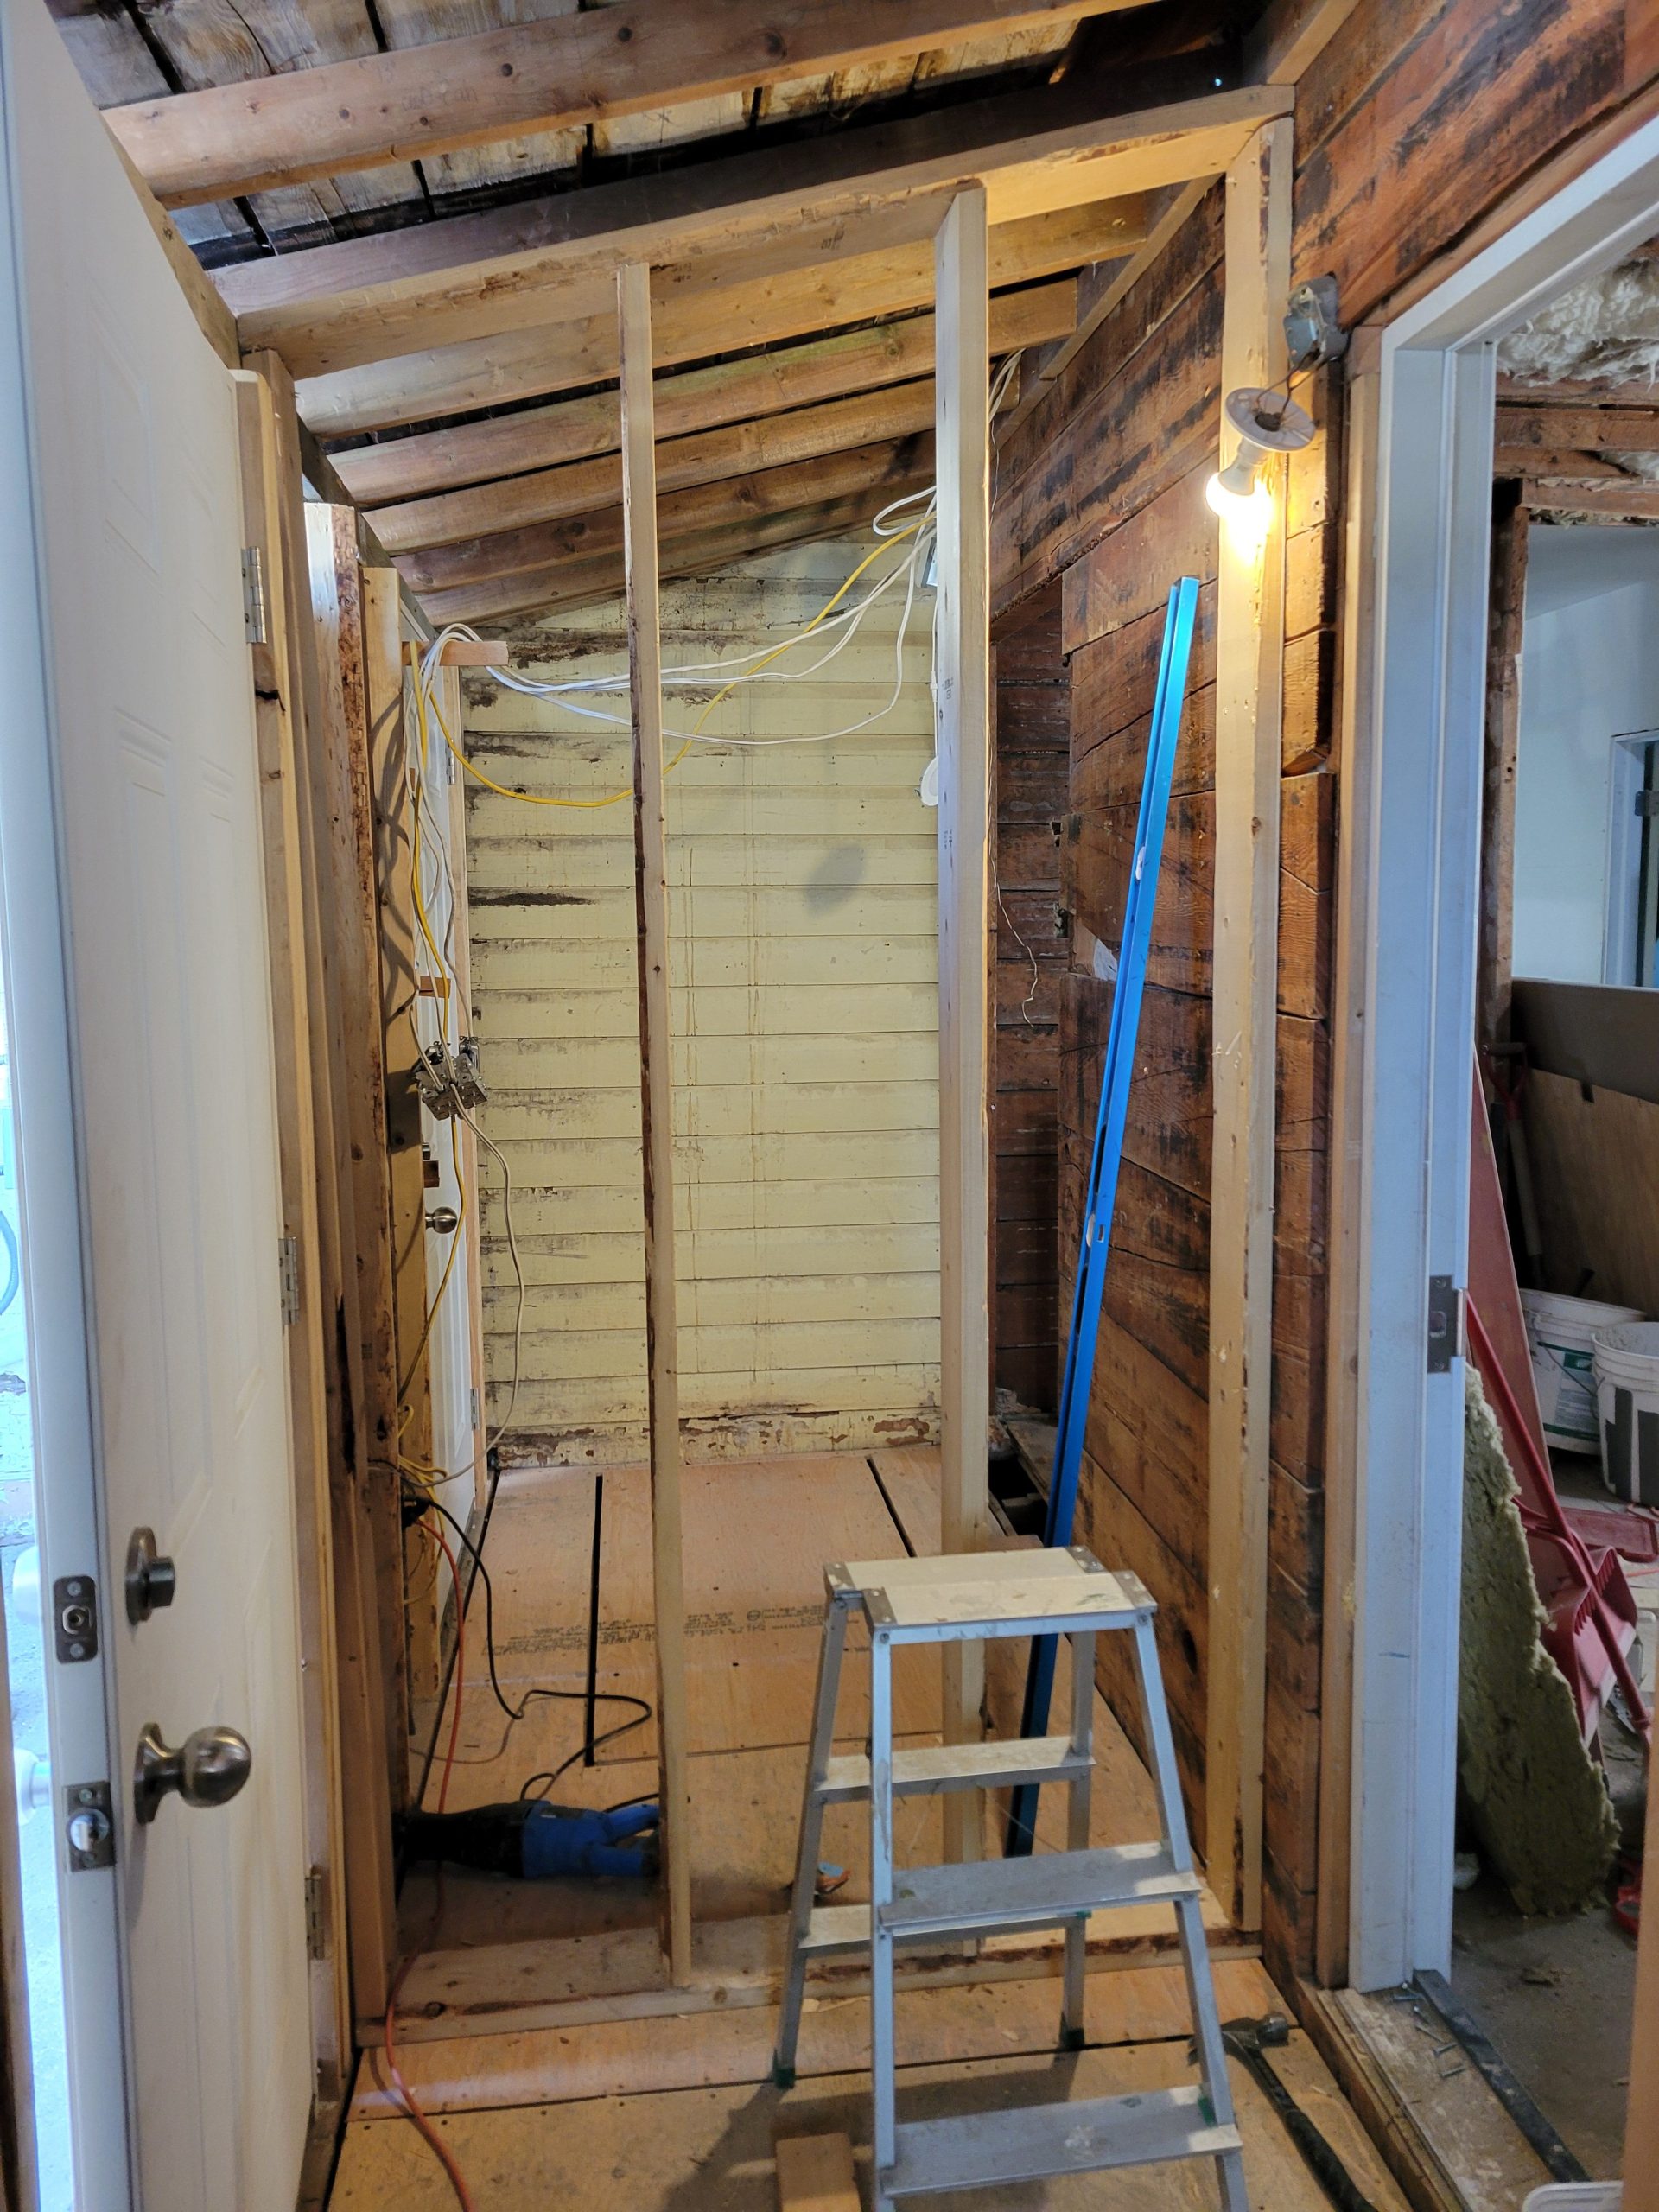
…and readjusted the ledgers again as there was a slight (like 1mm) lip.
I also added some blocking for a future shelf. Uncertain if one will be added.
Nightfall. Time to go home.