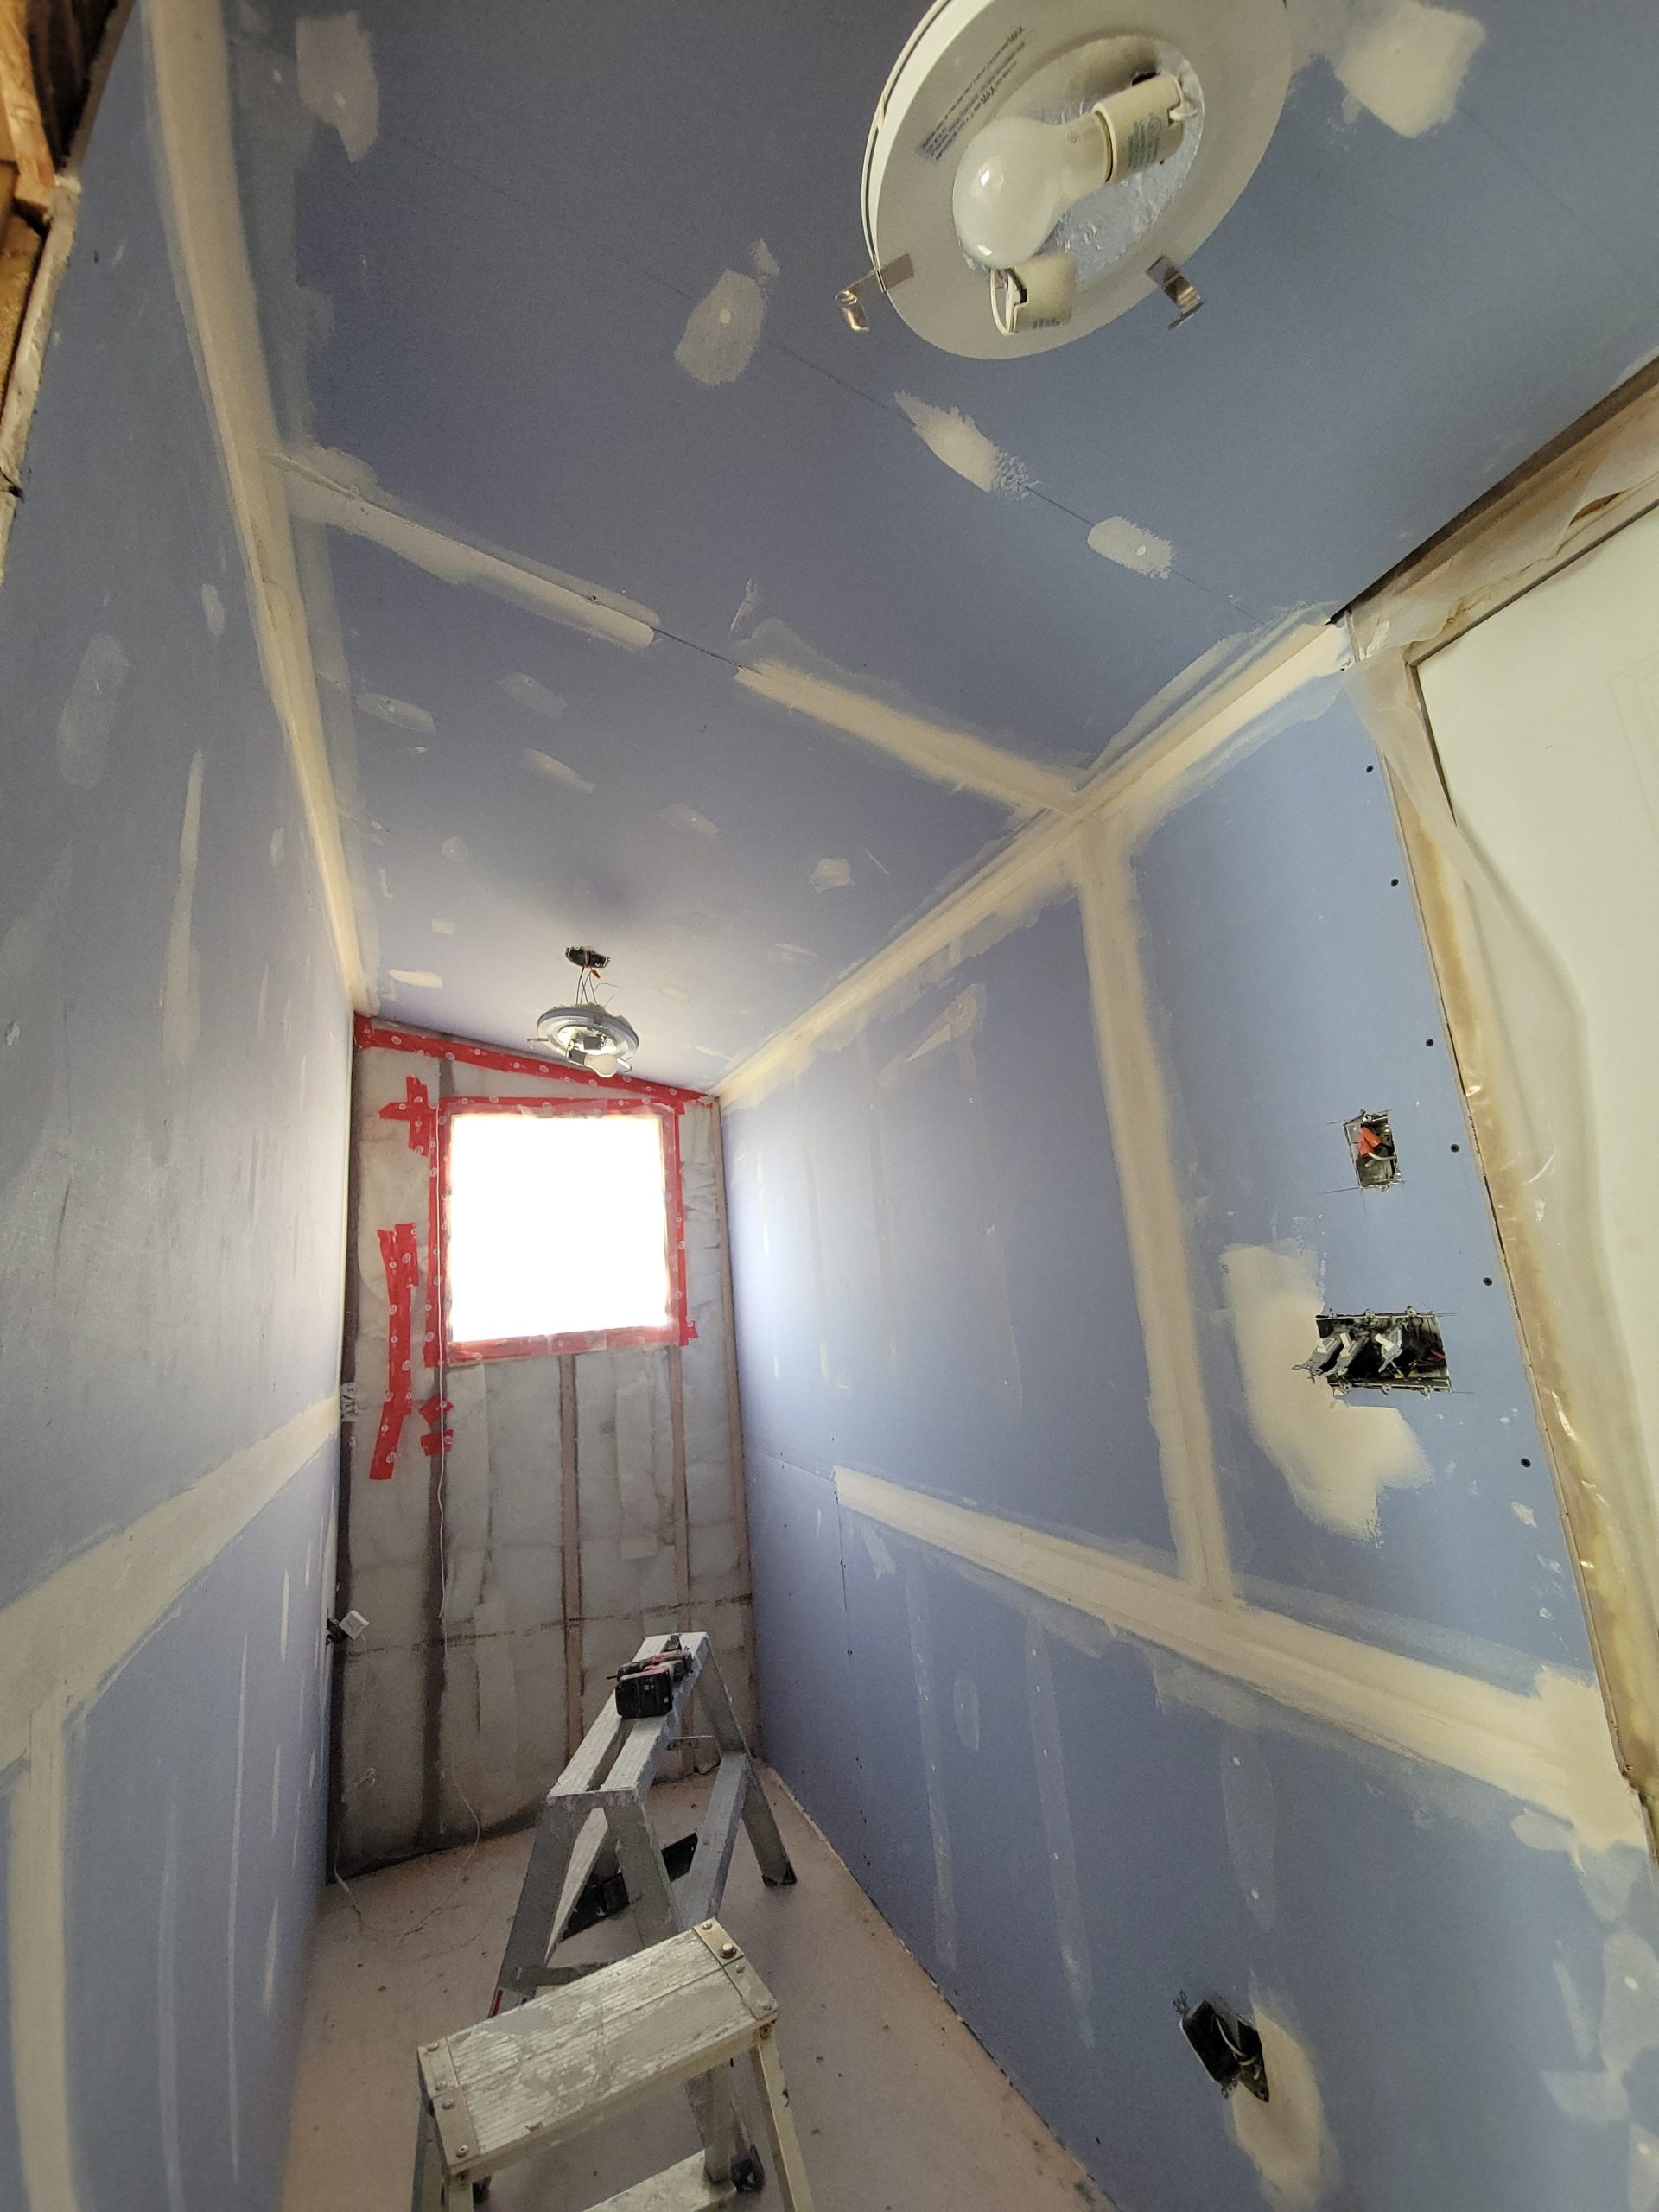
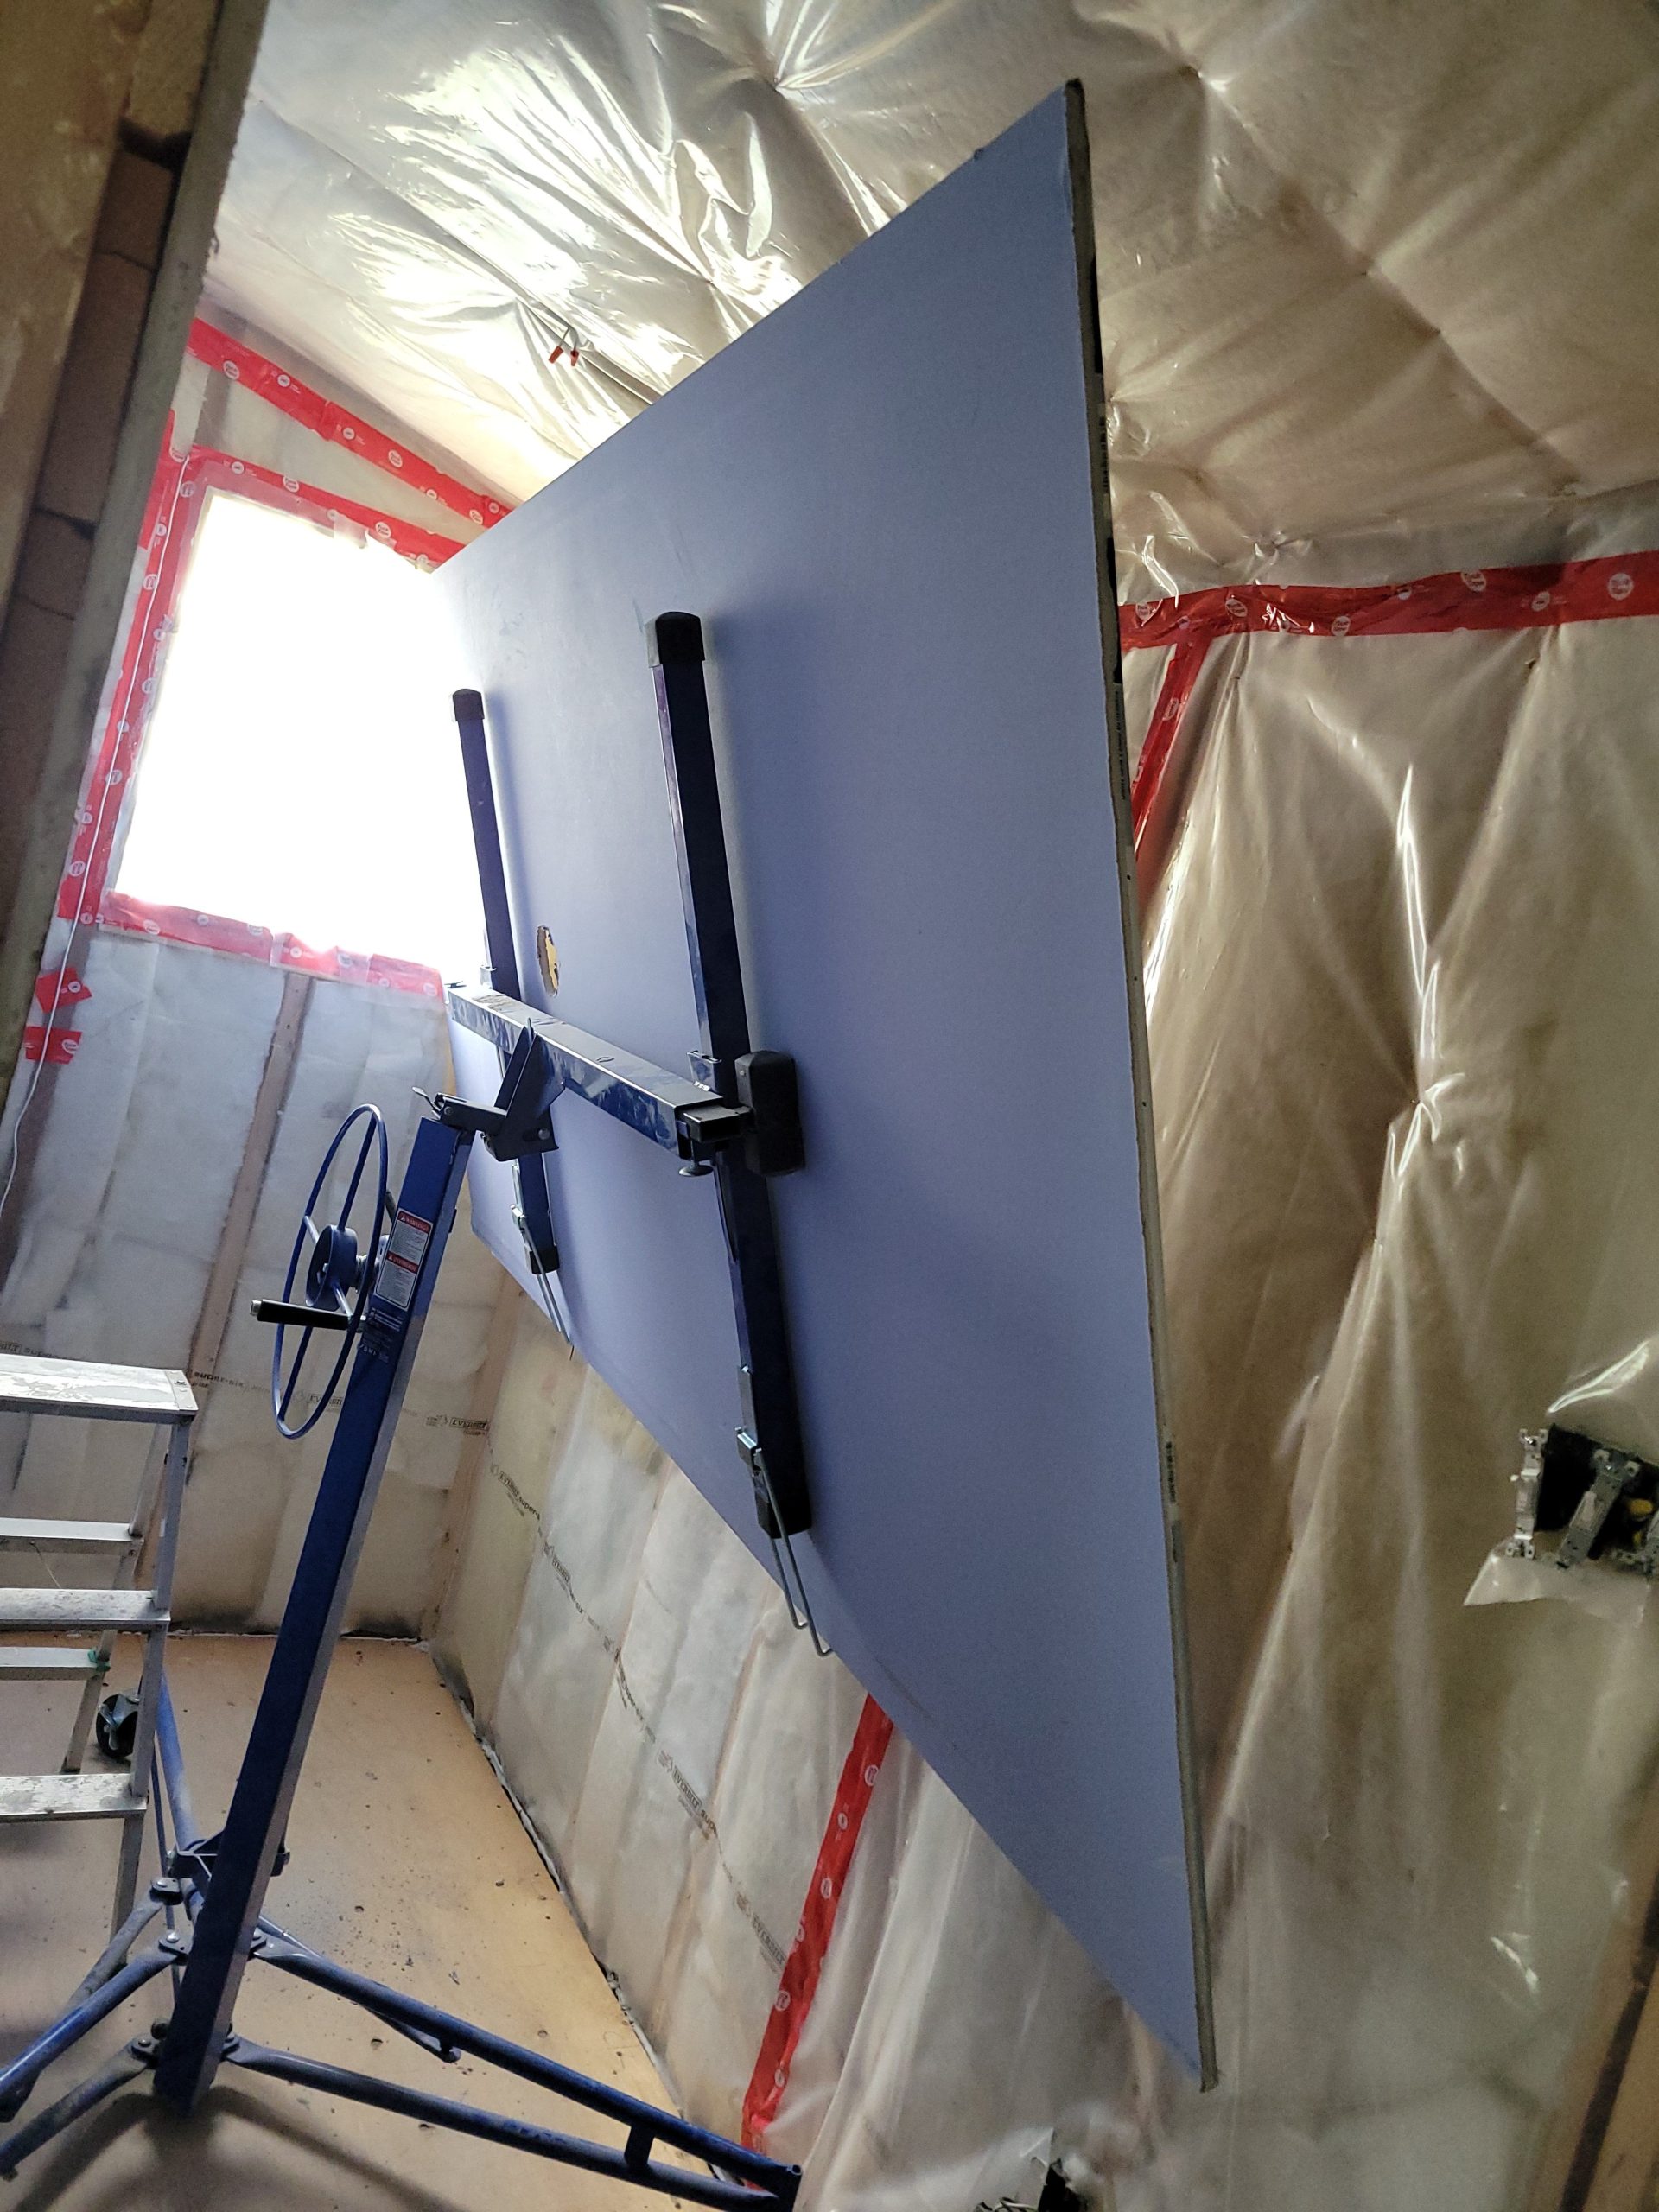
Neighbour Dave stated that the ceiling drywall should always go on first. However, the ceiling, as it is ‘vaulted’ (or, simply put, slanted), is more than 48 inches – it measured 49½ inches. This means that, in my view, the walls should be done first and brought to the top (which was 47 inches on one side), and the ceiling put in later. We agreed to disagree.
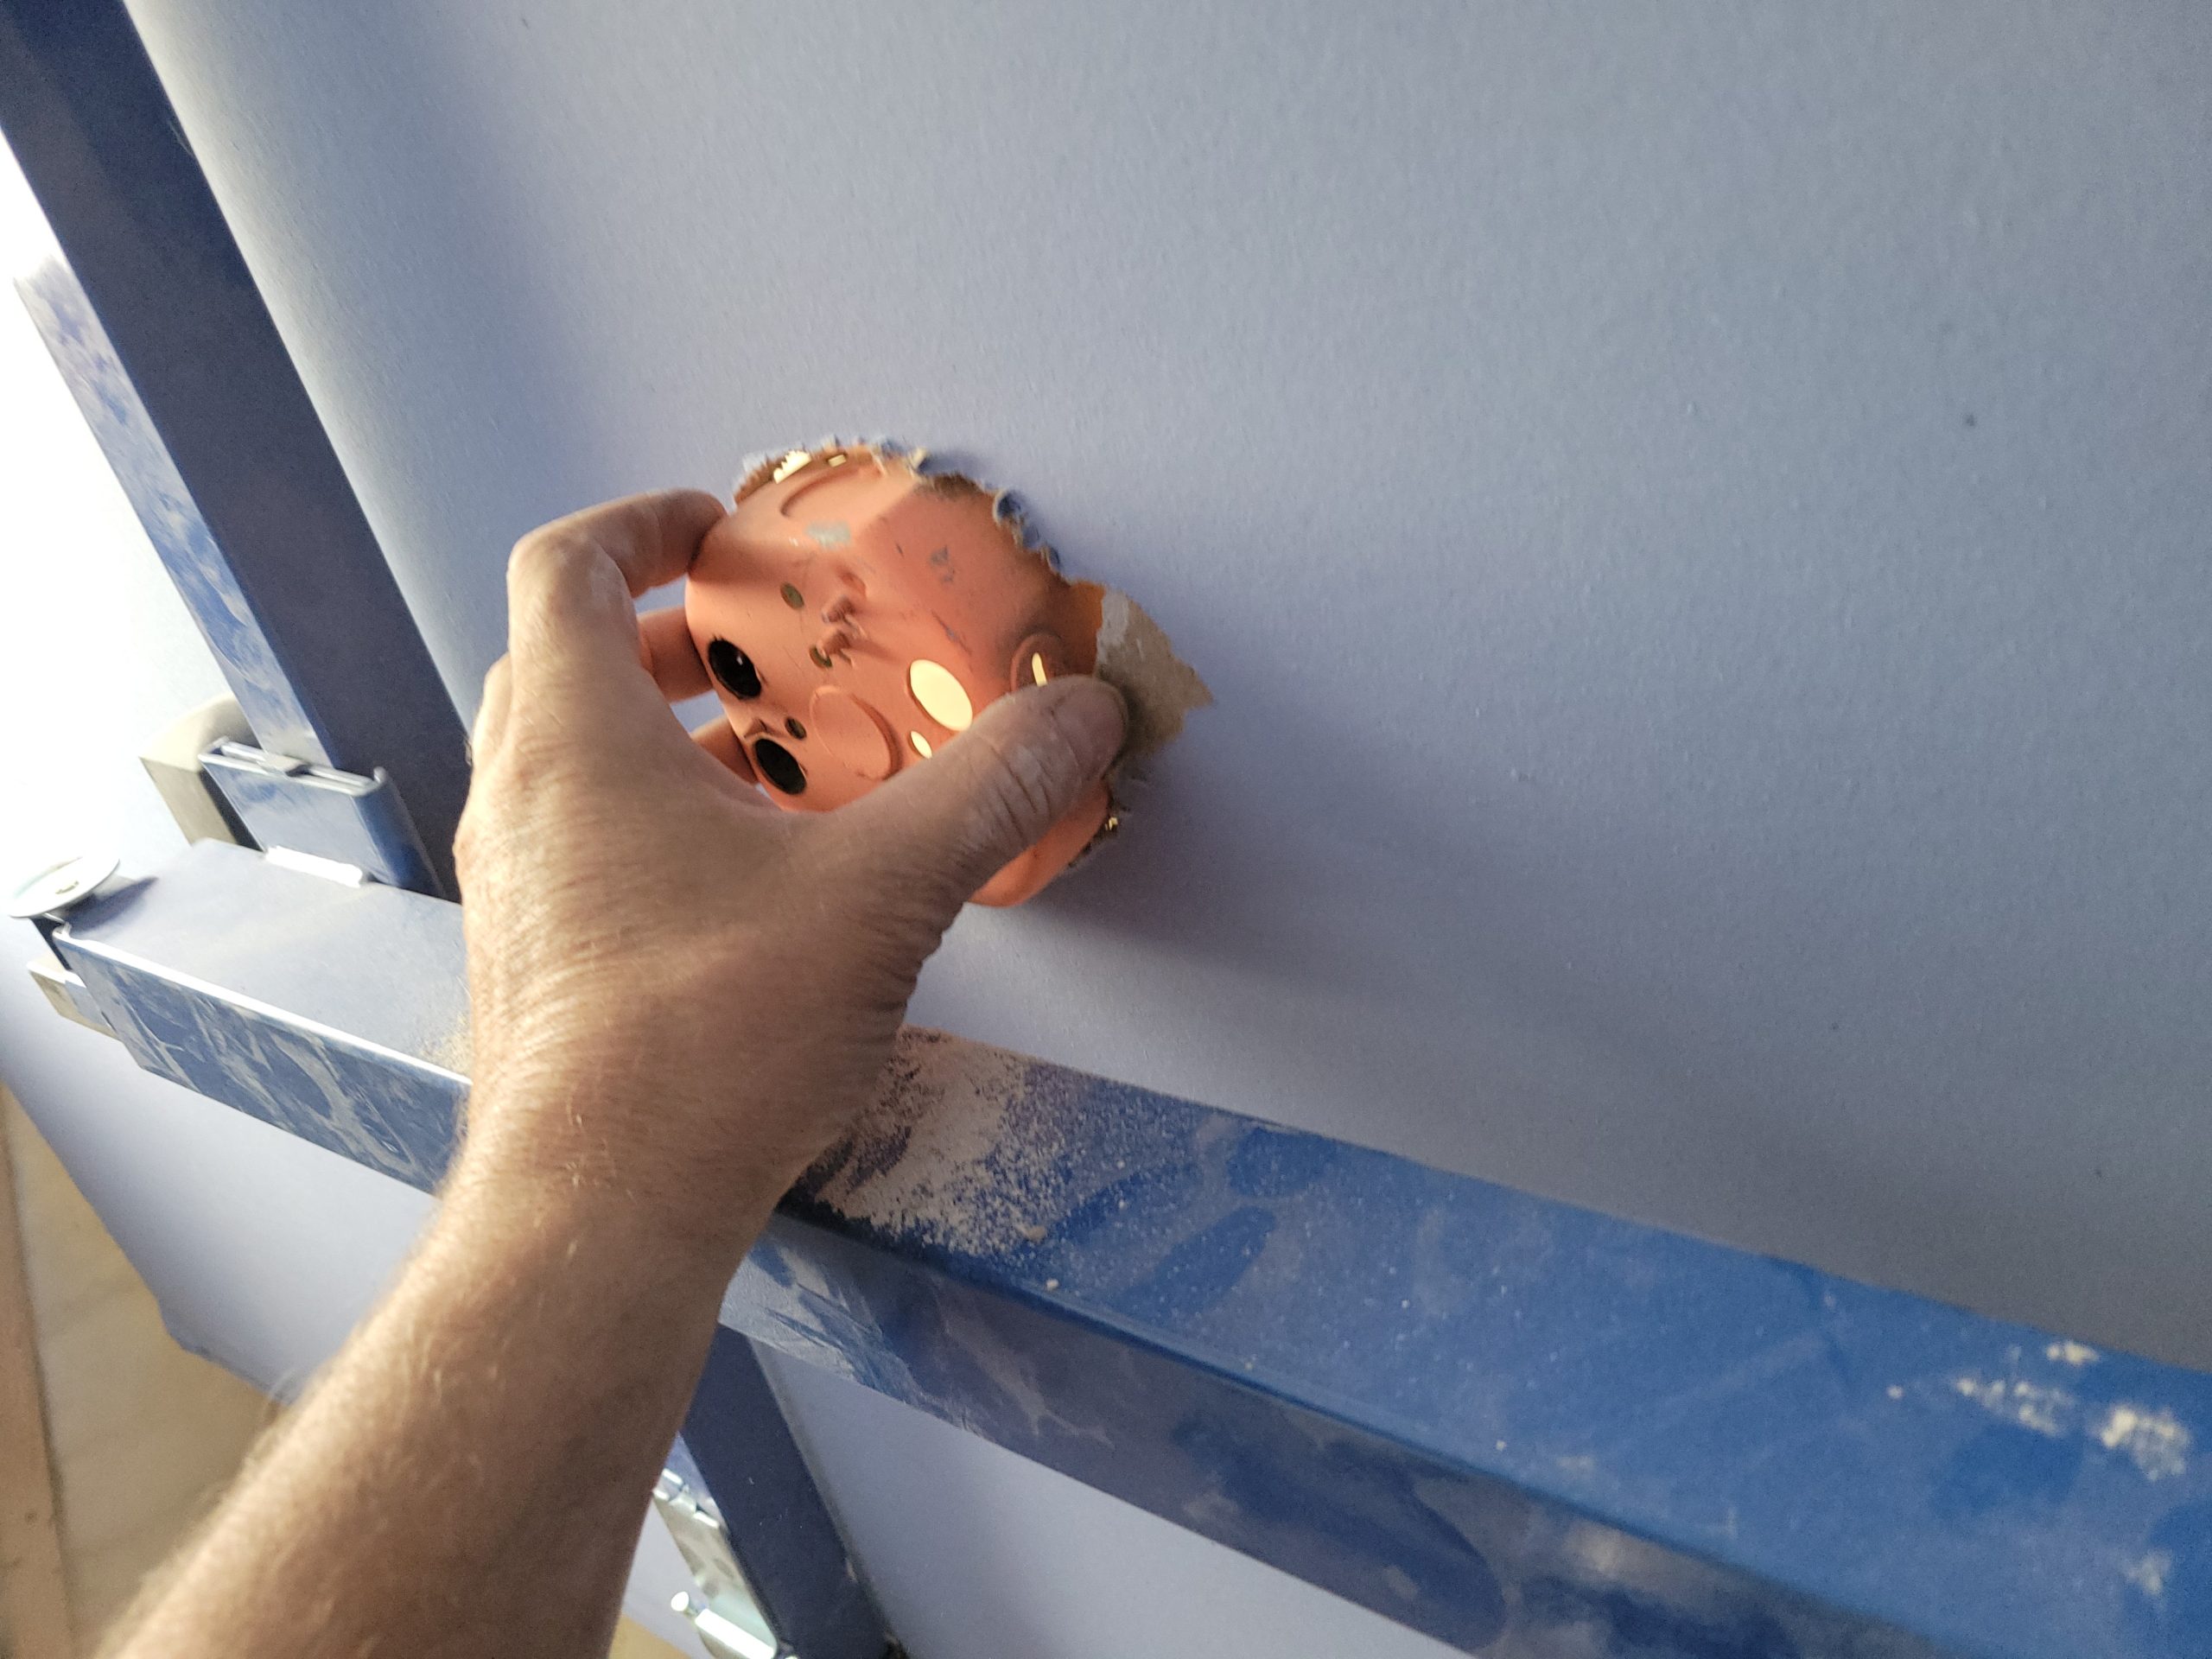
I cut a hole for the light and, with some effort, put up the first slanted sheet, leaving >½” for the next wall.
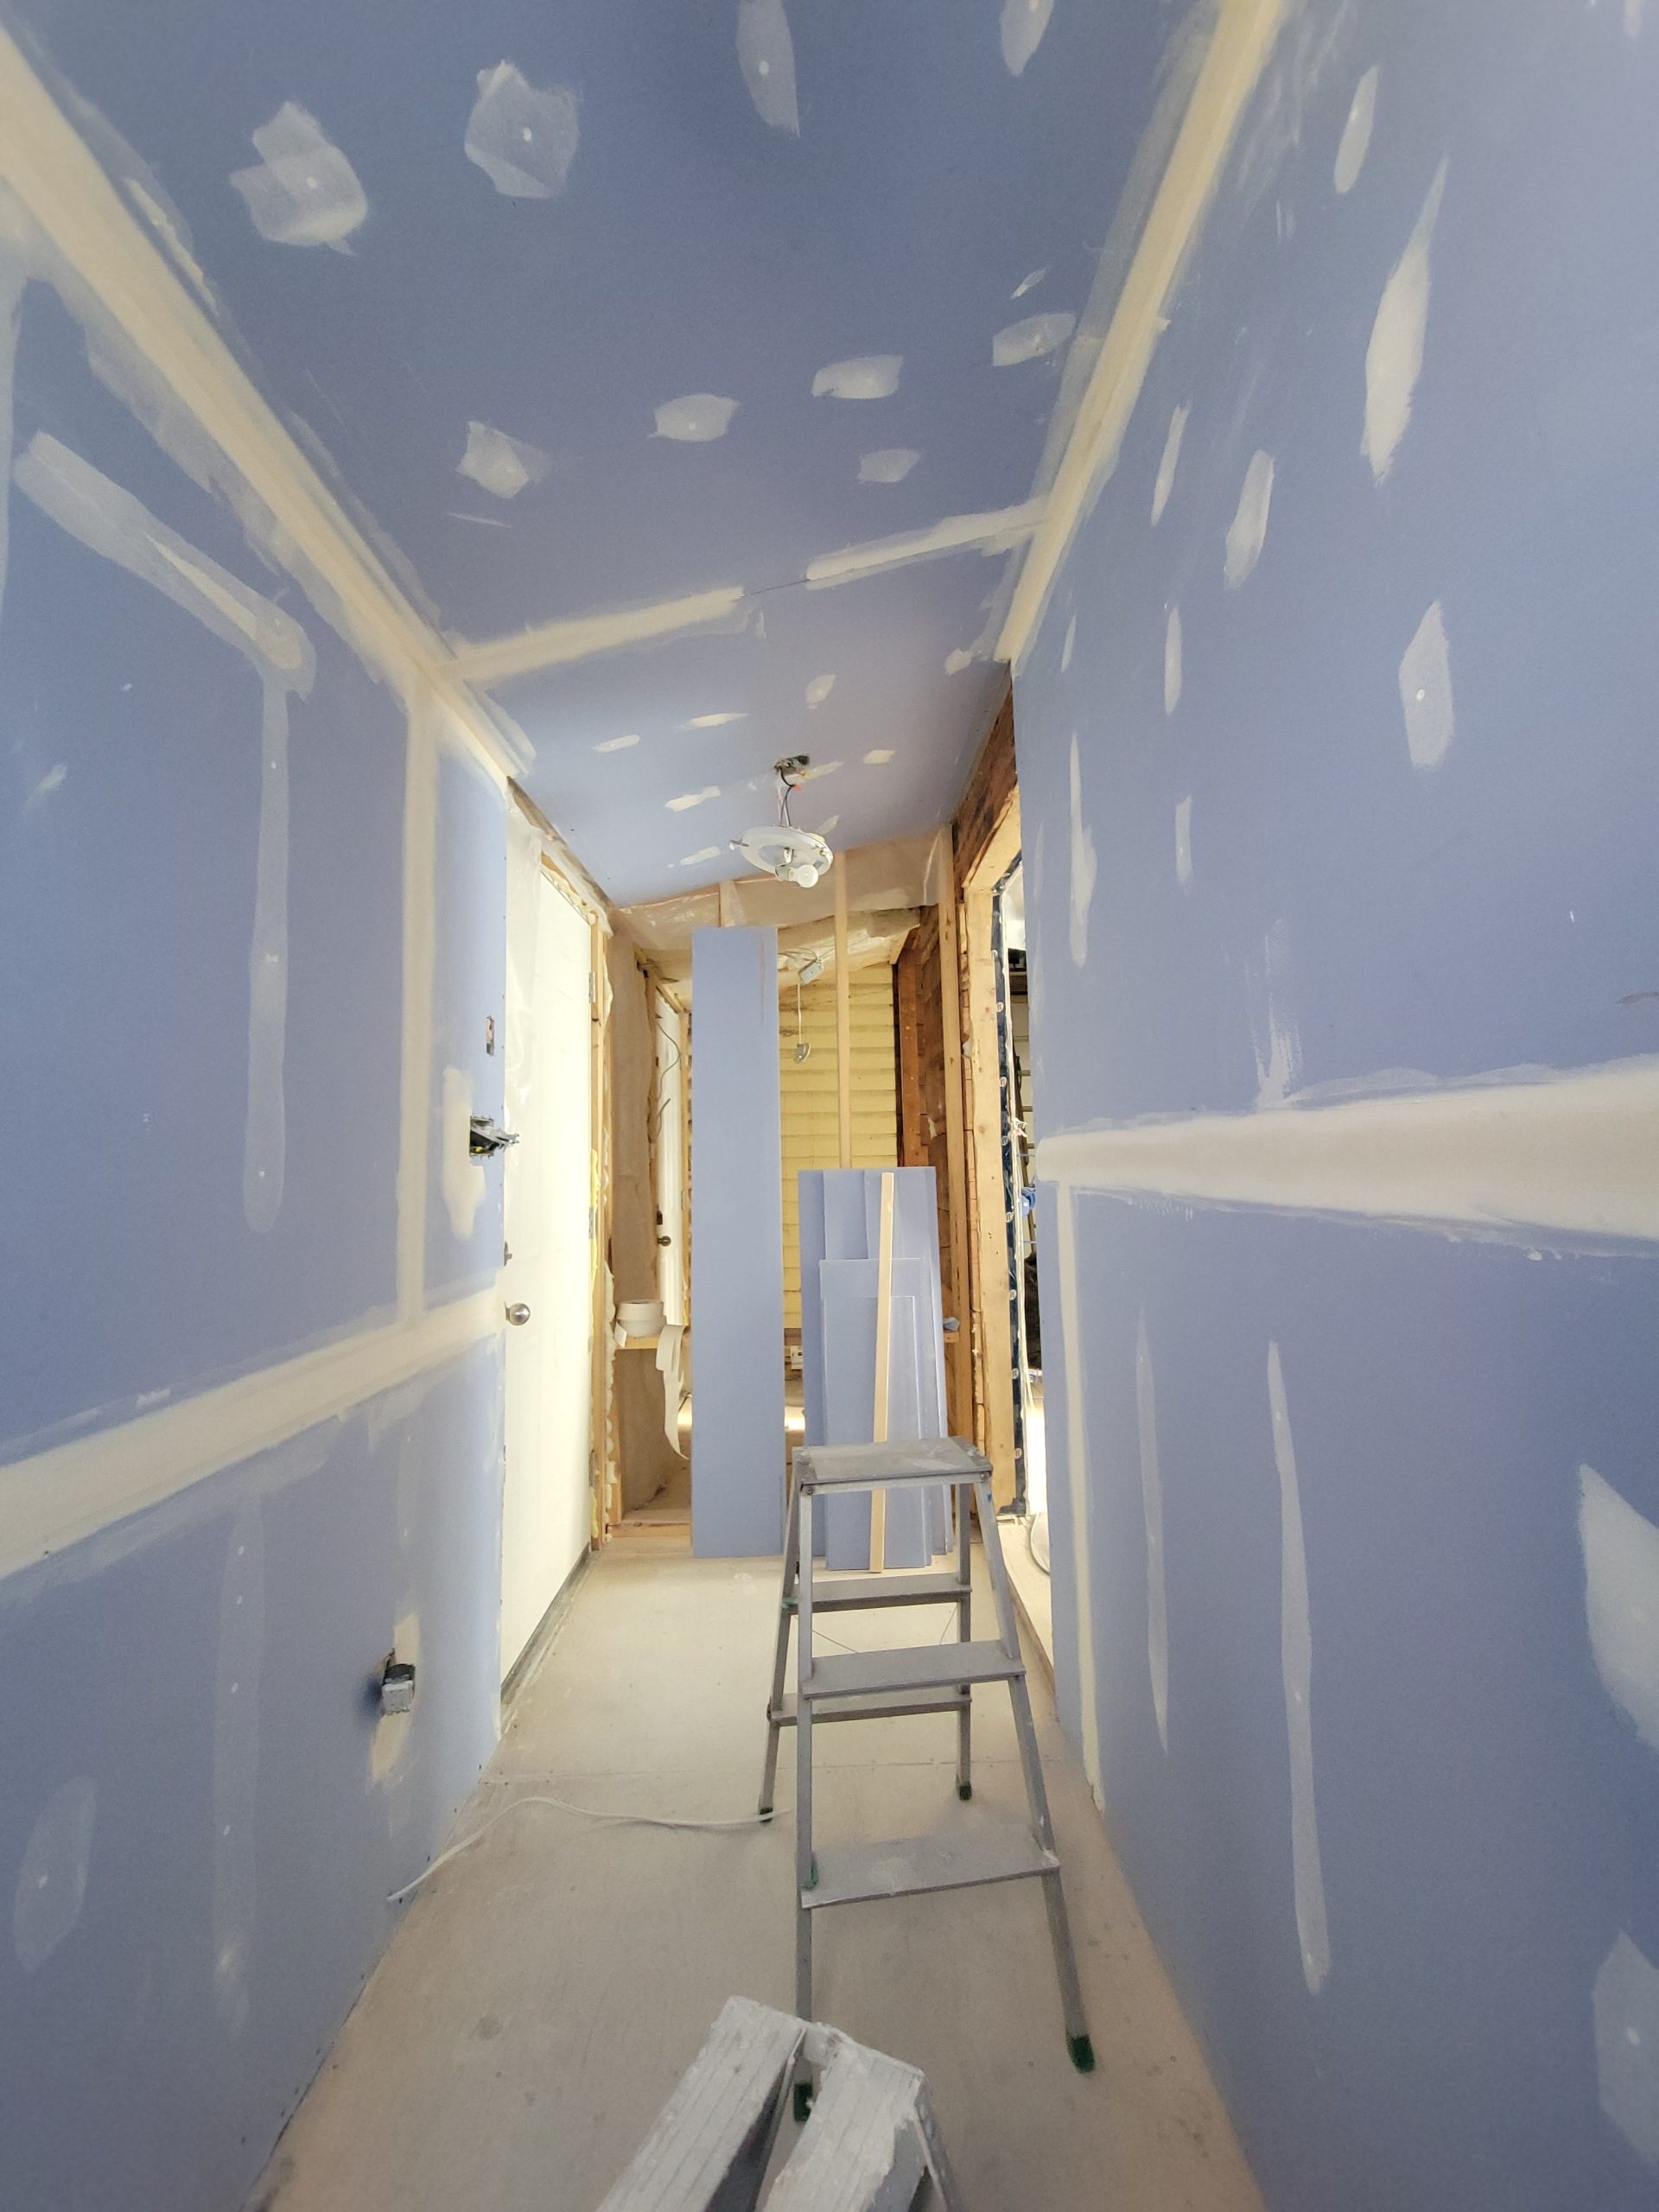
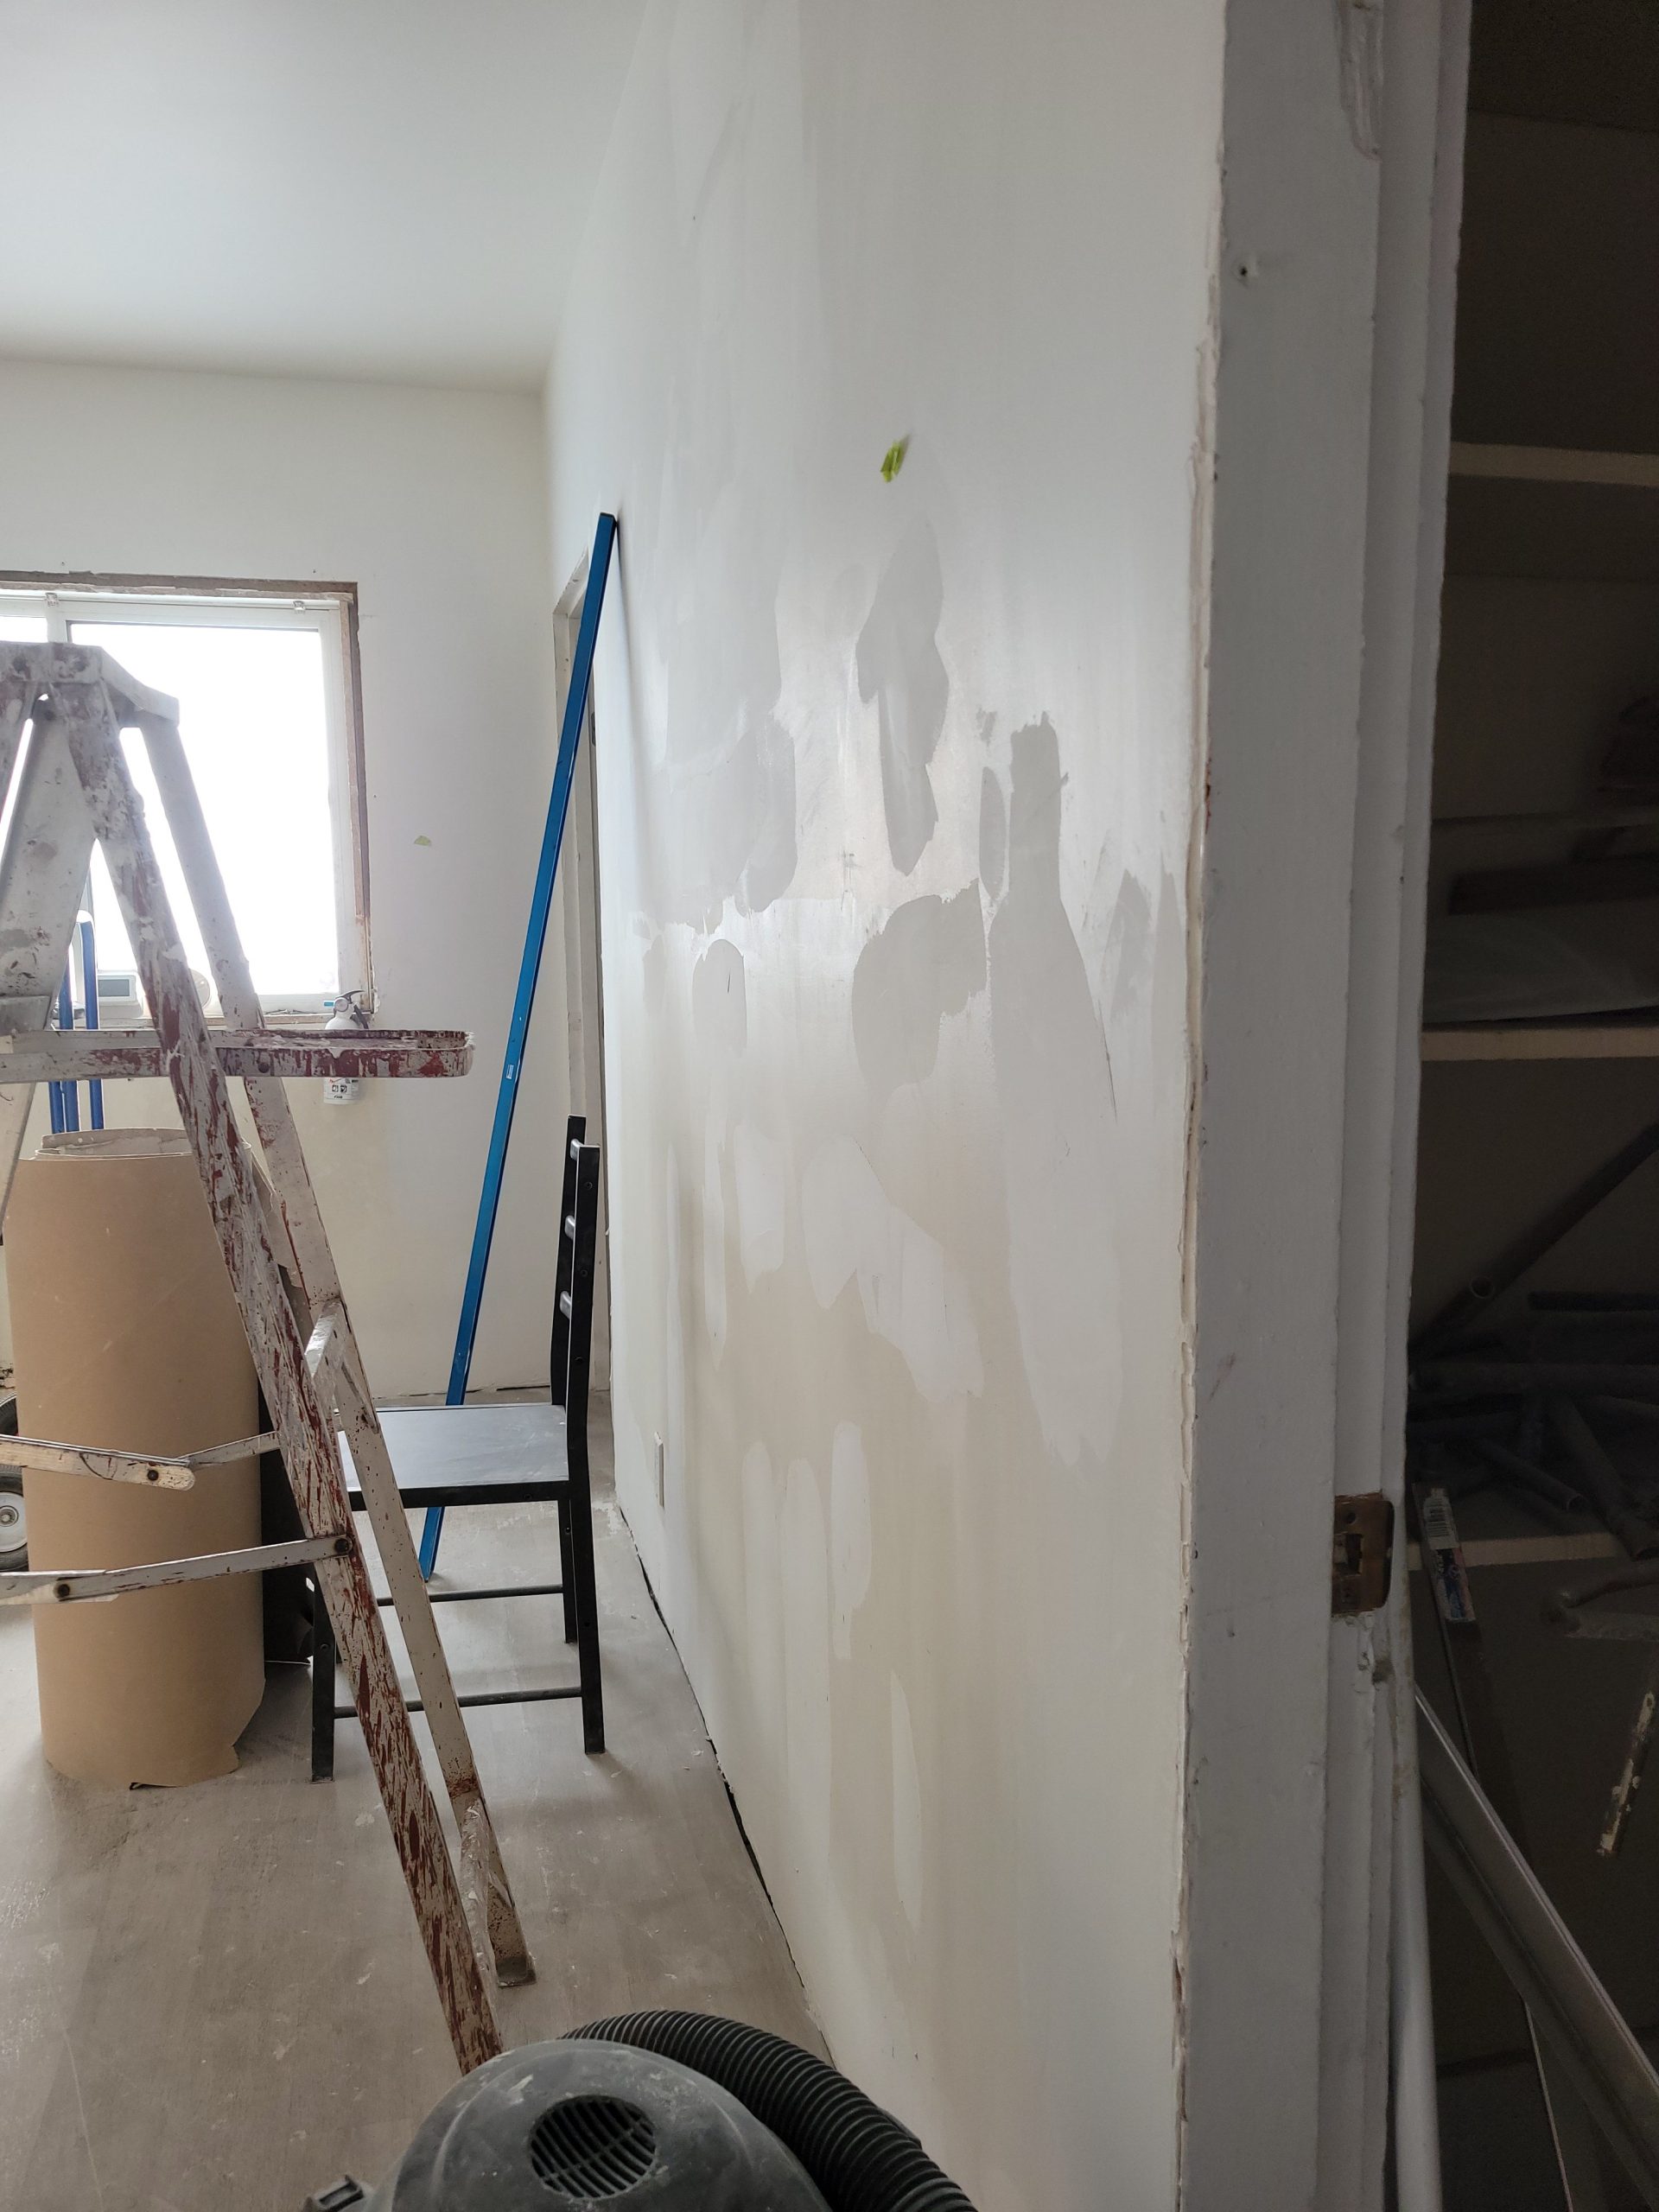
Dave, meanwhile, continued with fine-tuning the mud.
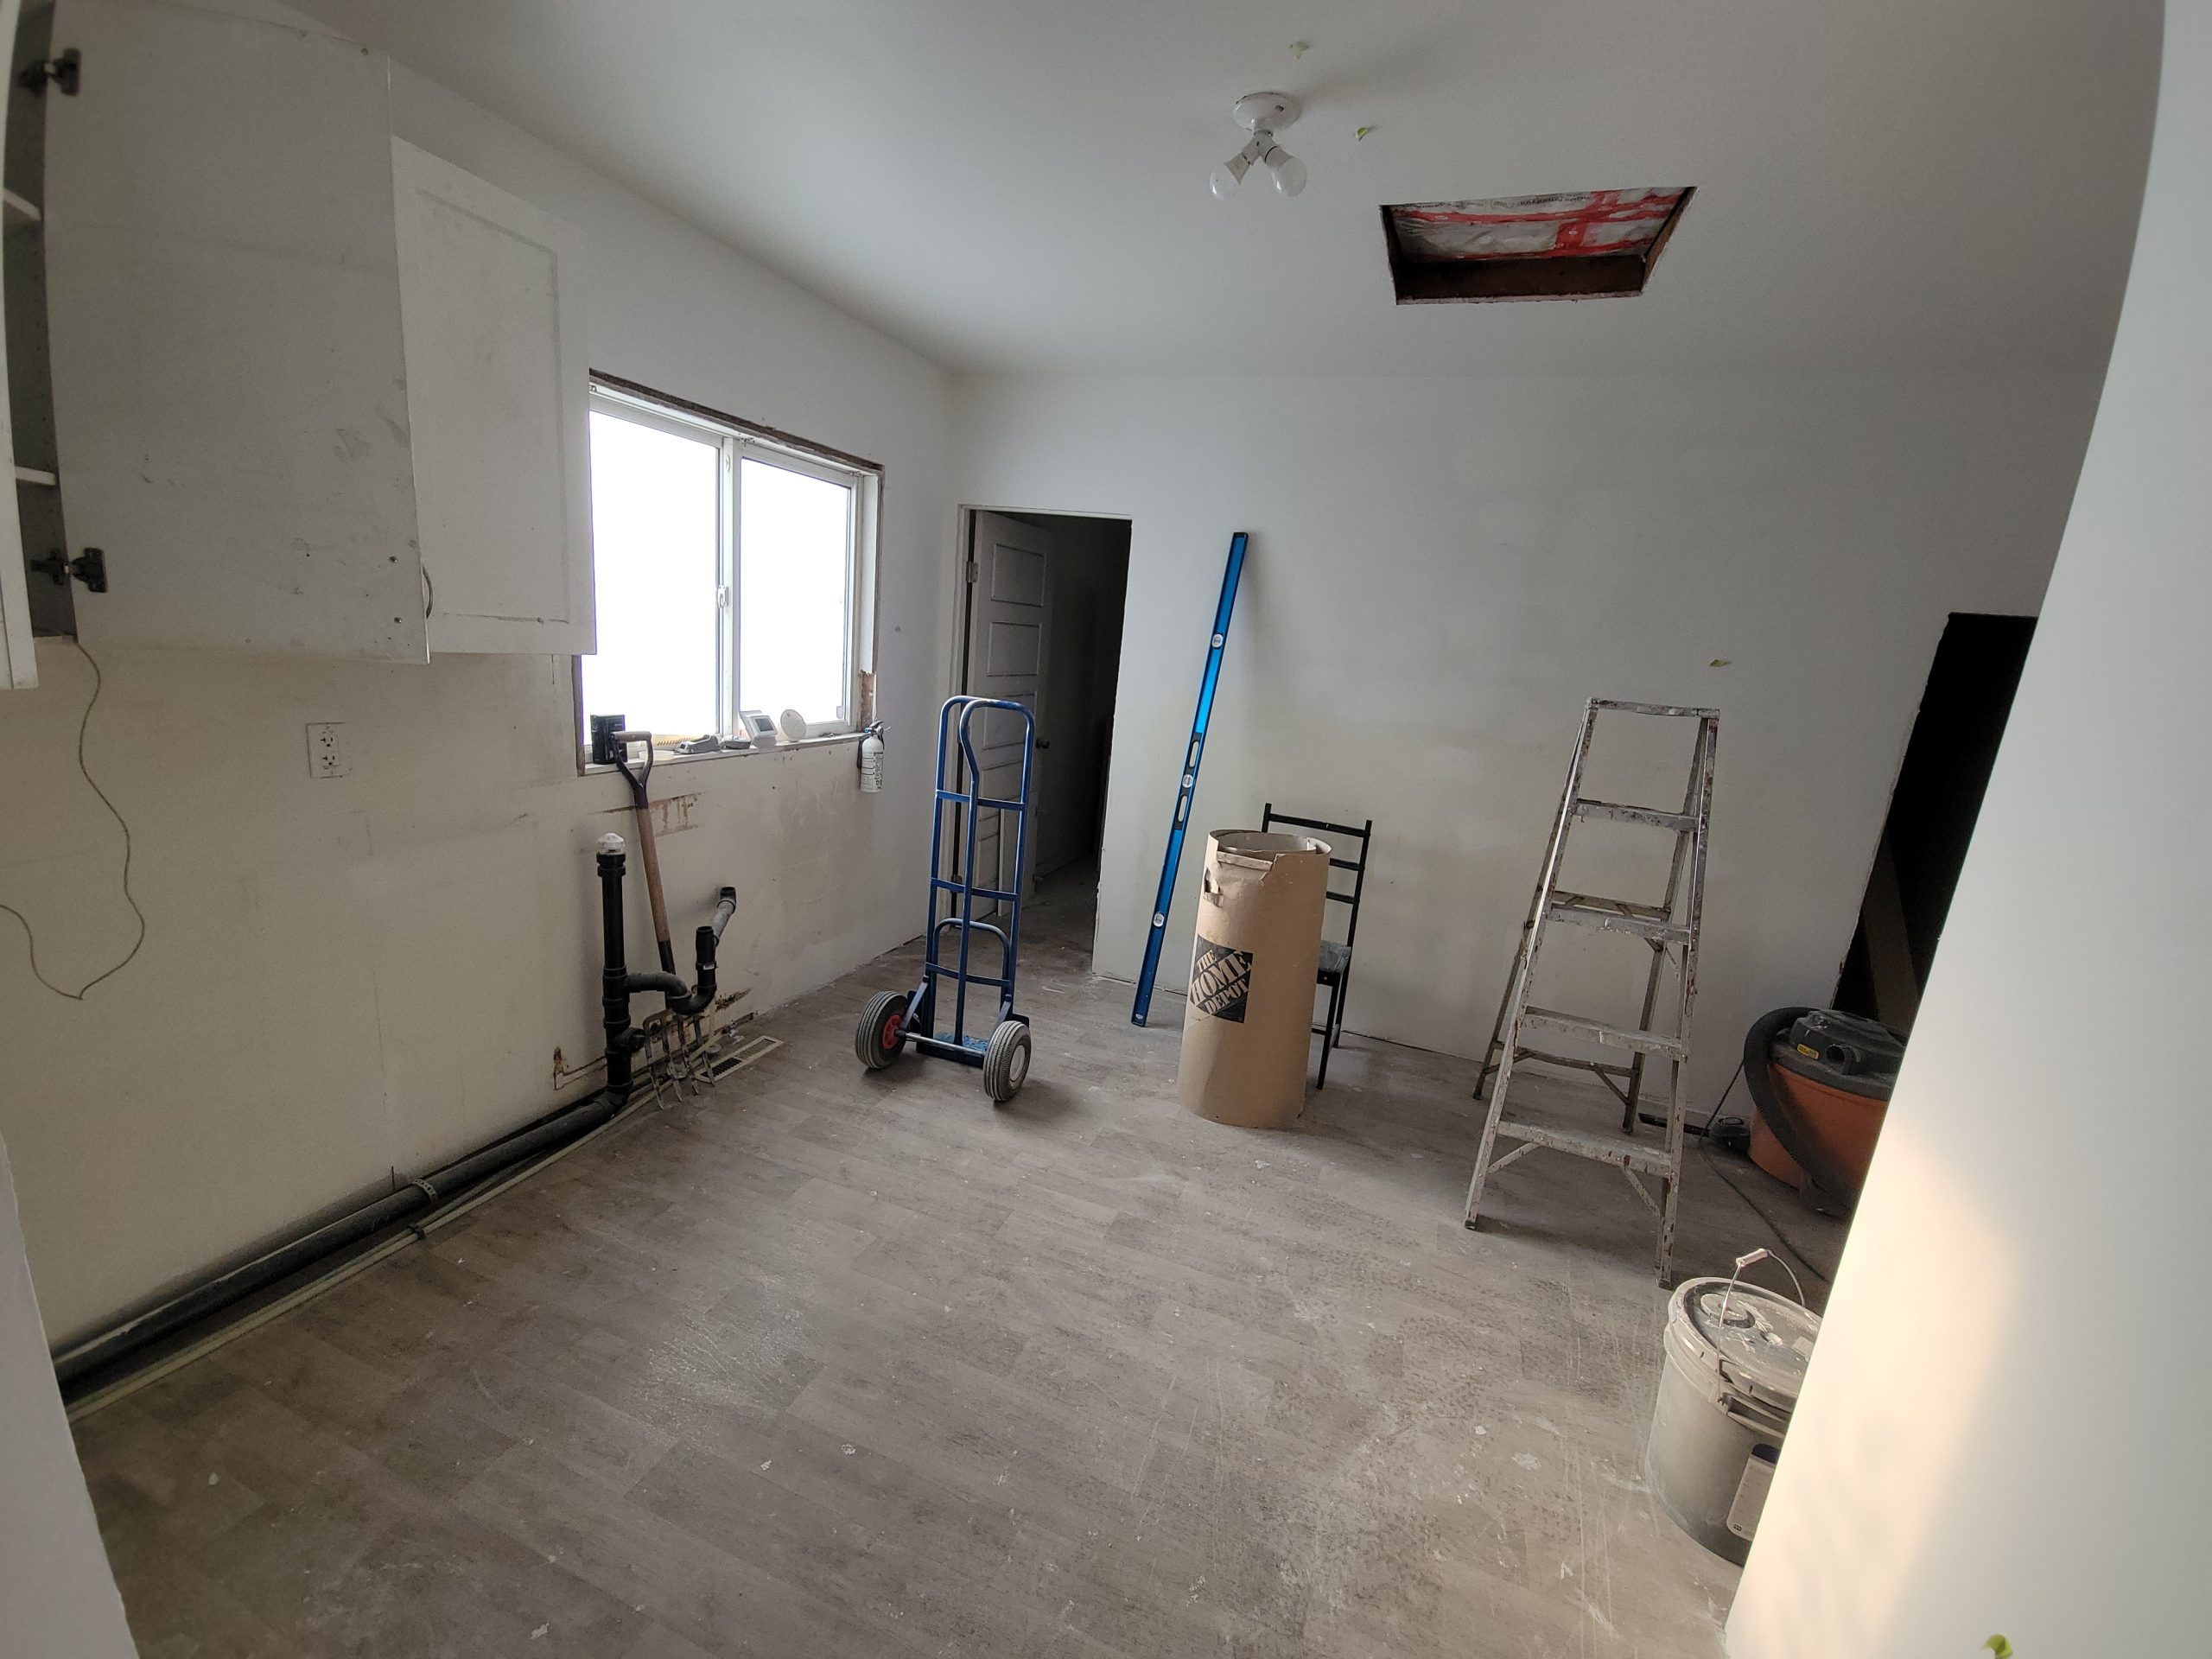
Later, the short wall was put up and taped. More mudding when the tape mud dries.