These guys!

projects on the go
These guys!
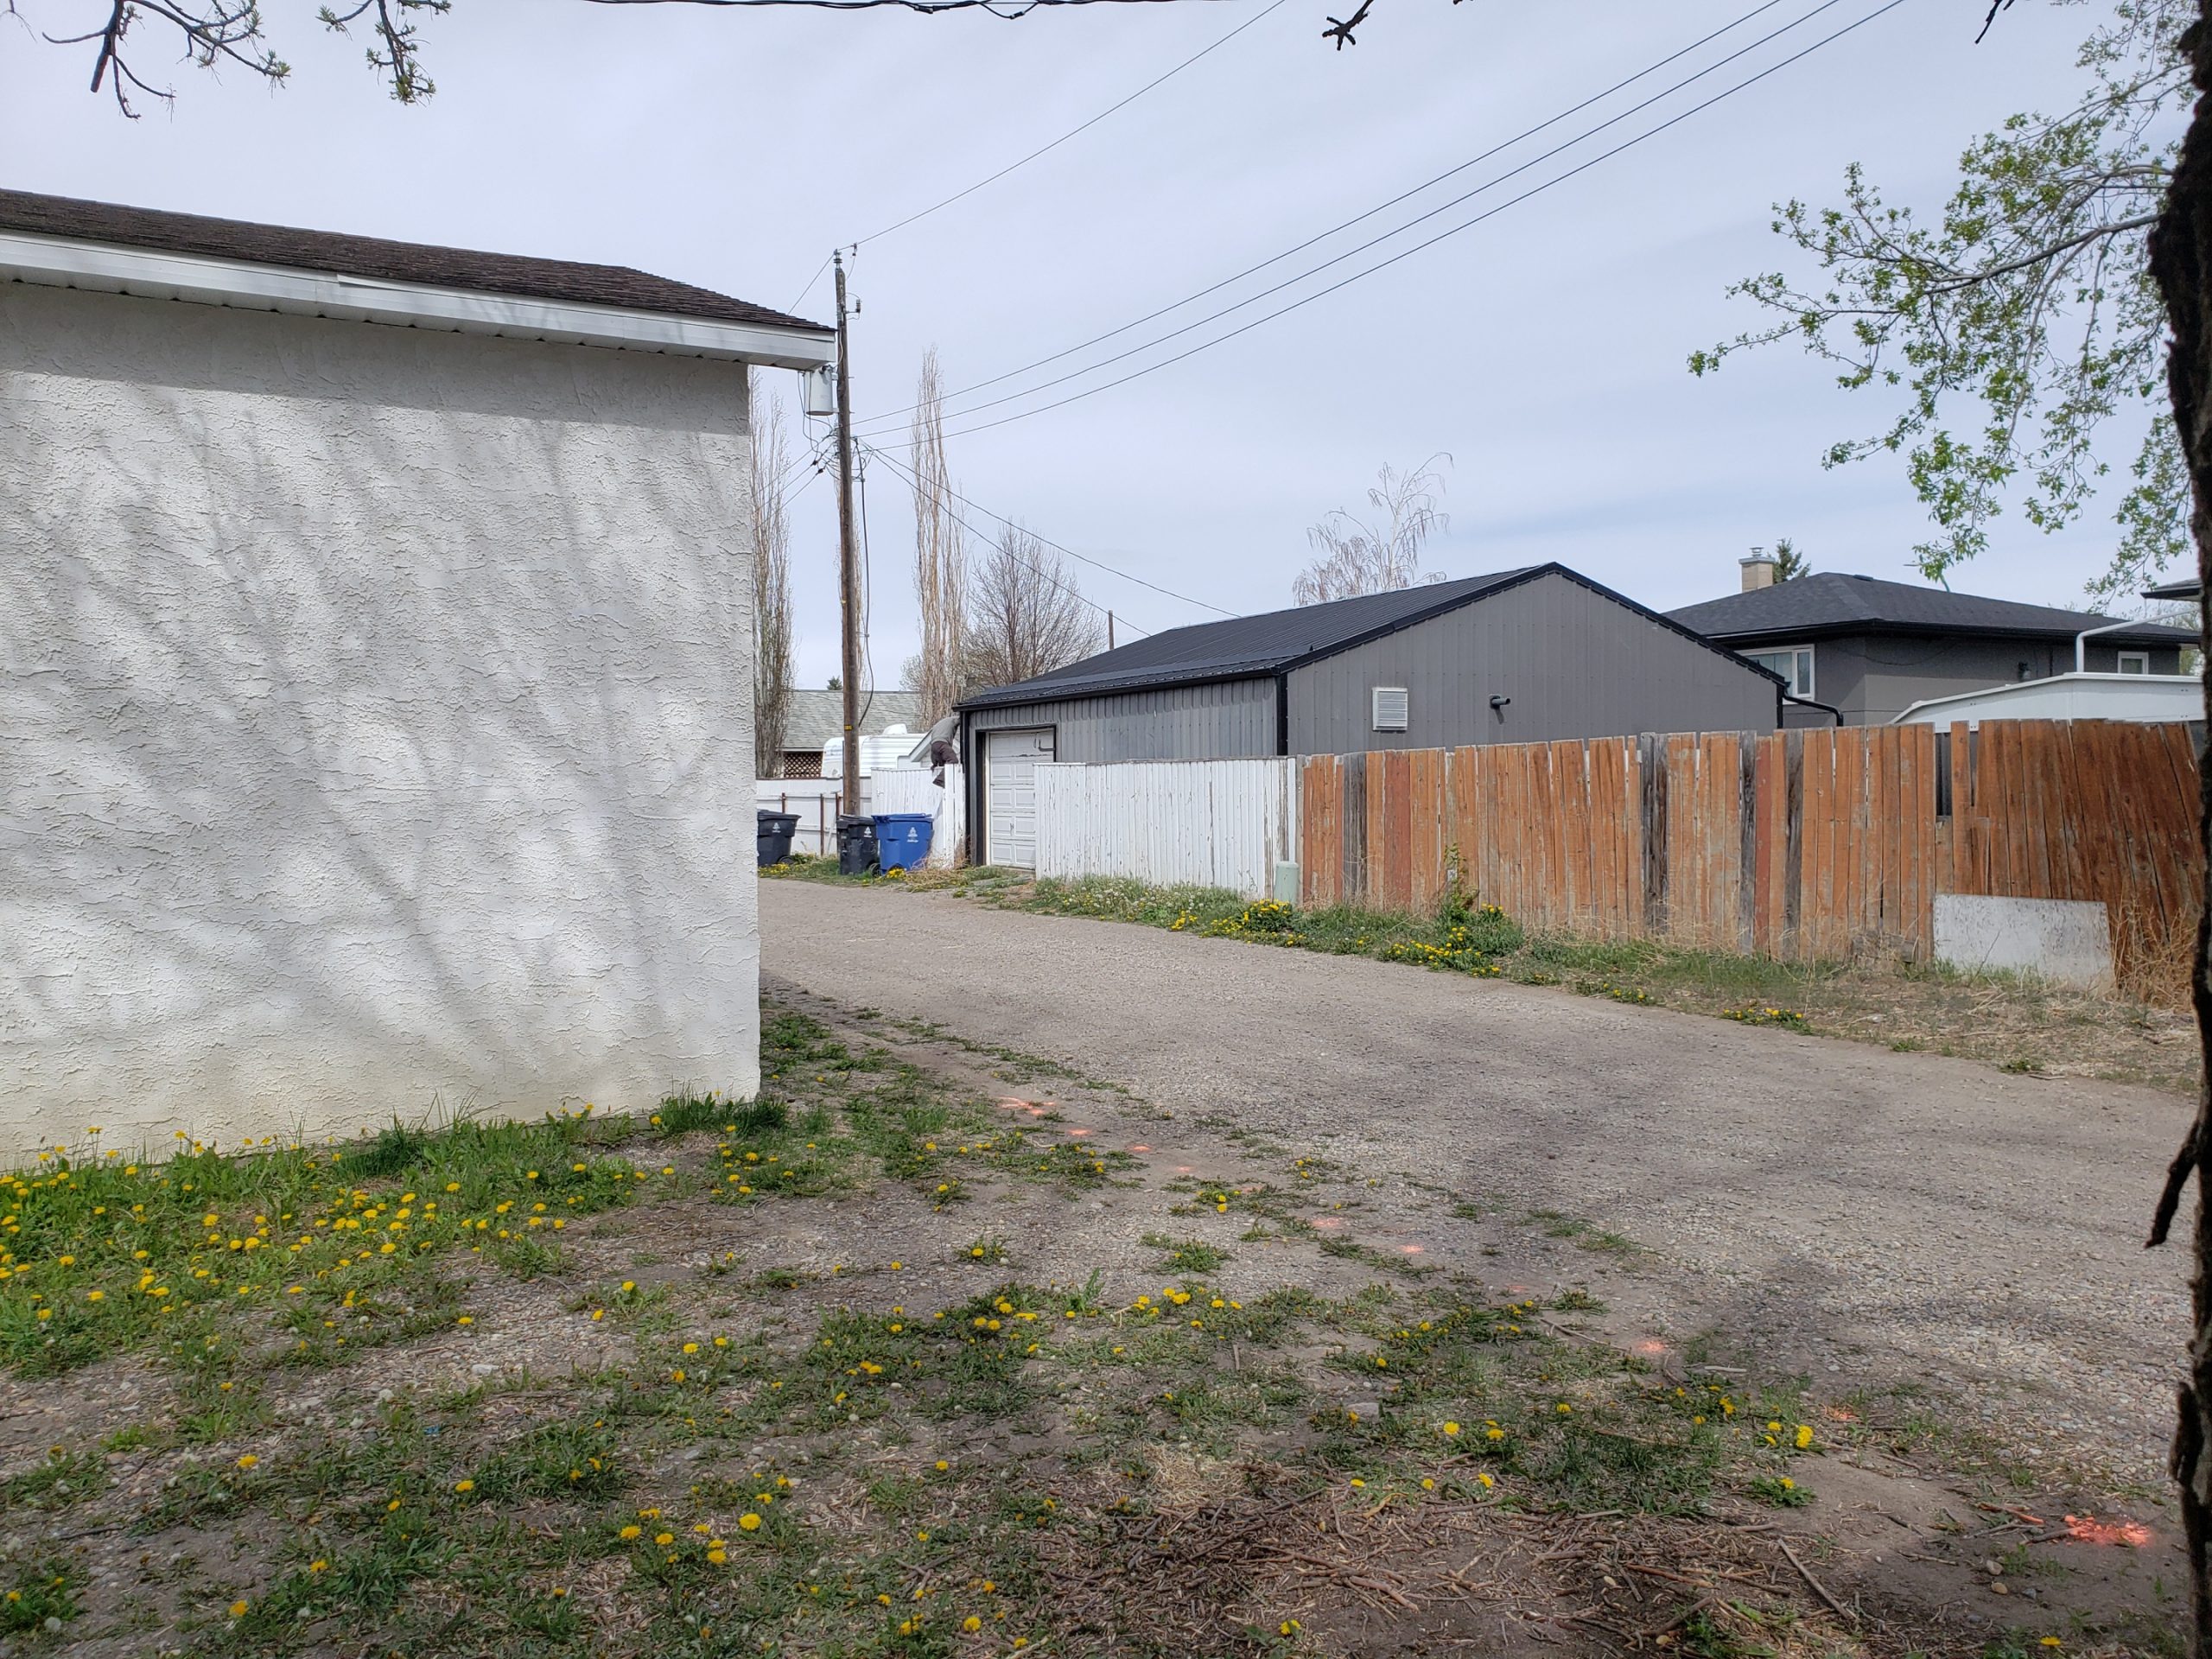
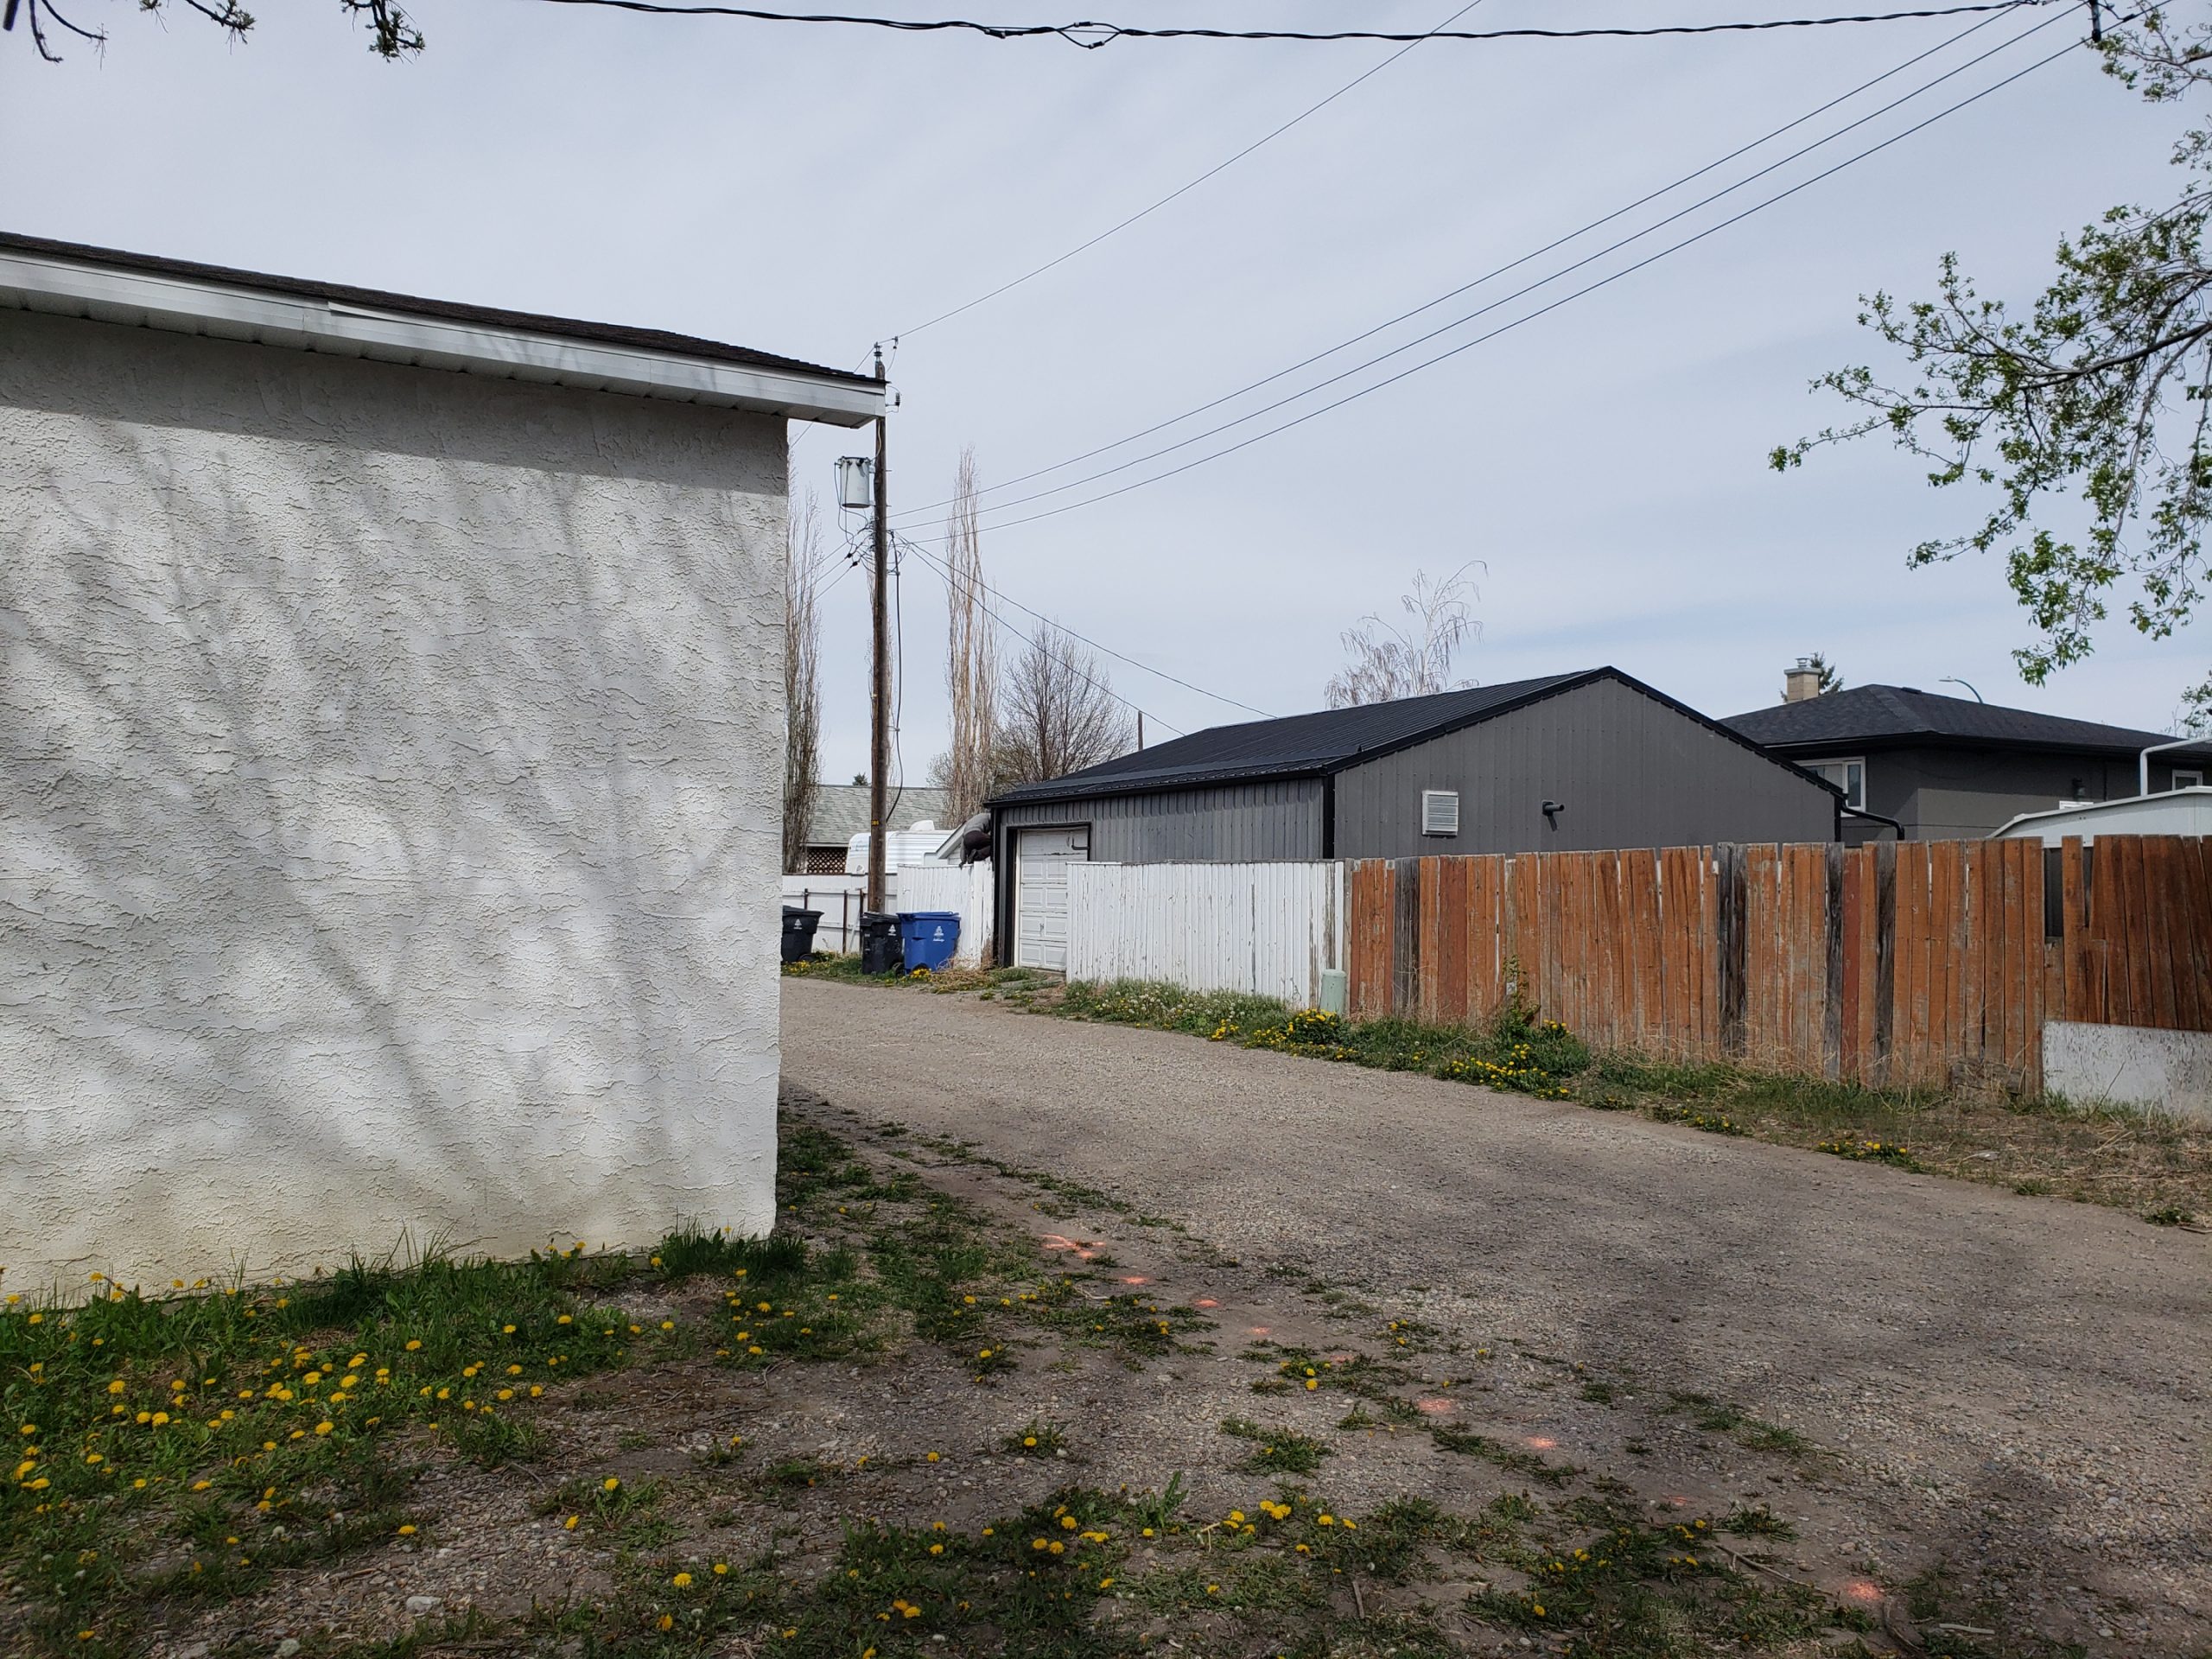
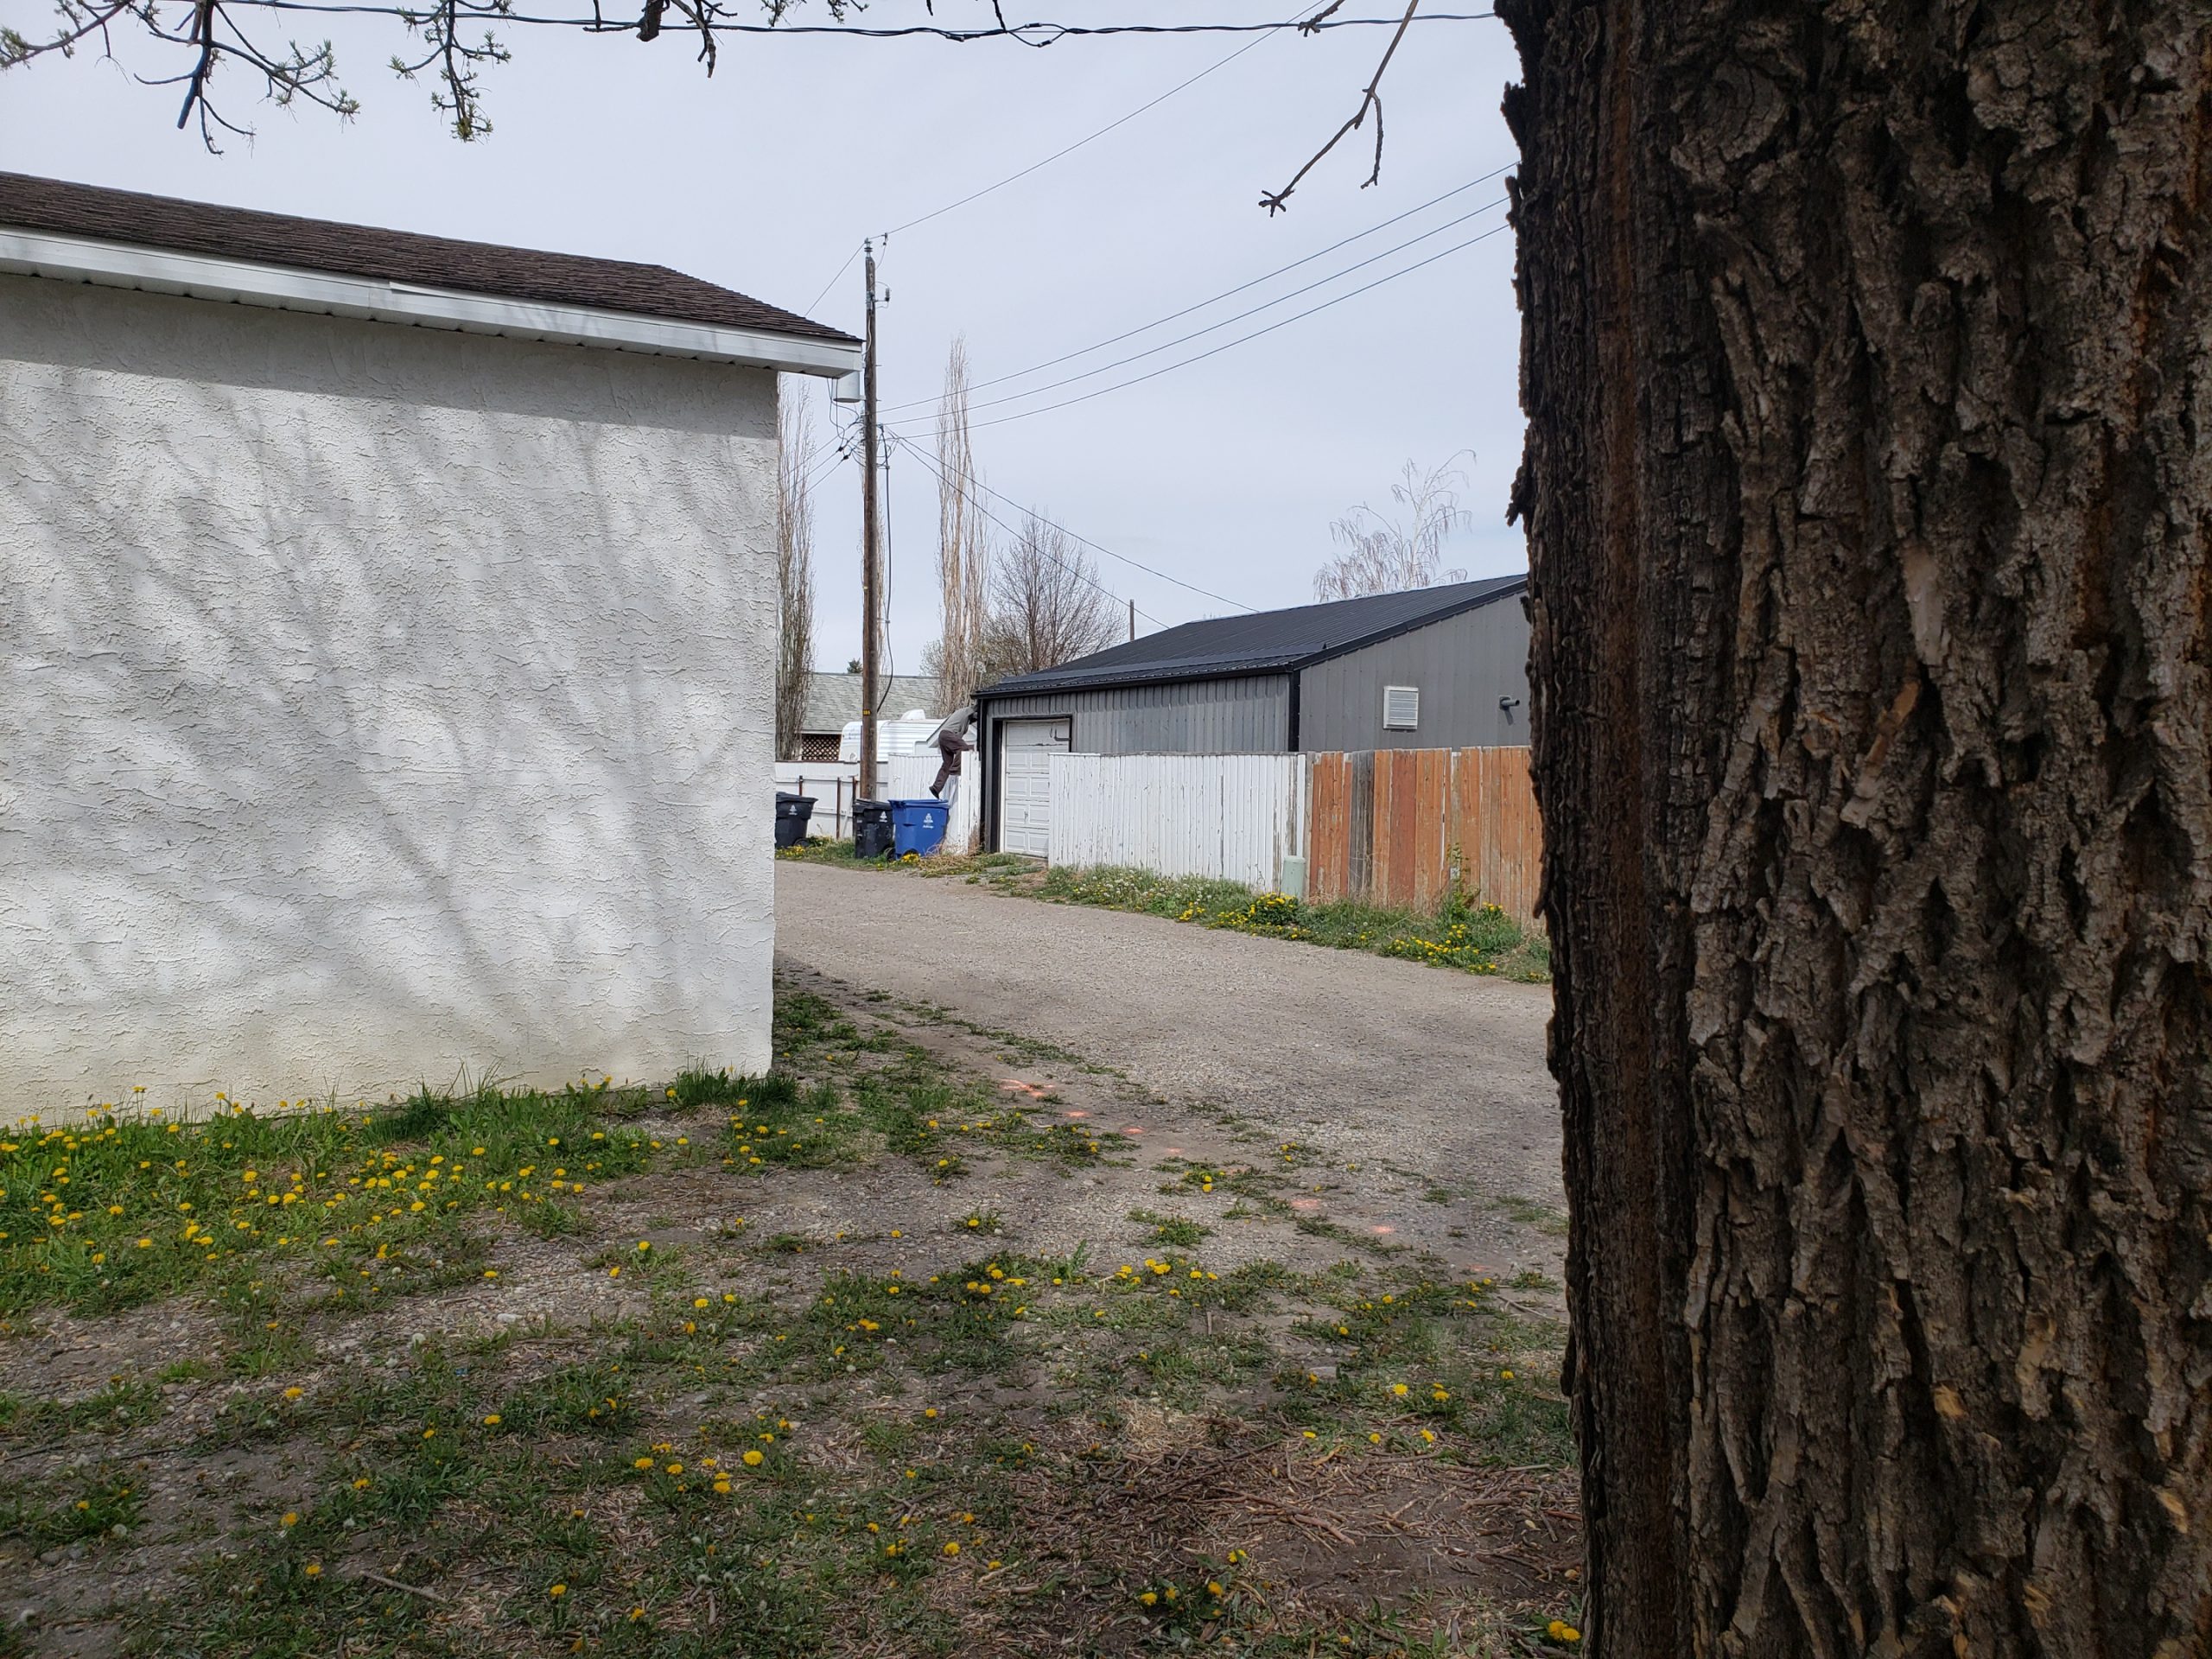
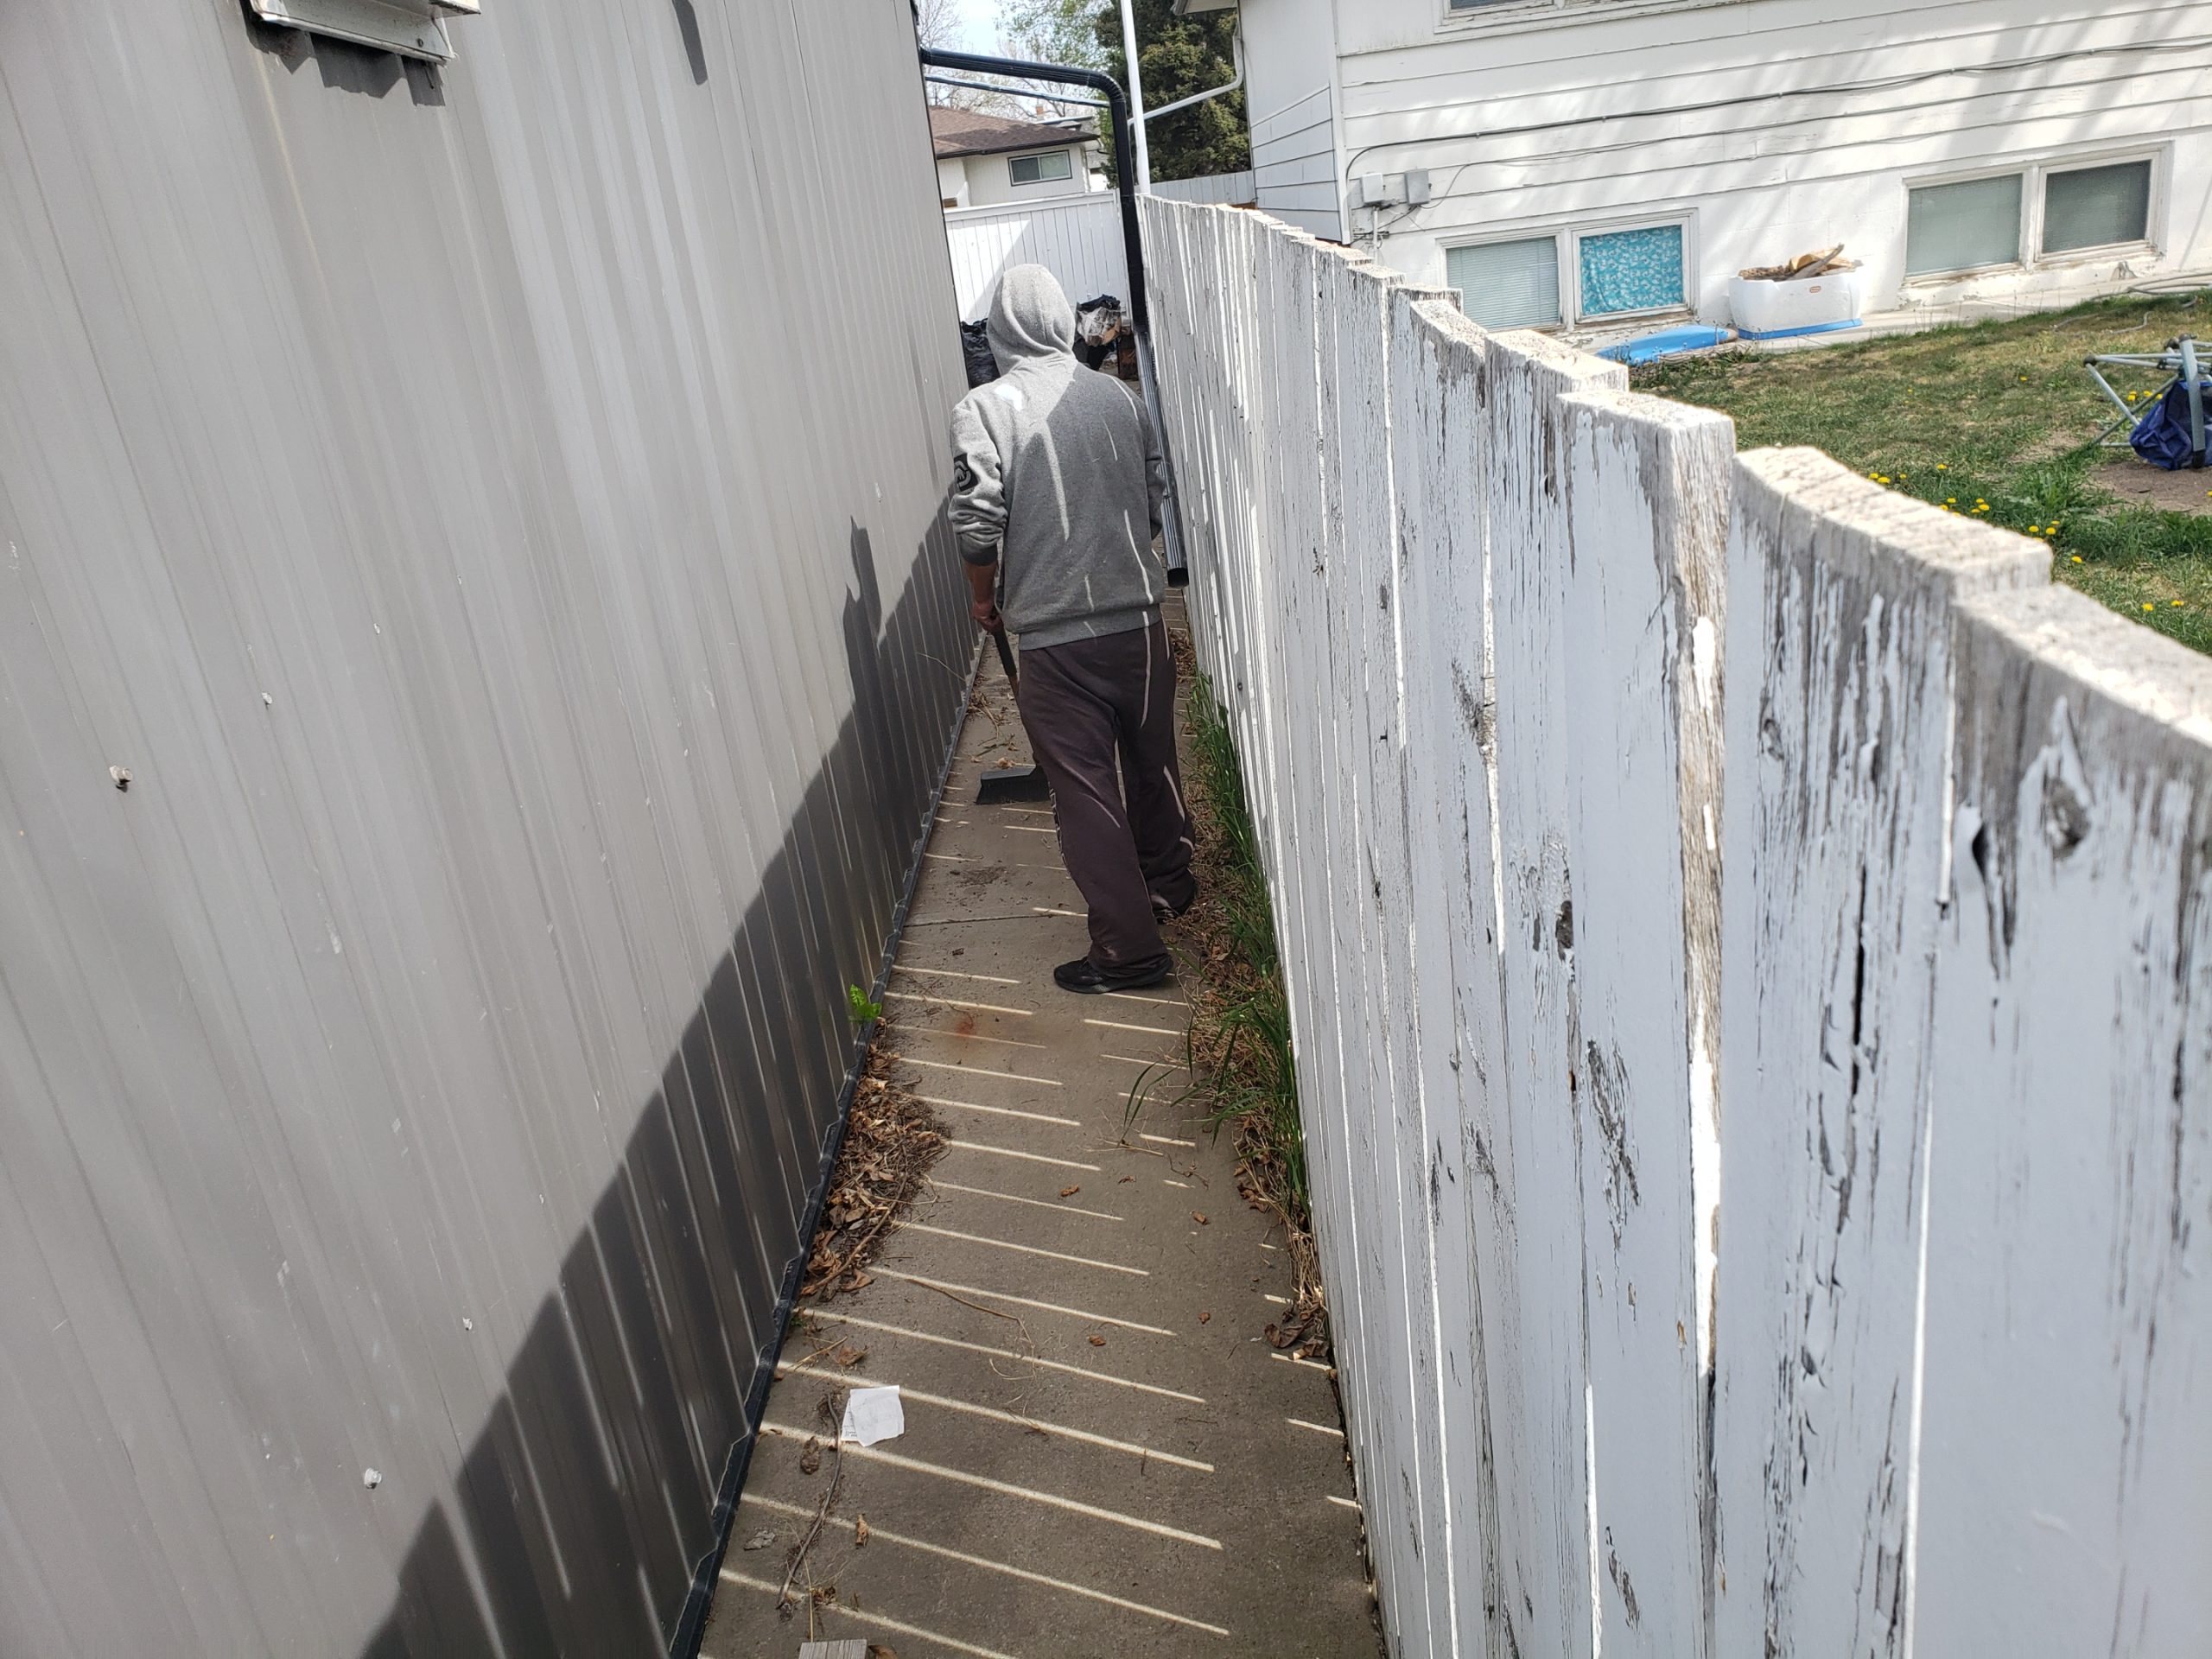
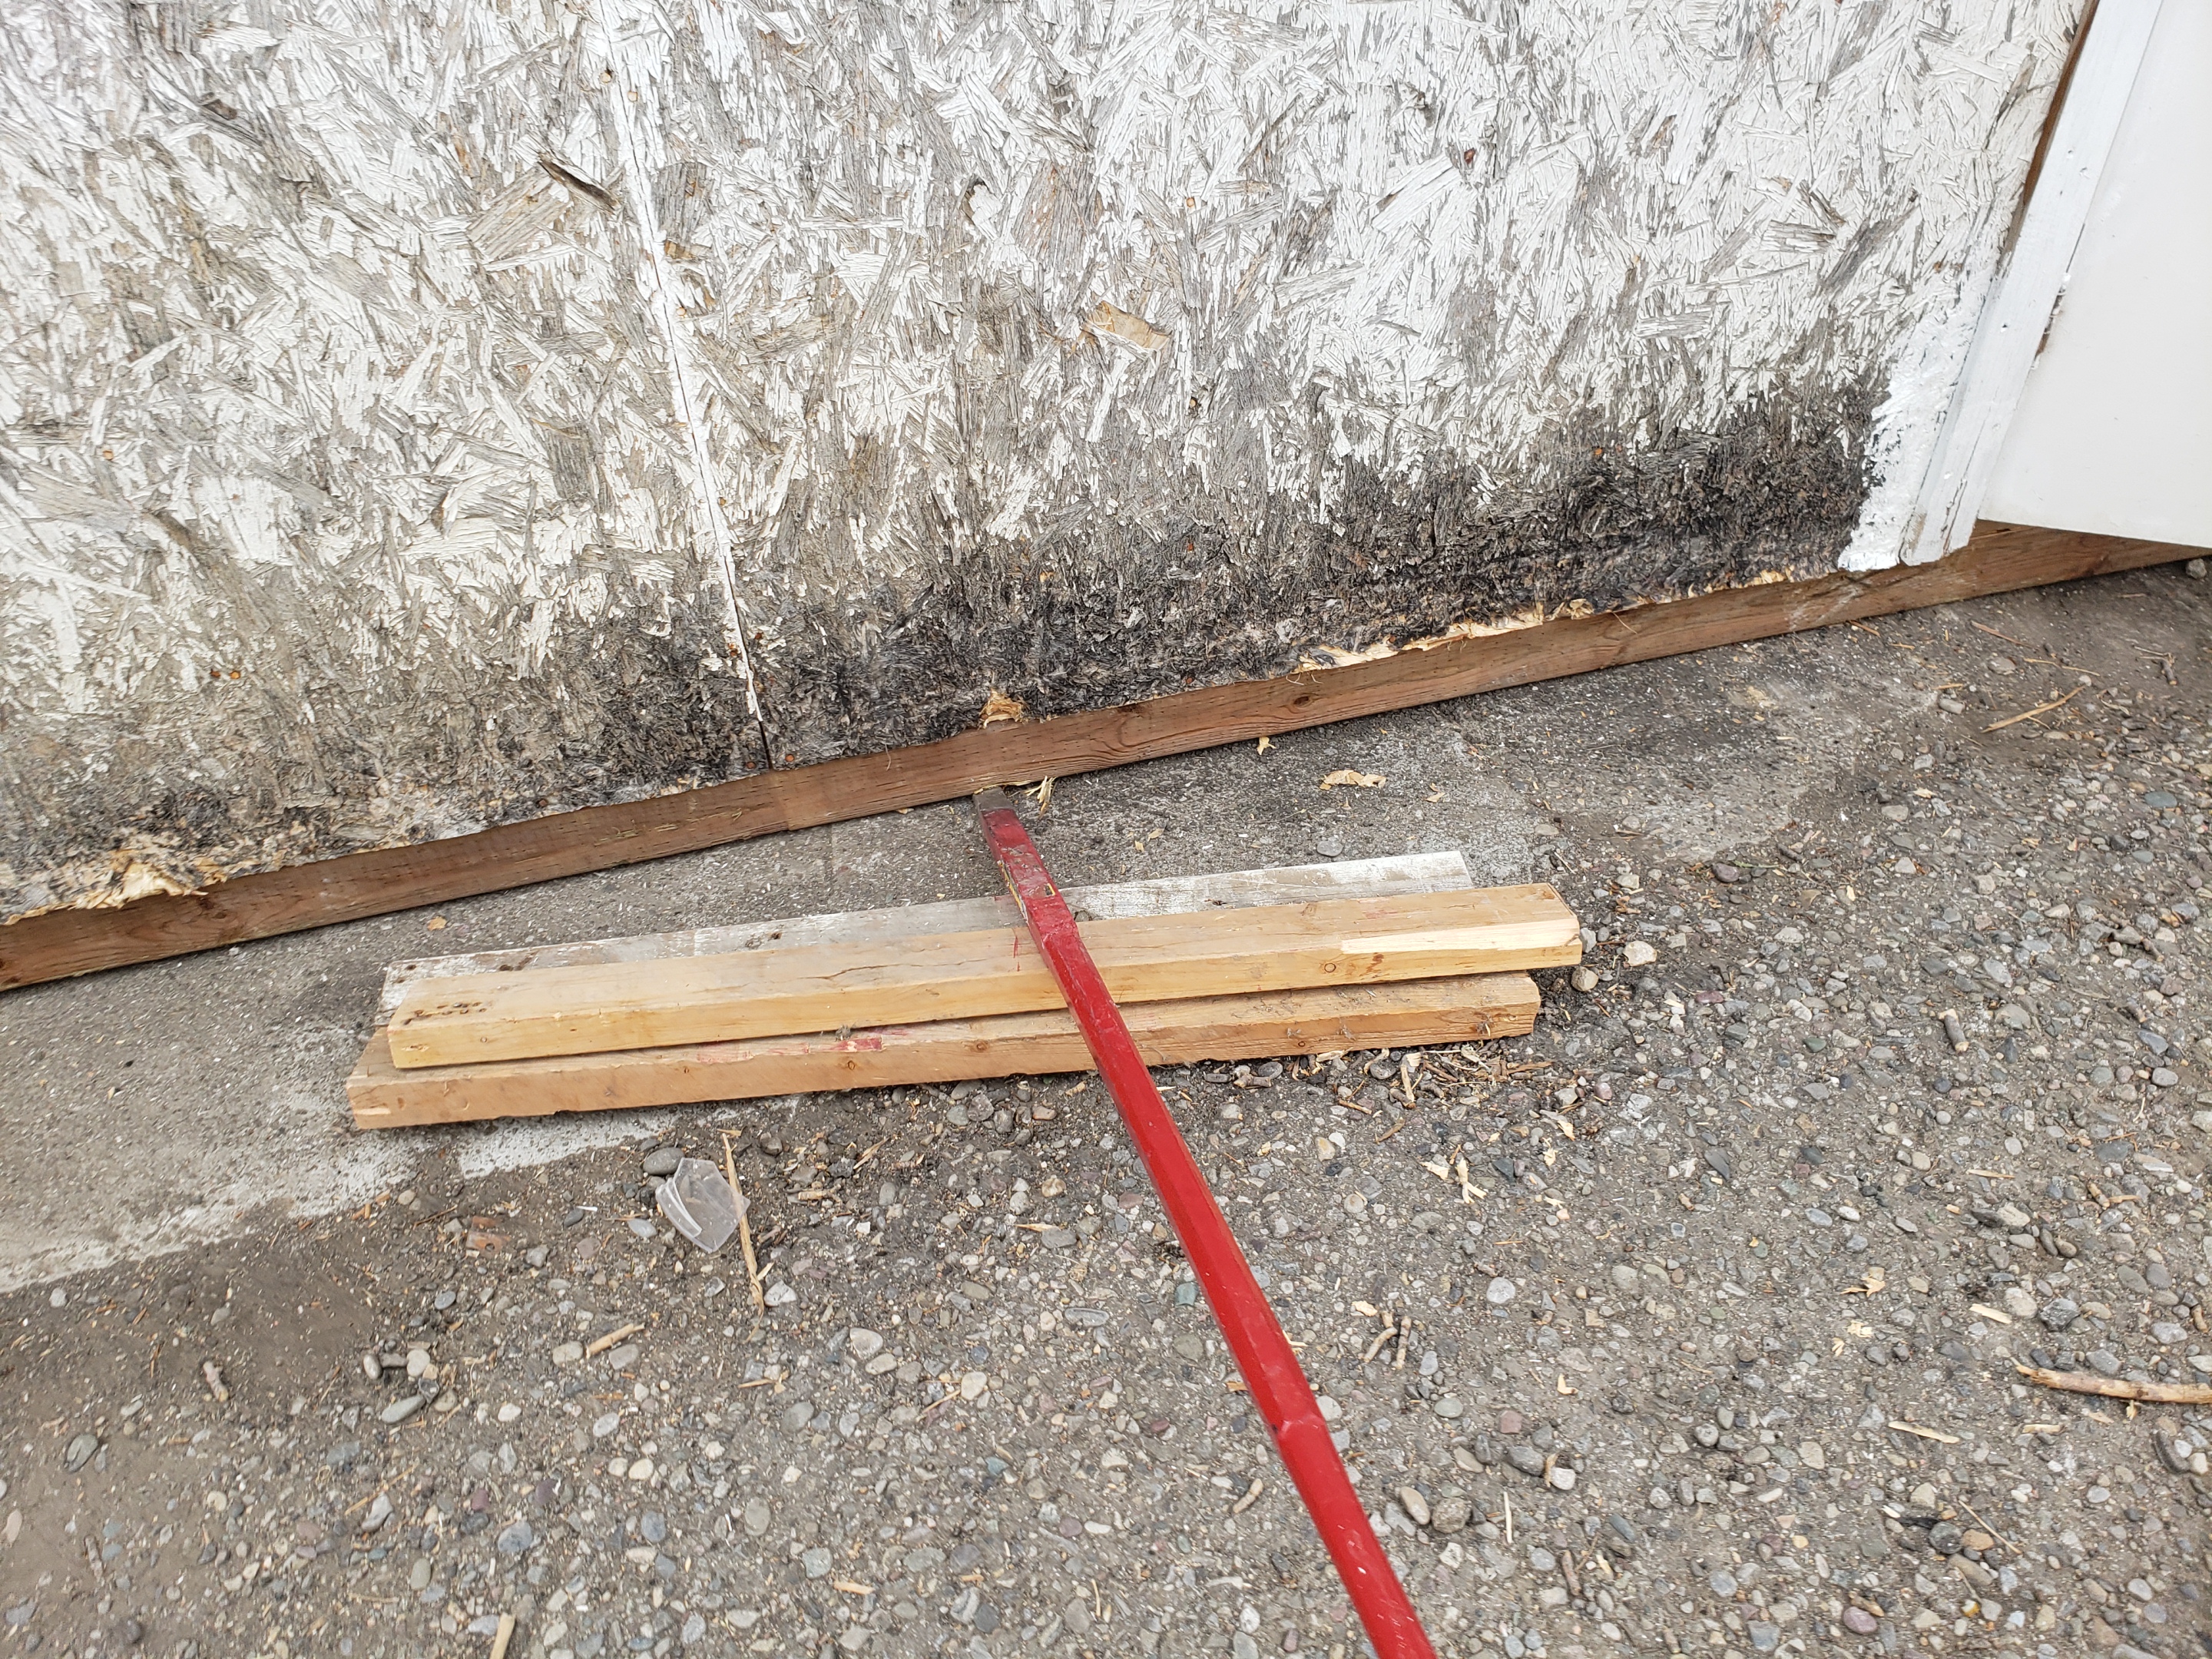
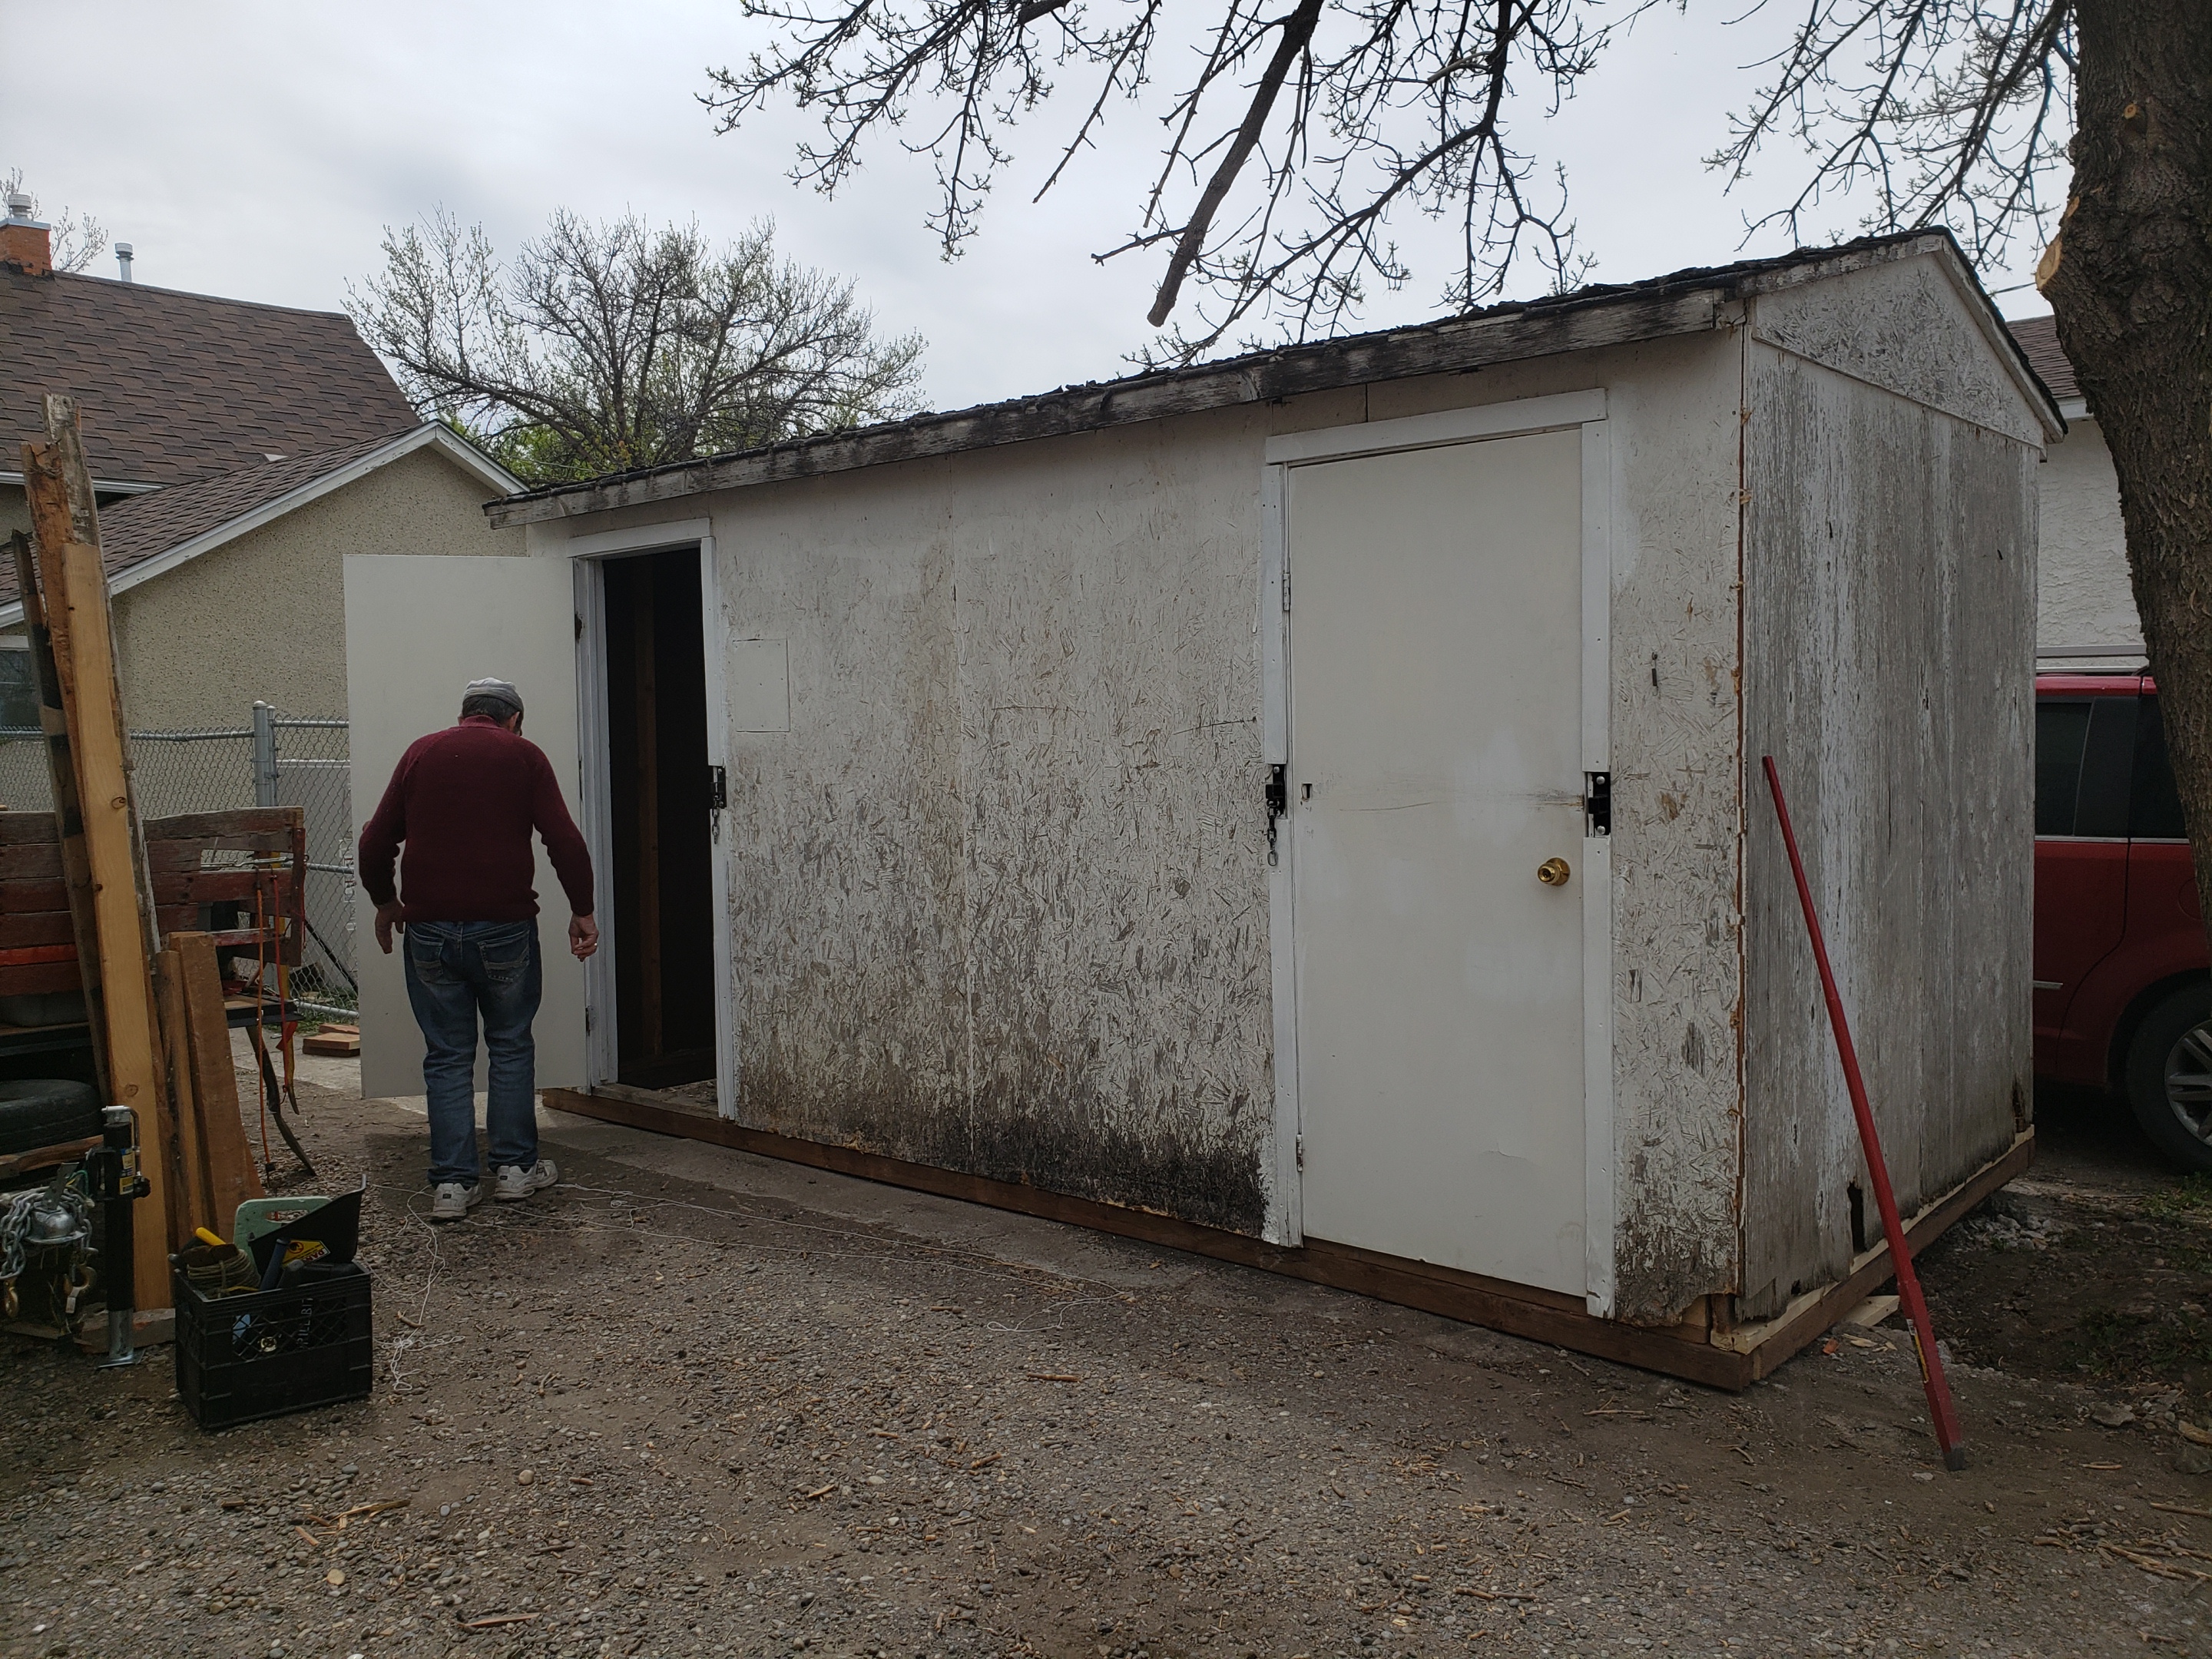
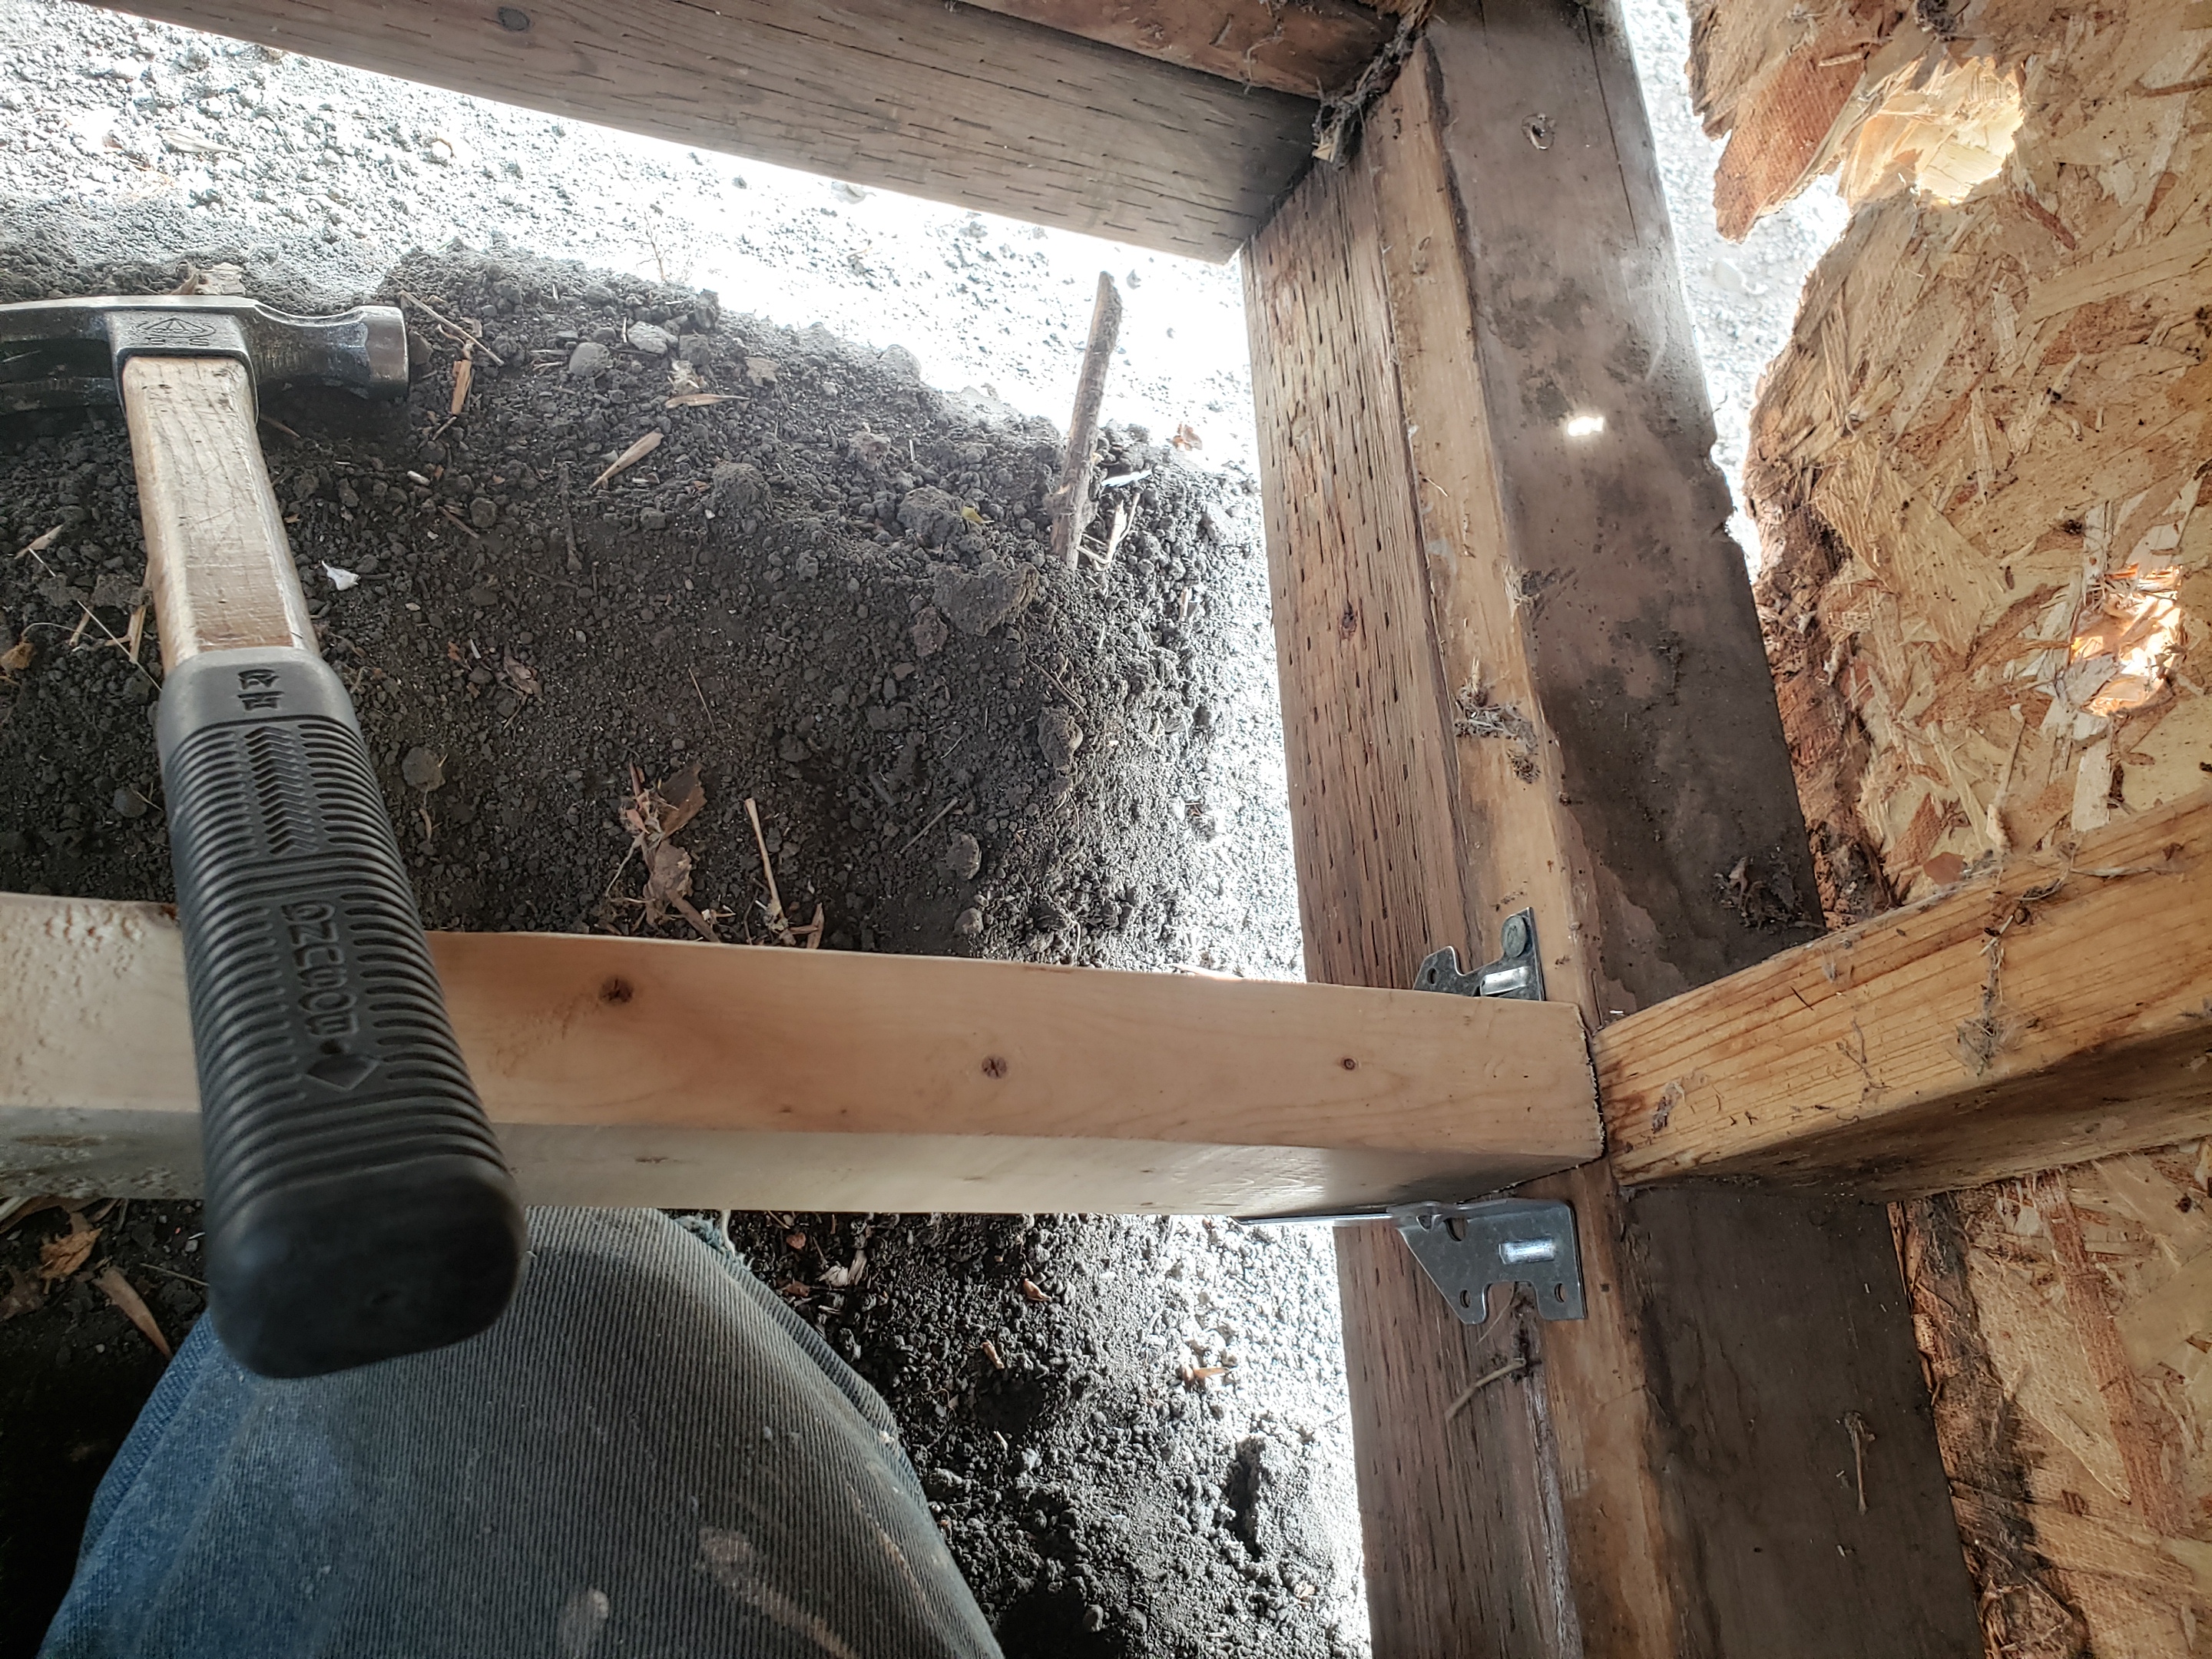
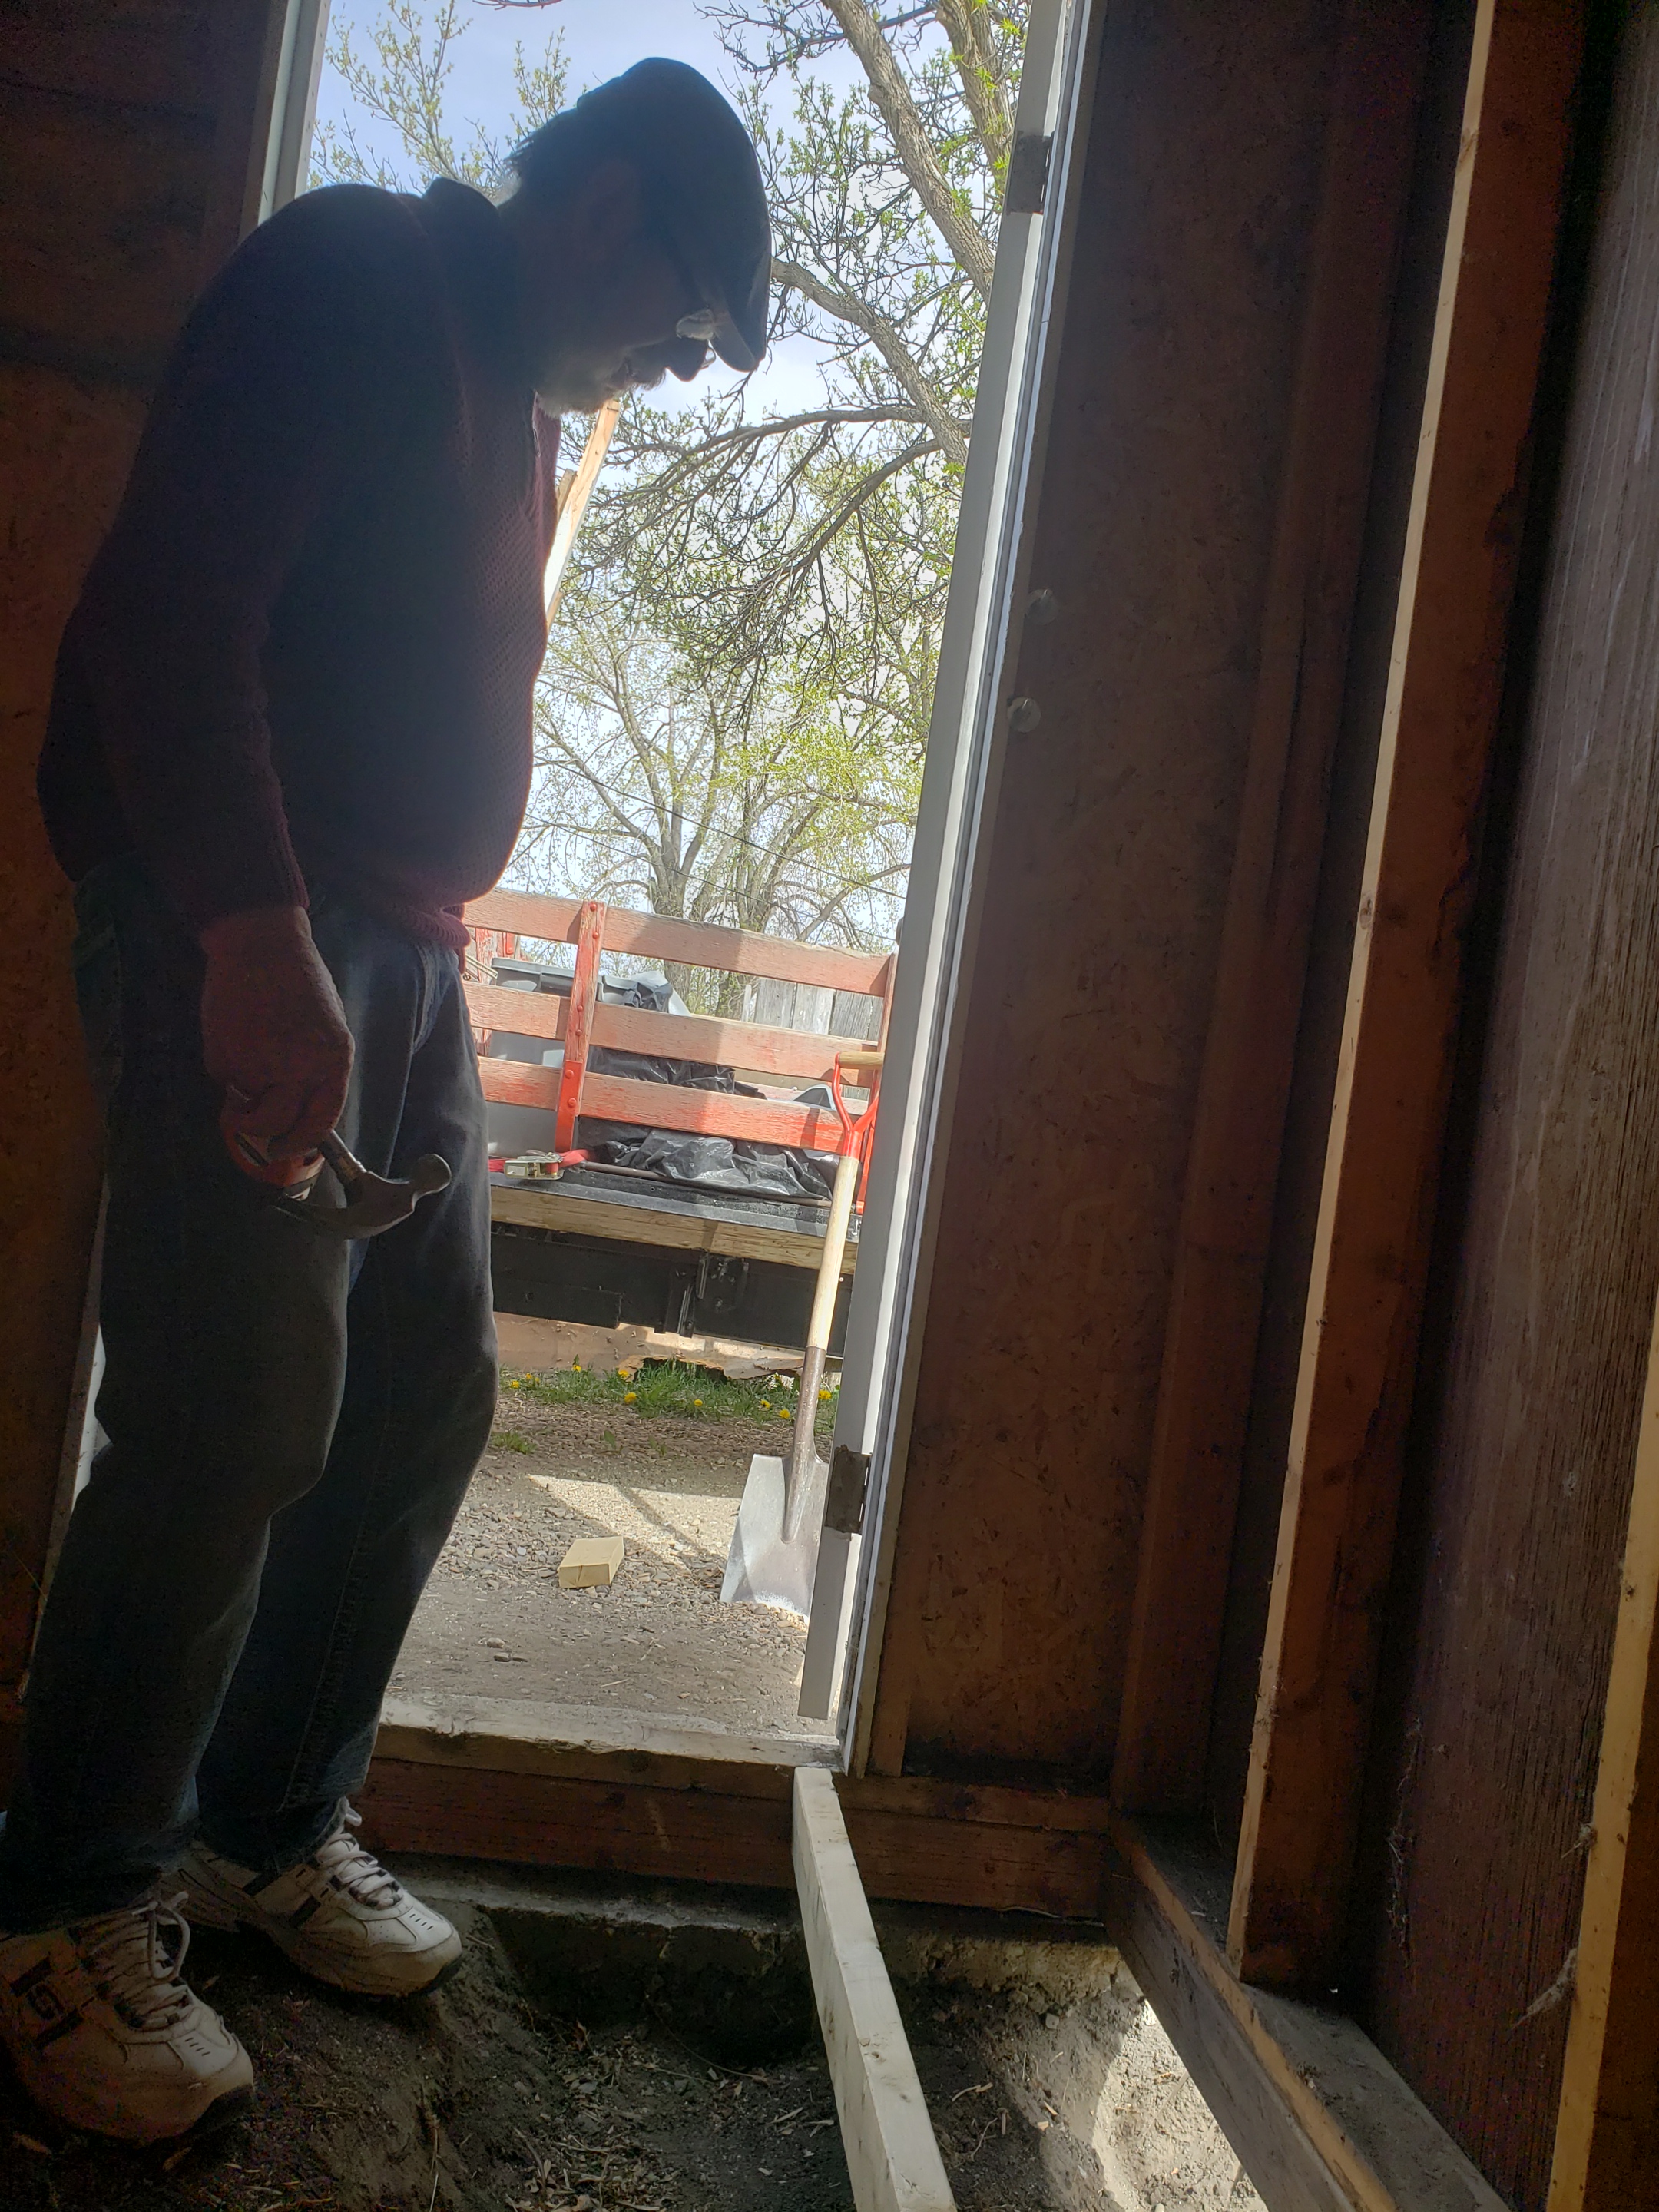
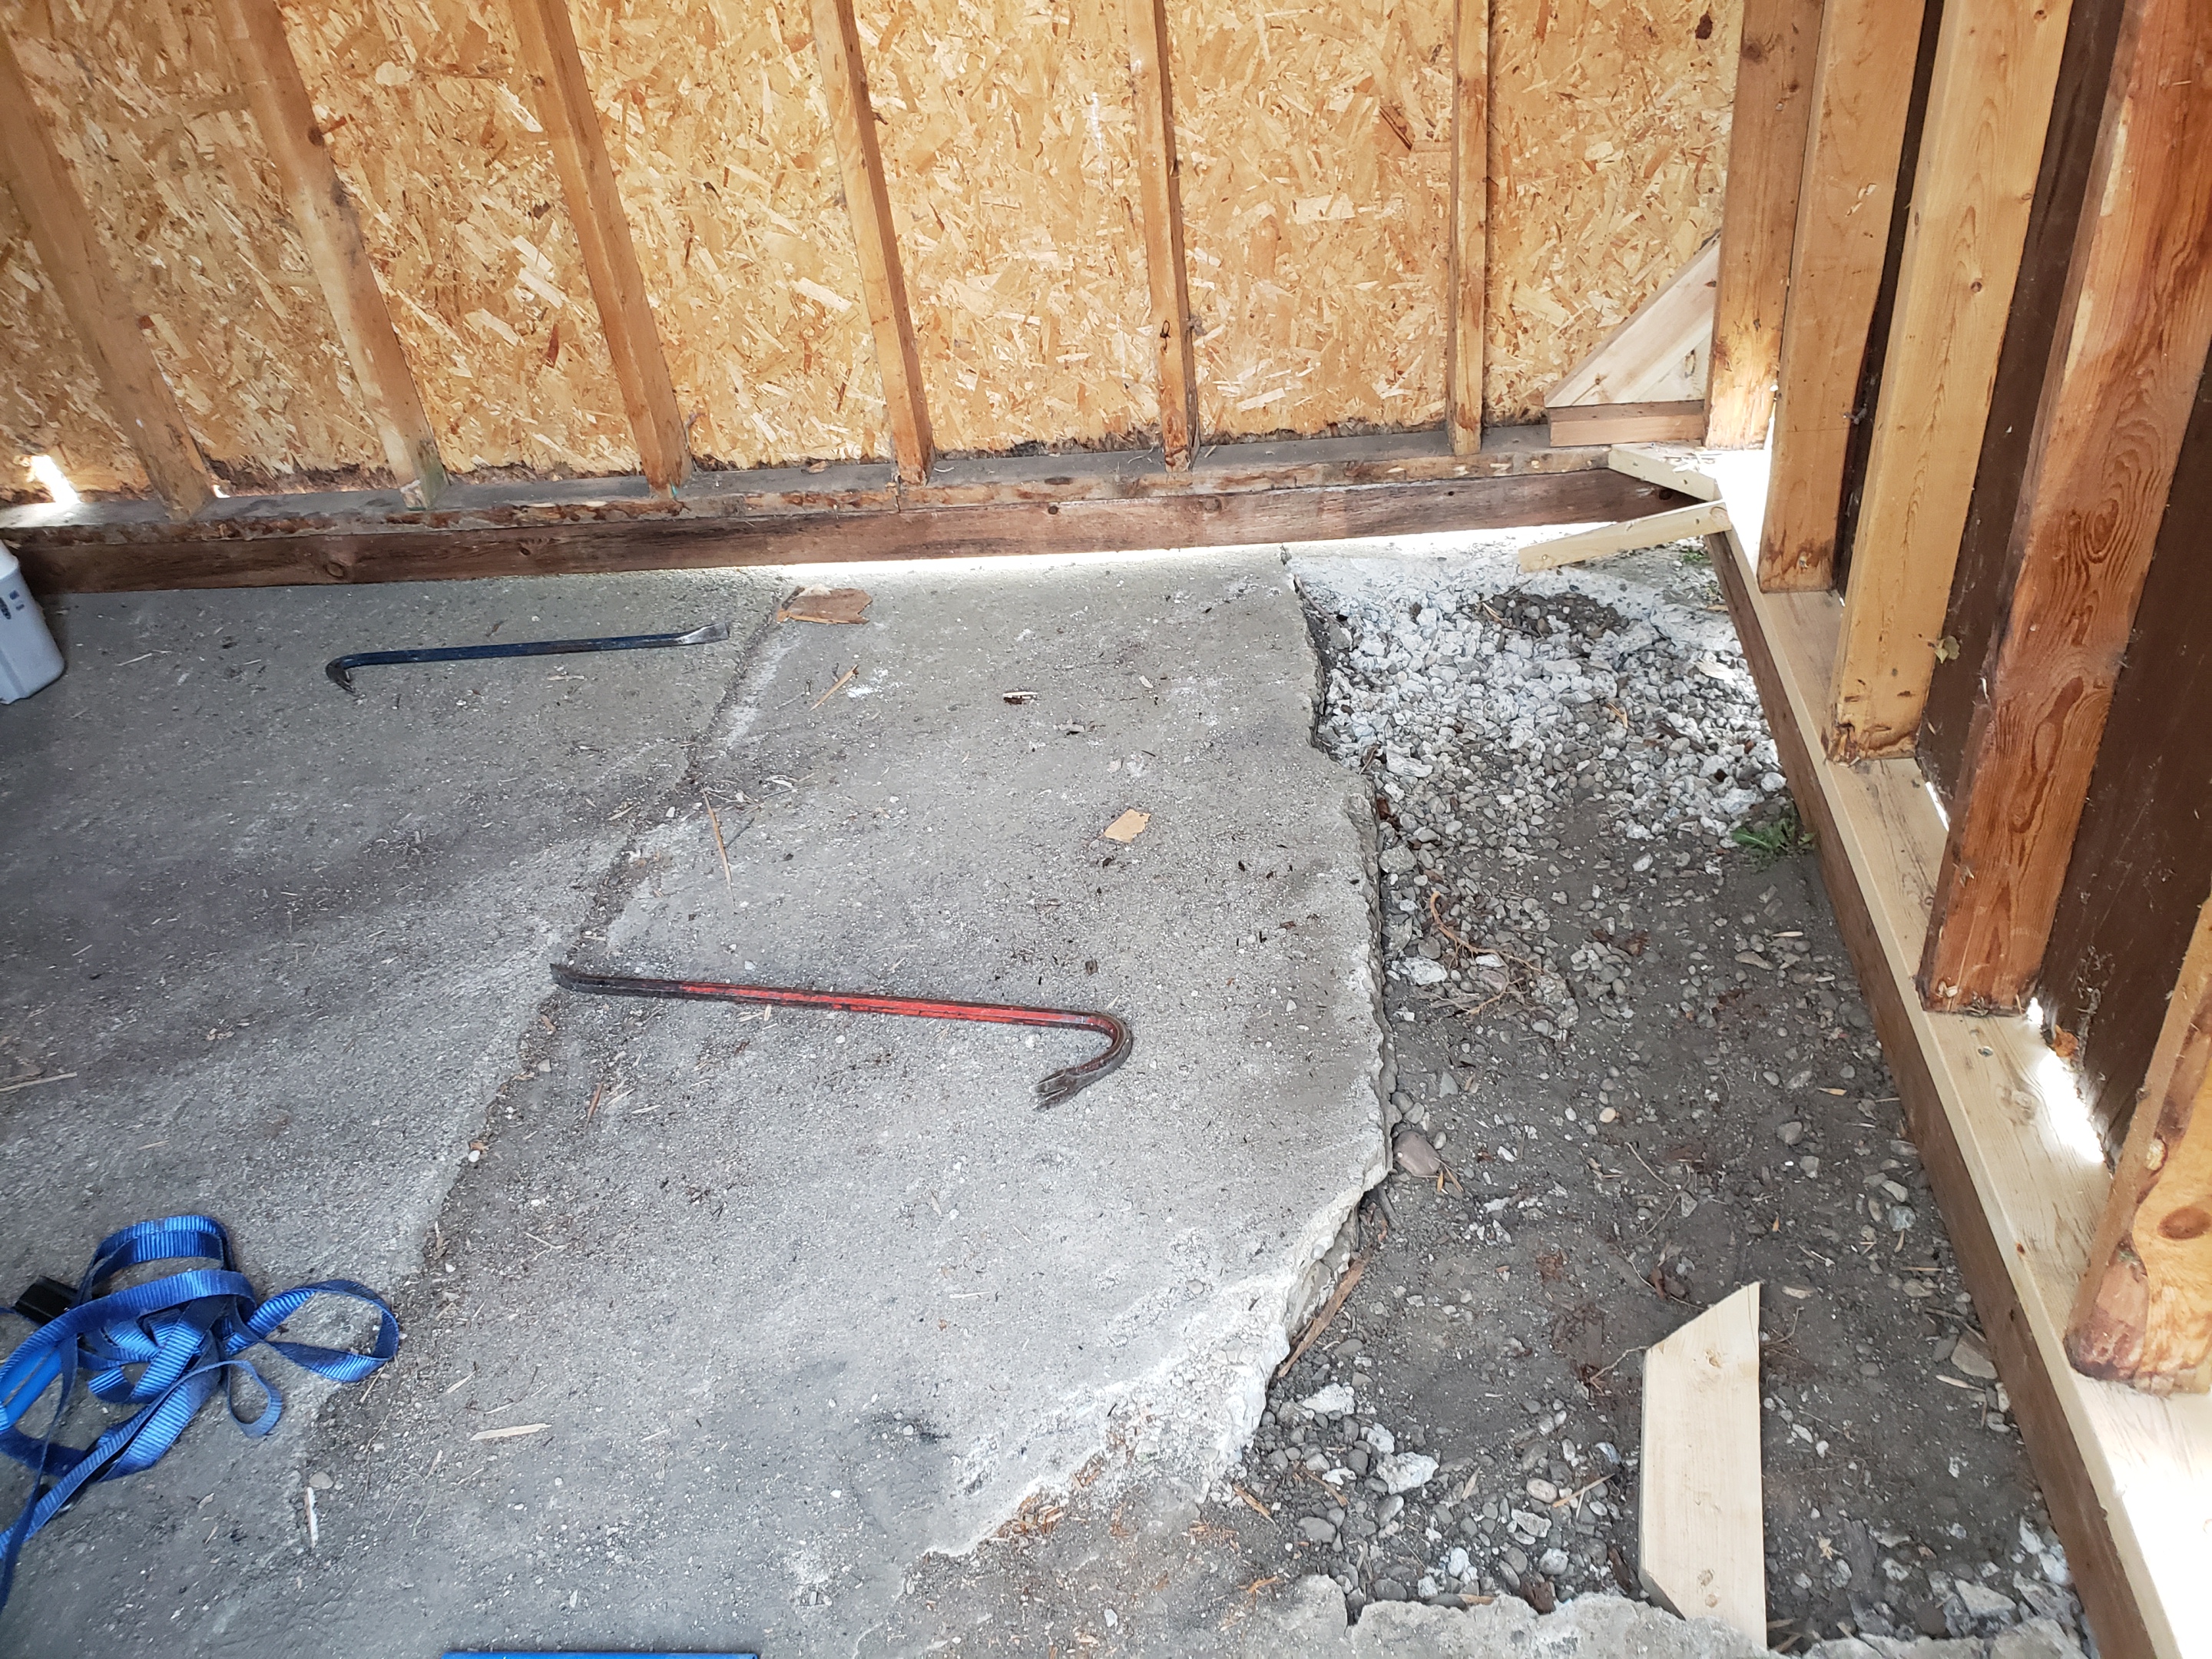
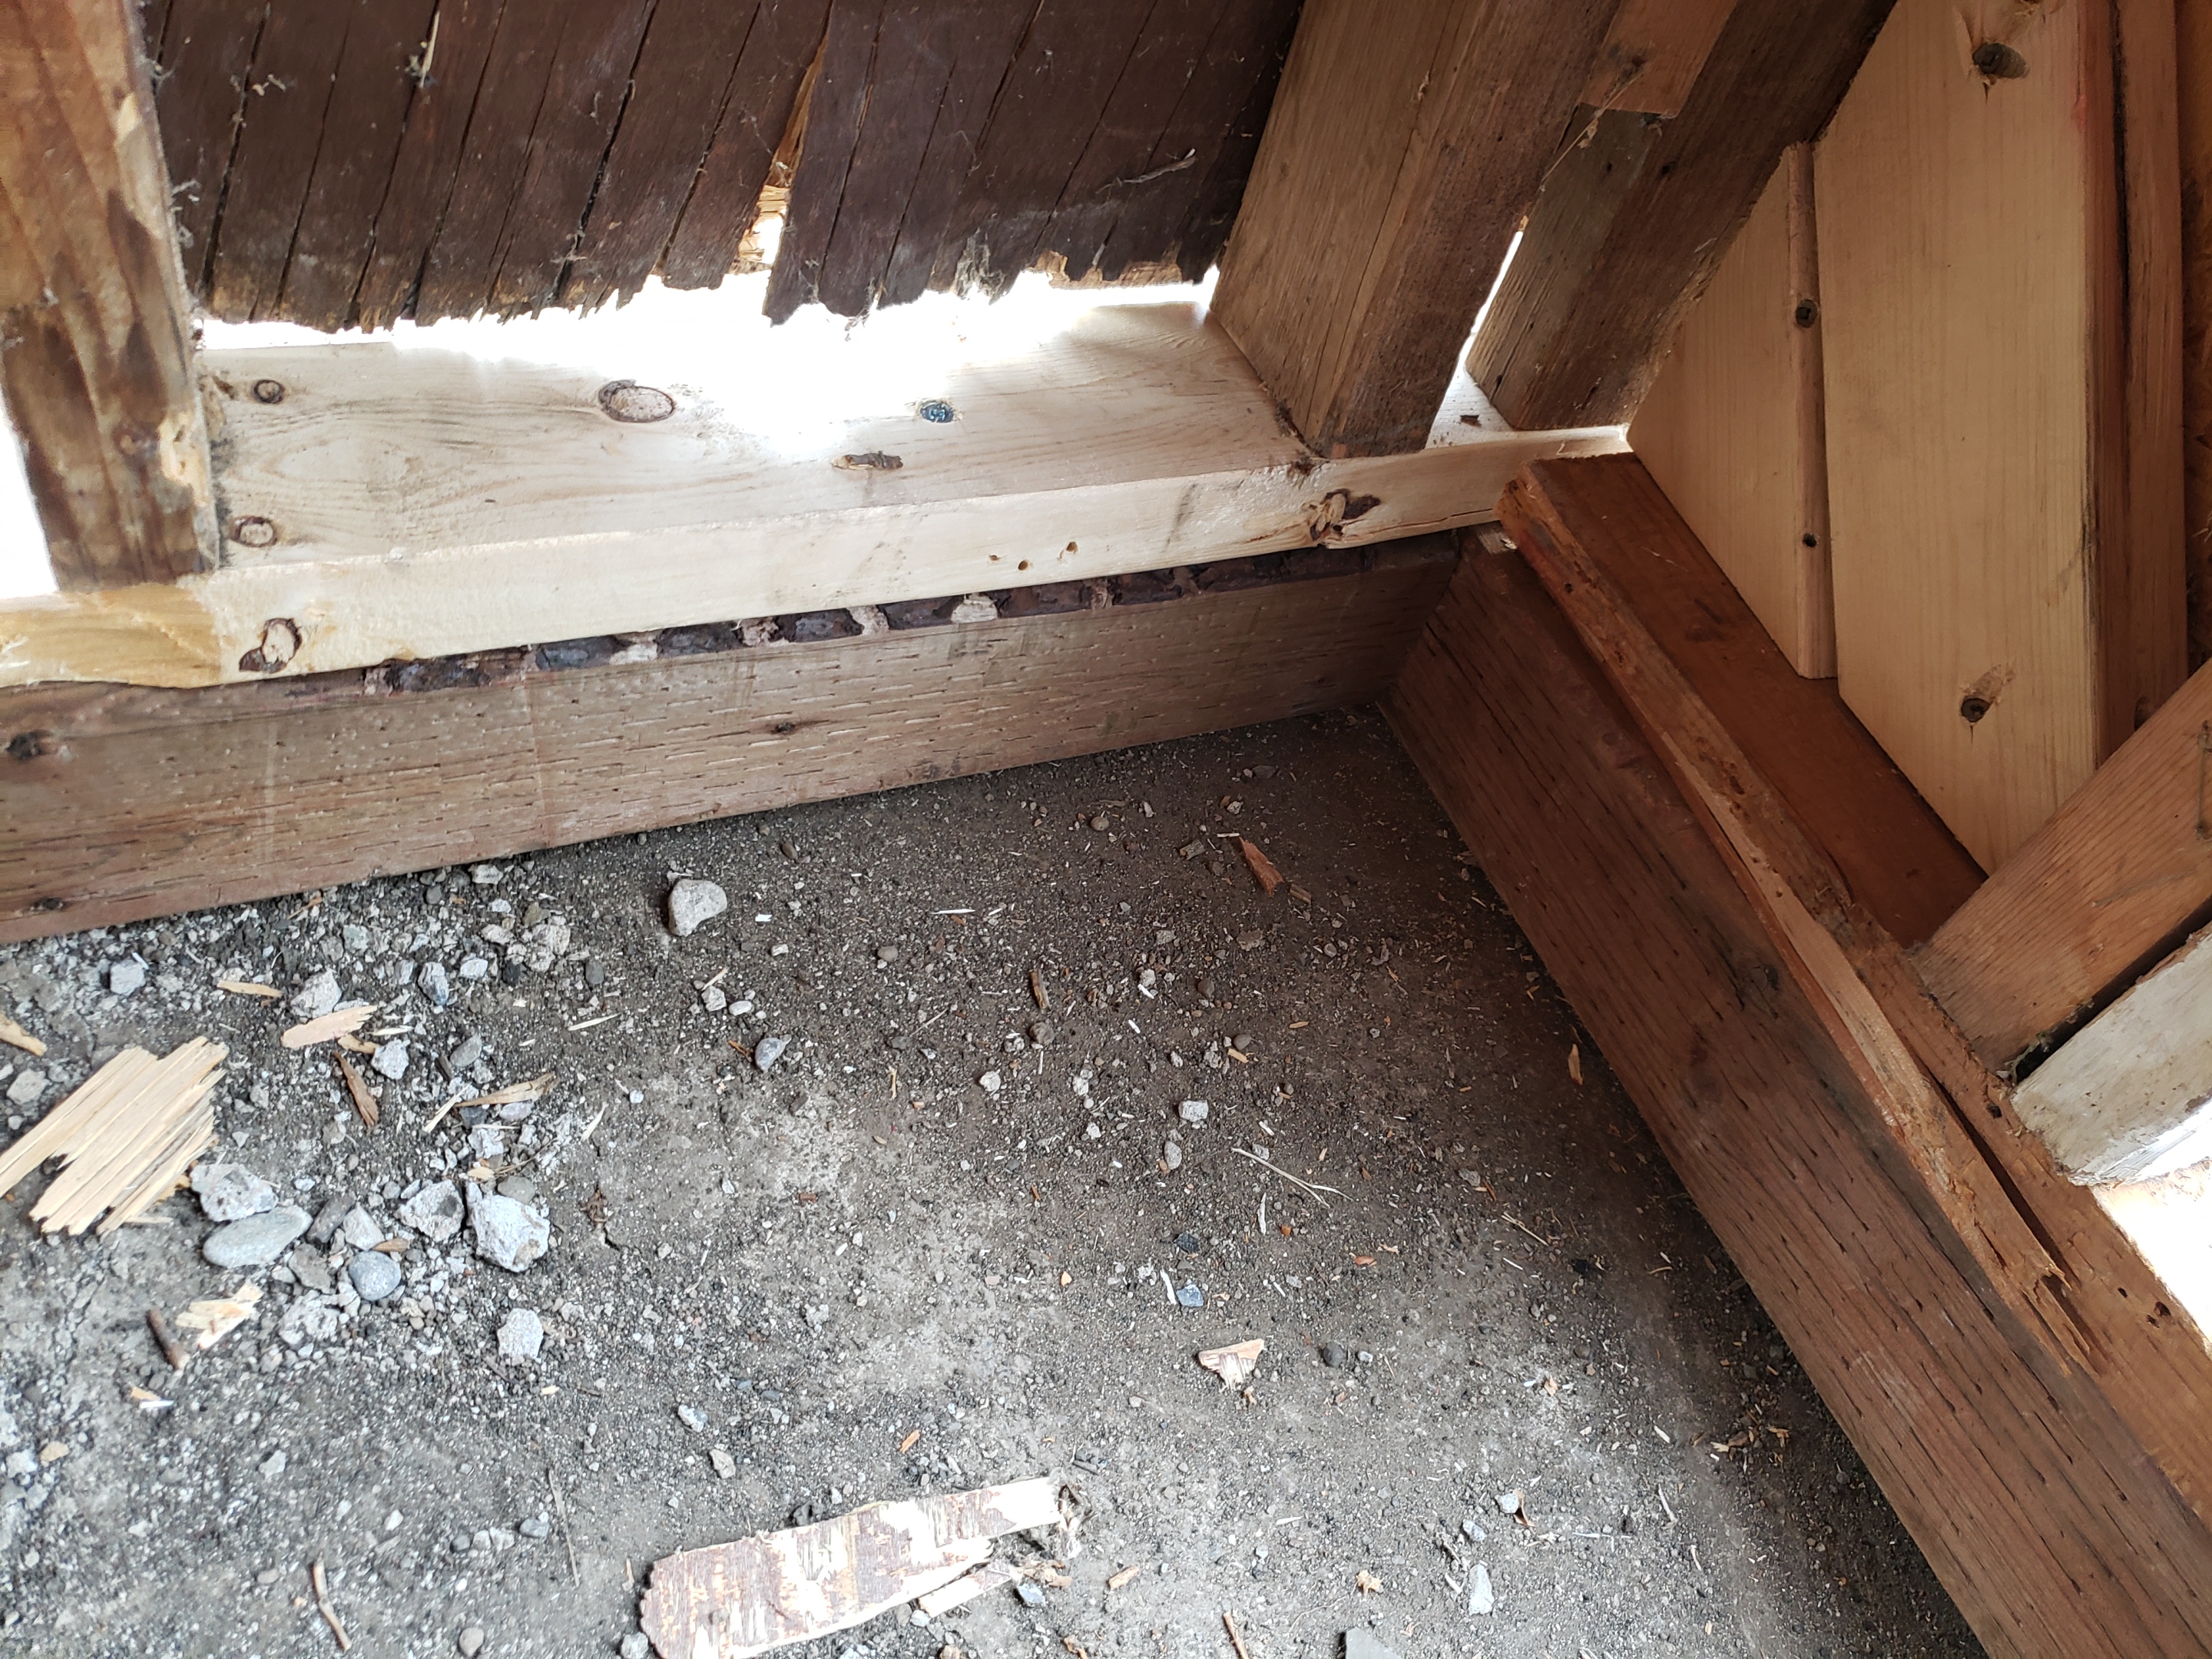
Building material prices have gone up and down a lot lately. I picked up a few sheets of OSB & plywood for the shed today. We have to cut the bottom off the exterior sheathing (rotten, chipped, dried, dirty, ugly) and put an actual floor in it.

 5/16/2022  2:20 PM      2911152 1403 3 Ave N Lethbridge AB 20220516_142022 shed Floyd.jpg
 5/16/2022  3:33 PM      2654693 1403 3 Ave N Lethbridge AB 20220516_153340 shed plywood & OSB on van roof.jpg
 5/16/2022  4:12 PM      2839351 1403 3 Ave N Lethbridge AB 20220516_161235 shed framing floor.jpg
 5/24/2022  8:52 AM      2200617 1403 3 Ave N Lethbridge AB 20220516_161238 shed Floyd.jpg
We put the shed on 4×4 treated beams today. What a task! This shed is heavy and likes to bend into a parallelogram.
 5/15/2022  6:05 PM      3605537 1403 3 Ave N Lethbridge AB 20220515_180521 shed setting on beams.jpg
 5/15/2022  6:05 PM      3210123 1403 3 Ave N Lethbridge AB 20220515_180532 shed setting on beams.jpg
 5/15/2022  6:05 PM      2378713 1403 3 Ave N Lethbridge AB 20220515_180538 shed setting on beams.jpg
 5/15/2022  6:05 PM      2921104 1403 3 Ave N Lethbridge AB 20220515_180542 shed setting on beams.jpg
 5/15/2022  6:05 PM      2722152 1403 3 Ave N Lethbridge AB 20220515_180548 shed setting on beams.jpg
I learned today that this old house has no insulation! There is nothing in the attic of the main floor, and there appears to be nothing in the walls, either. I took the trim off the top of the kitchen window, and there appears to be nothing there.
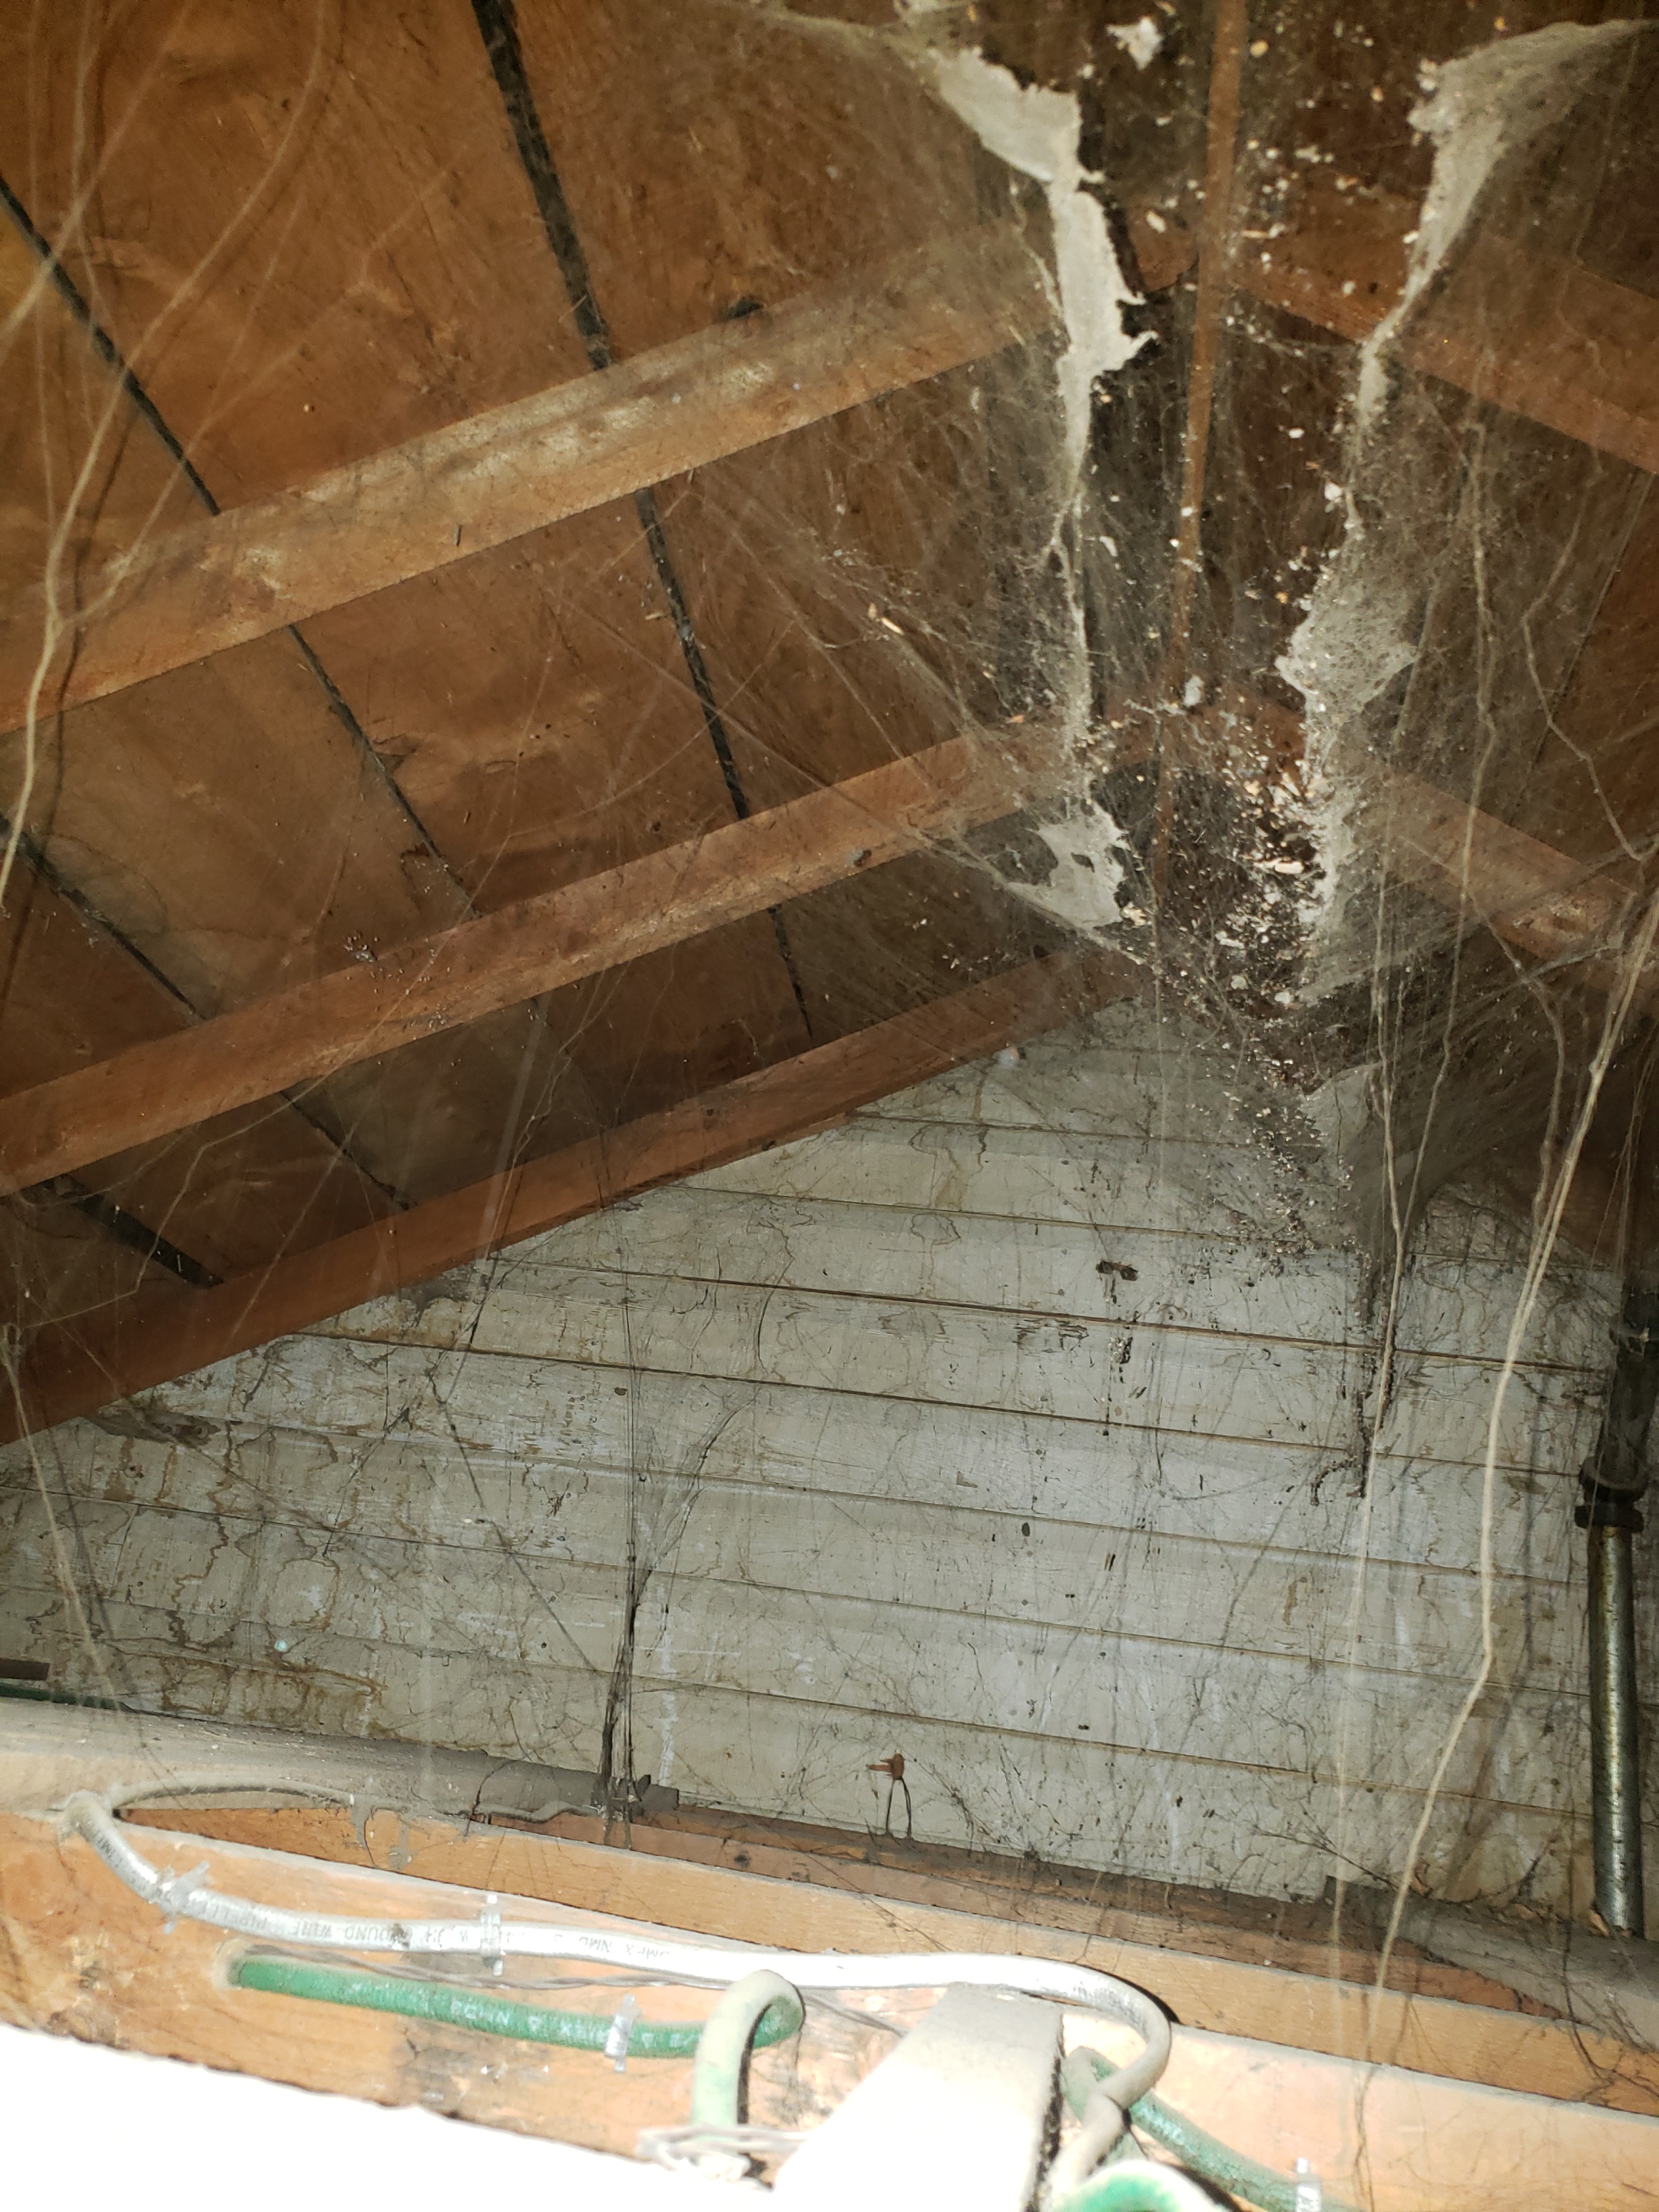

I found Sunny South Insulators at the Home & Garden show this spring. A guy came out to have a look, and this is what we found – nothing. So, it would be $8500 to blow in insulation into the ceiling and walls.
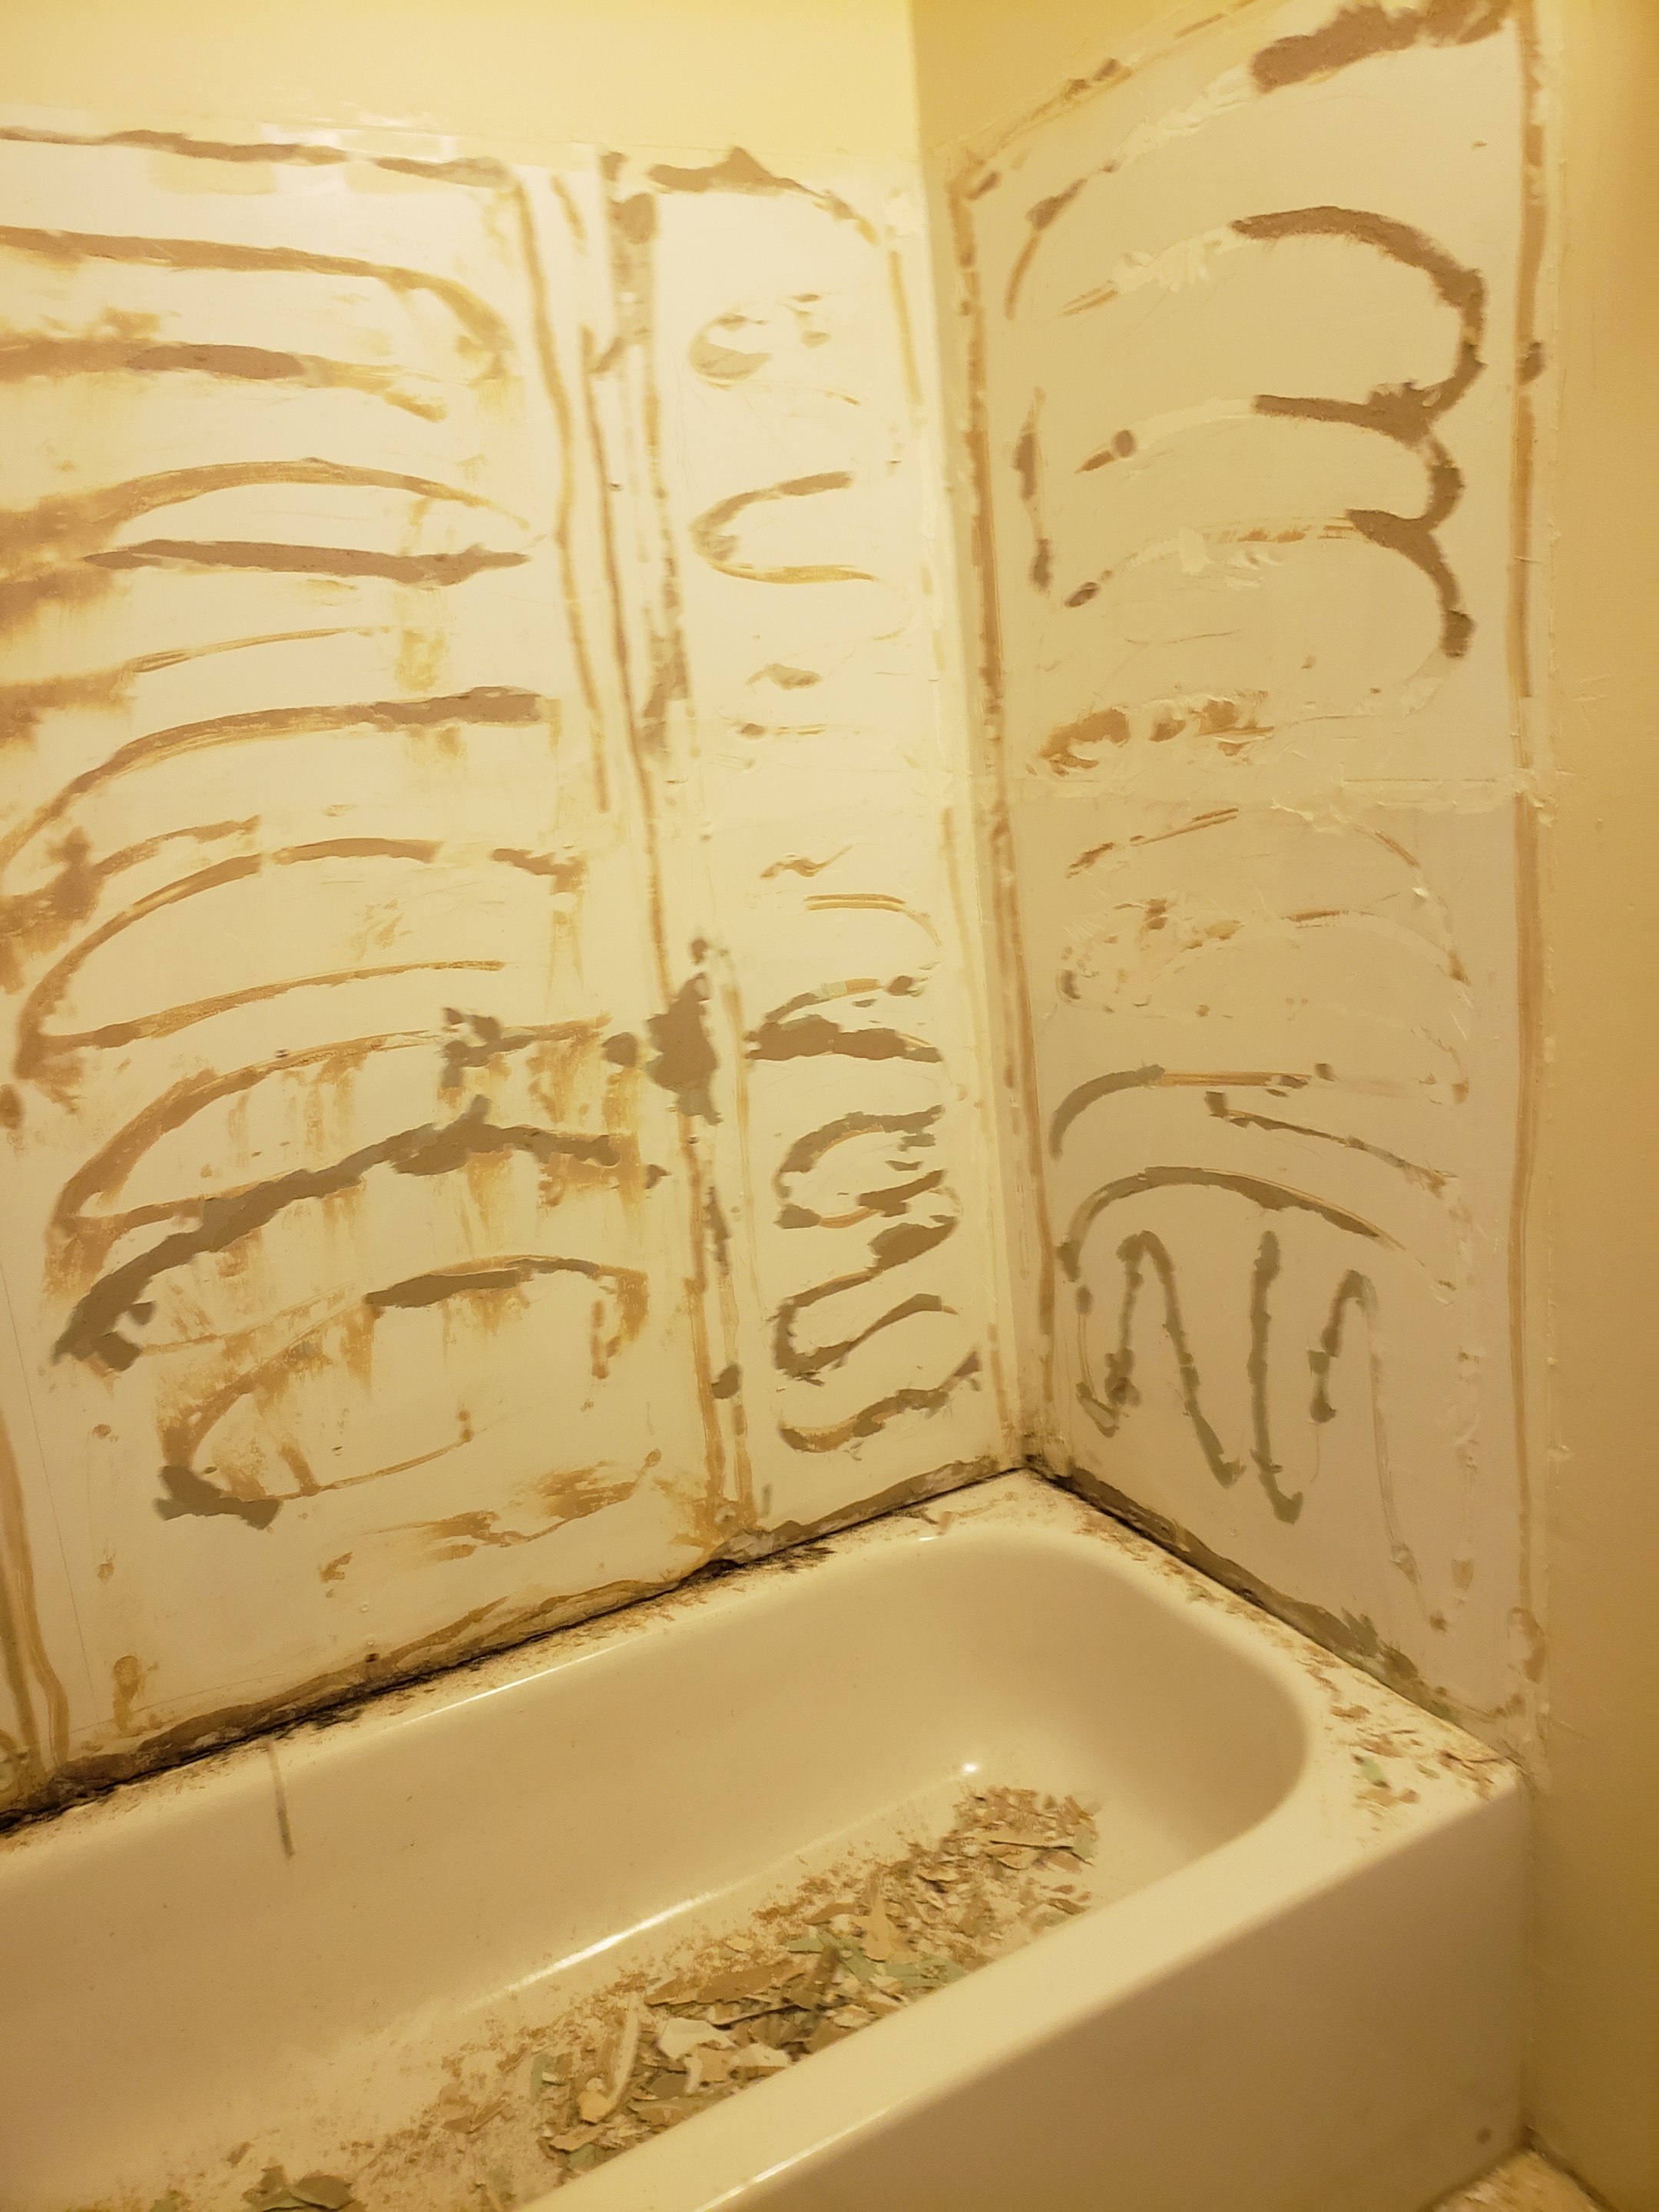
The project for today was removal of the glue at the tub surround. It was cracked in many places. It had to be replaced. Behind it though was a truckload of glue that was basically just squirted on in an S shape without being trowelled. The result was large gaps where the surround plastic was bulging away from the wall, creating ample opportunity for someone to lean on it and crack it. In some places, the surround was glued in place a good quarter inch (0.7cm) away from the wall.
The house now has a new furnace and water heater. The total? $11,849.44.
I have a new CNC coming! With the help of my college cronies (thank you, T & R), I chose the Maker Made M2 kit. It’s a hobbyist apparatus that stands upright (not flat, like a table). The website states that it is capable of cutting 4×8 sheets, but others who have used it say it can do larger. Needless to say, it’s not comparable to larger professional CNC machines with vacuum sheet movers, automated switching of router bits, and lasers to guide it all. It’s a beginner’s CNC. More later when it arrives.
The teardrop trailer is now back from the storage compound and sitting in the garage. After taking the tarp off, I discovered some water damage to the hatch. It was a cheap tarp, and the wind jostled the tarp back and forth enough to wear thin spots in it, and water seeped in. I’m hoping it’s just a matter of sanding it away and sealing it again with polyurethane. There is still much to do.
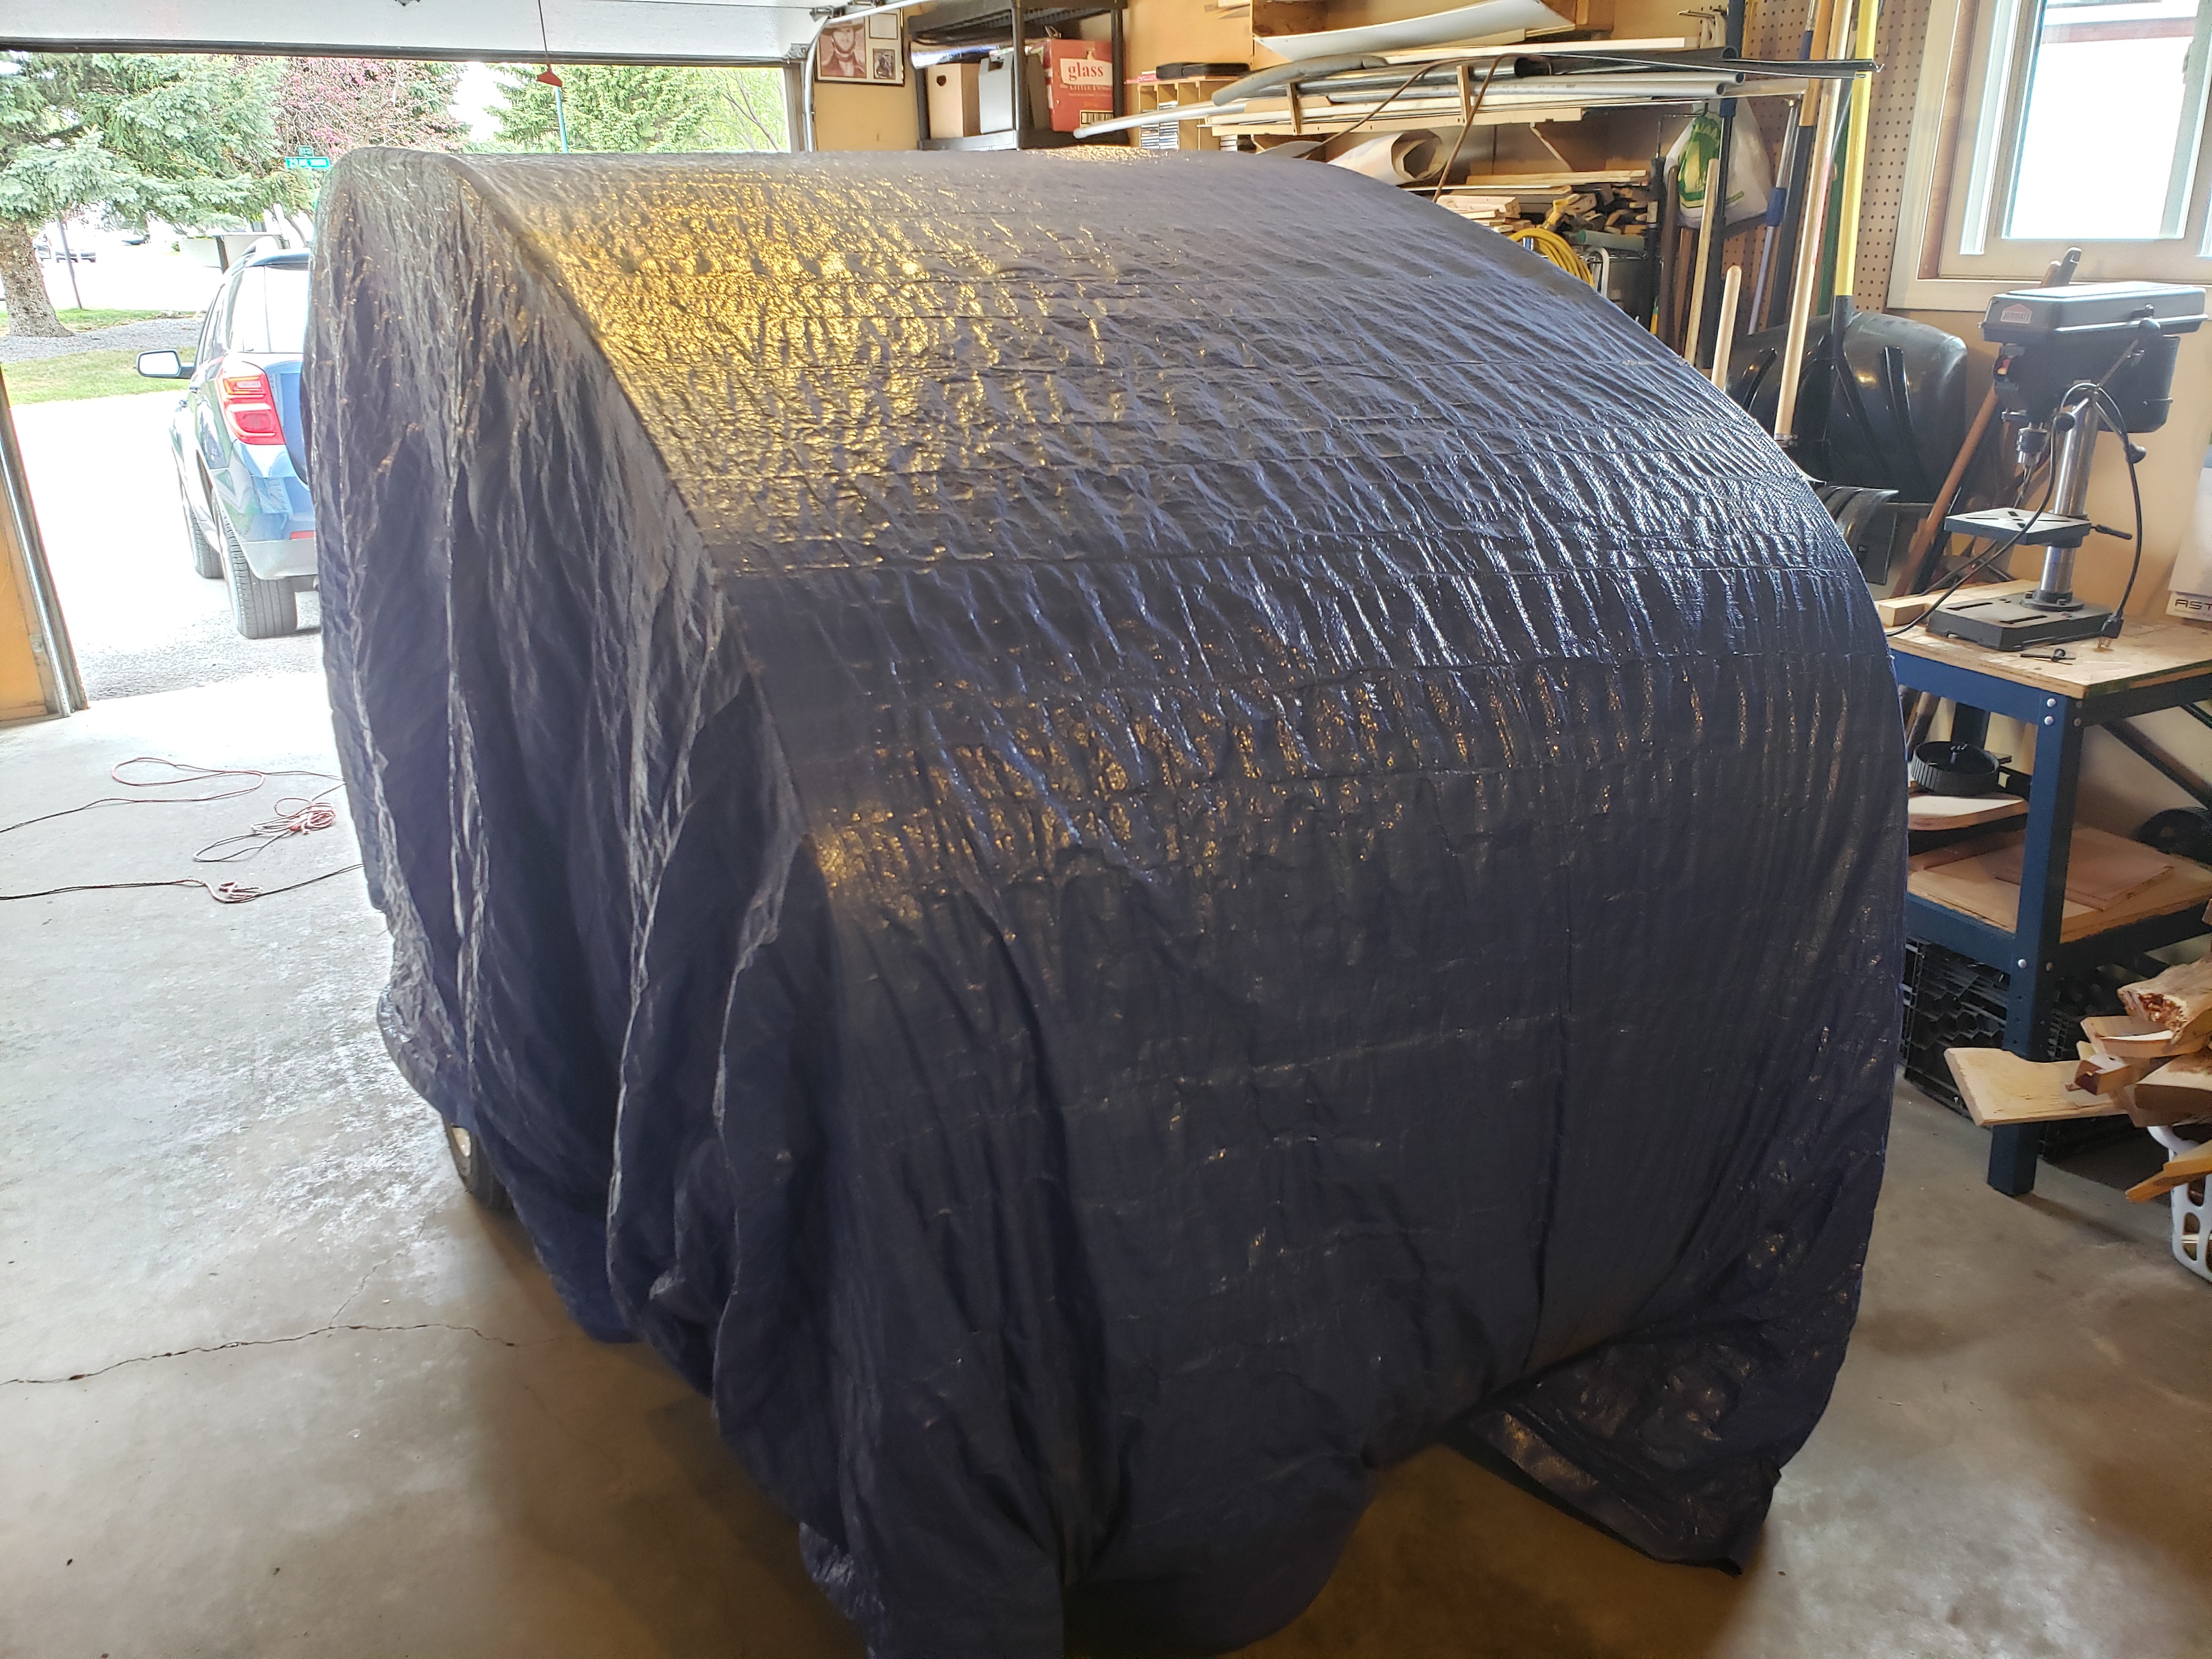
The teardrop is now wrapped up against the winter elements and in storage at the RV compound. I couldn’t get it completed in time due to other responsibilities. I’m not quite sure how the wood will fare the winter, but F and I wrapped it up the best we could.
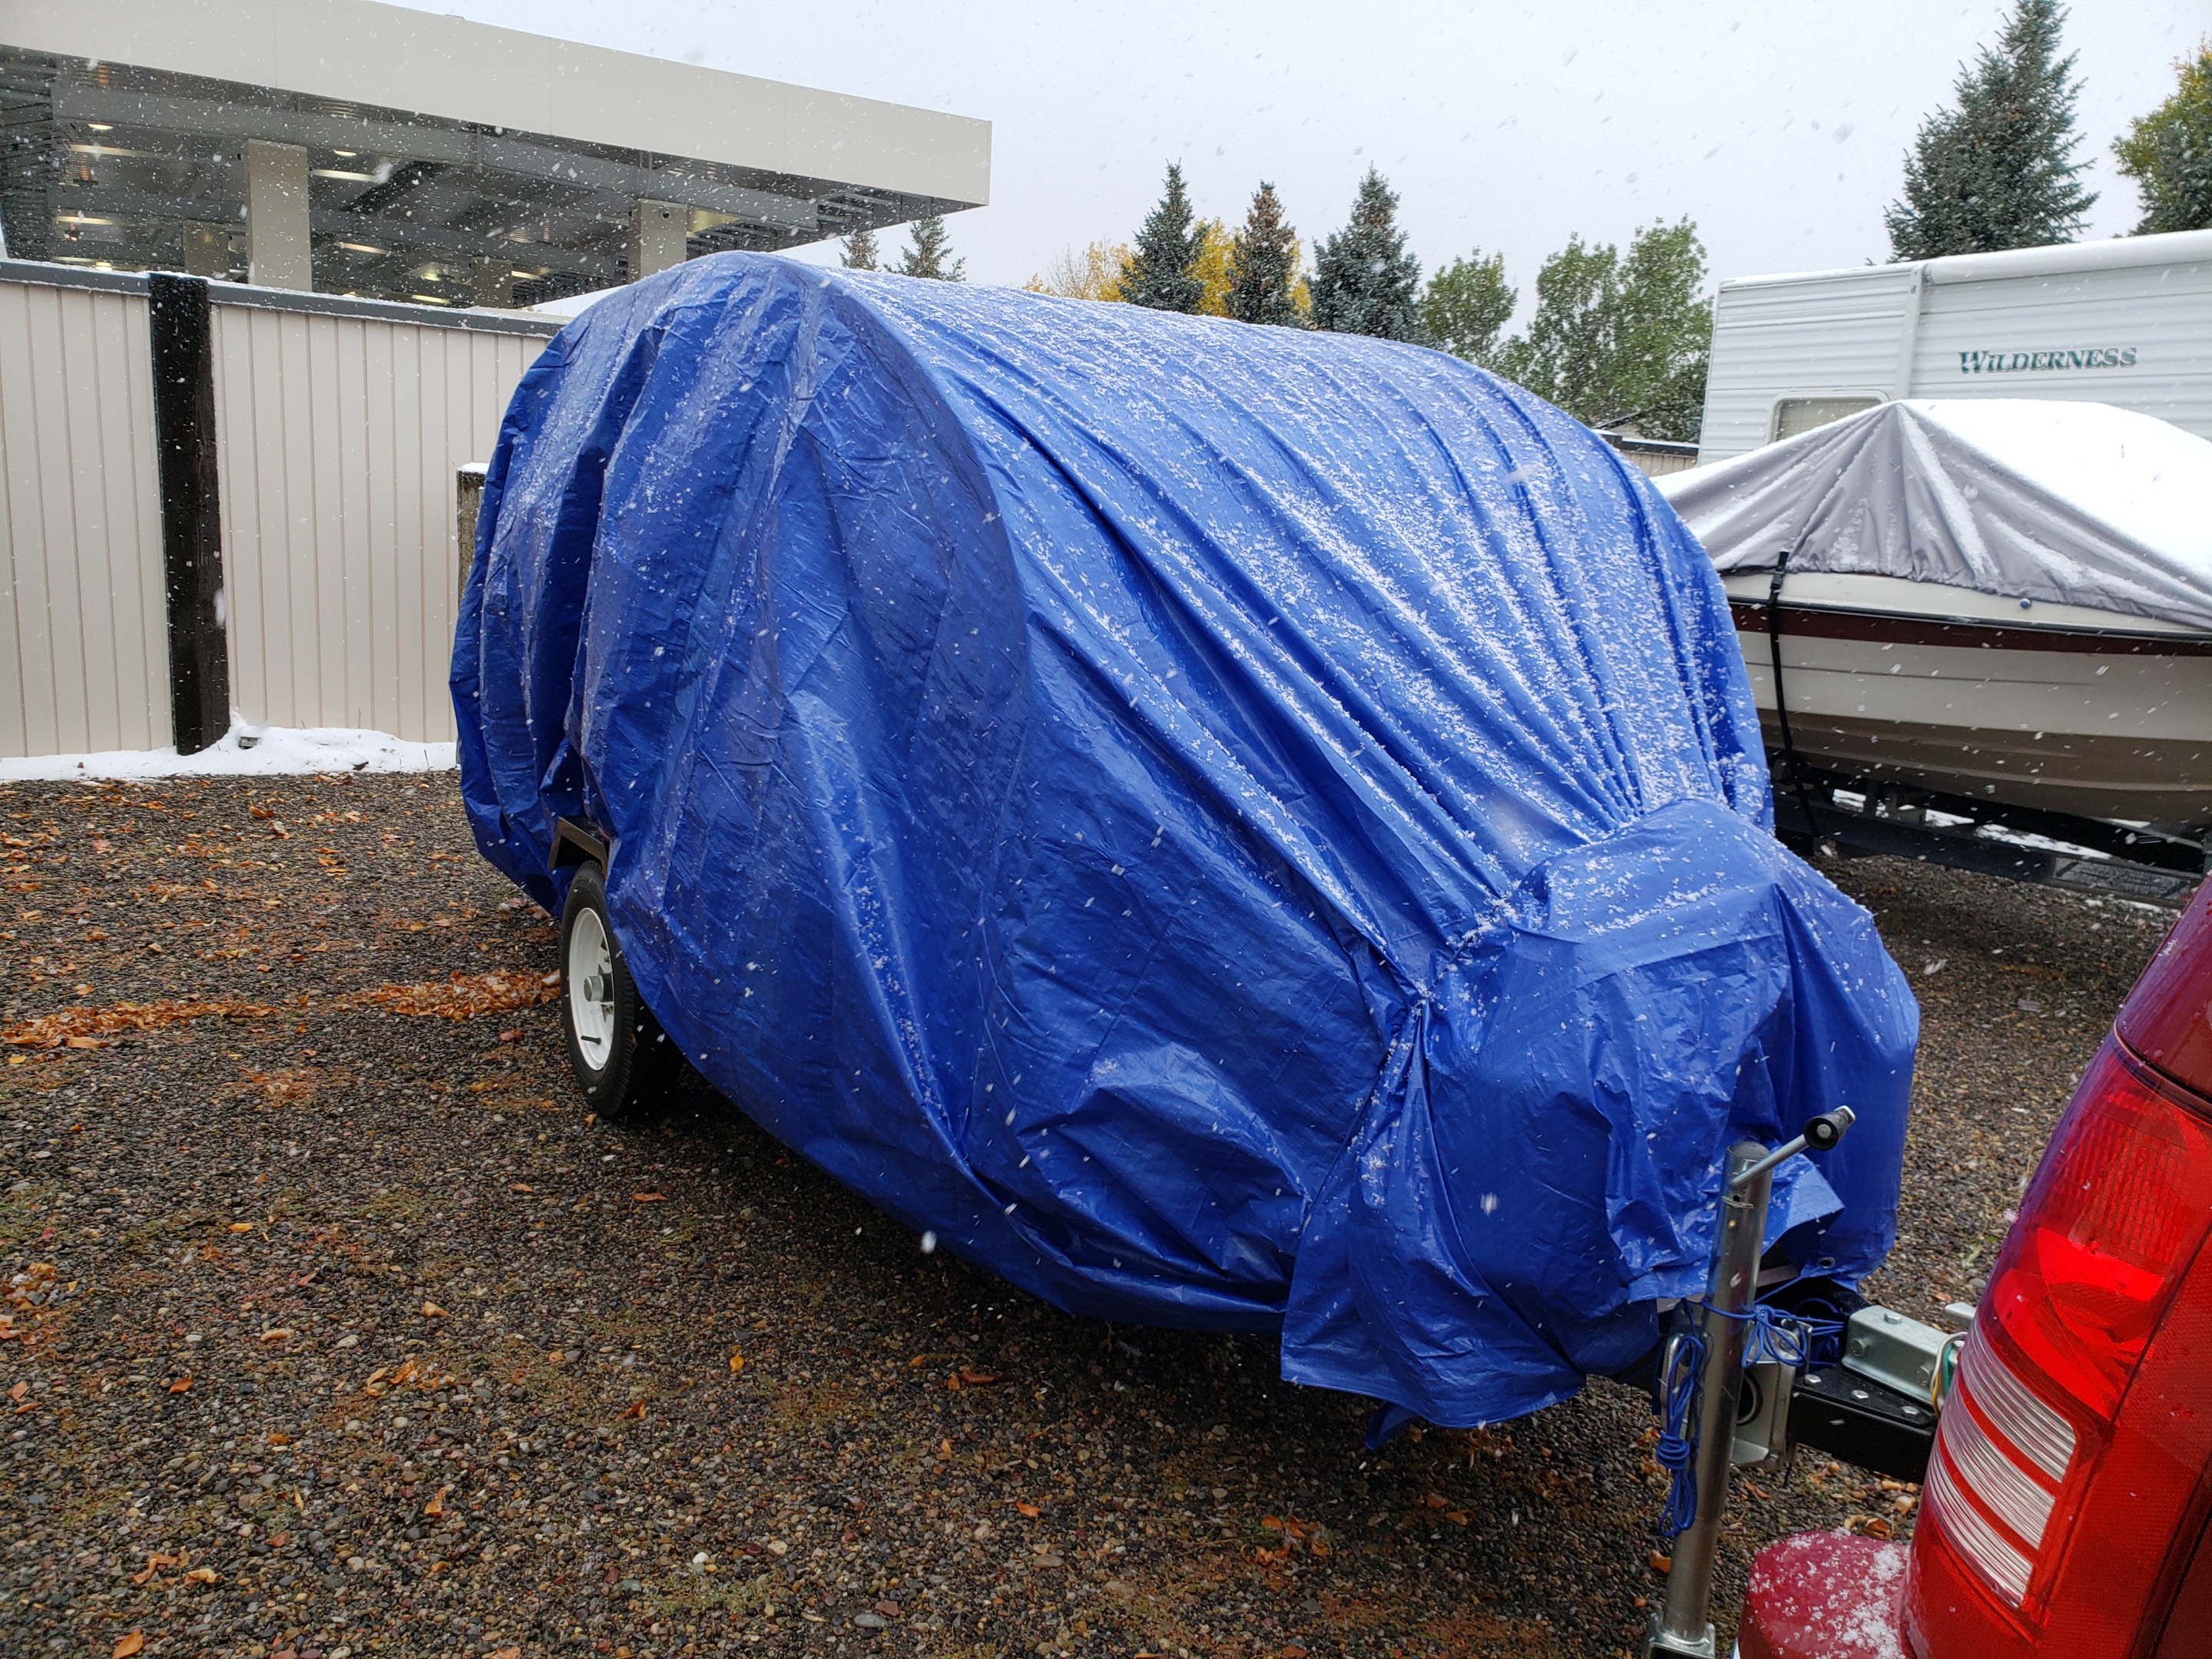
There it will sit until spring.
I’m working on the final coat of oil-based polyurethane for the cabinet doors, galley hatch, and berth doors as well as various wood filler spots. I mixed 50% polyurethane (commonly called Varathane – but this time actually is), 50% mineral spirits. This allows the urethane to penetrate the wood more. I’ll sand all of it lightly and coat with four or five more coats of water-based polyurethane.

It’s a lot faster if you roll it on and then smooth it out with a brush later. Rolling with a paint roller allows the polyurethane to penetrate more than with a brush but creates air bubbles and gives a rough texture. Gently, slowly going over it with the wood grain creates a much smoother finish.
Yes, you can actually put water-based on top of oil-based. It will typically bring out the colours and patterns of the wood more. You just have to make sure you lightly sand after each coat.
I’m using an exterior, UV-safe water-based polyurethane. It’s a little hard to find sometimes, but it’s better than adding expensive coats of UV block coating later.