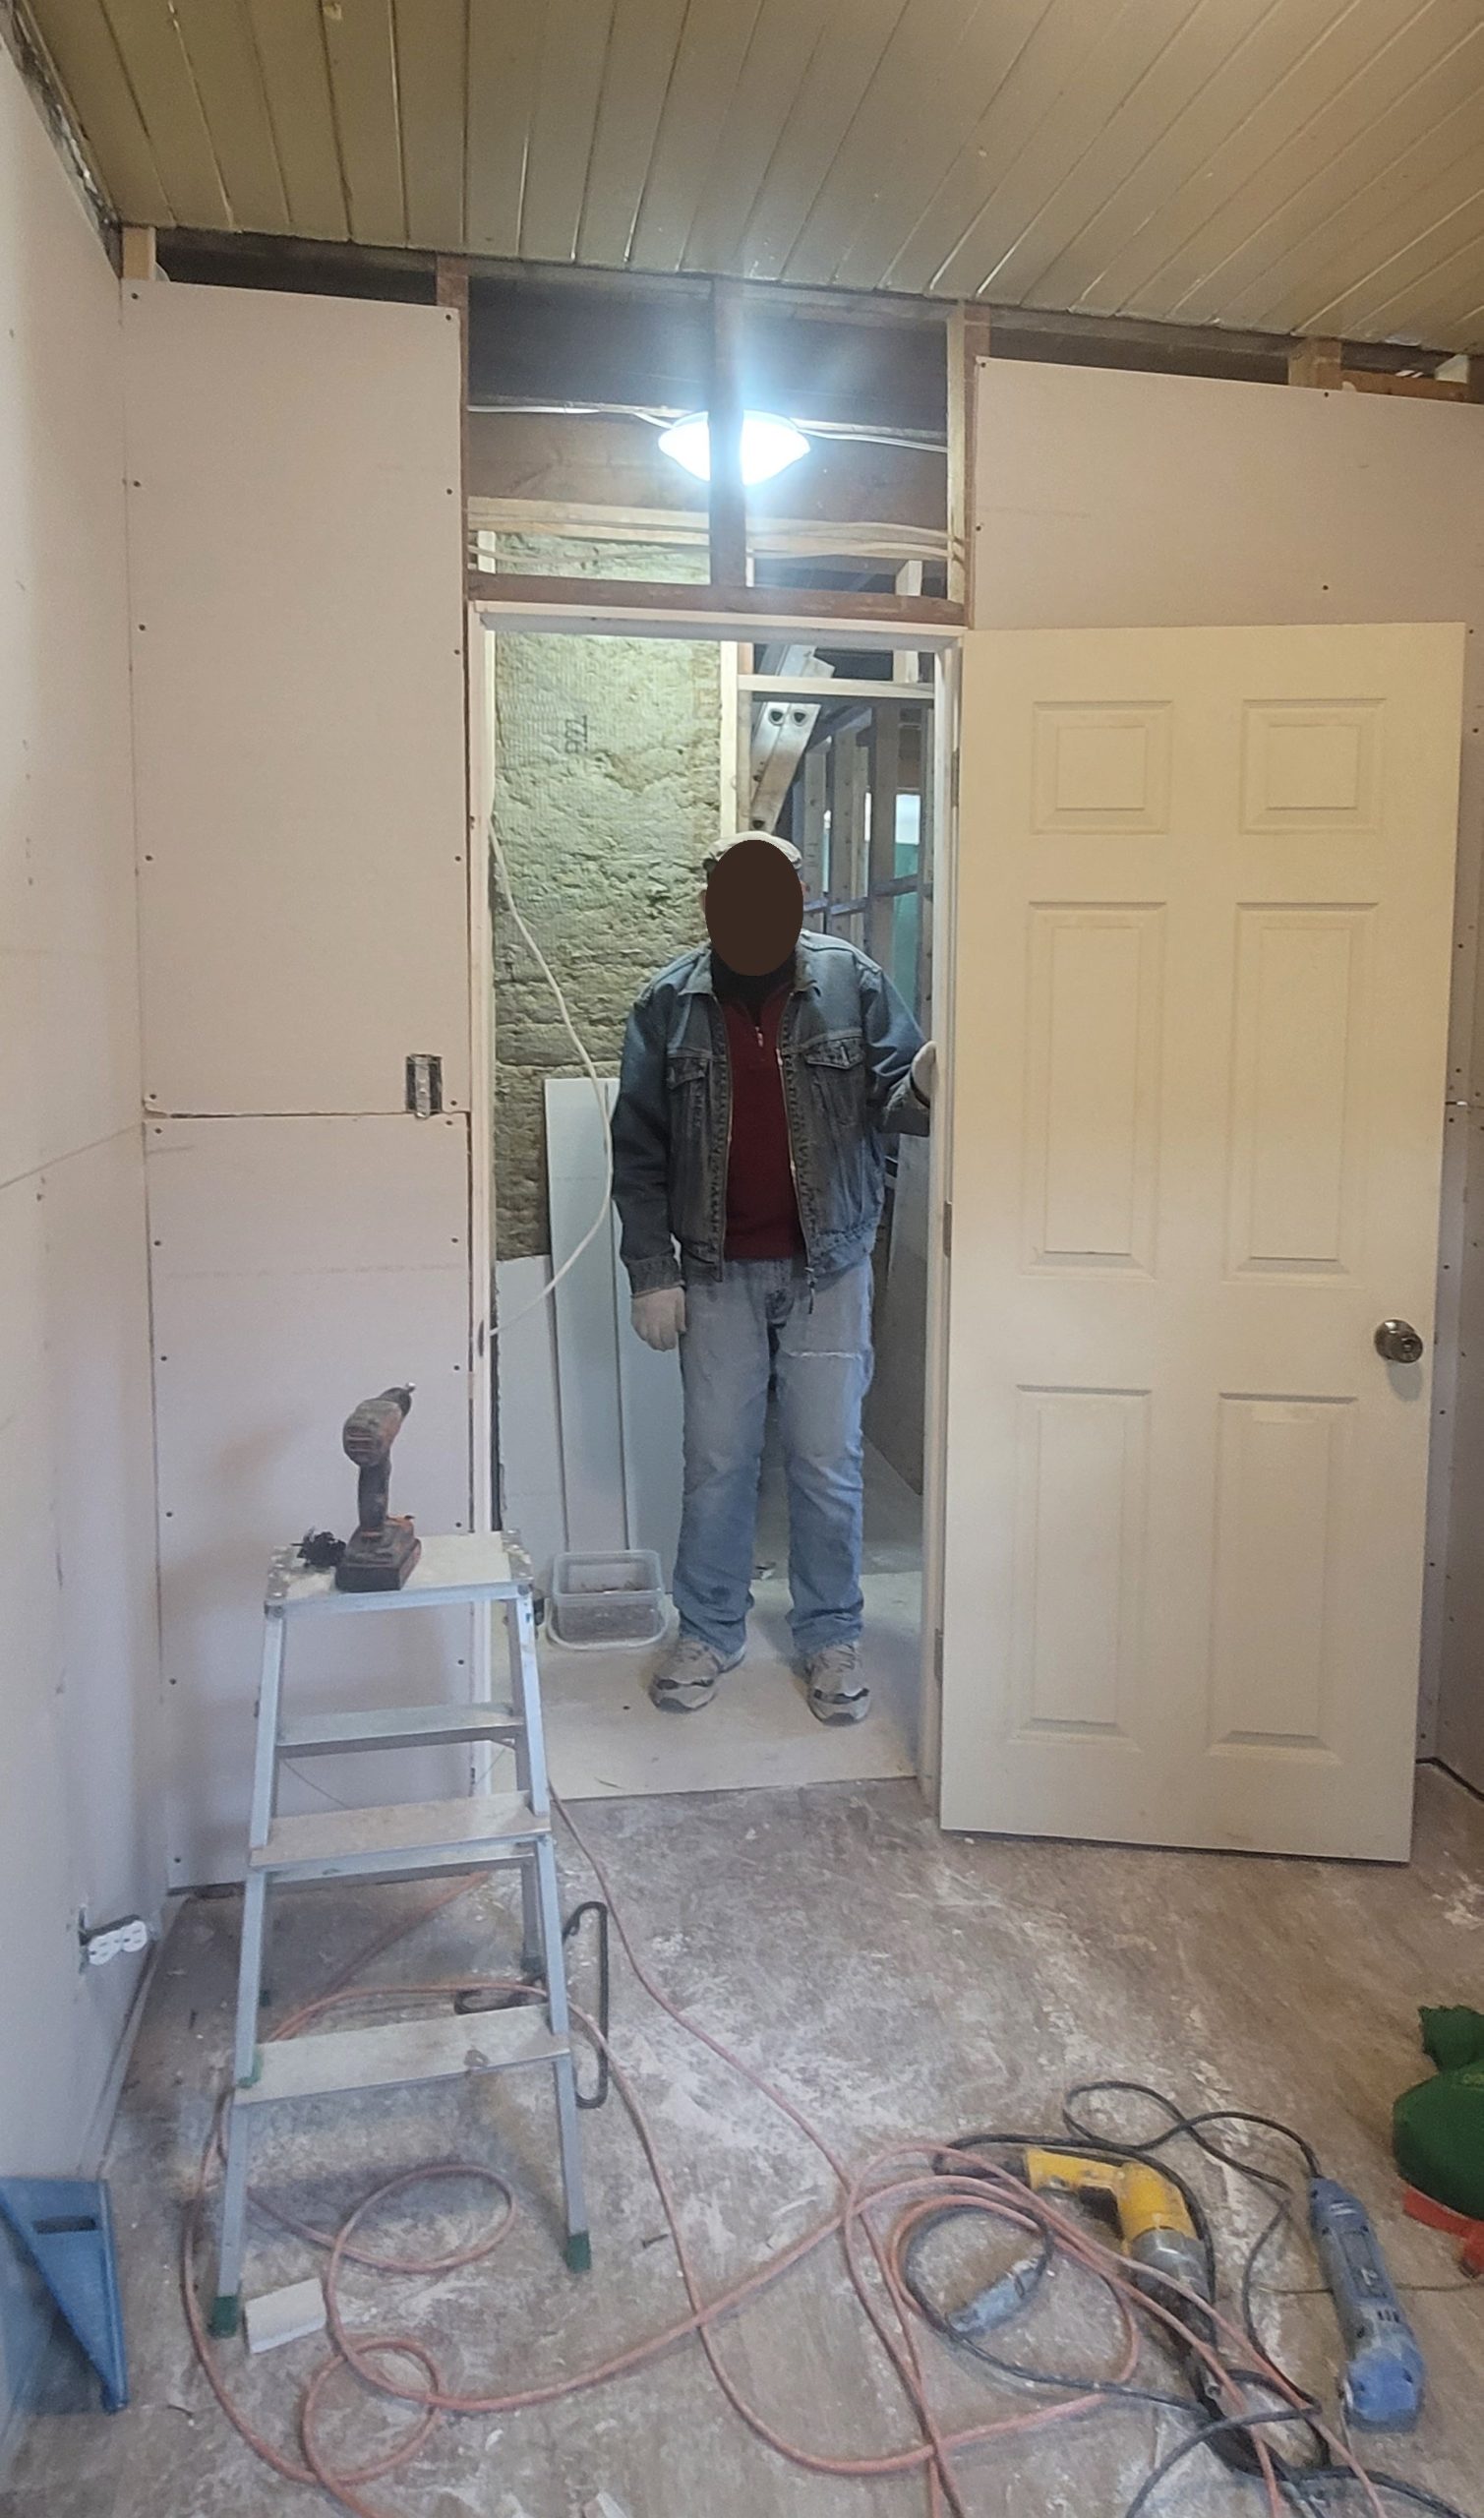
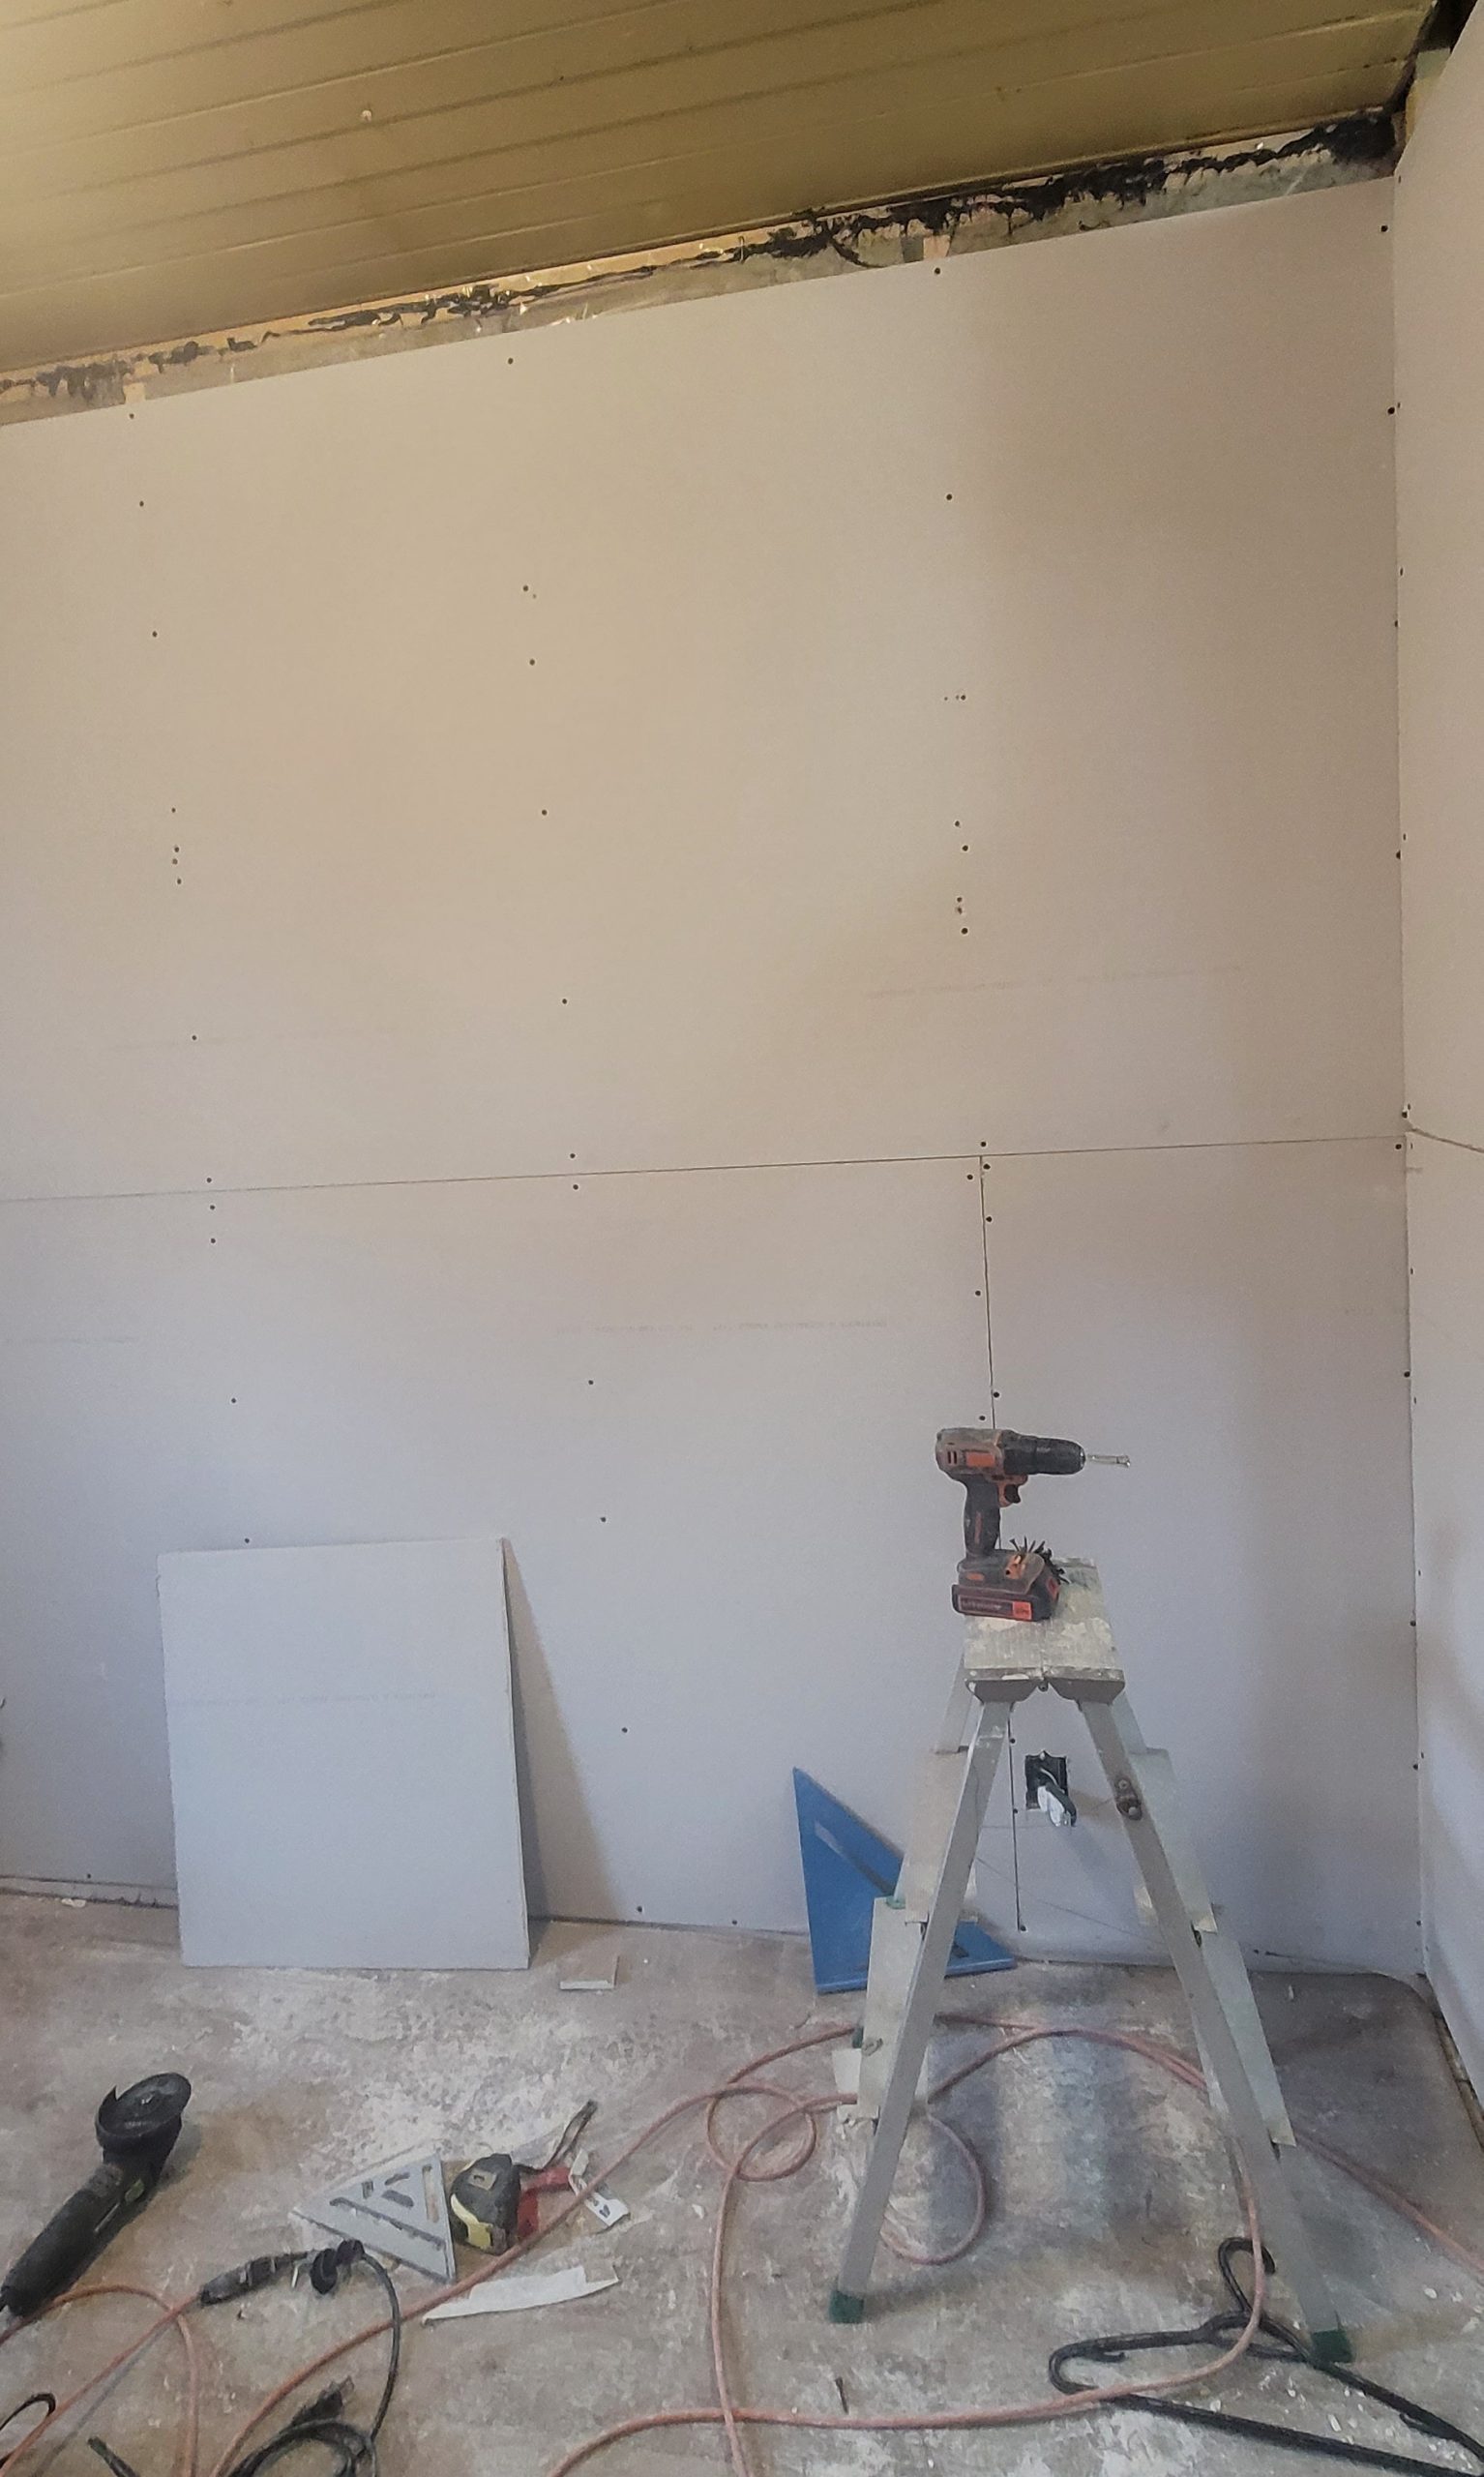
Bedroom 2 is mostly drywalled. There is still a board missing above the door header and a 4″ strip at the top to do.
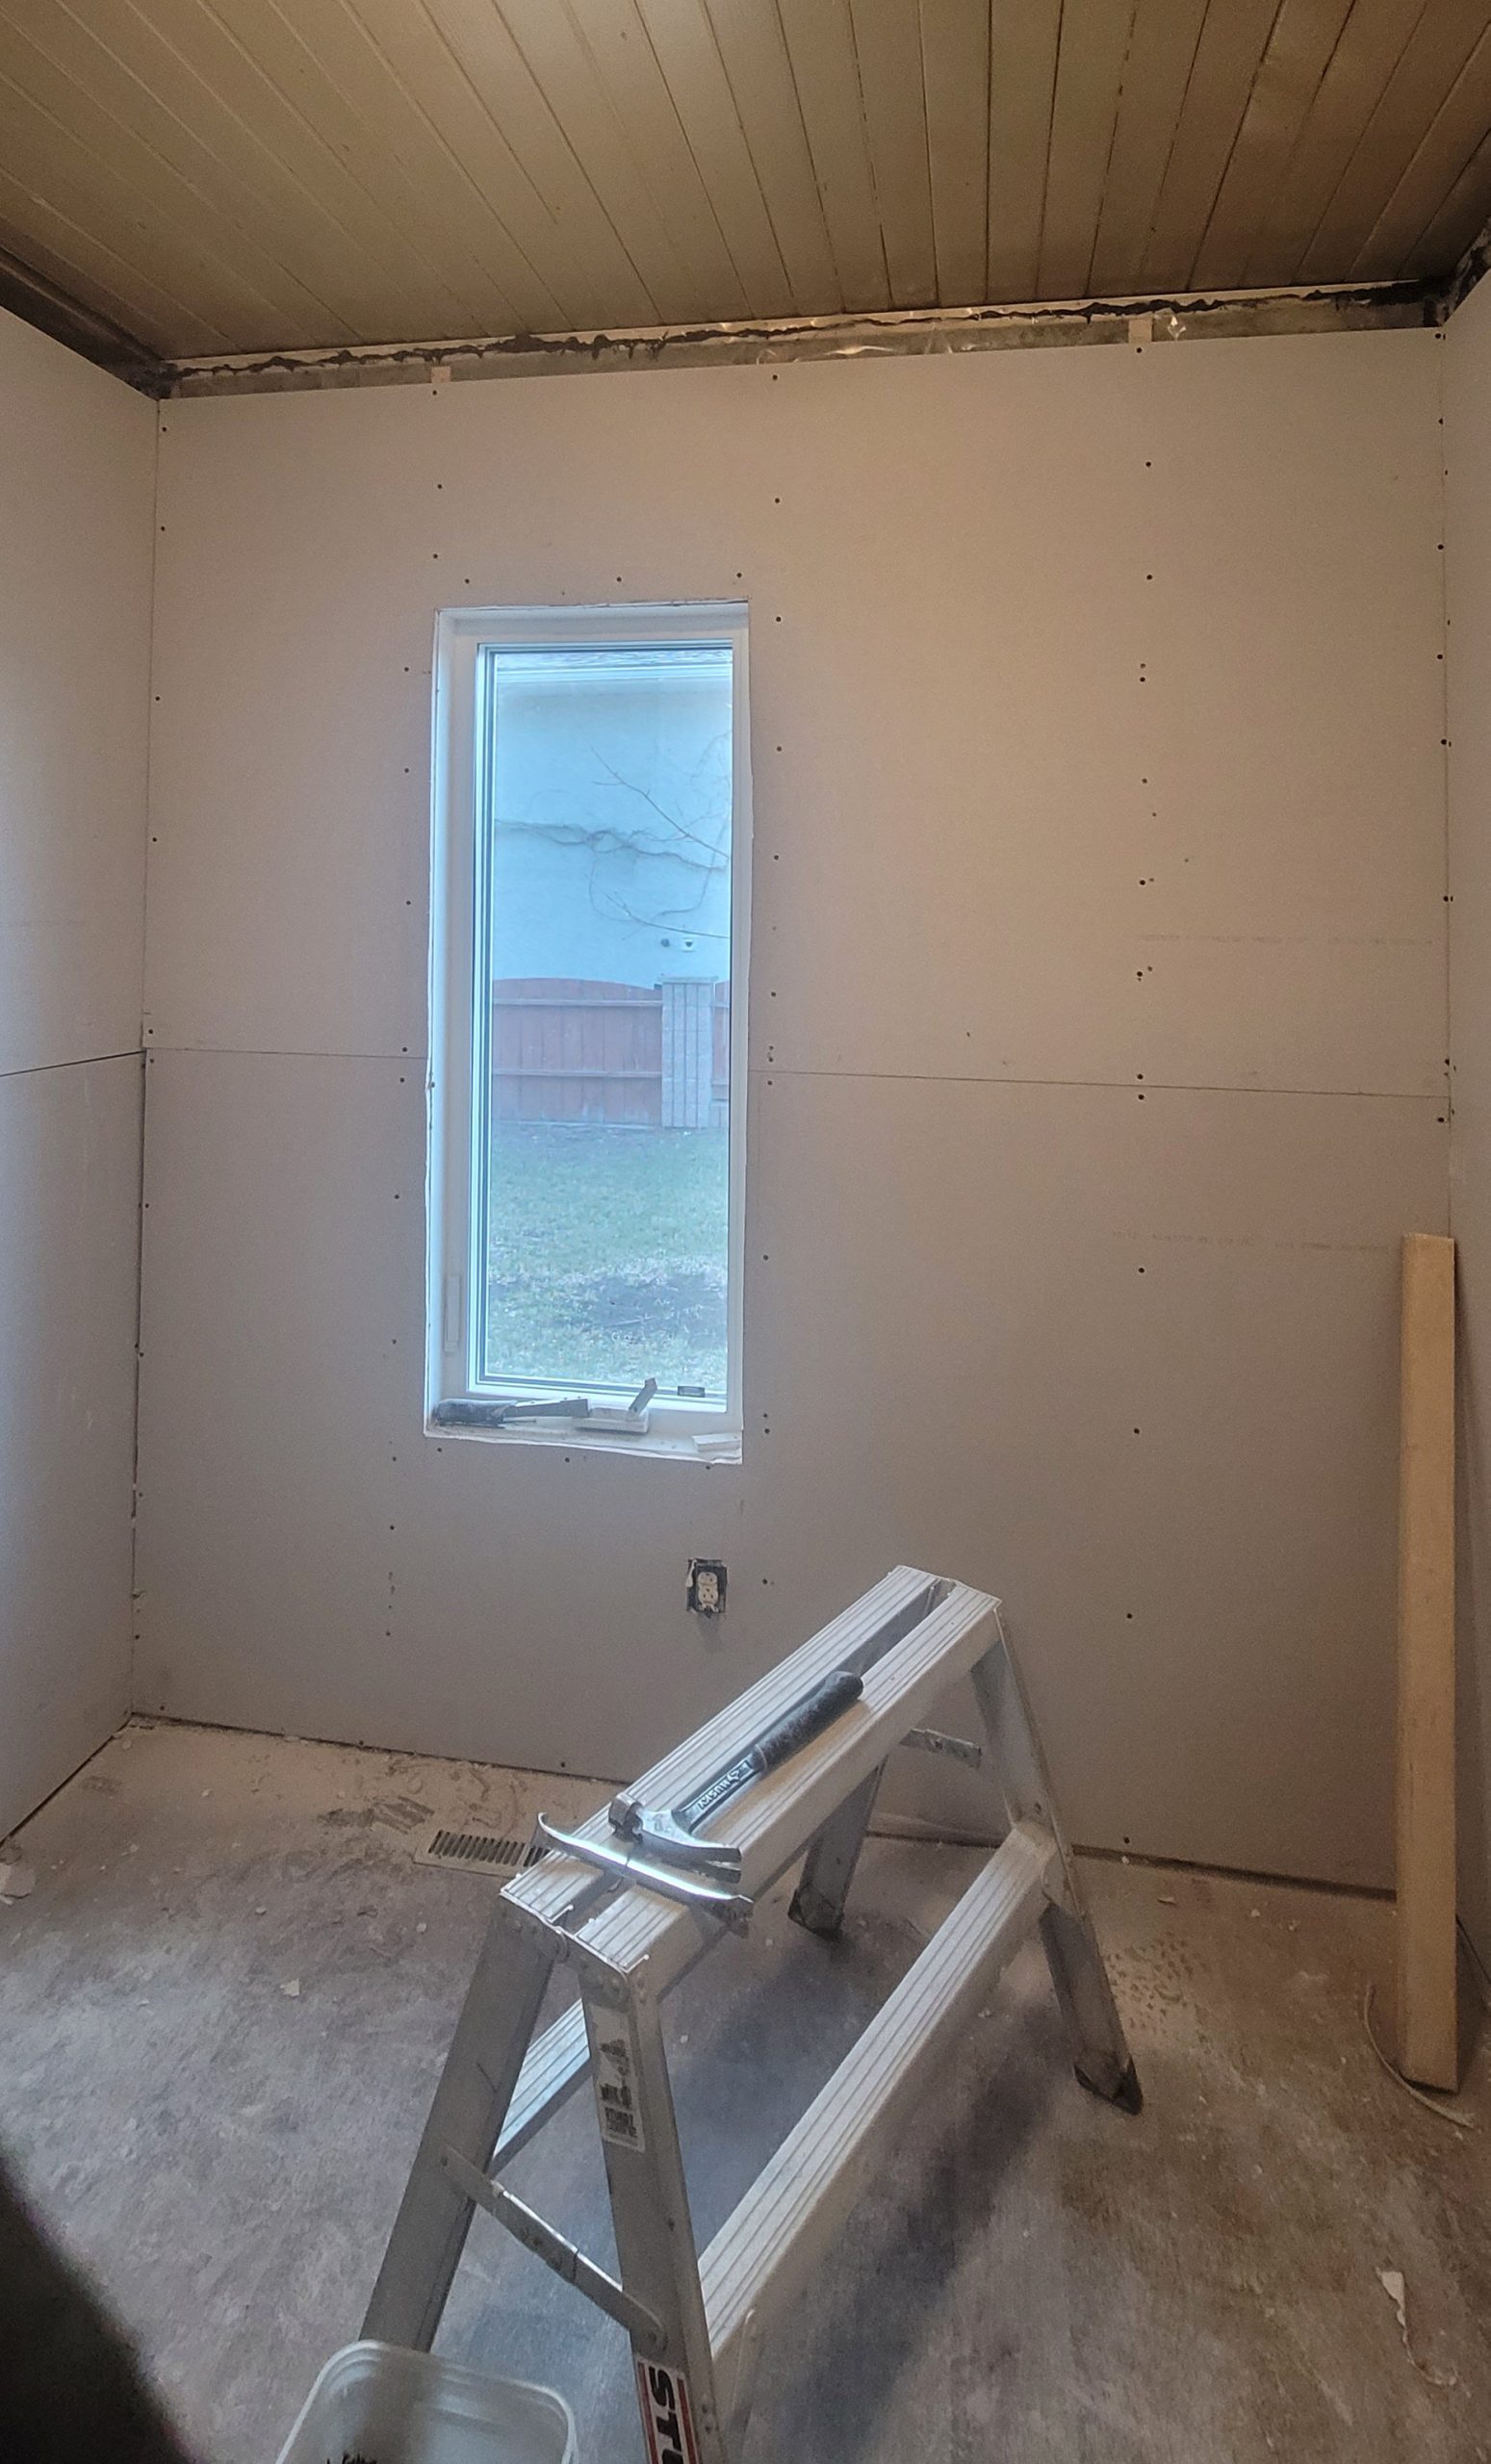
But at least the drywalling has finally begun.
projects on the go
Bedroom 2 is mostly drywalled. There is still a board missing above the door header and a 4″ strip at the top to do.
But at least the drywalling has finally begun.
It seems I was busy all the time I was at this property today. I got there at 2pm and left at 8pm. So what did I do? I put in a stud.
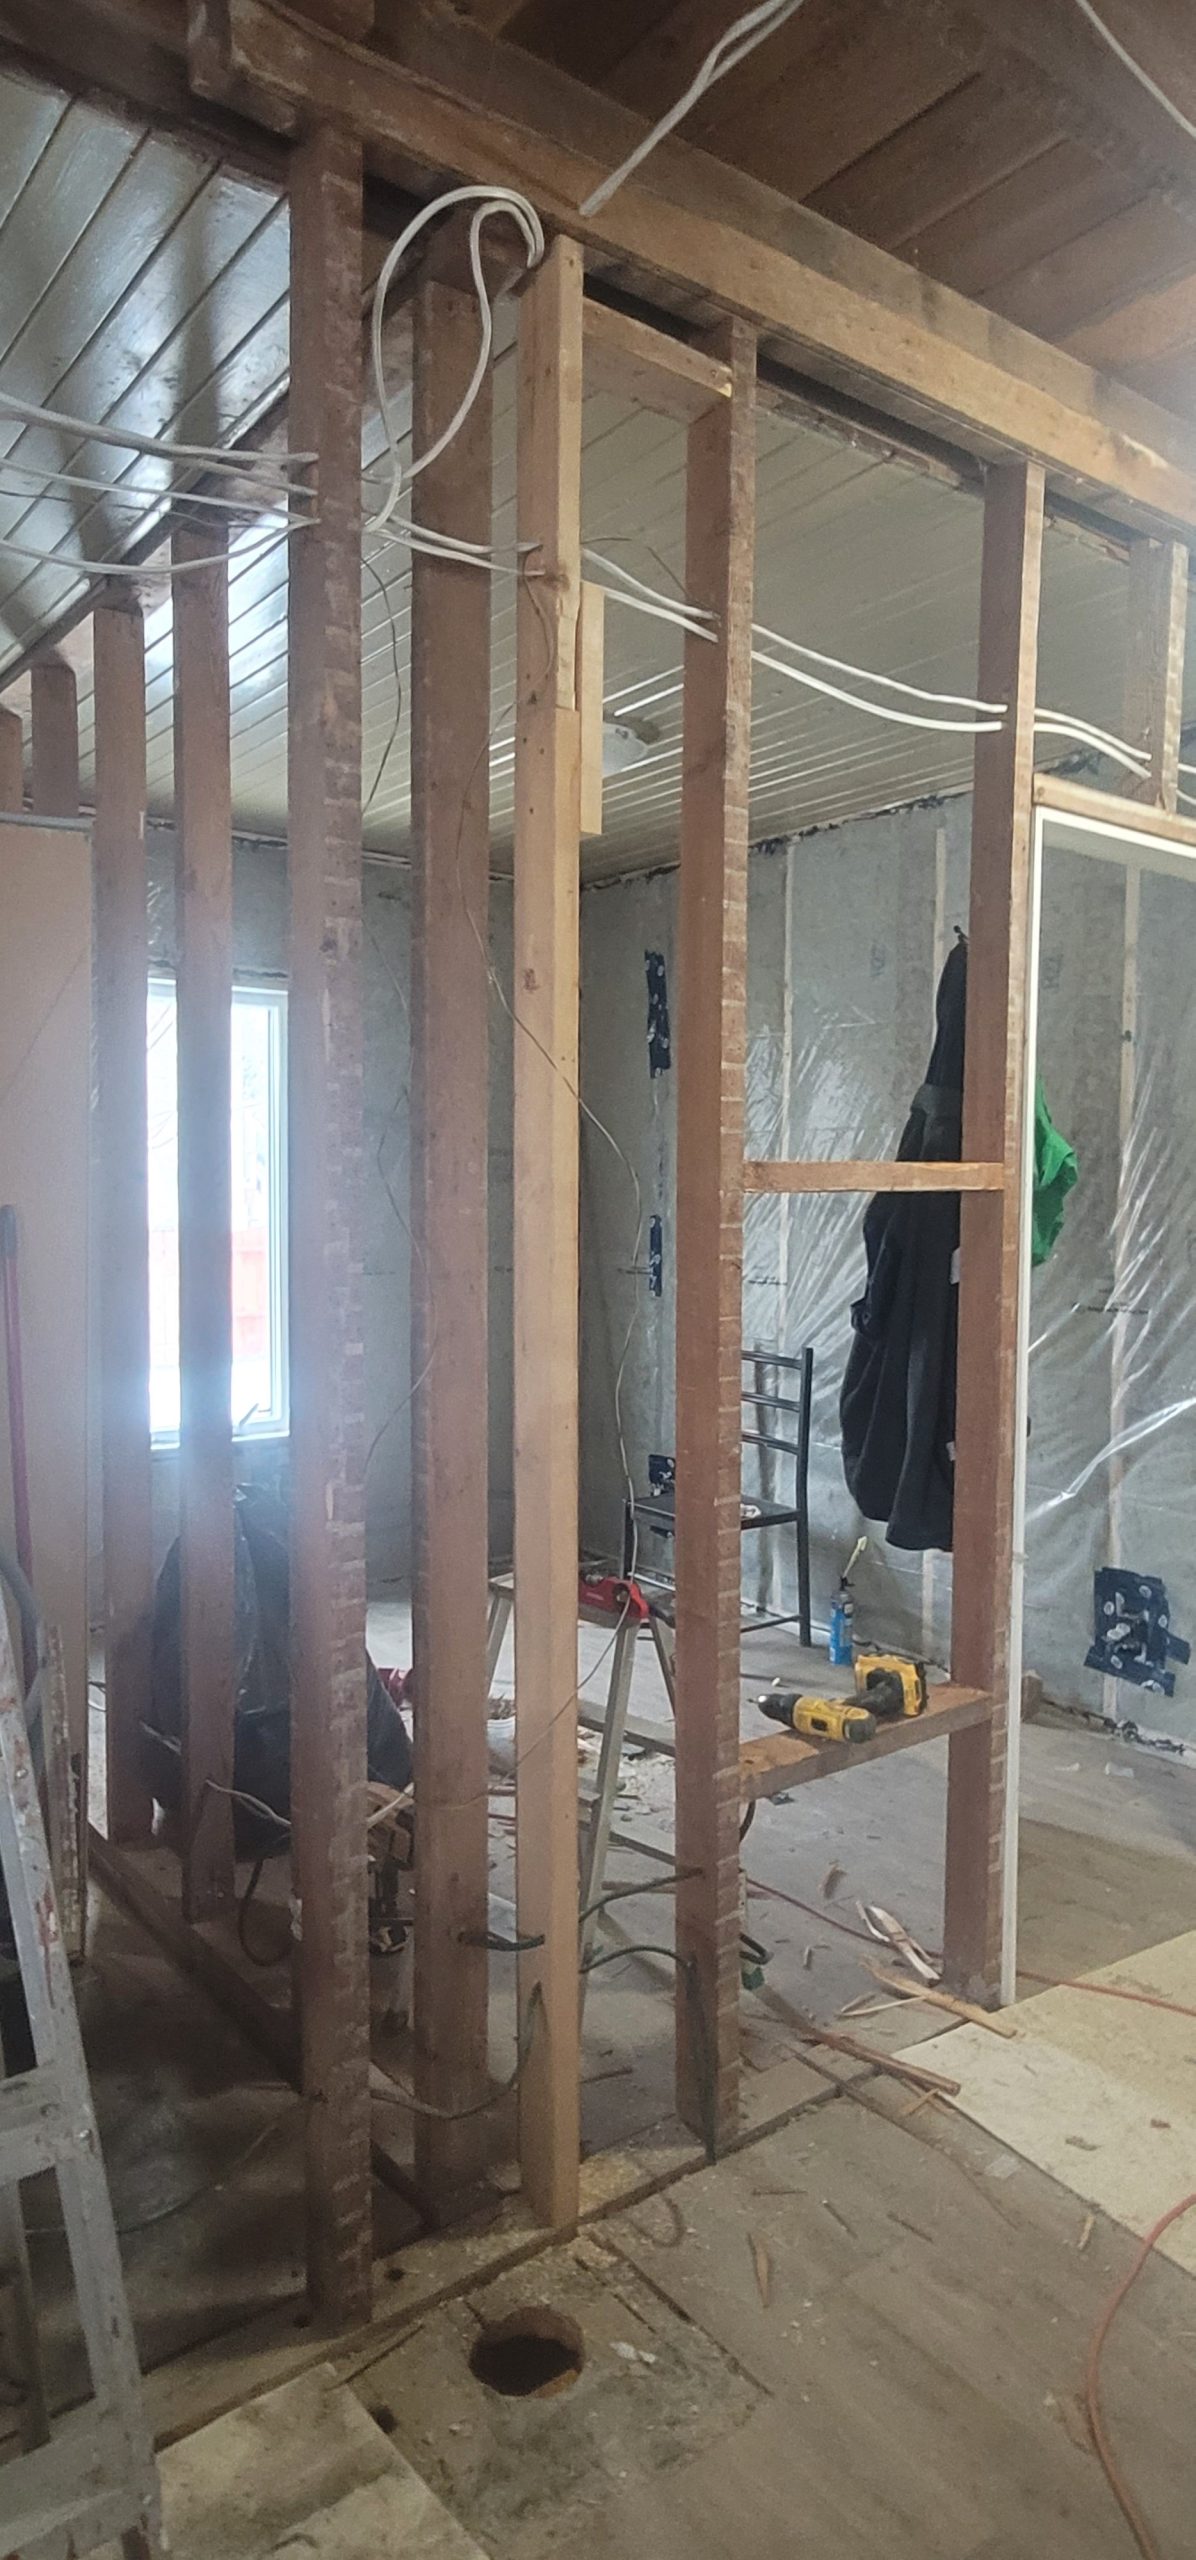
But it’s more complicated than that. Also done:
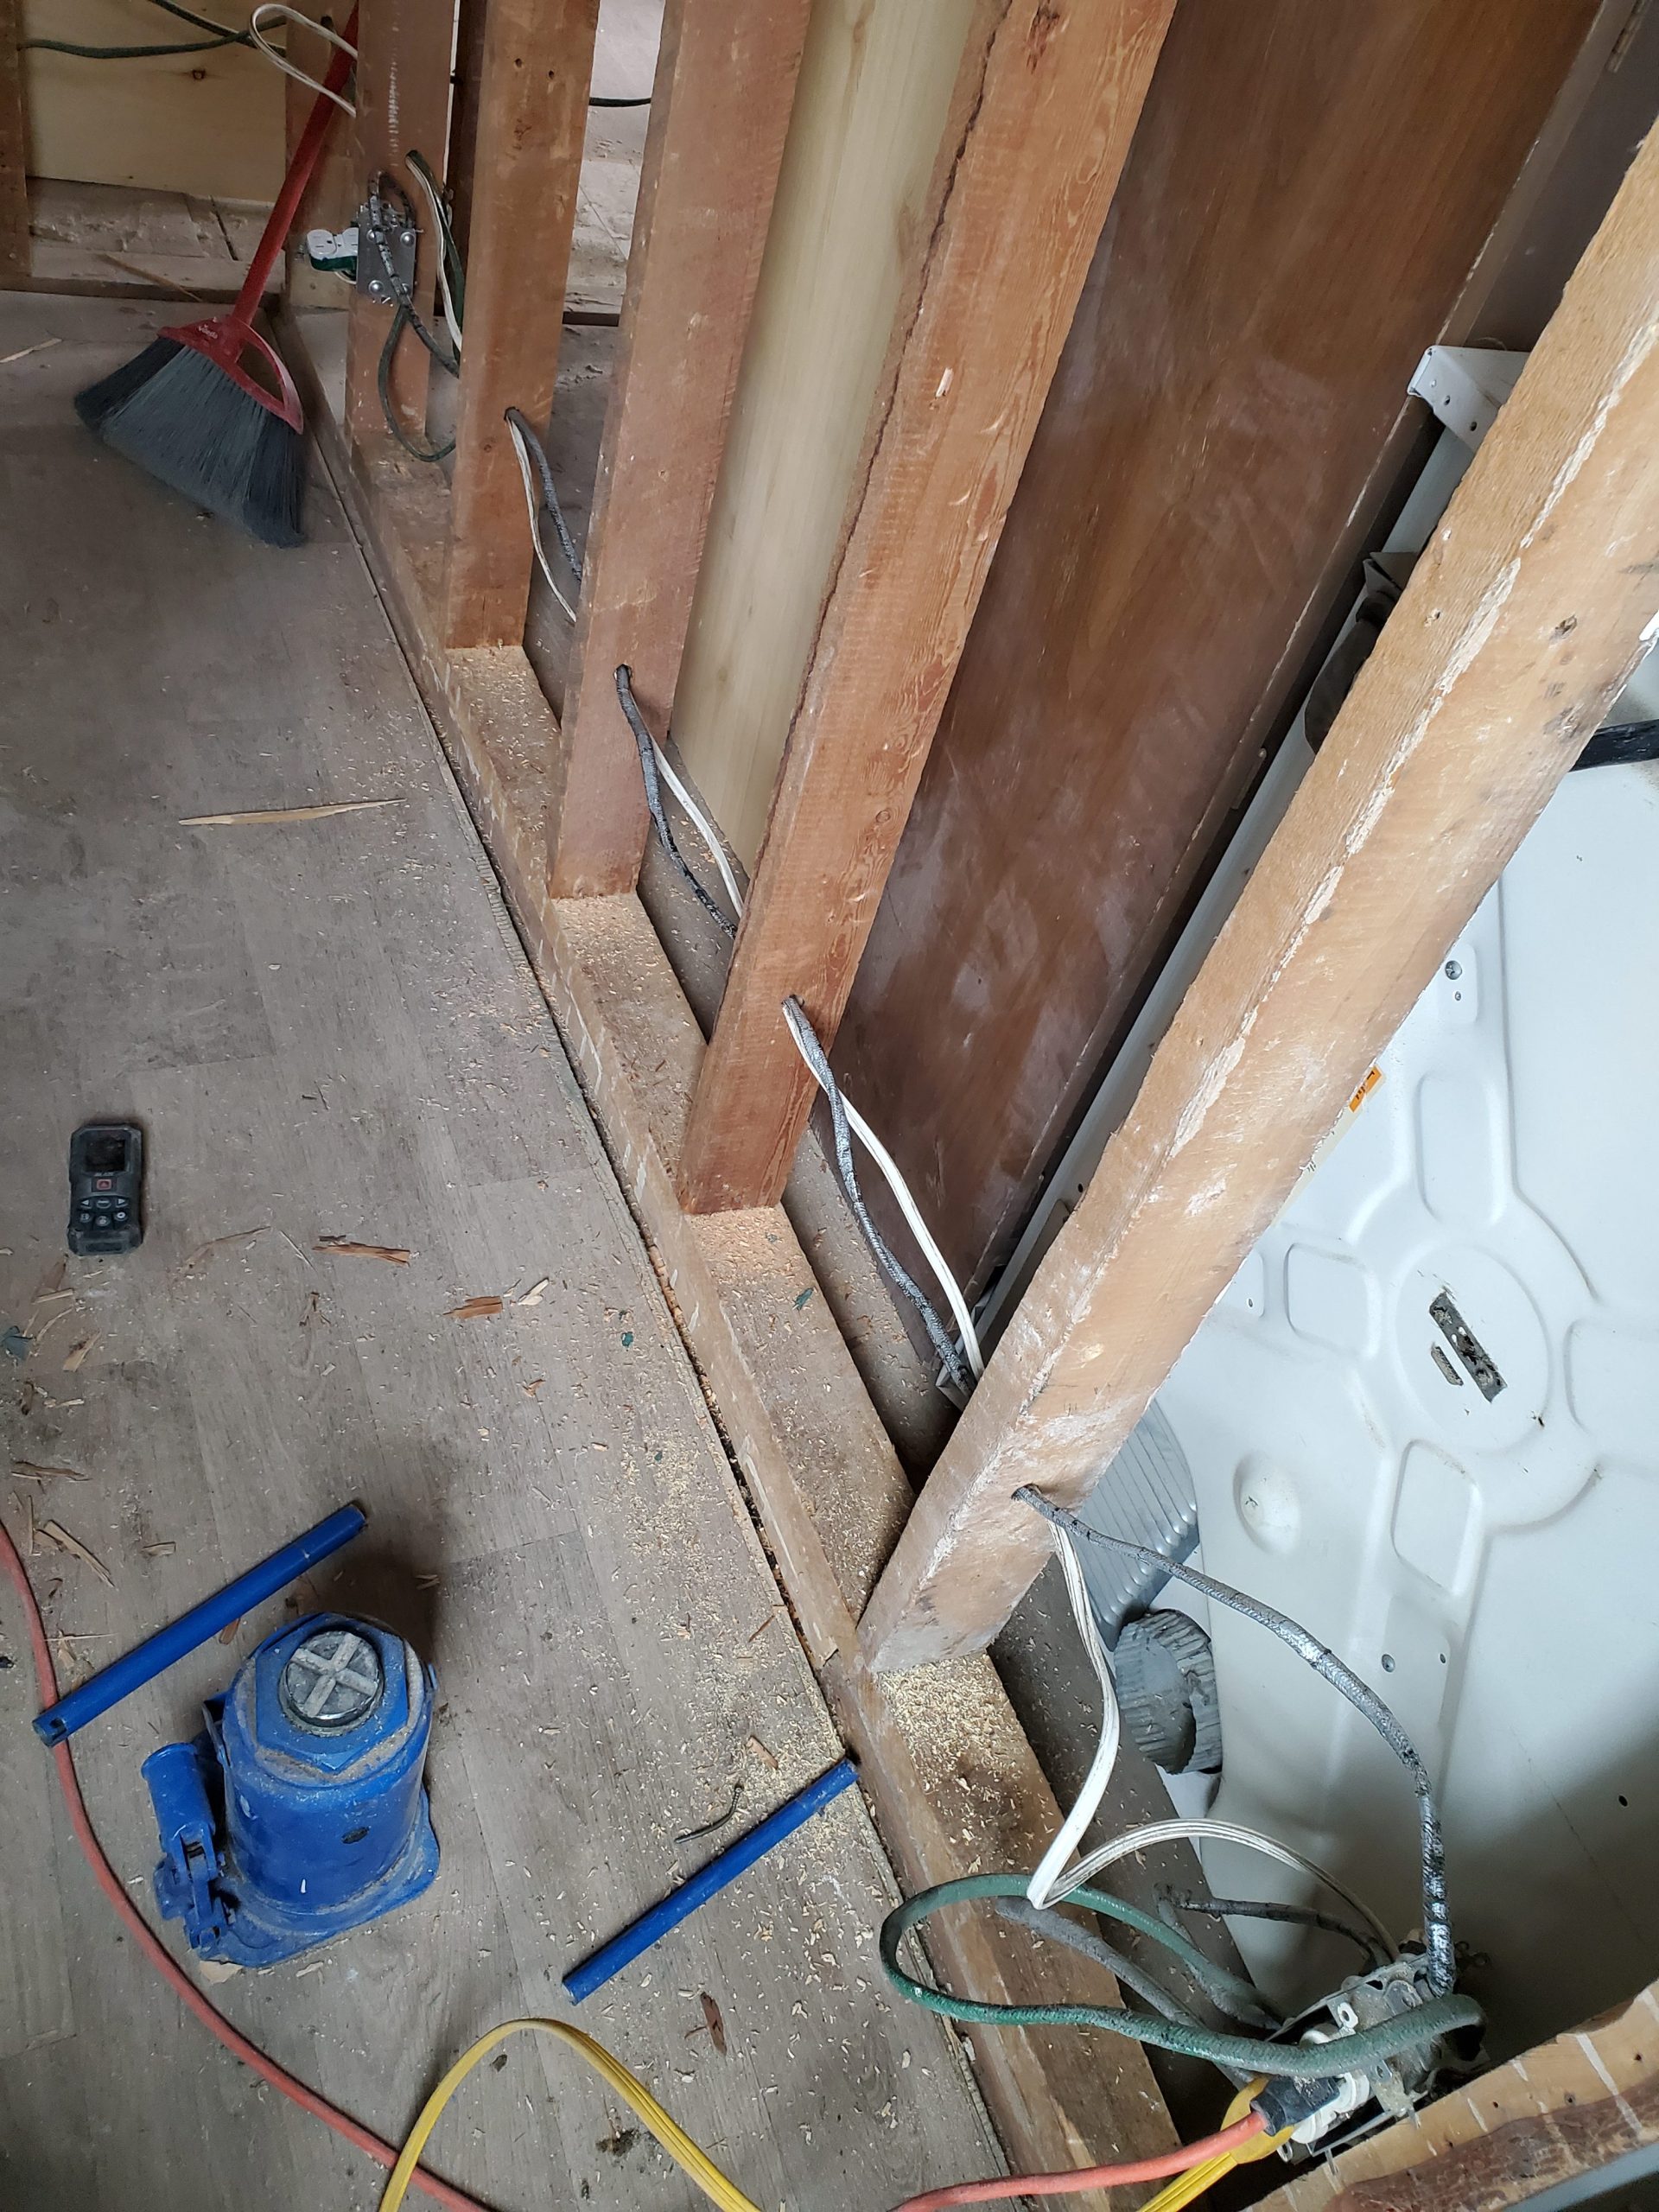
So, all in all, only one “new” thing was done. The rest of my activities were fixing, completing, or redoing other stuff. Yay.
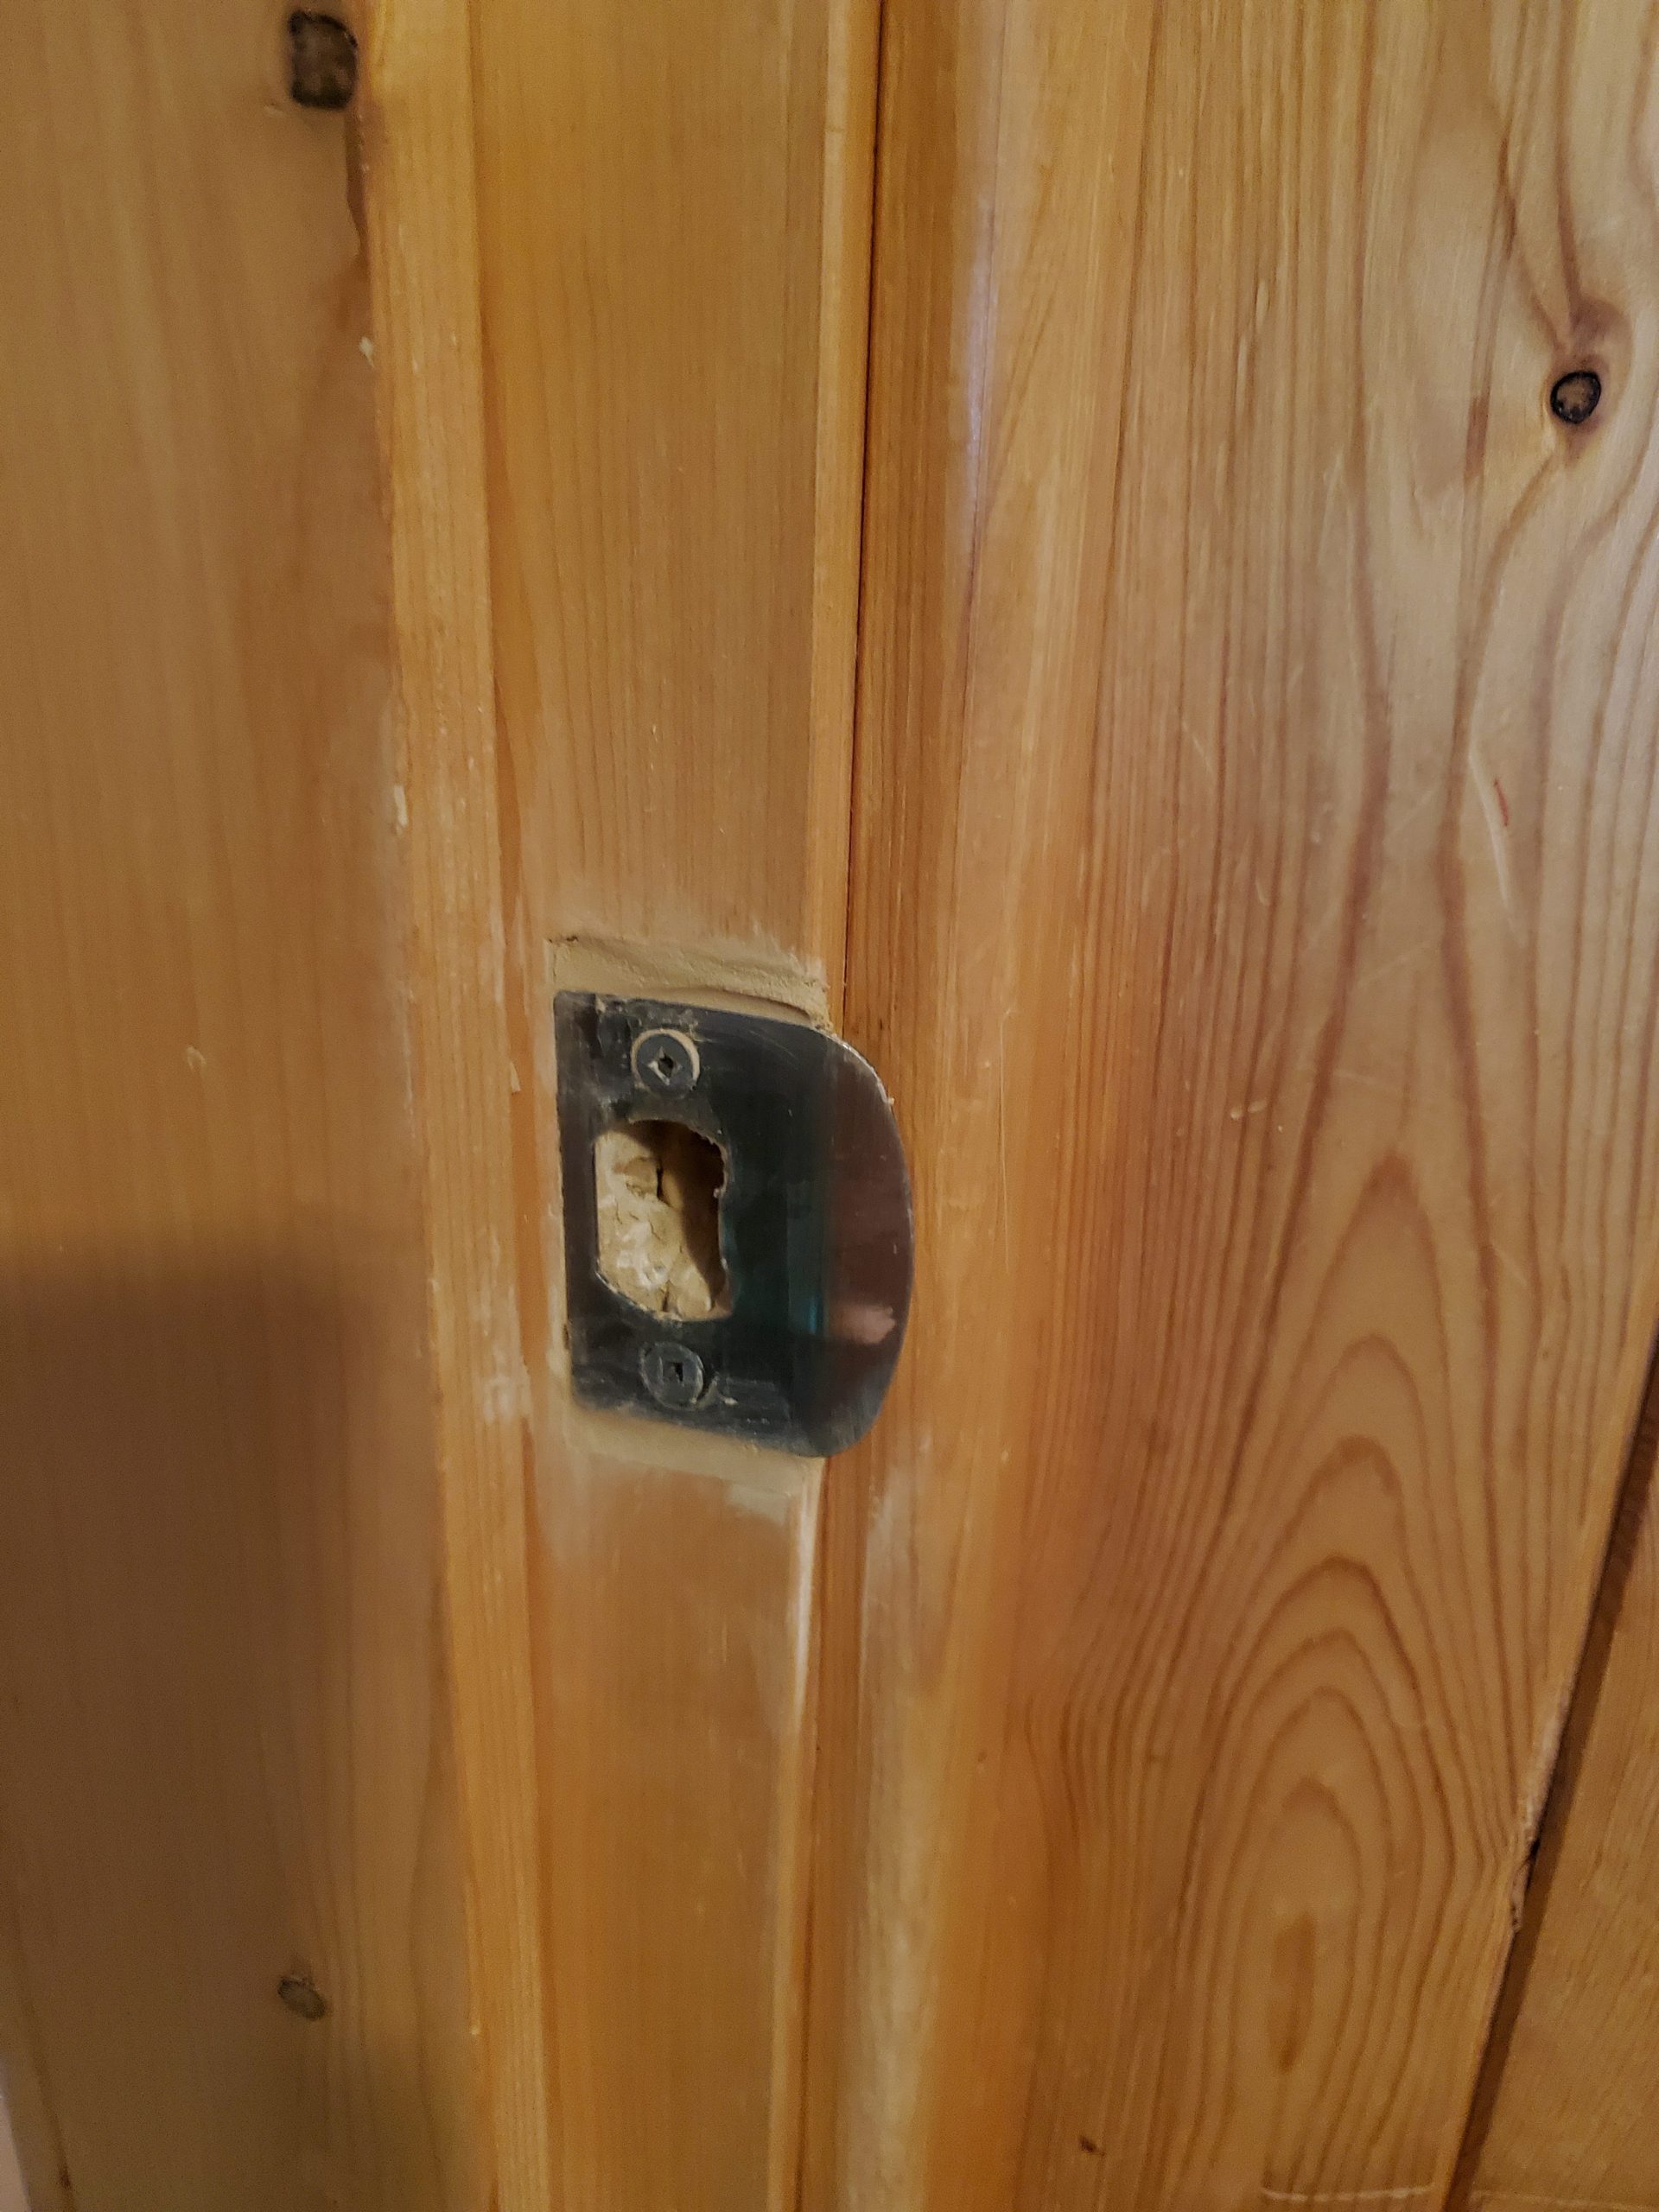
This is the first maintenance done since the plumbing fiasco. The bedroom 1 door didn’t latch because of James’ abusive vandalism of the property. He put spikes through the door, door frame, and surrounding wall framing. Since then, the door has been out-of-whack.
Note to self: Do not rent to people like this, no matter how irascible they are.
Anyway, thanks for wood filler compound, the door latch is now fixed.
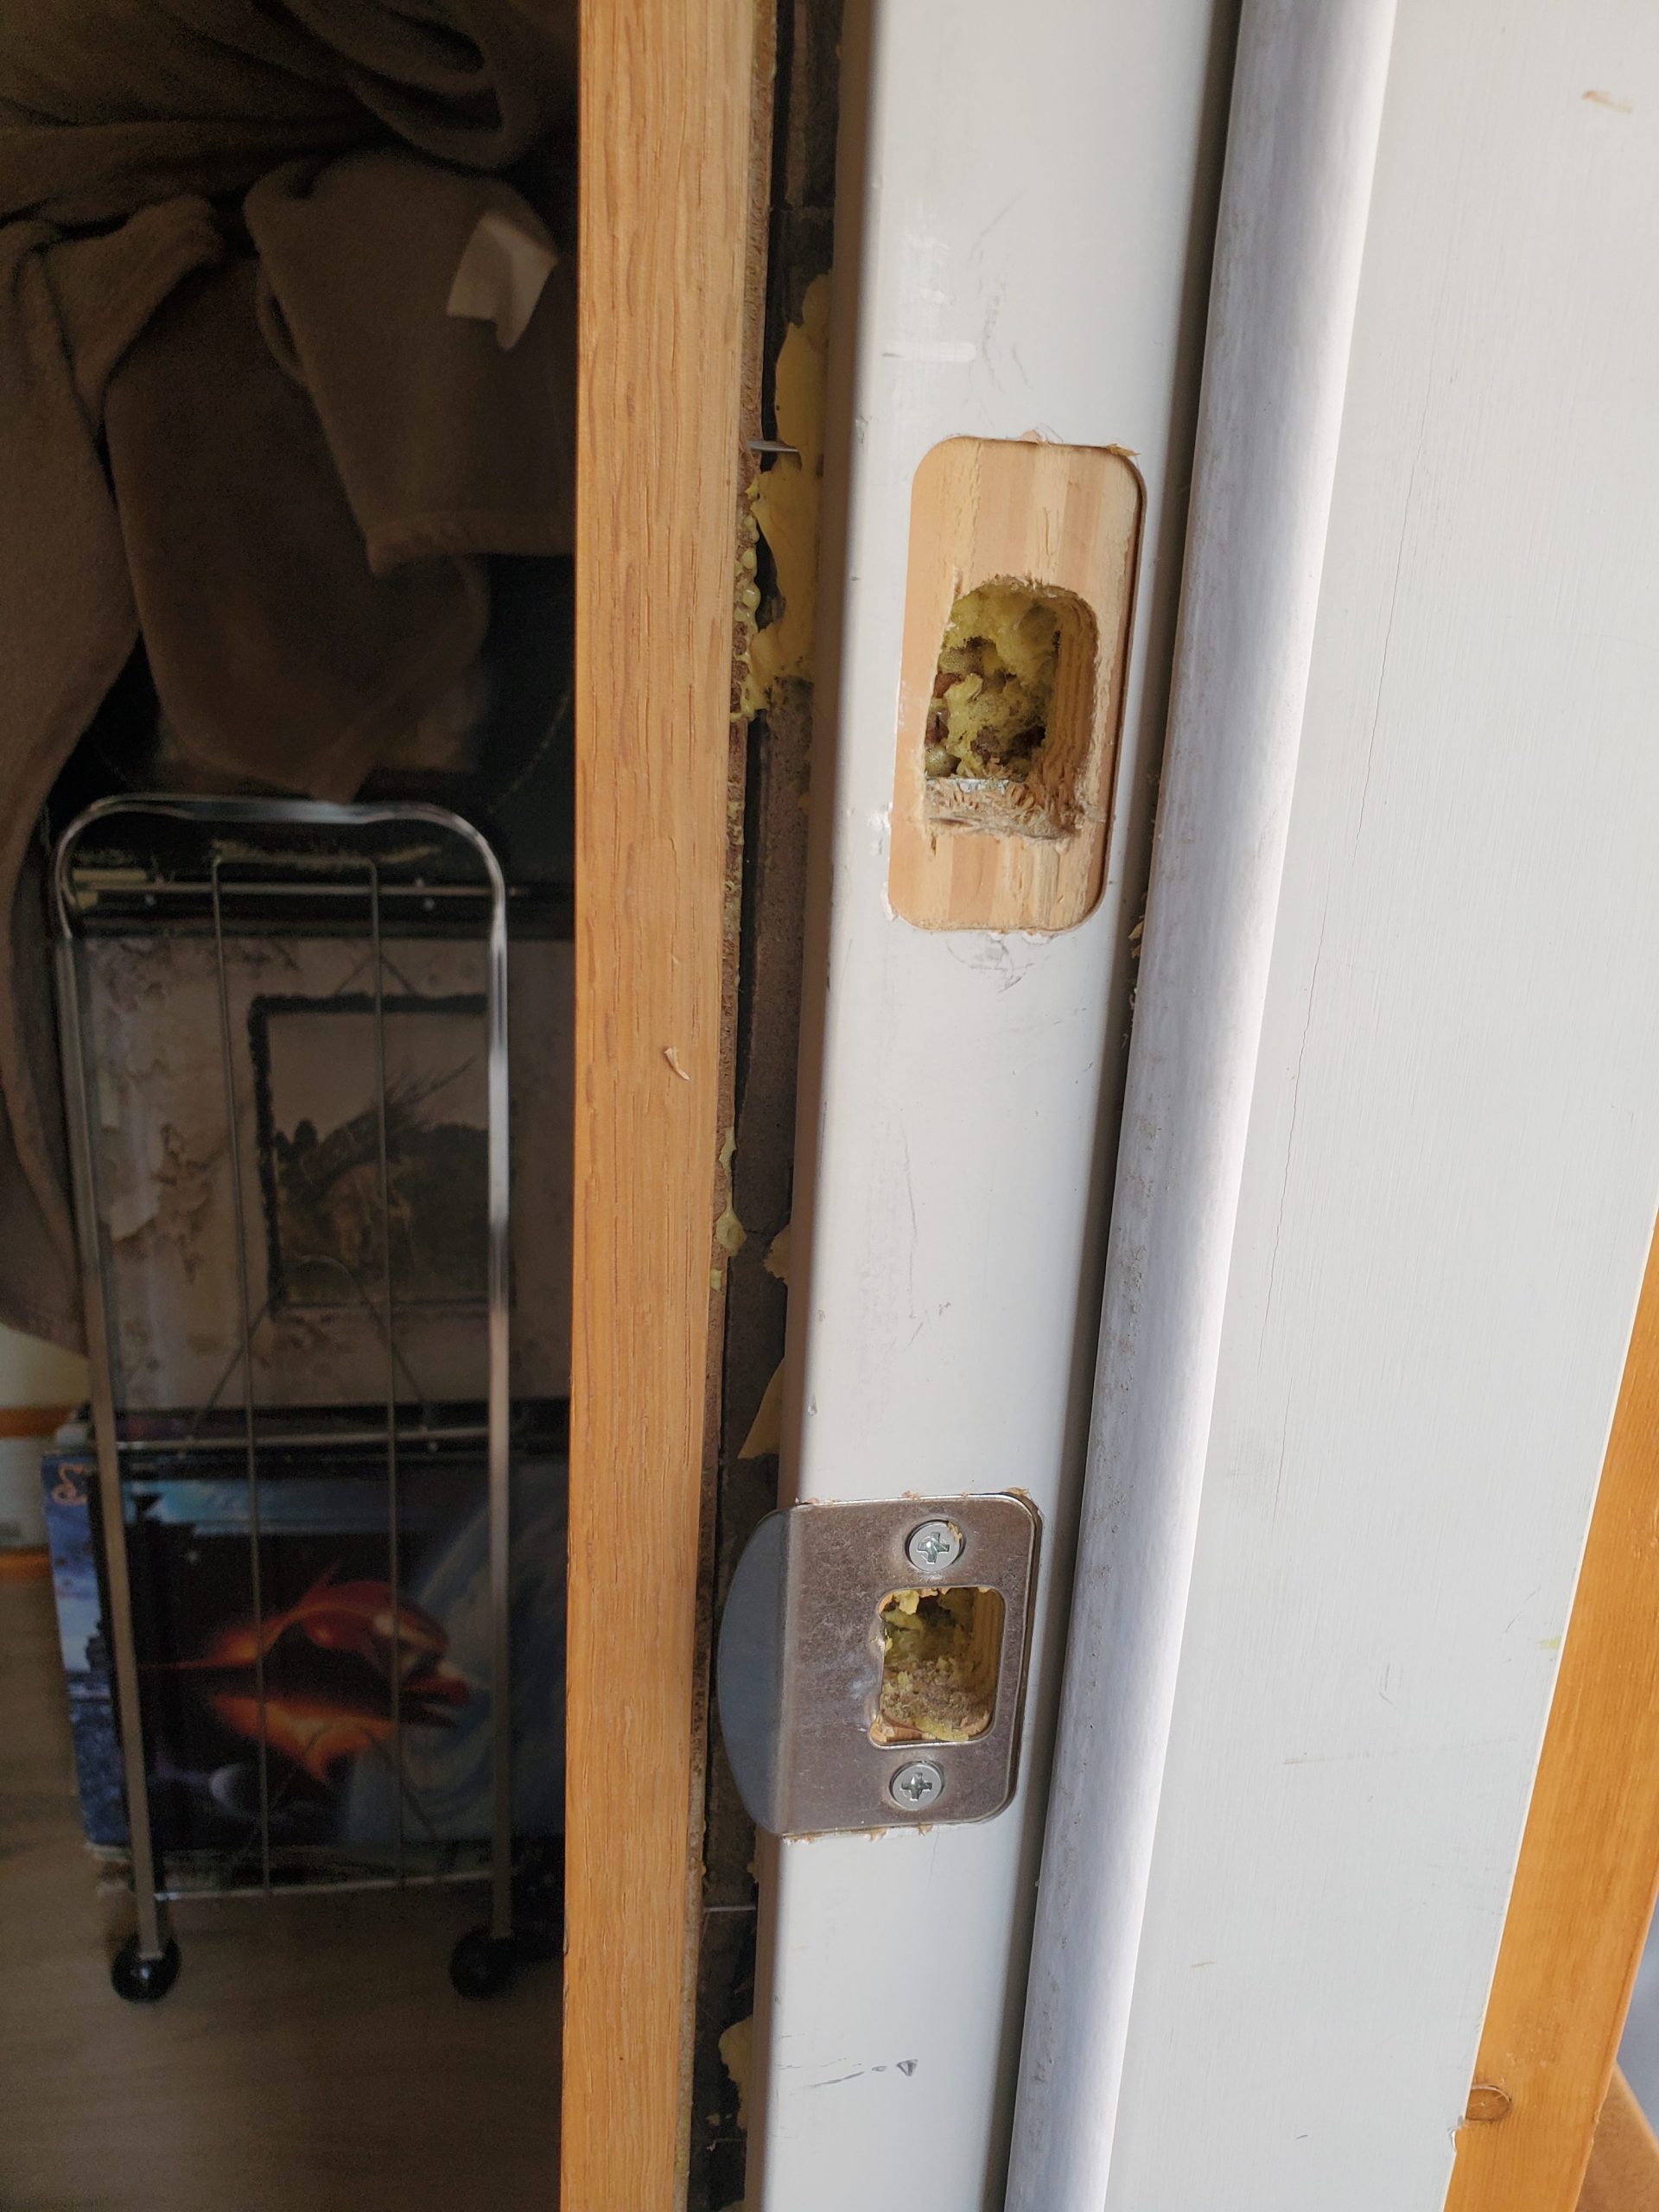
I still have to find a plate for the sunroom door lock.
The new shower stall base was put in, and the back and side walls were added. The results: The house is still crooked.
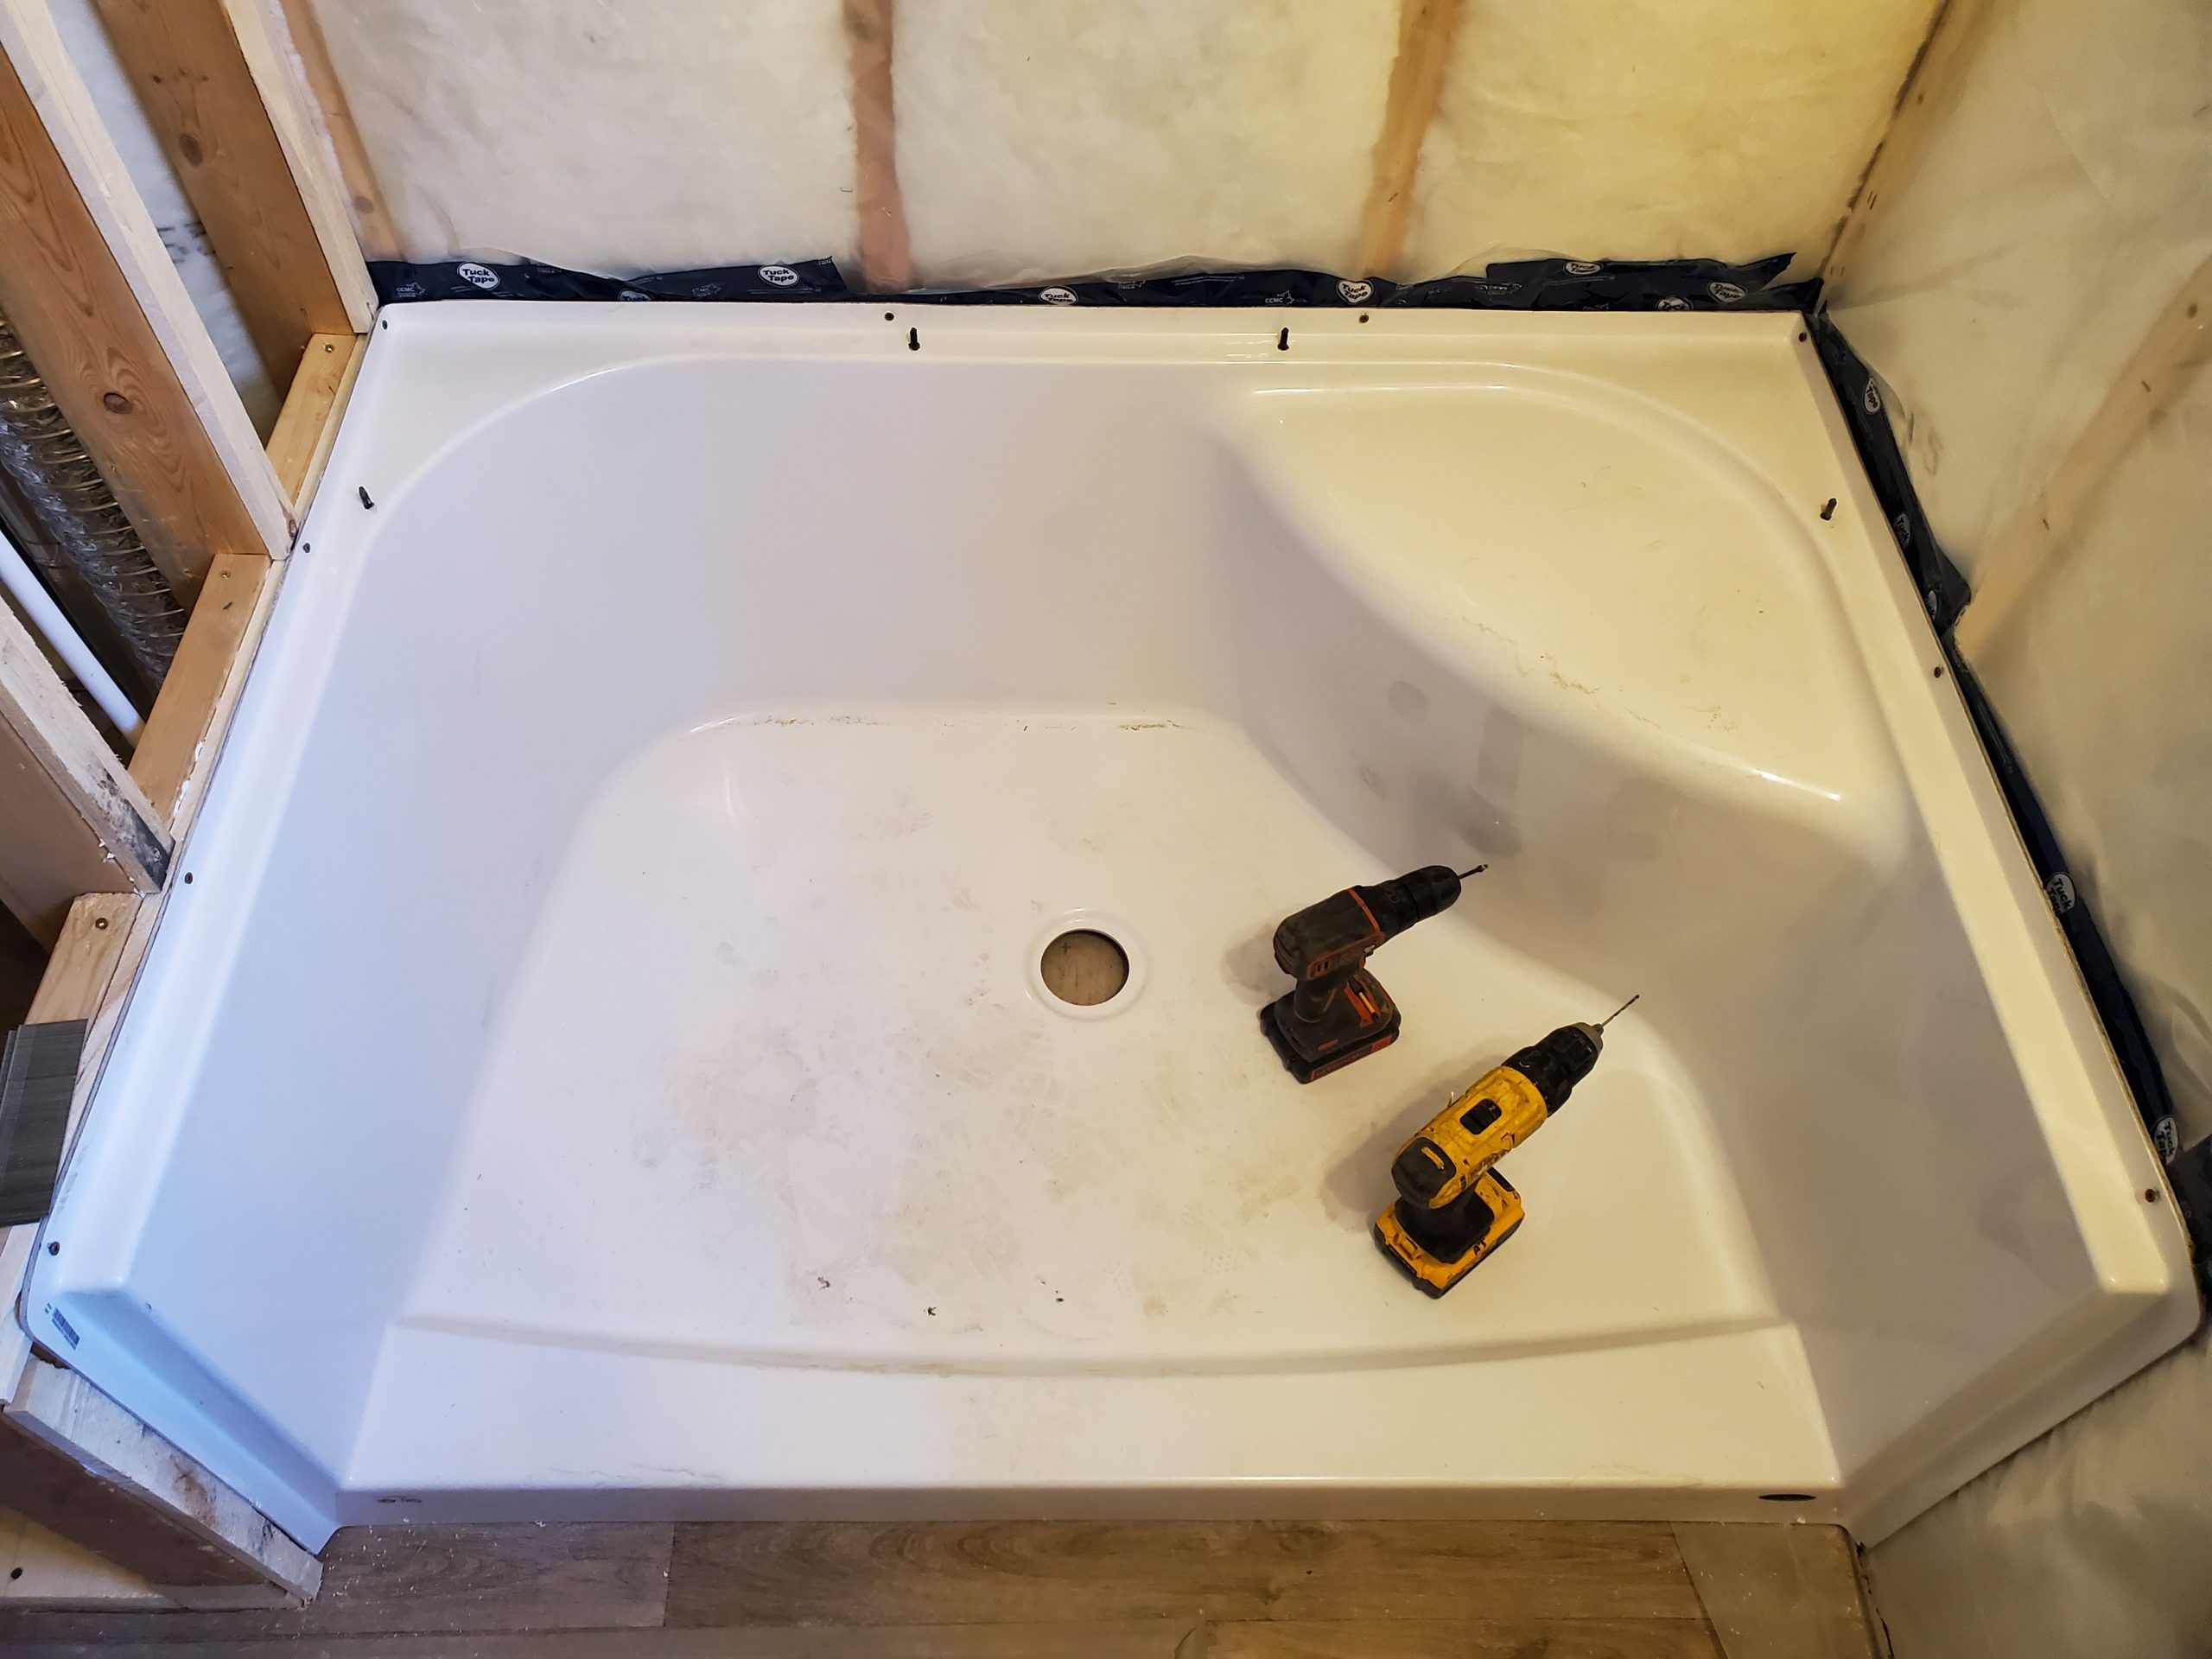

As Dave would comment, “It’s built like a pig barn.”
The only solution is to continue raising the add-on (pig barn) to be level with the remainder of the house. You can’t have plumb, level, square, and straight in an old house, so I’m told. There’s always going to be one or more of those missing from the equation. In this case:
Next step: Jack the add-on and east side of the house until it is level with the west half. There can be no progress in the eastern half of the house until this is done.
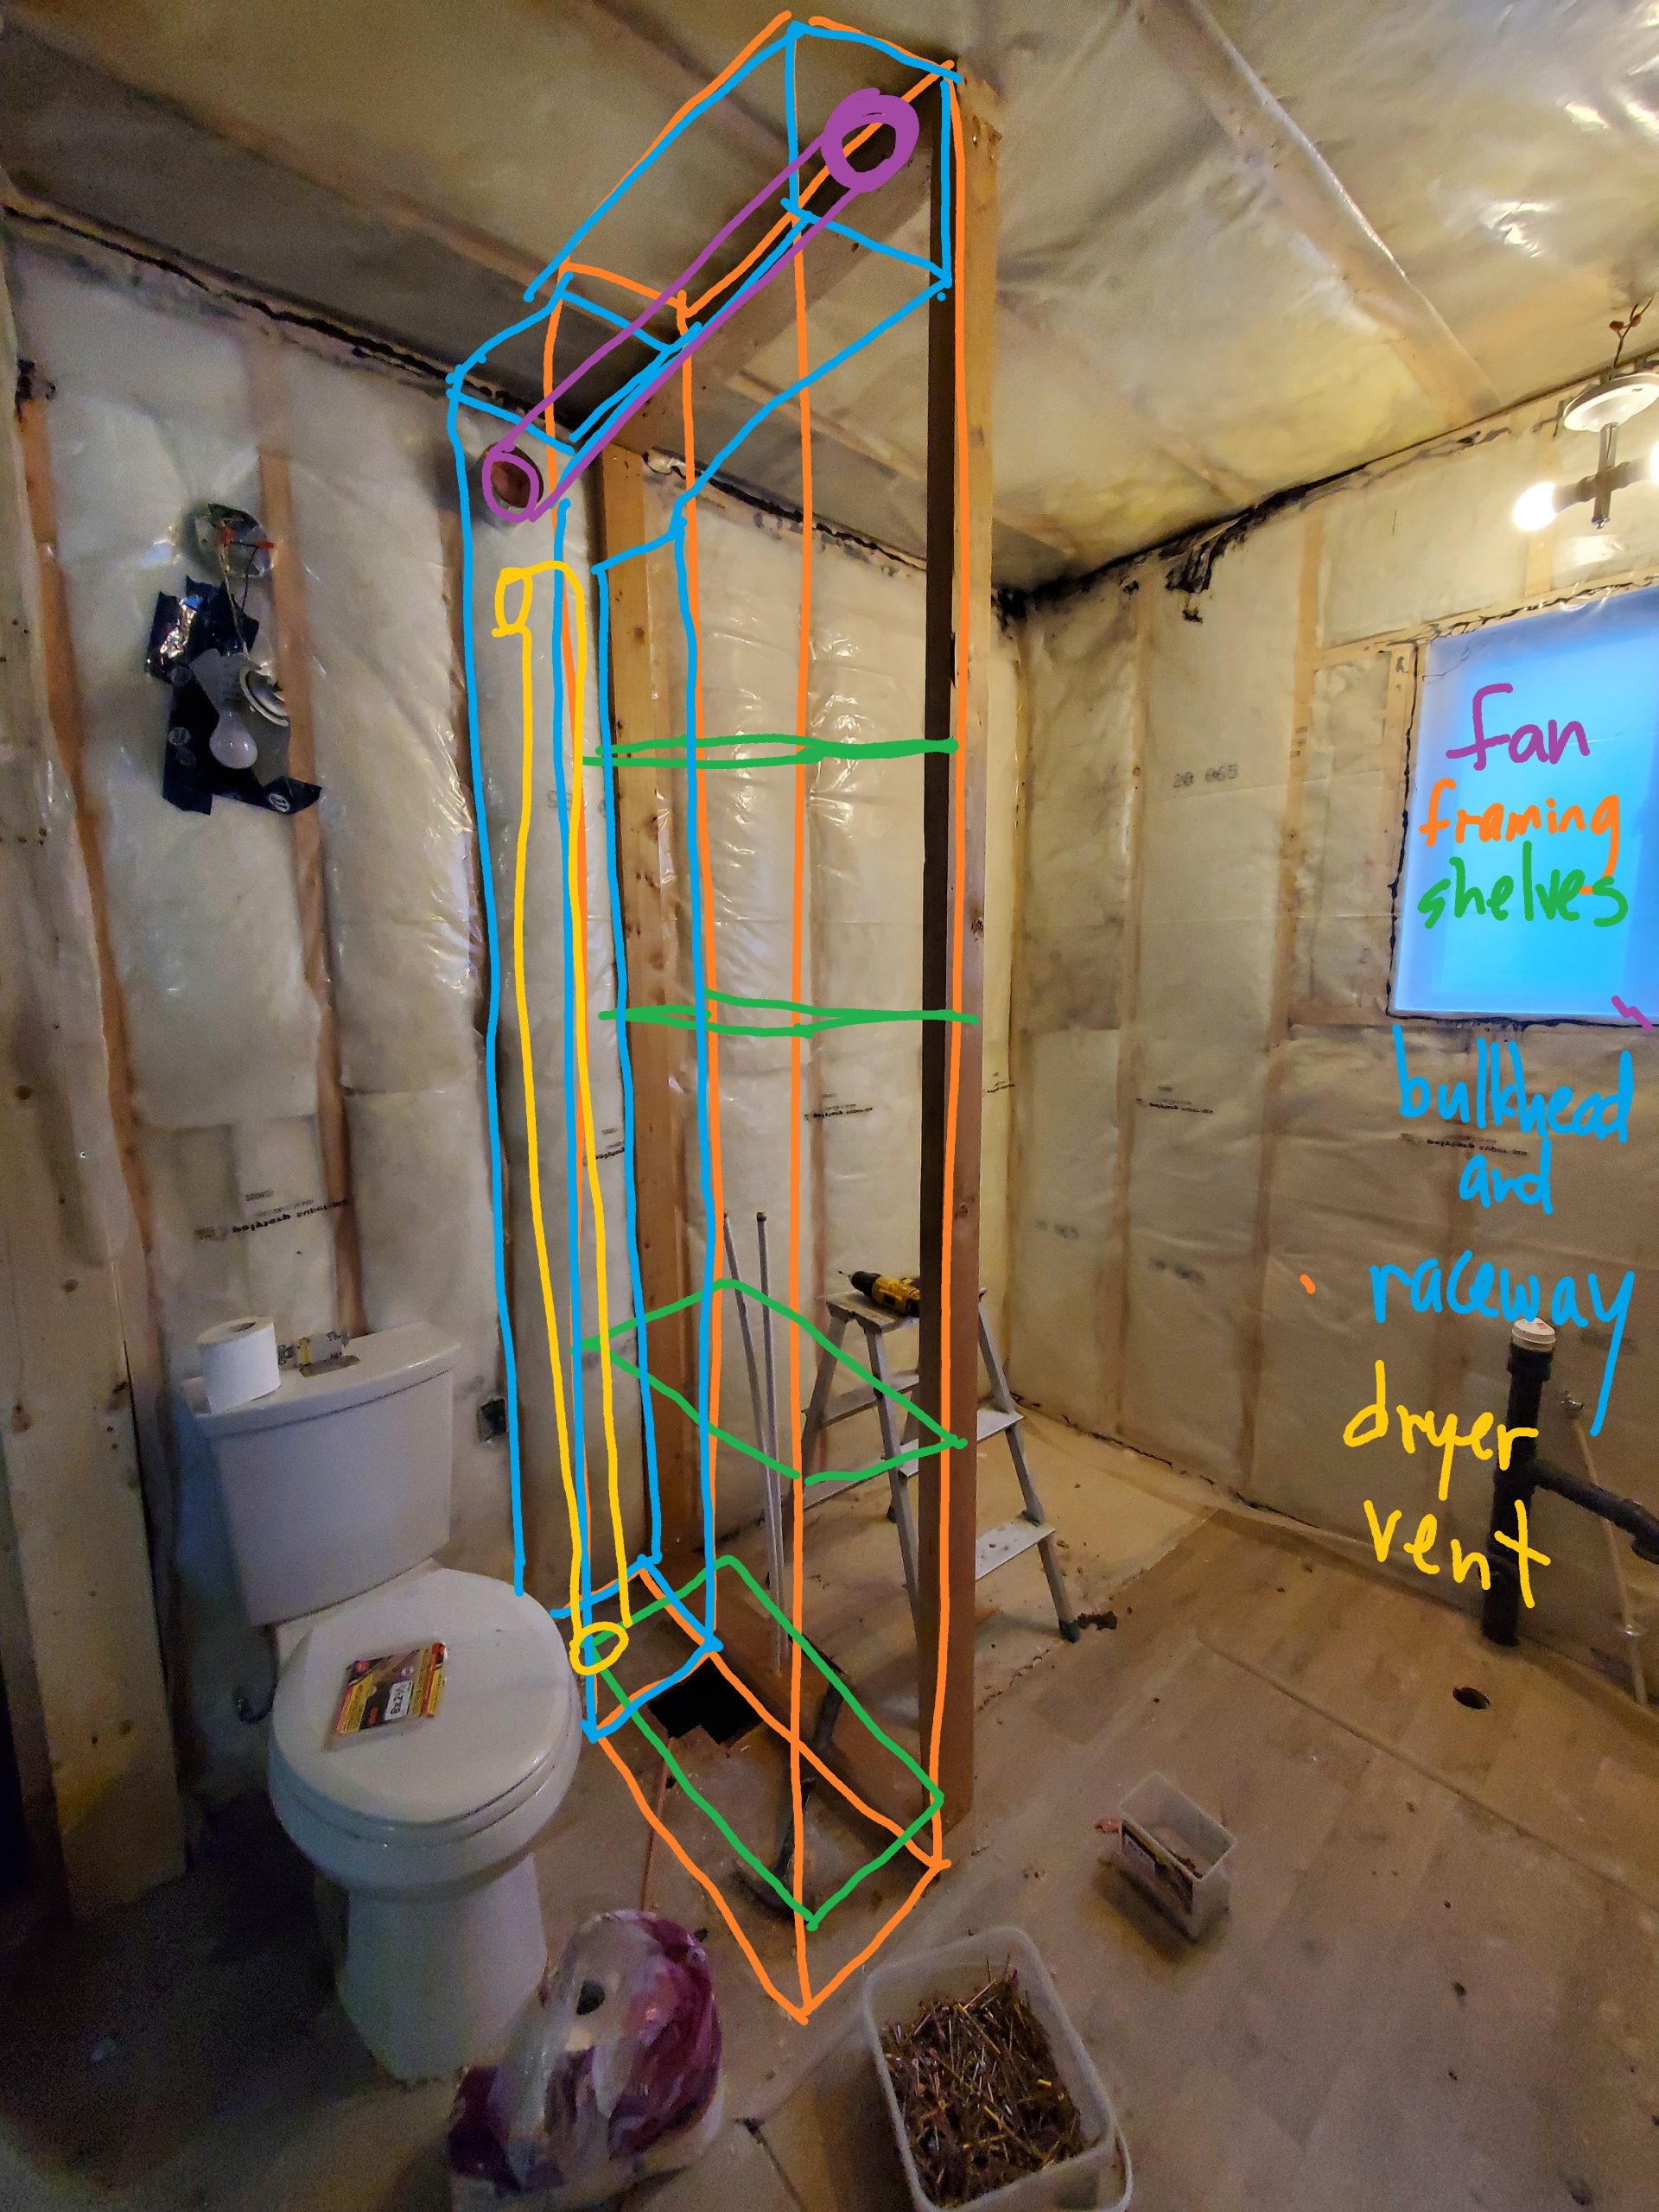
I bought a new bathroom fan from Rona. It’ll be mounted in the shelving separating the toilet from the shower. This is only 1 of 2 fans they had. The other one is almost twice as loud at 6.0 Sones whereas this one is 3.5 Sones.
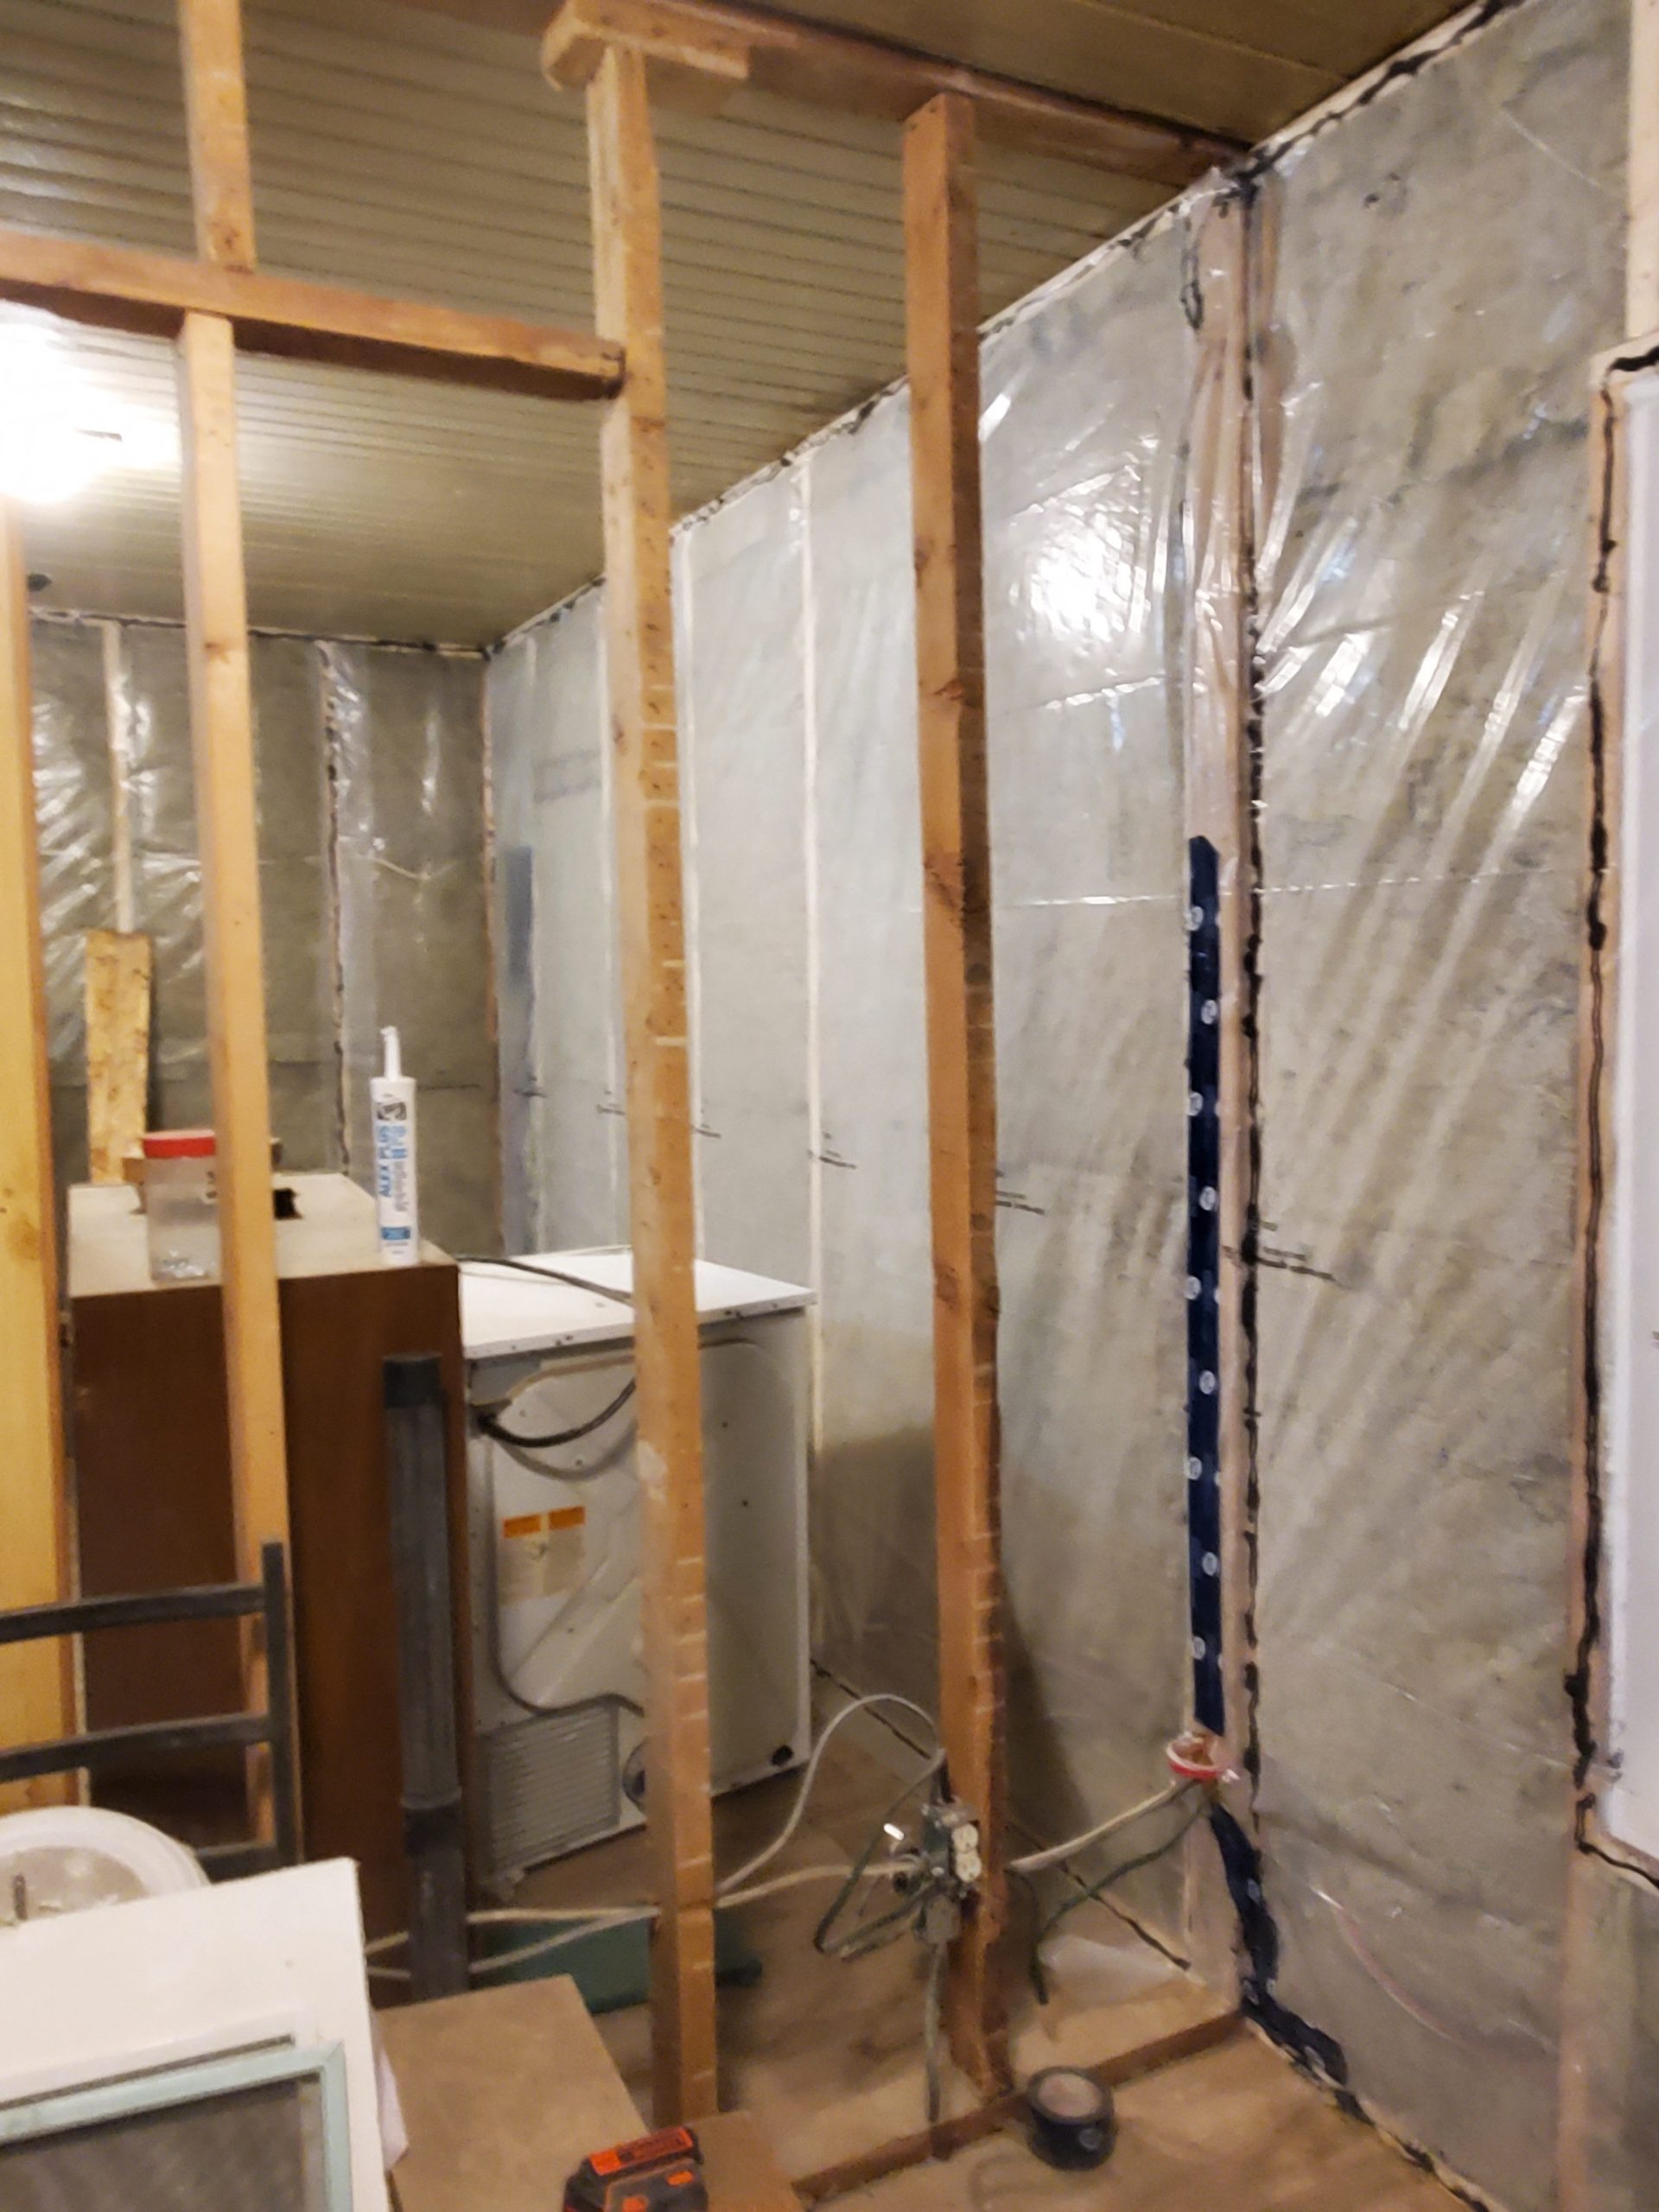
I bought some more insulation for the walls separating the two suites (2 hallway / stairway, 2 kitchen / landing, & 1 bathroom / entrance). Rona initially sold me four bags of 16″-center batts, but the yard guy trusted me and loaded me up with 24s, and I went back in and pair $45 more.

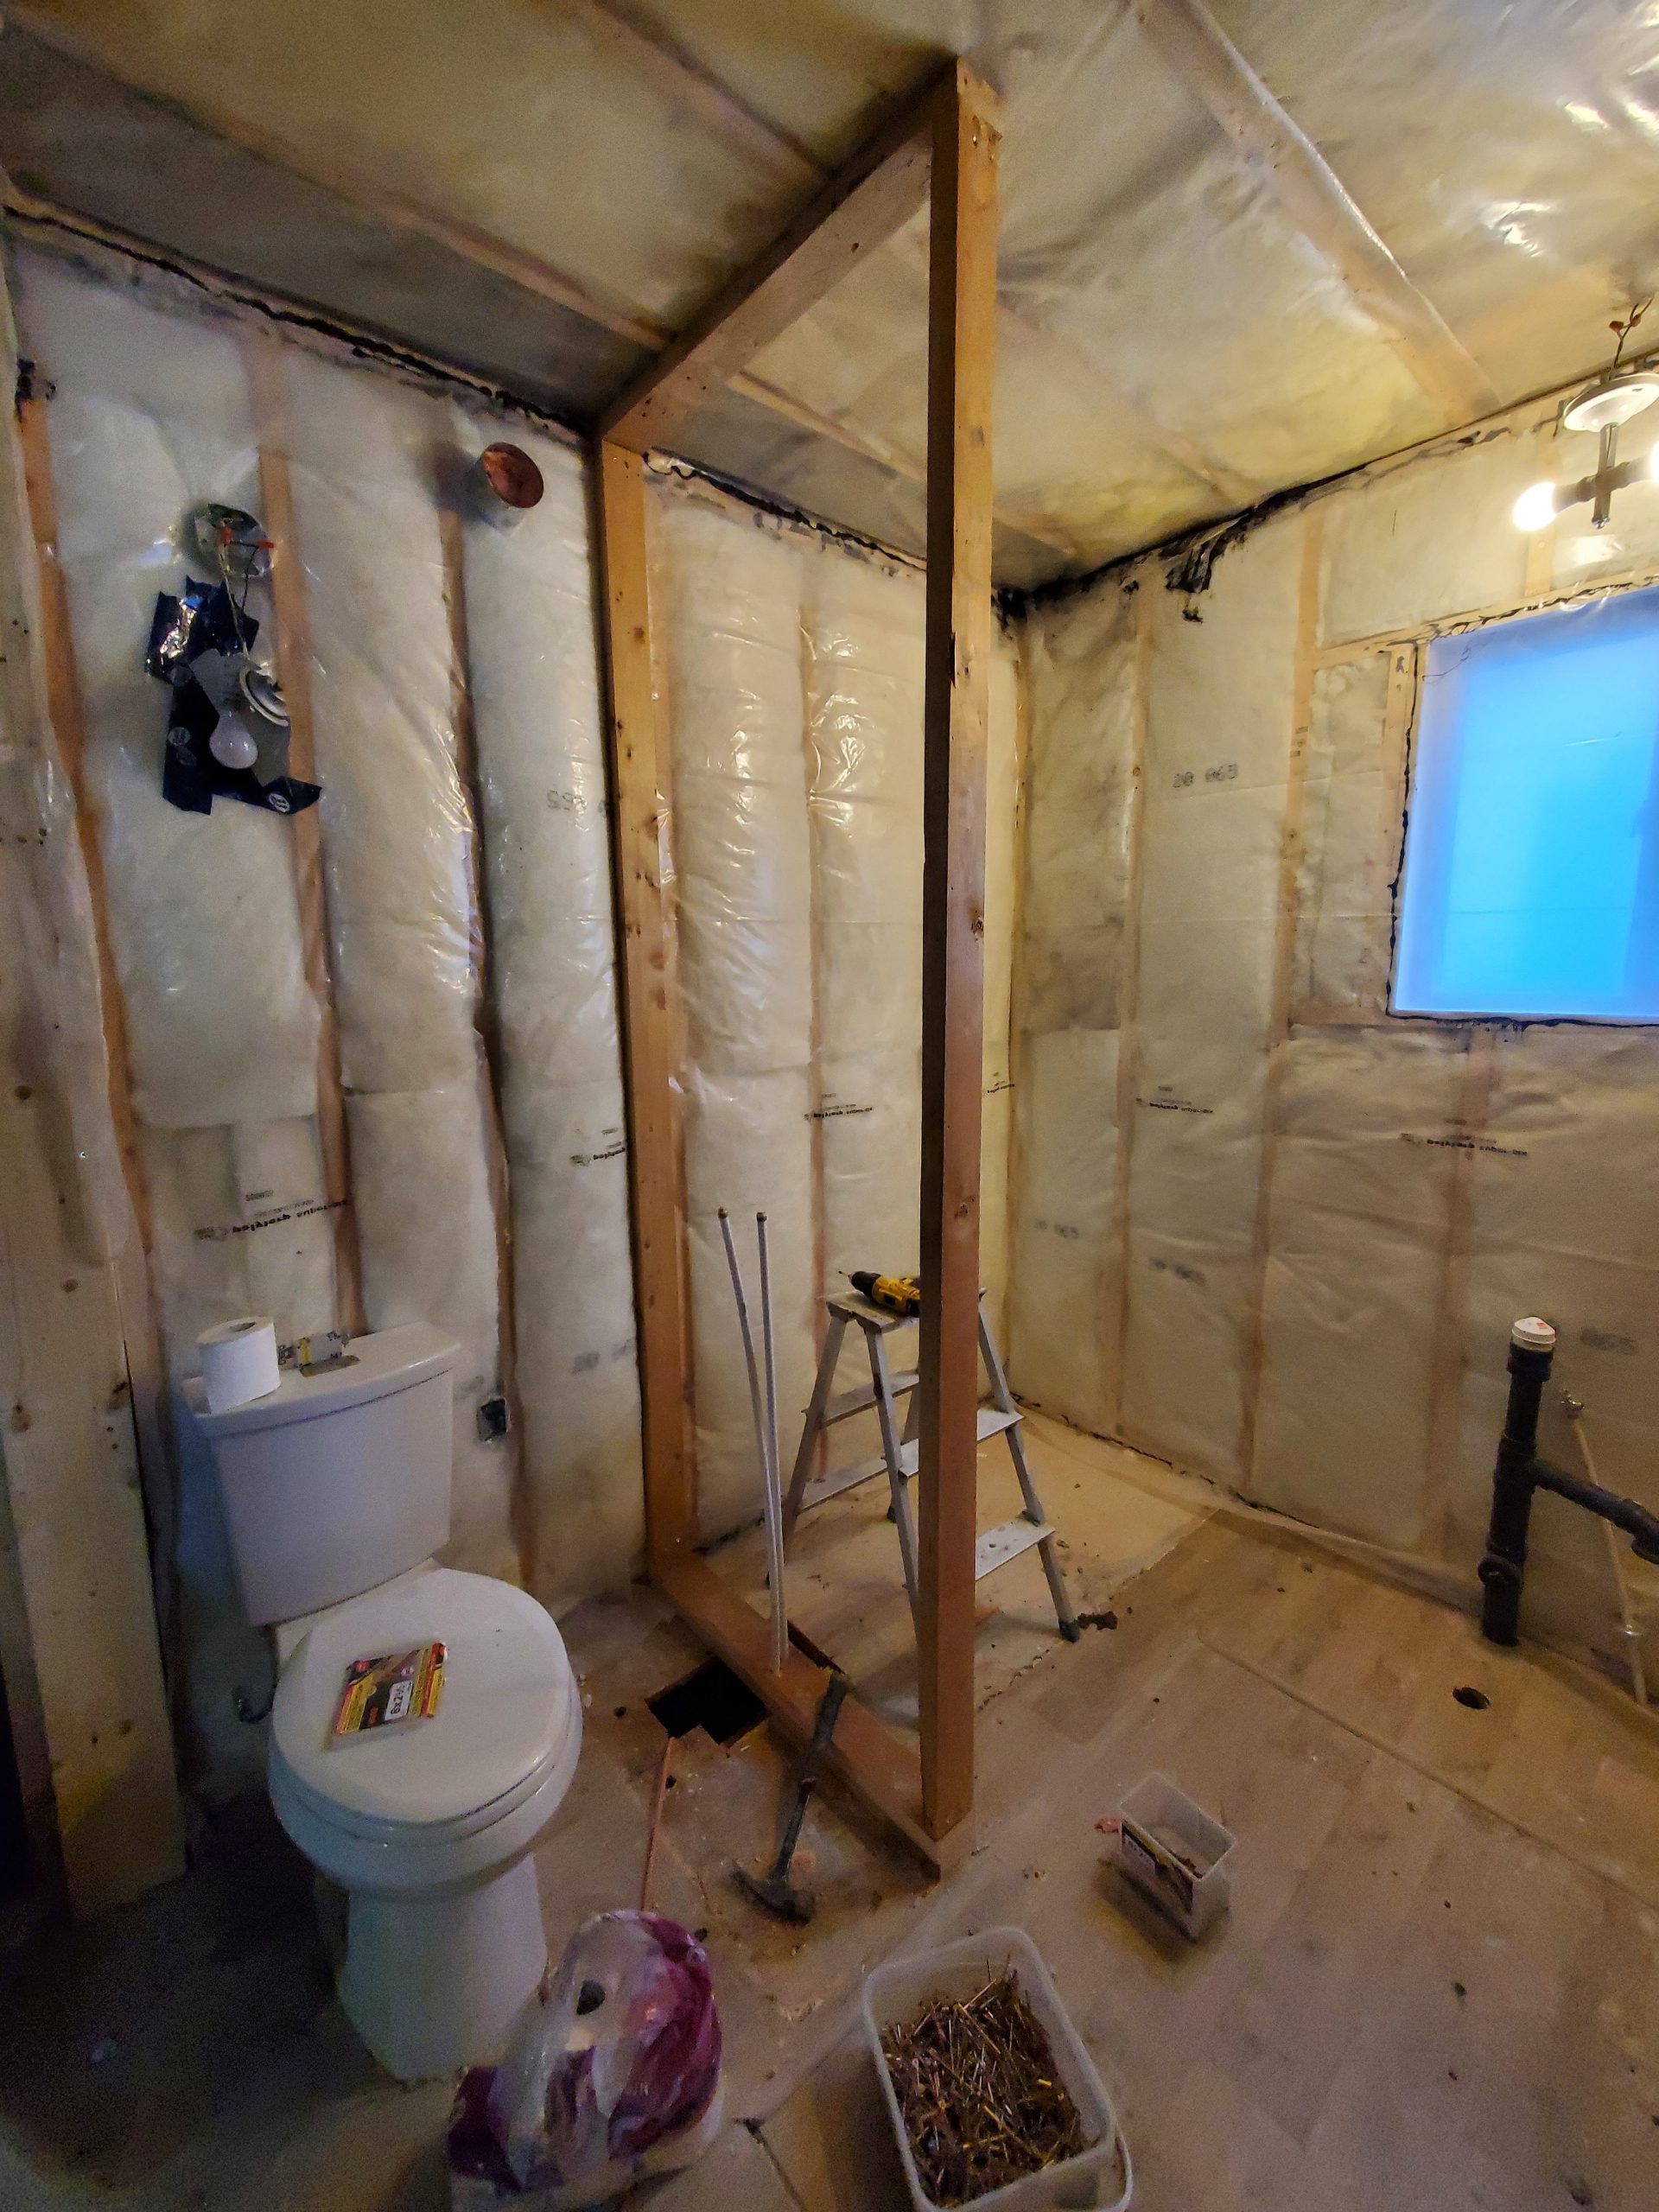
But, rather than starting those walls, I wanted to design a wall / shelf system separating the shower and toilet. It will be a 36″-long 2×4 shower wall, 4 studs, double bottom plate and shelves with 12″ 2×4 walls, a bulkhead for the bathroom fan at the top, a raceway for the dryer vent next to the wall, a 2×12 base, and four or five shelves. Sneak preview of what it will look like:
Why double bottom plate? The studs I have left over are too short. Reuse, reuse, reuse.
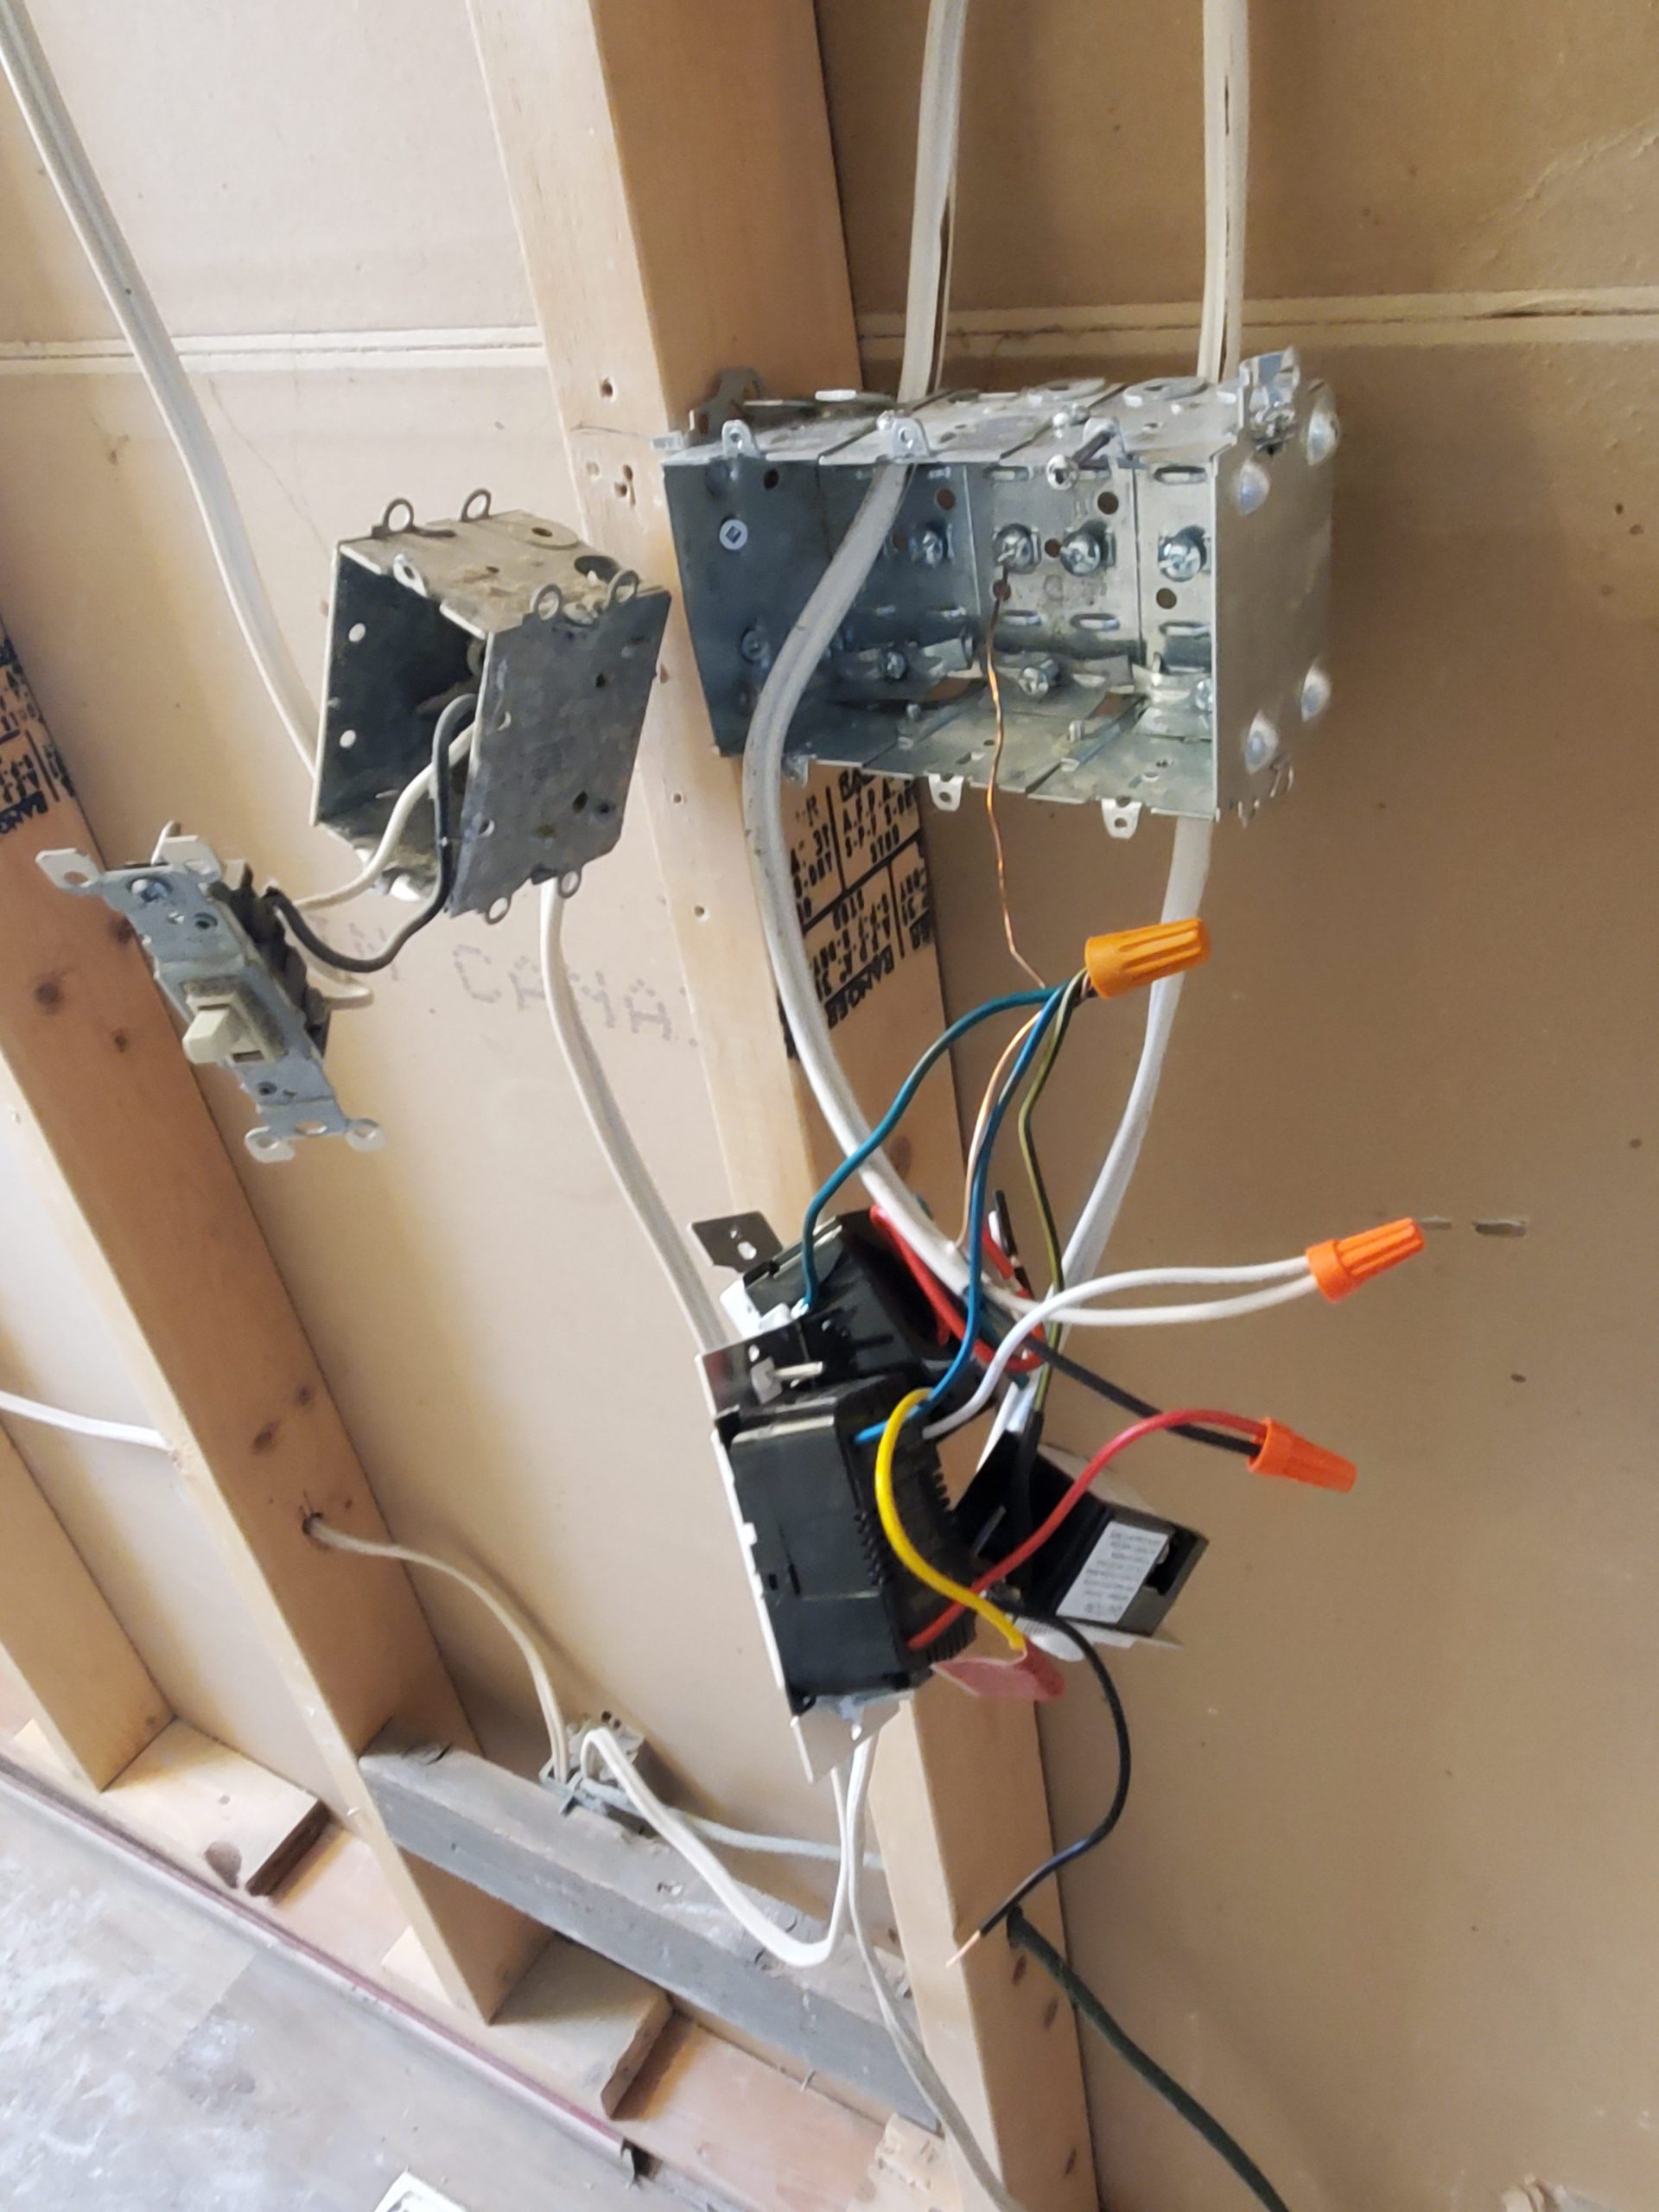
Before anyone arrived, I arranged the switches in the old bathroom light switch location. (Why did the previous owners put a bathroom light switch in the middle of the room, ten feet away from the door?)
So the plan is, since the bathroom light fixture wire ends at that electrical box, I’ll add a motion sensor for the toilet sconce light, an humidistat for the bathroom fan, and a timer for said fan at that spot. In this way, I don’t have to dig the light fixture wiring out of the ceiling to rewire it – I can junction another 14-2 wire from the switch (where it should be) to inside this box.
(Did he just say an humidistat? Yes, just to bug people.)
I filled in the remaining cavities with Rockwool insulation, completed the furring strips, and relocated the outlet.
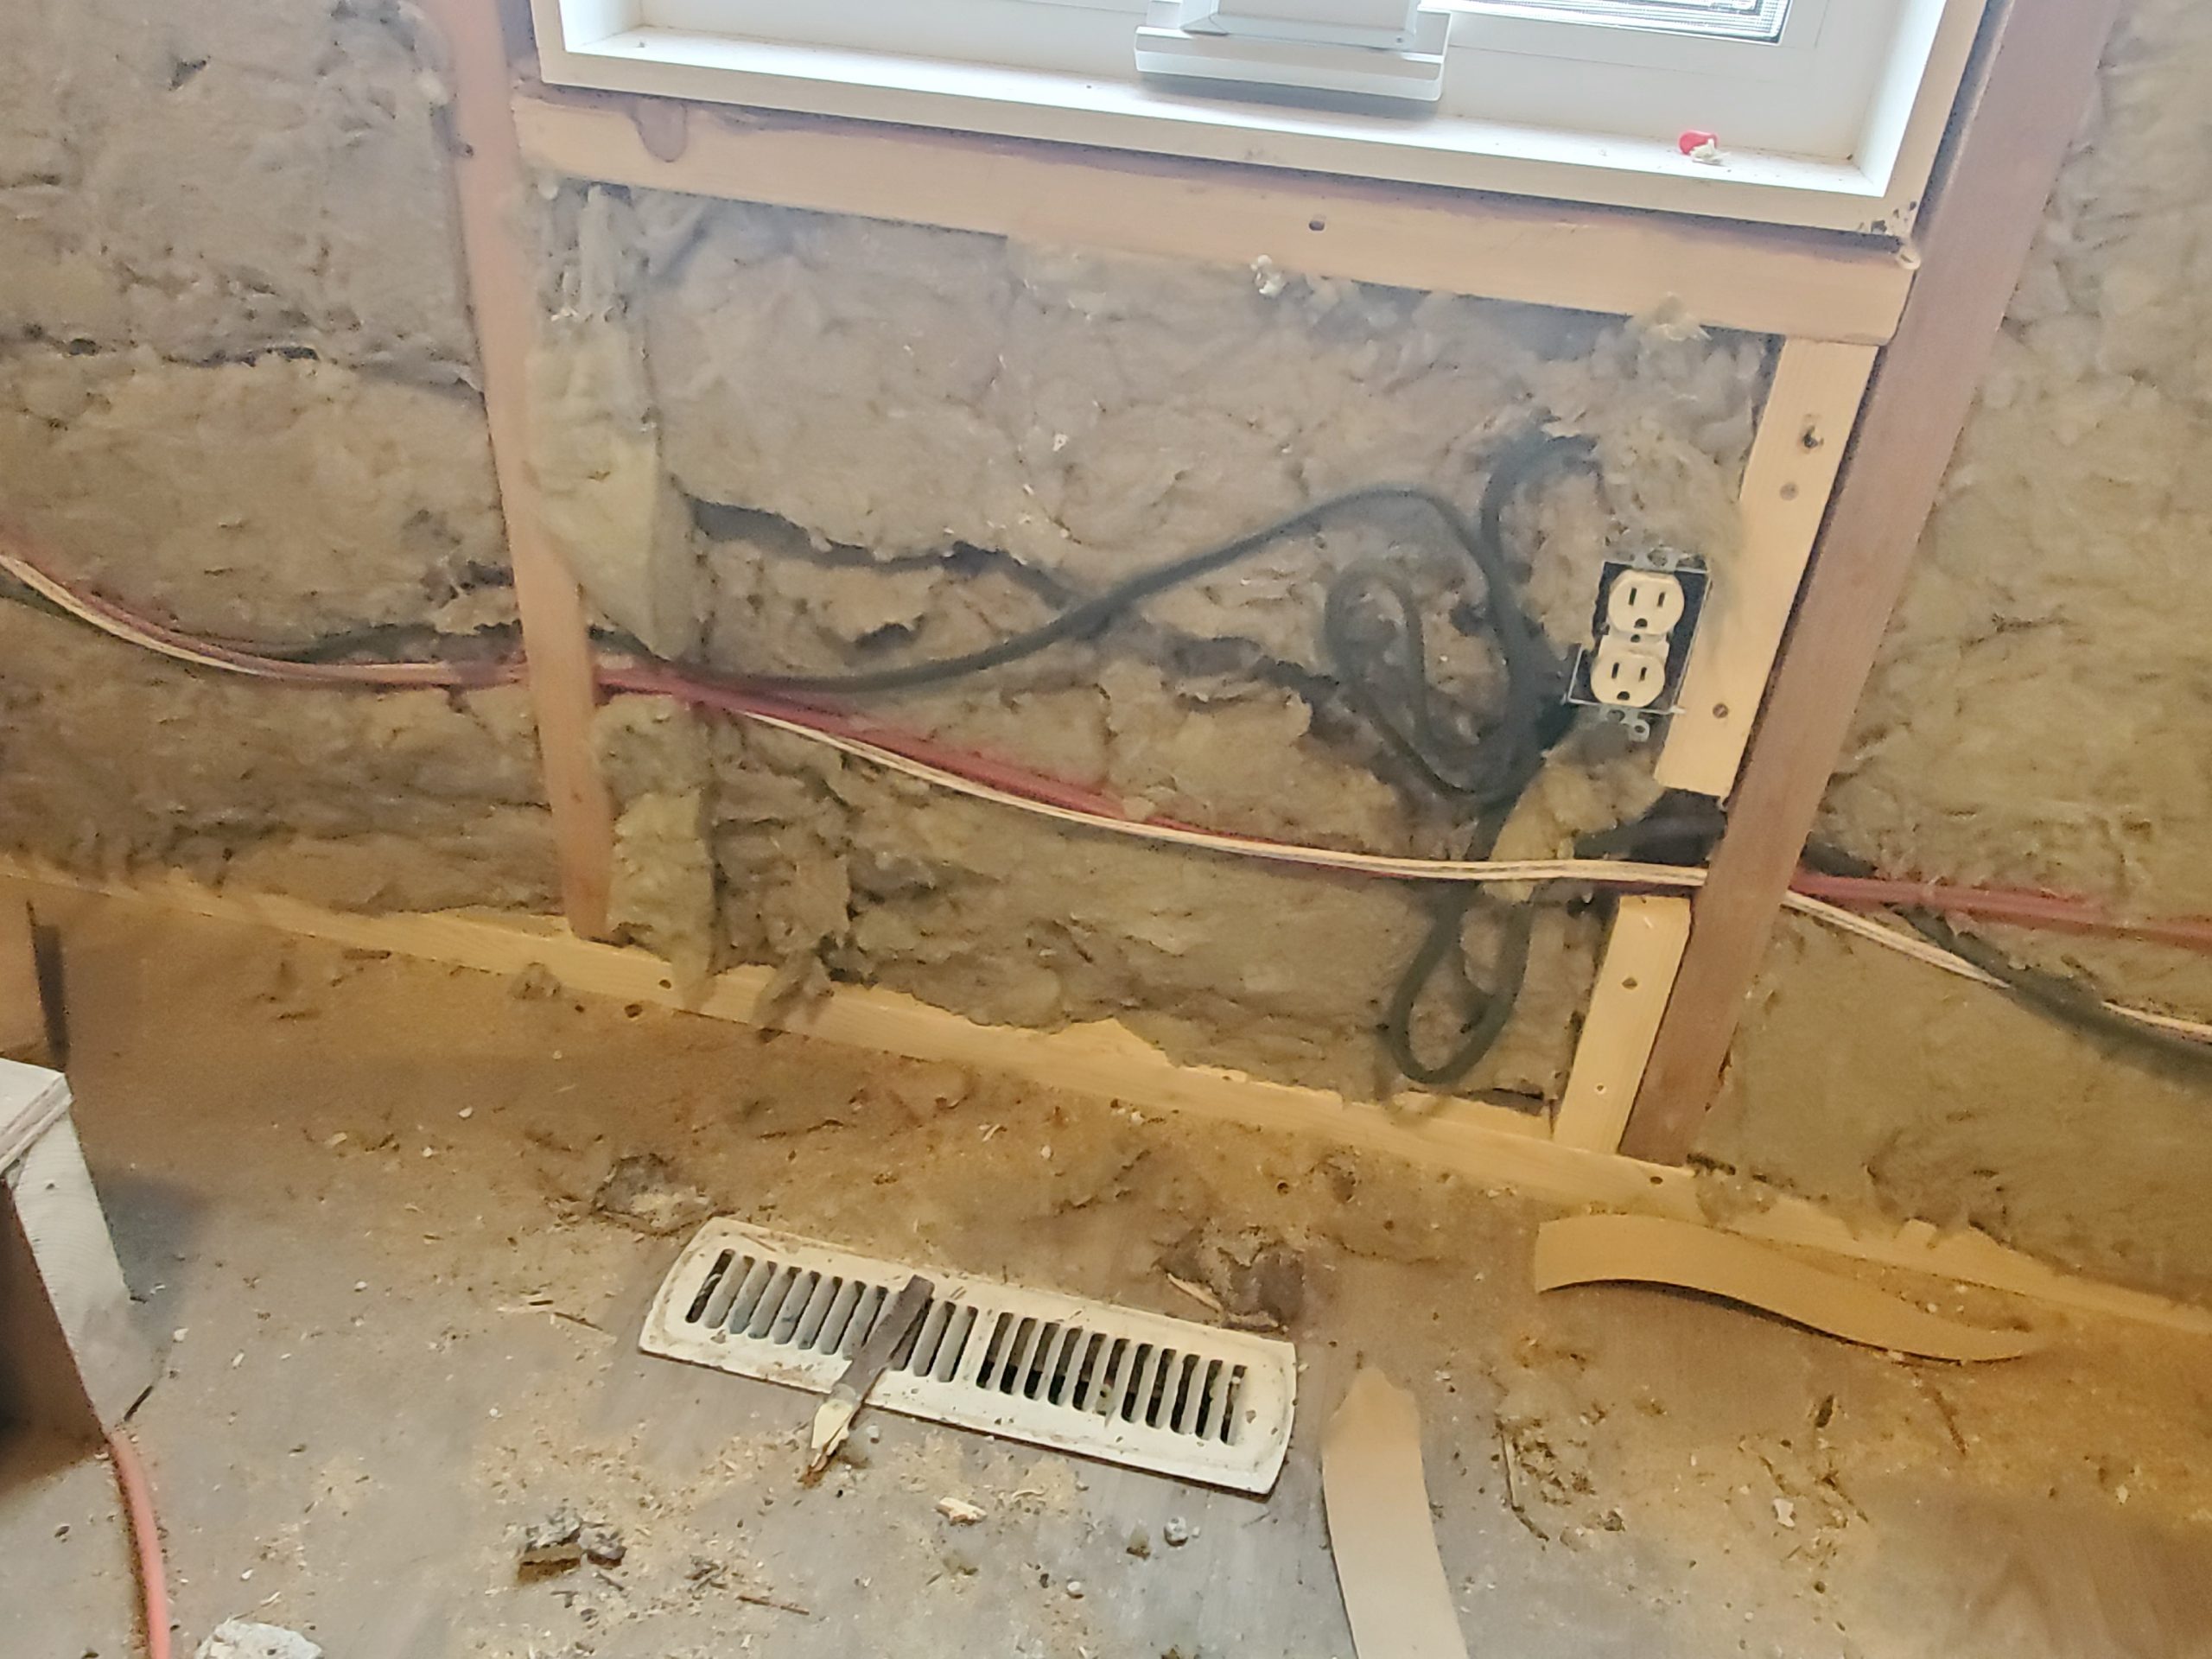
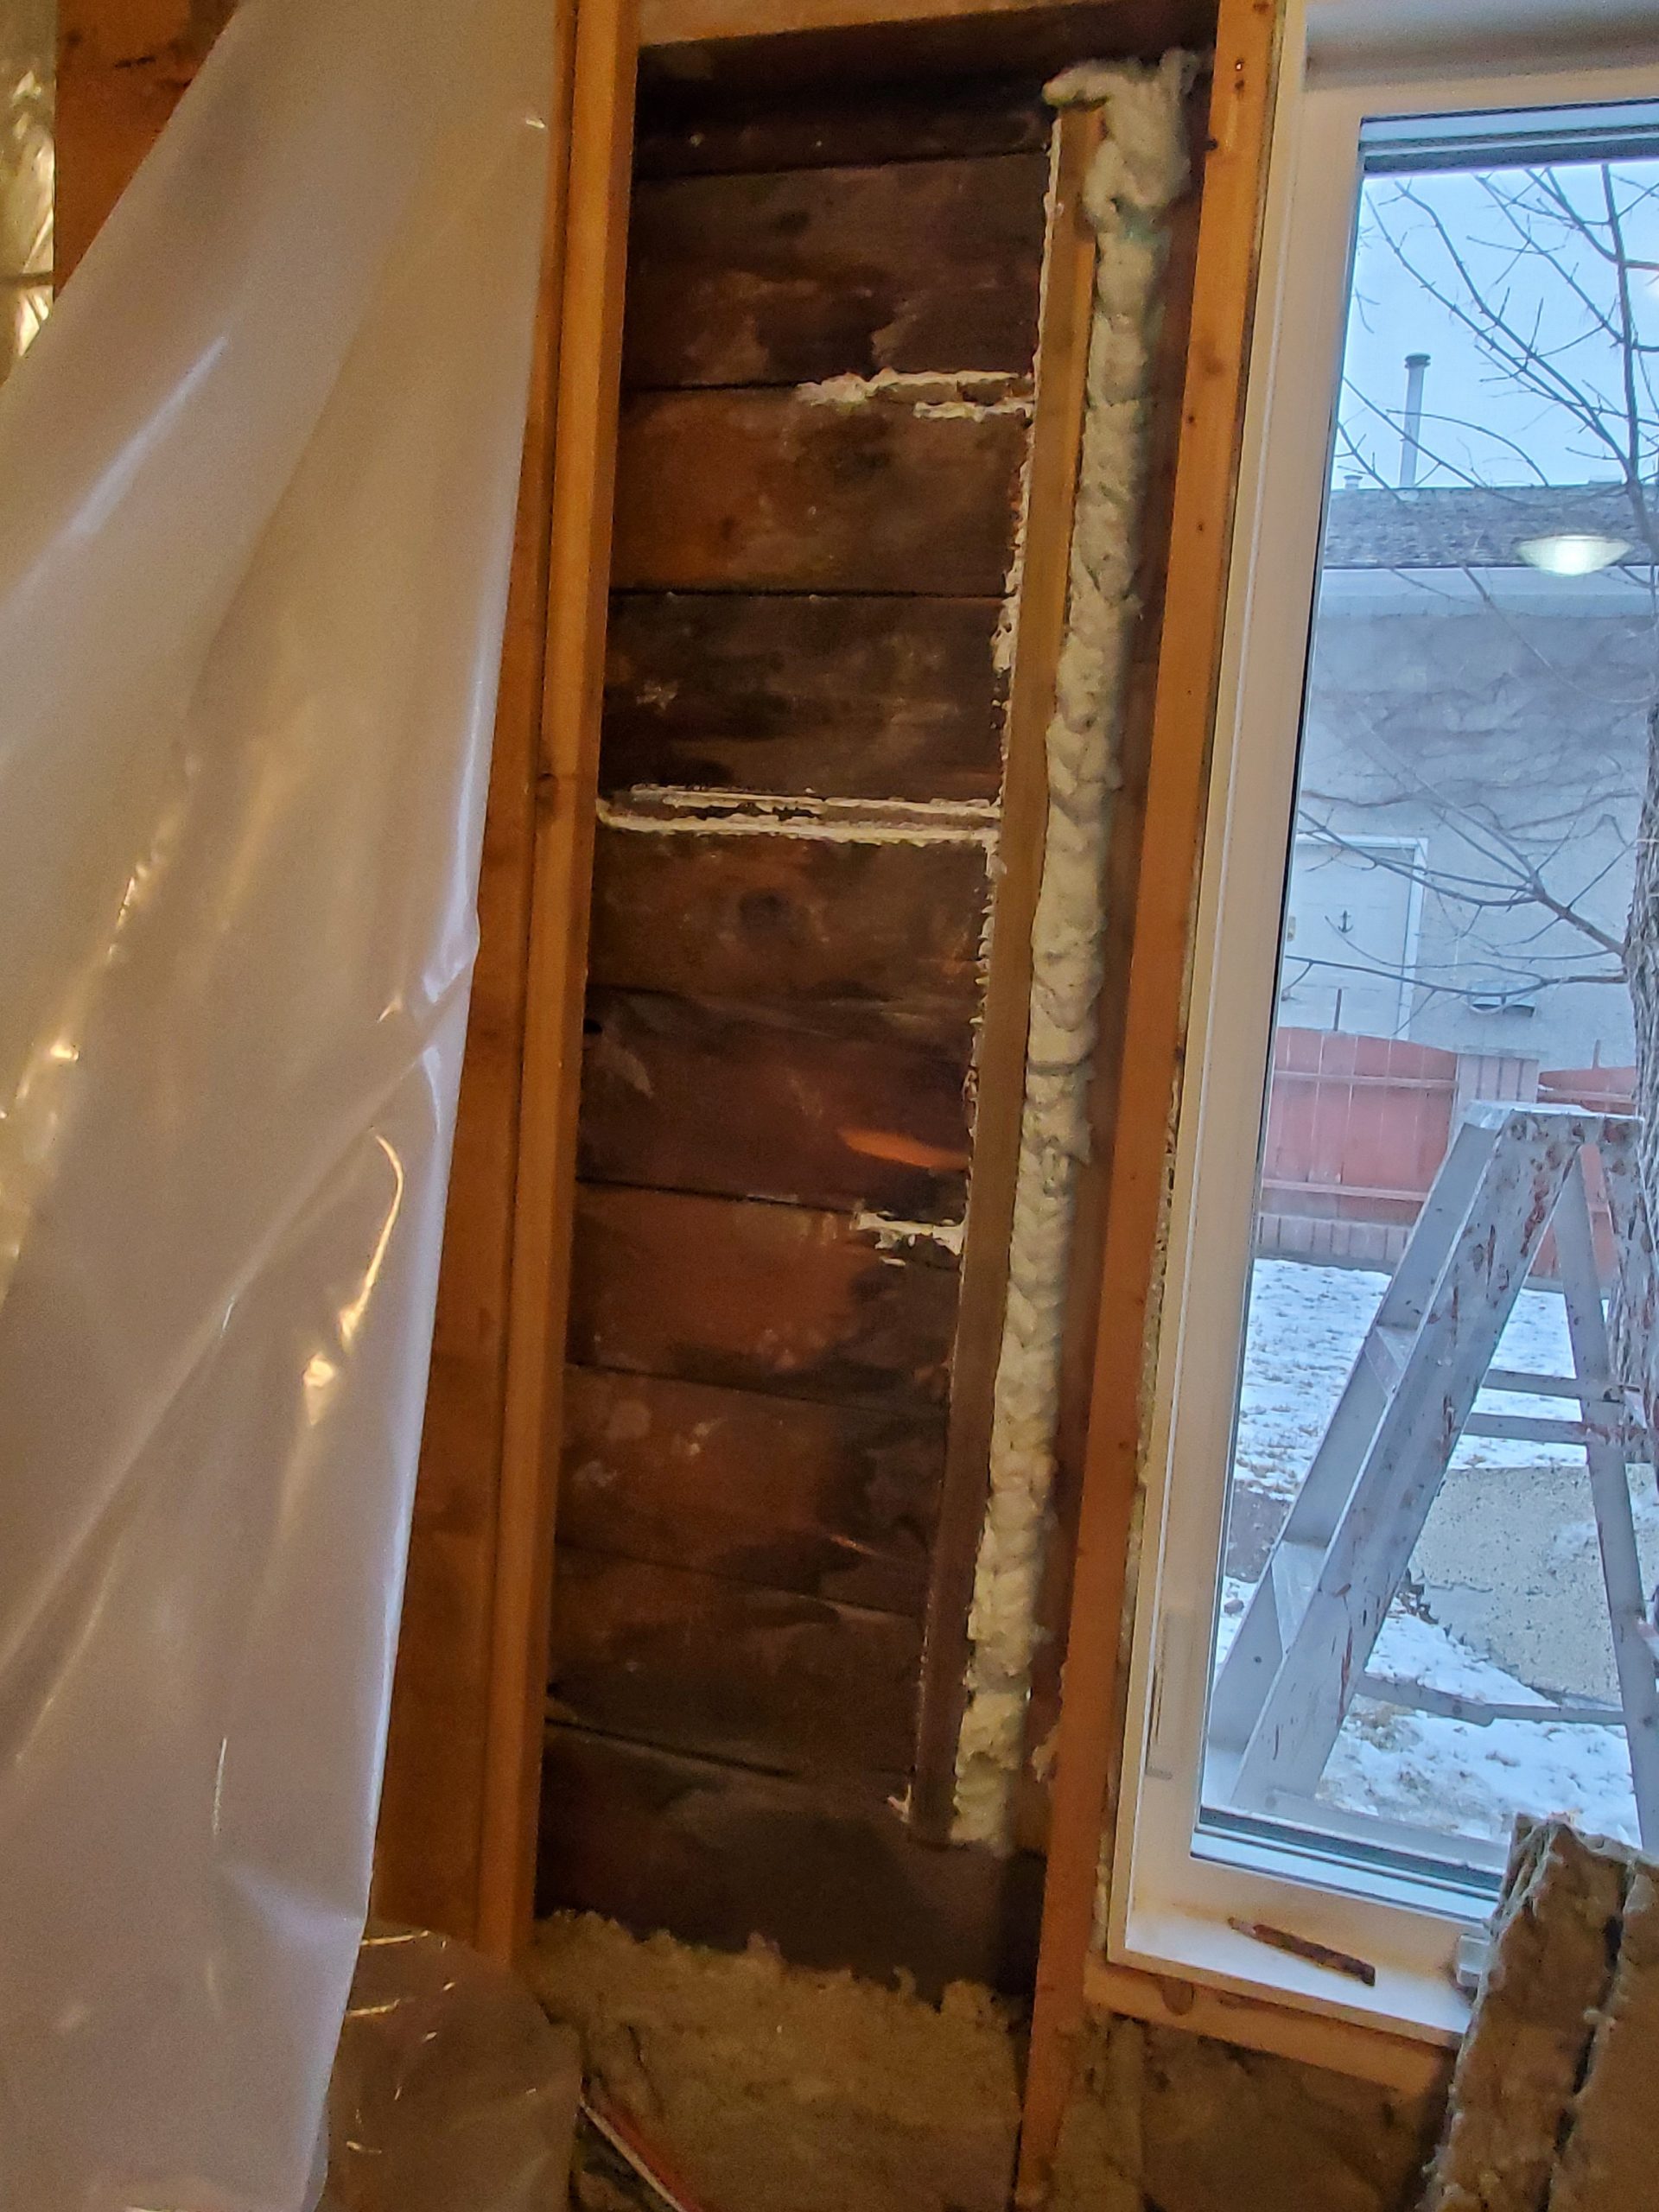
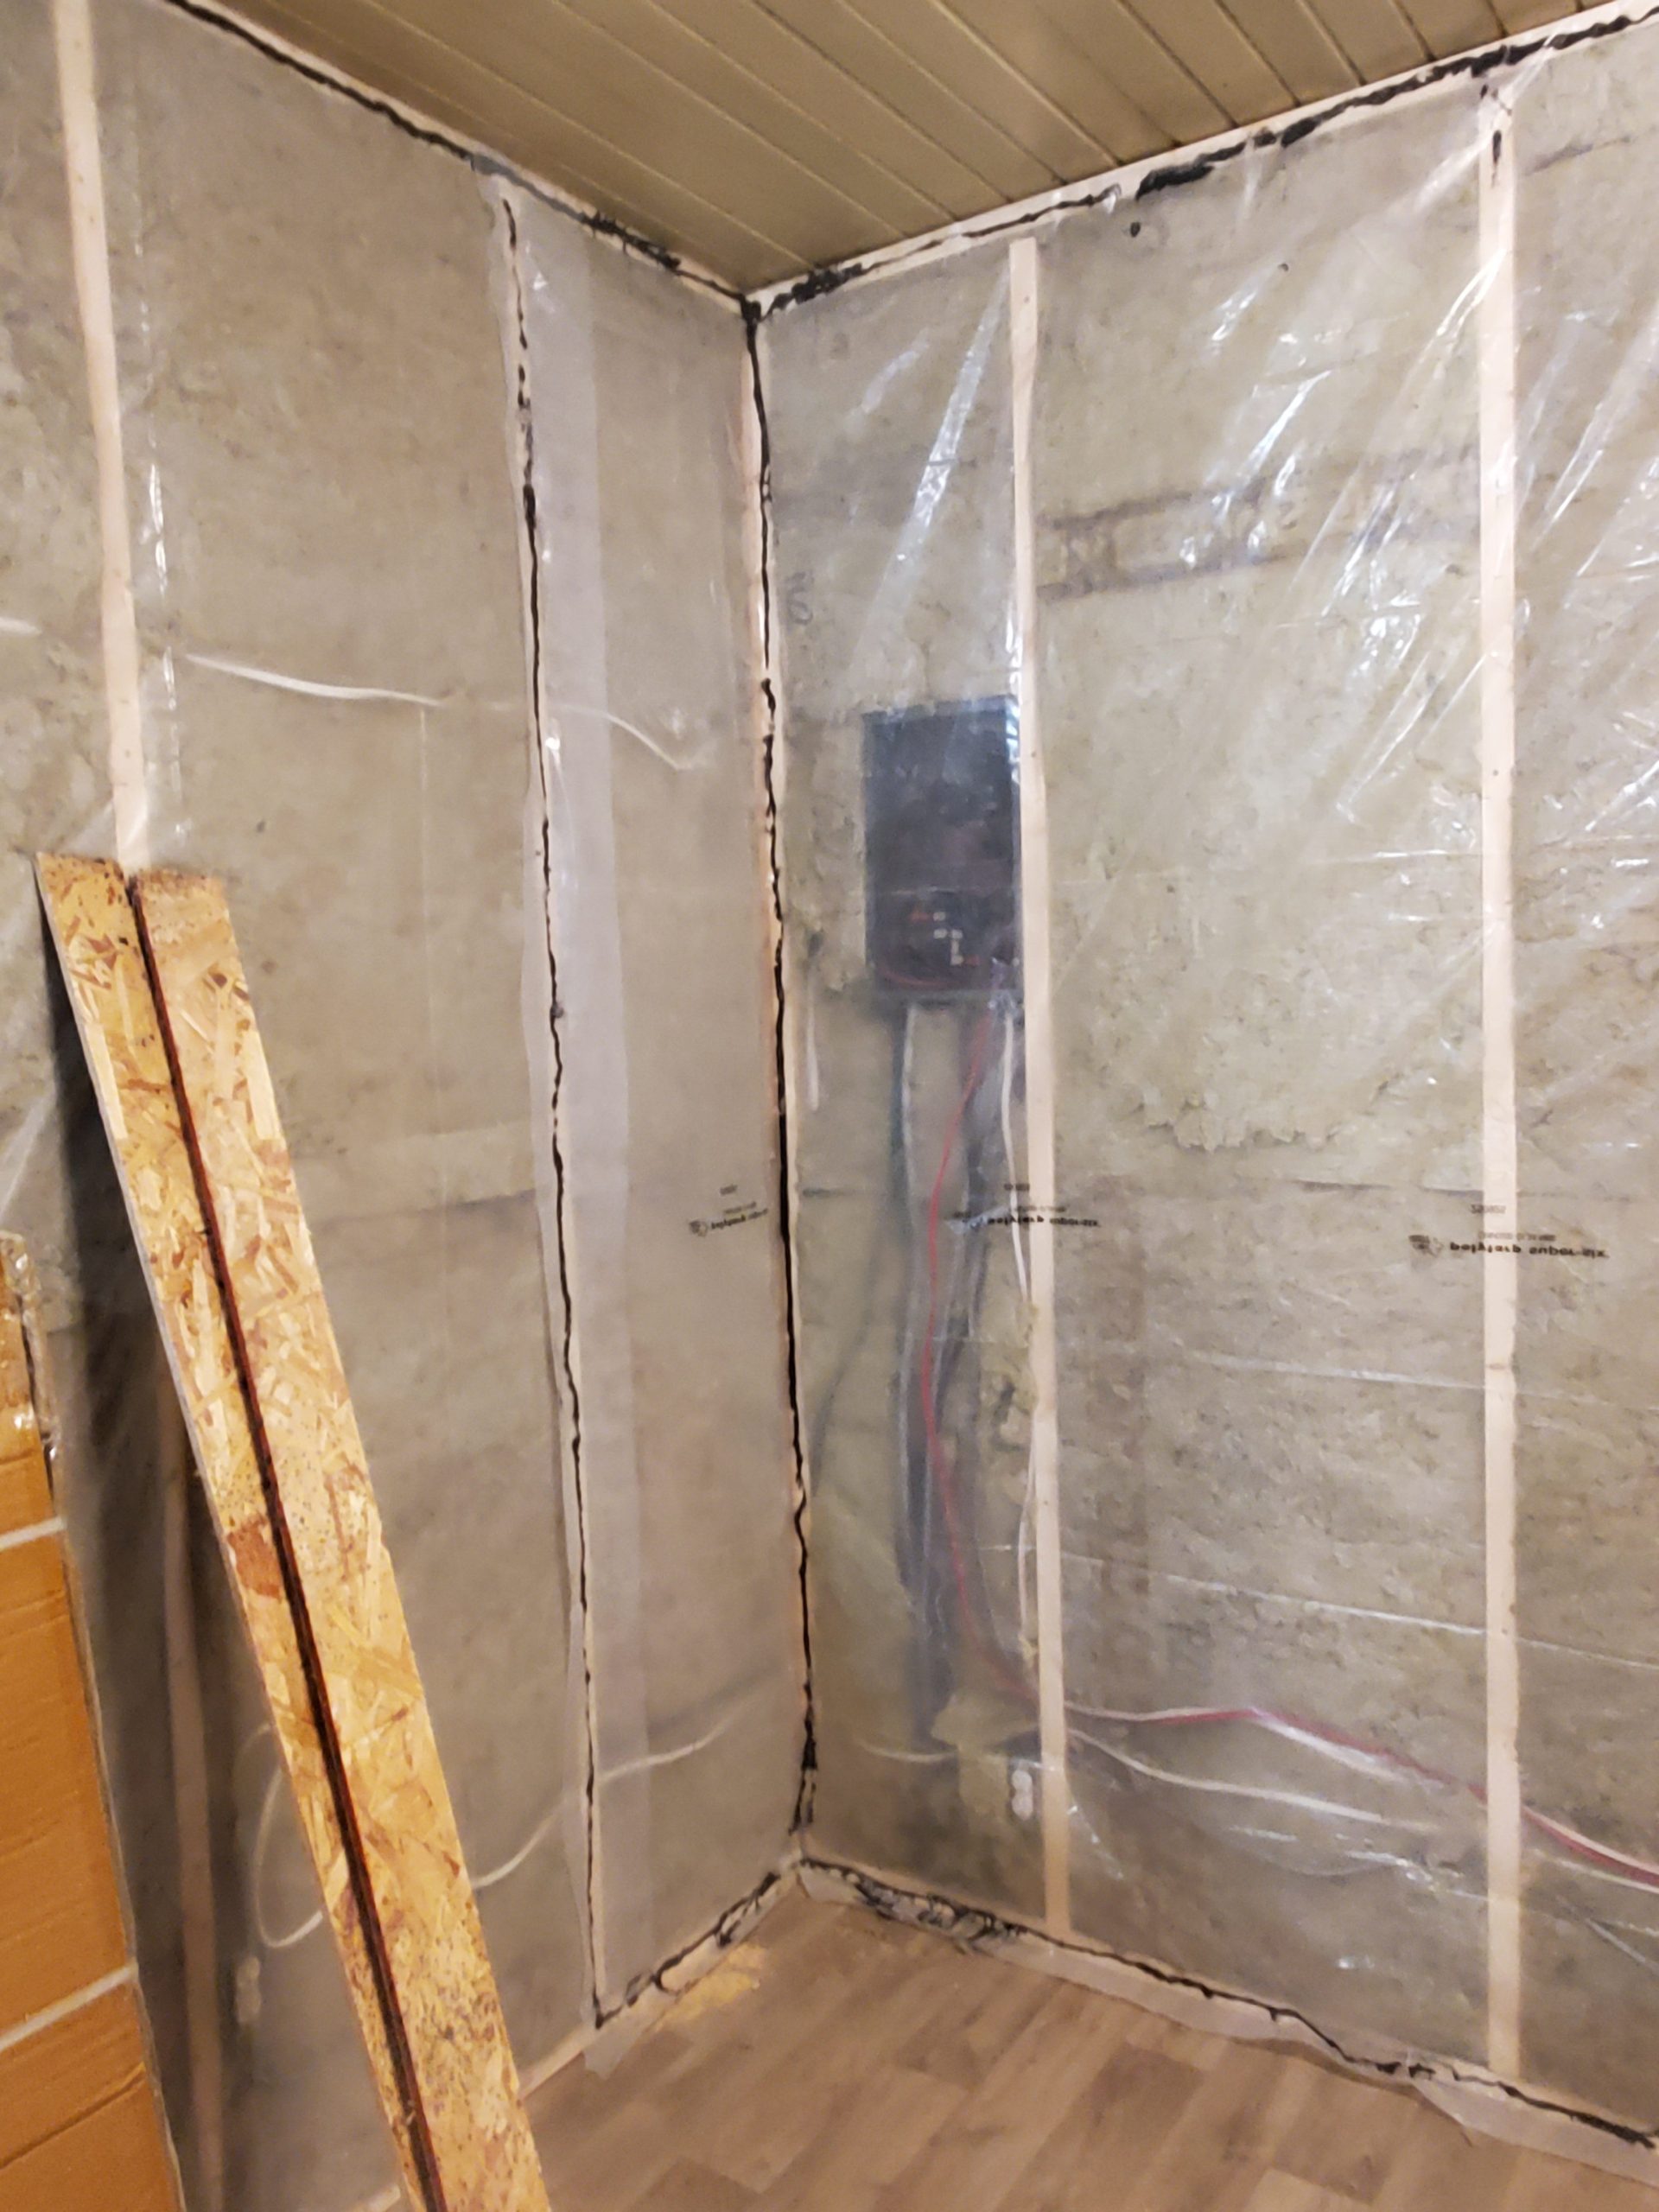
When everyone arrived, we put in some backing around the gap next to the window in BR2, sealed it (and the window frame exterior) with flashing tape, and added large-gap spray foam insulation on the inside. The trim board will go on over this.
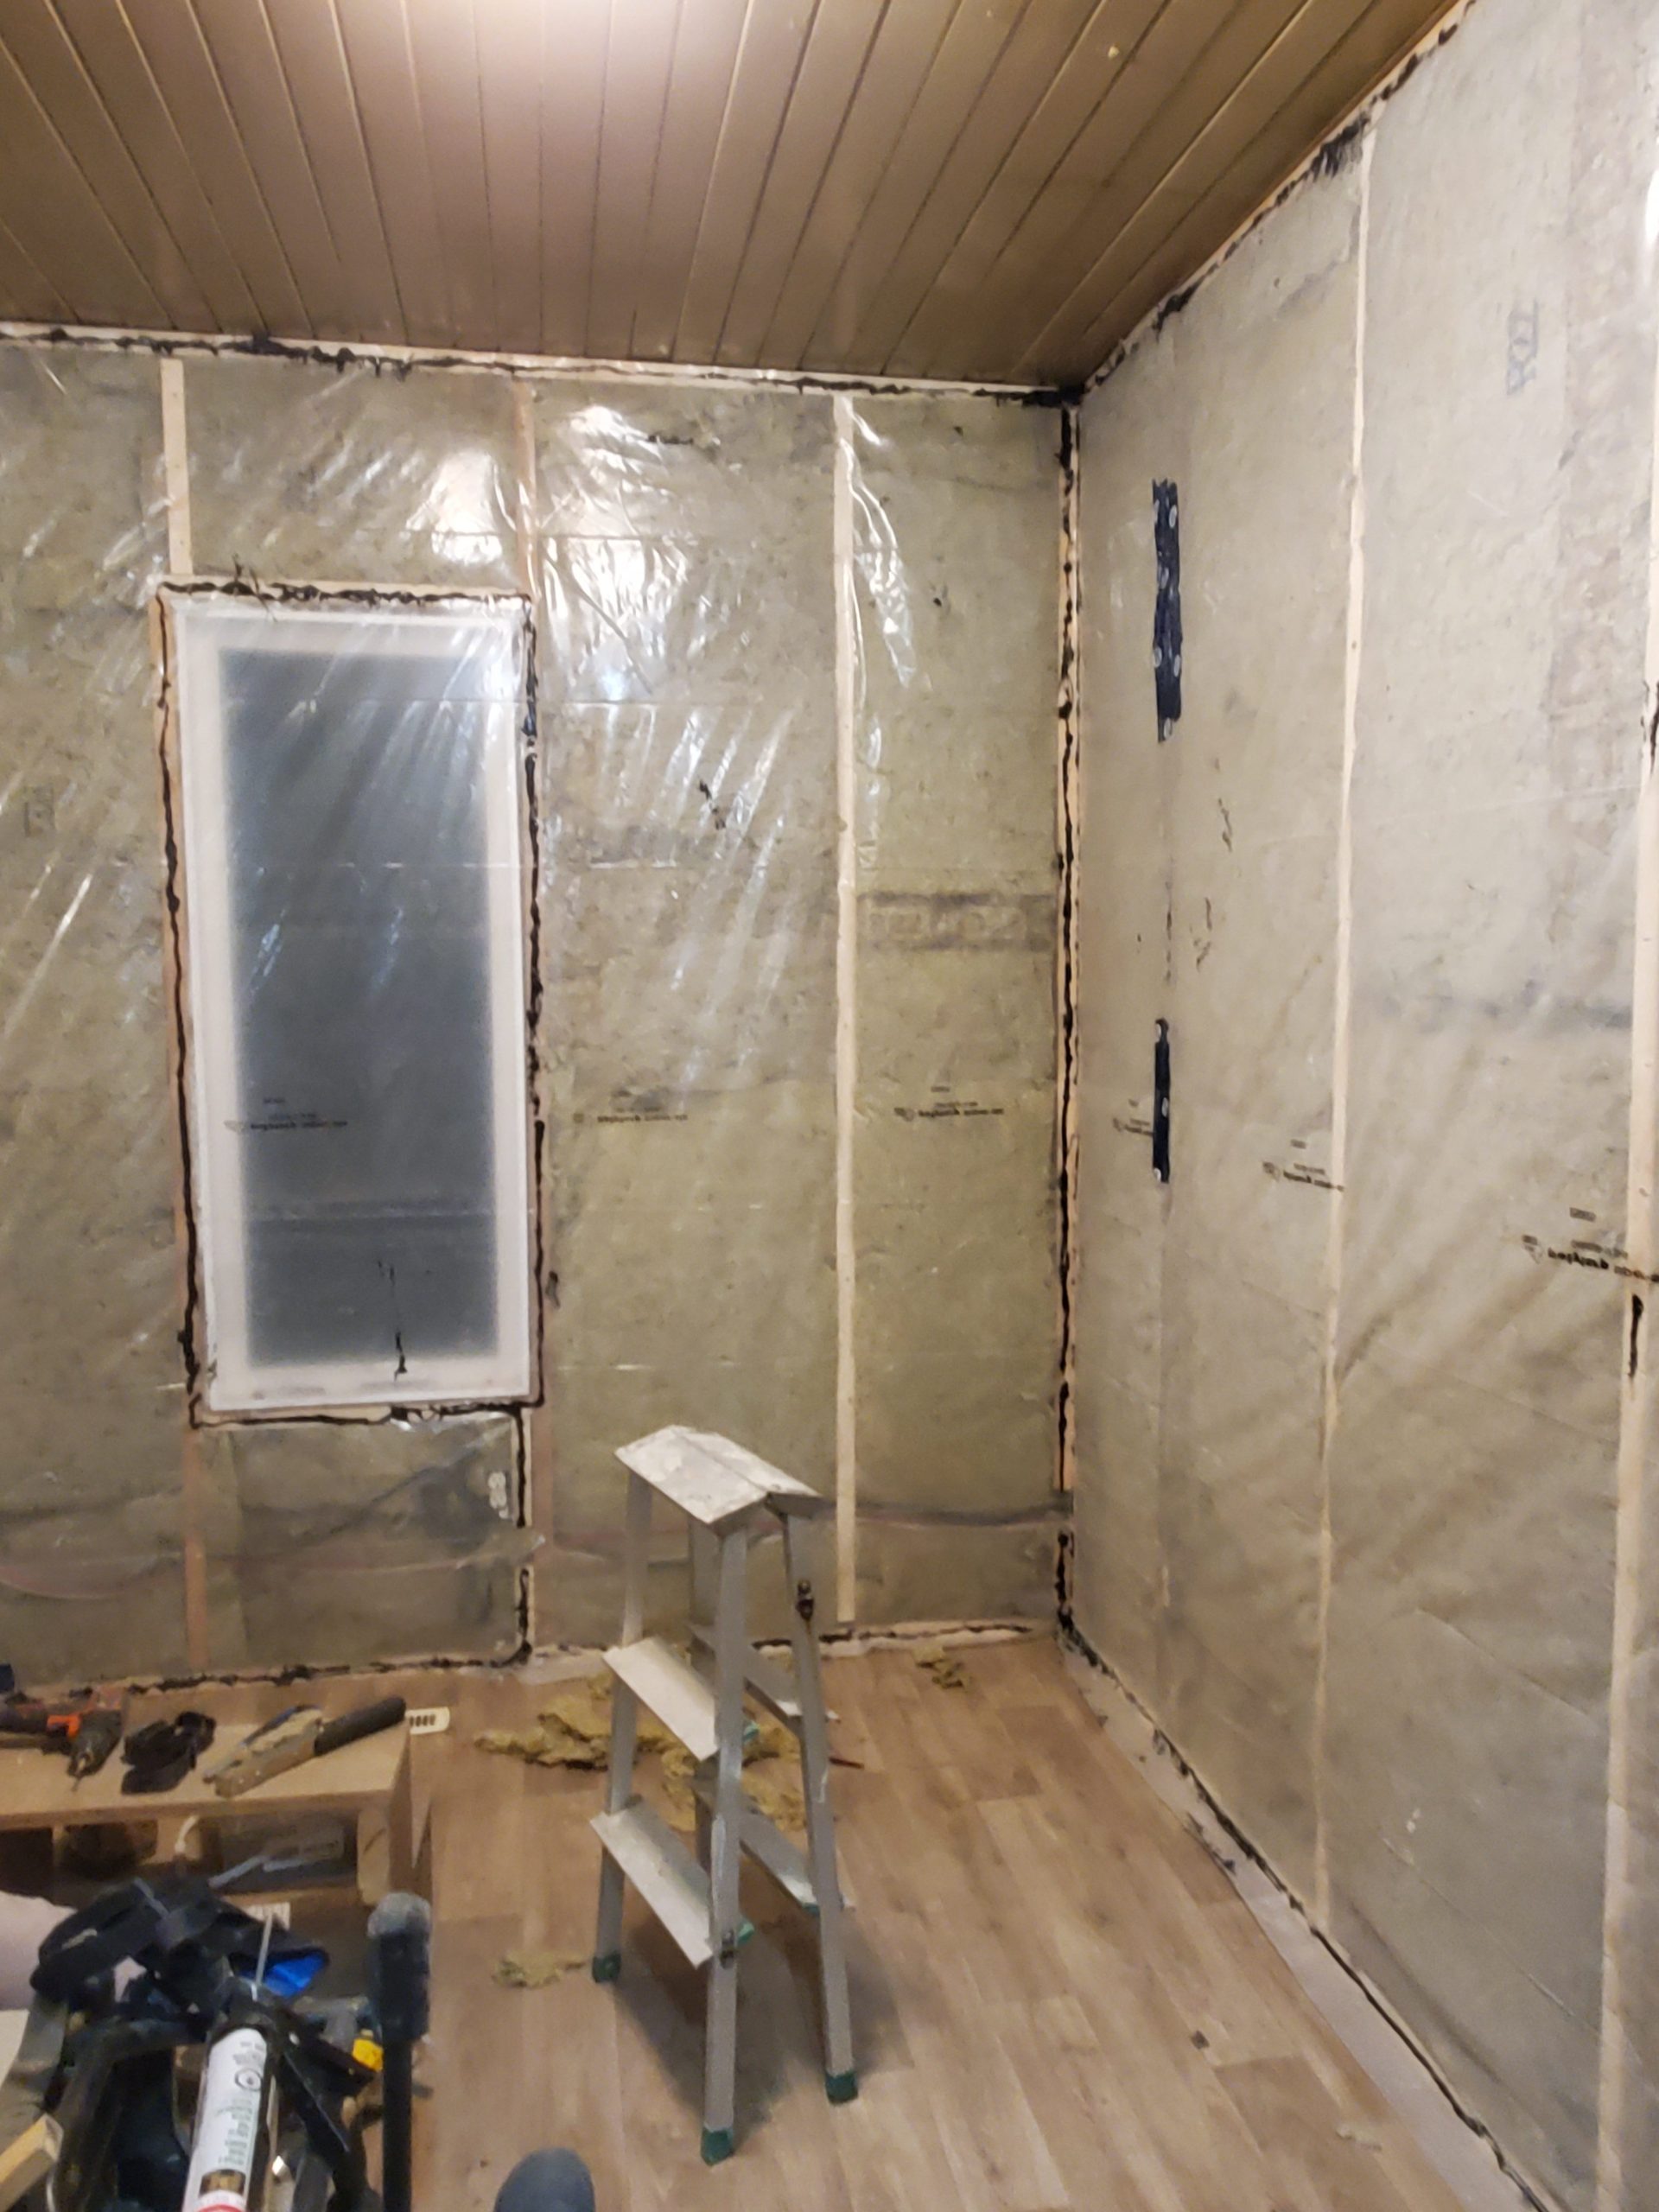
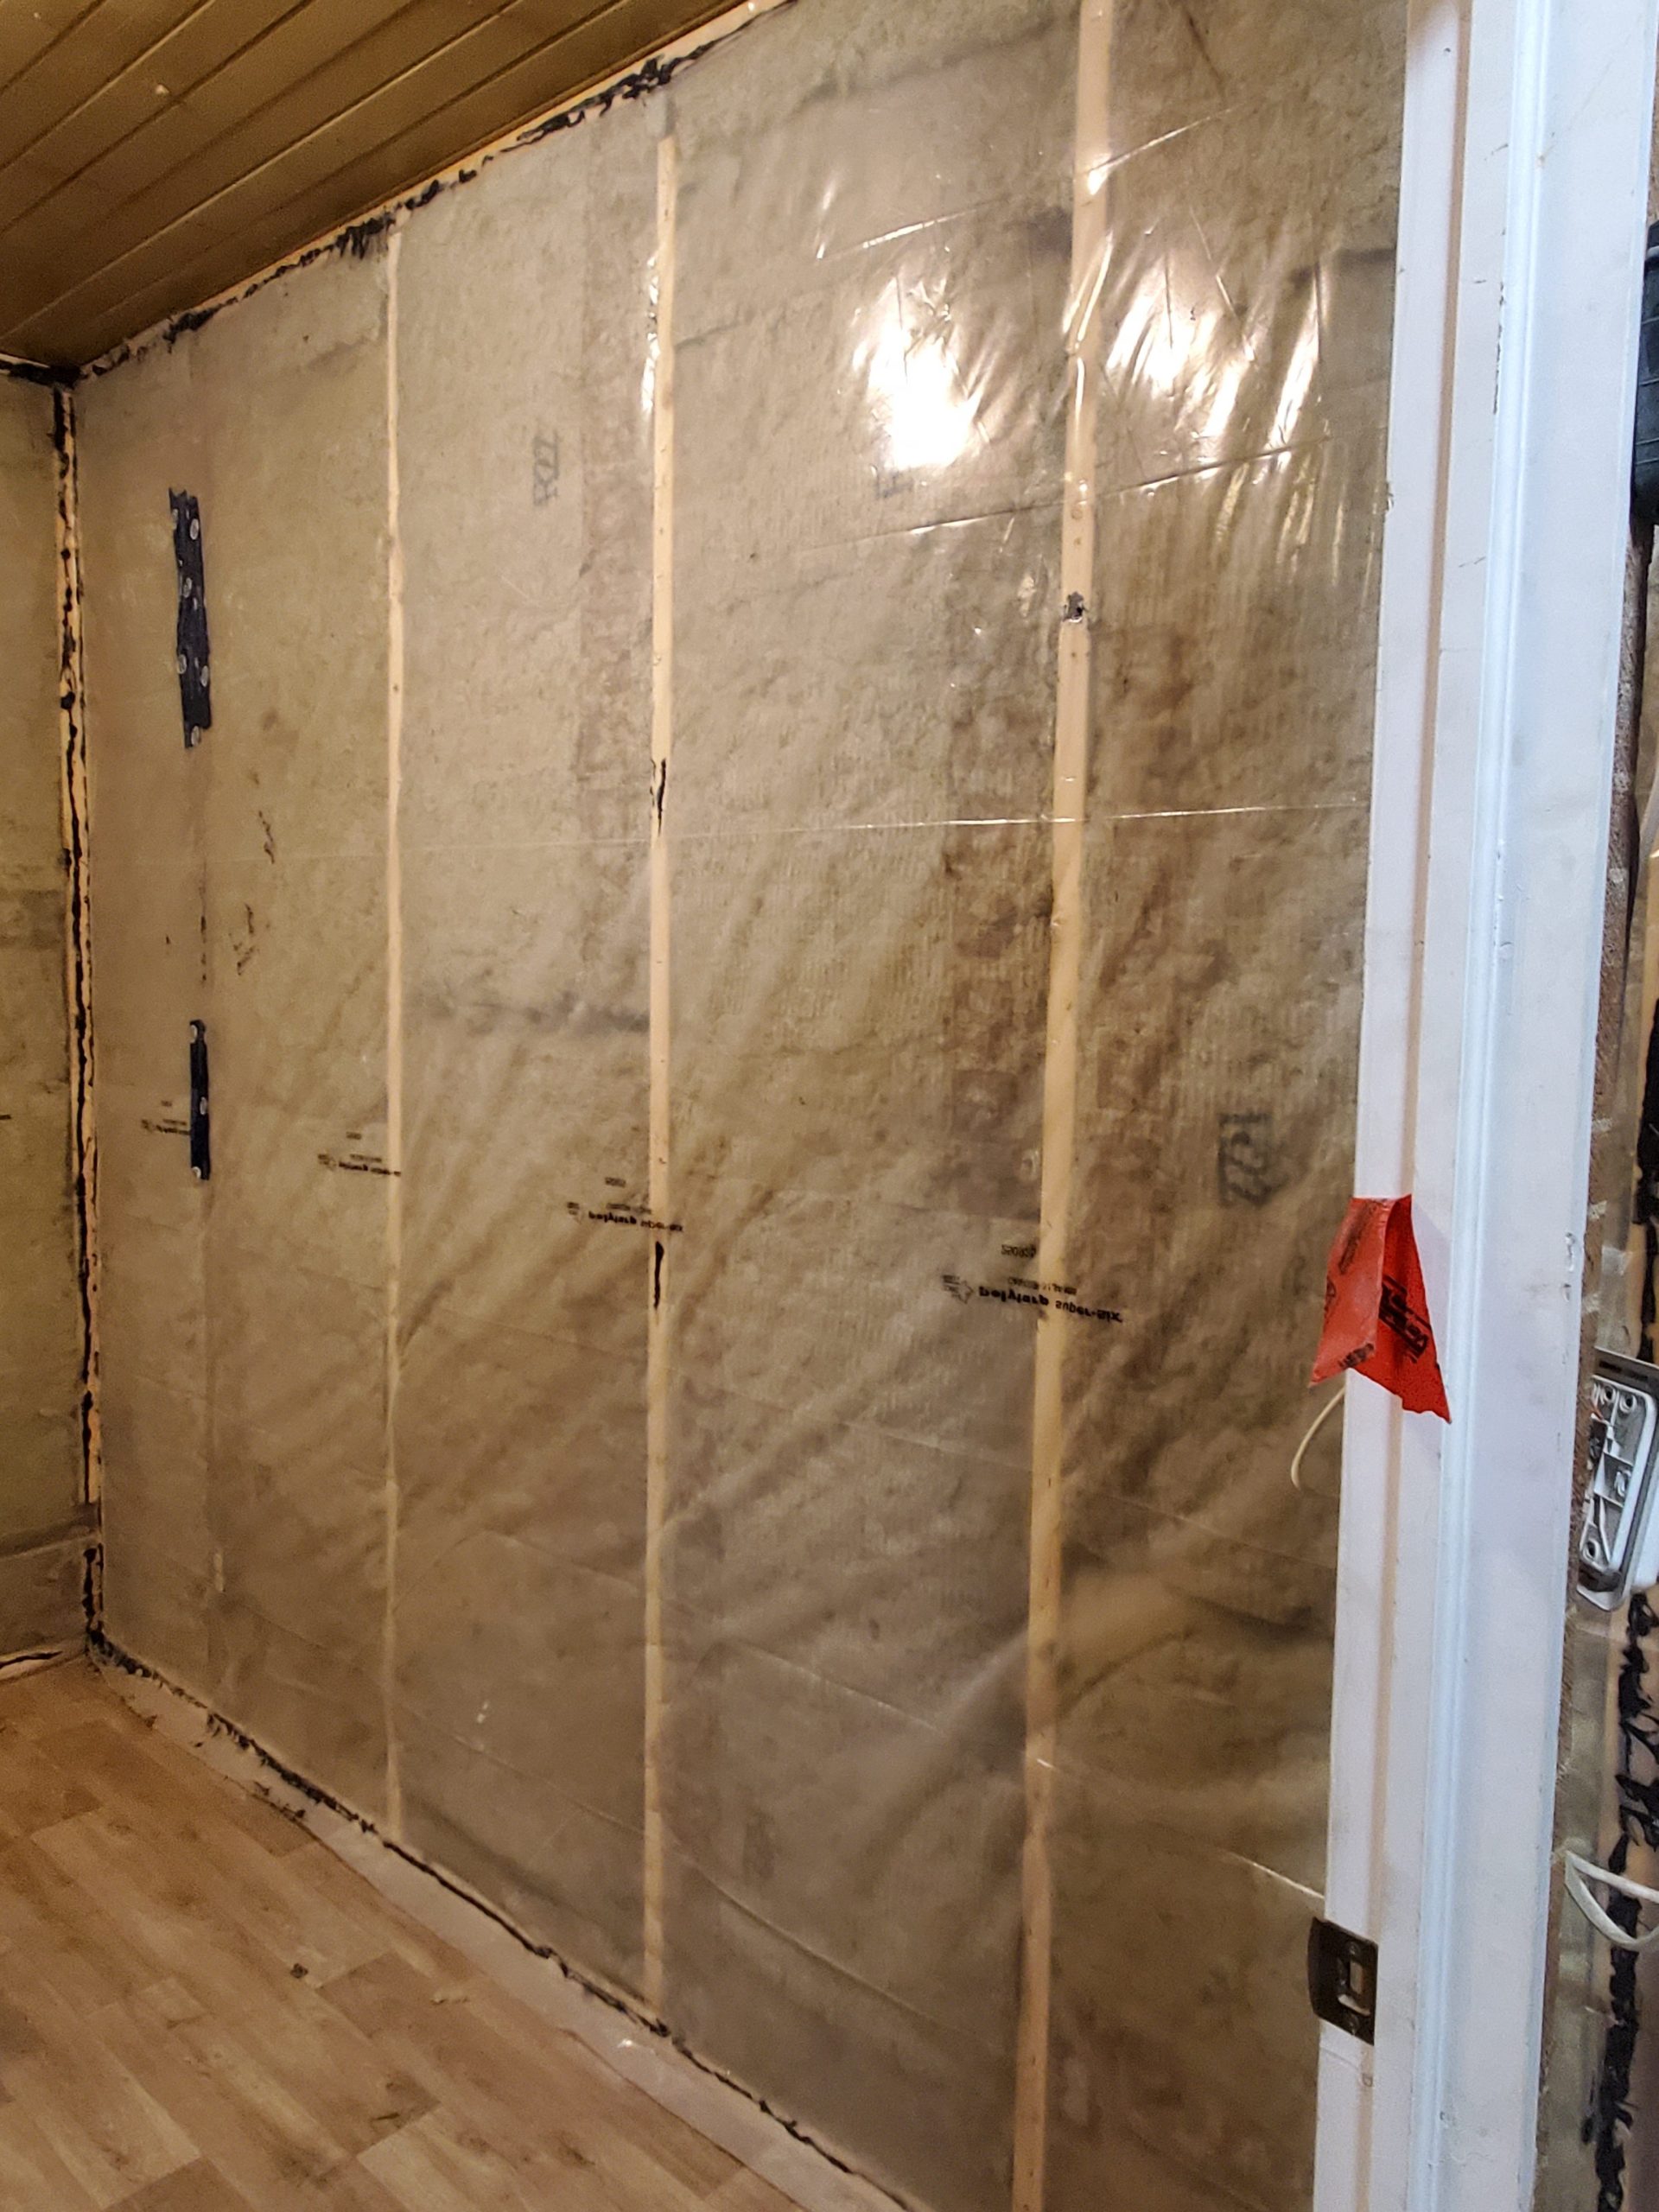
We completed the Rockwool insulation and vapour barrier in the first two bedrooms today.
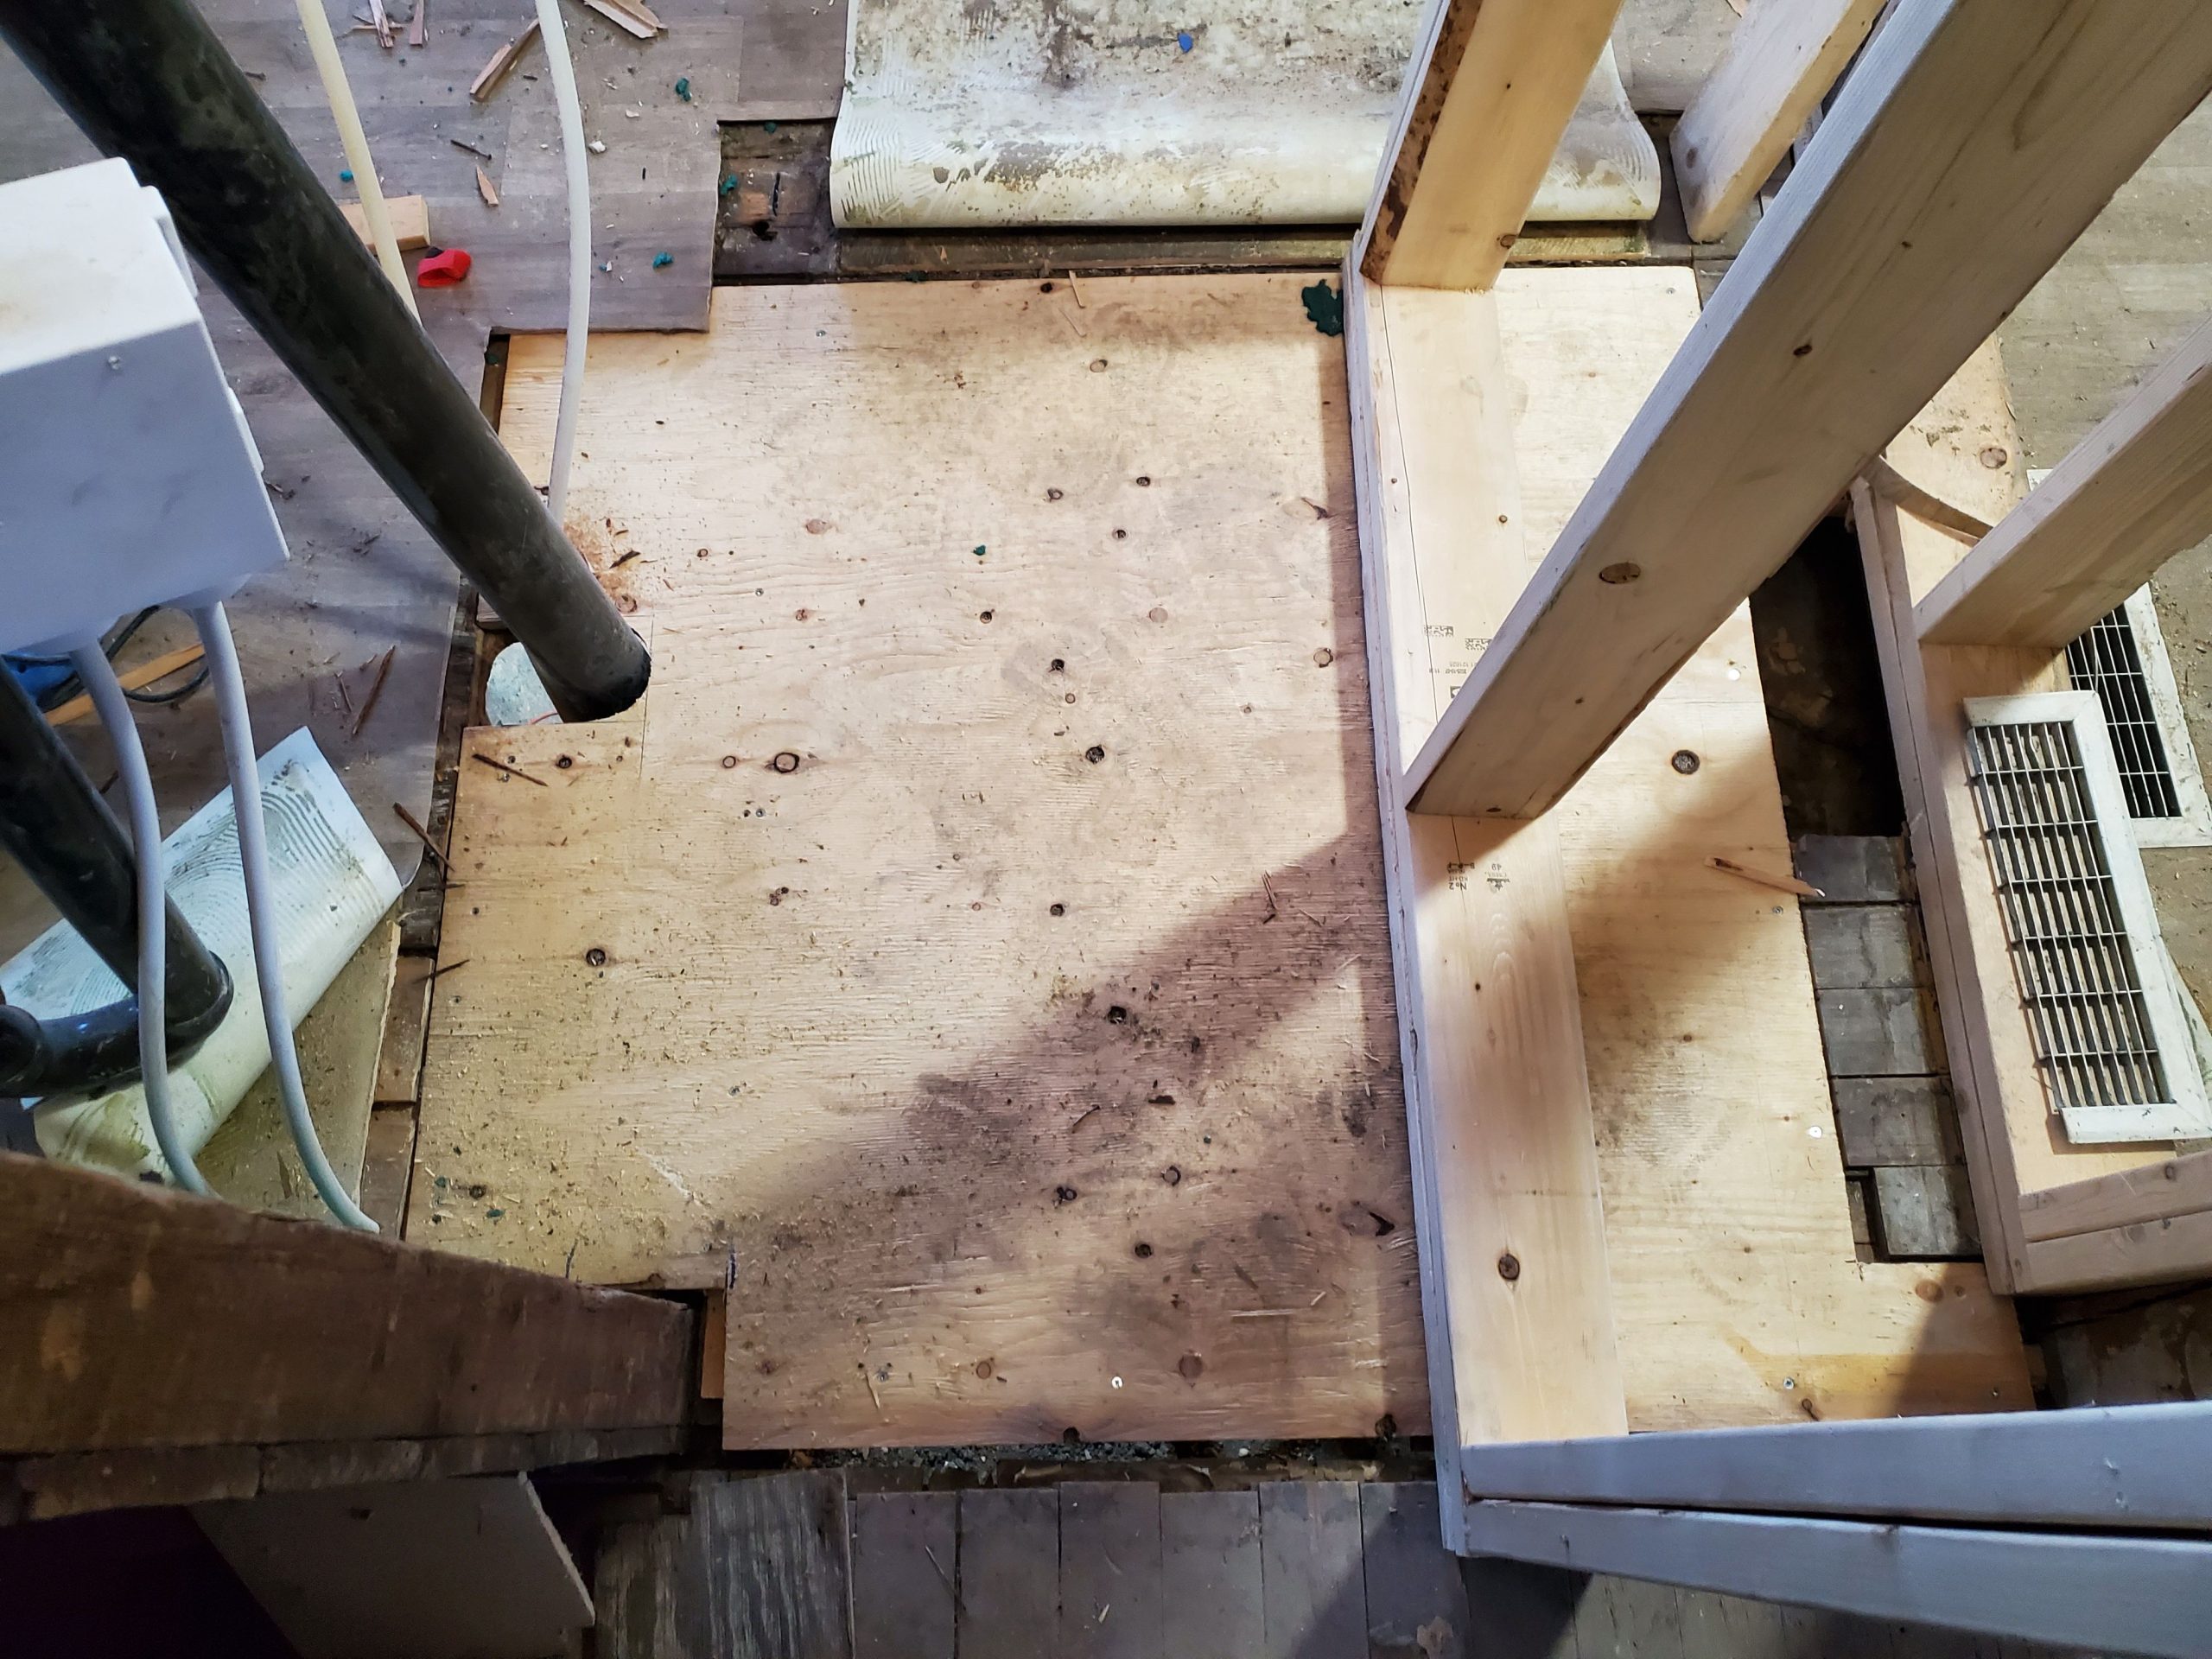
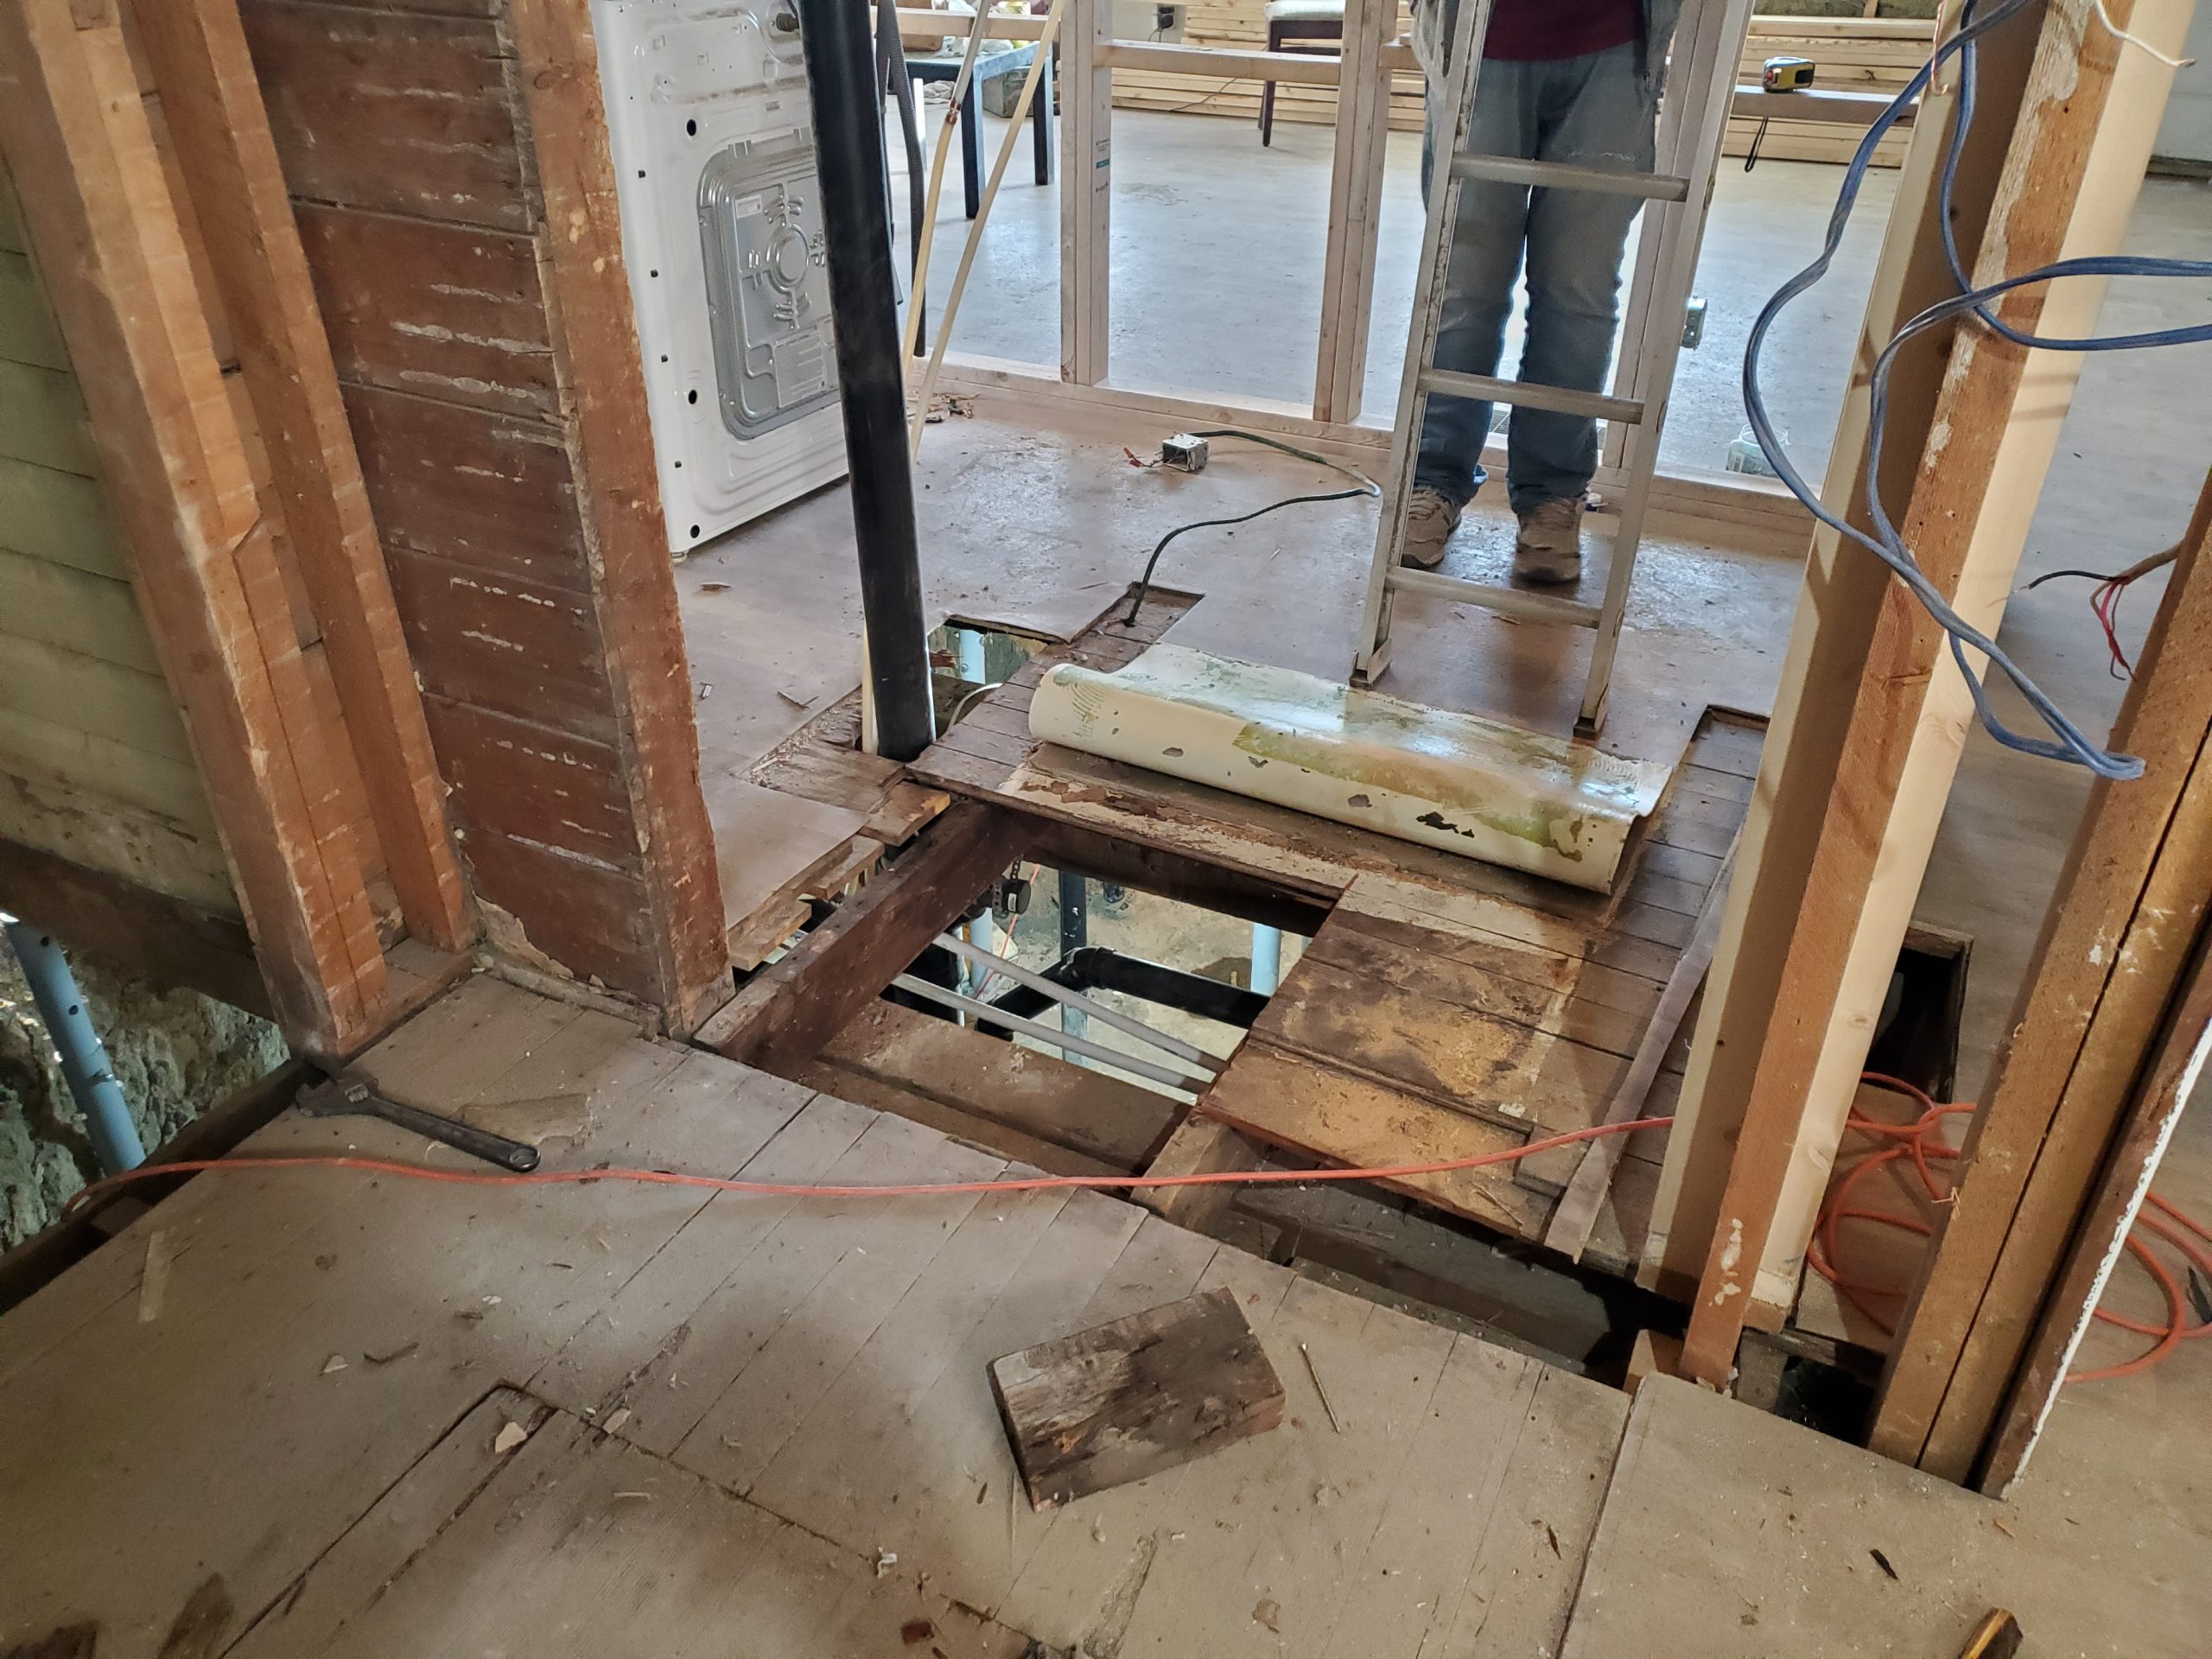
Floyd wasn’t here today. I made the rest of the repairs to the rotted out floor under the staircase before moving on to the wall. There is now a layer of 3/4″ plywood in lieu of the 3″ tongue-and-groove floor boards. Beneath that, more 3/4″ plywood in place of the original floor planks. It’s all fastened down with anti-squeak screws (expensive!).
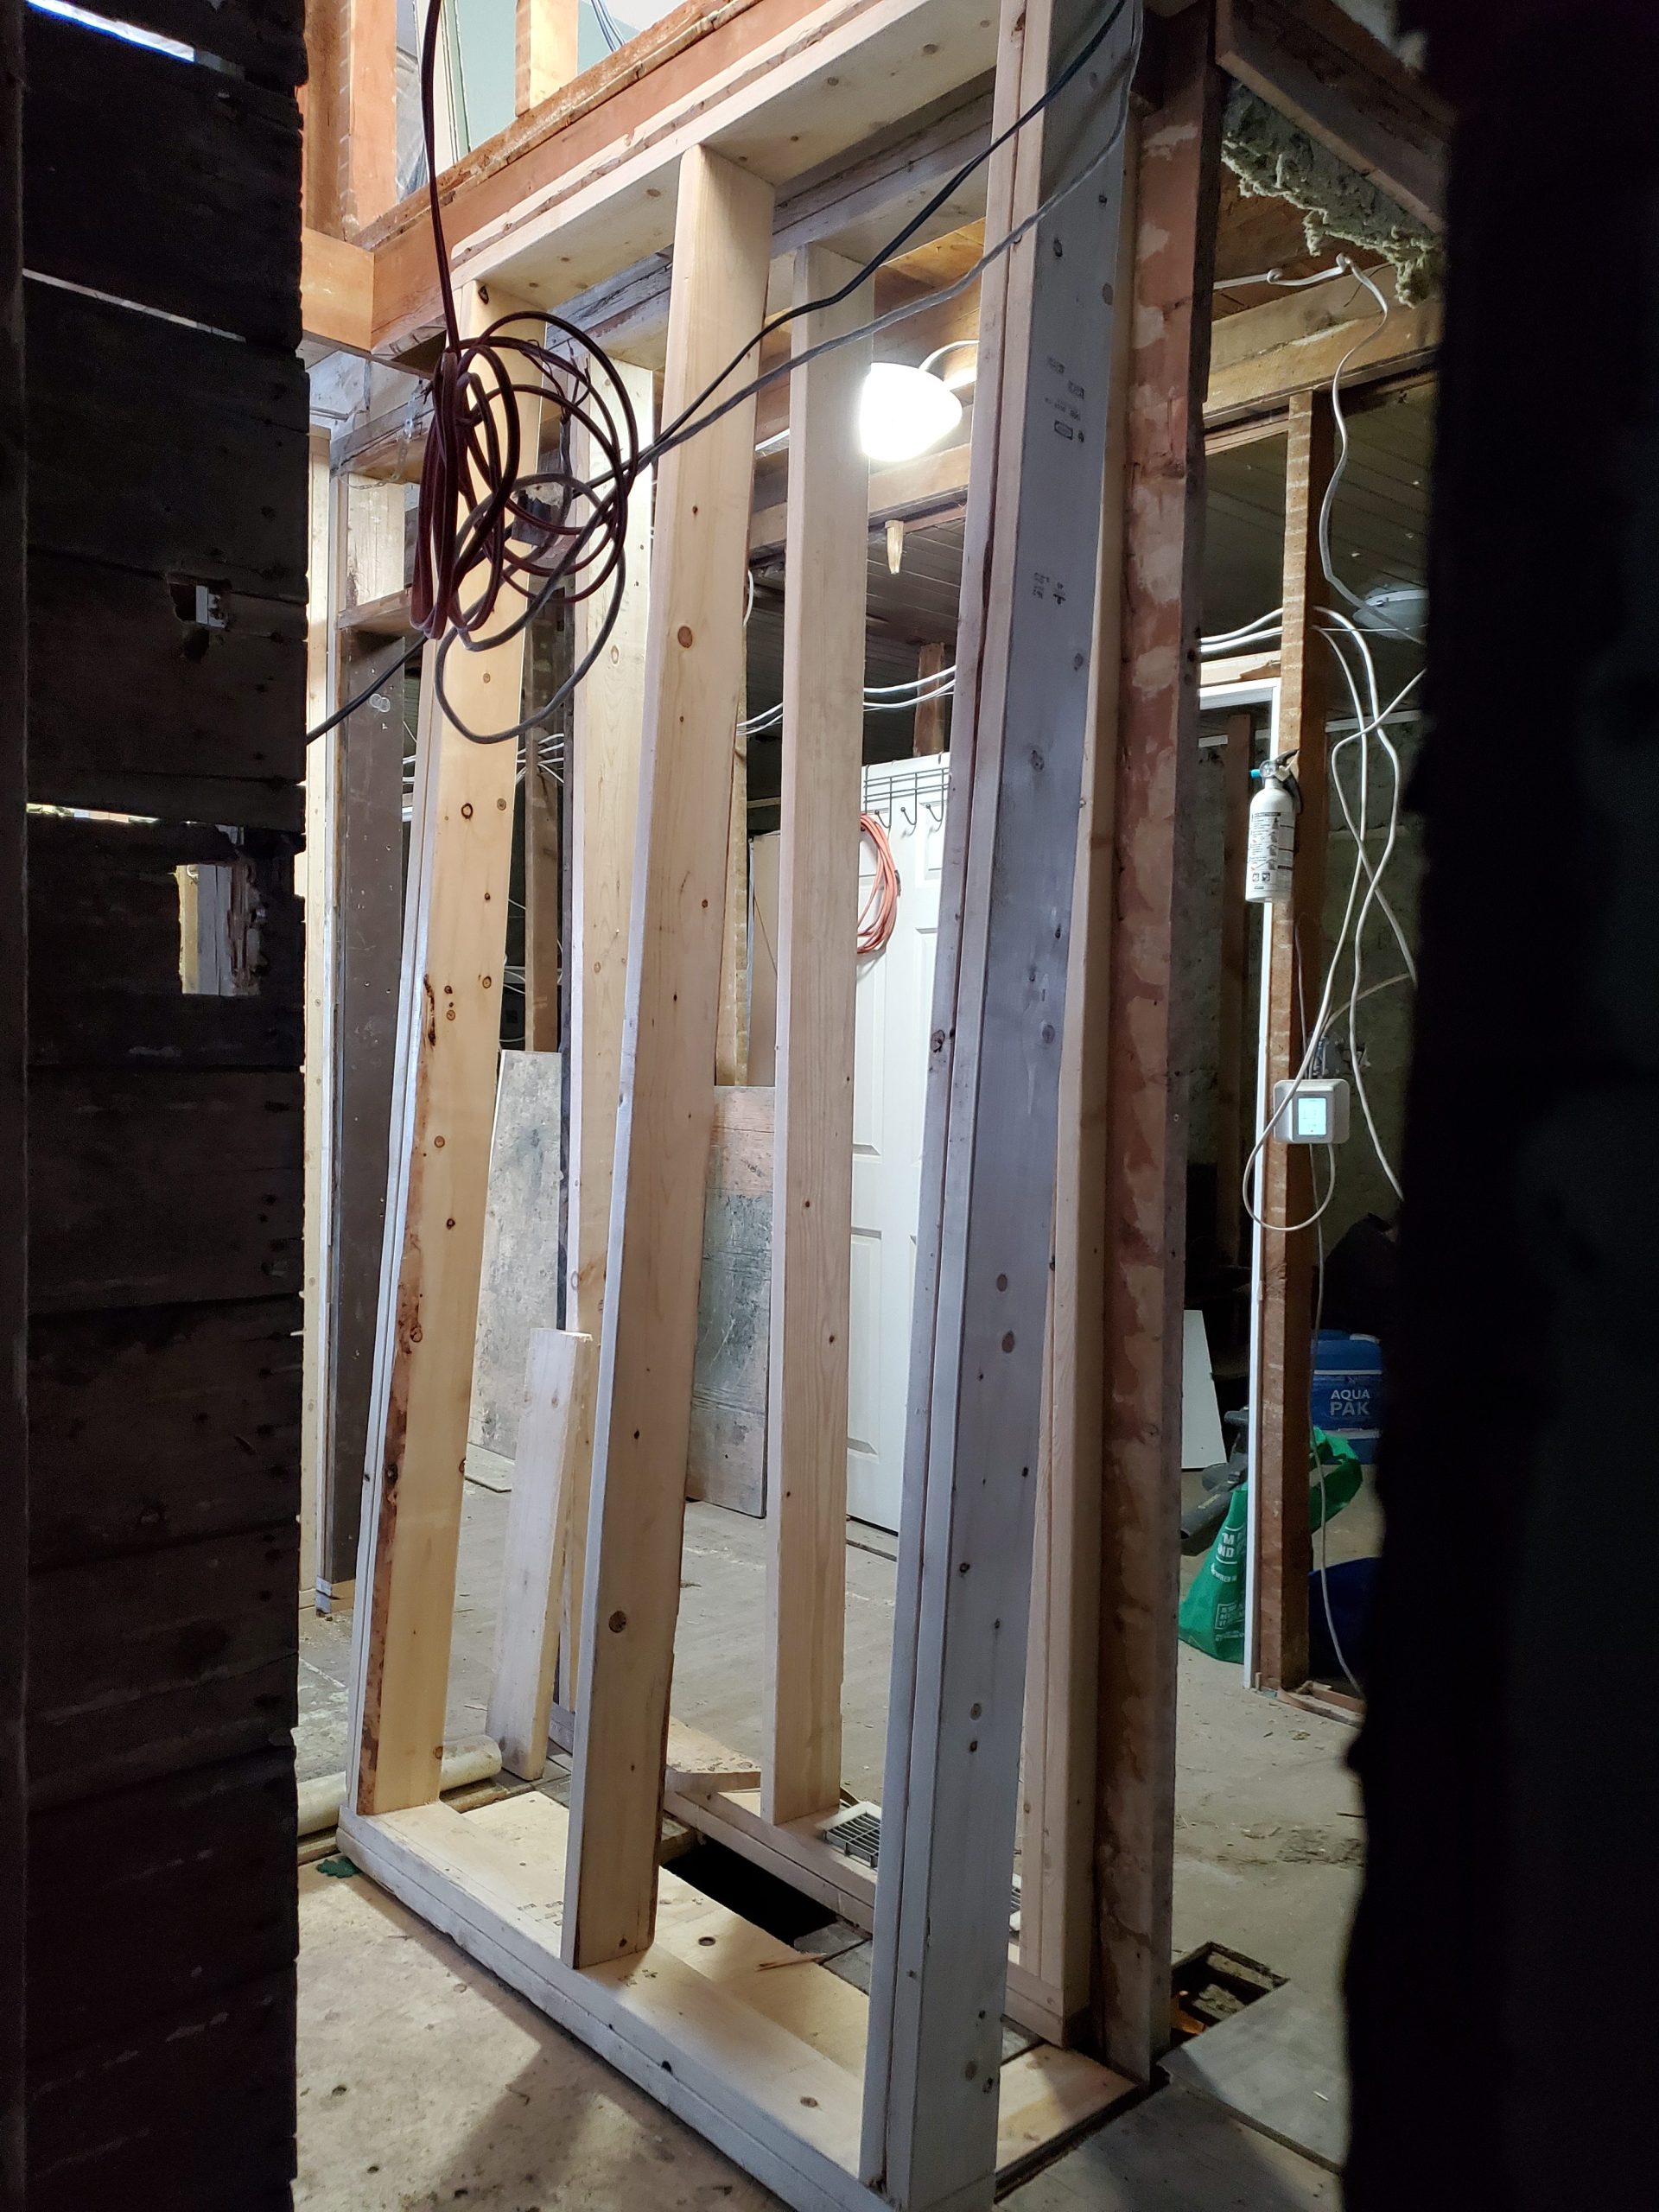
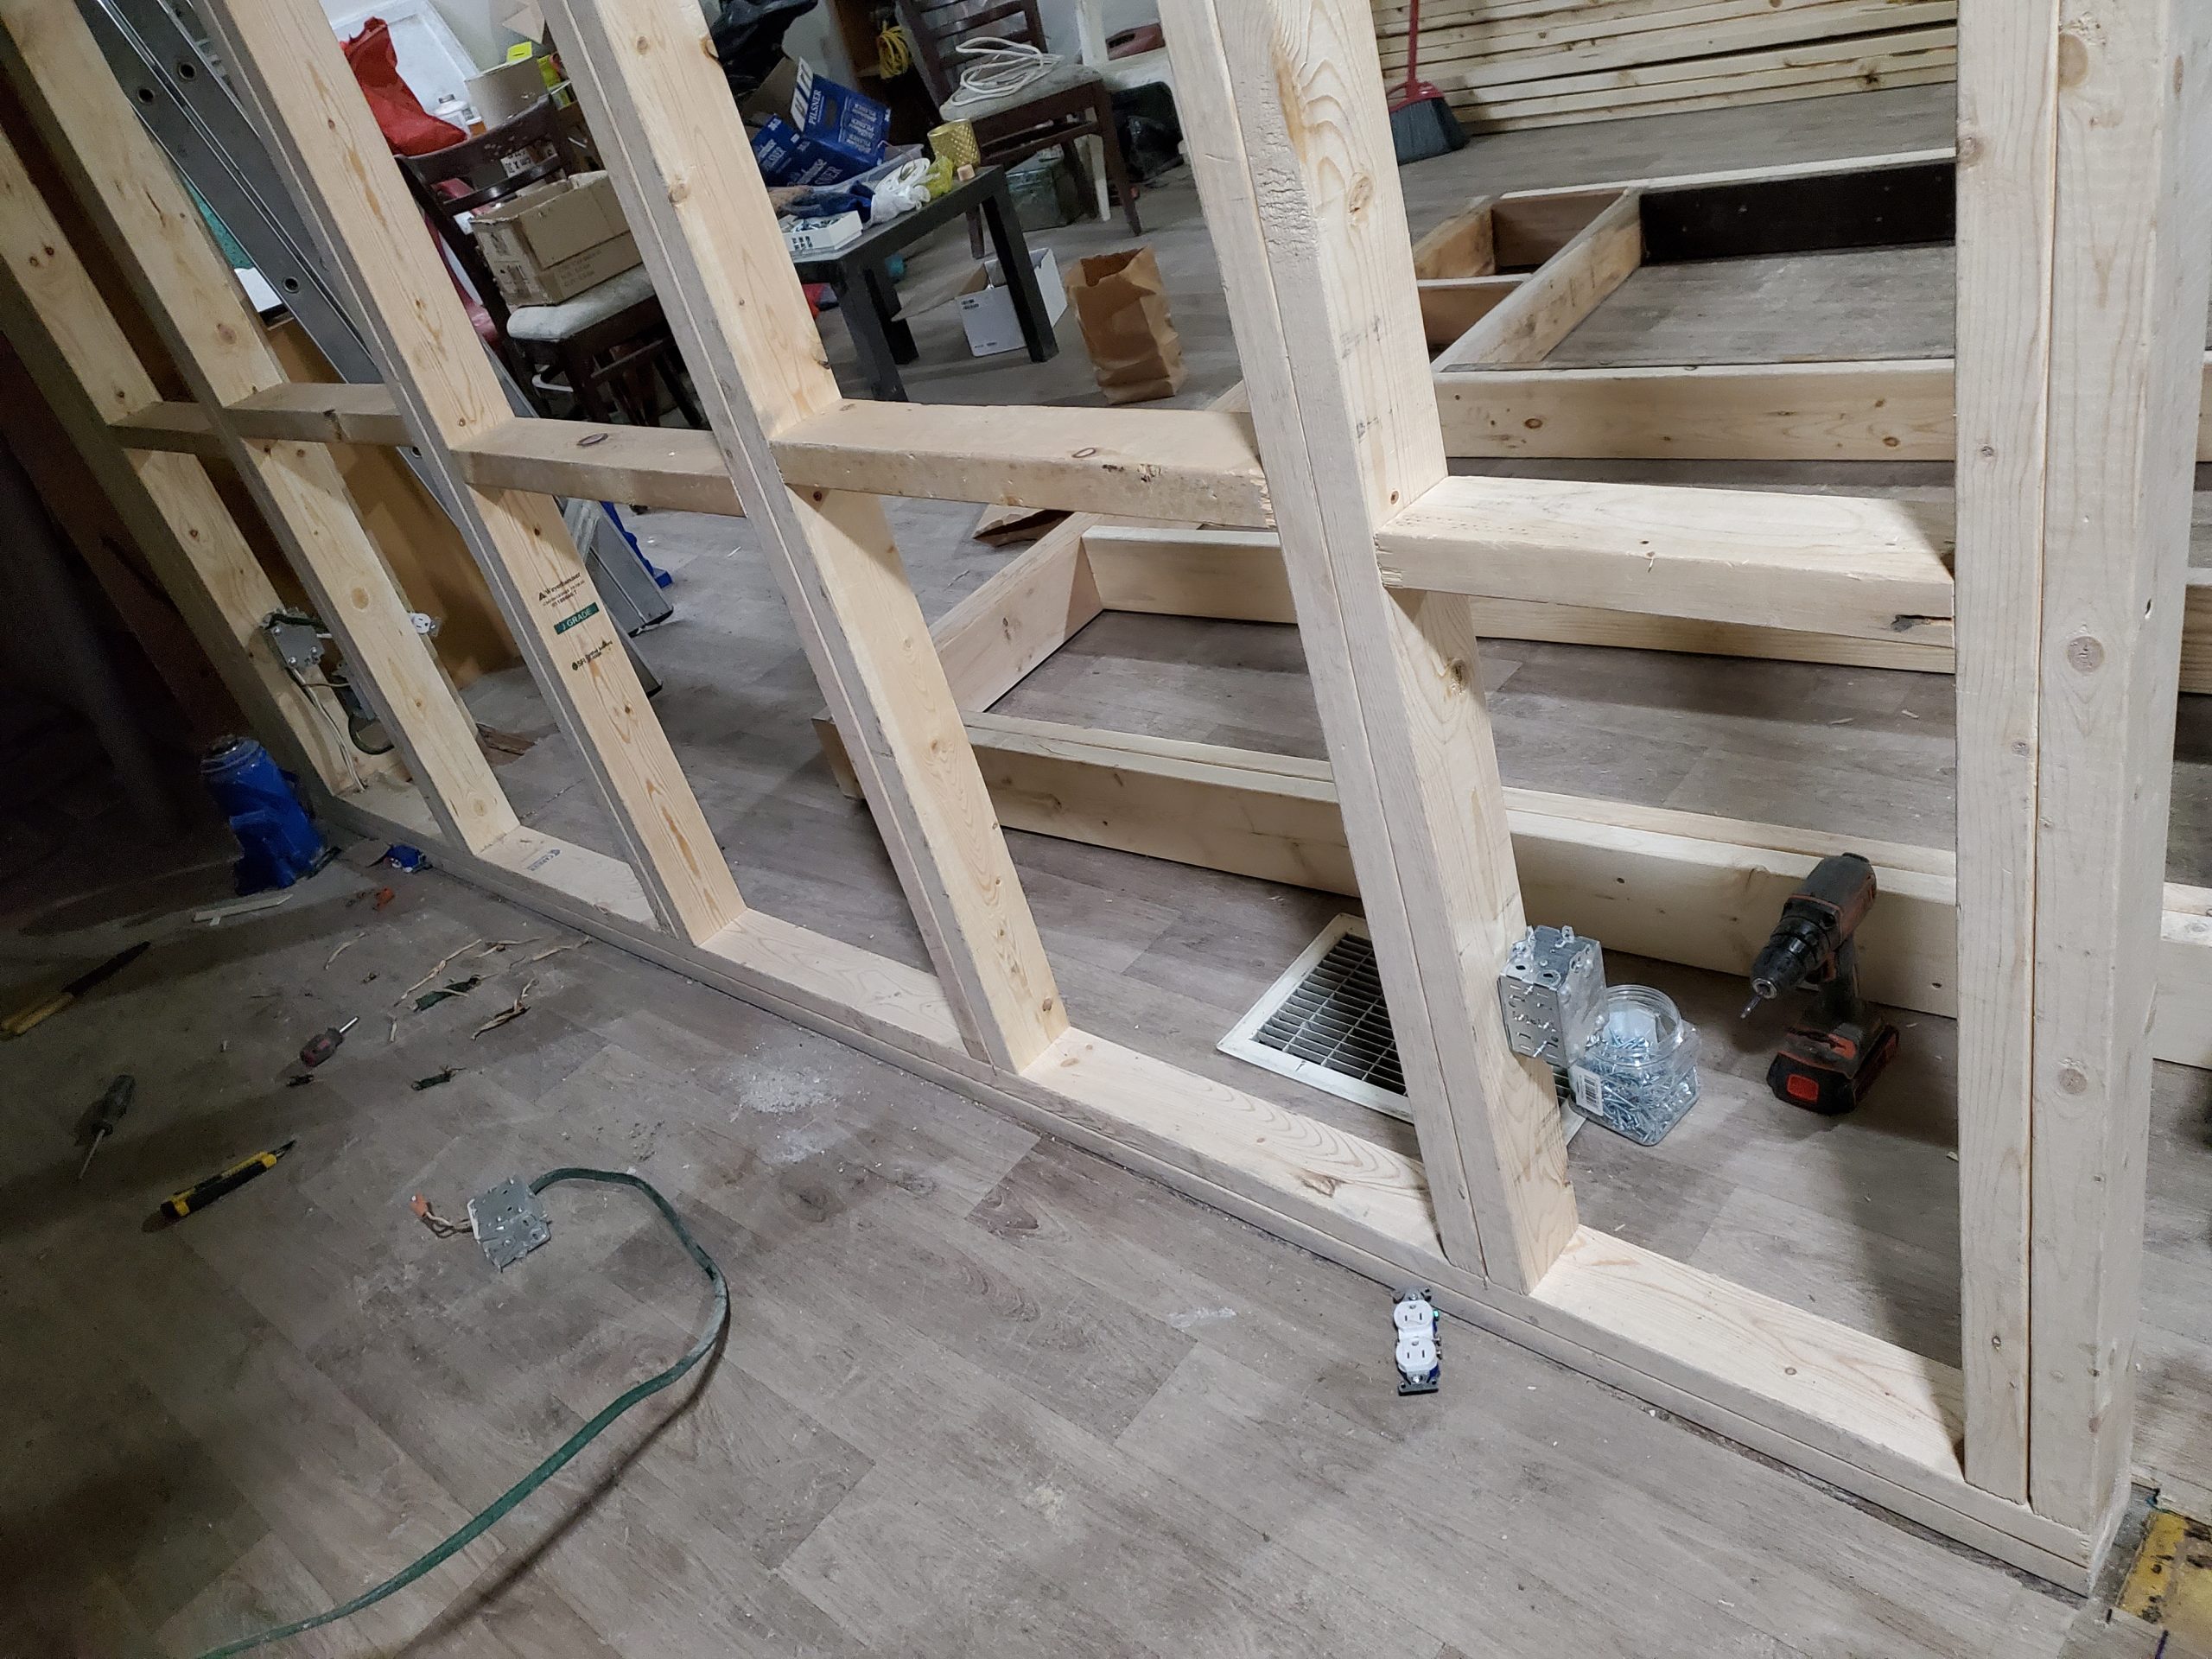
Next, the 2nd 2×6 wall separating the main suite from the staircase to the 2nd storey suite. Again, this wall has double bottom and top plates.
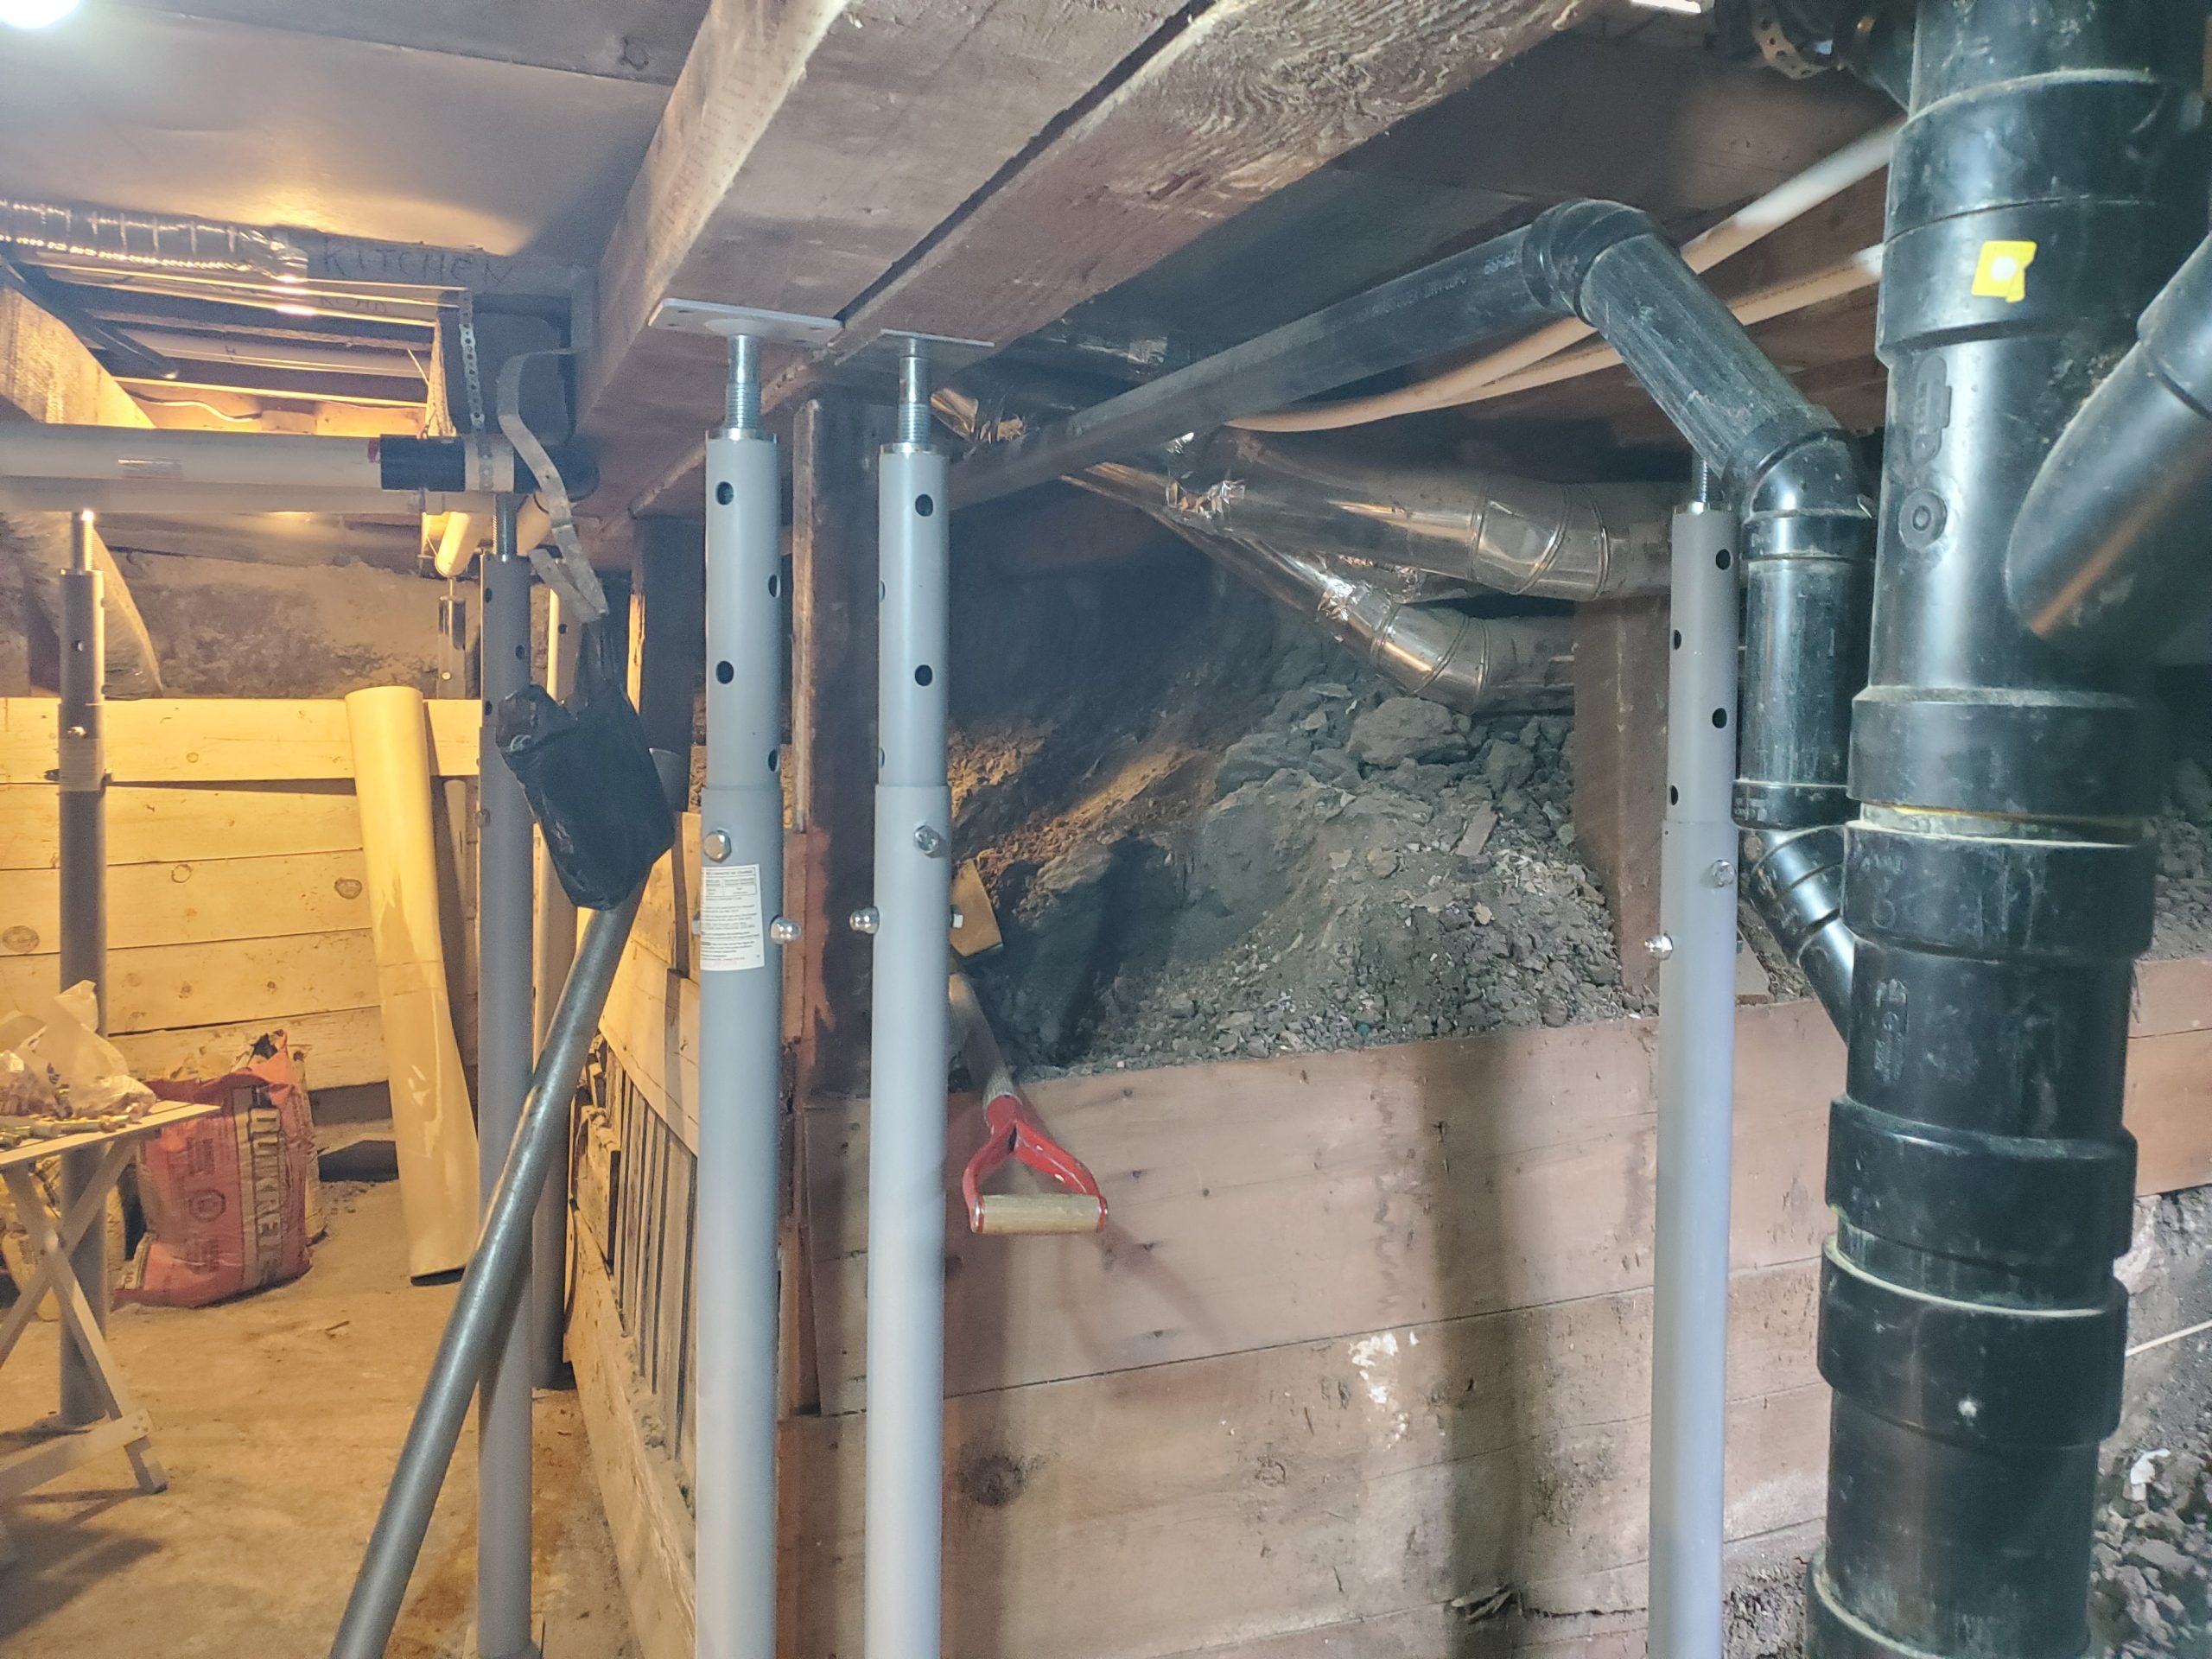
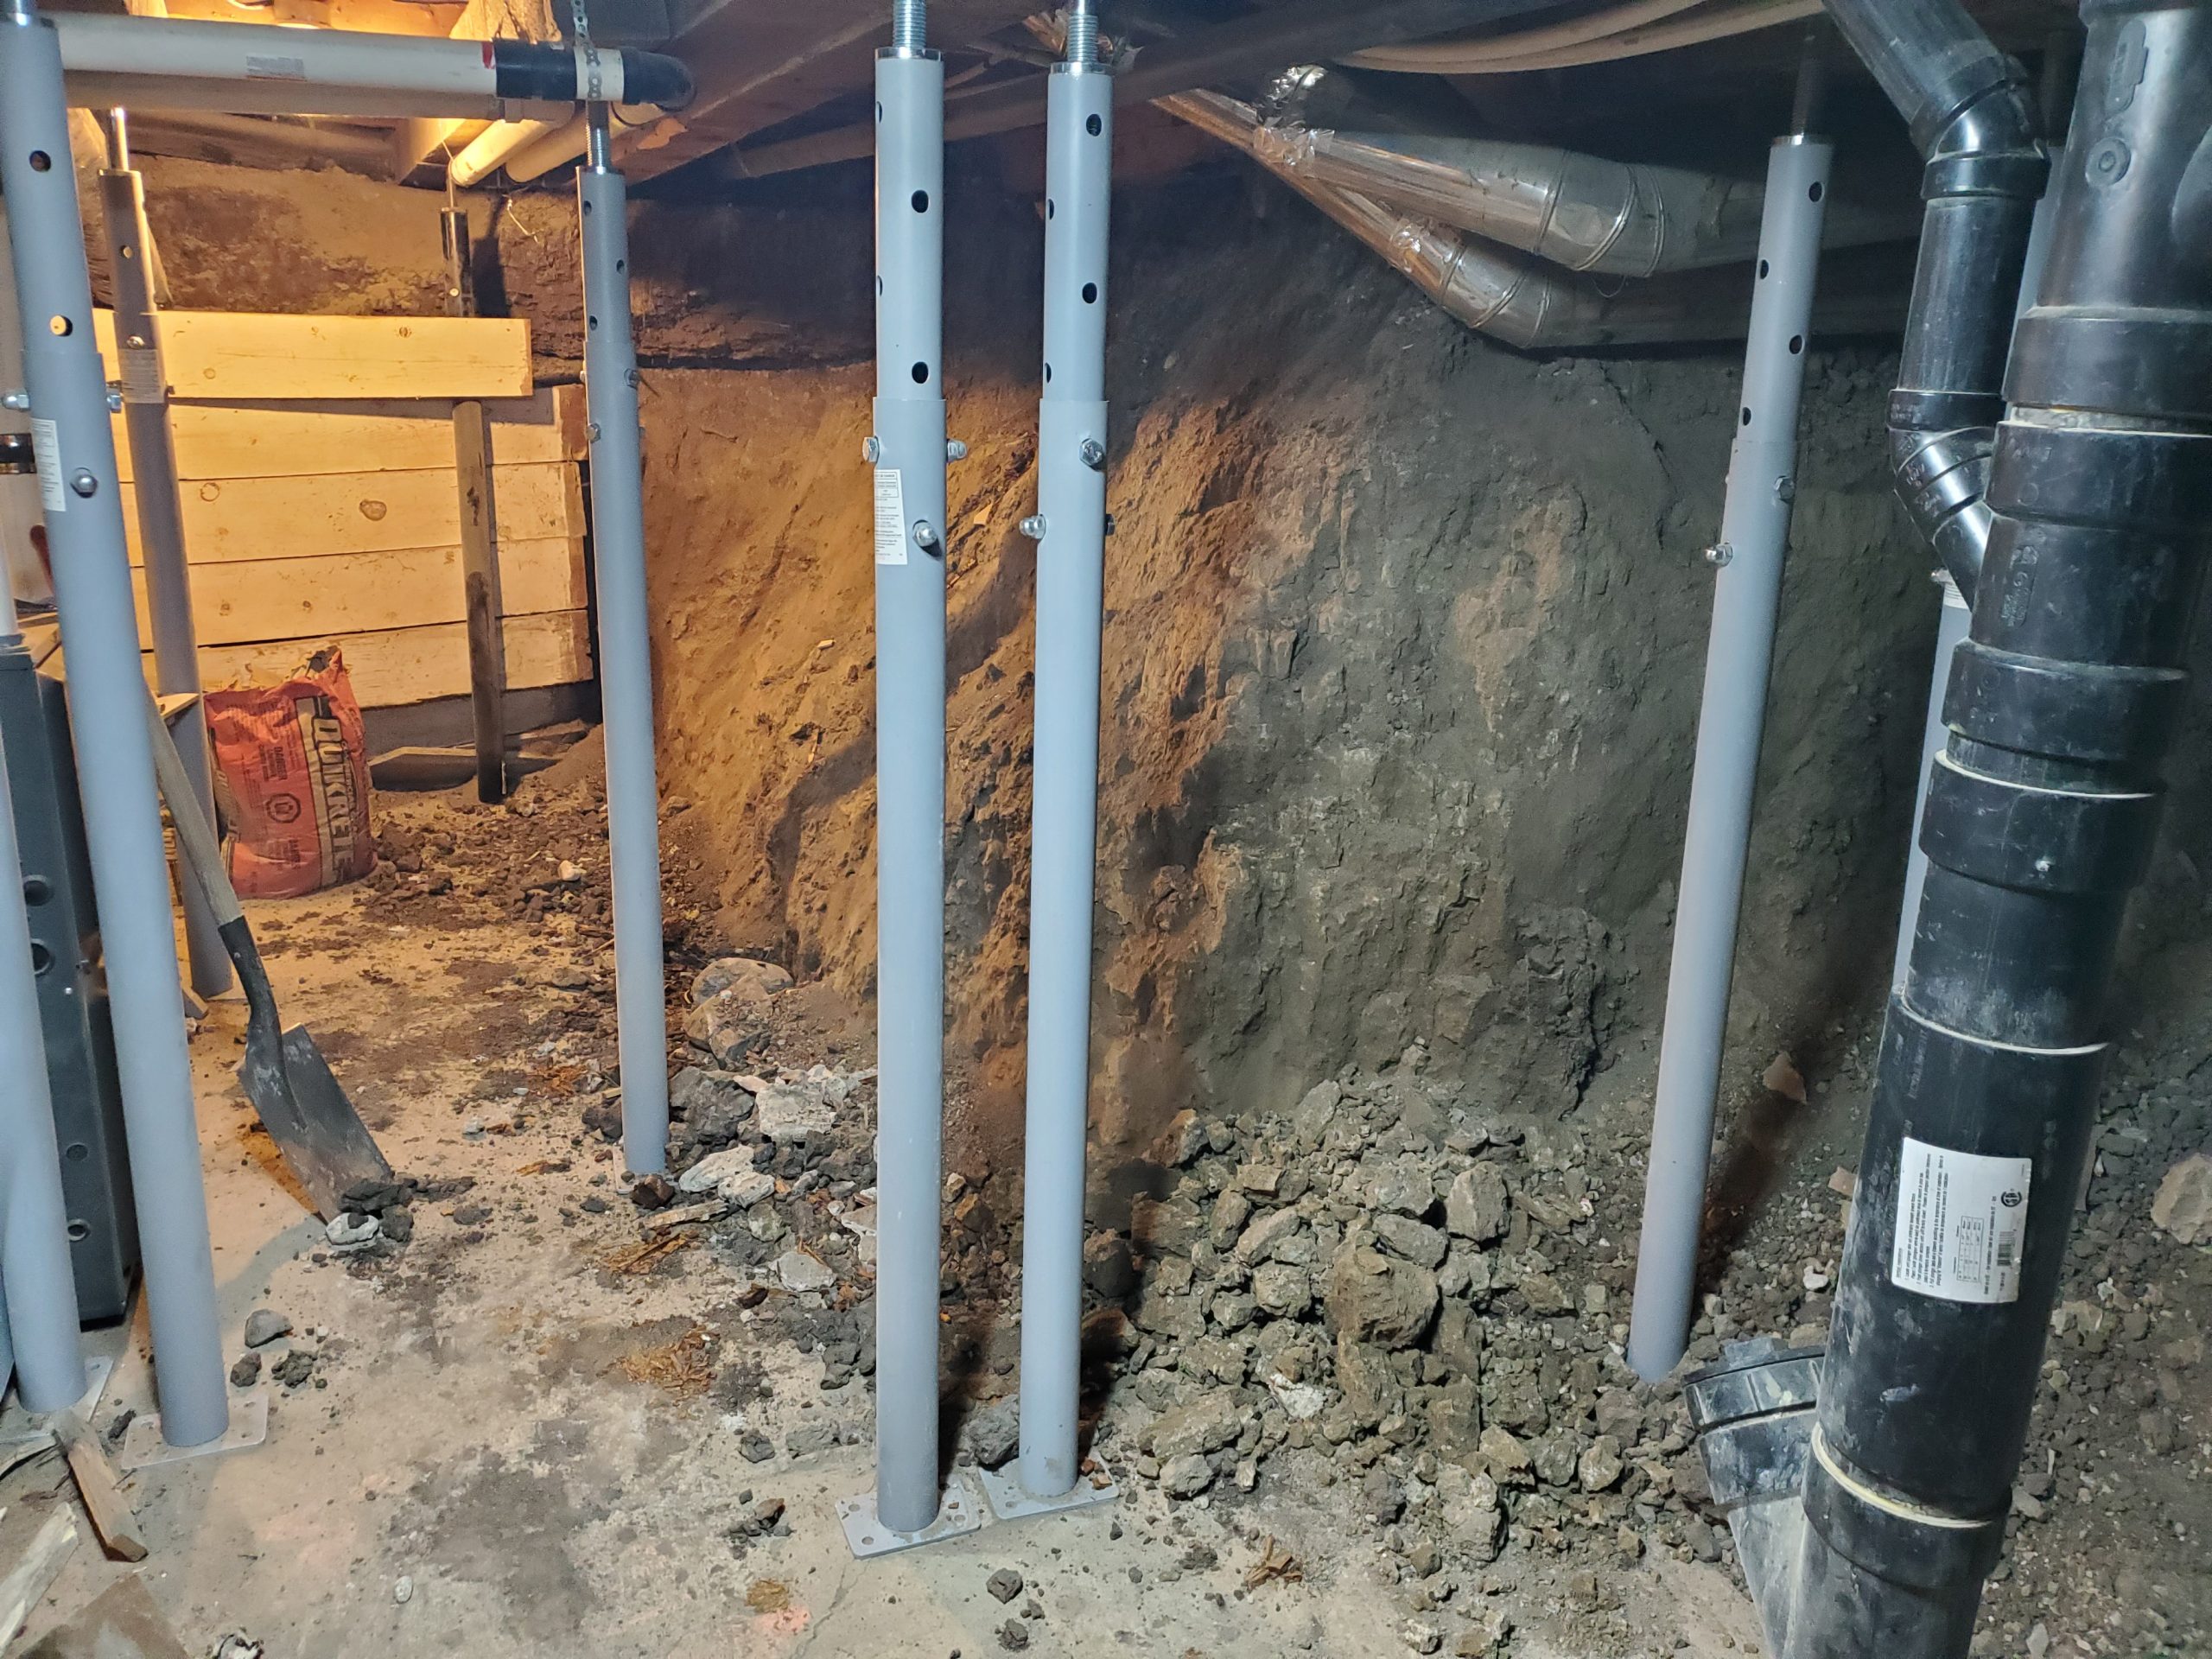
I, Floyd, and Dave are back at it again. We are removing the north retaining wall to get at a notched rotten beam. This means shovelling more dirt, removing bits and pieces of retaining wall and three posts, and hauling out buckets of dirt. Now you see it, …
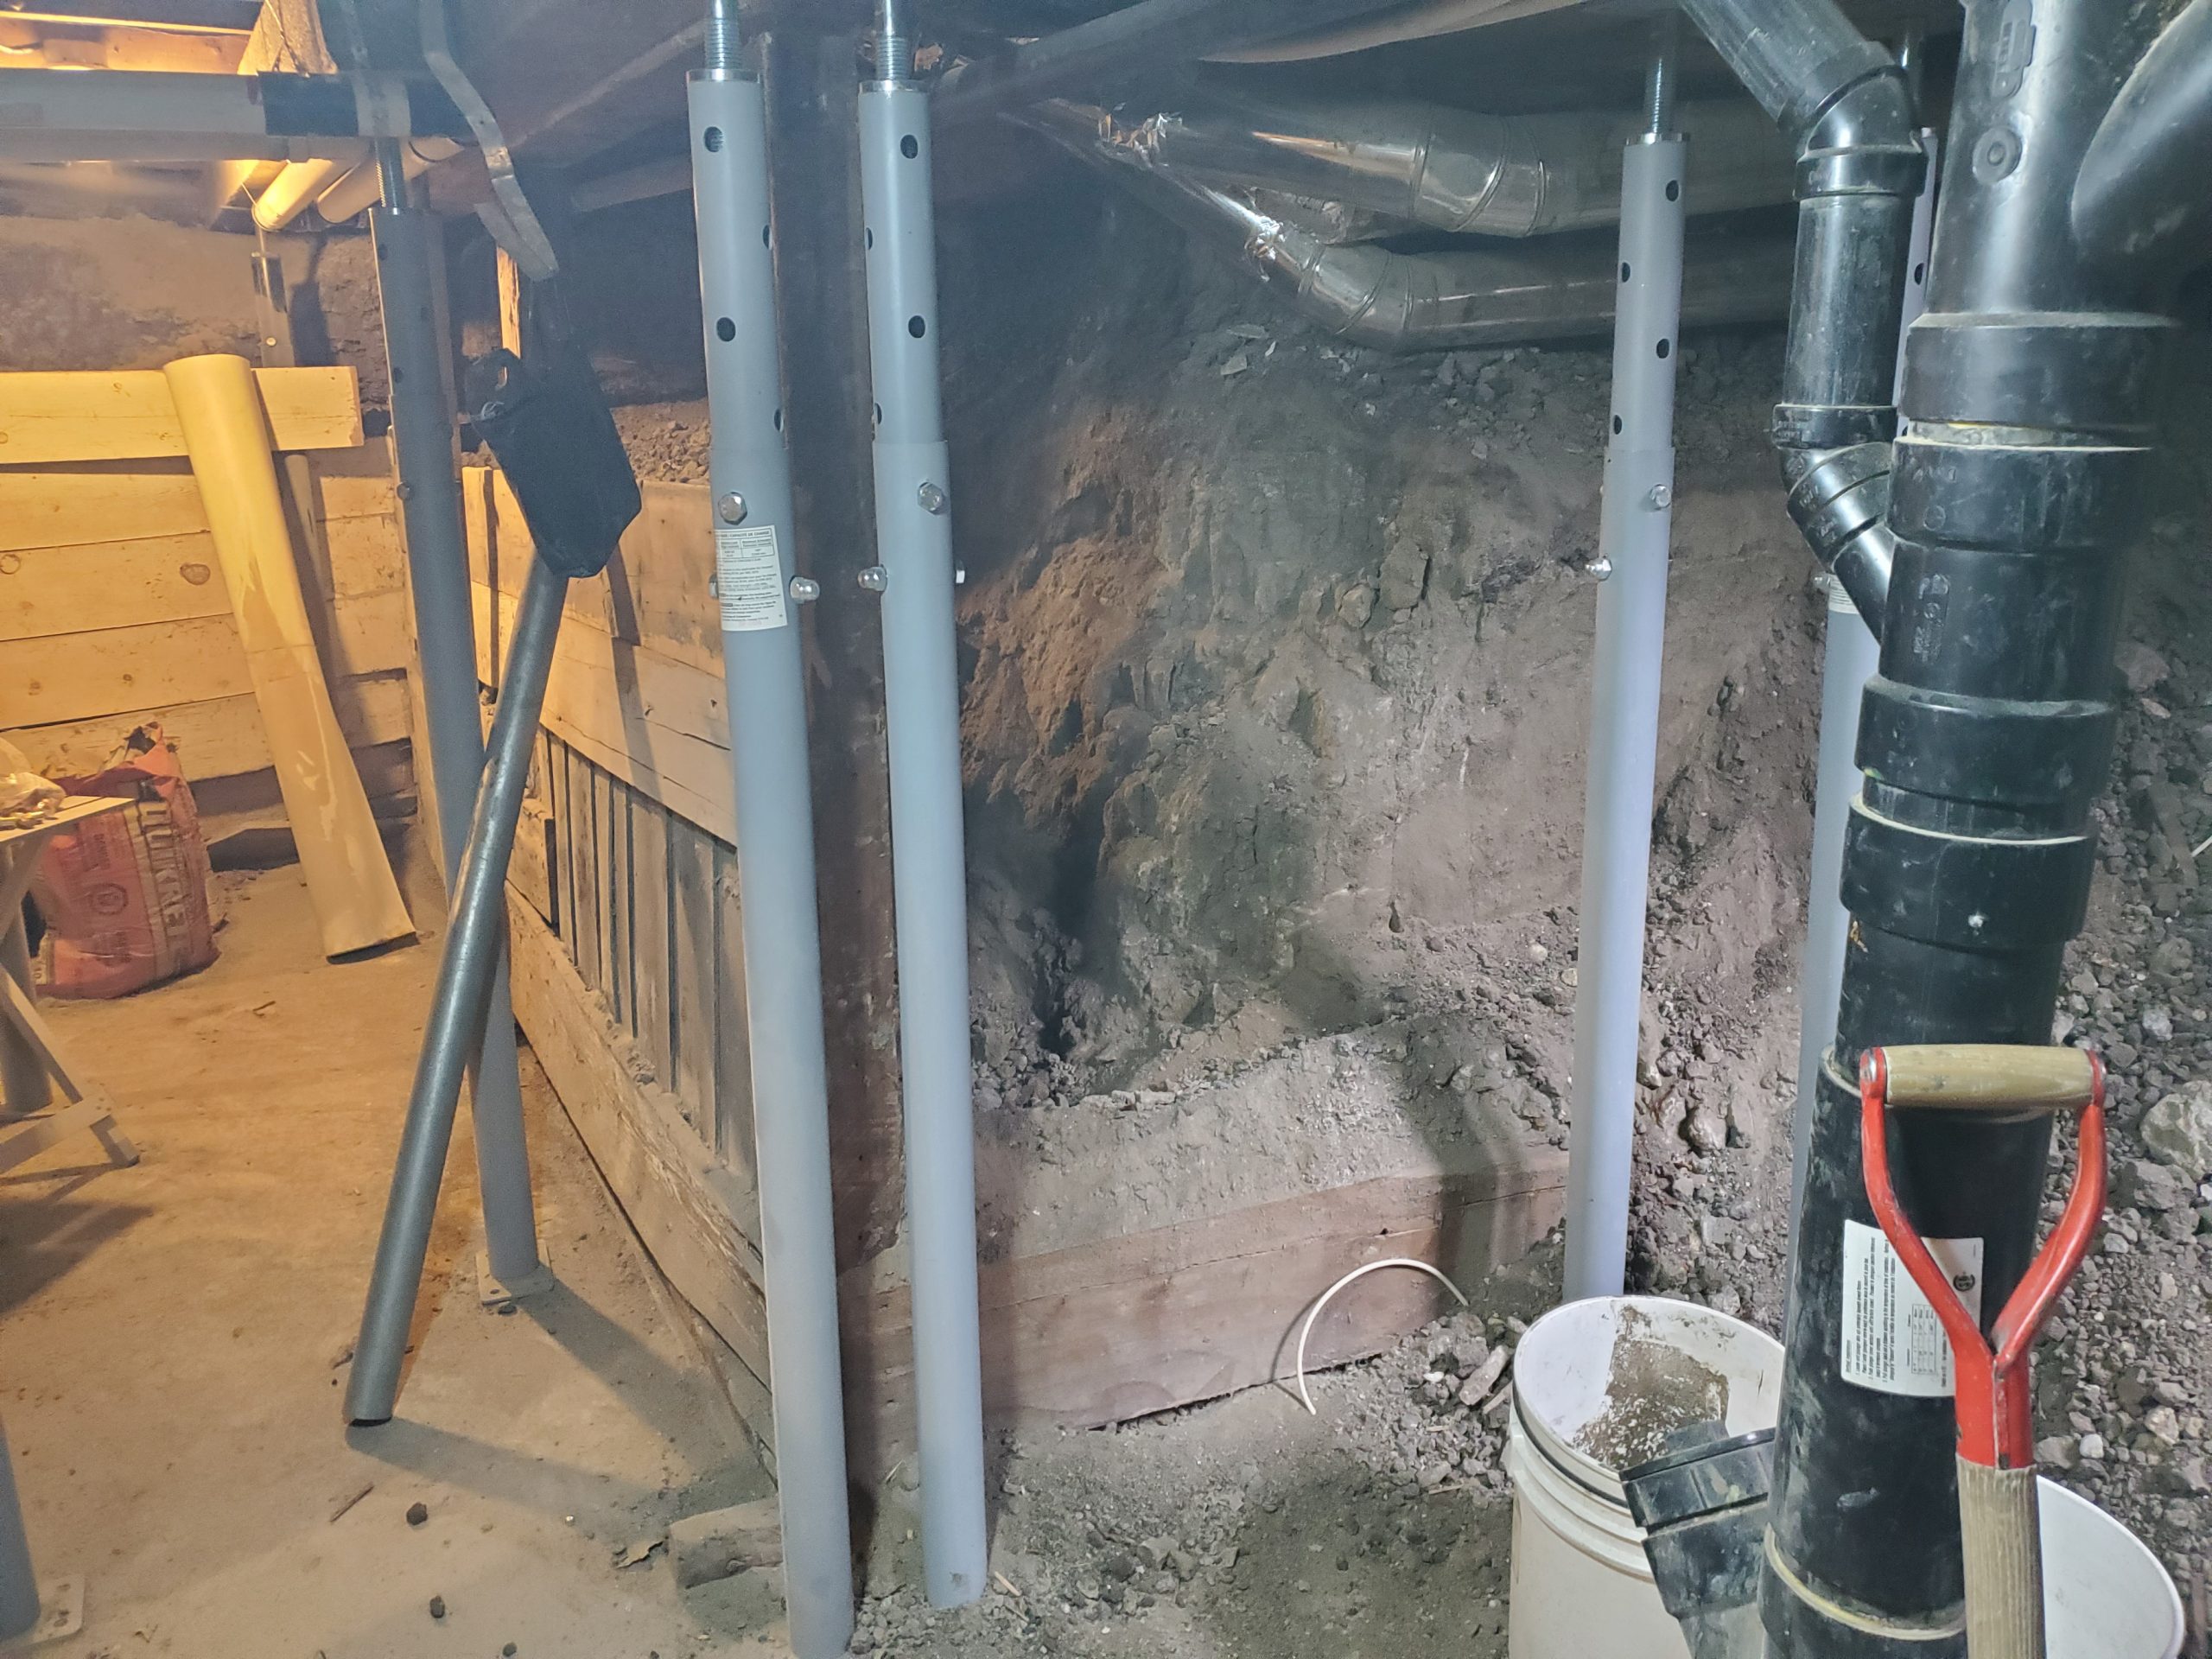

… now you don’t.

We found, upon trying to build 2×6 fire-rated load-bearing walls, that there was nothing to set the walls upon. The floor is rotten. I’ll have to dig deeper, tearing up the floorboards, to see how far the rot goes.
In the mean time, we put up the 2nd wall (a 2×6 wall). It was moved from its original spot about 9 inches to the west to be placed under (not beside) 1st storey ceiling / 2nd storey floor joists. Well that’s a novel idea, eh?, supporting overhead joists with load-bearing walls! Can you hear the annoyance in my typing?
I had some time today, so I thought I’d putter. I cleaned up the place a little, added some electrical boxes to the living room / bath wall, and … I forget what else.
Oh, right – I properly mounted the brake / tail lights to the flatbed trailer. I got these from Princess Auto.
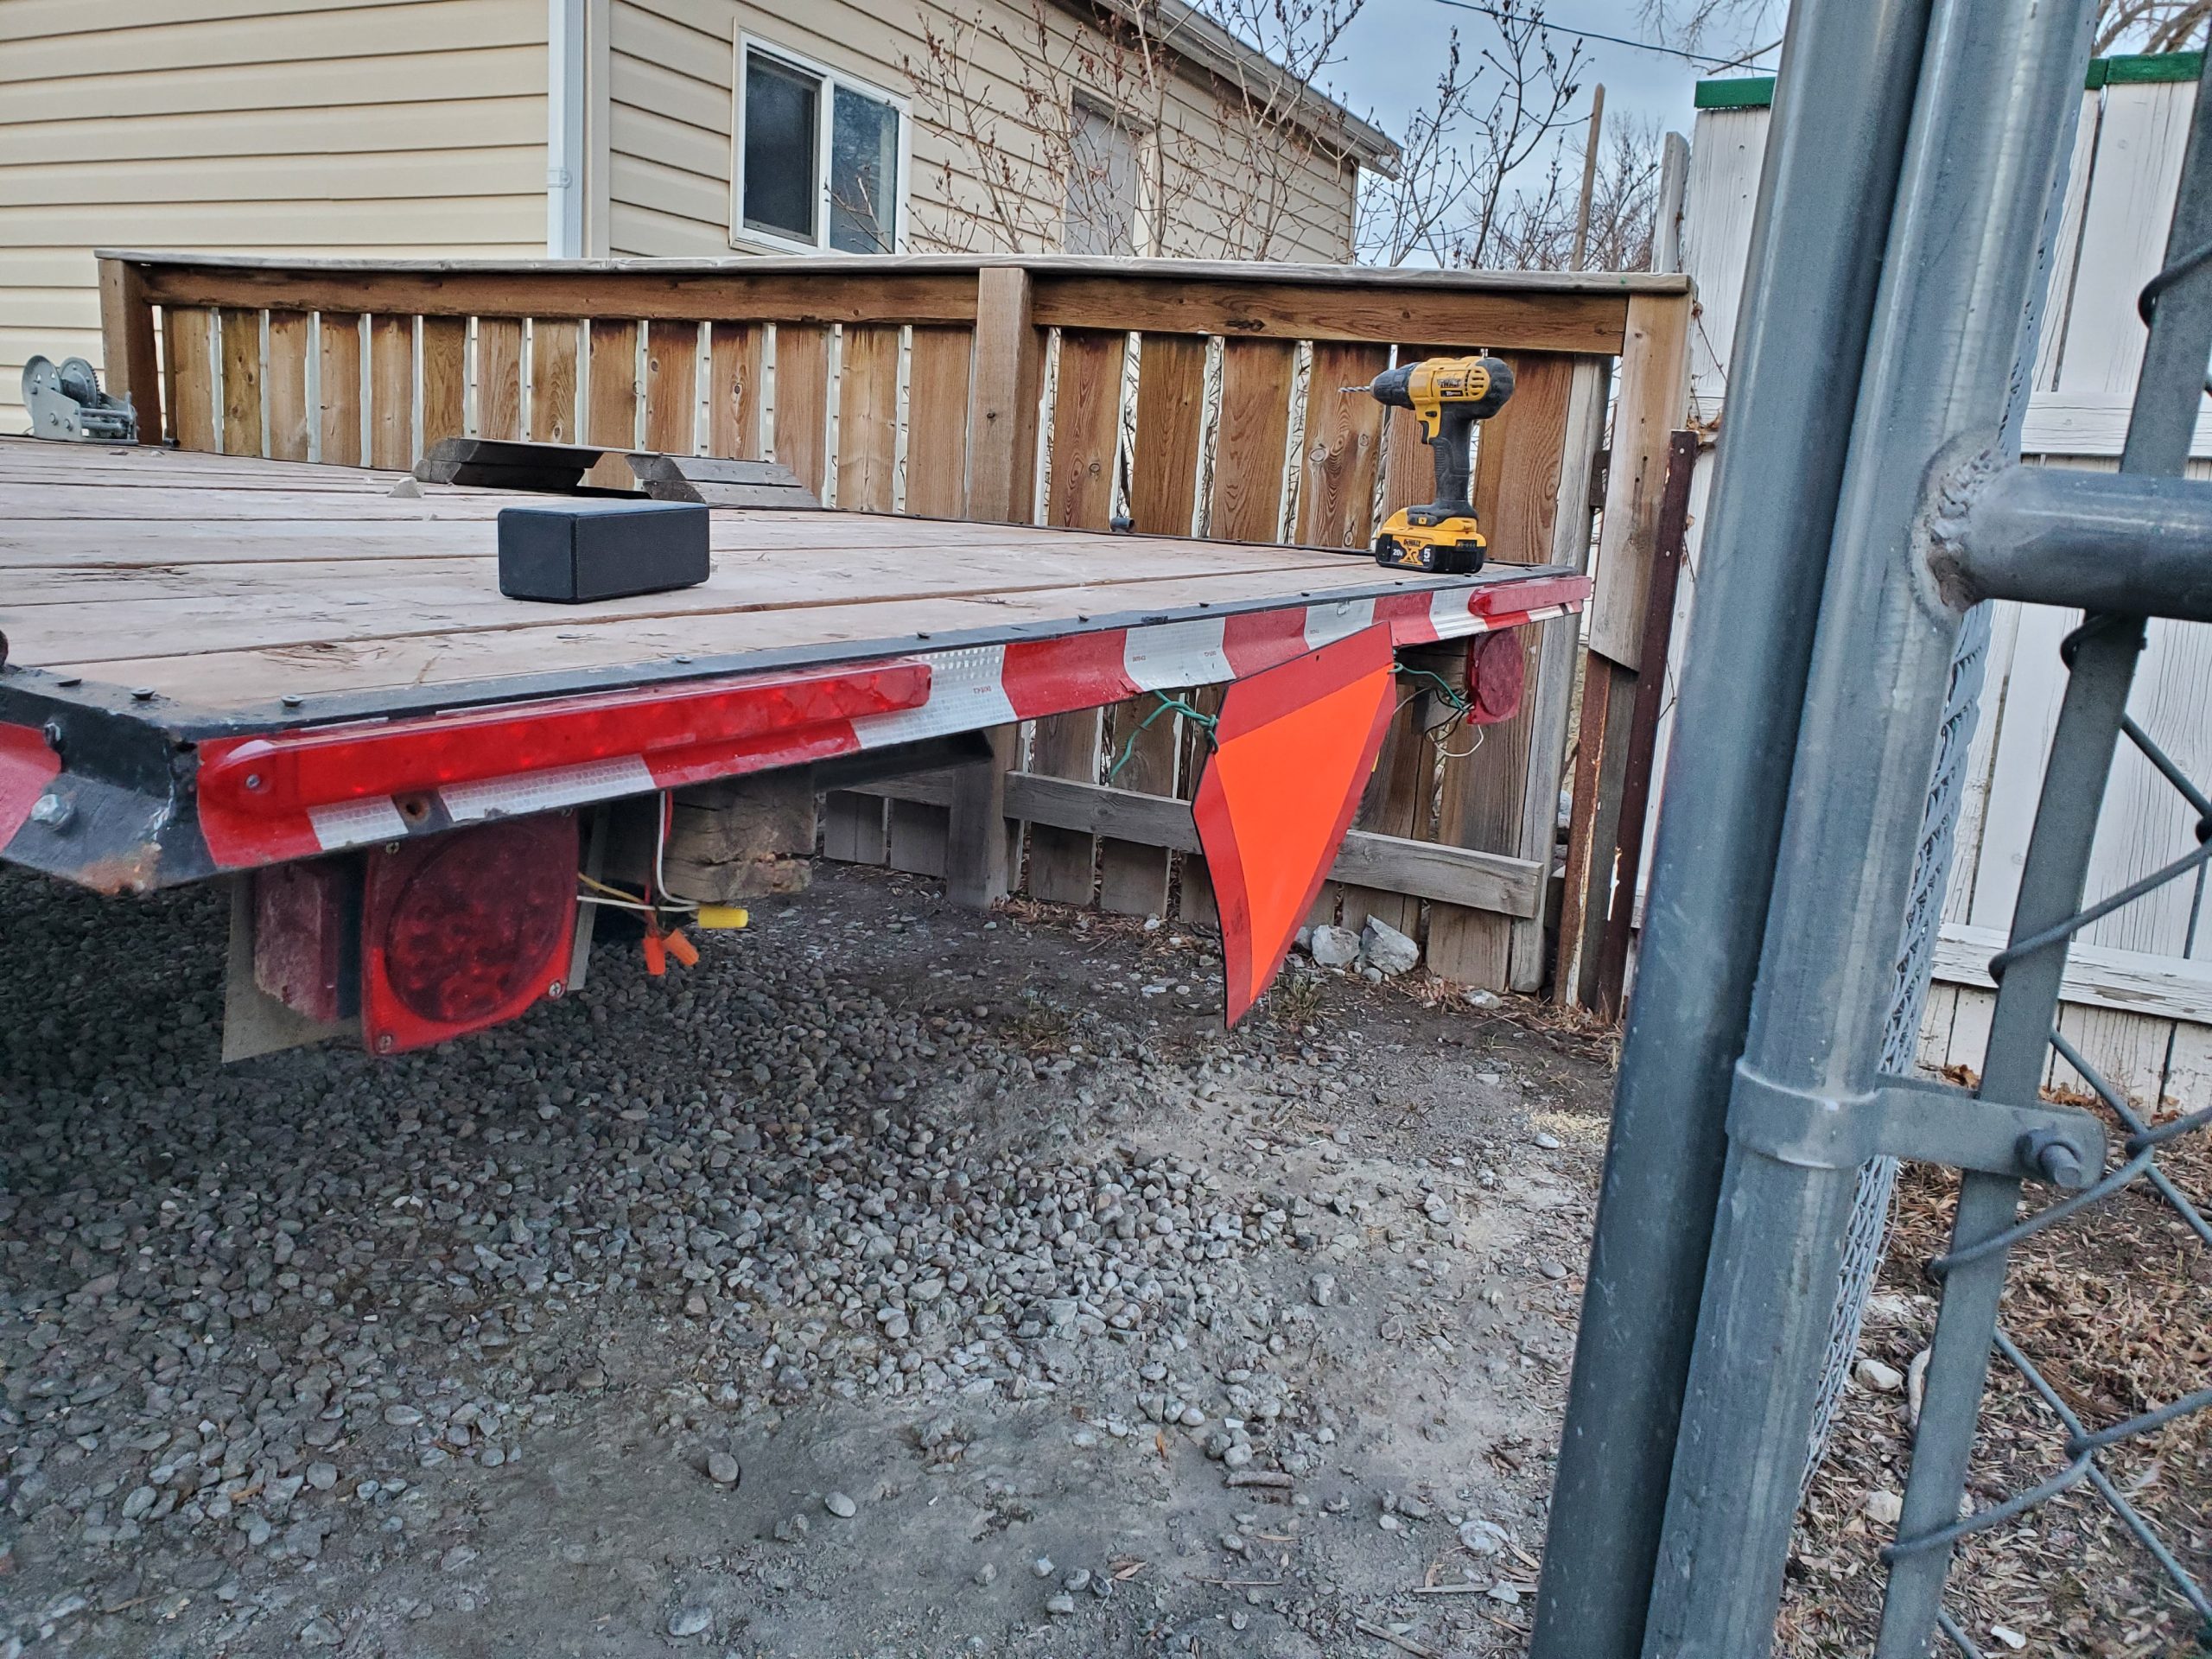
Since these brake lights don’t hang down like the other ones do, they are less likely to break while backing into places like the landfill.