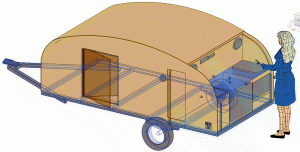
In this design I tried to create, in Revit talk, a mass. It’s a volume of space (3-dimensional) that is not meant to be seen in any drawings but gives the designer a shape to work something else around, like a roof. I failed because of either a shortcoming in Revit or me, one that disallows masses to be extruded sideways (i.e. from one wall to the other).
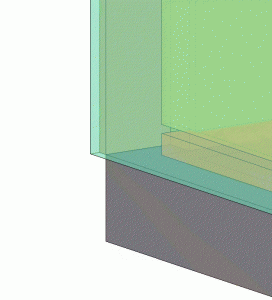
As it happens, I didn’t really need this. I could have just put a roof on an already existent structure – the walls – and offset the roof line by 1/4″ inch (so, in essence, drawing the ceiling line to make the roof). Why 1/4″? It’s the inner skin of the roof sandwich.
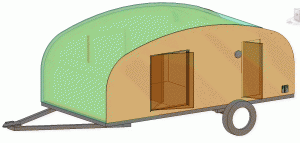
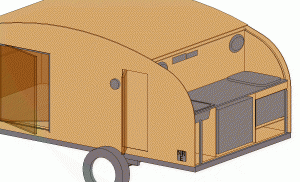
The inner 1/4″ ceiling plywood will be lain perpendicular to the walls, on the 1/4″ inner wall and 1×2 wall structure. This will give it enough roof surface area to firmly attach to the walls. 1×2 spars will follow atop the 1/4″ inner ceiling plywood and give the force necessary to keep the ceiling plywood curved around the walls, starting at the front wall, around the front curve, and over top the actual roof, to terminate at the galley – all colour-coded here for your convenience. Rigid polystyrene insulation will fill up the gaps between spars. (Spars not included in this drawing.)
I know what you’re going to say. “There seems to be a gap between the ceiling and the floor, in the second picture.” Yes. I have to fix my walls.


