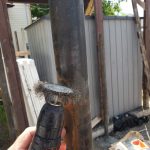
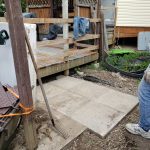
I took a wire wheel to the steel fence posts to remove the surface rust. I could have painted right over the rust with Tremclad paint, according to others around me, but, according to the directions on the can, this is a no-no. Take the rust off first!
 Allan
Allan
fence post cement
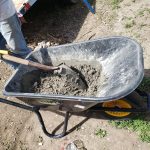
We’re mixing cement today, putting in the last (hopefully) fence posts.
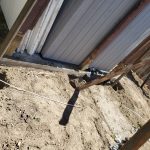
All went well enough except the last post – too many roots. The hole was in the wrong place because the roots pushed pushed the power auger off to one side.
Now what? Next time I’ll cut the roots off as far down as I can and complete the job.
Quikrete cement, post holes
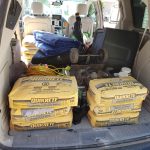
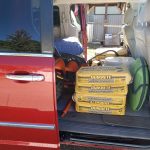
Fourteen bags of Quikrete weight in at 420kg (924 lbs), more than I would like to haul, but nothing broke off the van, so we’re good.
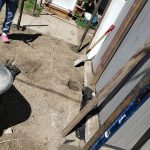
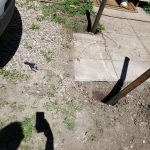
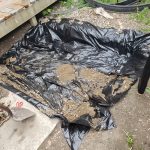
The post holes are all dug, ready for cement. (The last hole was full of roots. What a pain – especially for the roots!)
new rear walkway afoot
Okay, so the puns aren’t great.
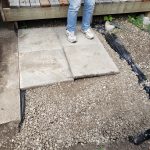
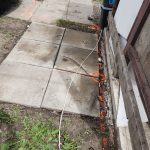
The new walkway from the rear of the house to the parking area is underway. Floyd and I went to Lethbridge Landscape Supply for some gravel. The guy there calculated how much we would need – 0.6 cubic yards. We slowly drove back with 1.071 tonnes of ‘fractured road crush gravel’ loaded onto the trailer and shovelled it in, wheel barrow by wheel barrow, into the bed.
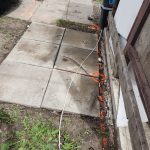
After reshaping the bed a little, we found it was too shallow. The 2’x2′ concrete slabs weren’t level with the gazebo concrete. We stole some gravel from another place until it was level. The end result:
Next: turning part of the gazebo into a walkway.
fence, concrete removal
Wouldn’t you know it – a piece of concrete is exactly the same place as a future fence post! I bought a blade for cutting concrete ($55, Rona) and, with Floyd pouring water, cut it in line with the rest of the concrete. This was my first time cutting concrete.
It wasn’t bad, but I now know to cut full-depth rather than just an inch deep at a time. Why? Cutting only an inch deep creates enormous heat on just the outer 1 inch of the blade causing warping. Cutting at full-dept, heat is evenly distributed throughout the blade.
more linoleum taken up
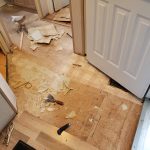
I’m taking up more of the flooring damaged roughly 1.5 years ago in hopes of having the time to throw some linoleum planks down so as to cover up that damn floor.
It’s slow going, and not really a priority, but it must come to fruition sometime in the future, don’t you think? I’m tired of walking on MDF.
rear fence plan
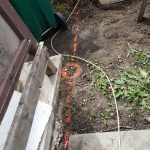
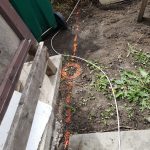
I did the ‘call before you dig’ (or now they call it ‘click before you dig’) and hung up my permit notices. I marked the proposed fence line with marker paint.
Of course, this line will likely change, depending on the utility location markers when they come to mark, the tenant(s), Floyd’s advice, and my ongoing vision for the place. It will change the rear entrance pathway for the guys in the house and the rear tenant’s entrance.
I’m still a little undecided on where the fence should be. Originally, I envisioned a motorized sliding gate, keeping vehicles inside the fence line.
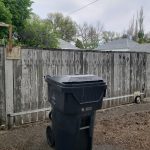
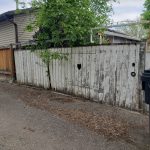
The neighbour down the alley has this fence. It looks like it has been disused for some time.
This project will likely prove to be too complicated and costly. So best go with an ordinary fence inside the property with the vehicles outside.
fence line marked
I haven’t done much work on 520 for a while because I’m waiting for the ‘call before you dig’ people to do their inspections. They will flag the area for all utilities (gas, electricity, cable, phone, water, sewer). Until that happens, I wait. Until then, I marked the area where the fence will be constructed.
I have a feeling that, under the gazebo, there is a septic tank. Just a feeling. There’s all manner of other junk buried back there.
folding bench
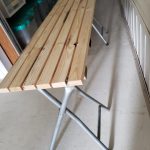
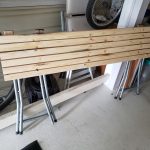
Glenn left behind, among lots of other stuff, two folding wooden stools. One was painted black, the other unpainted wood. I have been moving them around from place to place for years. They became the next small build project. Extremely small. Here are the results.
I cut 1x2s to fit and mounted them. Pretty simple. Good for camping? For now, they’re holding my plants in the front room. Pictures later.
dump run
To the dump, to the dump, to the dump dump dump.
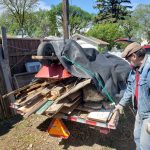
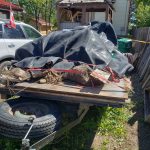
720kg of rubbish, mostly wood, concrete, and metal. Floyd’s old wheel barrow went. (You can see it in the leftmost picture.)
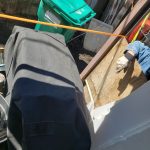
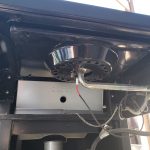
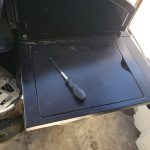
We also pieced together S‘s barbecue. It was missing some screws.
See what kind of nice landlord I am?
