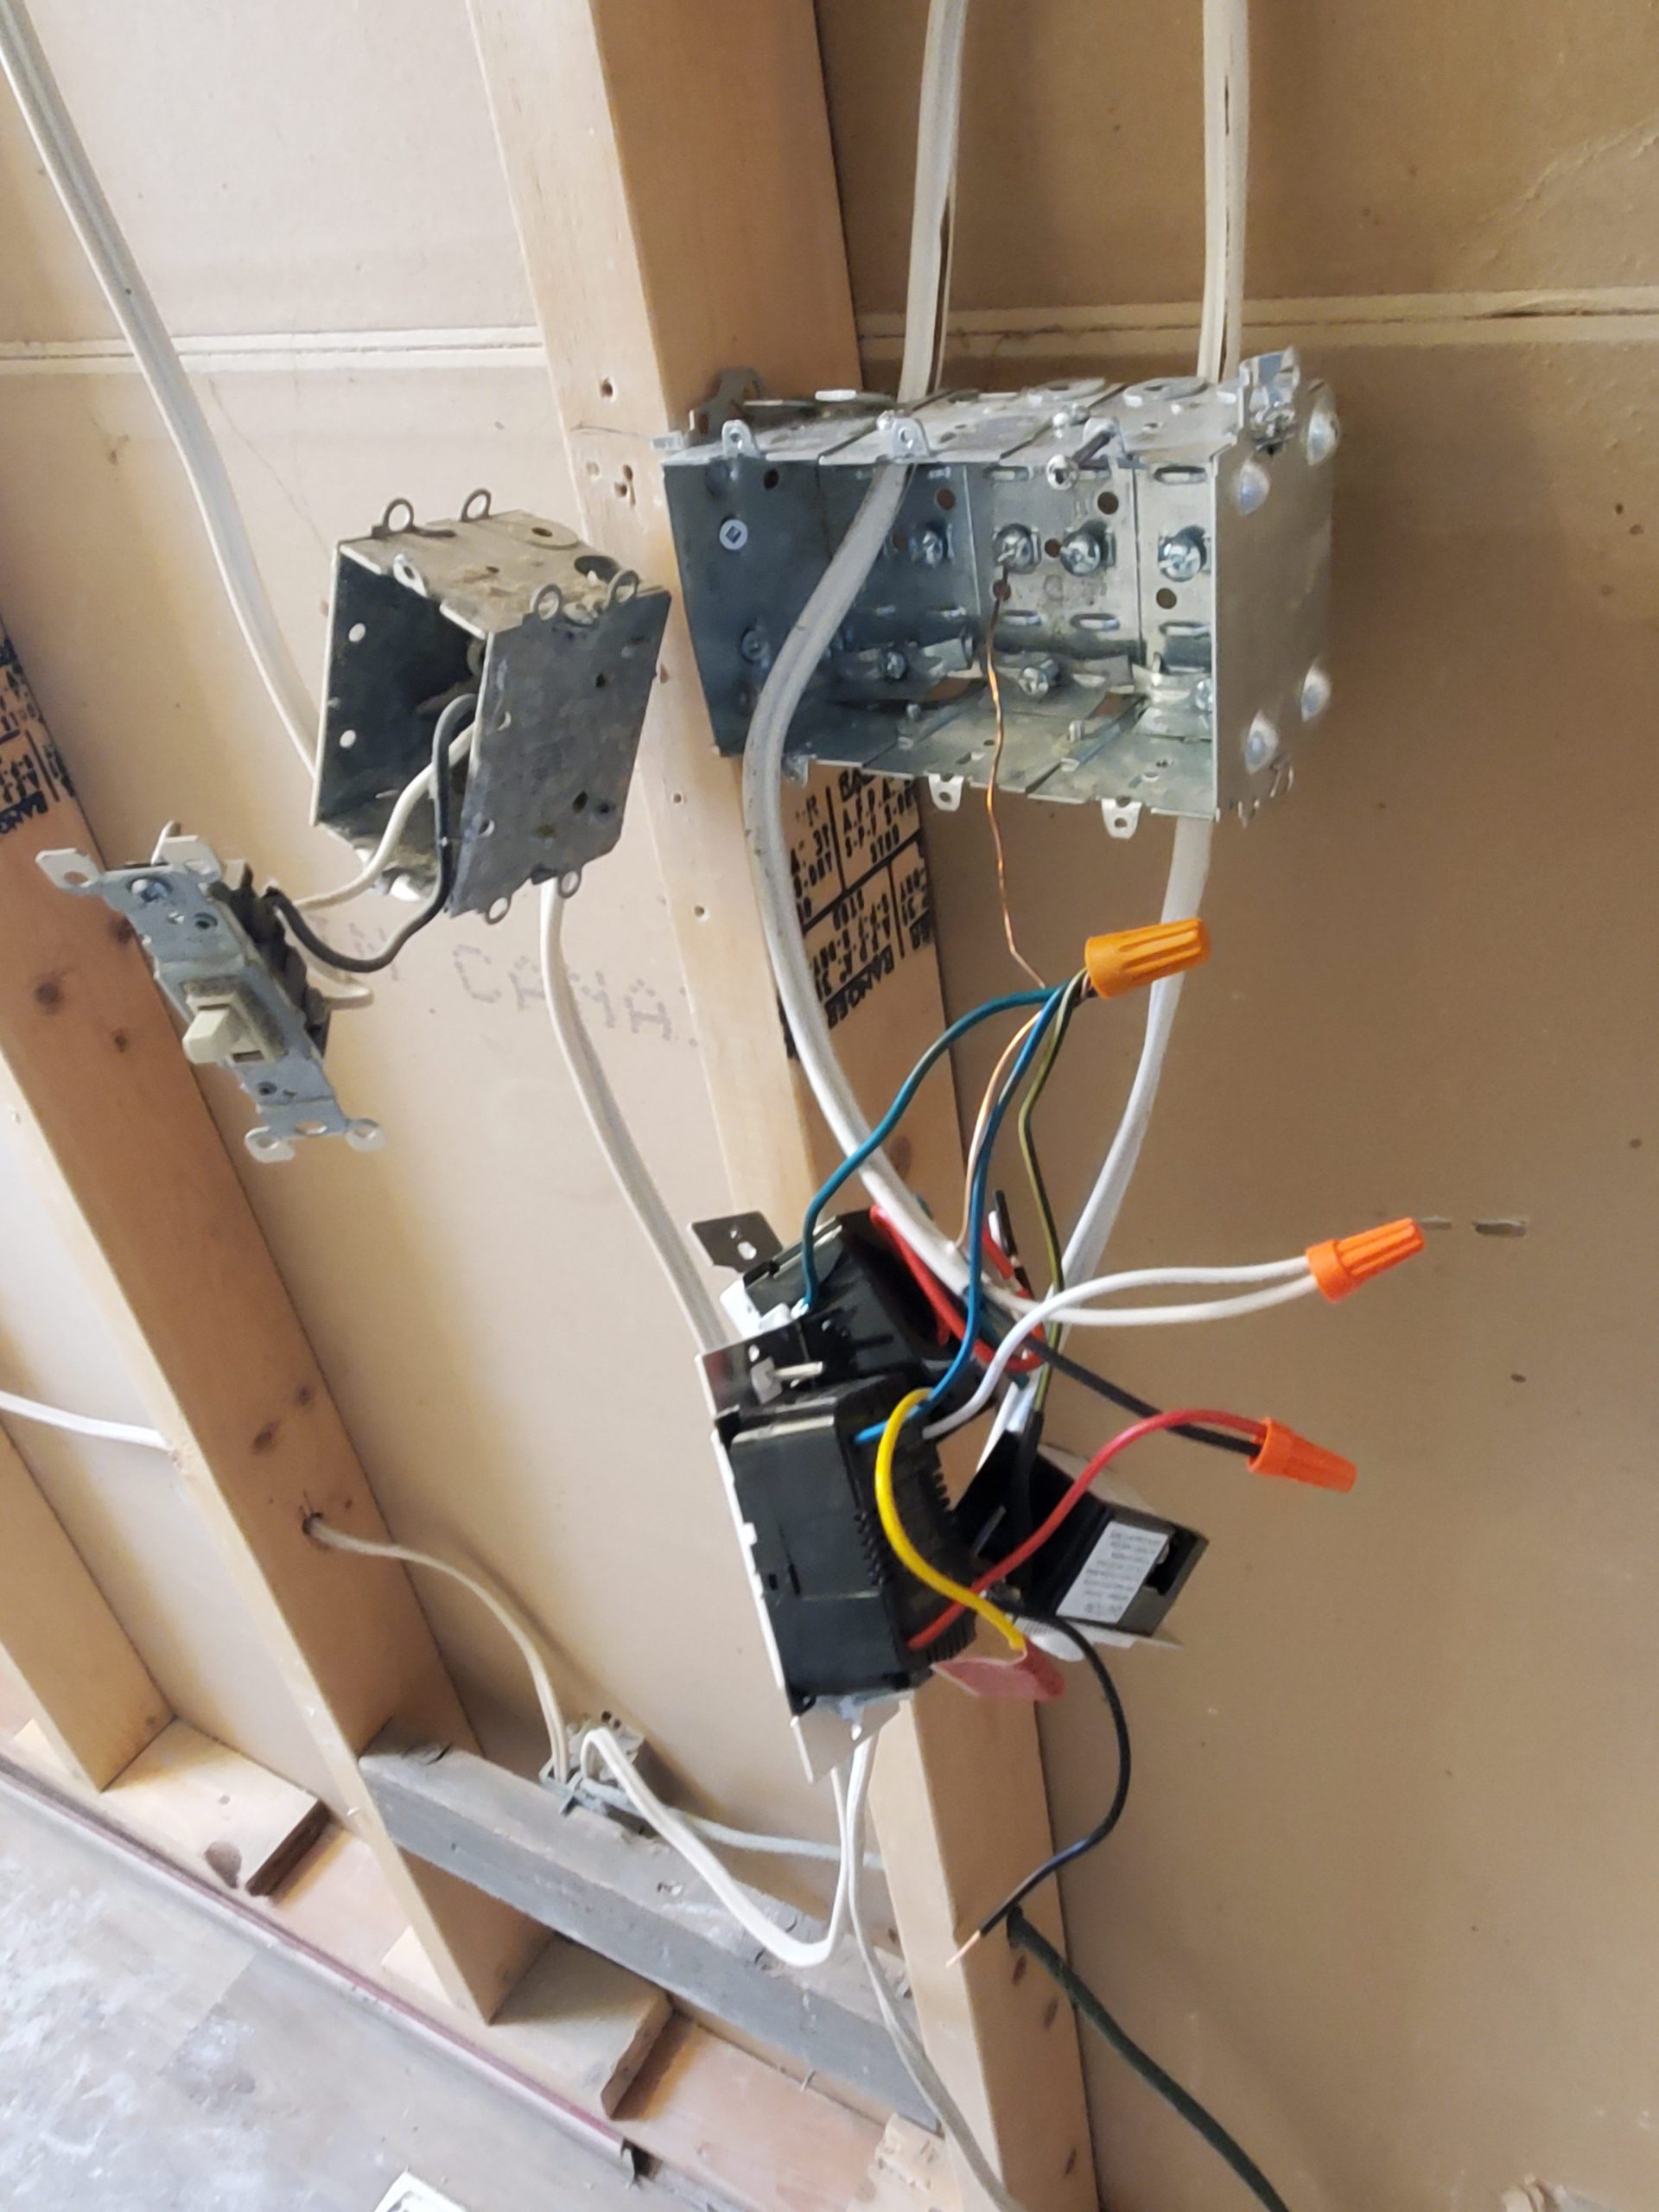
I bought a new bathroom fan from Rona. It’ll be mounted in the shelving separating the toilet from the shower. This is only 1 of 2 fans they had. The other one is almost twice as loud at 6.0 Sones whereas this one is 3.5 Sones.
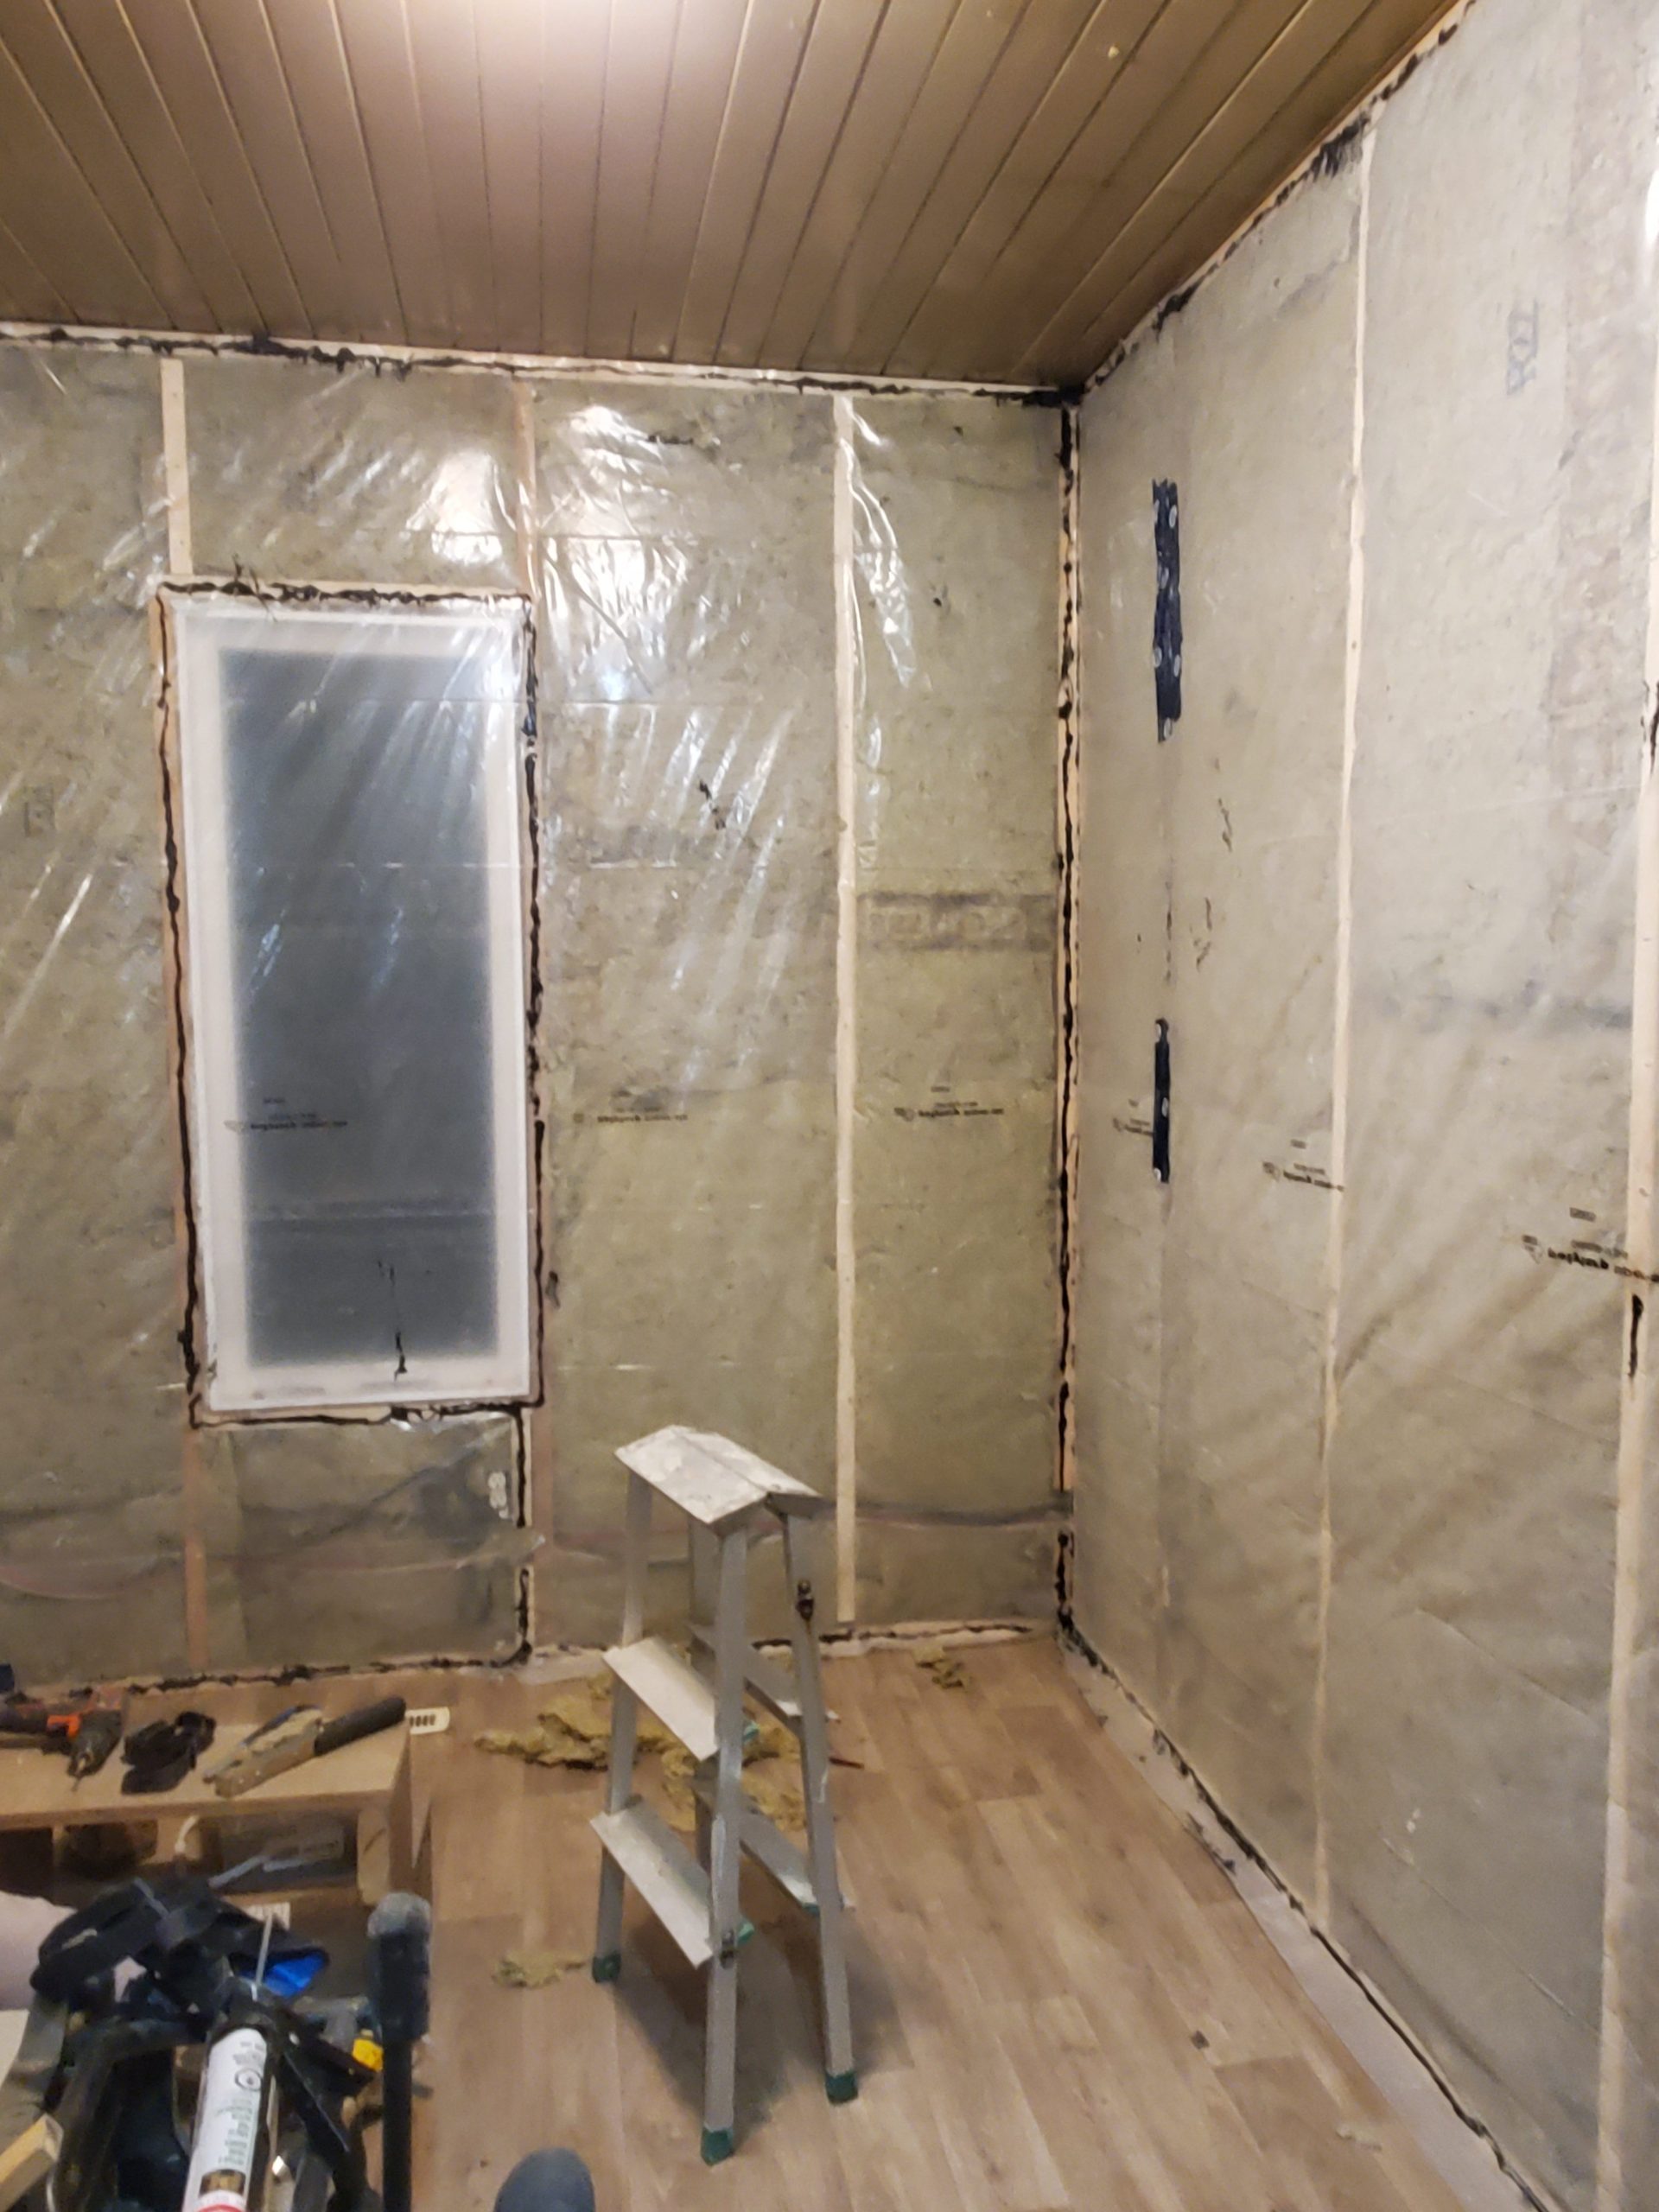
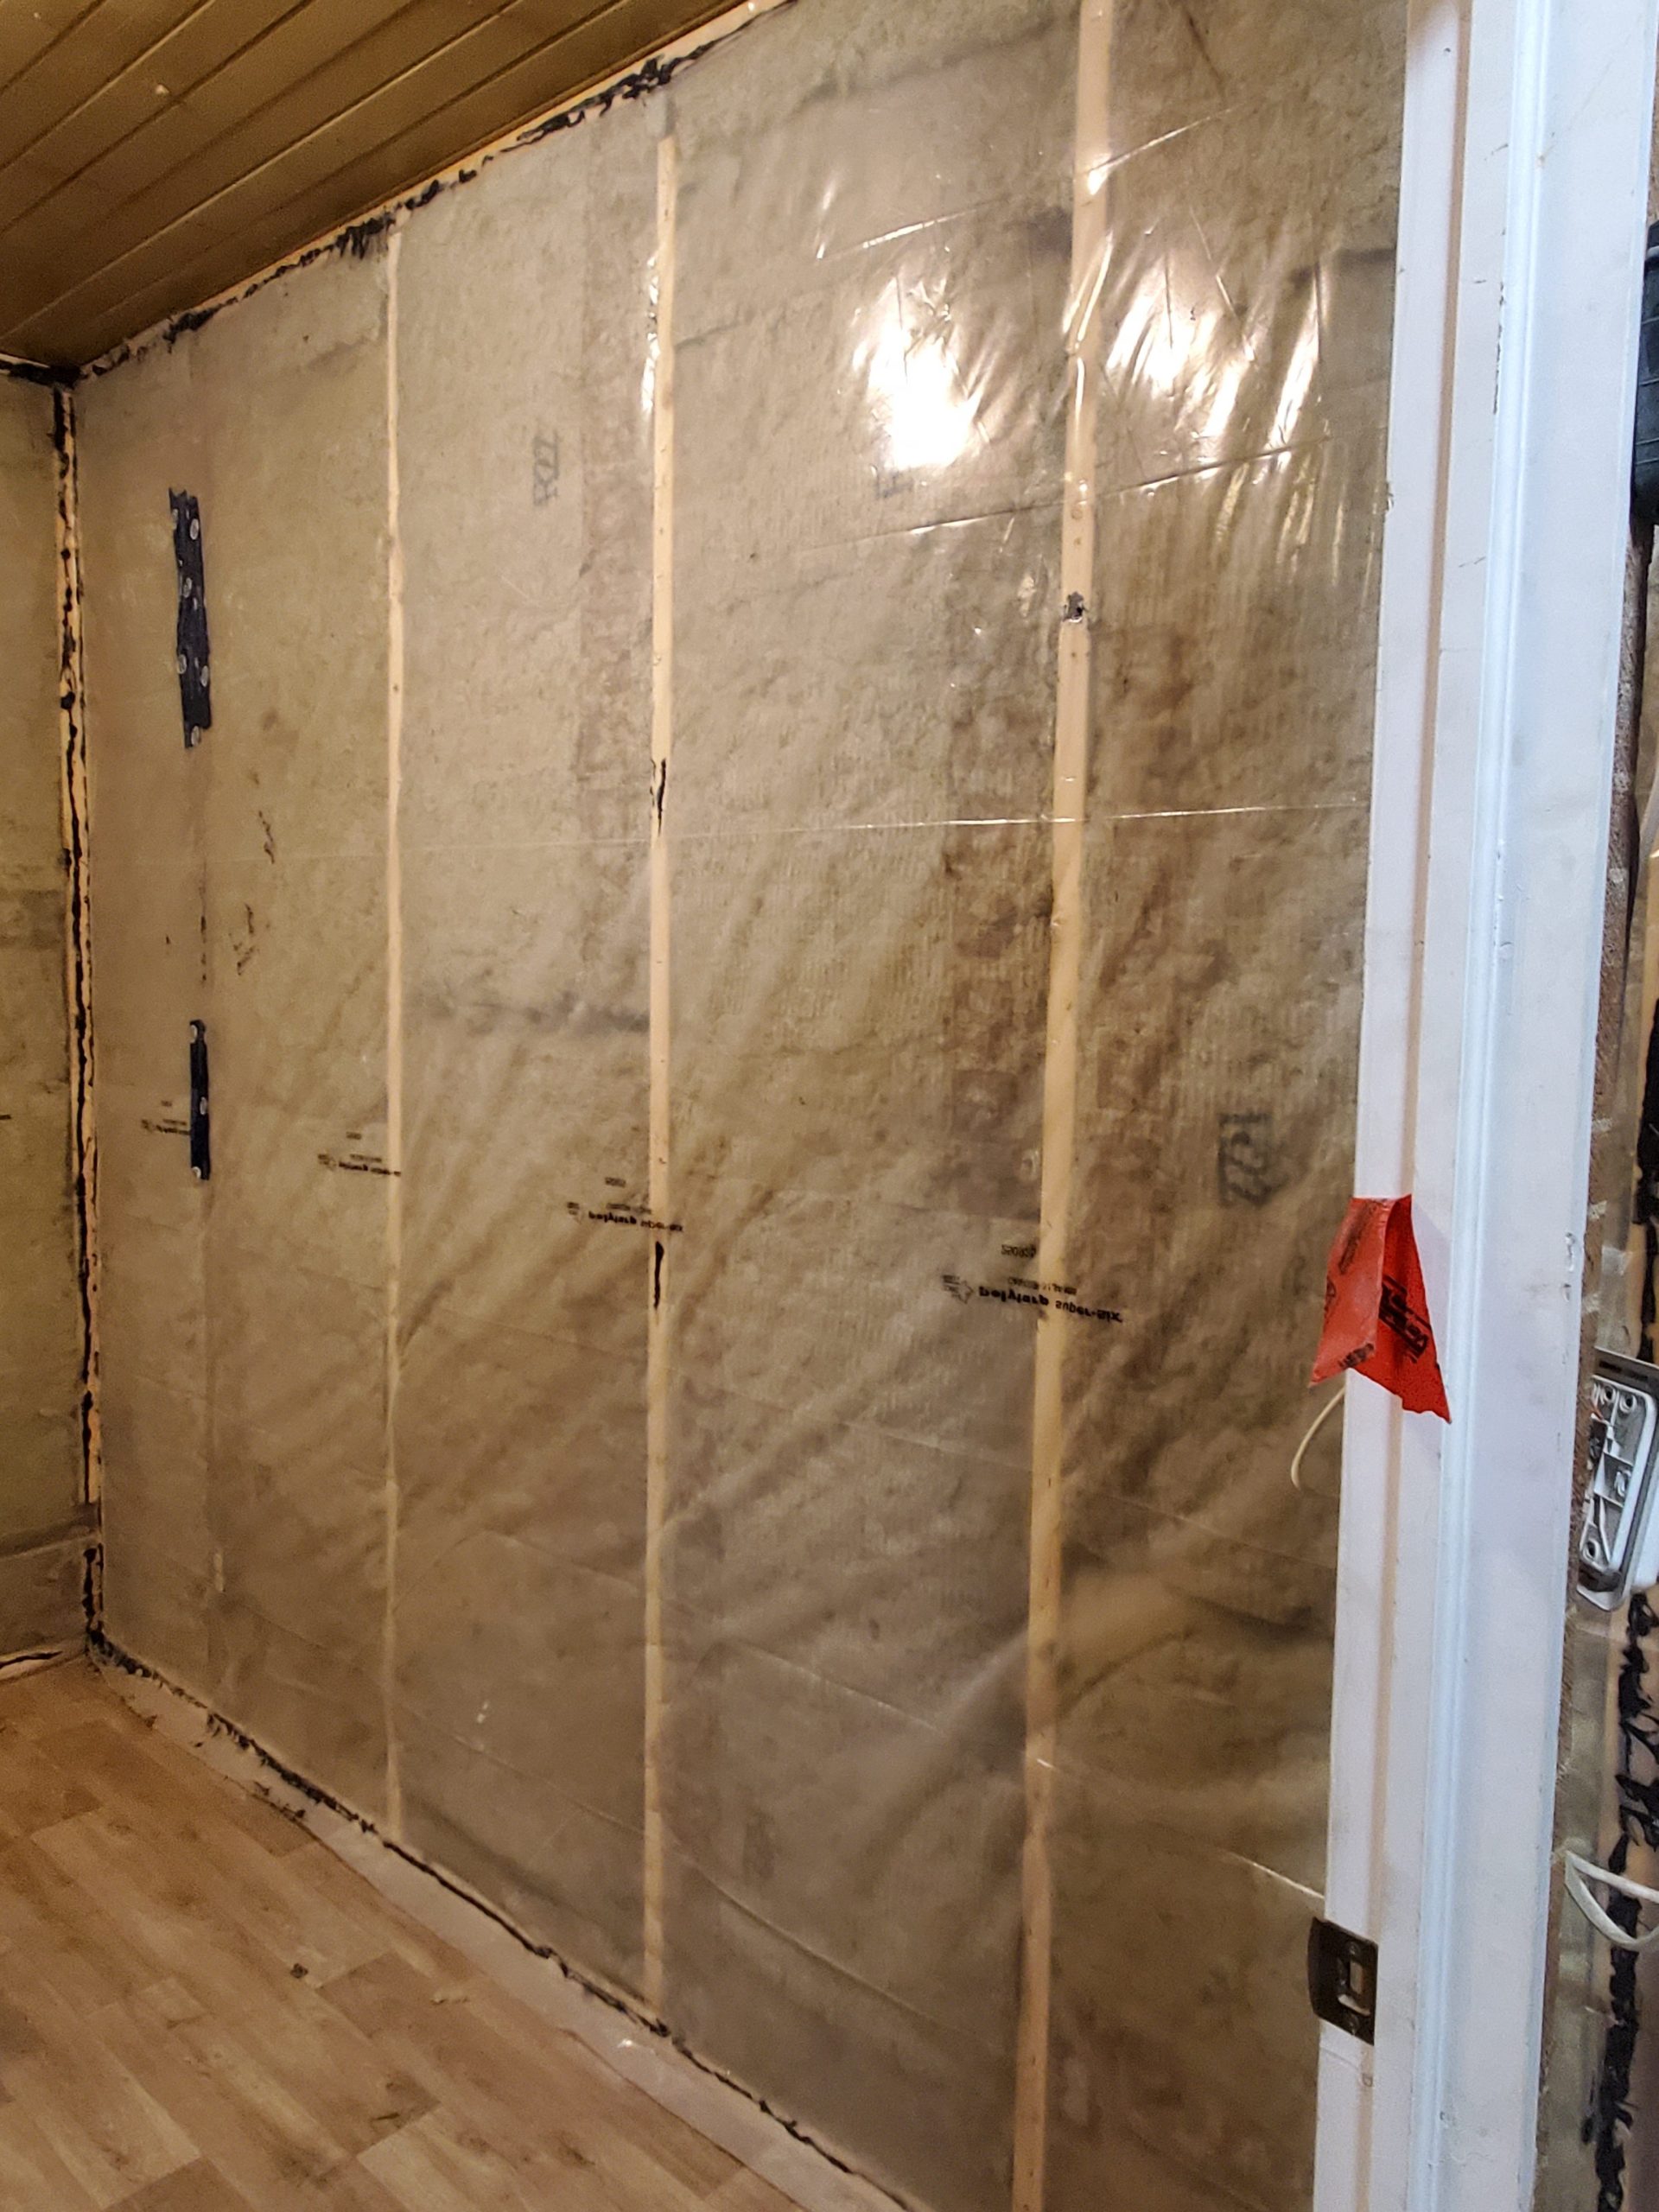
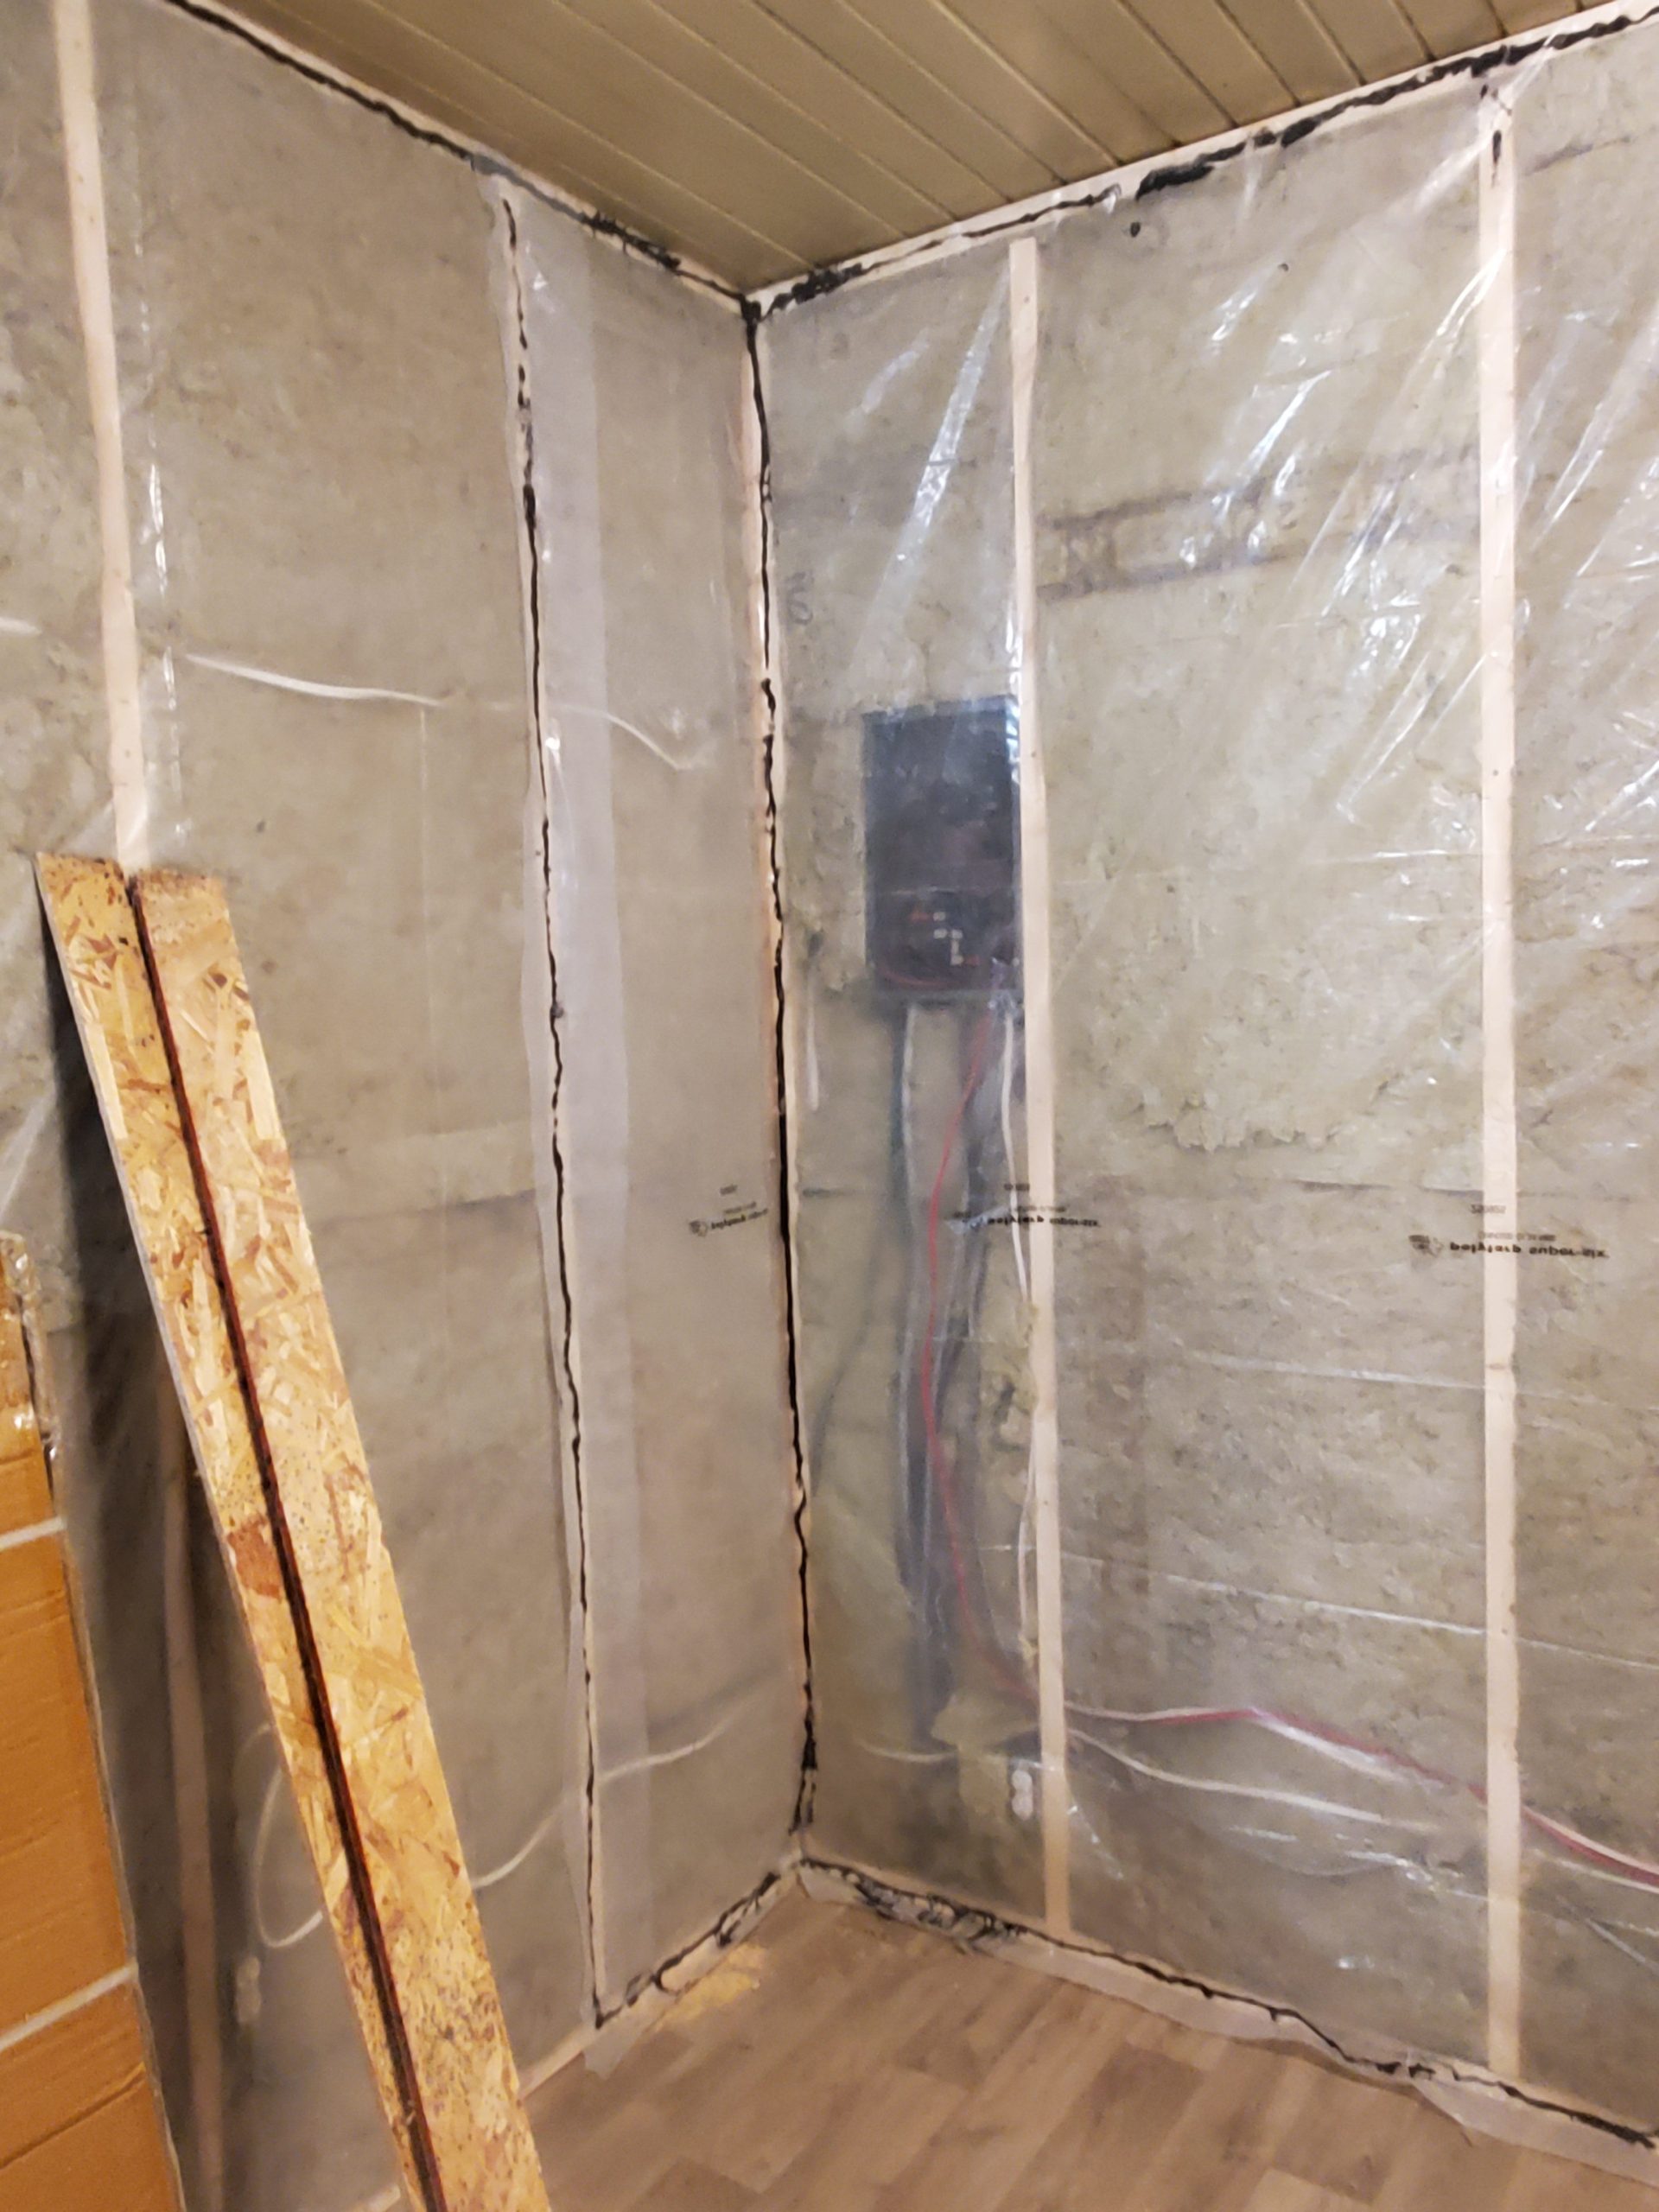
I bought some more insulation for the walls separating the two suites (2 hallway / stairway, 2 kitchen / landing, & 1 bathroom / entrance). Rona initially sold me four bags of 16″-center batts, but the yard guy trusted me and loaded me up with 24s, and I went back in and pair $45 more.

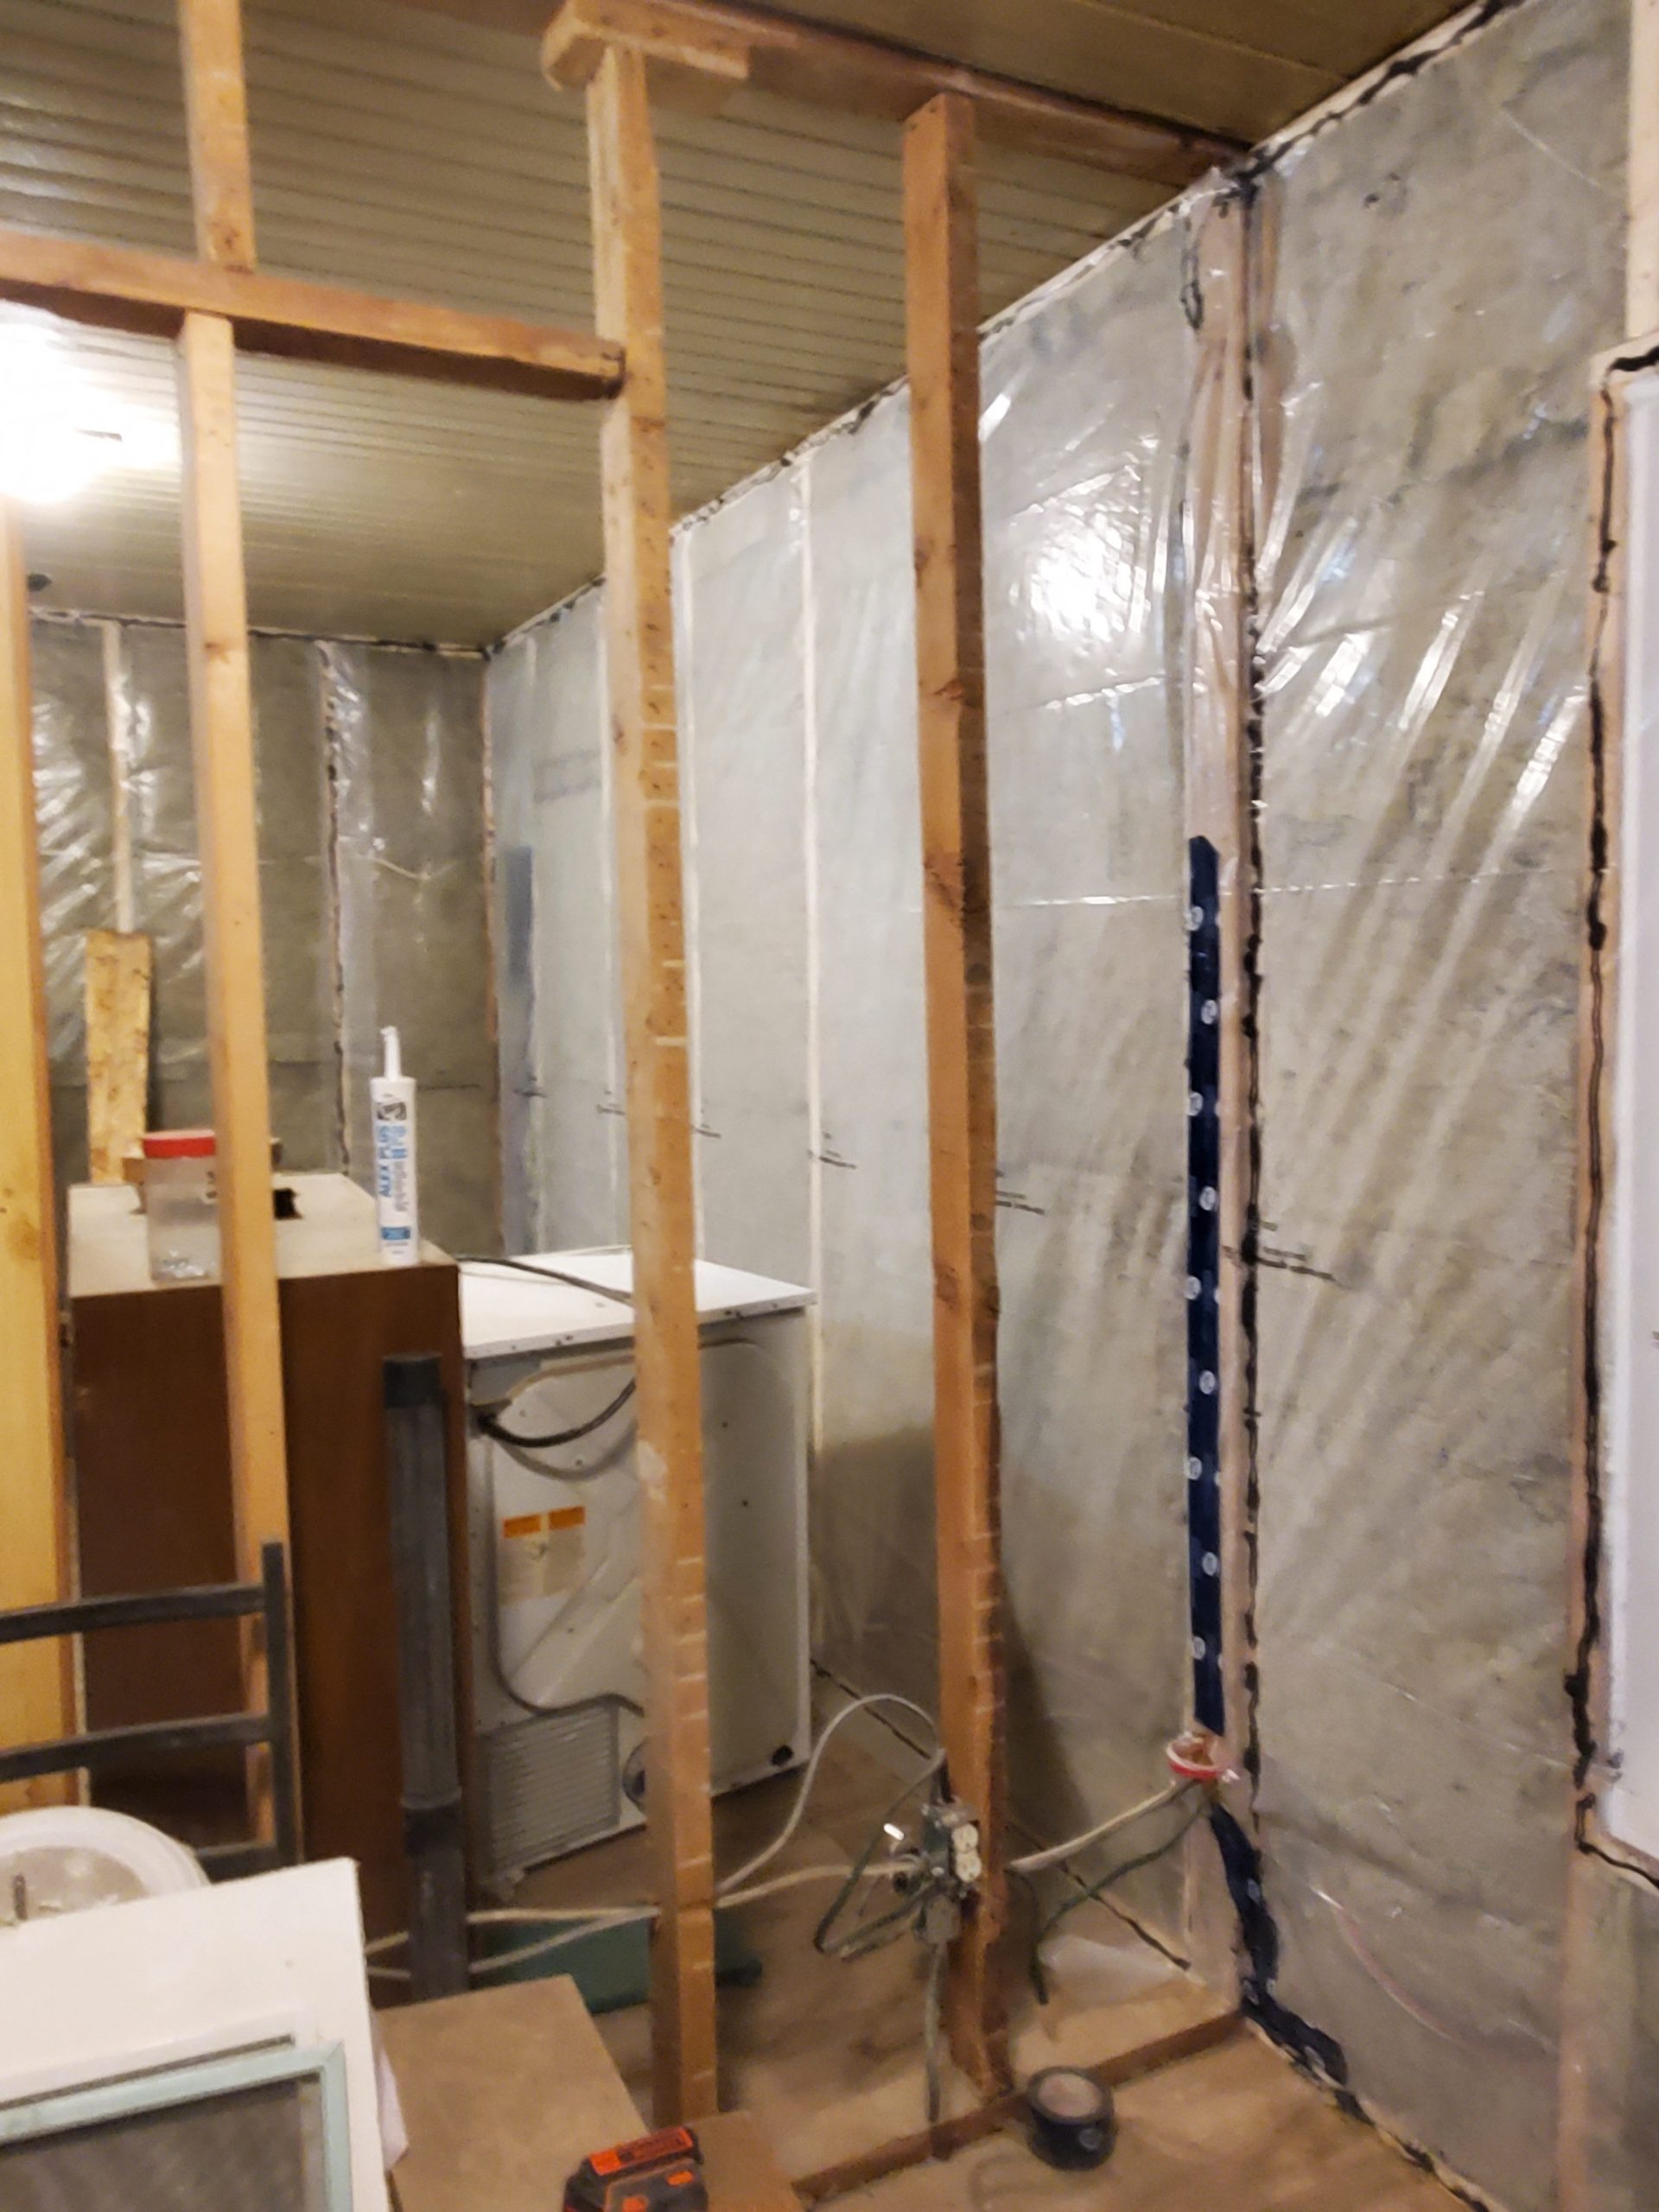
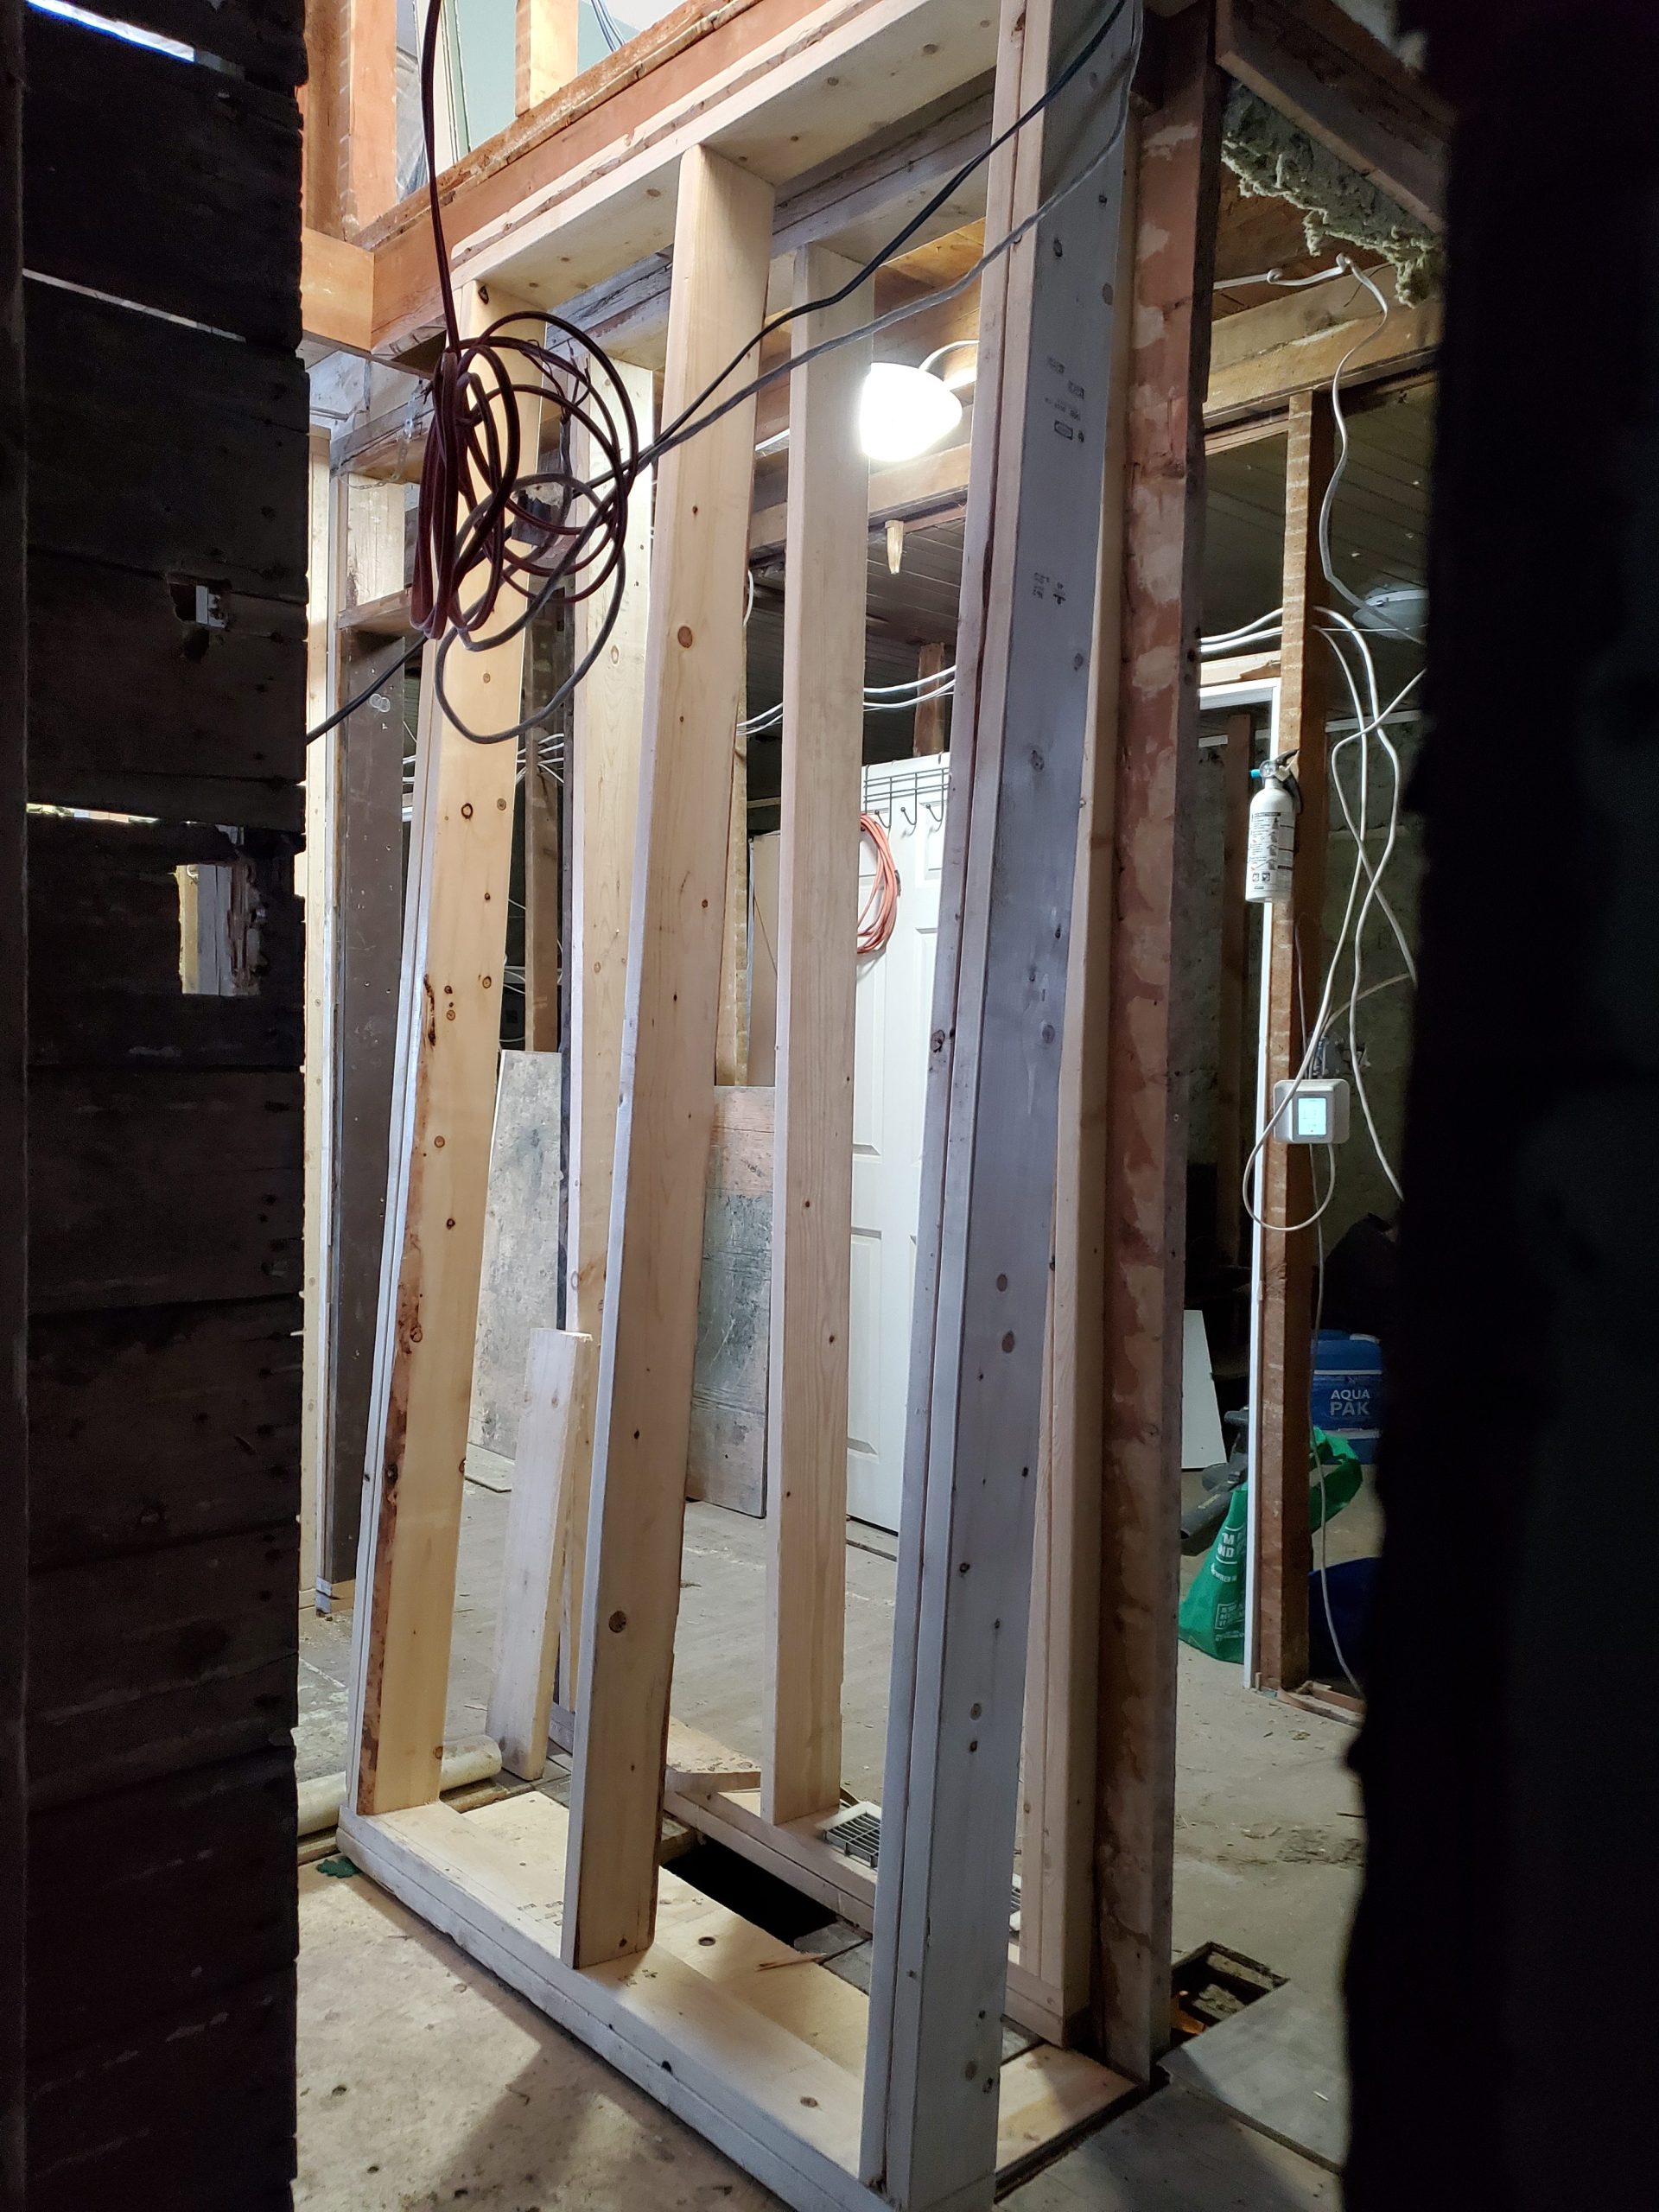
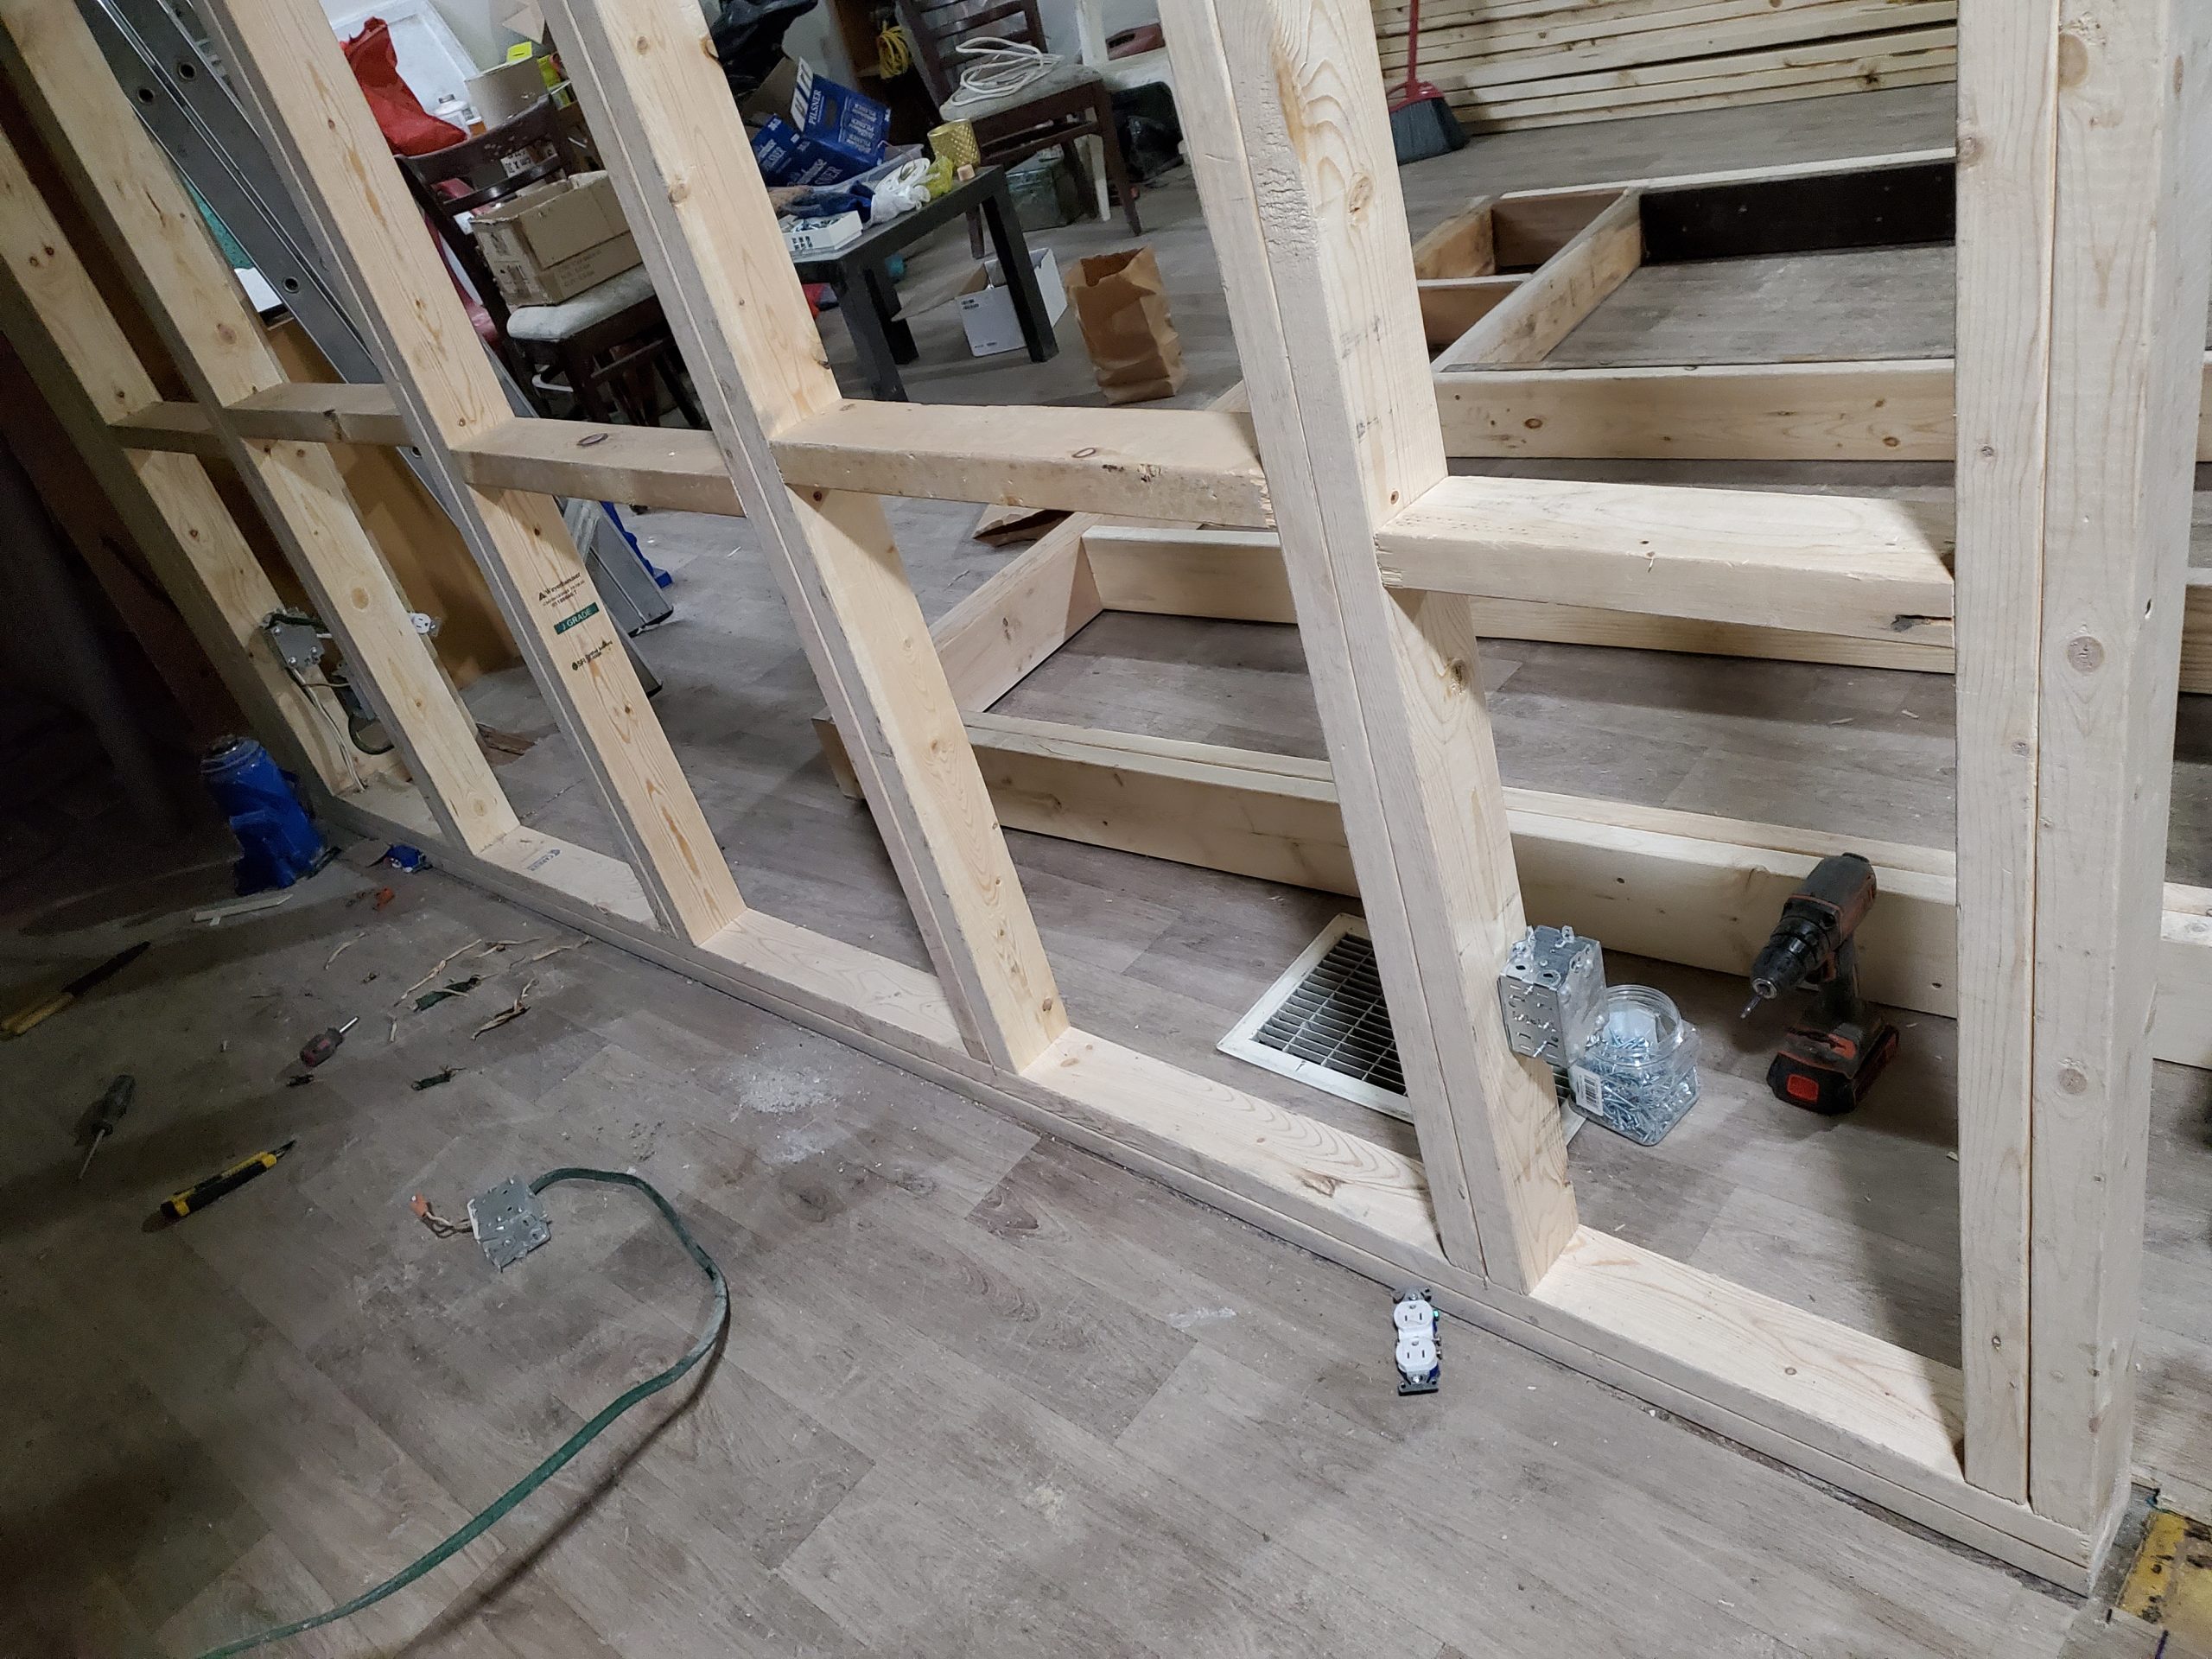
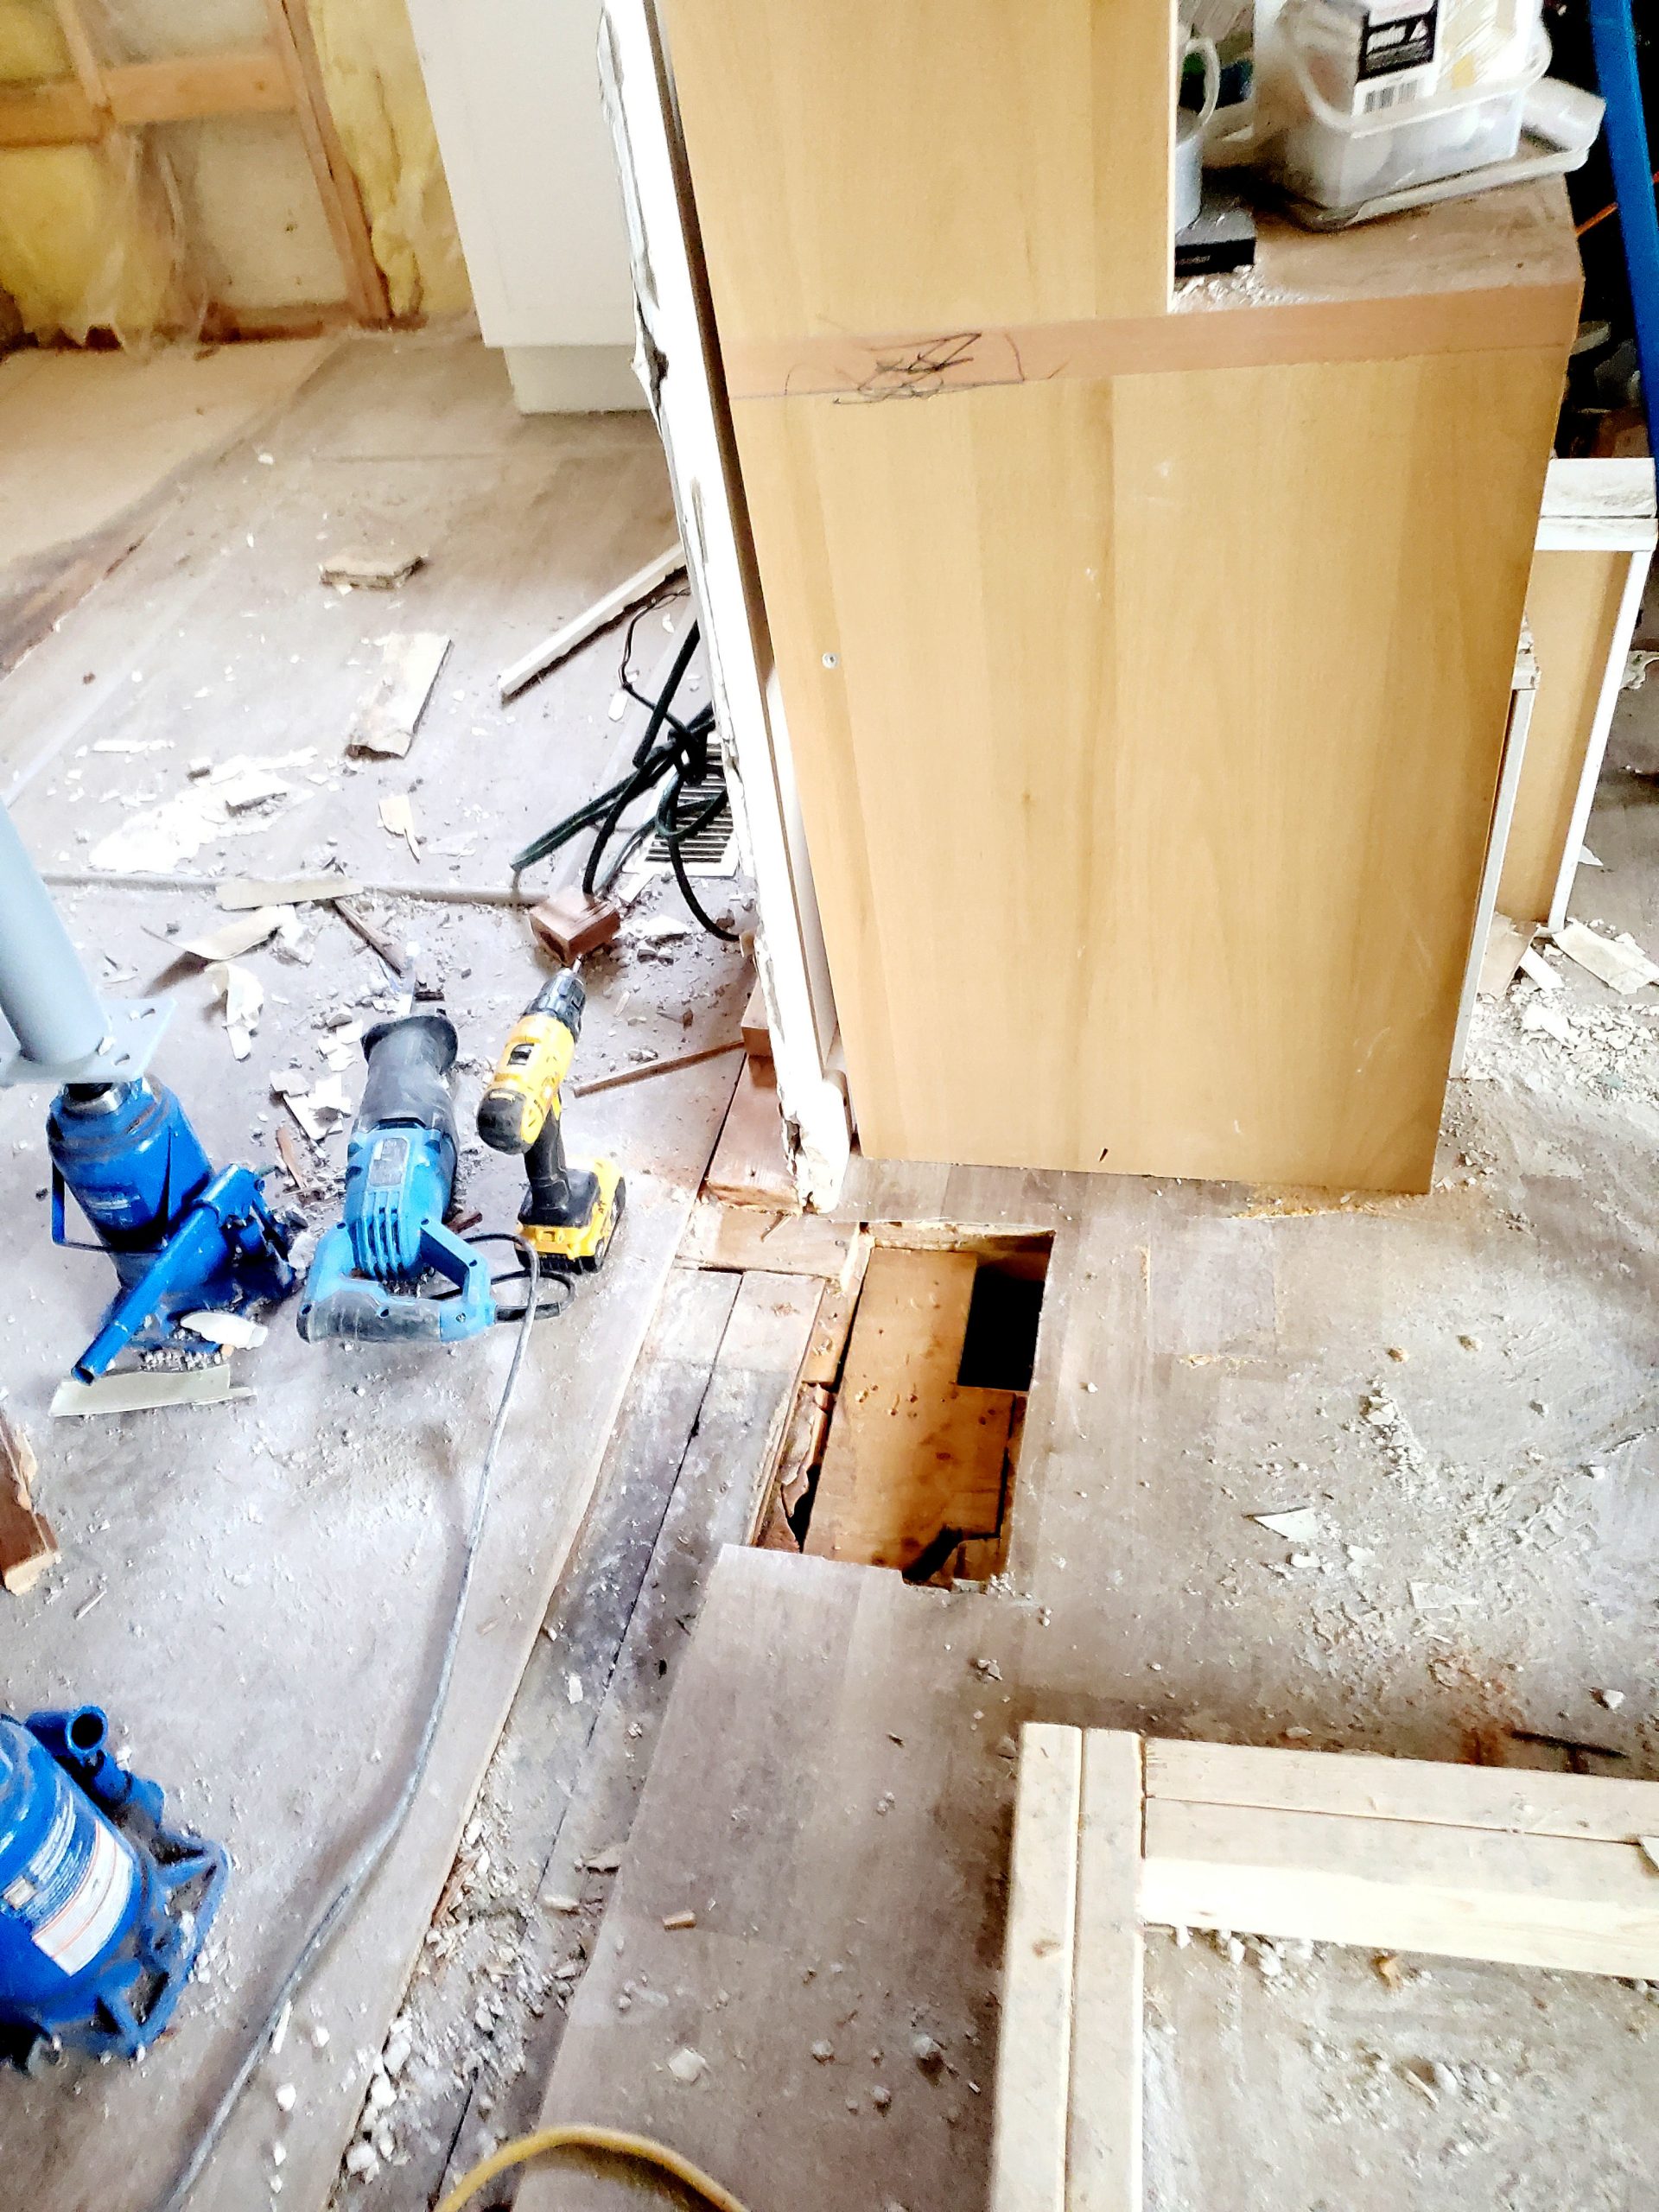
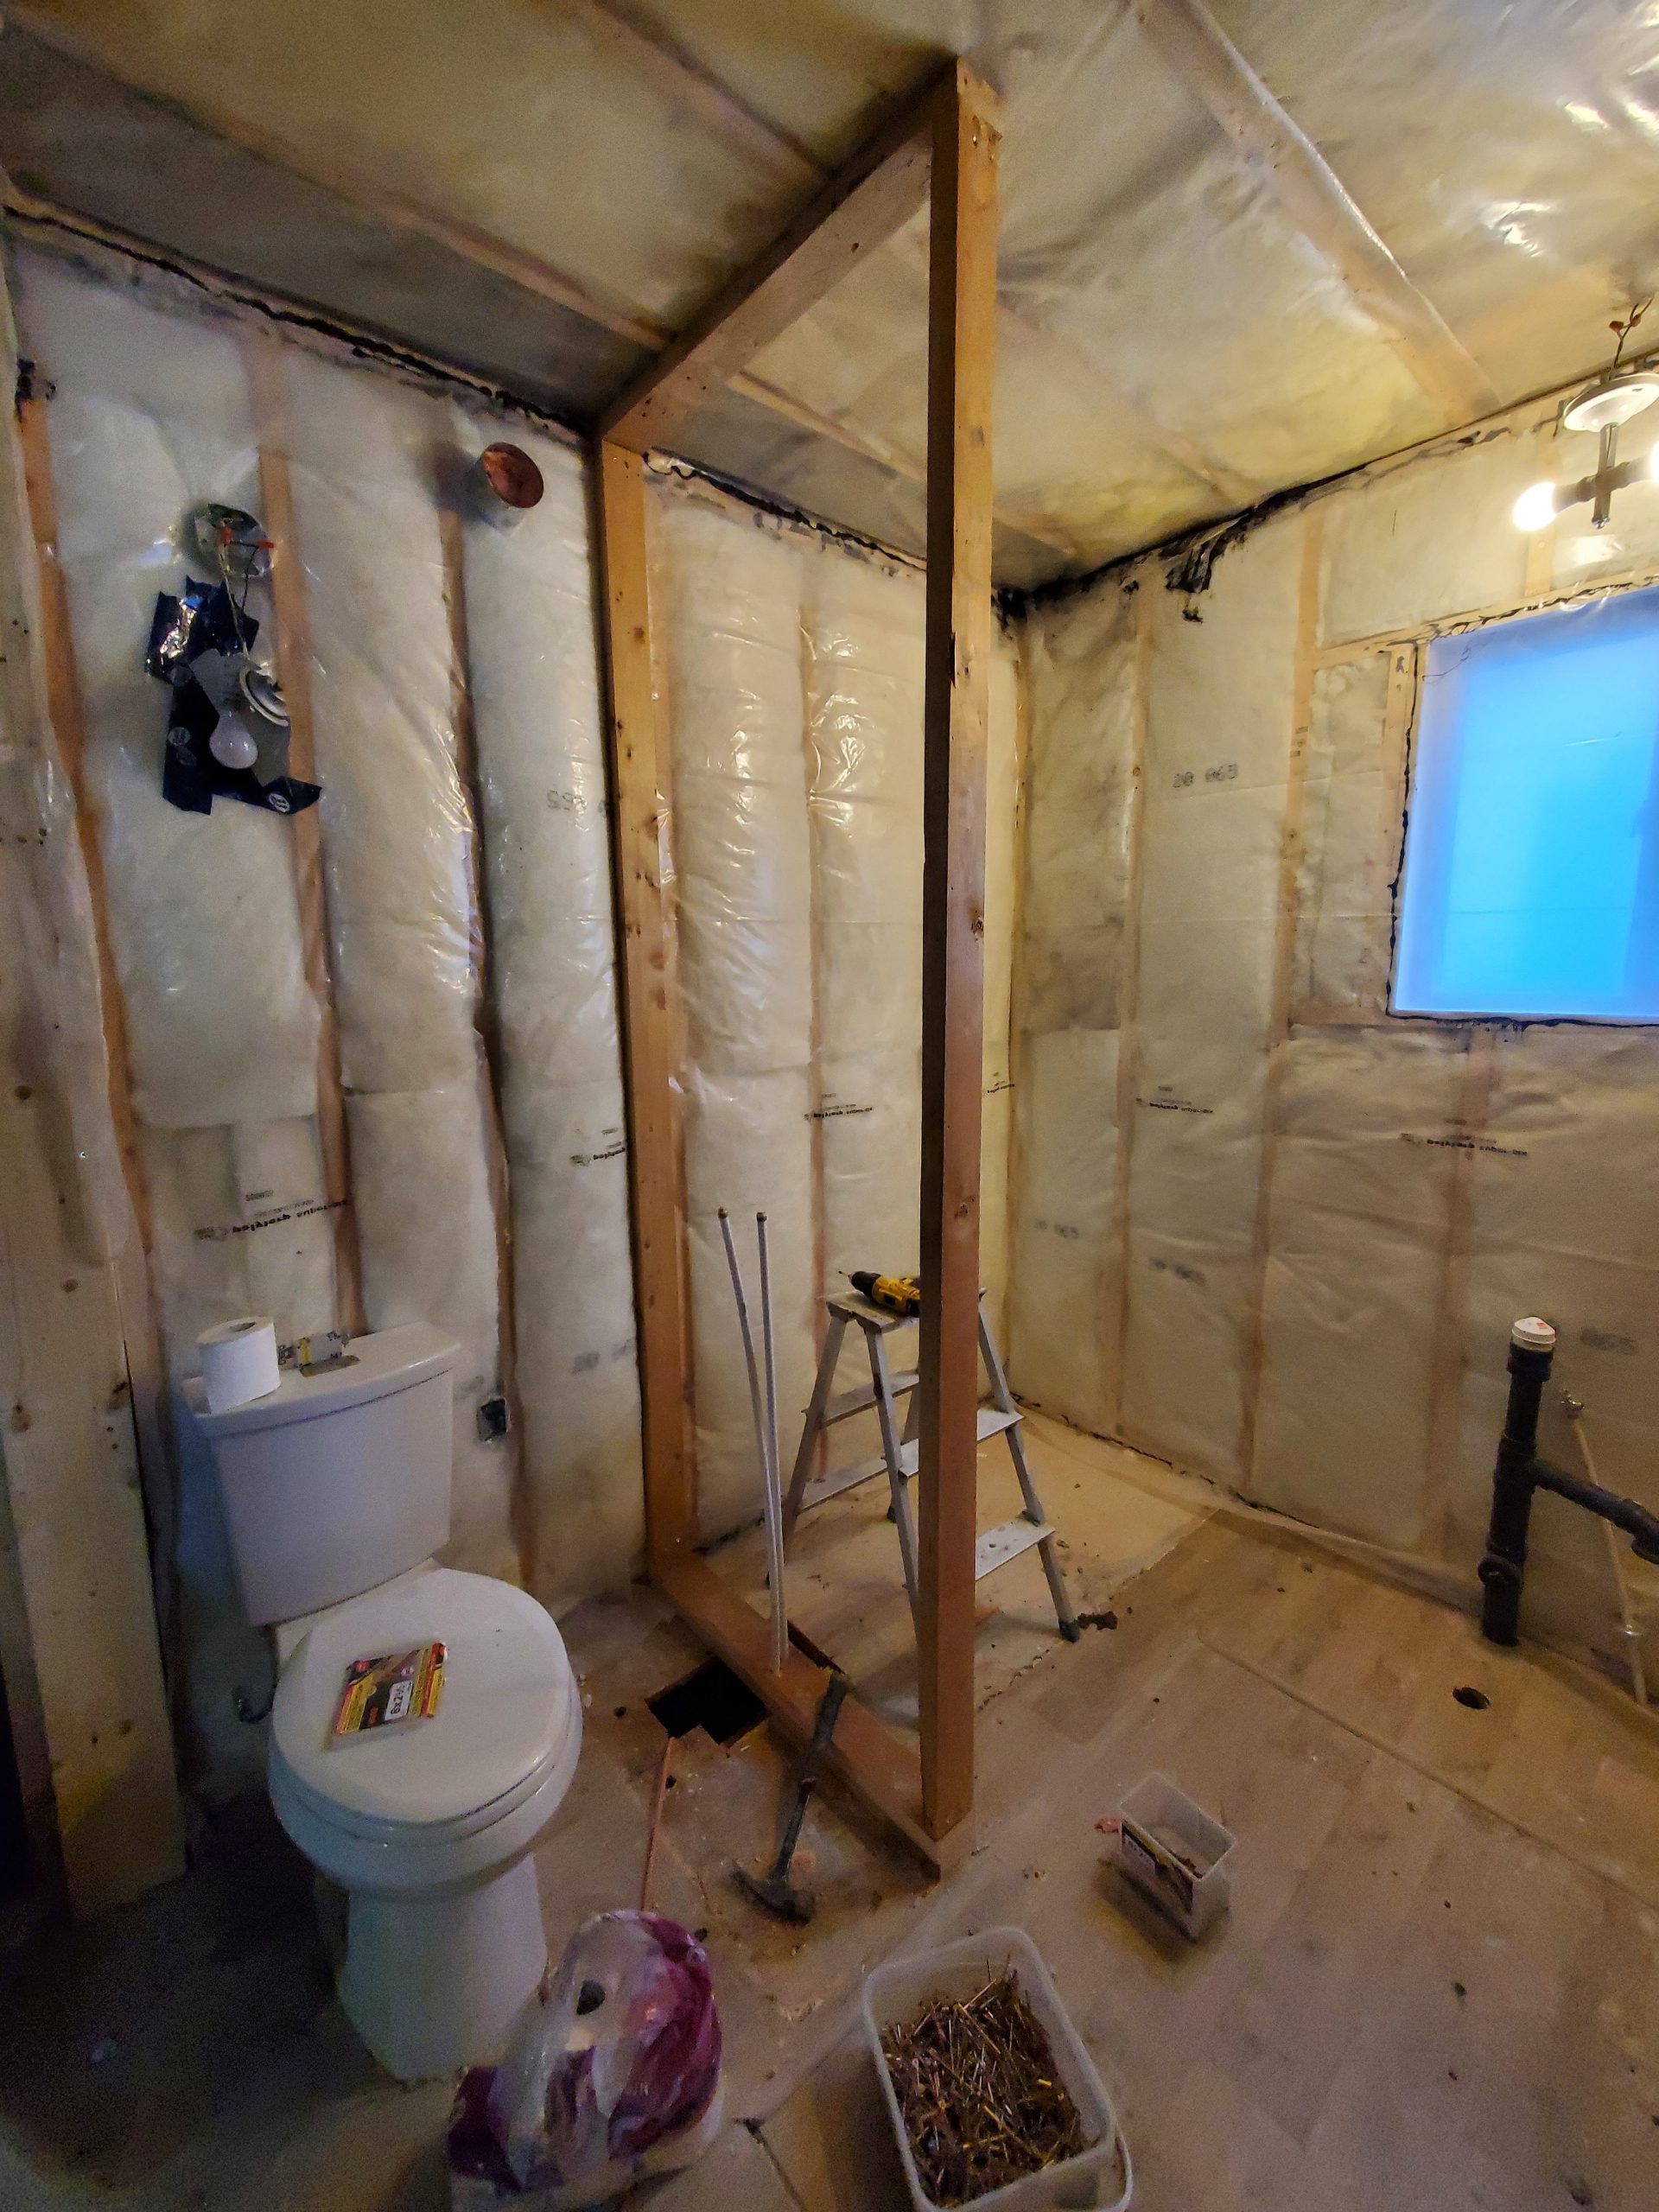
But, rather than starting those walls, I wanted to design a wall / shelf system separating the shower and toilet. It will be a 36″-long 2×4 shower wall, 4 studs, double bottom plate and shelves with 12″ 2×4 walls, a bulkhead for the bathroom fan at the top, a raceway for the dryer vent next to the wall, a 2×12 base, and four or five shelves. Sneak preview of what it will look like:
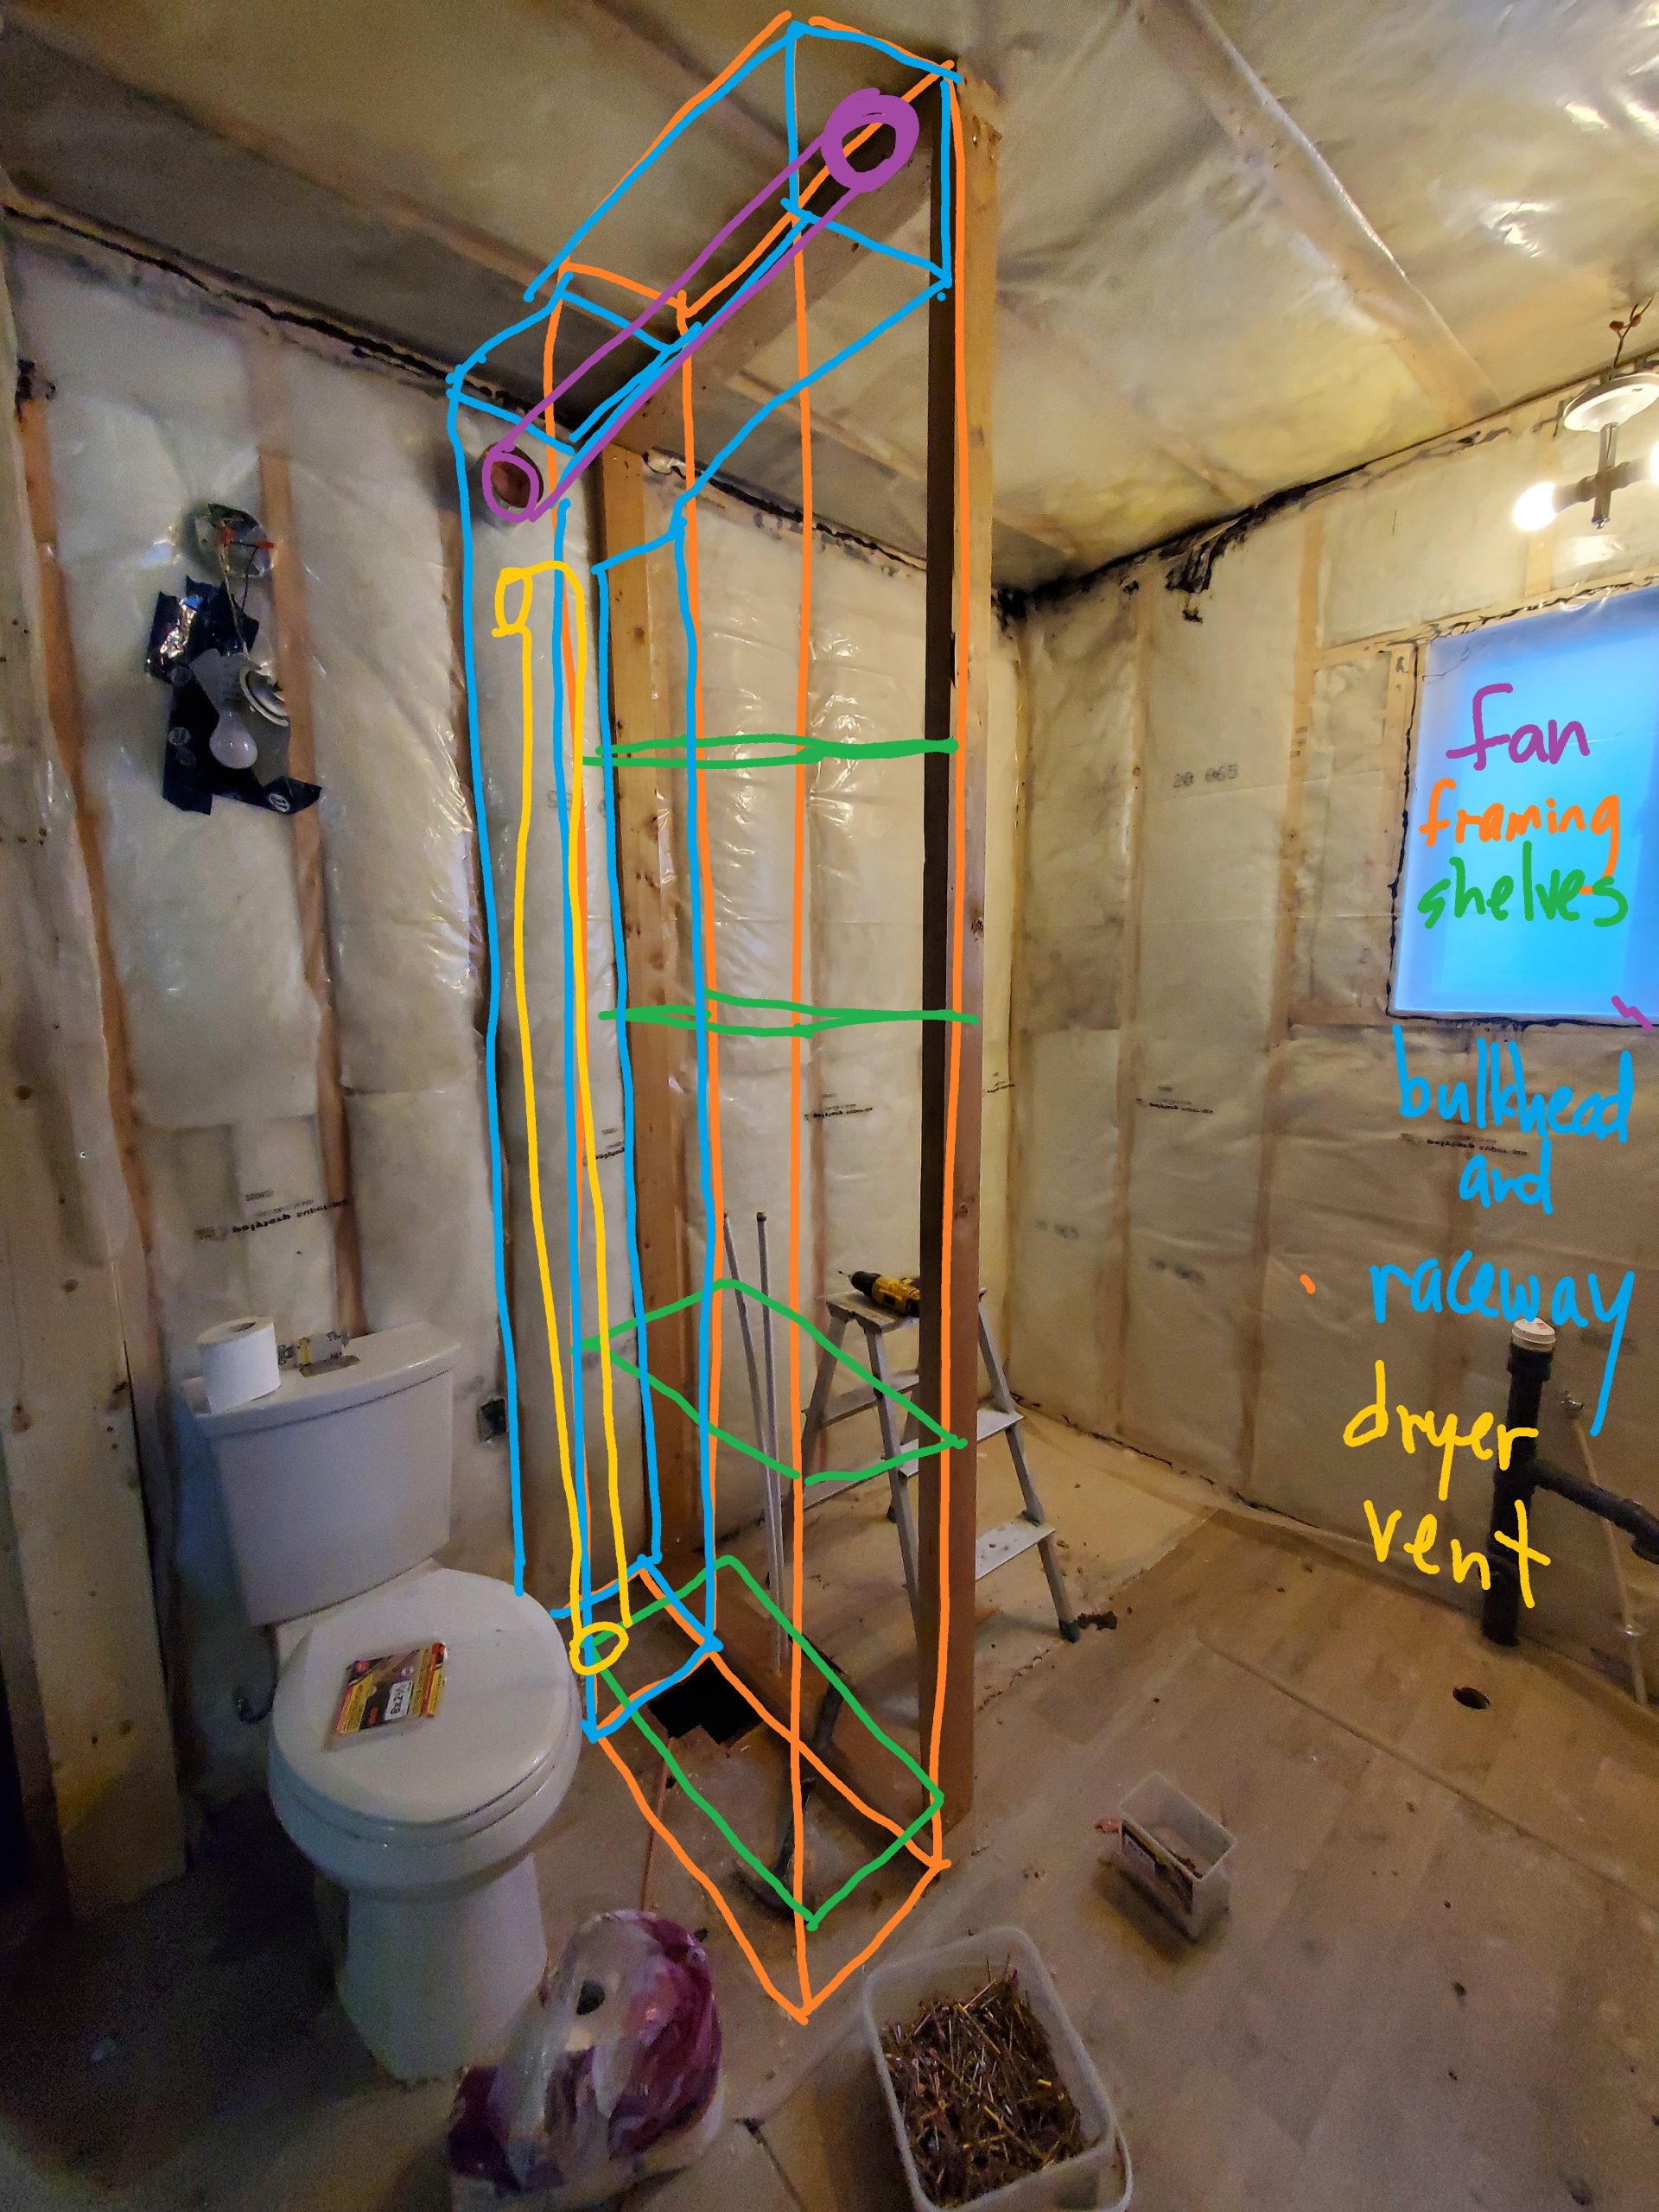
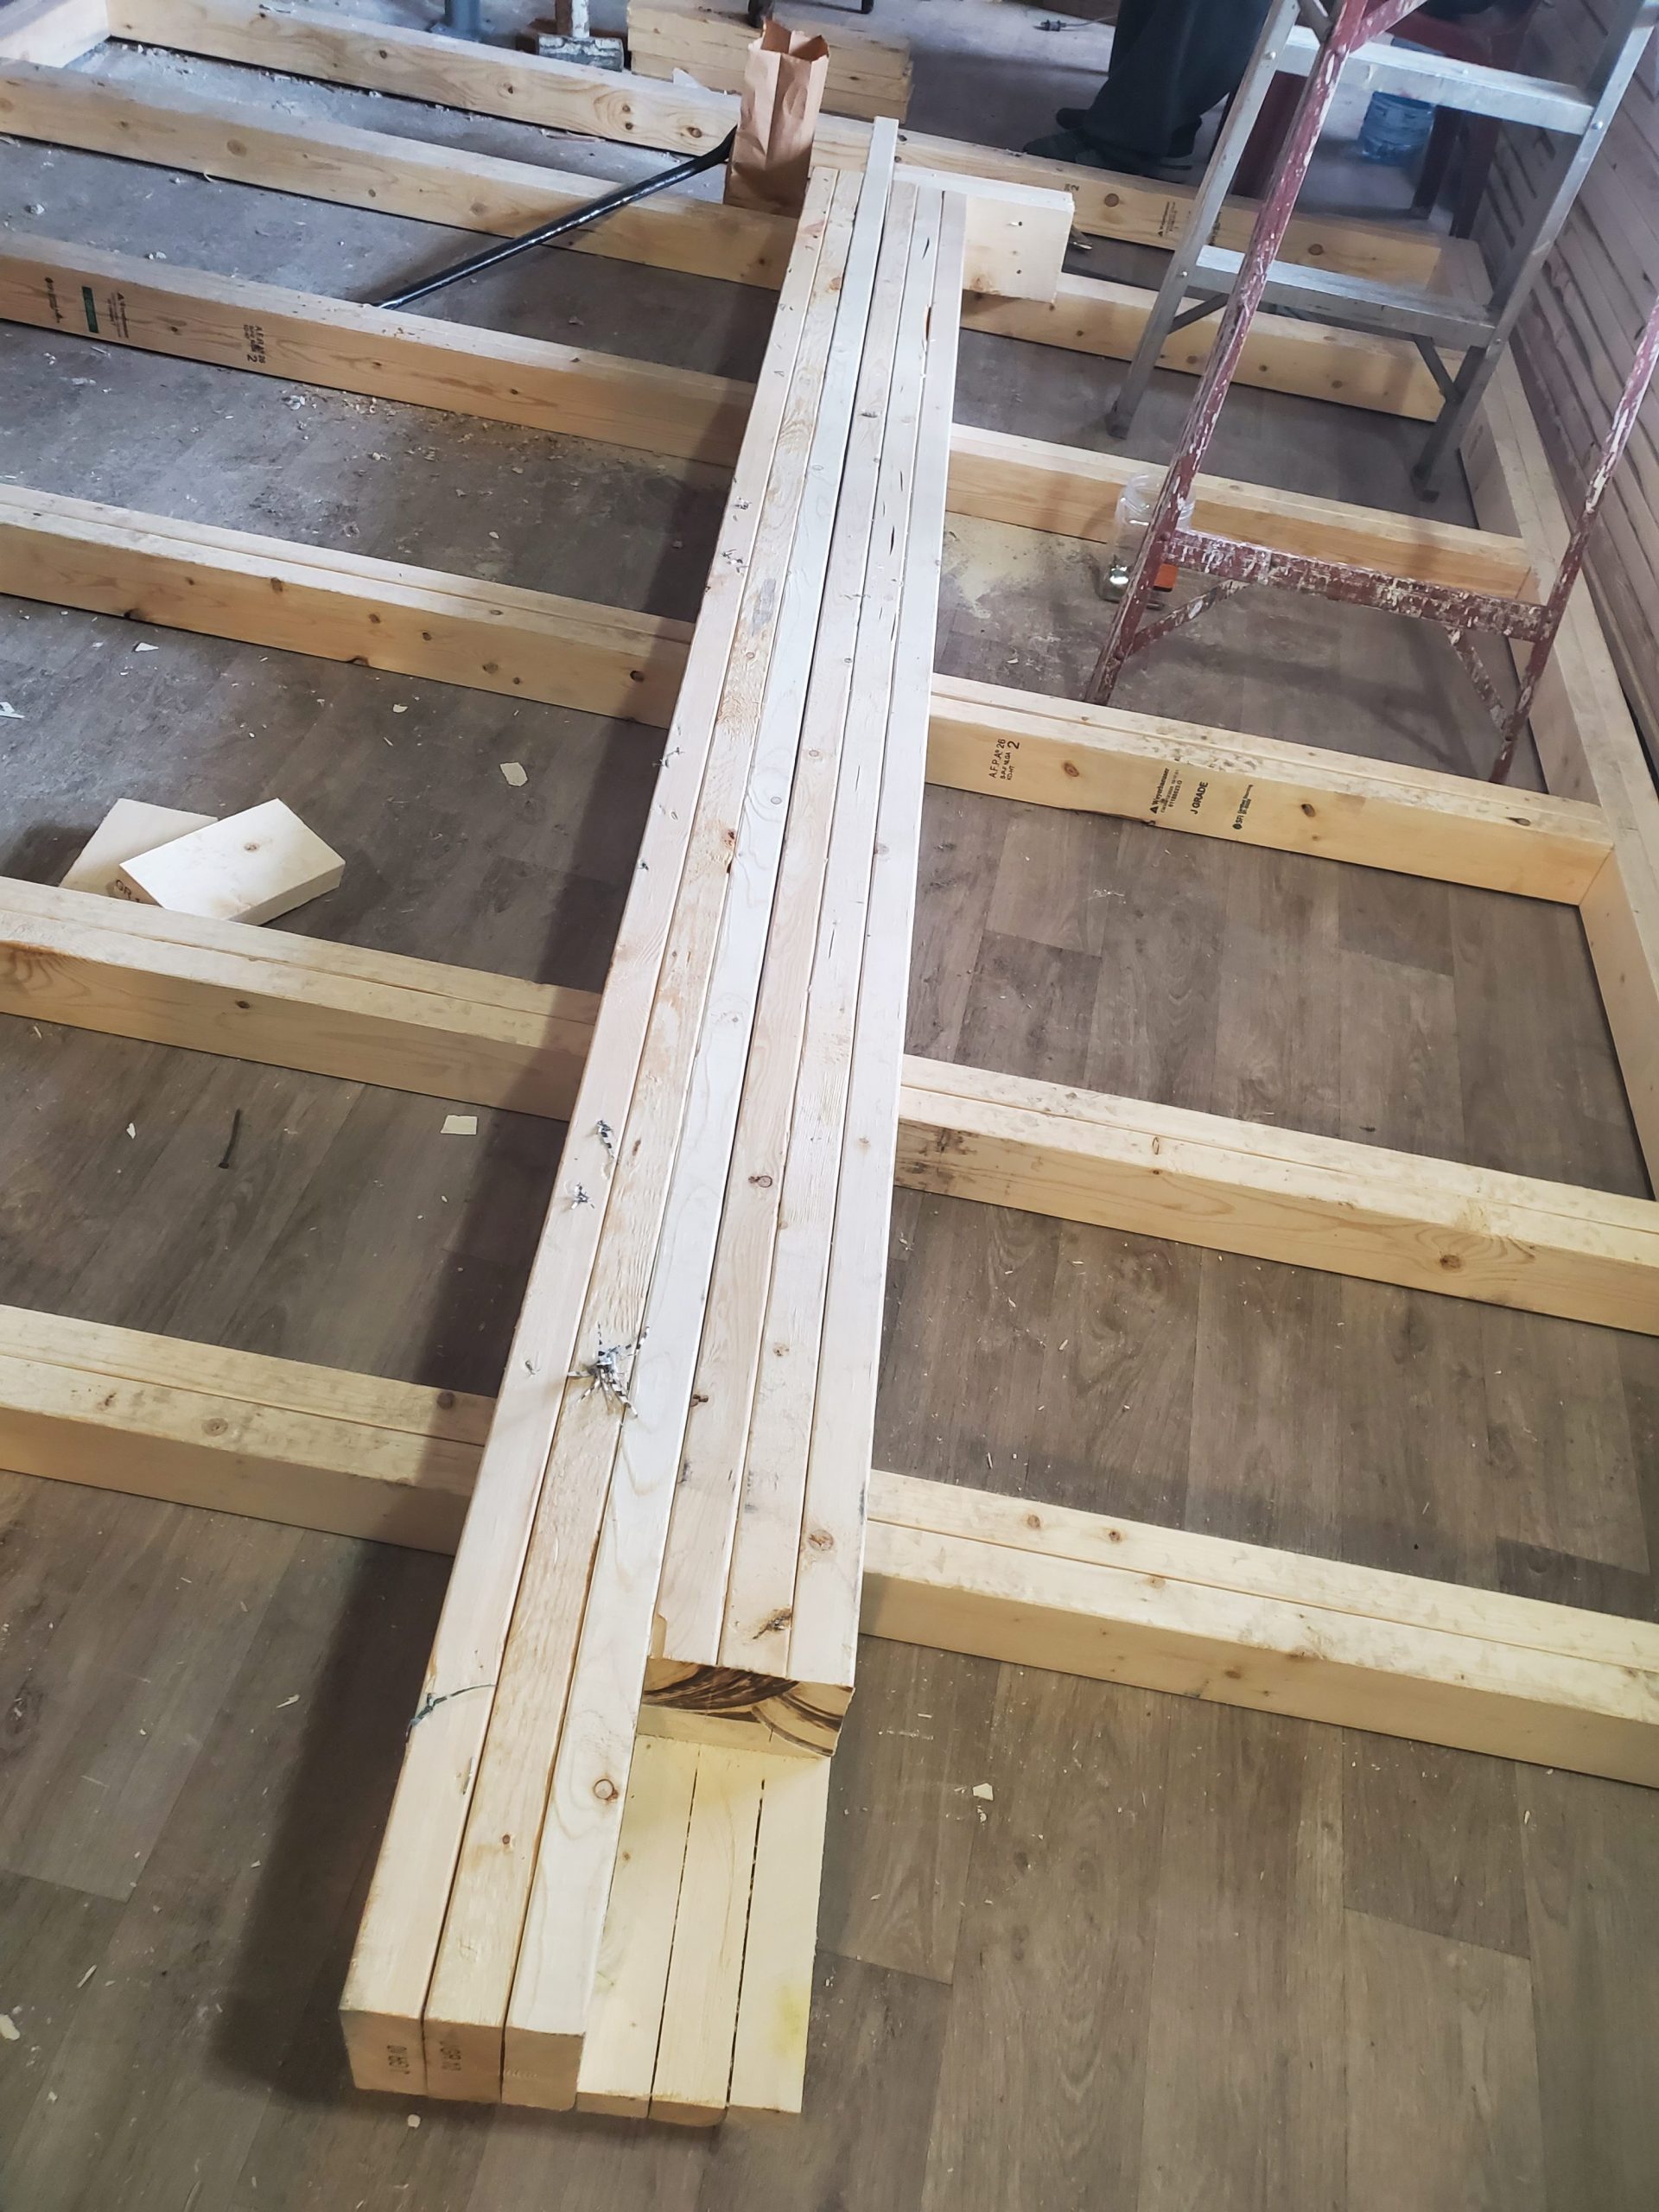
Why double bottom plate? The studs I have left over are too short. Reuse, reuse, reuse.