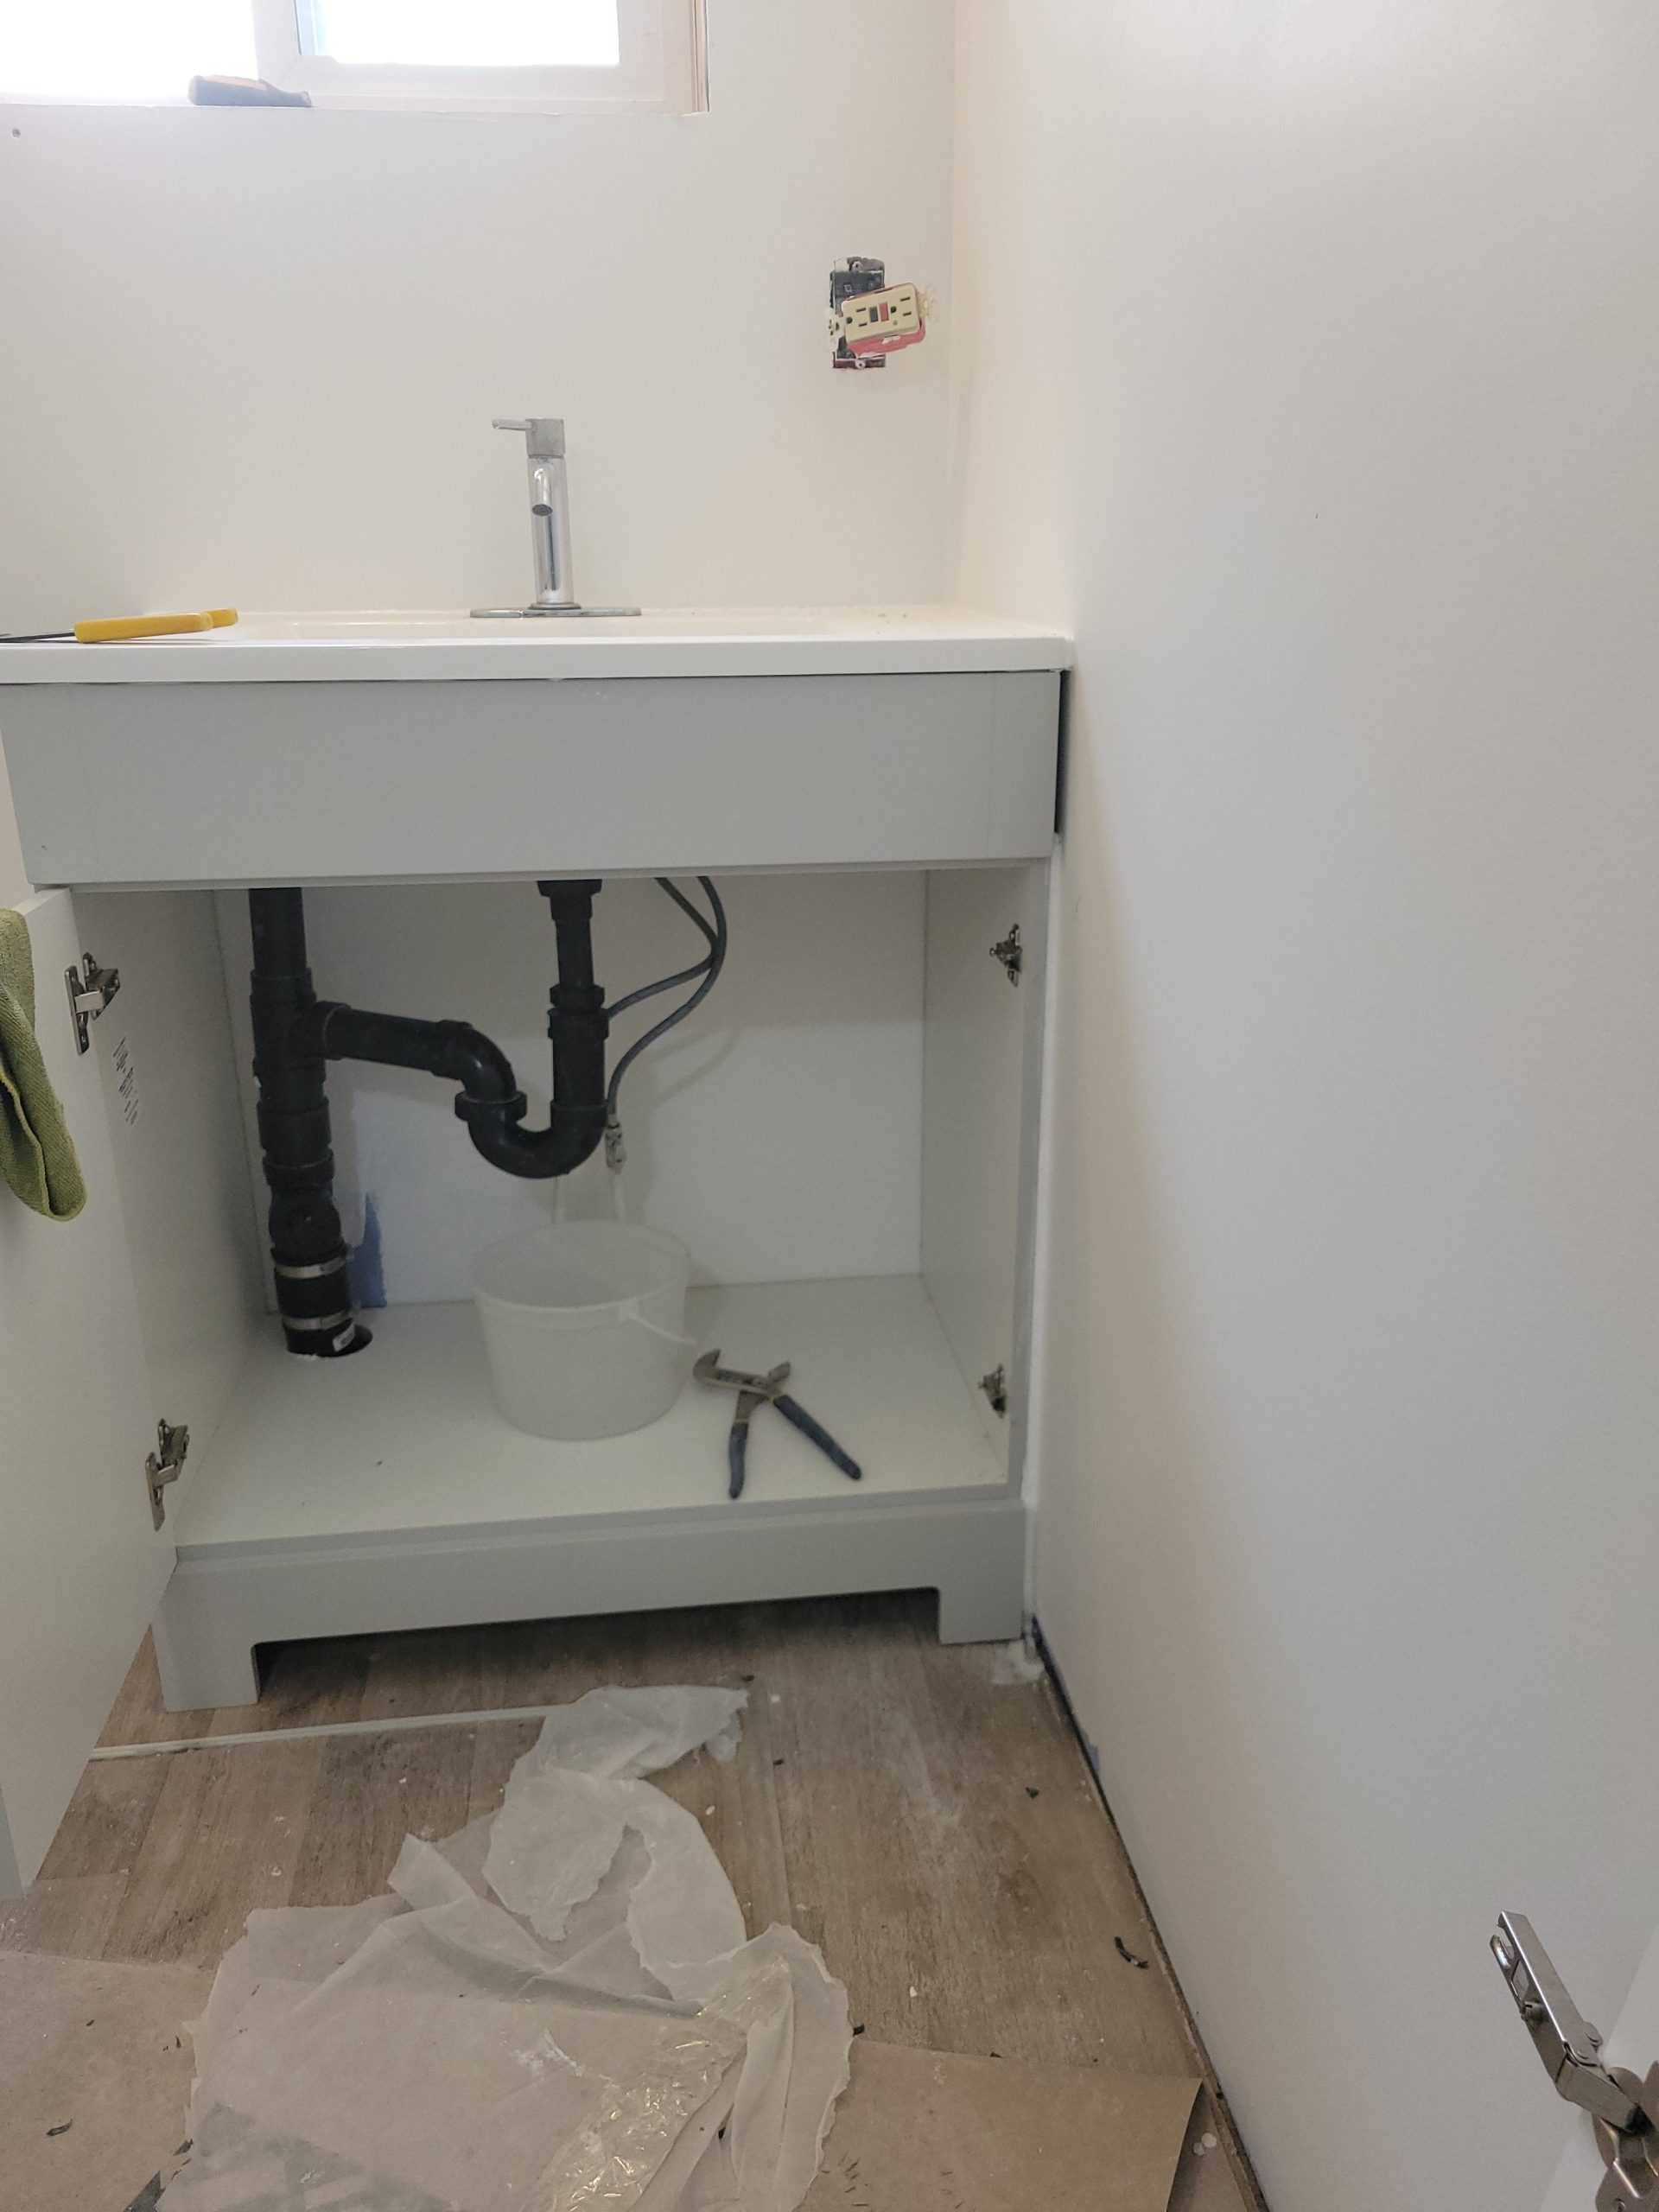
I tried siliconing (is that a word?) next to the vanity, but, because of the front valance, it is hard to reach to apply it then to smooth it out.
projects on the go
I tried siliconing (is that a word?) next to the vanity, but, because of the front valance, it is hard to reach to apply it then to smooth it out.
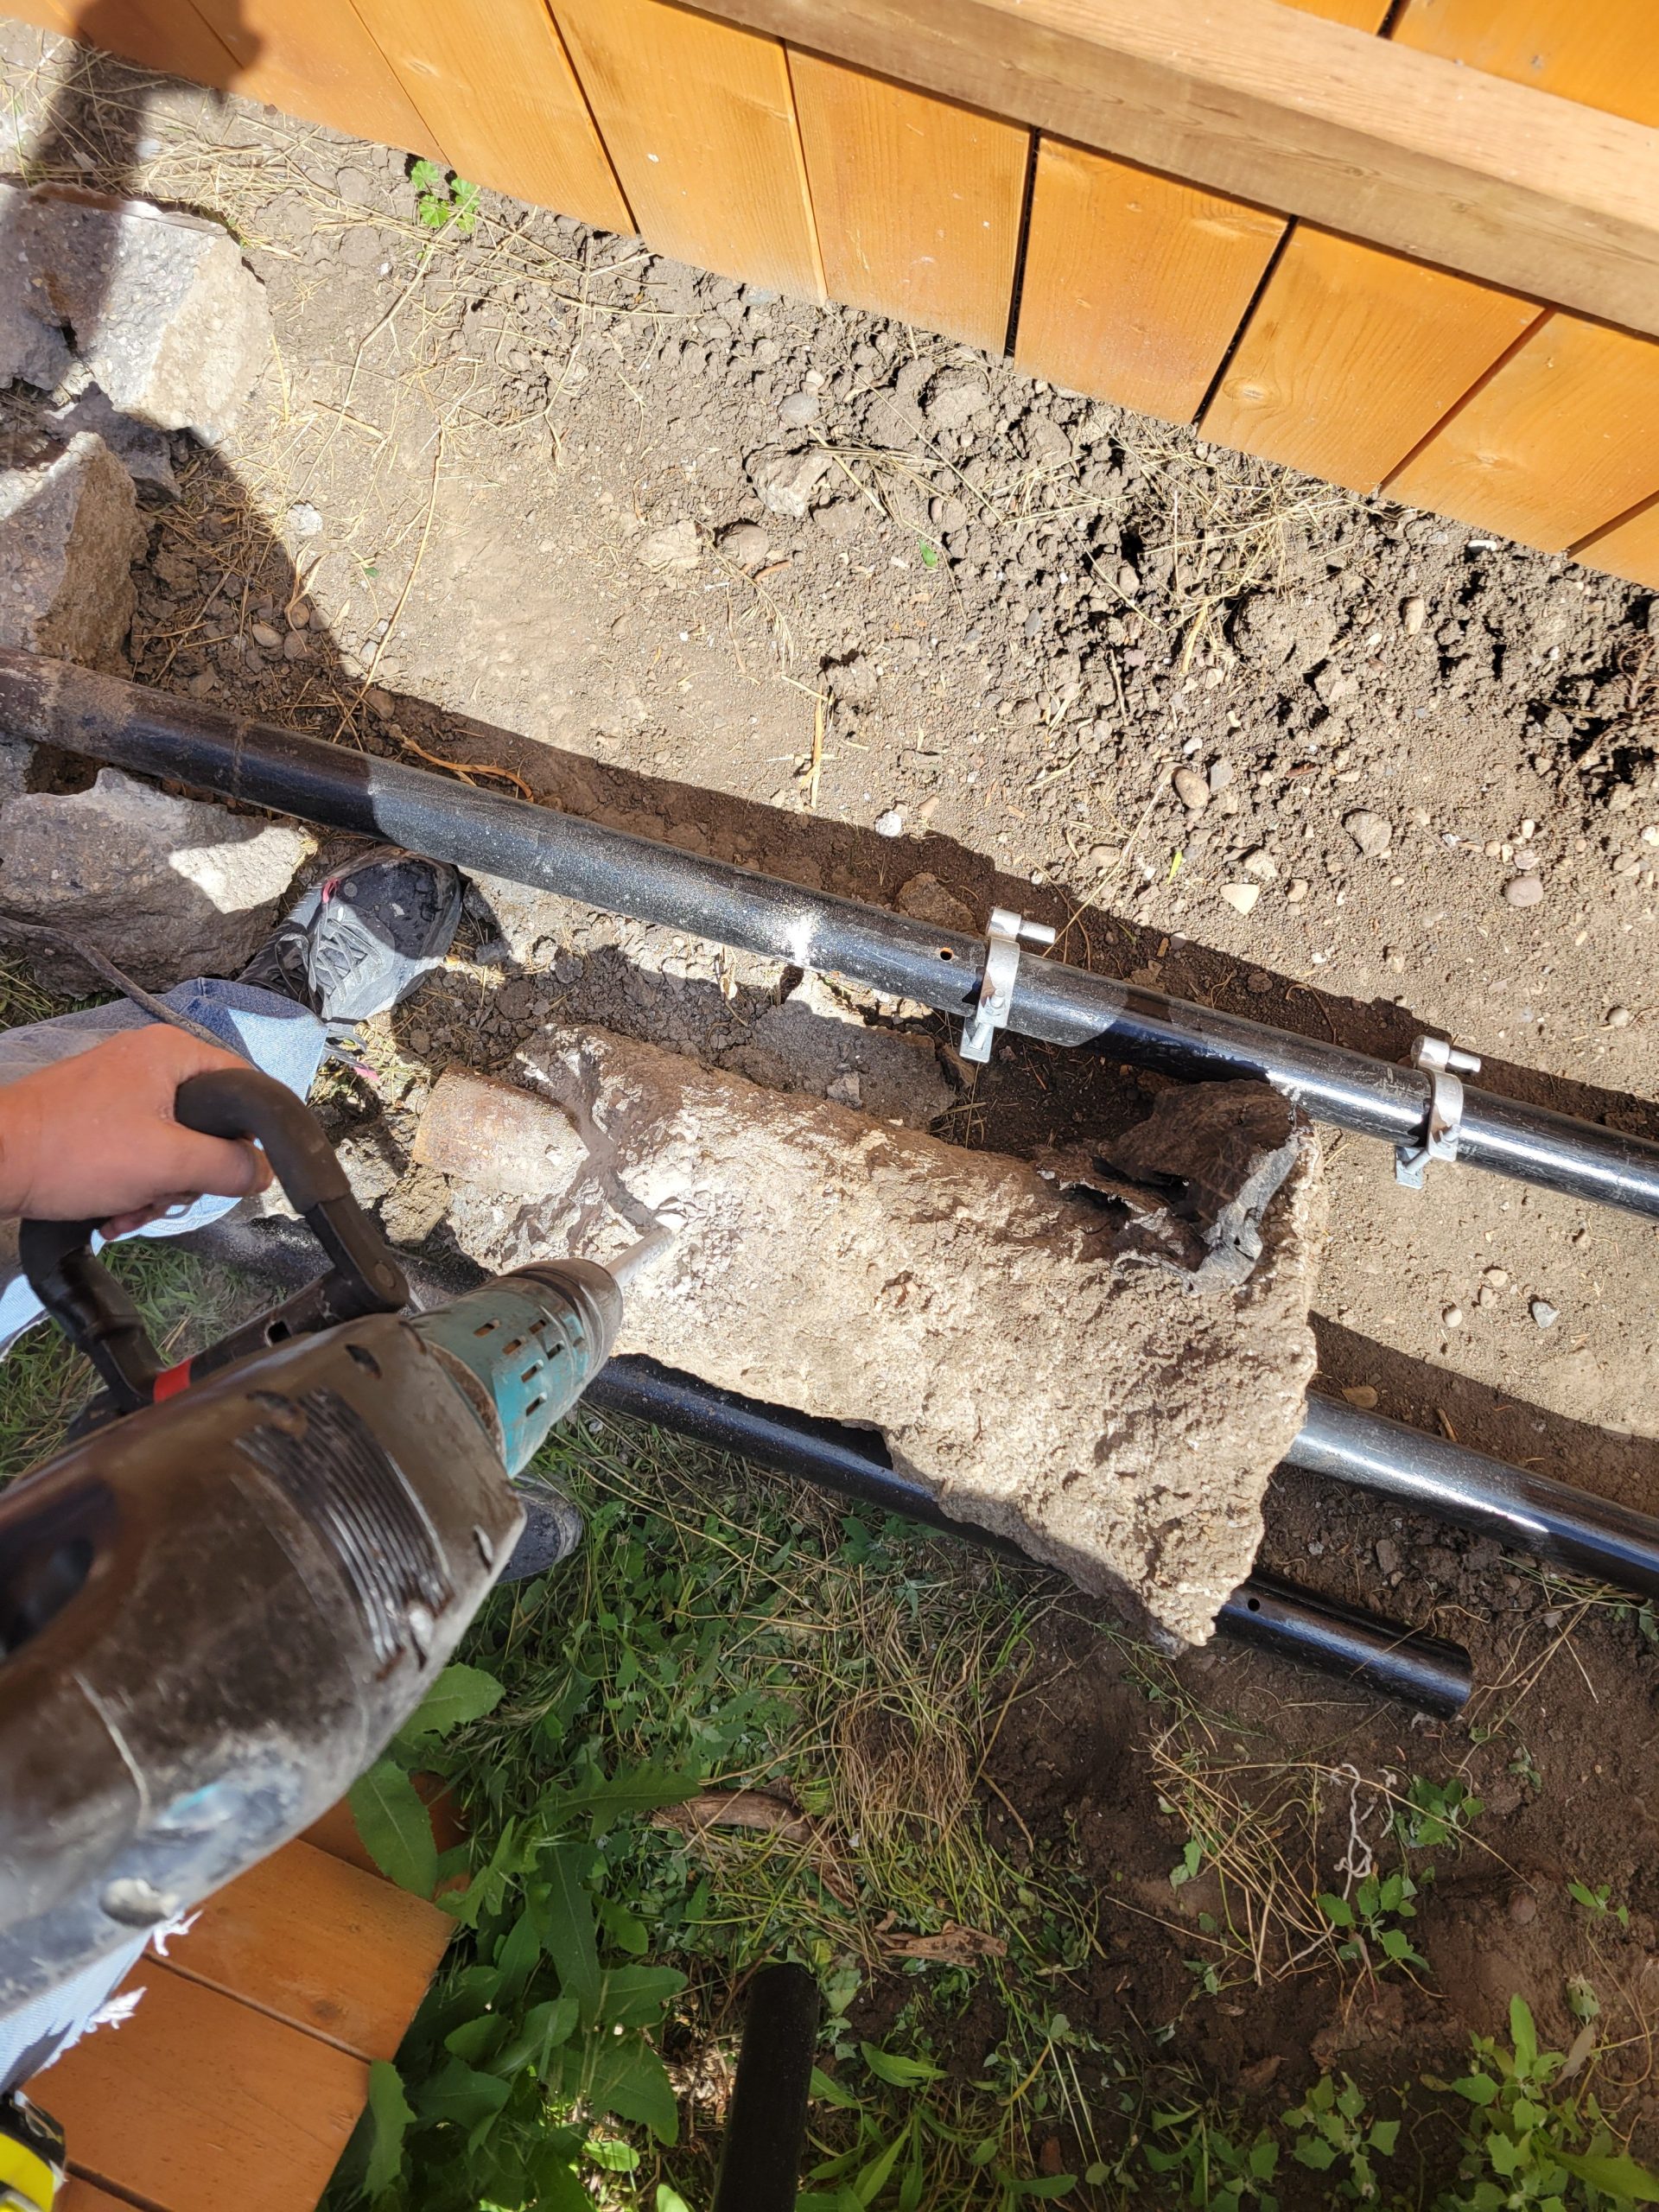
While digging the final bit for the walkway along the fence, I found this.
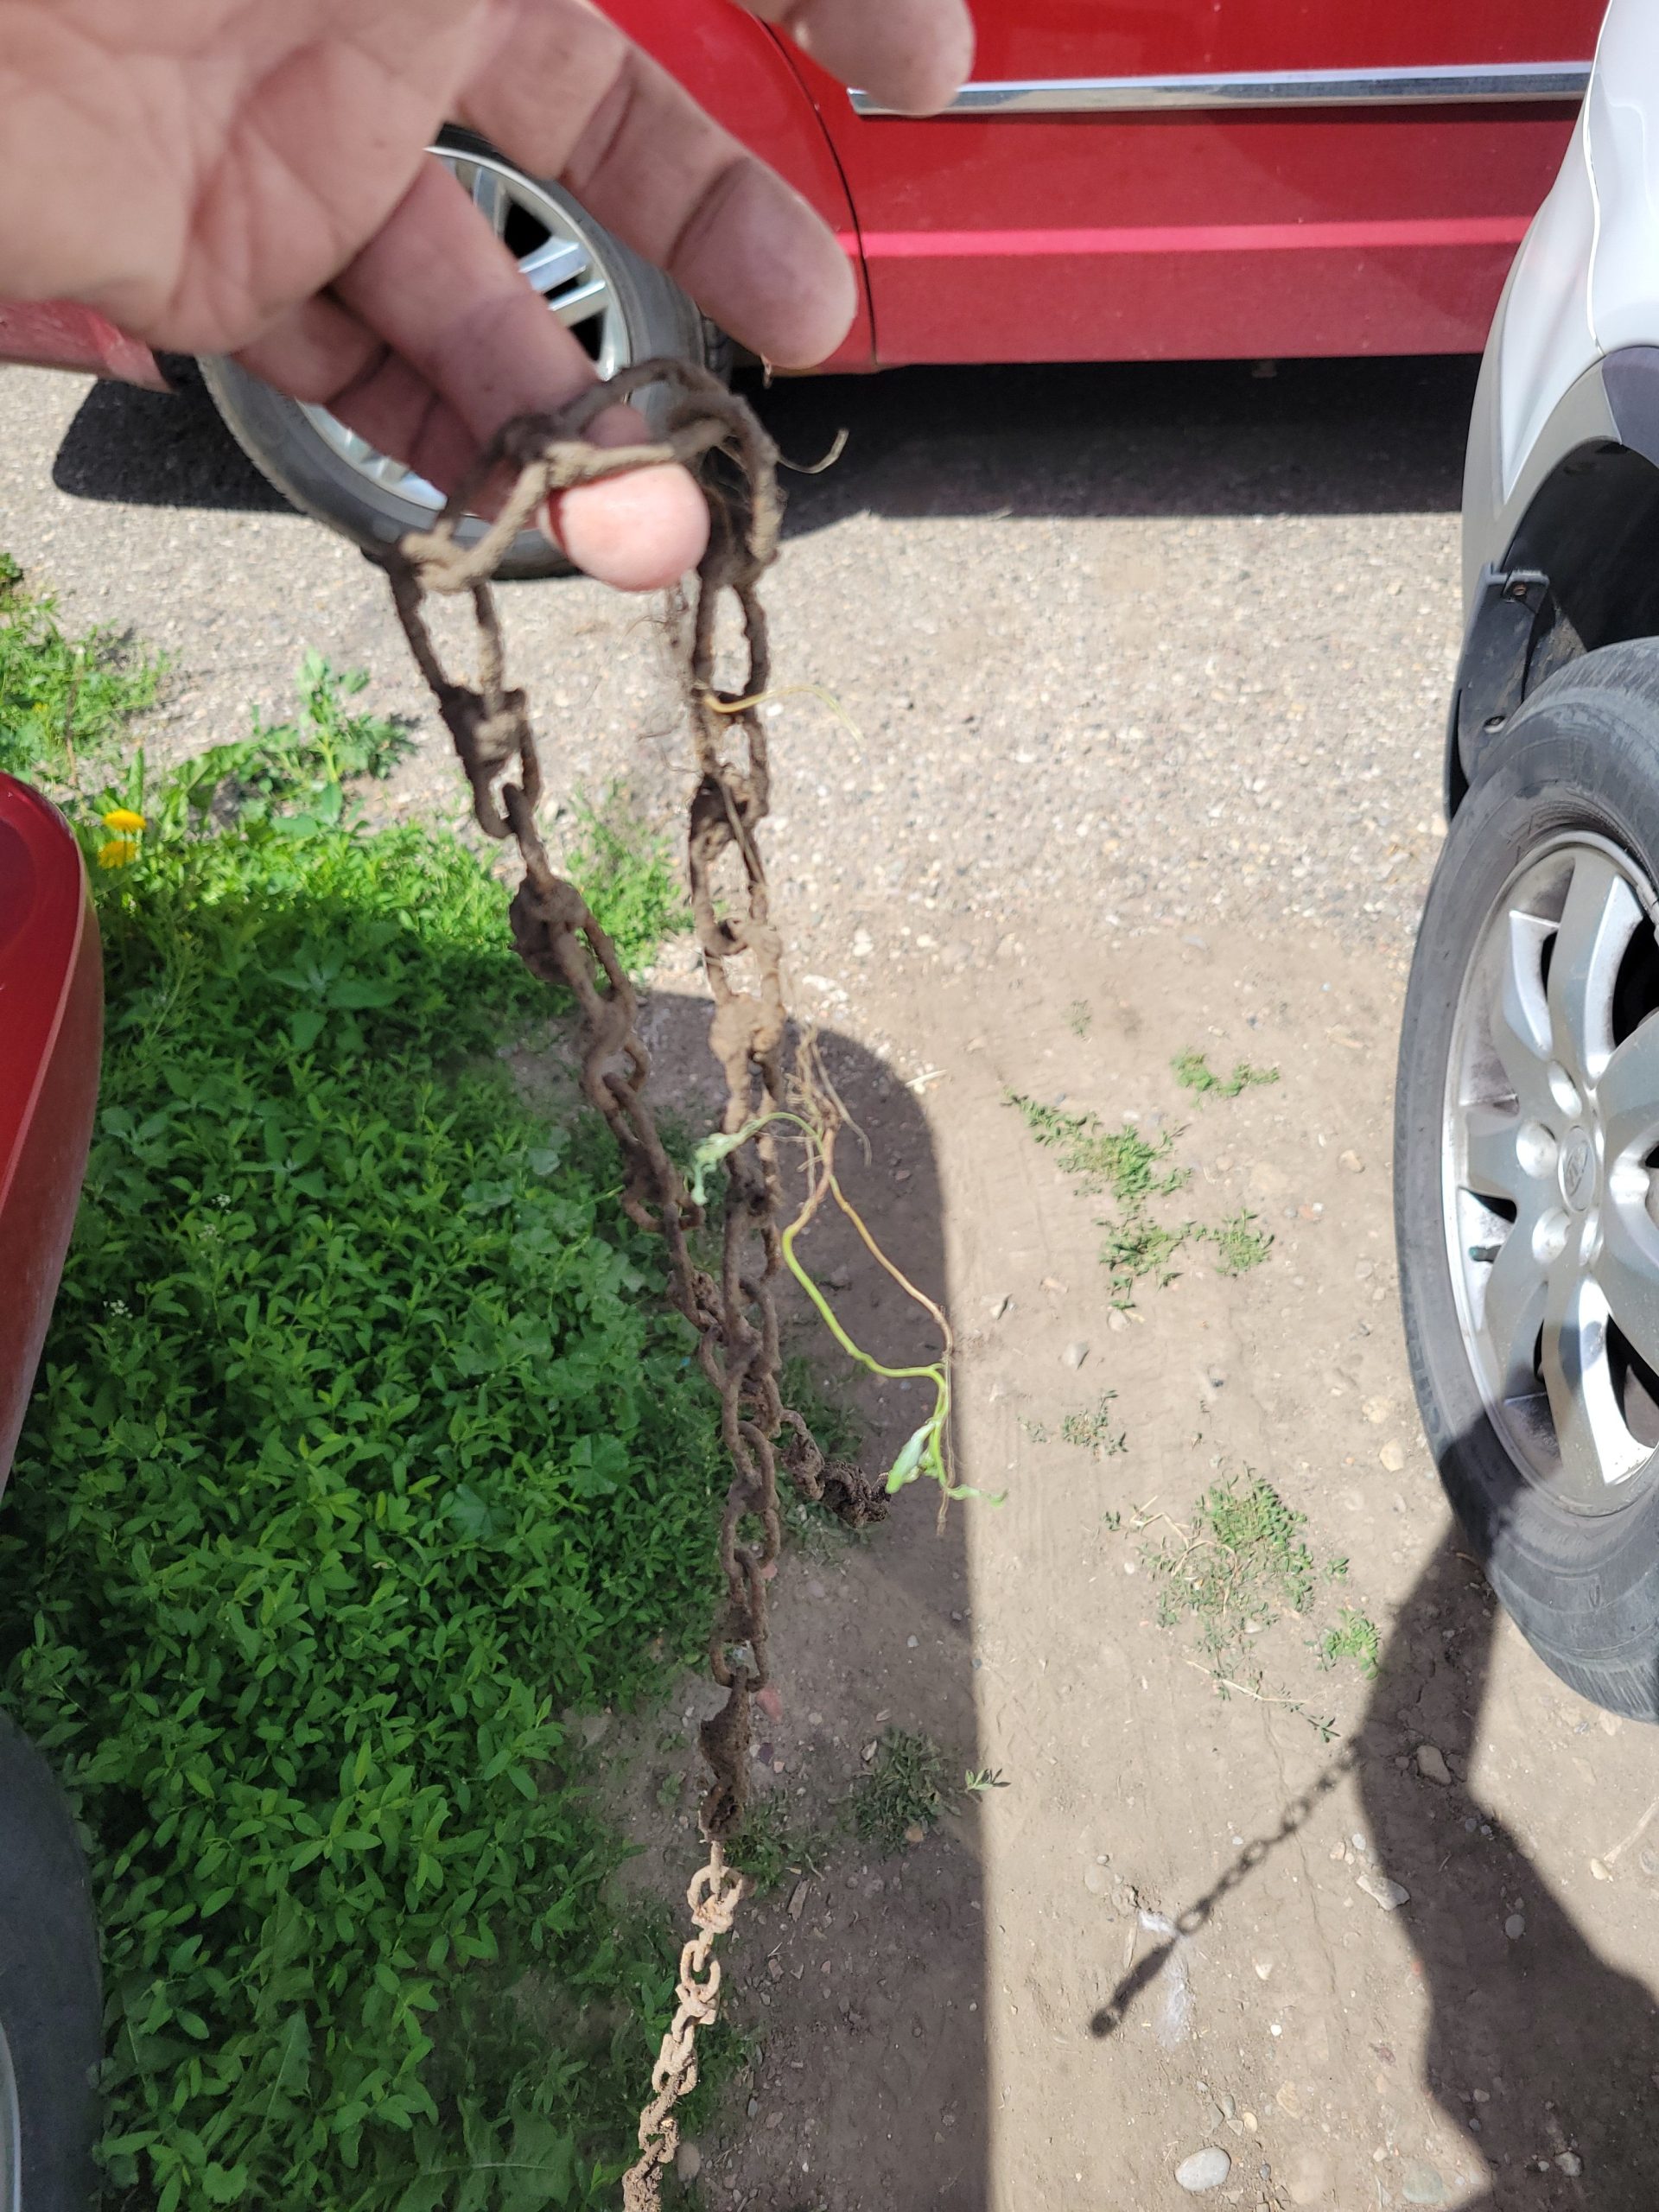
Now there’s a find.
Next, landscape fabric, gravel, sand, paving stones.
After working at 520 this morning, we came back and started more walls here.
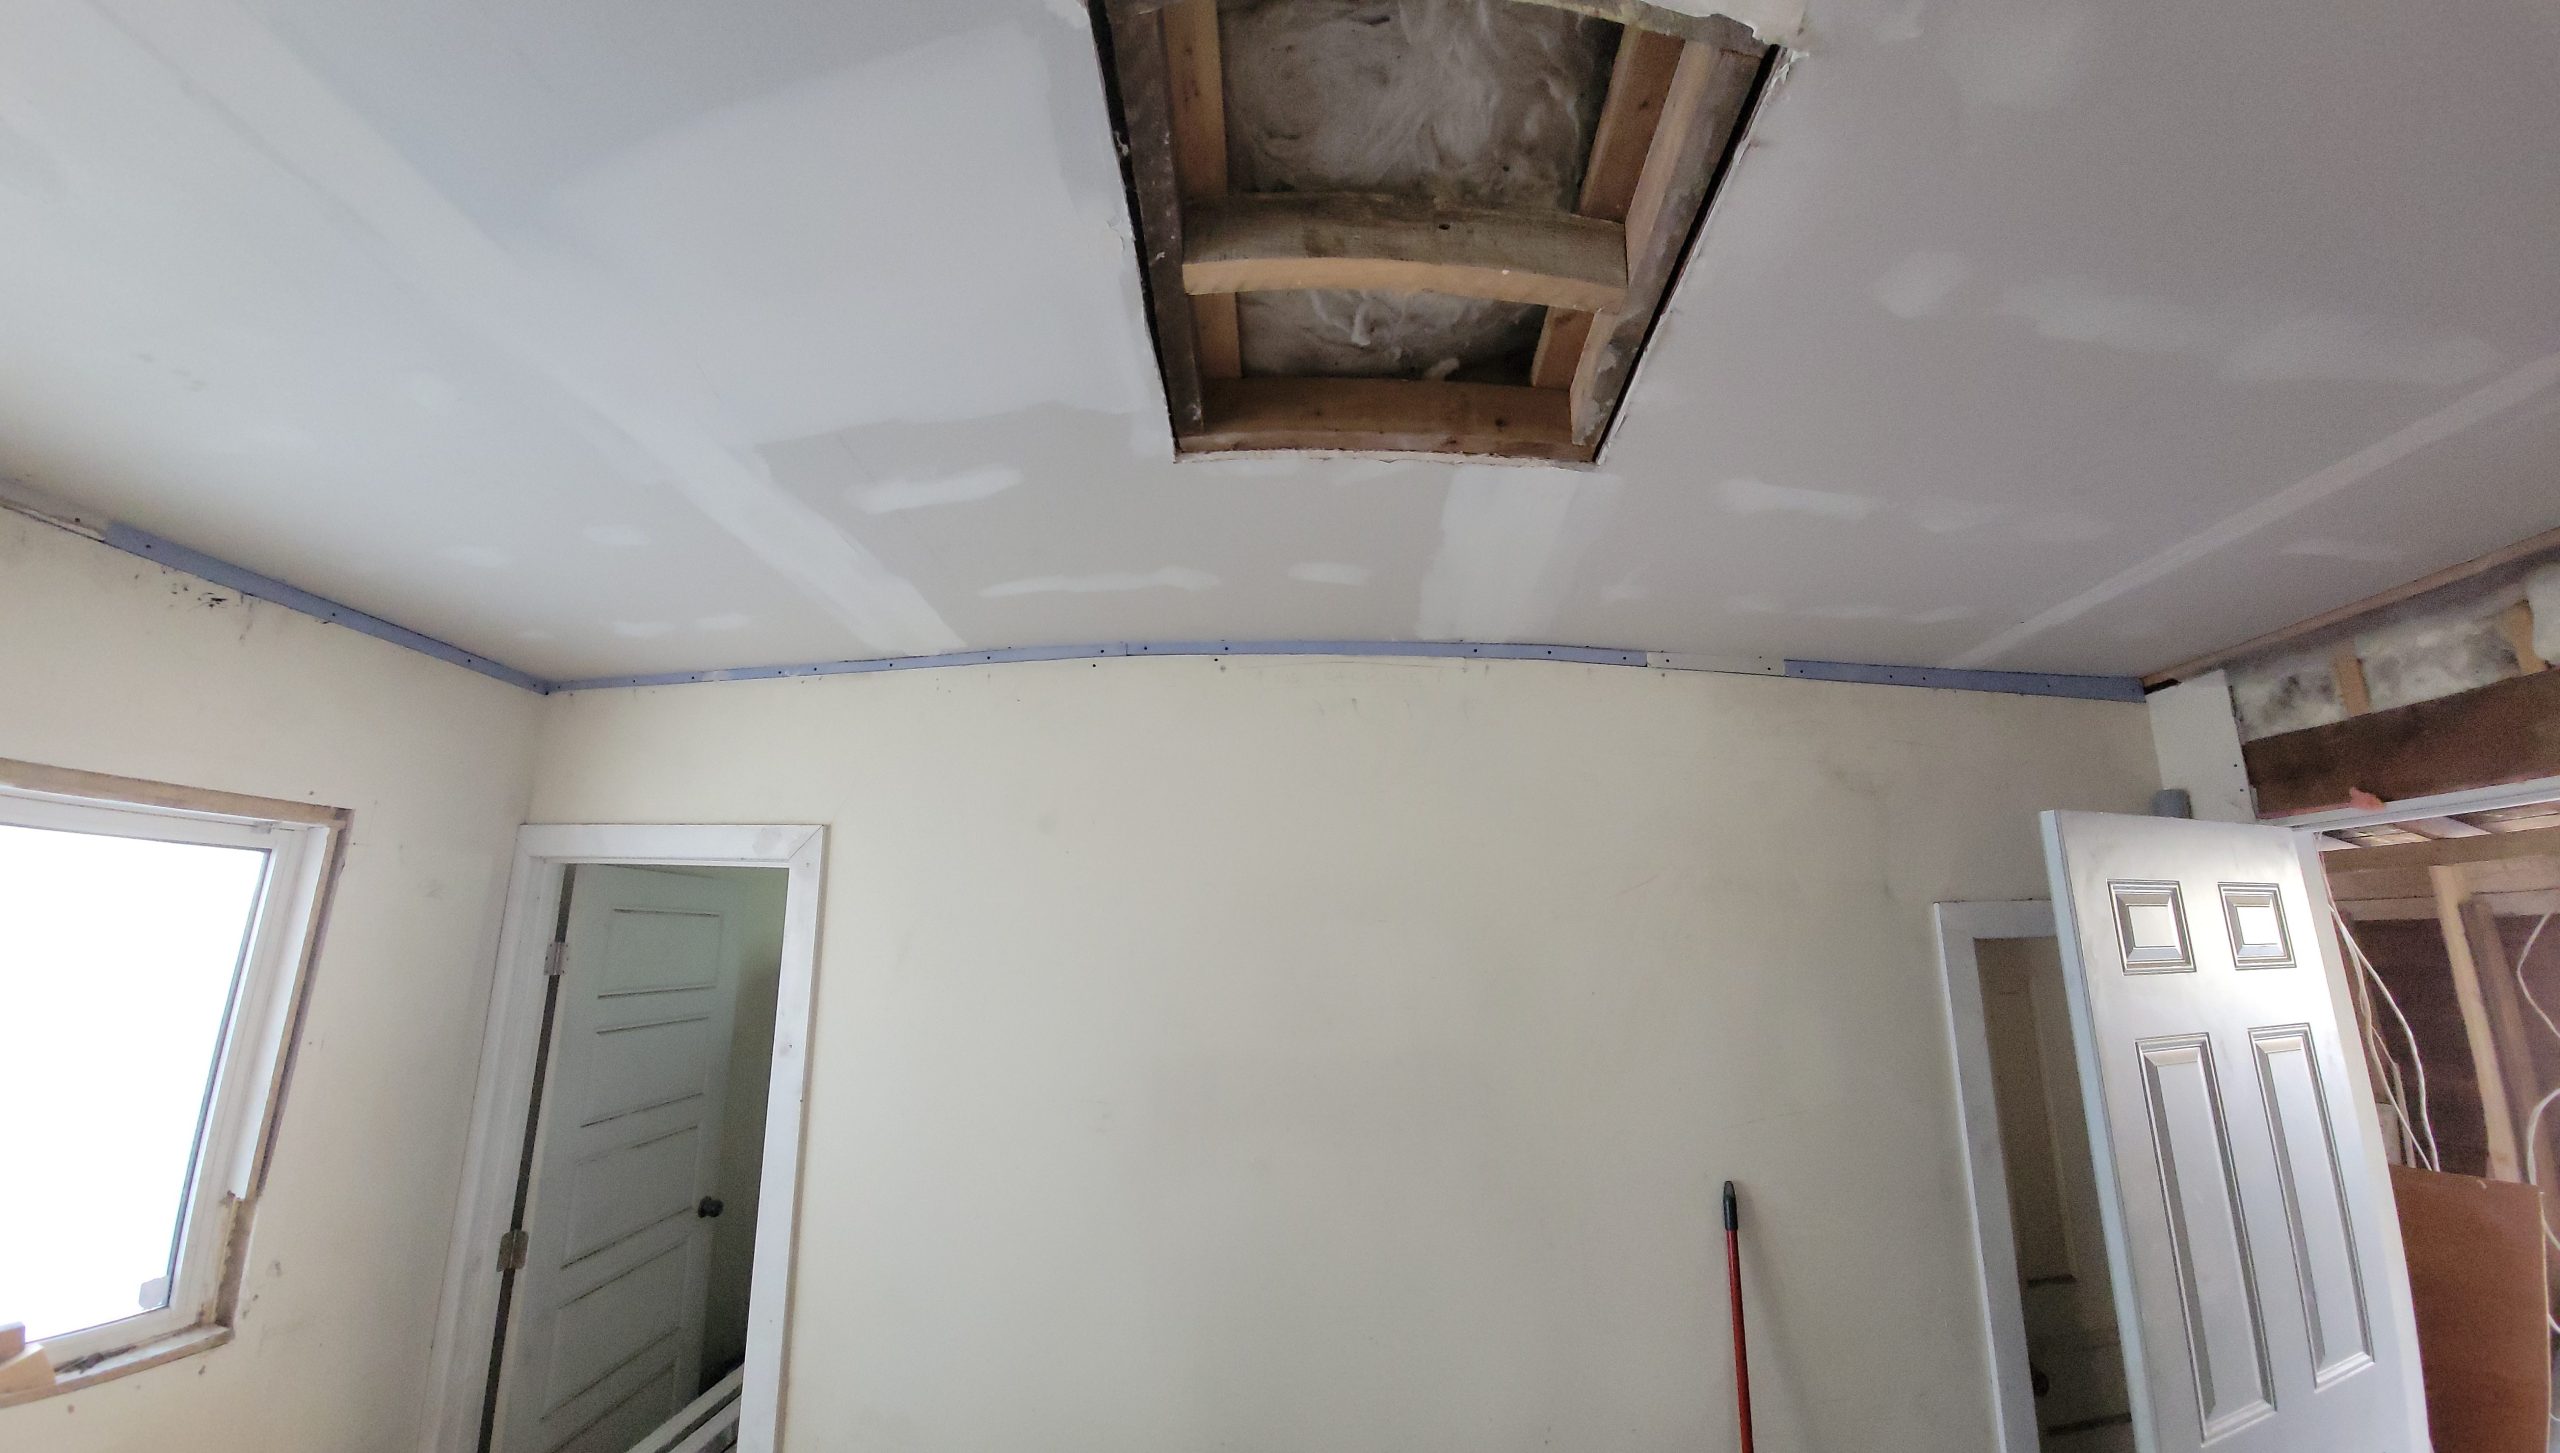
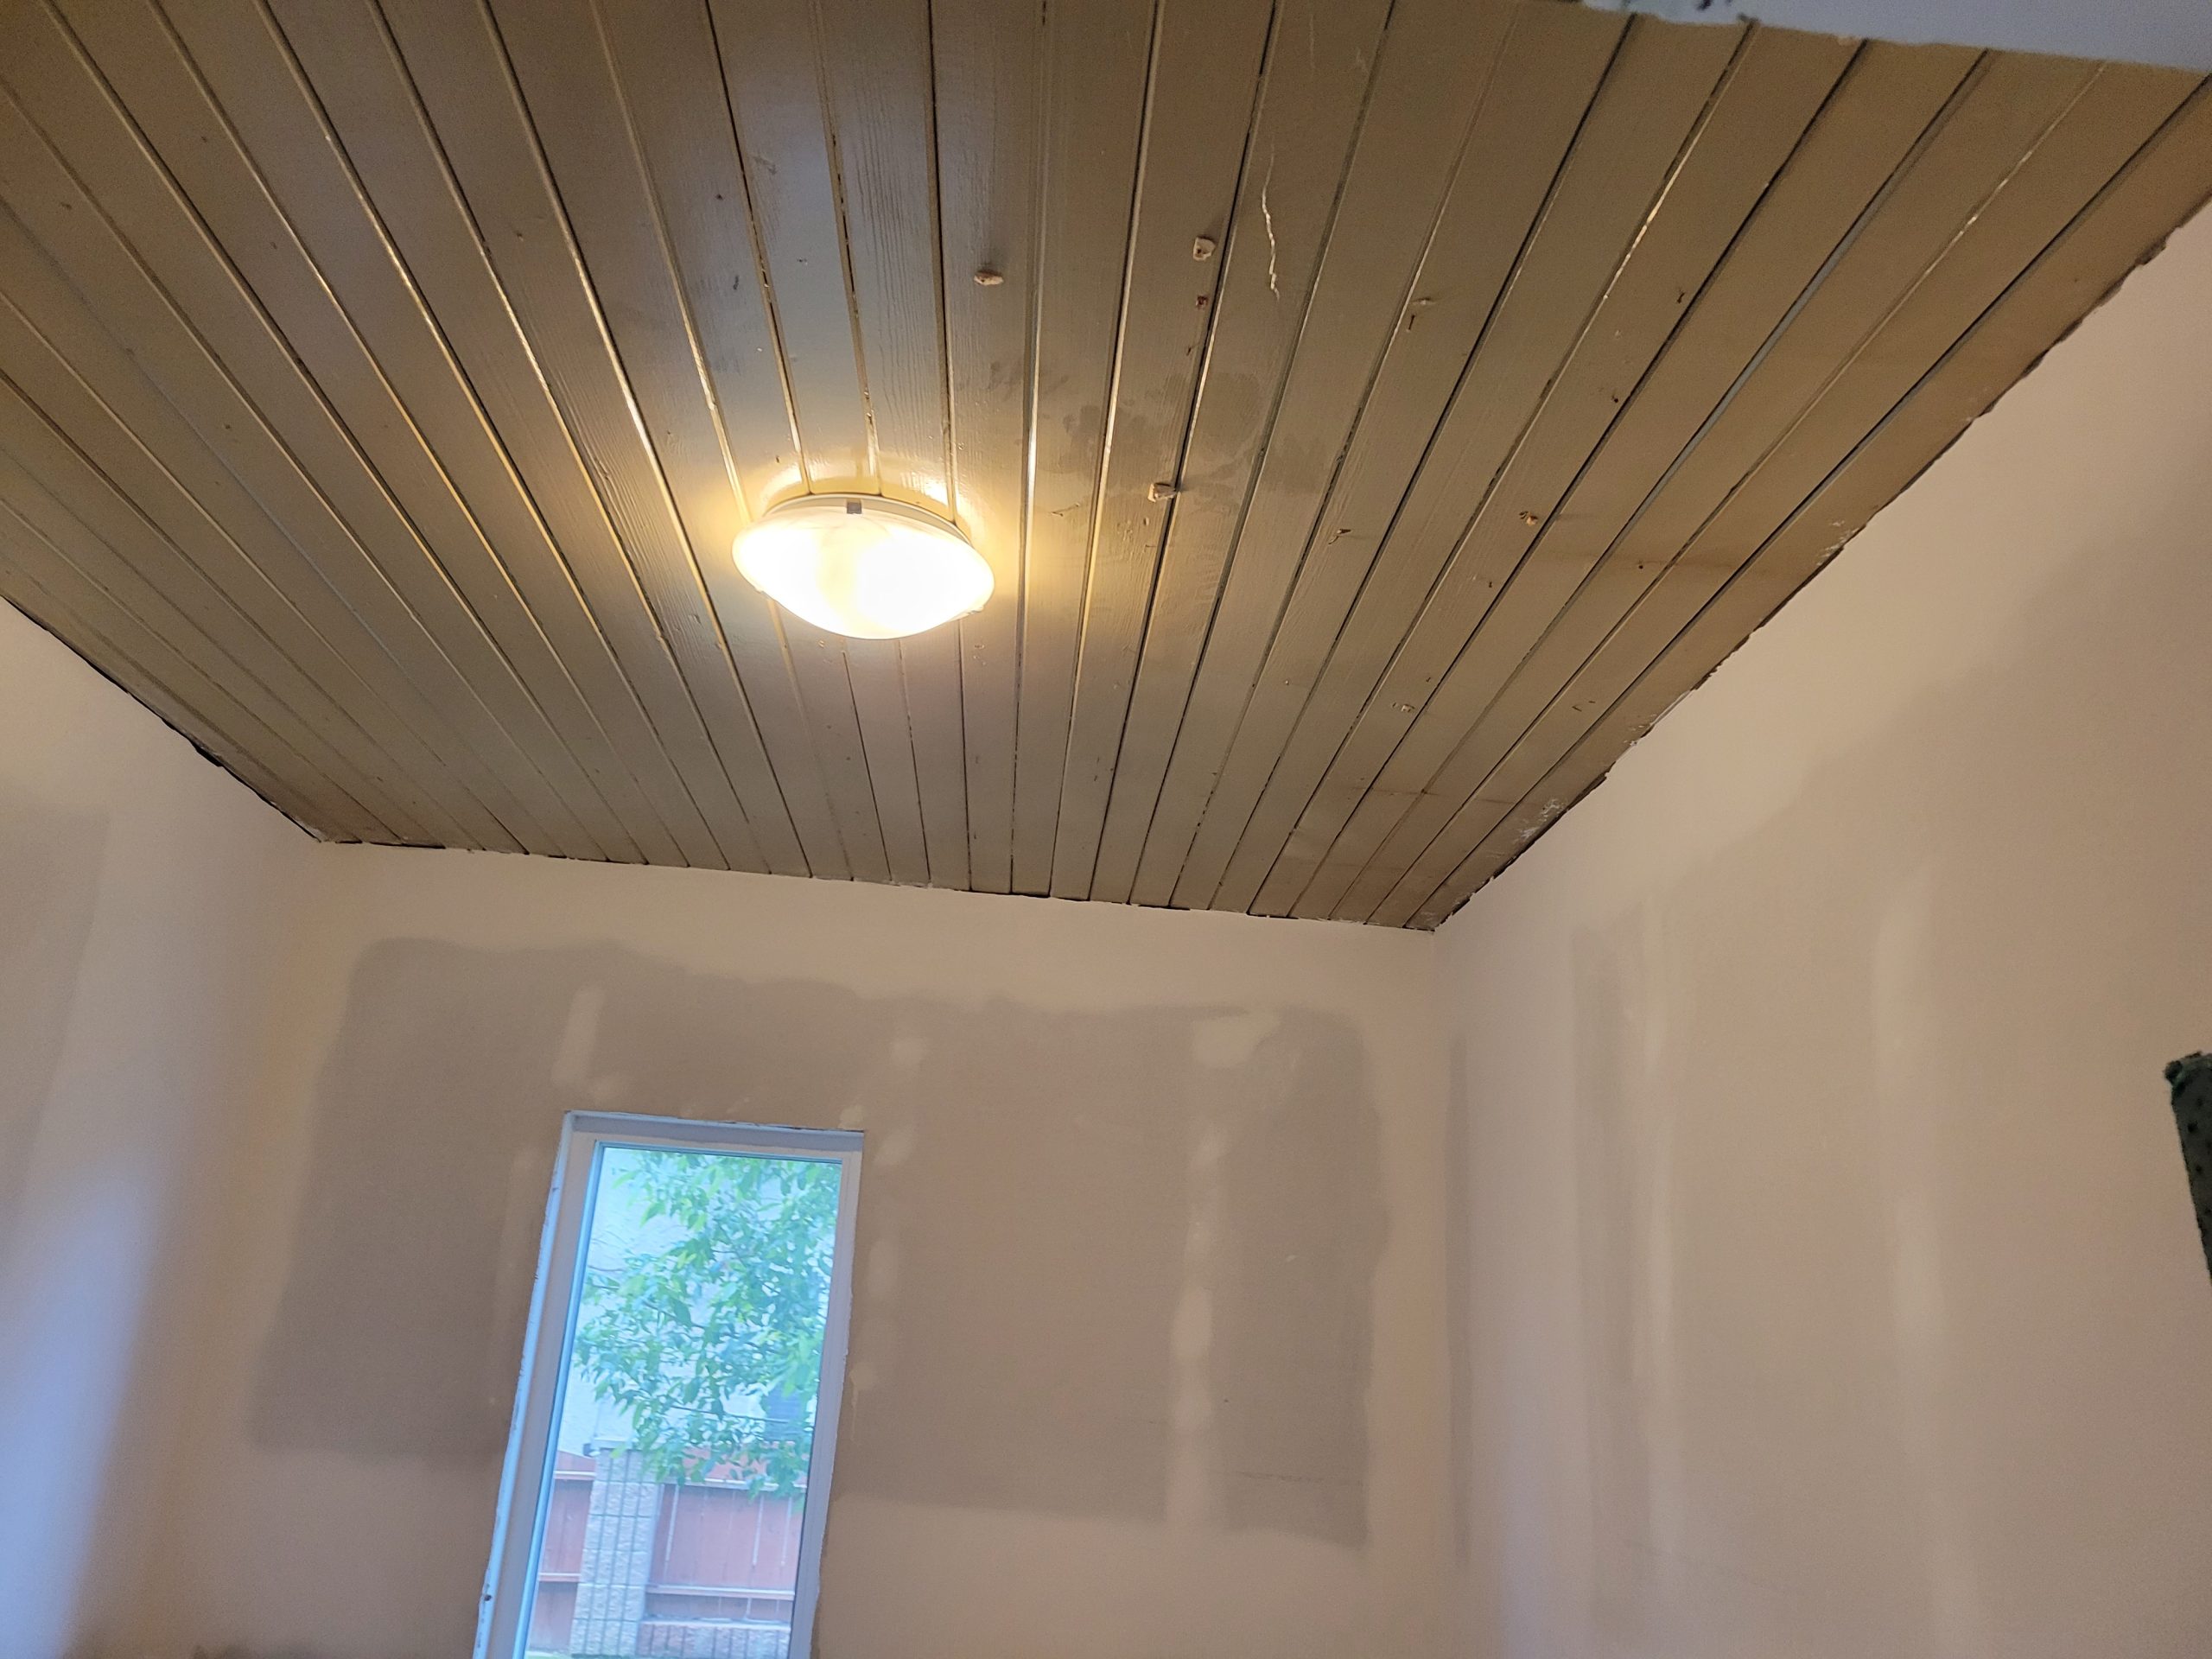
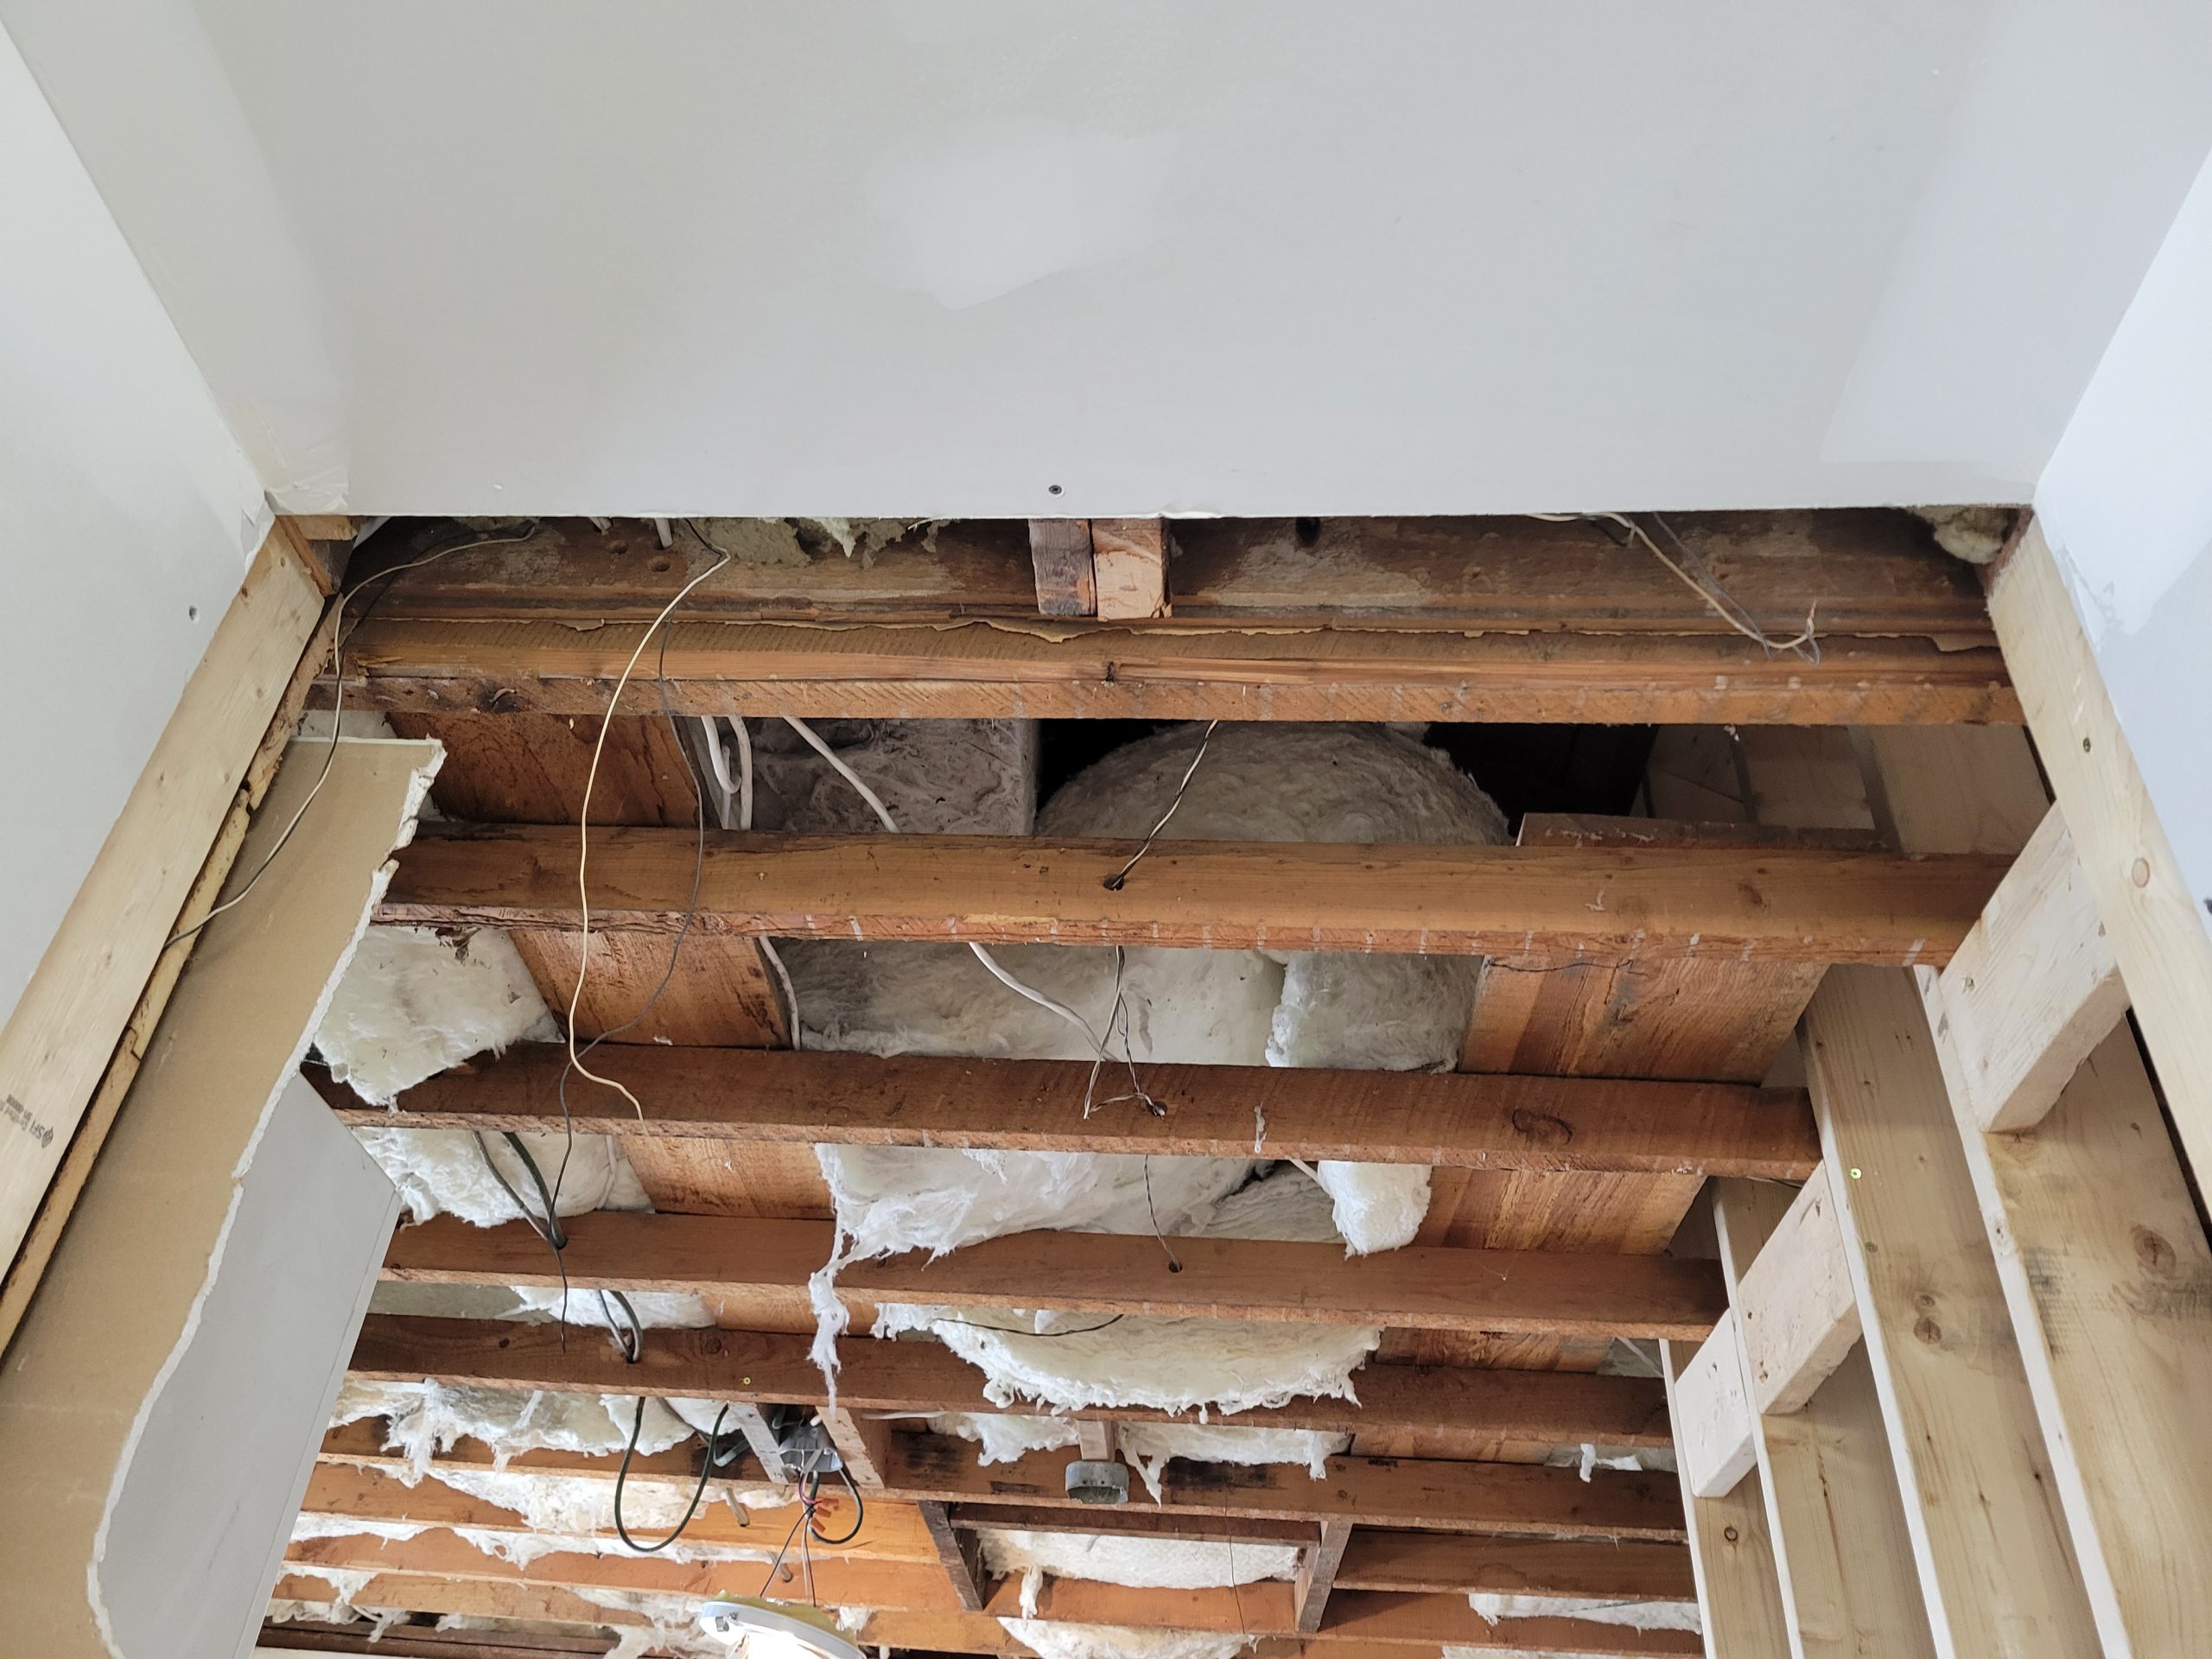
So long ago when we needed to get the place finished to rent out, we knew that the new drywall left a gap between the ceiling and walls. I knew that, eventually, I would have to tear down the ceiling and make it a) safer, b) nicer to look at, c) lighter for the structure to hold (a 14′ unsupported span), and d) easier to put in real fire rated walls between the two suites. So today was the day to fill in the gaps as the new ceiling is now up.

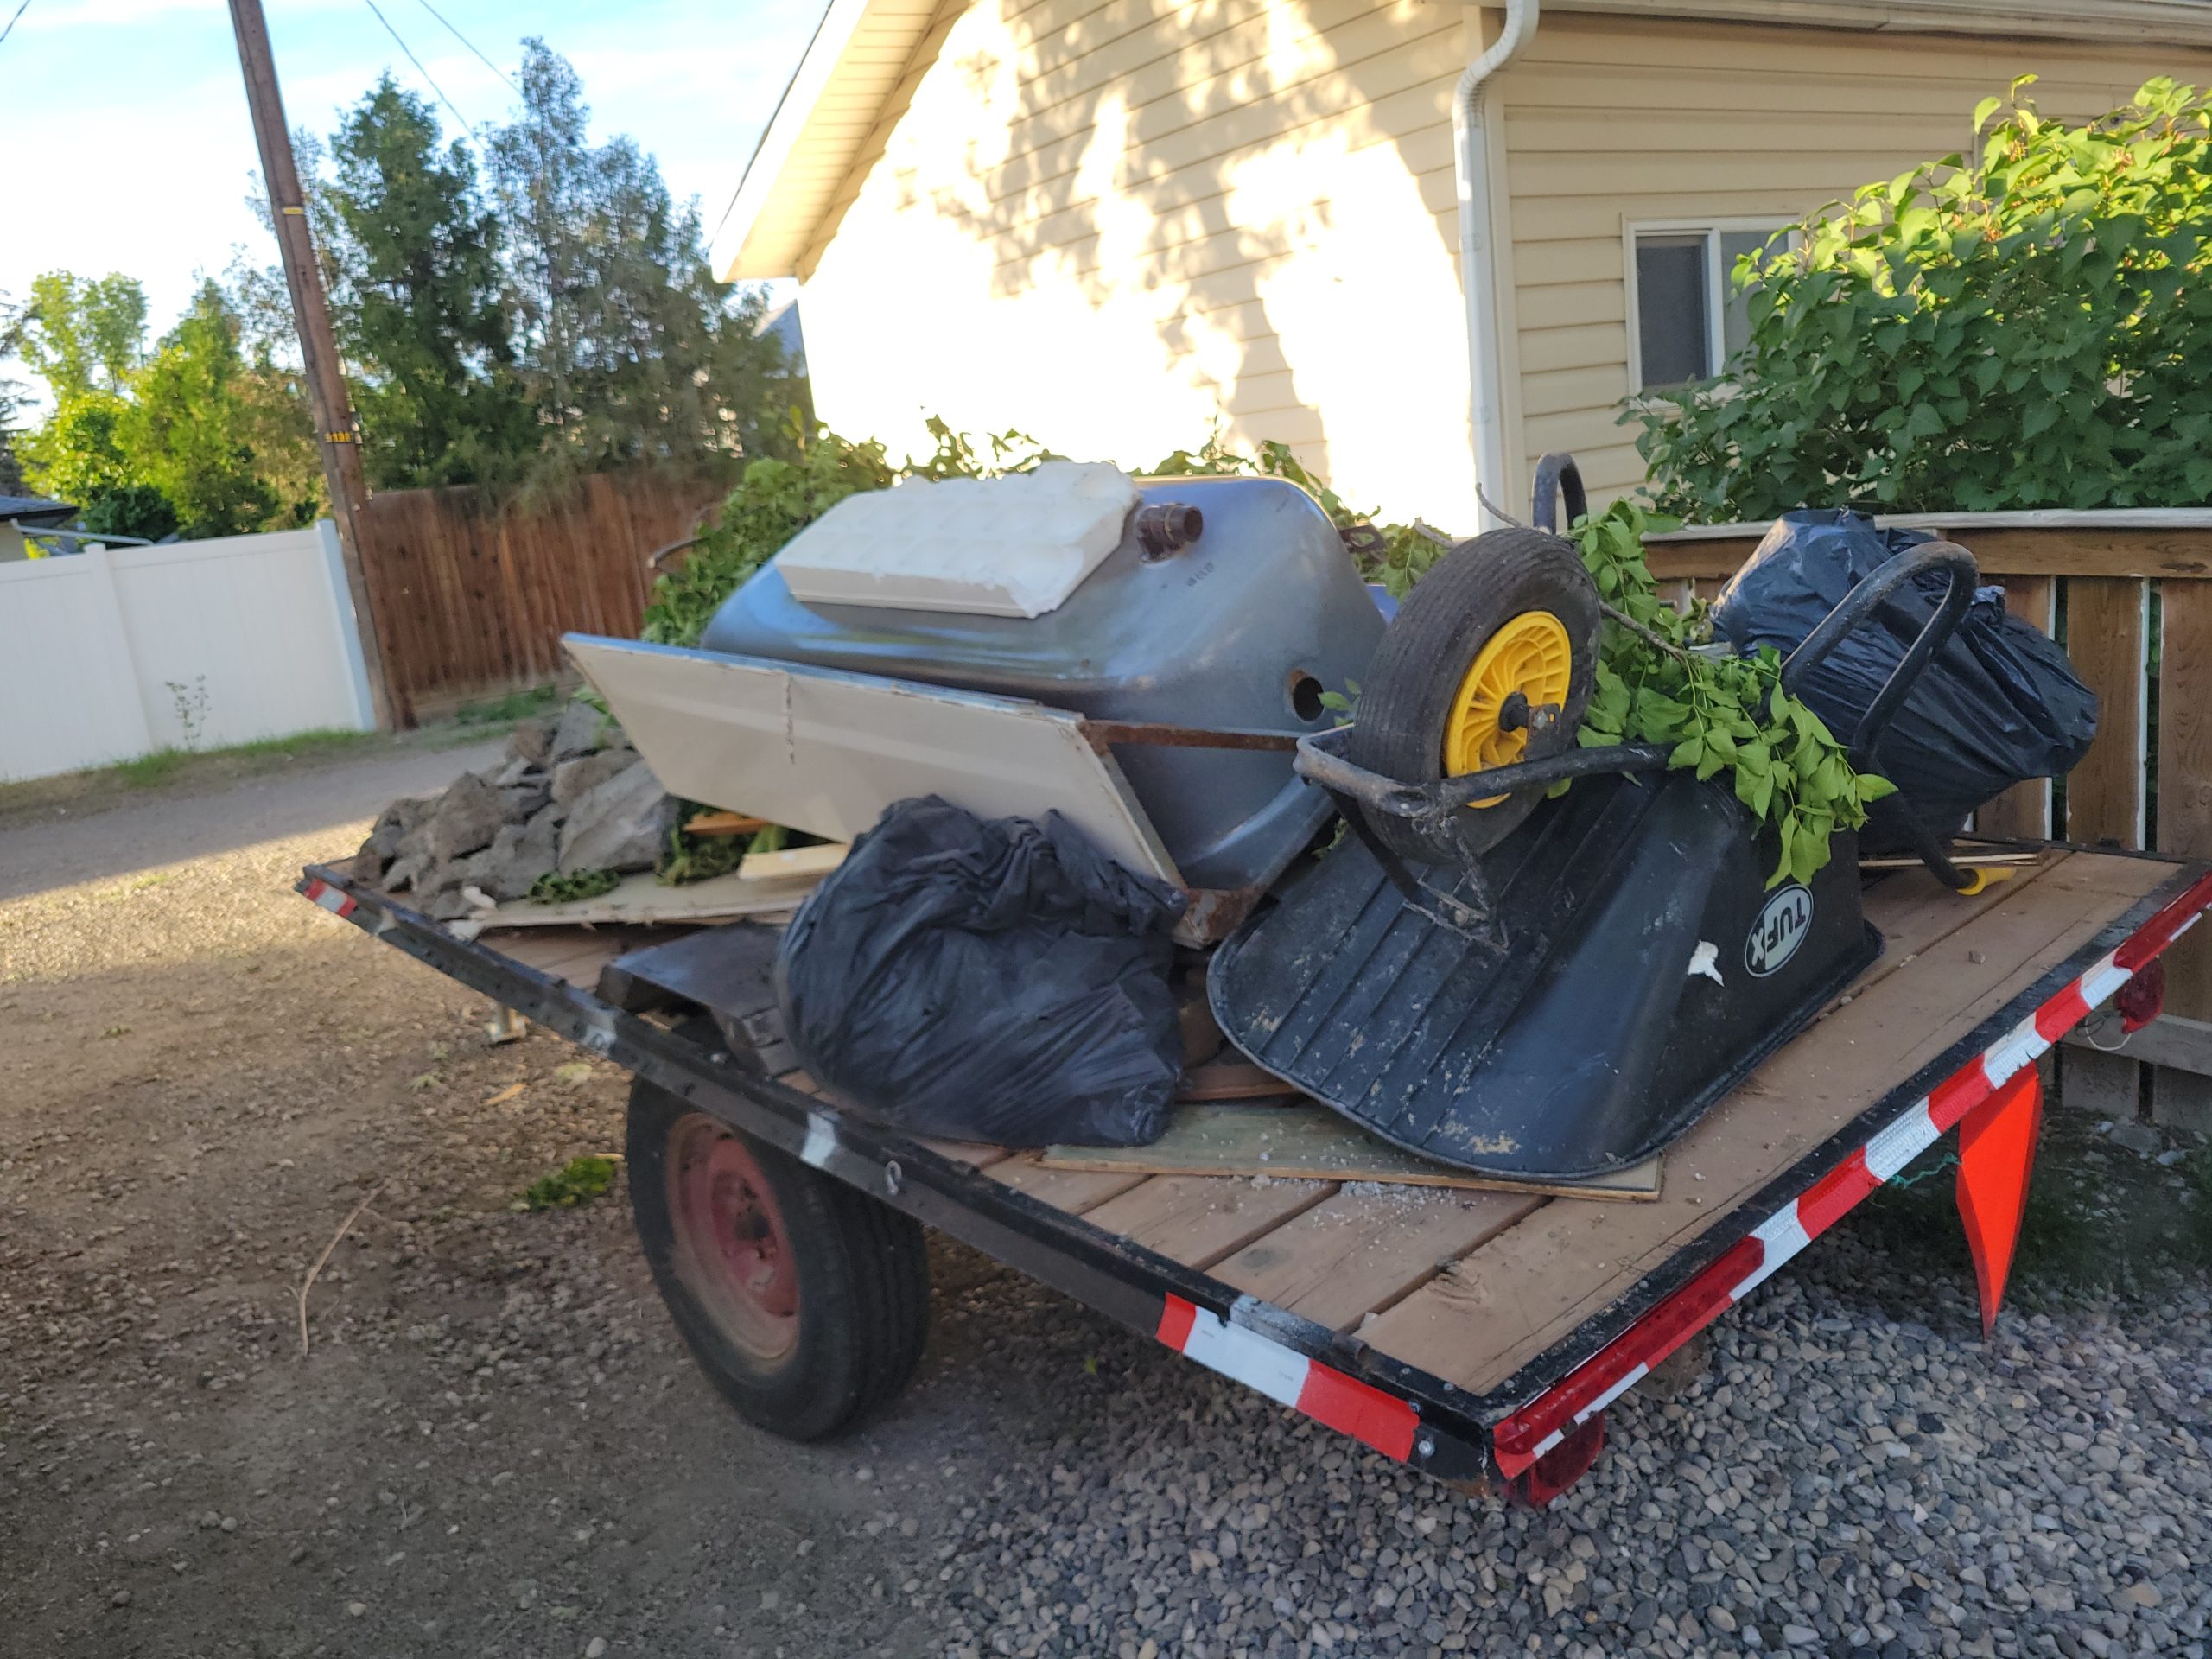
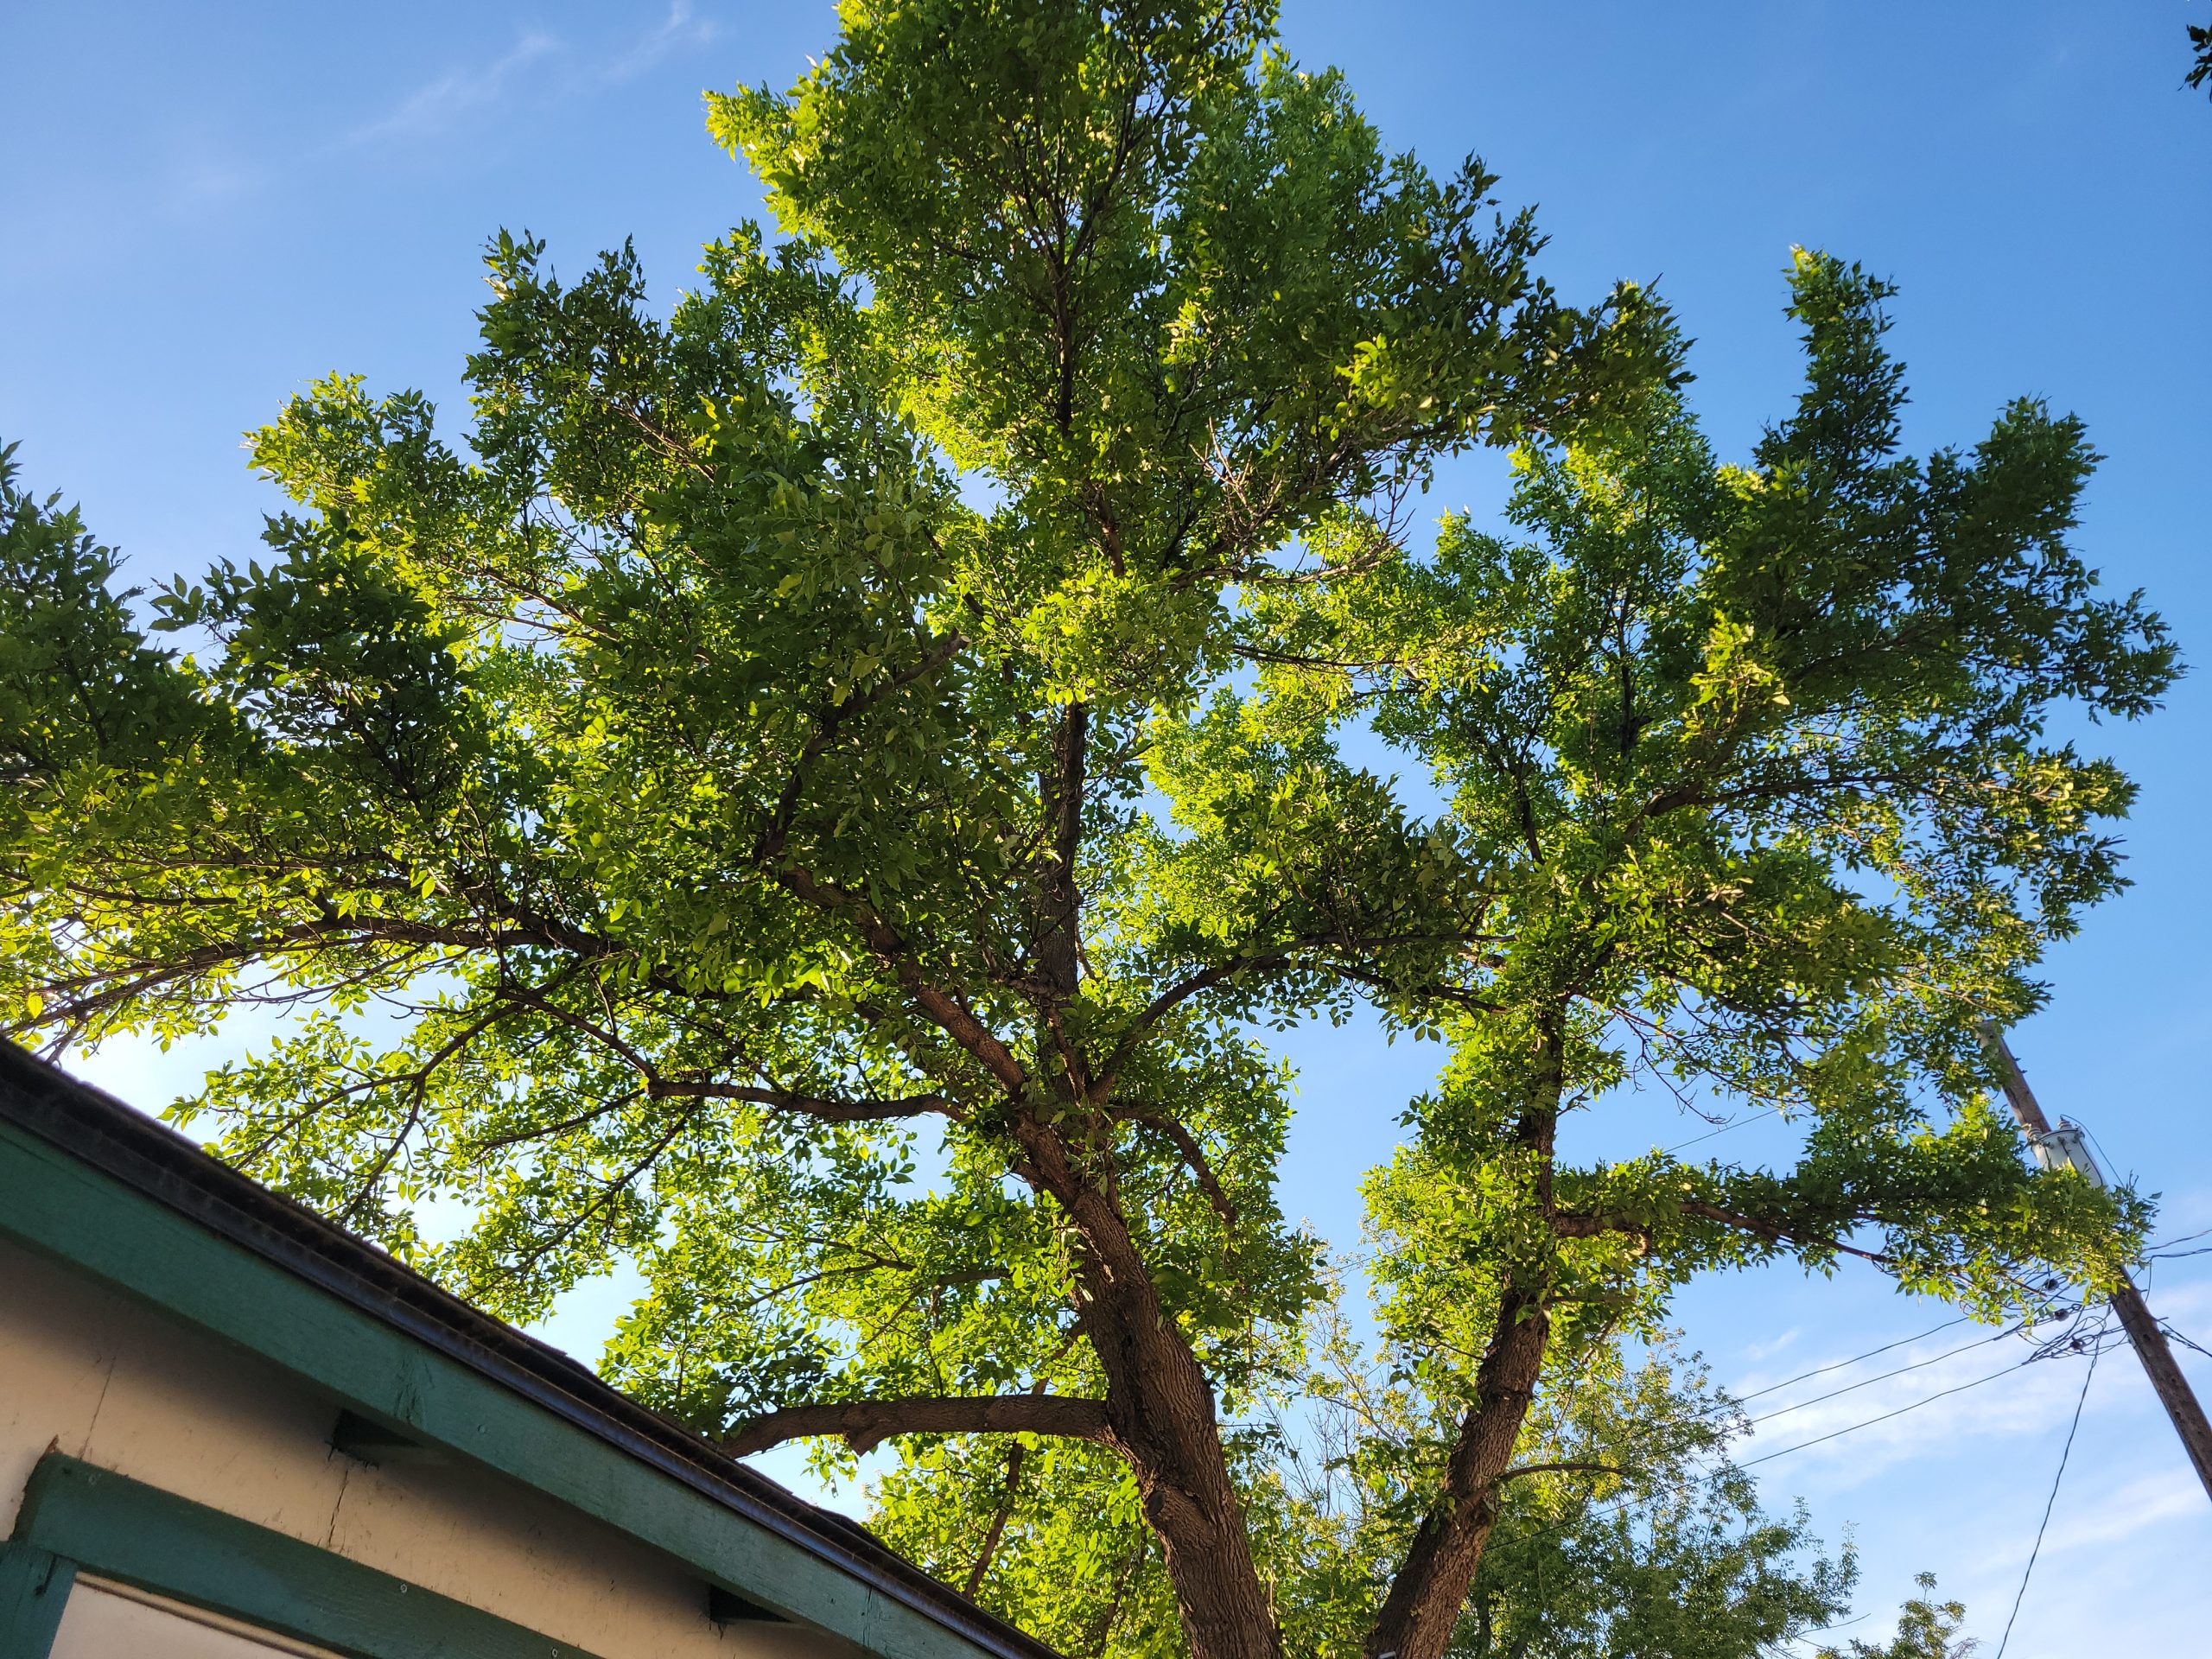
I cleaned out the van and back yard (garden) today, and Dave trimmed a lot of the trees at the alley. Some of them were crowding the power lines.
I rented a jack hammer (chipping hammer) to clean off three of the posts exhumed from the old locations of the fence.
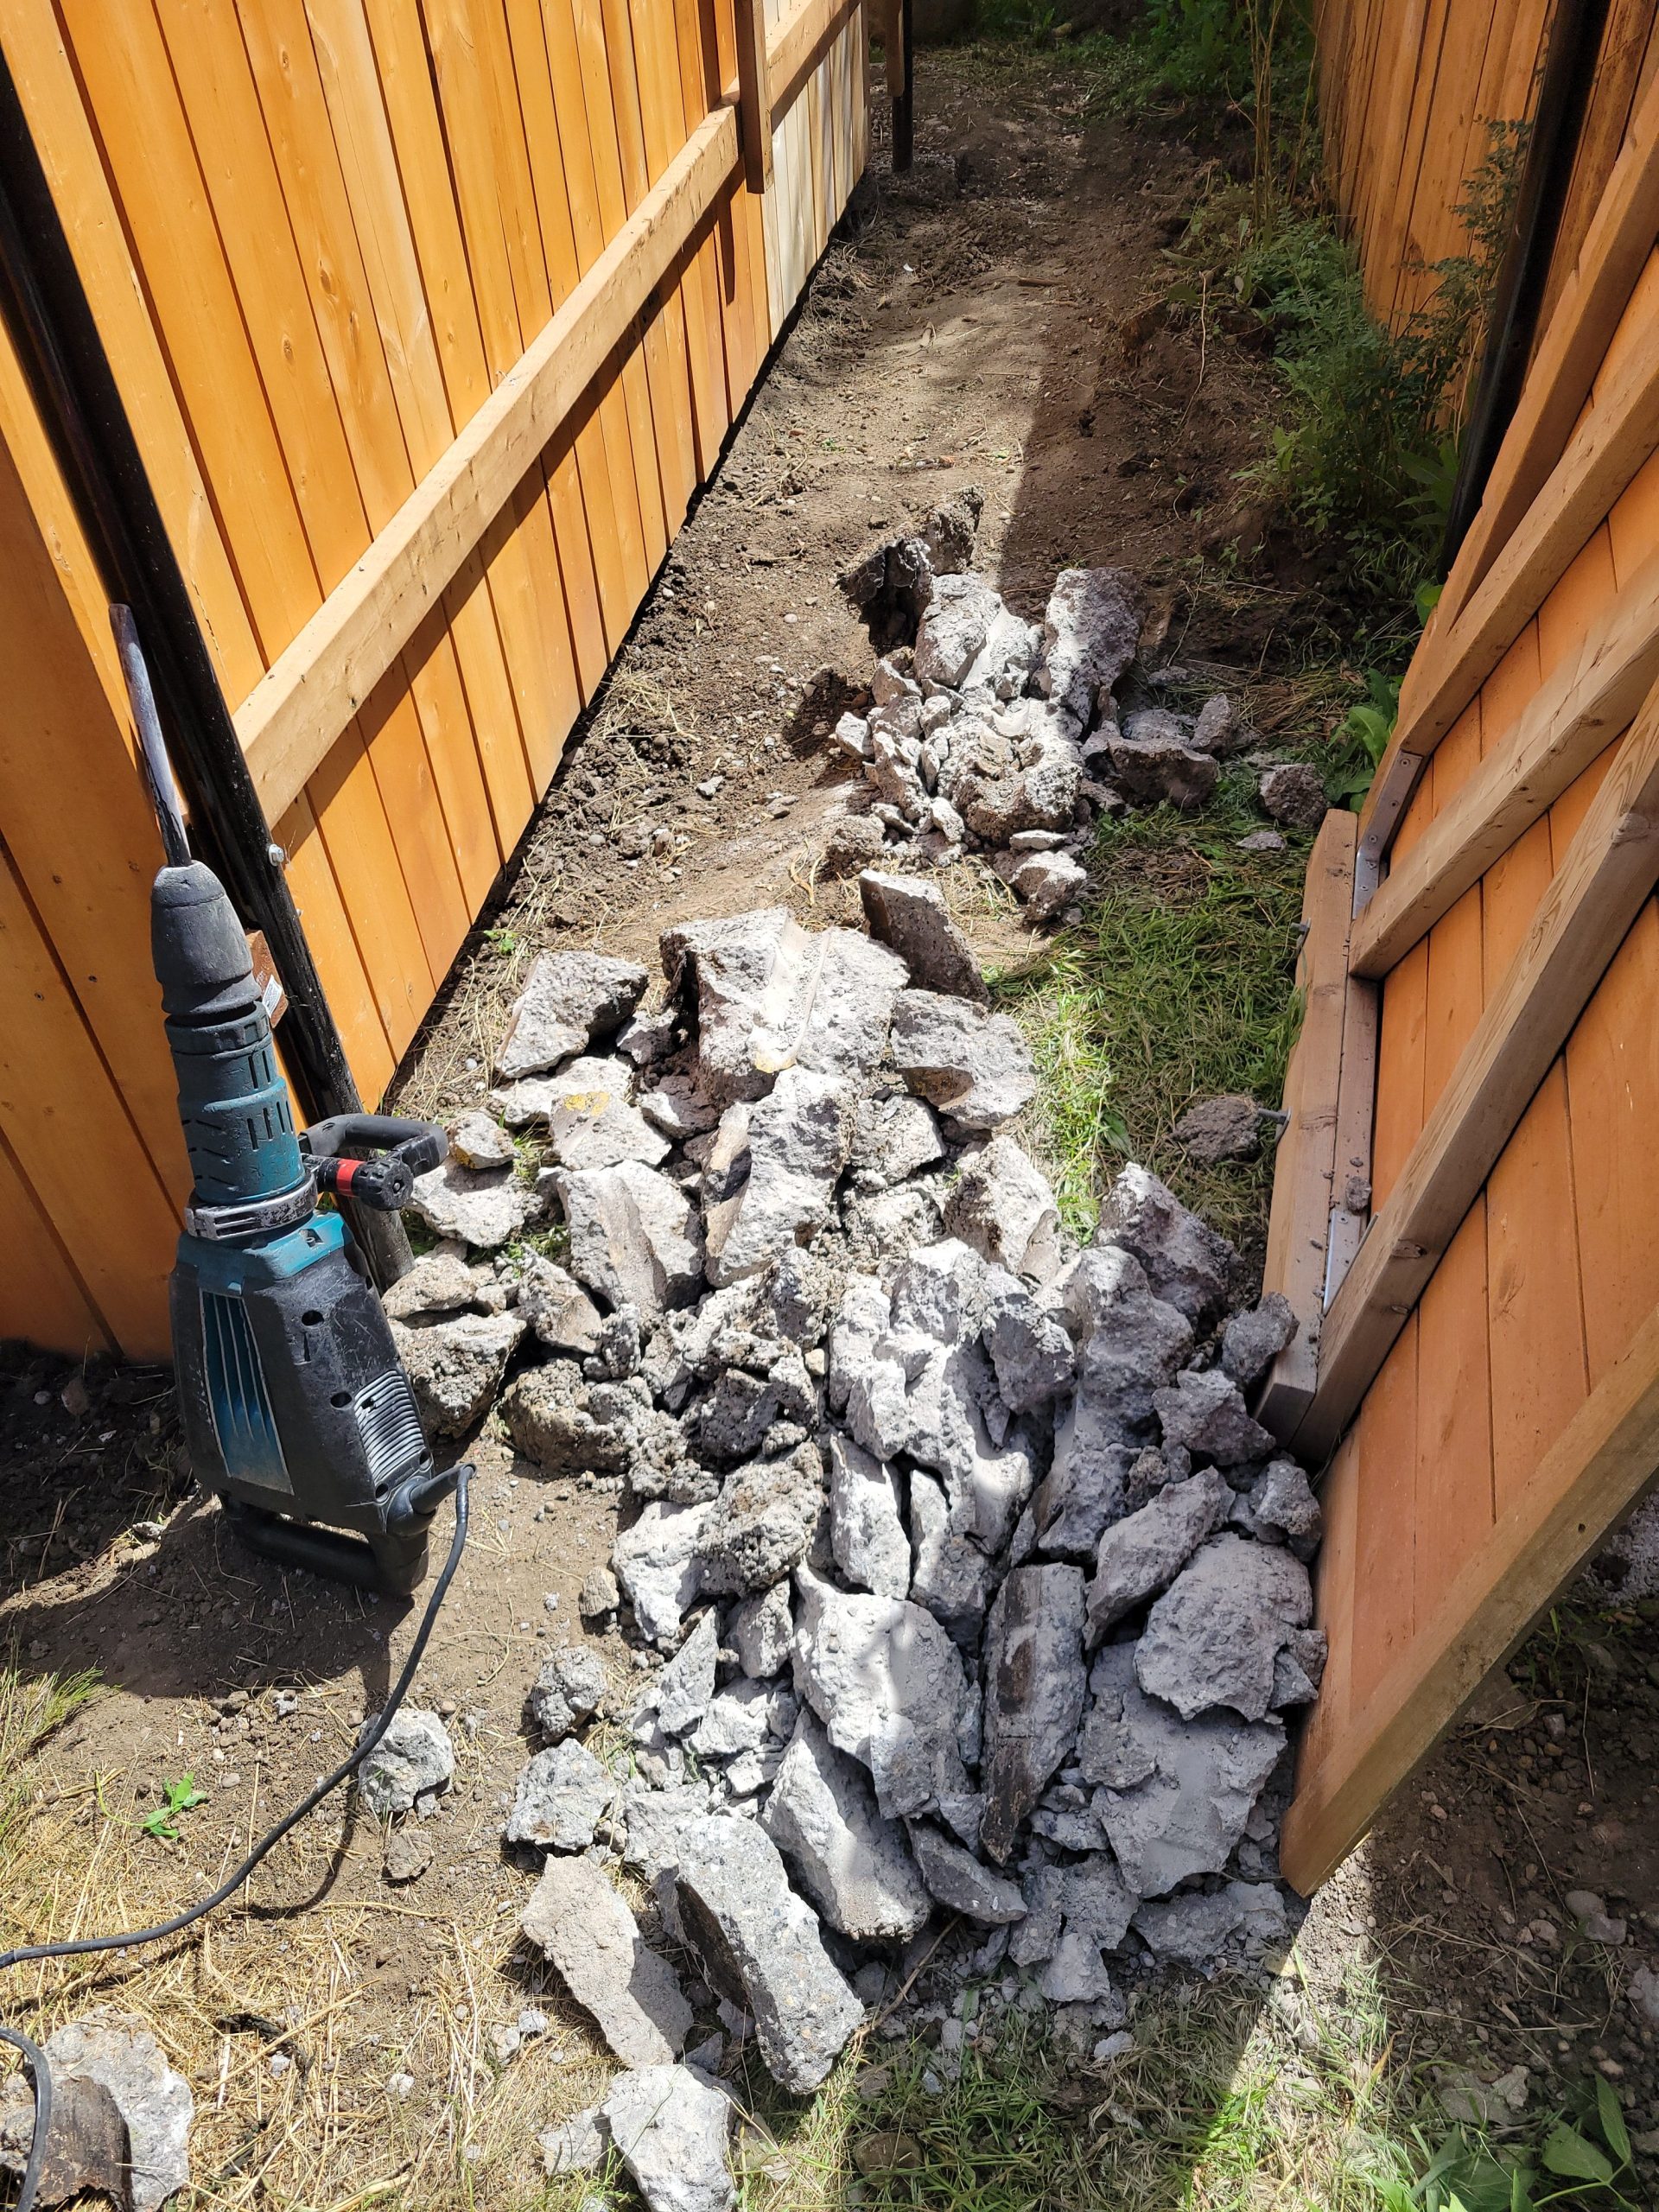
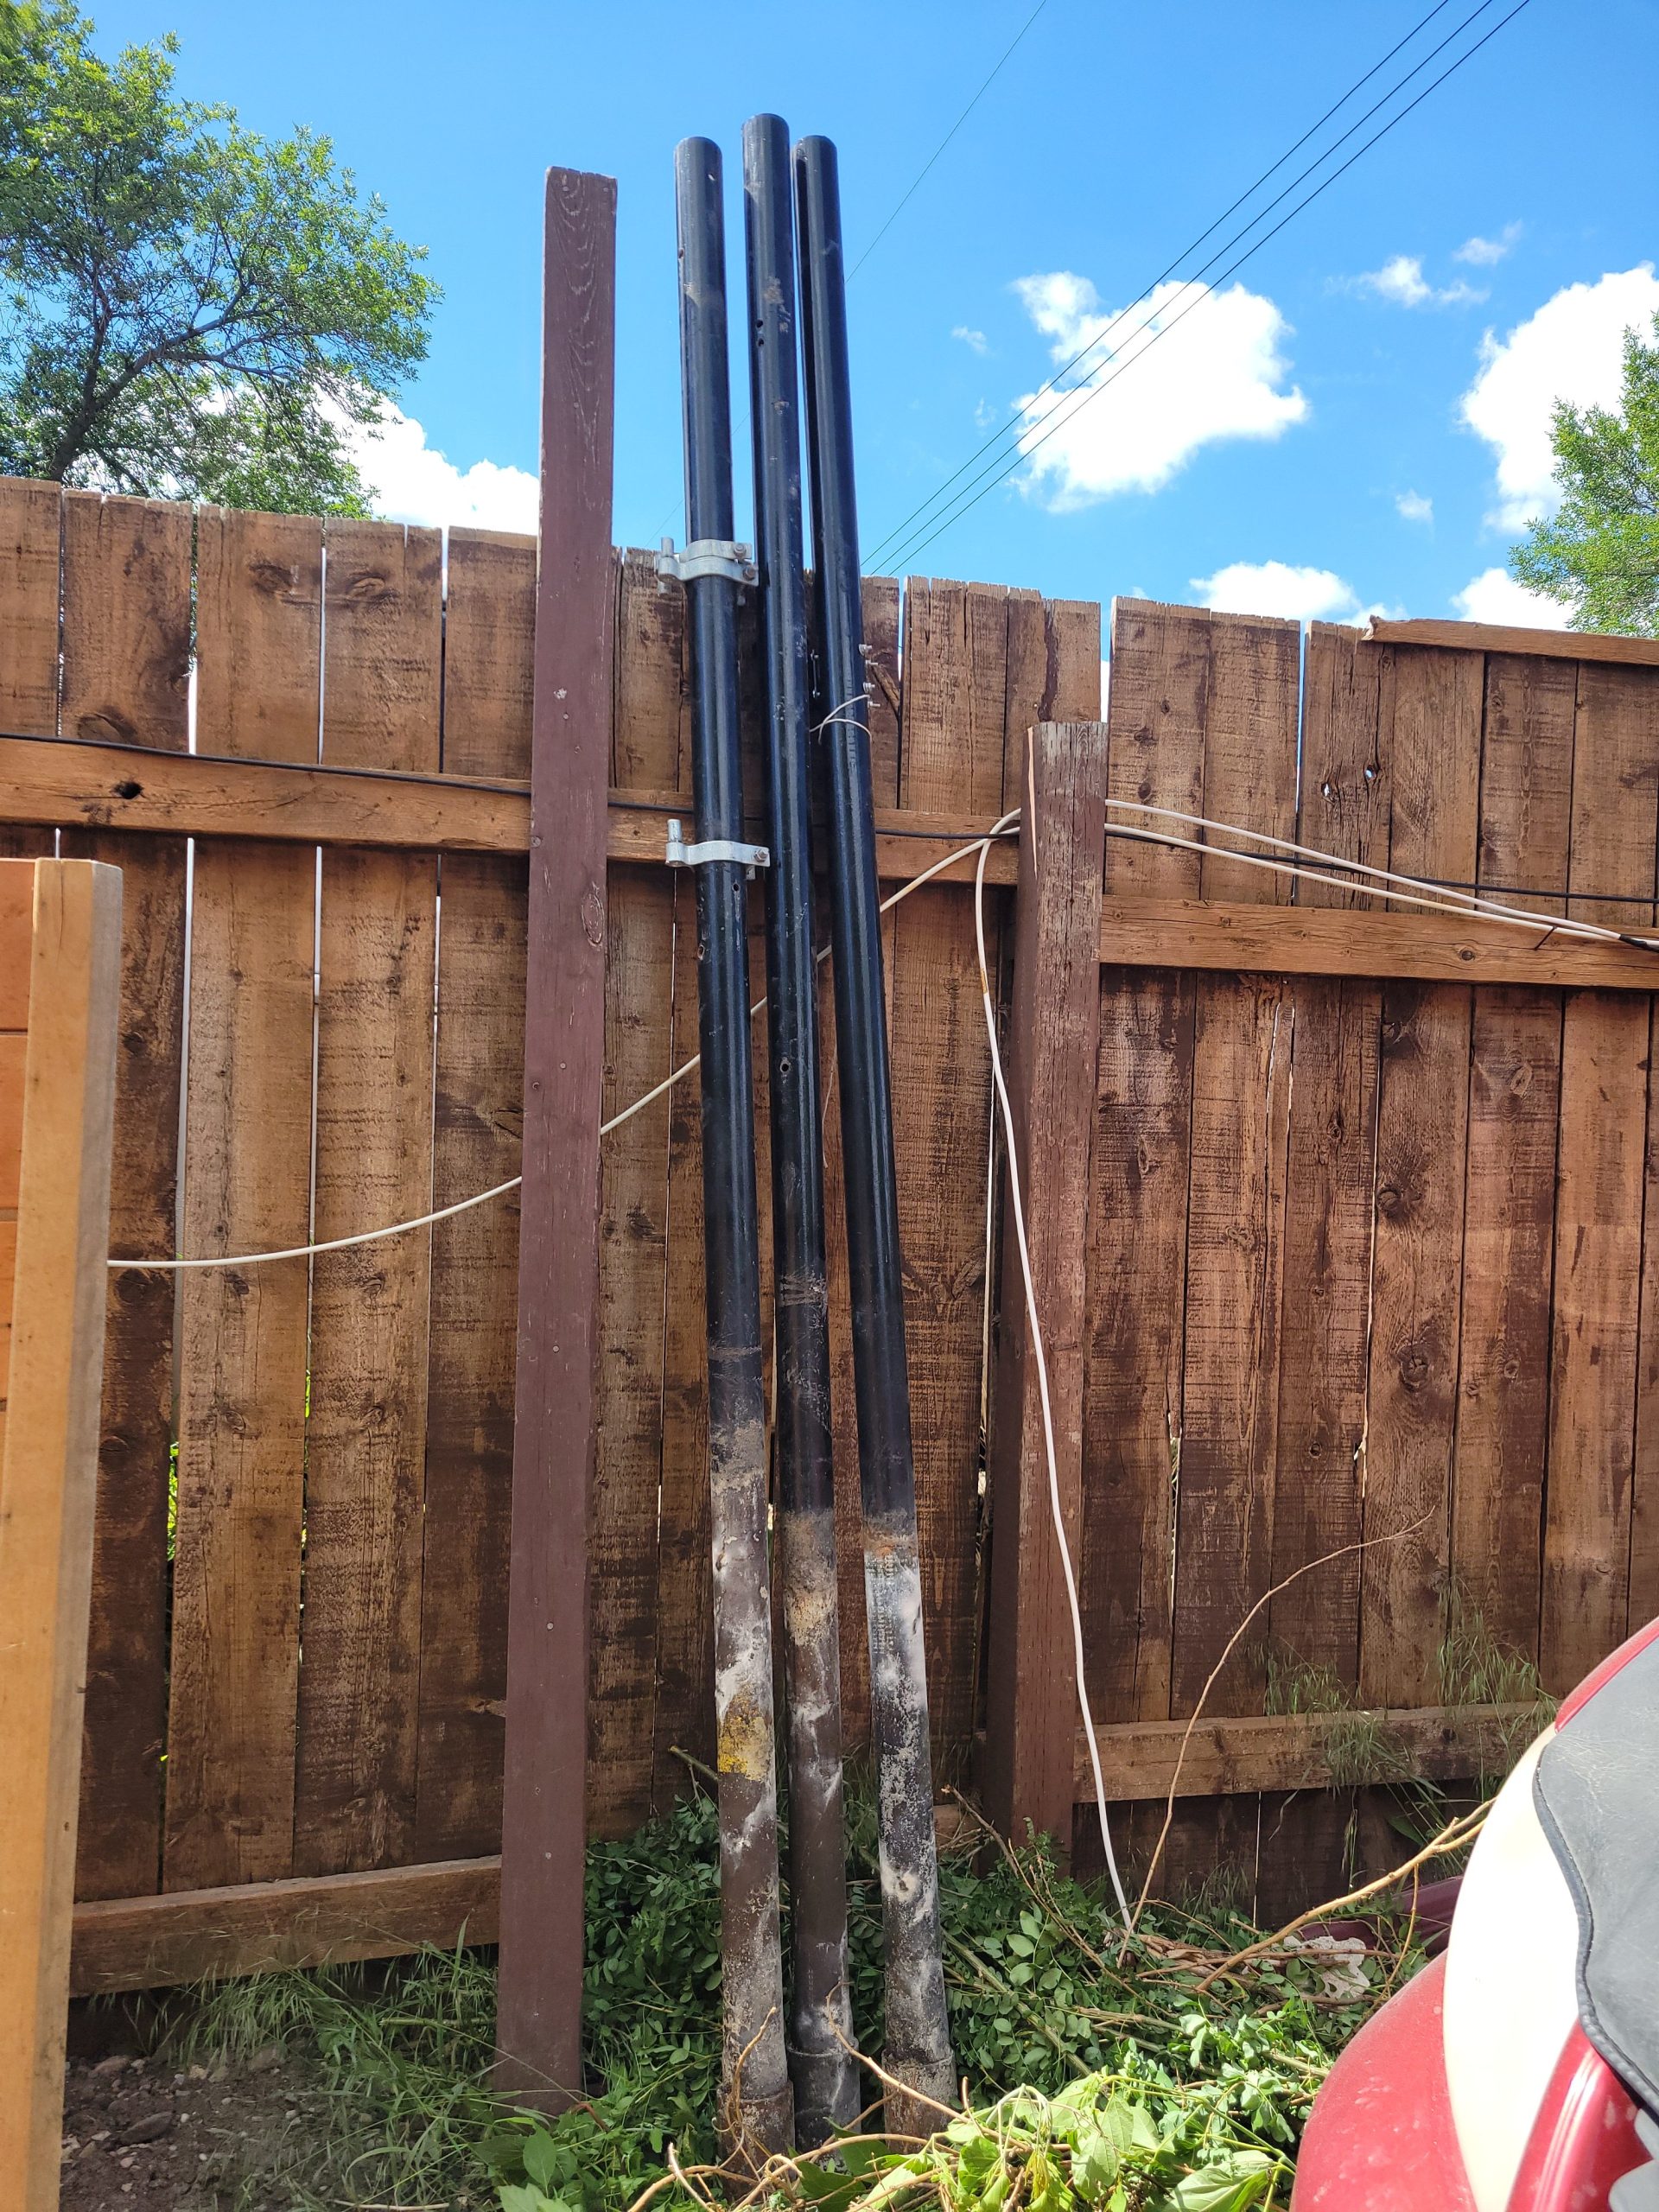
It was a less-than-an-hour rental ($40 from Wards). Now I have three posts that I don’t know what to do with. They’ll be used up somewhere … eventually.
I have no idea how Dave is going to make this transition. He’s a drywall miracle worker, but its quite a gap. There is an elevation difference of half an inch.
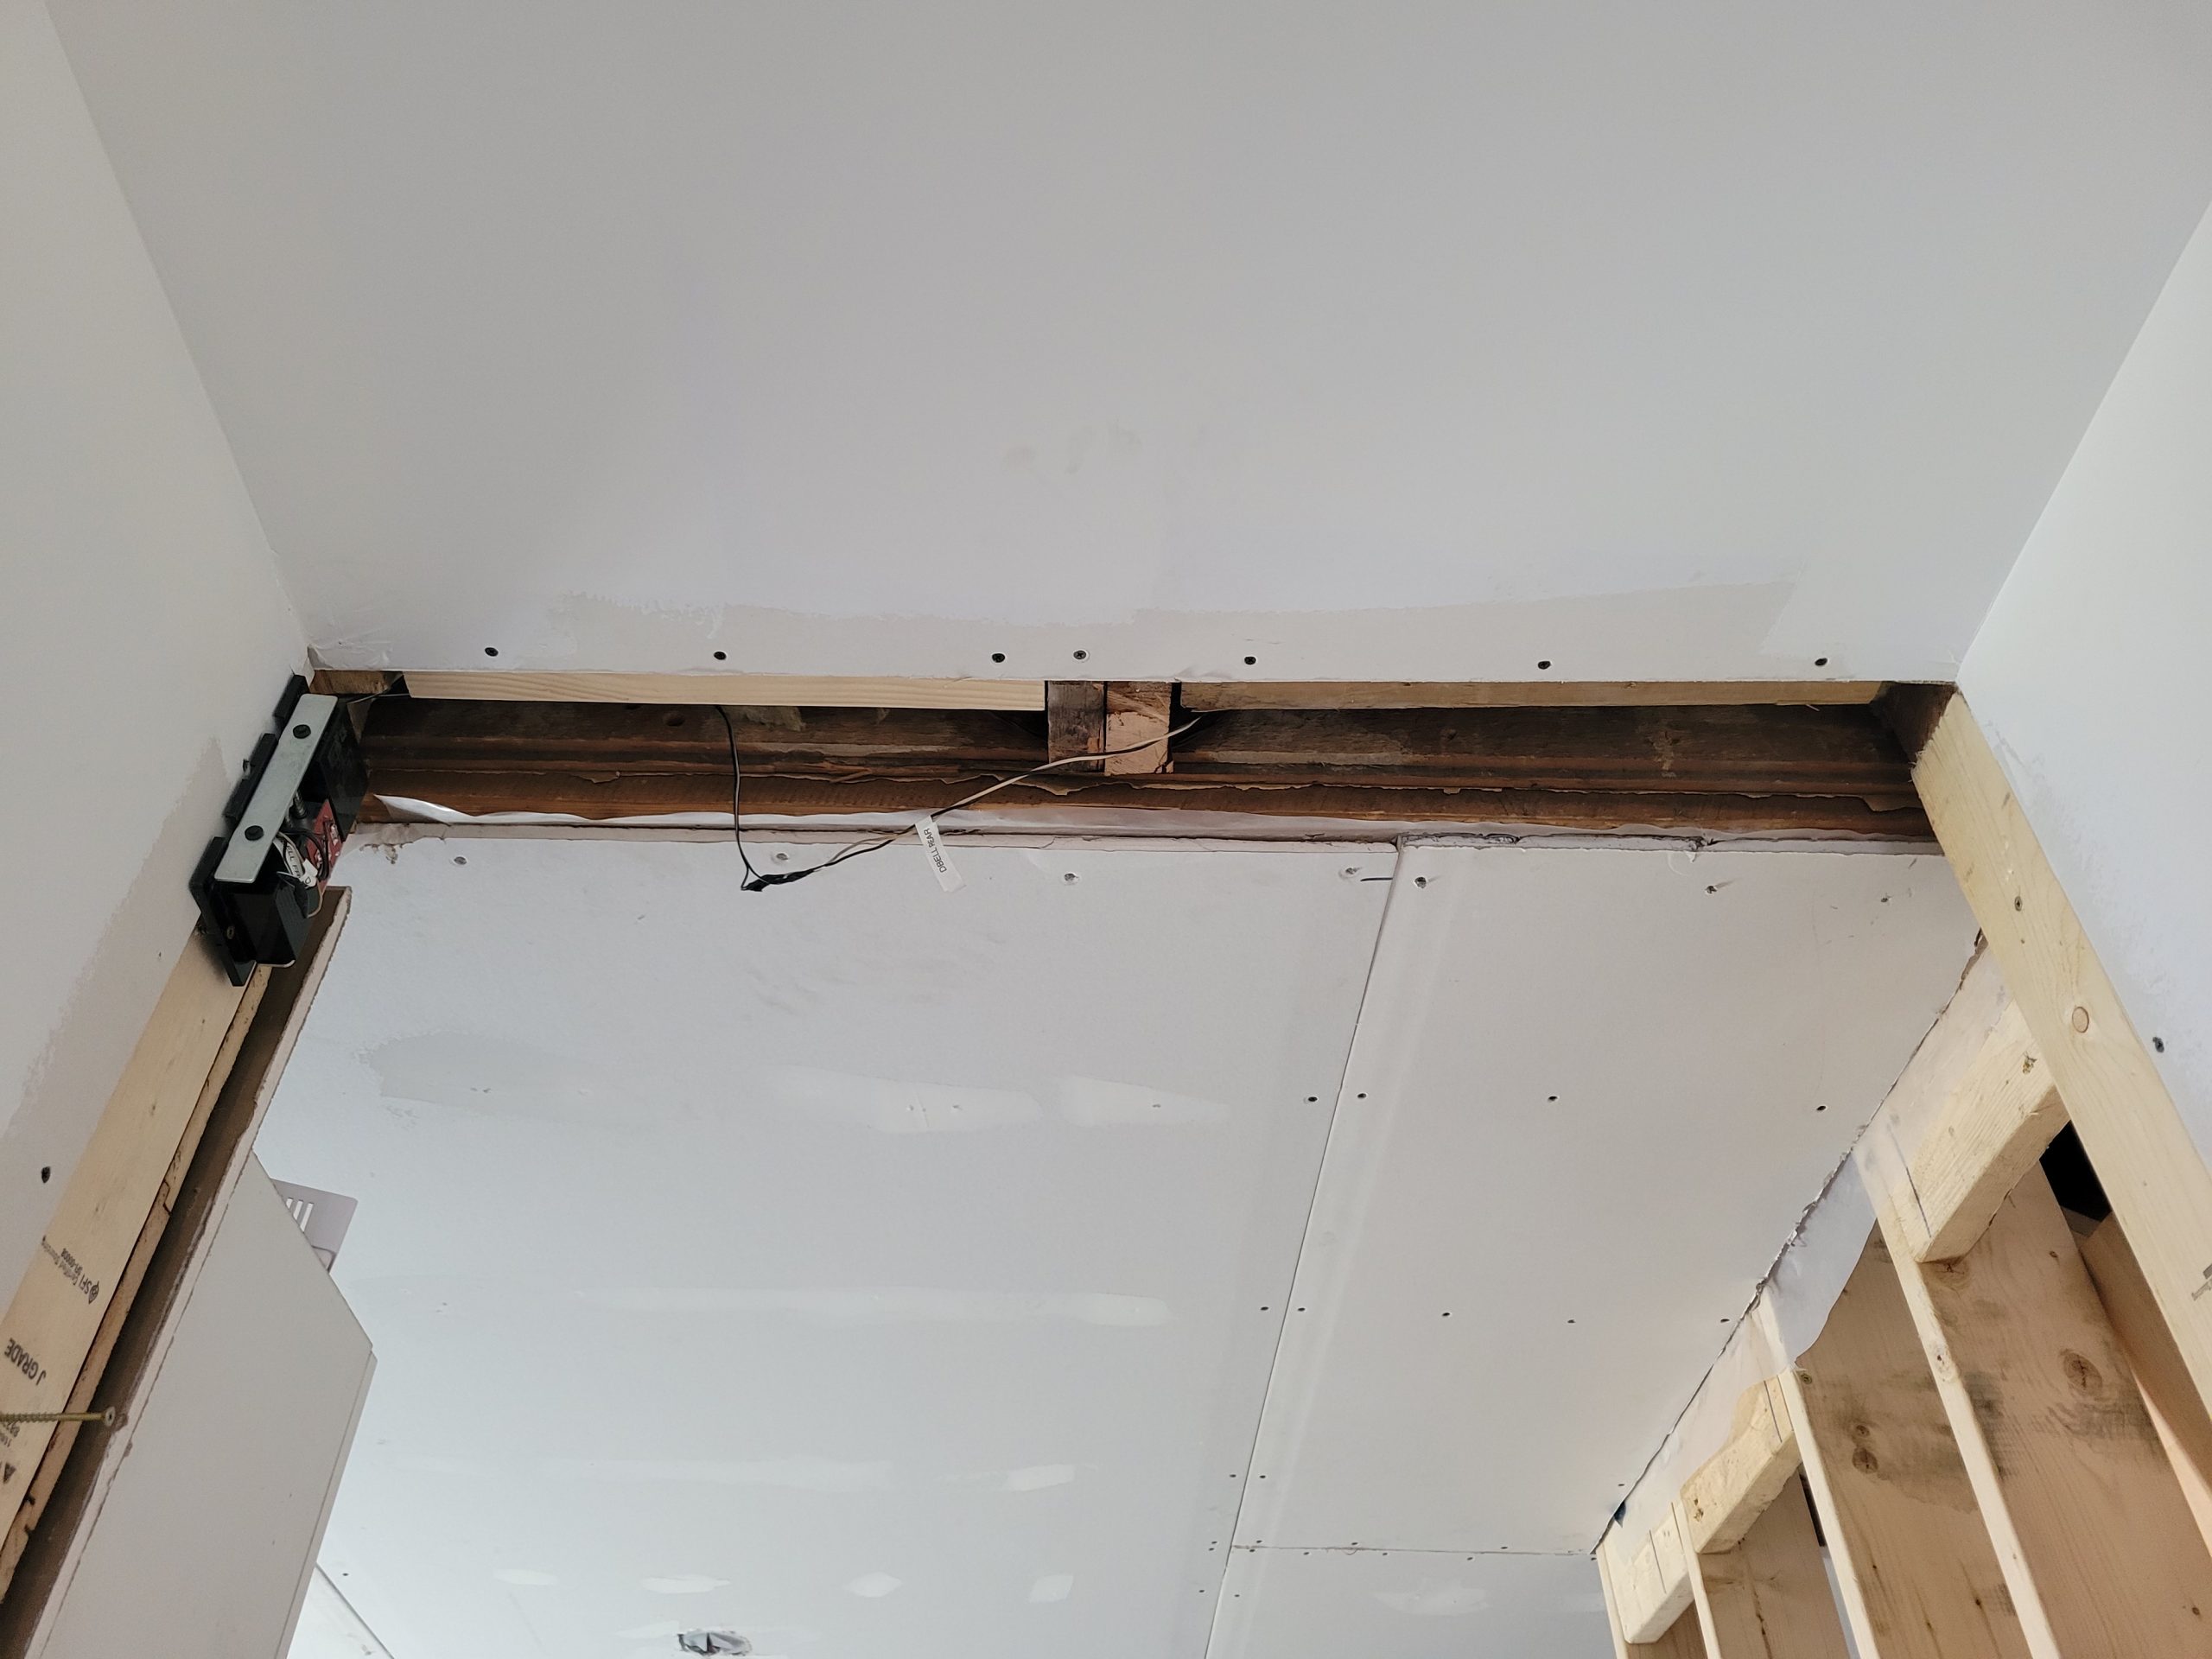
The hallway has 5/8″ for fireproofing, and the kitchen, as there is no suite above, has 1/2″.
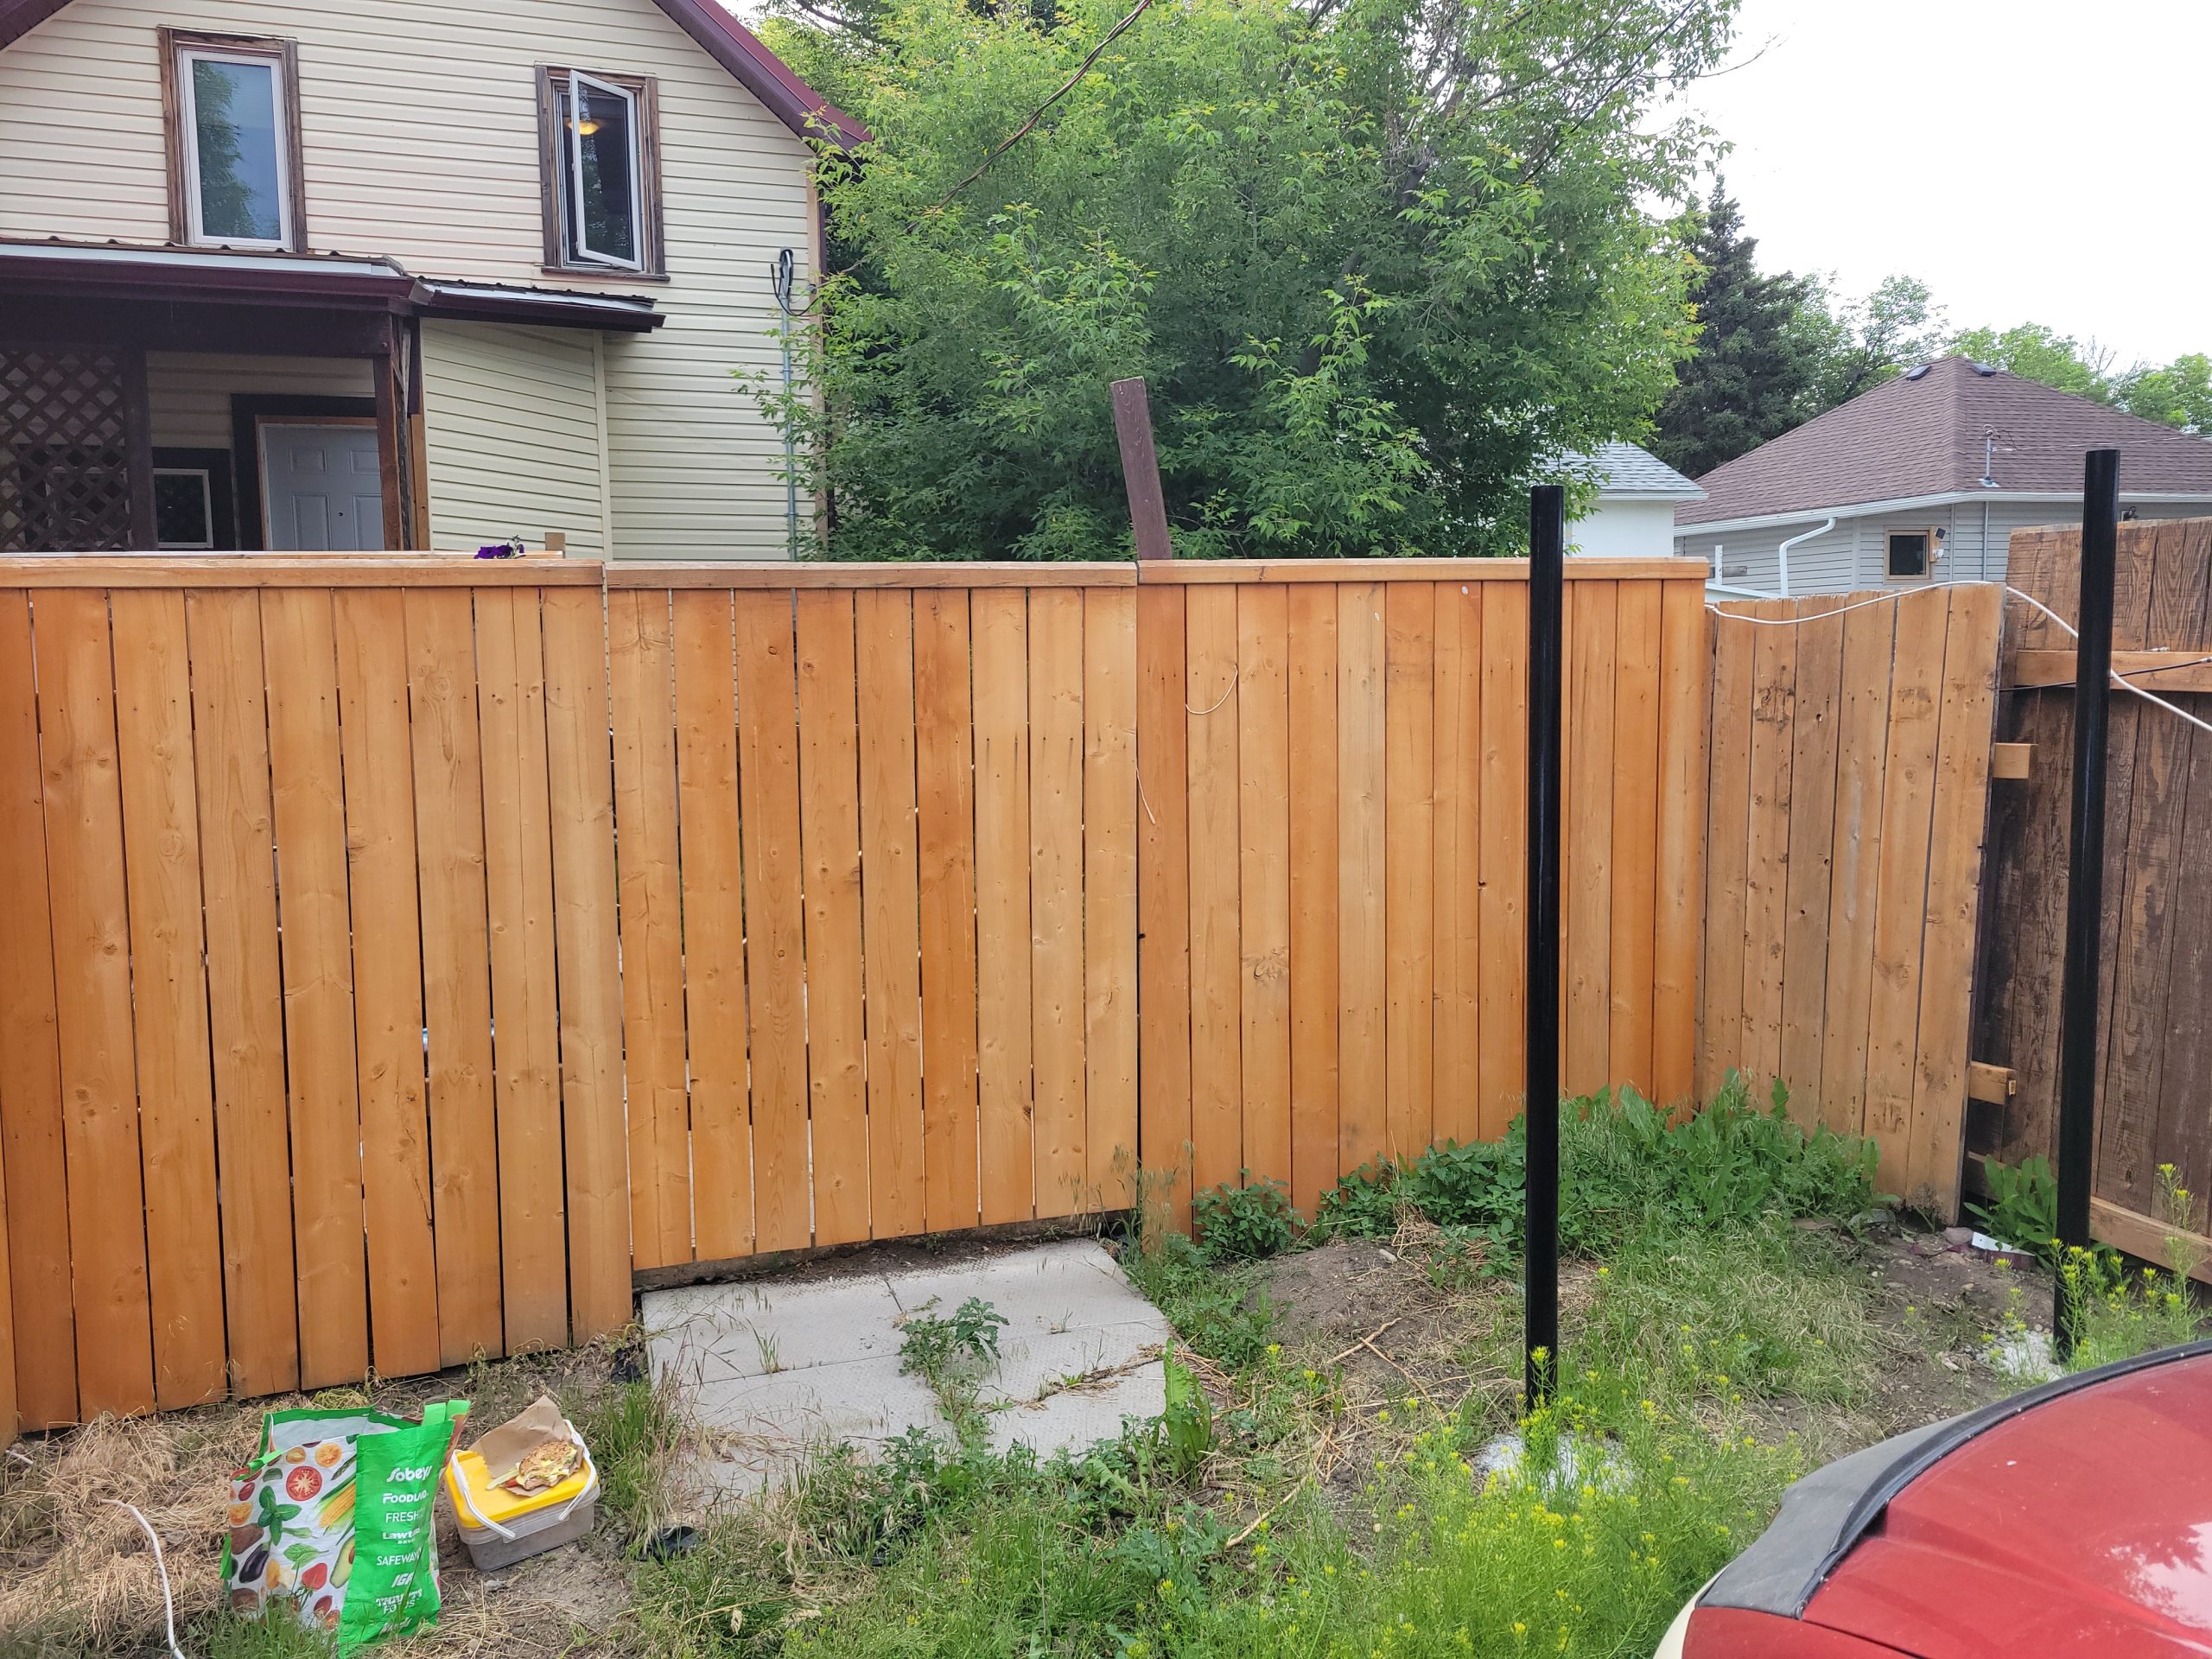
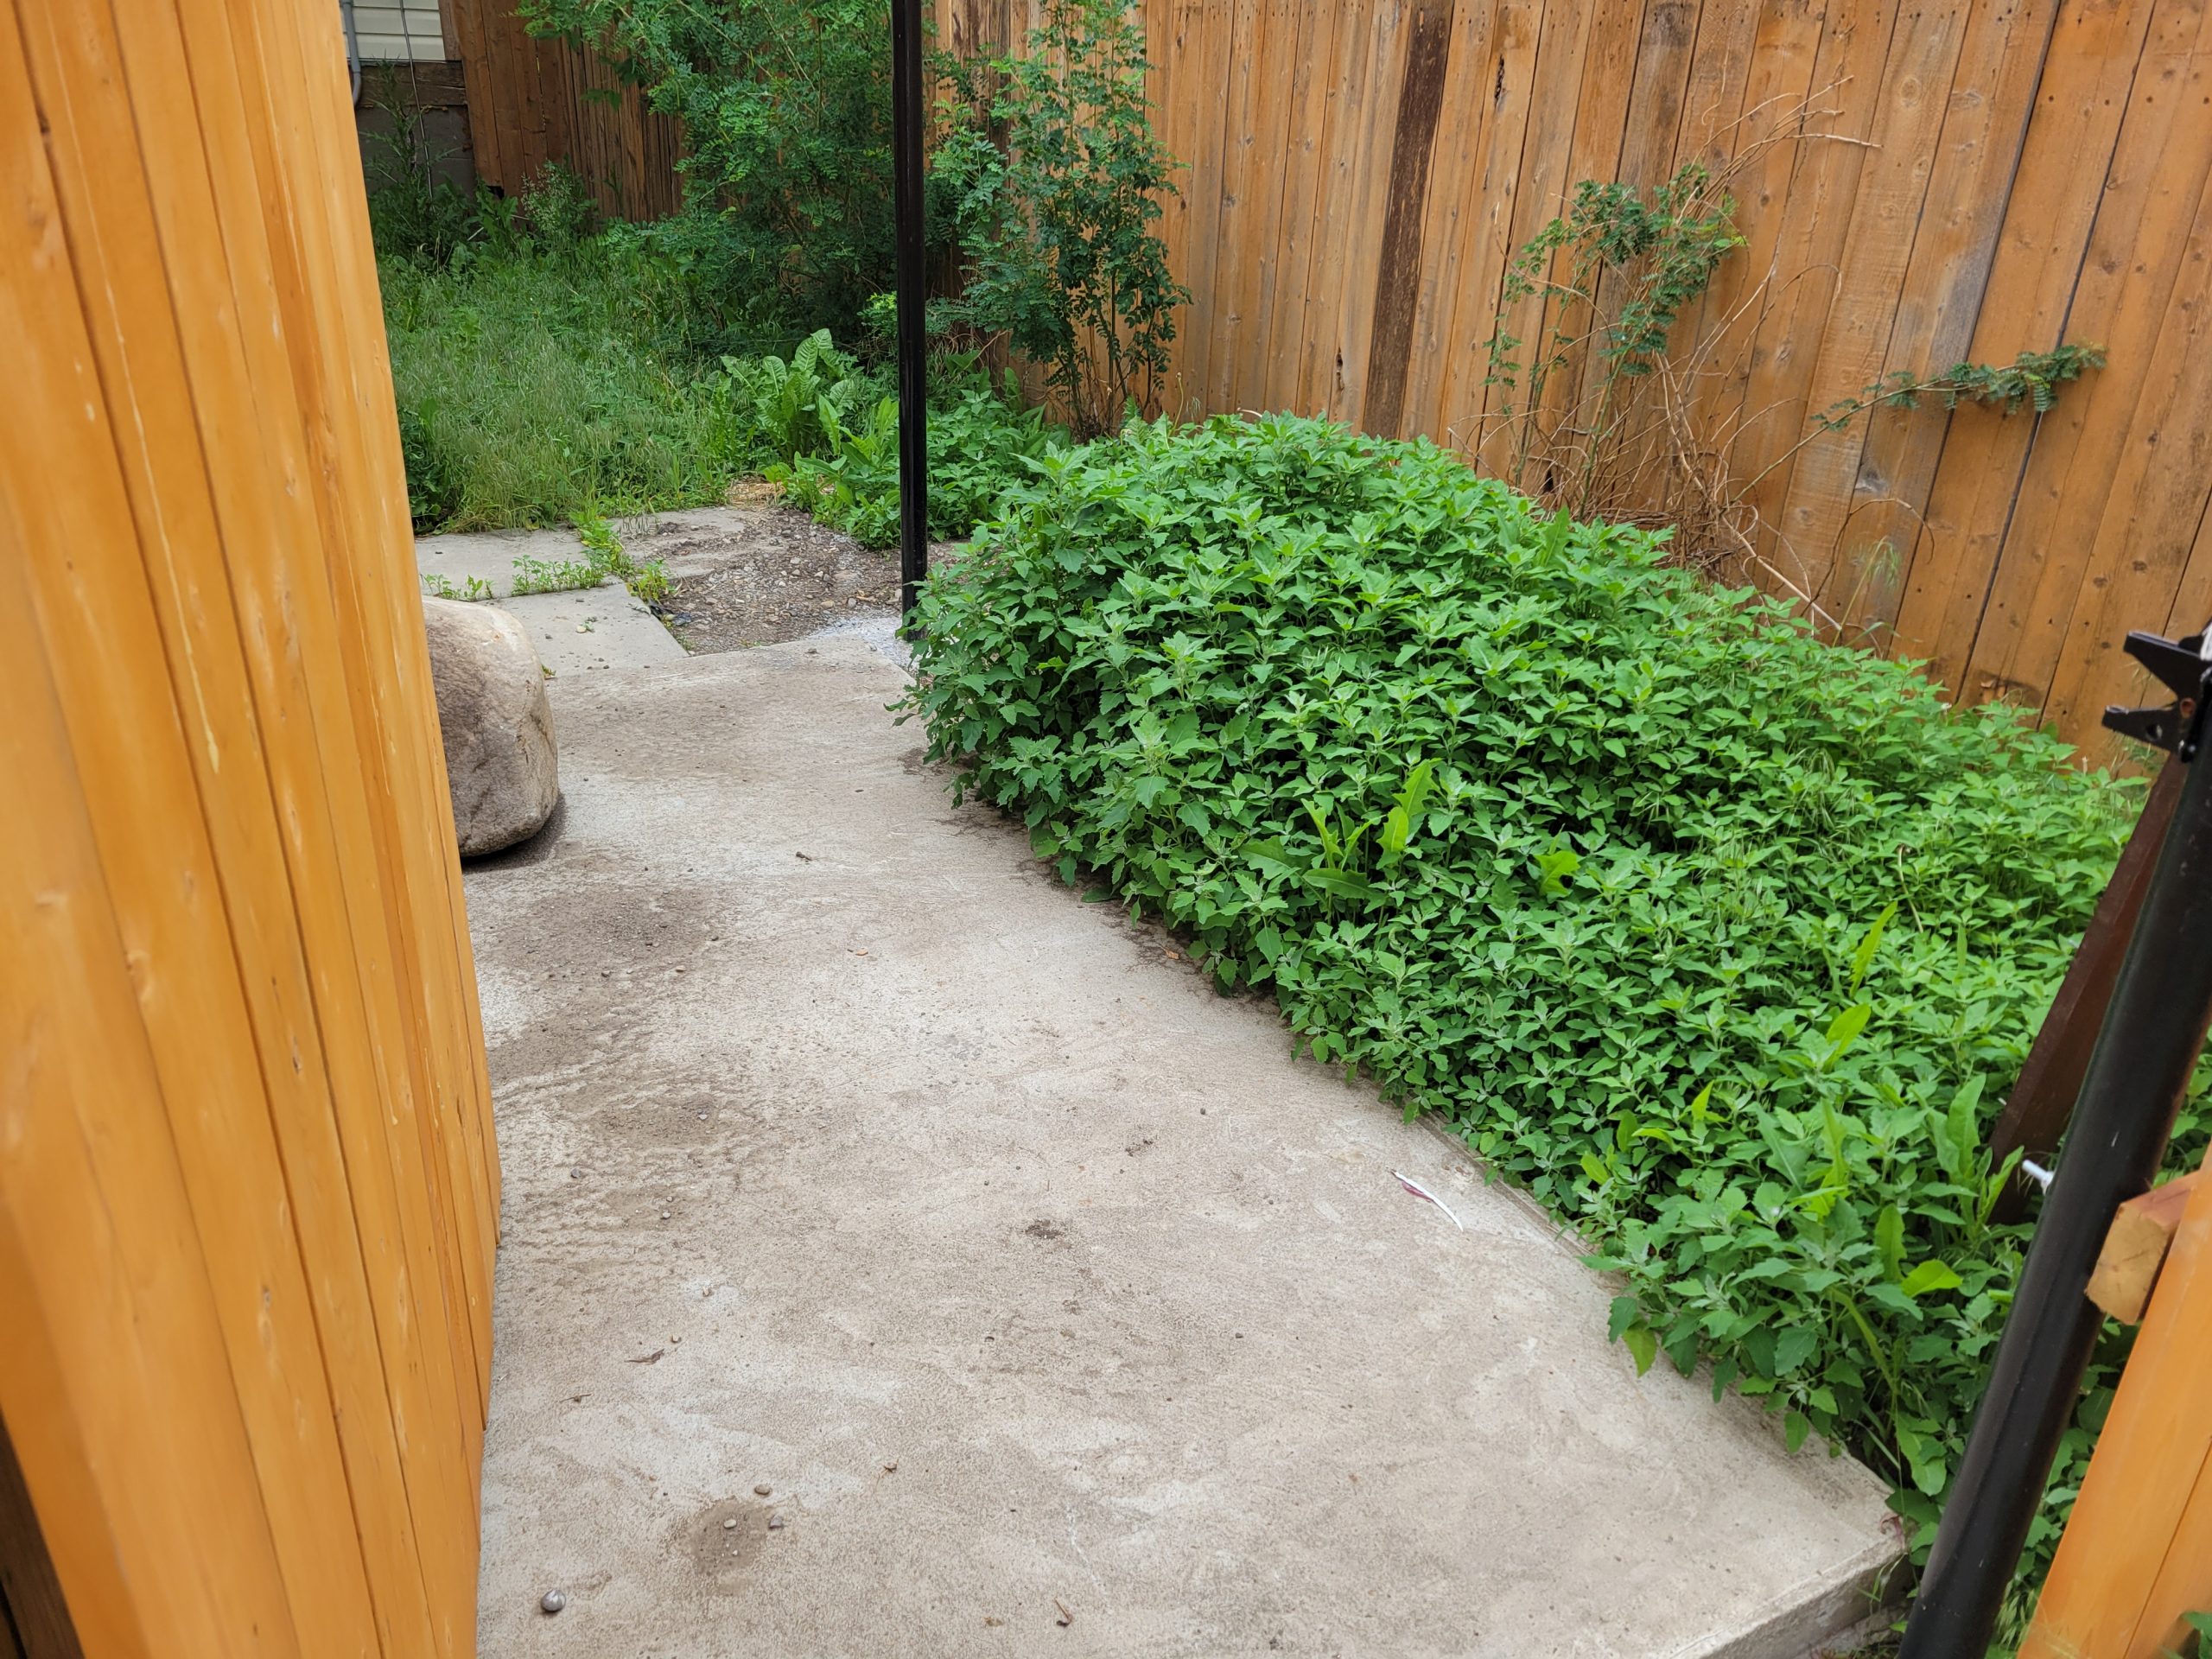
The decision was made a few days ago to redo the fence line at the rear of the property separating the two suites. Why?
The concrete area that used to house the gazebo was not used well. It will be allotted to the rear suite, and a new walkway will be put in for rear parking and garbage access for the main suite (house). It won’t affect the back decks of the house.
Also, the rear suite gate would not close because of a) constant perpendicular pull and b) my incorrect decision to use a type of hinge ordered from the States.
old fence
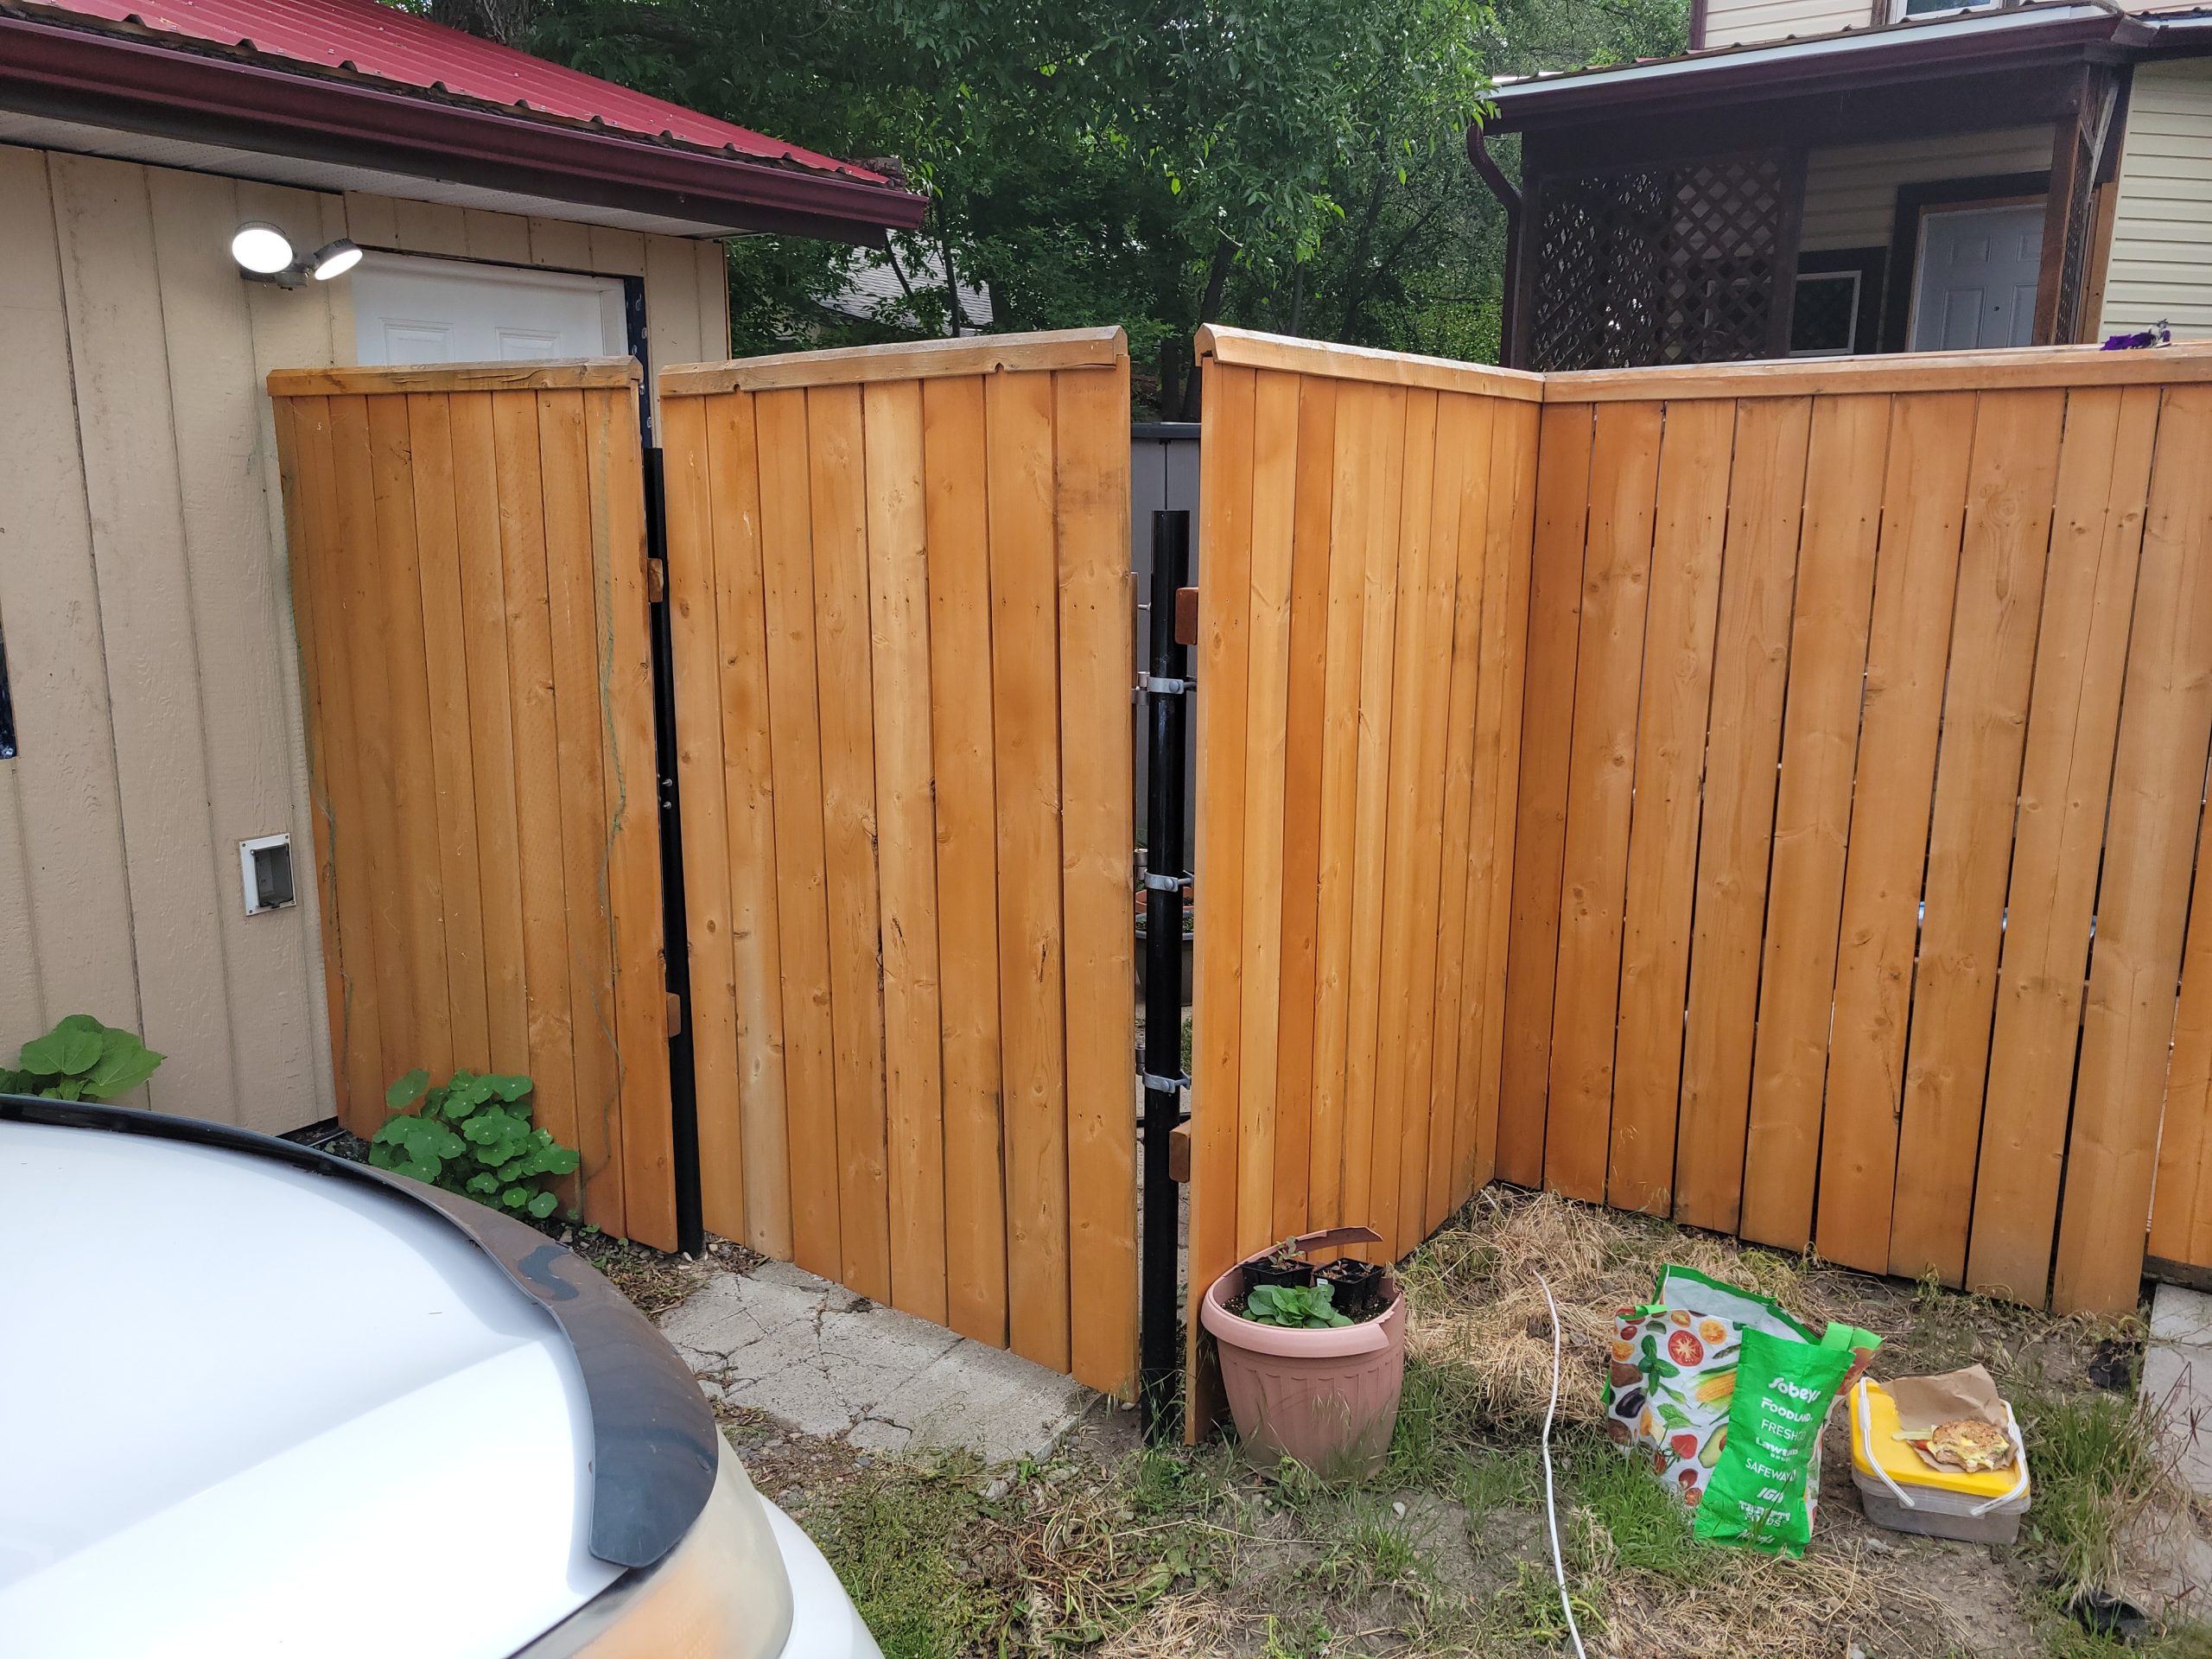
previous main suite walkway shared with rear suite patio
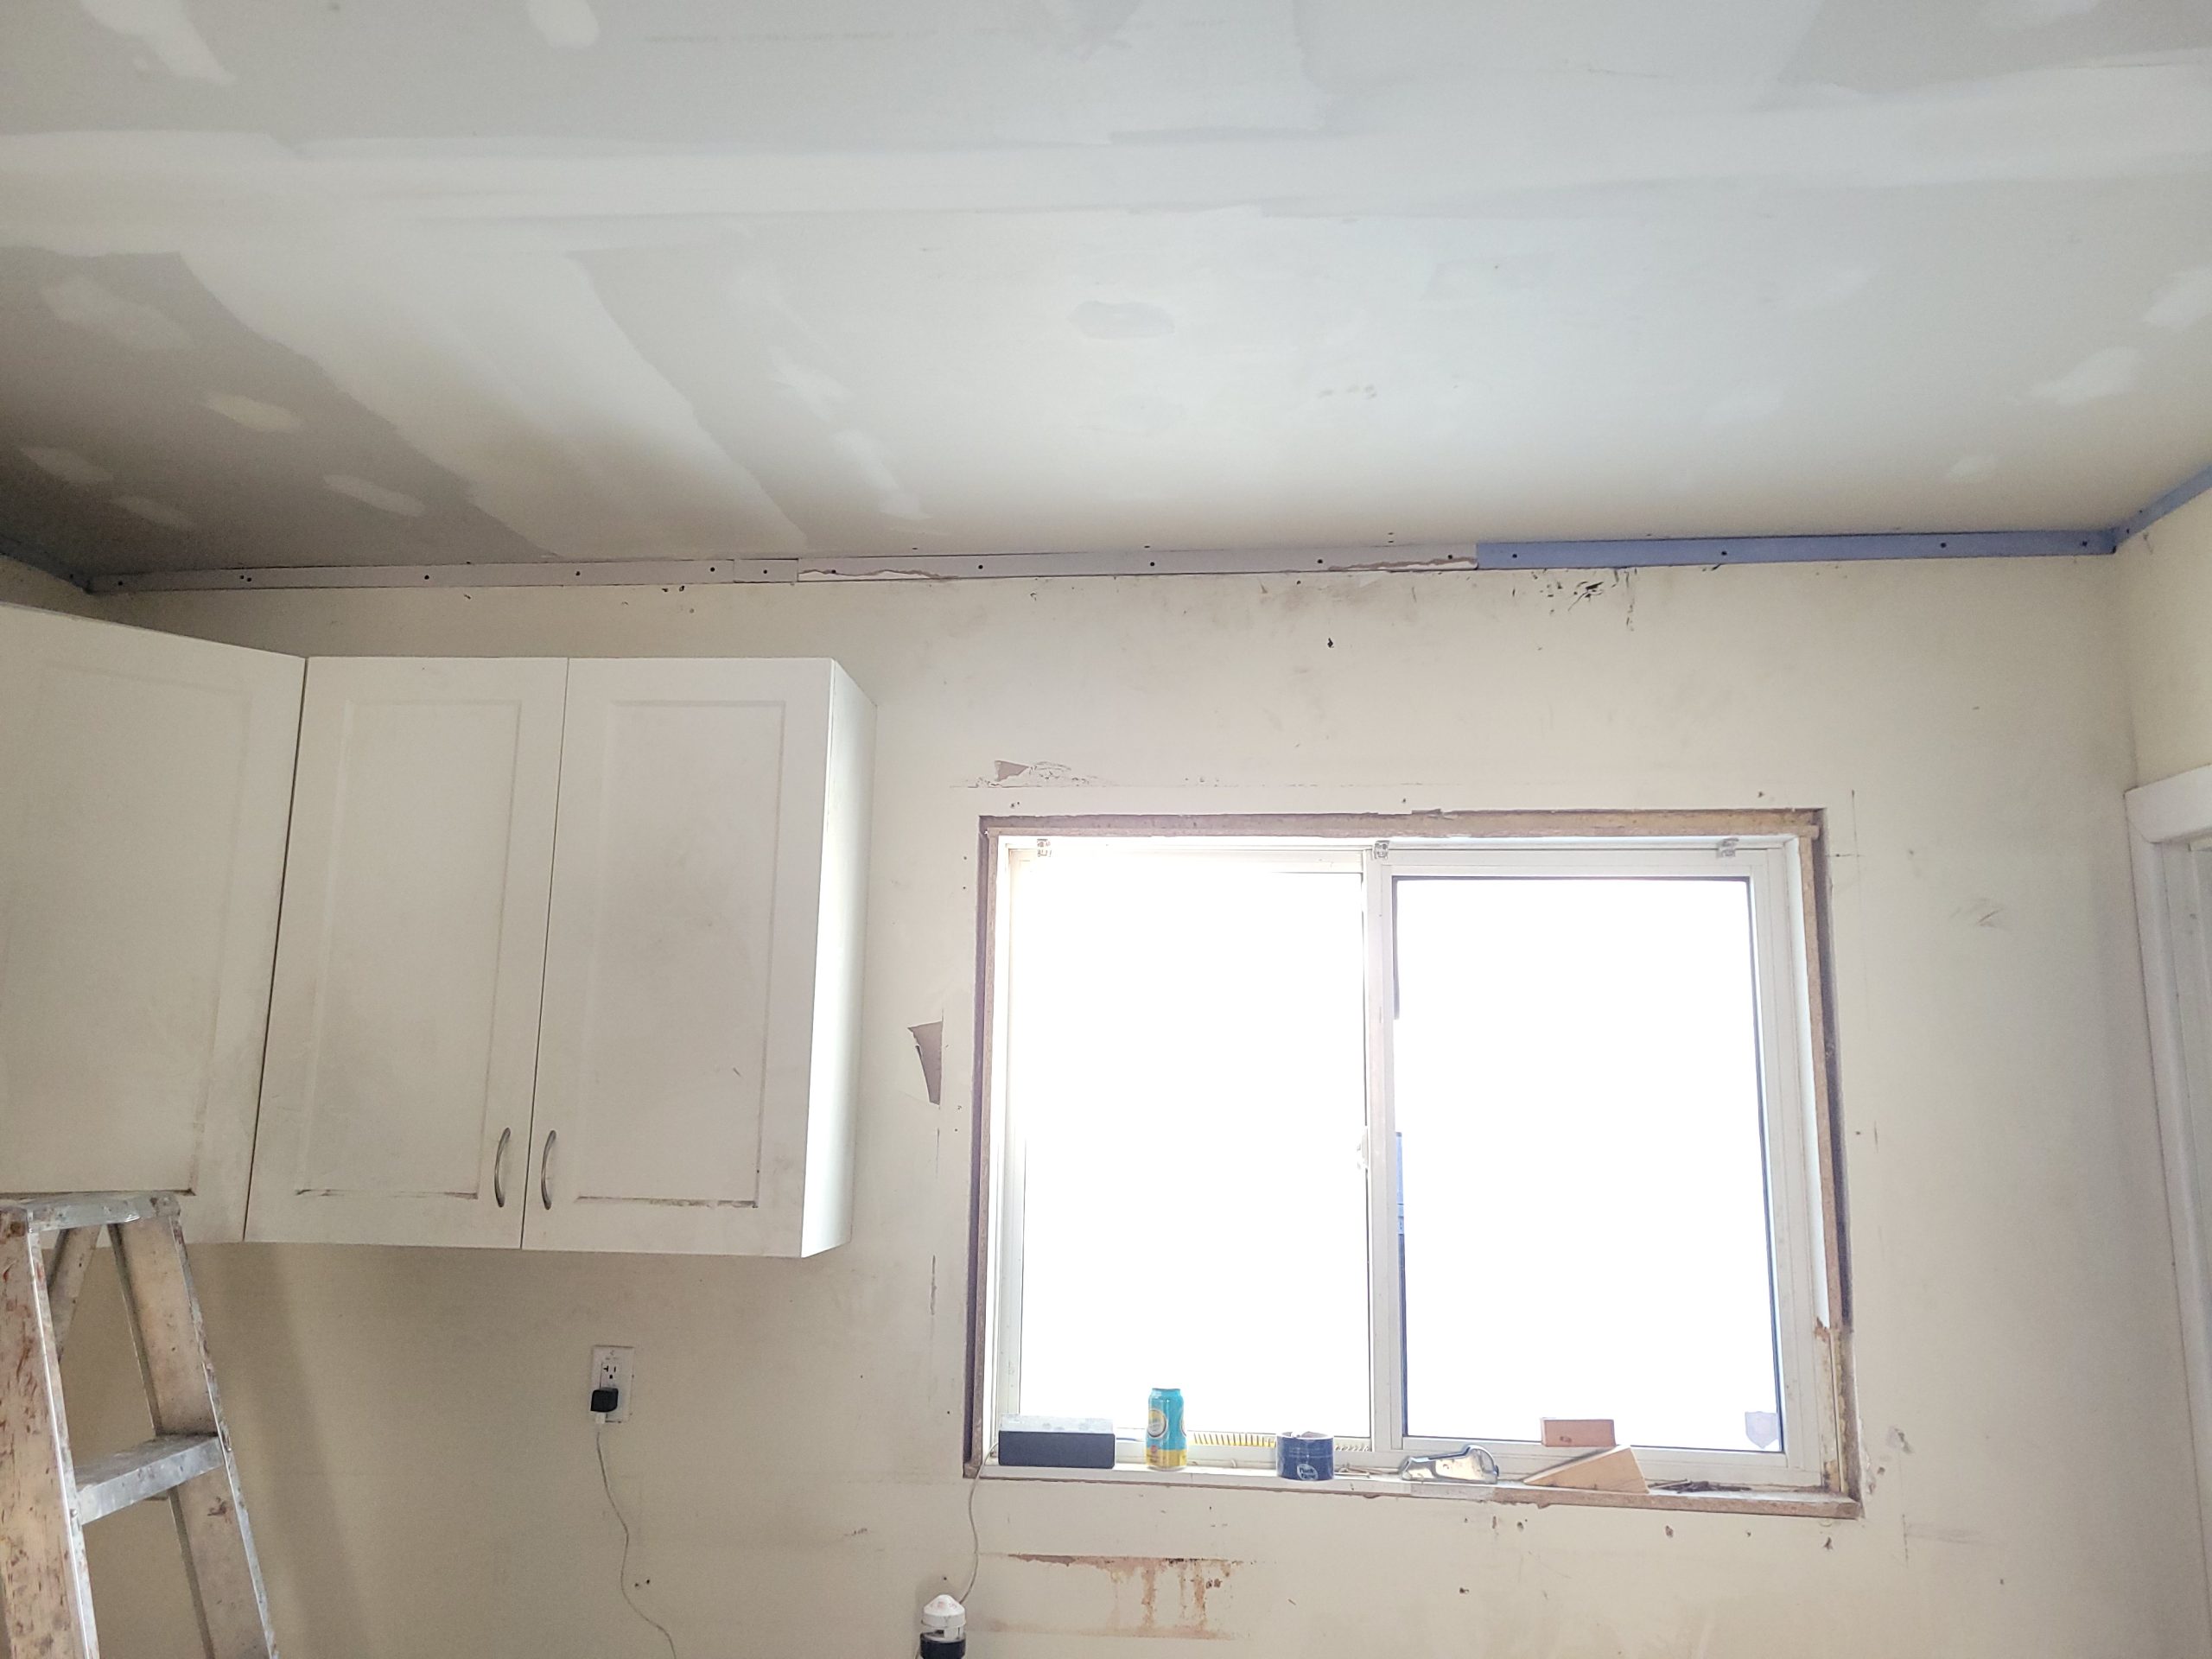
I’ll be drywalling the kitchen ceiling soon, so cleanup begins in there. Where do I stash the fridge, stove, cabinets, etc.?
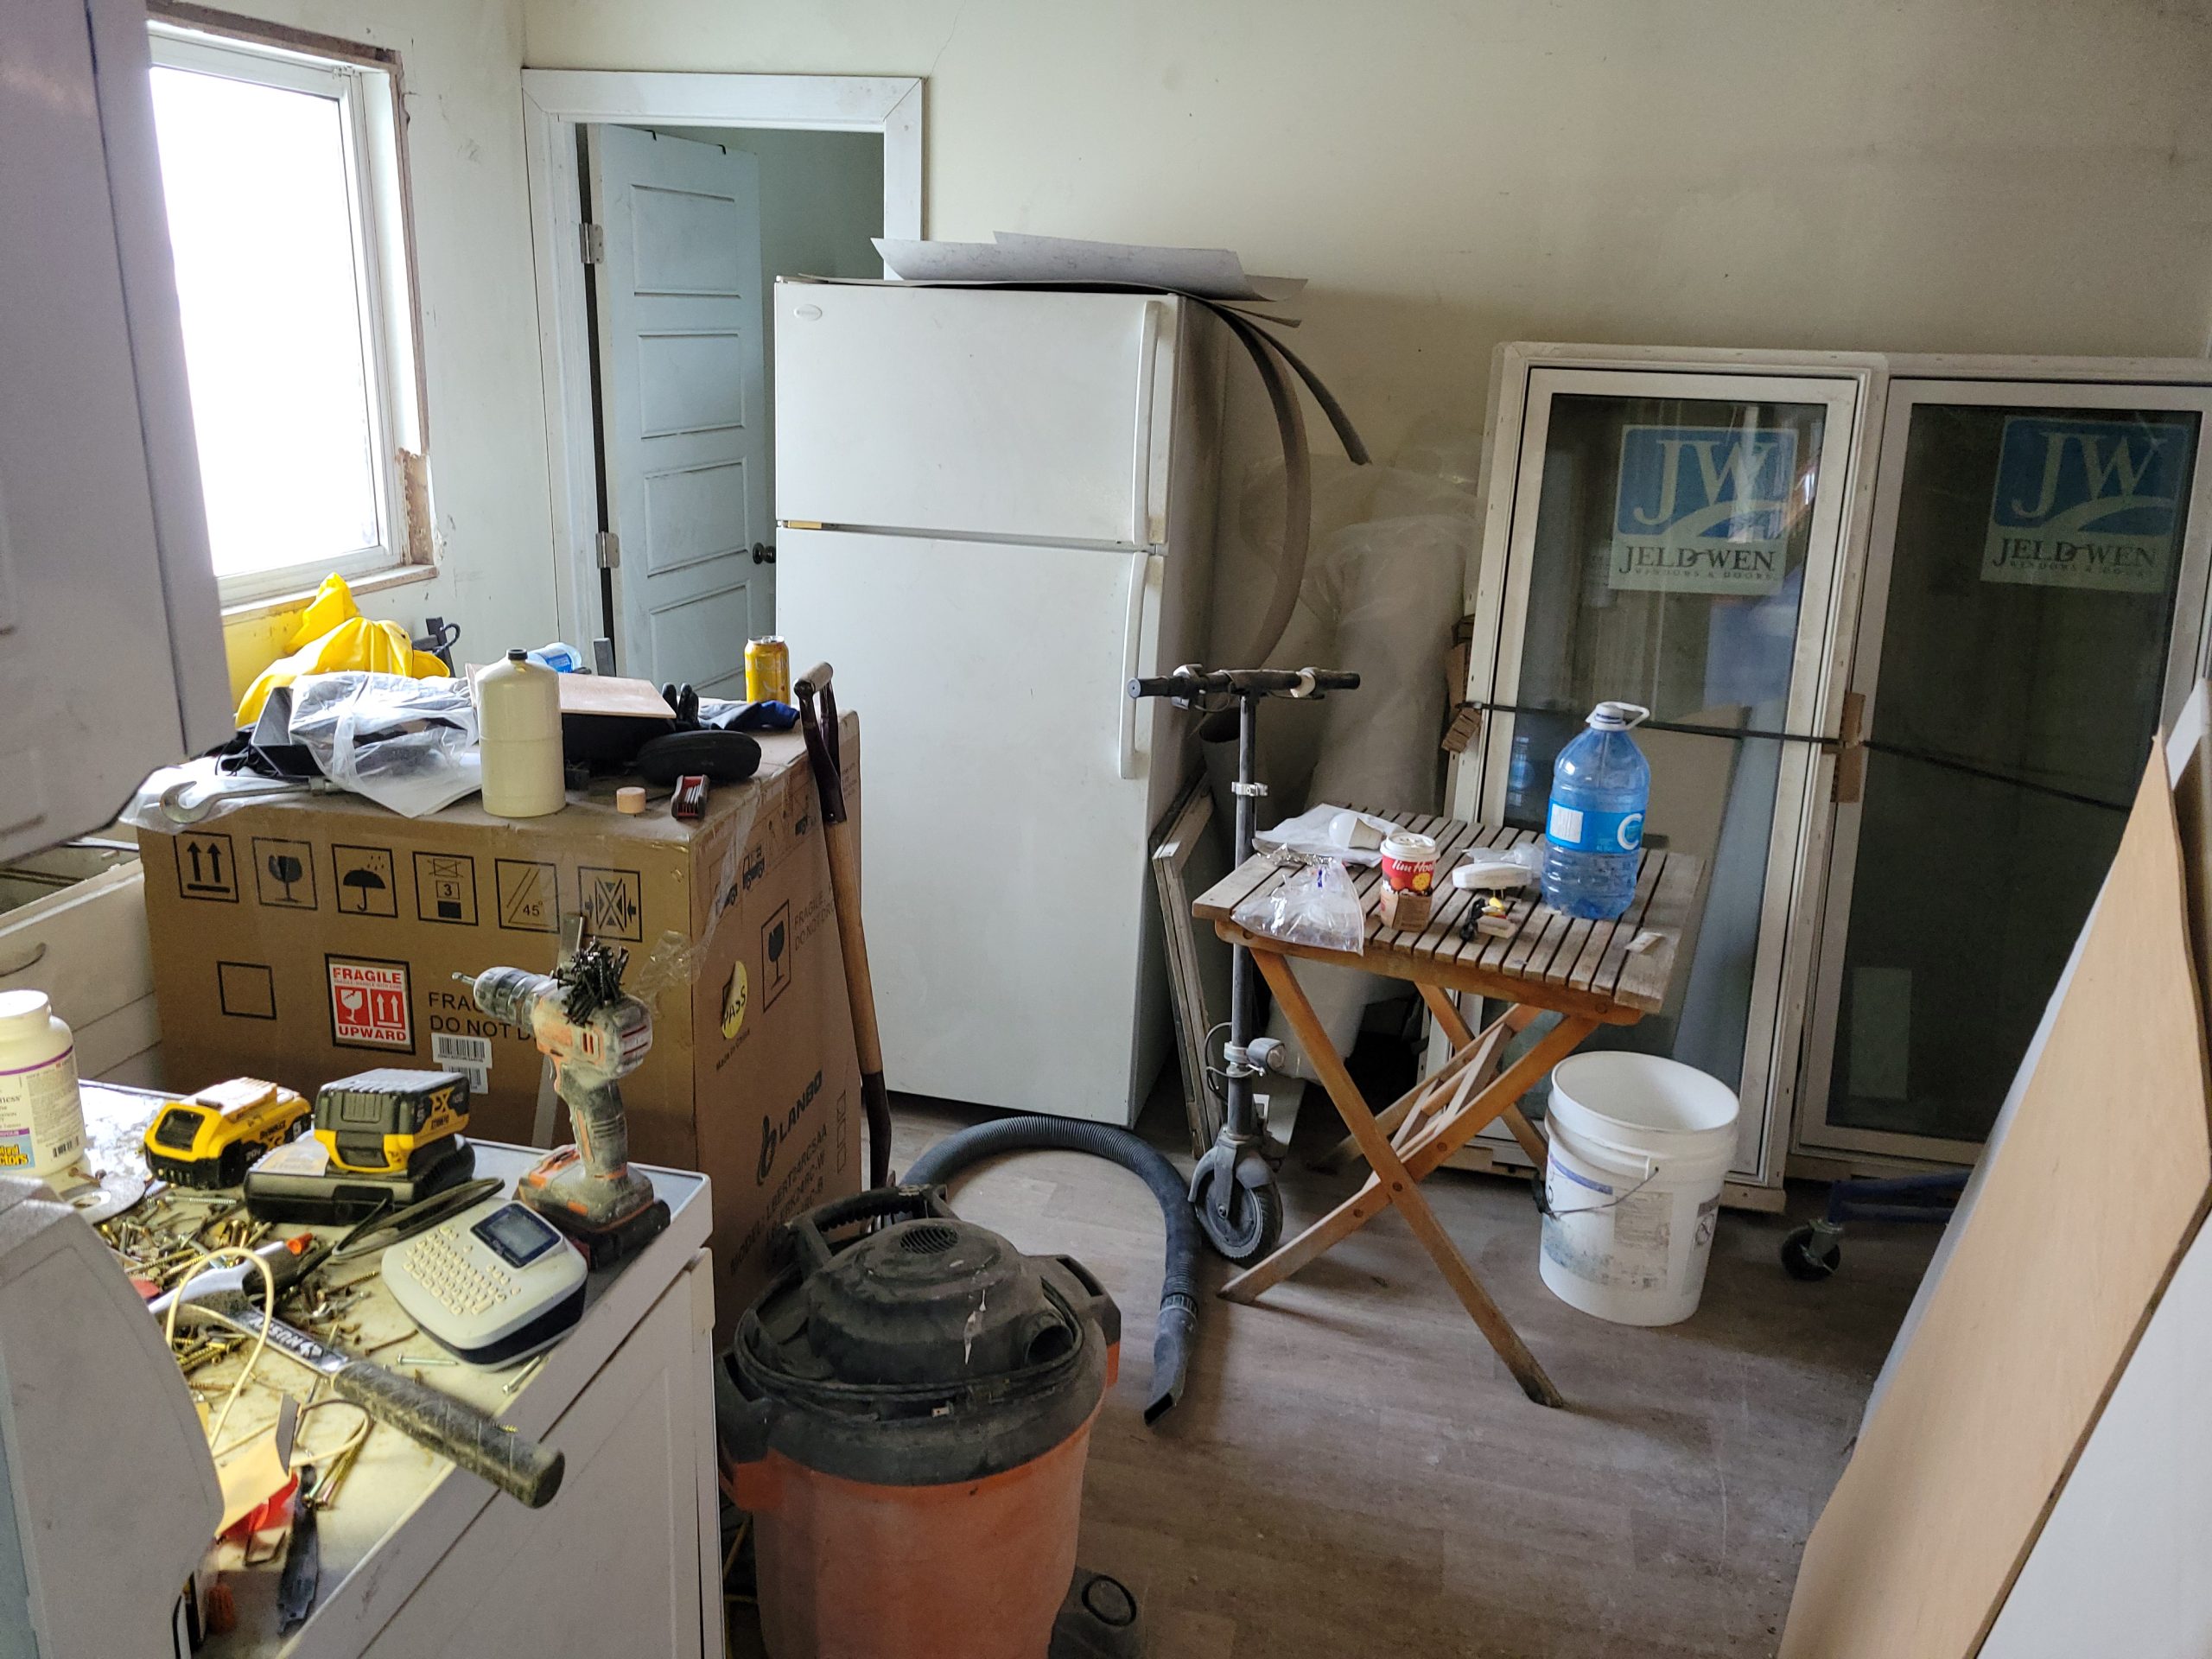
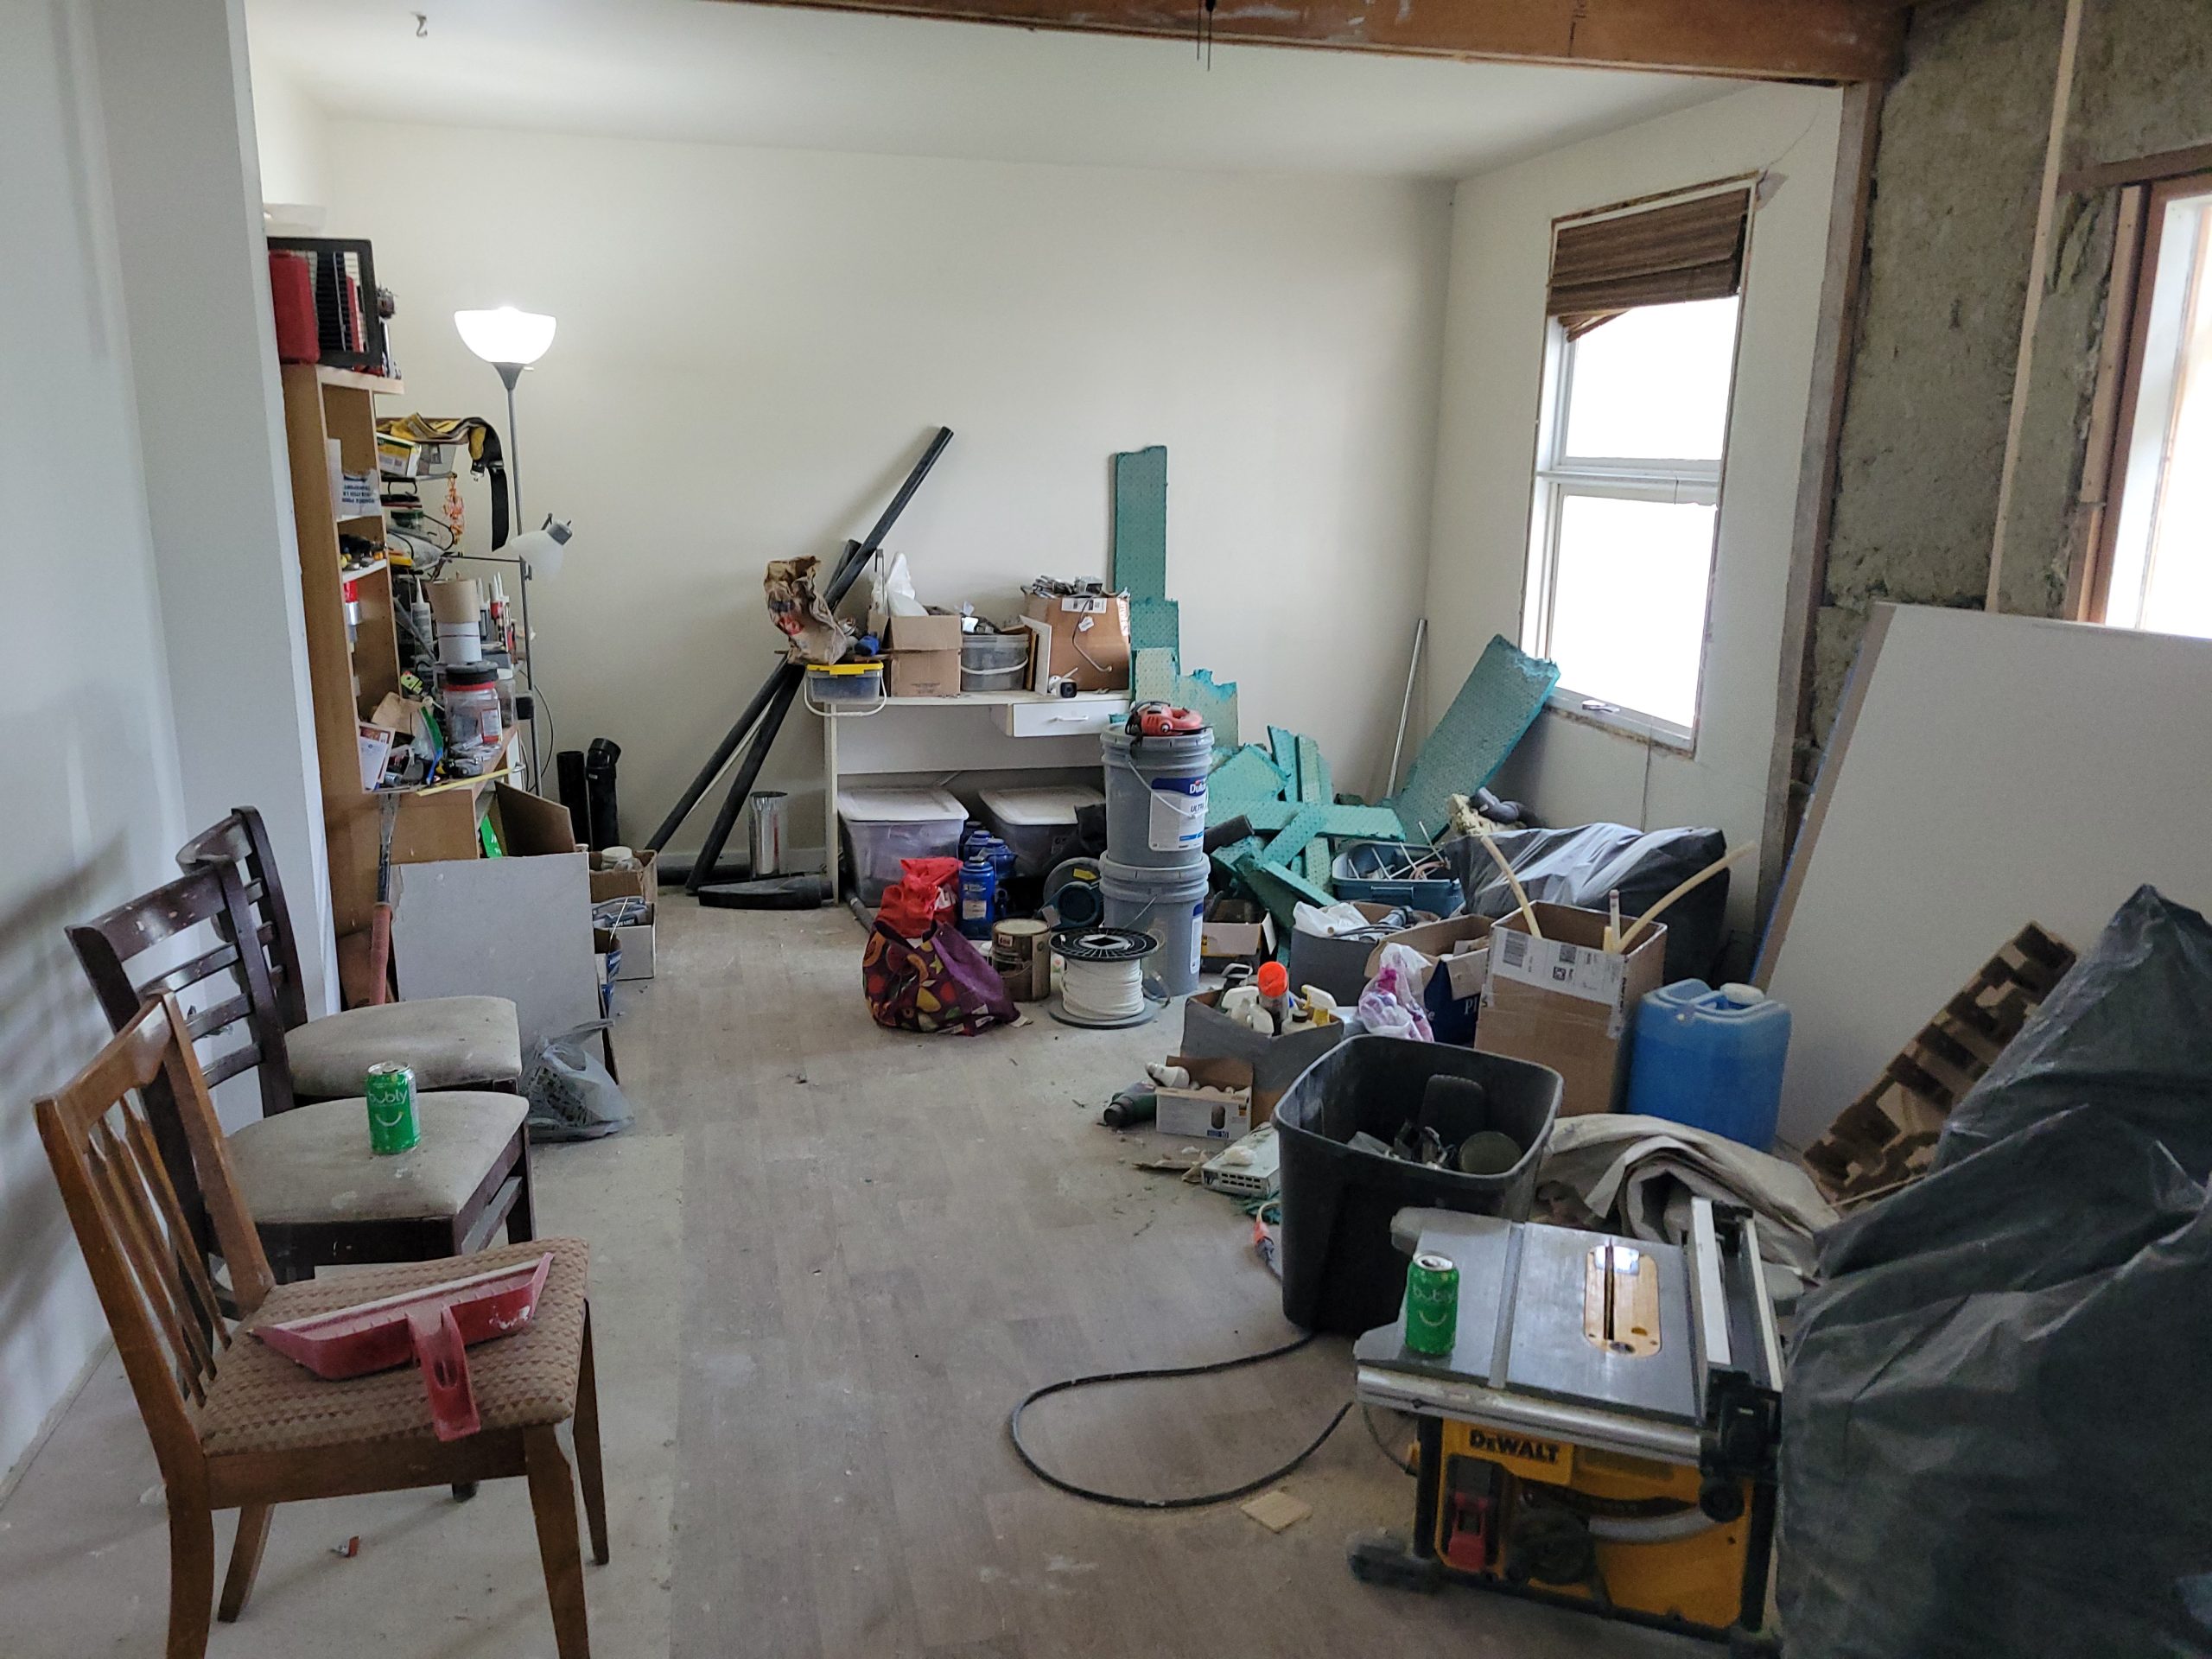
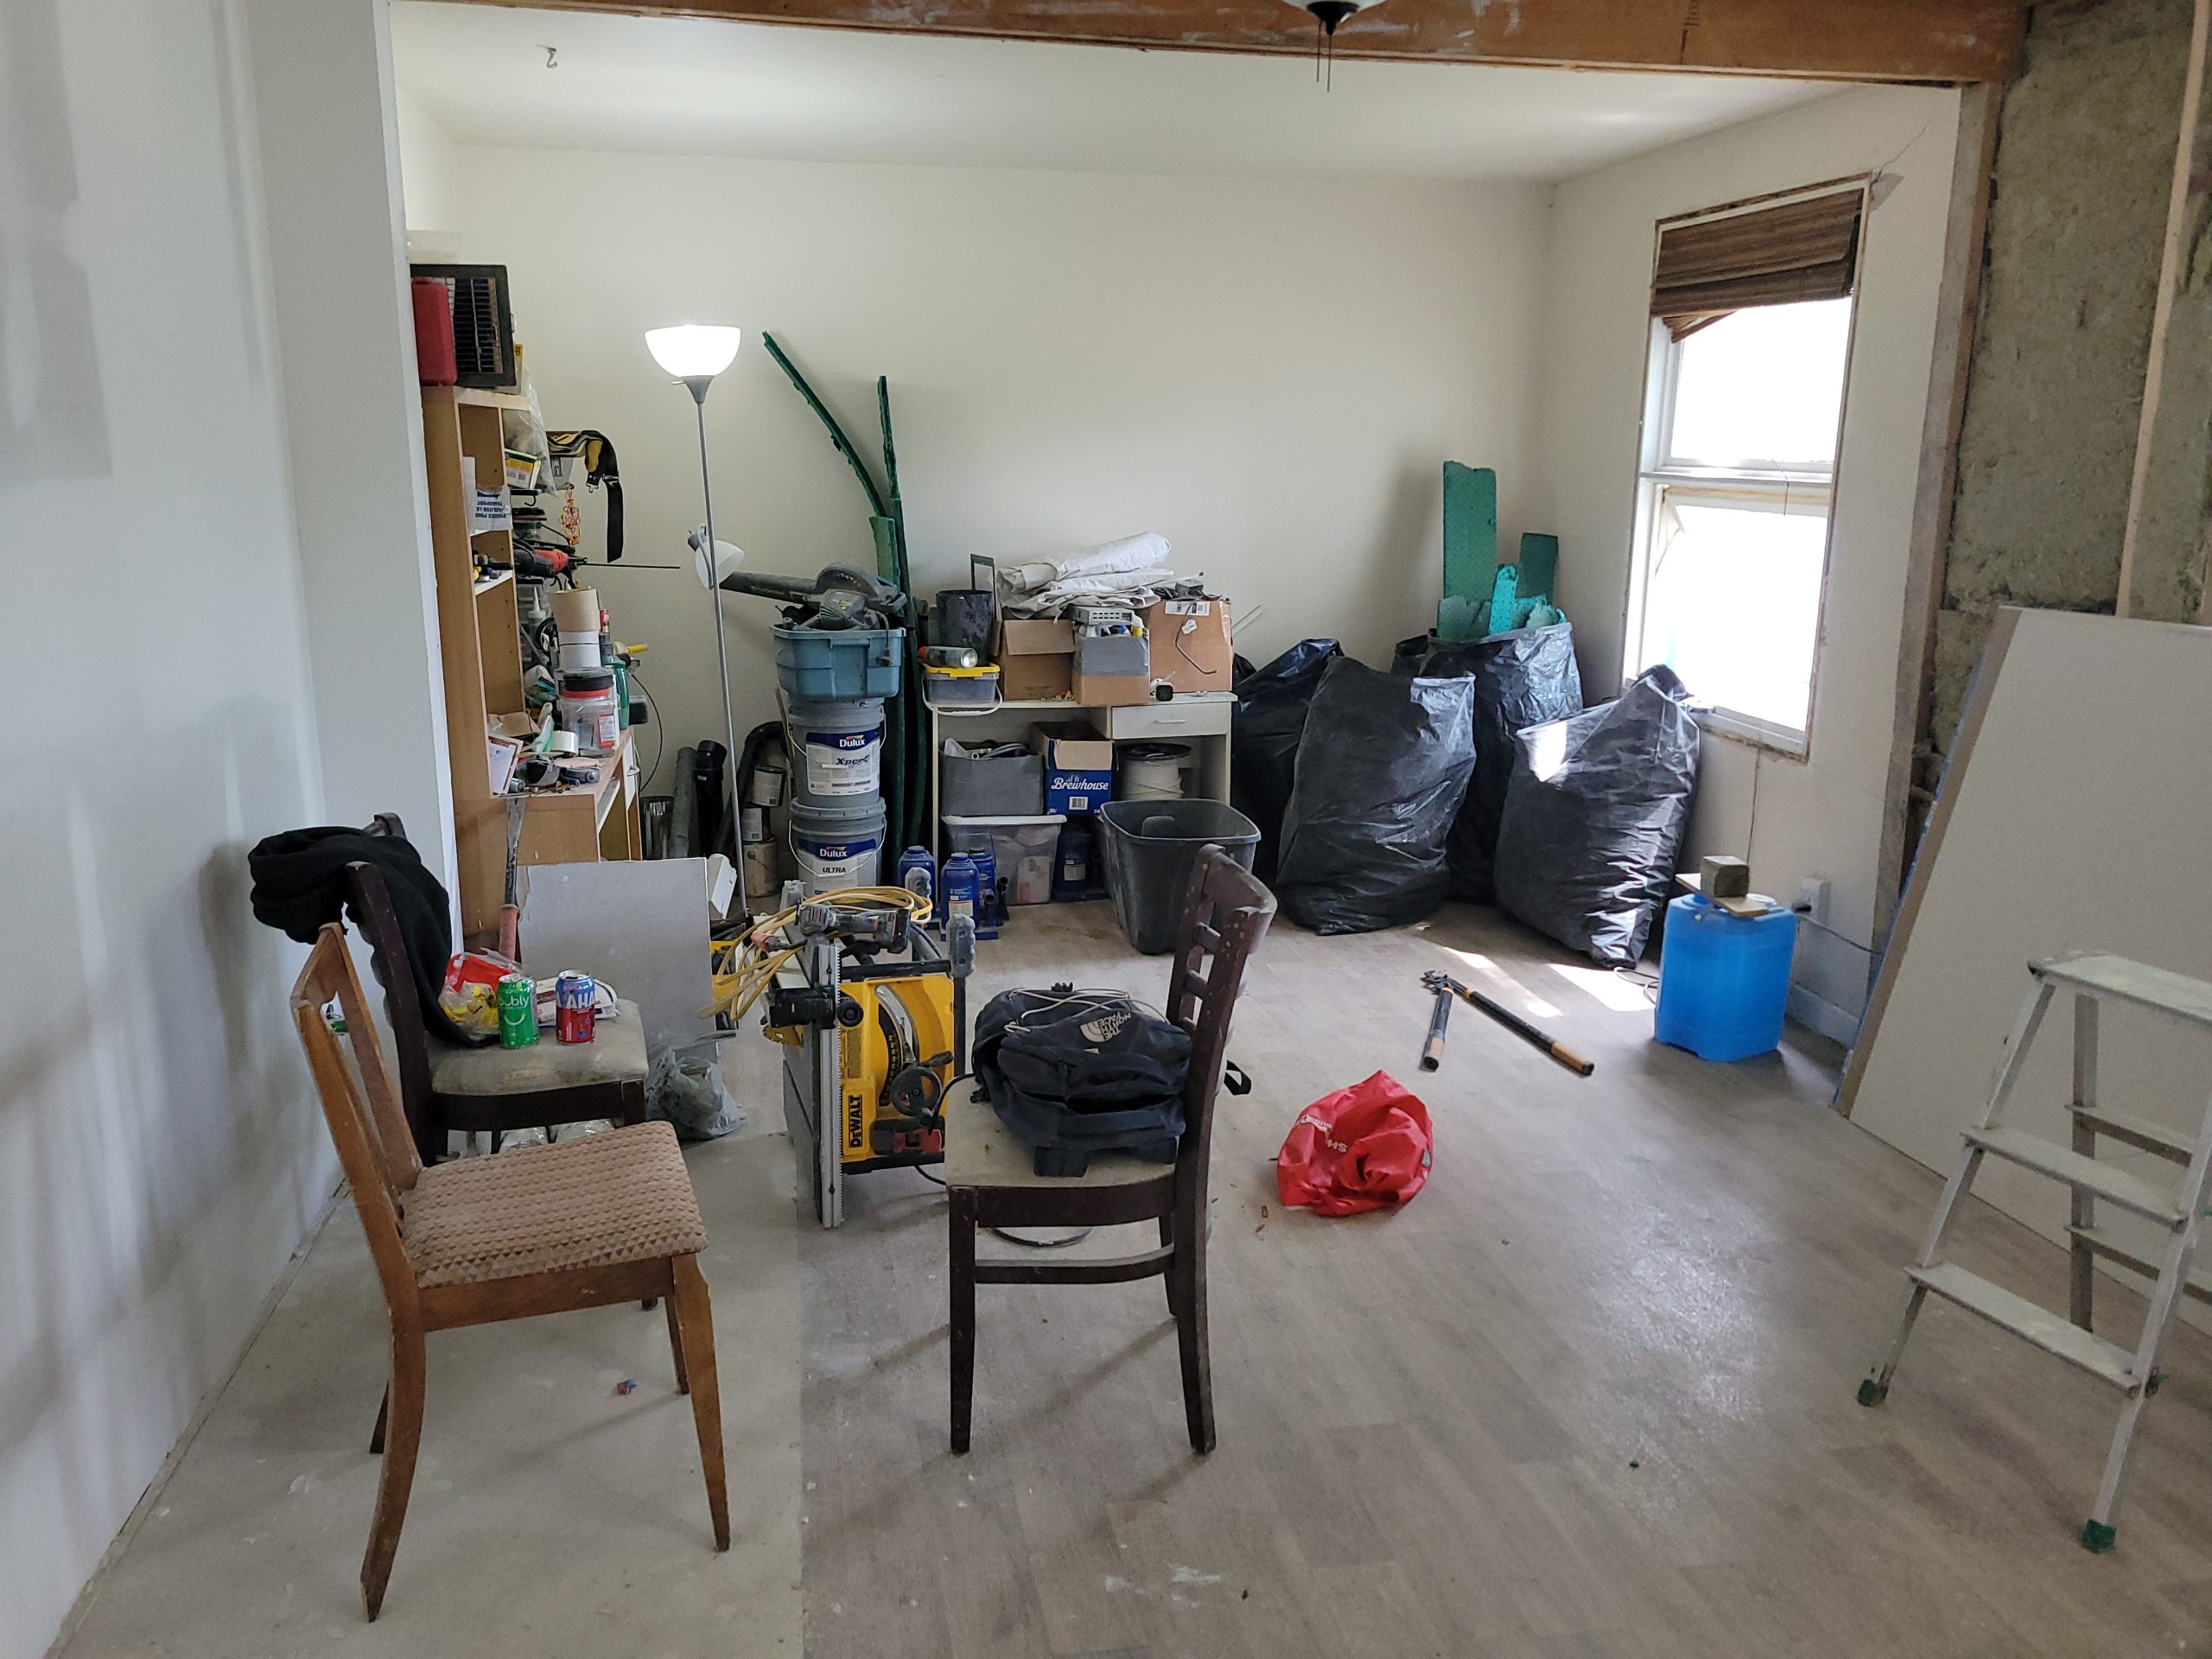
Mostly cleanup and organizing today. I’m tired of working in a dump.
As it turns out, the fridge leaks. The evaporator tray is rusted through and leaks water all over. I’ll find an appliance shop somewhere and order a new one.
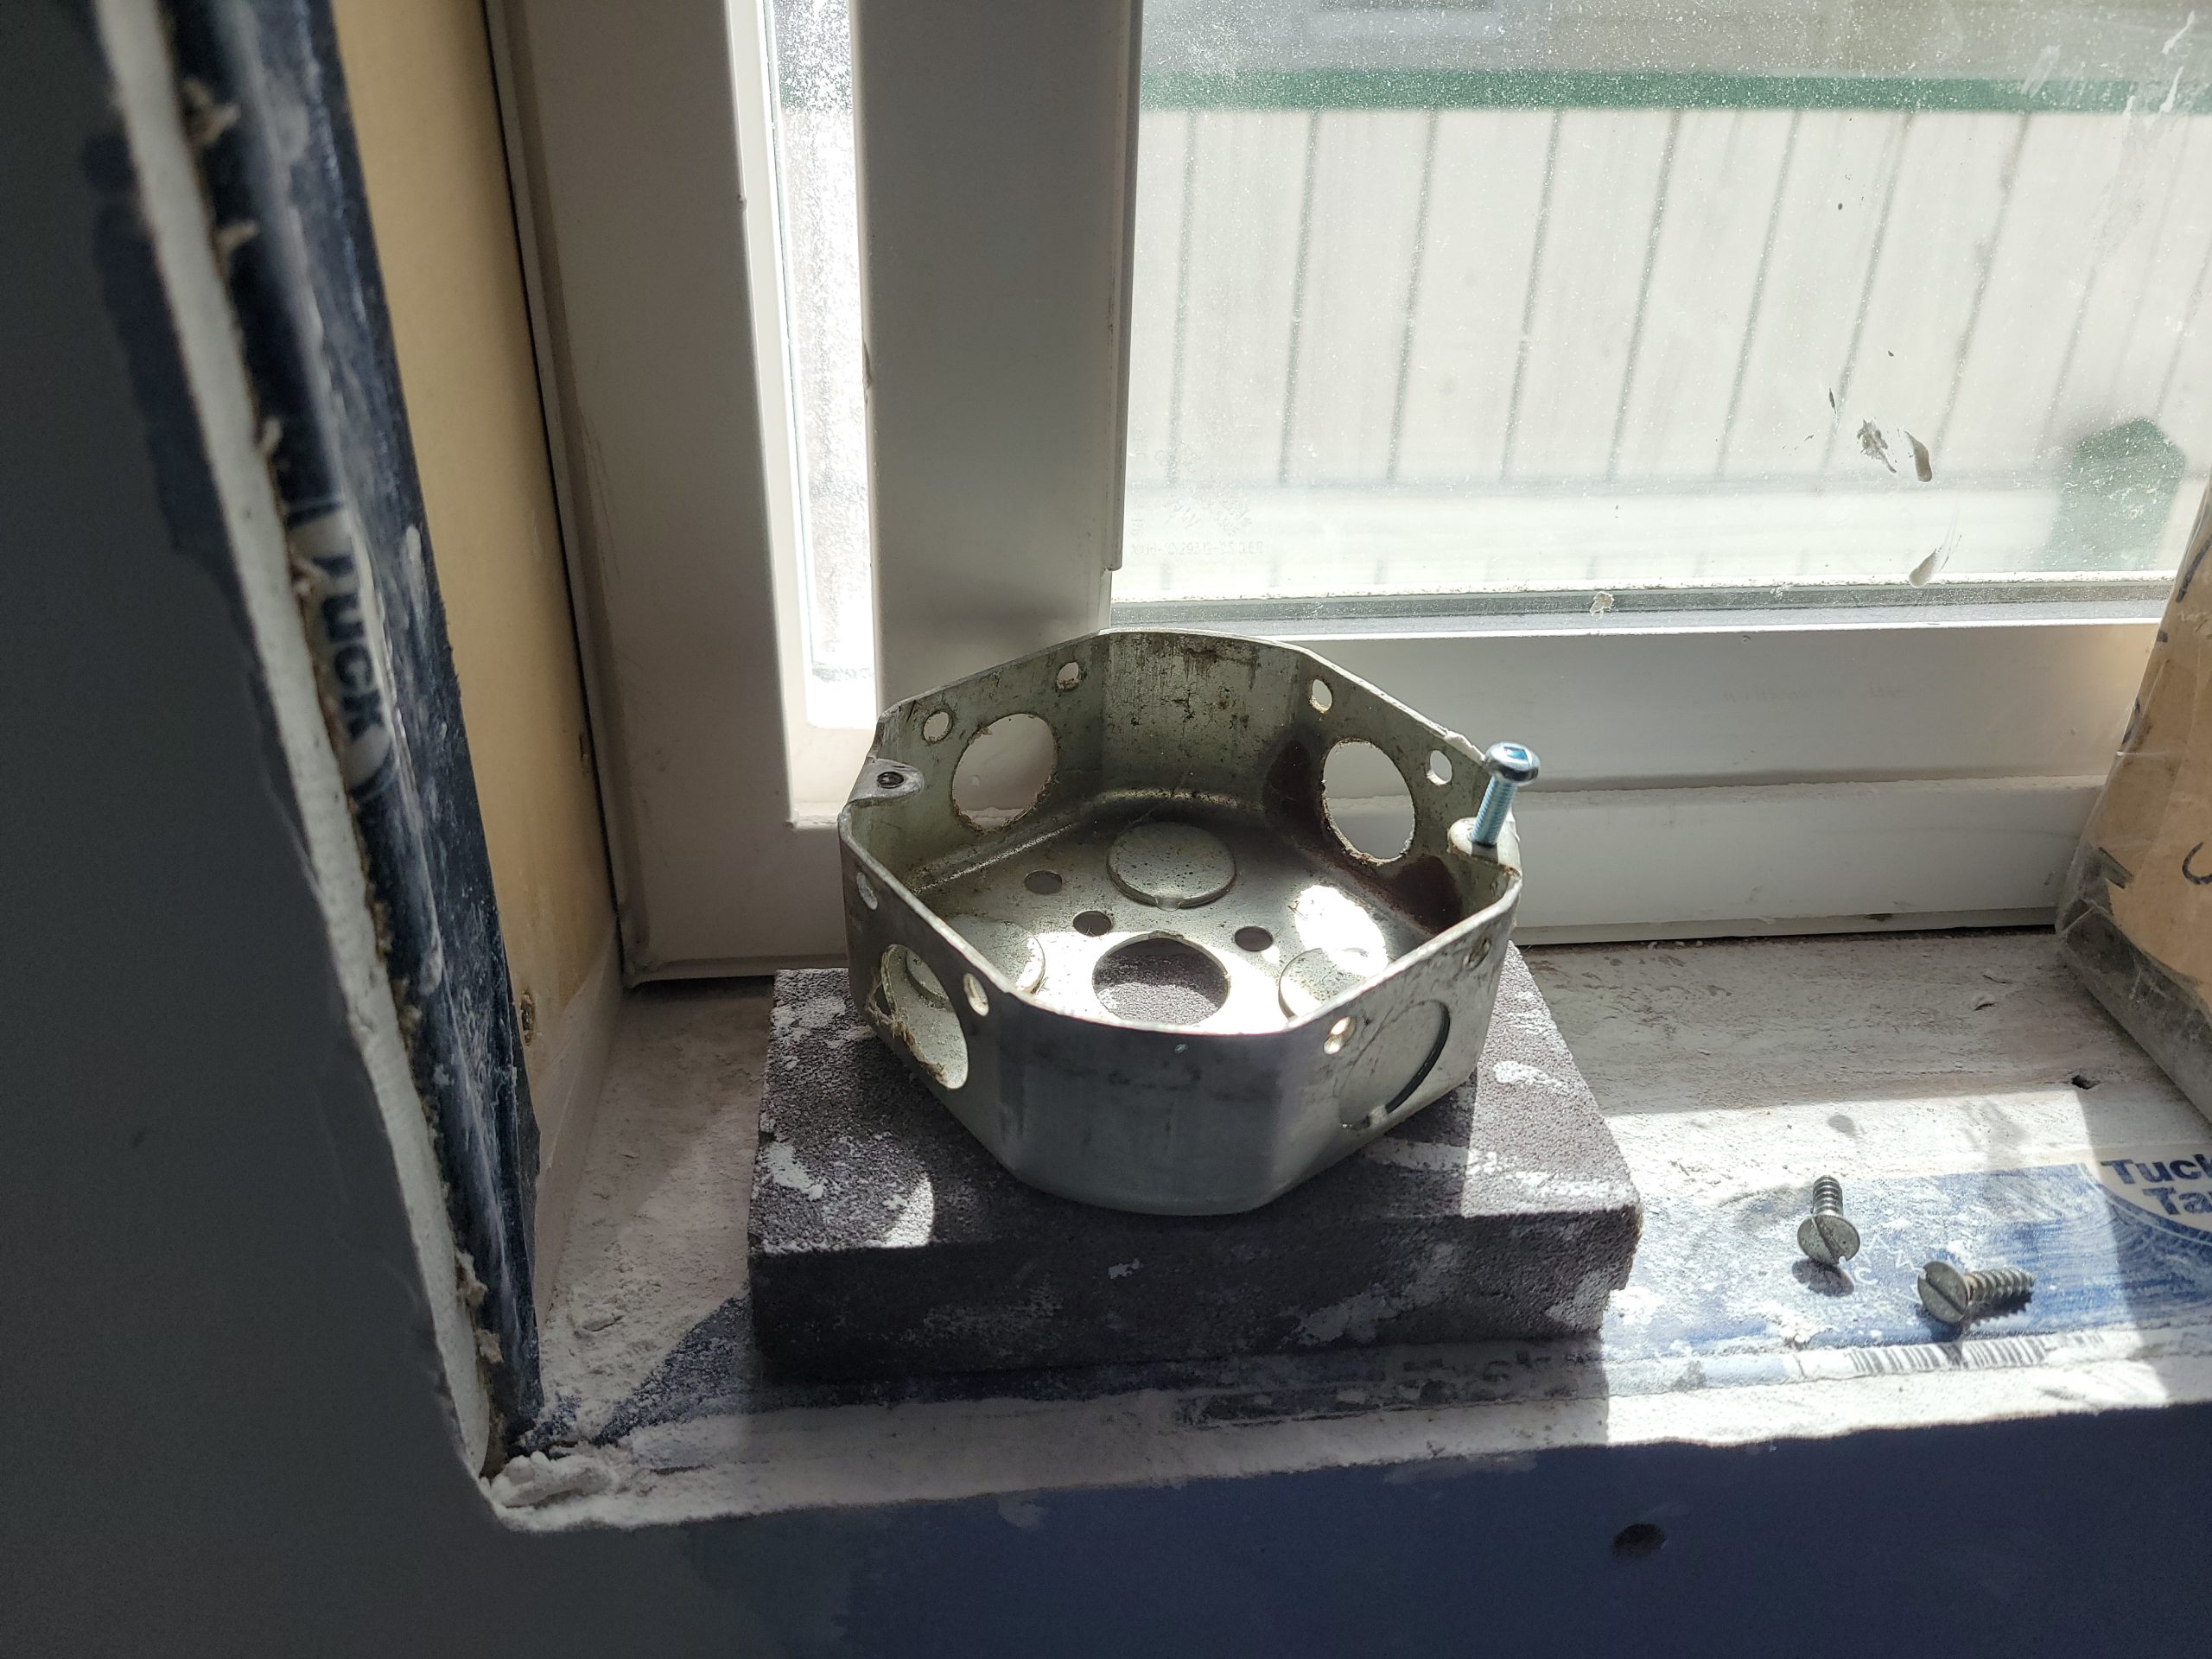
I’m not sure why someone would put a wood screw into an electrical box that takes threaded machine screws. That’s not true – I do know why – taking shortcuts. Unfortunately, I’m the horse’s *** who gets to make it right again. I know – there’s no profit in taking care of such minuscule details, but I’m not a Ferengi.
Short day today.
I wasn’t supposed to come in today as I had other obligations, but I was called away to a sewer problem at another property. In my spare time between tasks, I came here. Light duties today.
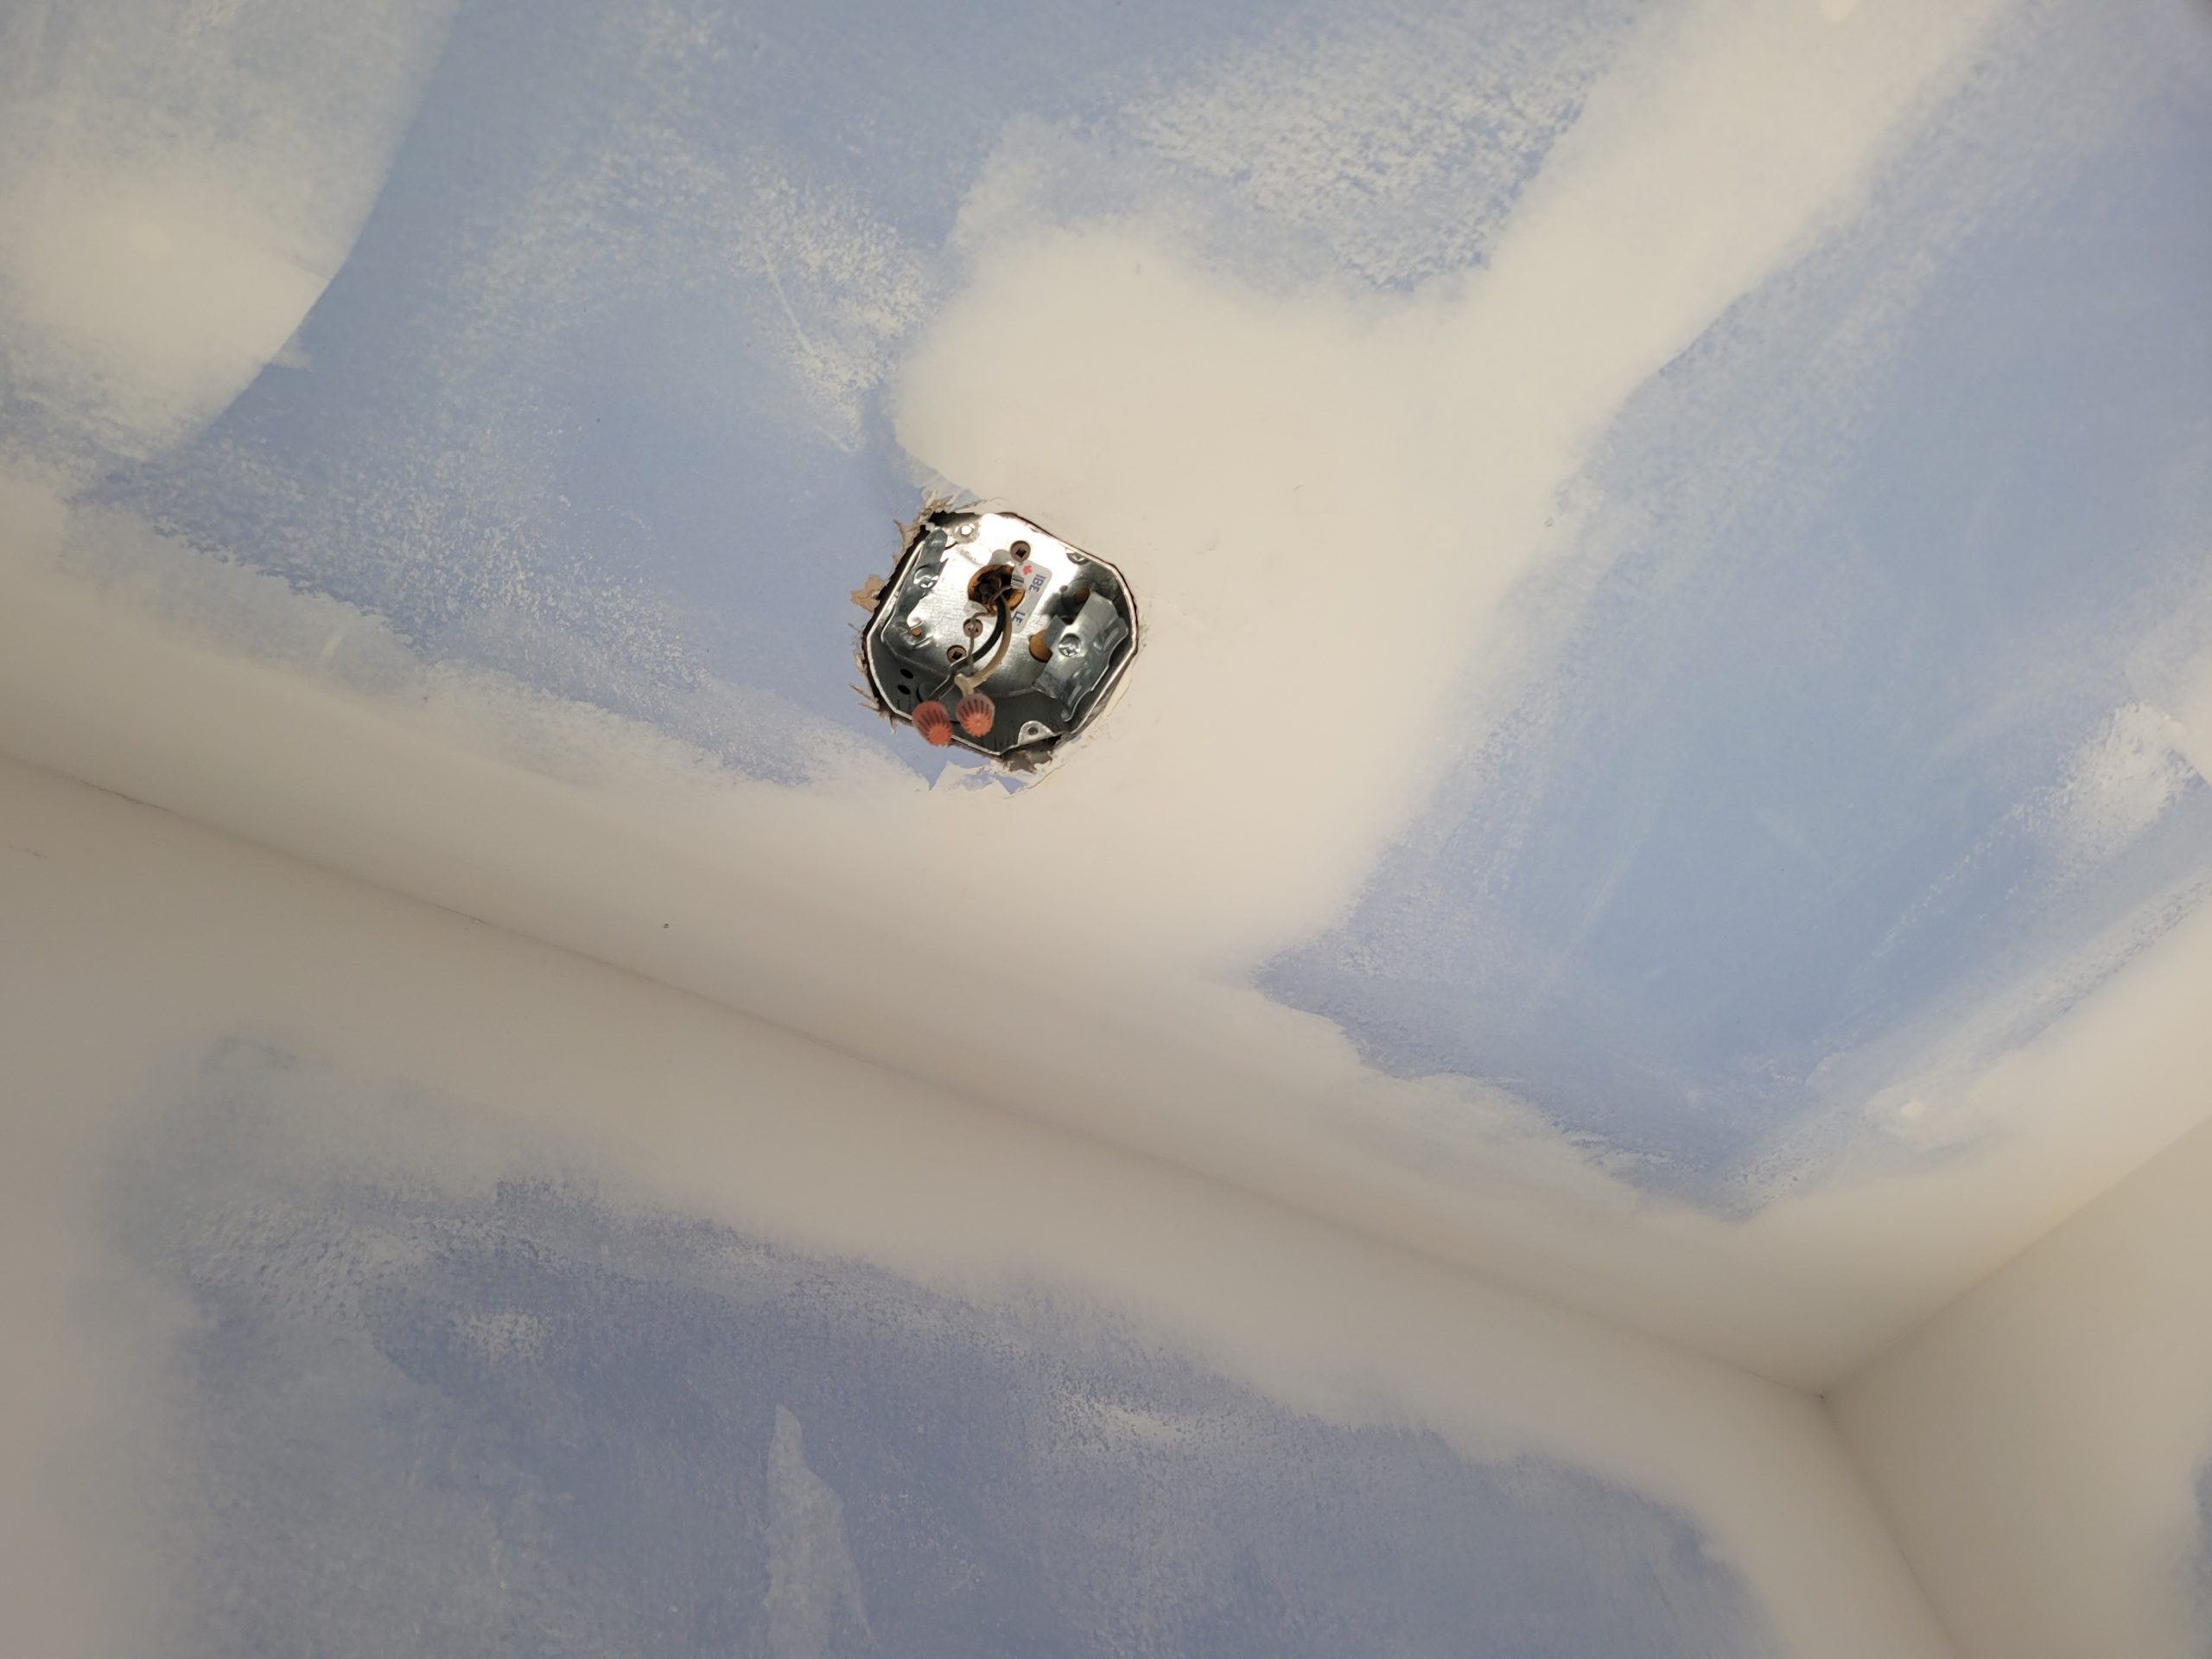
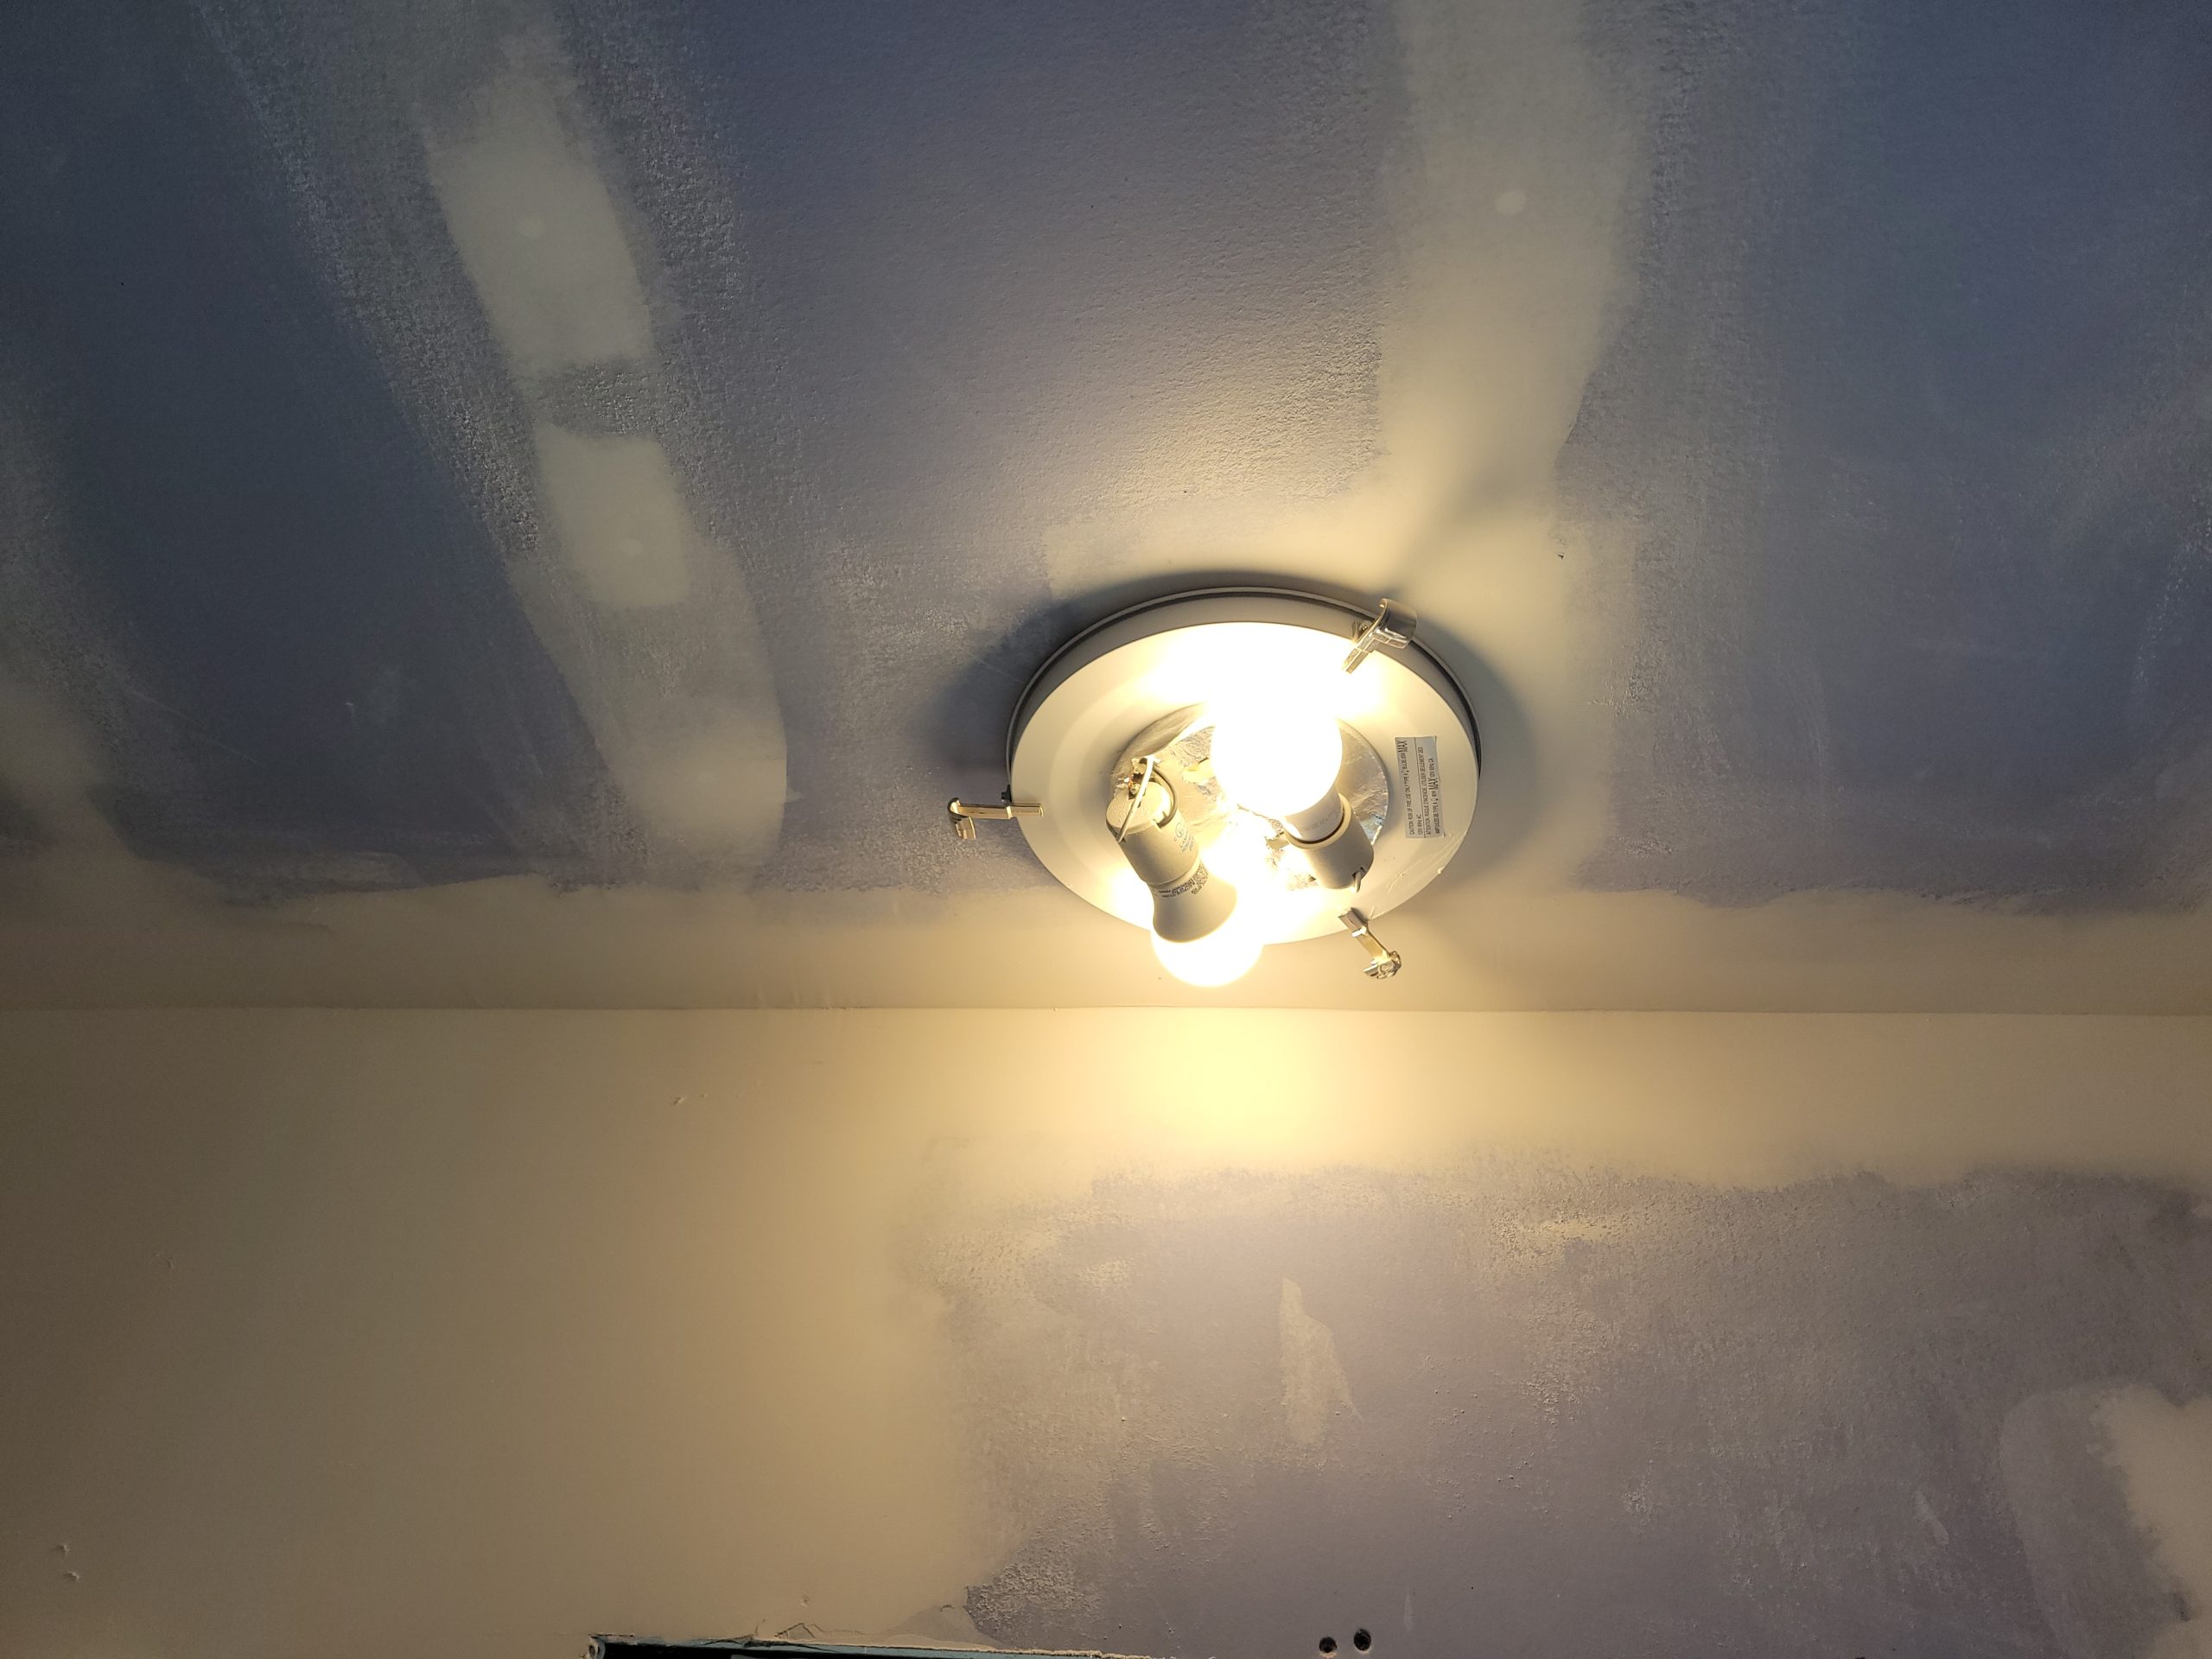
I found out why the kitchen light only sometimes worked. Here was the pattern:
bedroom light turned on
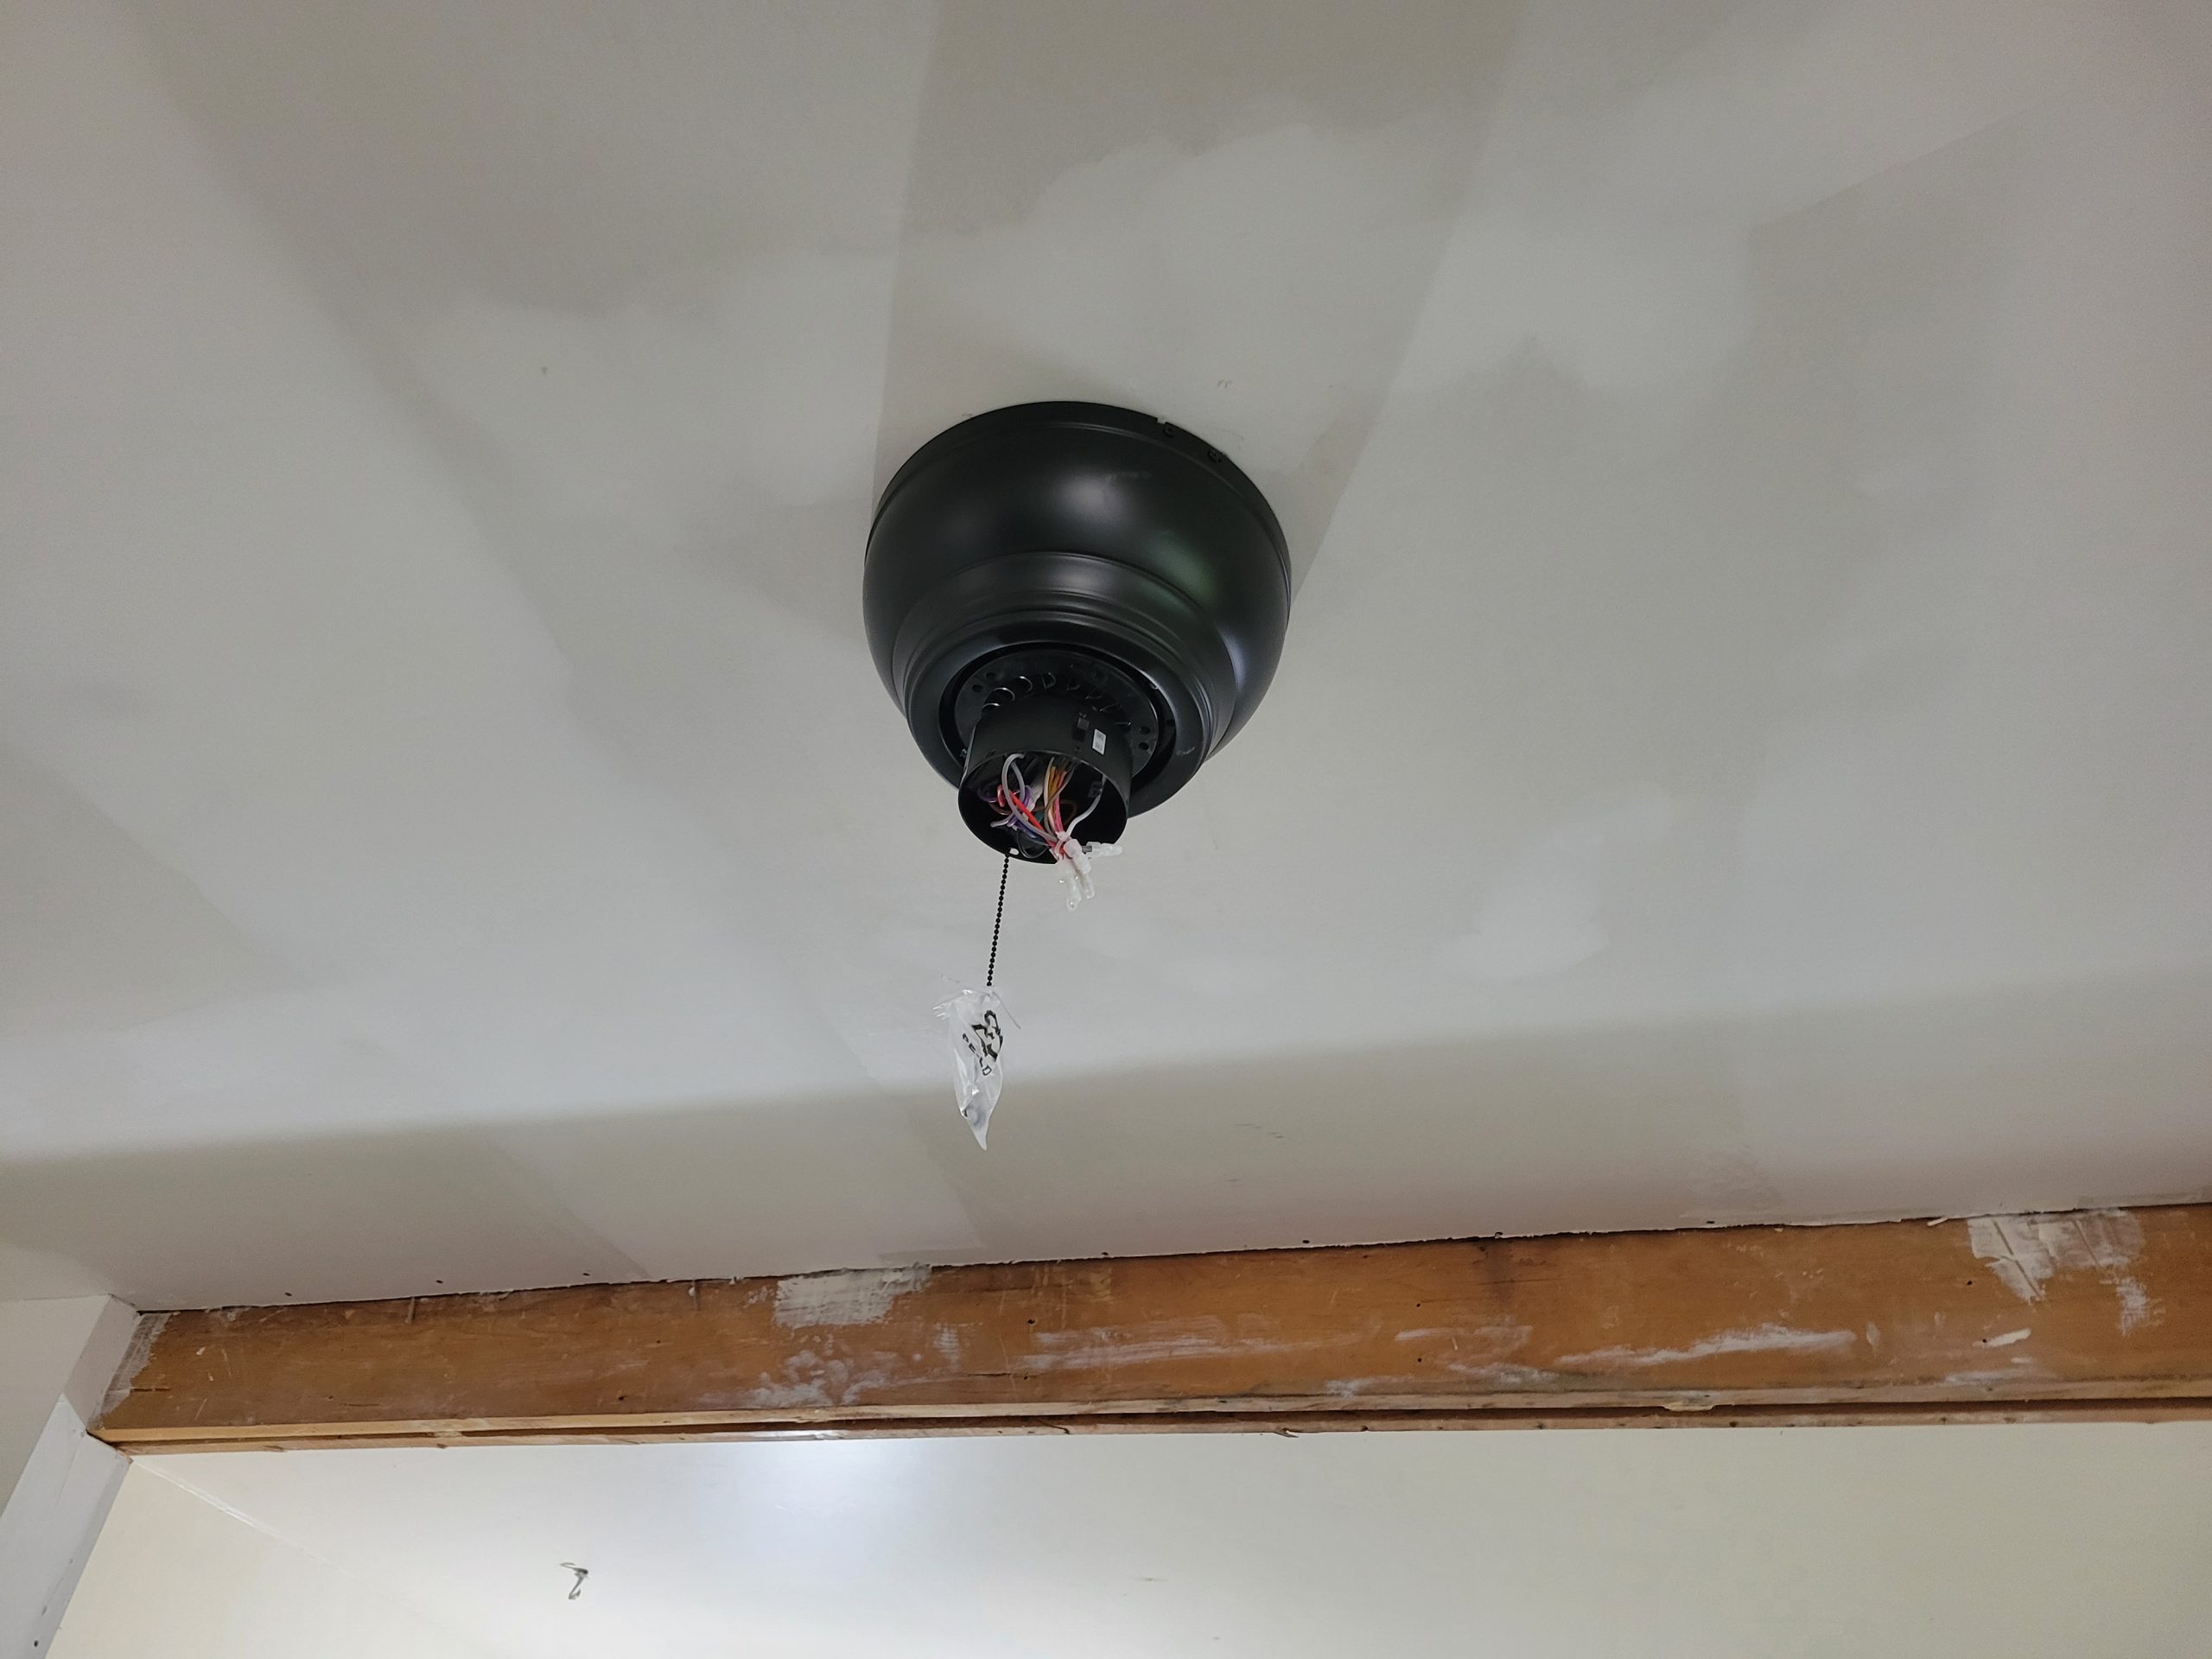
I started to put up the ceiling fan. Floyd came by, and I asked him to finish screwing the fan blades to the blade arms for me.
Later, I removed the superfluous wood in the hallway / kitchen doorway.
There will never be a door there again, so it is reframed.