Boarding (drywalling) the long bathroom wall was an issue as much of the framing is non-standard – some 12″o.c., some 24, some 16. All original studs in the add-on are crooked by 3 inches top-to-bottom. We thought of pulling the toe-nails at the top to move them over, but the living room side of the wall is already boarded which means all the drywall screws will be screwed up.
As well, because of the “compromise” when levelling the house (we stopped raising the 2nd floor joists 1/2″ away from absolute level for fear of tearing the house apart), I found that half inch along the new section of bathroom wall when boarding. The drywall sheet was levelled to the ceiling, but we found a 1/4″ gap from top-to-bottom along the side of the sheet. As a 4×8 sheet is twice as long as it is wide, a quarter-inch gap along the side equals a half-inch discrepancy along the top.
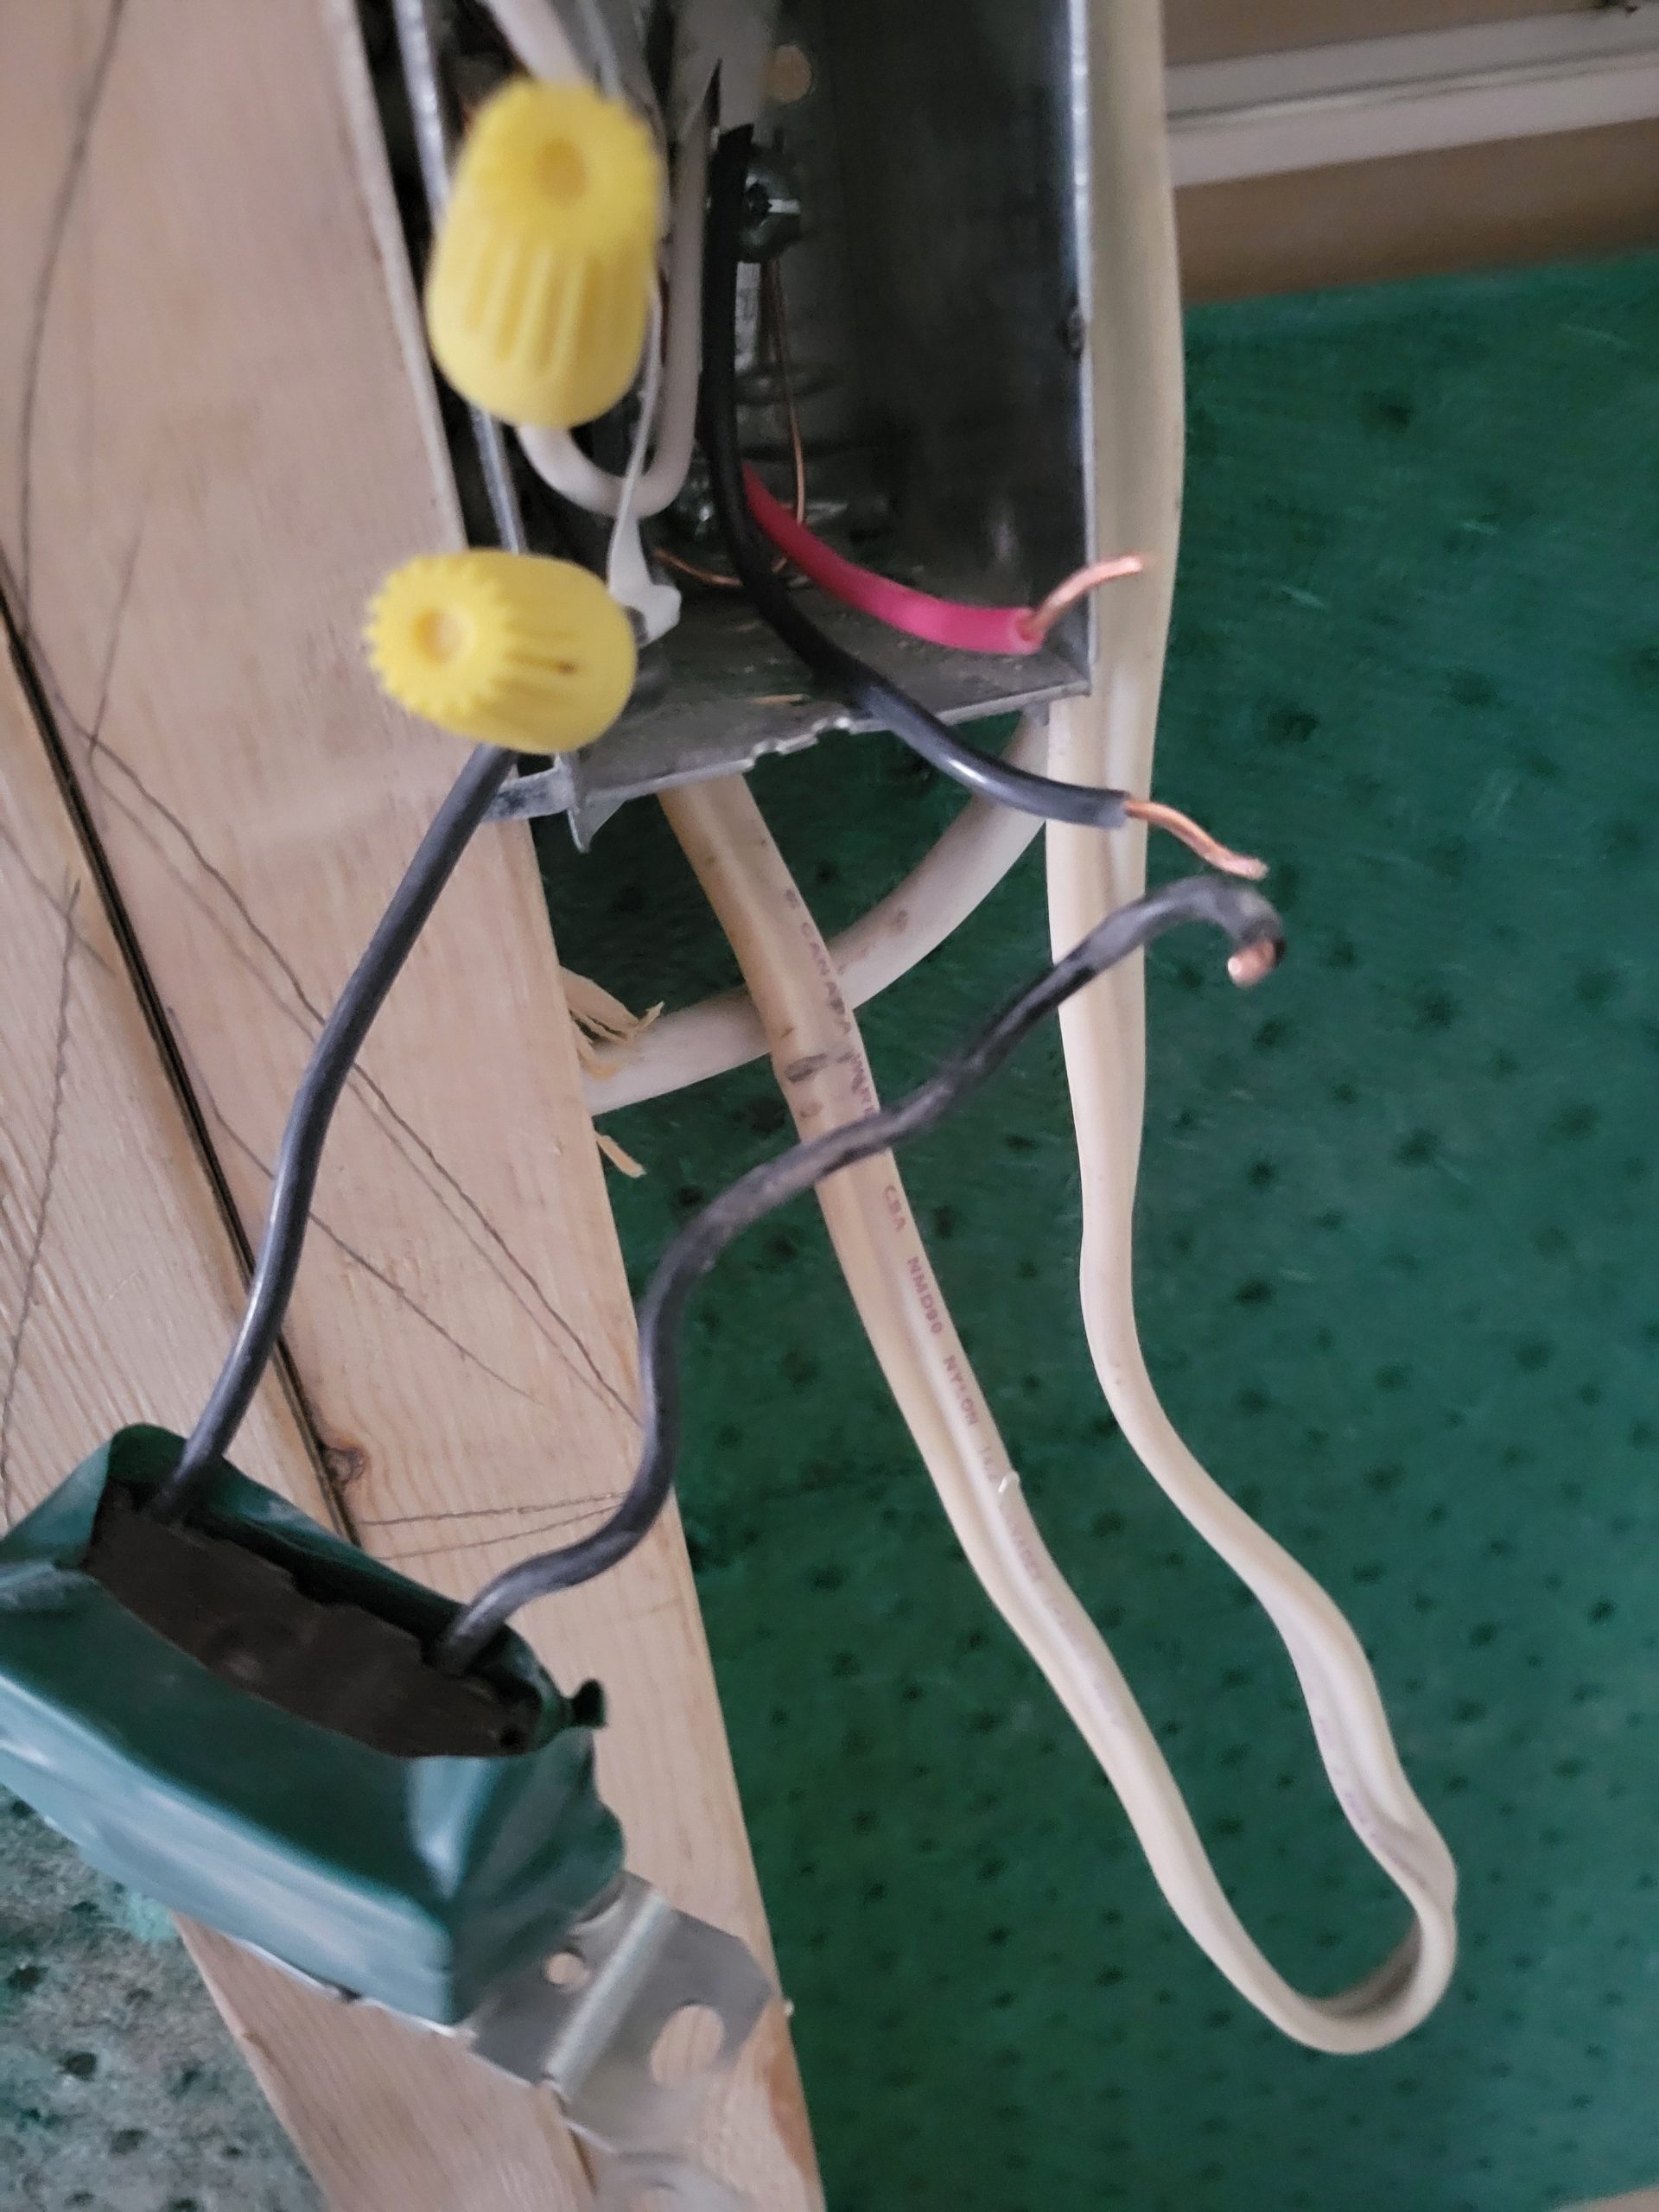
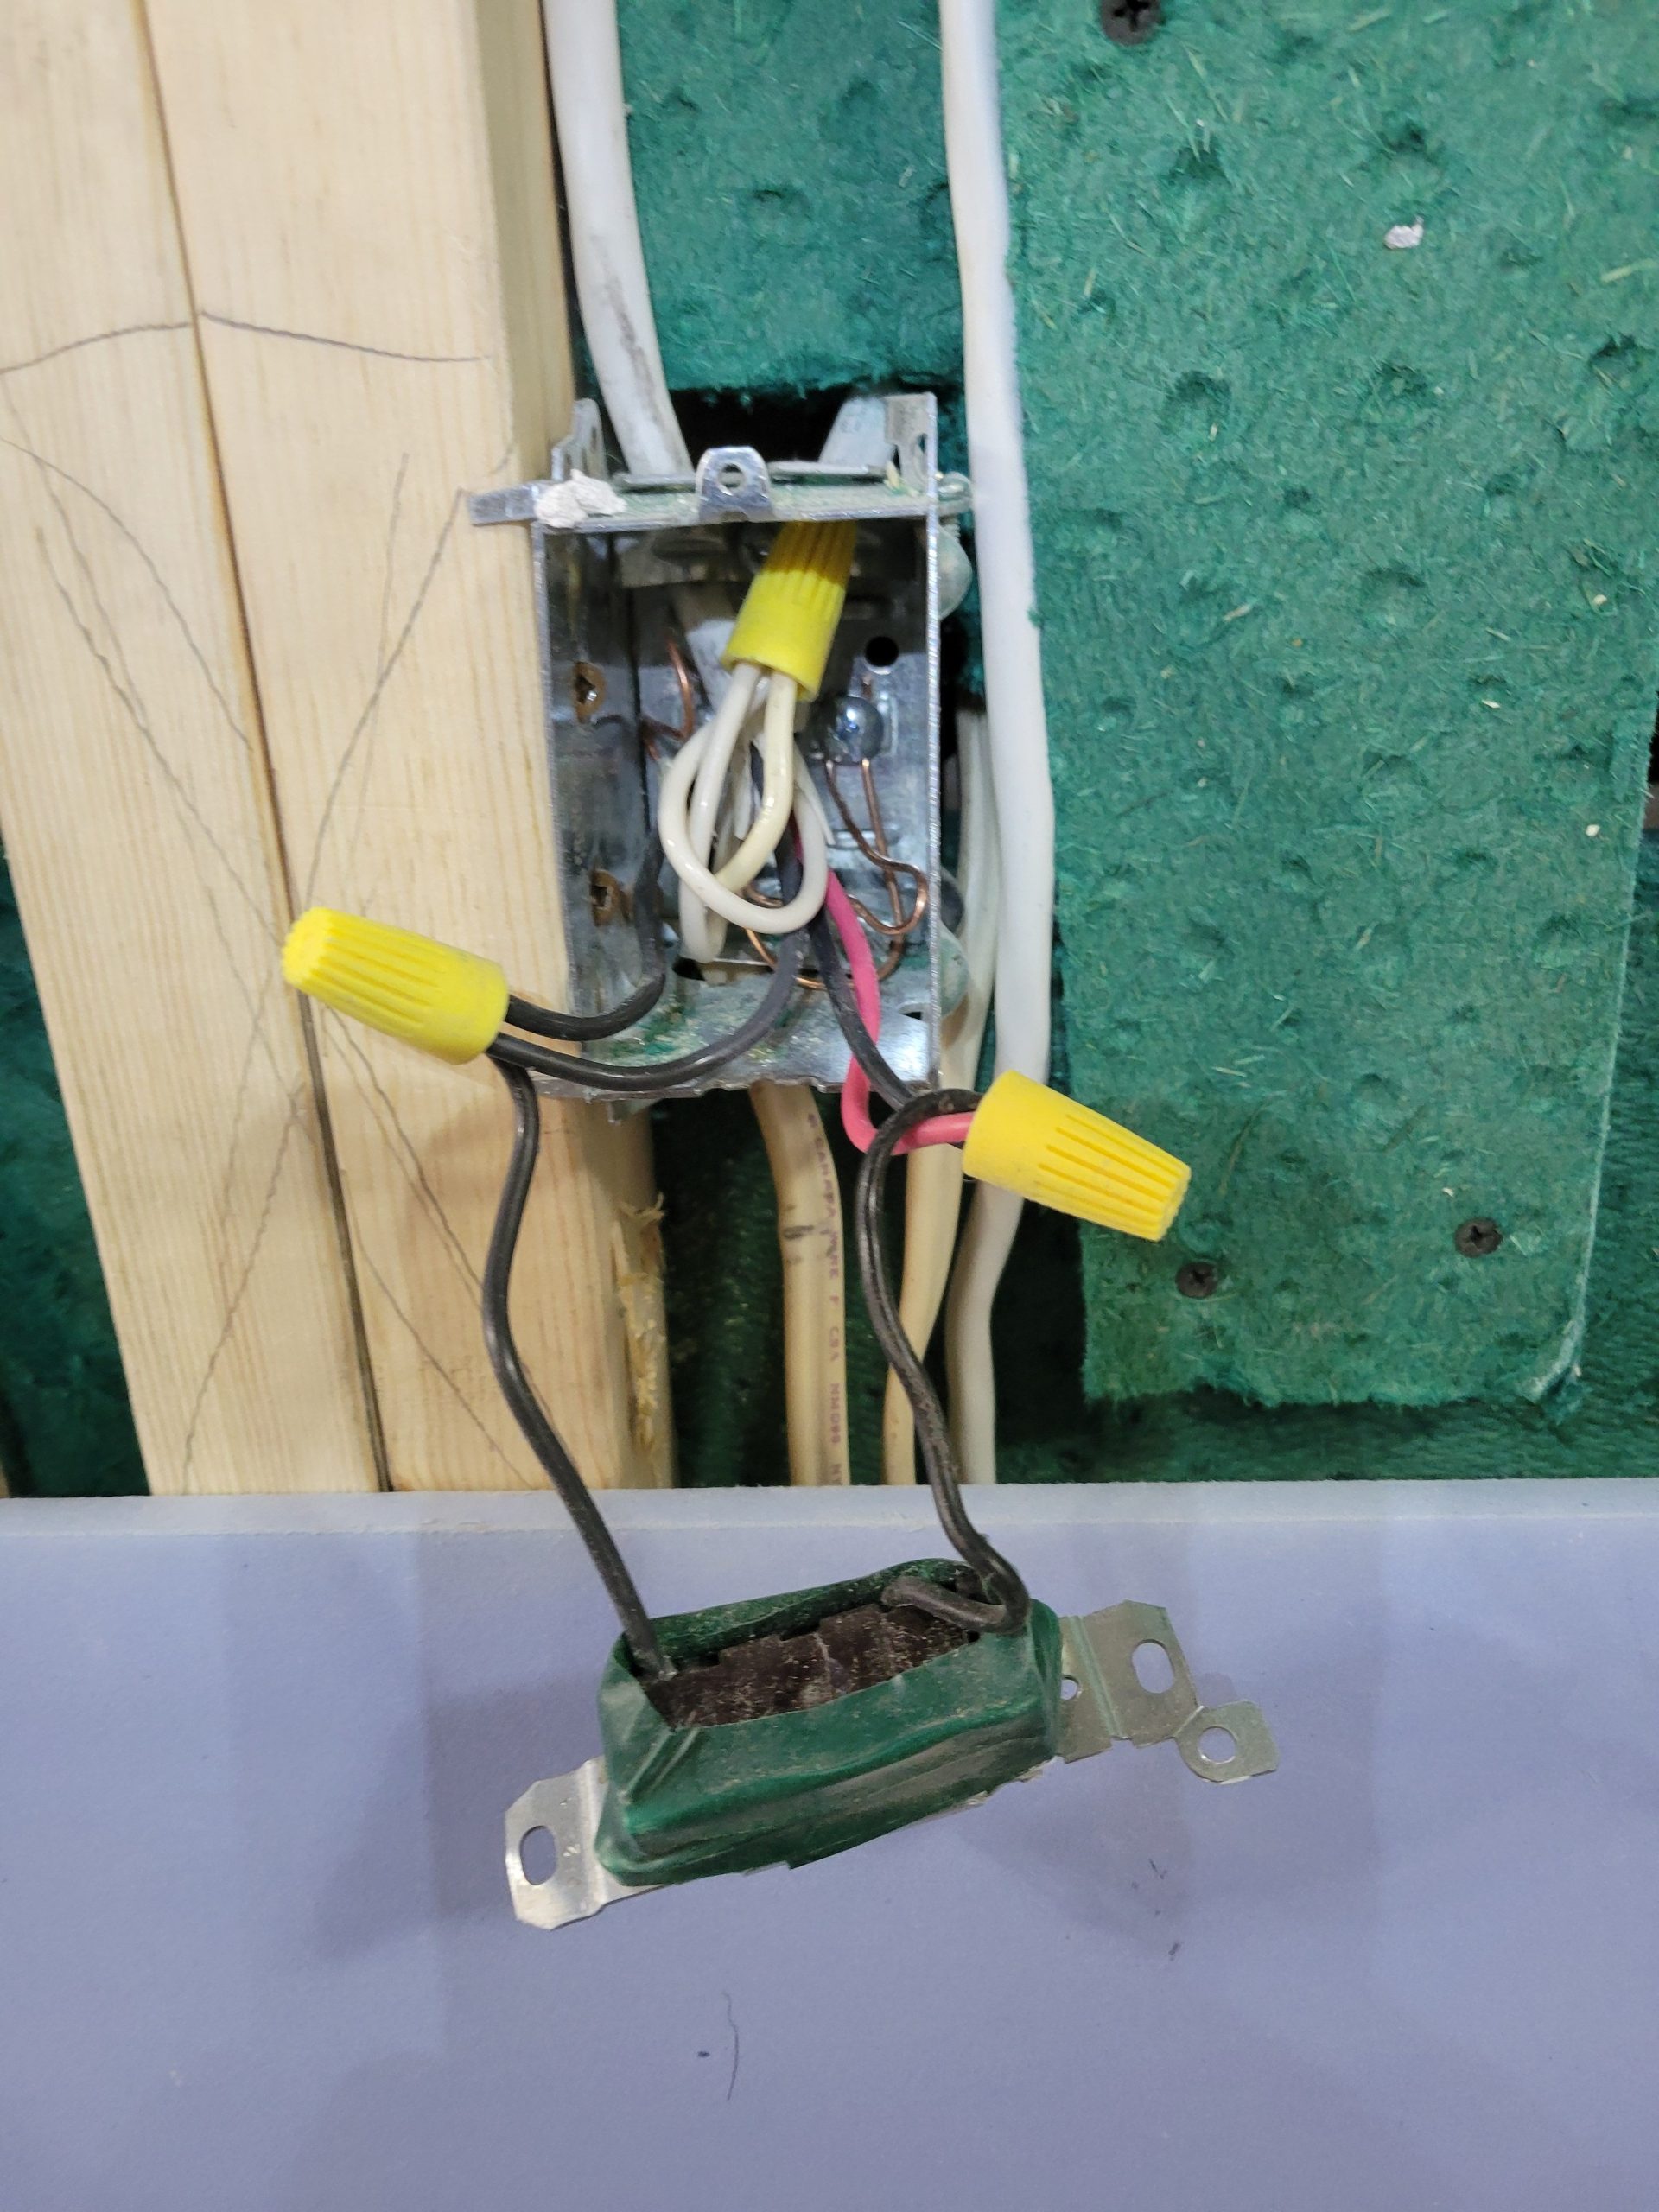
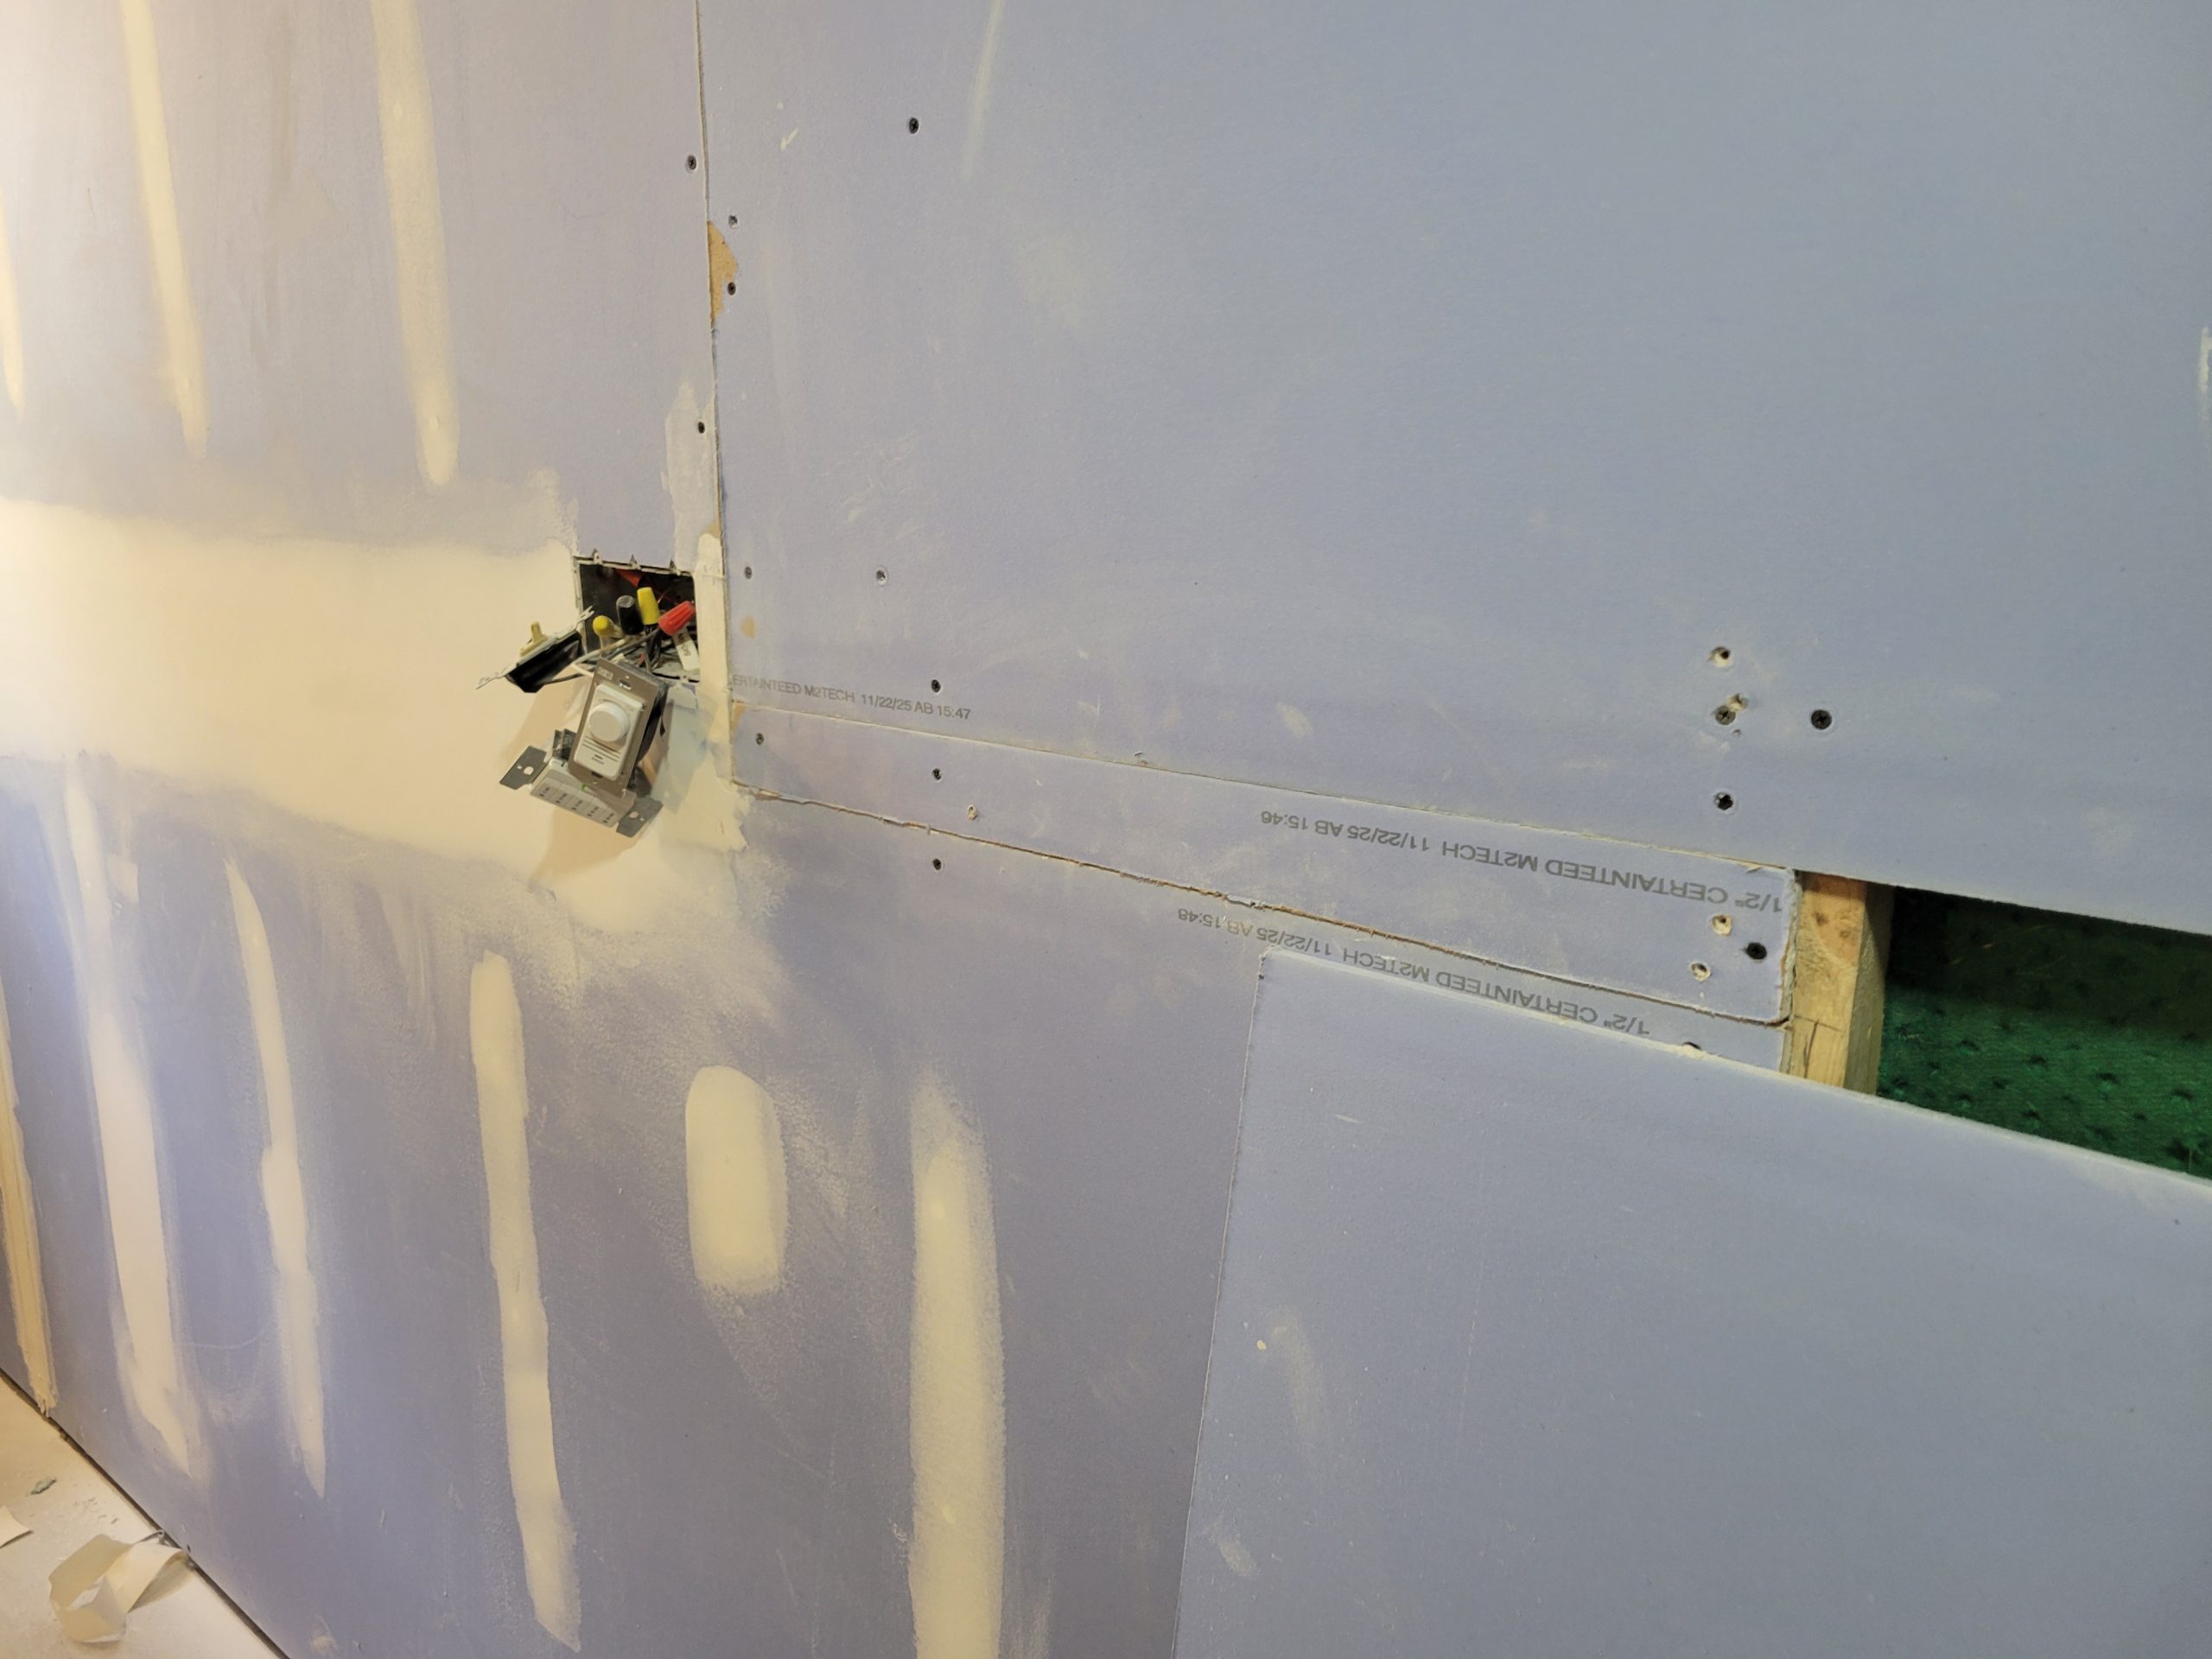
Backing was added to the 8-foot mark, and the bathroom switch wiring was moved.
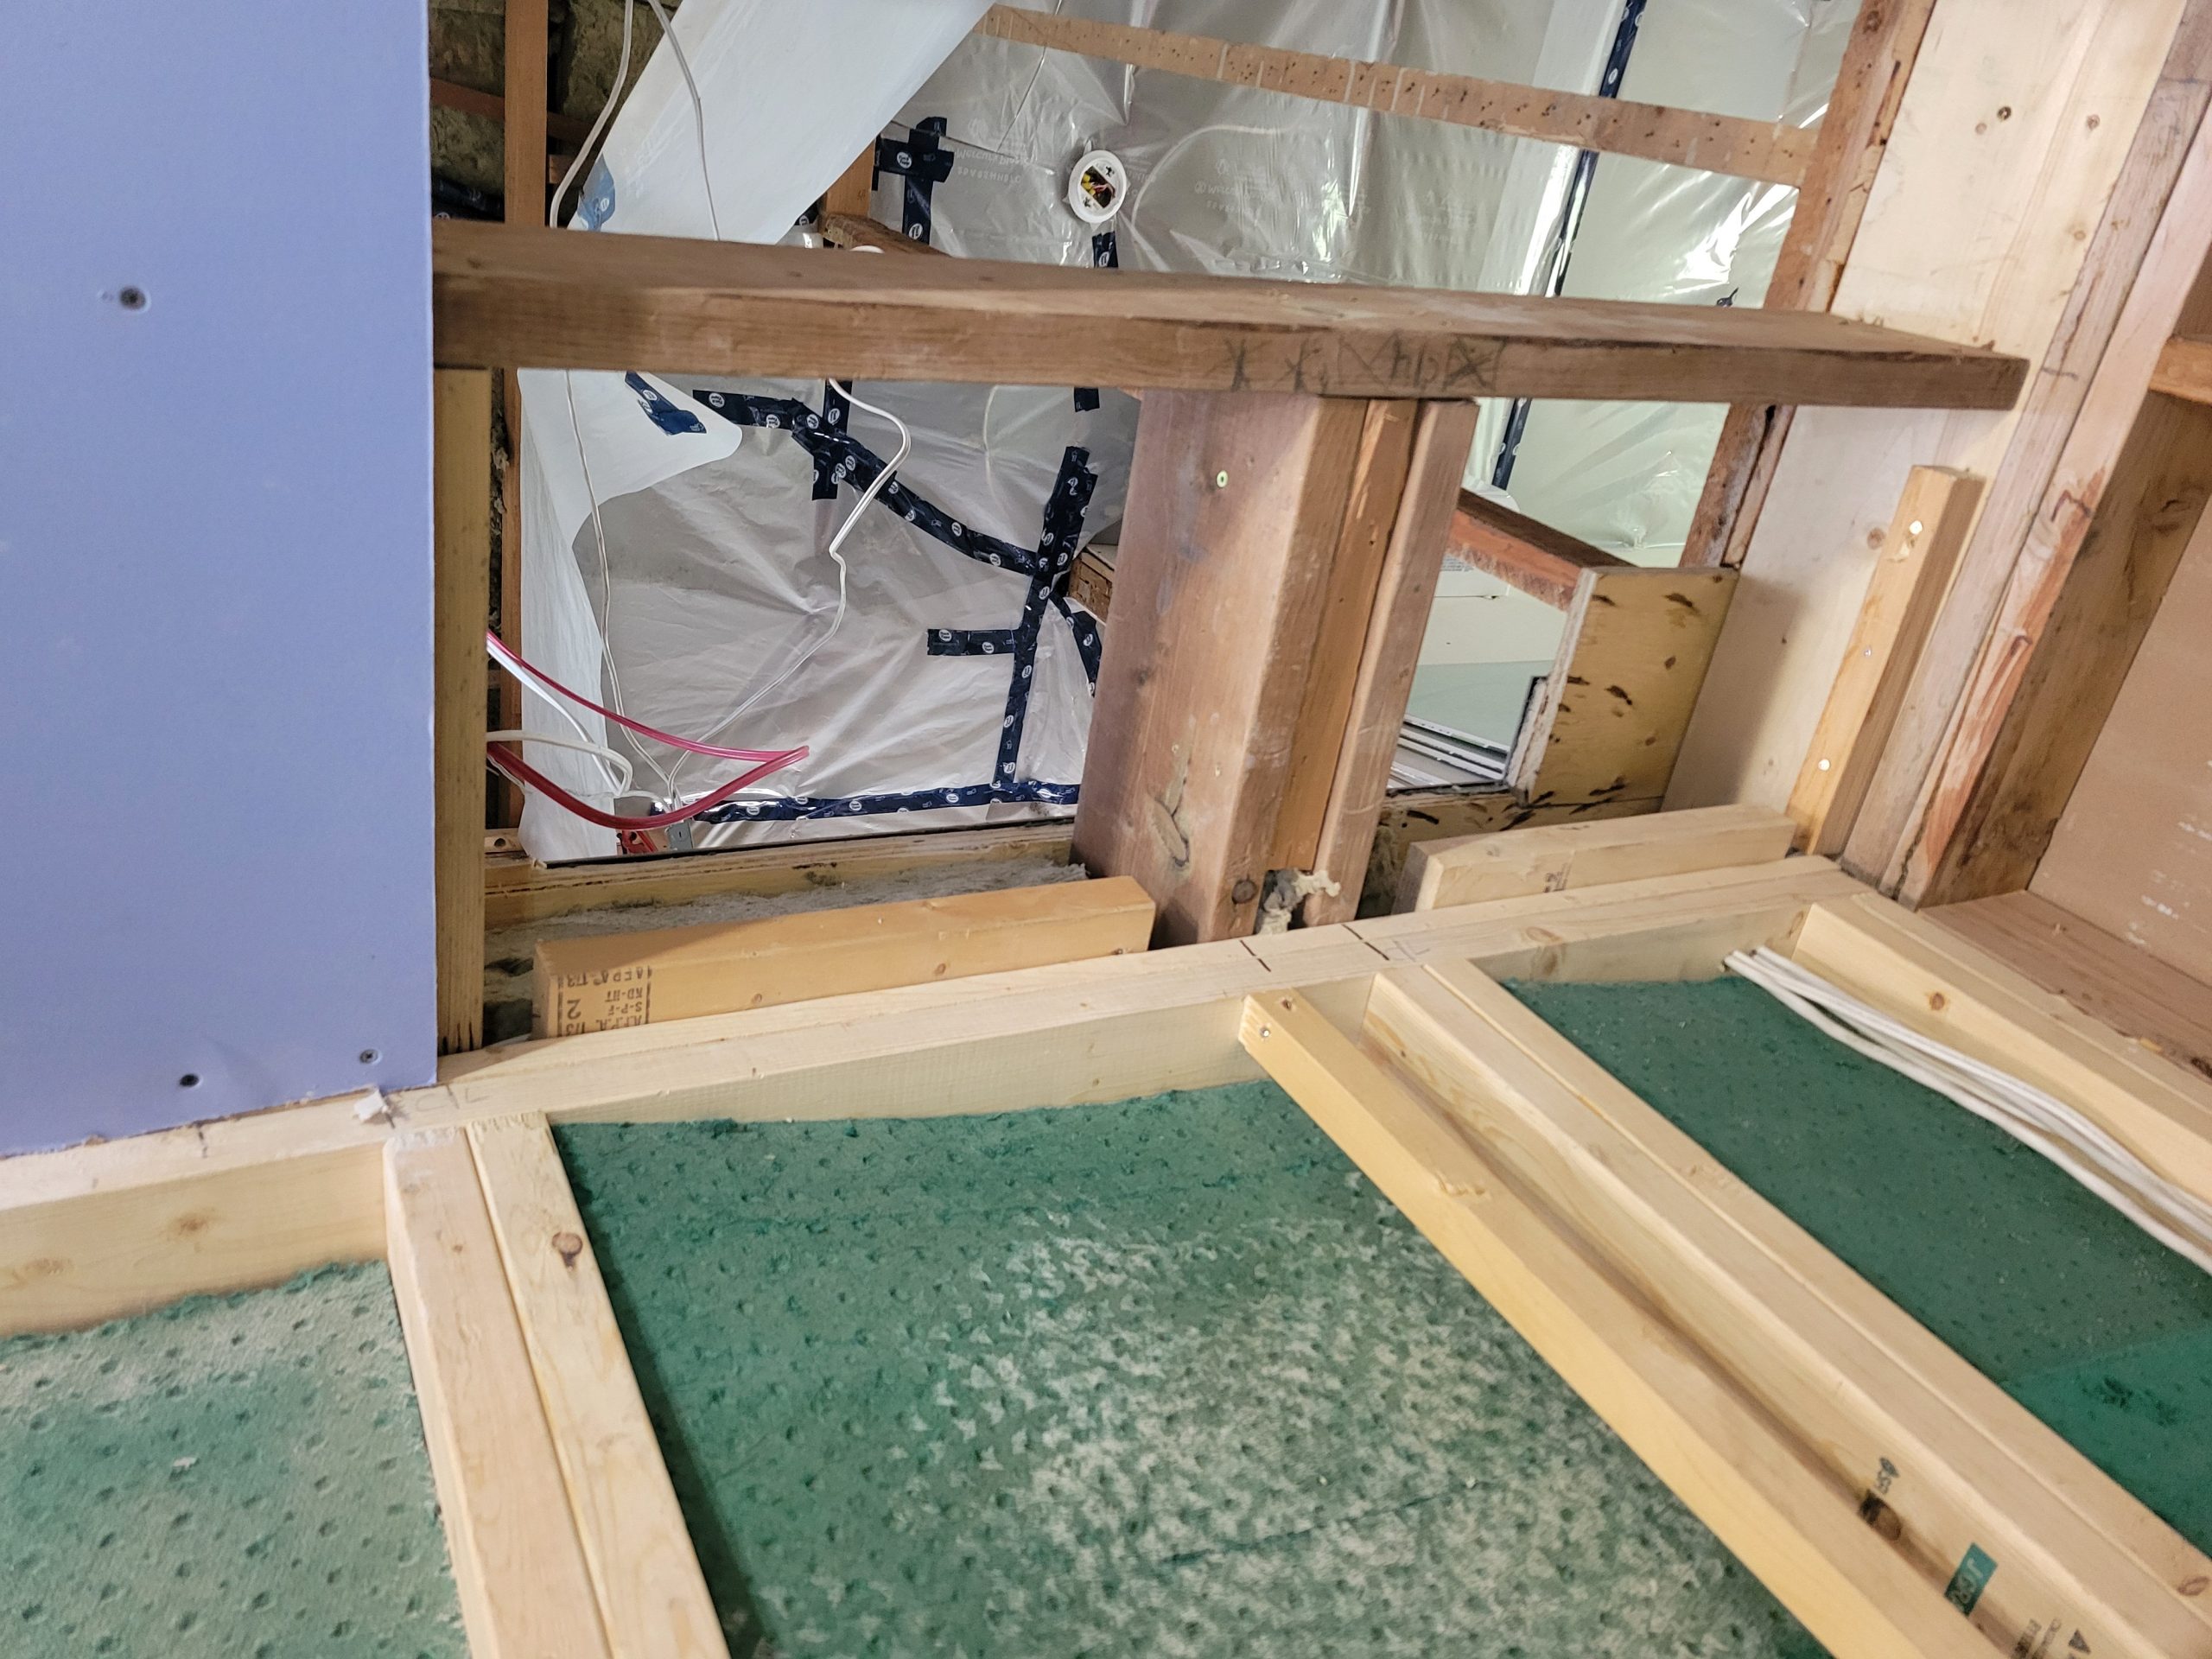
Backing was added to the small ceiling area at the stairwell.
Because of shaving 1/4″ off the drywall edge, the whole sheet was “moved” over by that much and, thus, wiring and backing had to be moved again.
A cheater piece was added as the walls are not 8′ but, rather, 8′-3 1/2″ on one end and 8′-3″ on the other. (I hate compromise.)
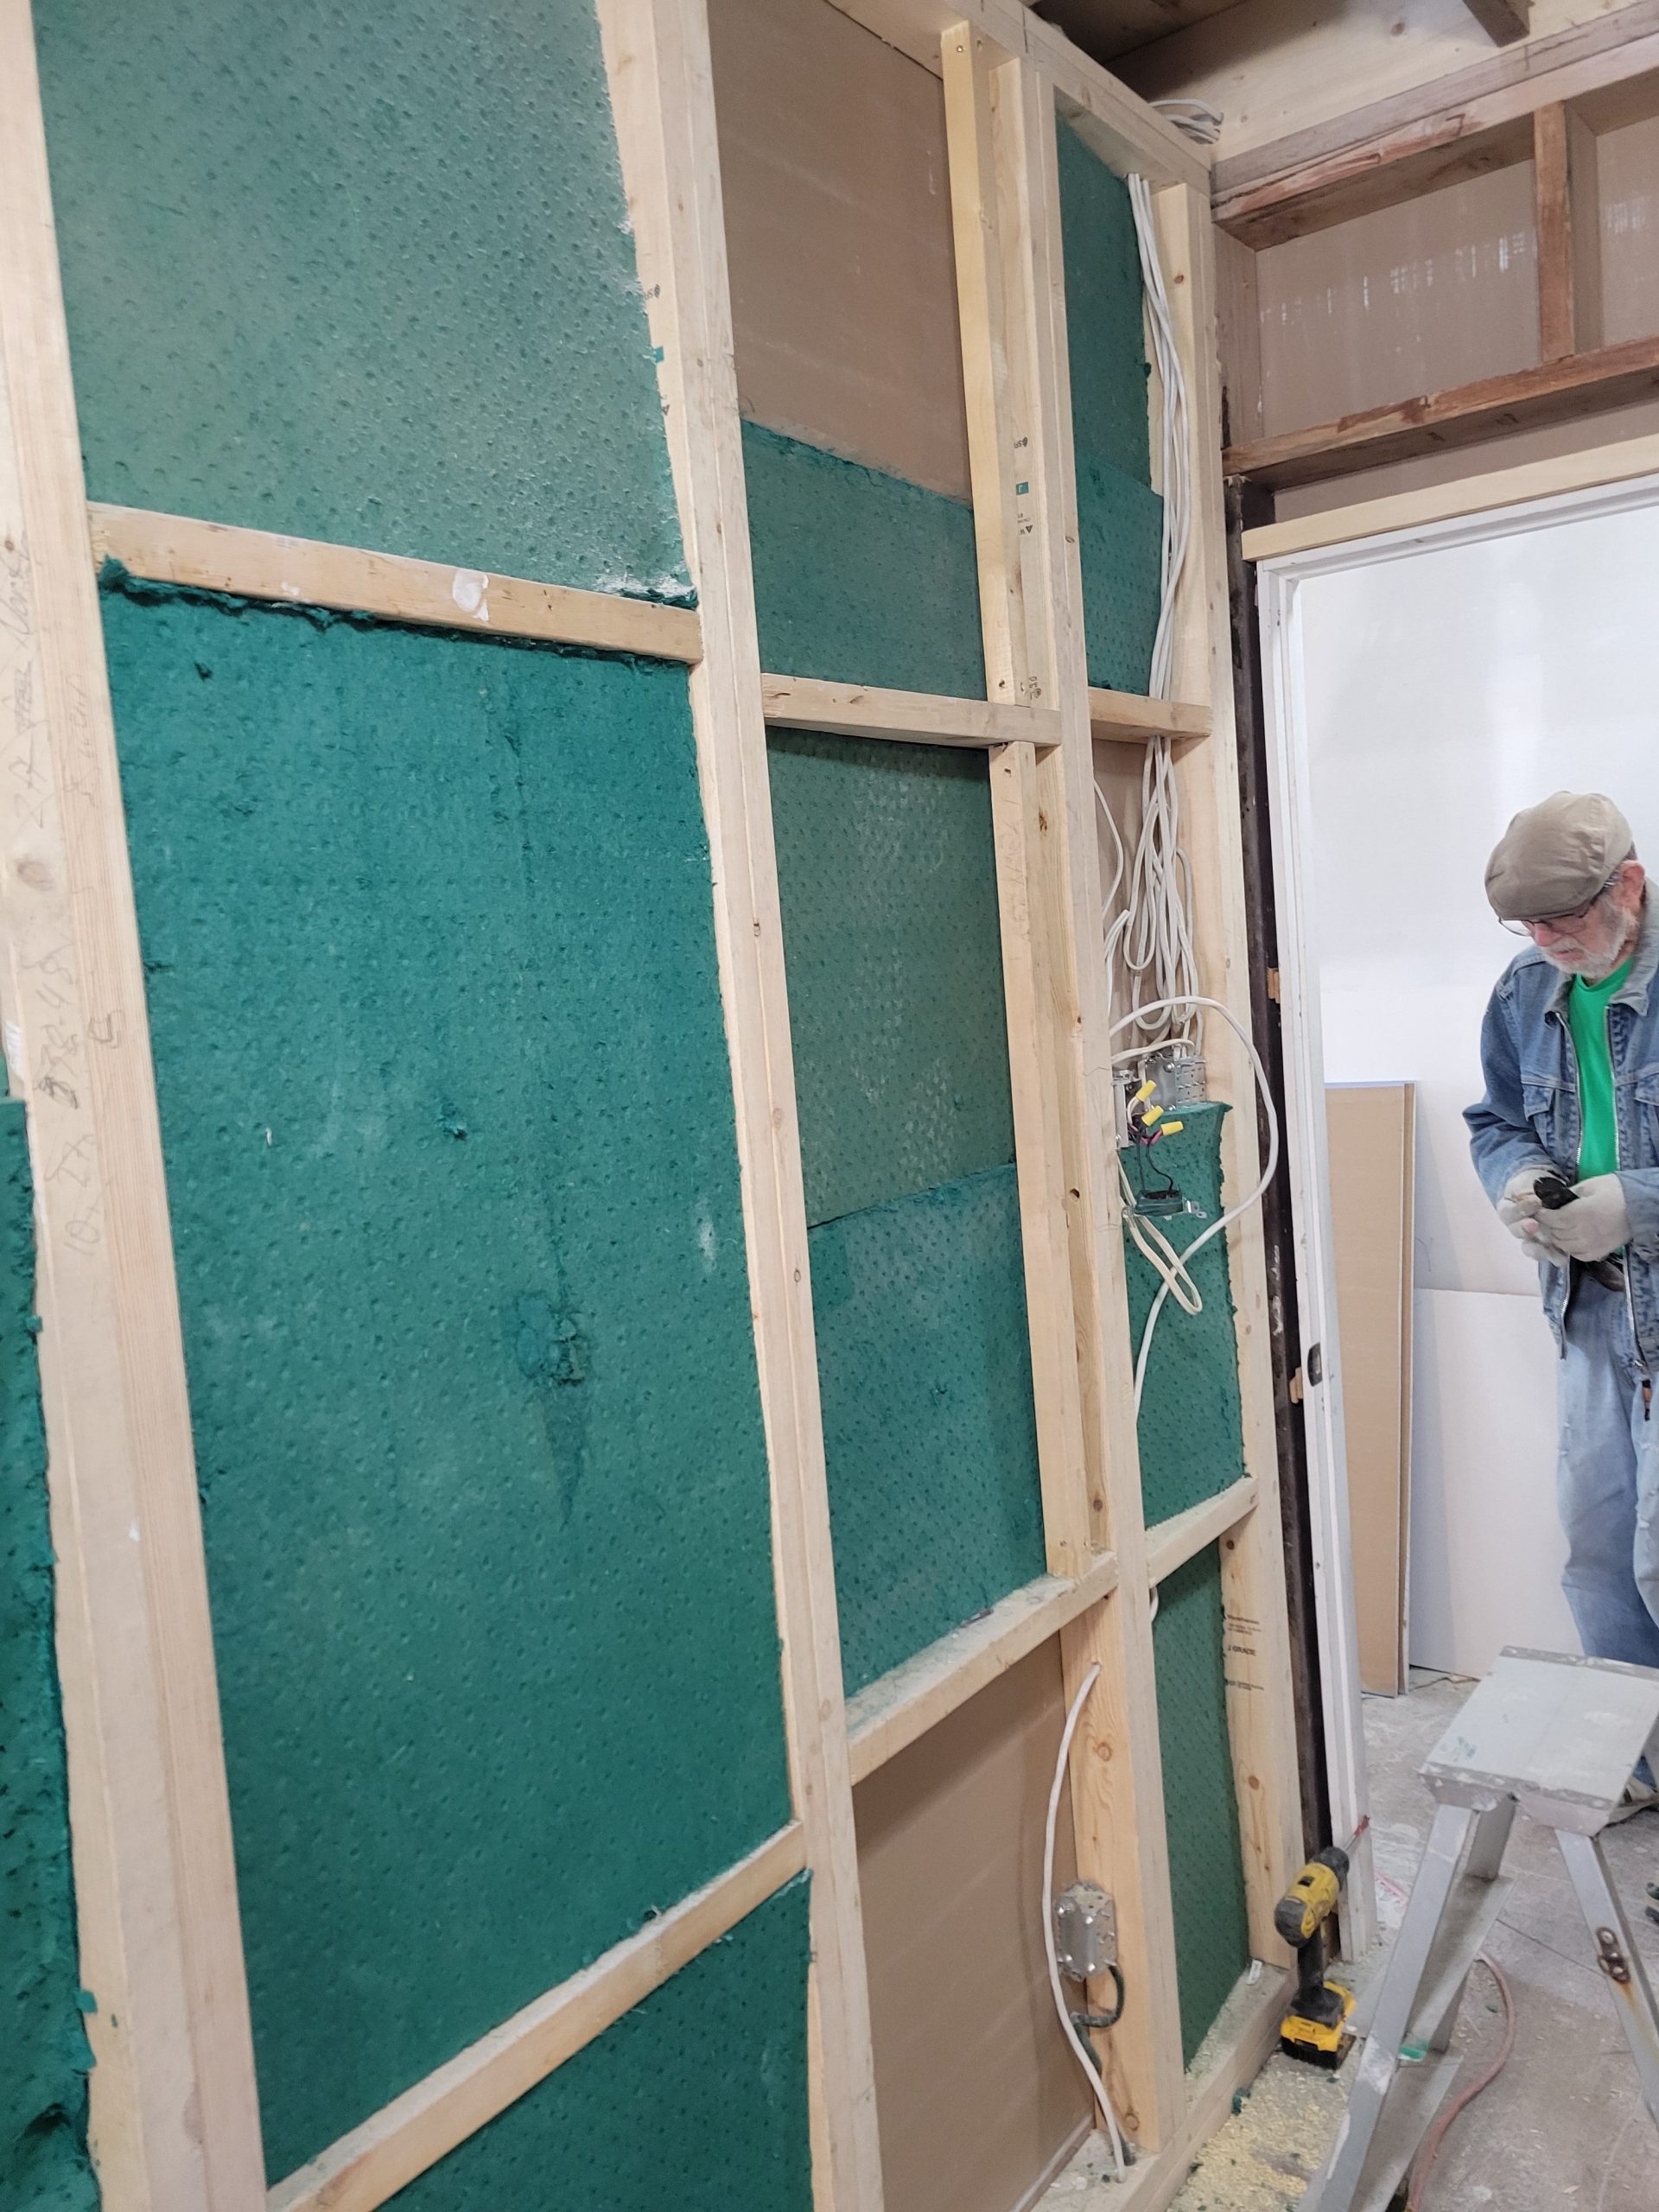
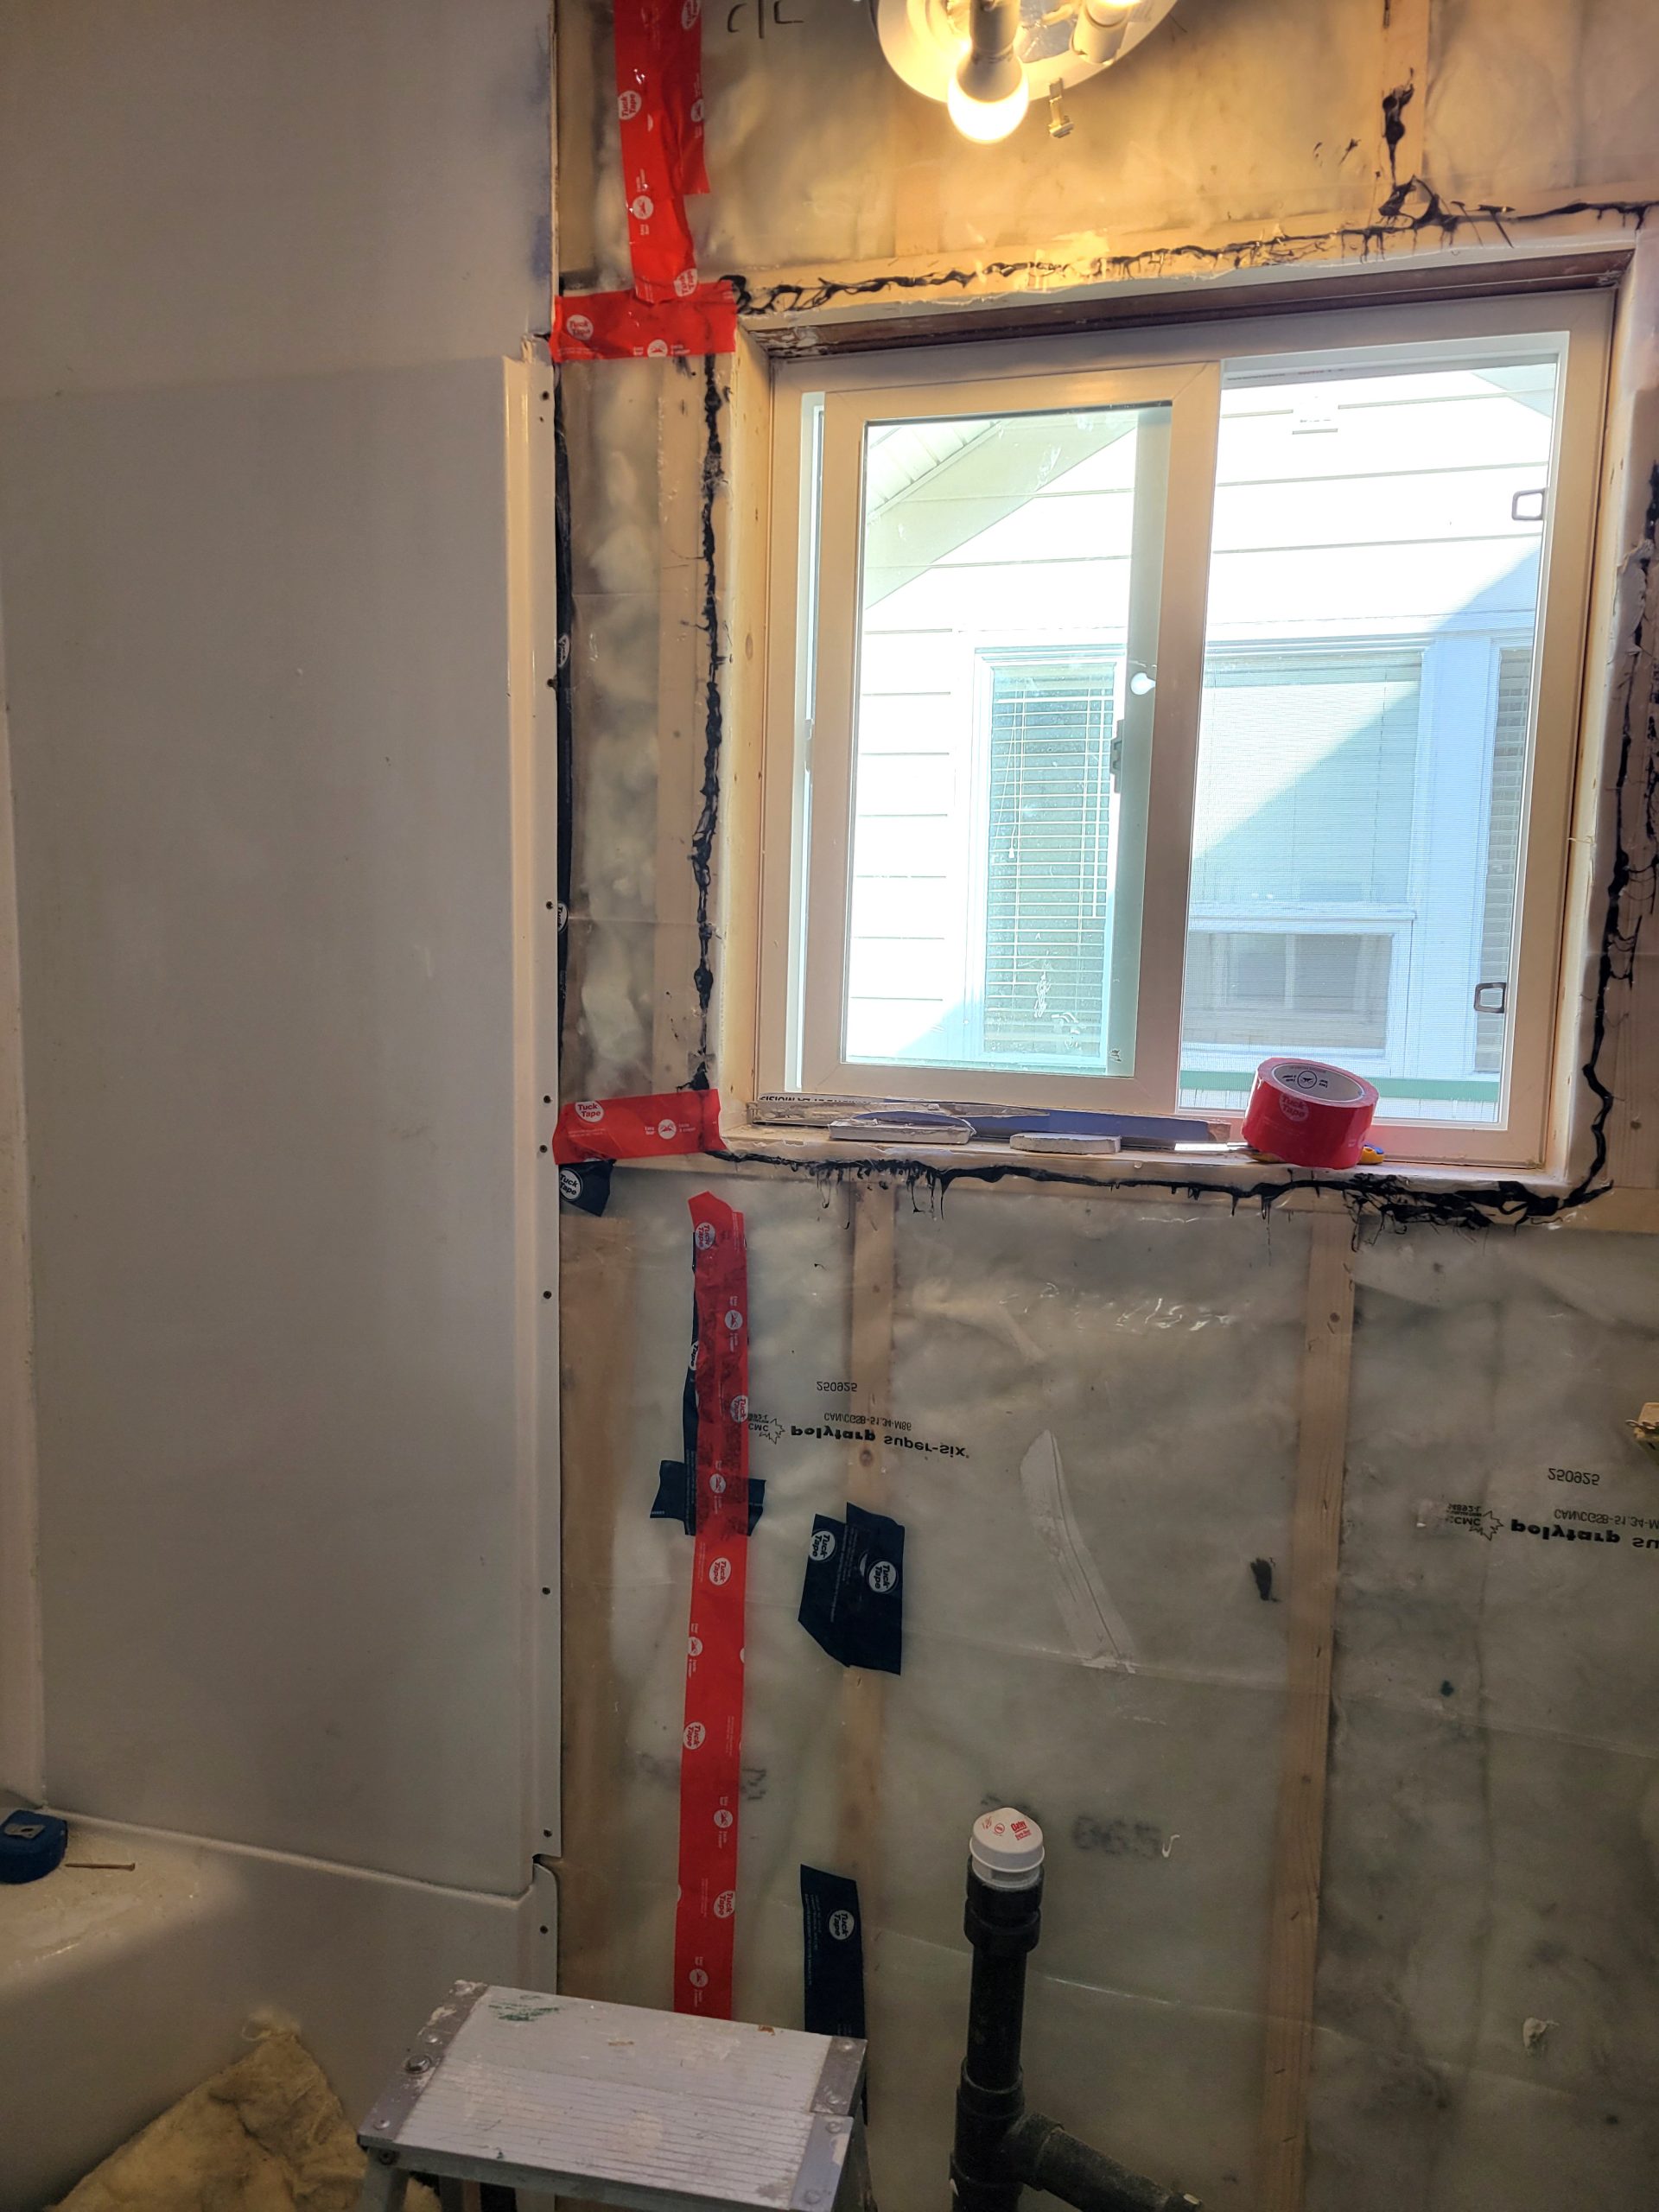
Next, backing was put in in the east wall of the bathroom to accommodate drywall and the large, heavy shower door.
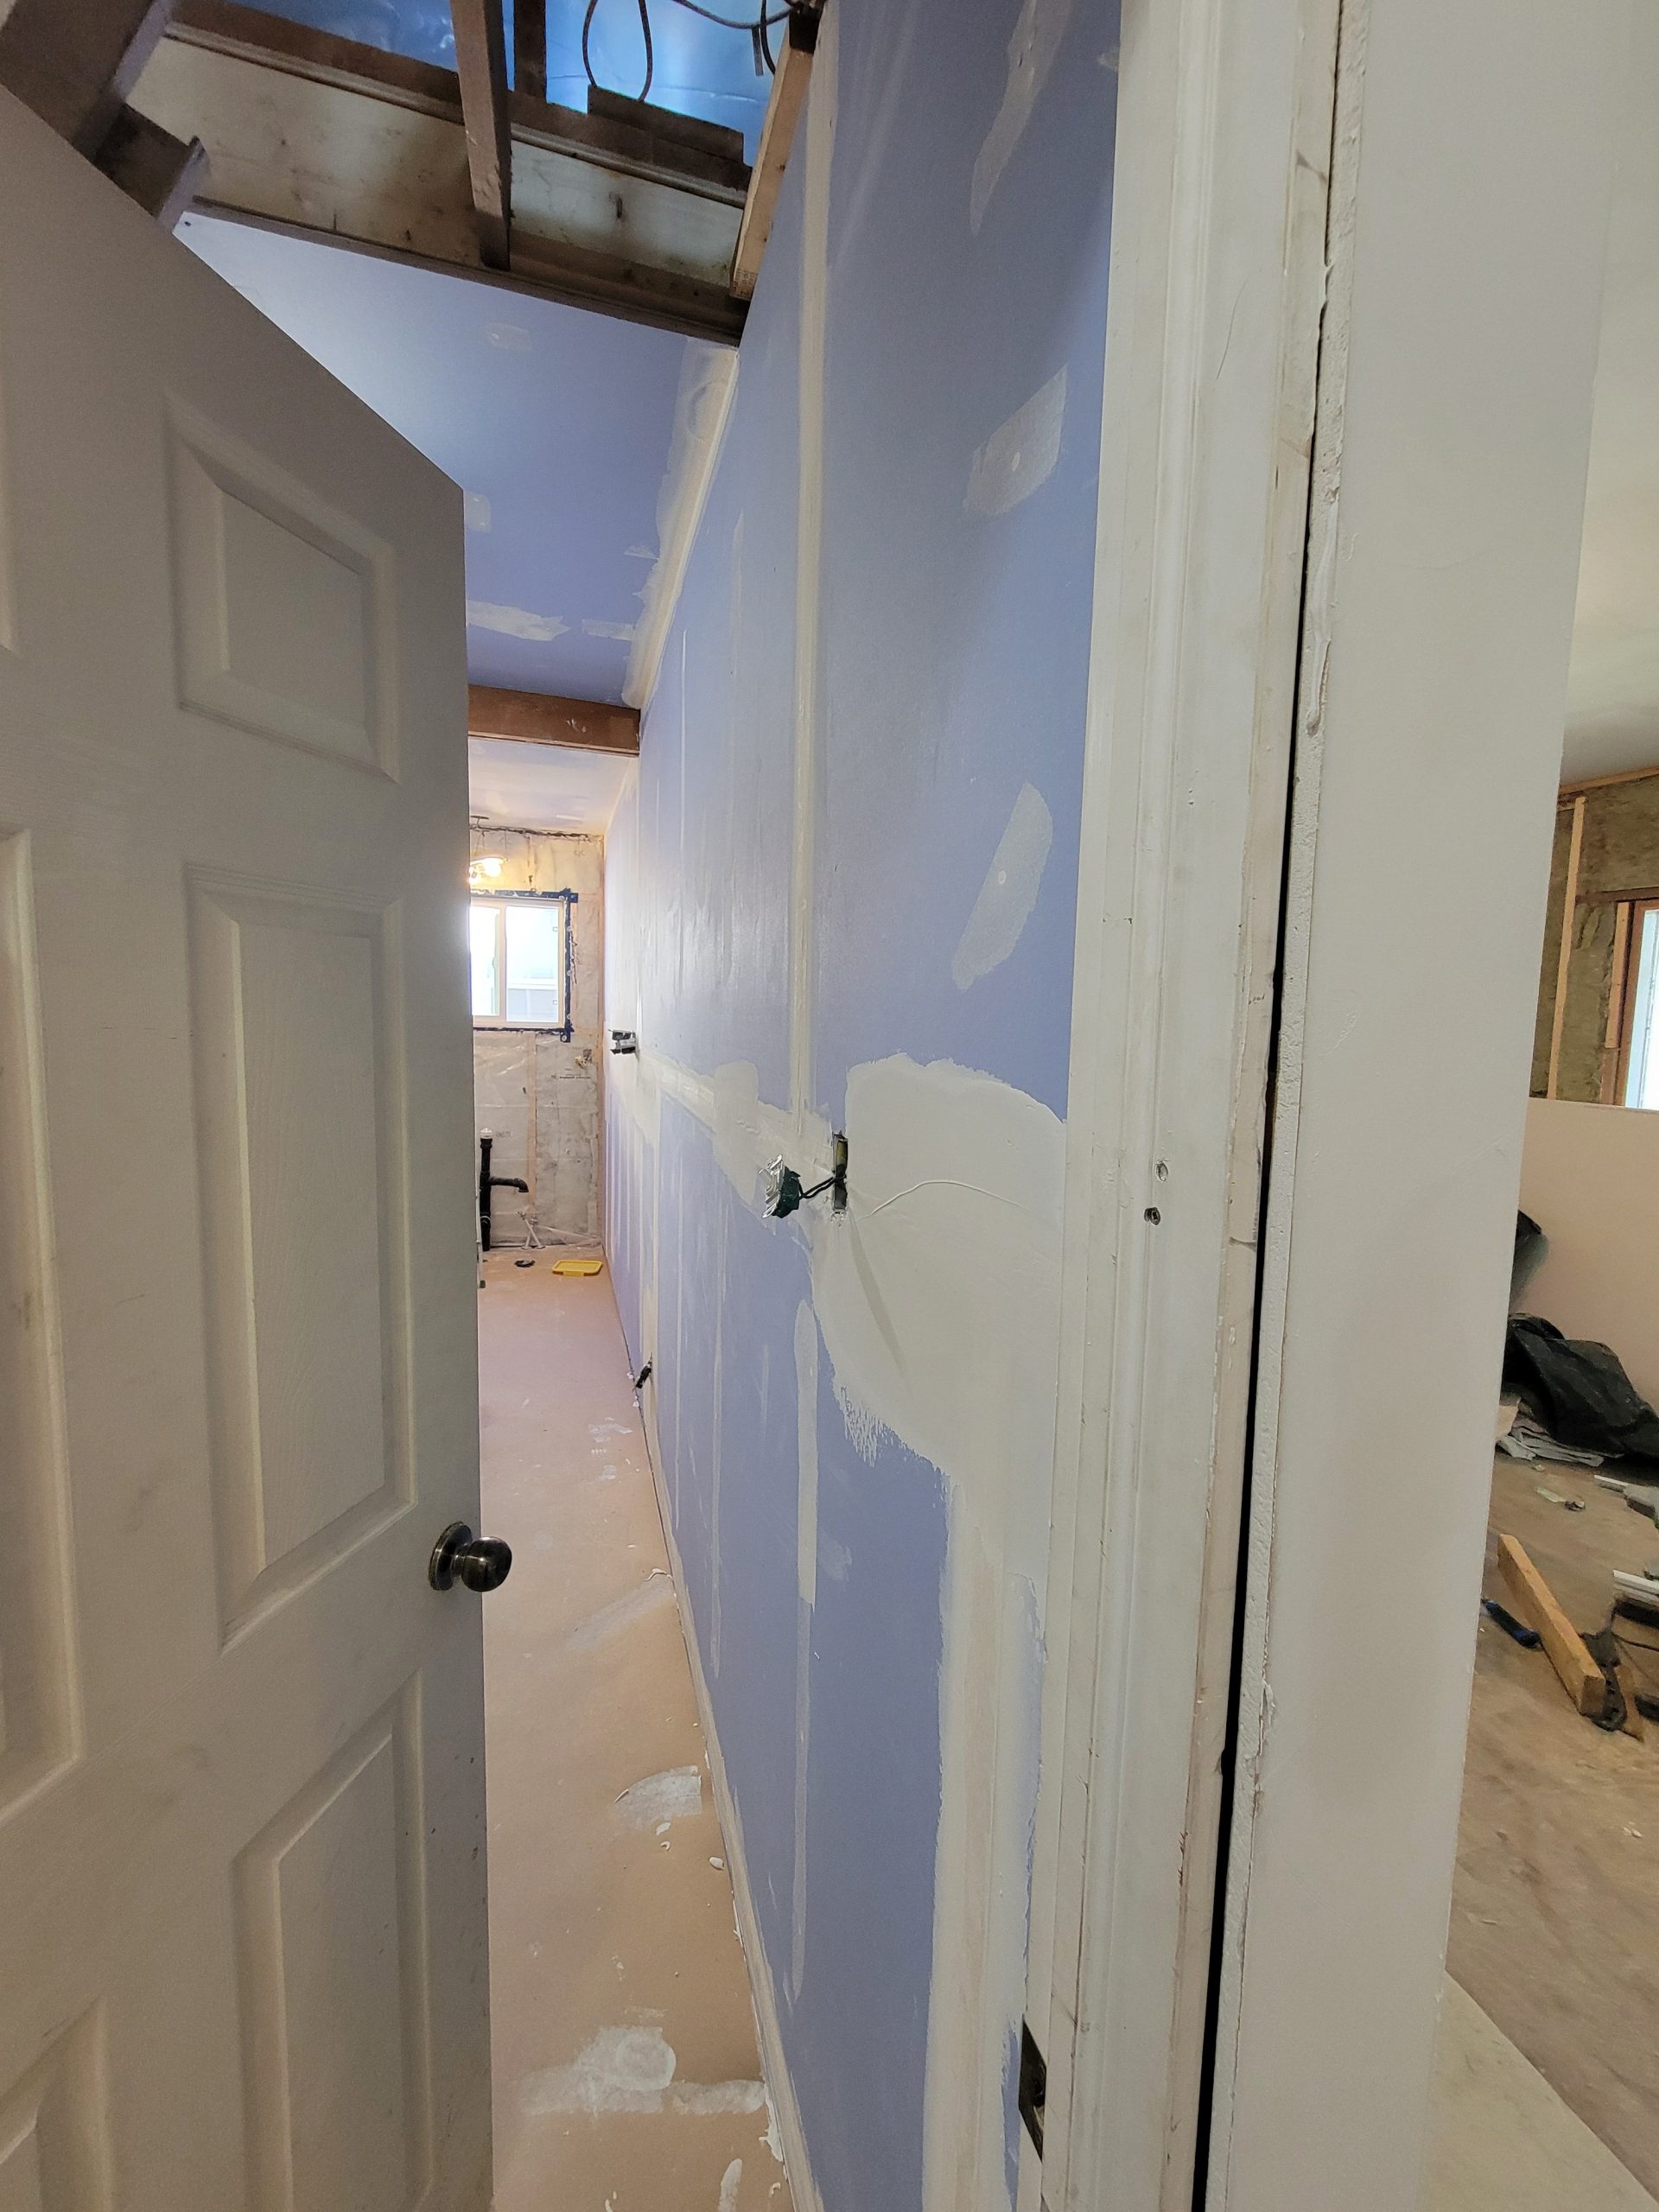
So this is what the south wall of the bathroom / north wall of the living room looks like now.
Oh, and the bathroom door was added a few days ago along with a horizontal header.
(No cripple. No need because no load. But I will add one sooner or later for drywall backing.)
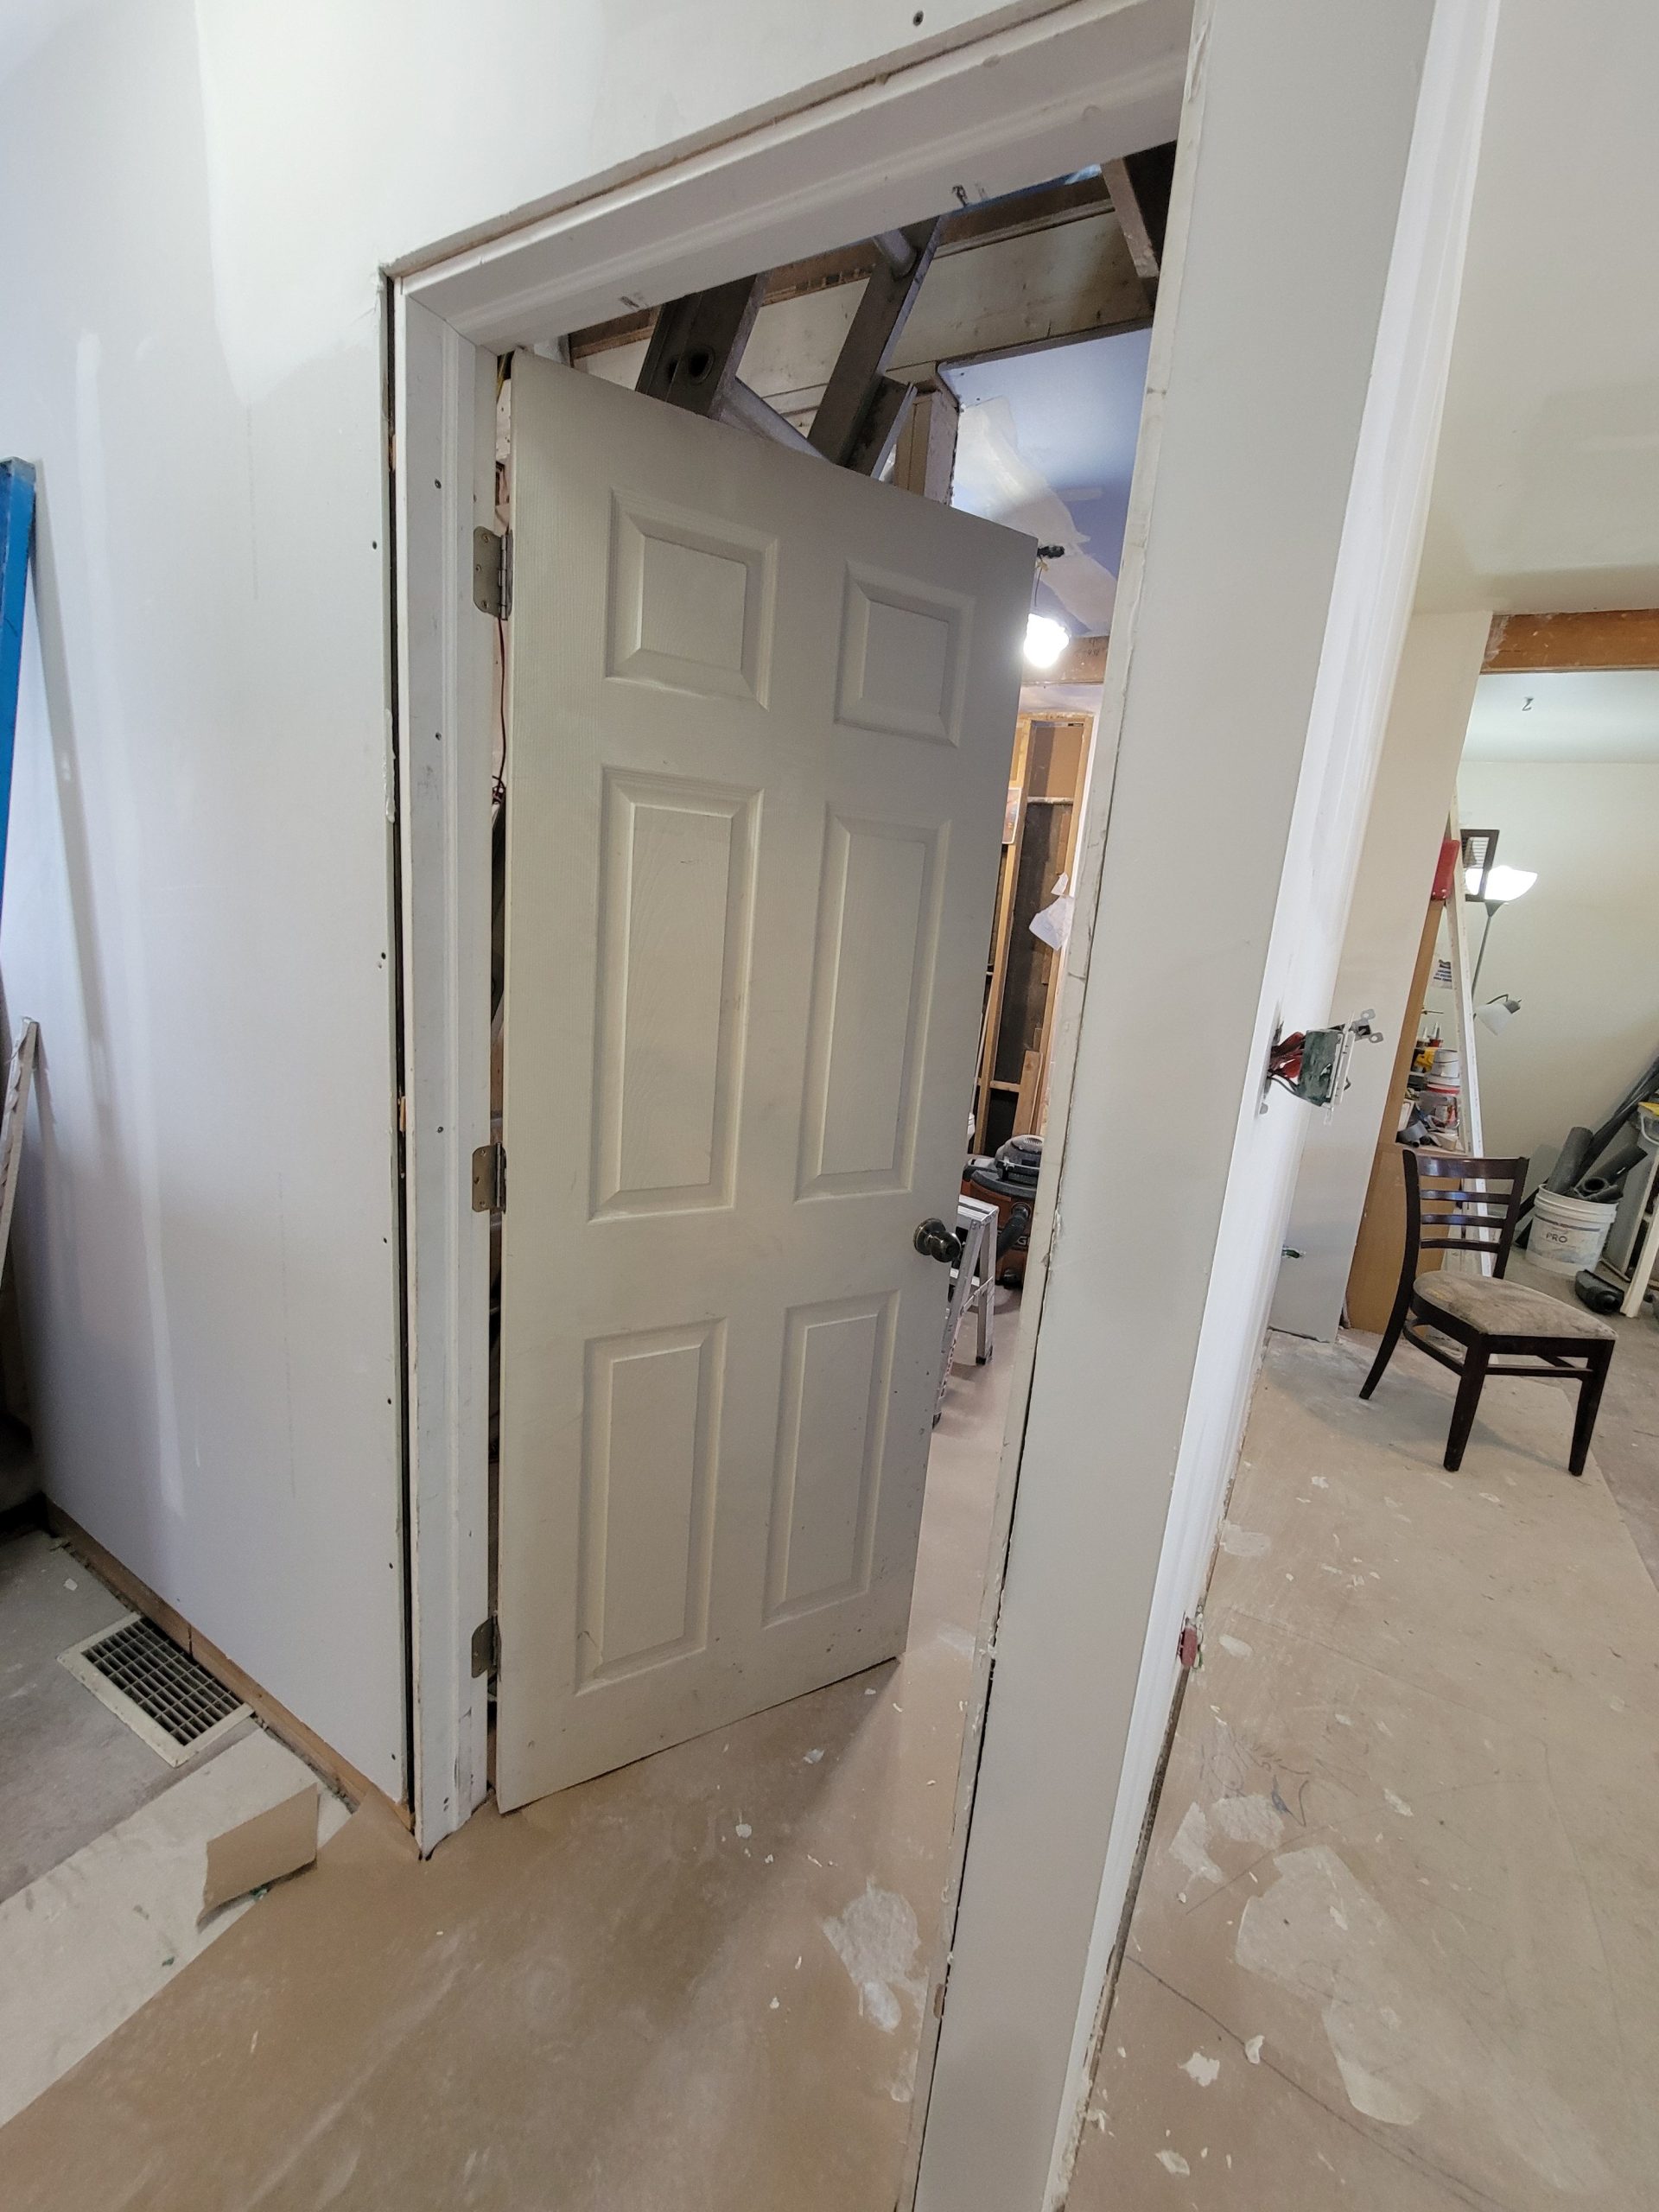
My drafting said 86 1/2″ was the rough opening. I realize now that the actual door is 80″r.o., so now I have an extra 6 1/2″ to play with for the stairway.