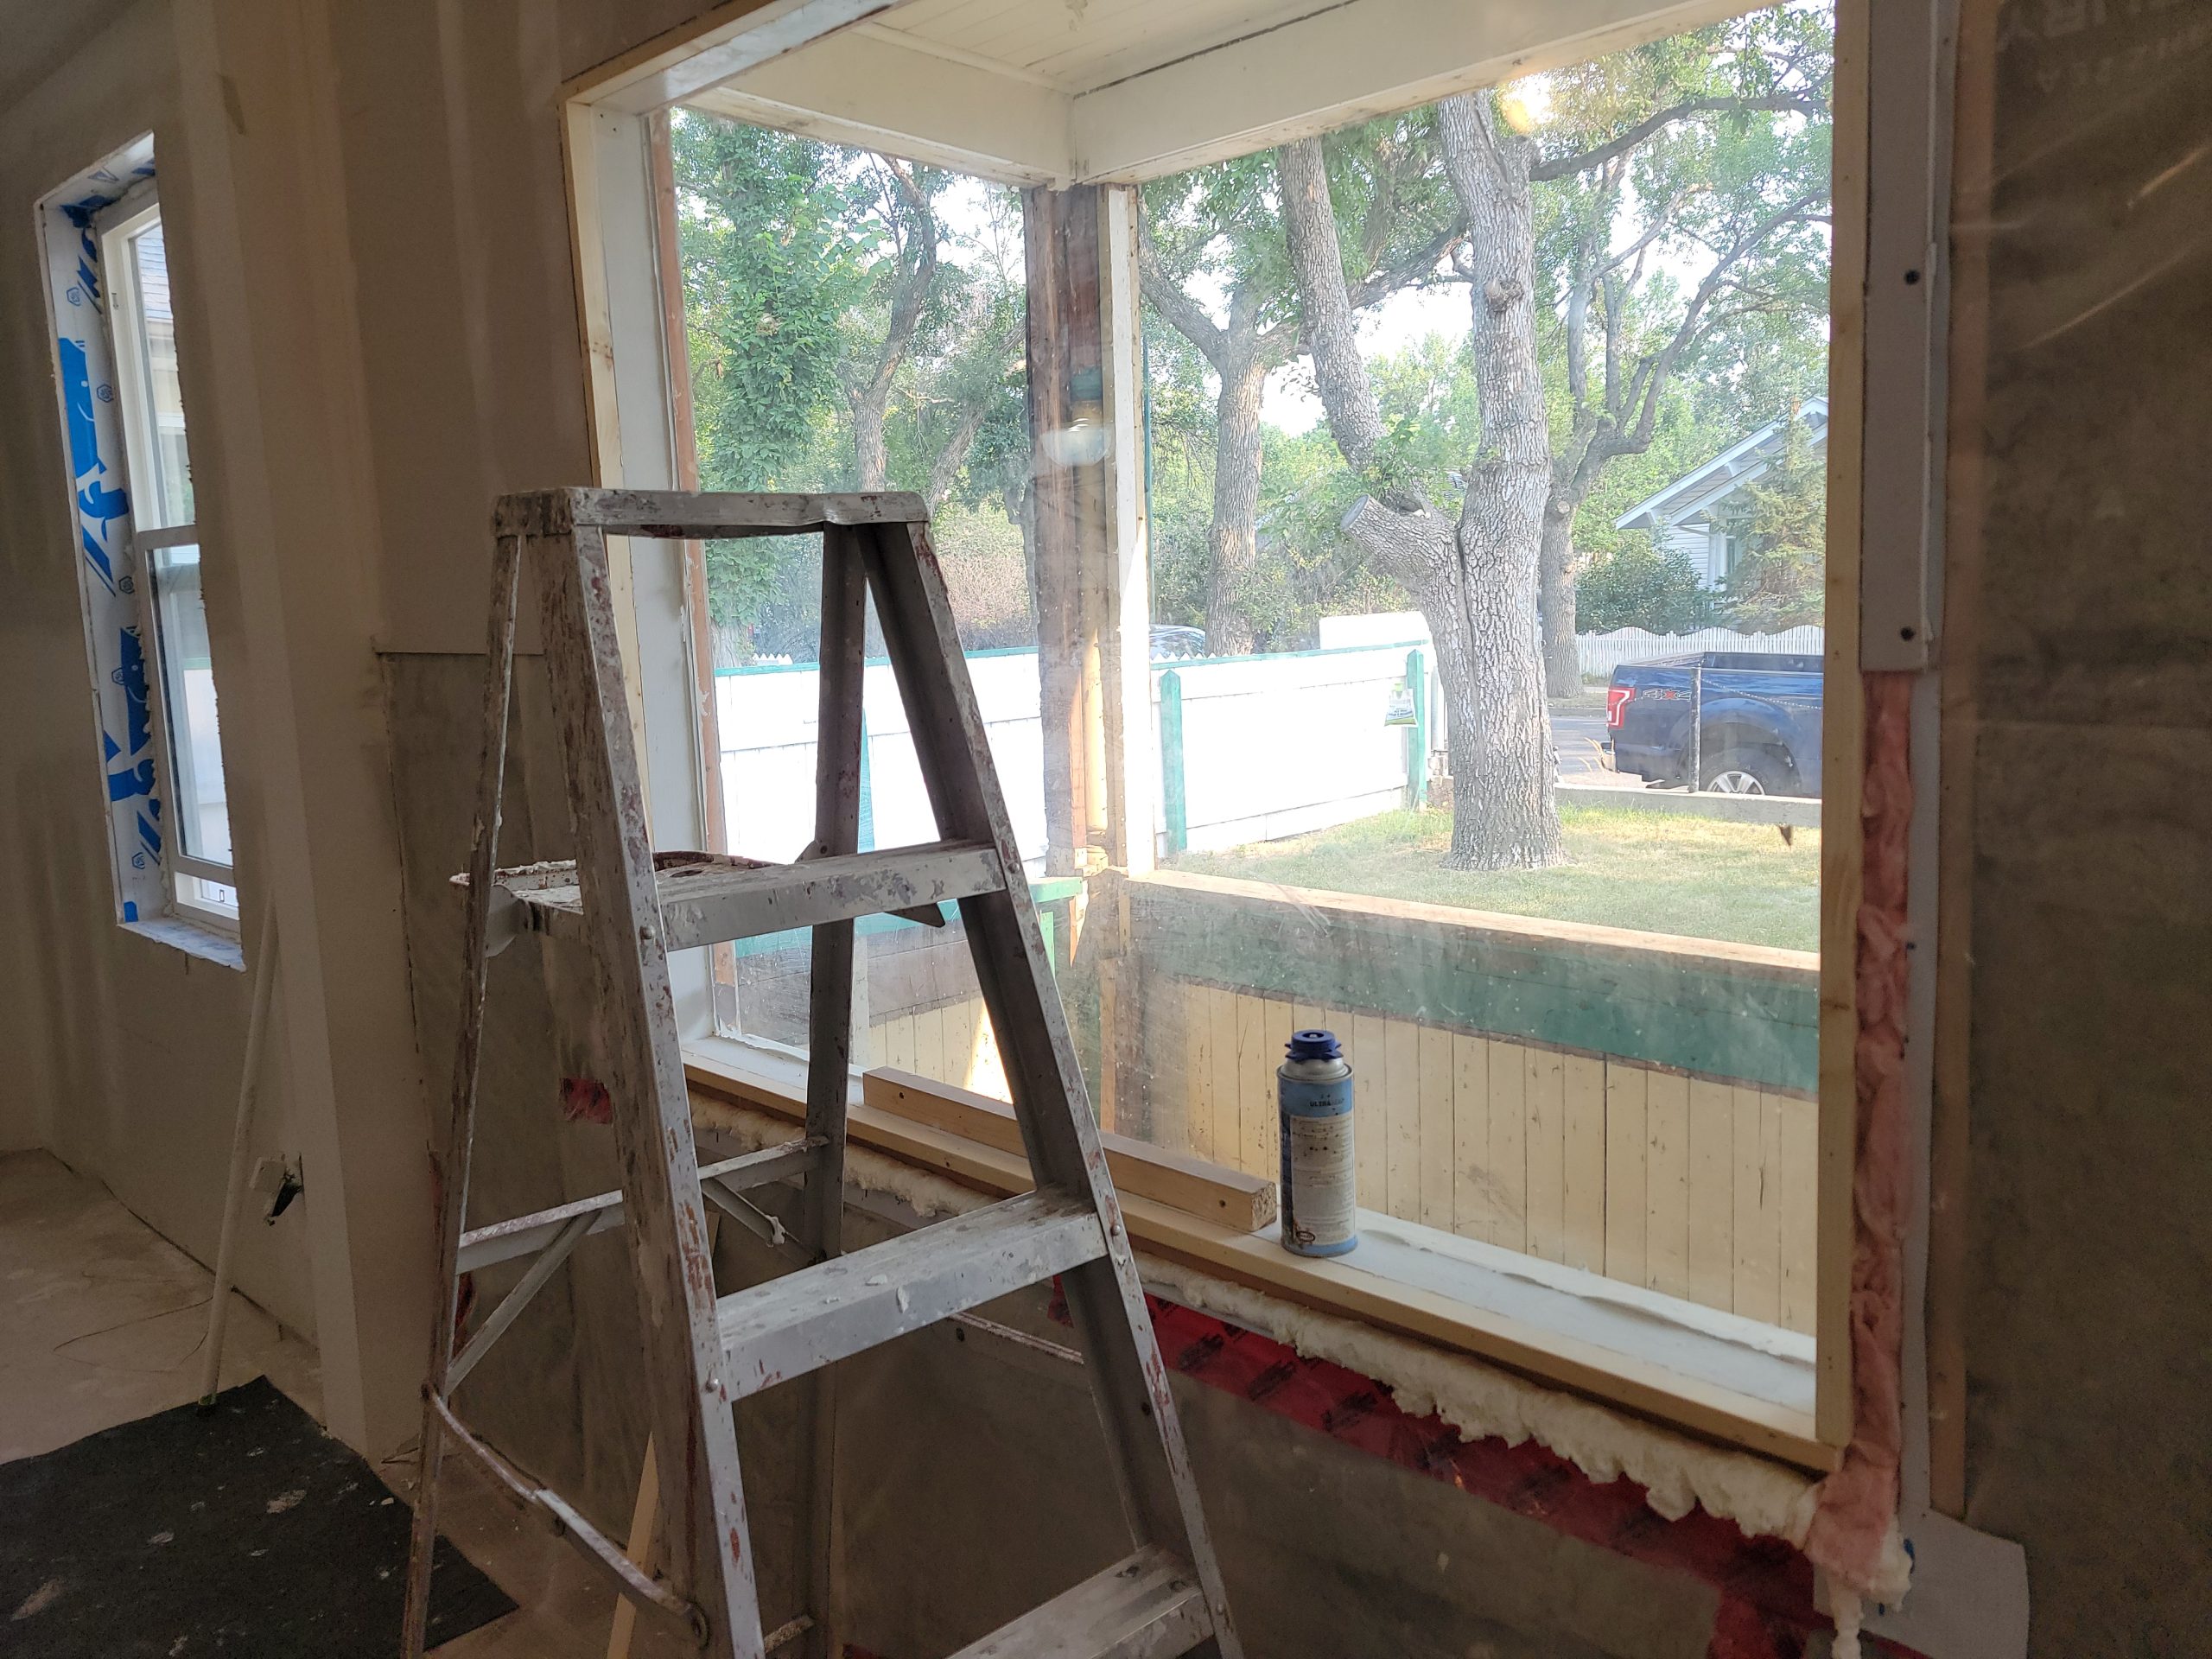
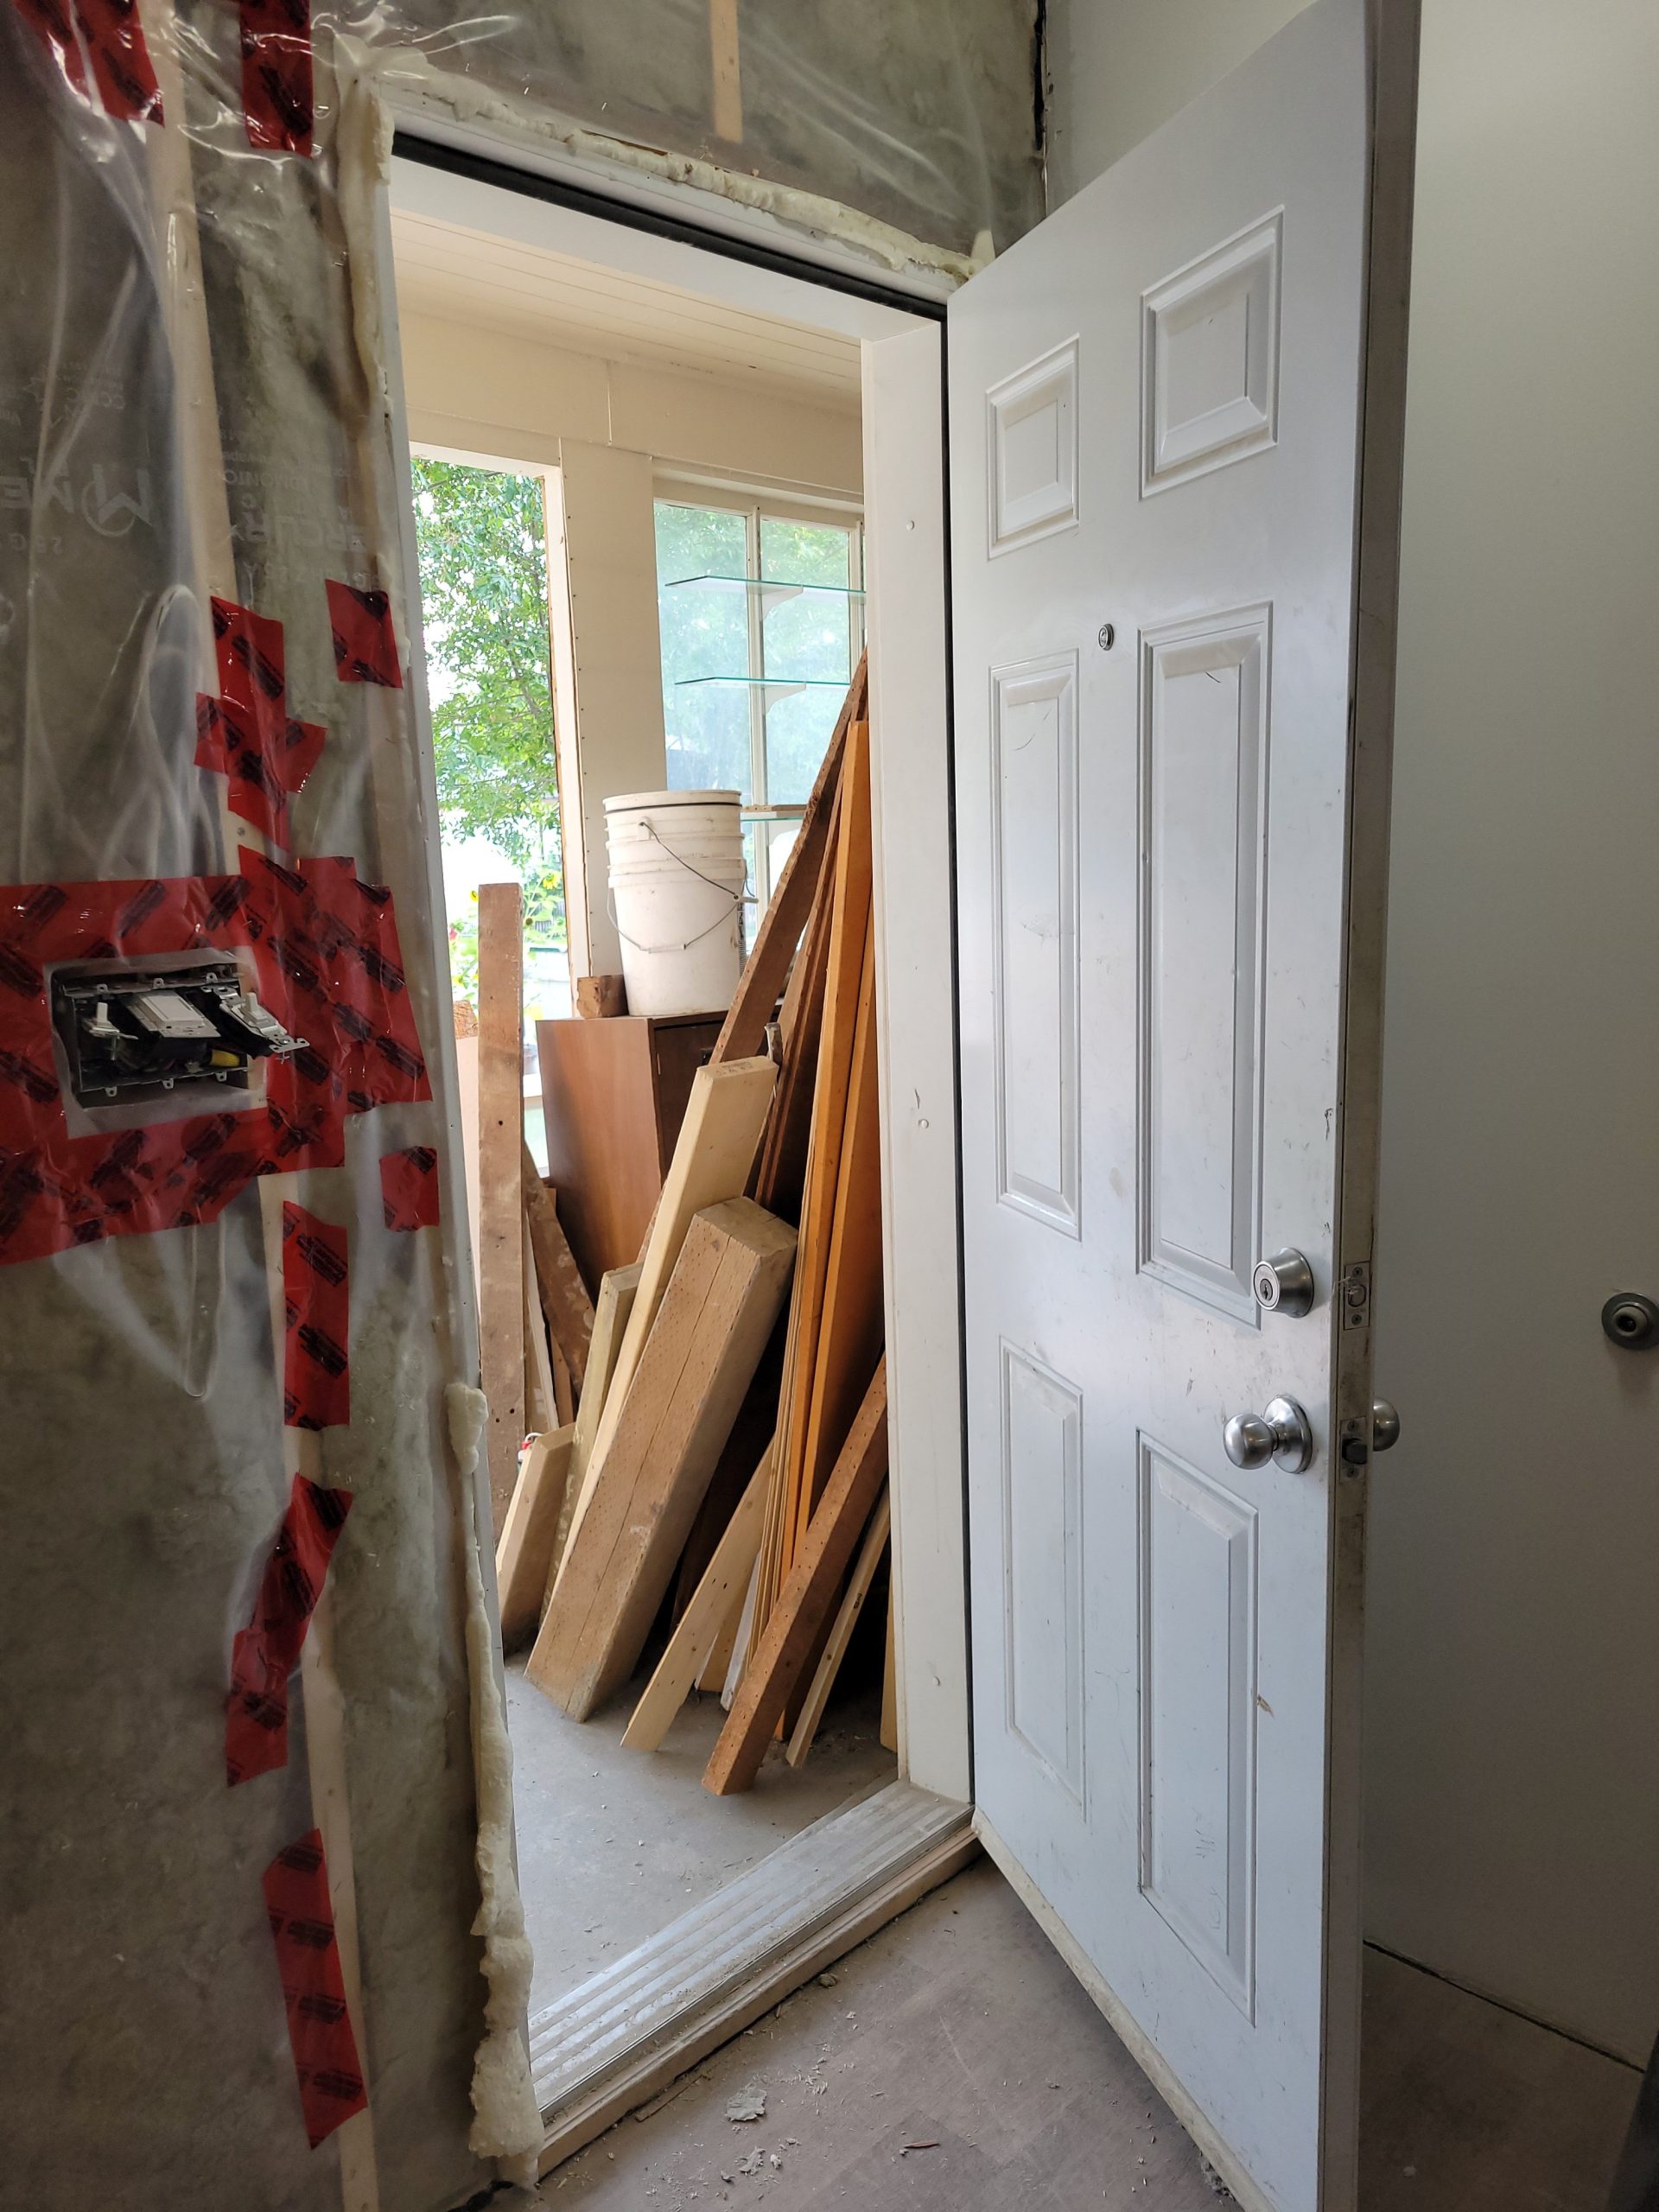
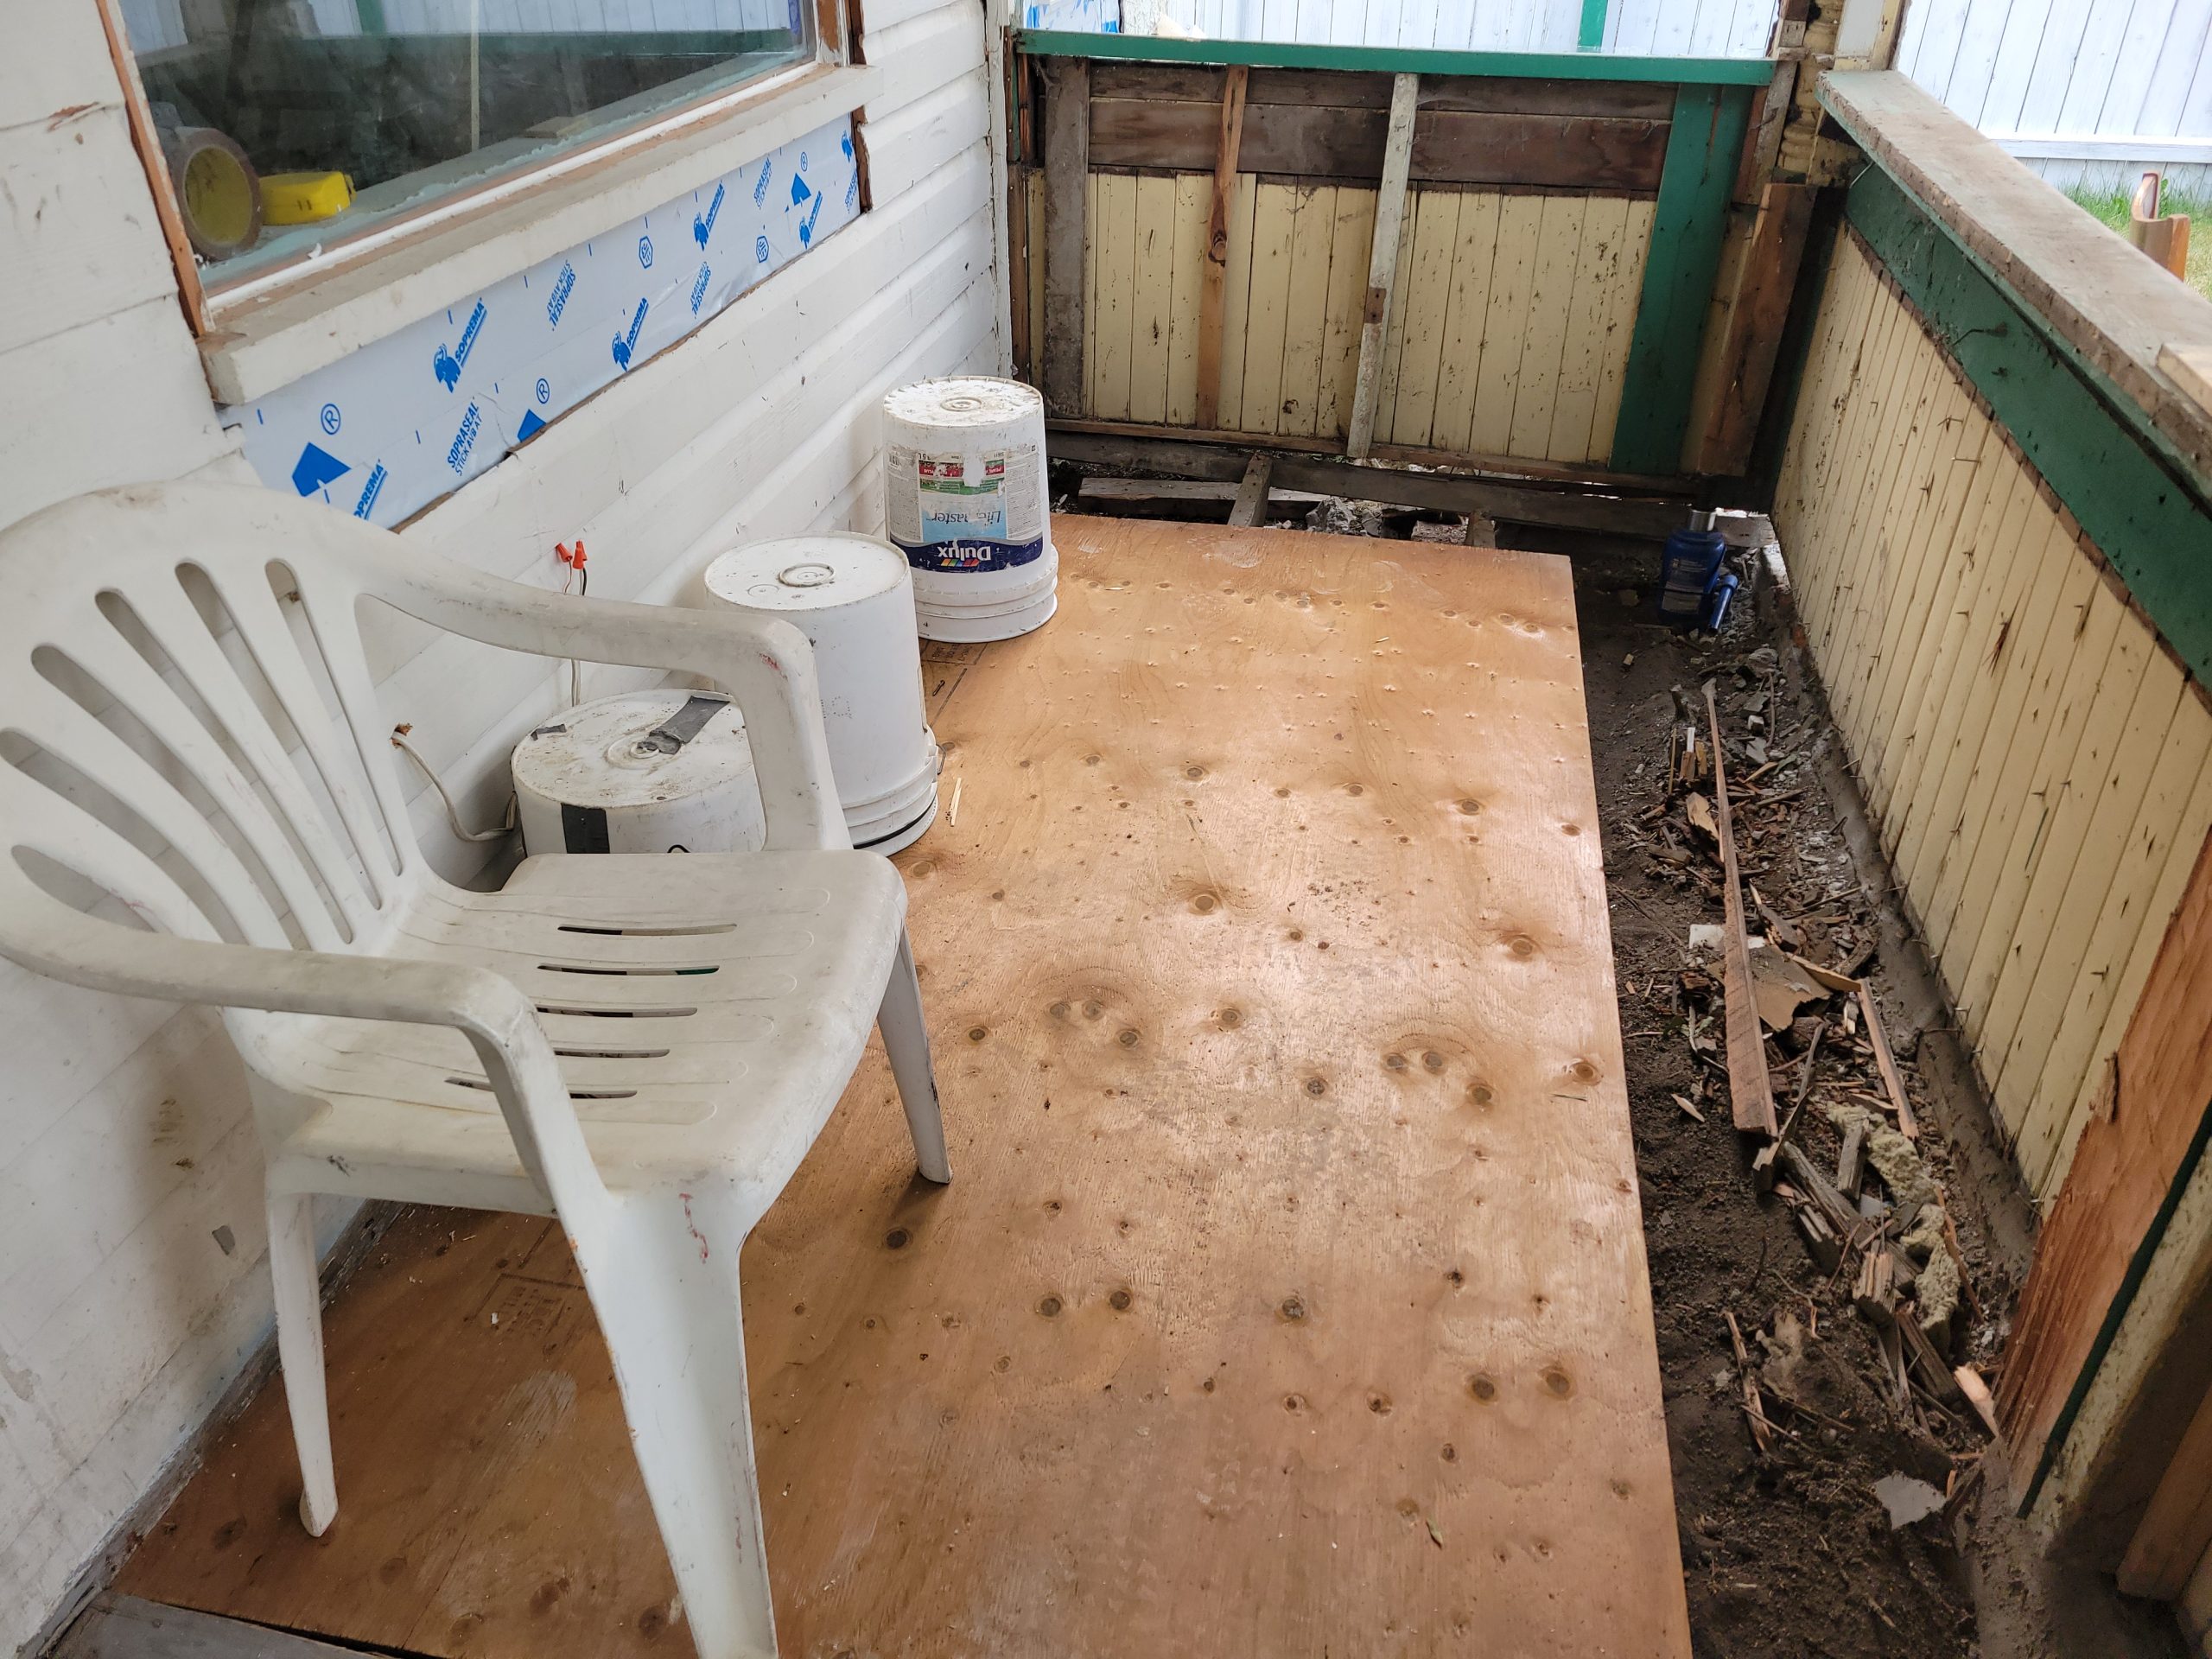
We begin again. This is where we left off last time – with a temporary floor.
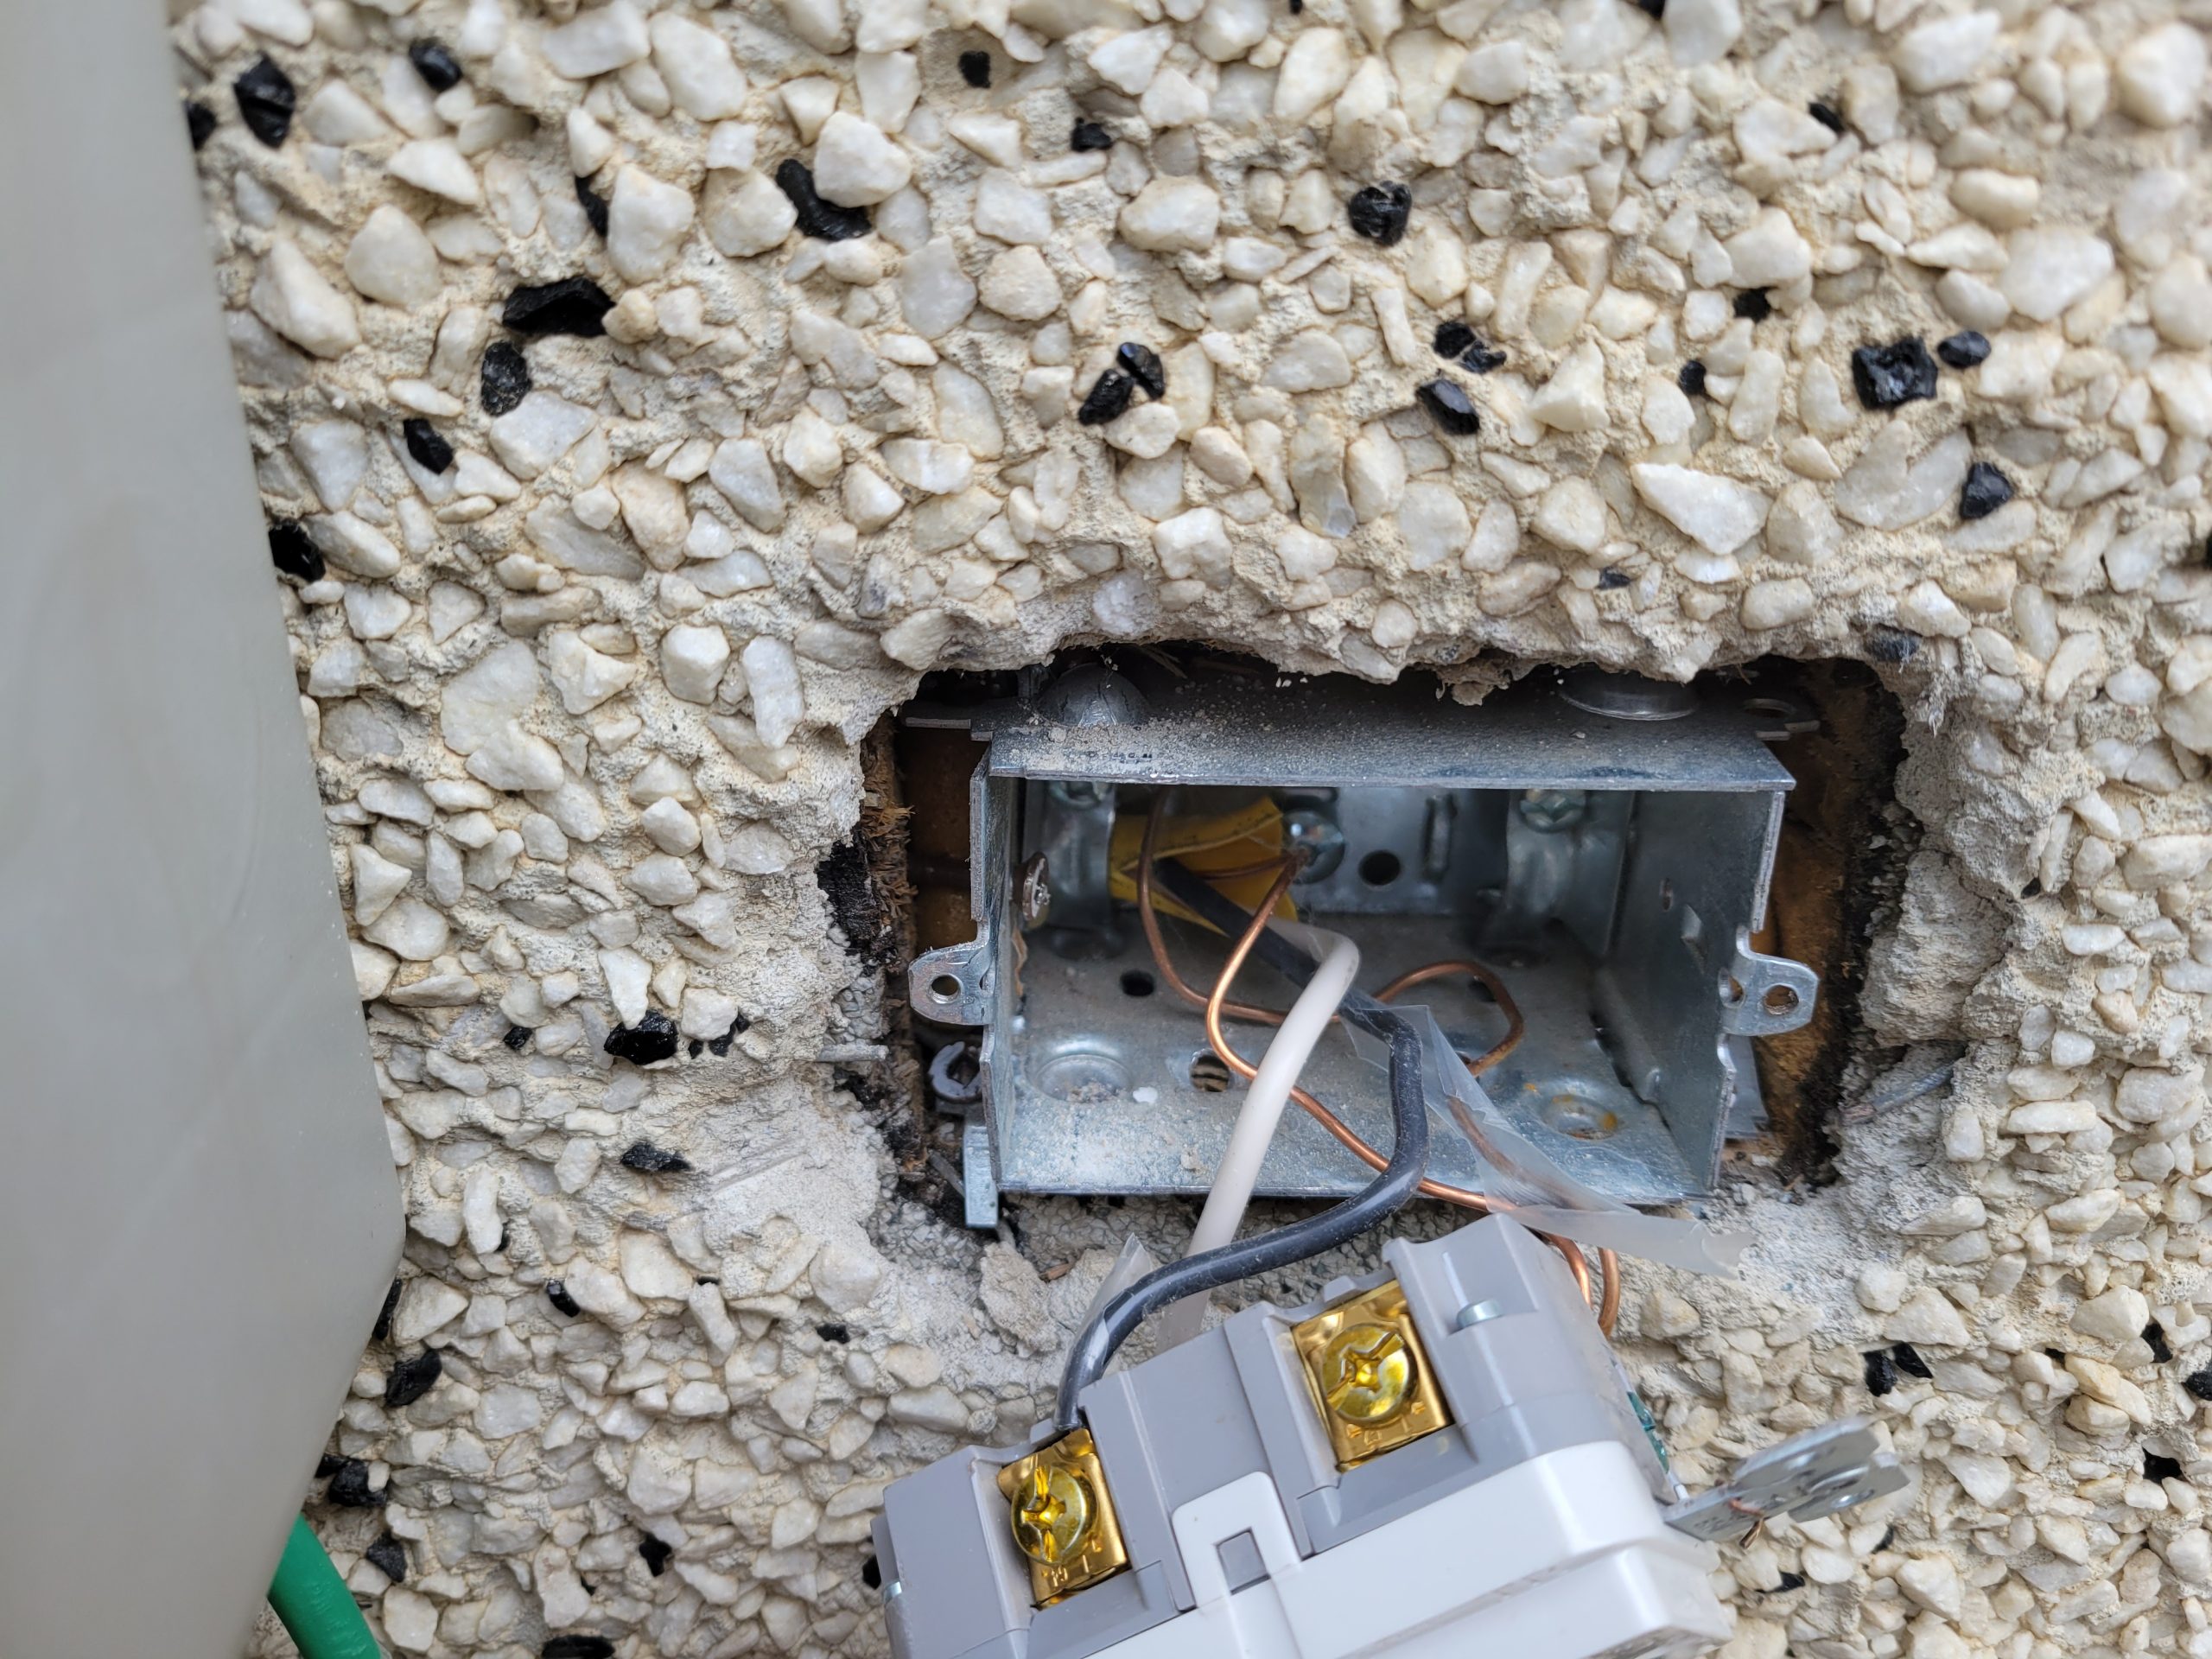
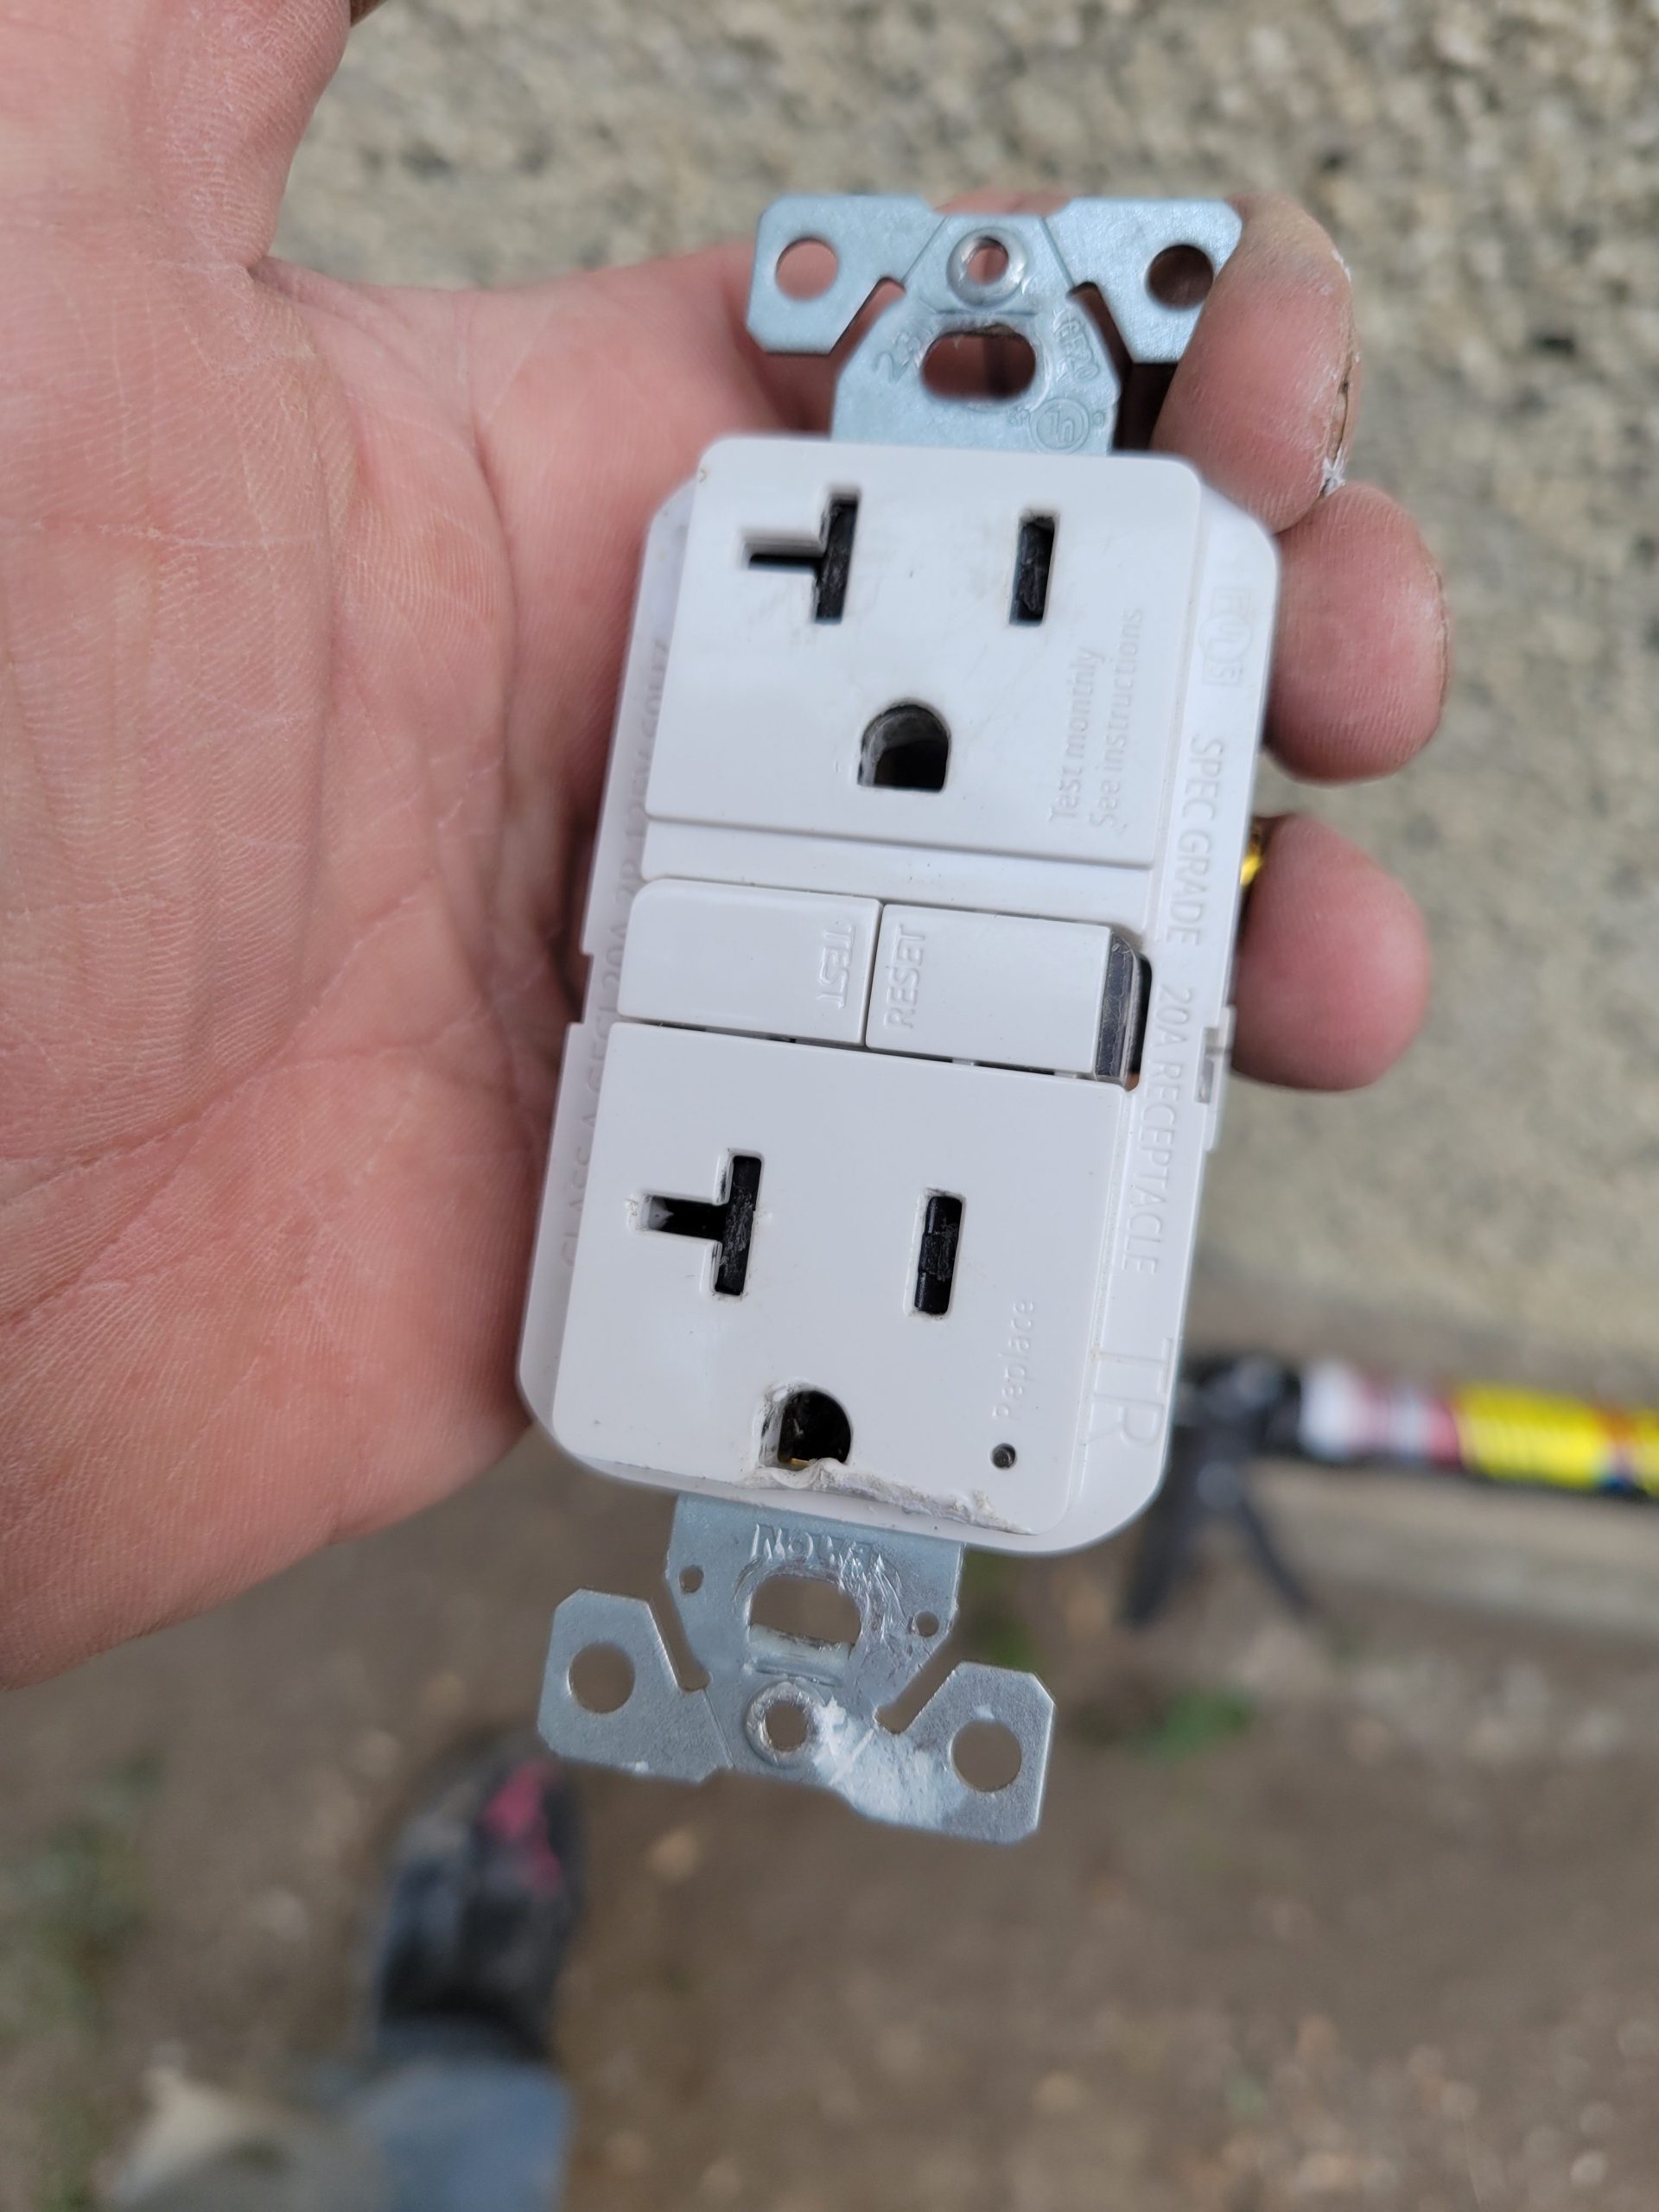
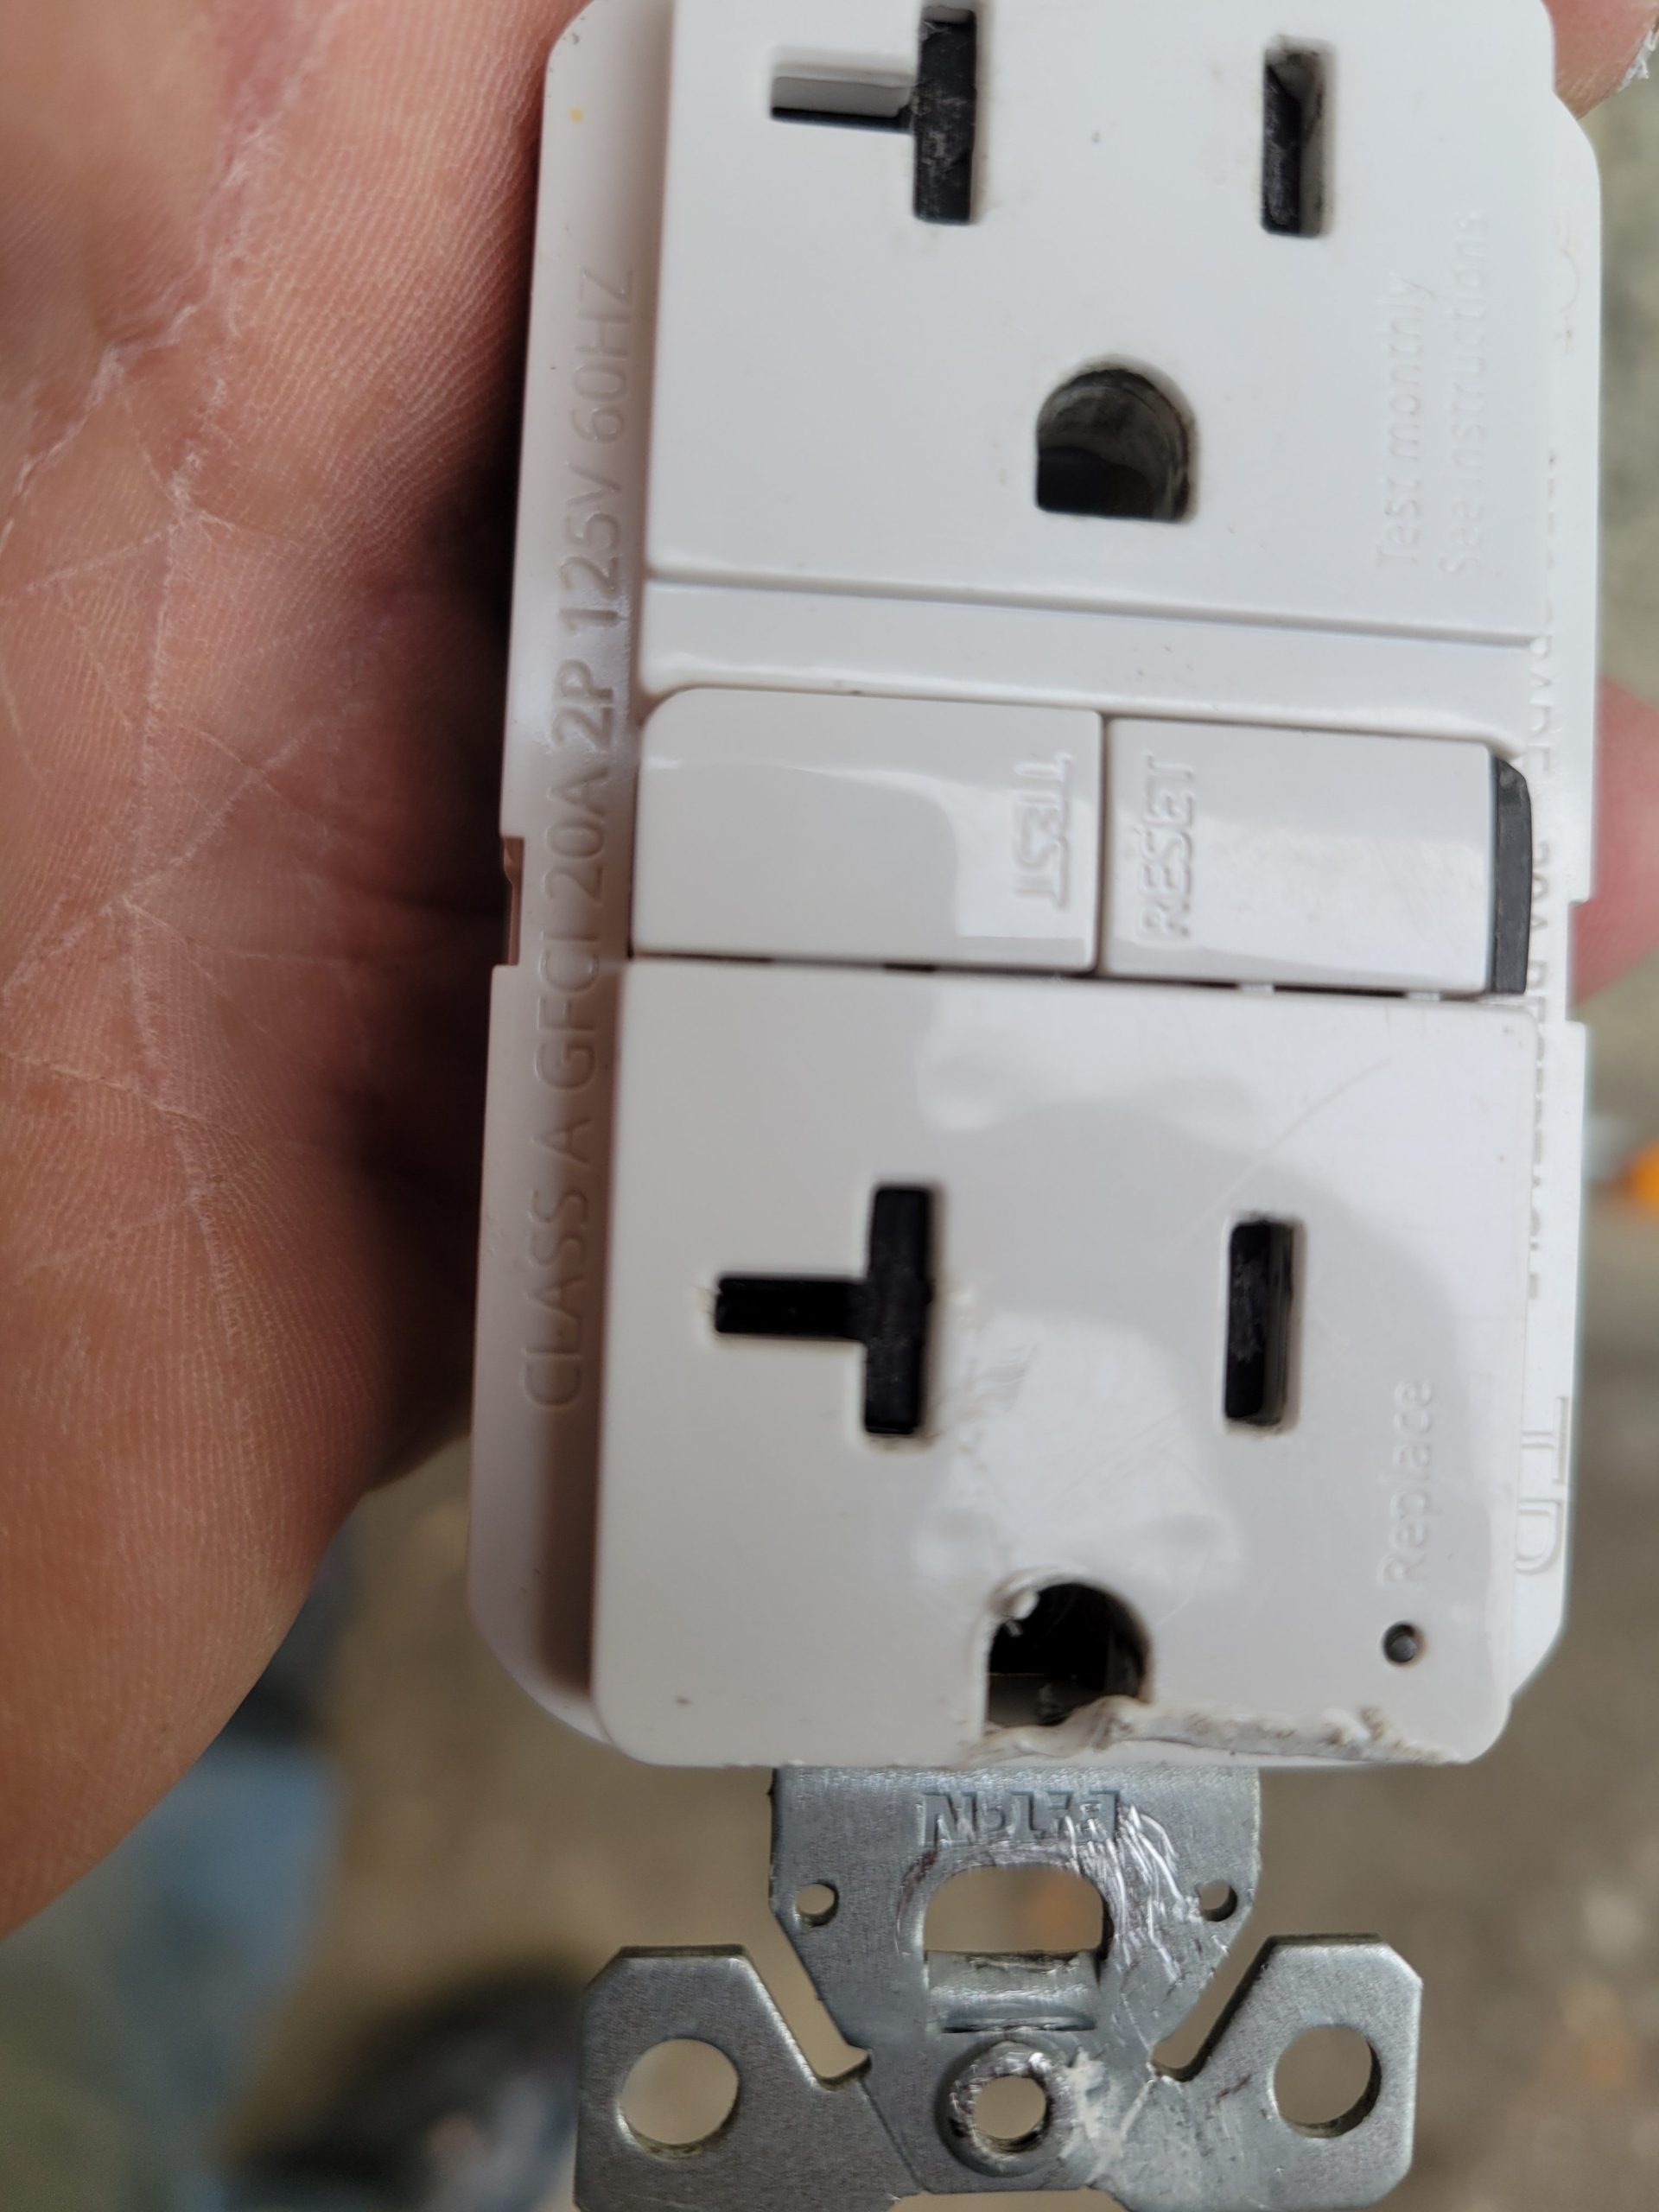
I noticed, when putting a cover on the outside GFI for block heaters, that nothing would plug in. The outlet was stuck. I see now that it is a tamper resistant outlet. In other words, it has some piece of plastic in there to prevent things from being plugged in. Dave noticed and told me about it earlier in the year when he was plugging in the cement mixer. As it turns out, all GFI (or, at any rate, all 20A GFI) duplex receptacles are tamper resistant. I went to Home Depot to get one that isn’t, but they didn’t have any. Dunno what I’m going to do here. More on that later.
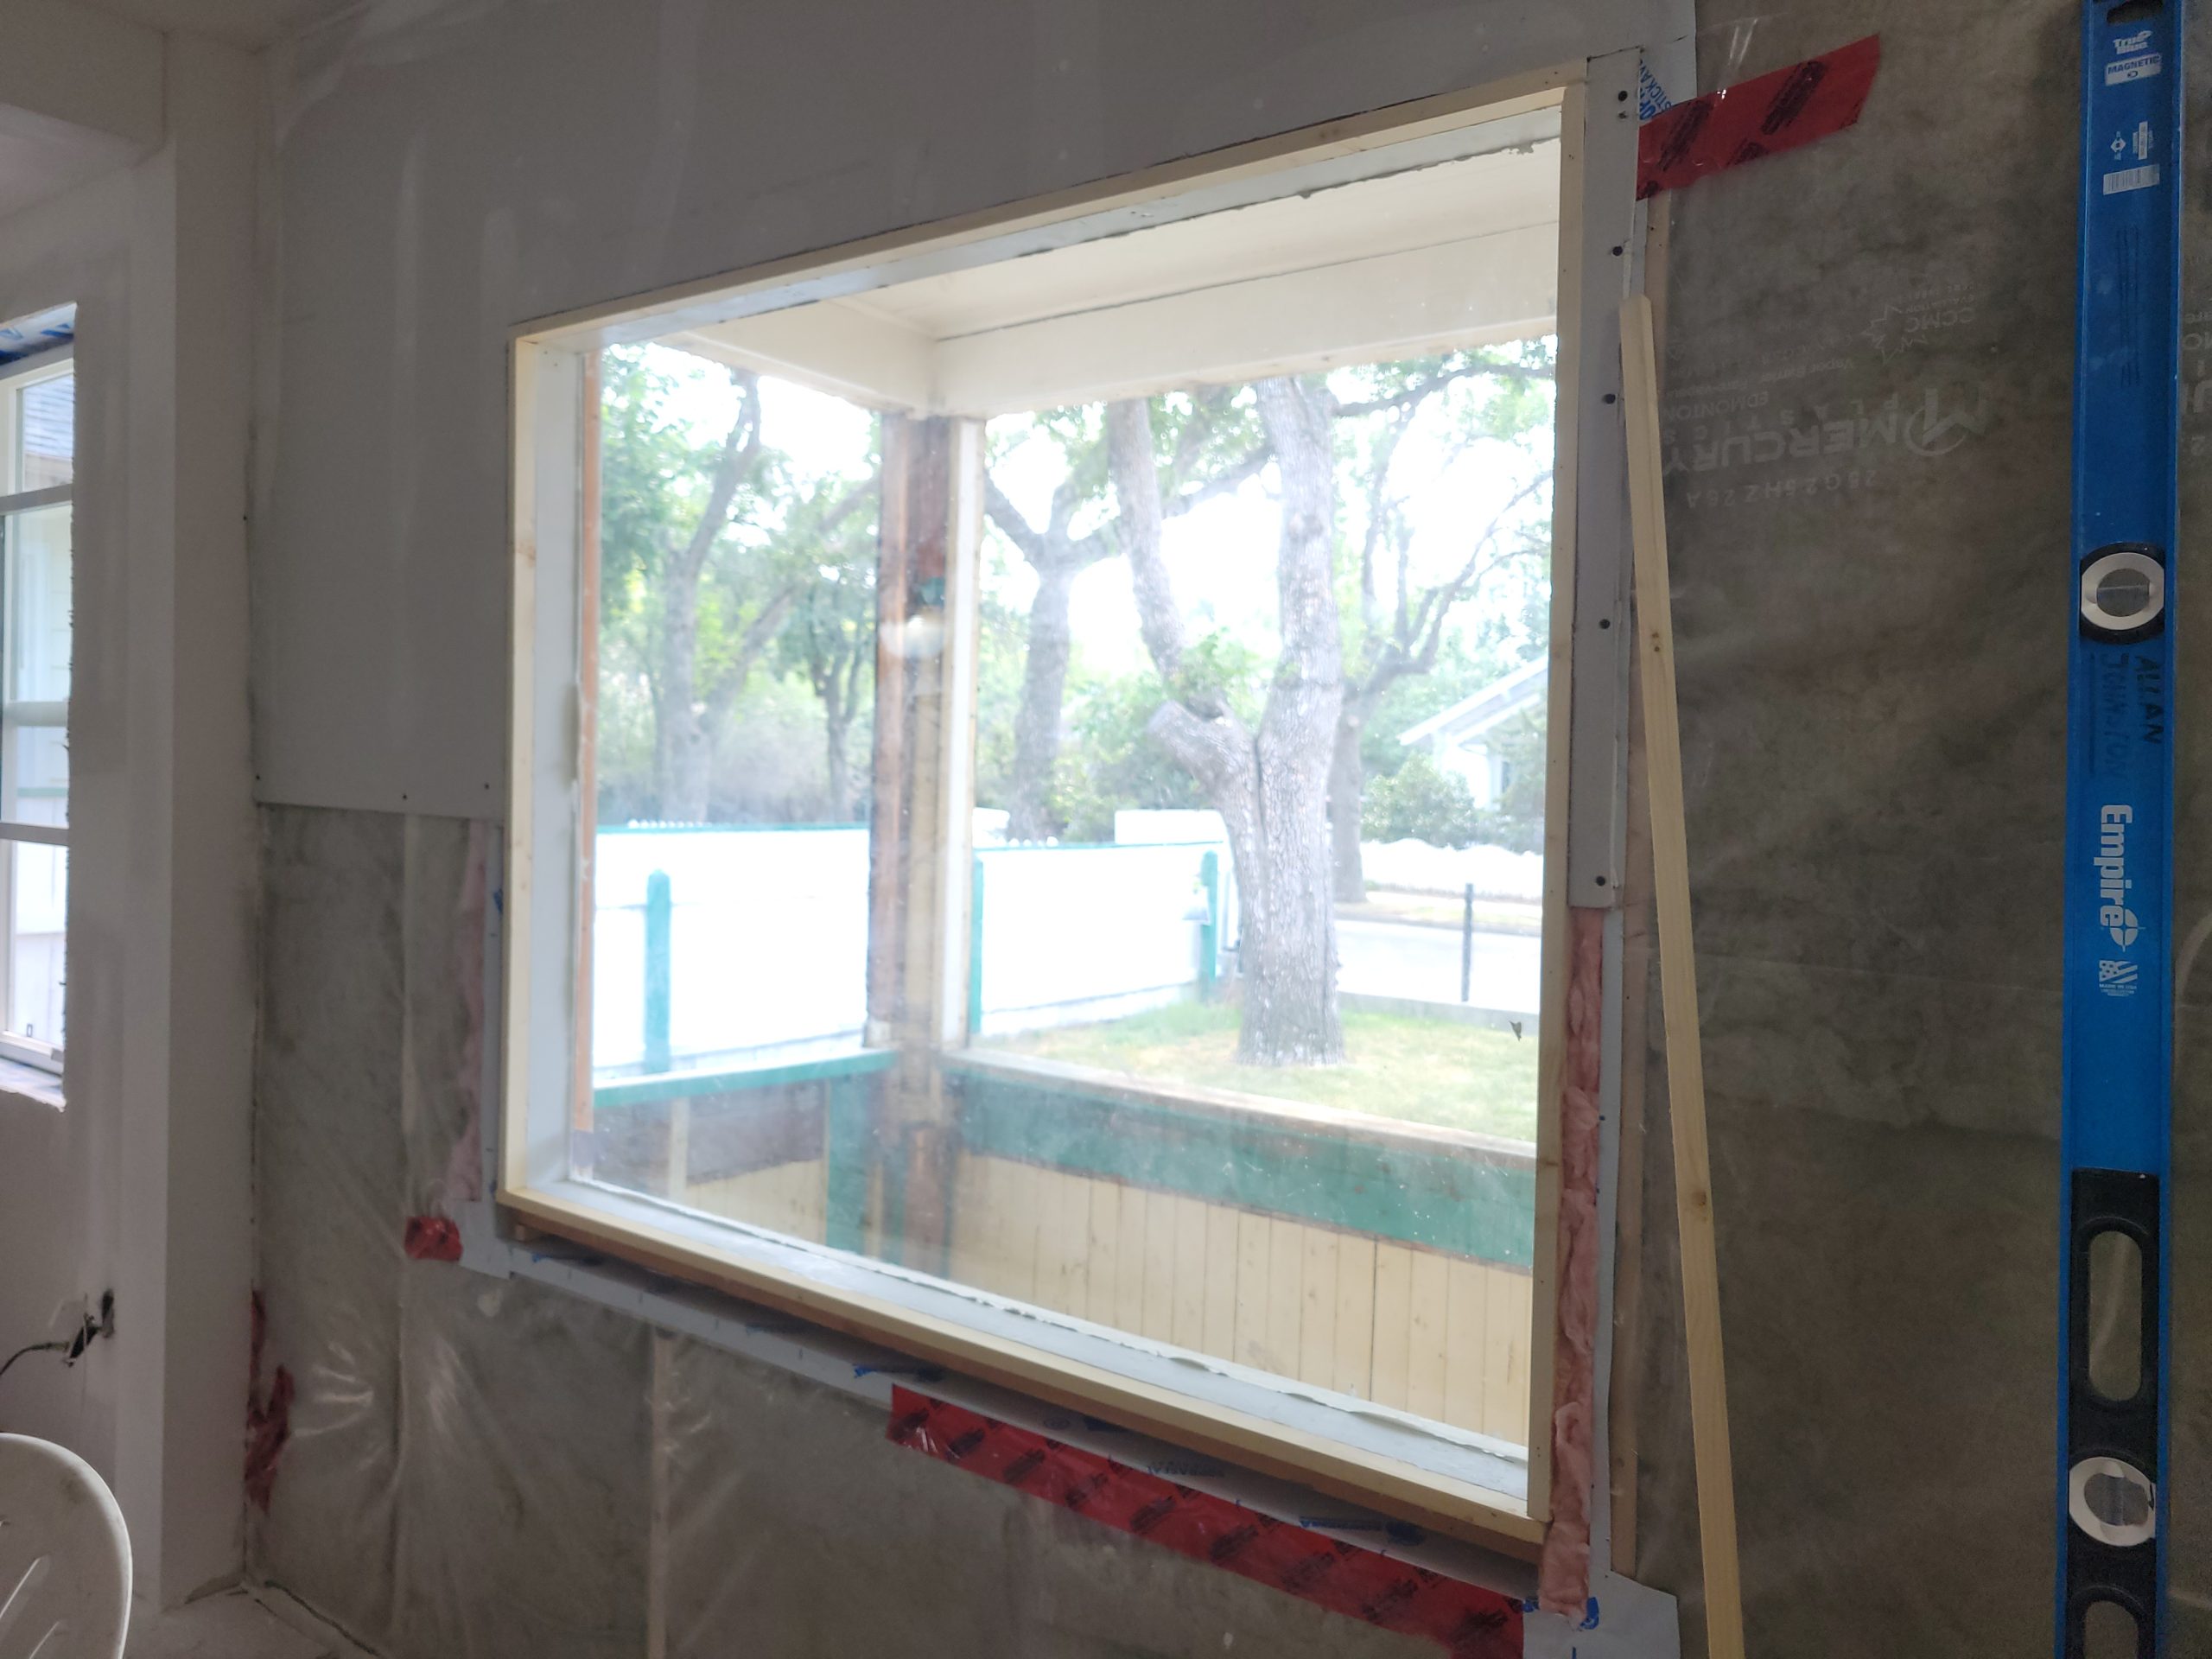
Here is the plan for trim around the window. I cut 3/4″ x 1-1/4″ strips of wood to add between the drywall and window frame. It will basically serve as an extension to the window sill and frame. The trim board will hide the seam between this wood and the drywall.
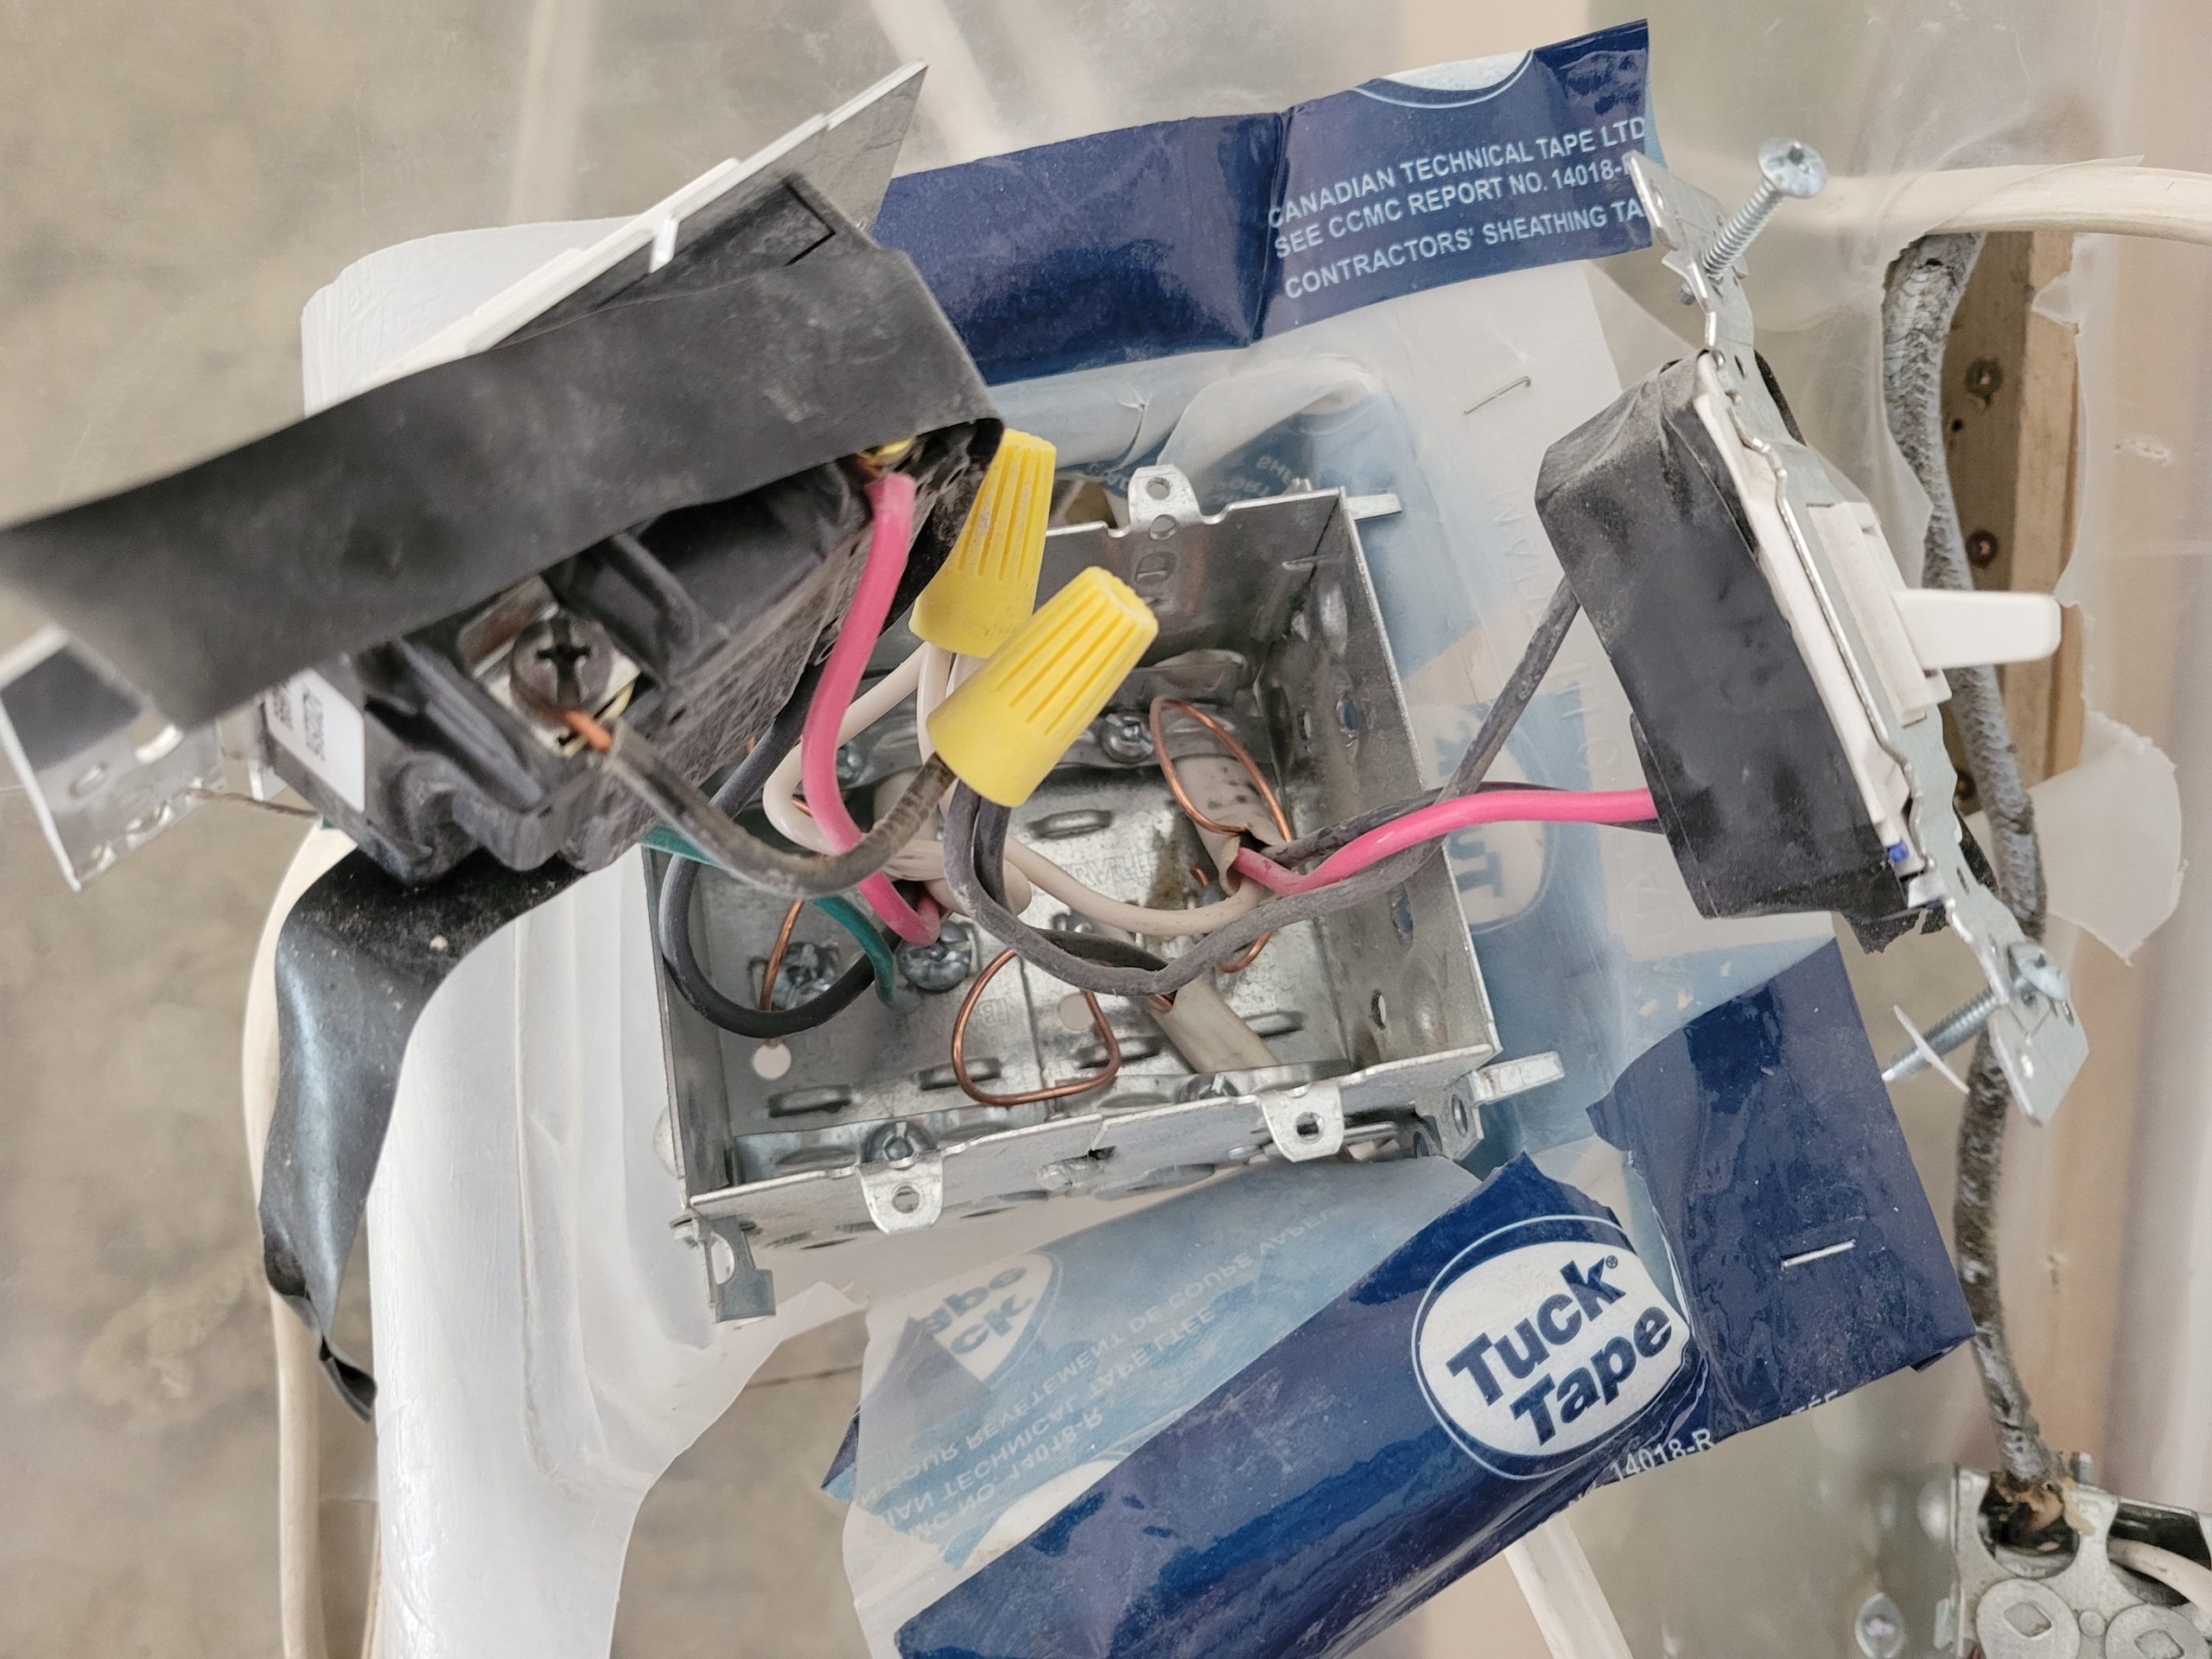
In doing so, I decided that having a single exterior light switch separate from the living room fan and light switches was a dumb idea. I moved all wiring together in a 3-gang cluster. Dave had an extra 3-gang vapour barrier boot to use. (Dang – I forgot to take a picture of the finished product. I’ll do that tomorrow and add it here.)
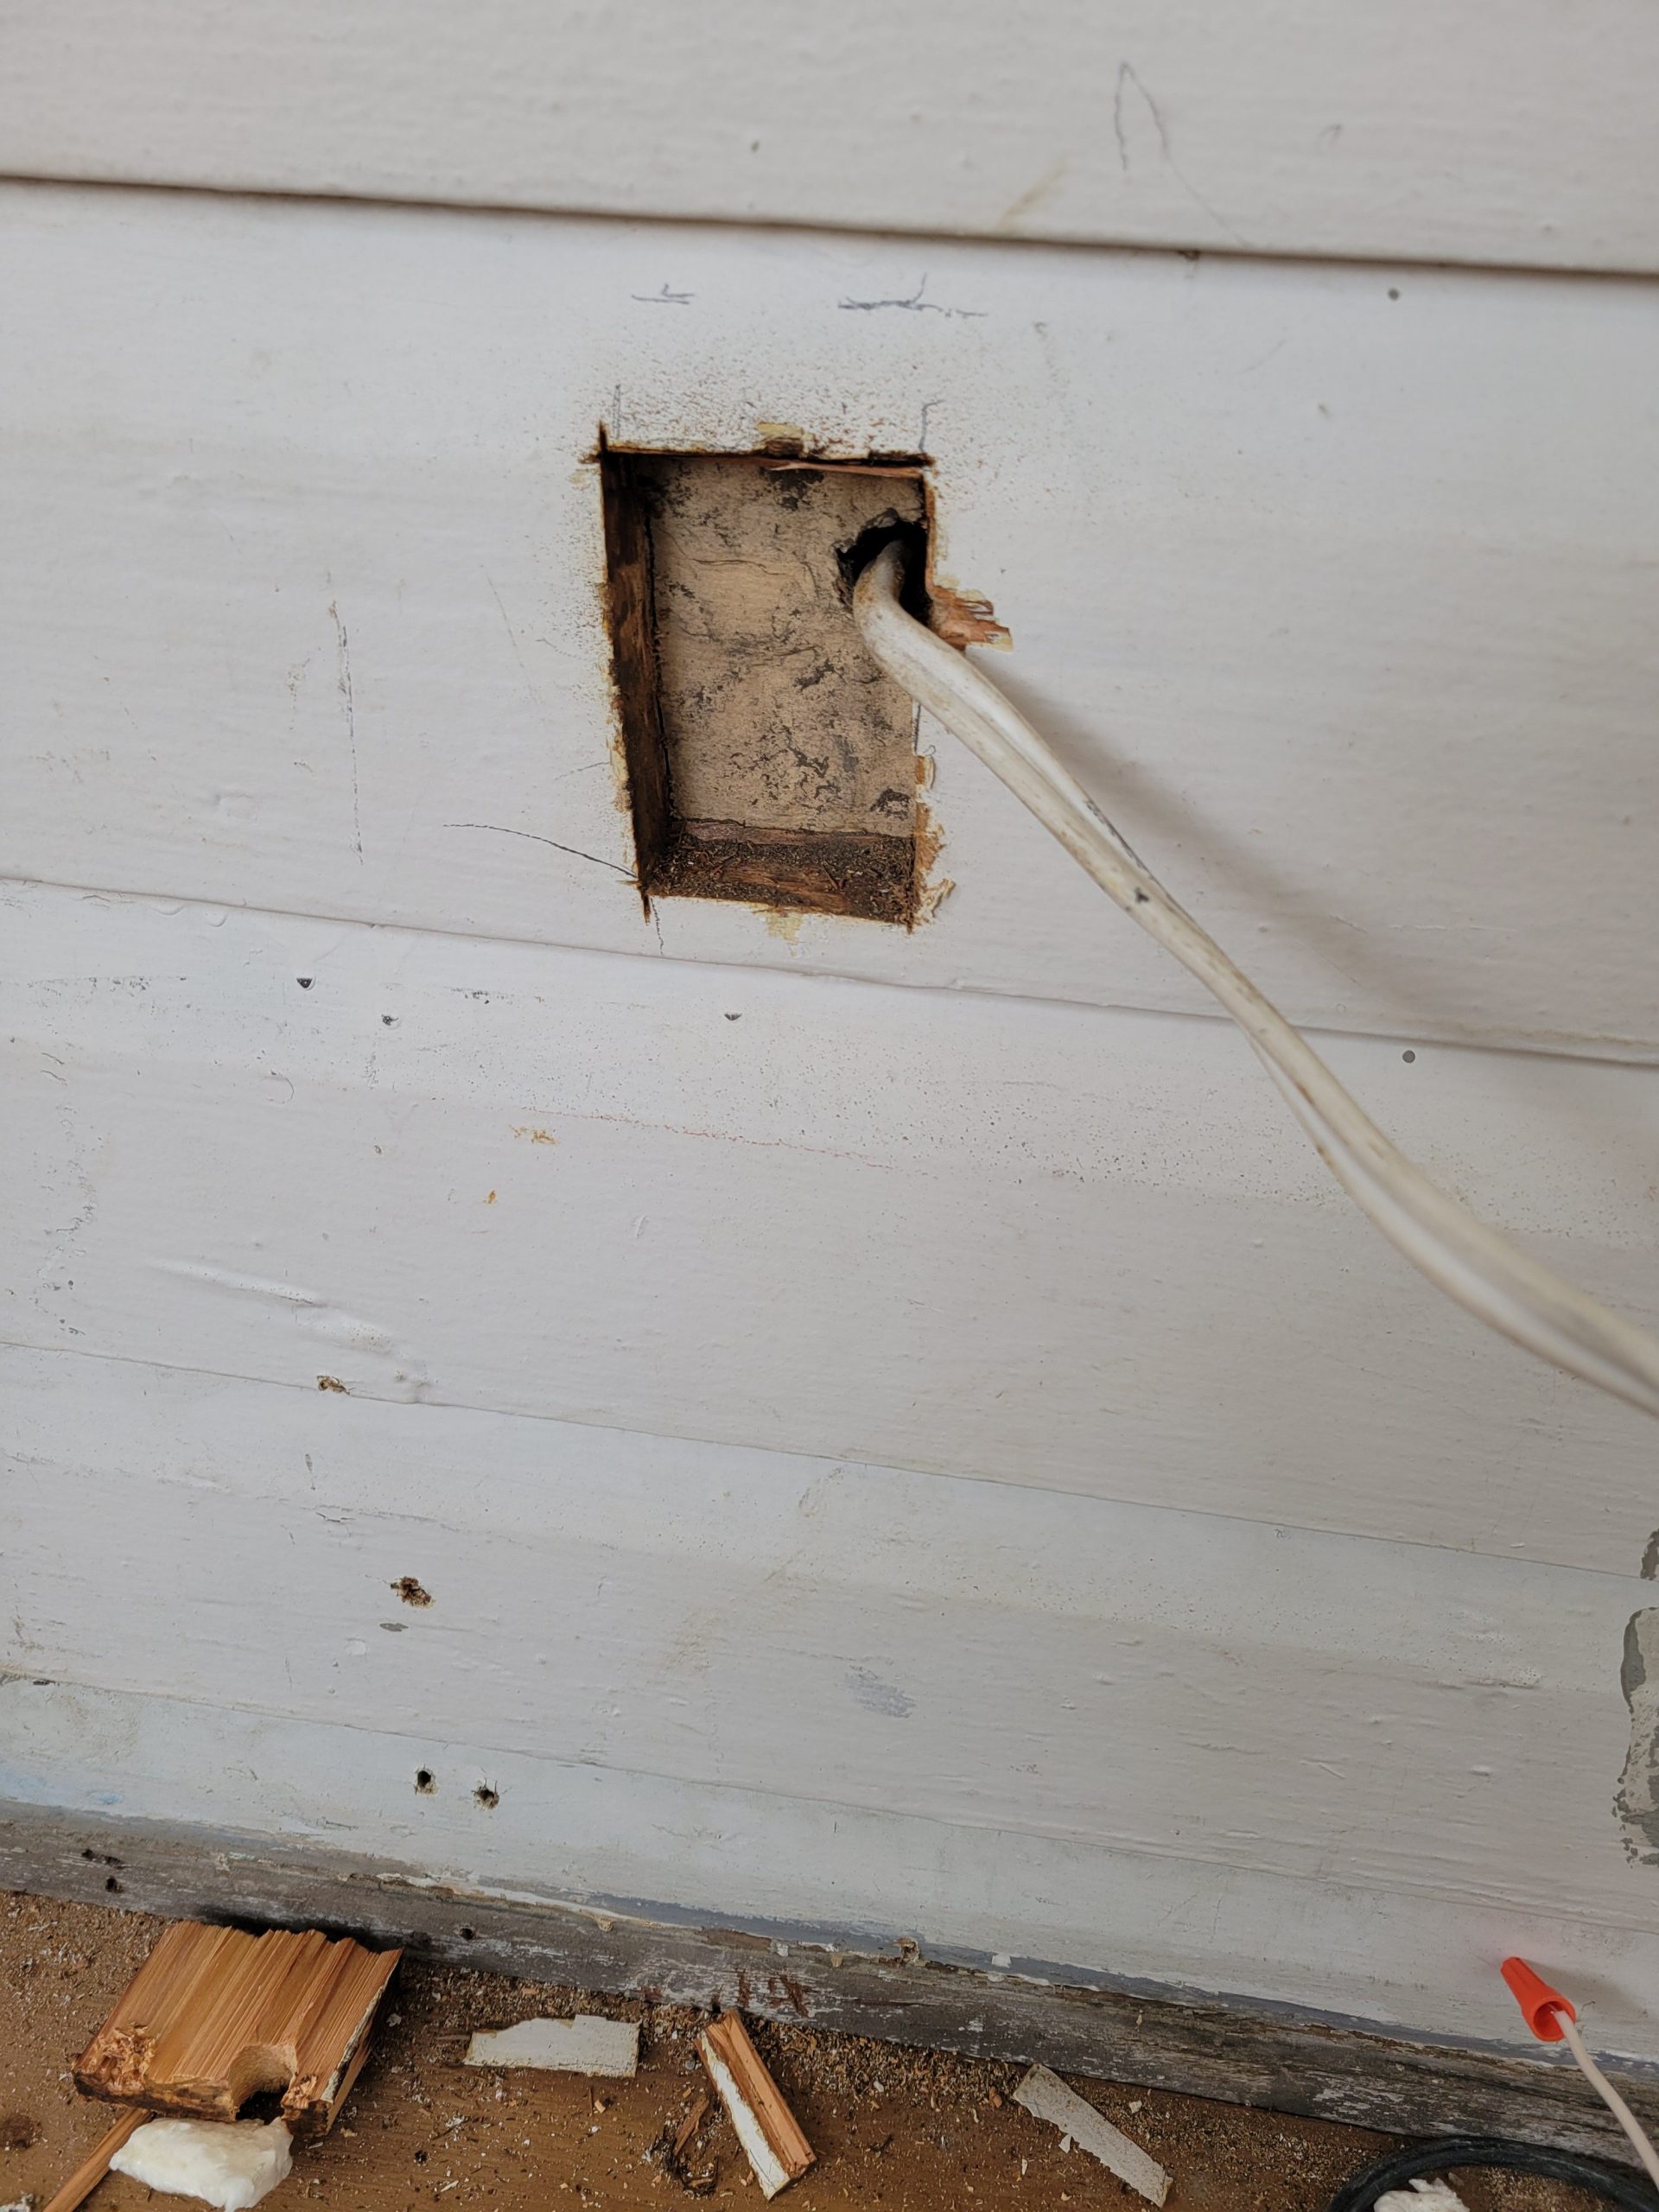
There will be another 15A GFI outlet in the veranda area. I’ll get a shallow box and partially embed it.
I sprayed some spray foam in the window and door gaps. Wow – it expanded more than I thought it would. I’ll have to wait until tomorrow to trim it all before sheathing it in drywall.