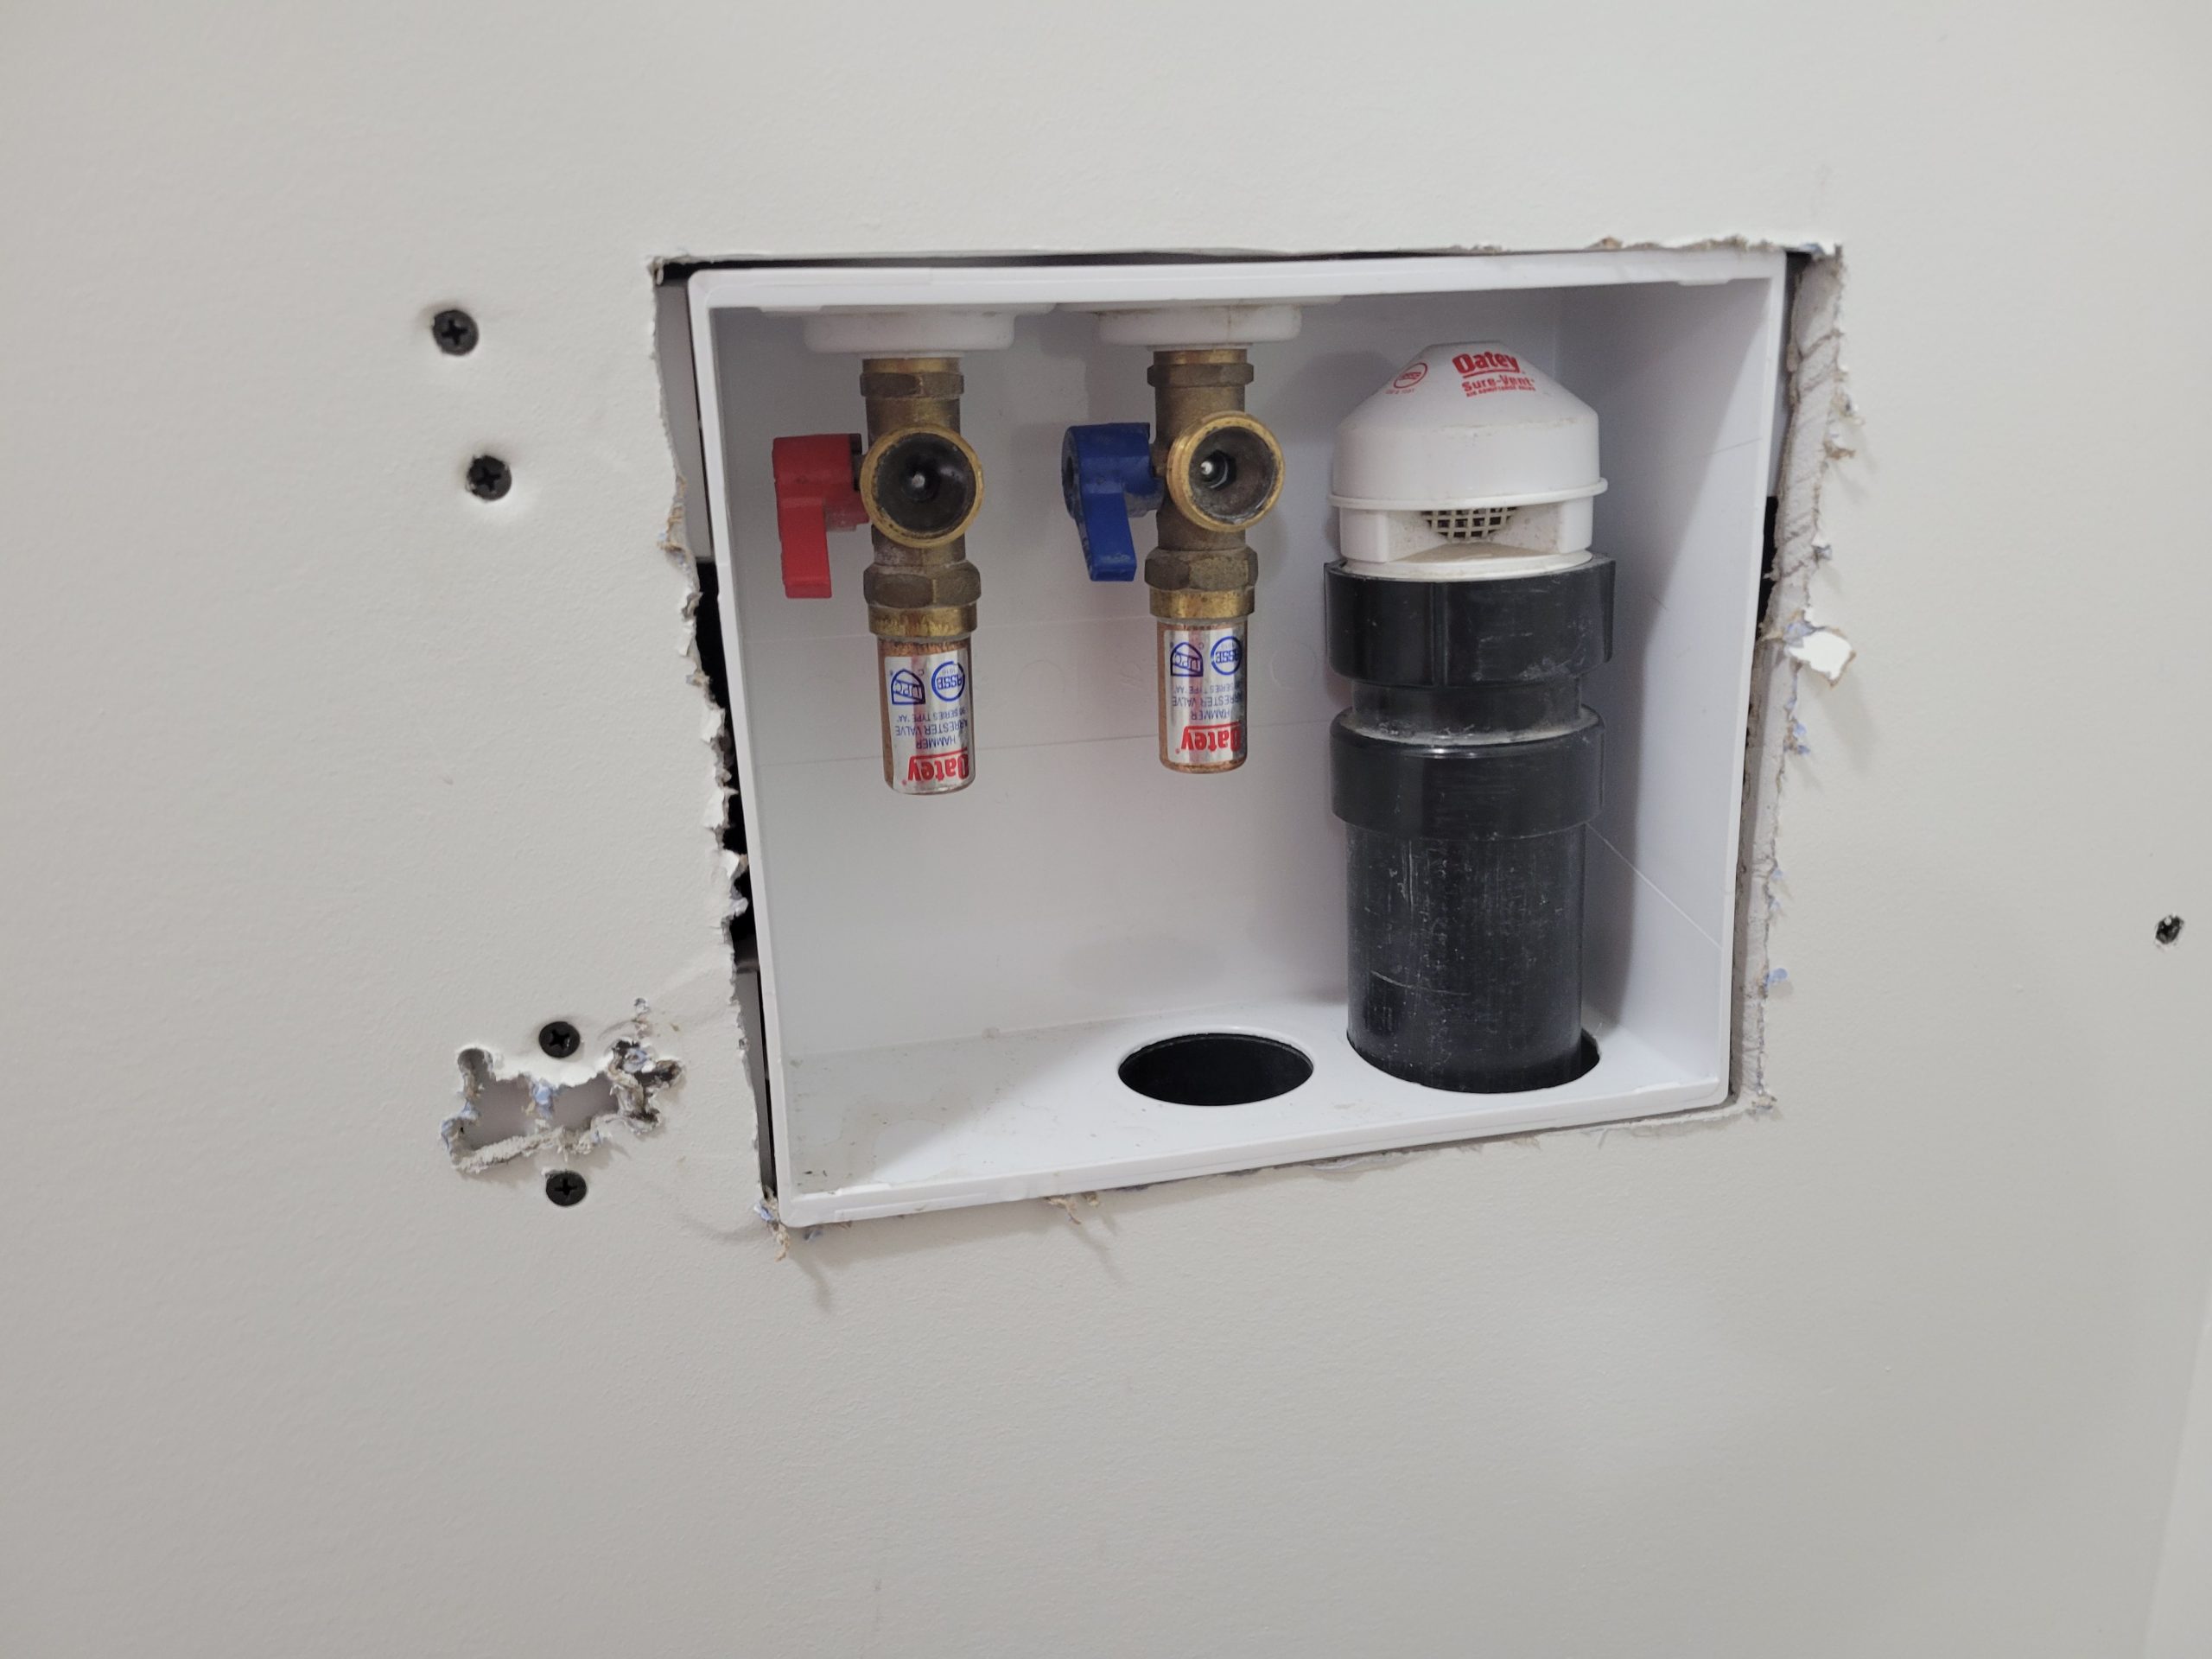
Here is a preview of the washer box fittings.
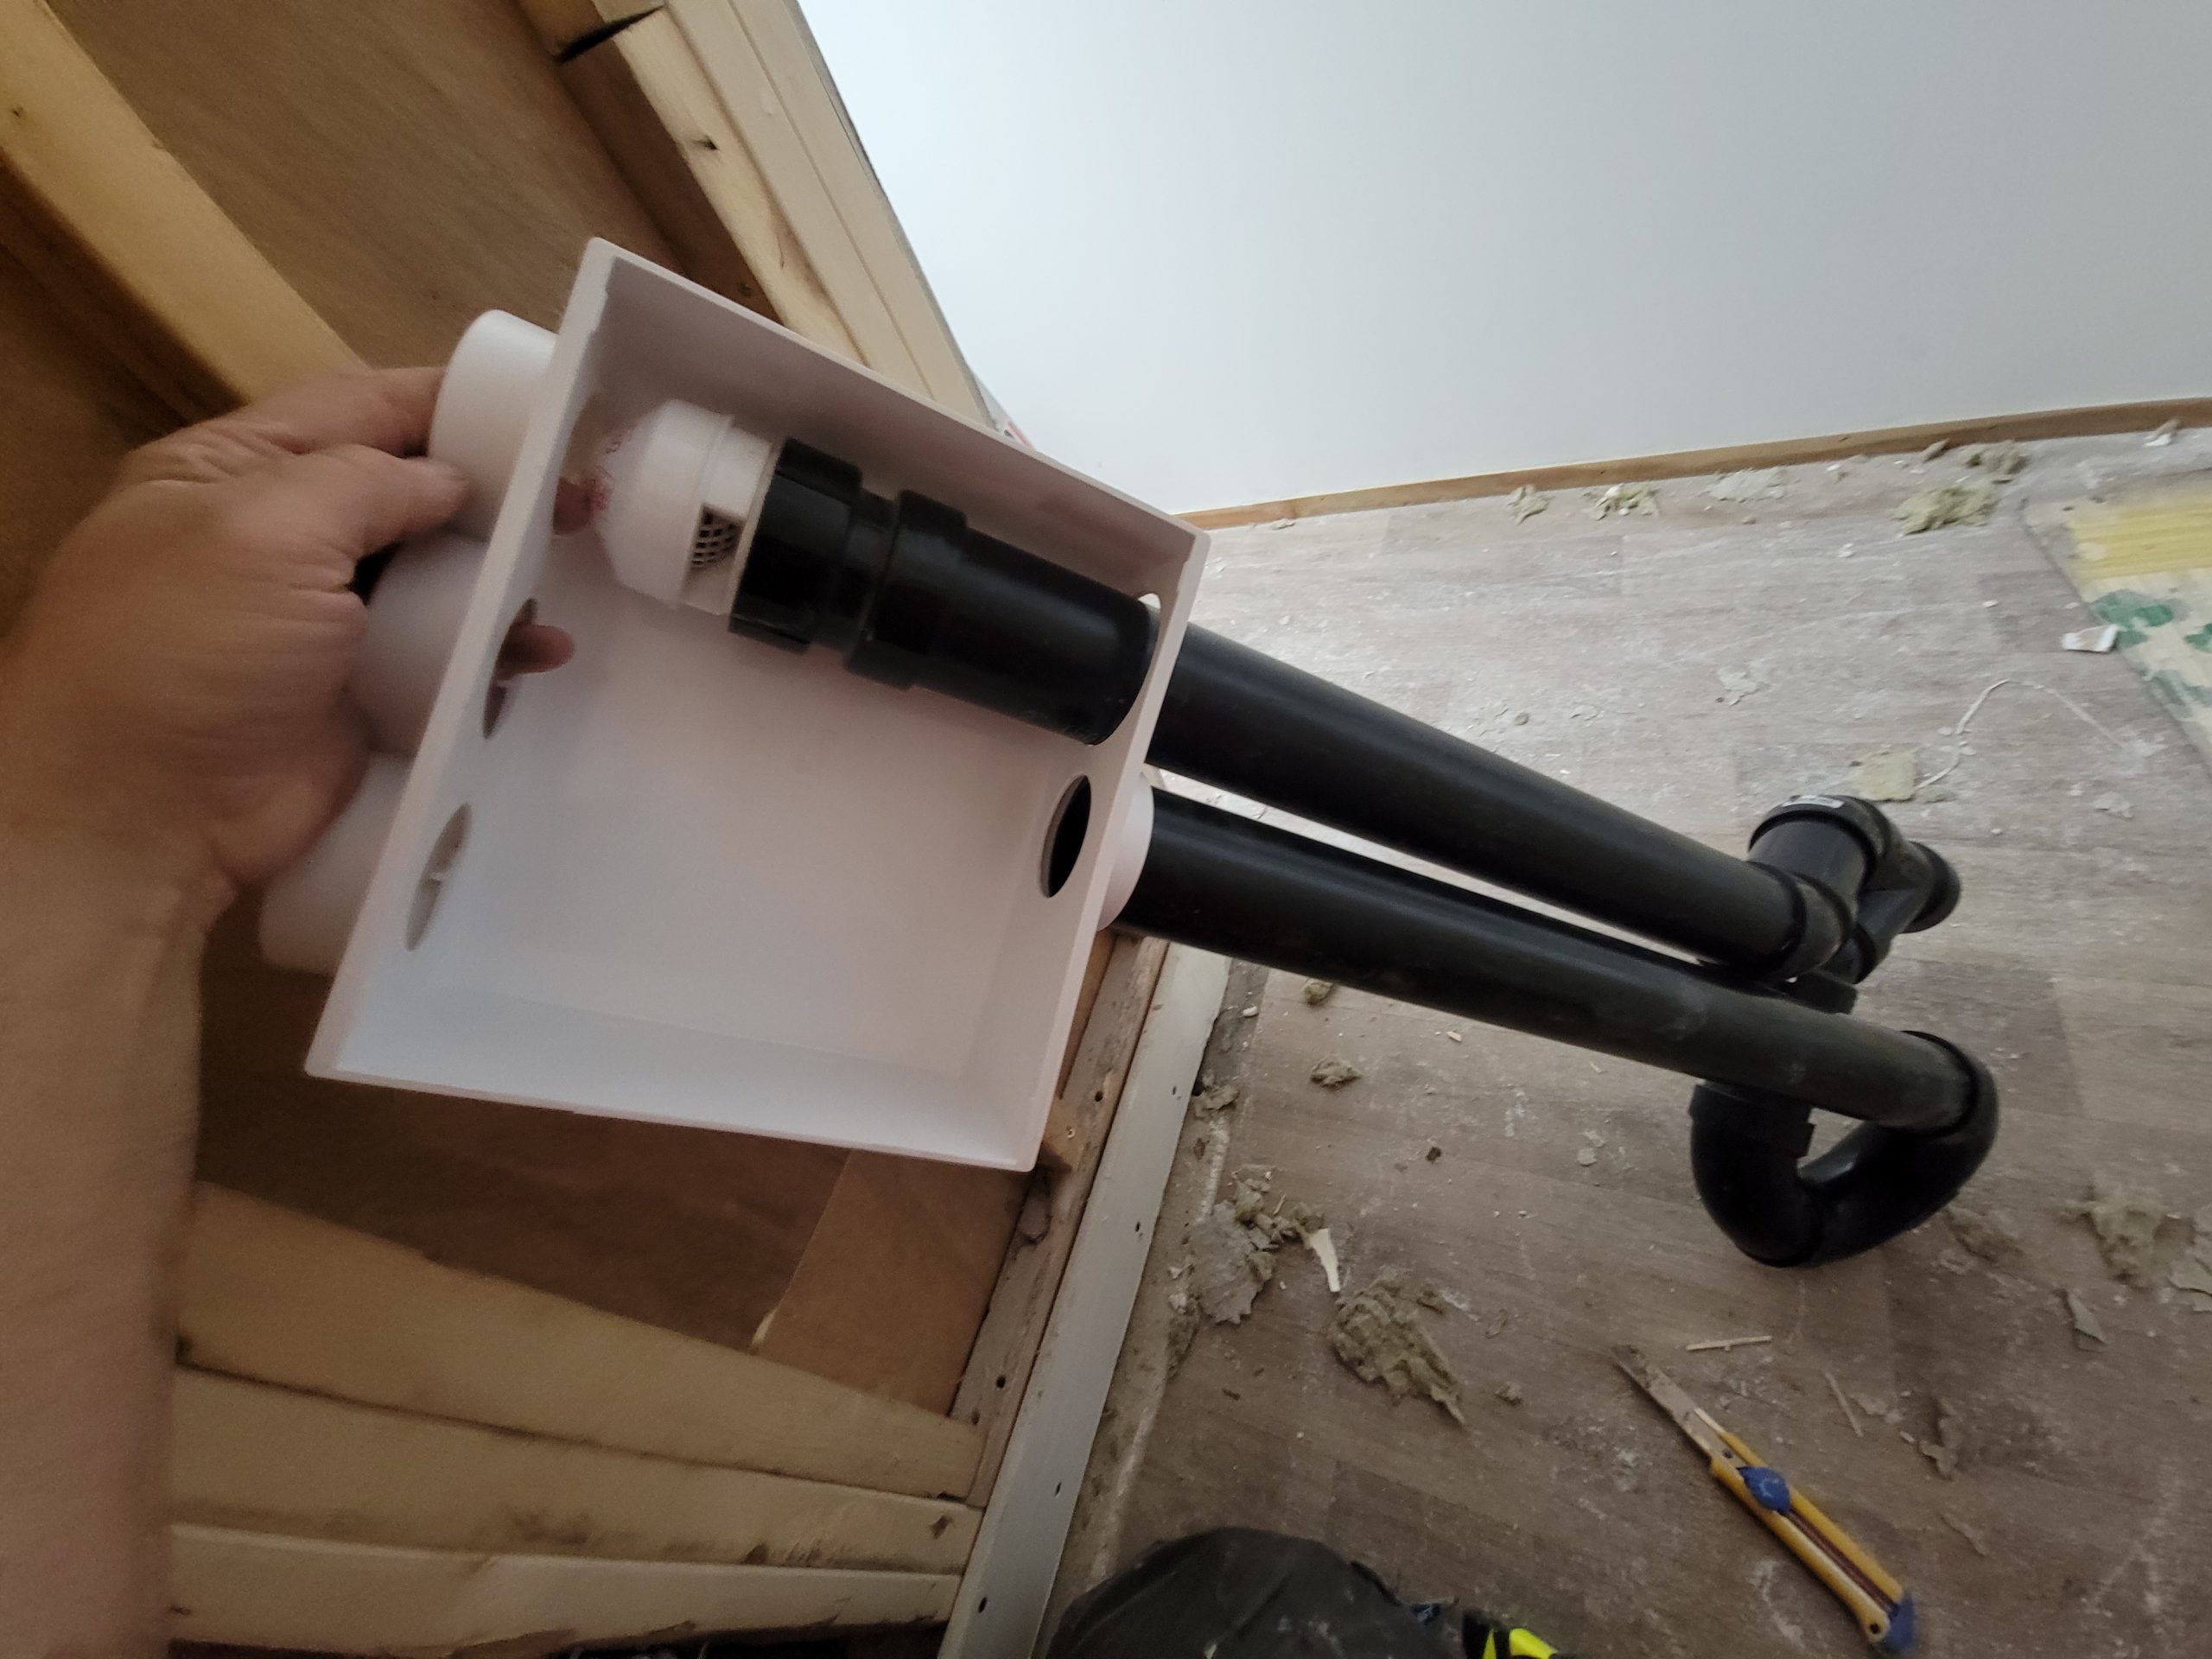
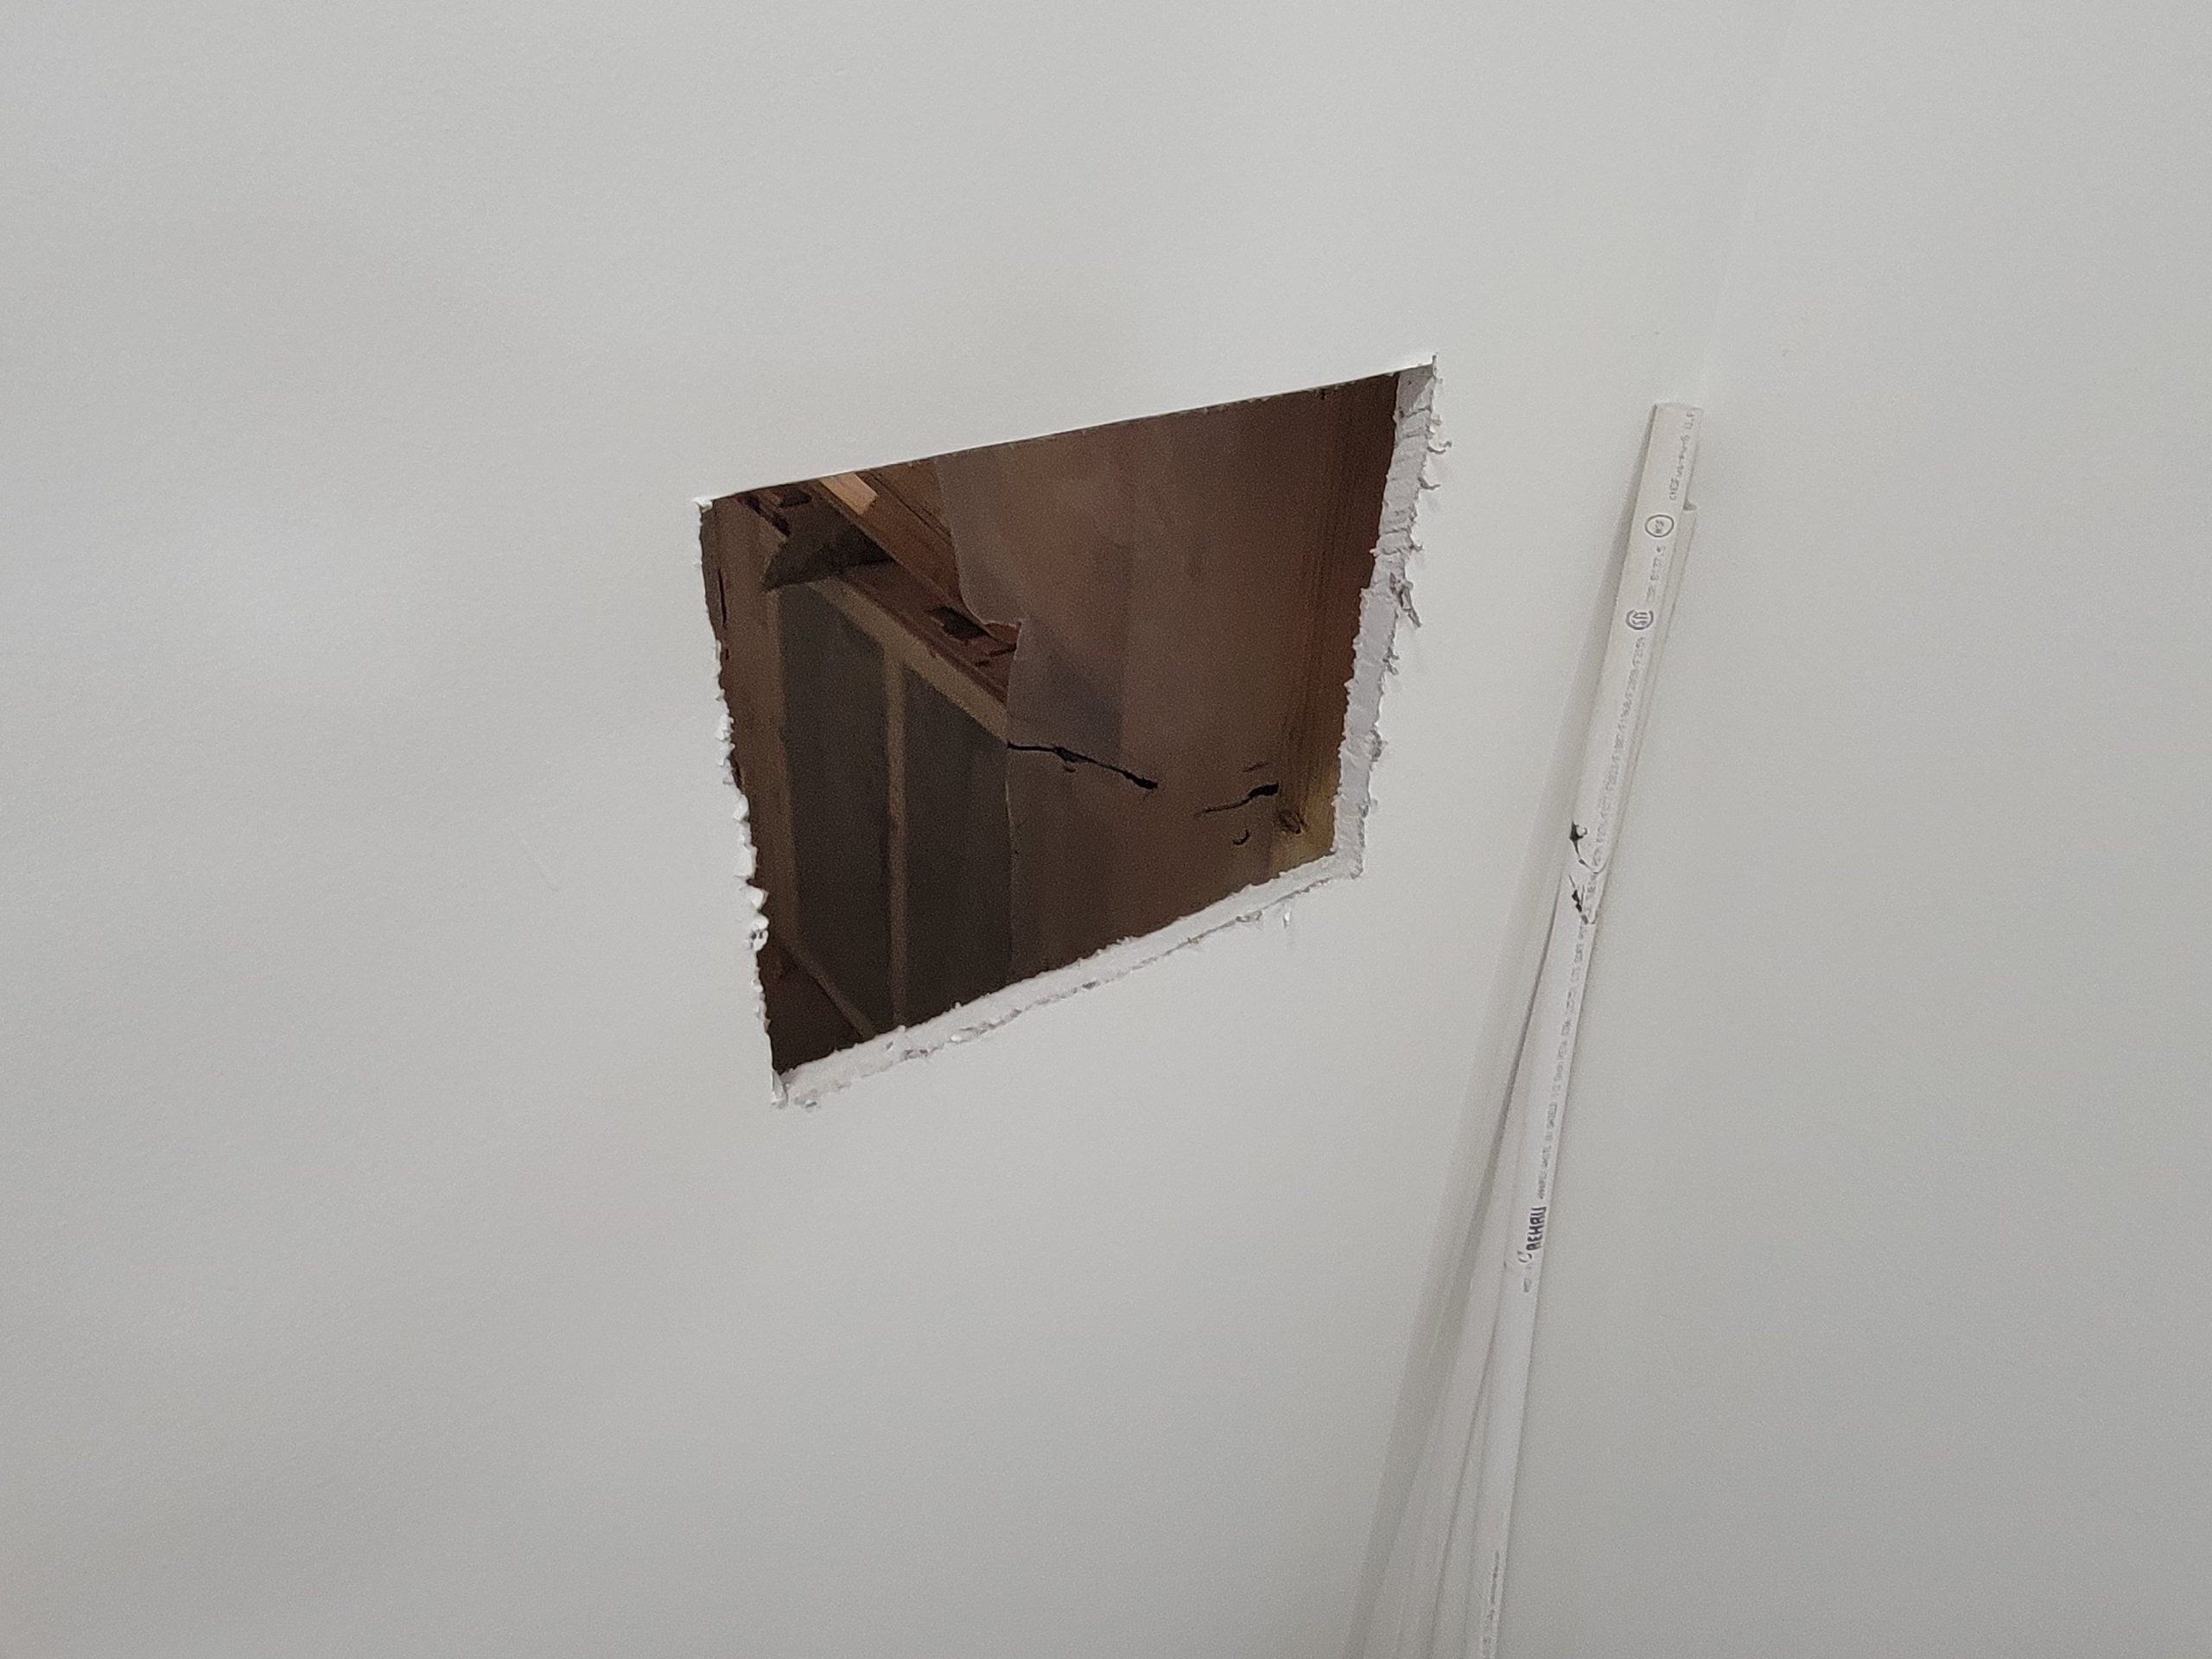
The hole is cut through the drywall. I hope I did my measurements correctly.
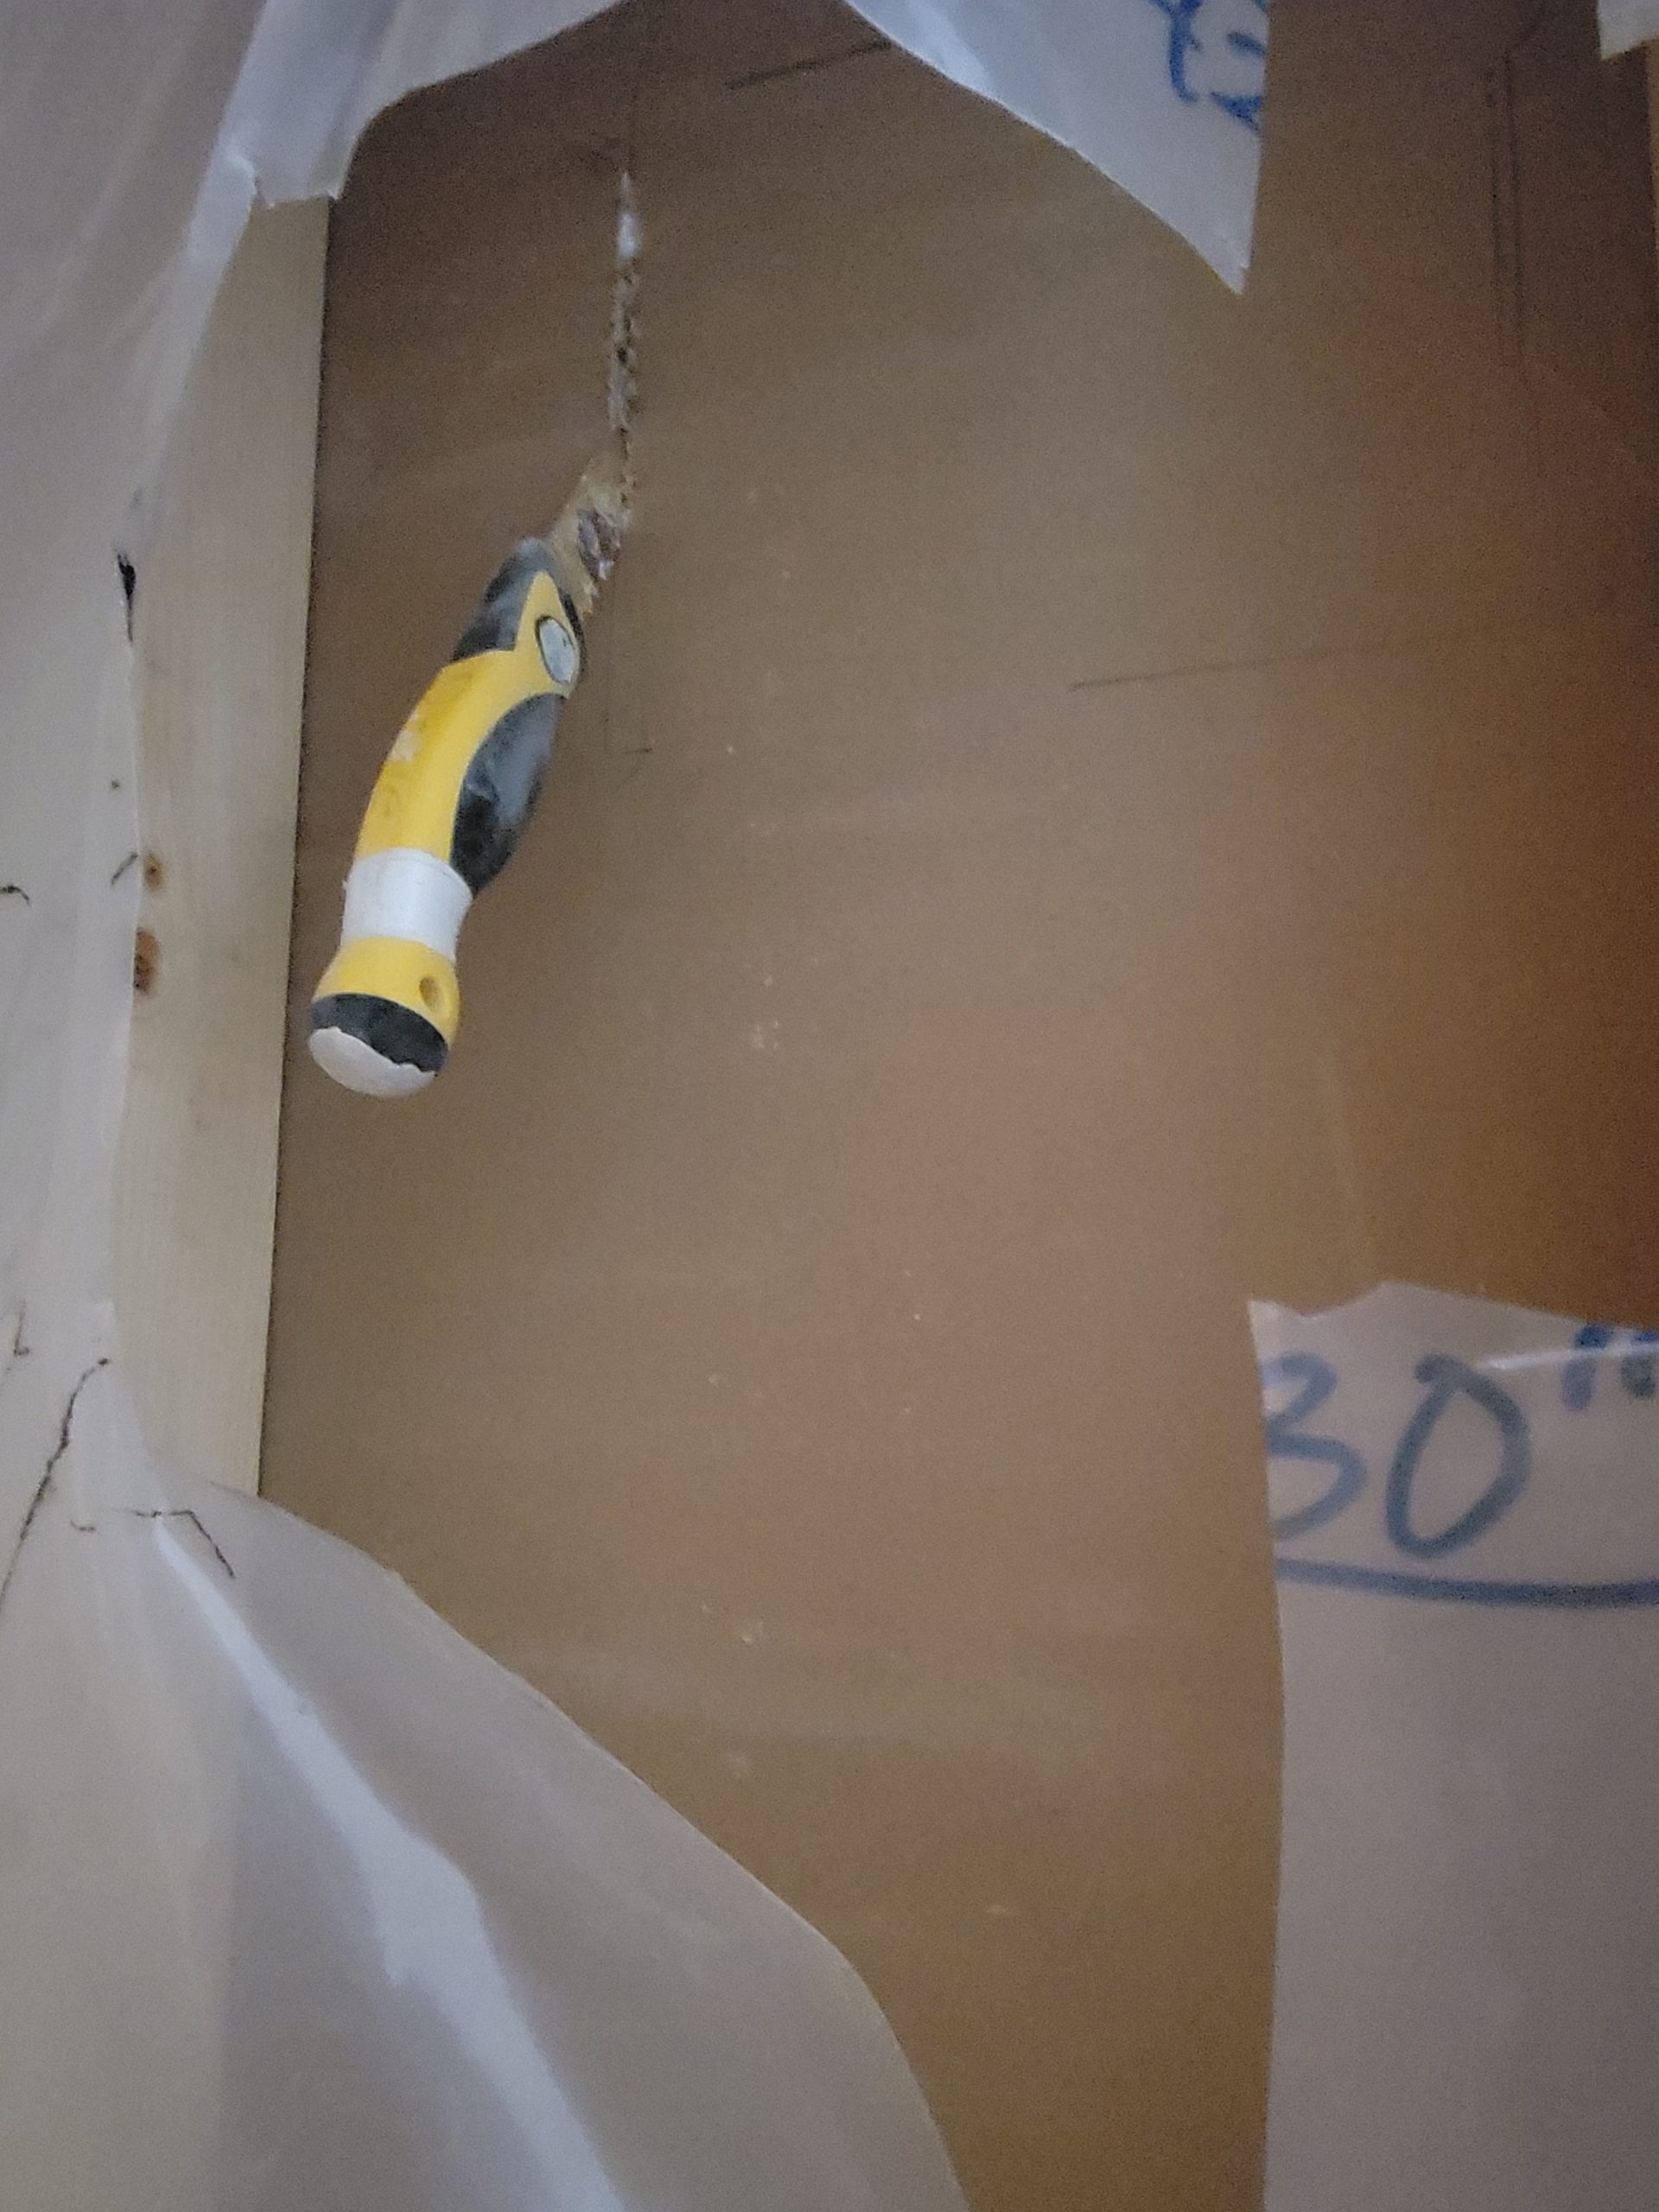
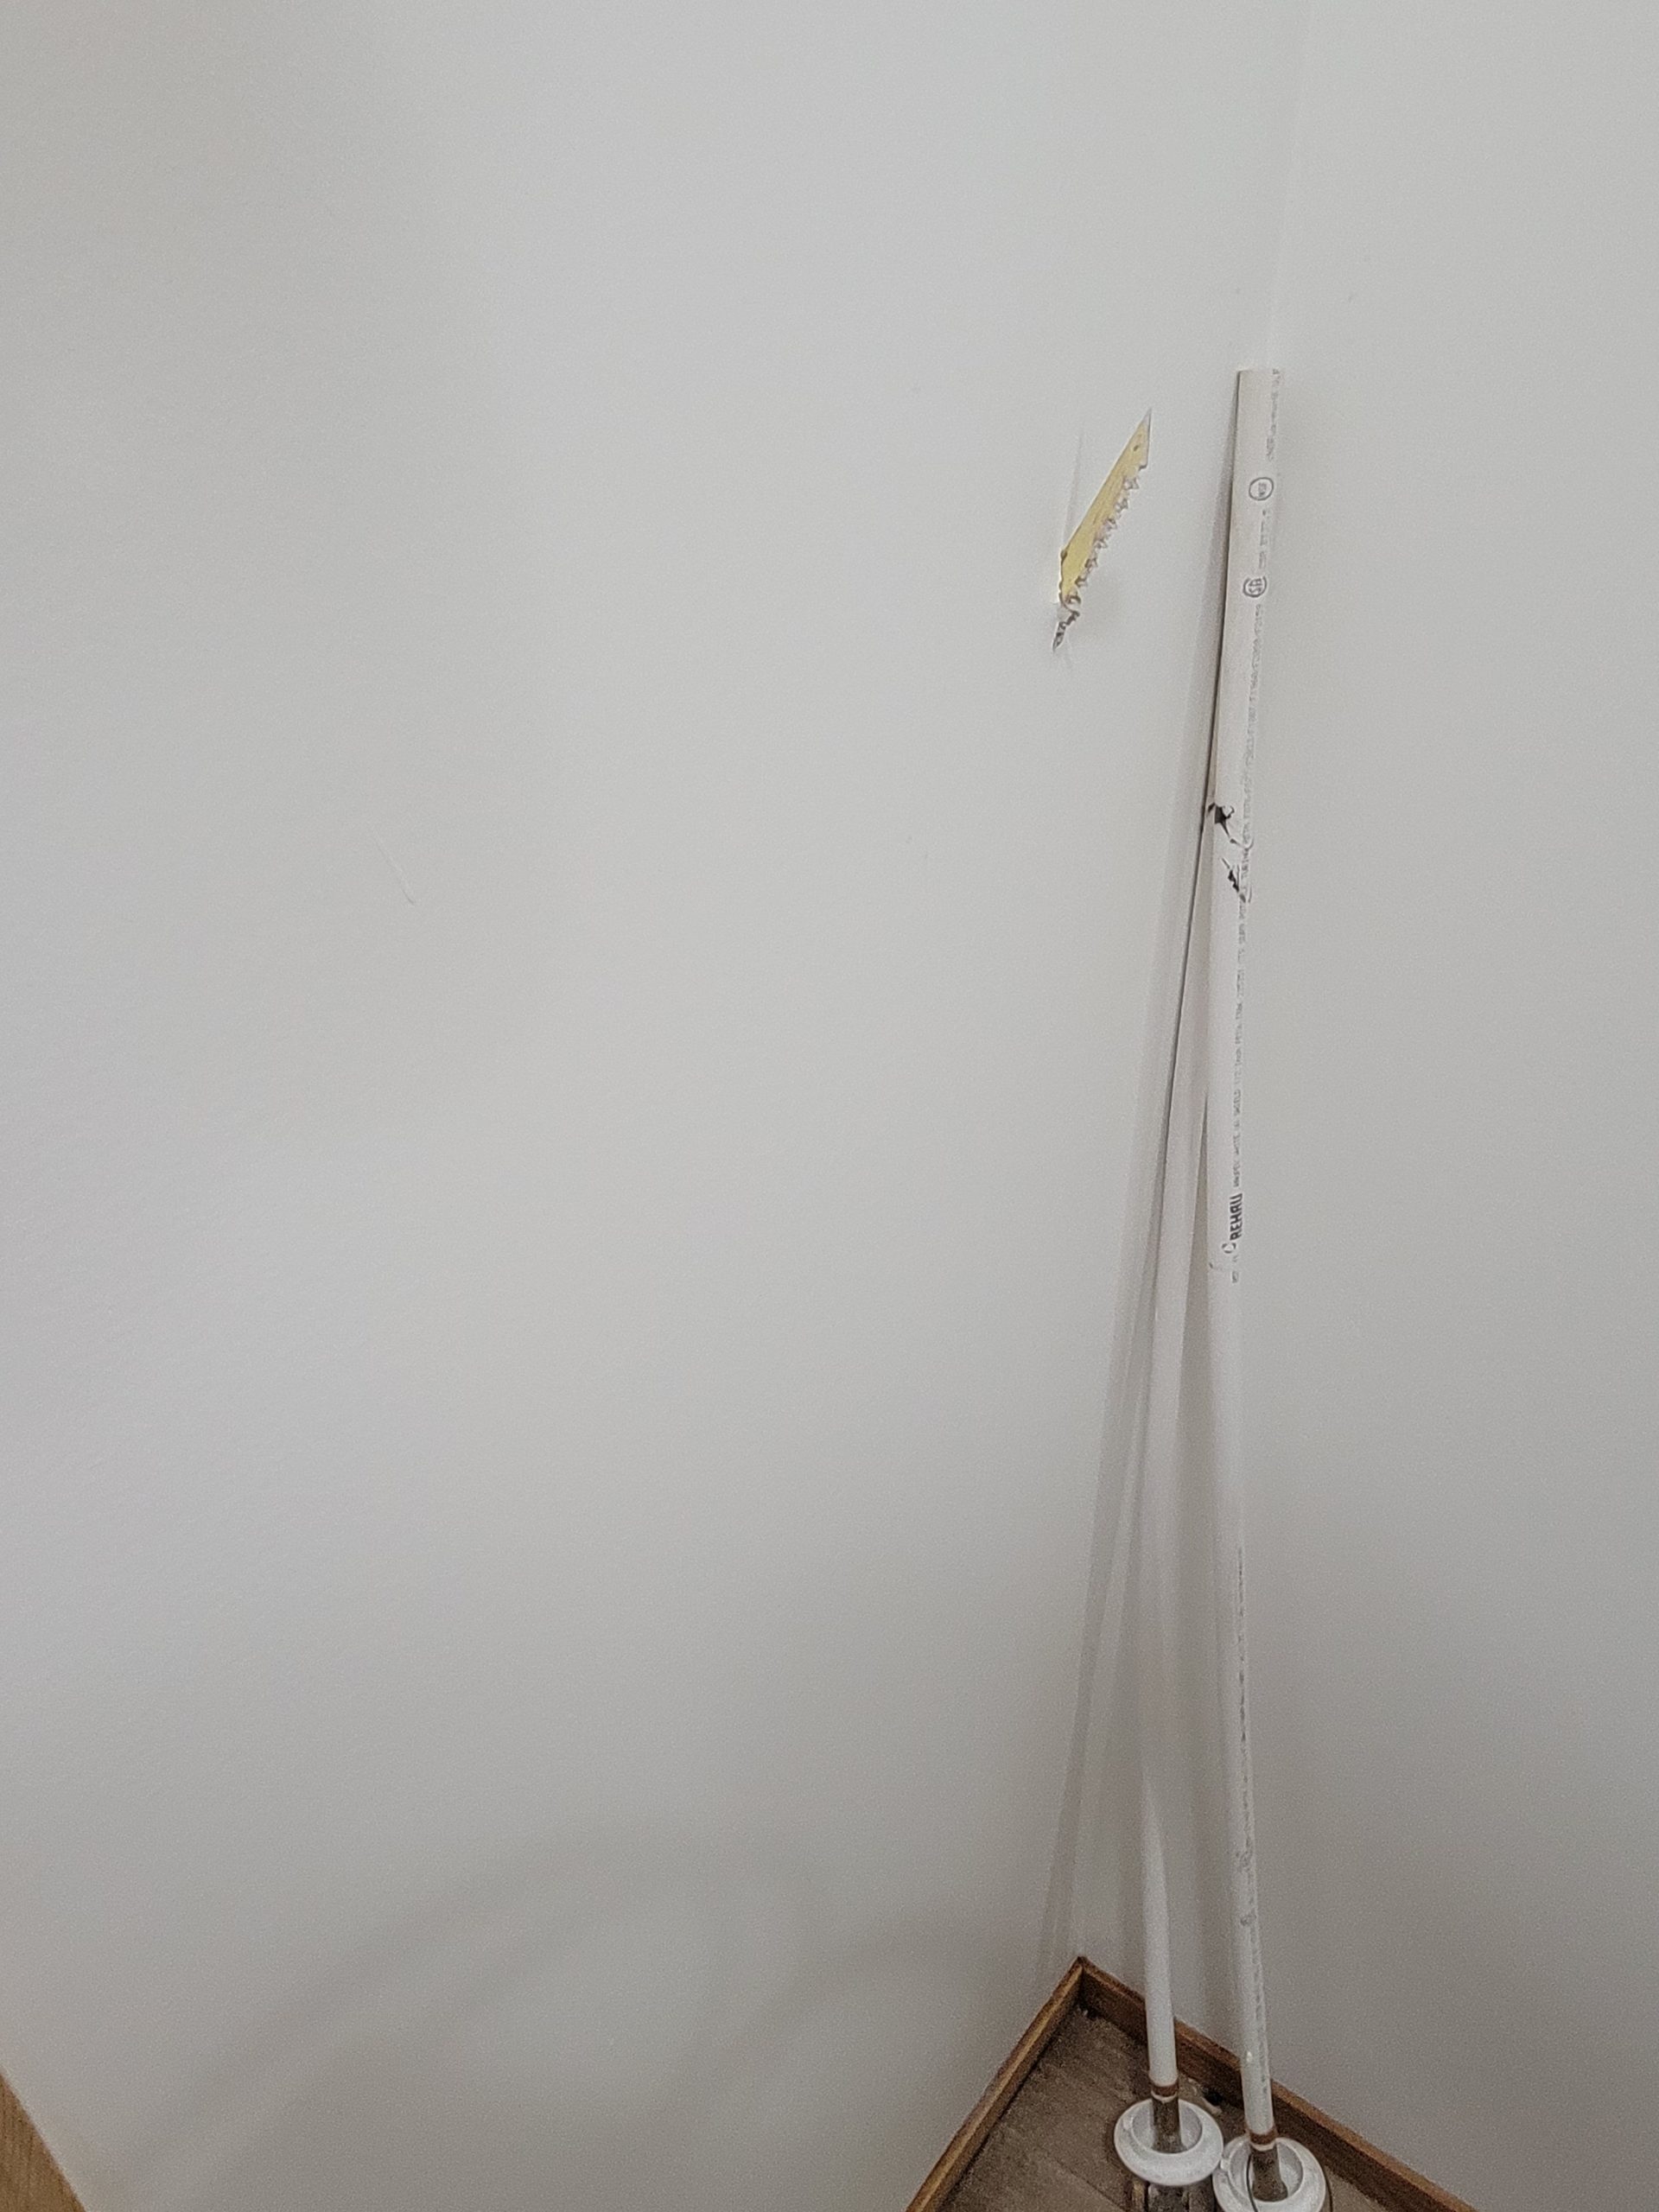
The hole is at the side of the washer. Previously, it was in the back wall. That wall is now redone and fire insulated.
This is a dry-fit. I want to pass it by the guys at Emco before committing. It’s kind of a weird design for a modified S-trap, but it is to code.
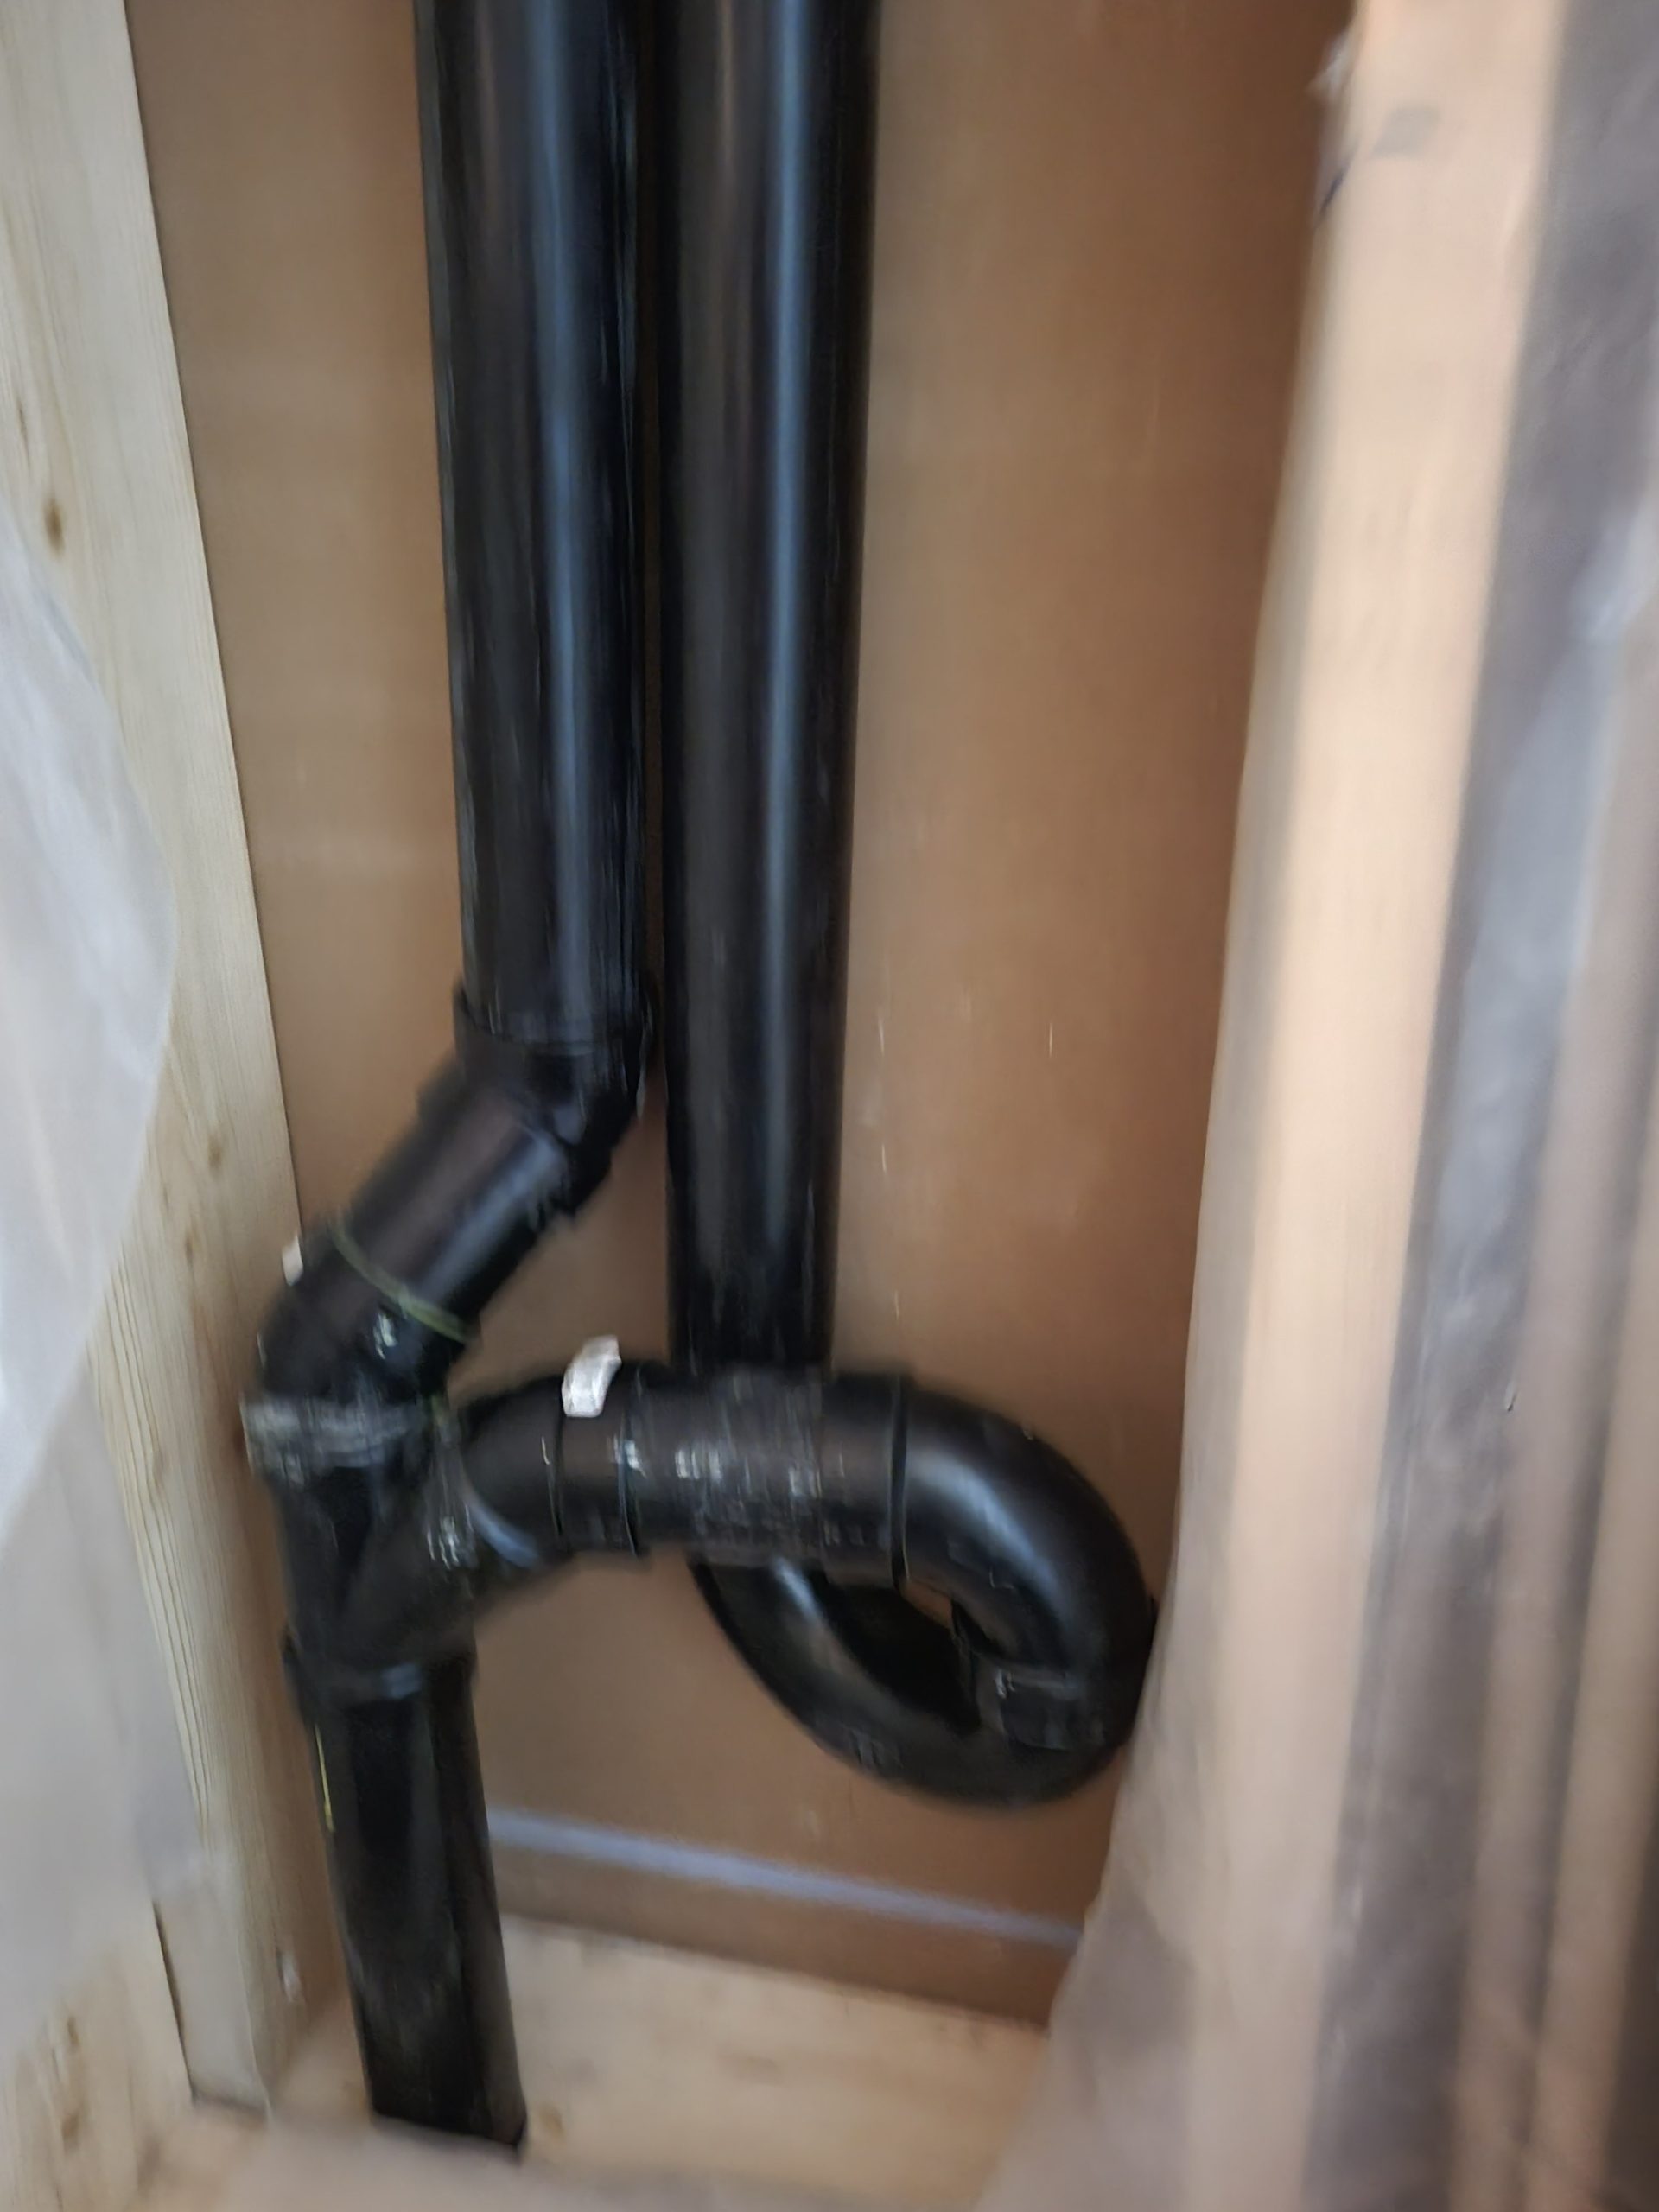
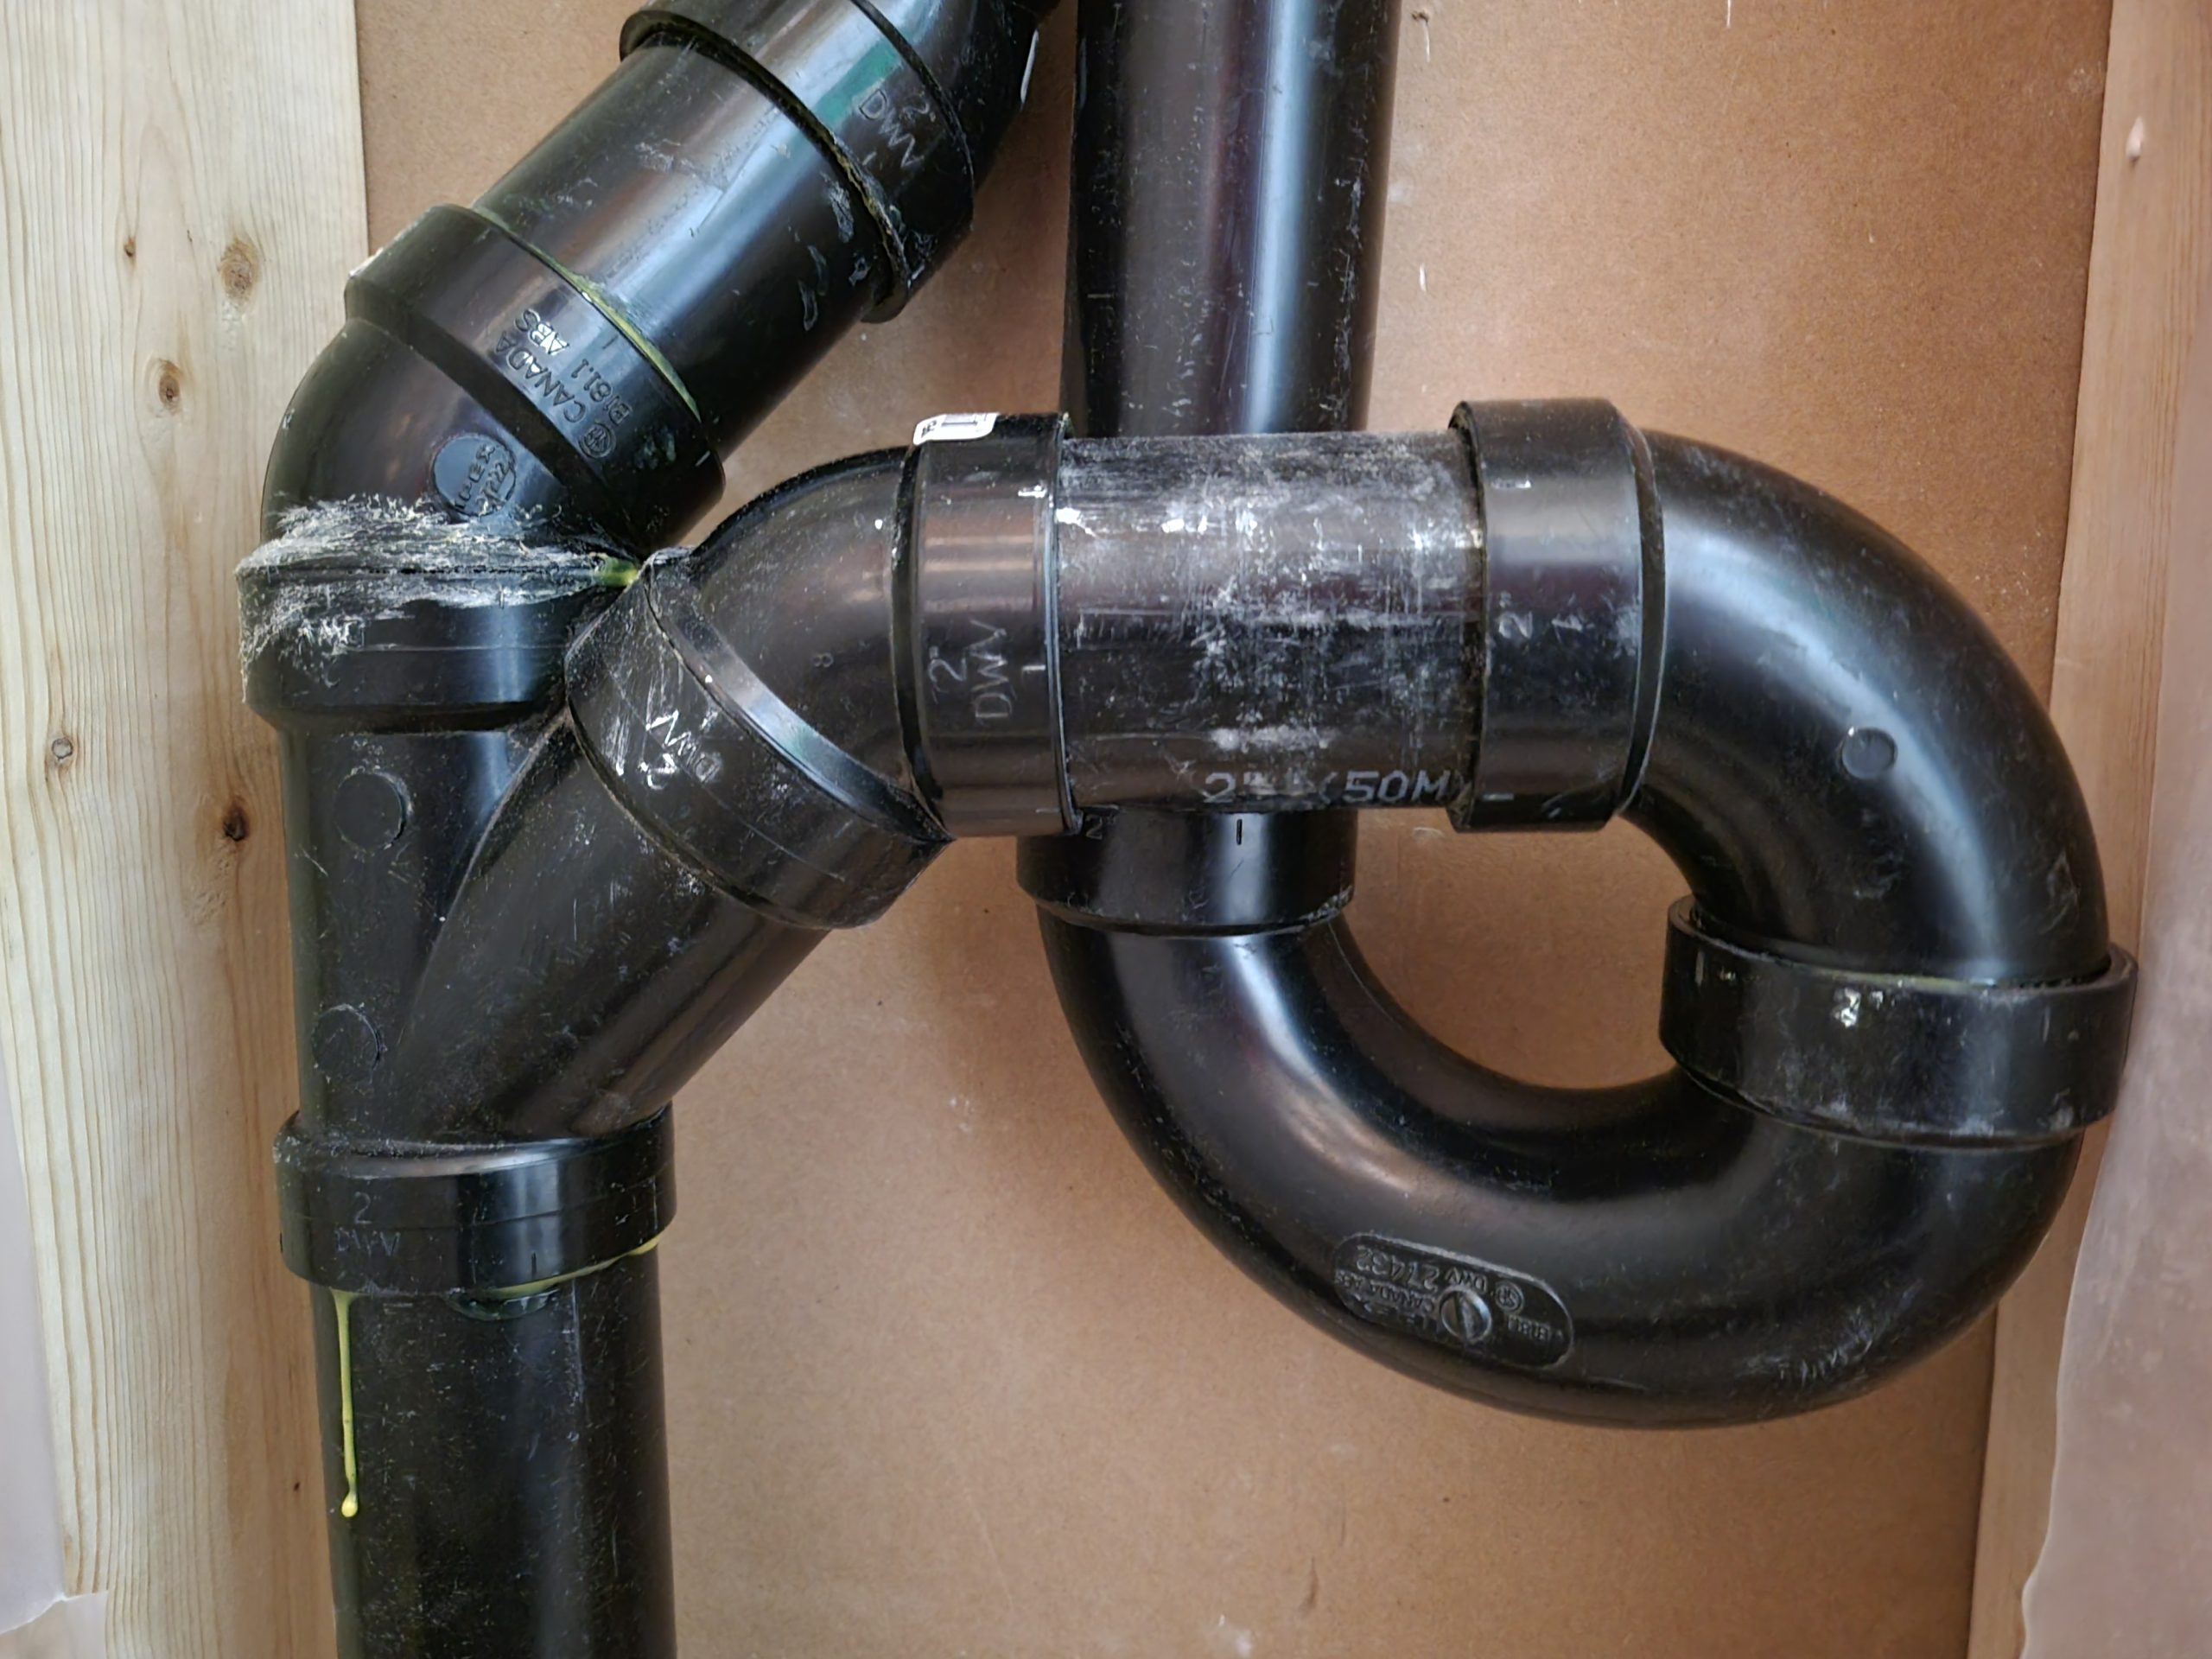
The vent stack is on the left, and the drain is in the middle. This gives the water line valves enough room on the right side.
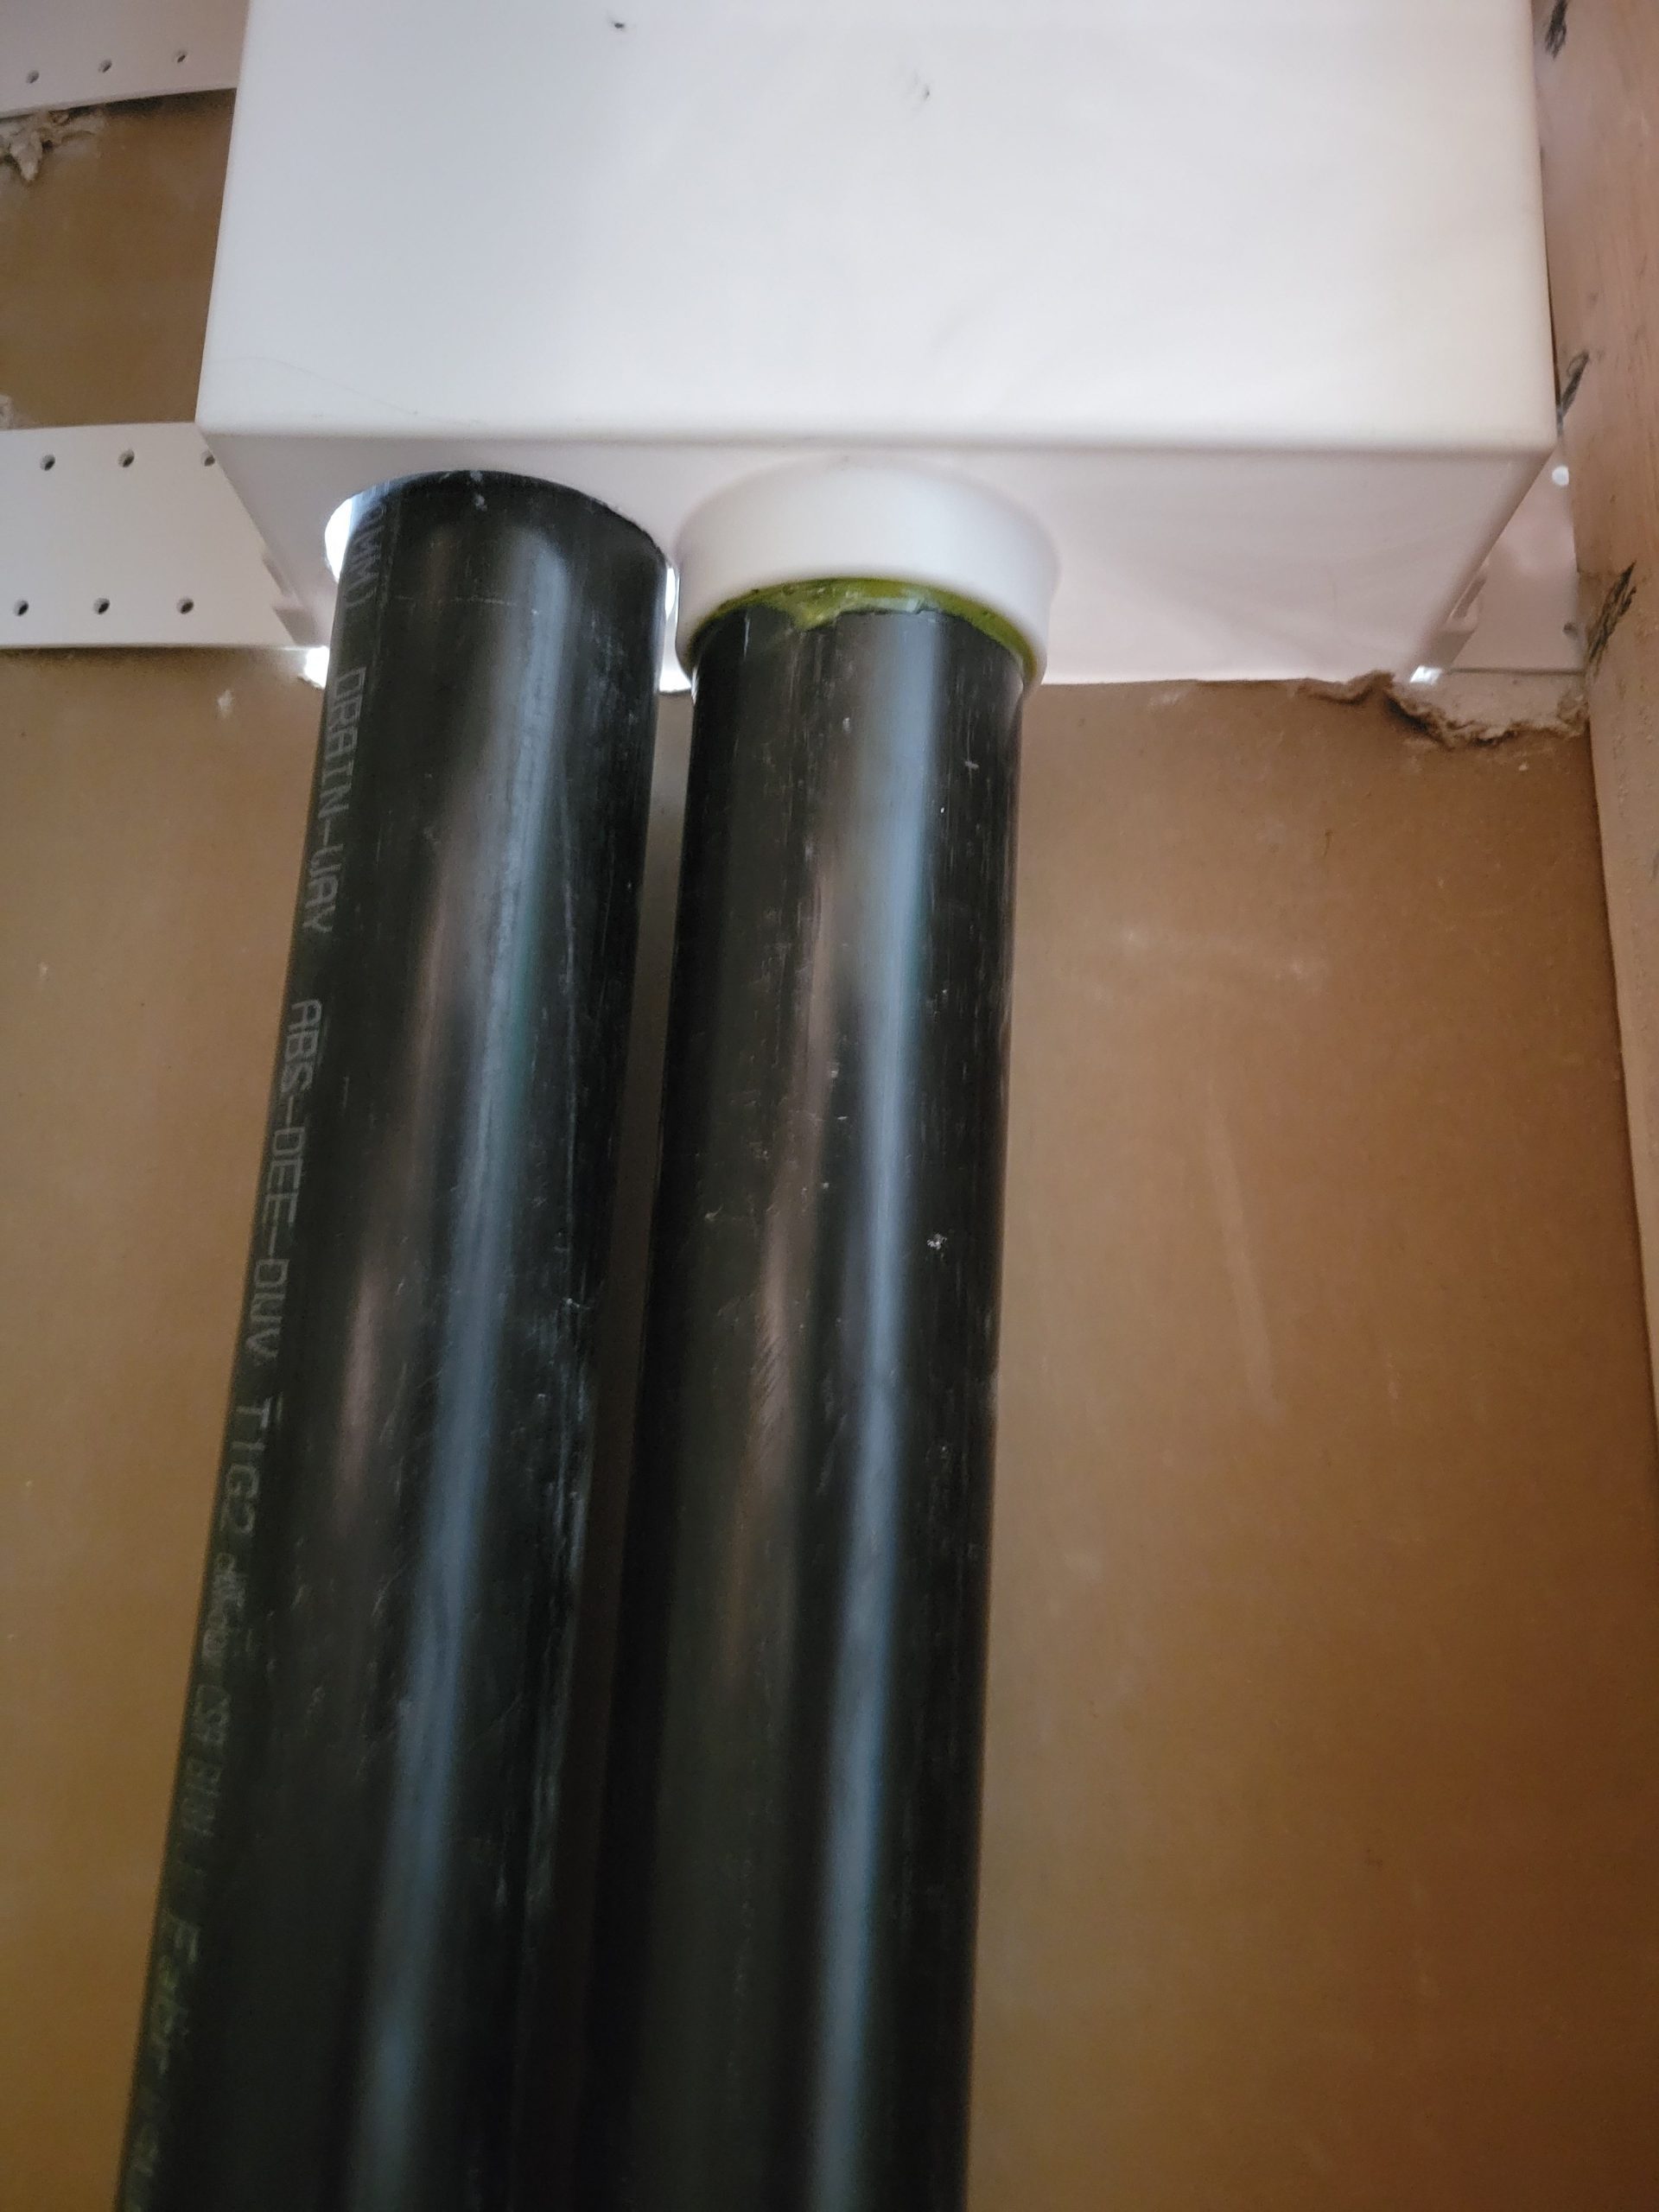
Meanwhile, downstairs, the monstrosity of piping connections that was put in while the temporary beams were in place must now be dismantled. A new connection will be placed either in the kitchen drain or elsewhere.
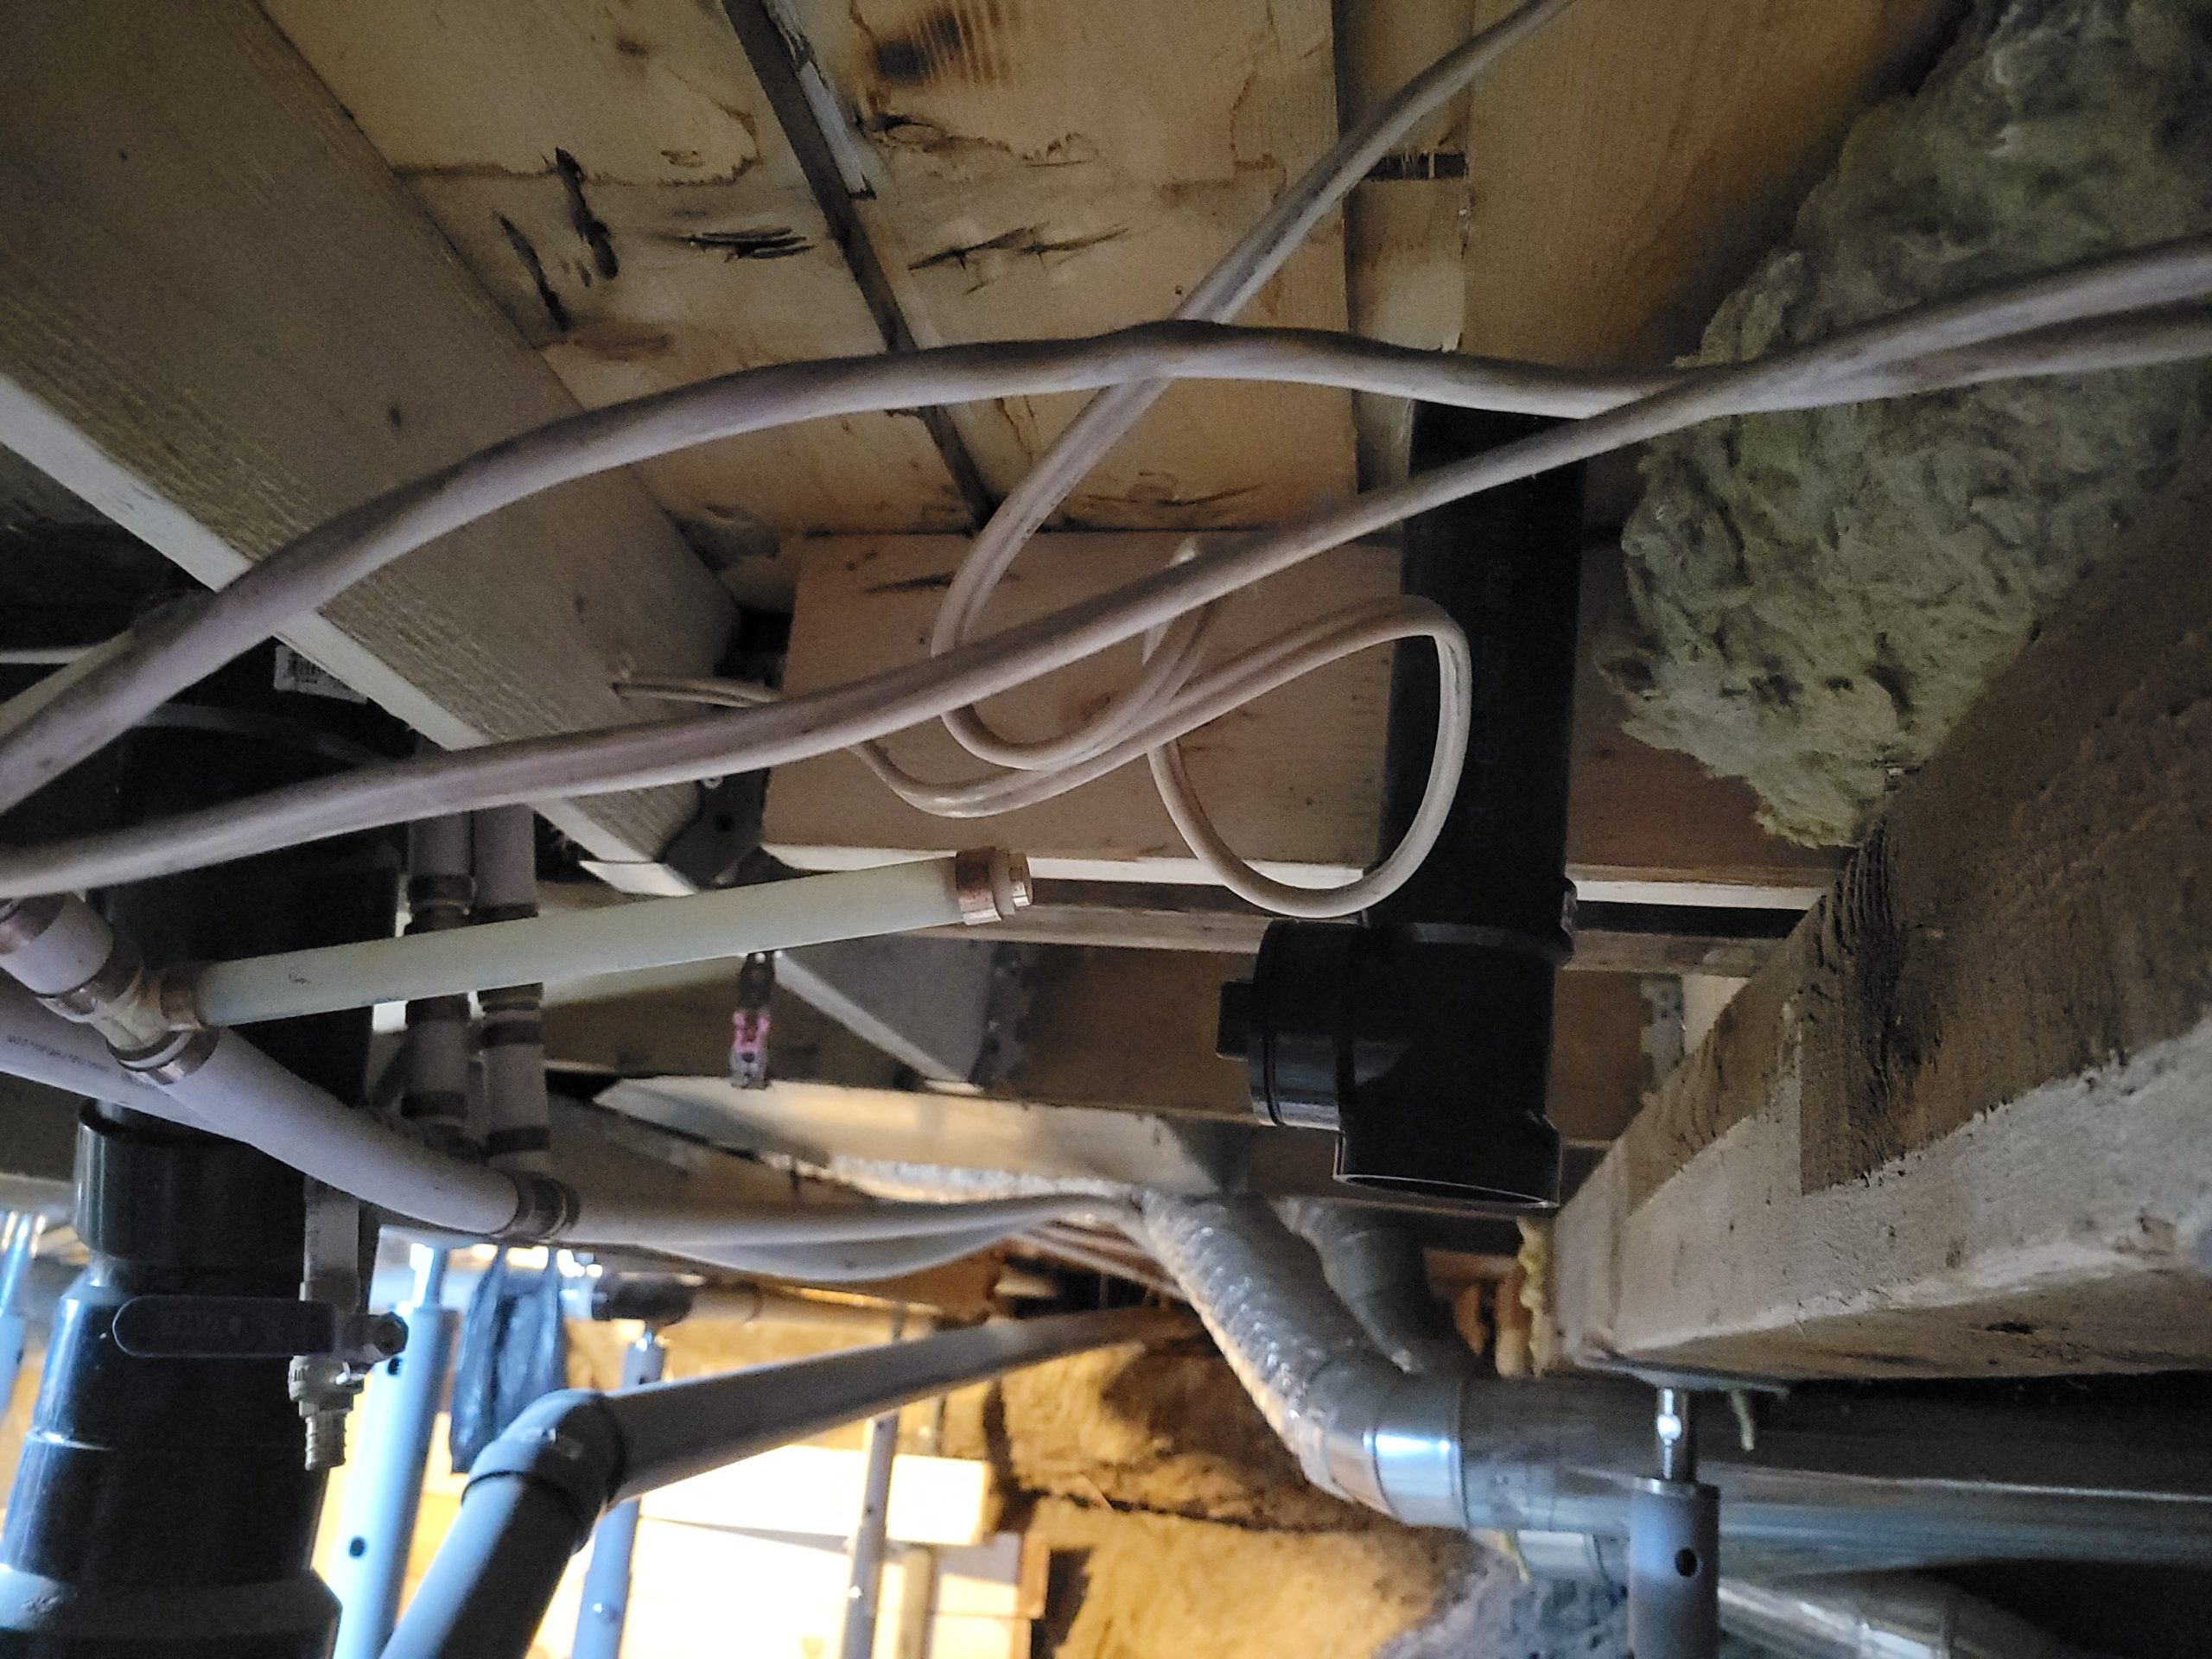
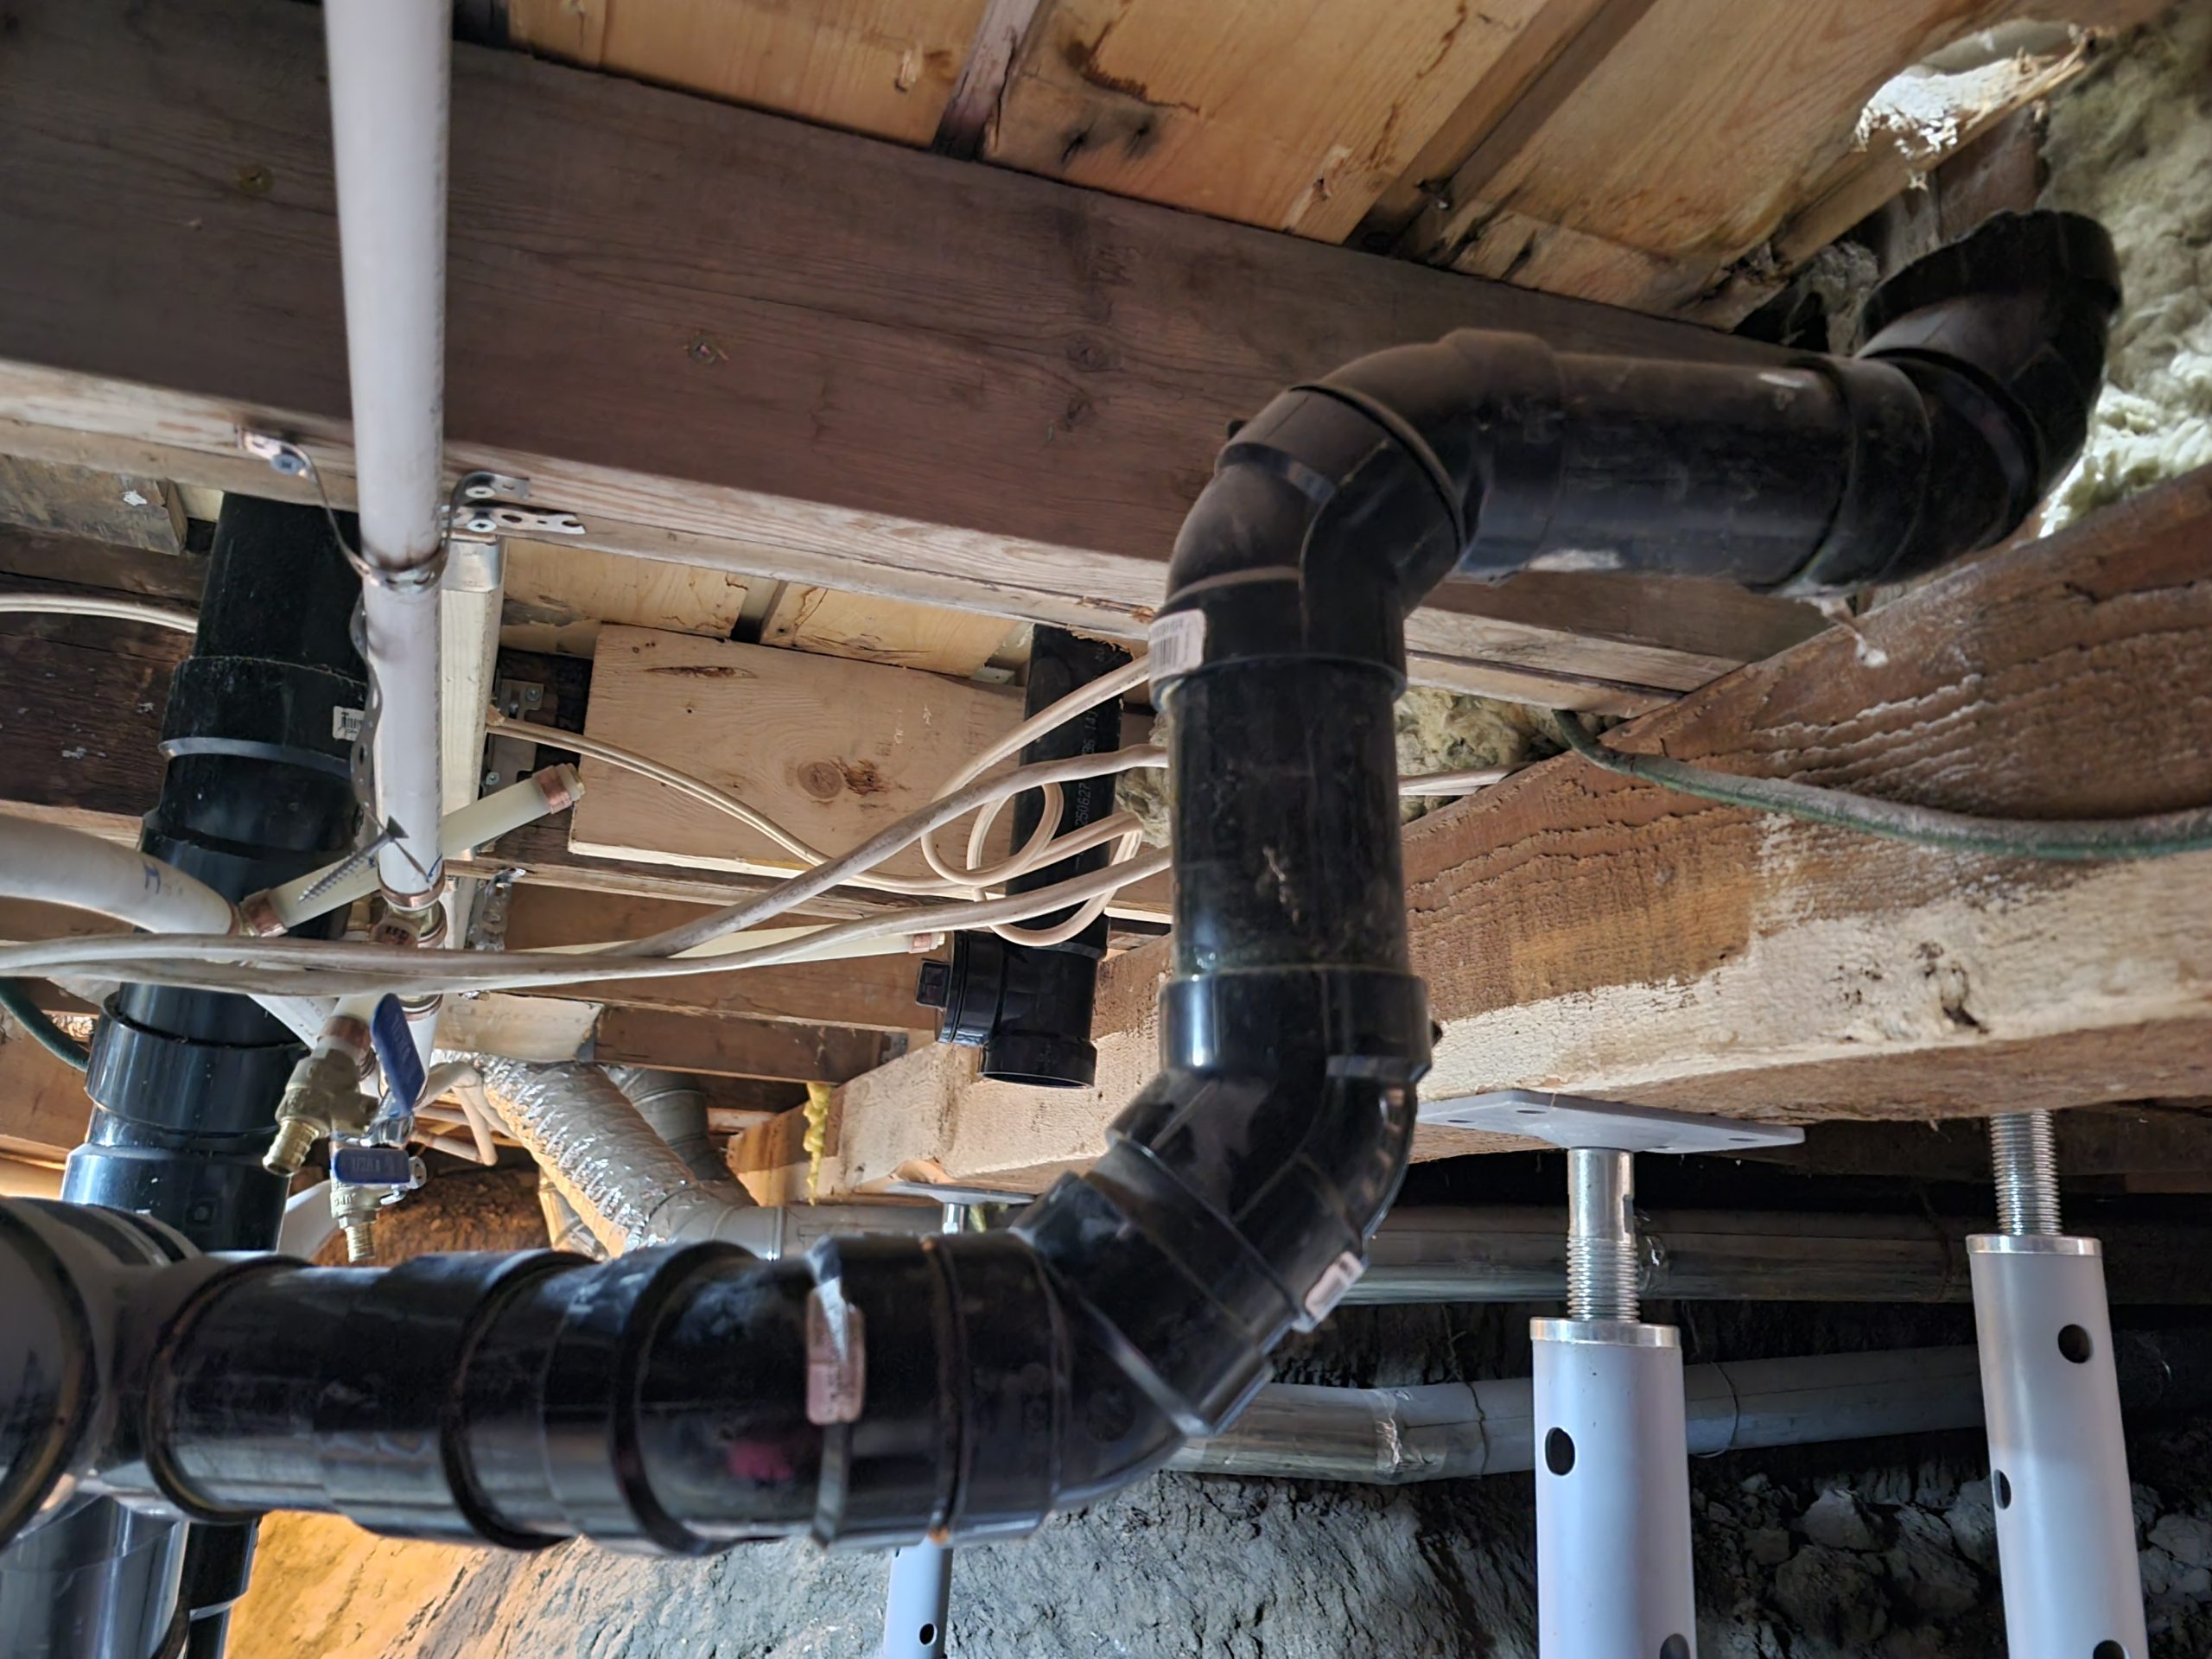
But, as no one is doing laundry just yet, it’ll wait. Dave wants to continue with drywall!
Fire blocking had to be done. Dave and I hunted for all the cracks, openings, joins, etc. that needed to be blocked. We used fire caulk, fire rated spray foam insulation, and 5/8″ drywall, depending on the applicable space.
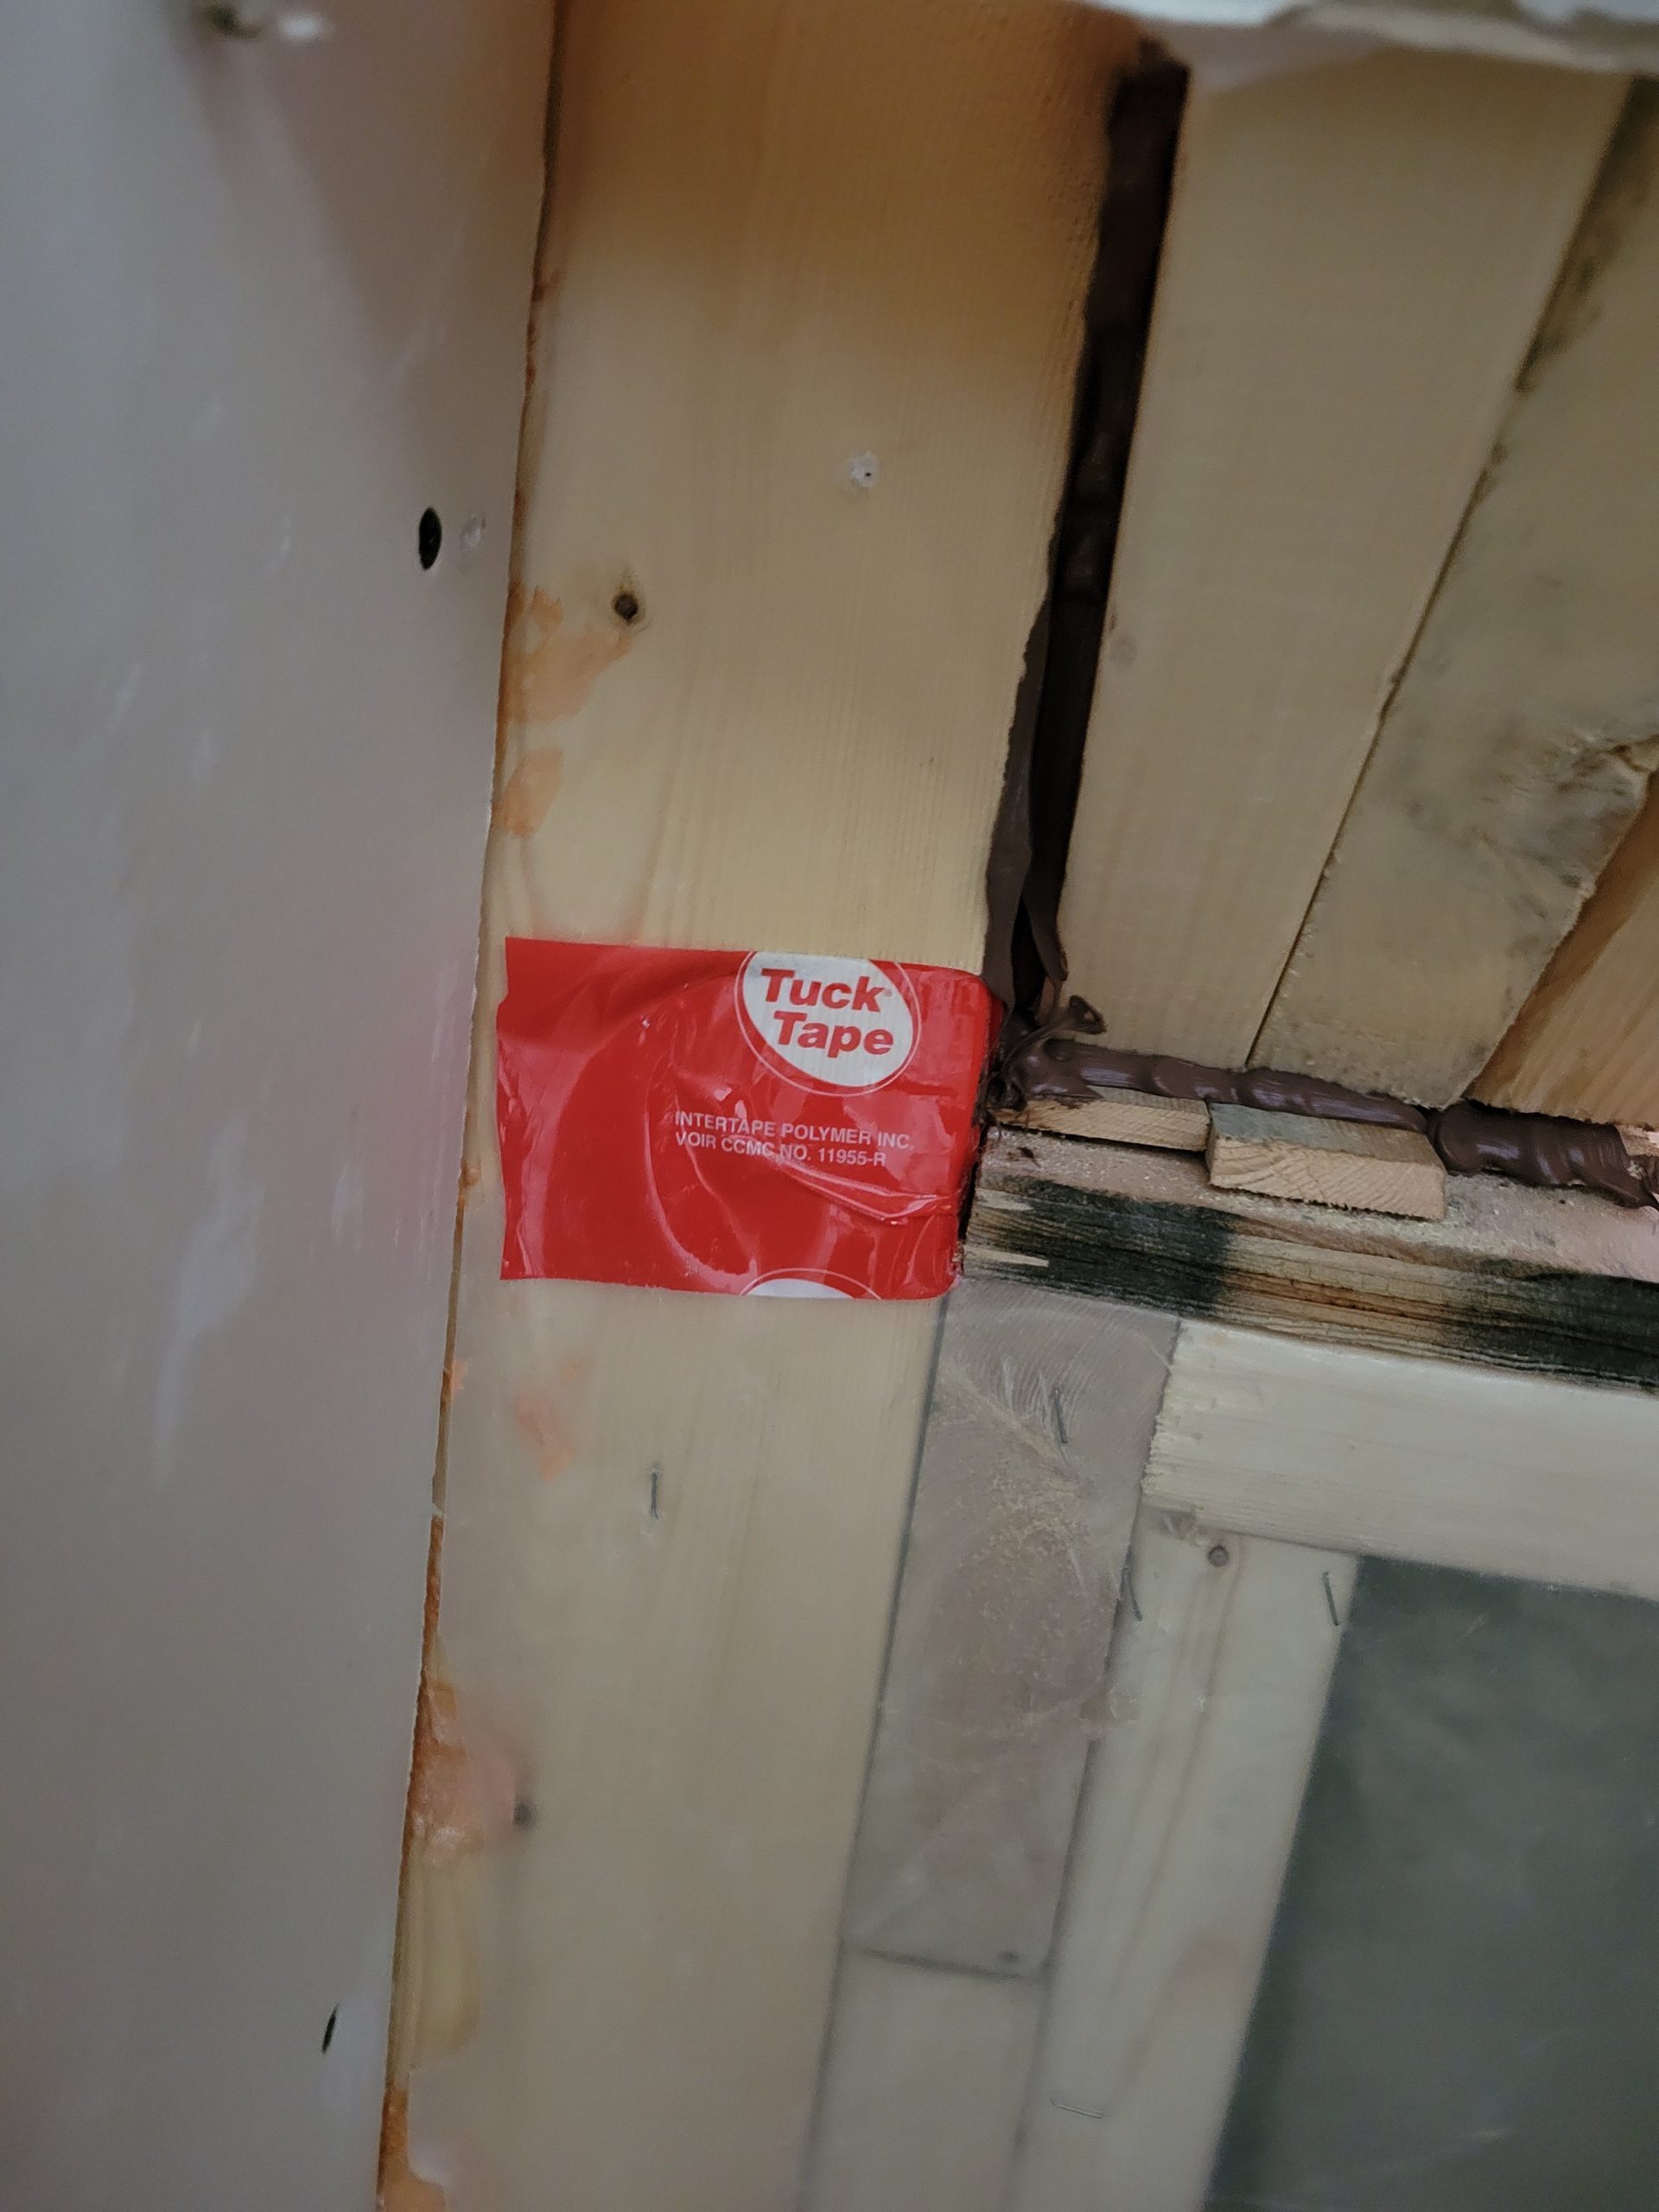
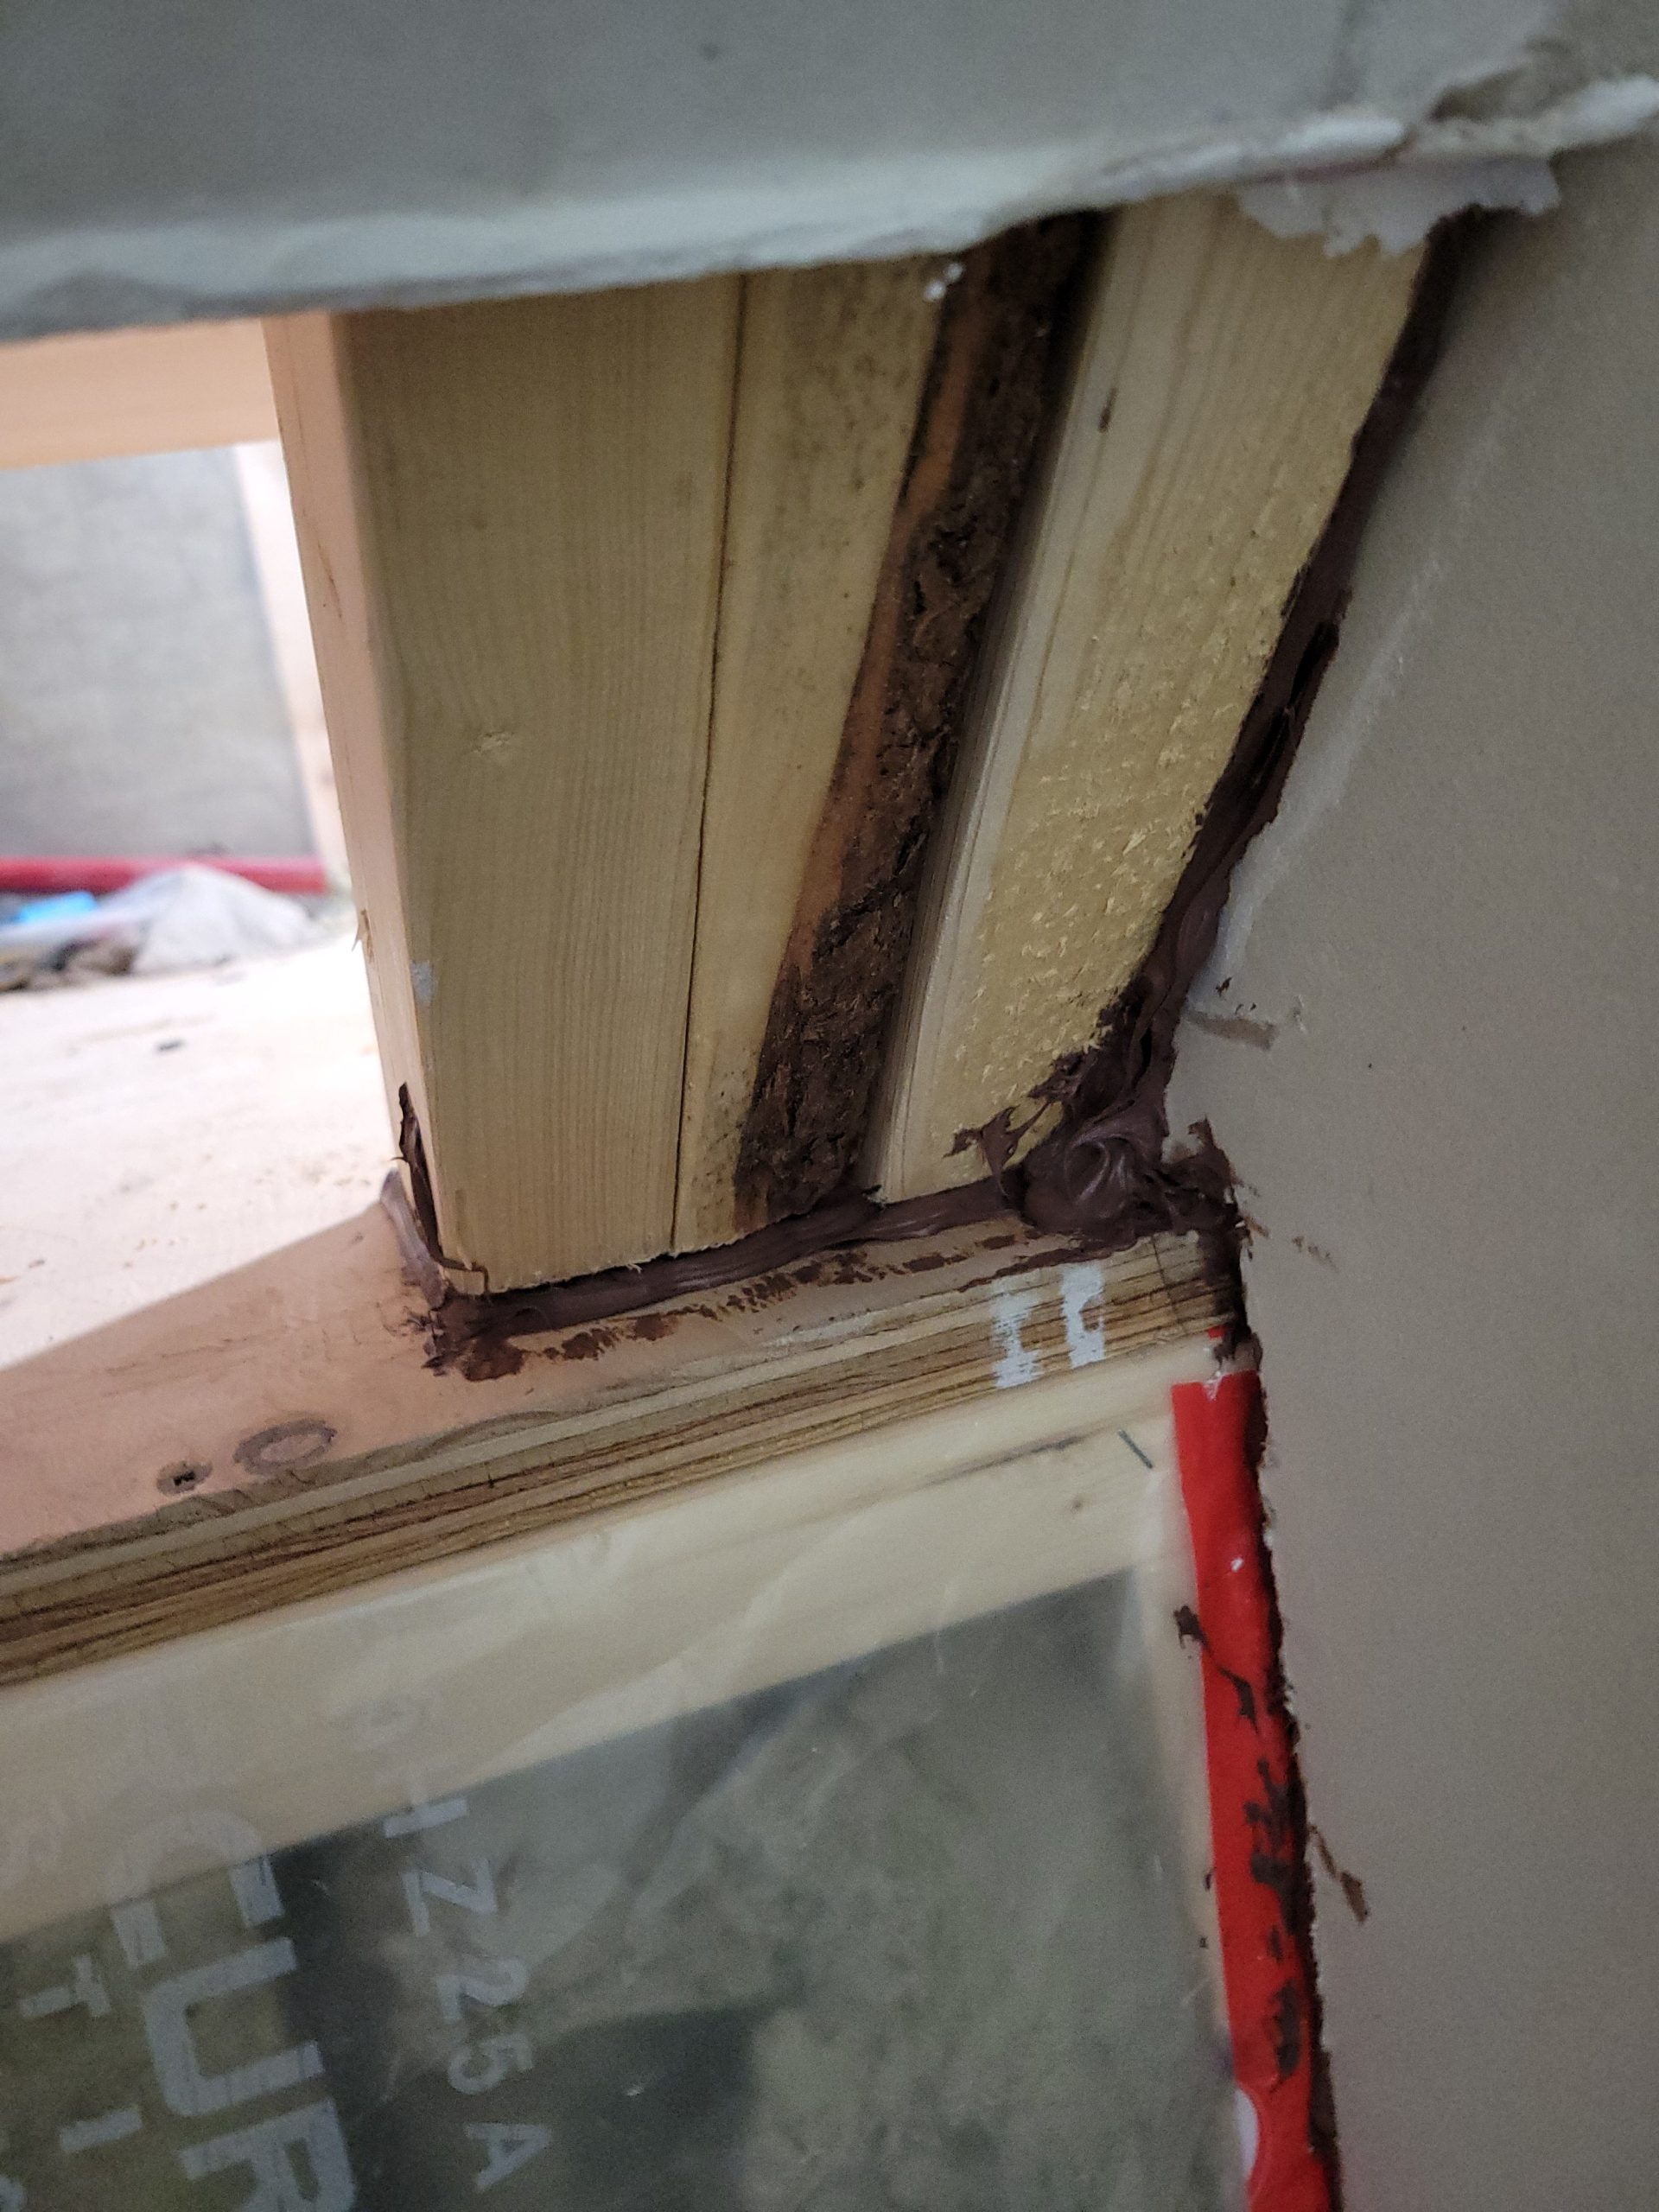
We put up the 5/8″ gypsum wallboard on the stairs with enough space between for the right thickness of fire rated insulation. In the end, this is how the storage under the stairs area looks.
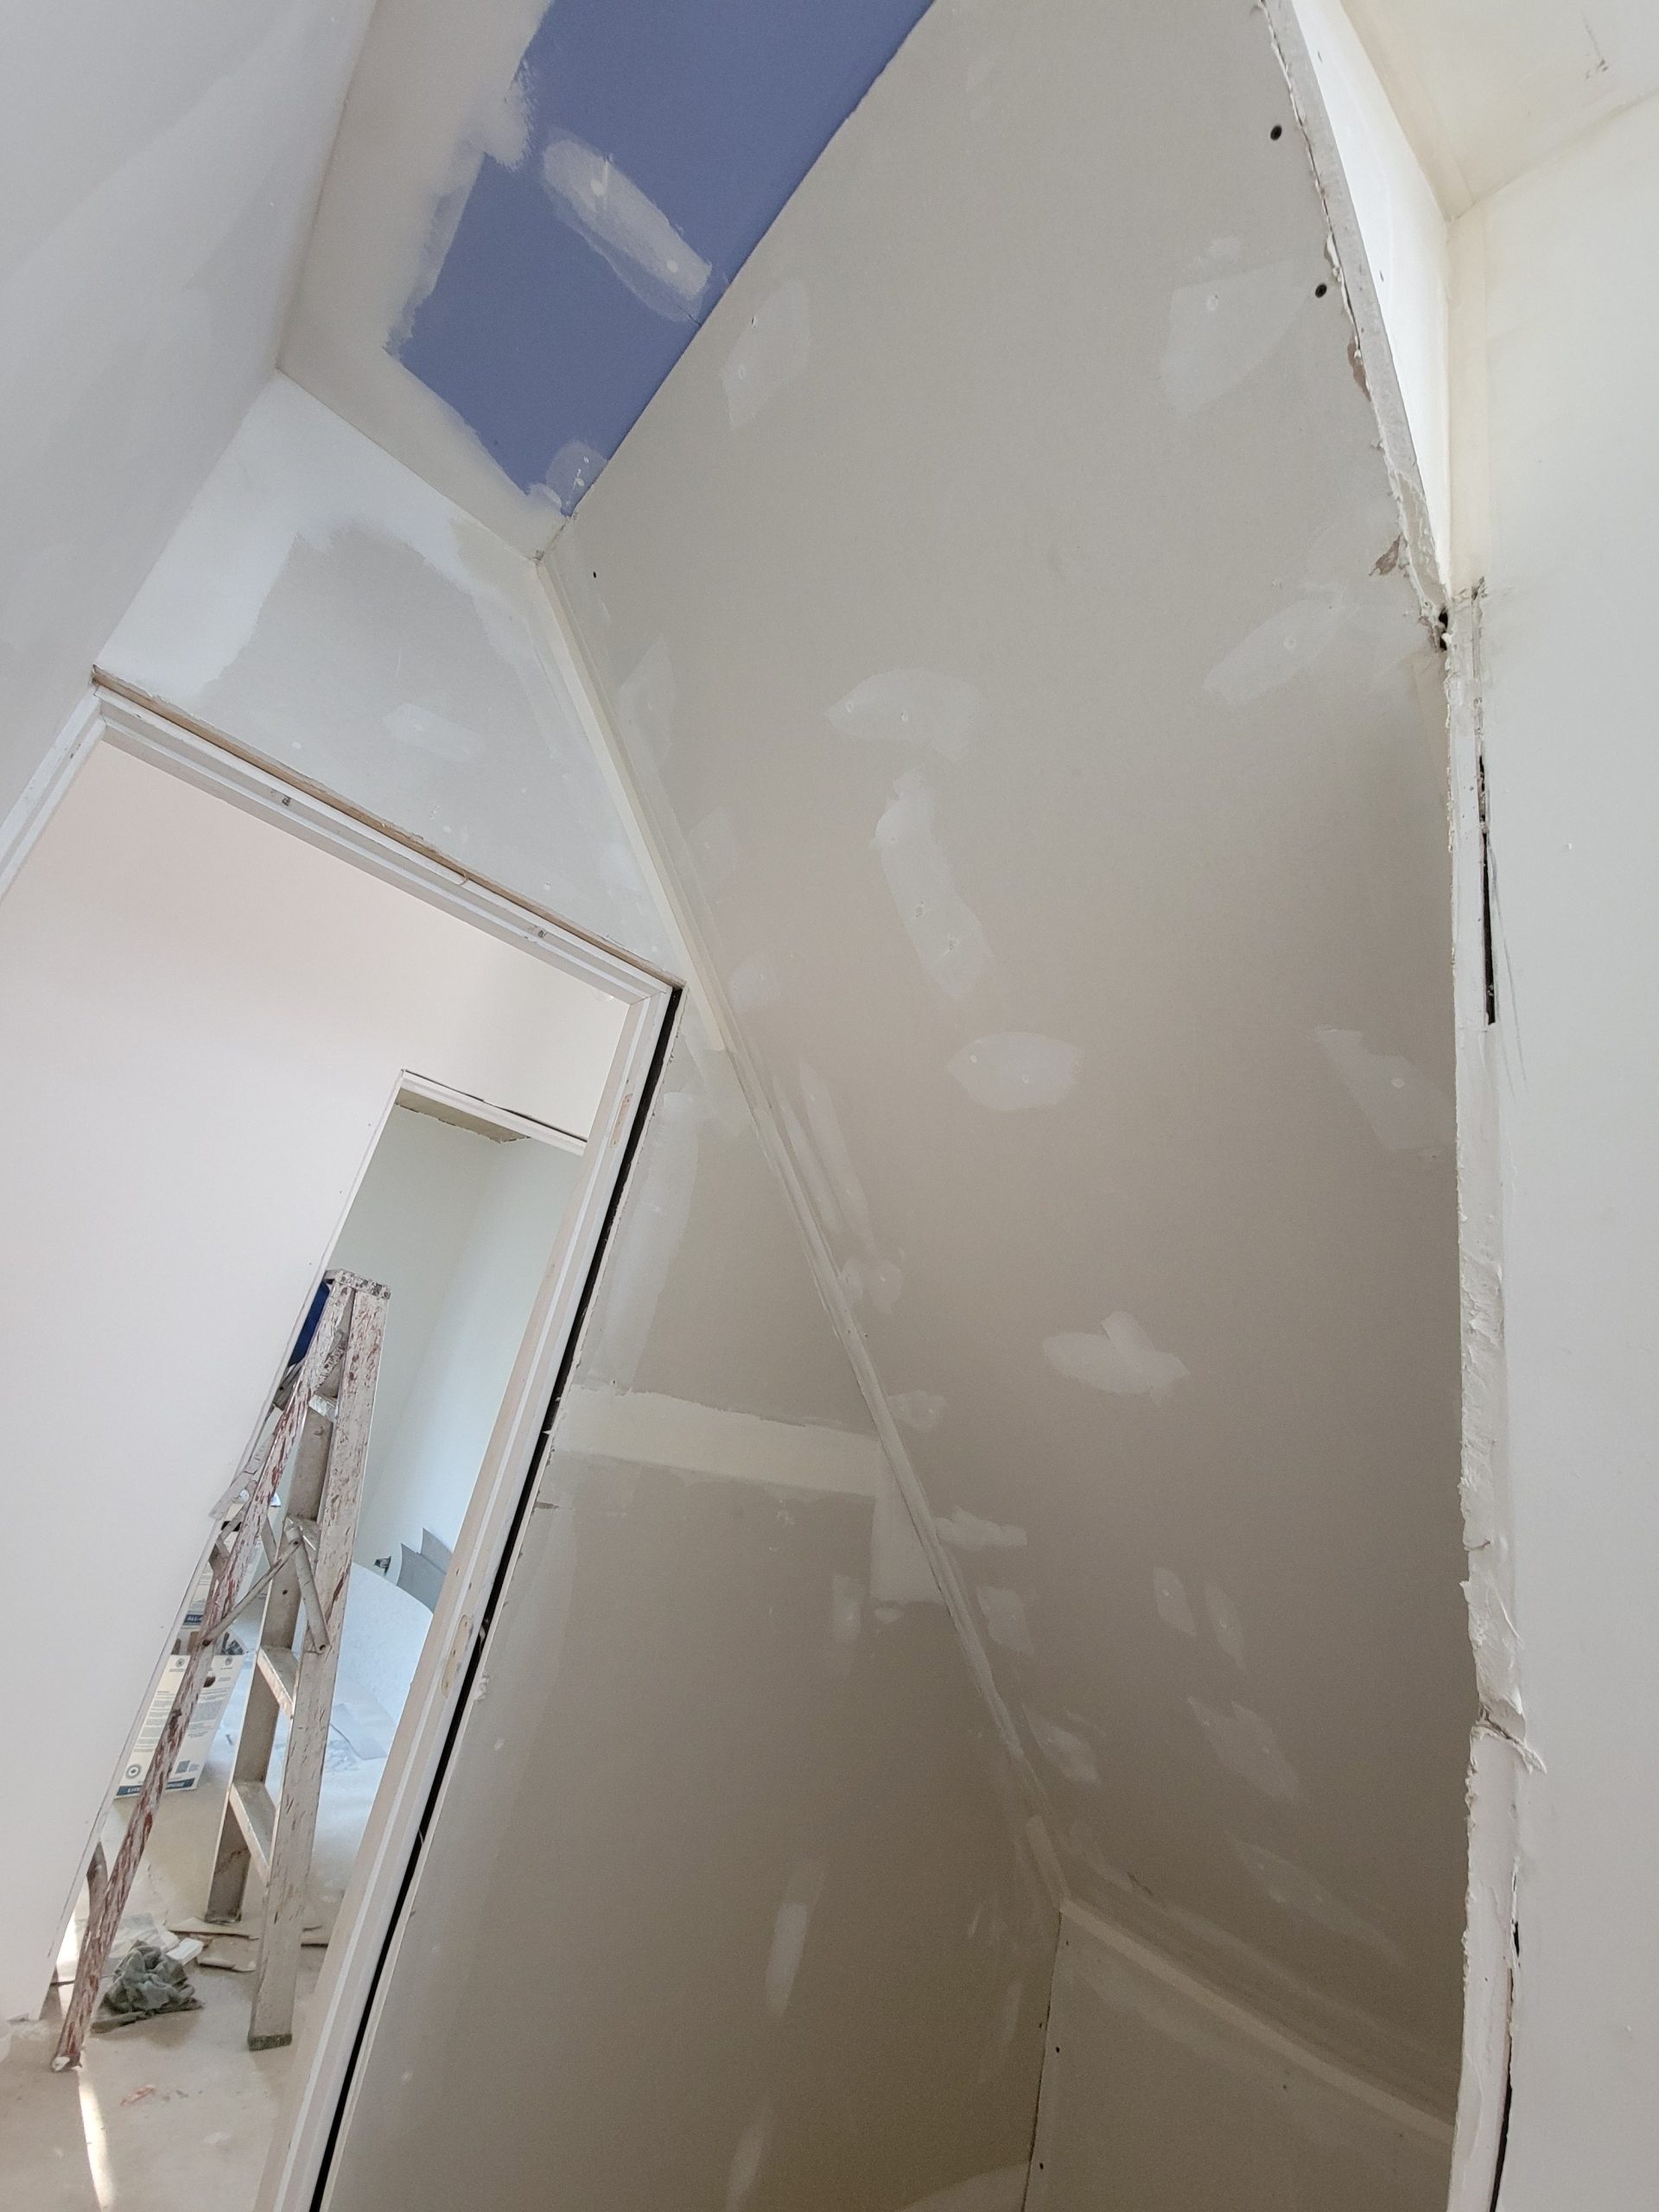
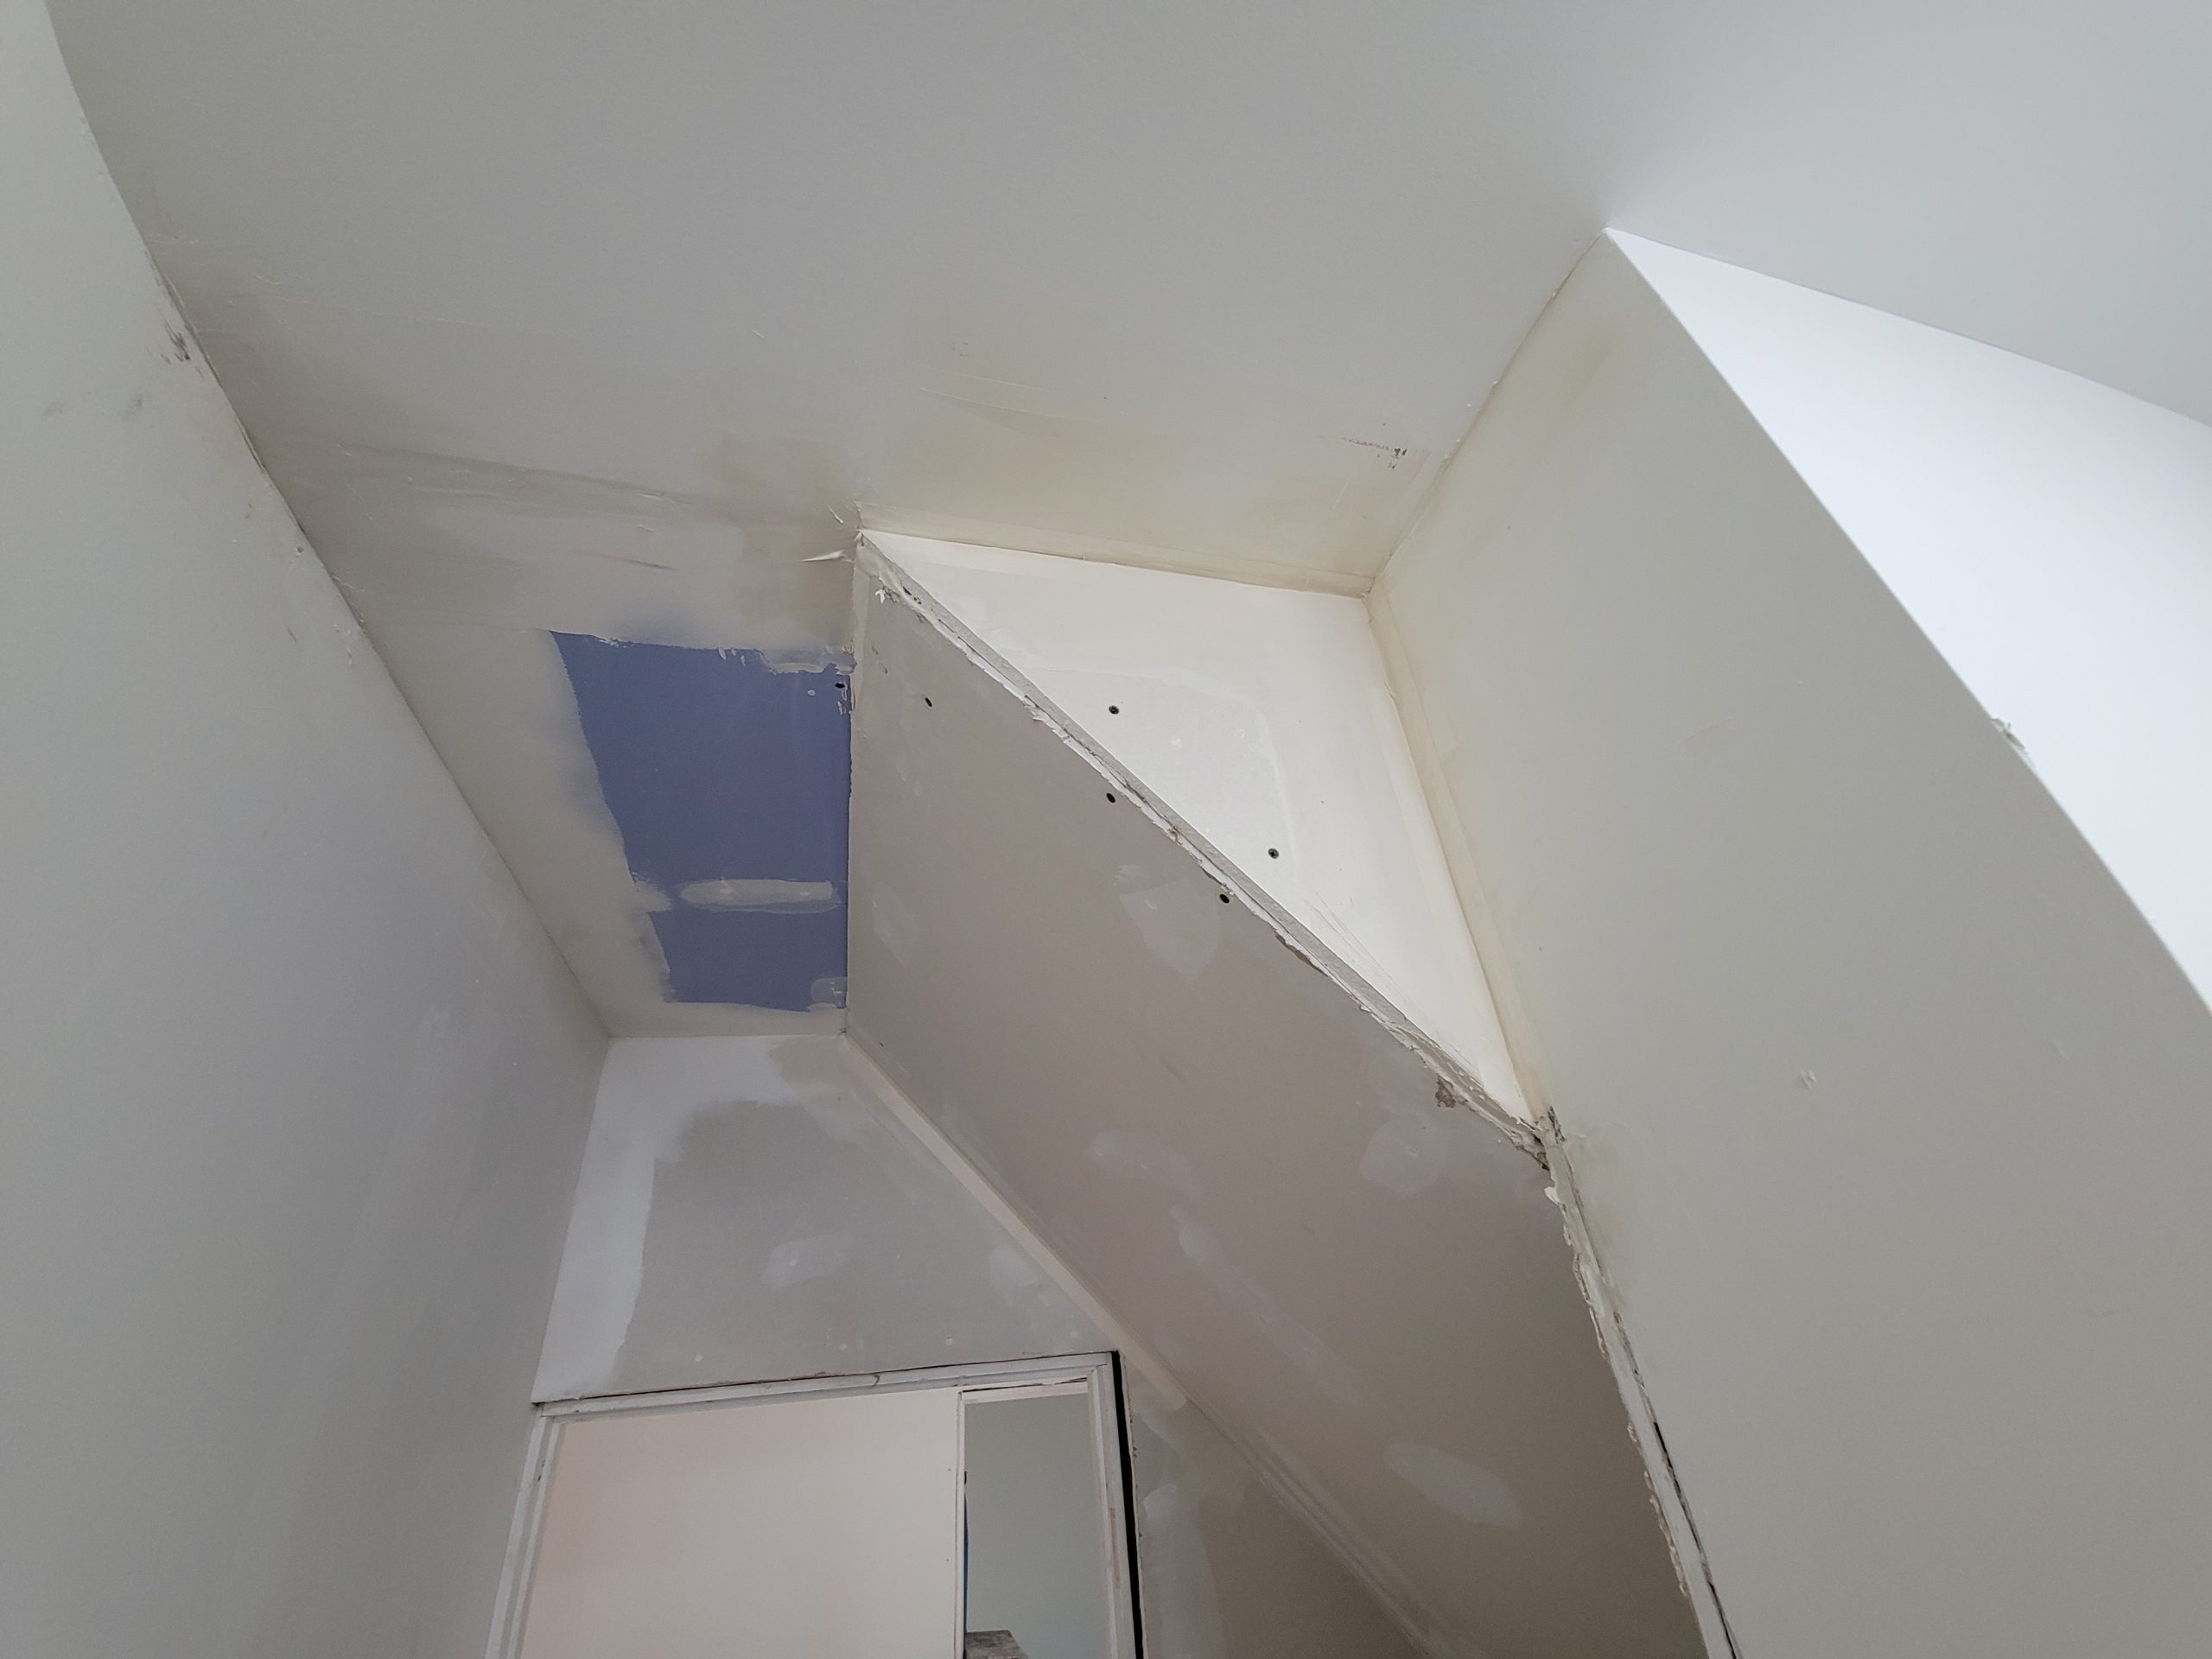
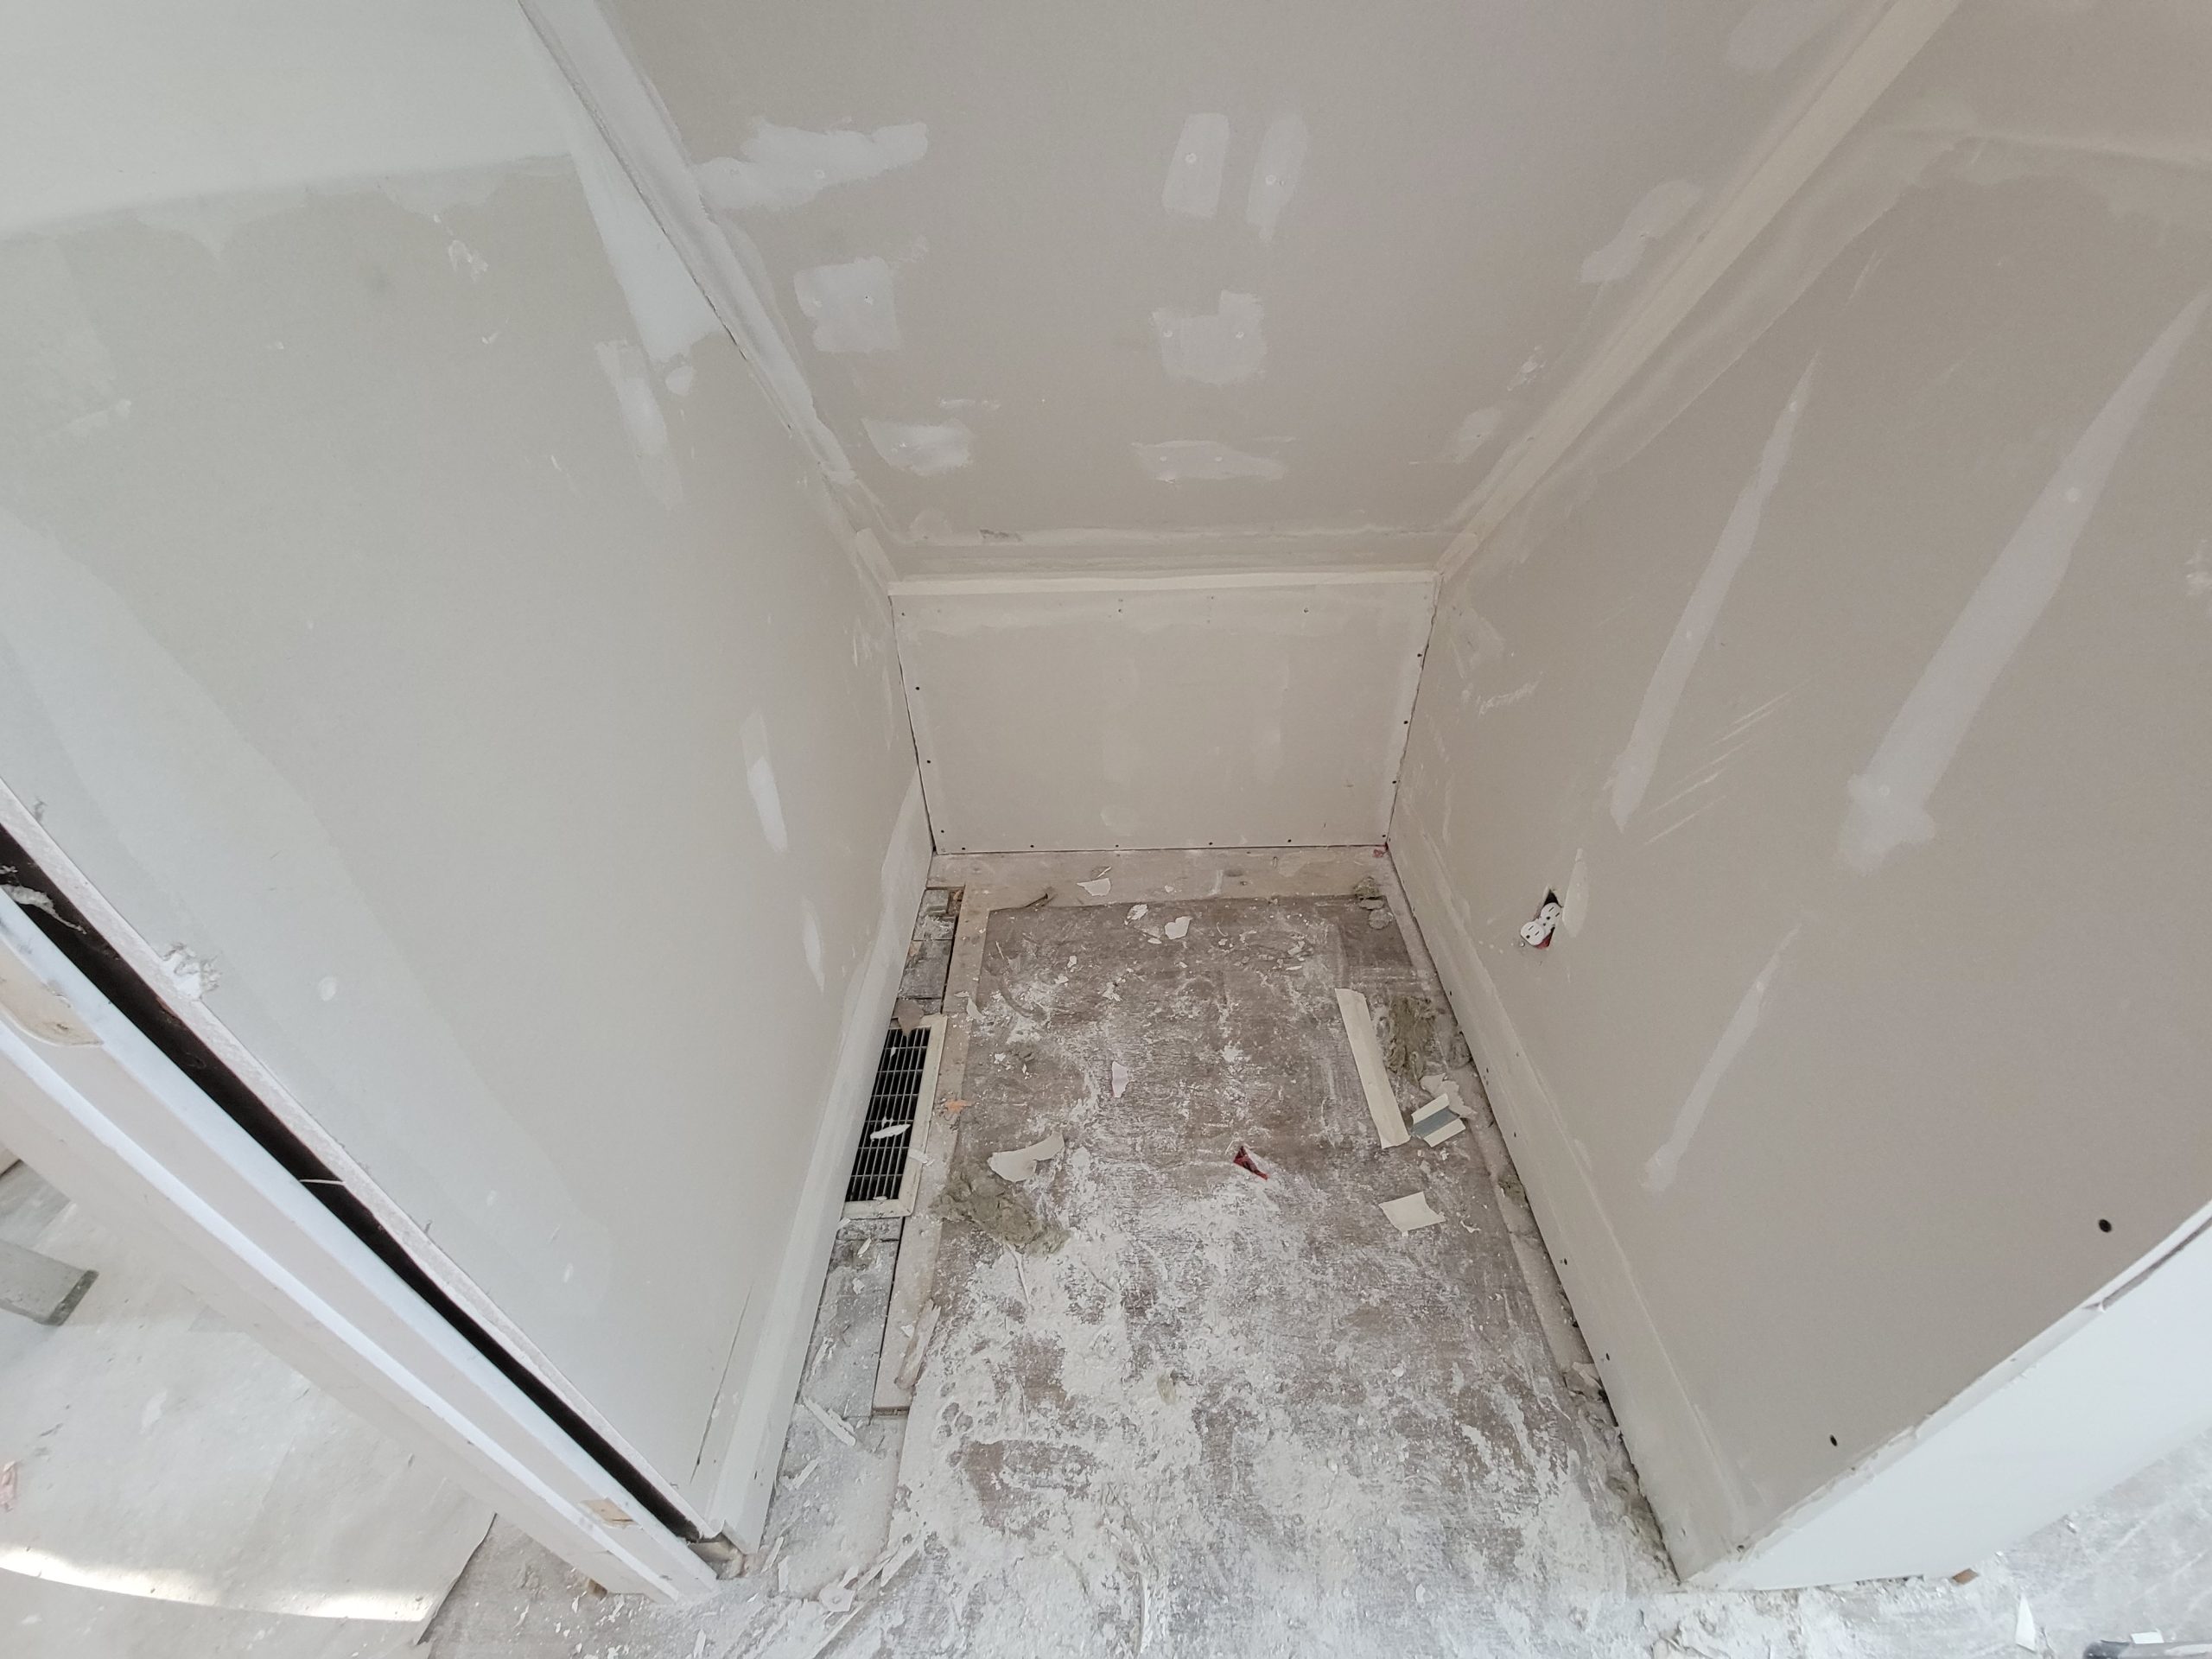
And the washer box now looks like this. (Nothing is actually hooked up yet.)