Now that the lift is complete, we can work on the main floor.
This is a milestone, a turning point. I don’t want to jinx it by saying so, but things should go smoothly from here. <knock on wood>
Now that the living room window wall is straight, the window rough framing is tilted.
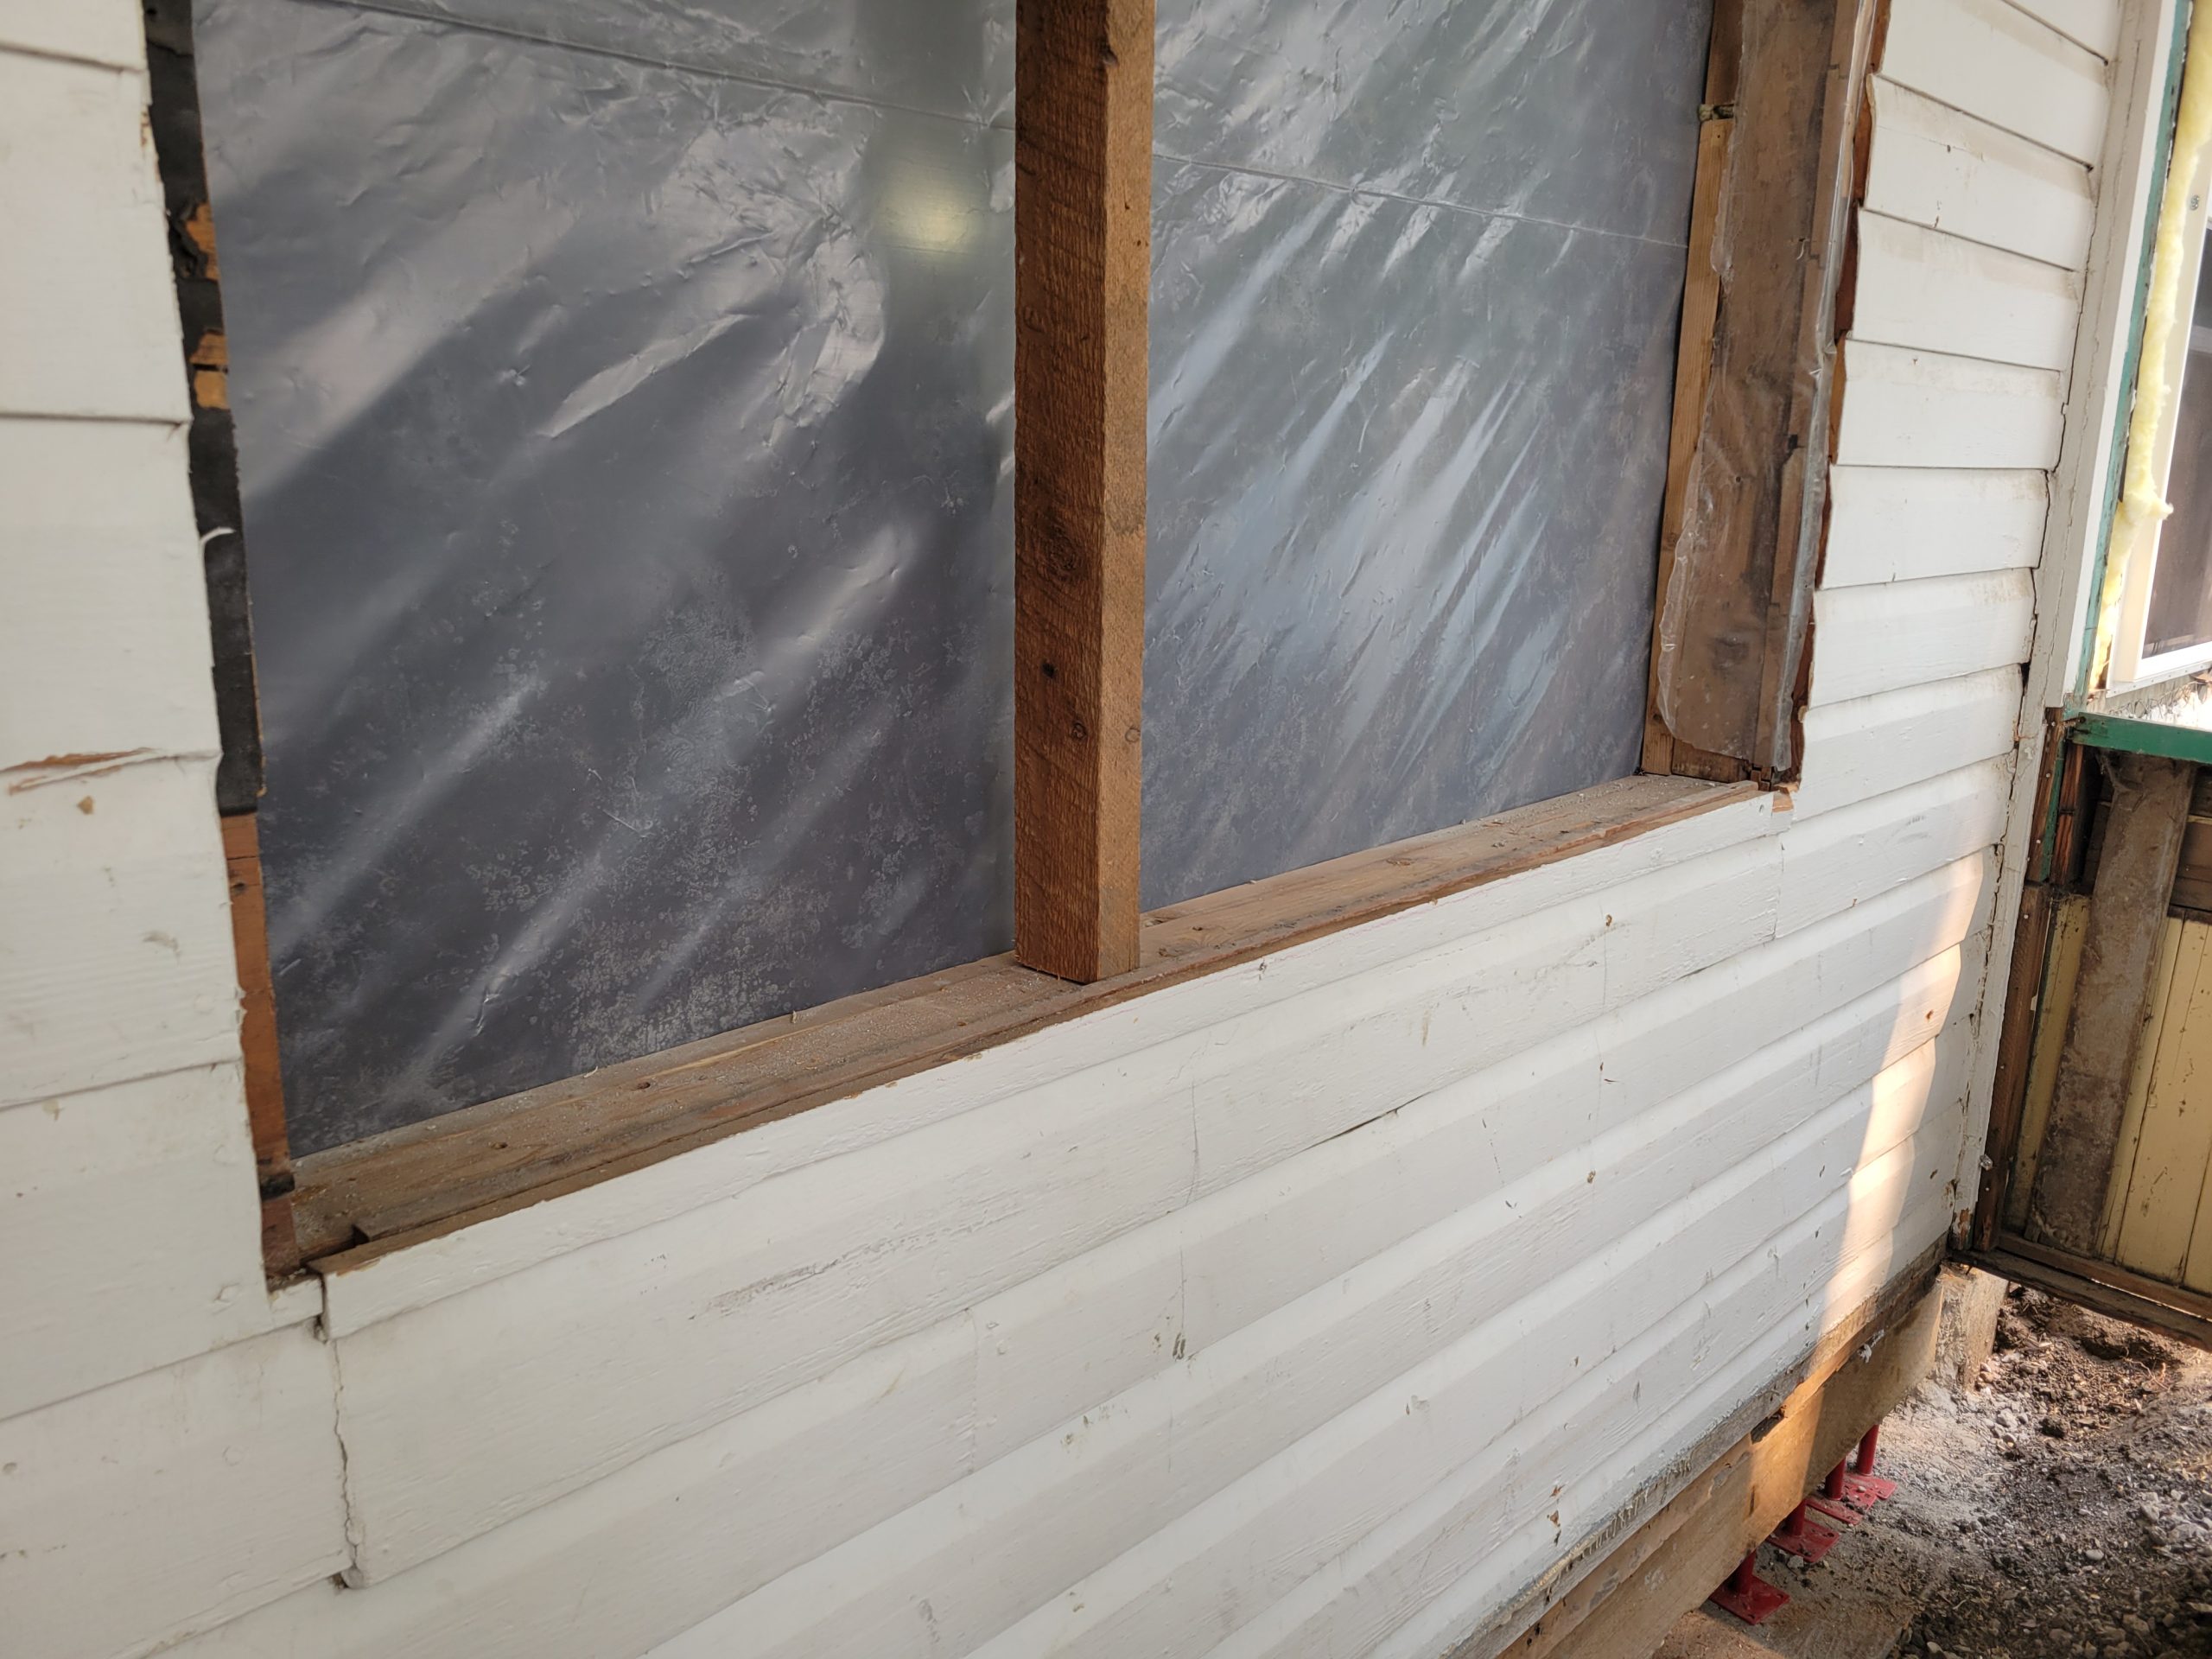
Floyd, Dave, and I discussed how to fix it.
- Shim the crooked parts so that the window looks straight.
- Carve the rough opening wood down so that the window frame is straight.
- Reframe.
You know what I would choose. We reframed.
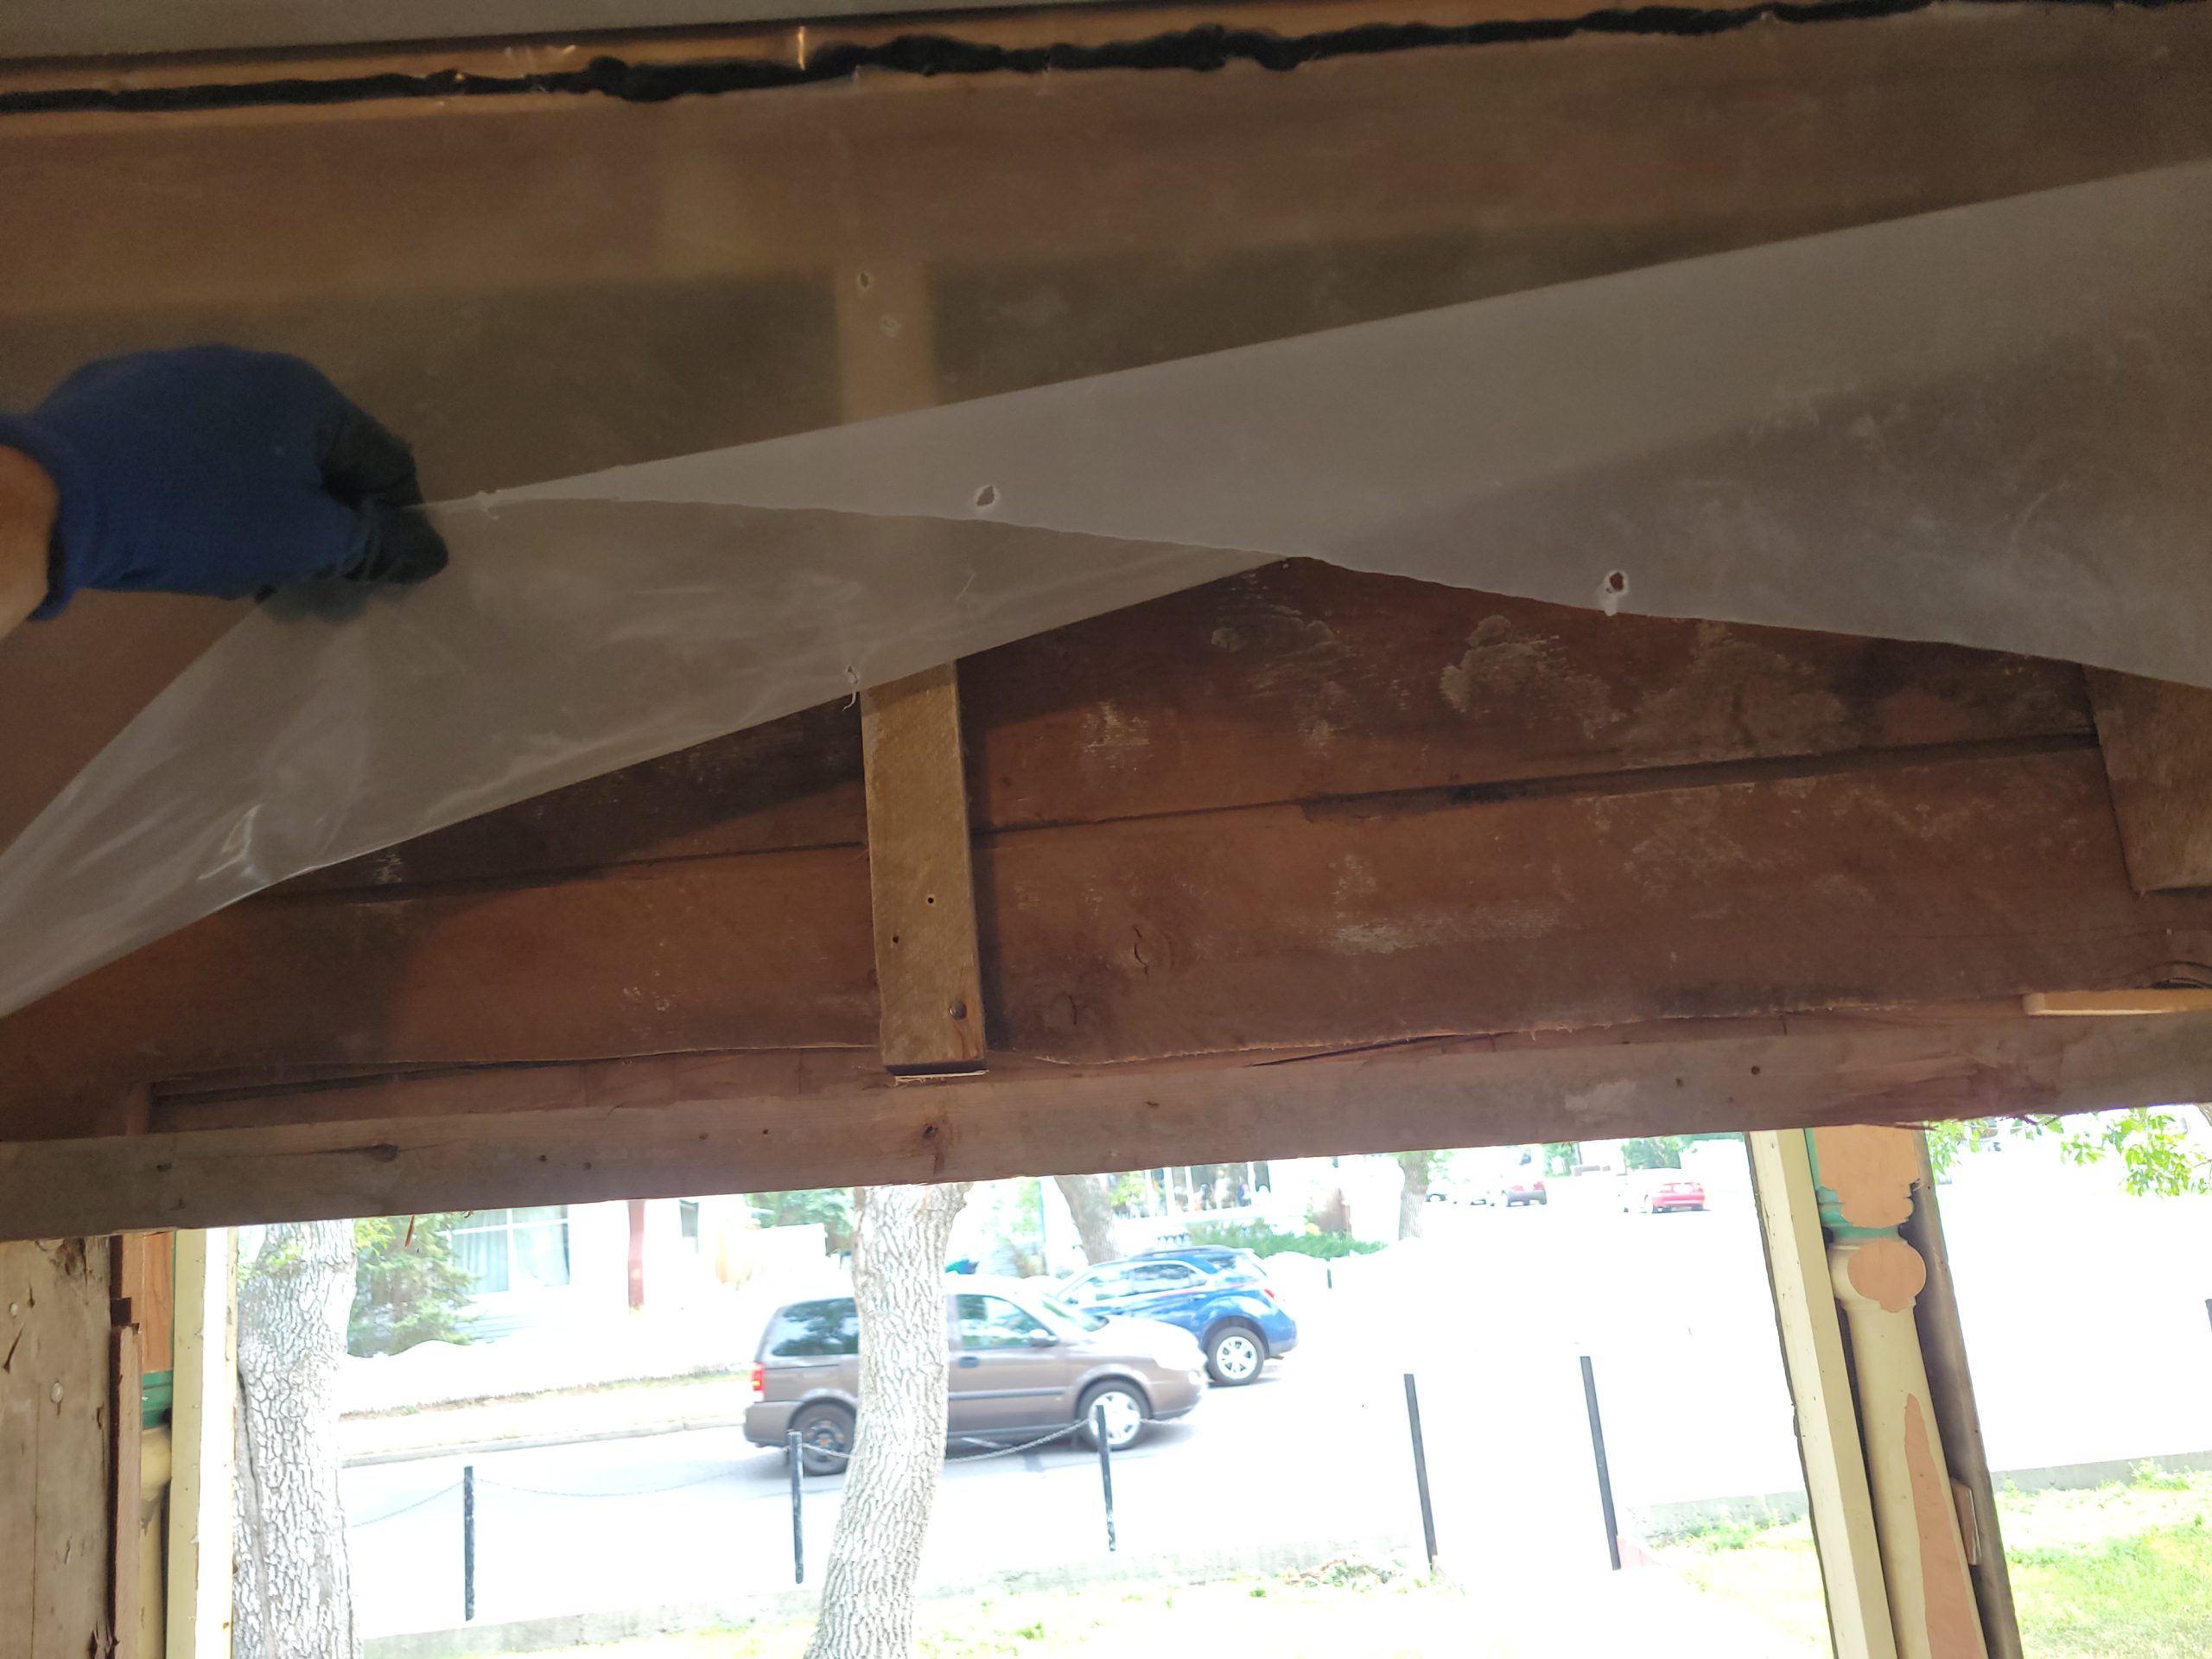
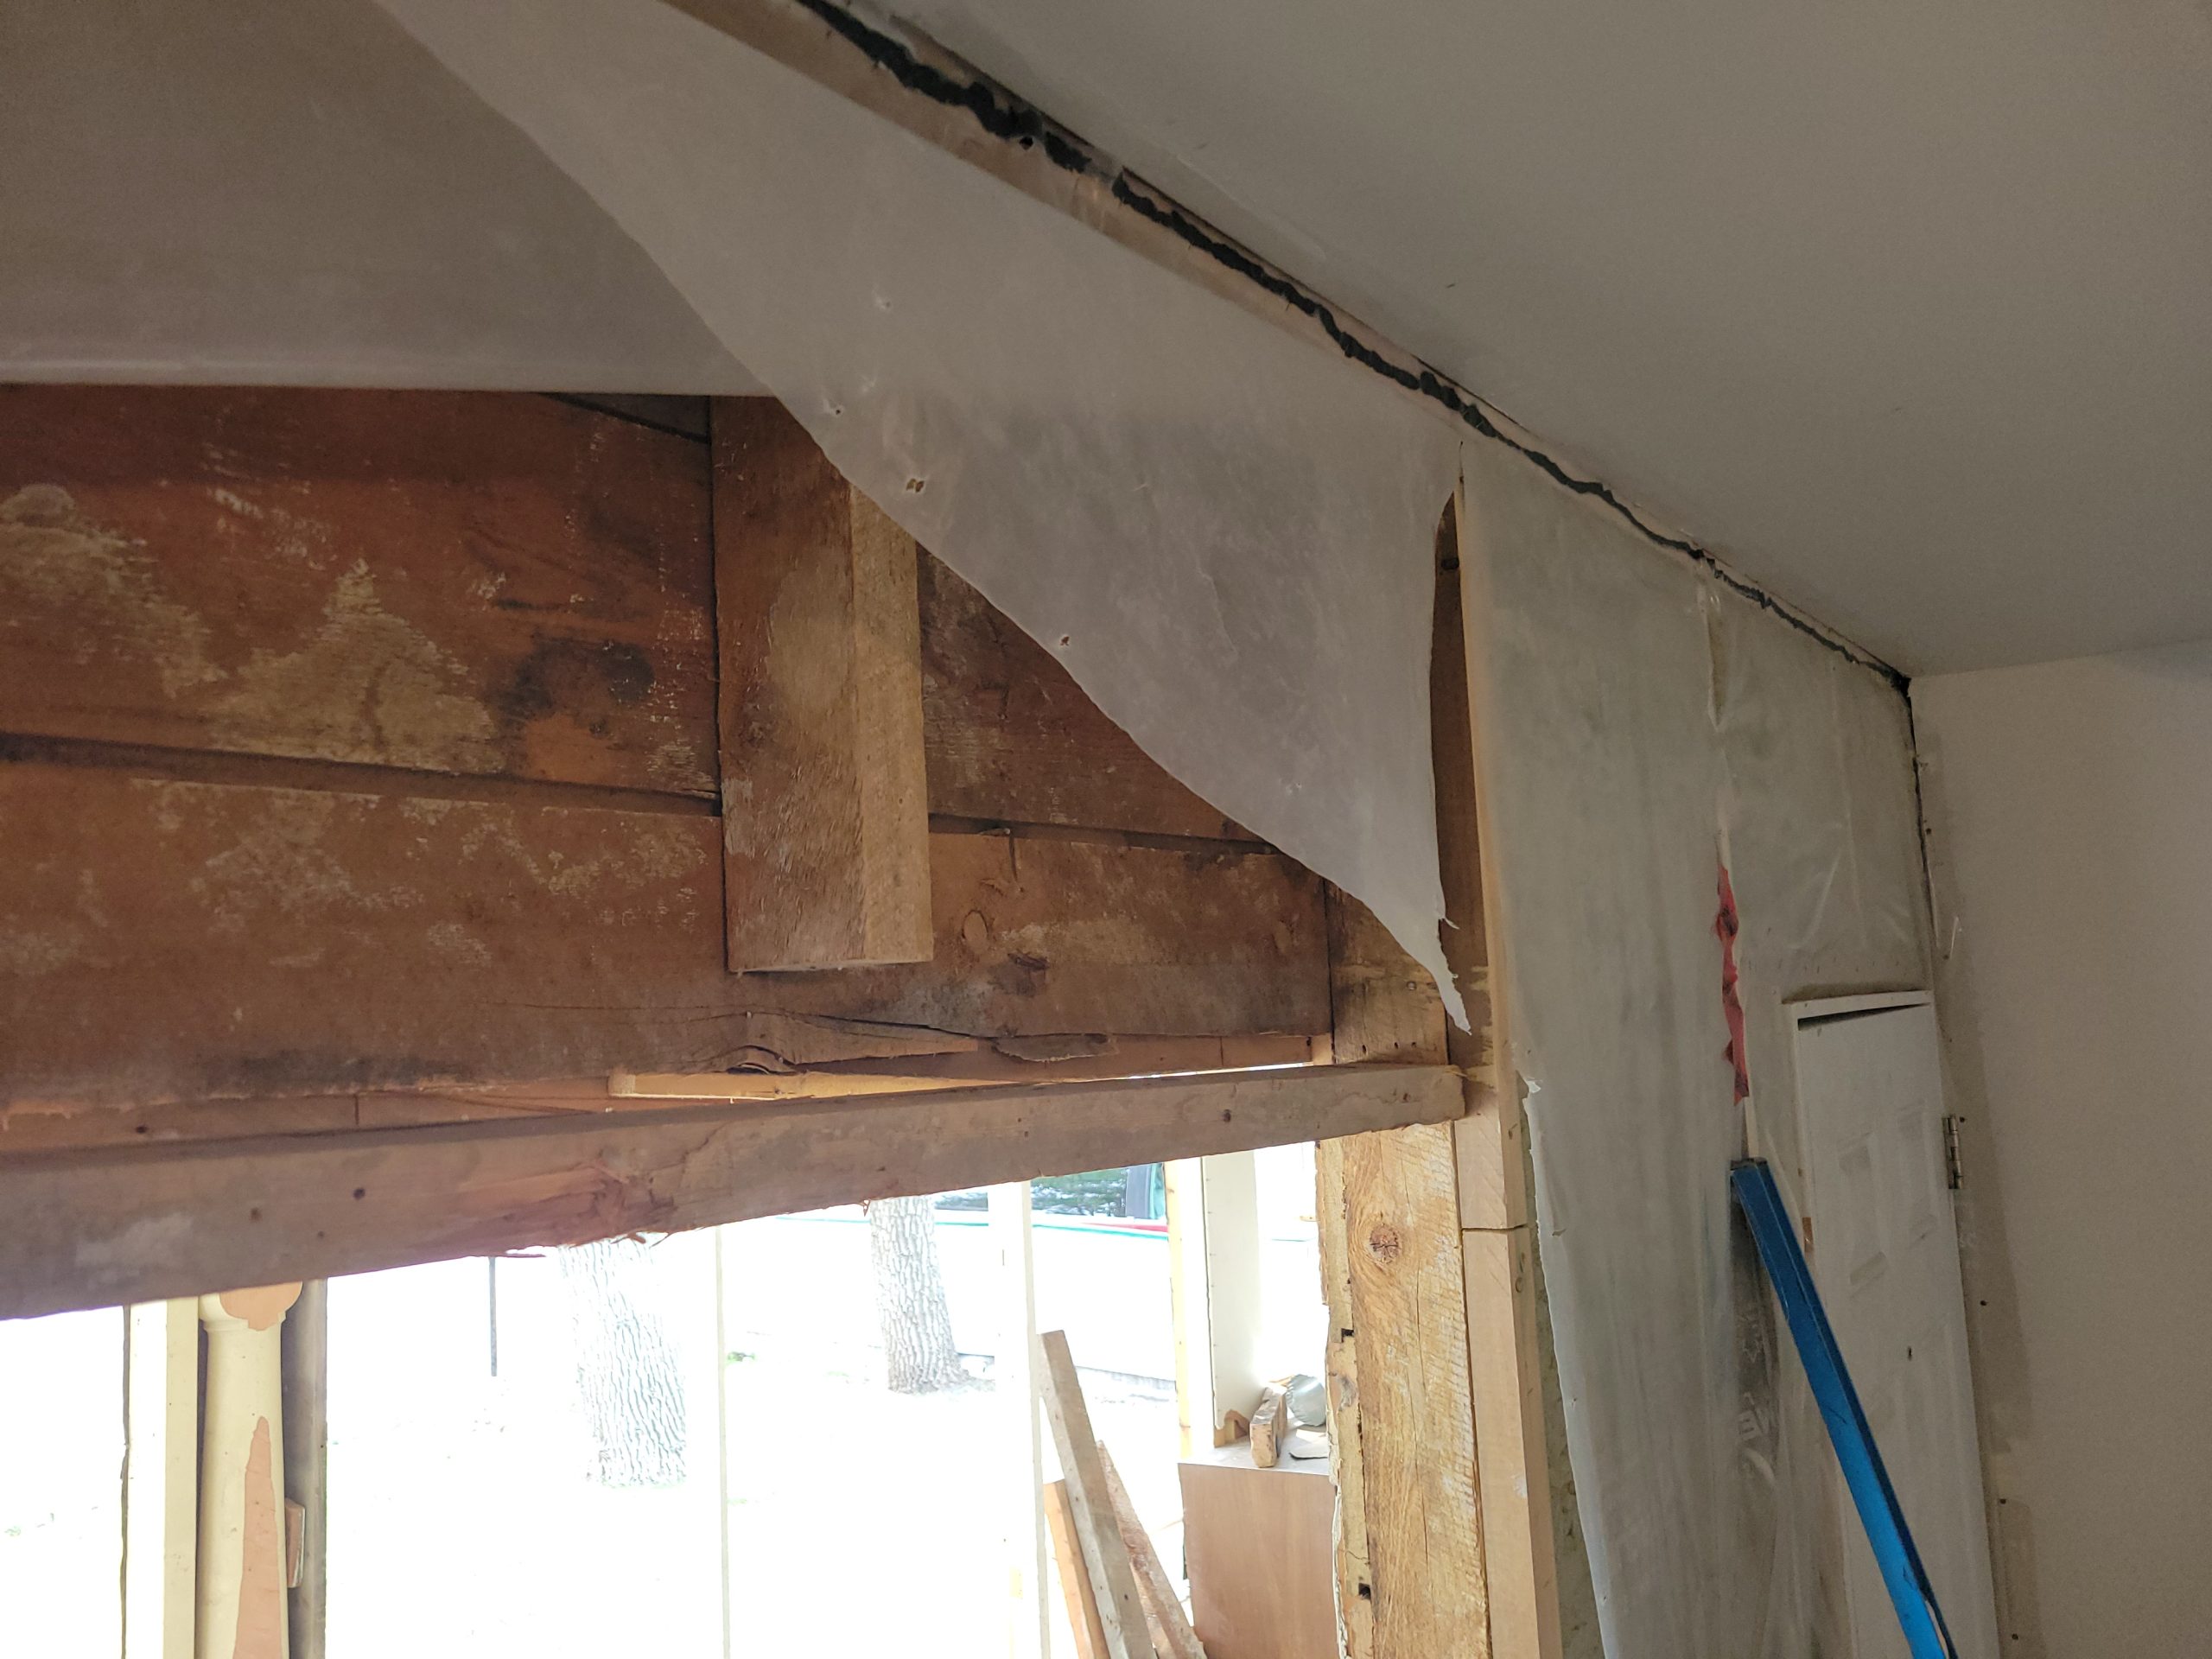
Removing the nails that had been there since the “new” window was put in was the most challenging. One could easily see where the original 30″ x 60″ window was. I added new cripples between the original and the next sills as the old ones were badly crippled (get it?) from age and likely from the jacking. The sill had to be shifted up by one inch on the west side. It was then level and gave us 52 inches from bottom to top. The window frame is 51½” high.
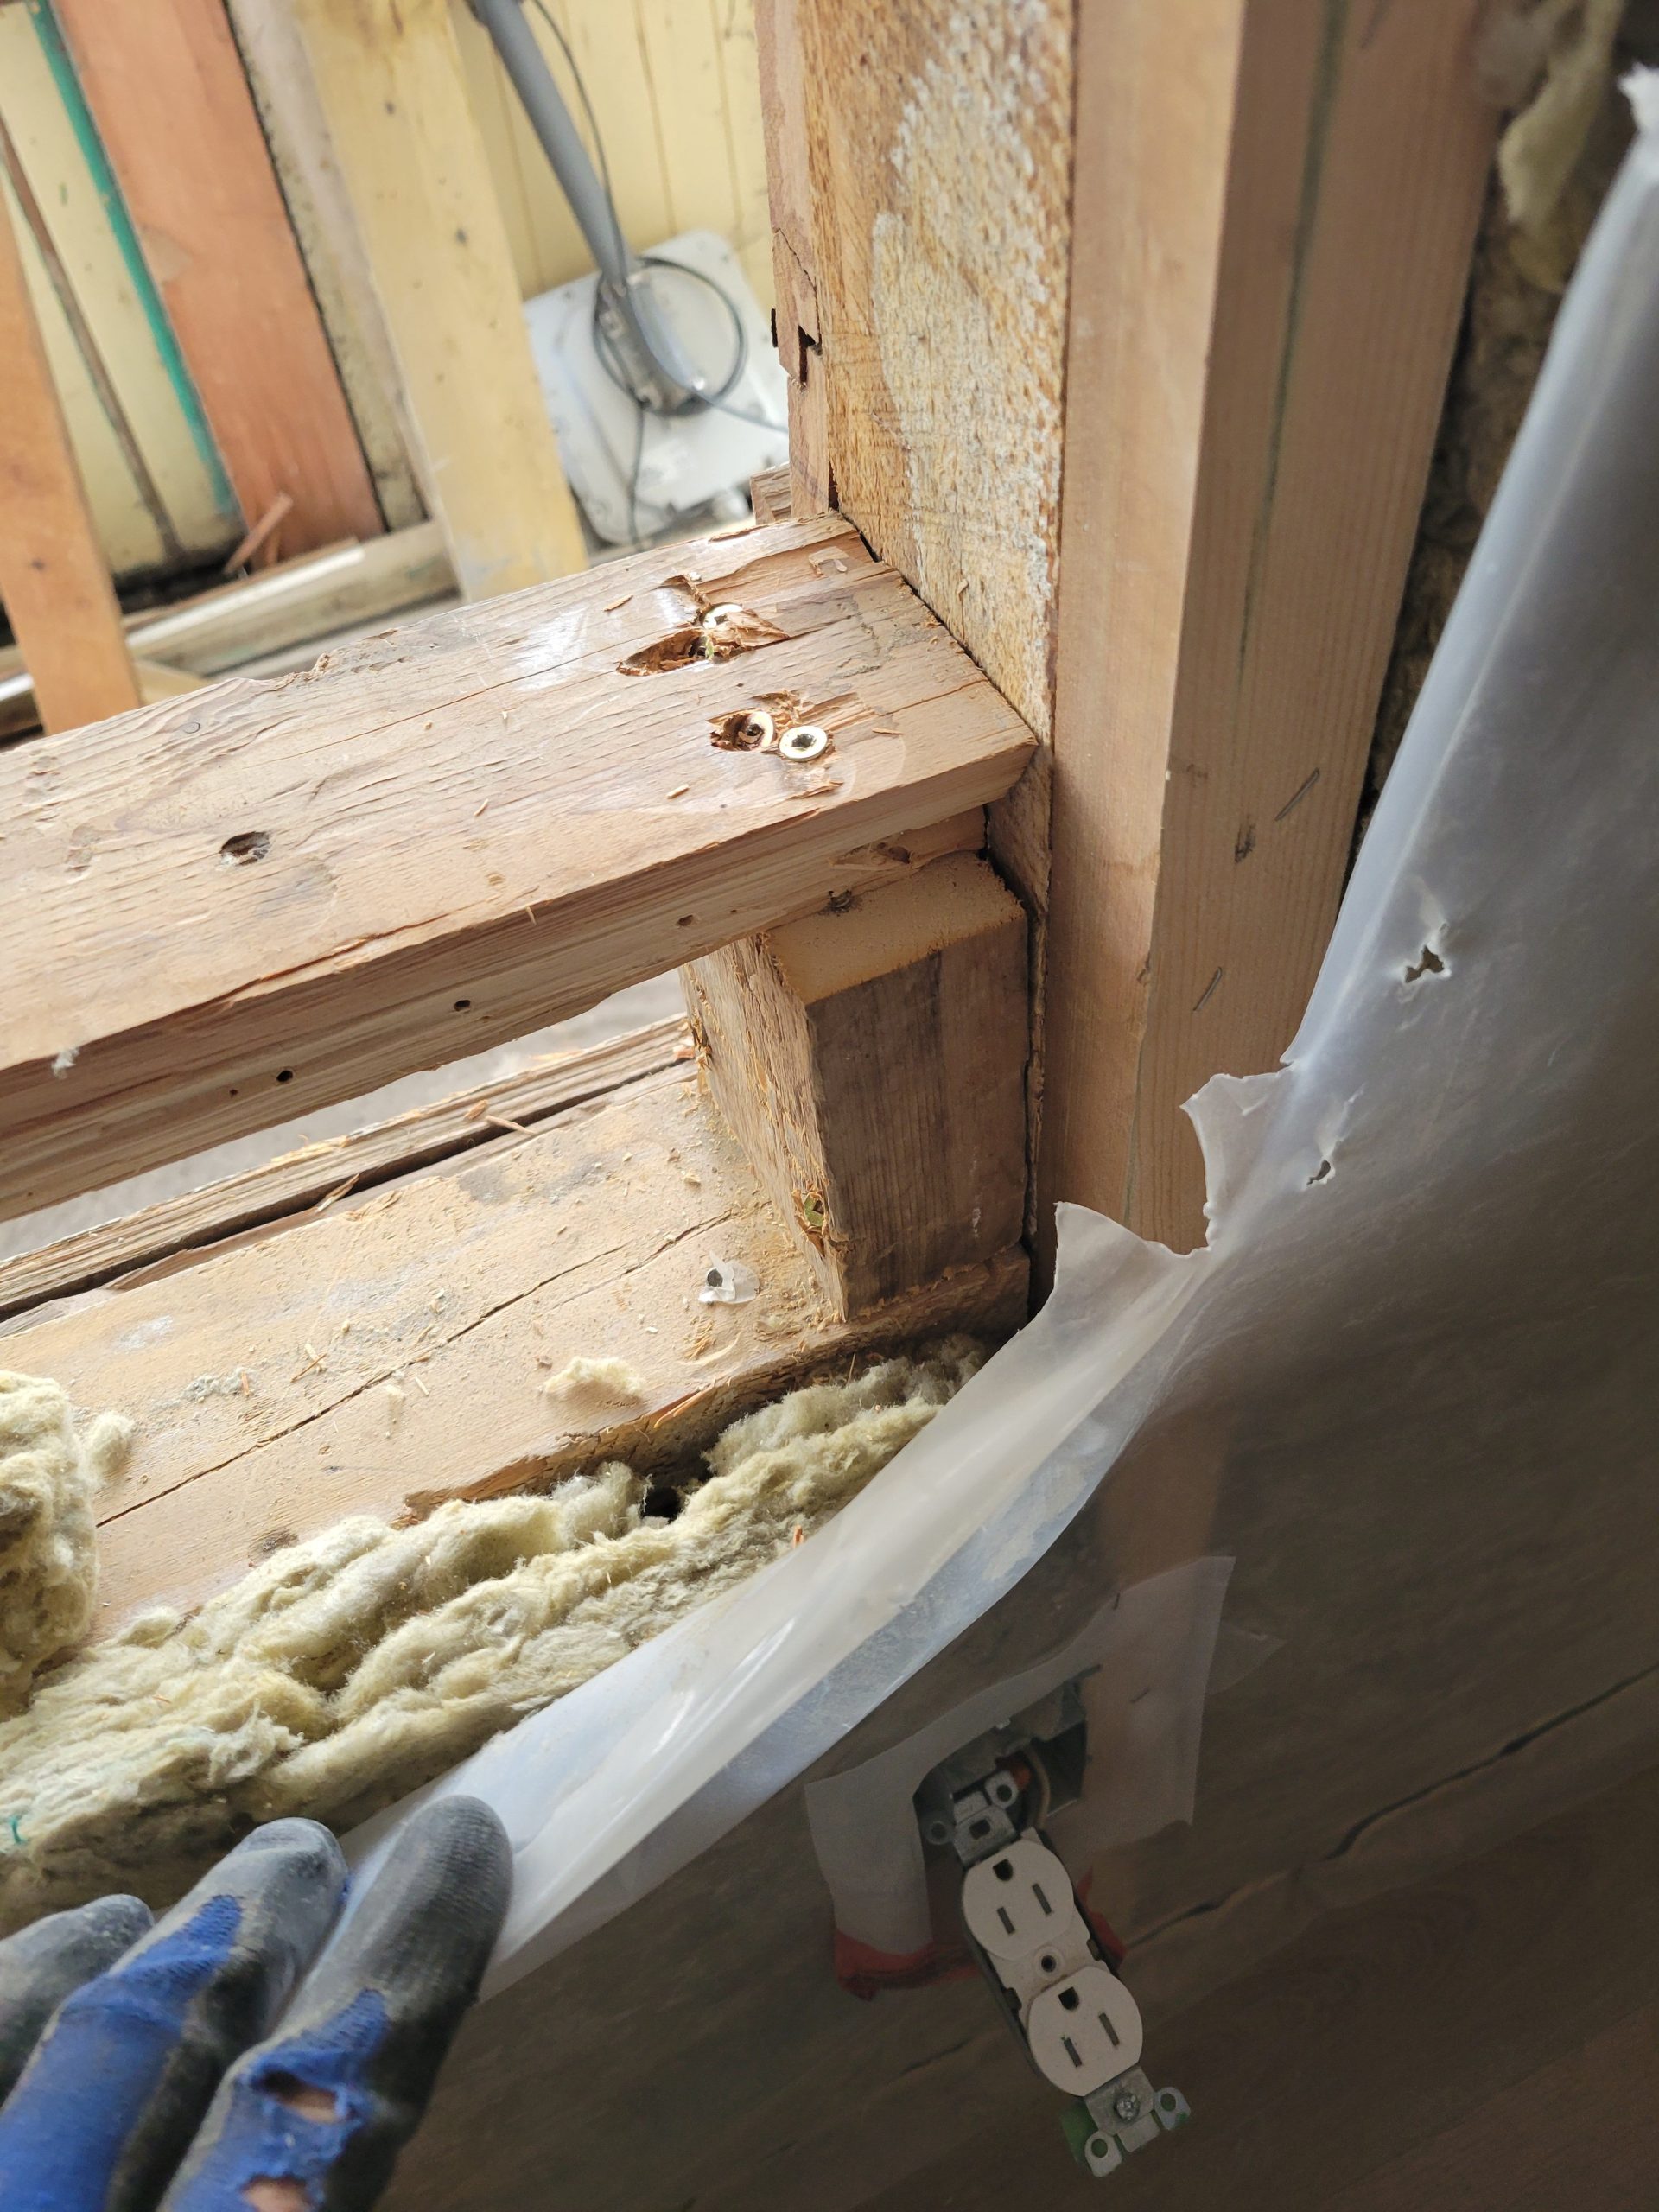
After a bowl of chili each,
we continued on with our respective tasks.
Dave added drywall, corner bead, tape, and mud to the beam bulkhead. Unfortunately, some of the corner bead was bent slightly from being moved around and things falling on them. Dave worked through it and managed to make it all look great.
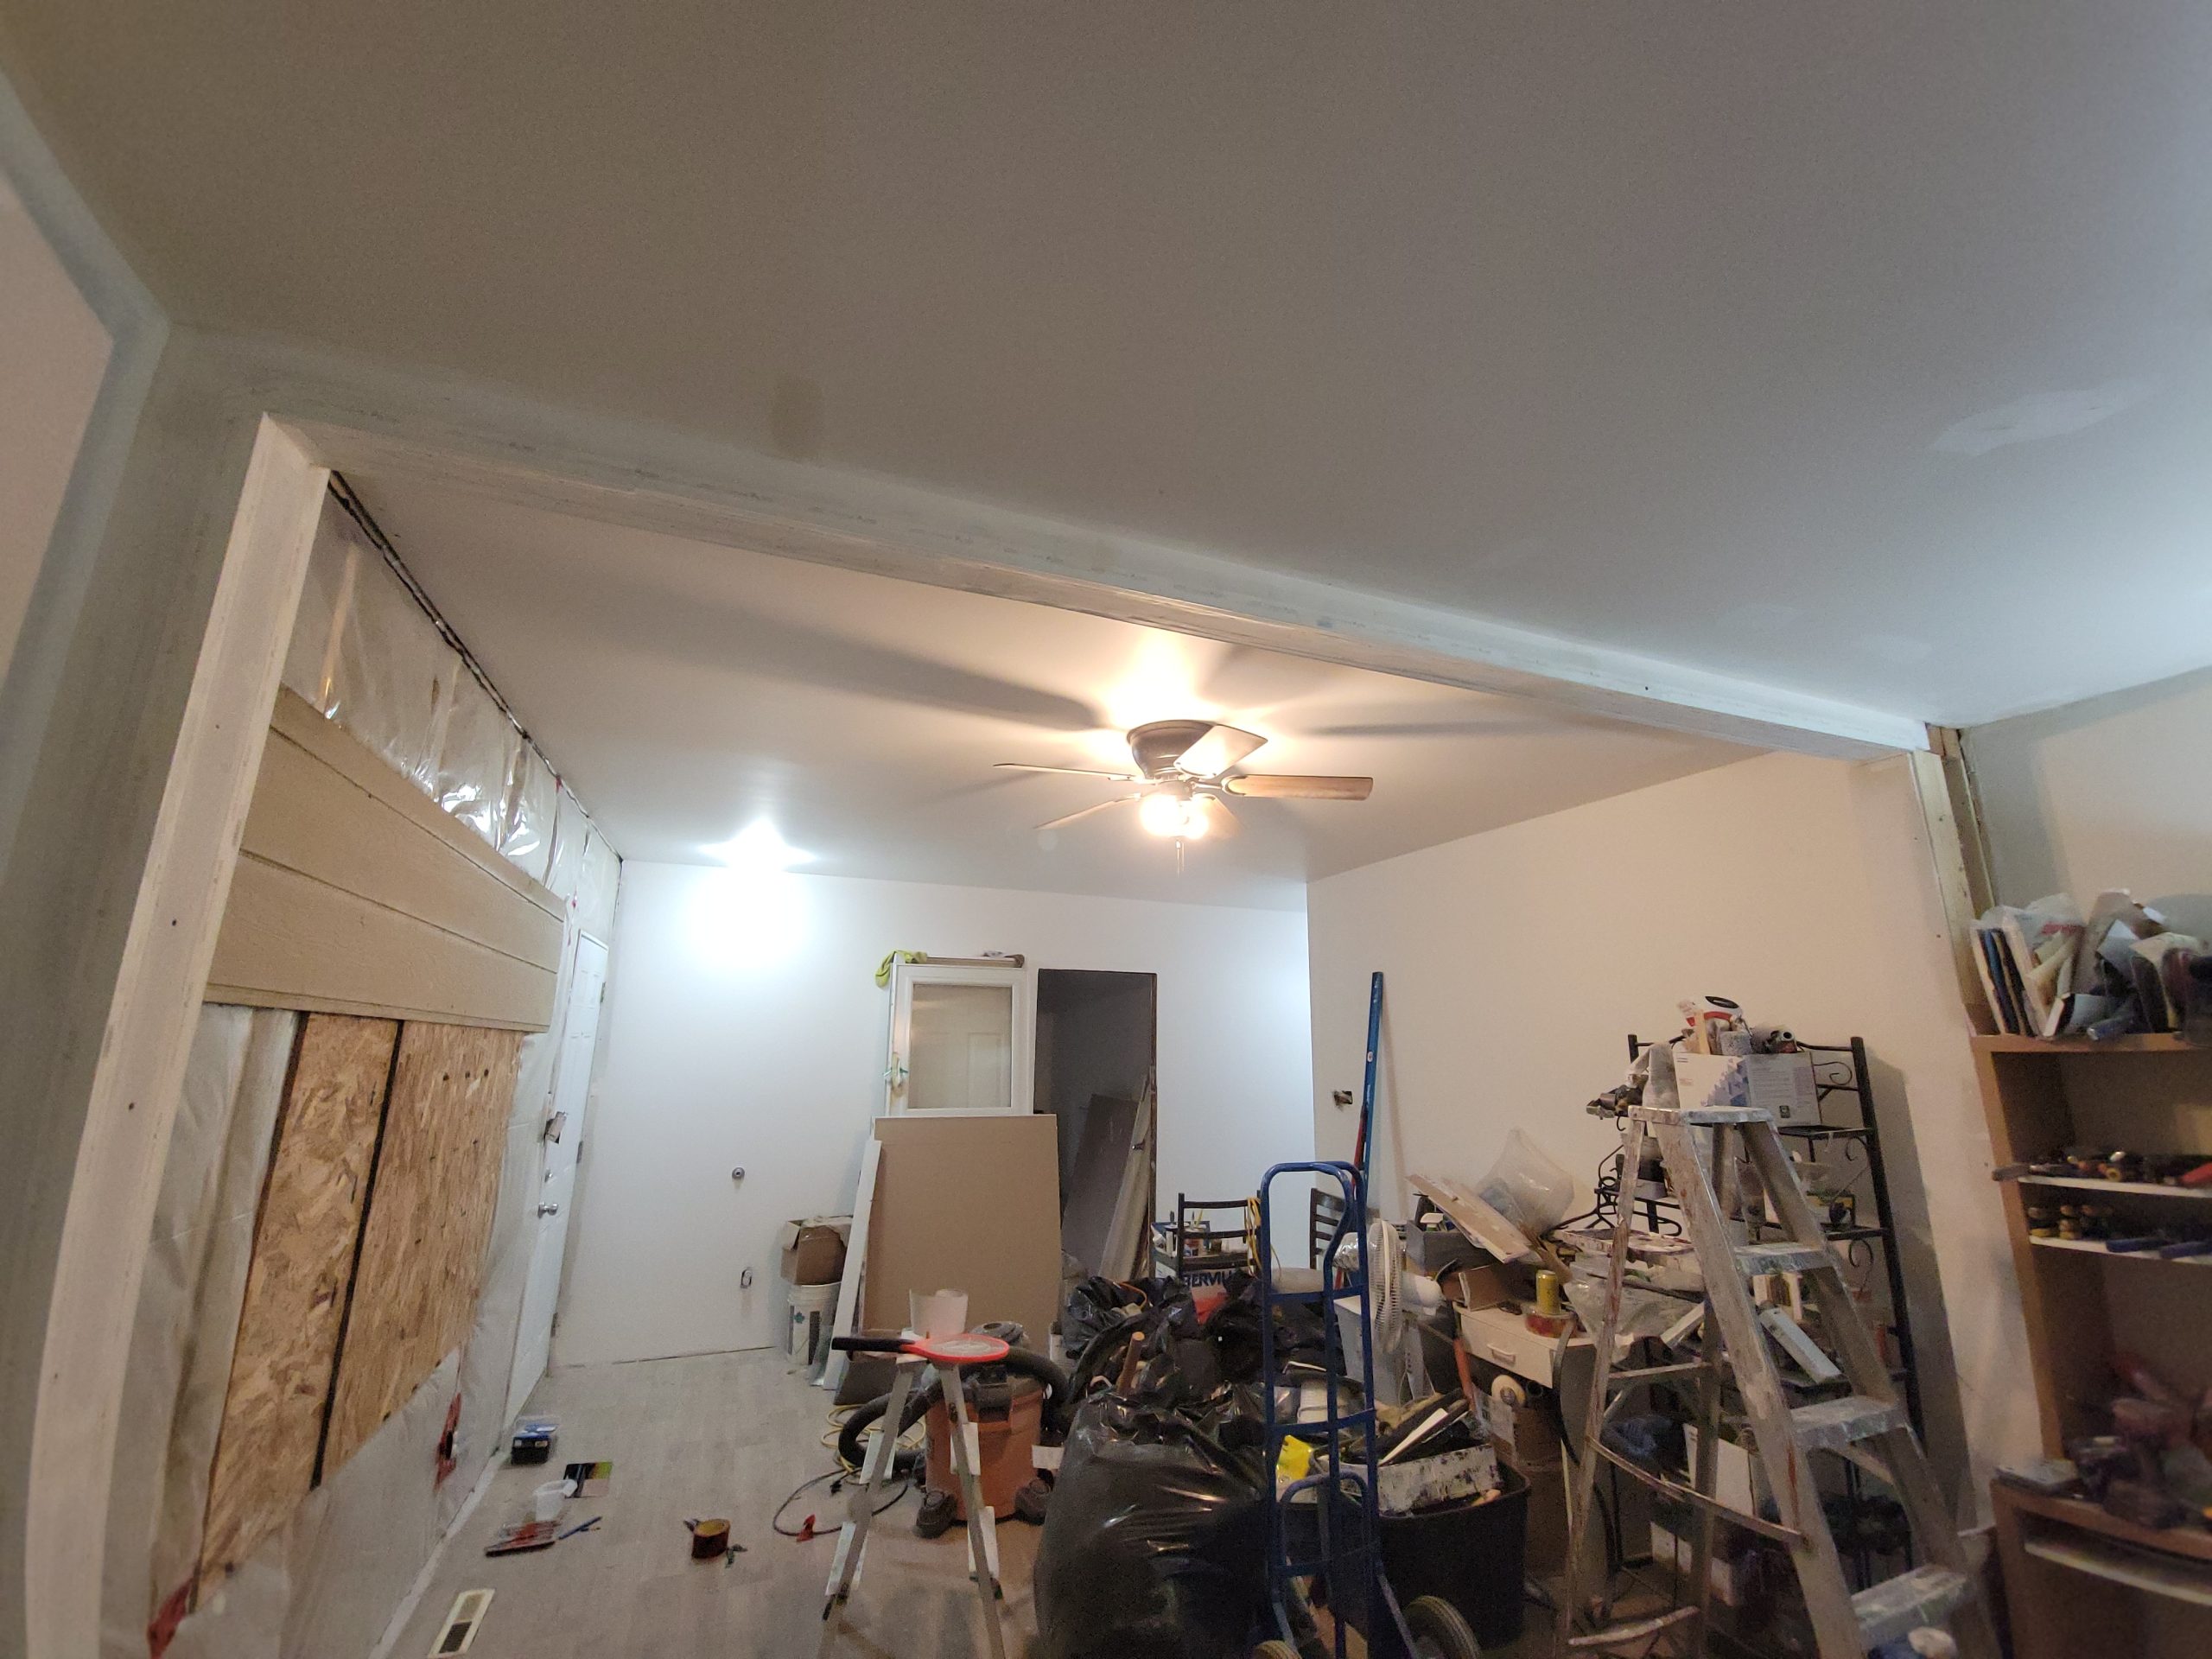
Meanwhile, Floyd and I worked on the window framing. The rough framing had two horizontal headers. One of them was not doing anything as it was part of the original window framing – and was in two pieces. The second one spanned the entire window. It was moved up an inch on the west side.
Somehow, in the day’s events, I lost my tape measure. I have three of them in circulation just in case this tragedy happens. However, I found it when our tasks were complete.
The Flex Paste caulk in the window frame itself was cured.
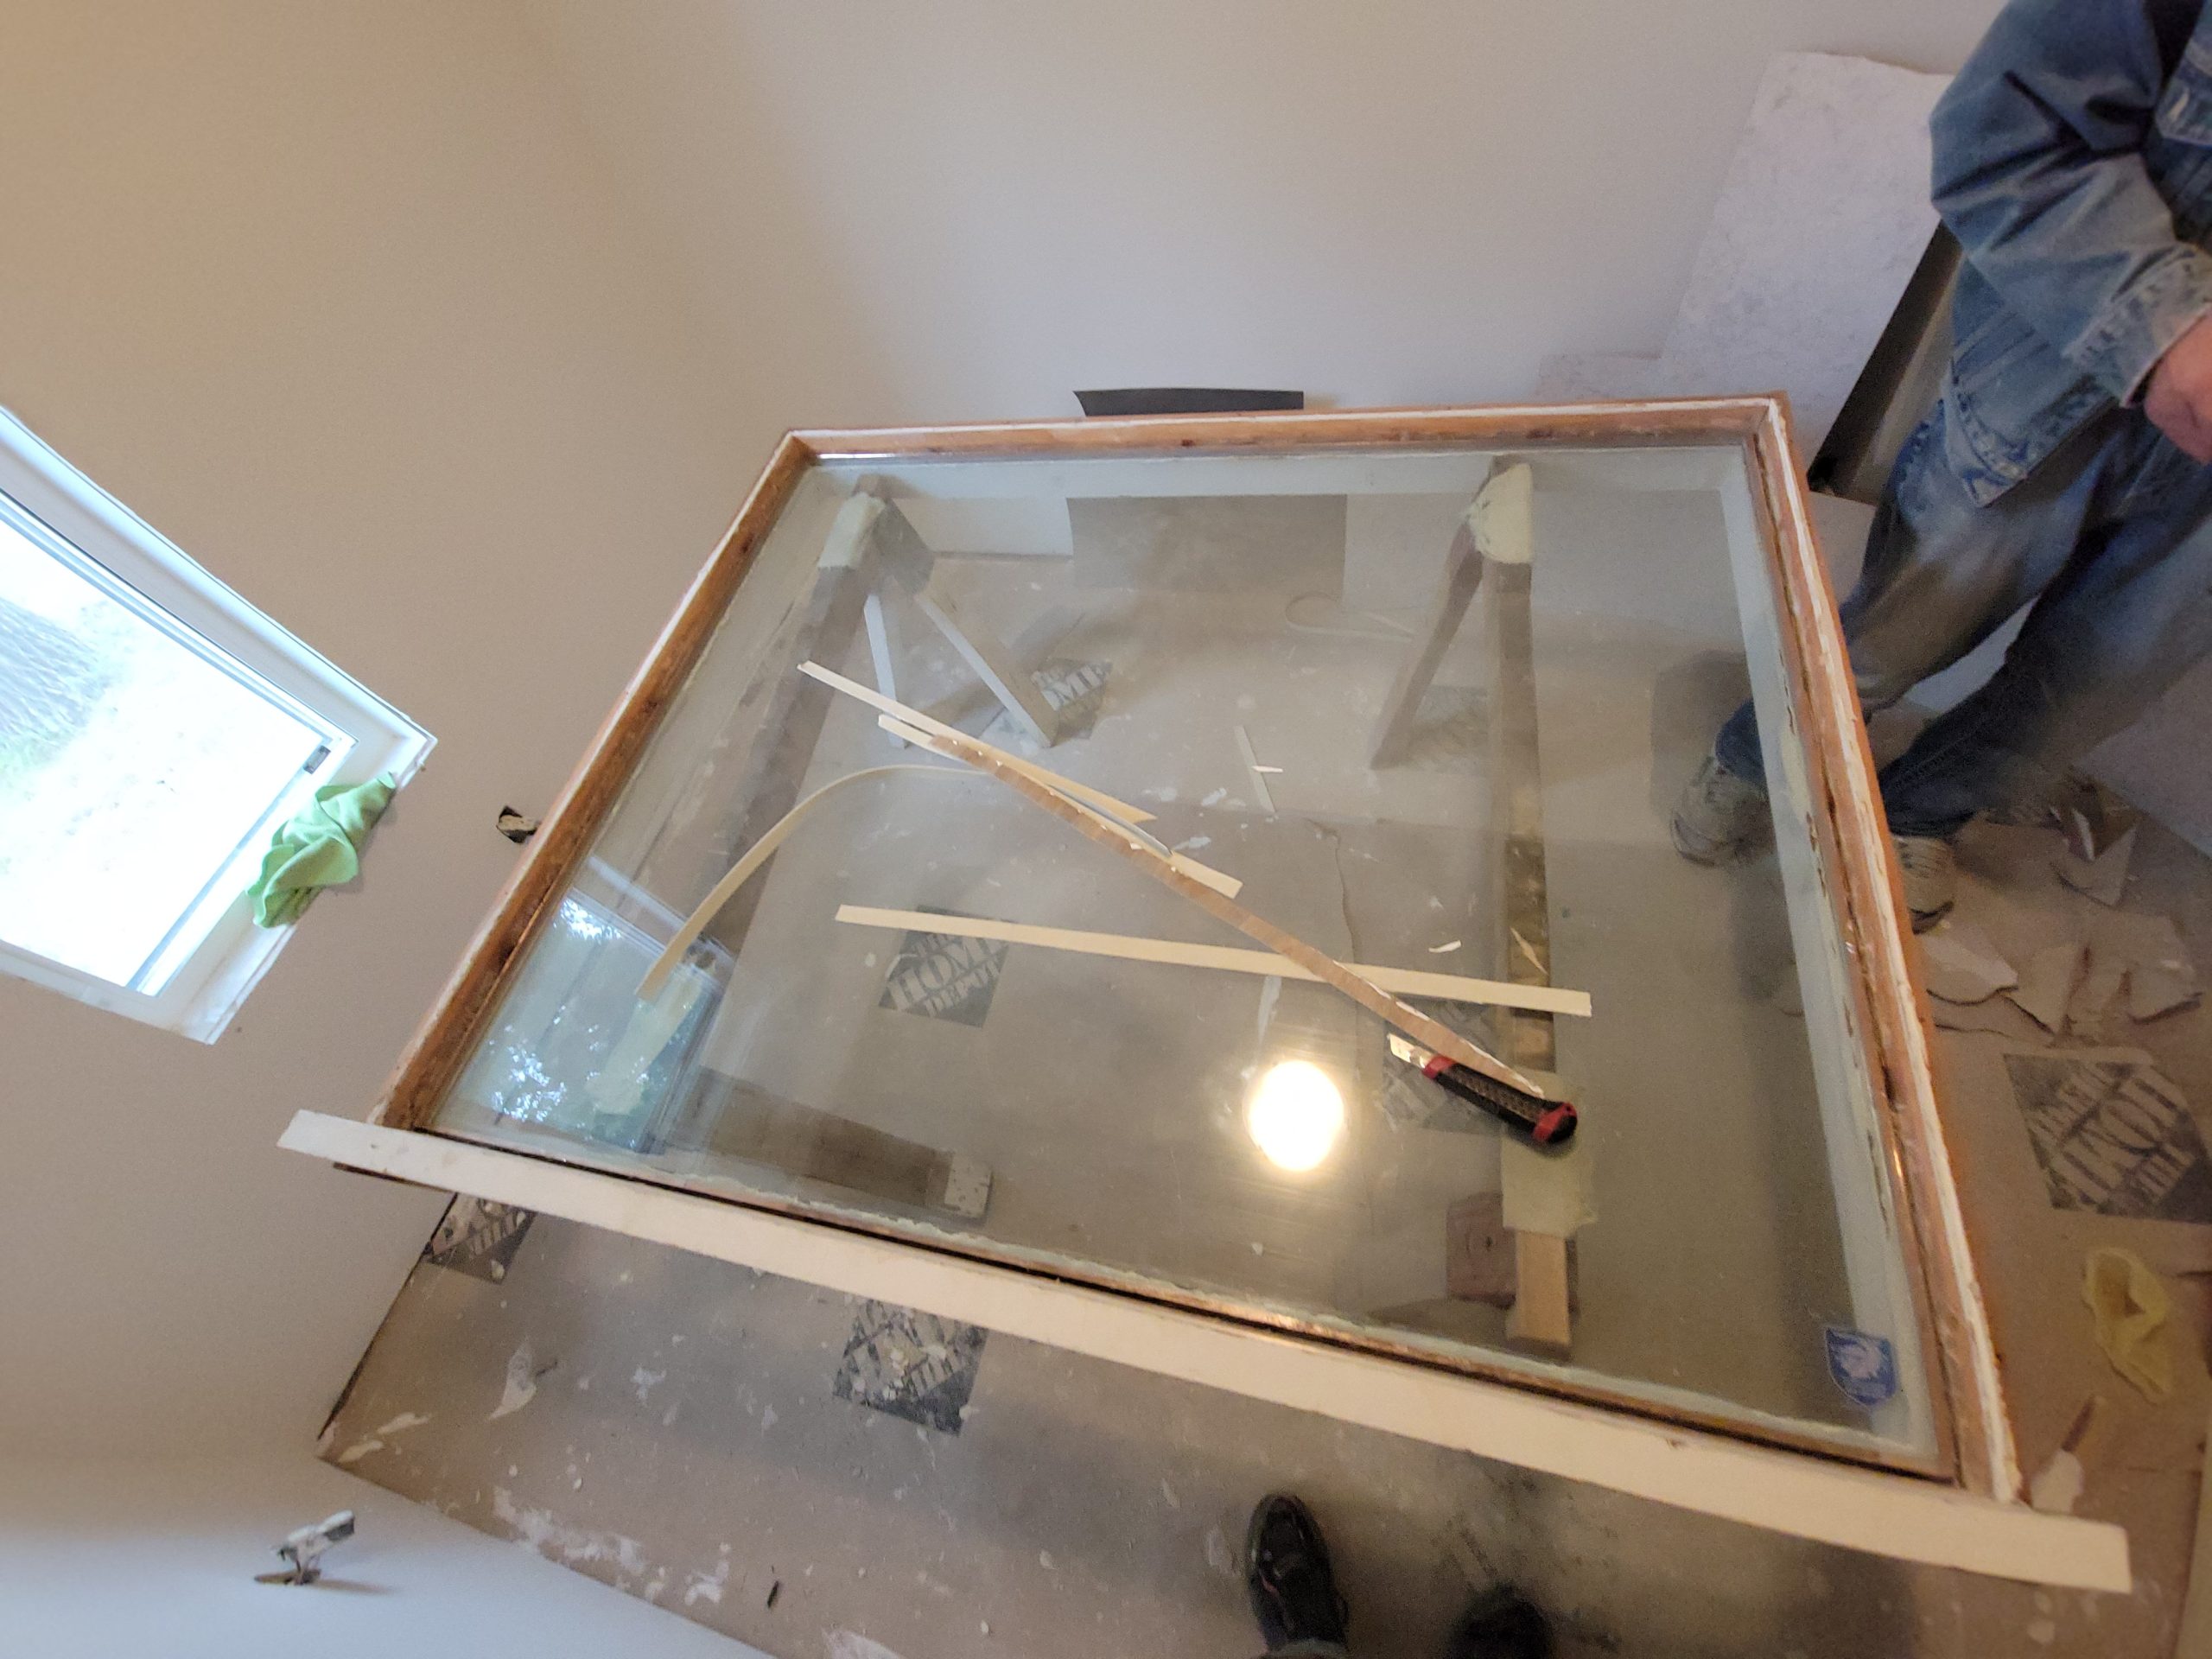
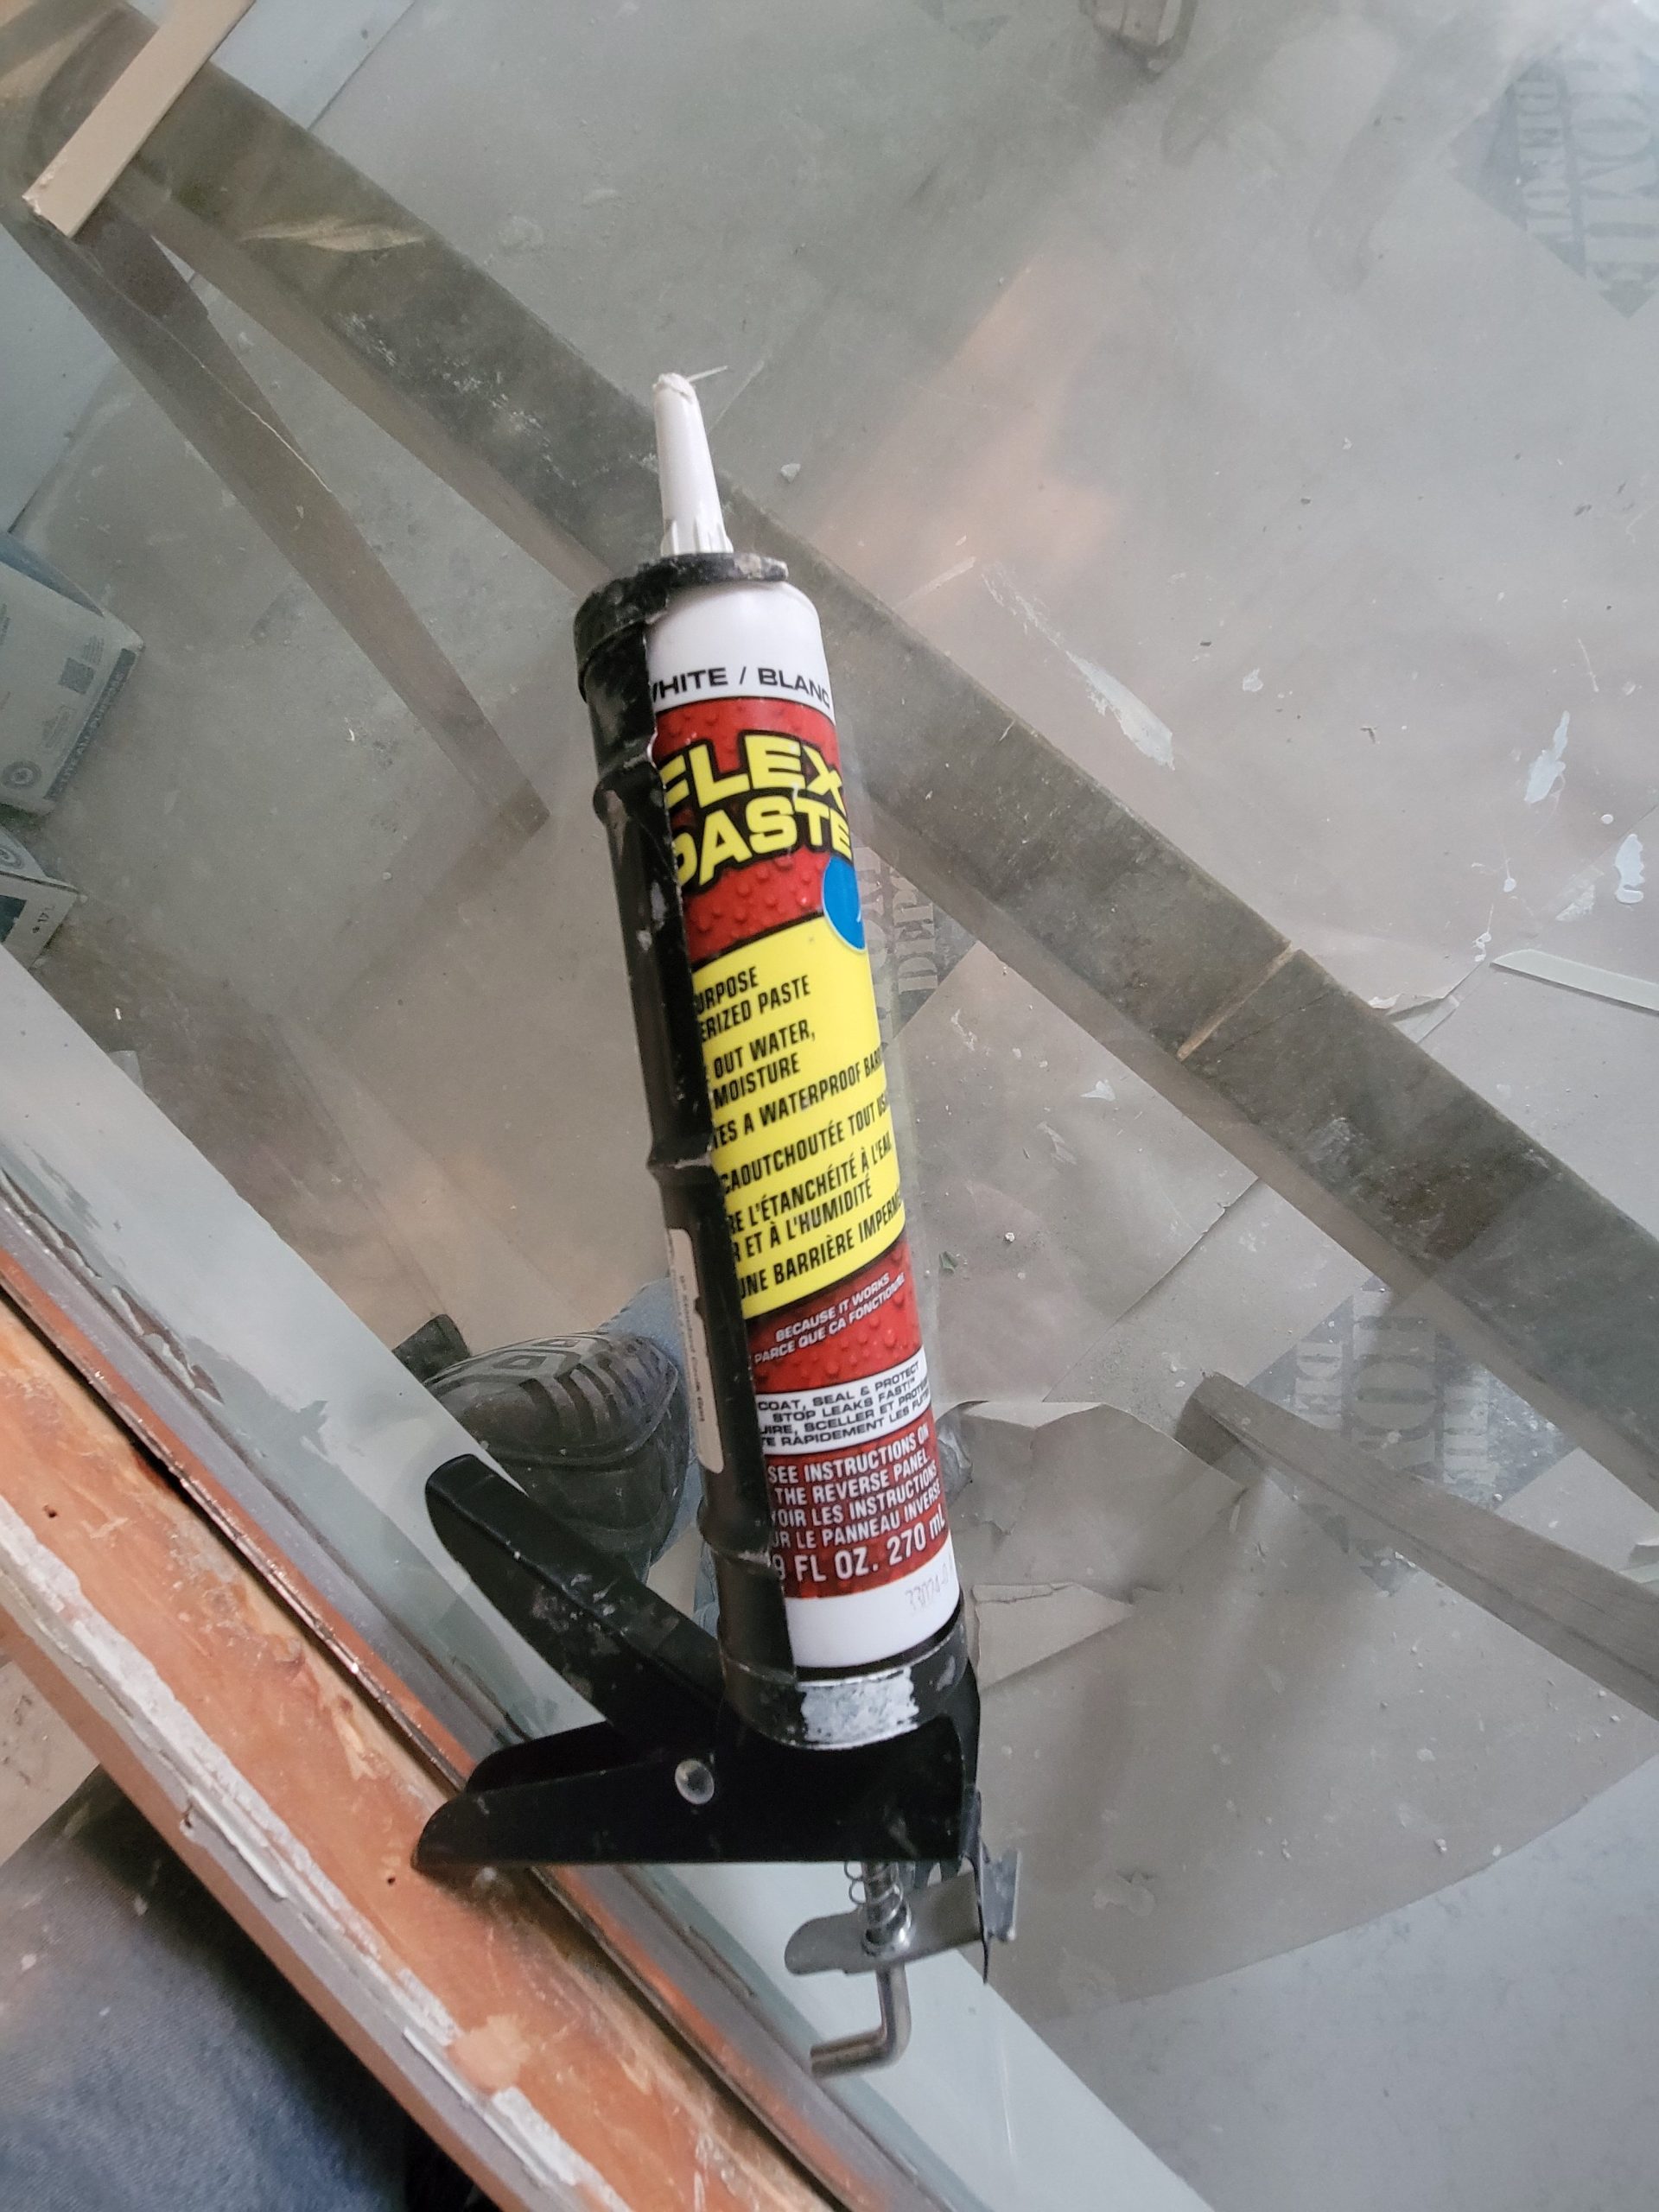
We flipped it over and began caulking the outside gap. Note to self: get another tube.
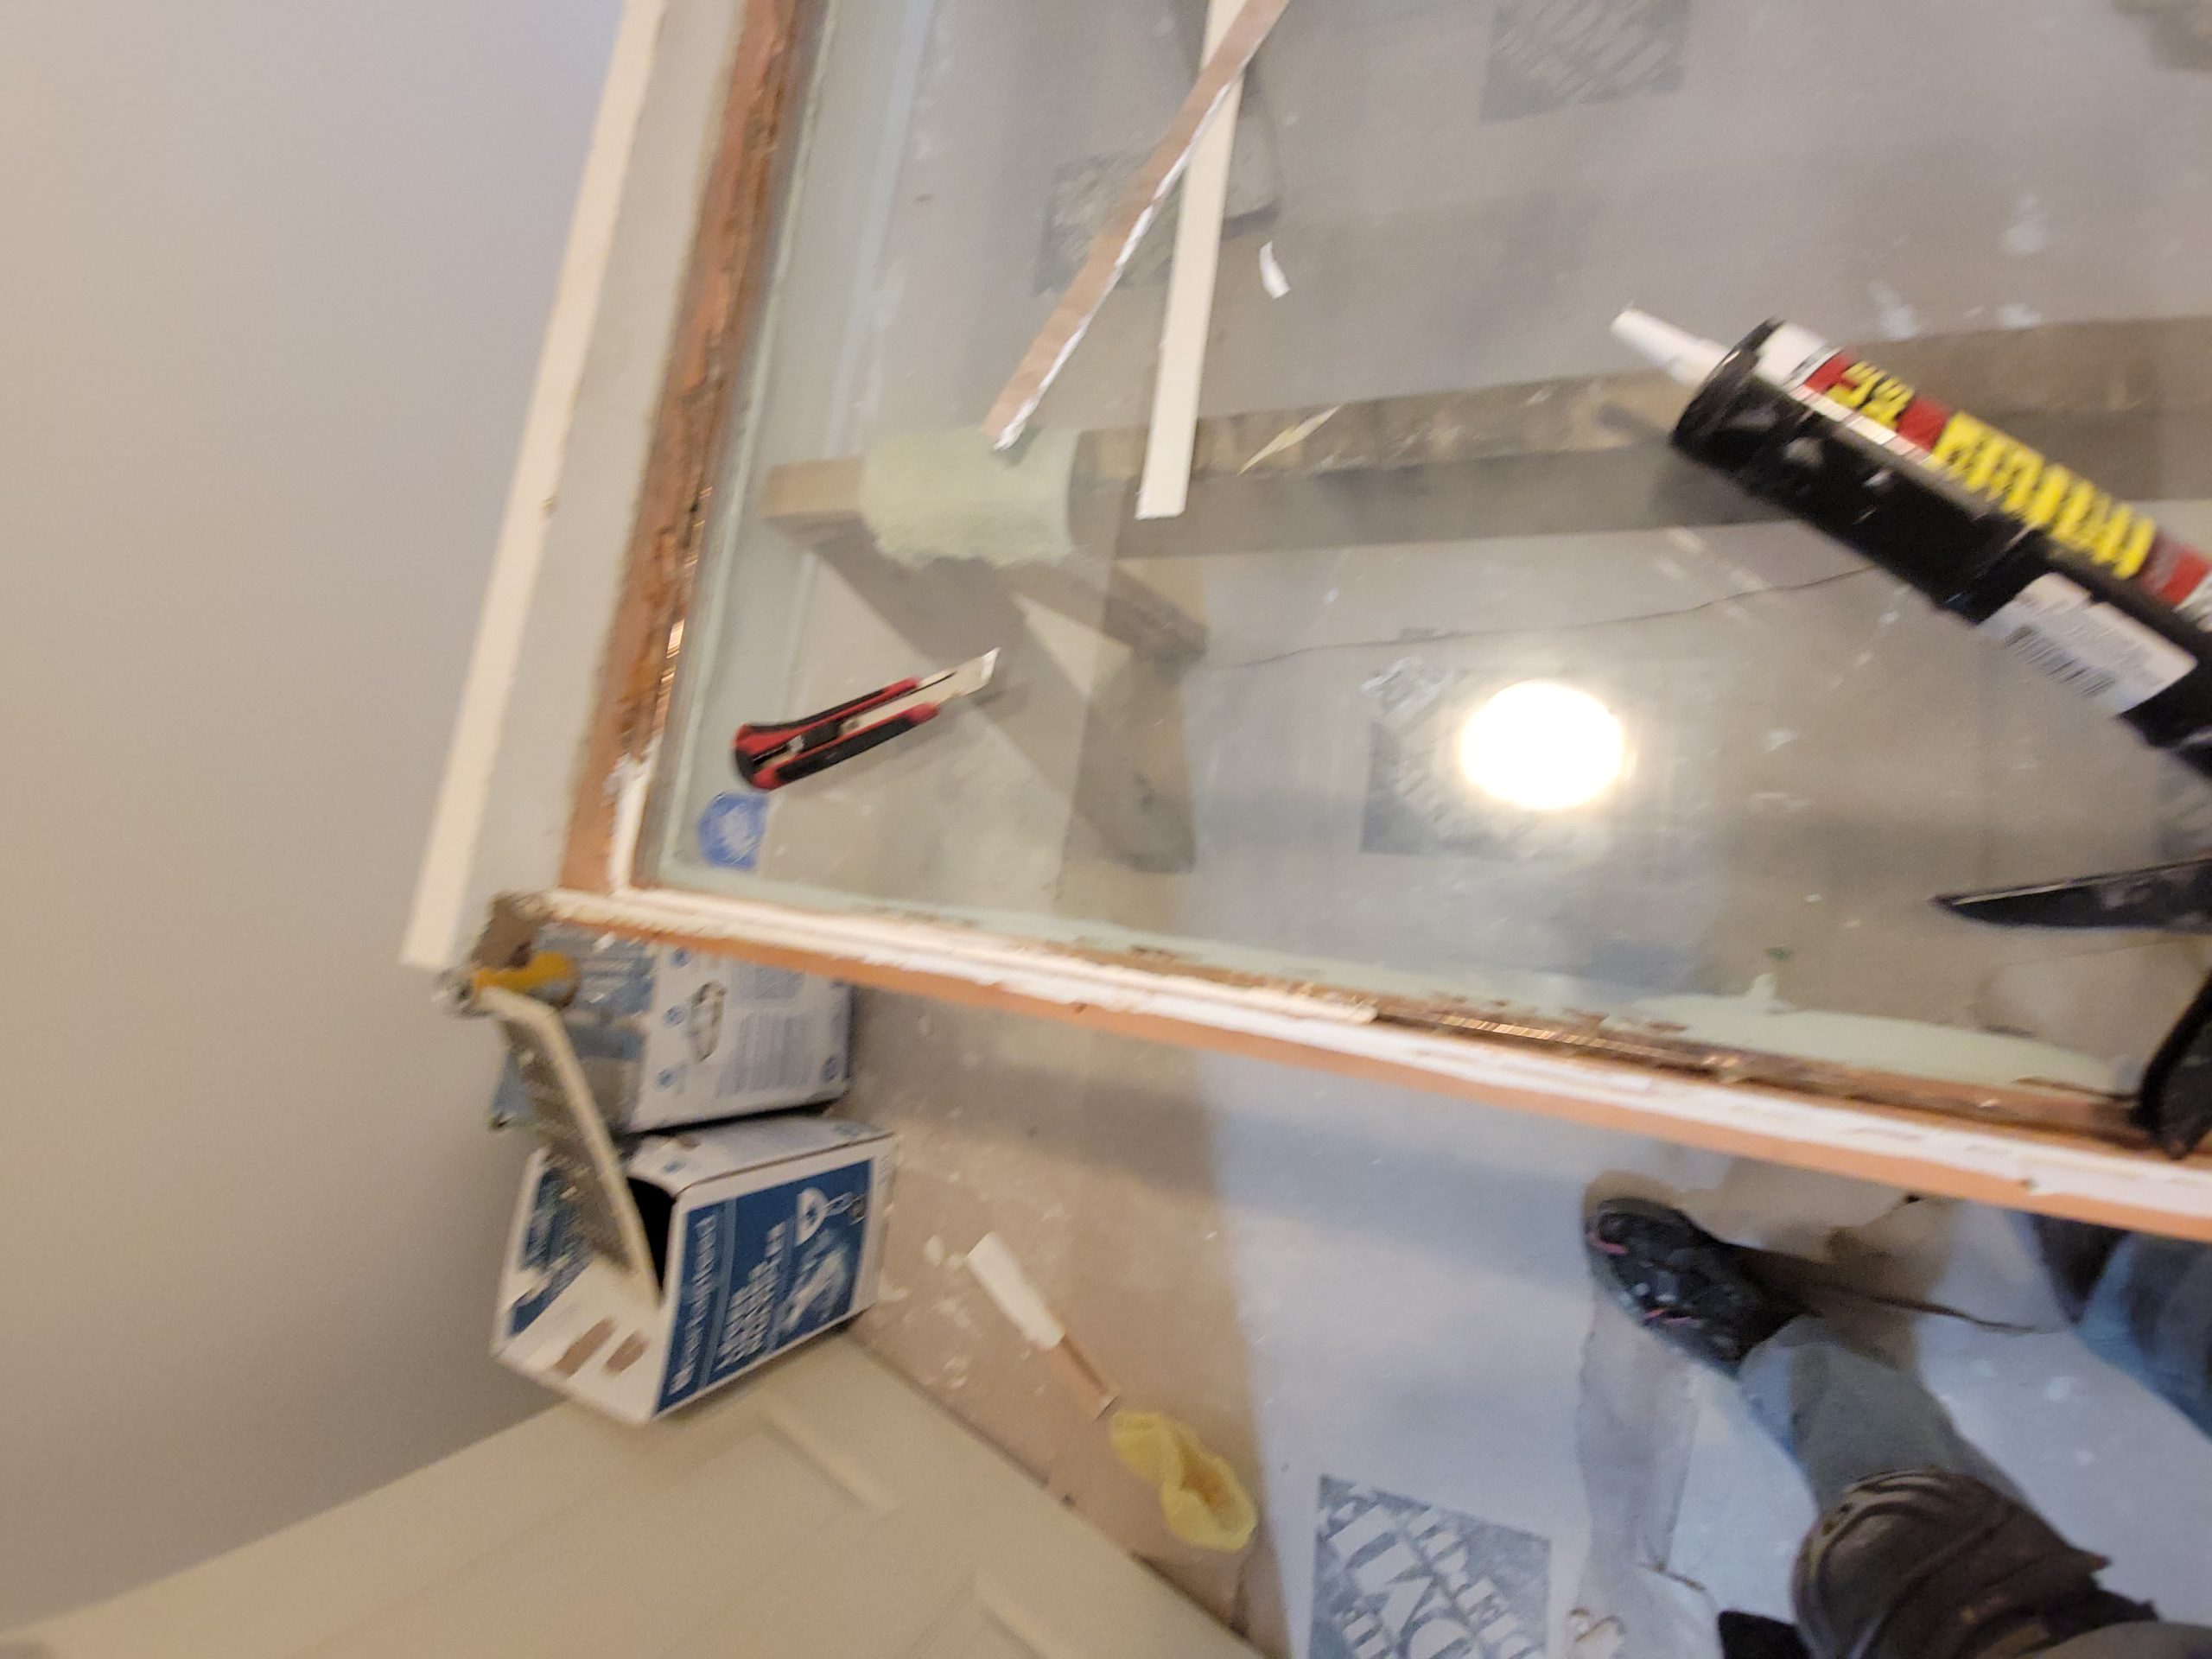
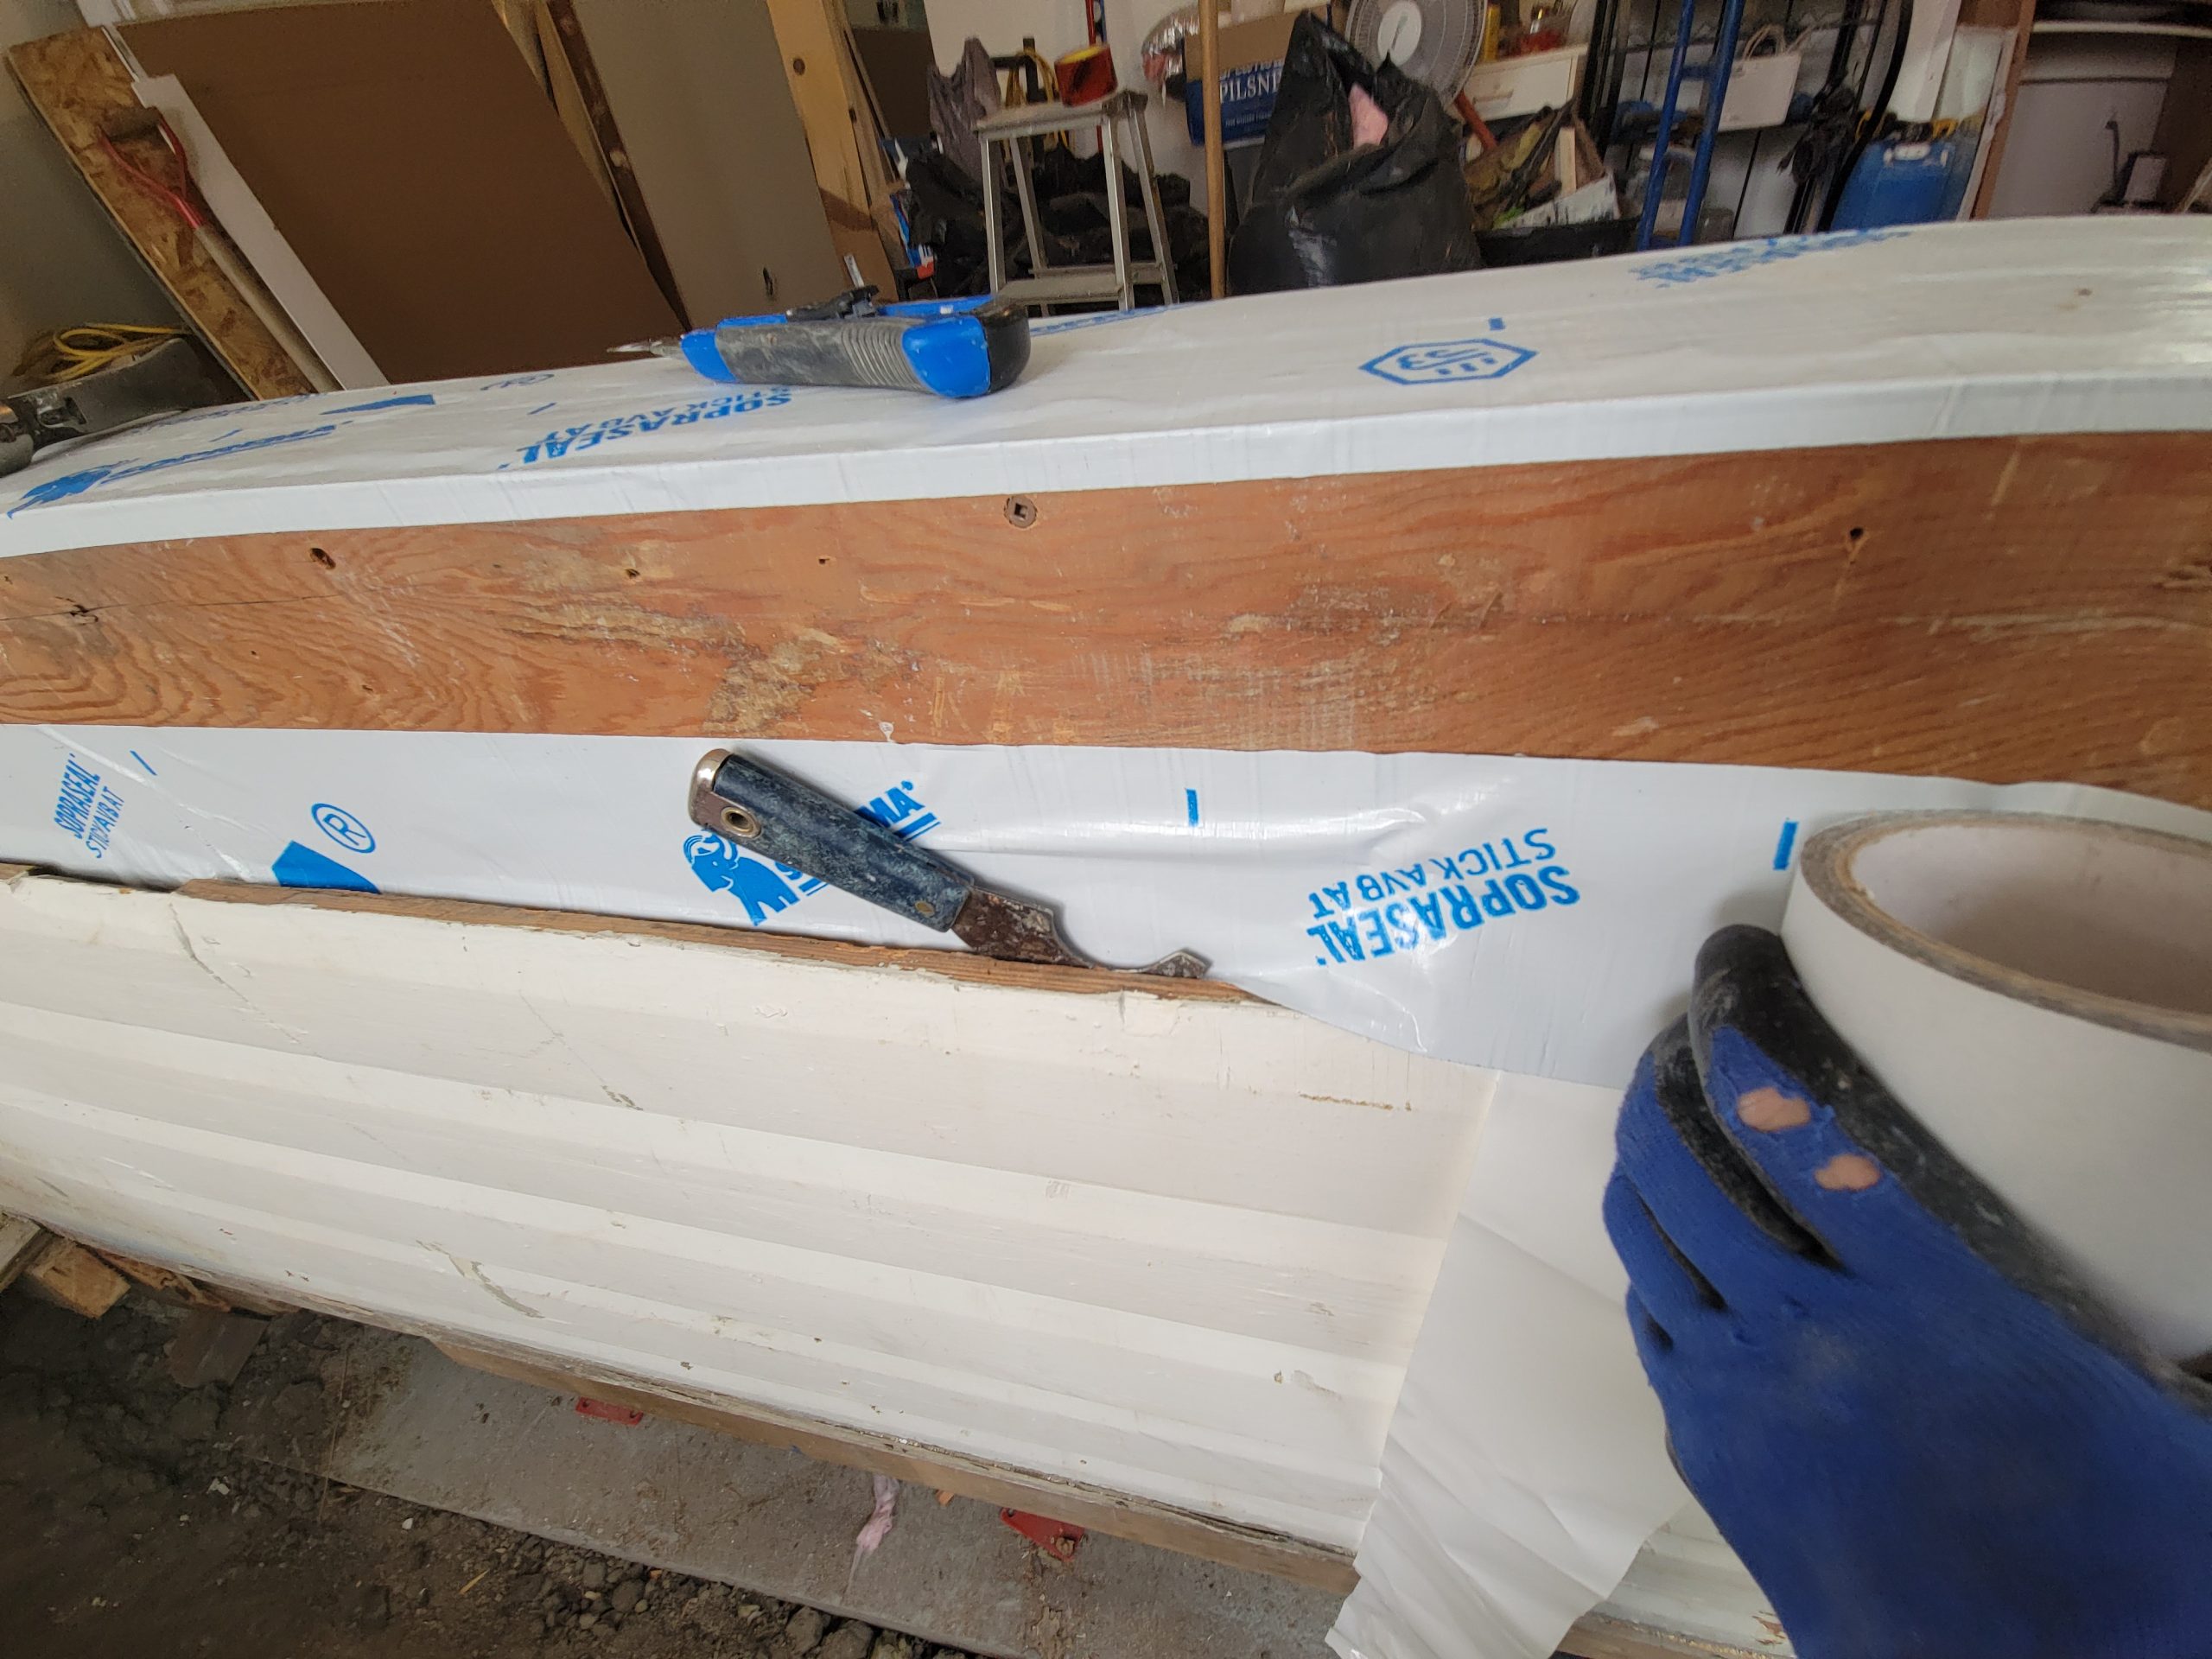
Before he went home, Floyd and I flashed the rough opening with 4″ Sopraseal membrane. Once the window is caulked to the frame and cured, we will insert it back into the opening.
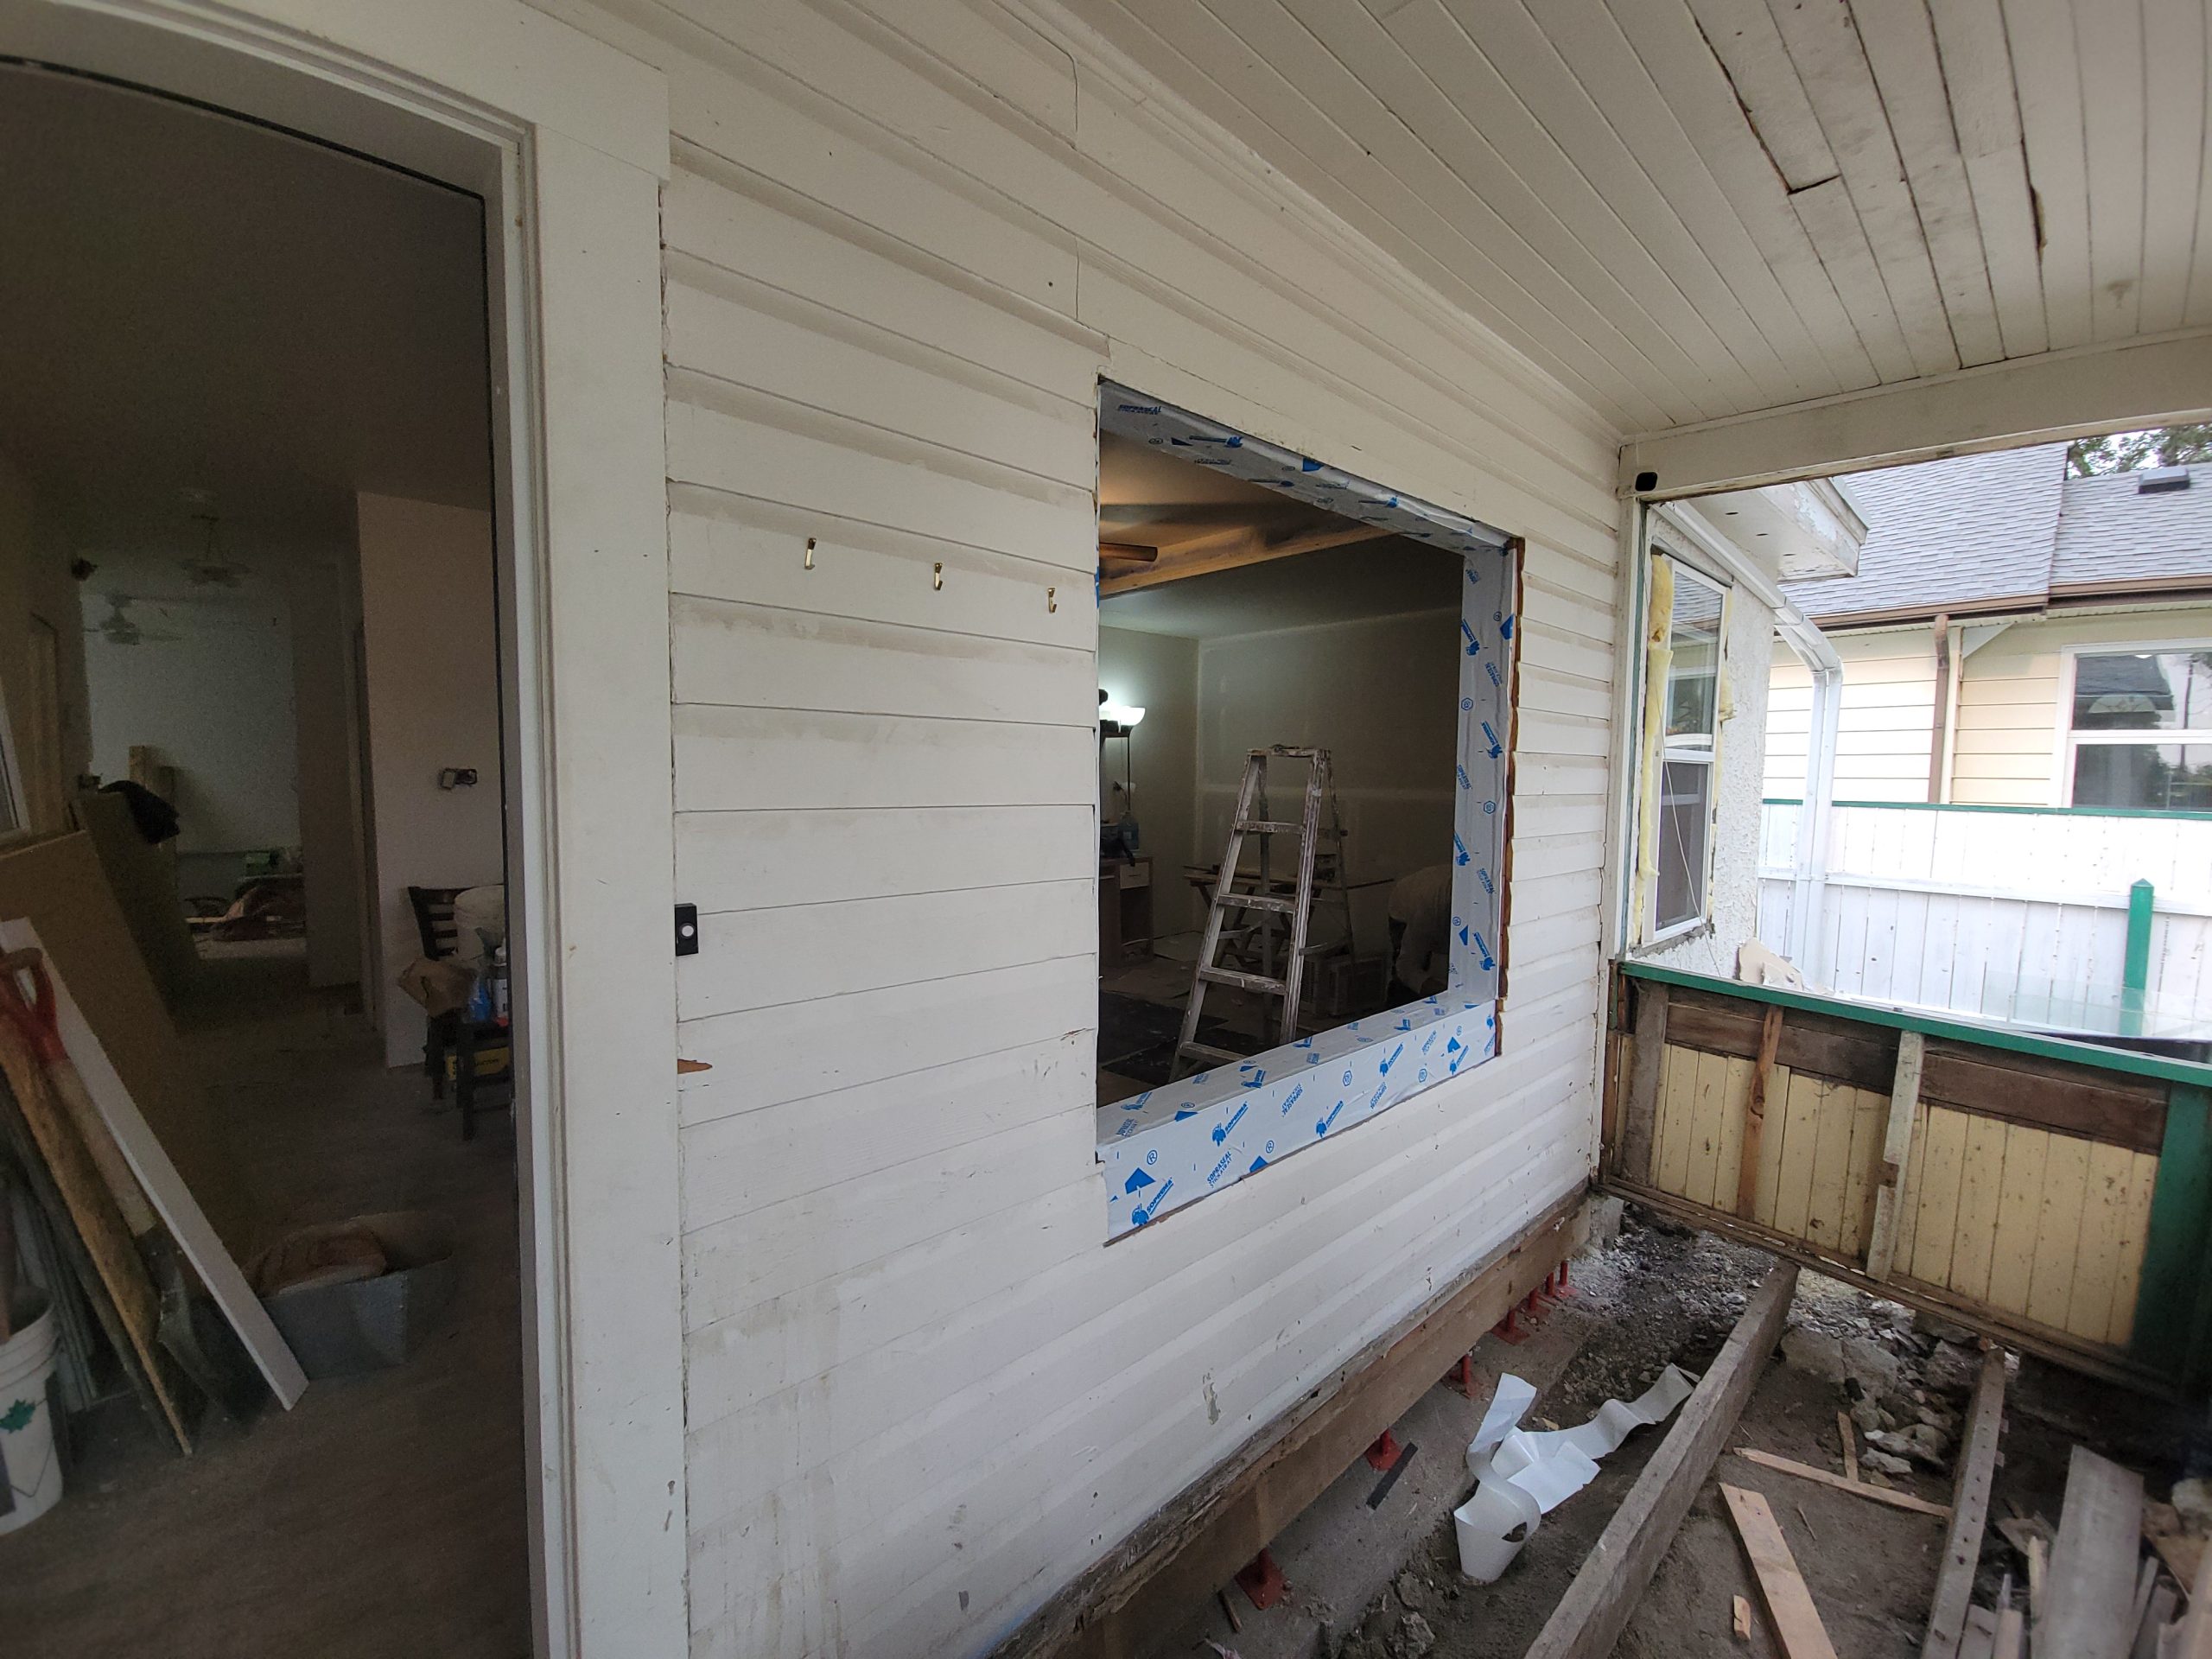
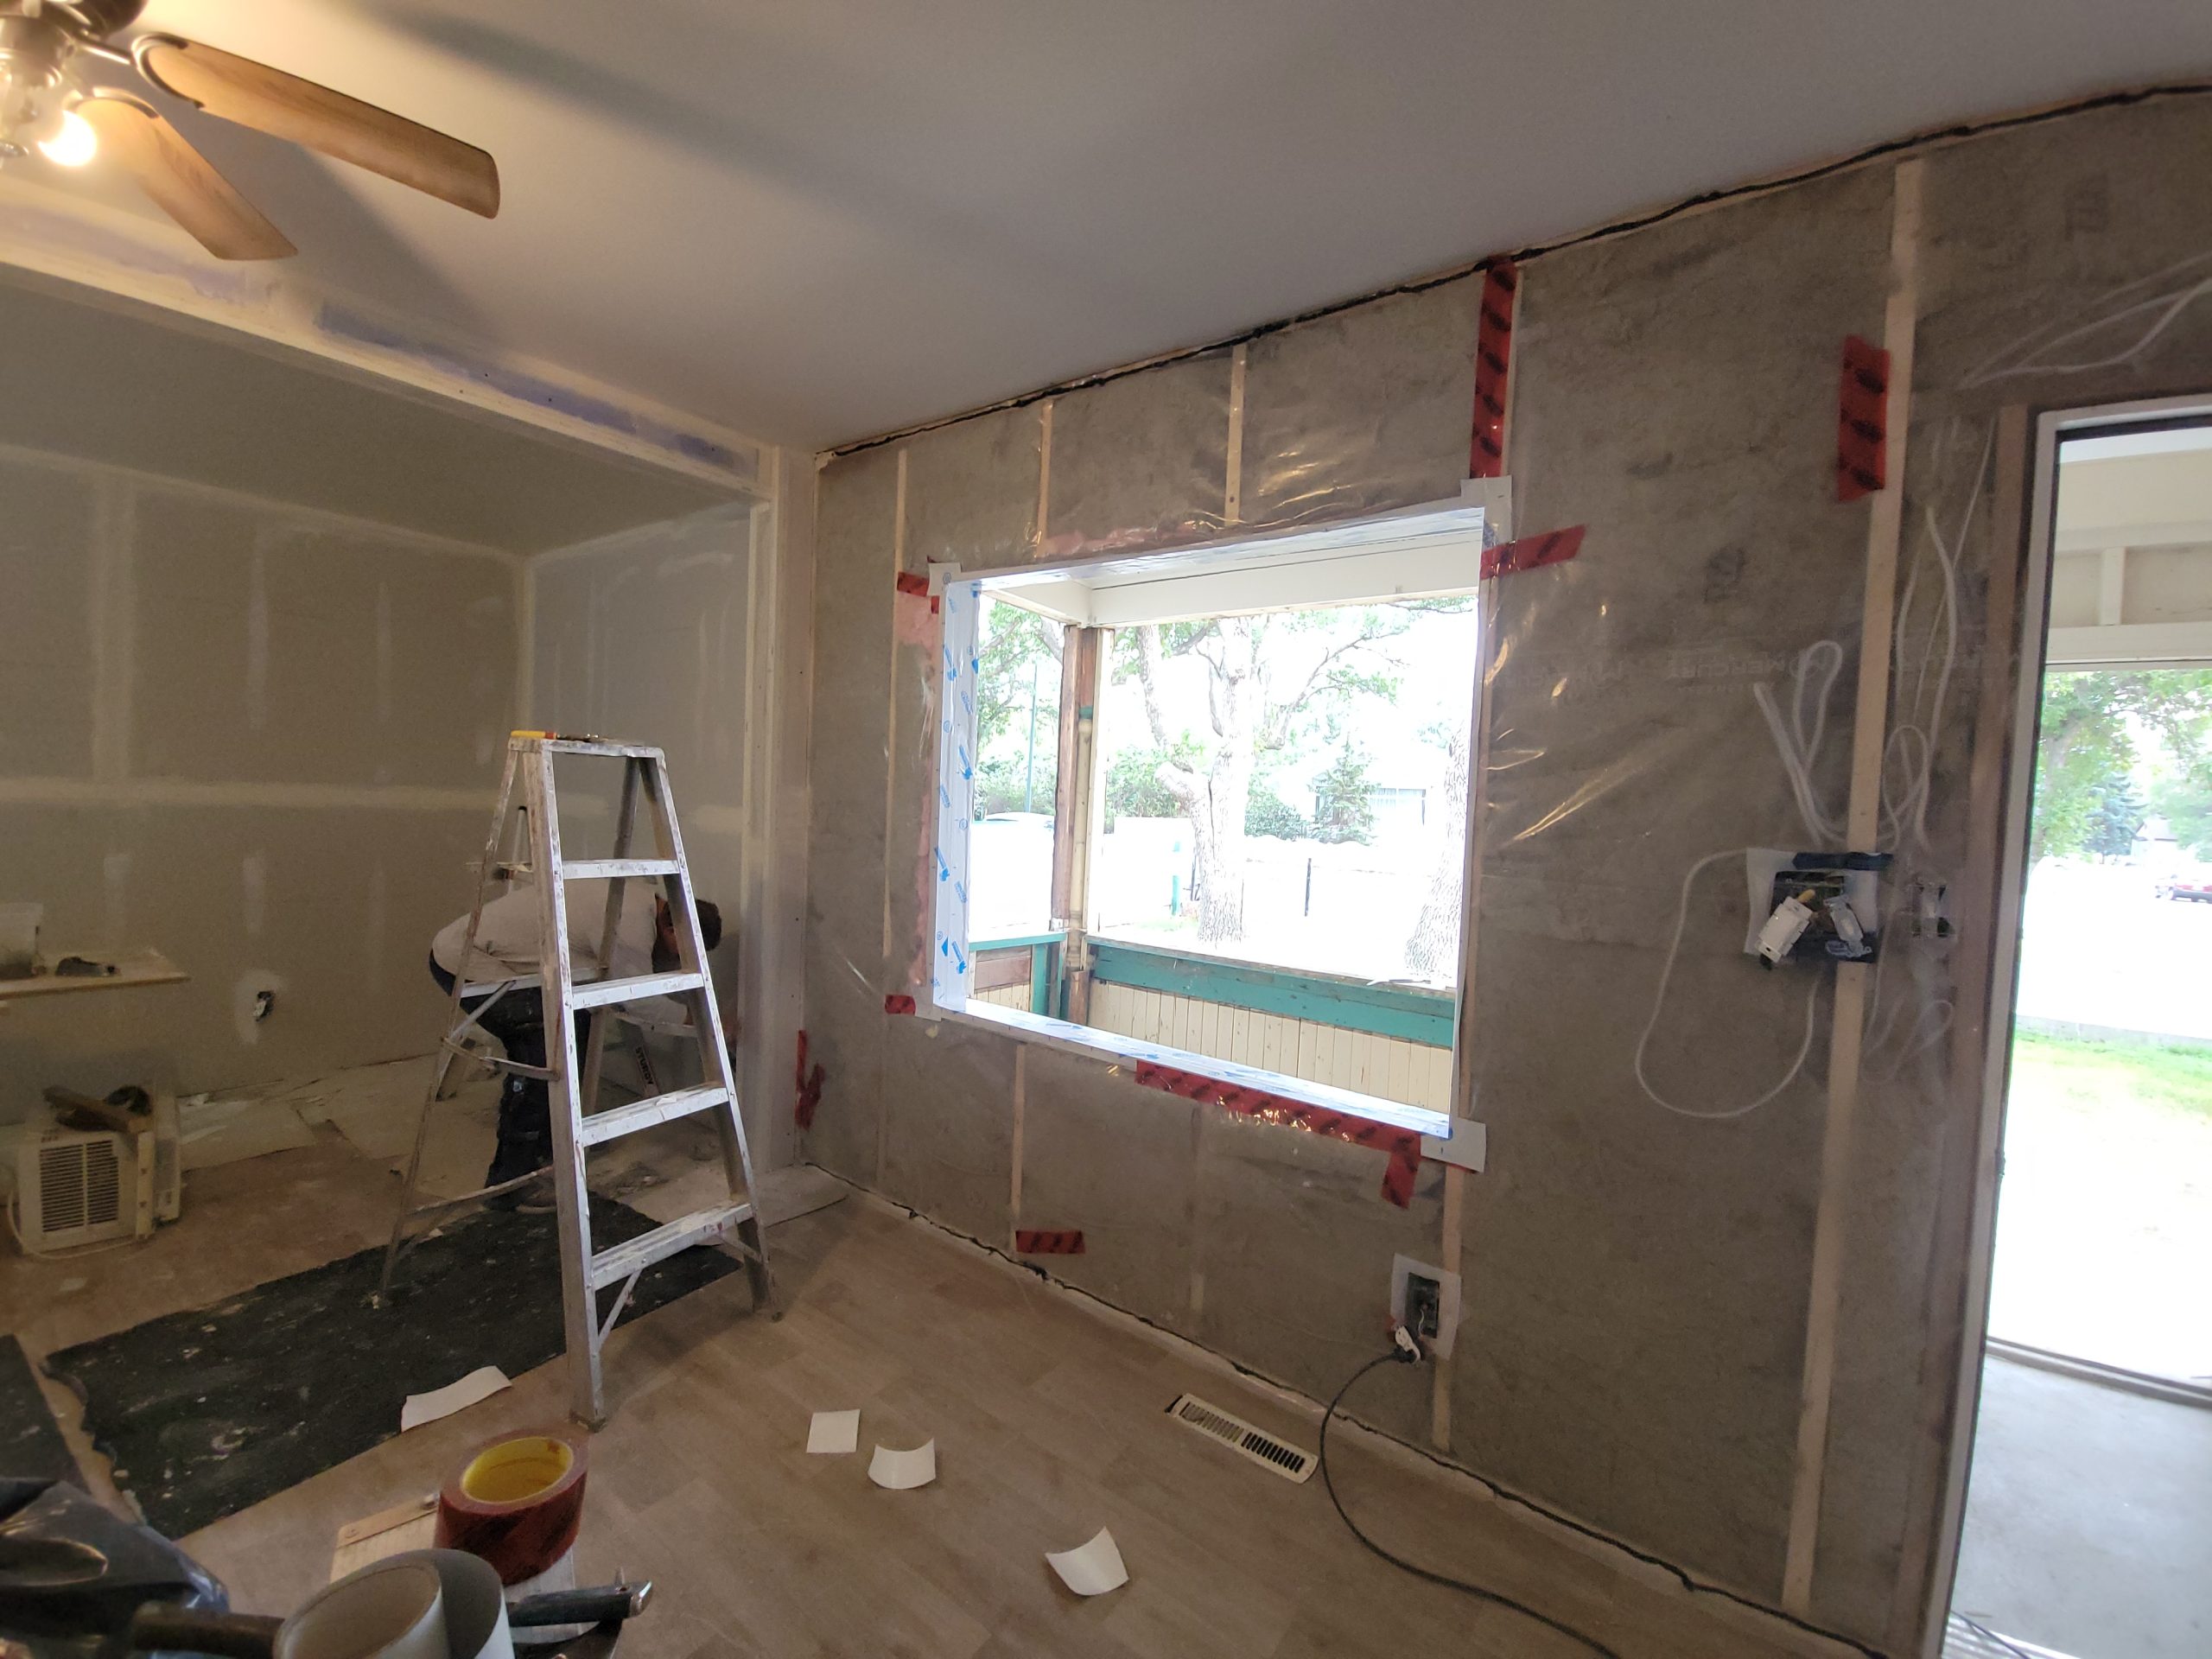
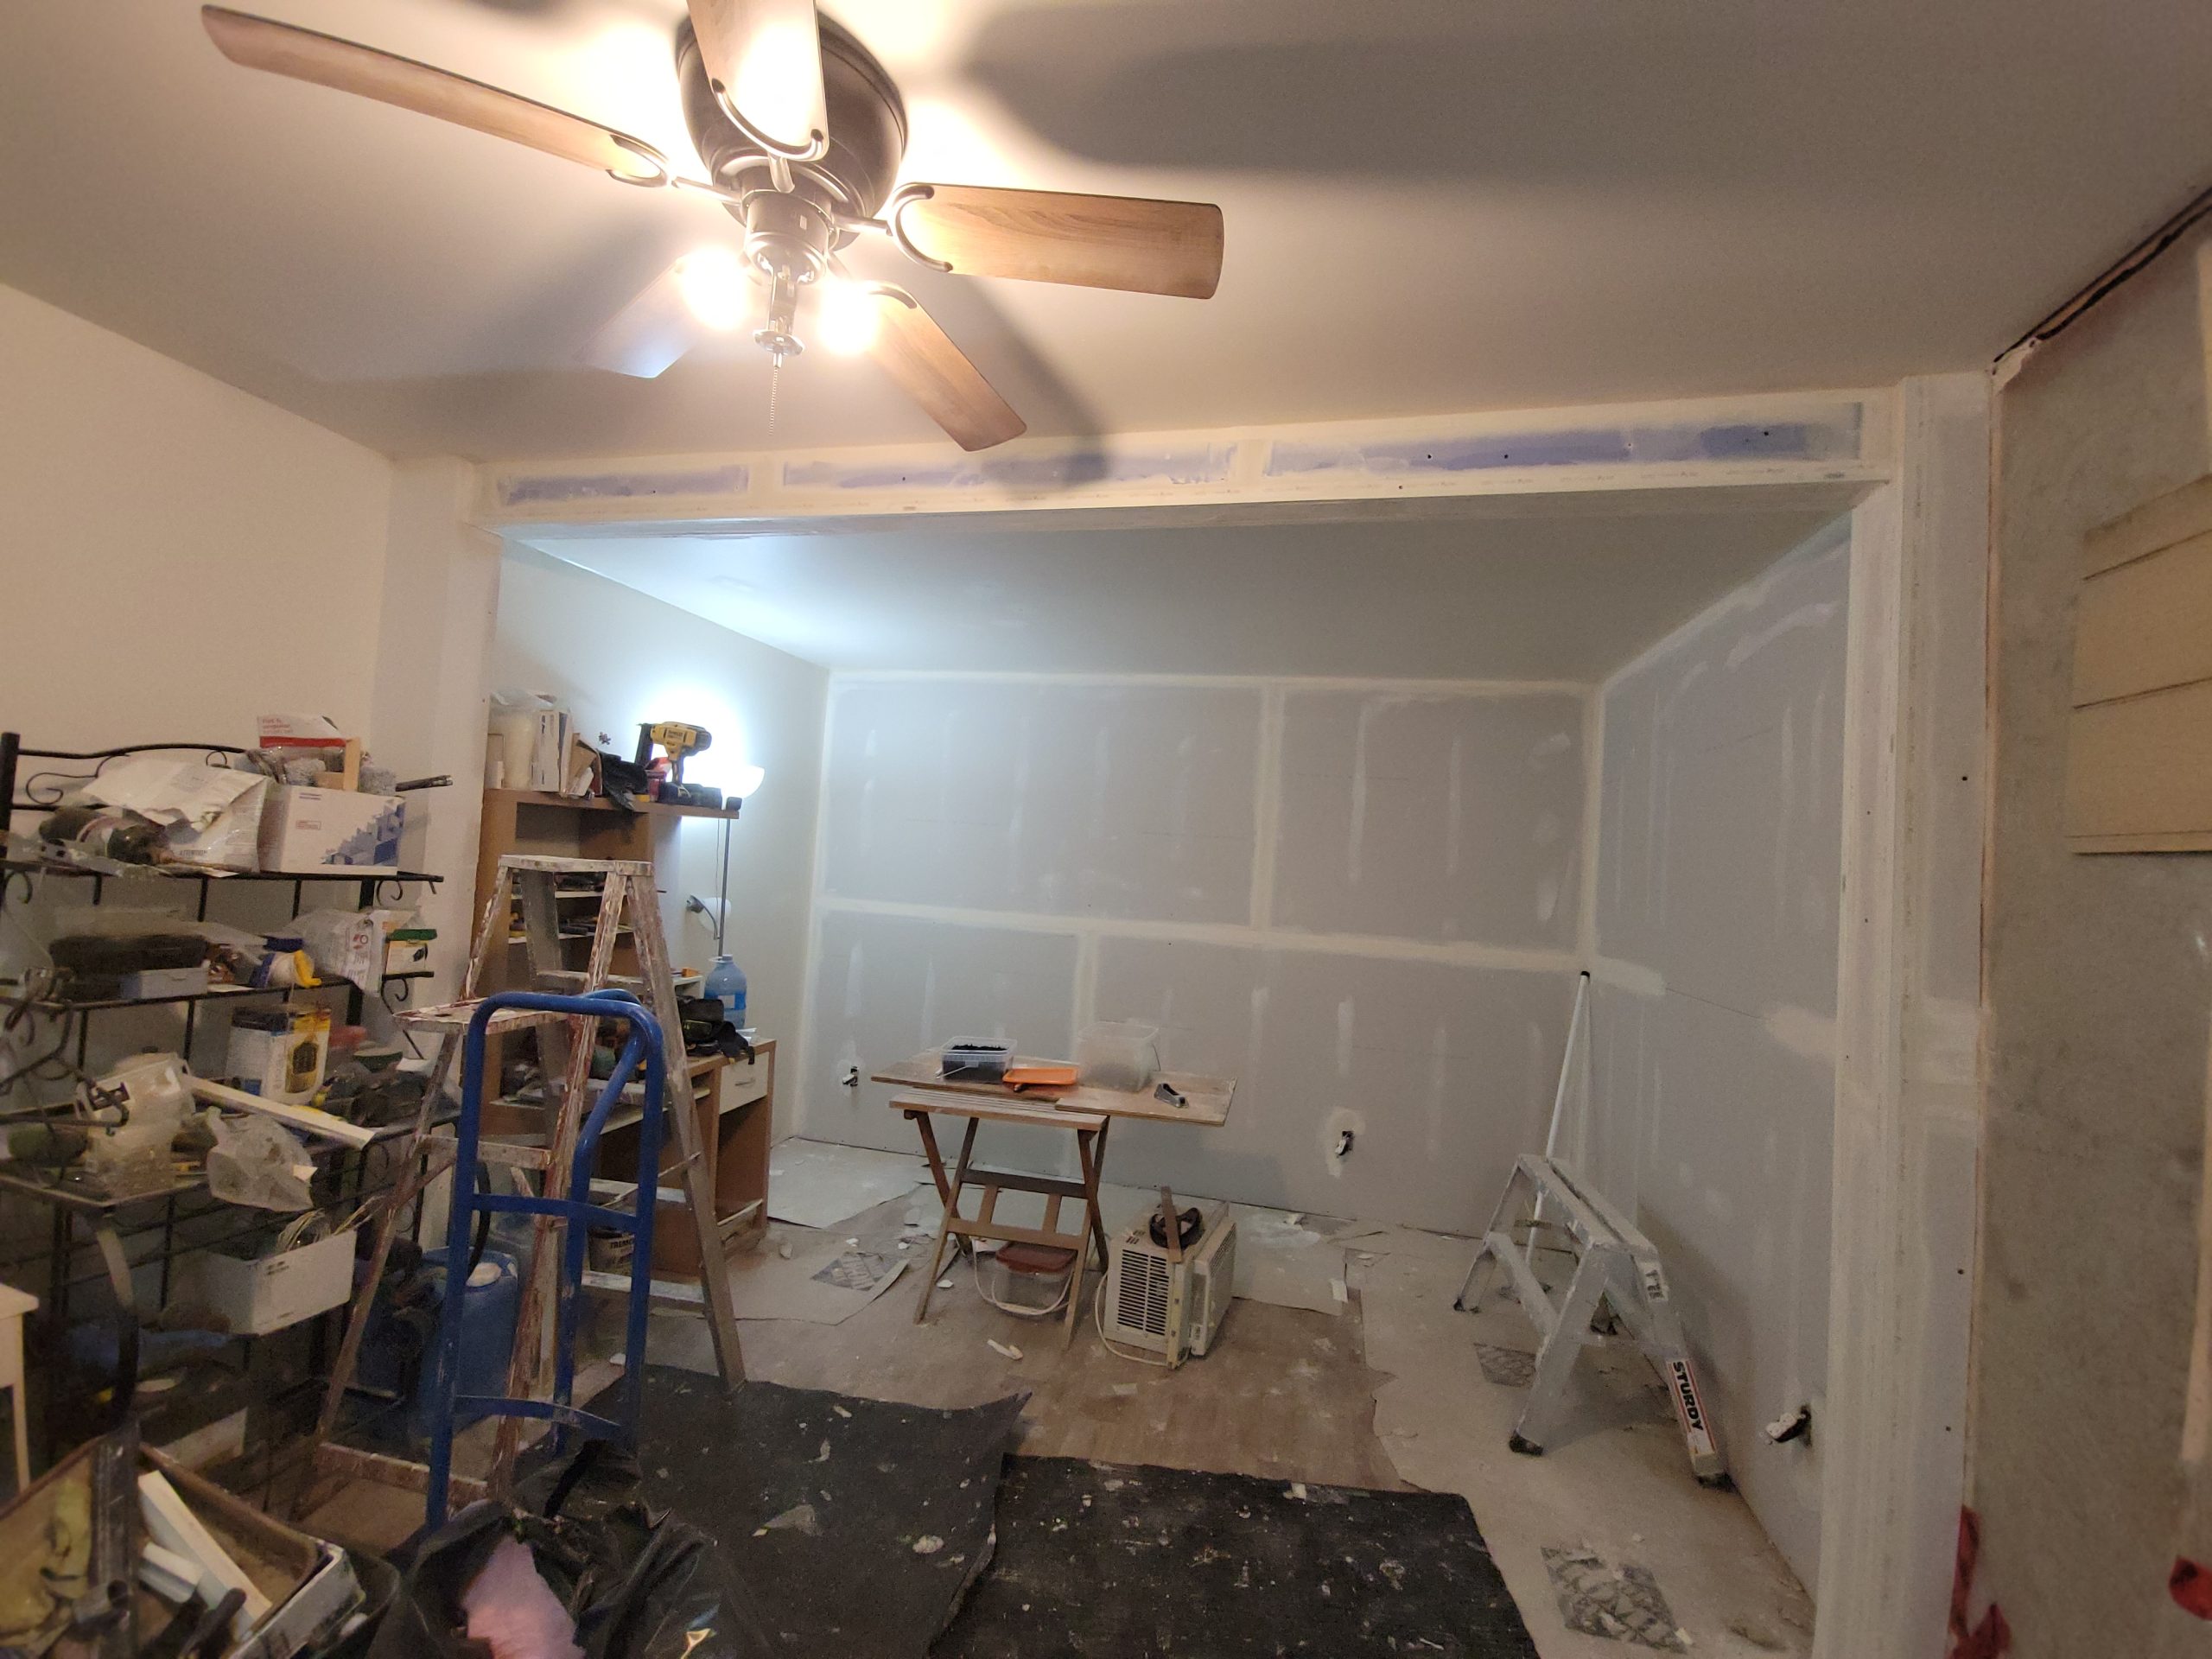
Dave’s drywall handiwork will dry so that it can be skim coated tomorrow.
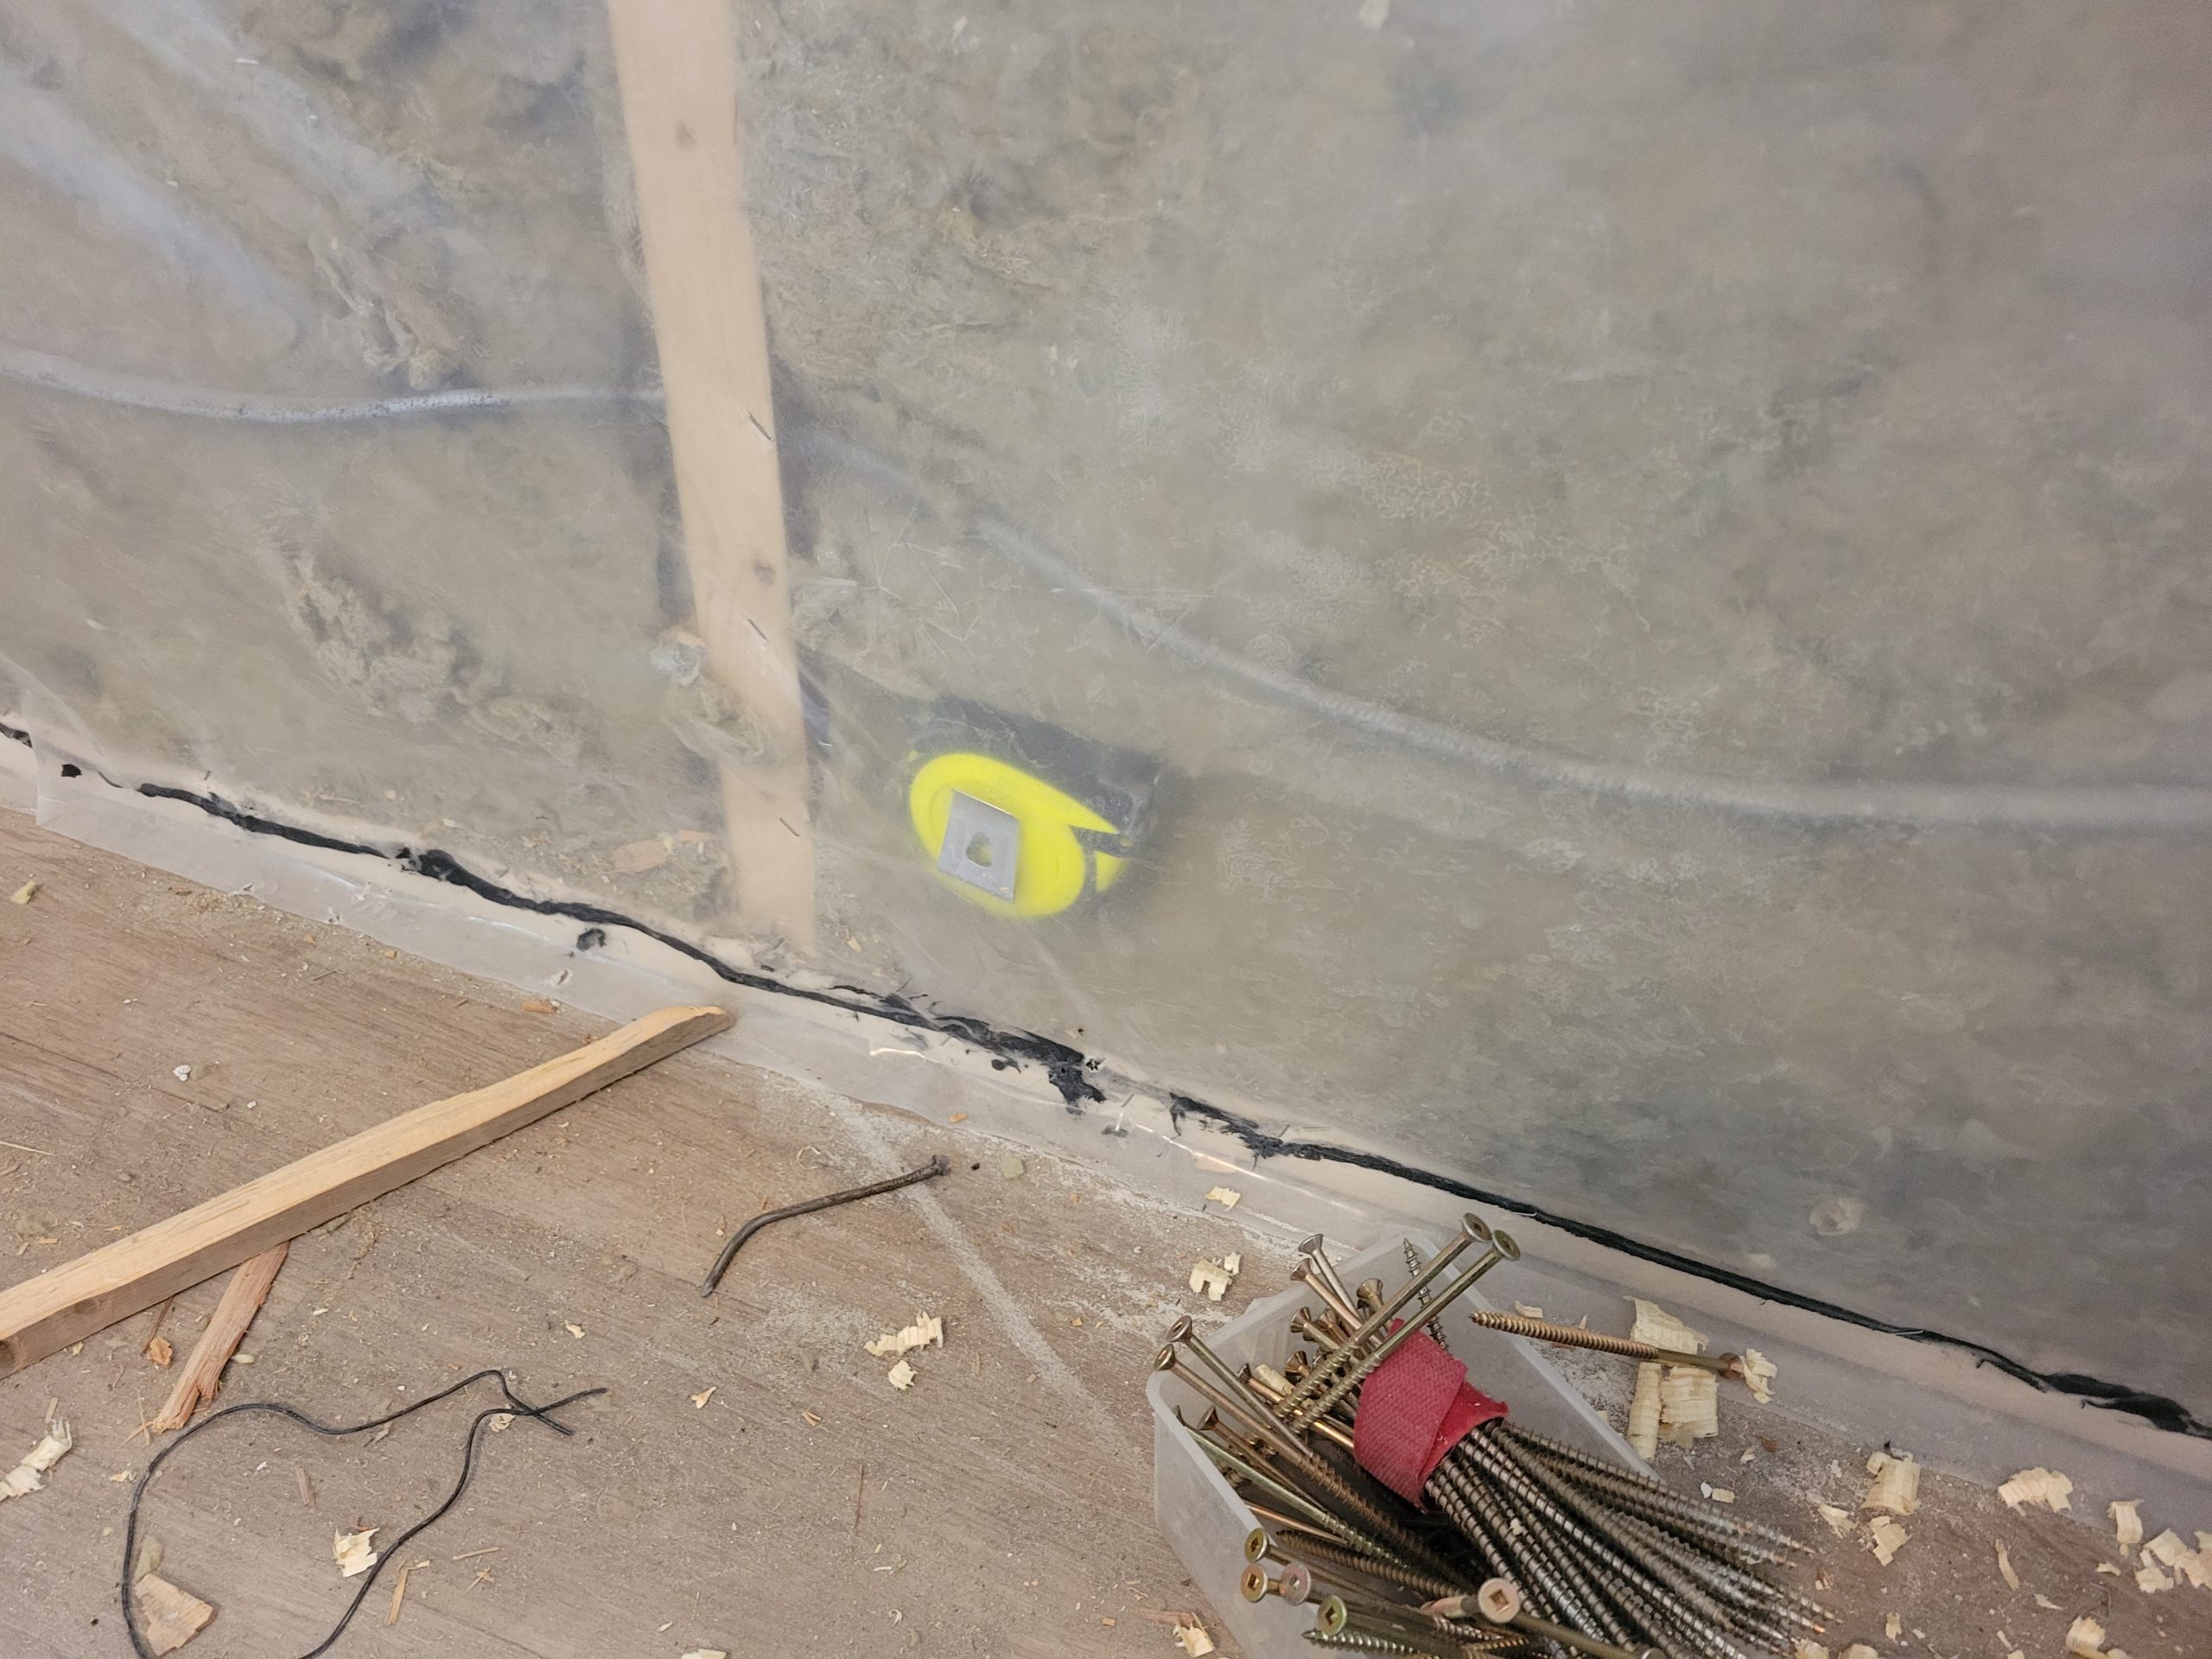
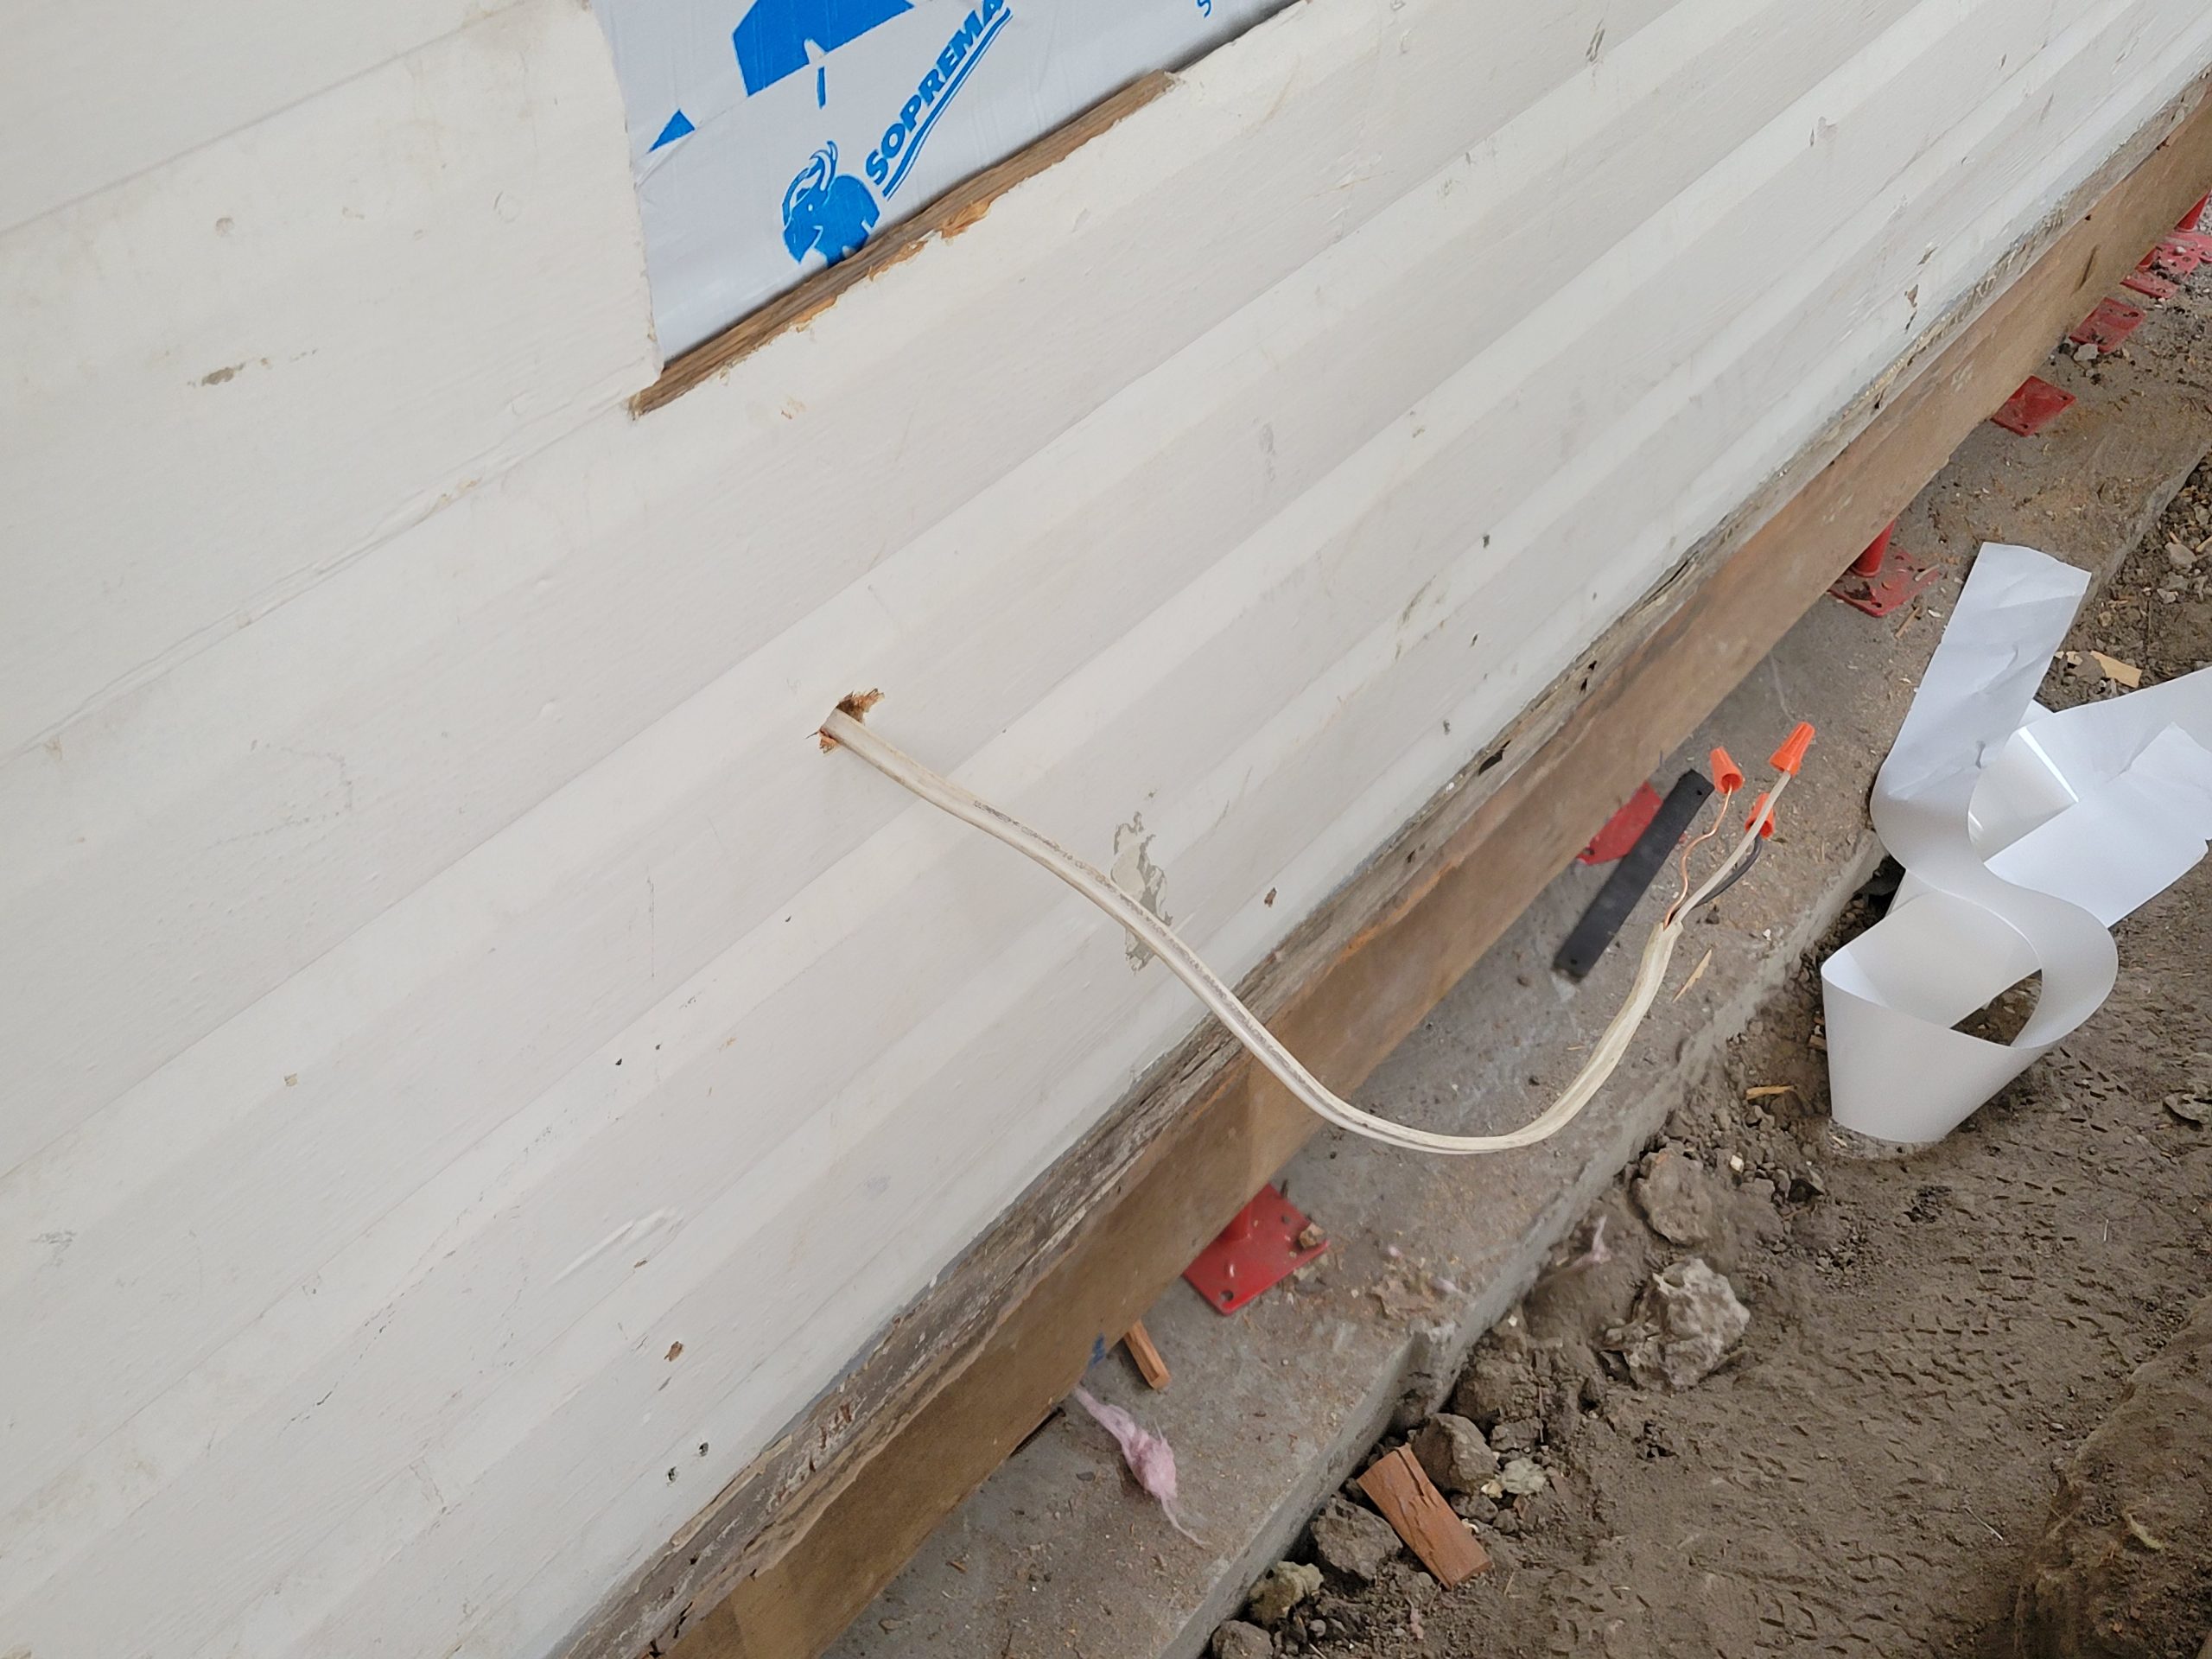
One last thing to complete before boarding this wall – an exterior outlet was added. Yes, I know, all exterior outlets must be on a separate line. However, a) this is not outside – it is in what will be a covered veranda, and b) it is not designed to plug in vehicles. There is a separate 20A GFI outlet at the side of the building for plugging in vehicles for a) block heaters and b) semi-fast charging. So this, technically, is not counted as the outside receptacle. It will, in fact, be an outside GFI outlet as well.
I boarded up the place with some wood from the shed before leaving for the day.
