faceplates, door, floor, linoleum

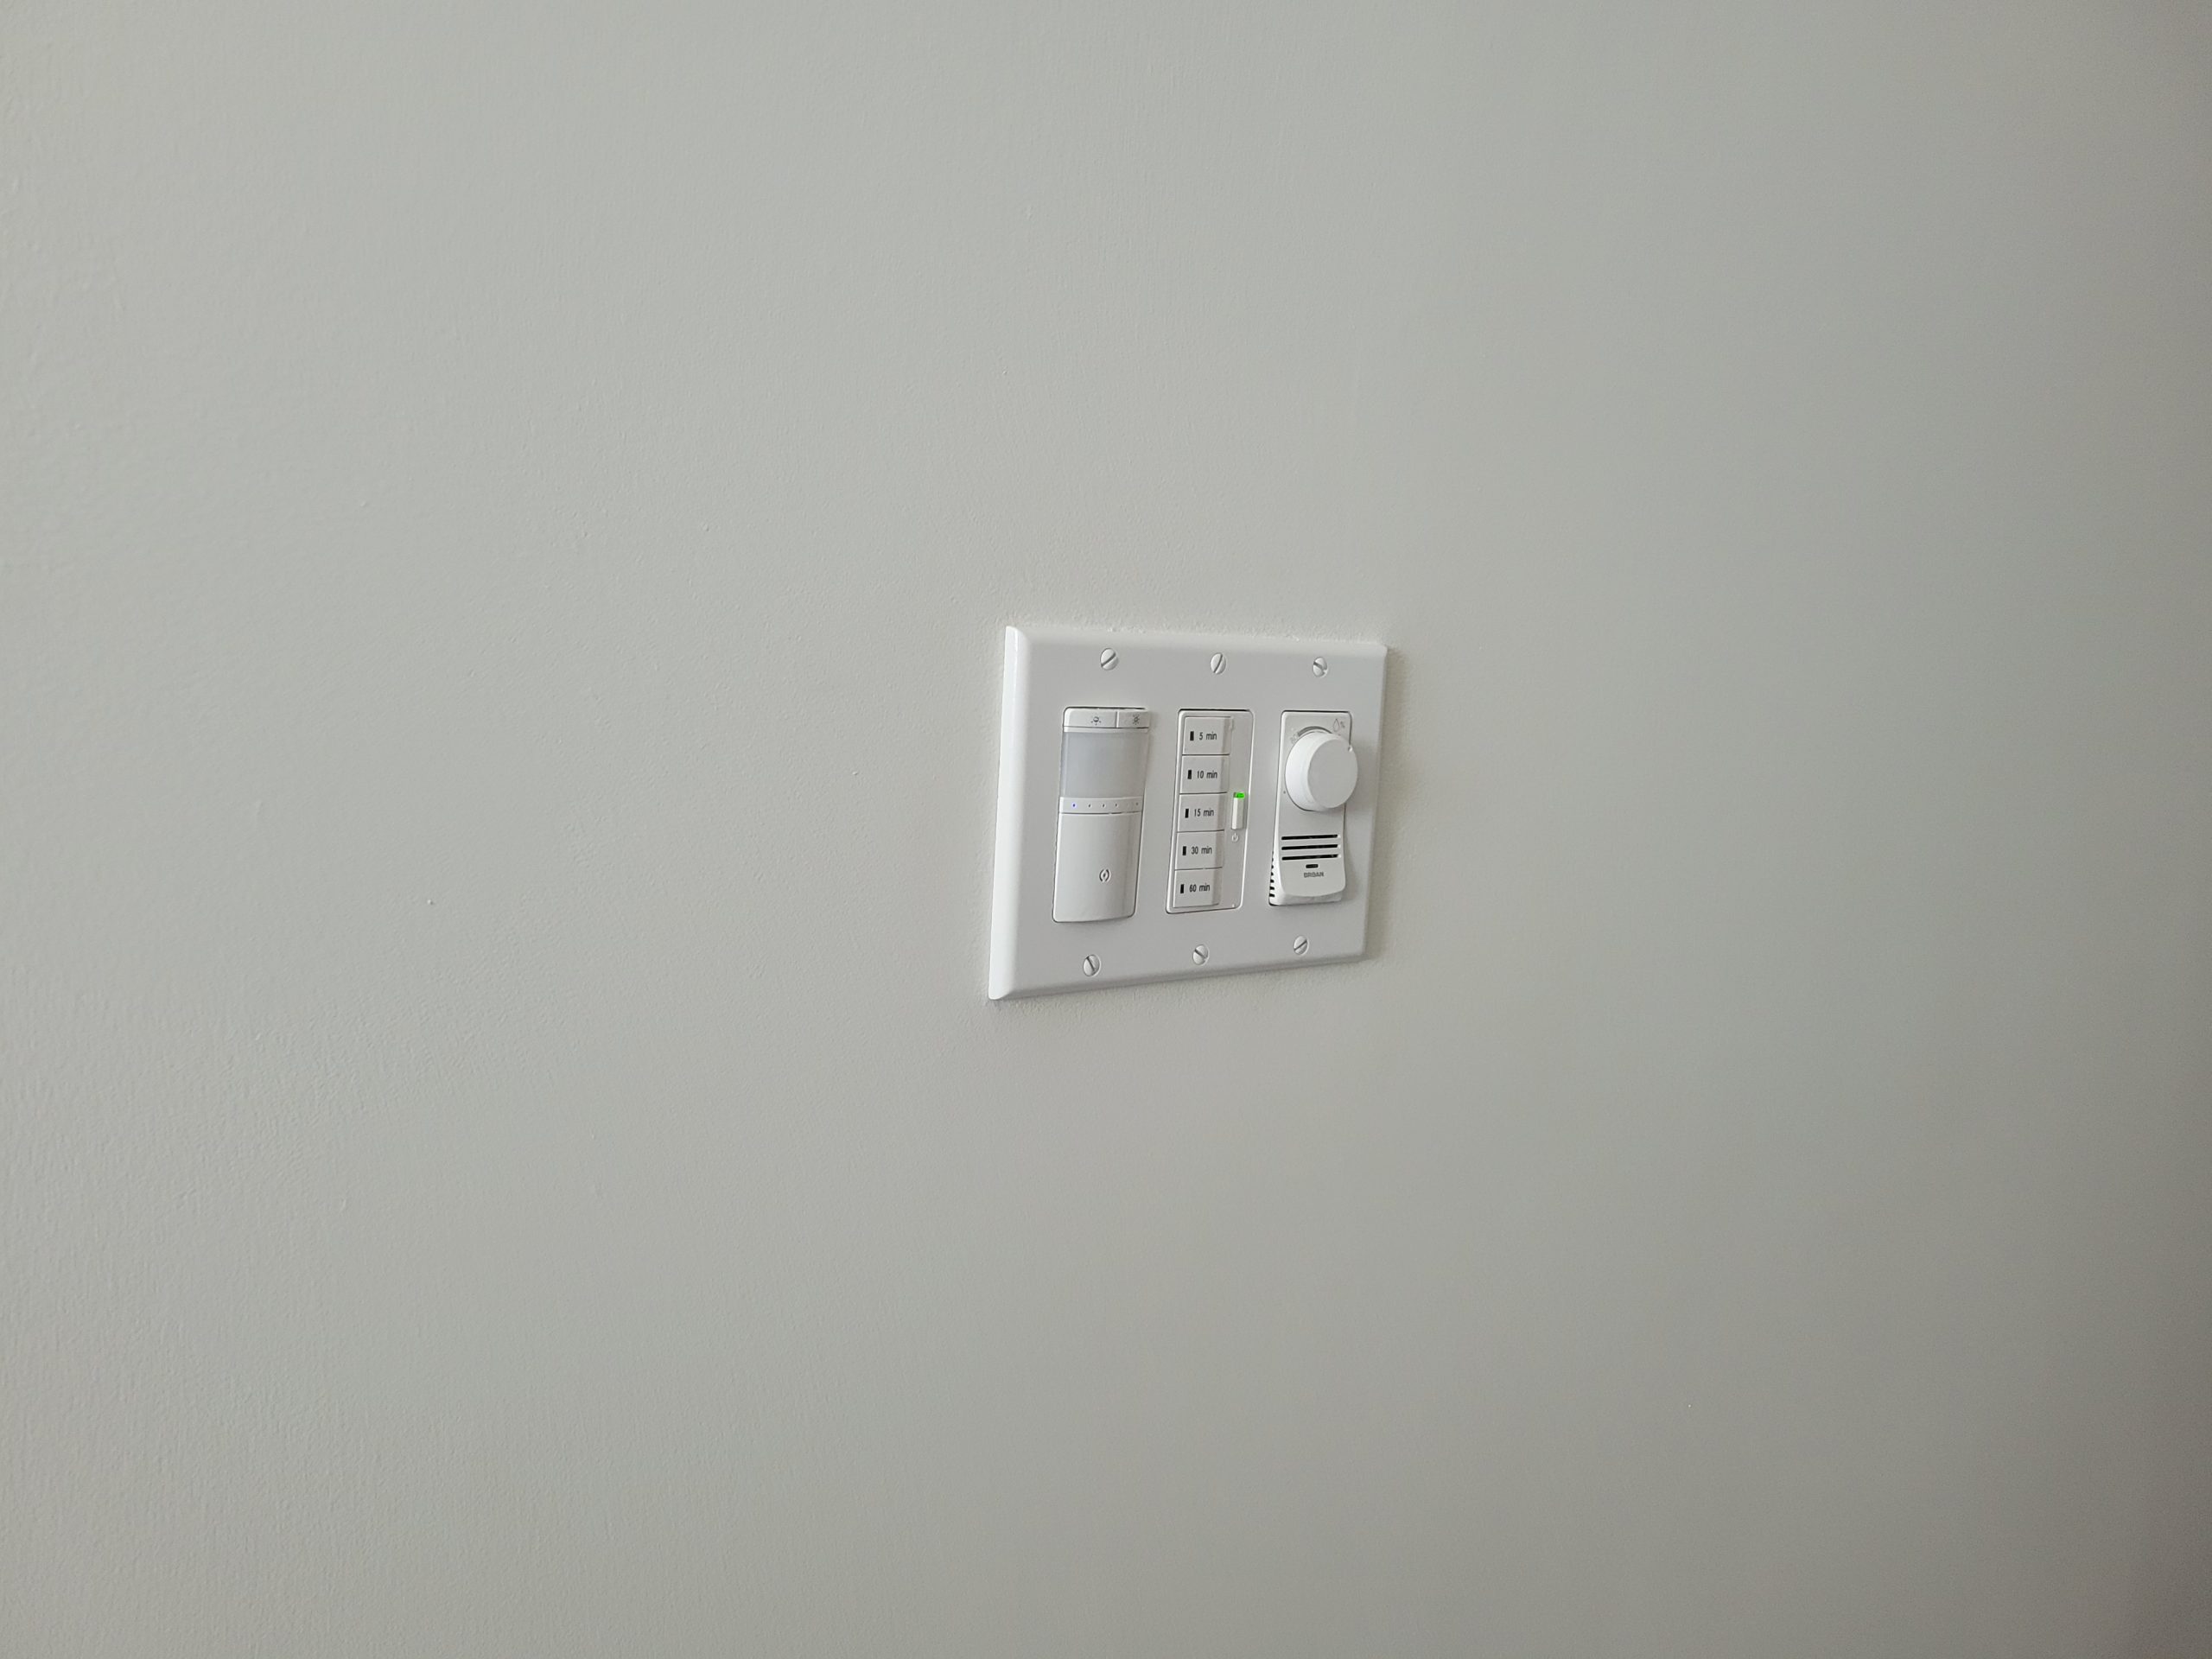
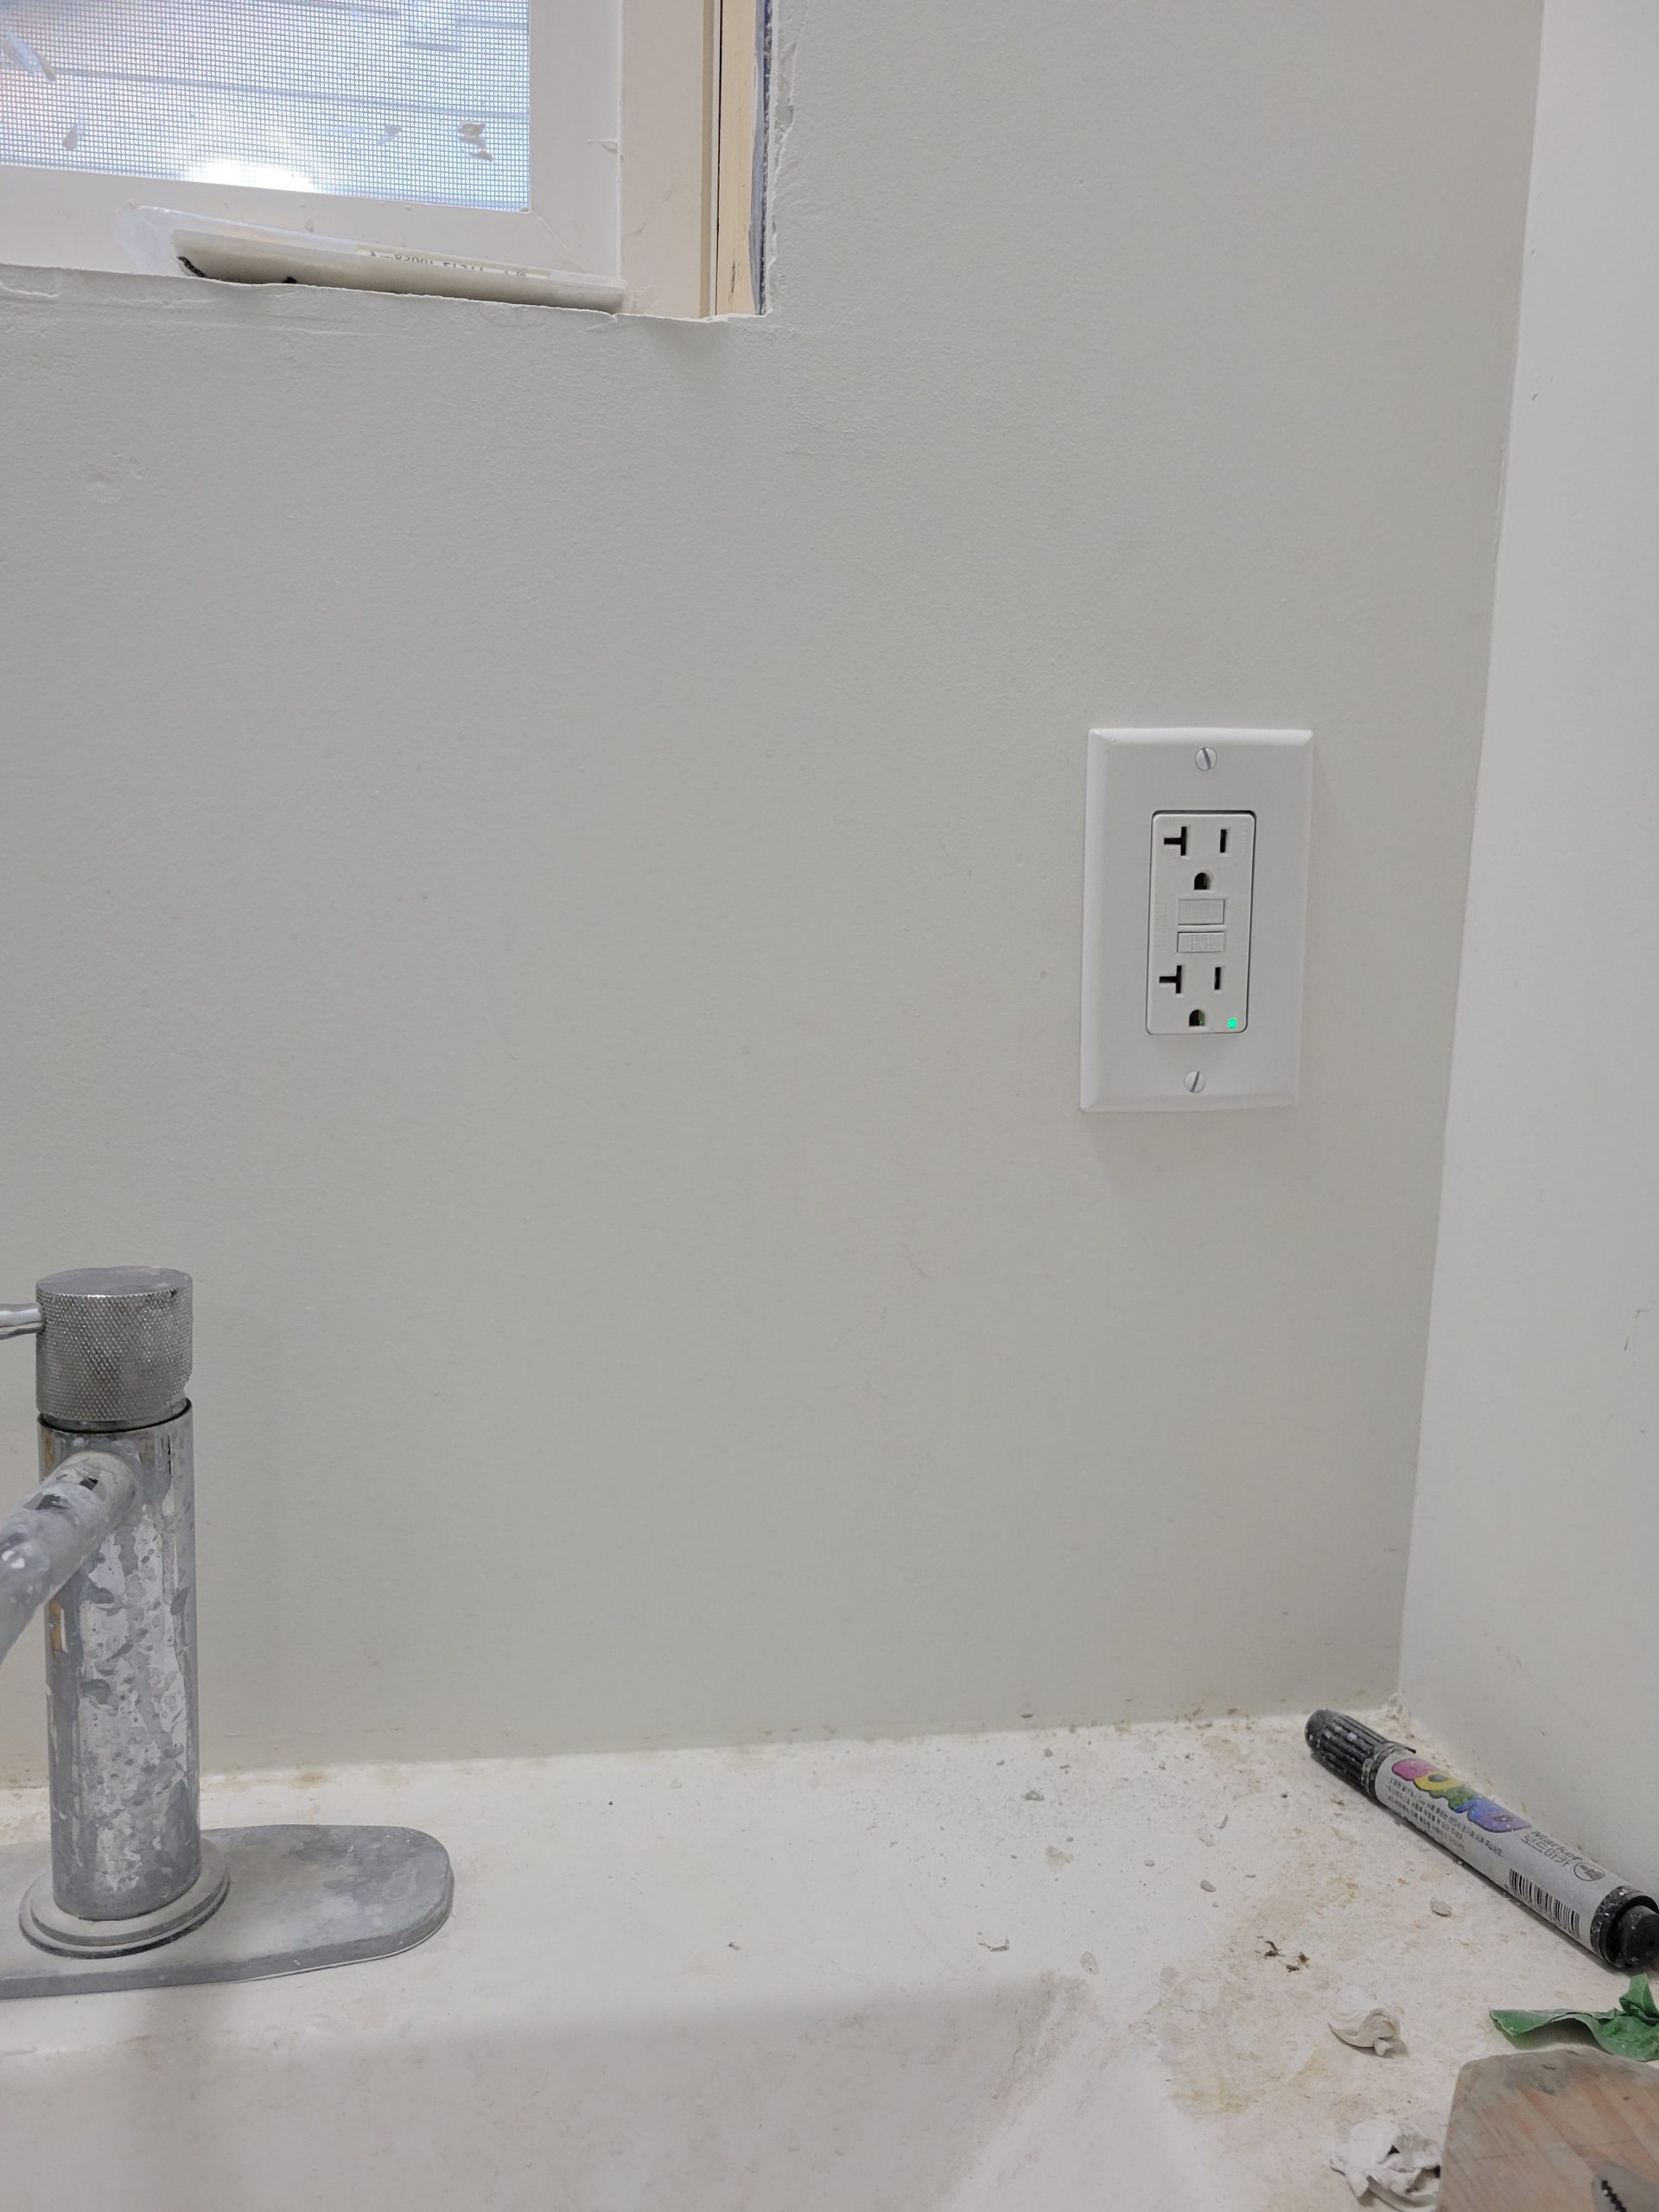
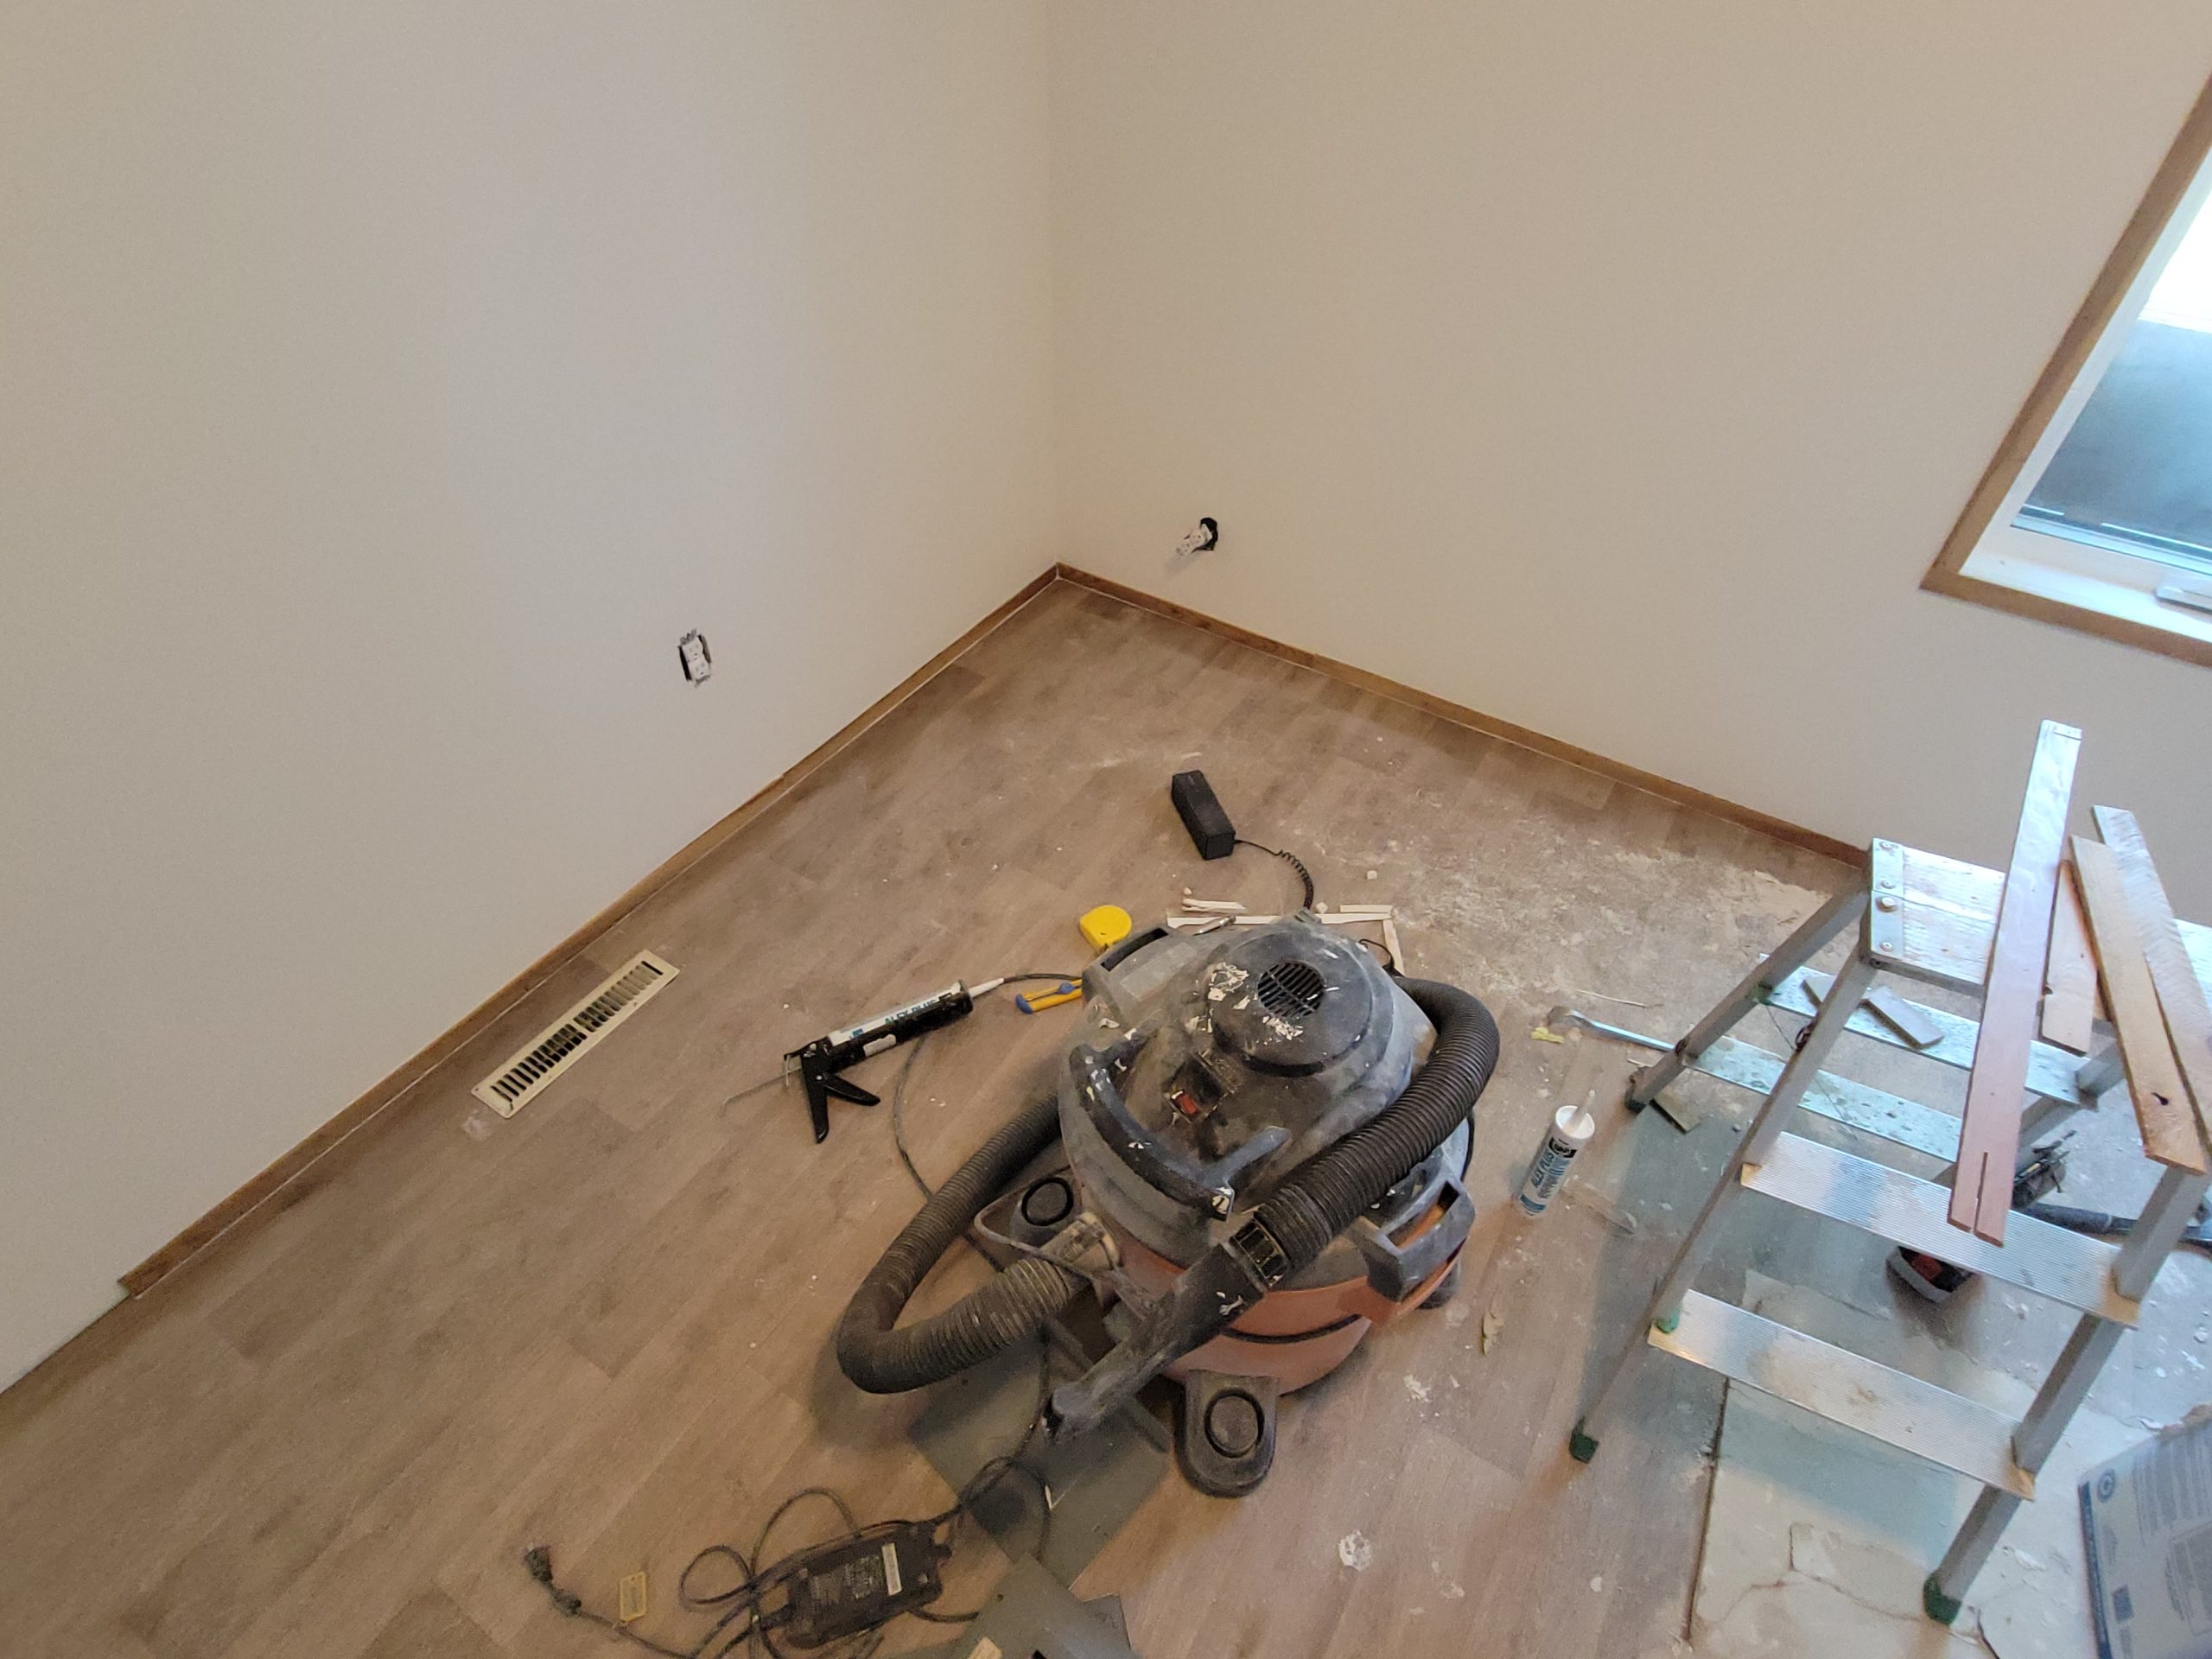
Some of the outlets in the bedrooms were still the old off-white (yellow) type.  I switched the remaining old ones out for new, modern looking ones – but not the square ‘decor’ type as these were much more expensive.  They all needed faceplates. 
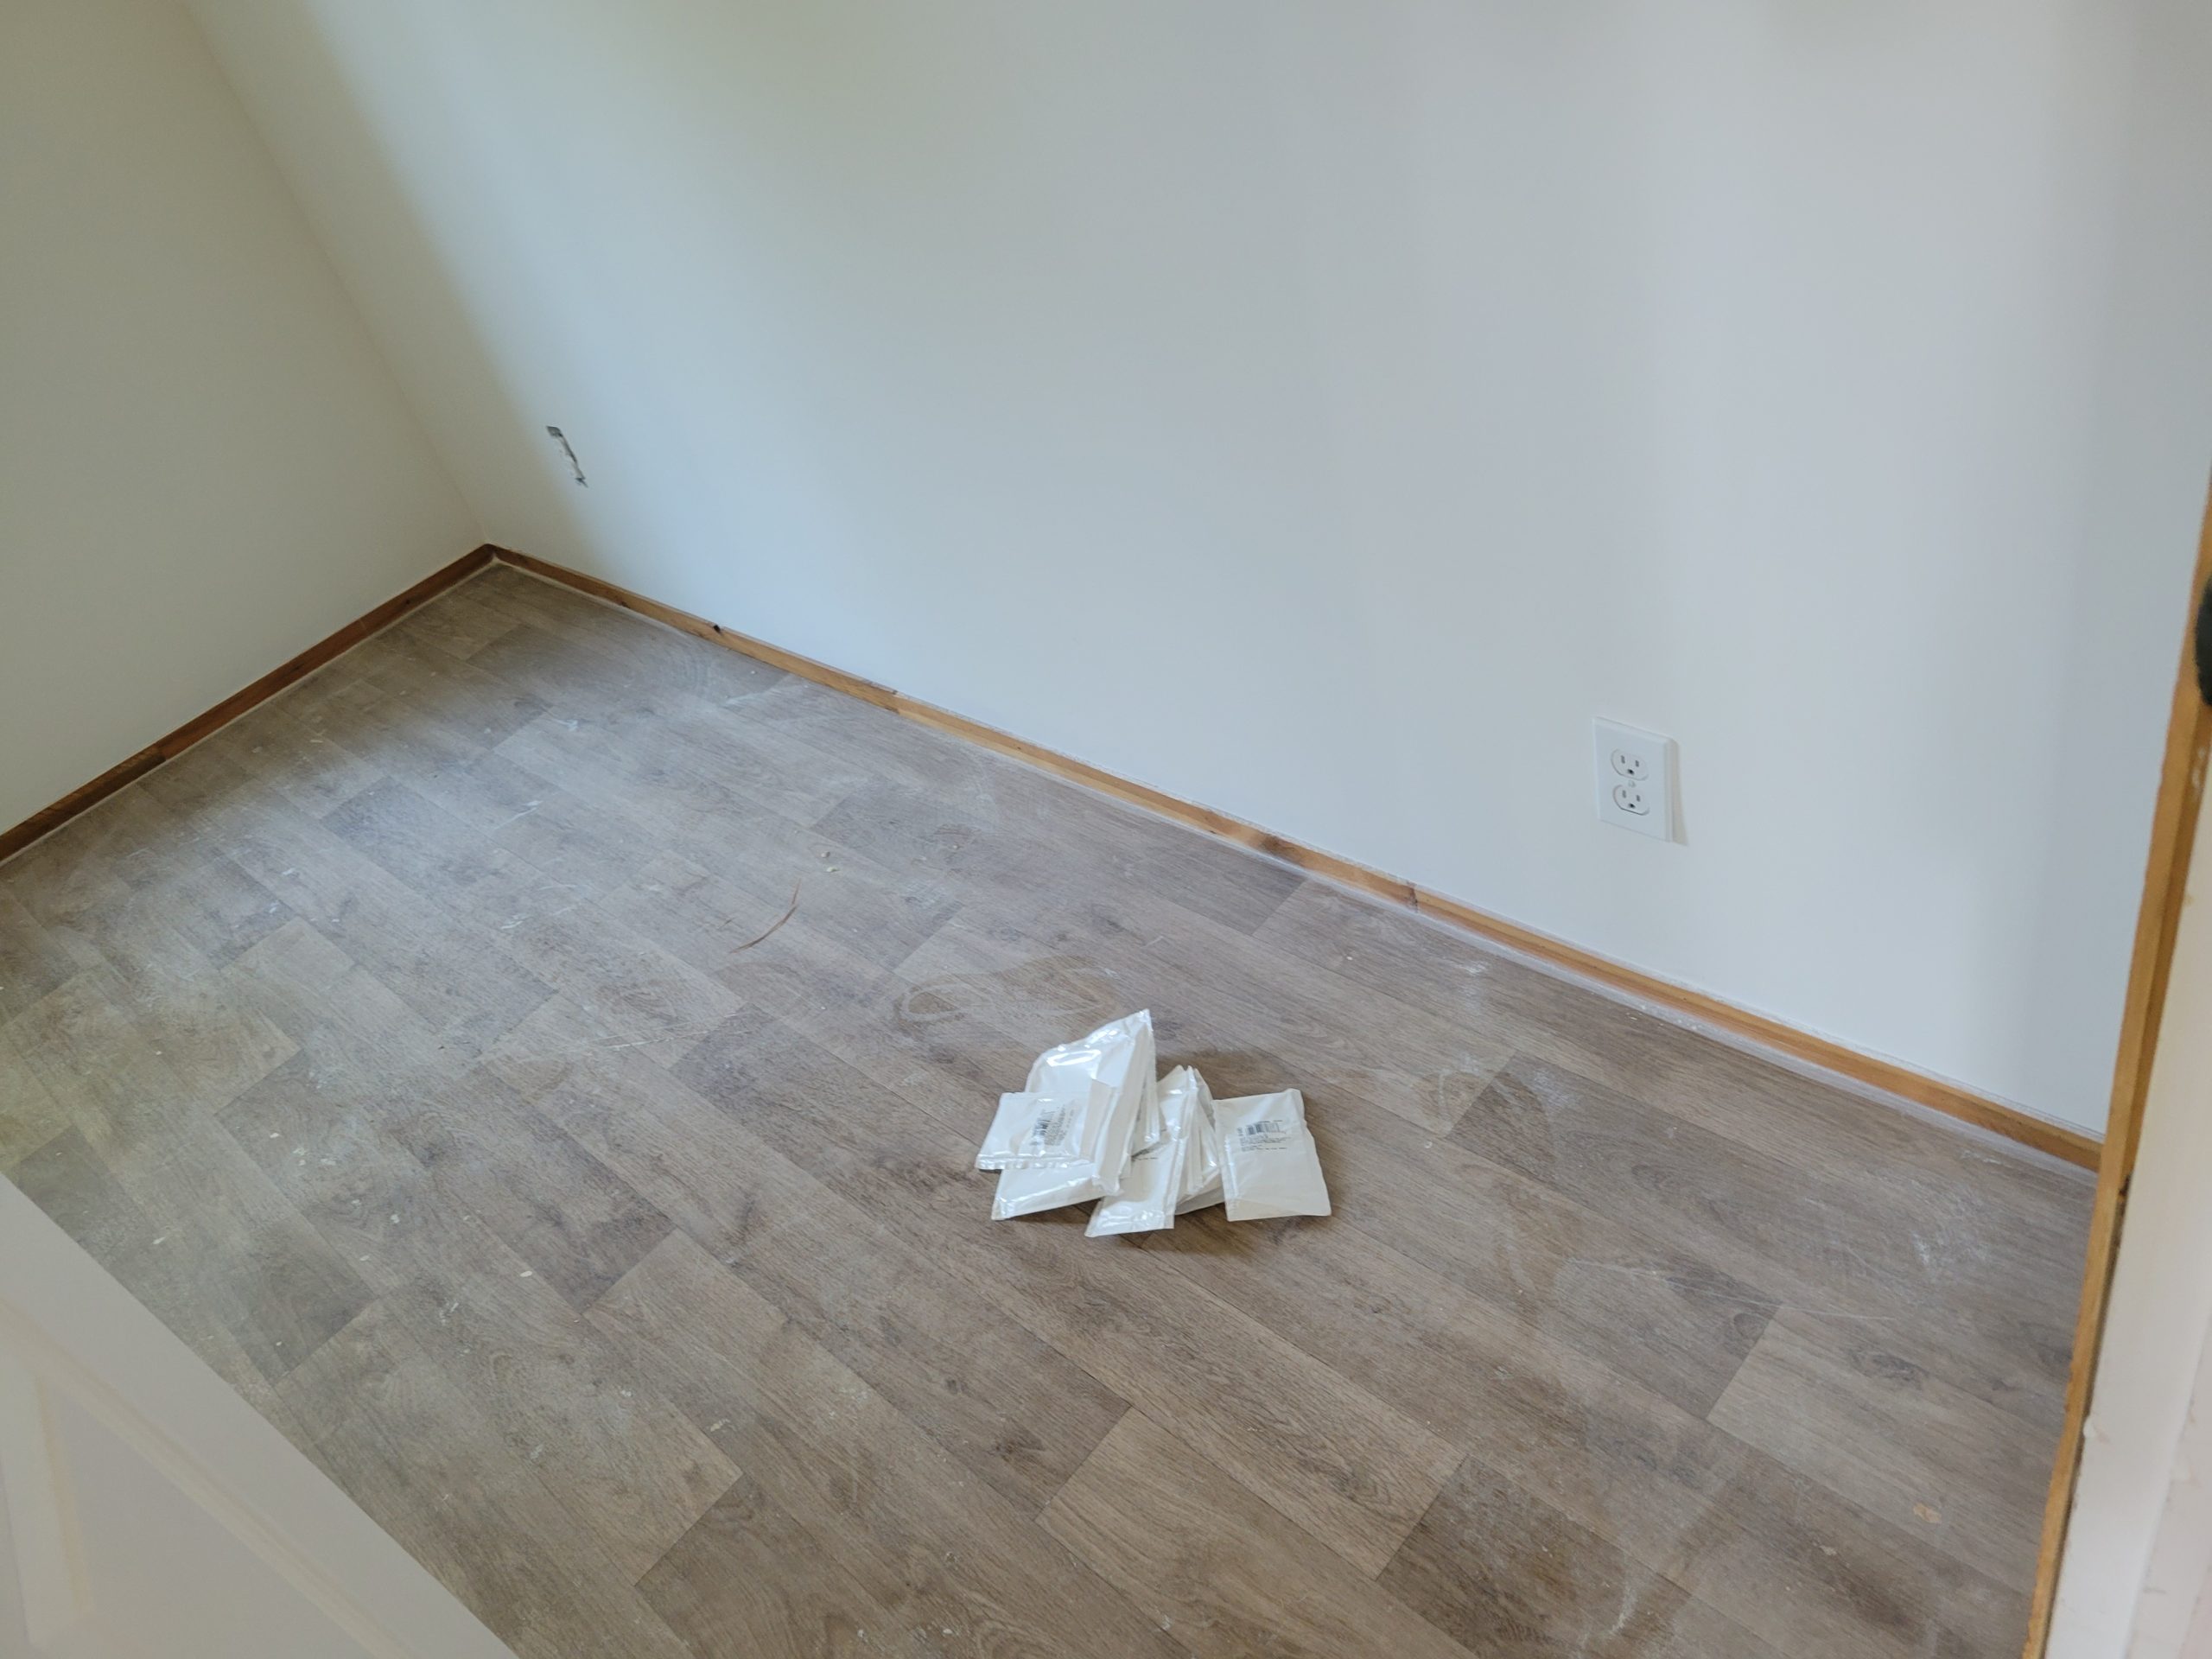
 

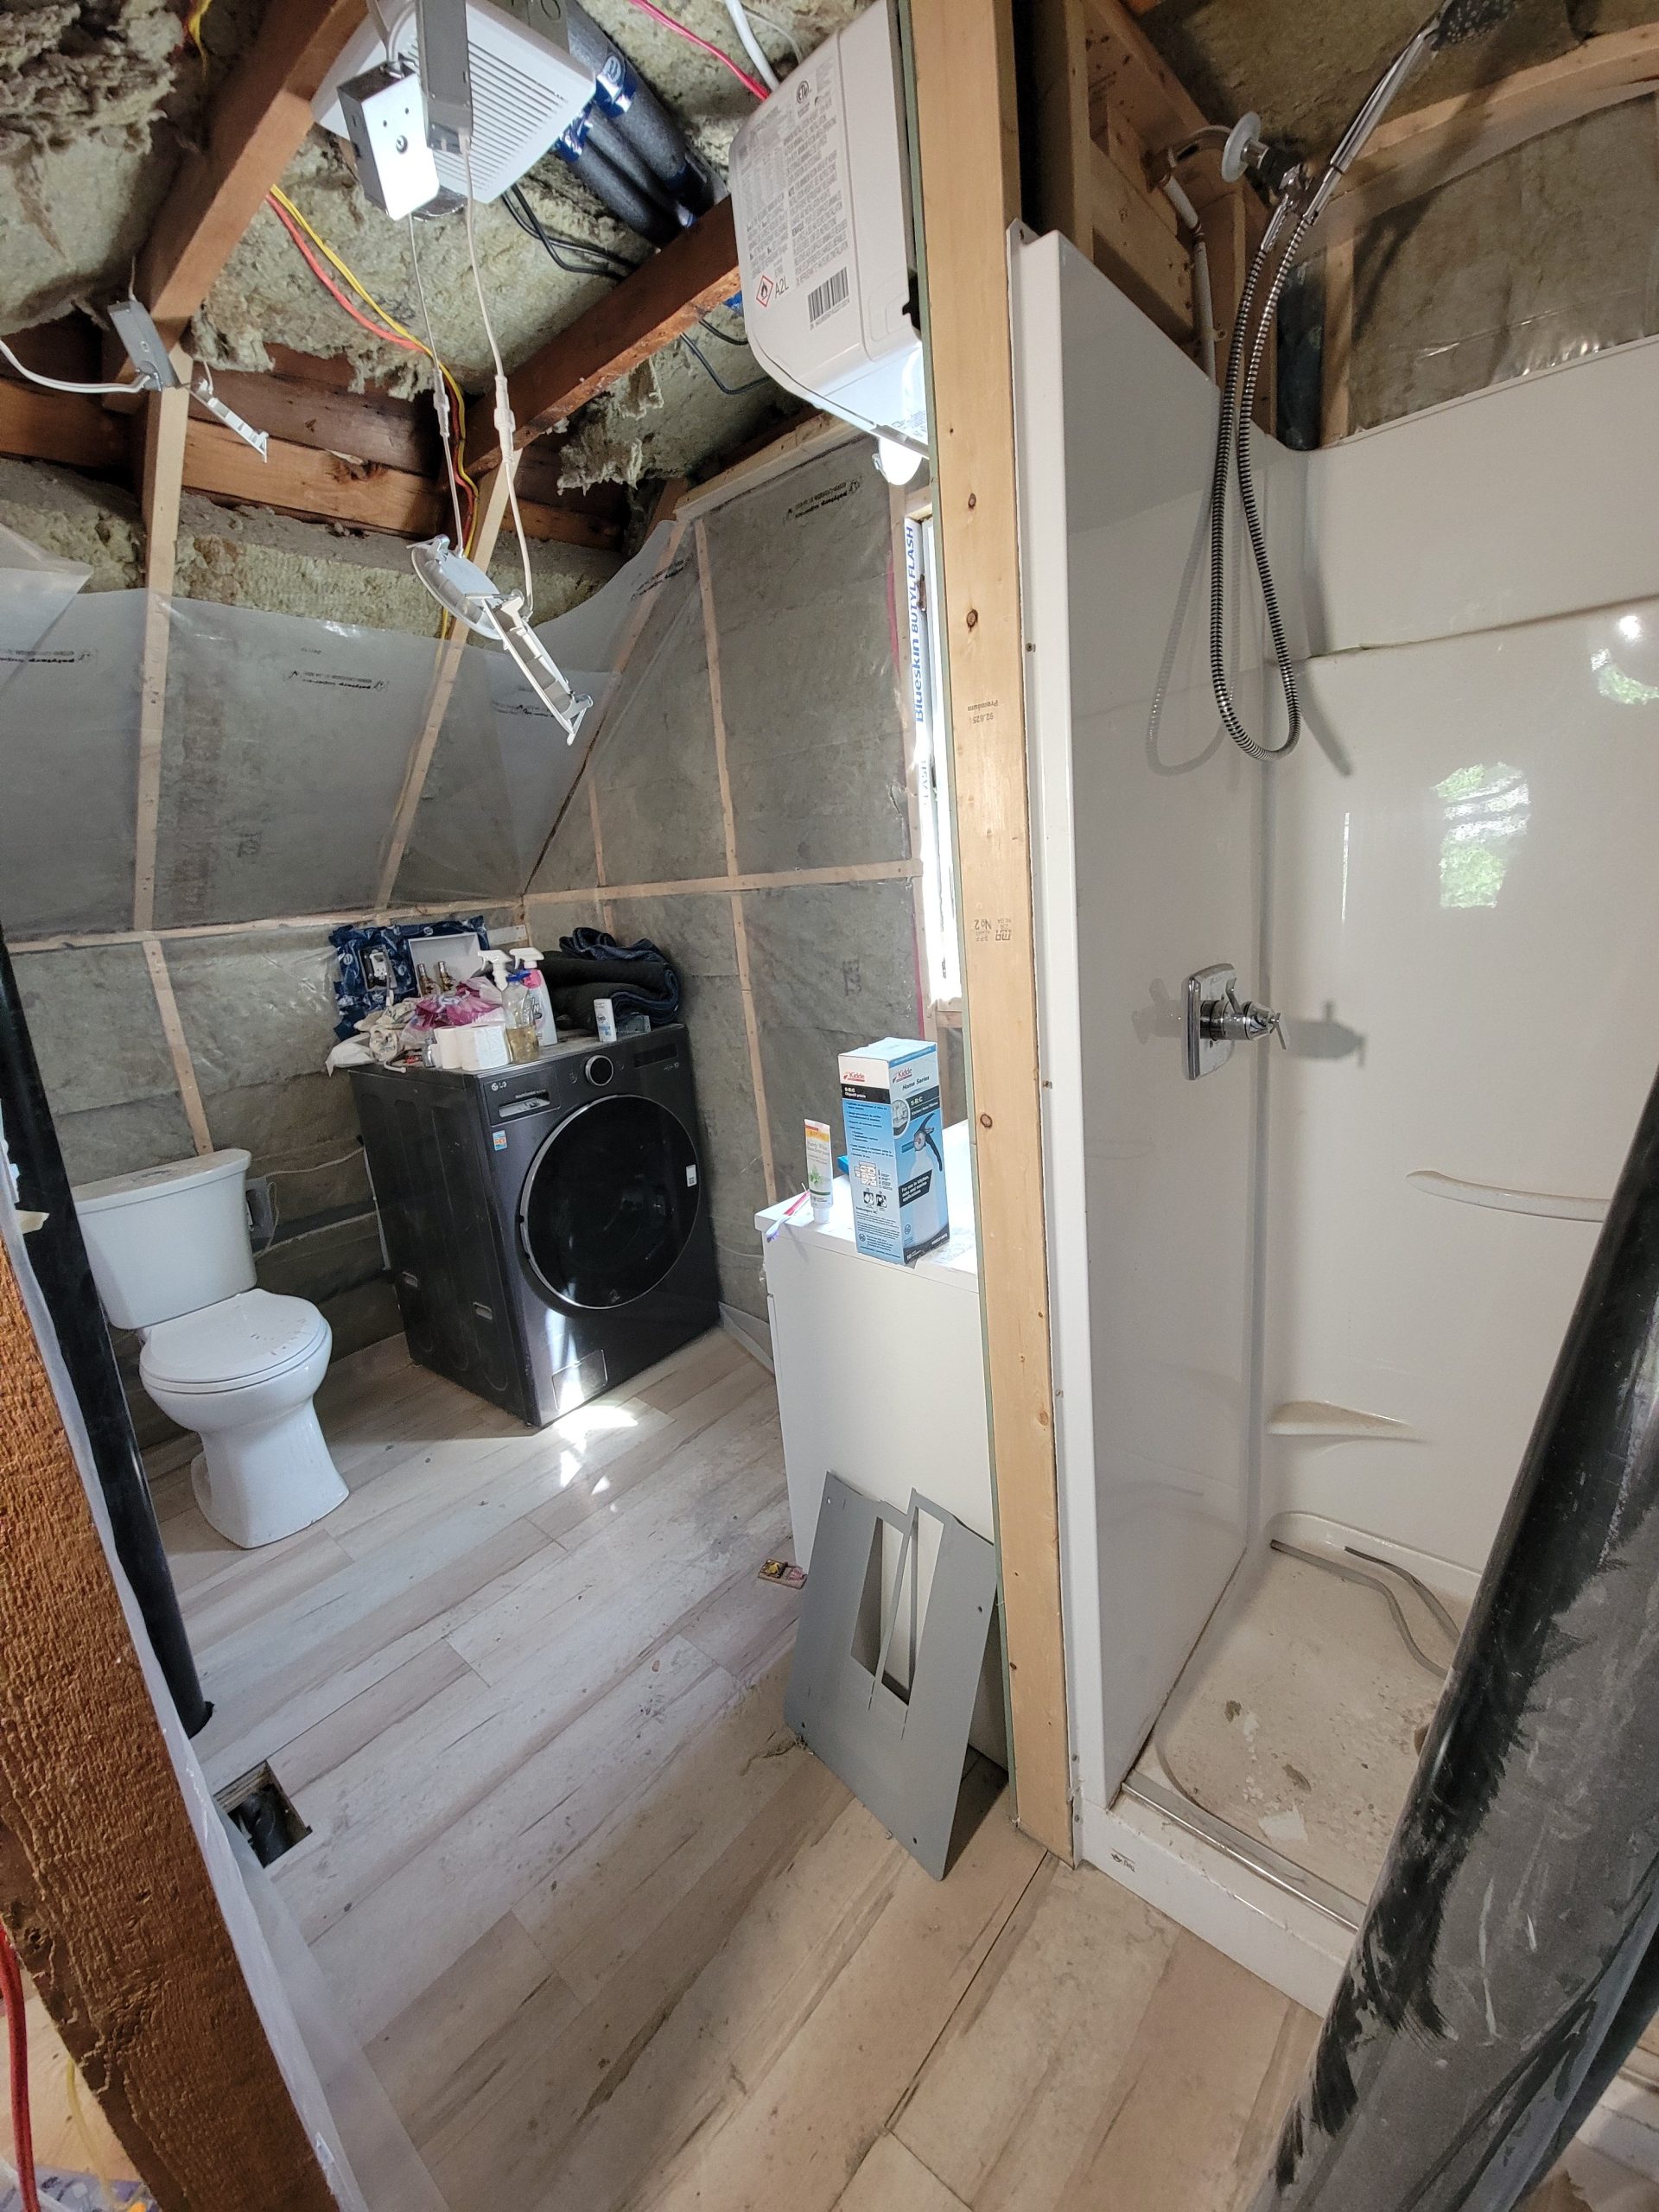
The one in the middle of the south bathroom wall holds the motion sensor dimmer switch for the toilet light and a timer and a humidistat for the fan. 
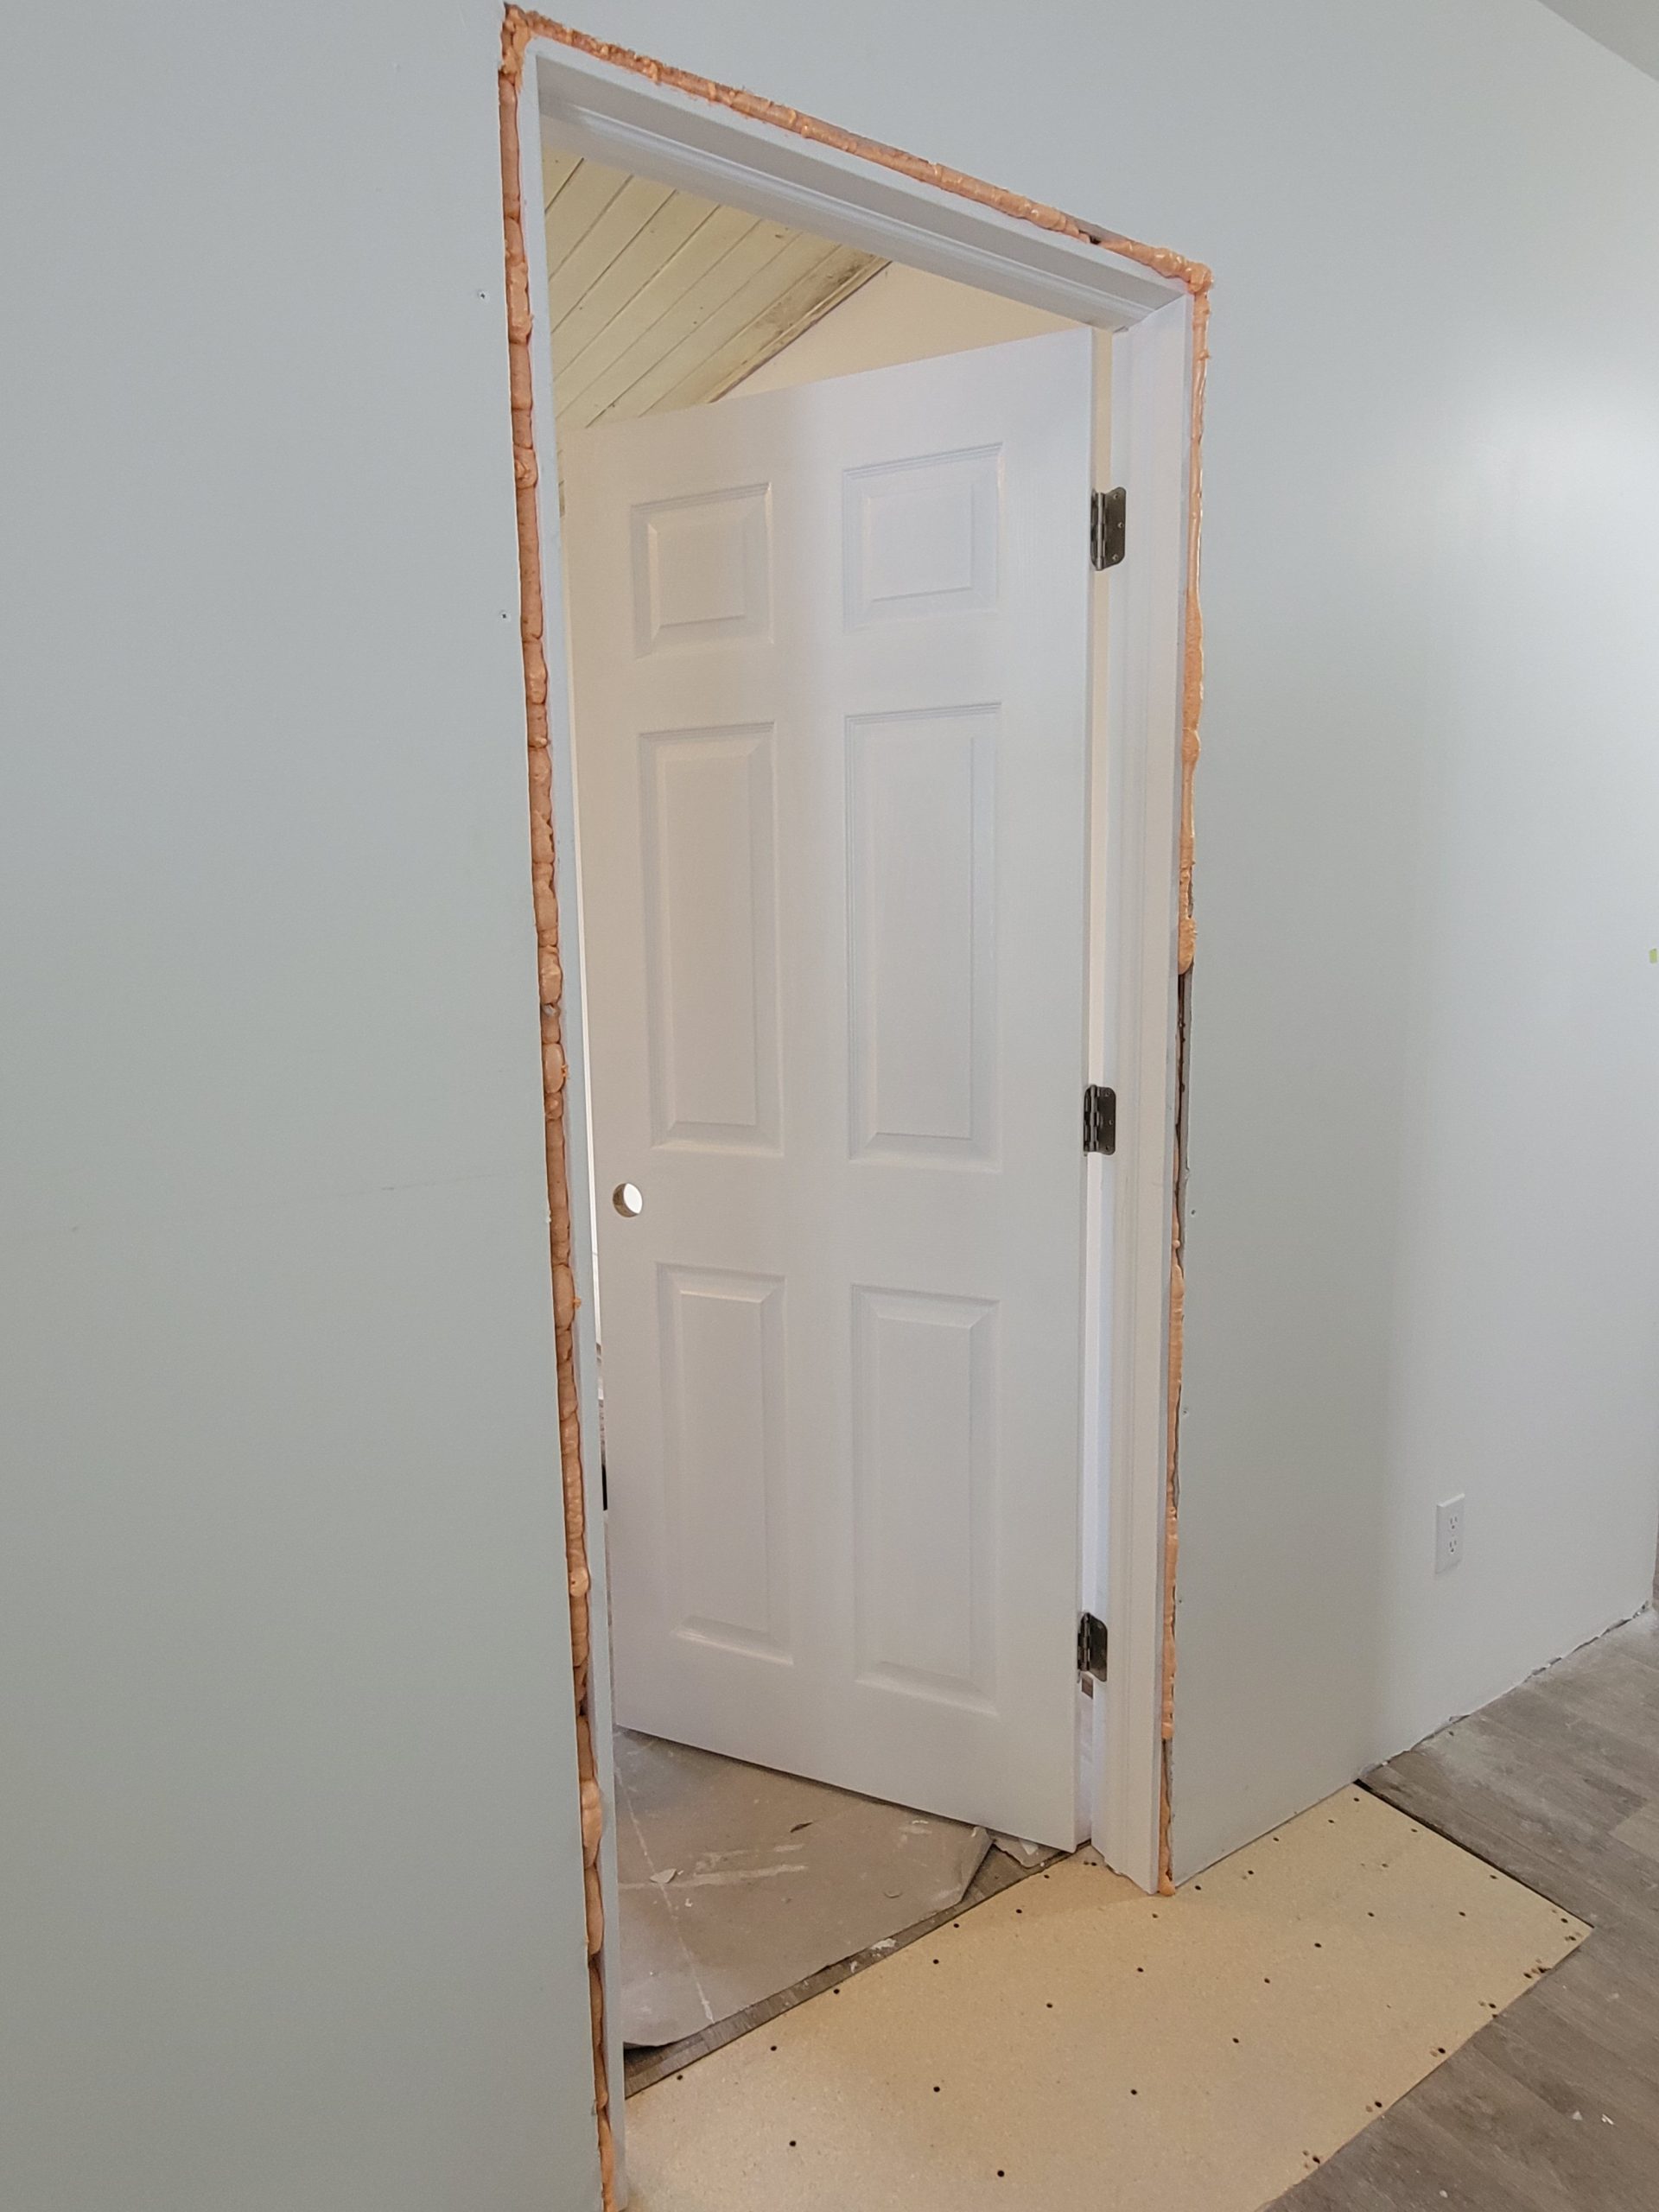
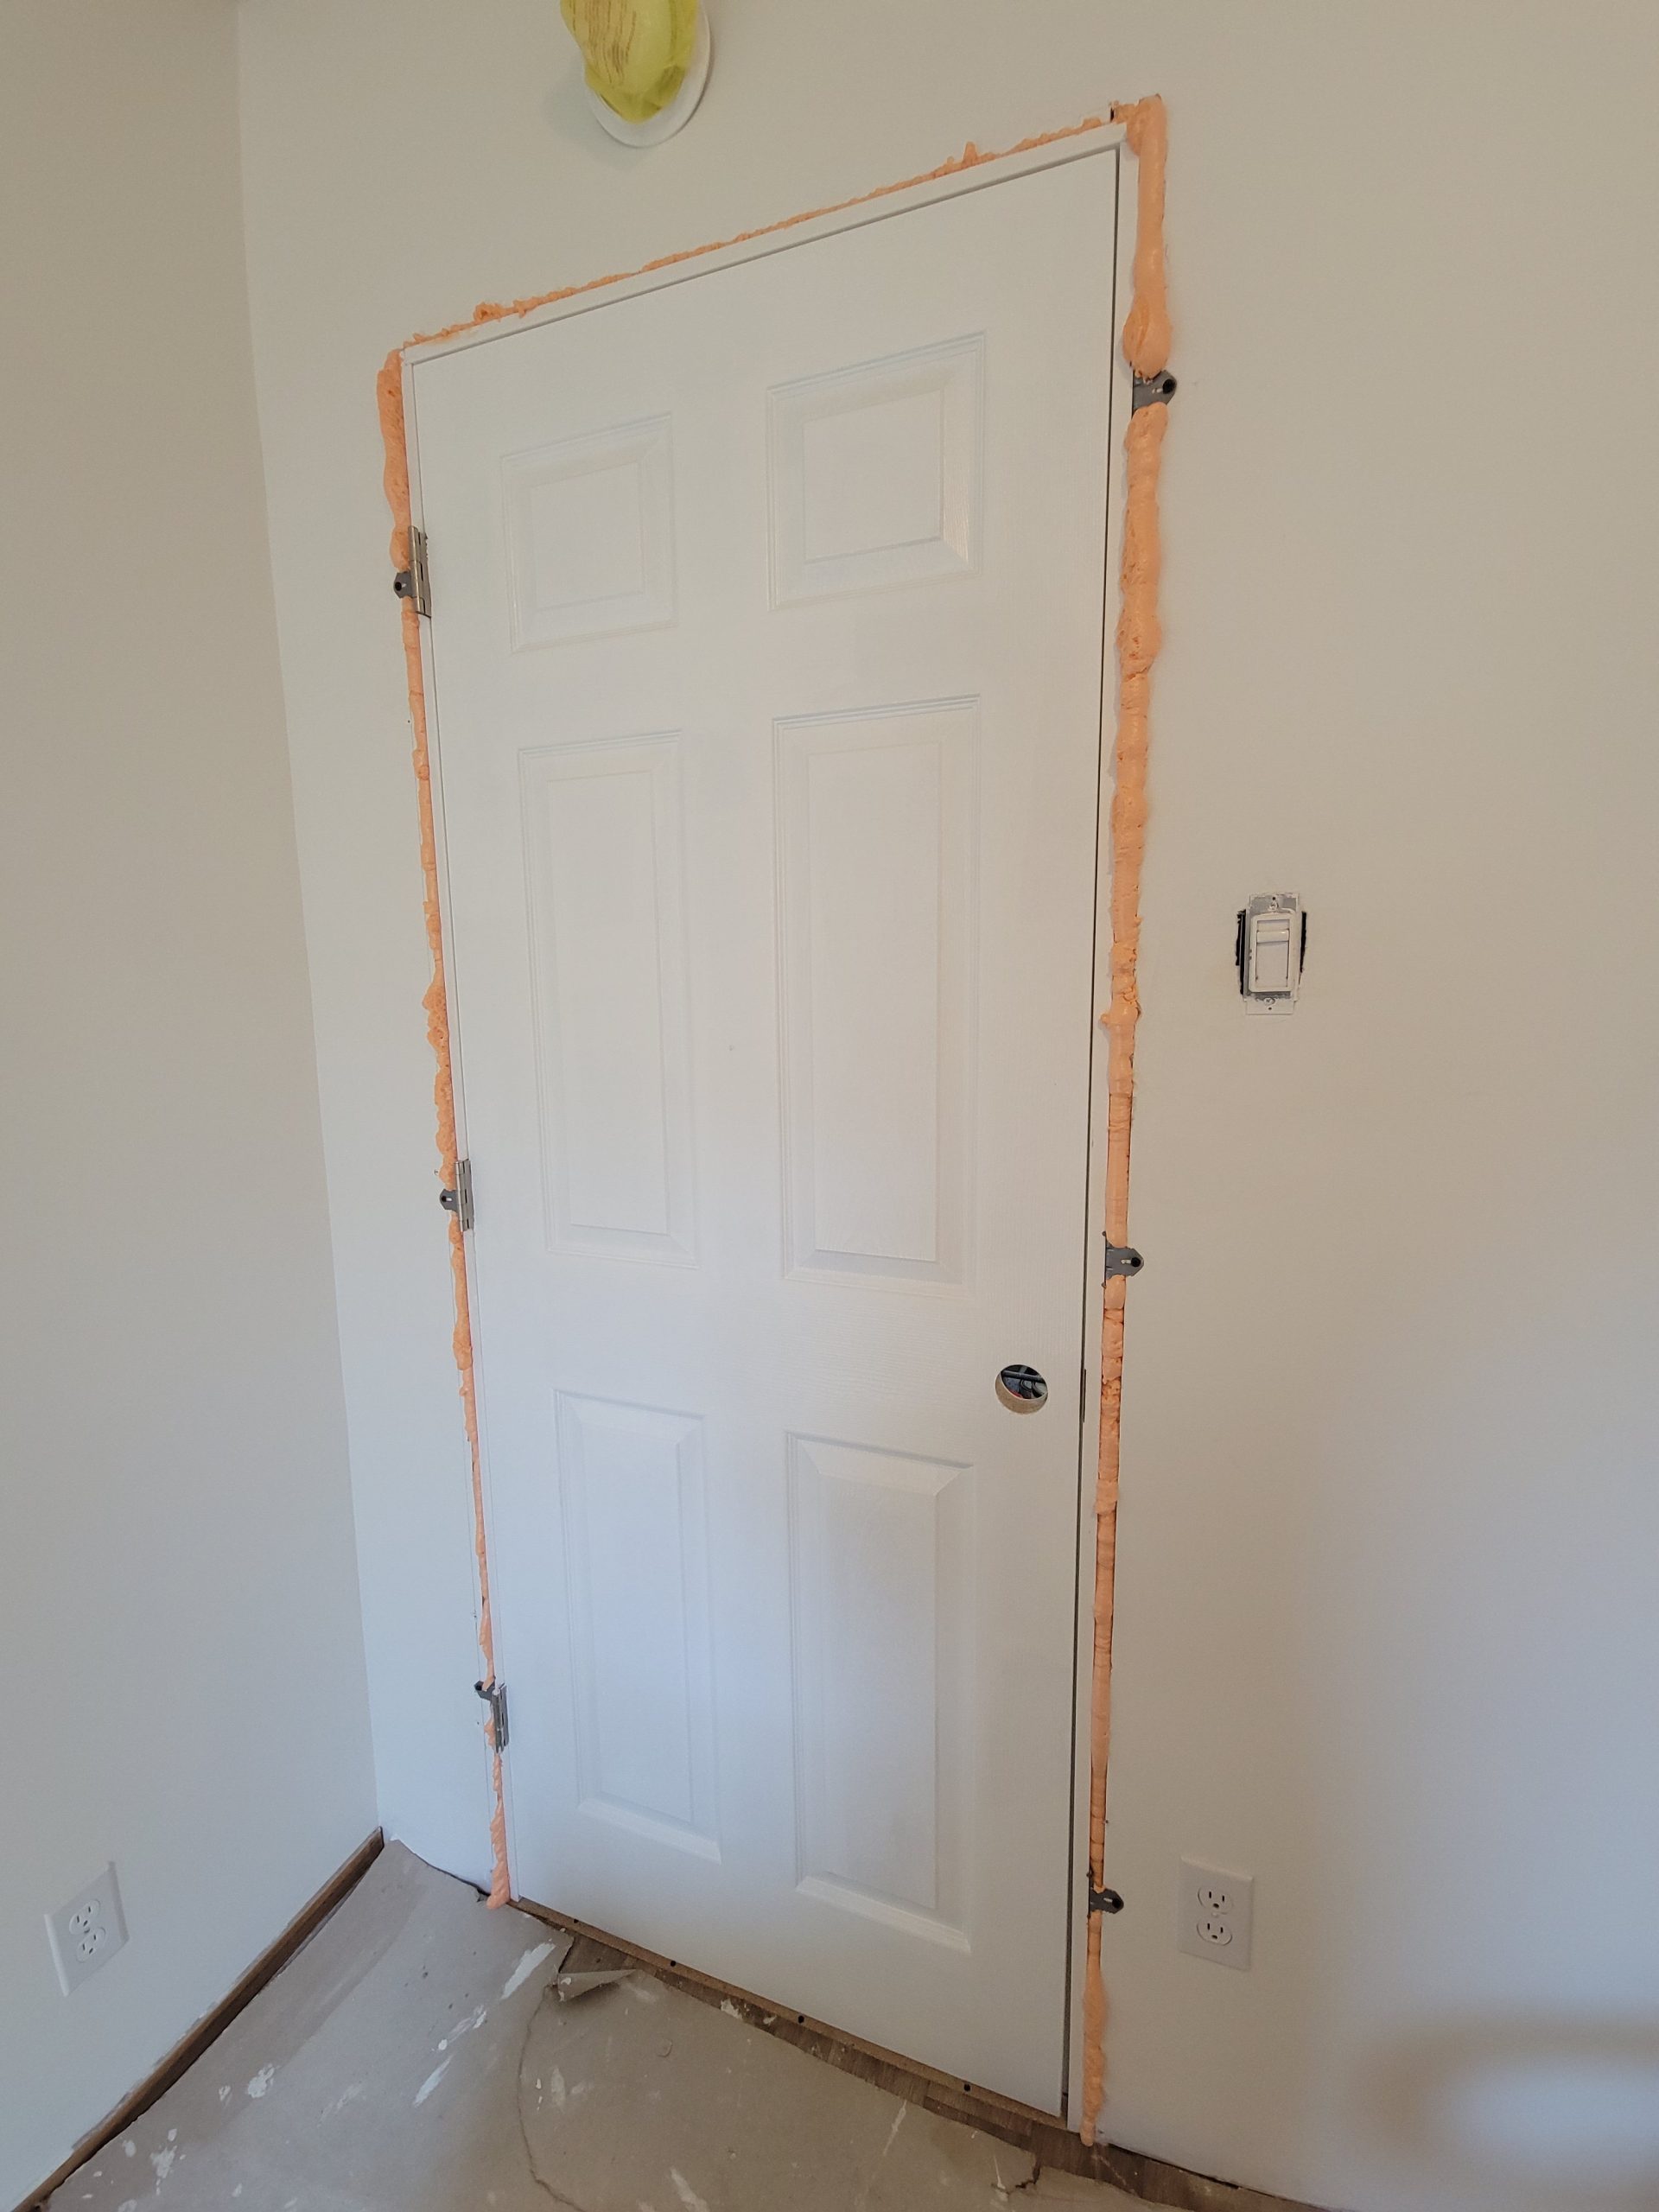
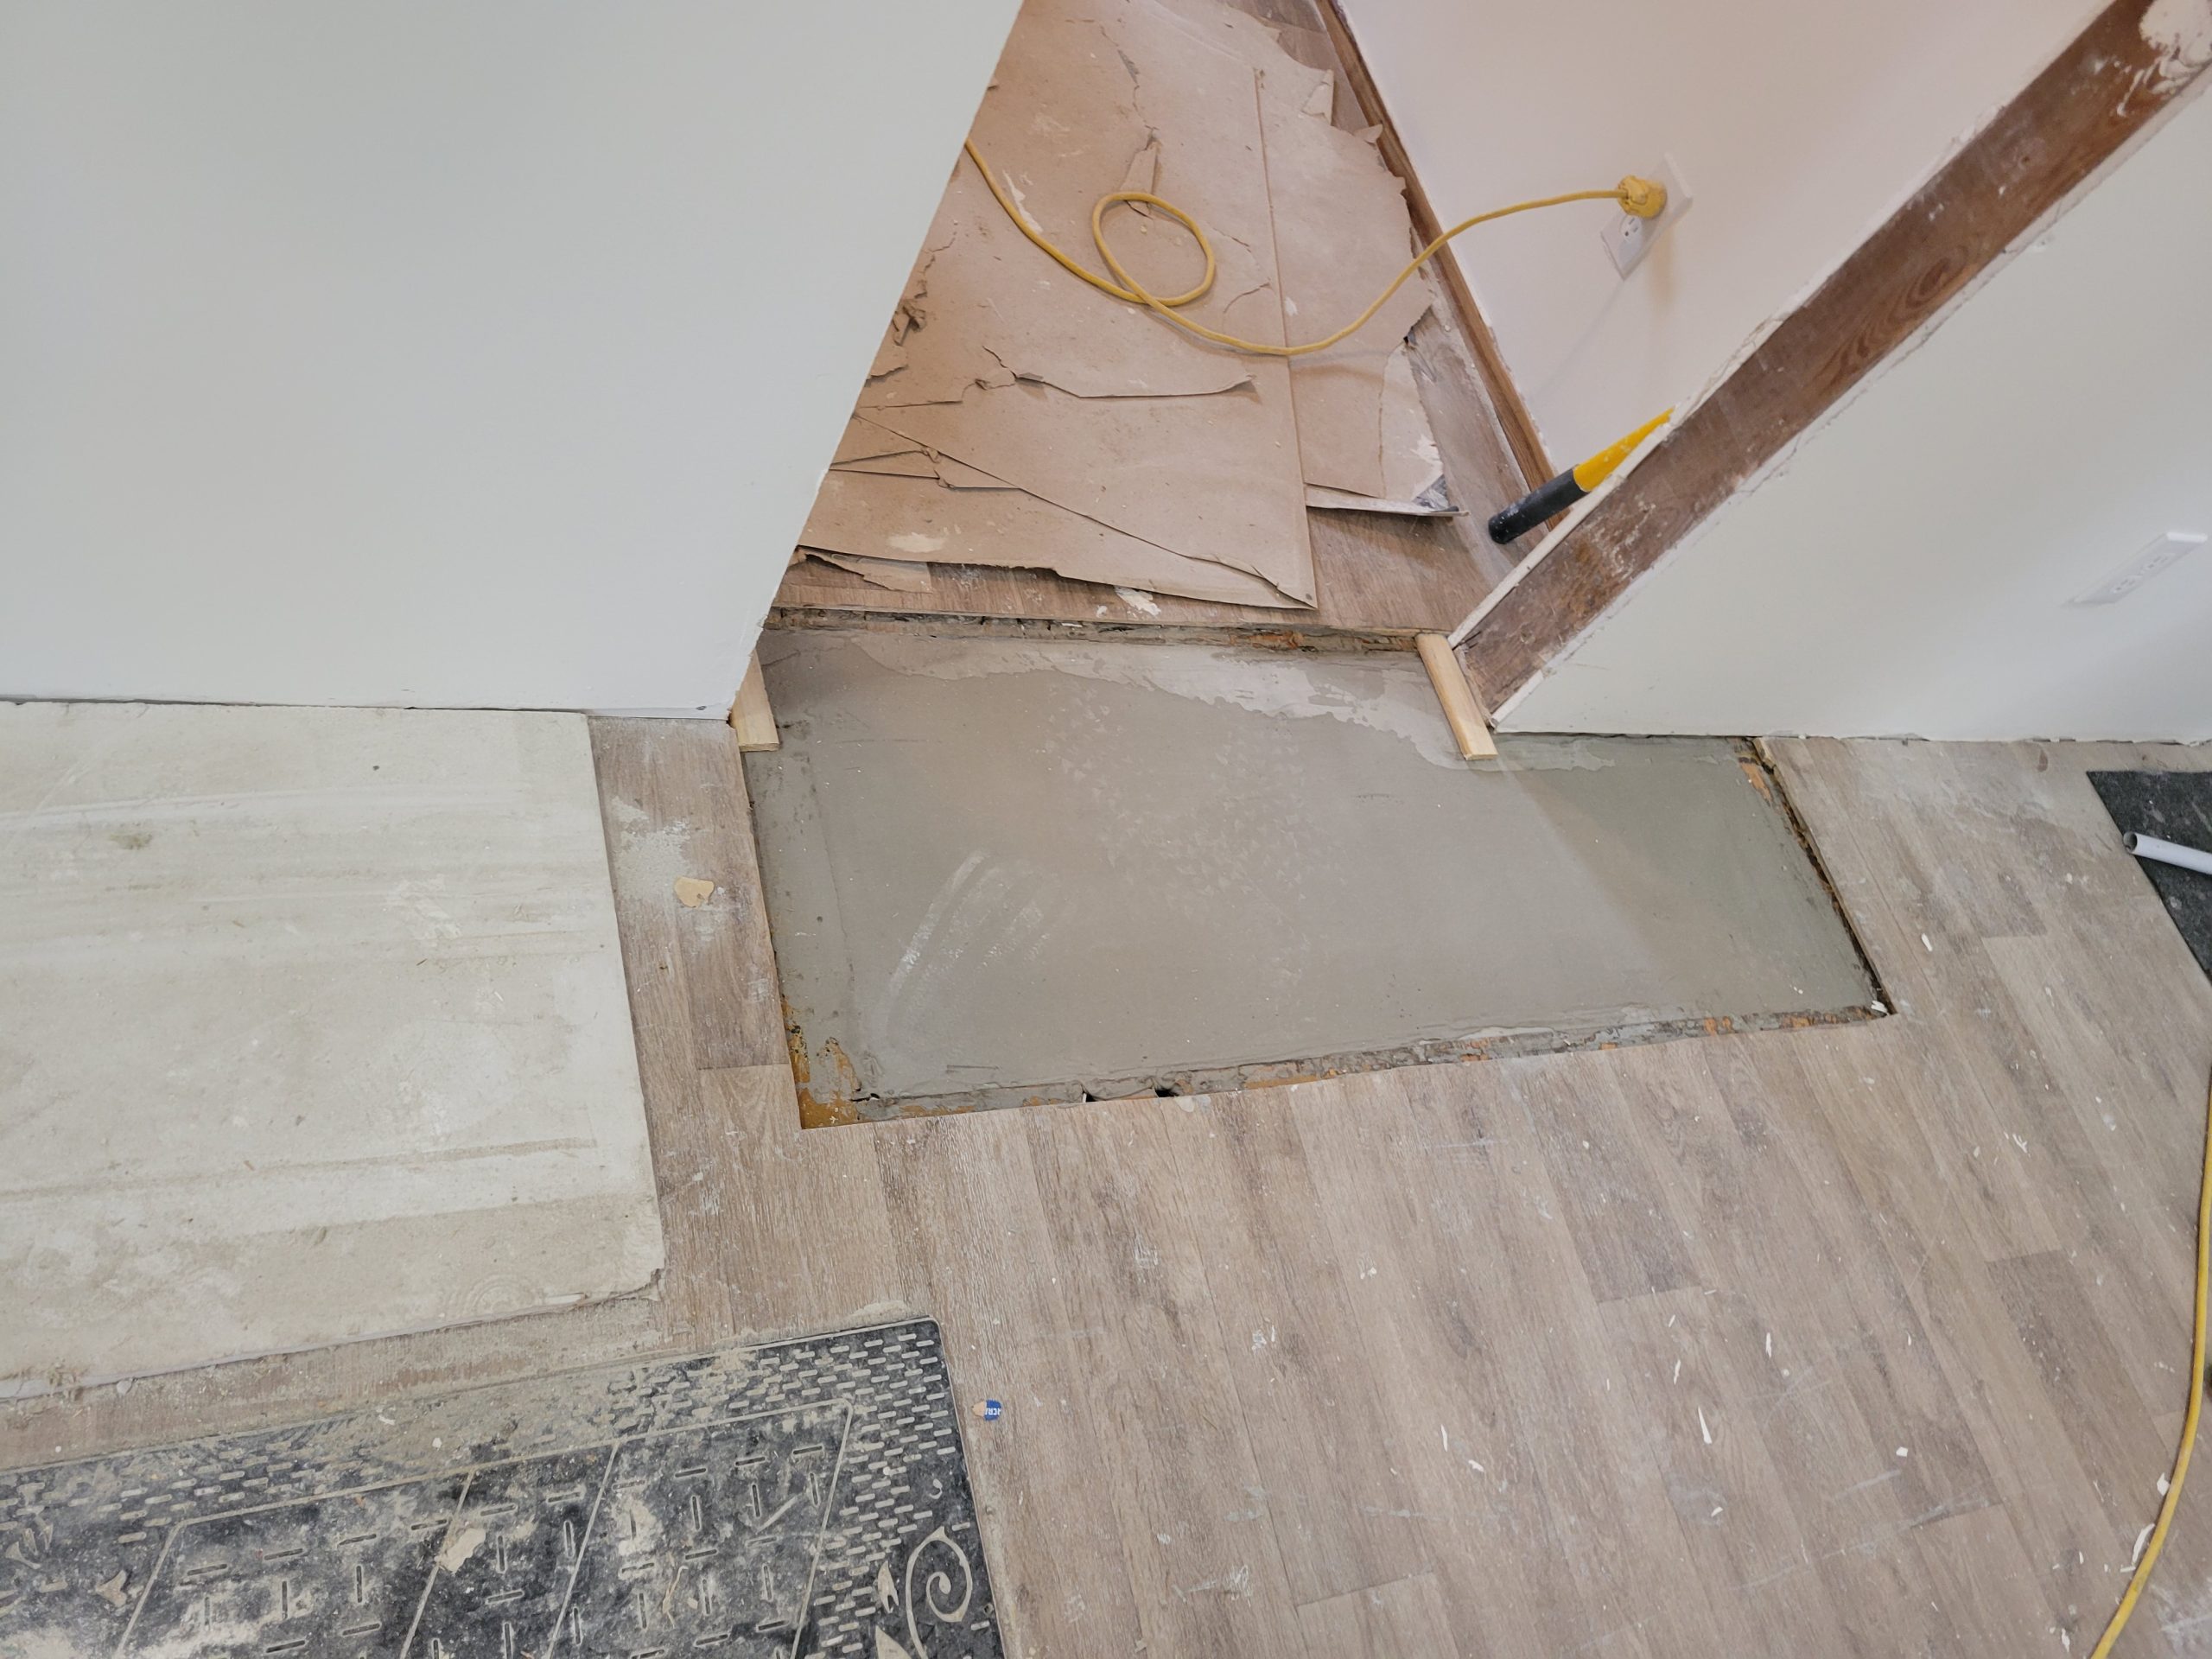
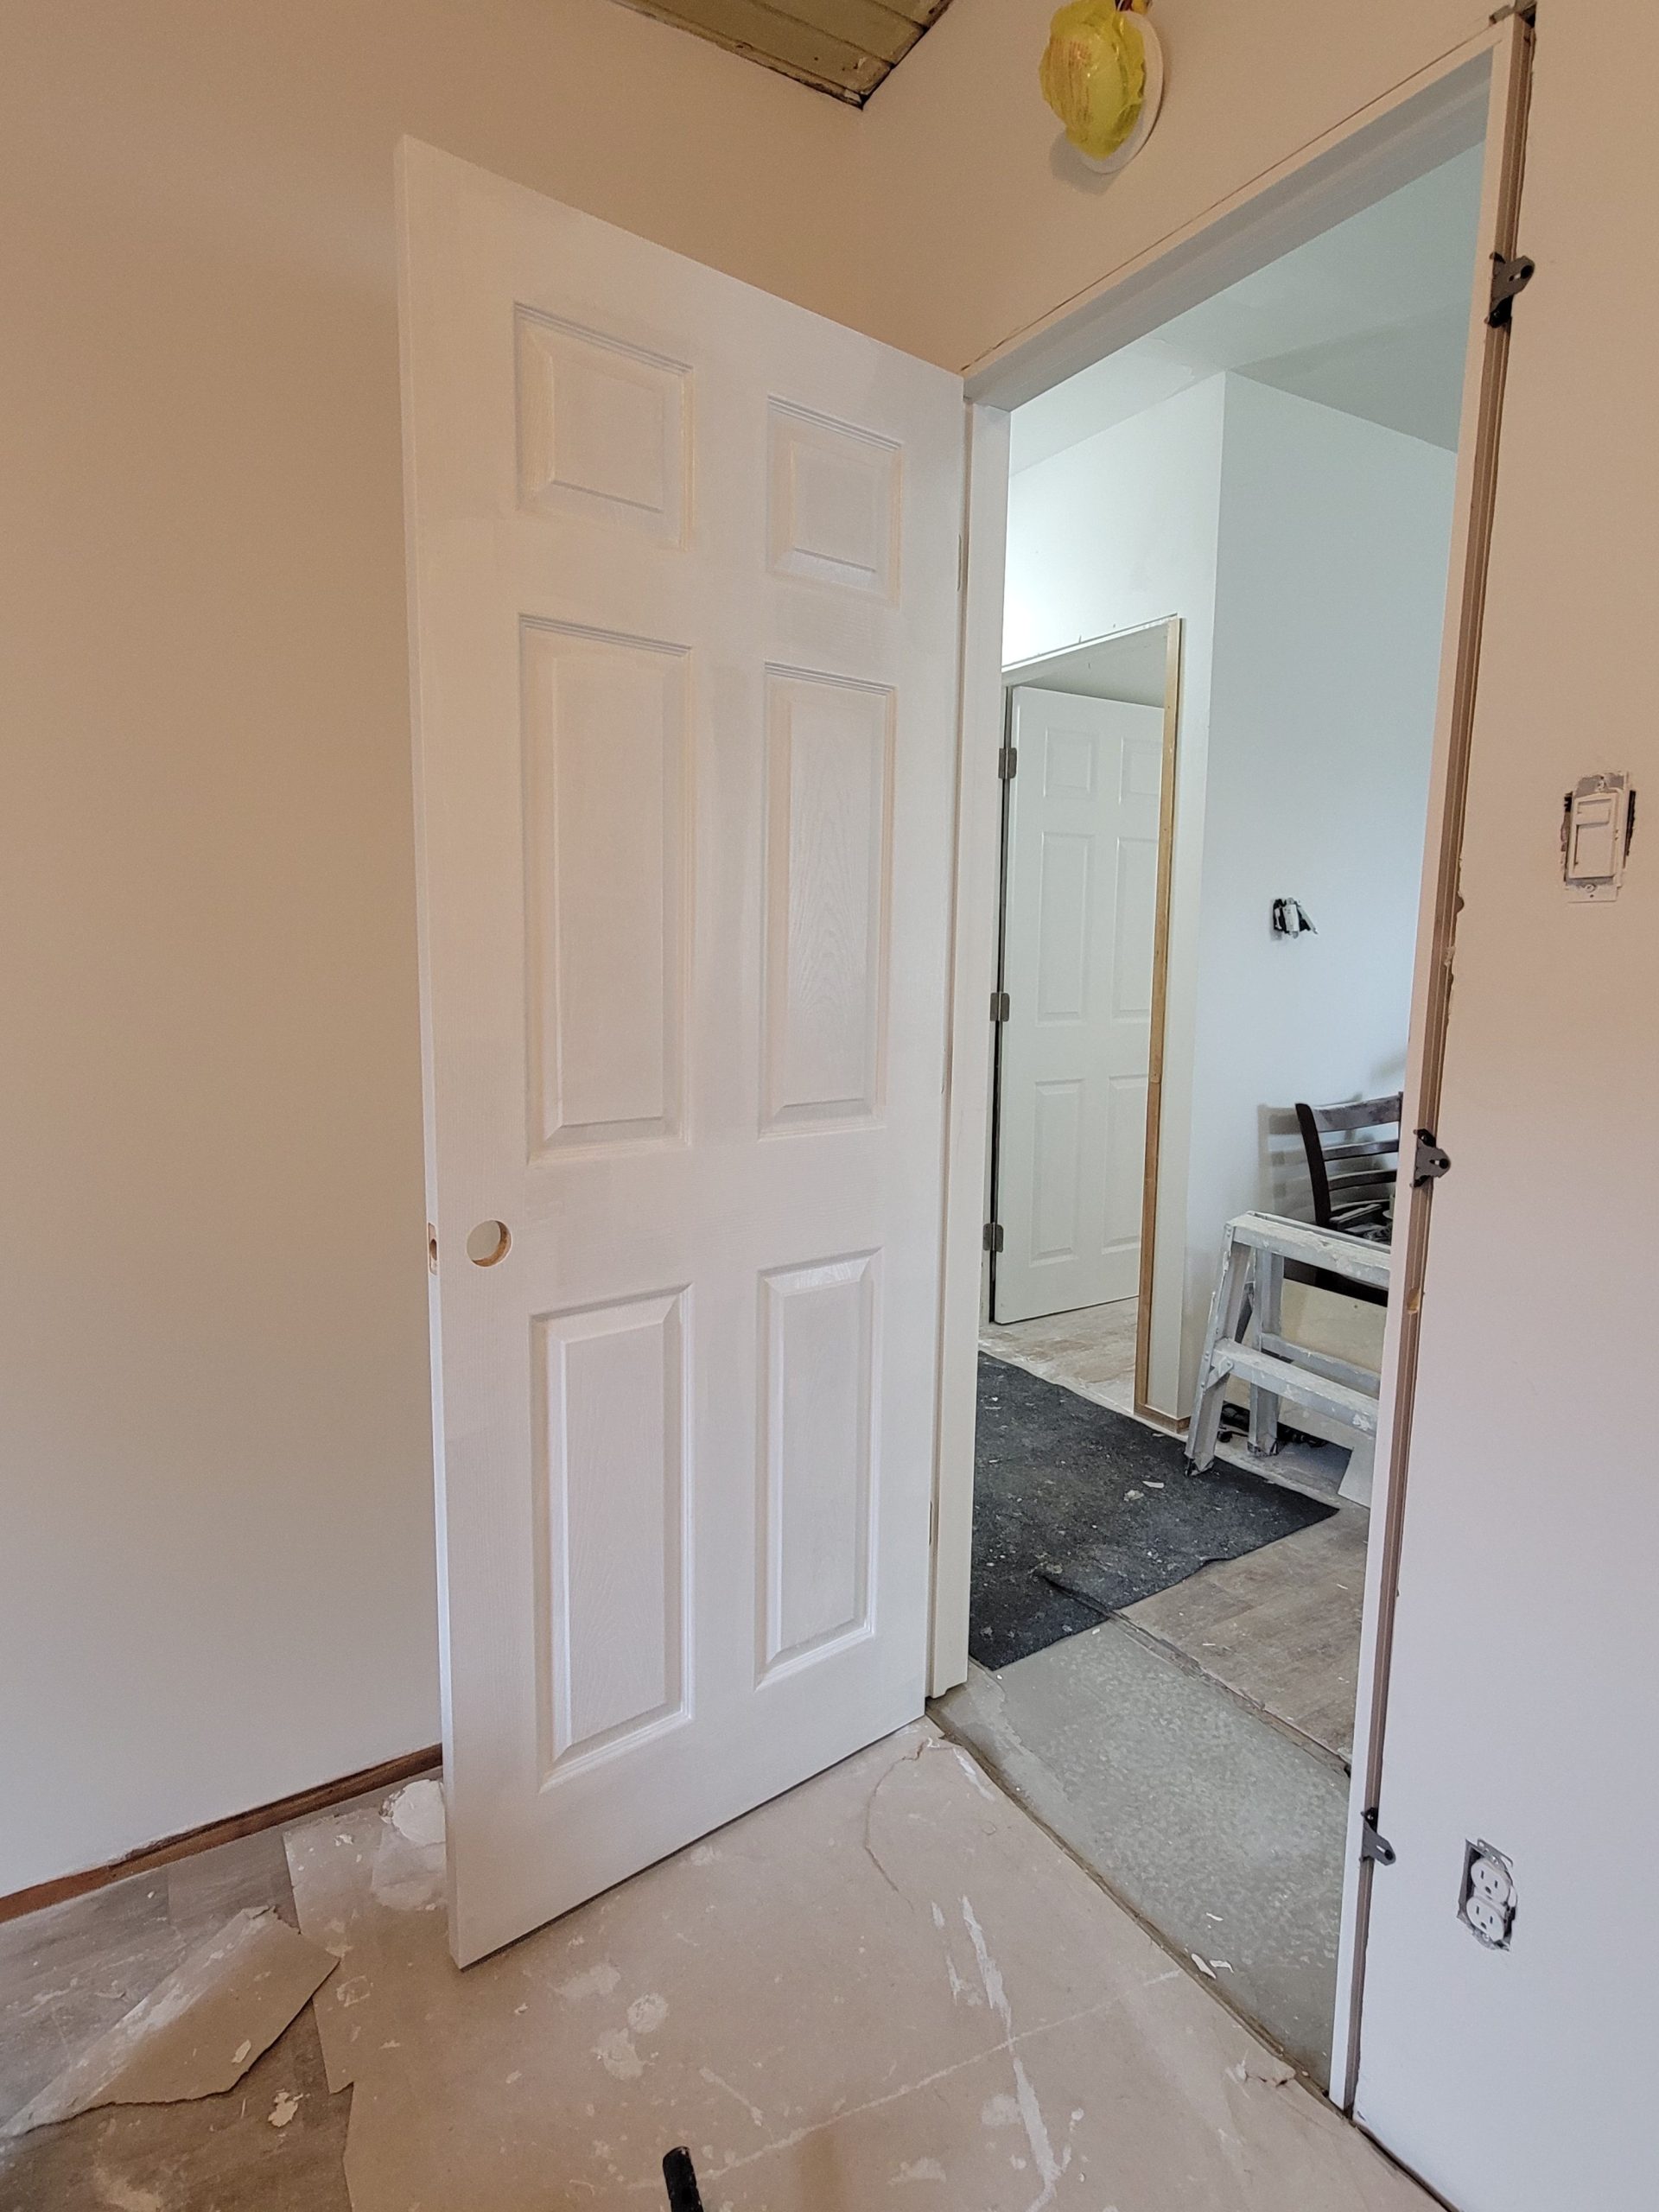
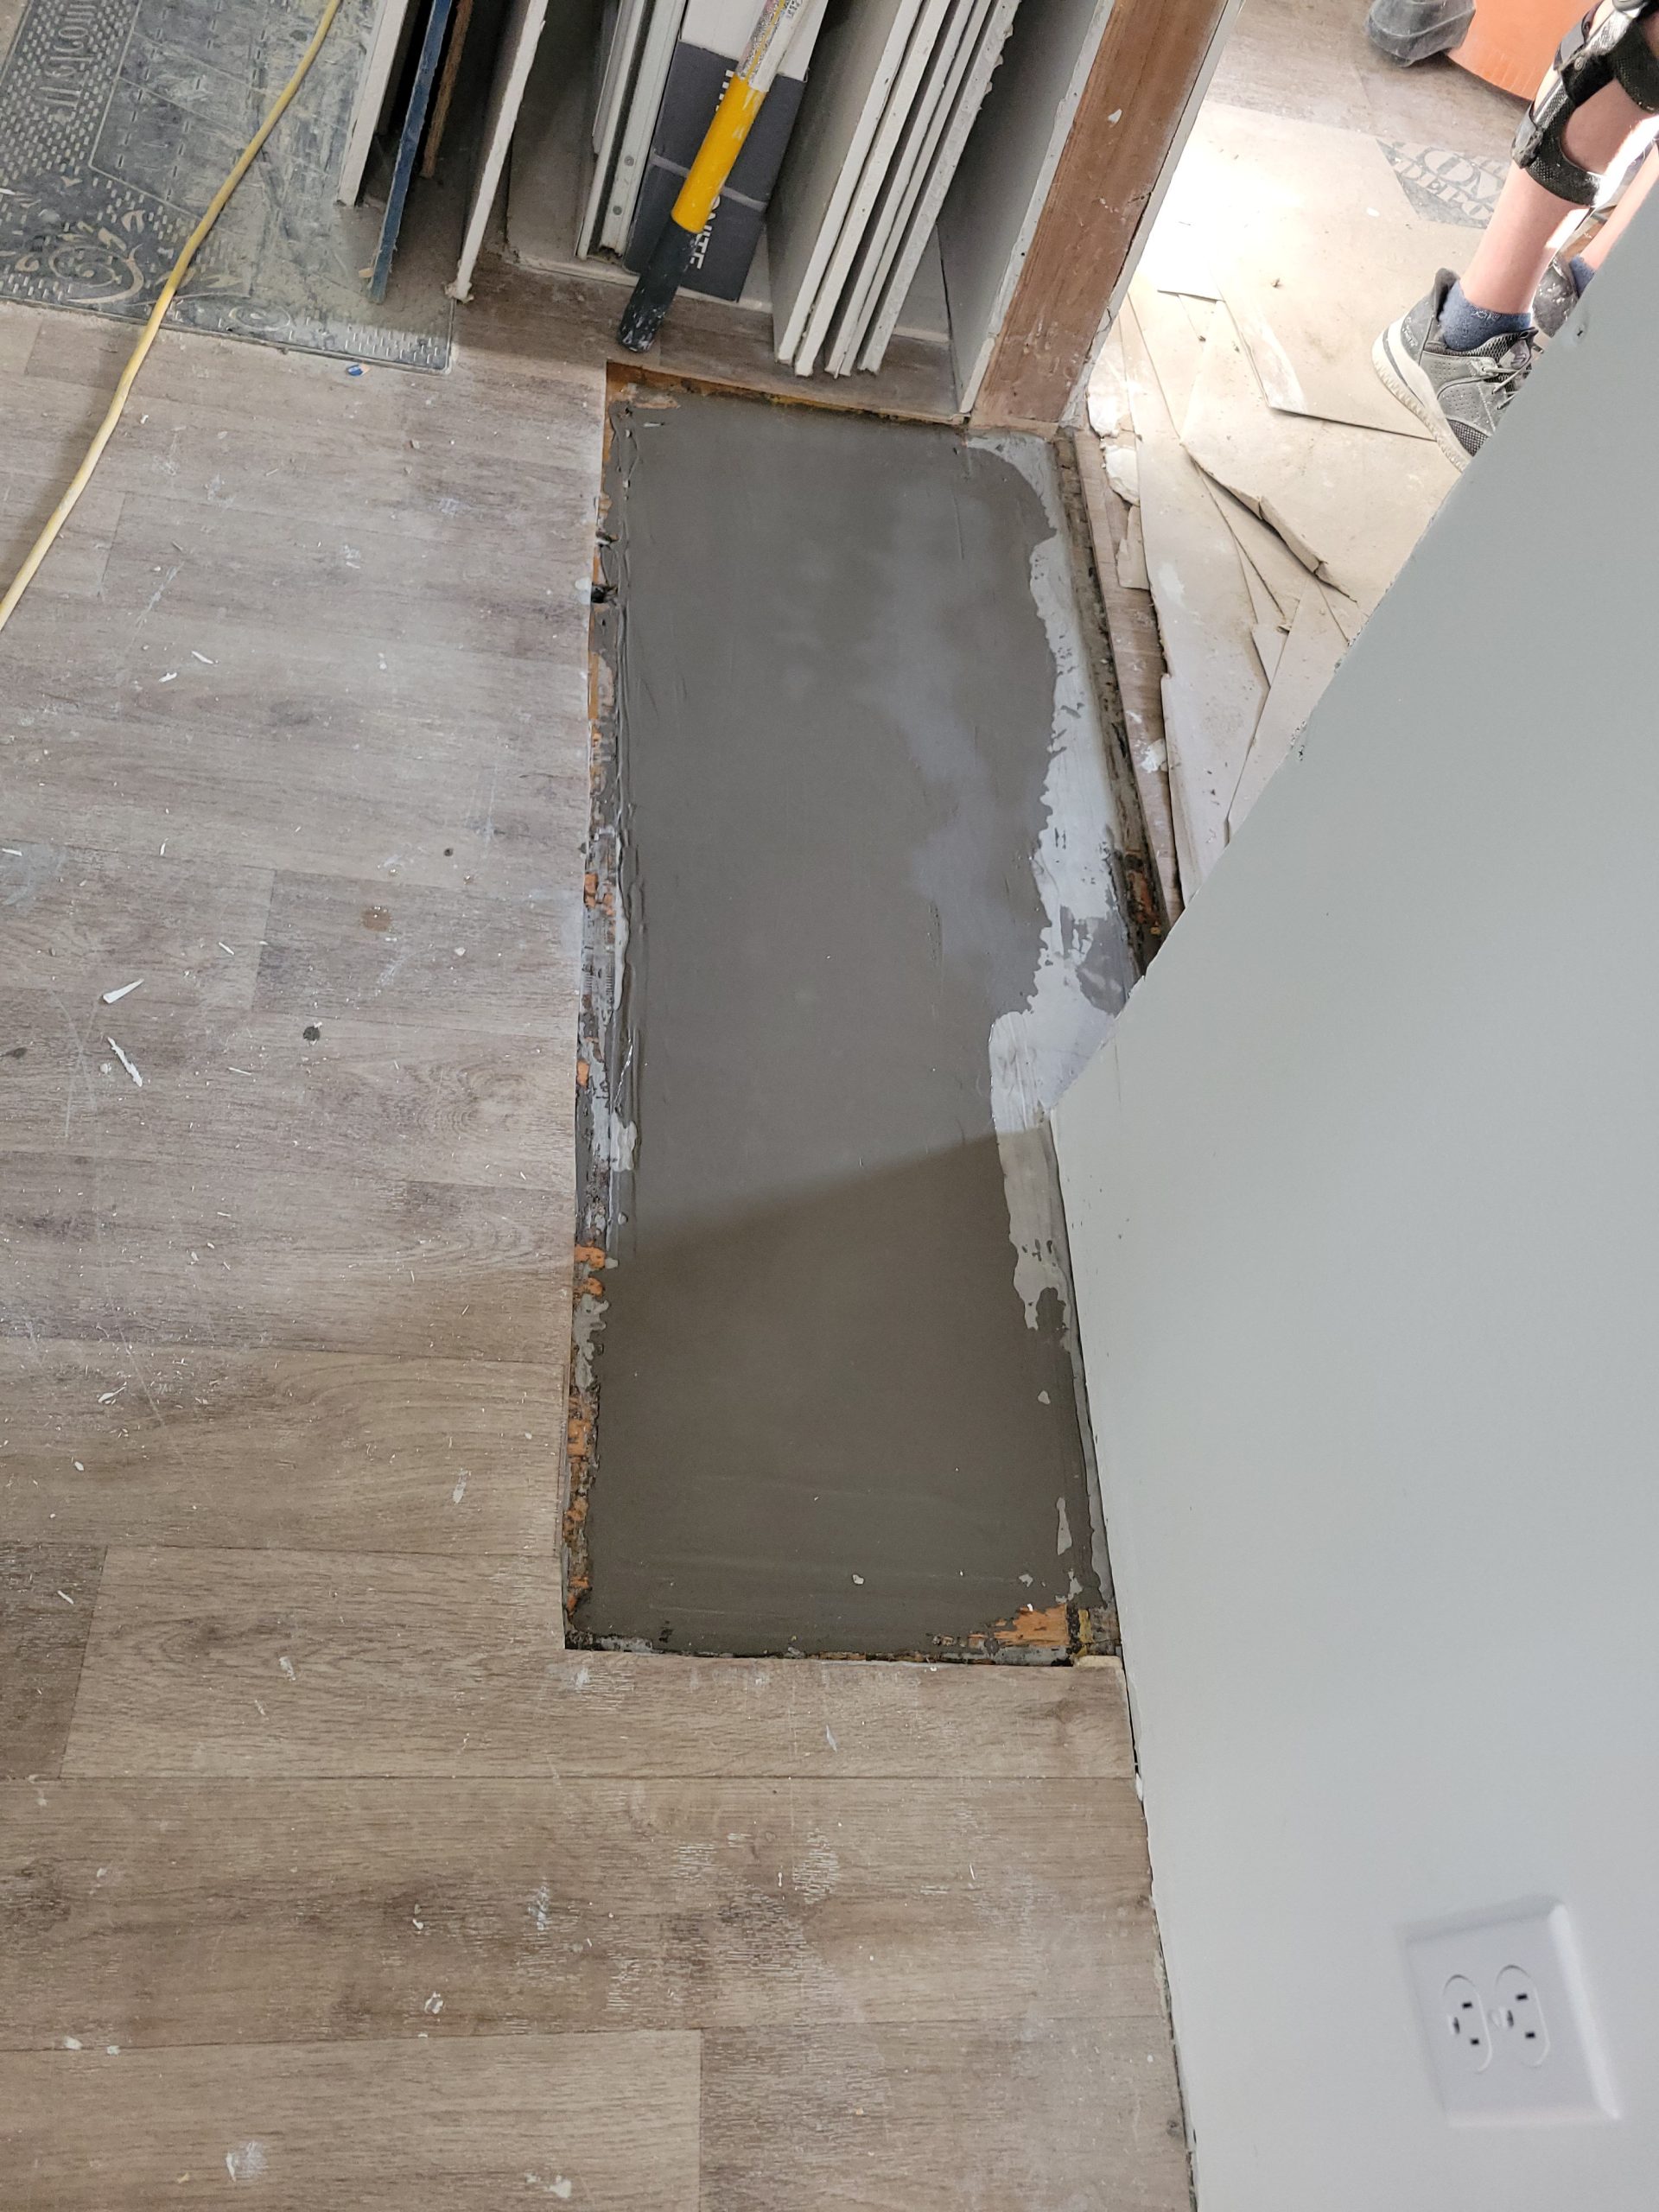
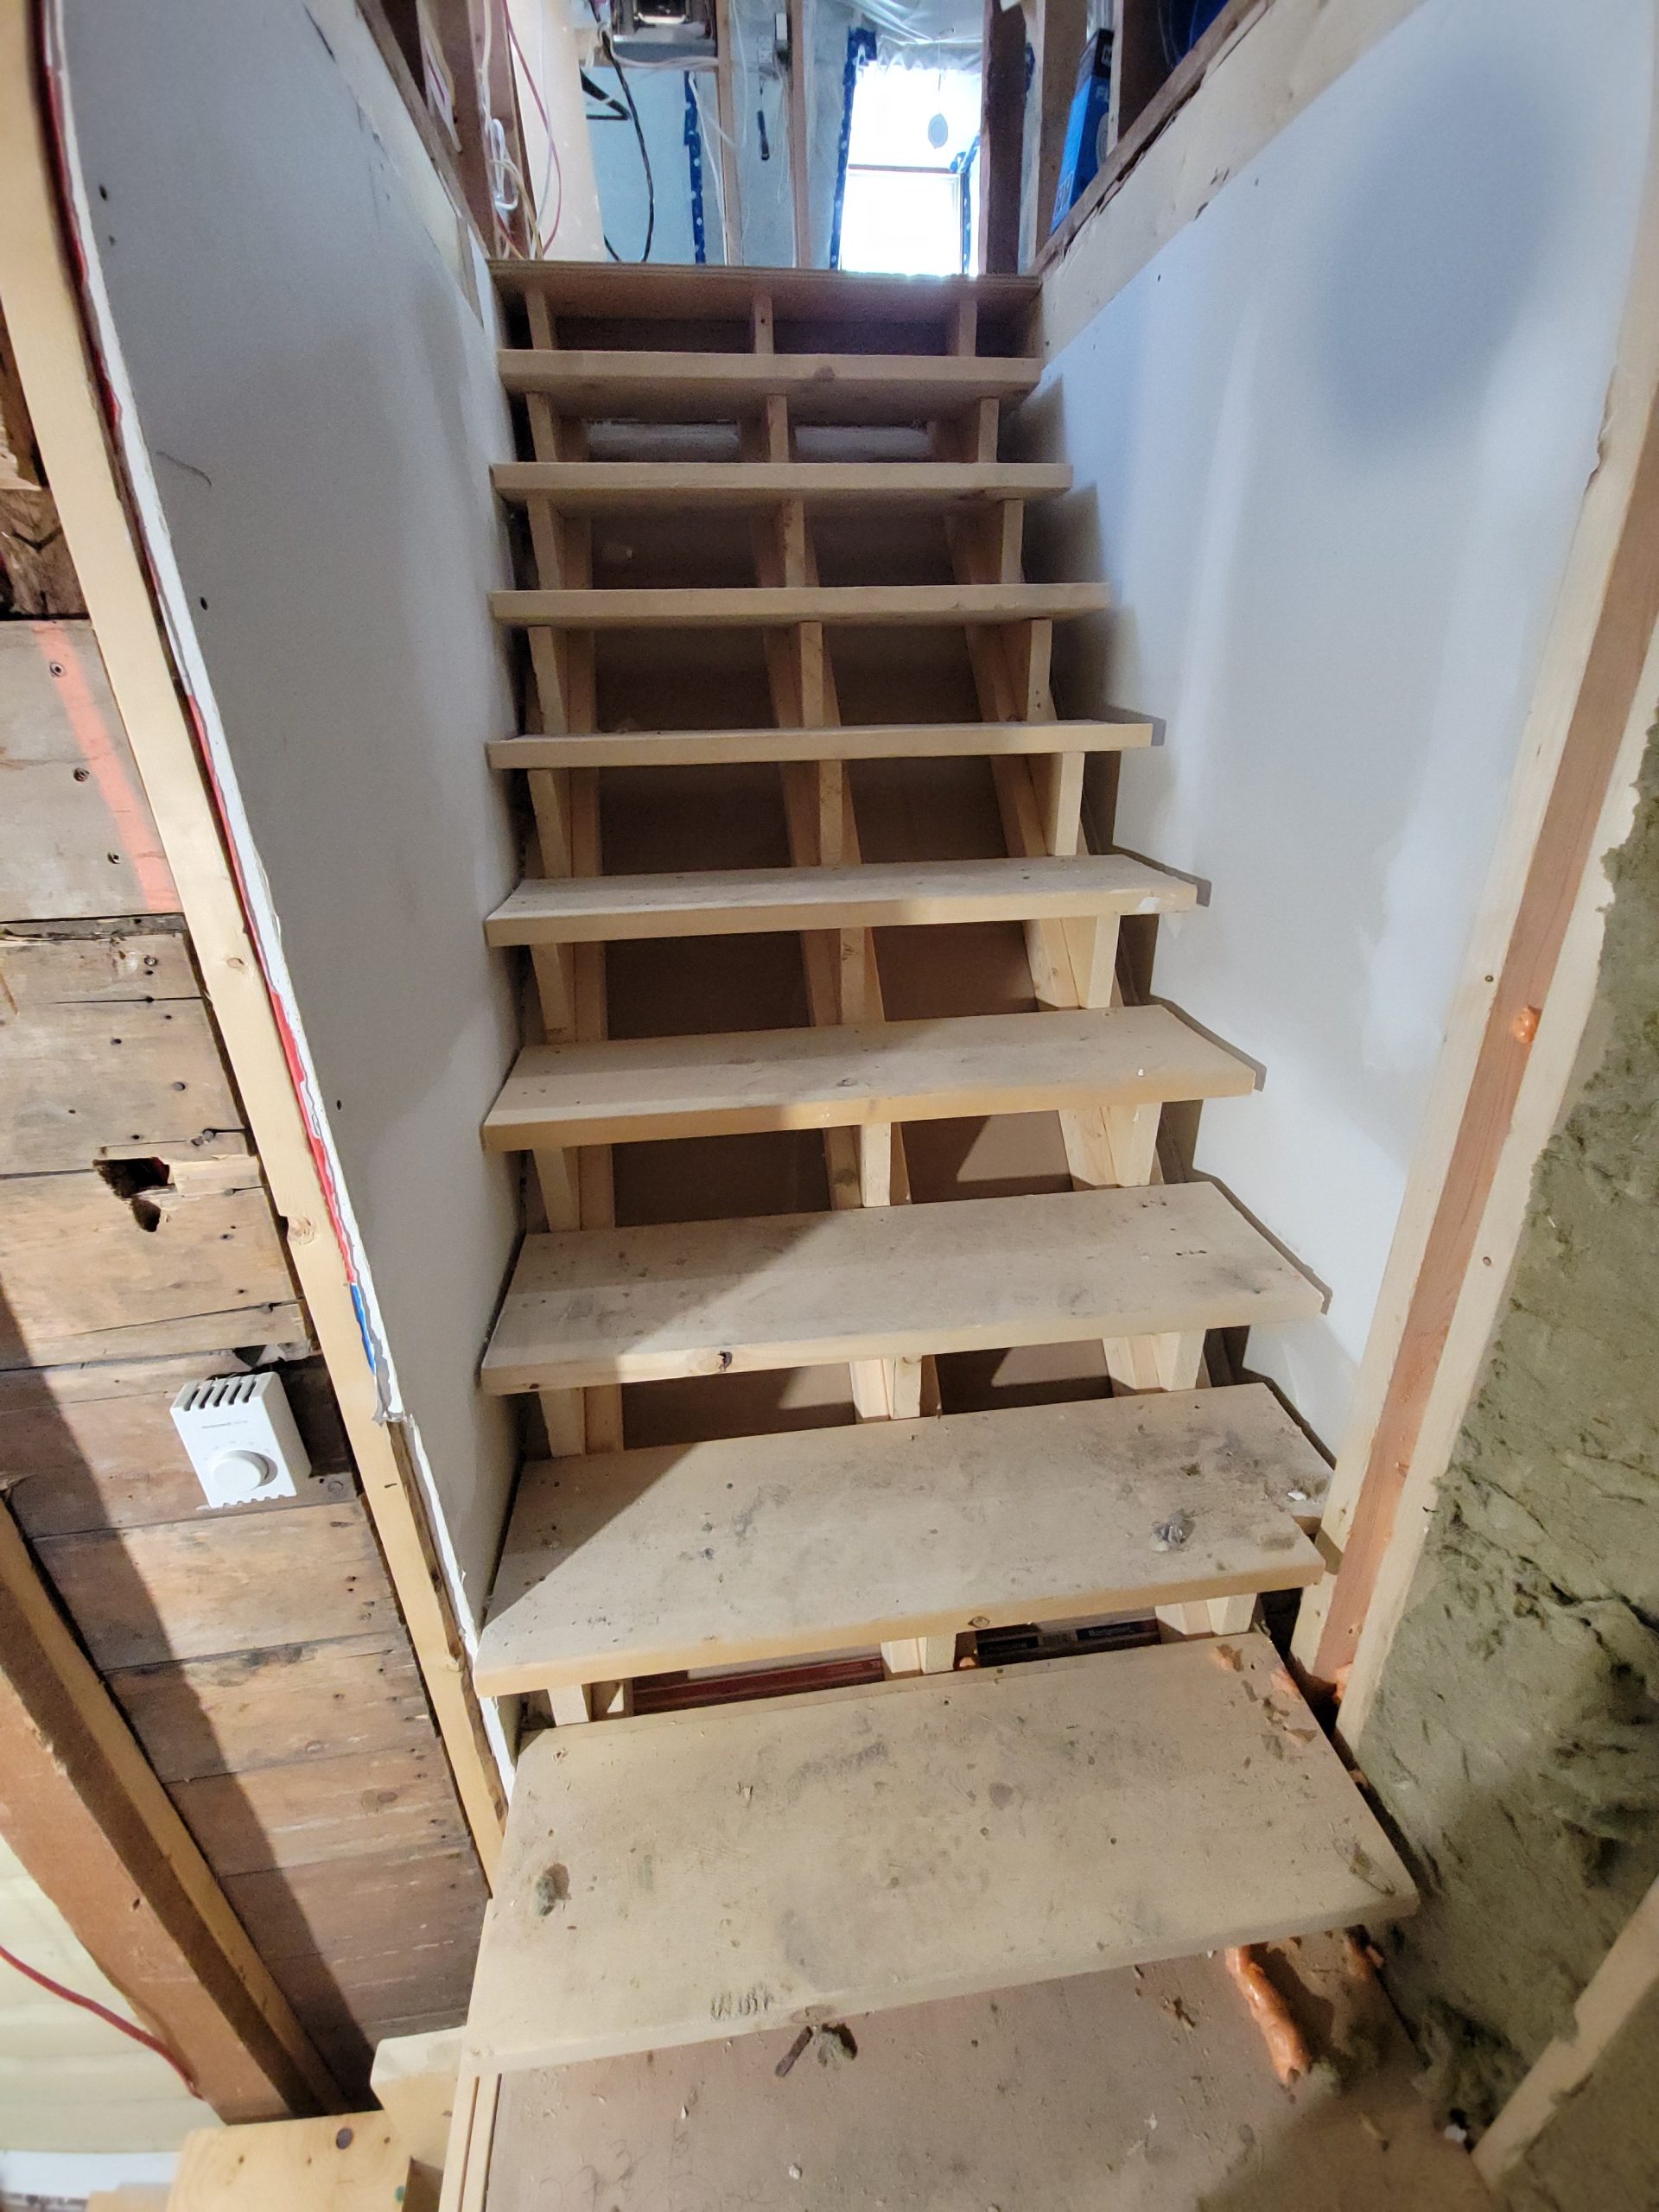
To complete the trim boards, the bedroom door must be put in.  To complete the door, the chimney floor hole must be repaired. 

Read more

floor chimney hole, doors, cracks

The floor chimney hole levelling compound seems to be cured. 

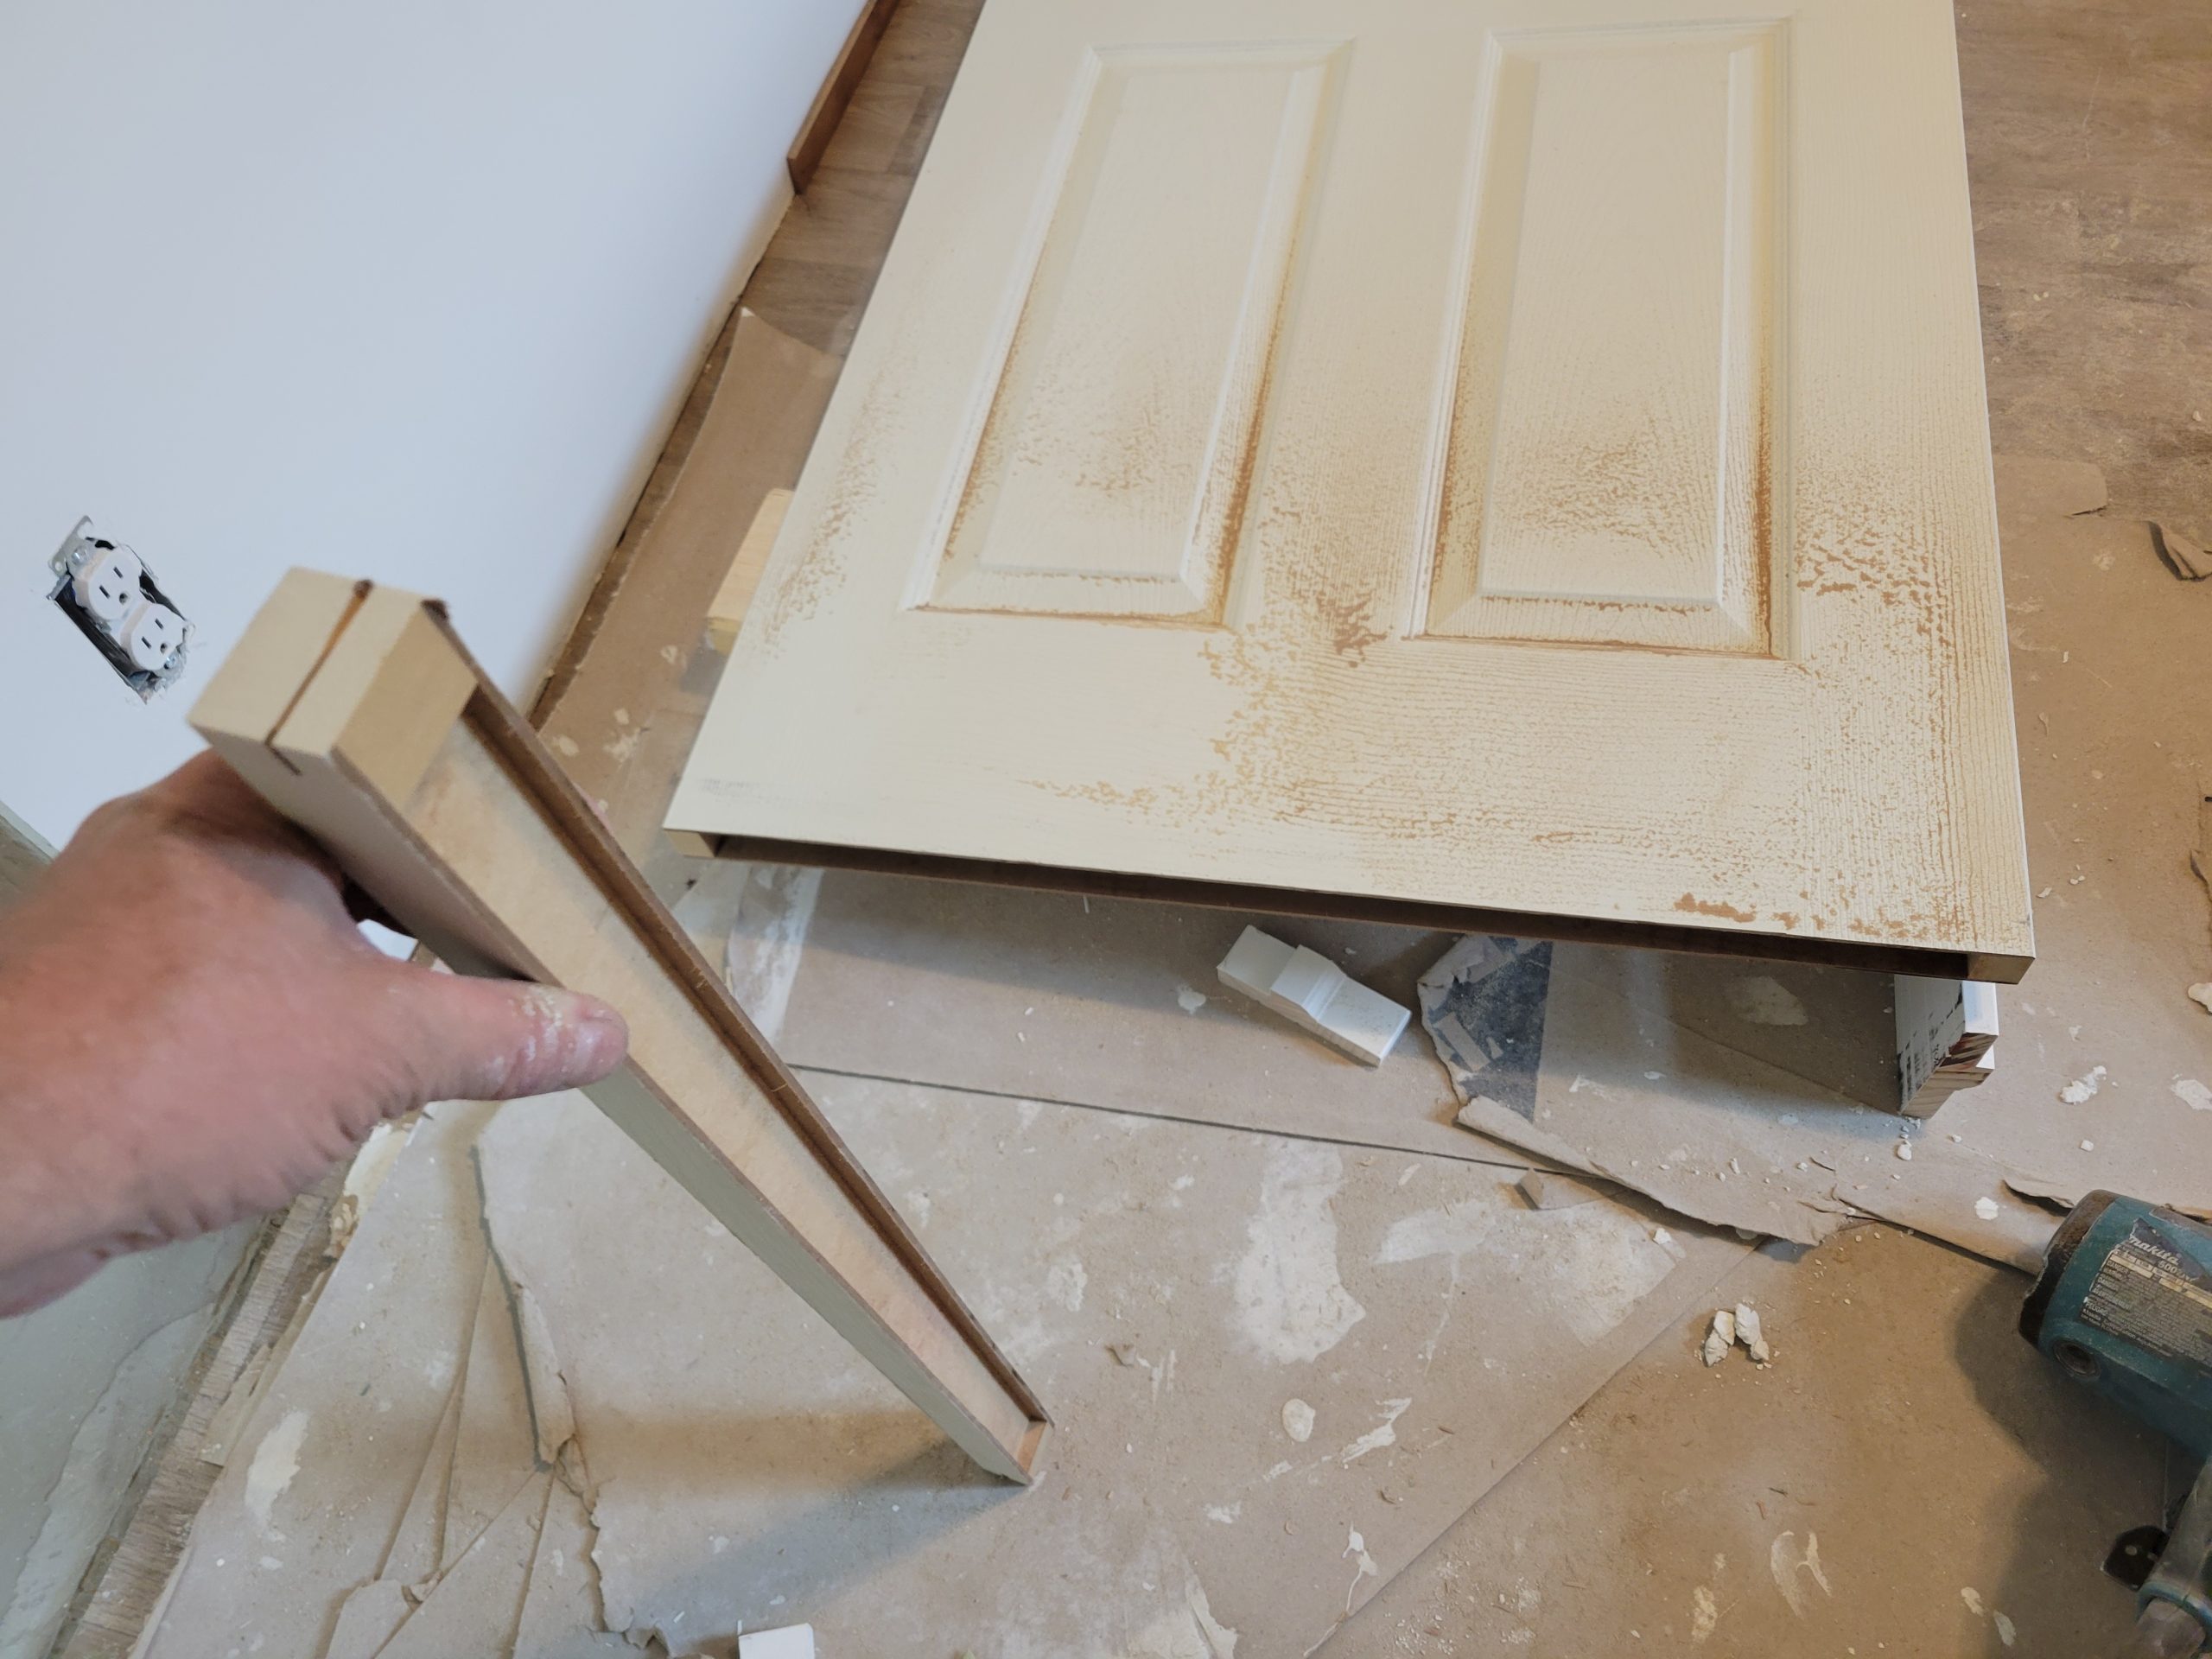
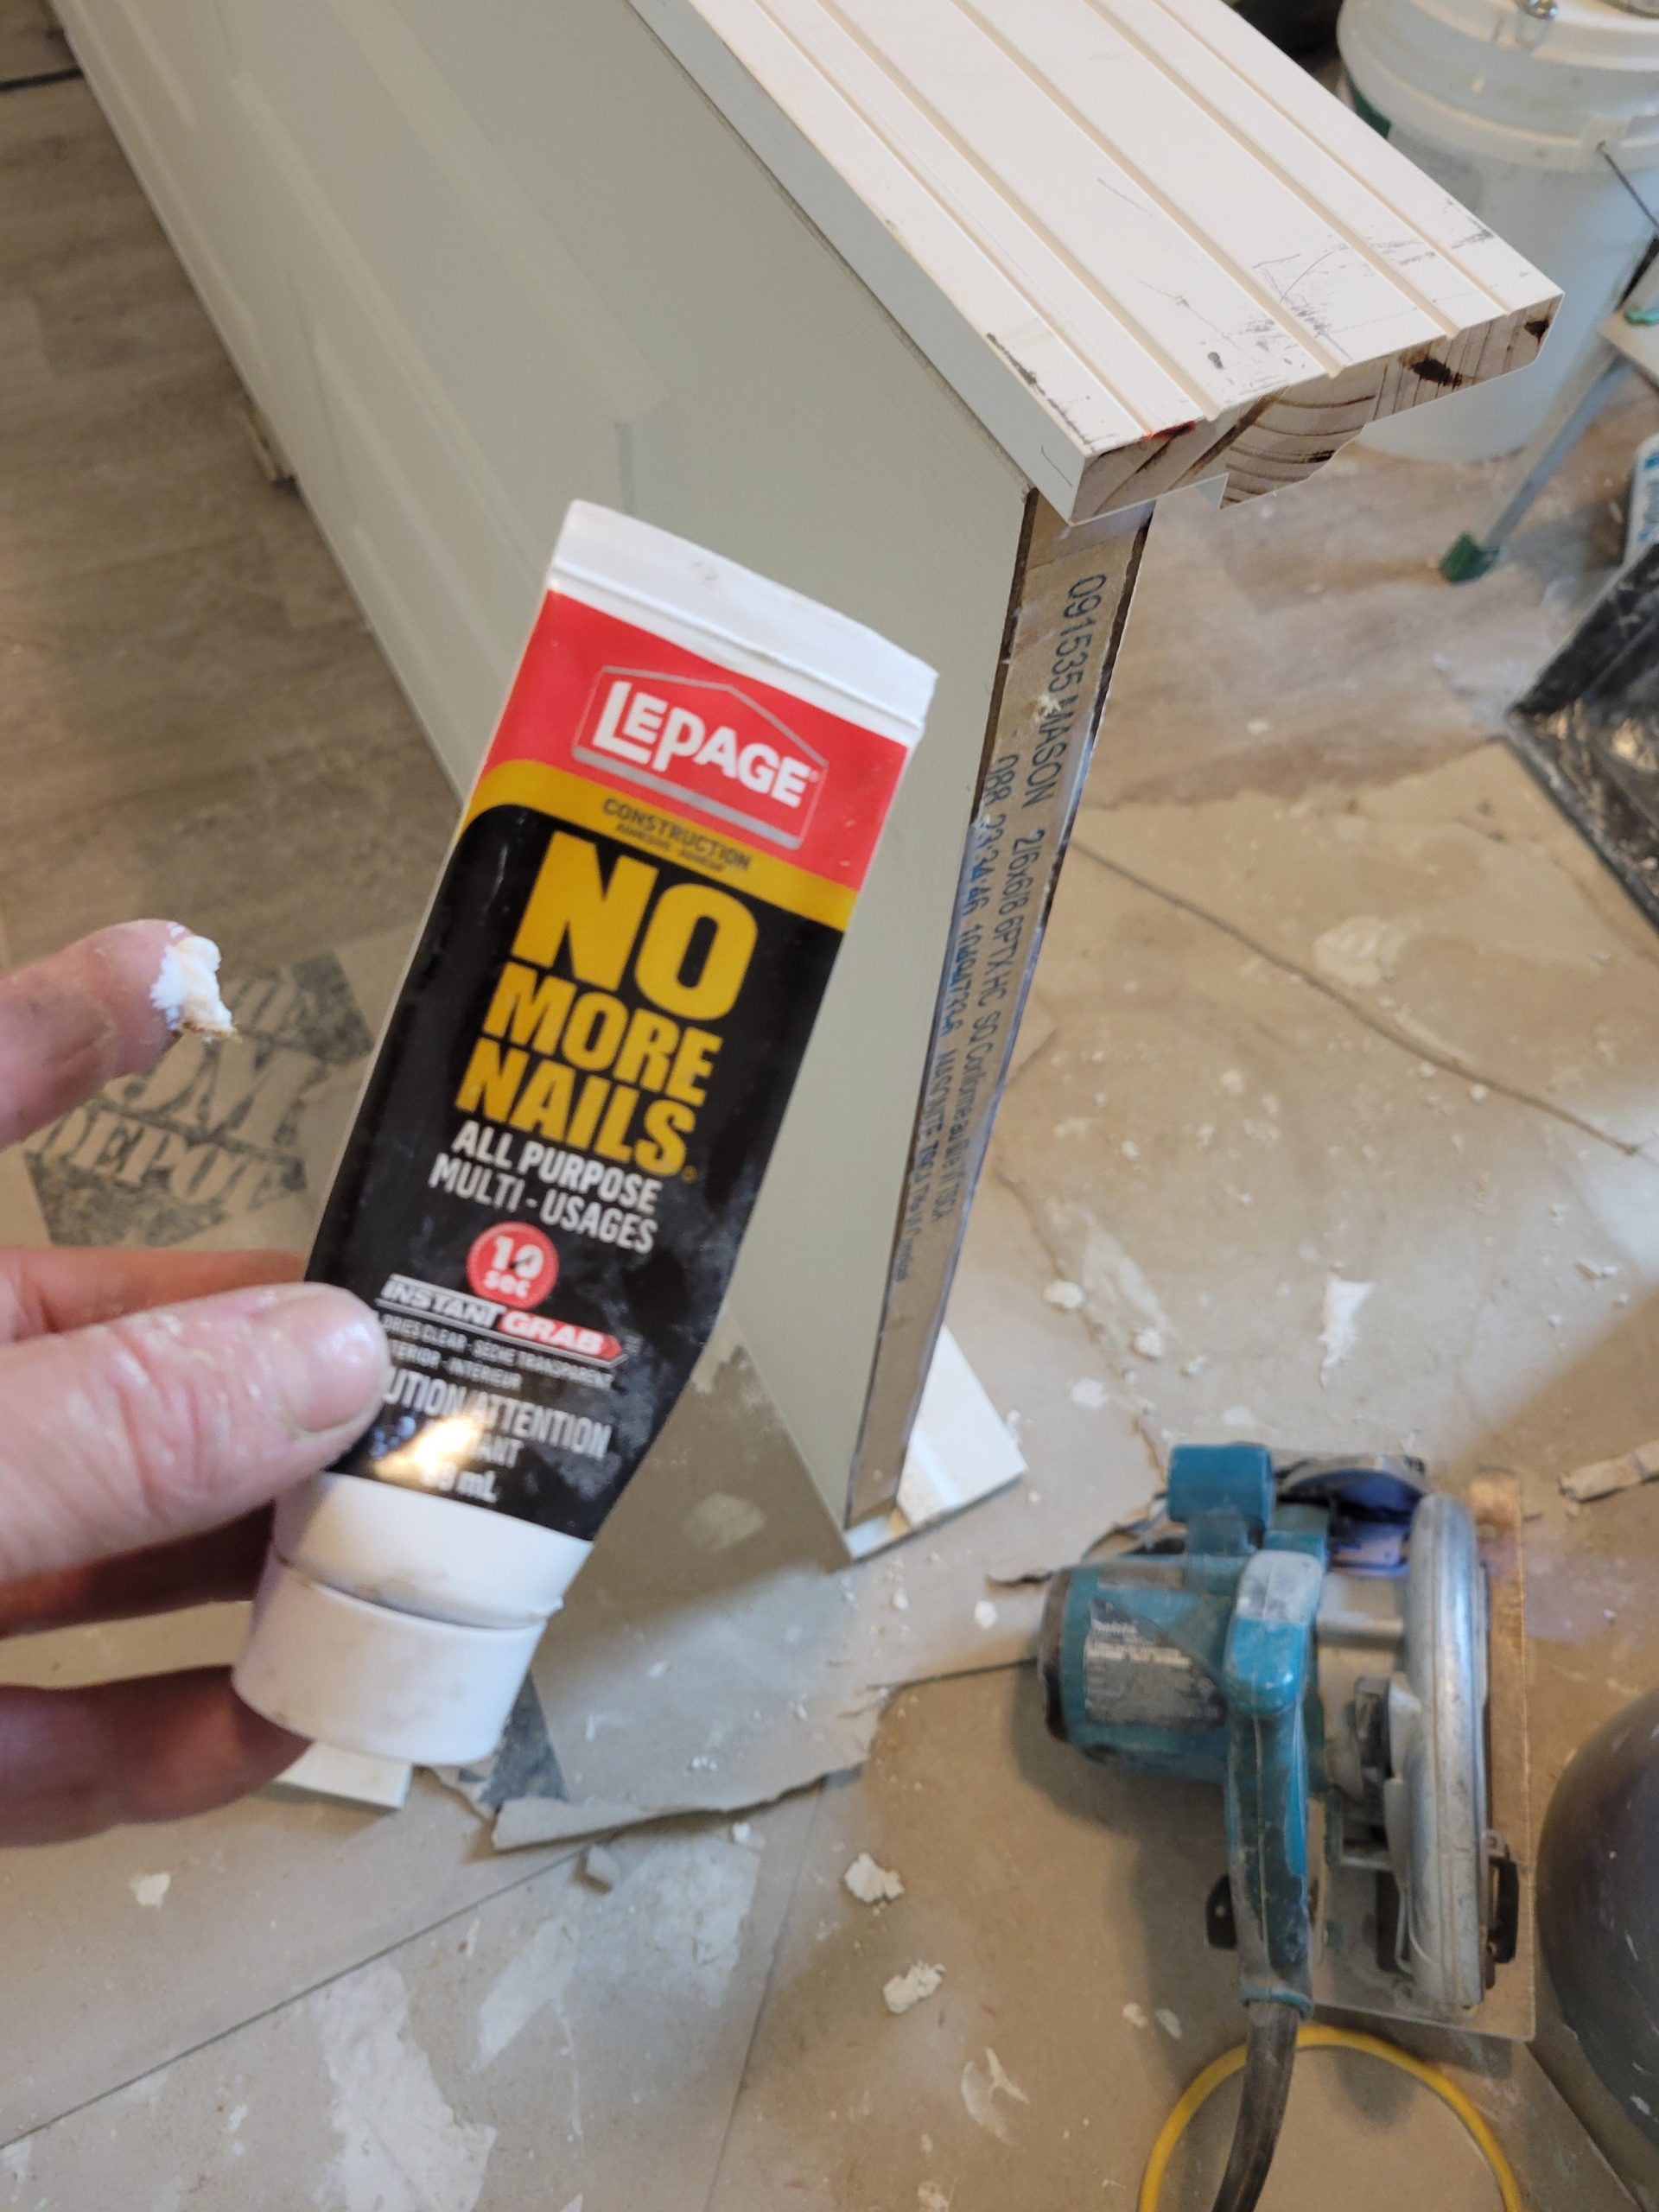
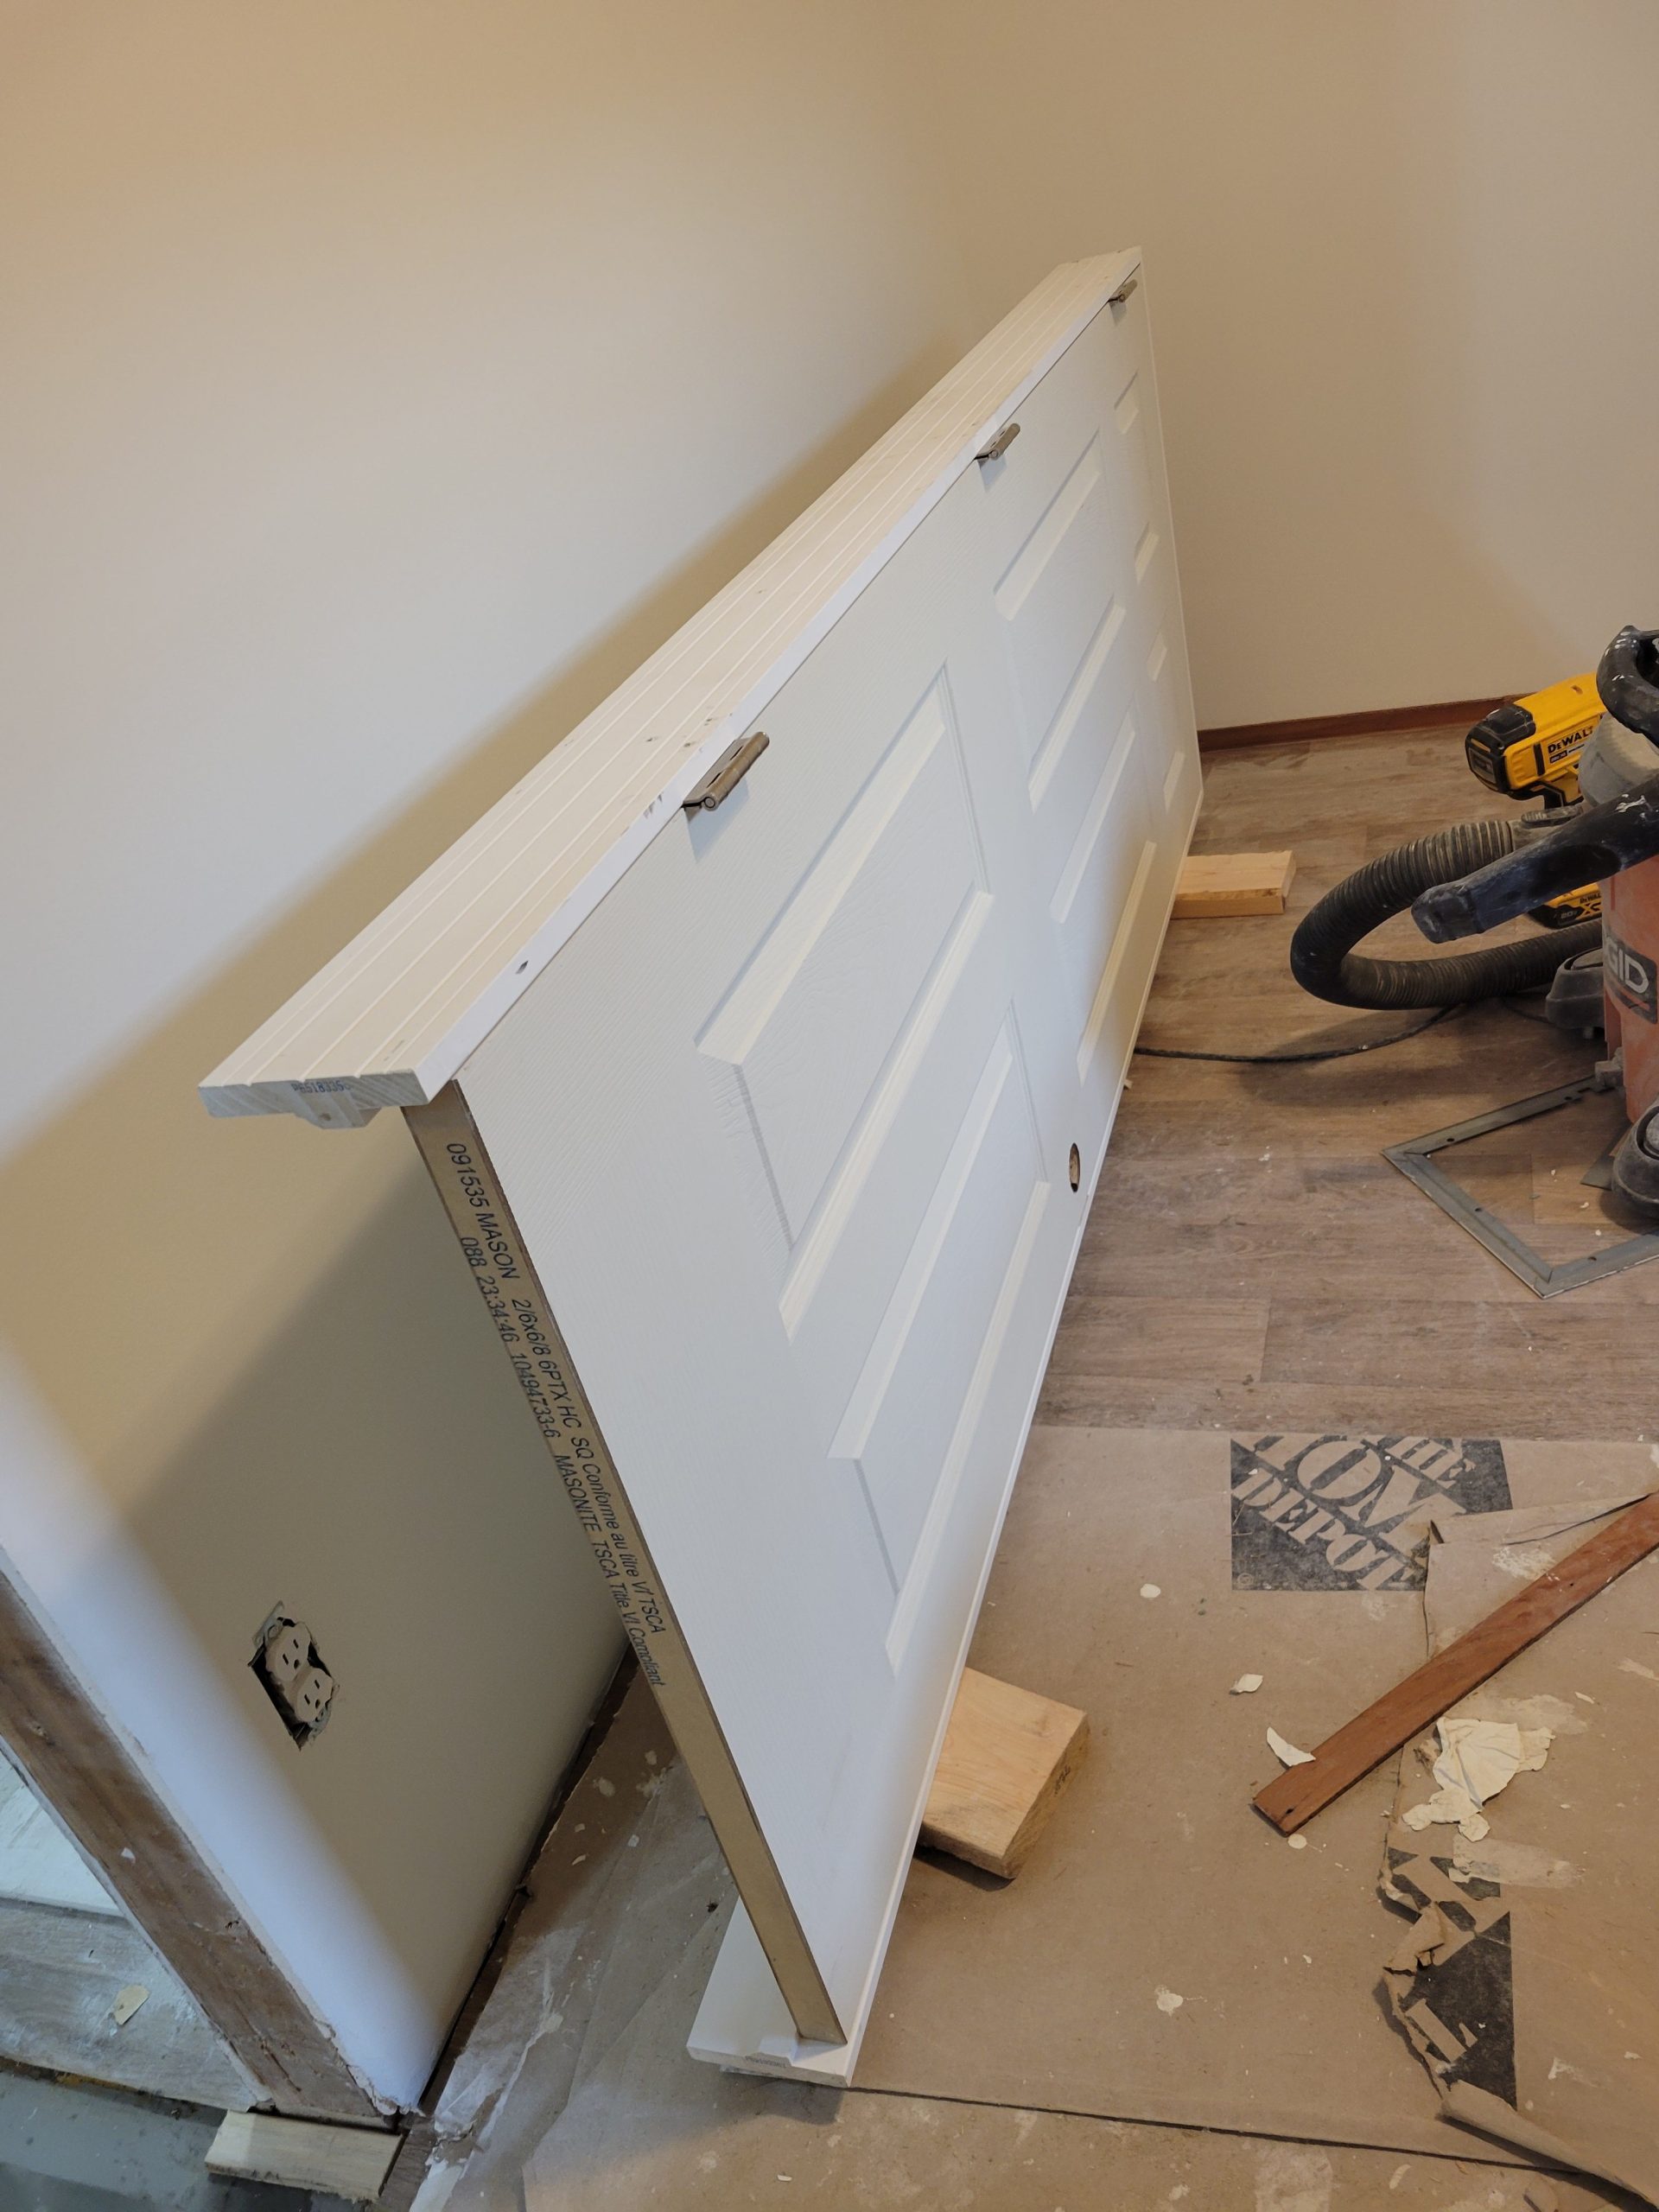
In haste, I’m thinking we measured the door rough framing incorrectly, likely from the unfinished floor.  Now the door has to be altered to fit.  I cut the bottom off, saved the insert, and re-inserted it with wood glue. 

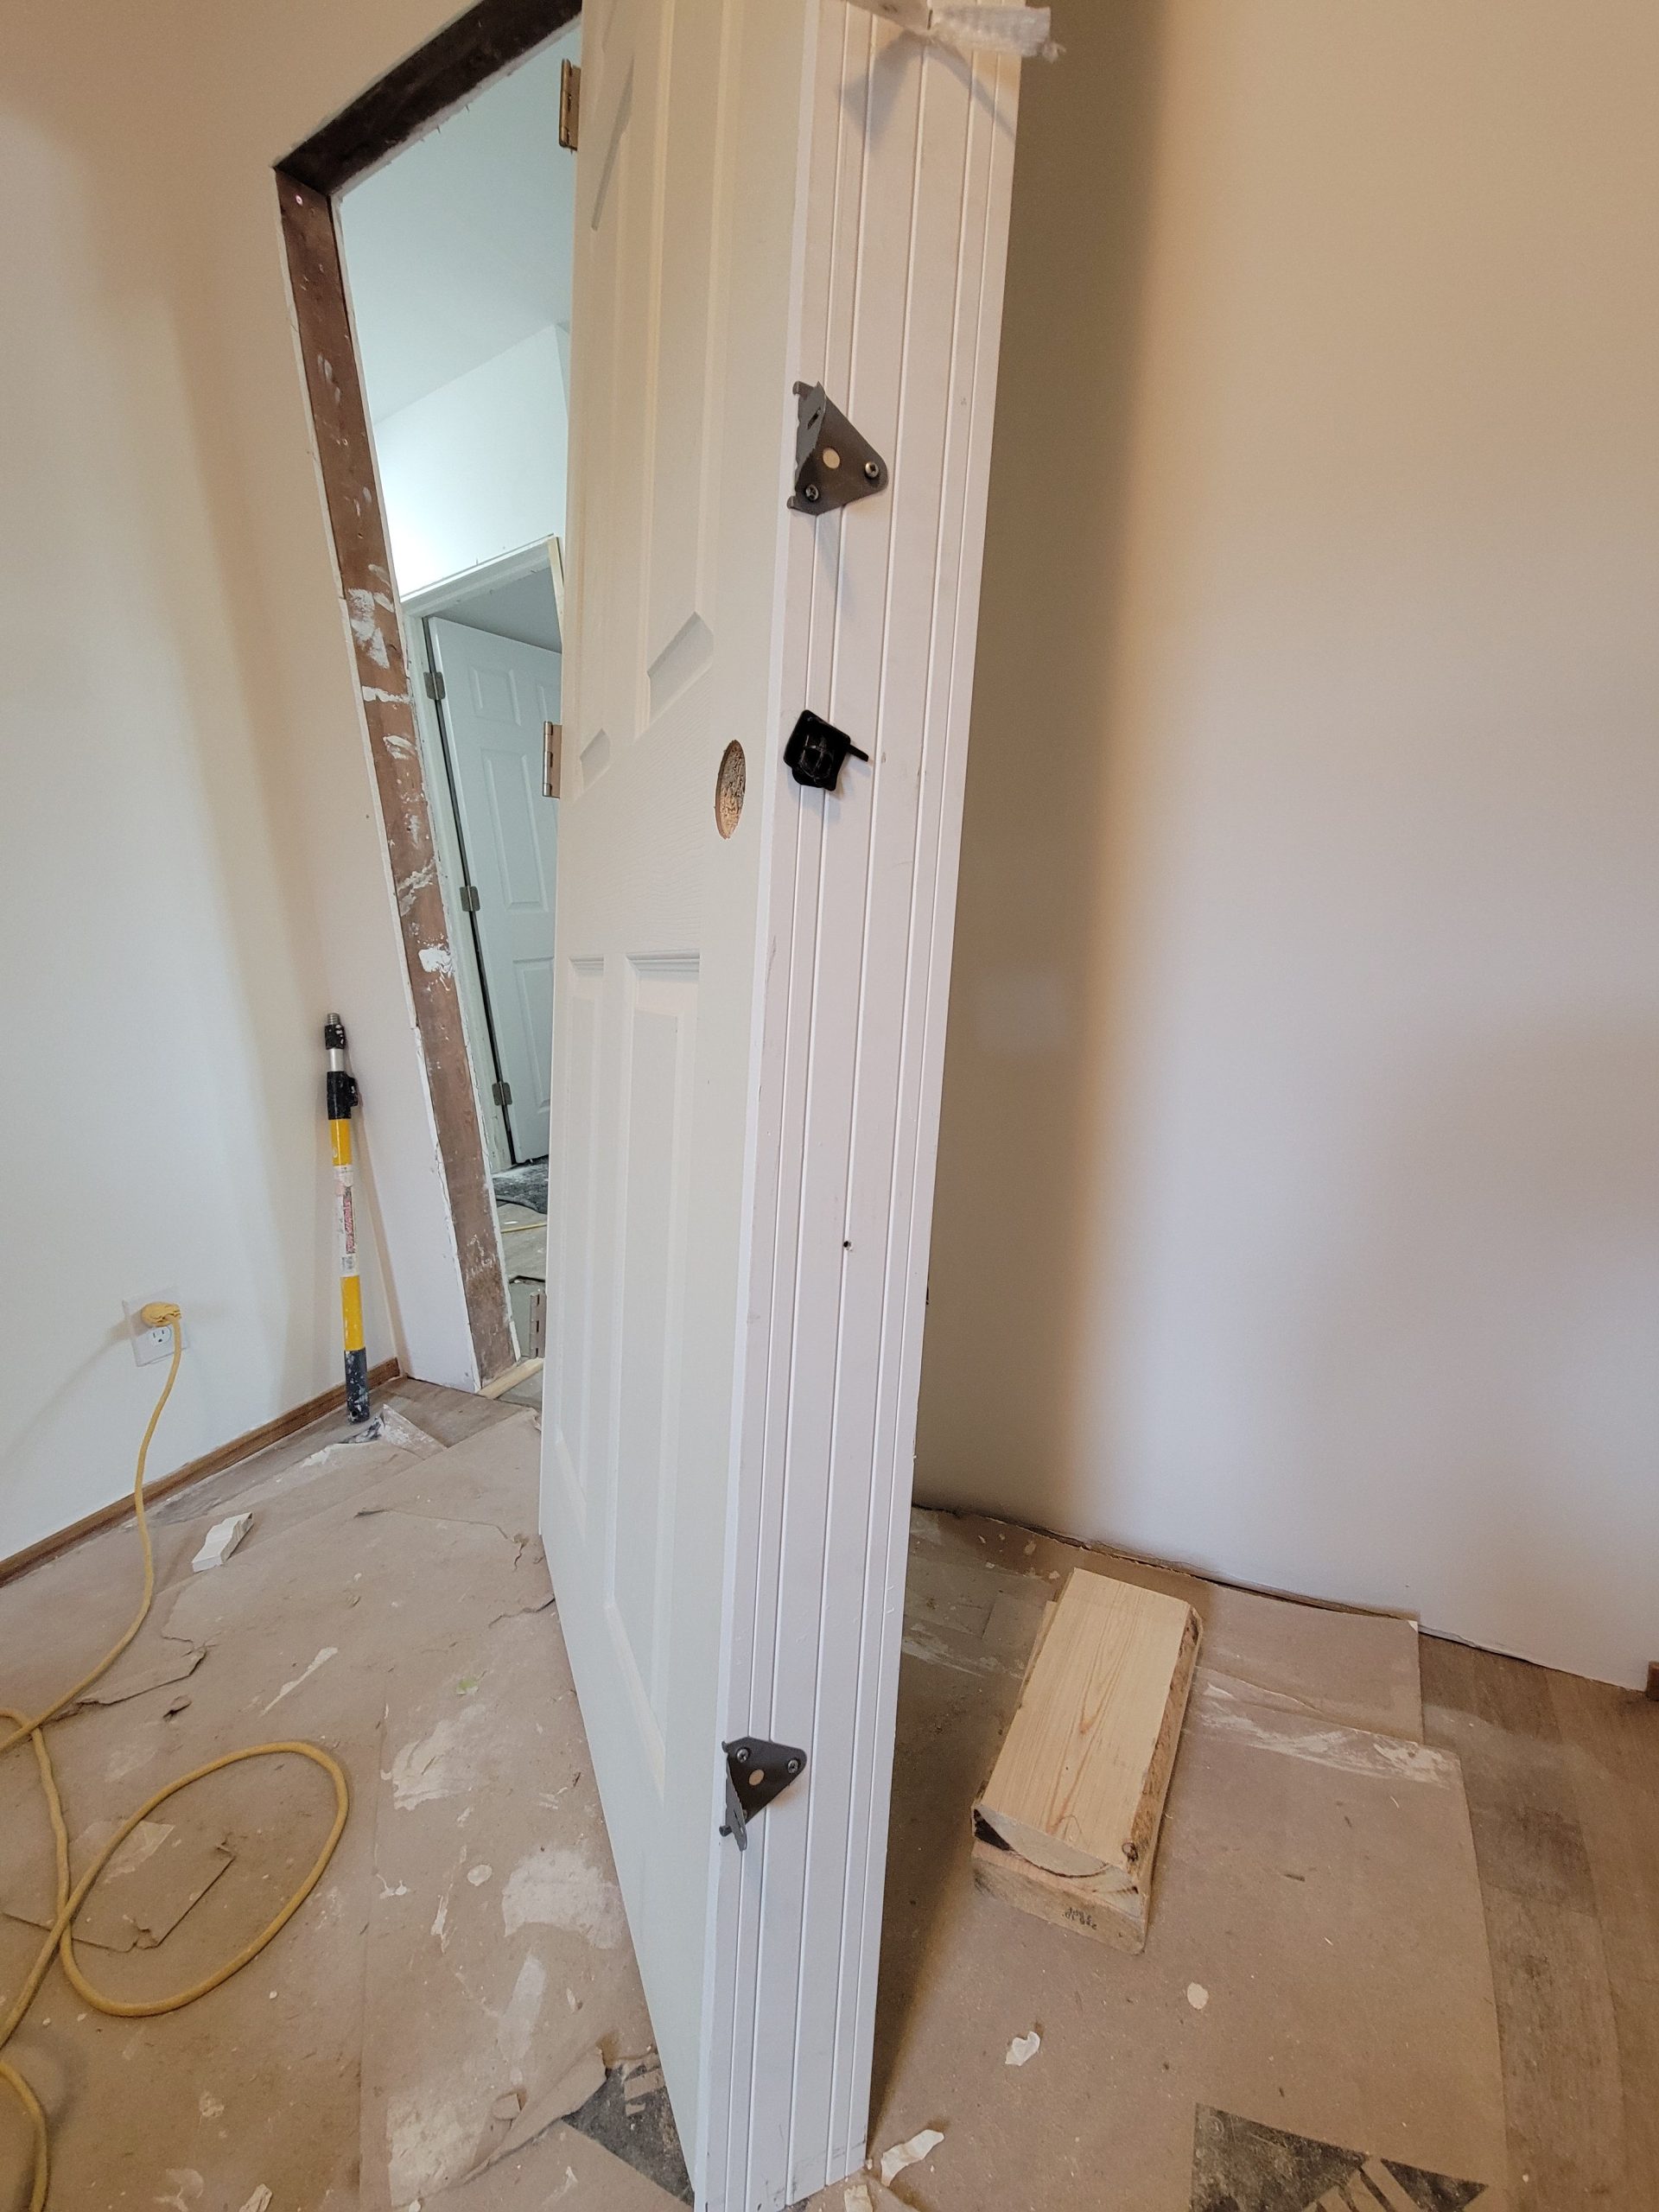
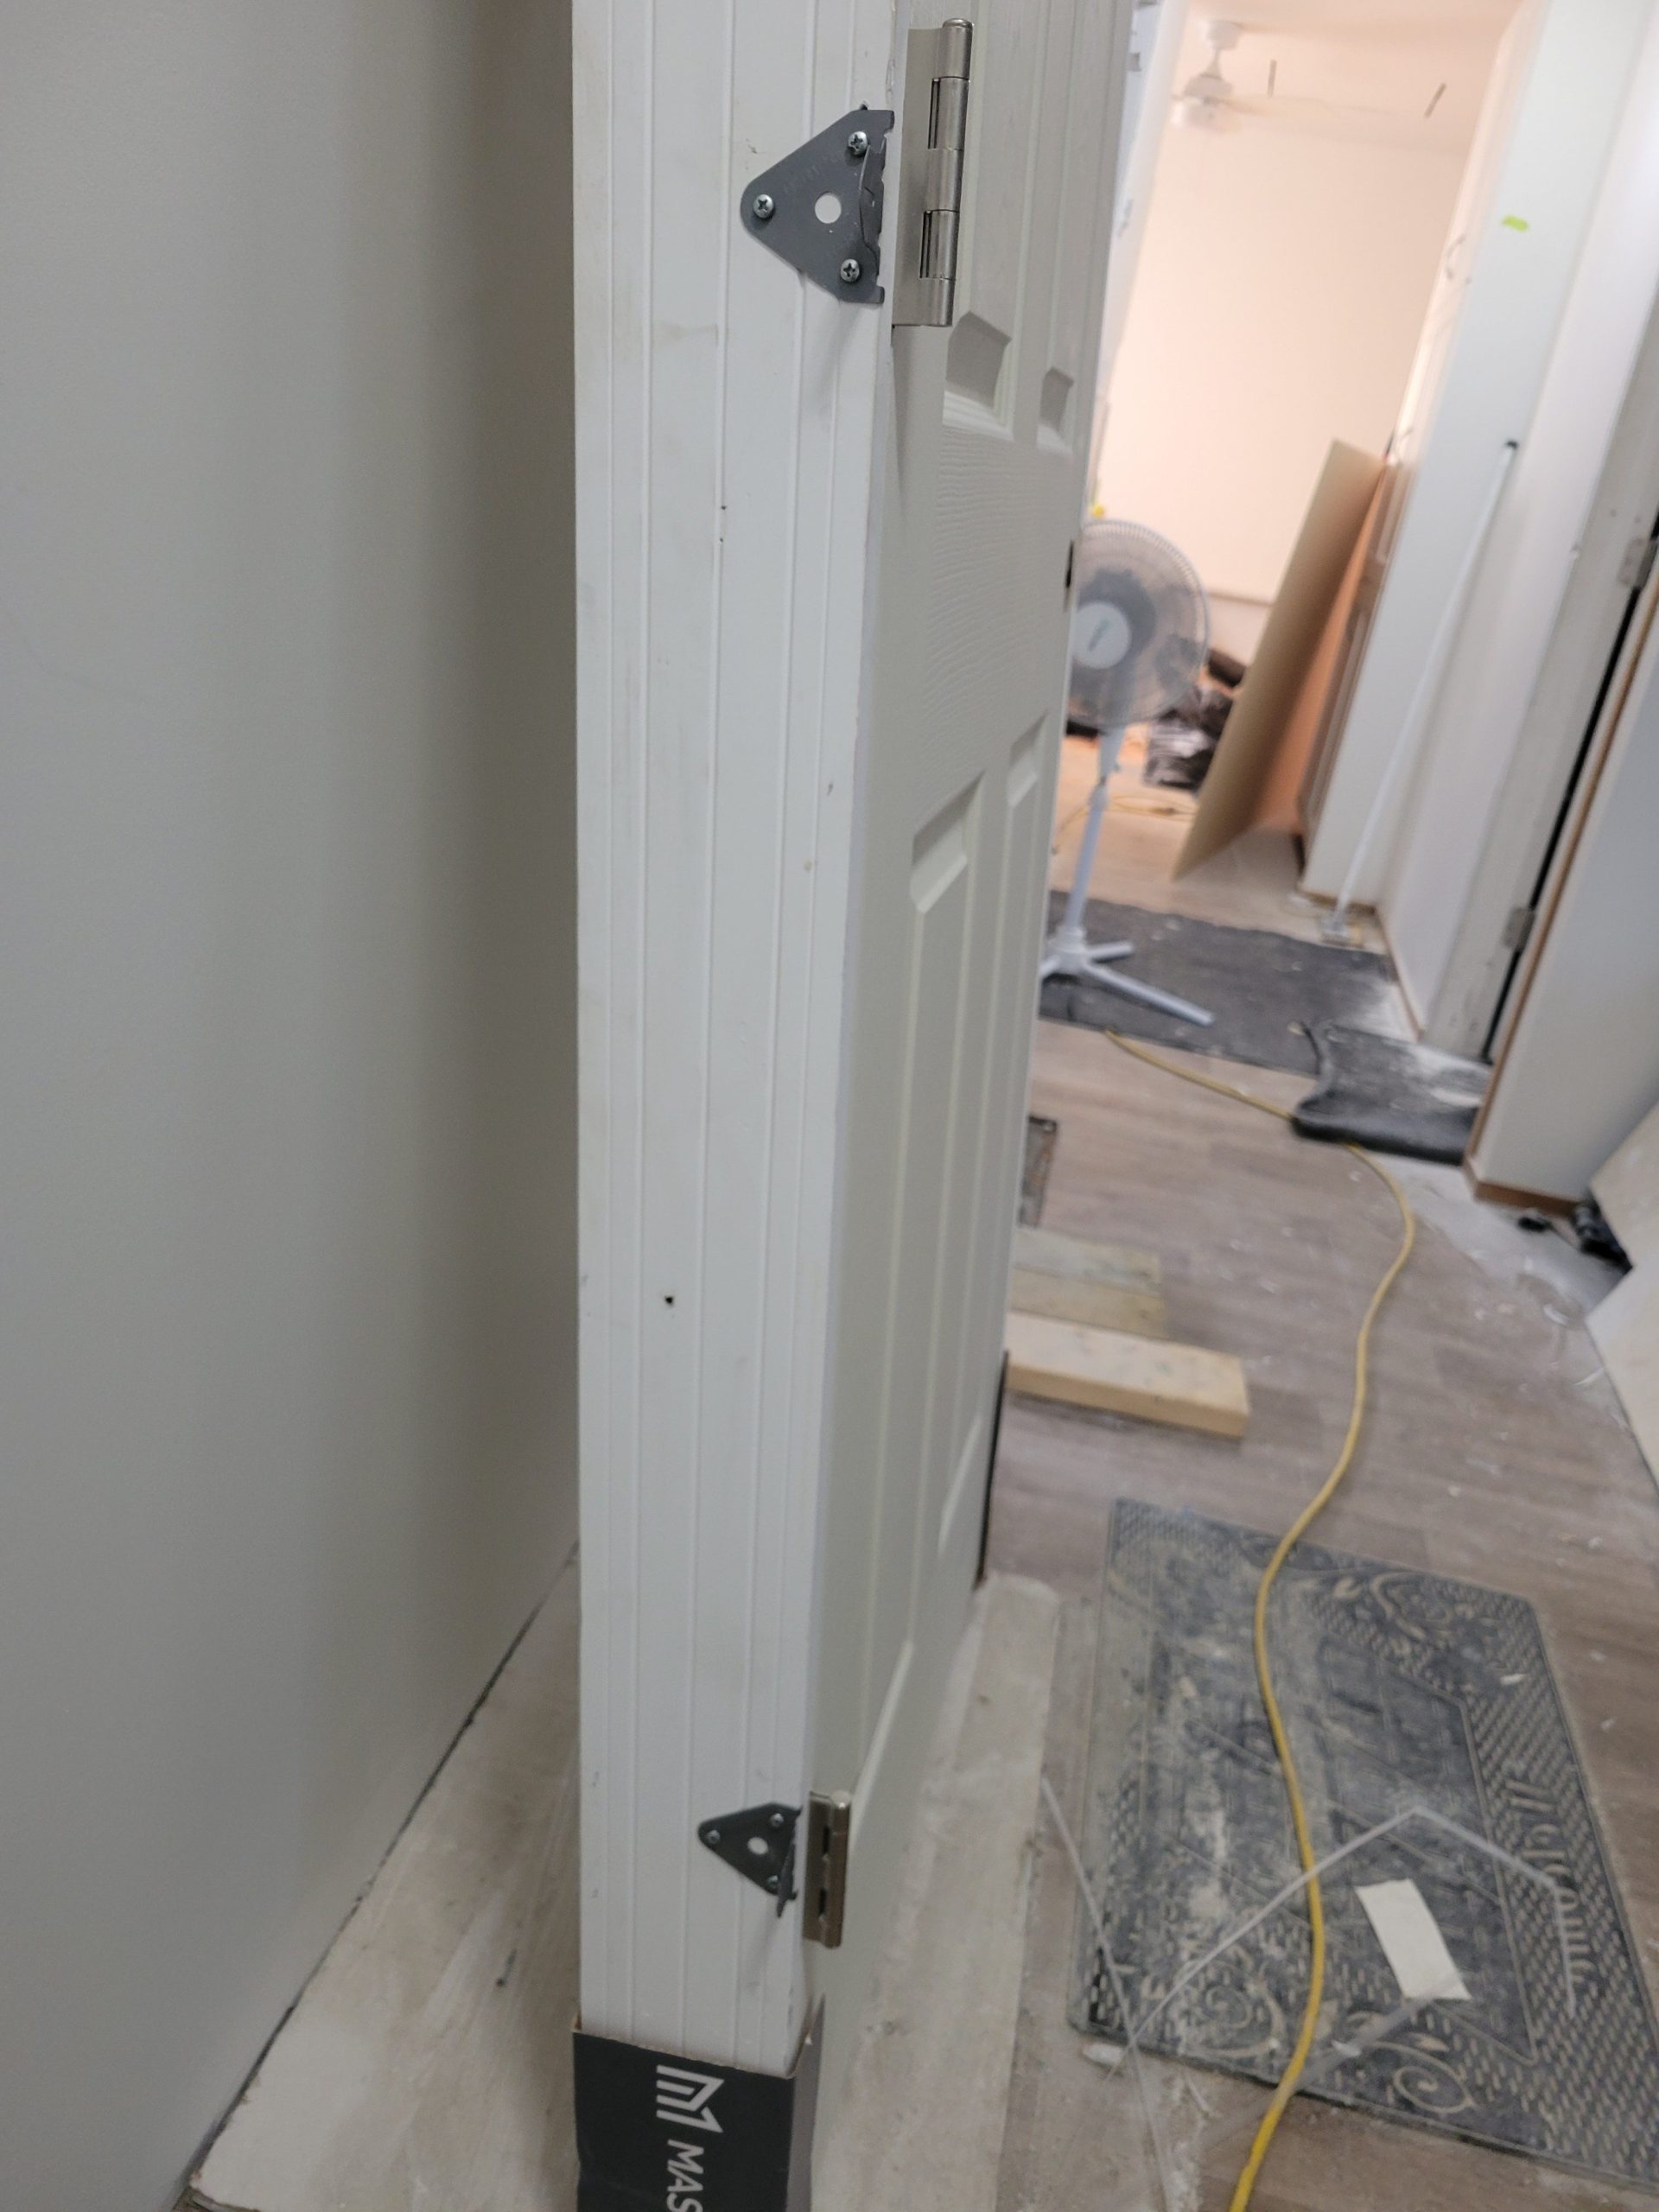
A door guy at Home Depot suggested using these door hangers, saying it was way easier to hang doors this way than the conventional way.  He was right.  However, as will be shown later, the tabs stick out too much beyond the trim boards and need to be cut with a grinder. 

Read more

trim, mud, doors

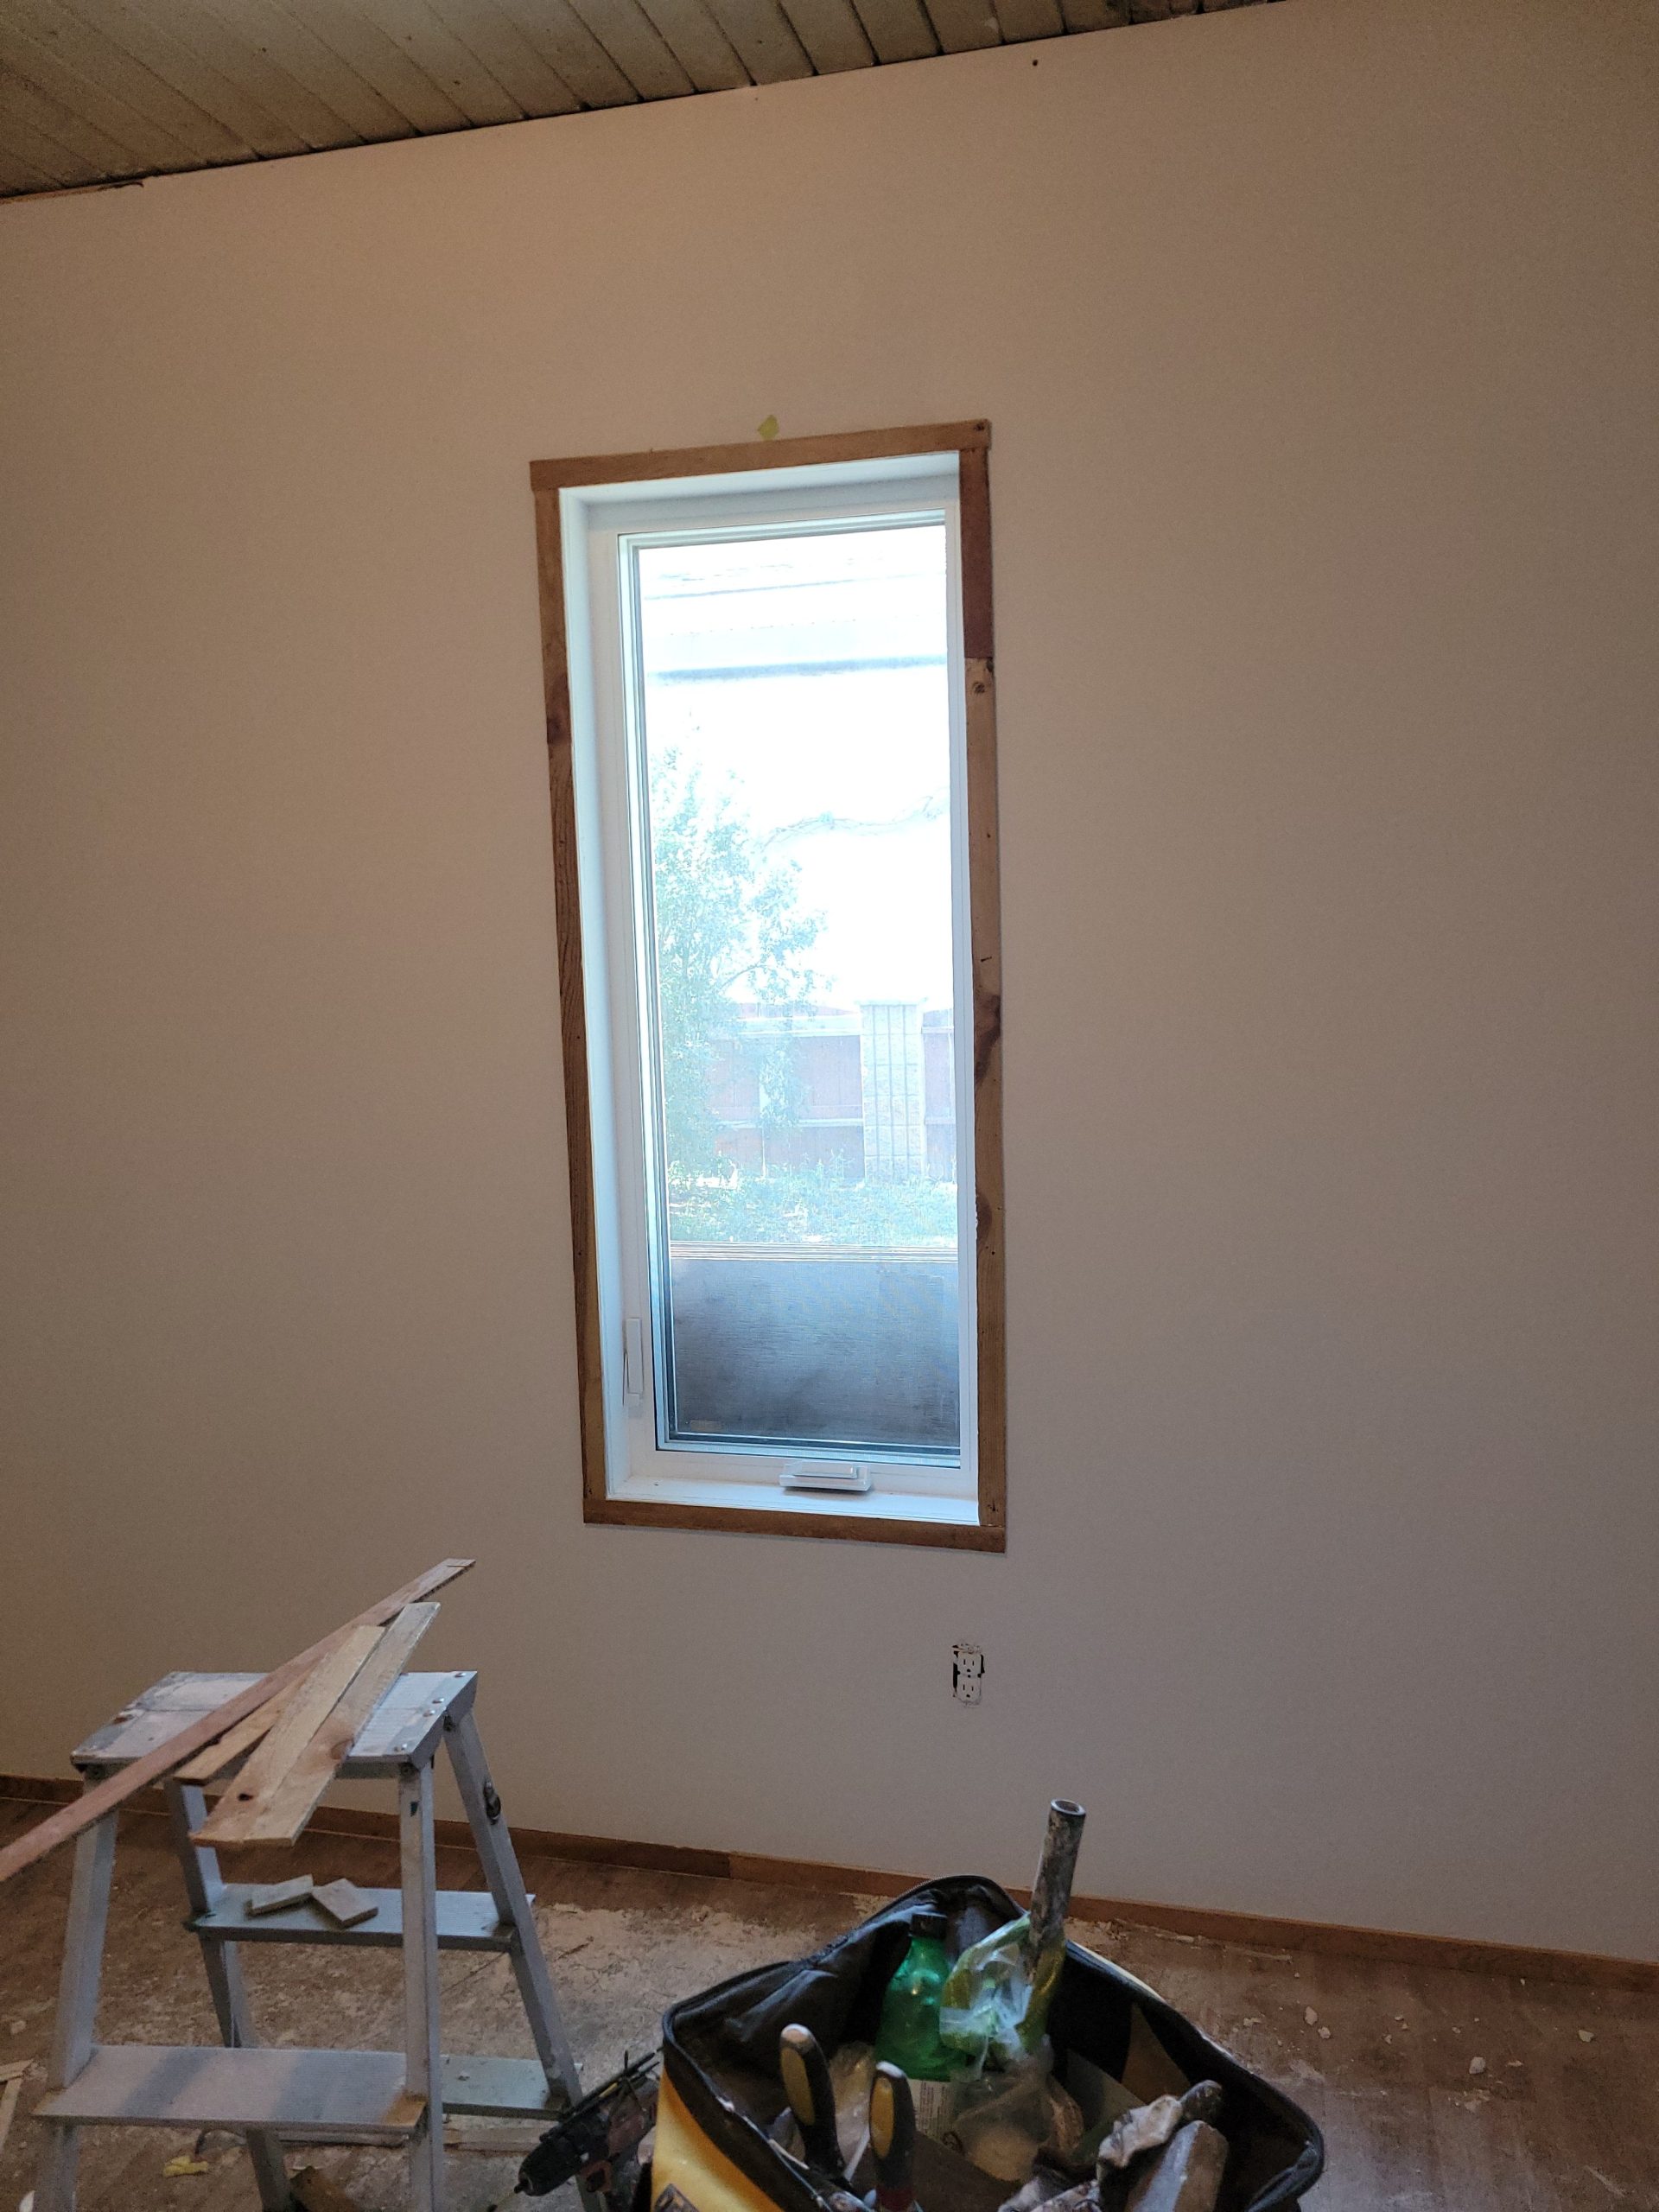
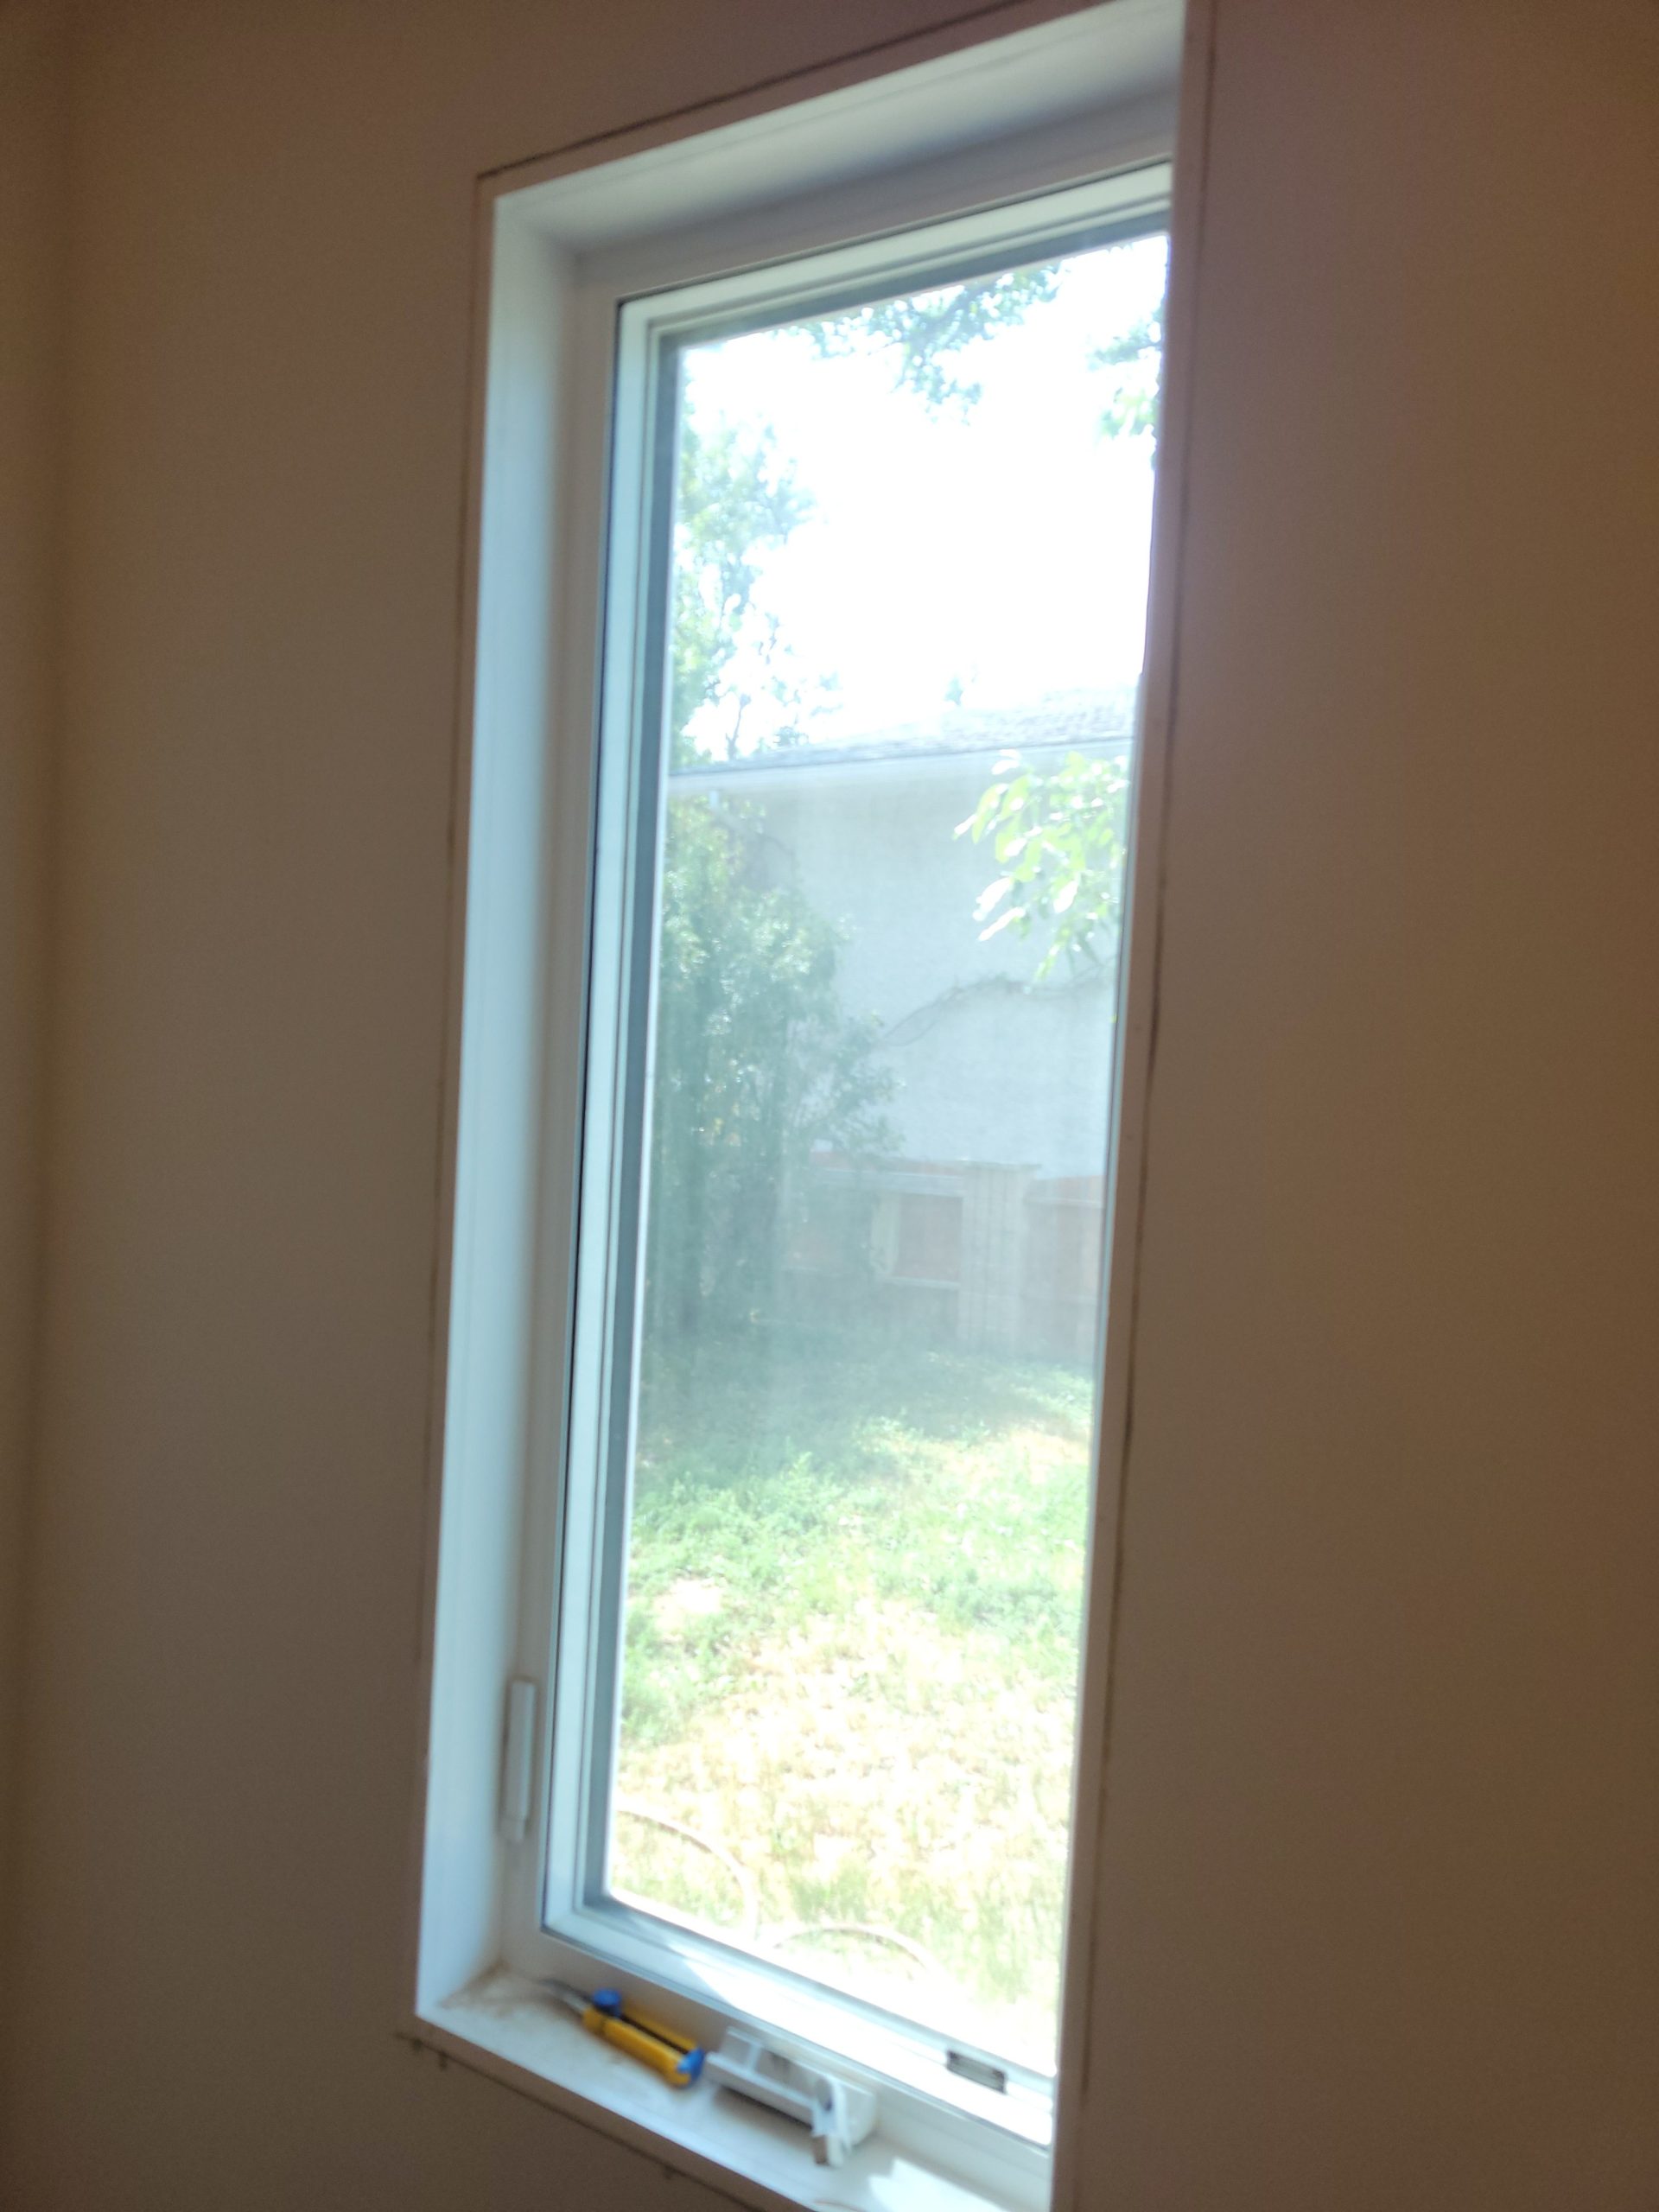
We continued with the window, door,and floor trim. 

The floor levelling compound is showing signs of drying. 

The crack mud is also drying. 

And now … the bedroom doors.  The problem is that the bedroom 1 door is too tall.  Why?  Was the framing done incorrectly?  Likely.  I’ll continue measuring tomorrow. 

There is work to be done at 520. 

veranda gap, cats, floor levelling compound, mud, trim

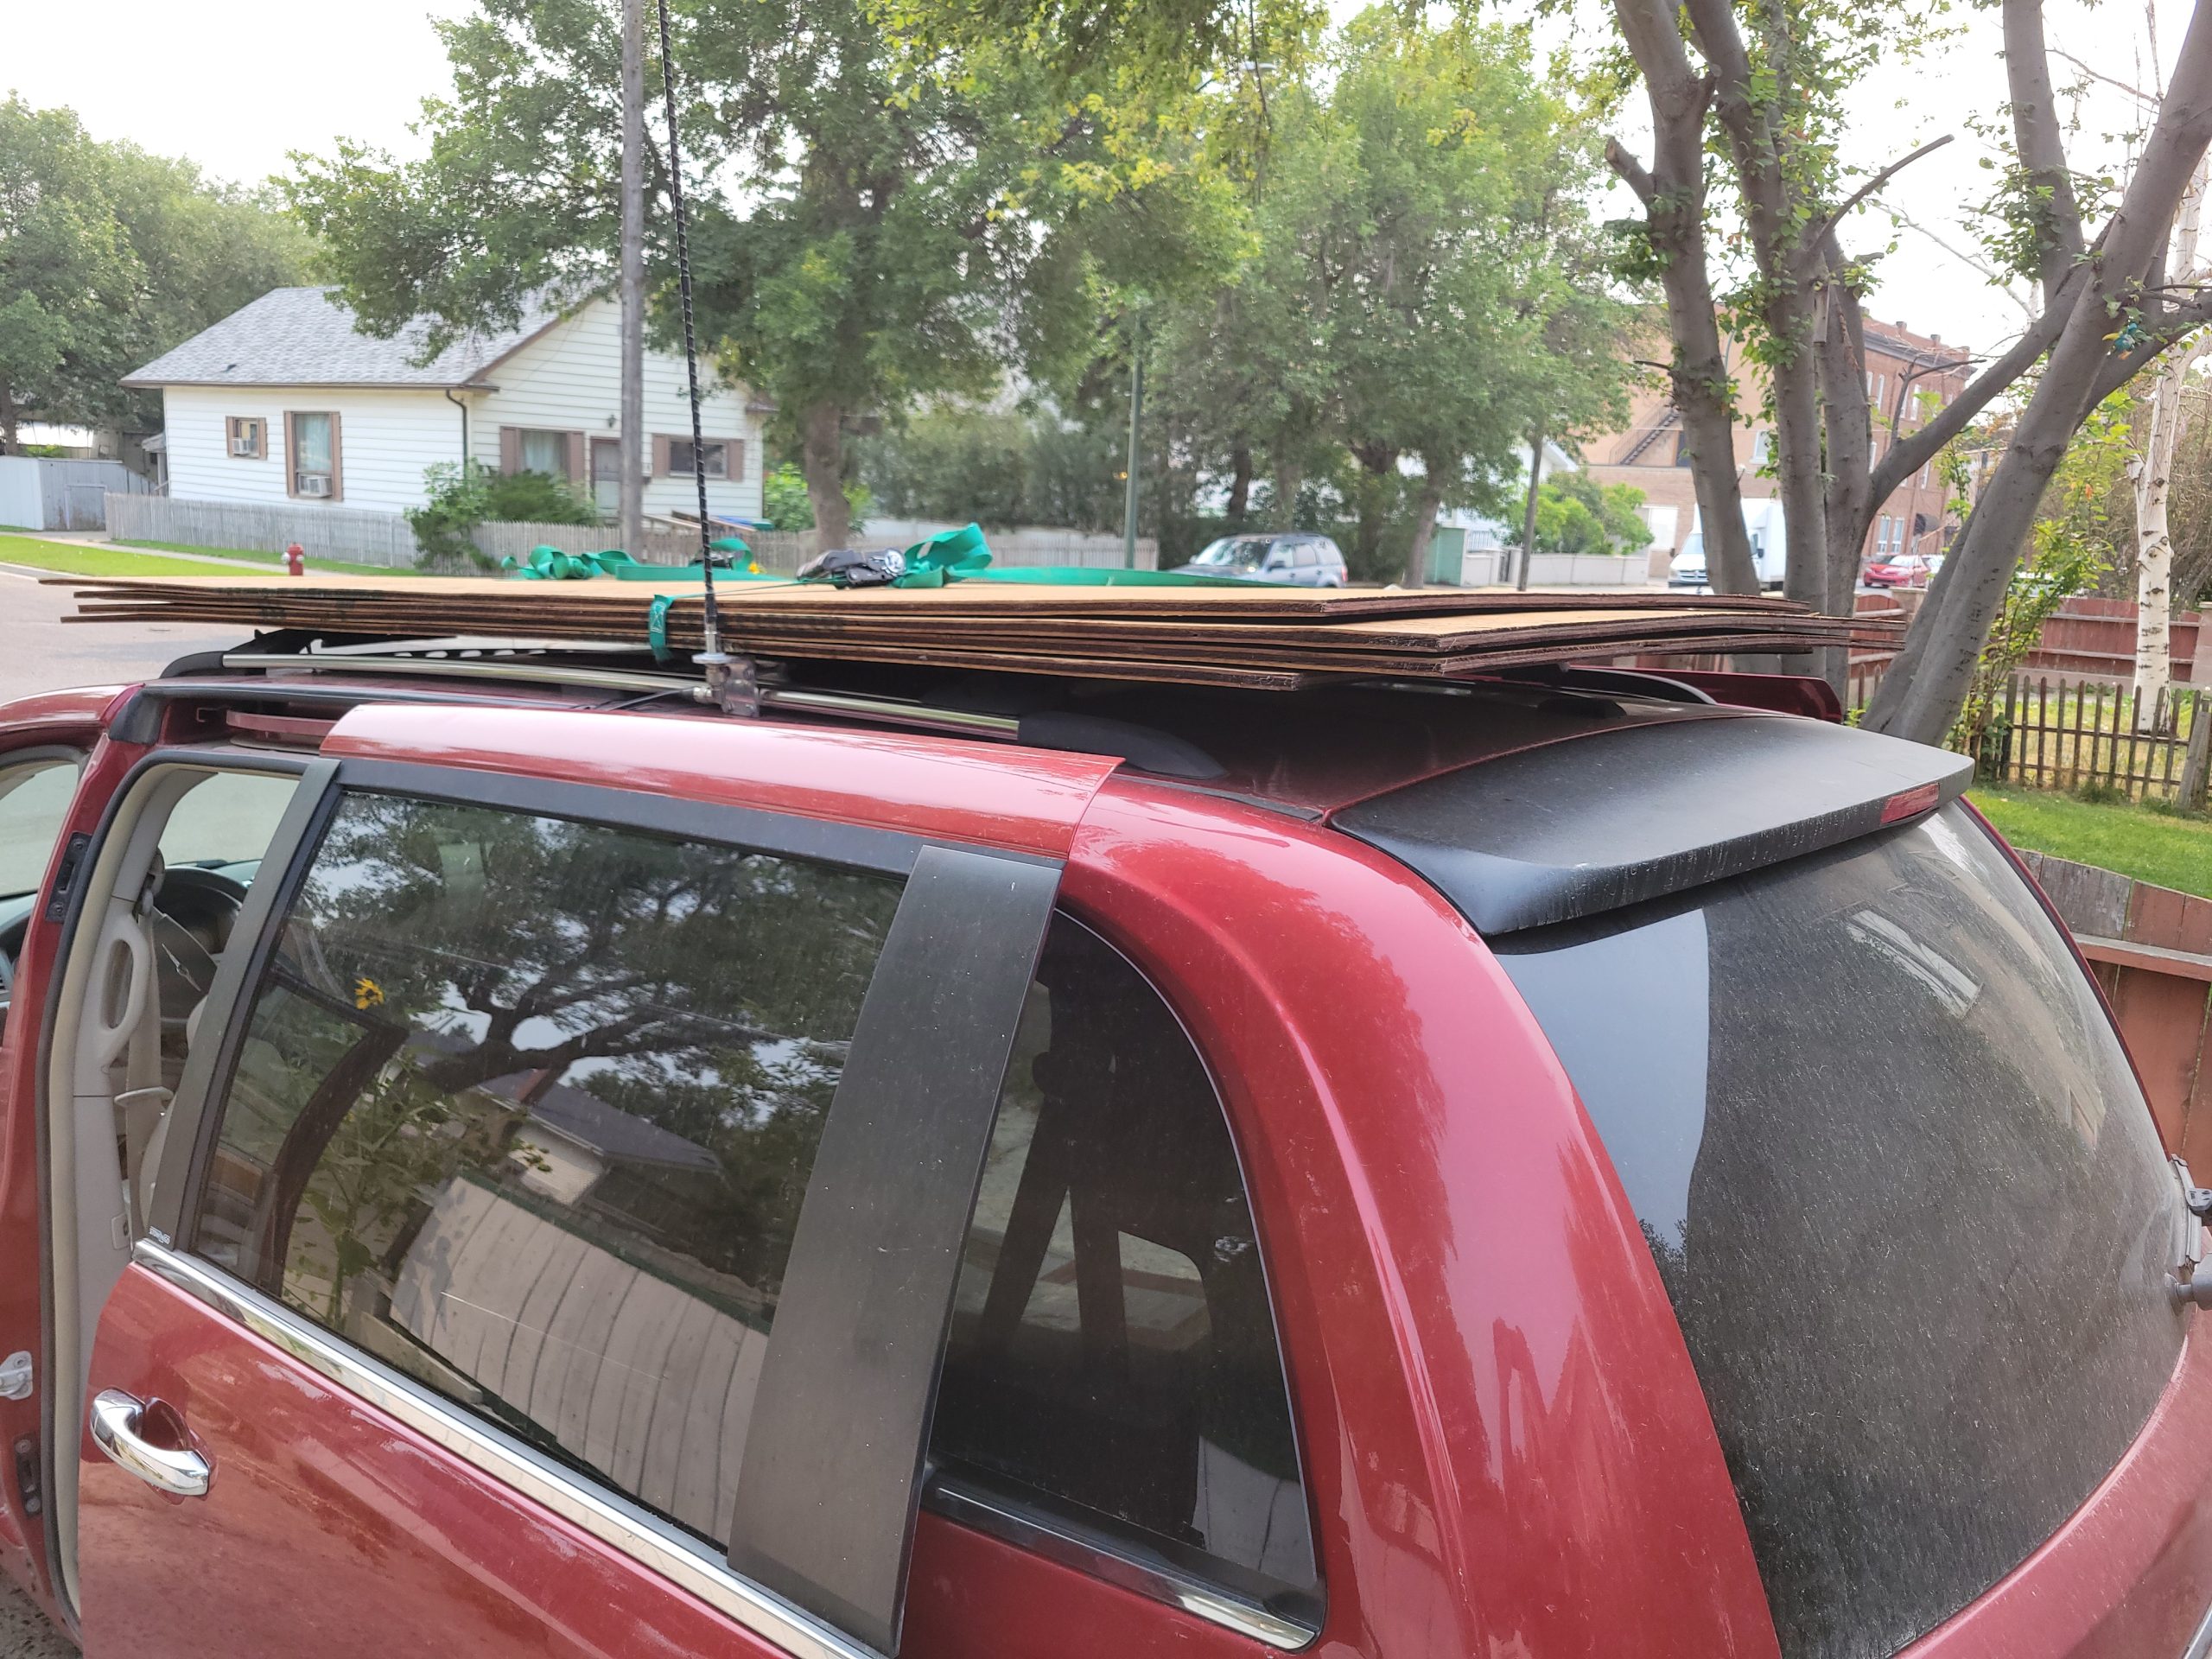
I bought some plywood for flooring, but, as it turns out, this is not needed.  I will likely use it elsewhere. 

There seem to be lots of cats in the neighbourhood. 

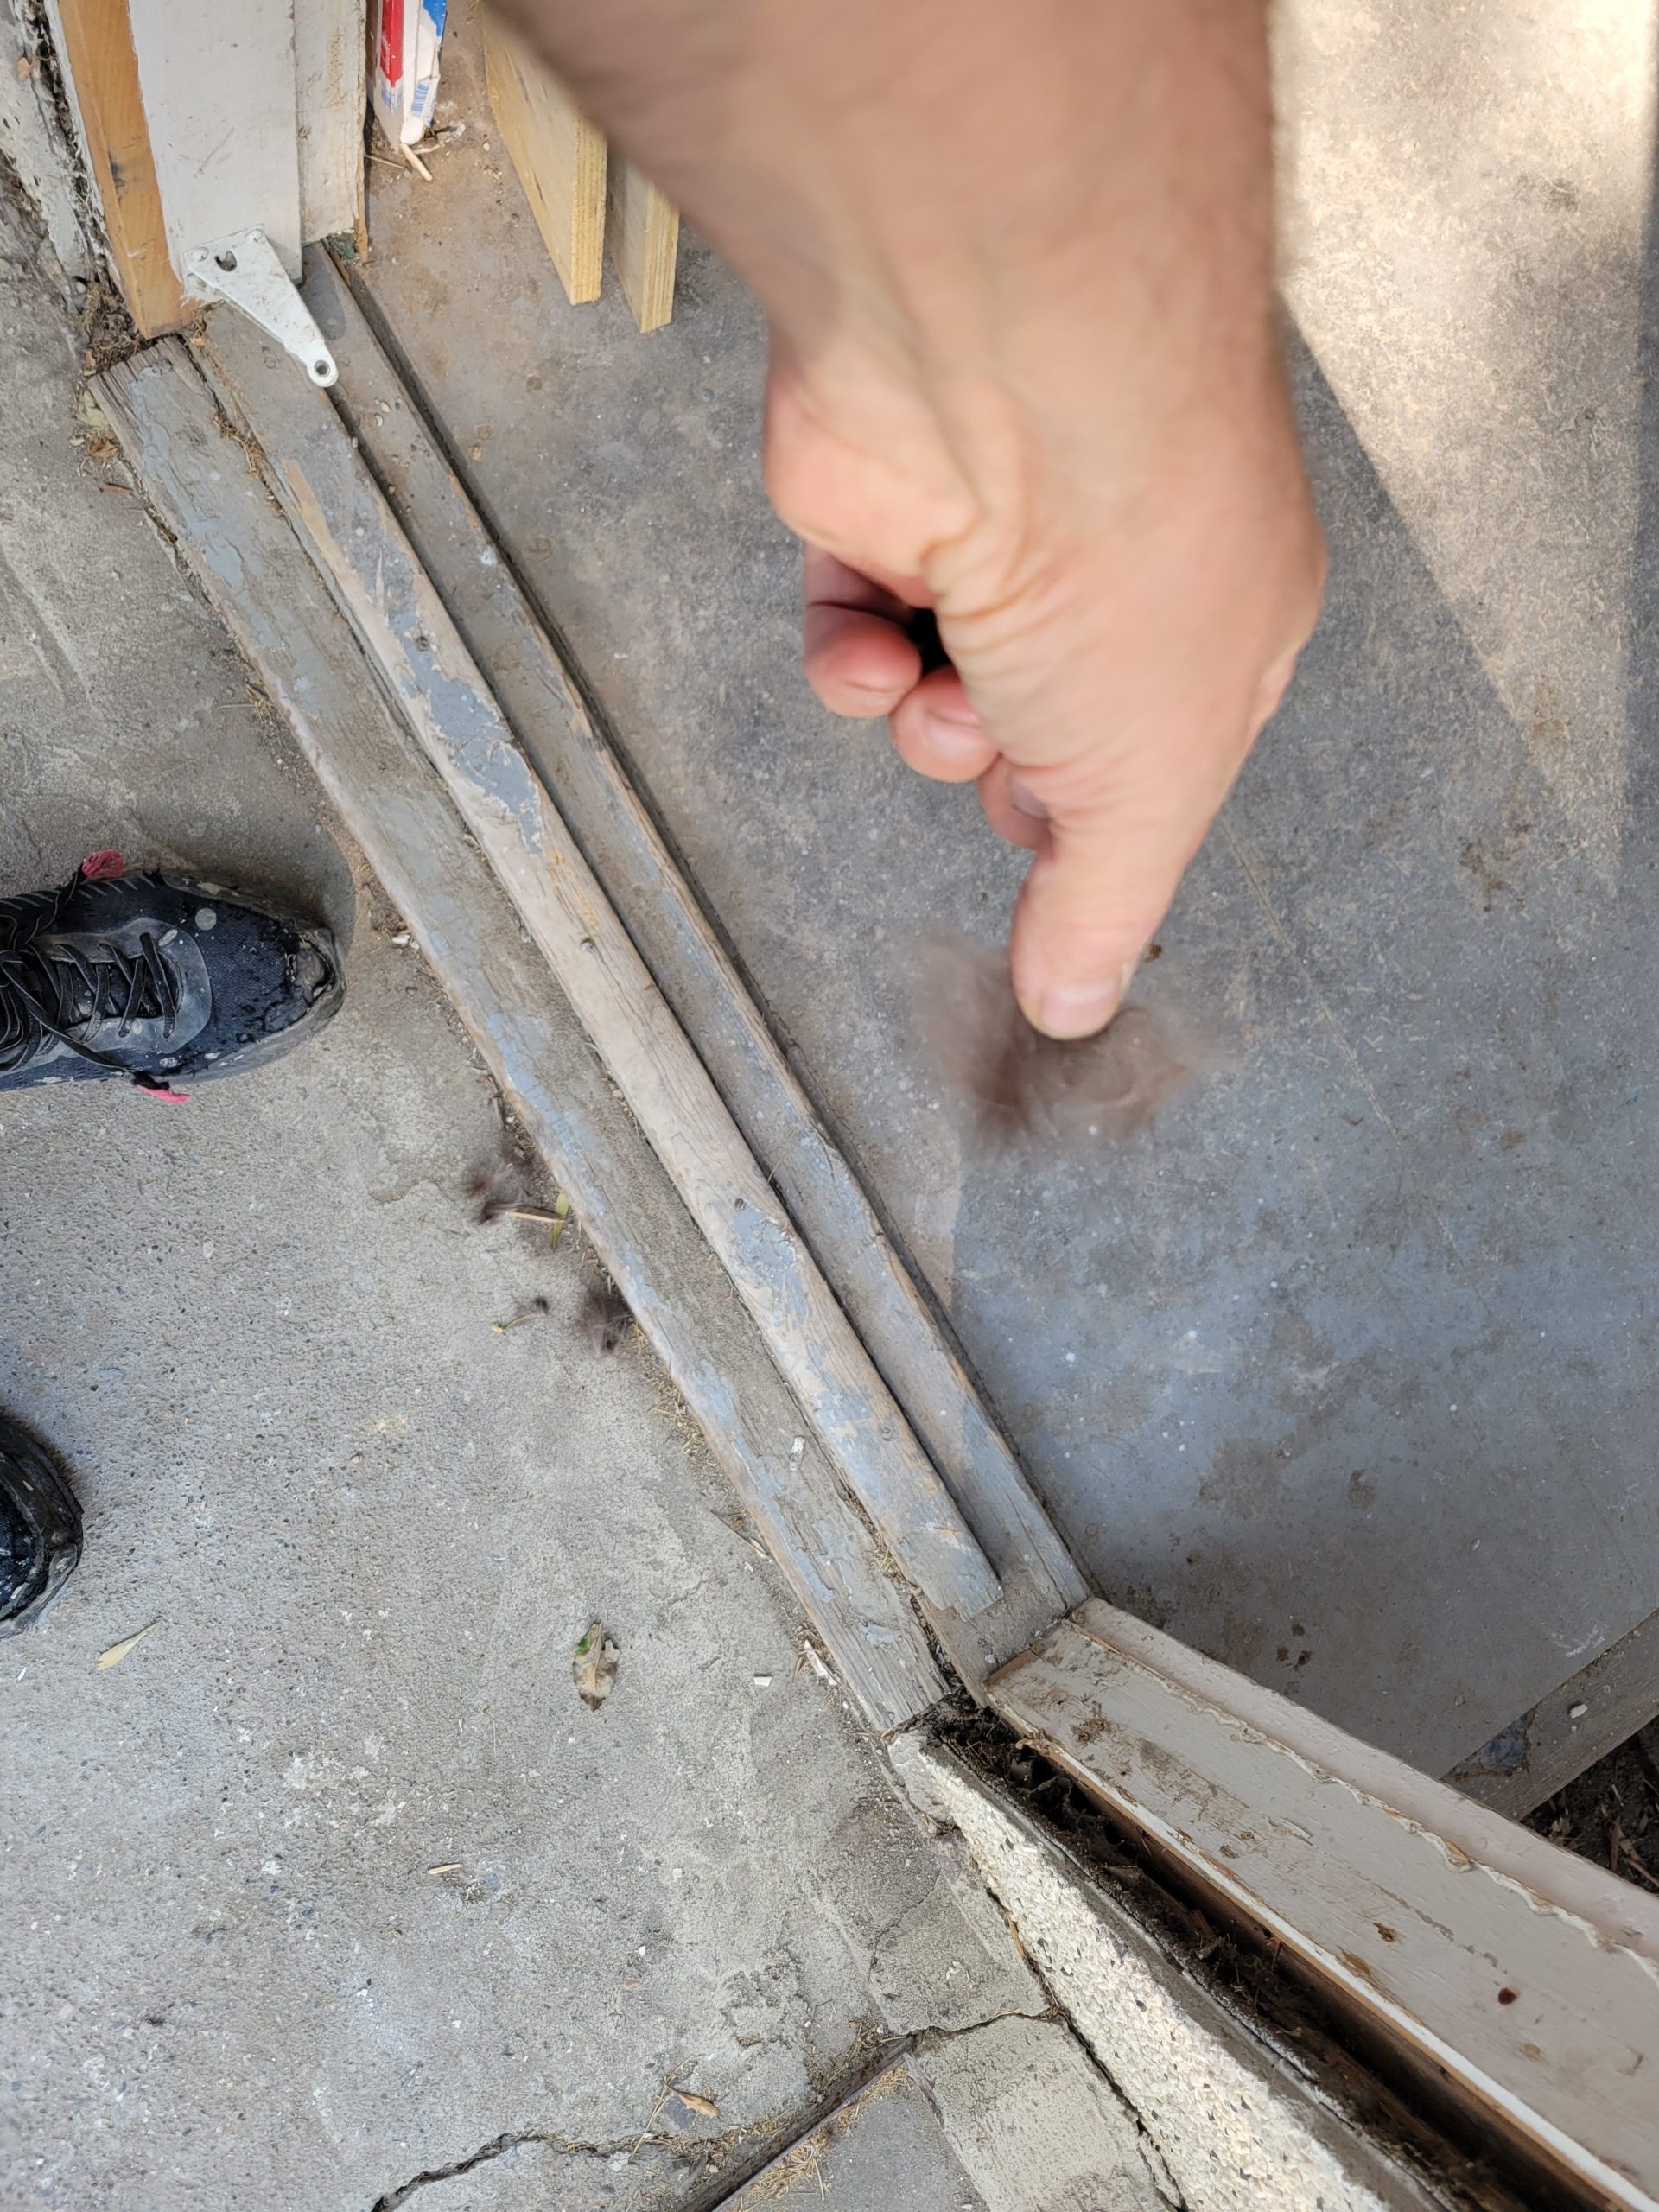
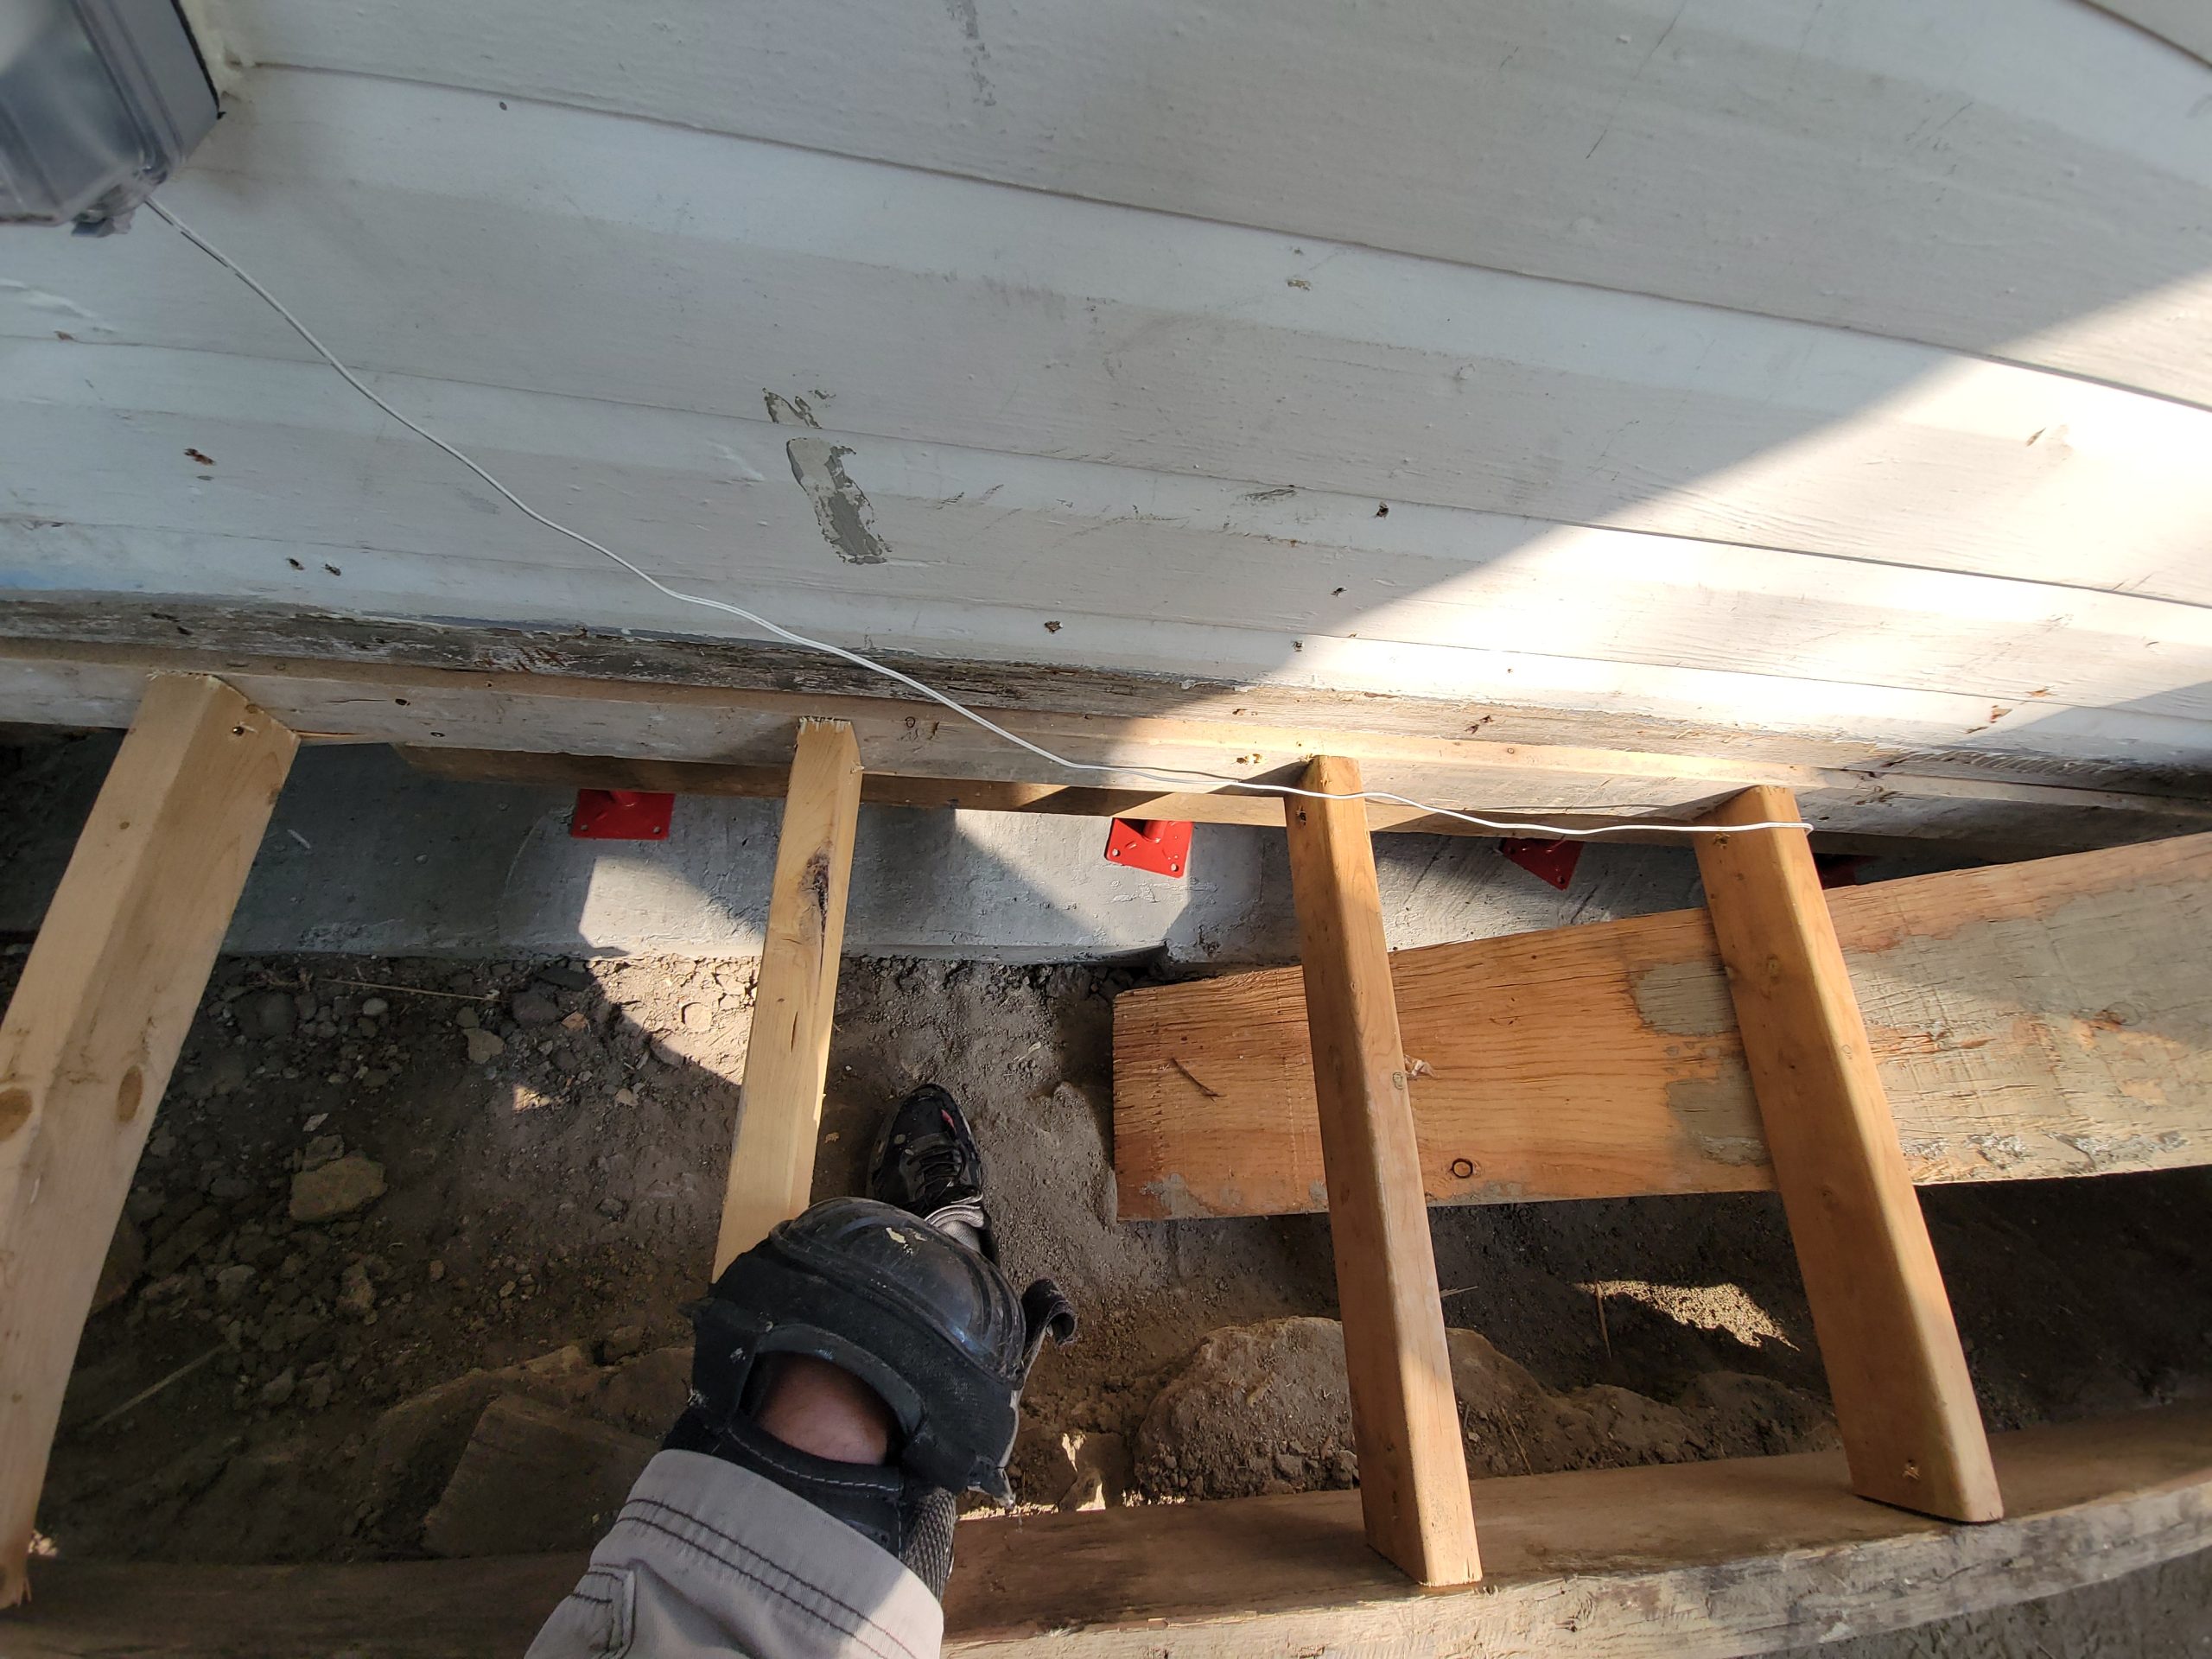
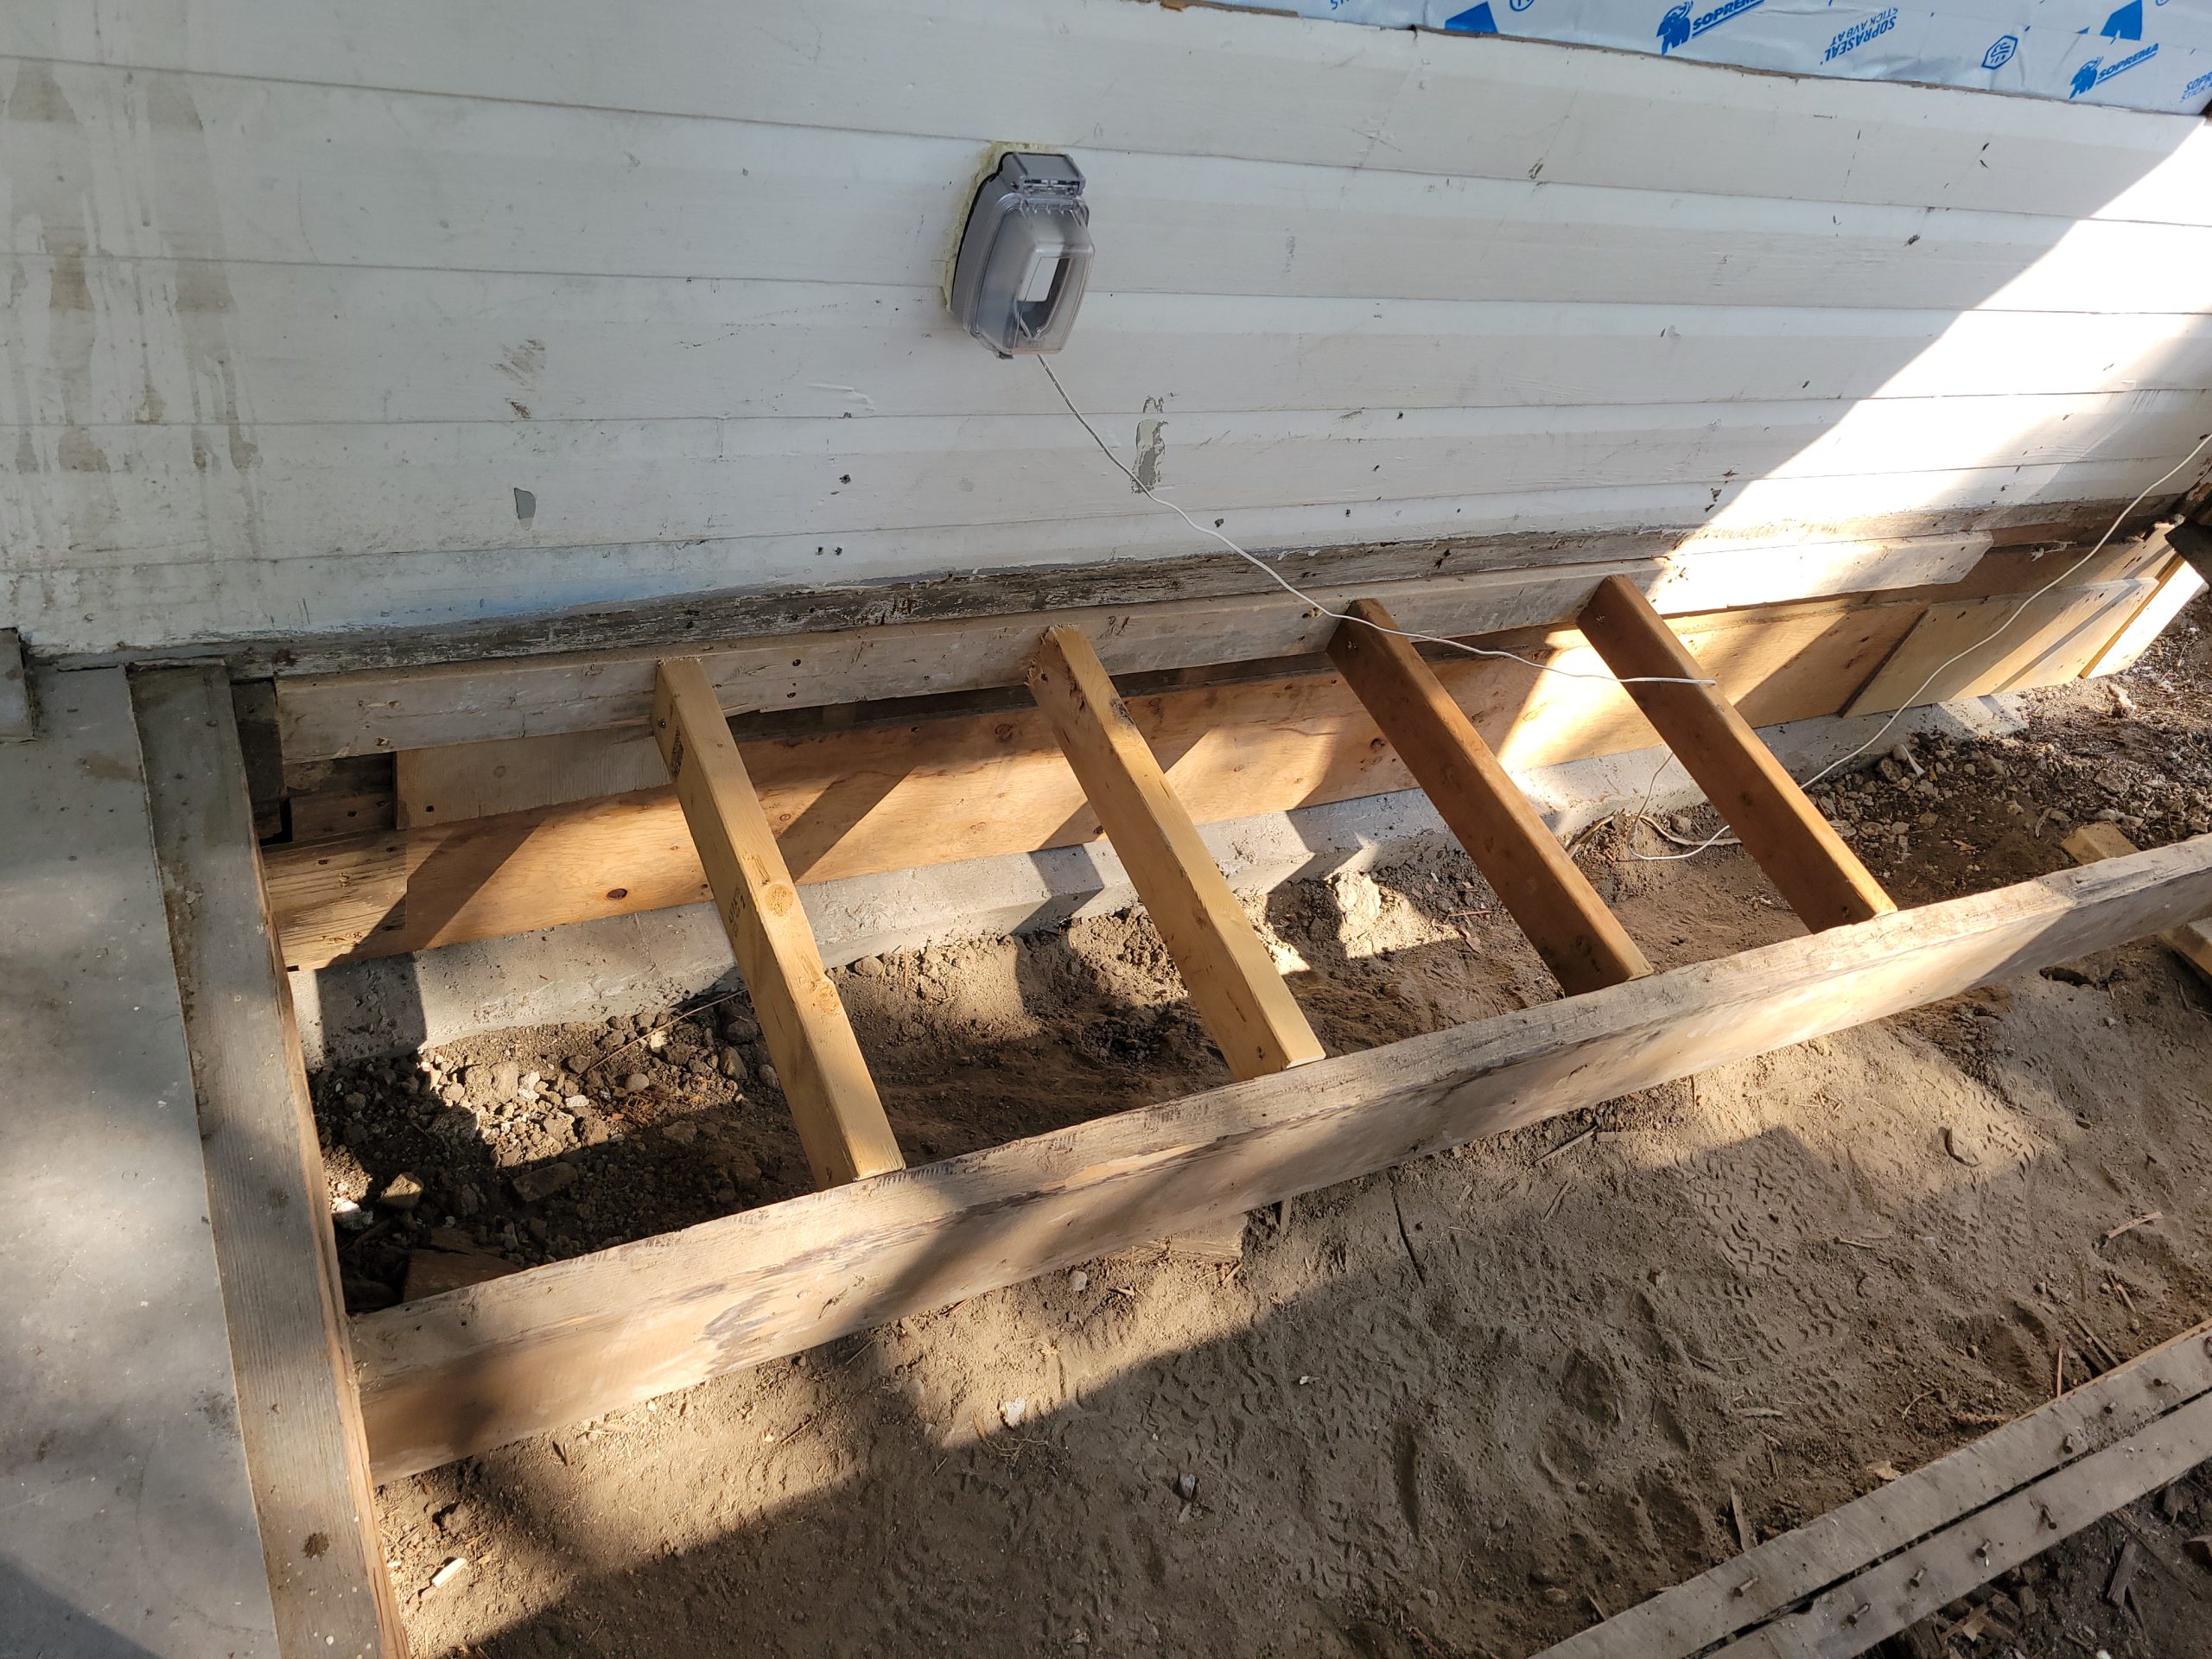
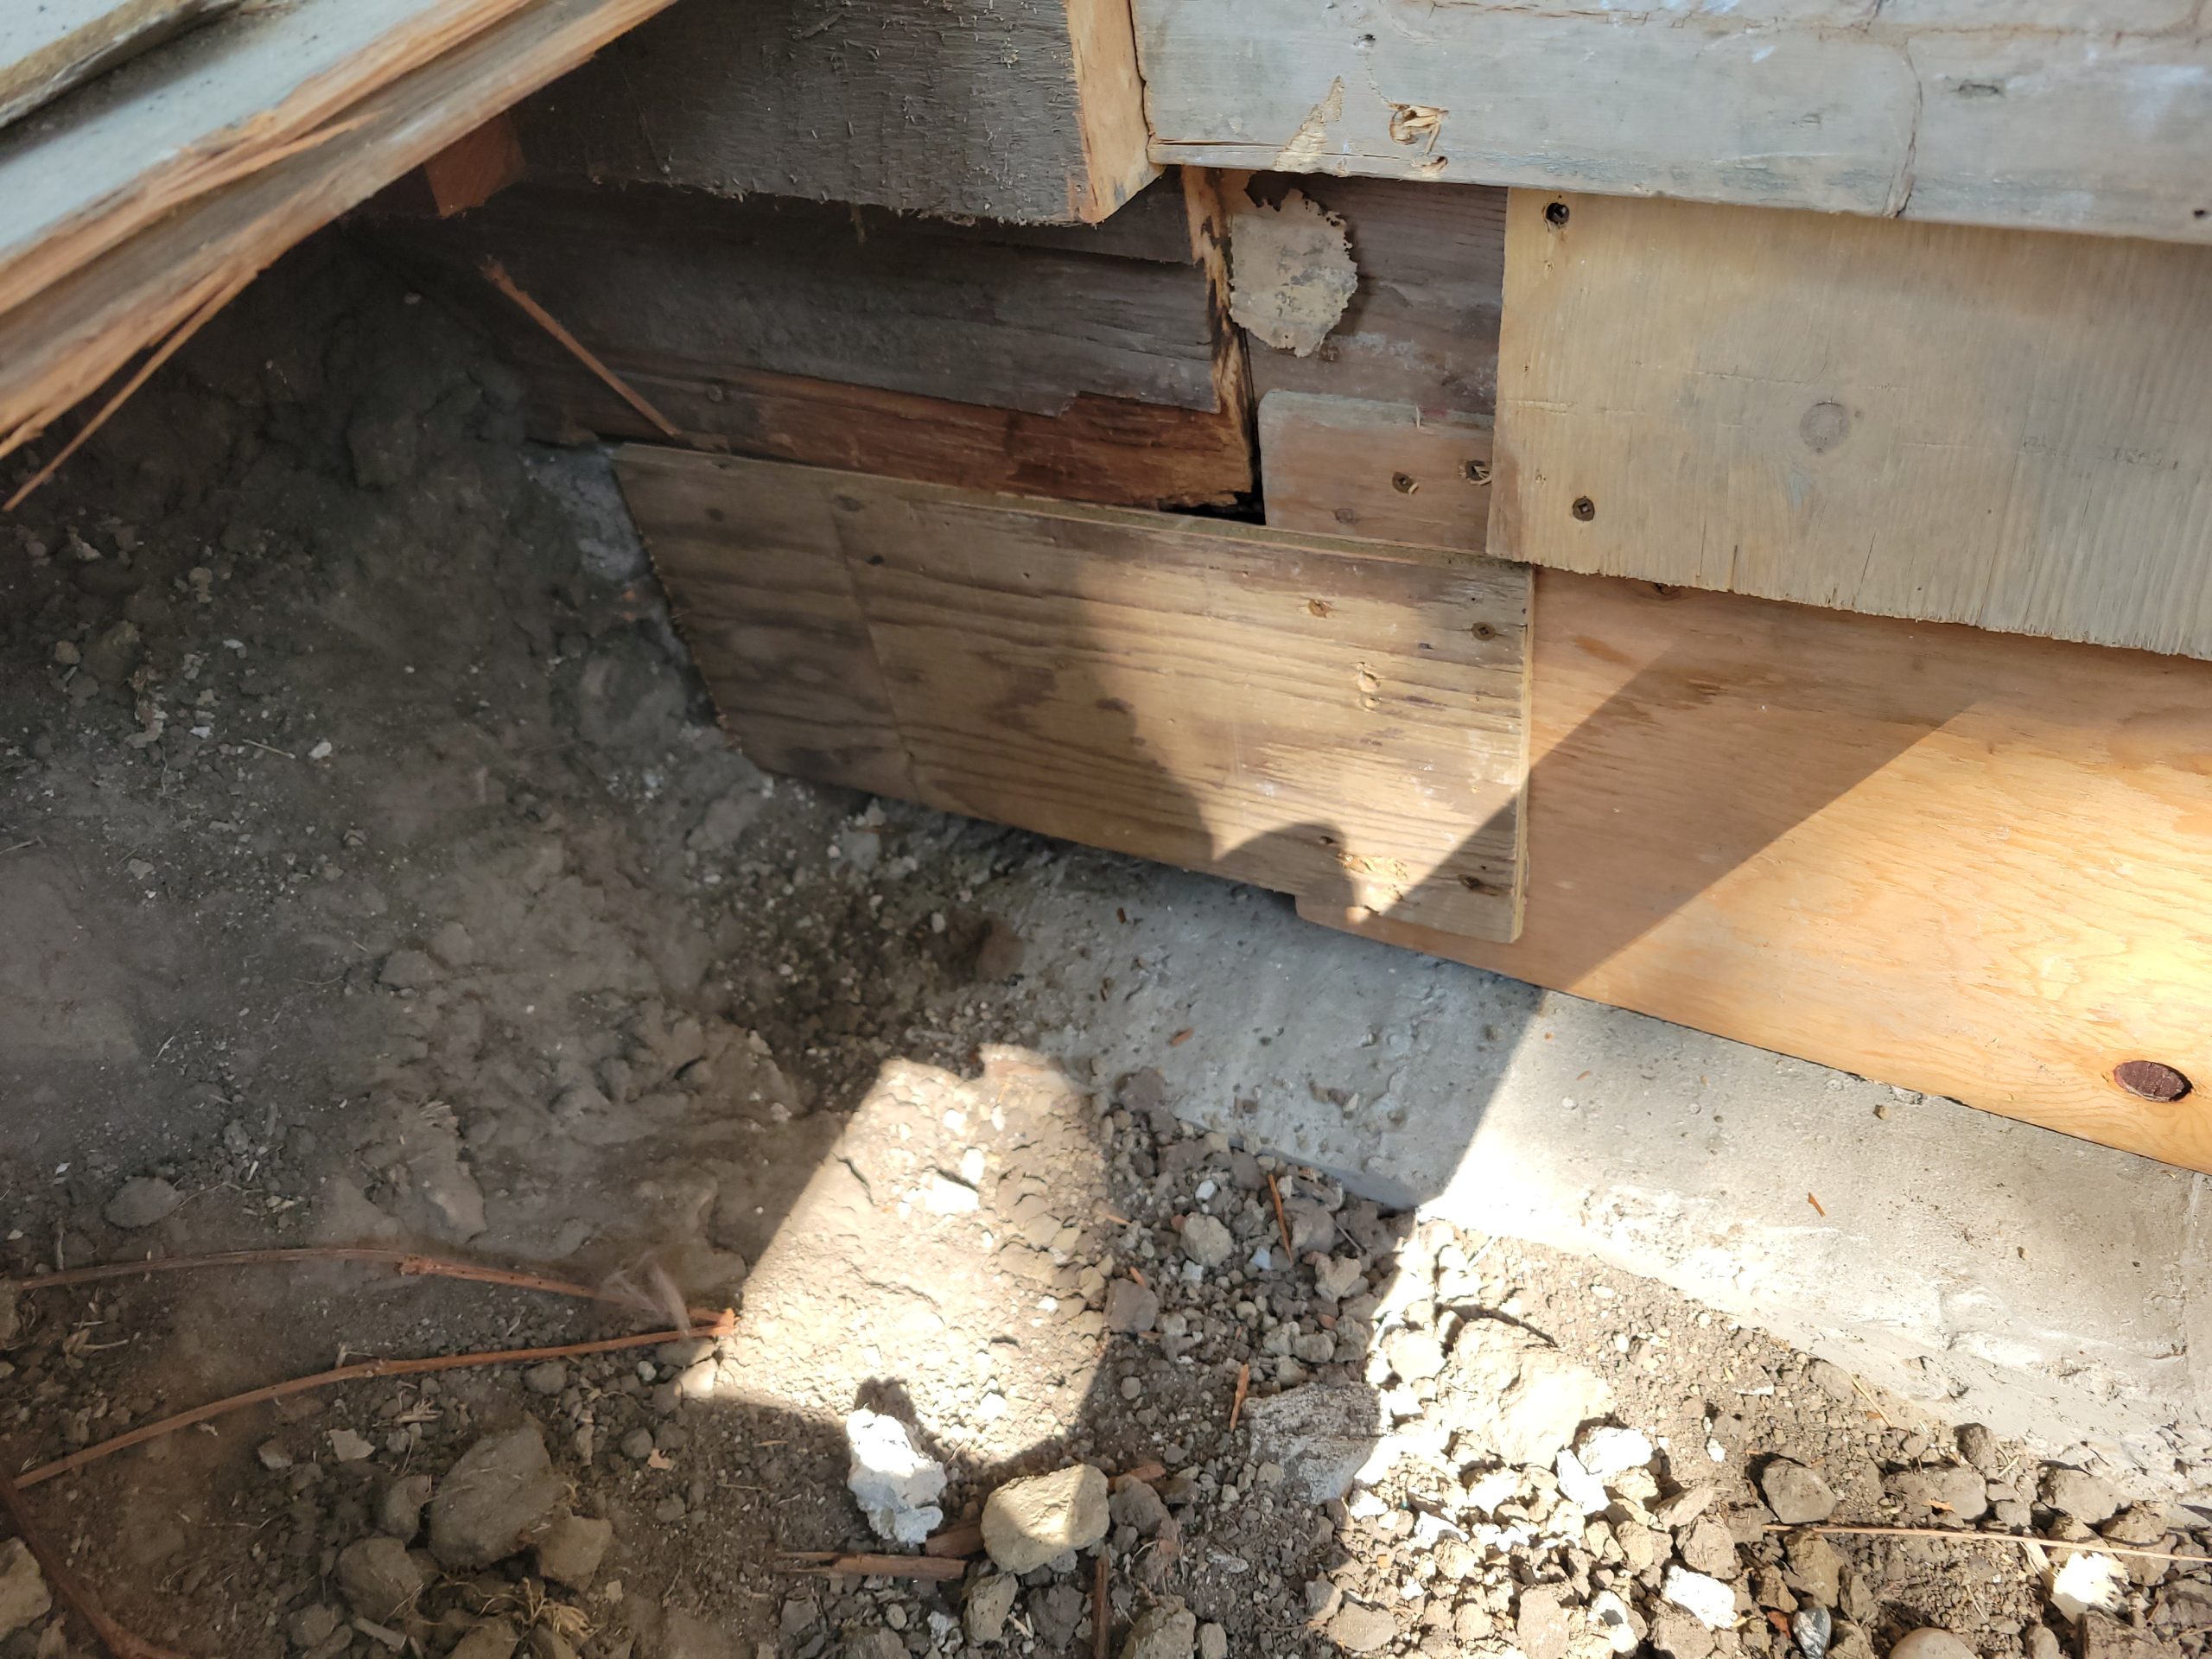
The gaping hole under the veranda that leads to the basement needs to be plugged up.  Too many cats go in there and mark and s#^% everywhere.  Because there is a surplus of lumber, I found the right size of pieces to fill the hole. 

Read more

trim, chimney floor hole

The first screw-up for today was the 1x2s from Home Depot. 

They are most certainly not 1x2s.  A one-by-two, of course, is not 1″ by 2″, but 1-1/2″ x 3/4″.  However, these are not 3/4″.  They’re 5/8″.  I’ll be taking them back tomorrow morning.  More shrinkflation. 

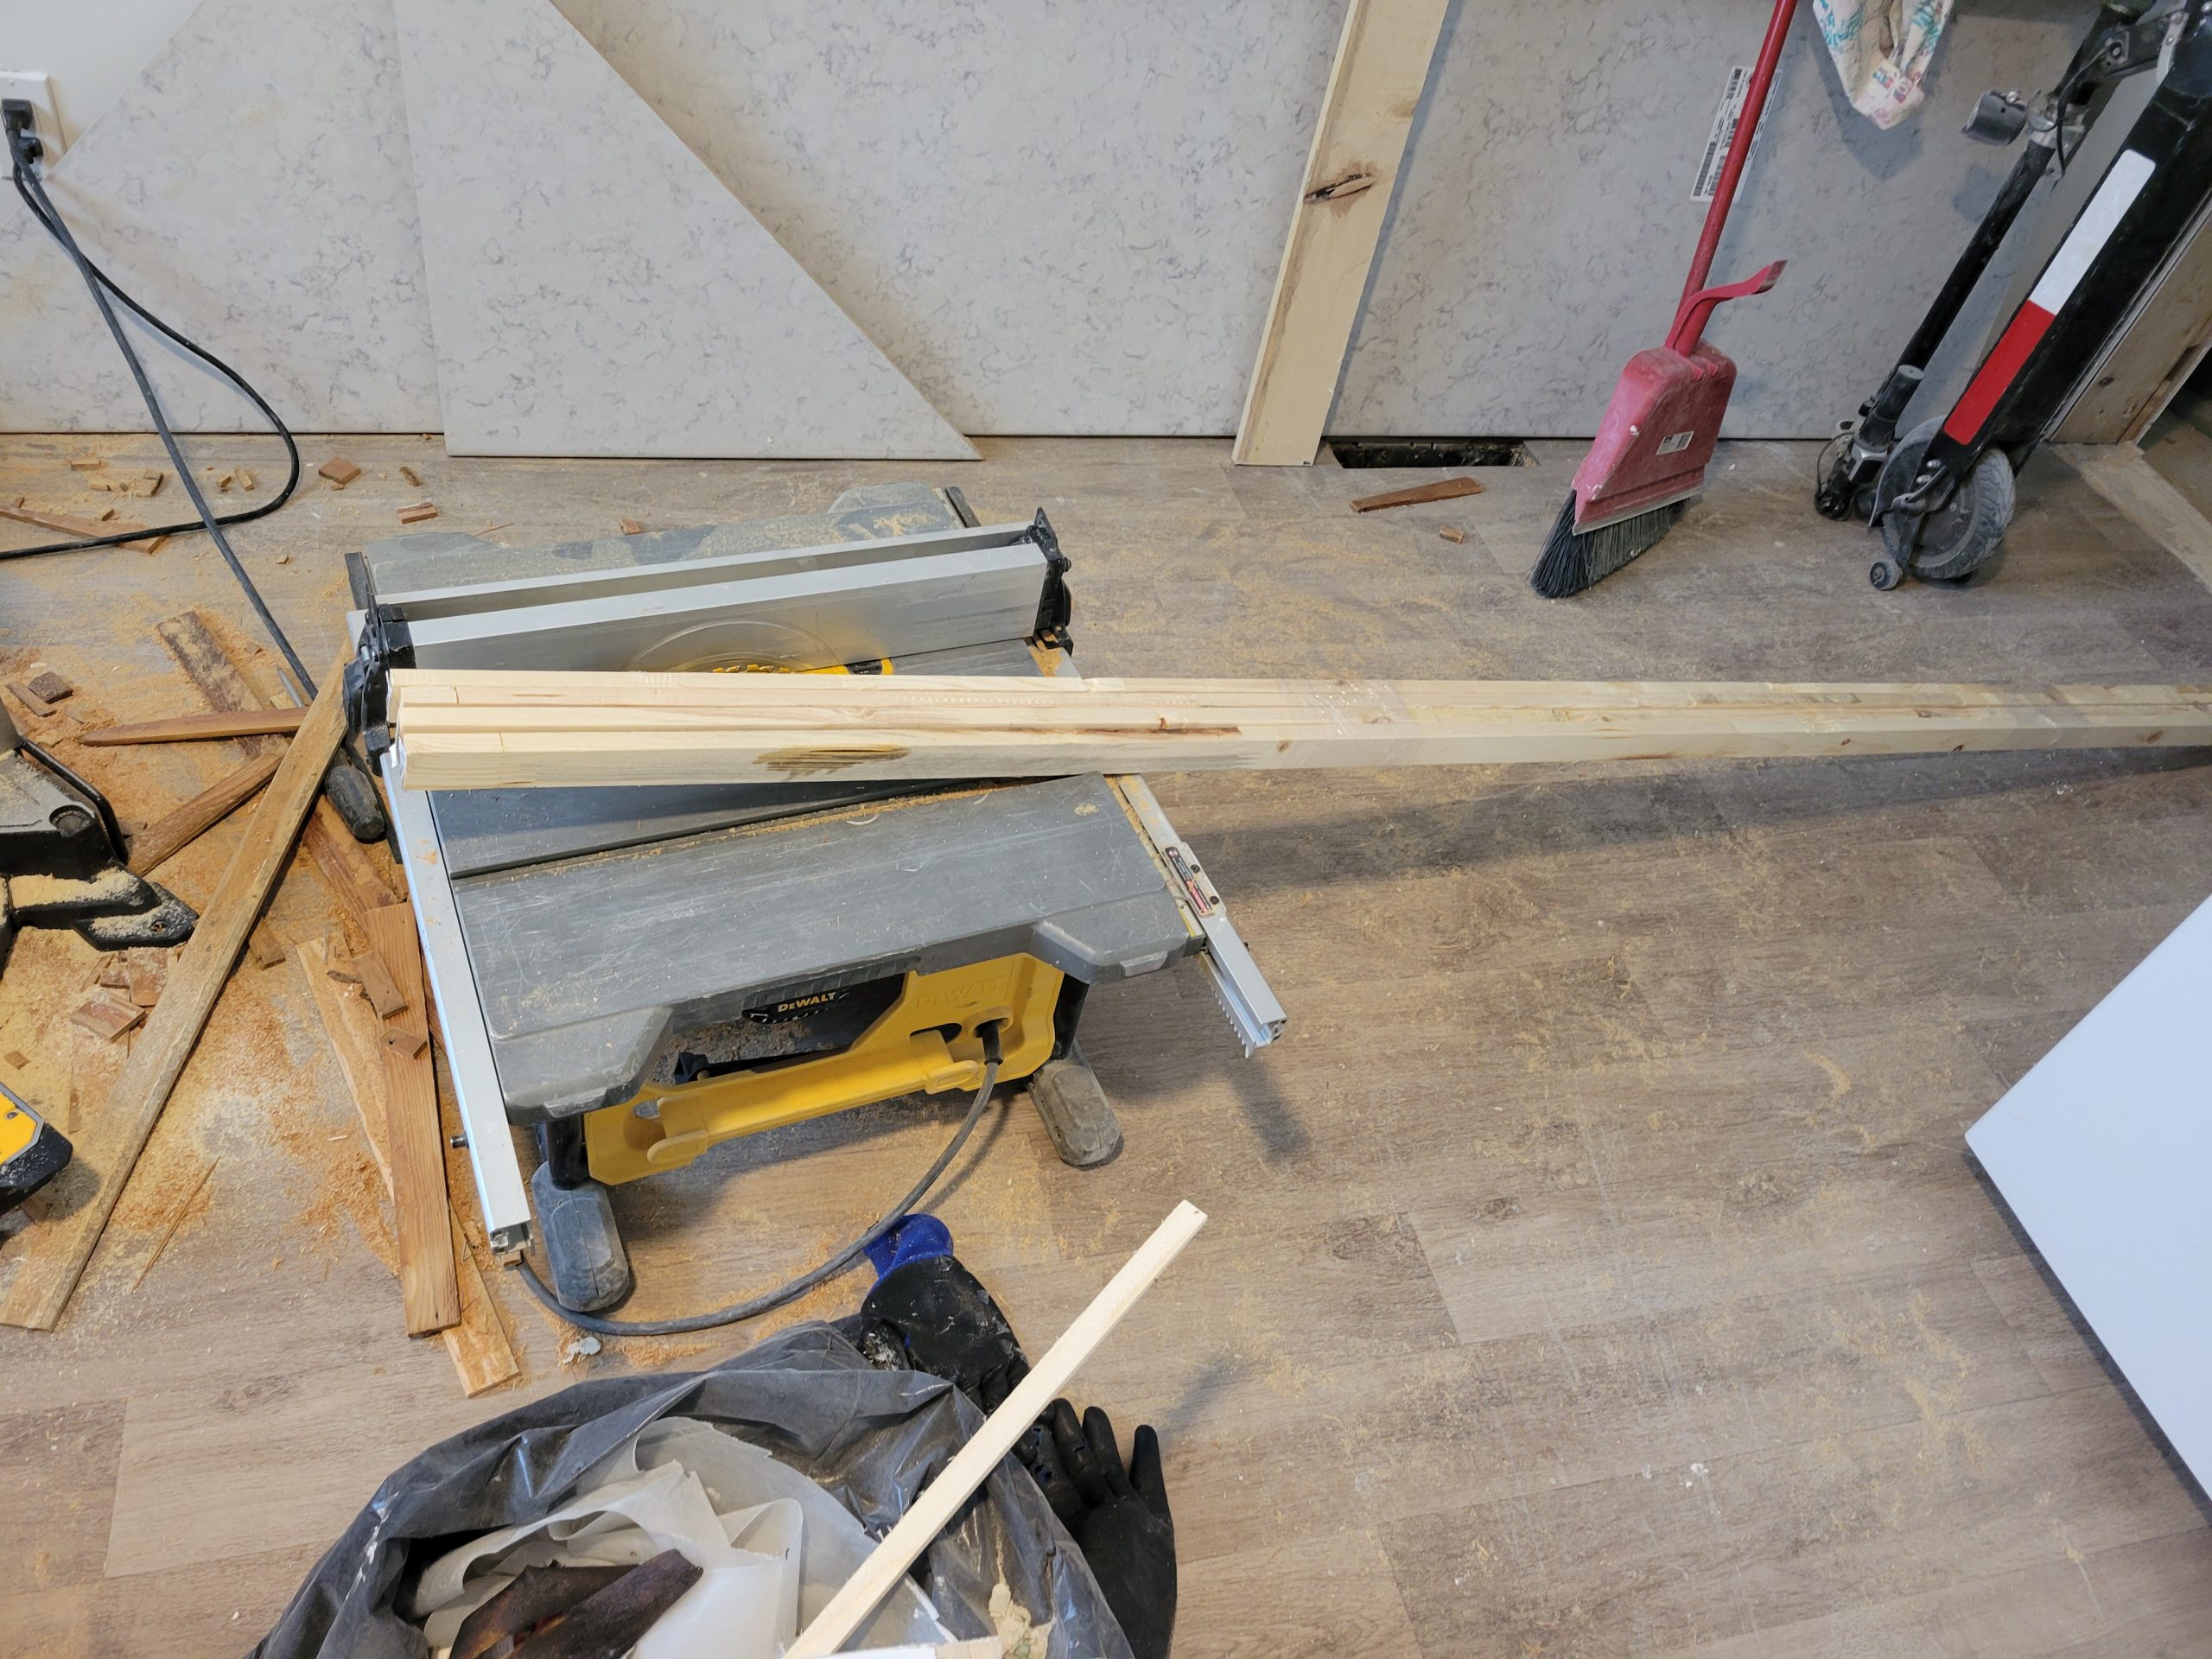
I needed to rip 1x2s down to 3/4″ square to act as filler between the window frame and trim.  Instead, I ripped some old 1x6s down. 

Read more

outlets, switches, gaps, fillers

We begin again.  This is where we left off last time – with a temporary floor. 

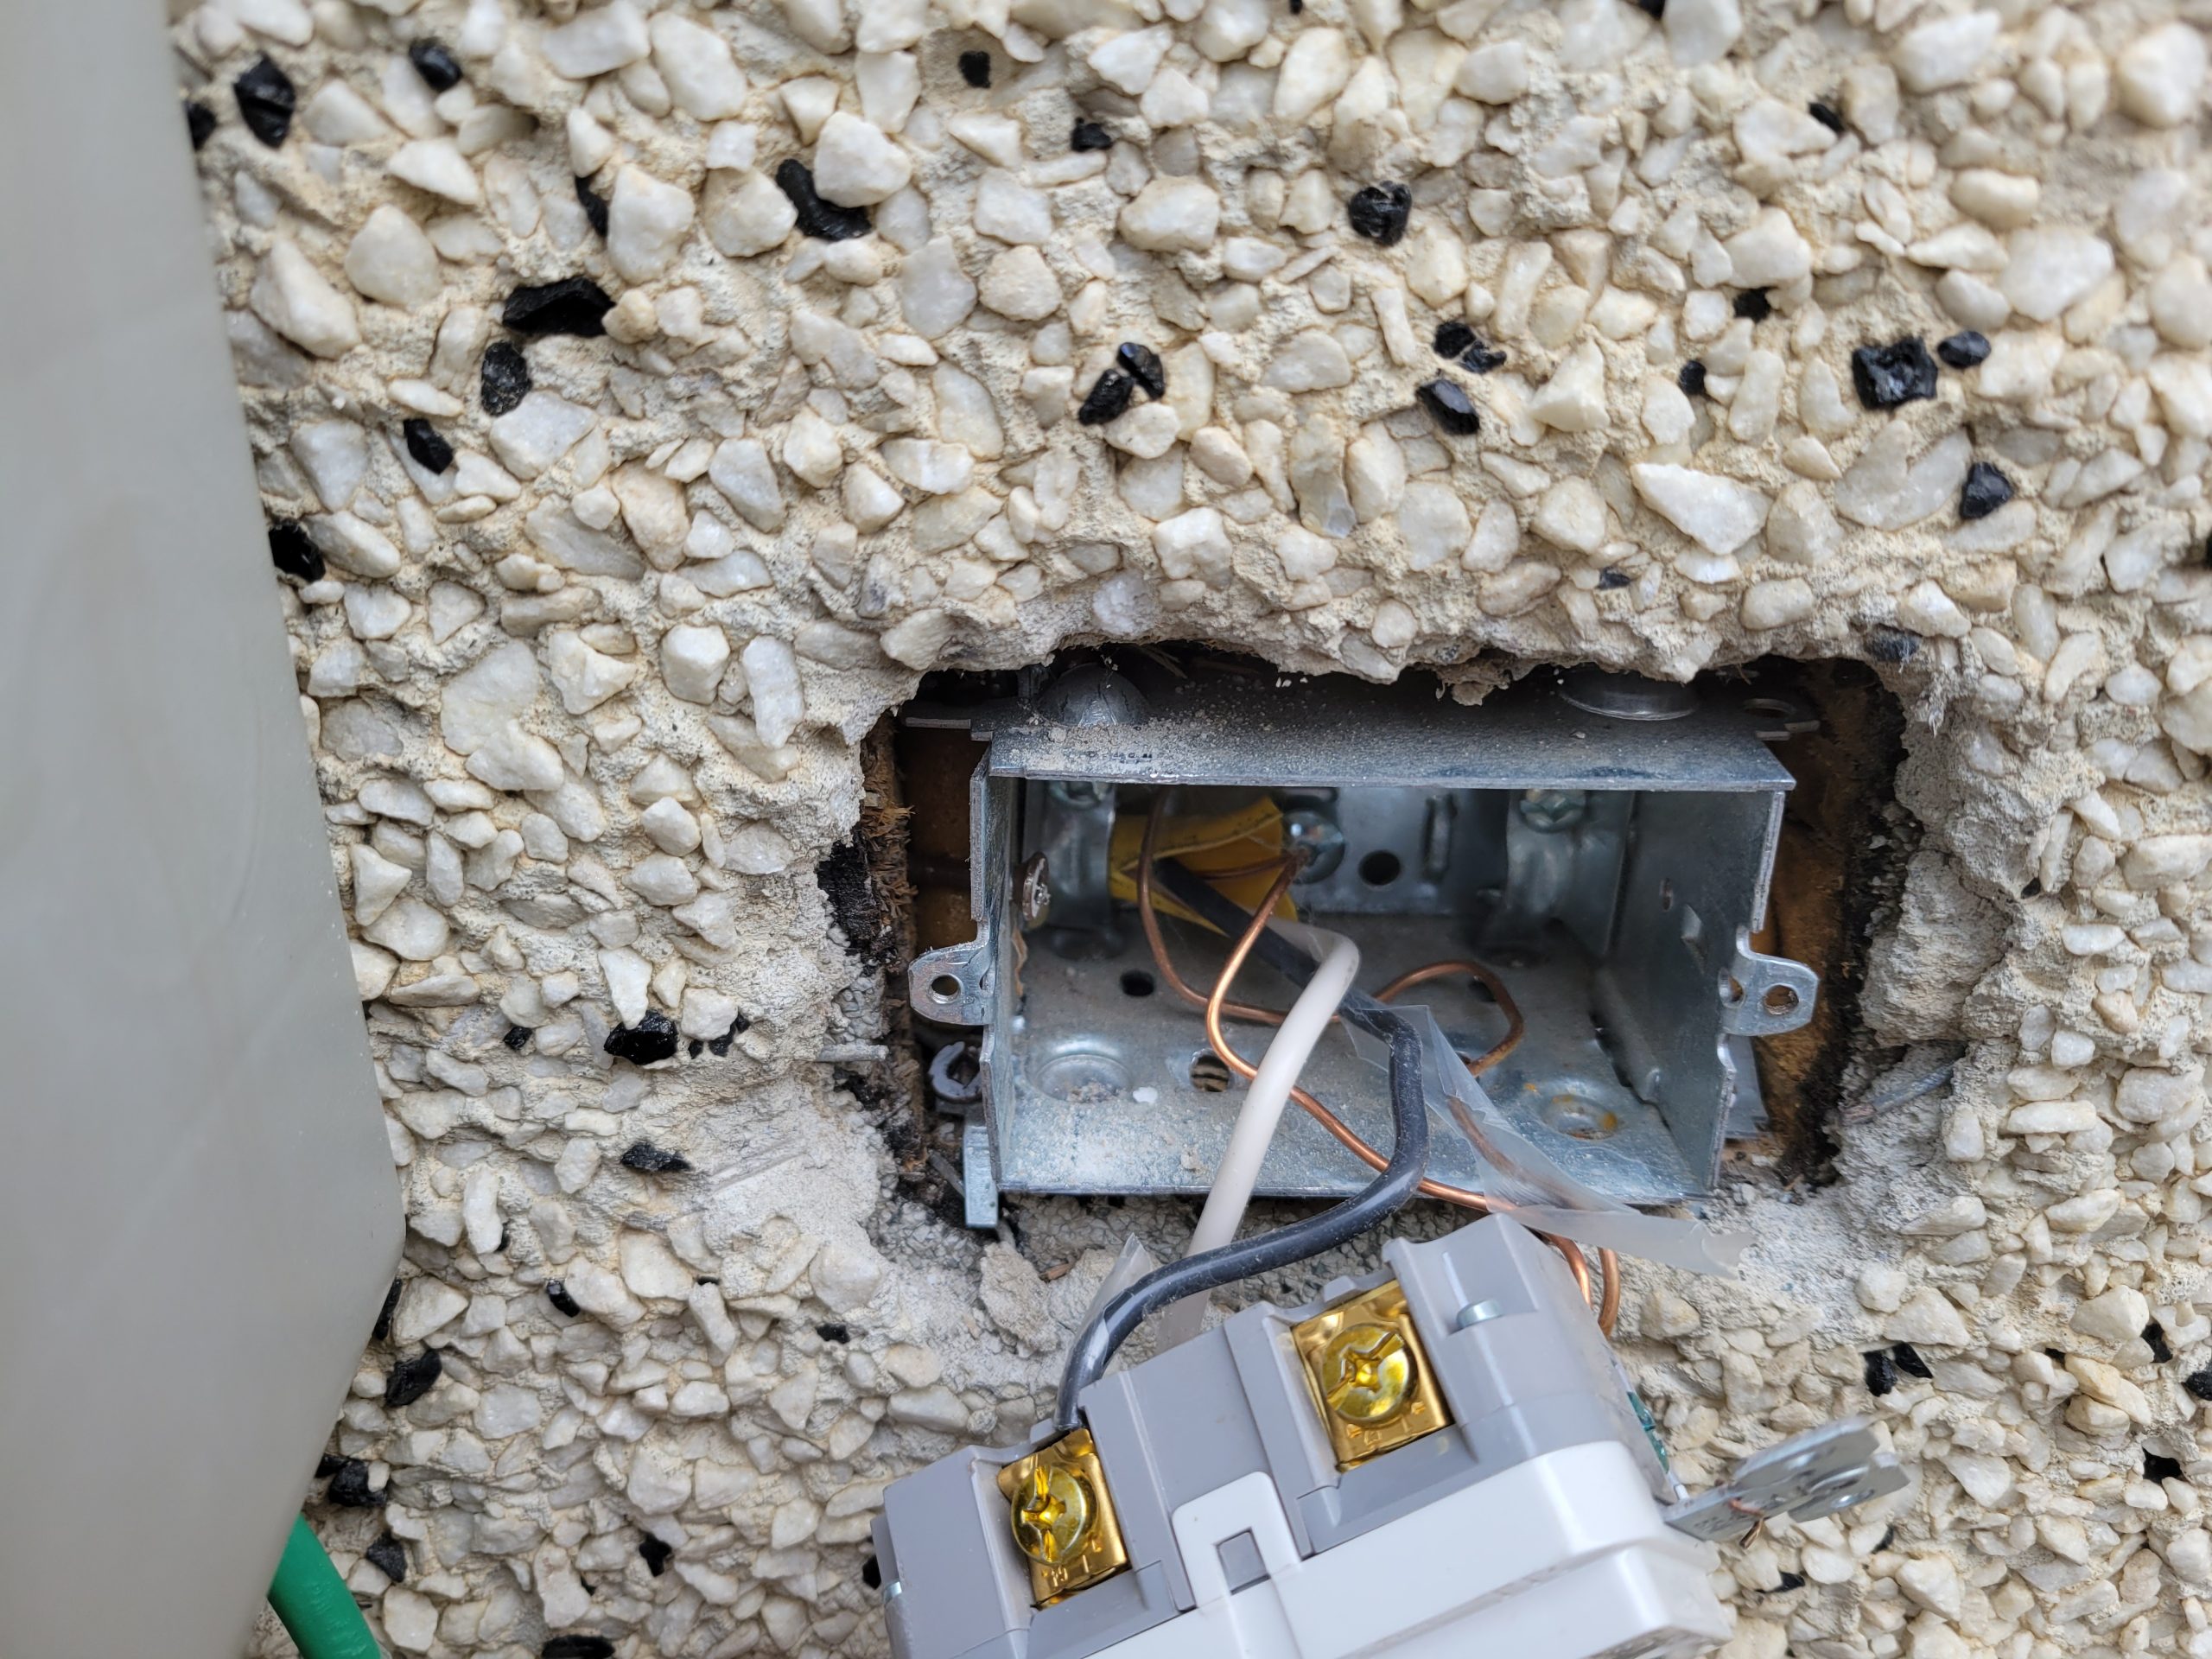
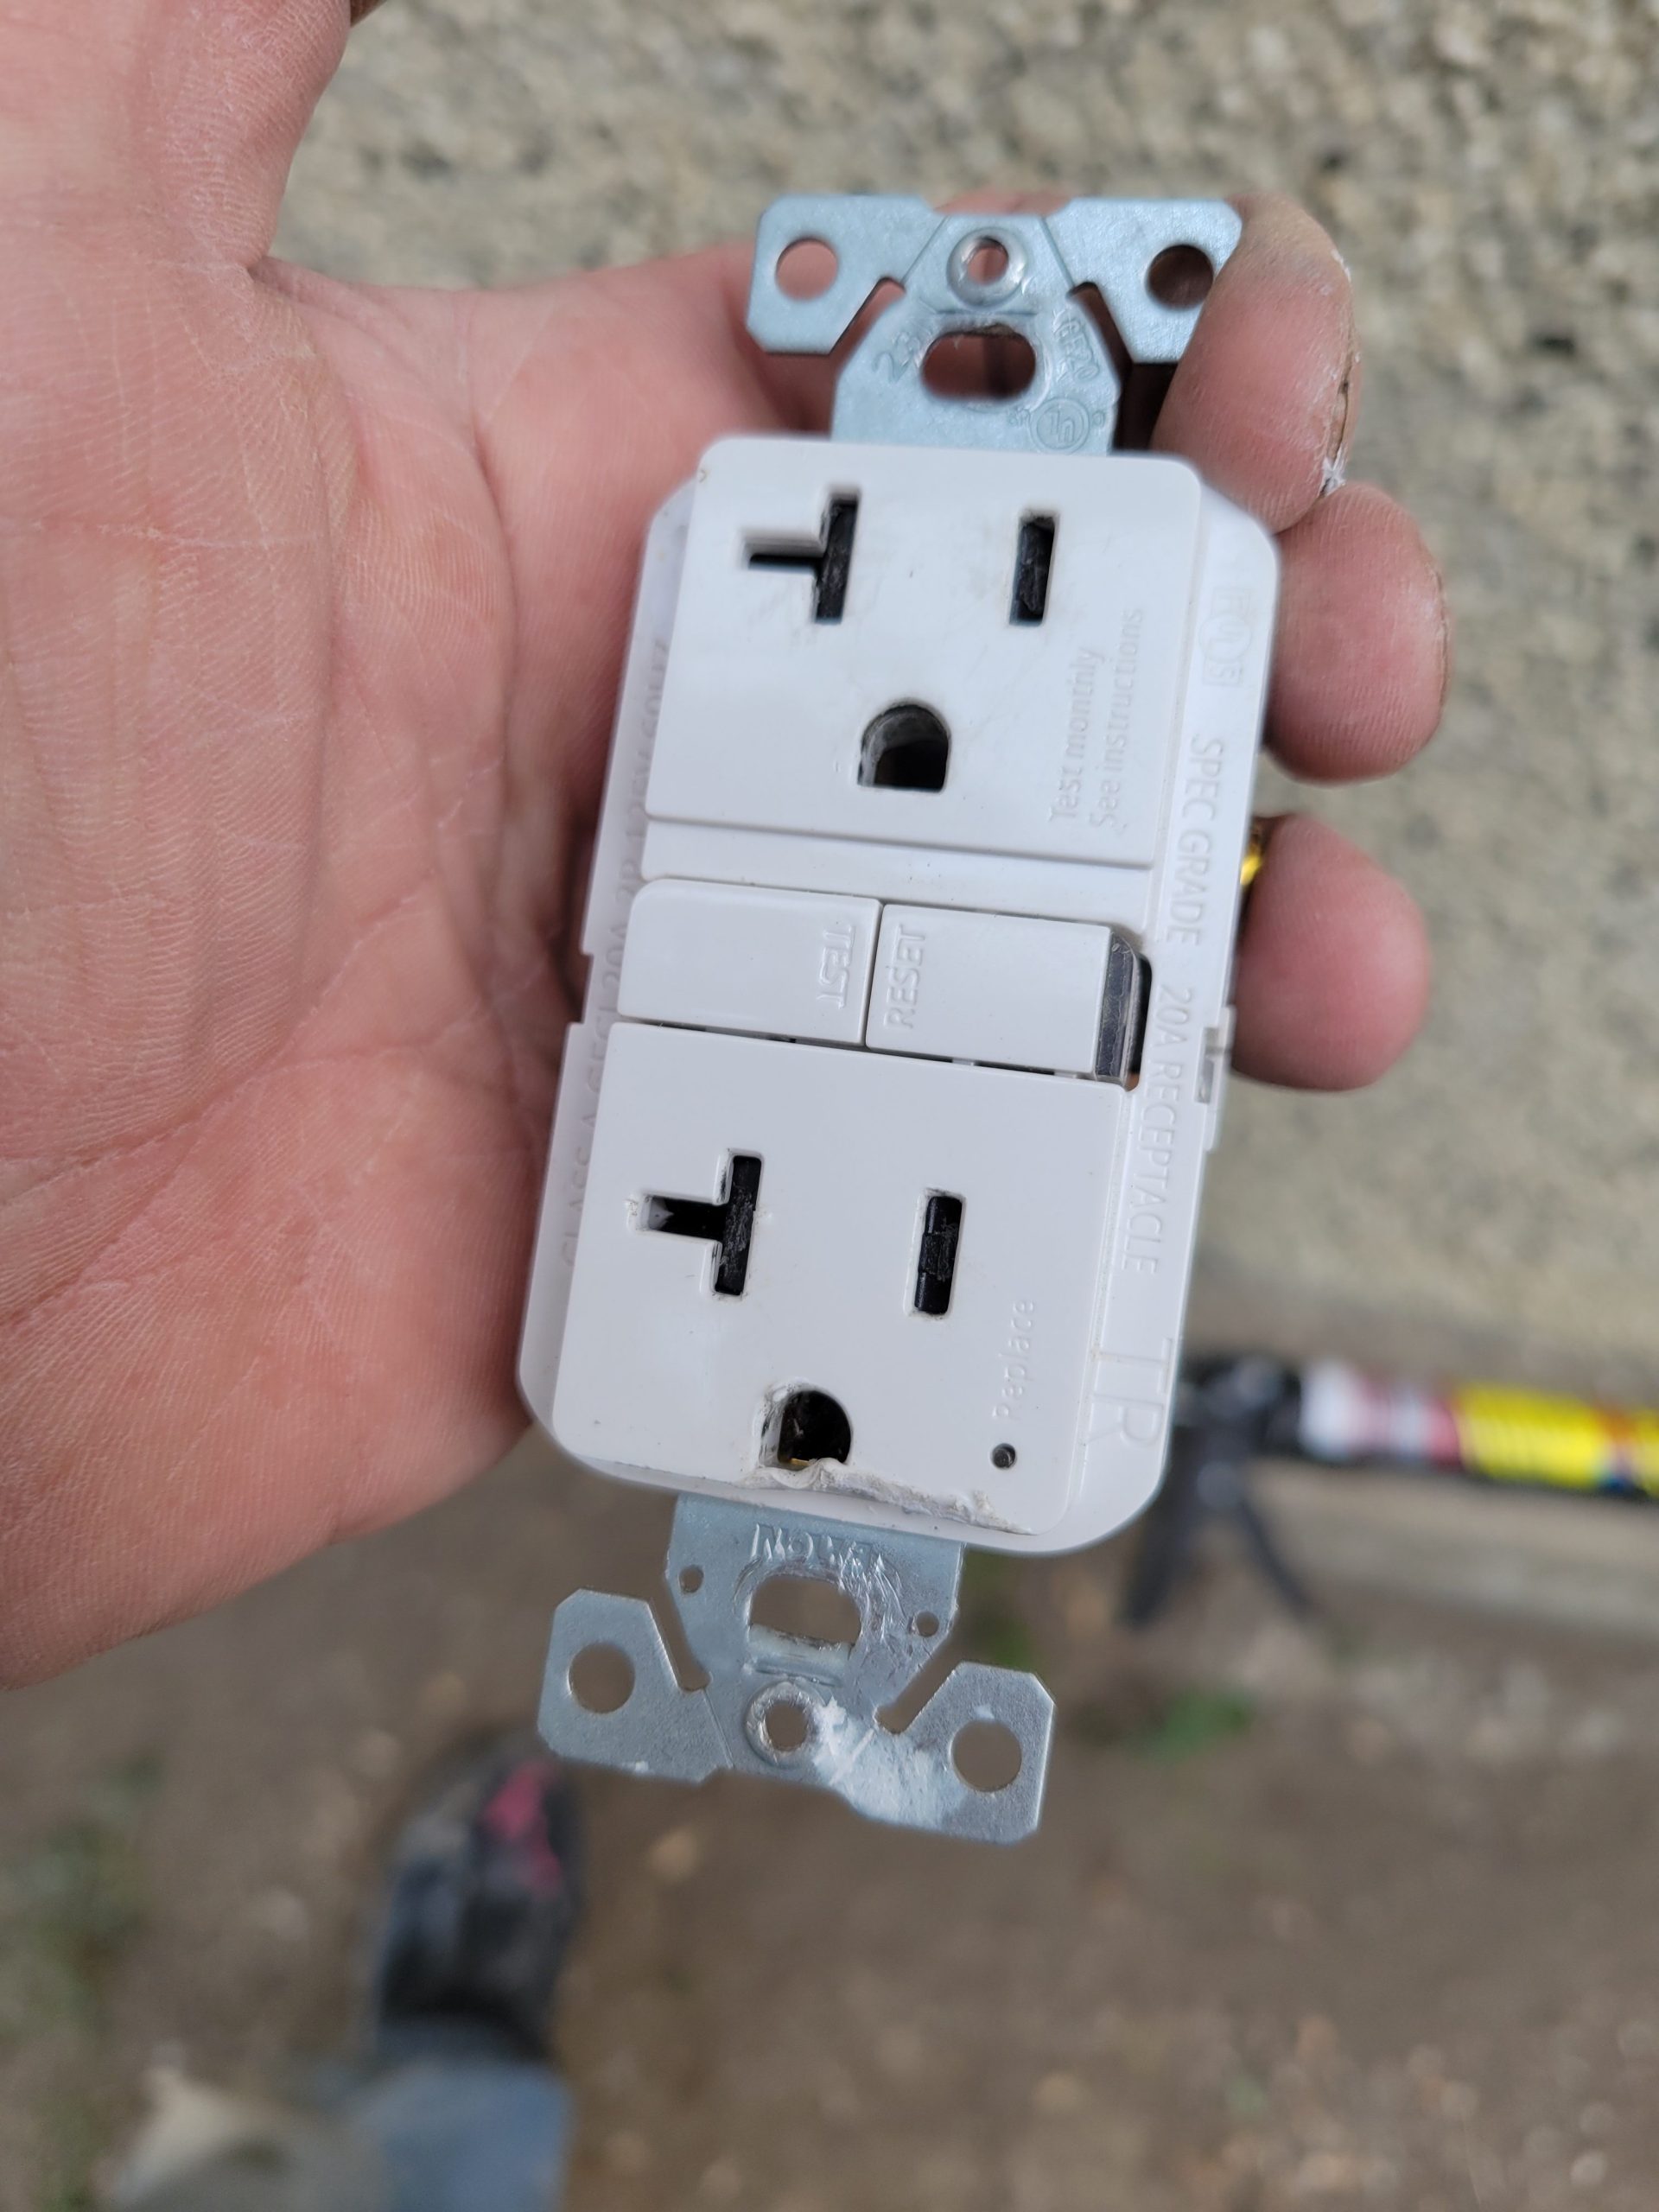
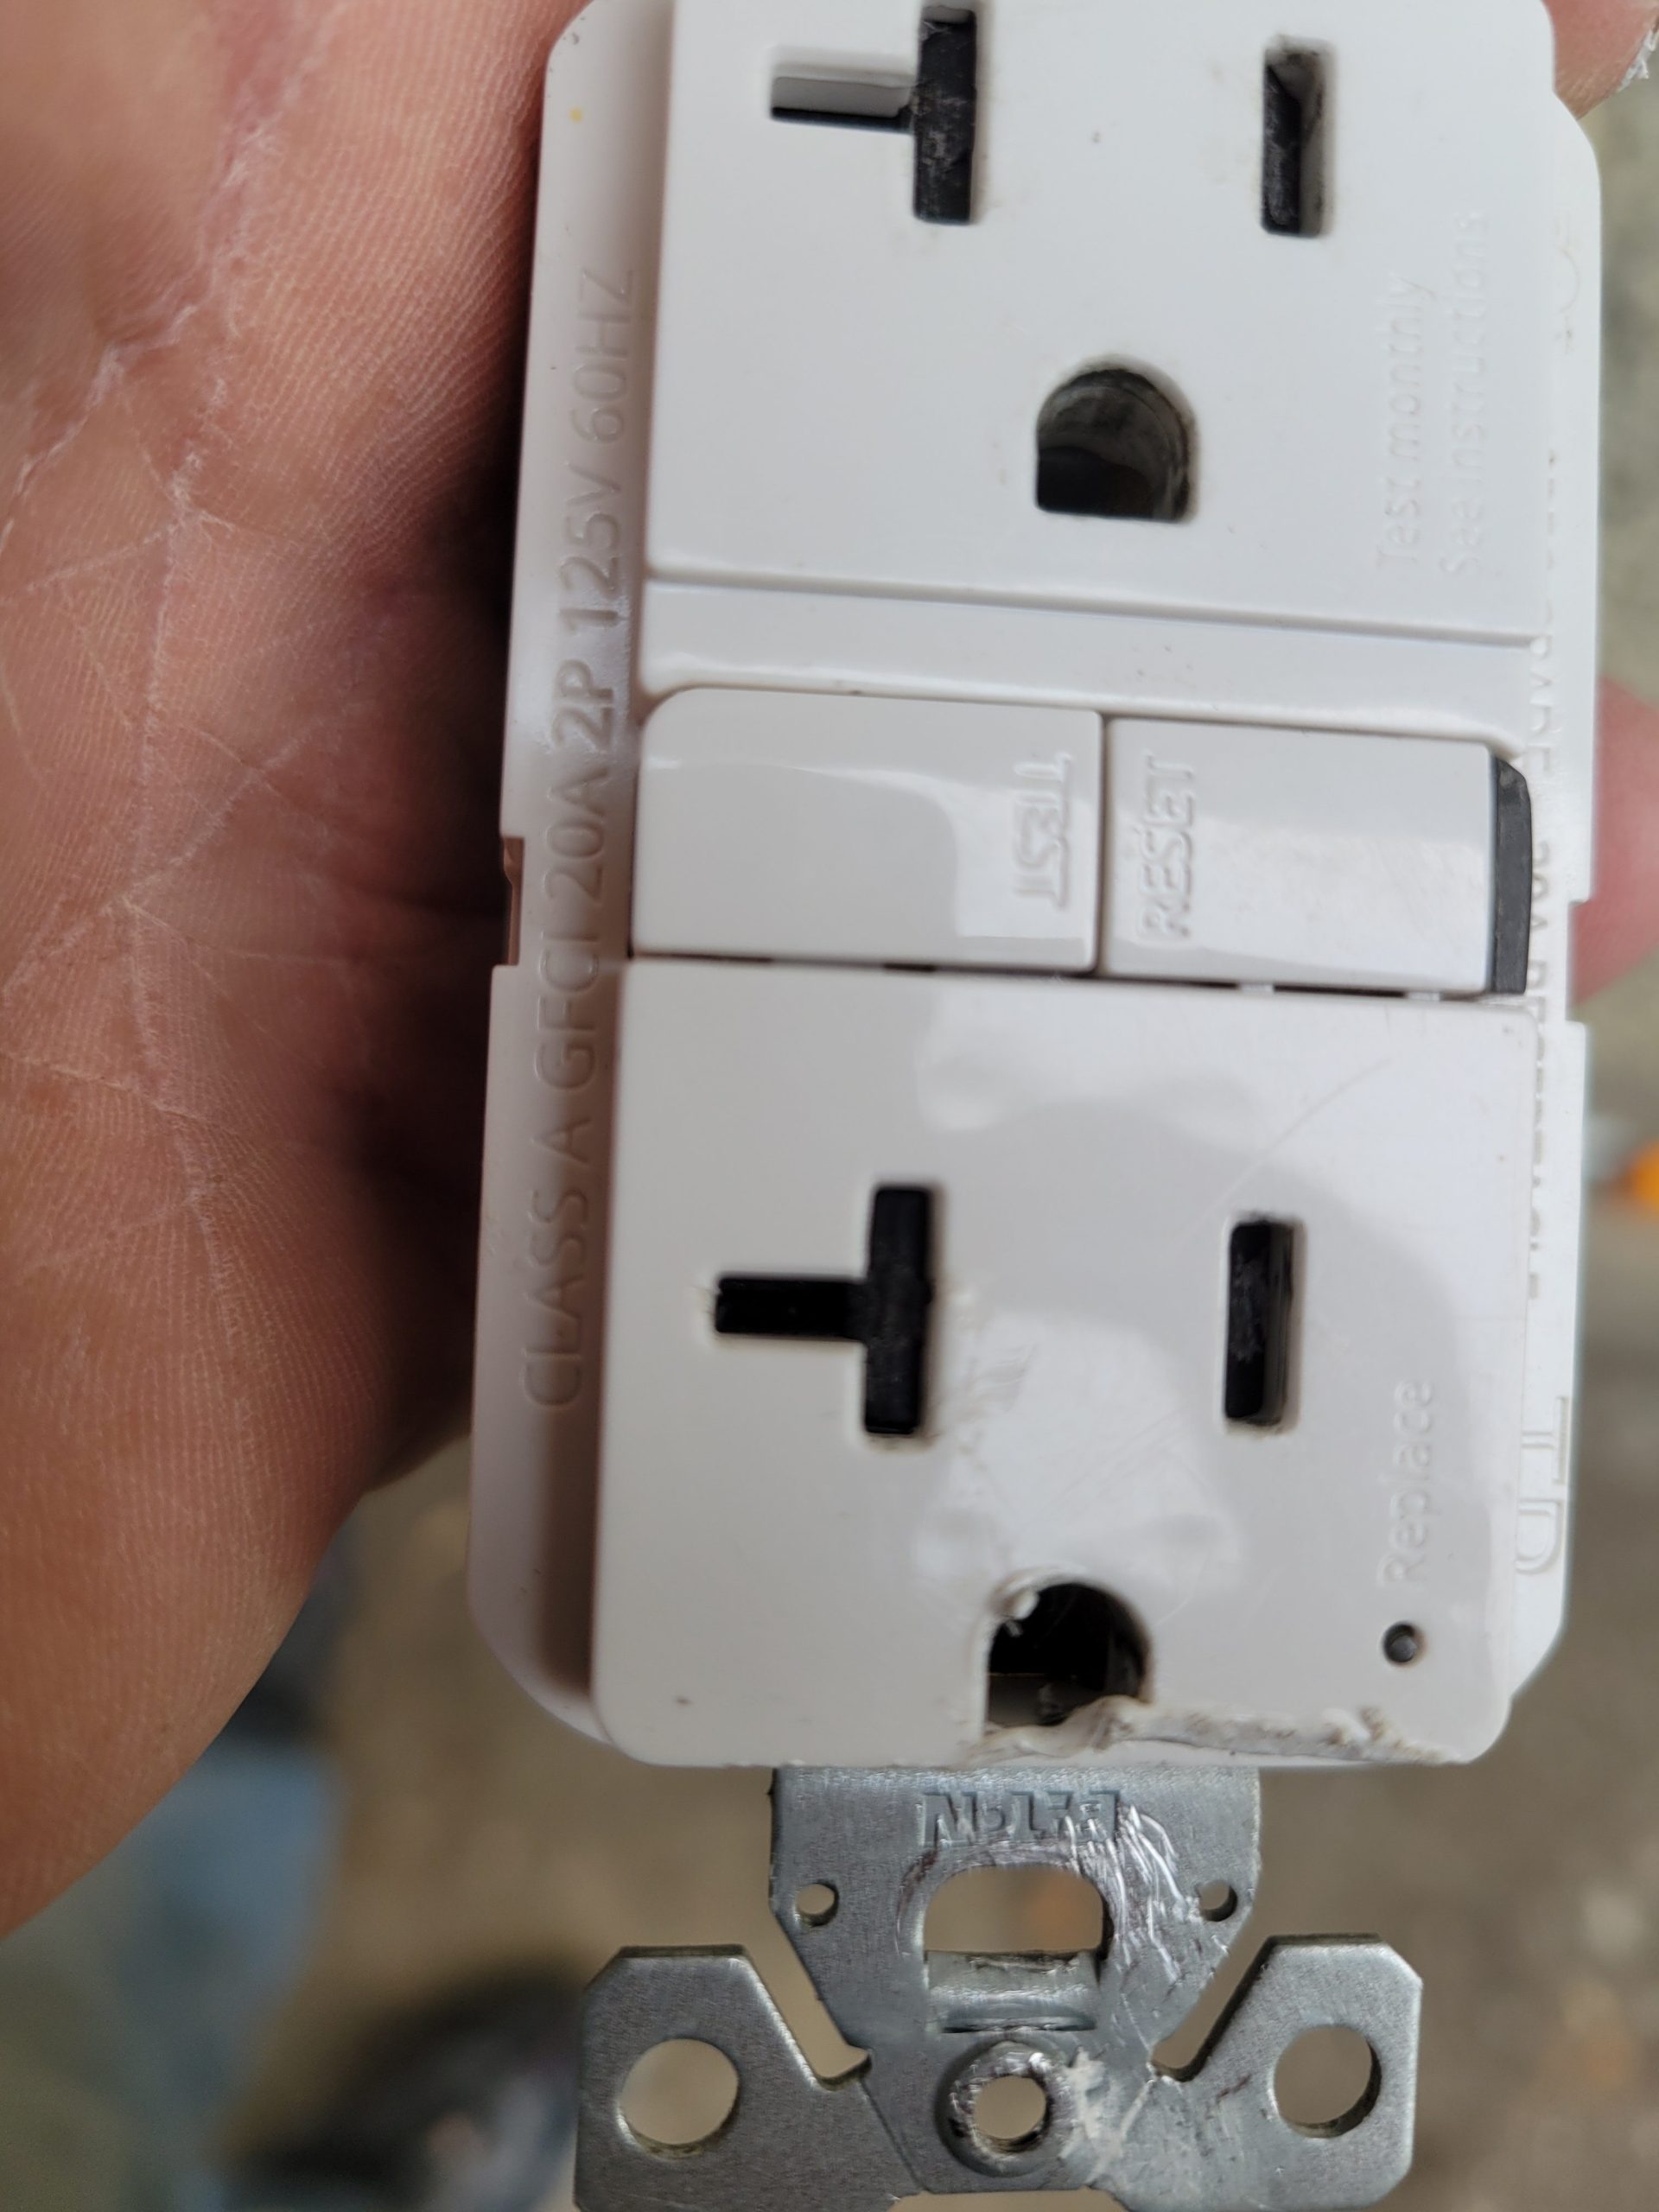
I noticed, when putting a cover on the outside GFI for block heaters, that nothing would plug in.  The outlet was stuck.  I see now that it is a tamper resistant outlet.  In other words, it has some piece of plastic in there to prevent things from being plugged in.  Dave noticed and told me about it earlier in the year when he was plugging in the cement mixer.  As it turns out, all GFI (or, at any rate, all 20A GFI) duplex receptacles are tamper resistant.  I went to Home Depot to get one that isn’t, but they didn’t have any.  Dunno what I’m going to do here.  More on that later. 

Read more

living room window in, skim coat on

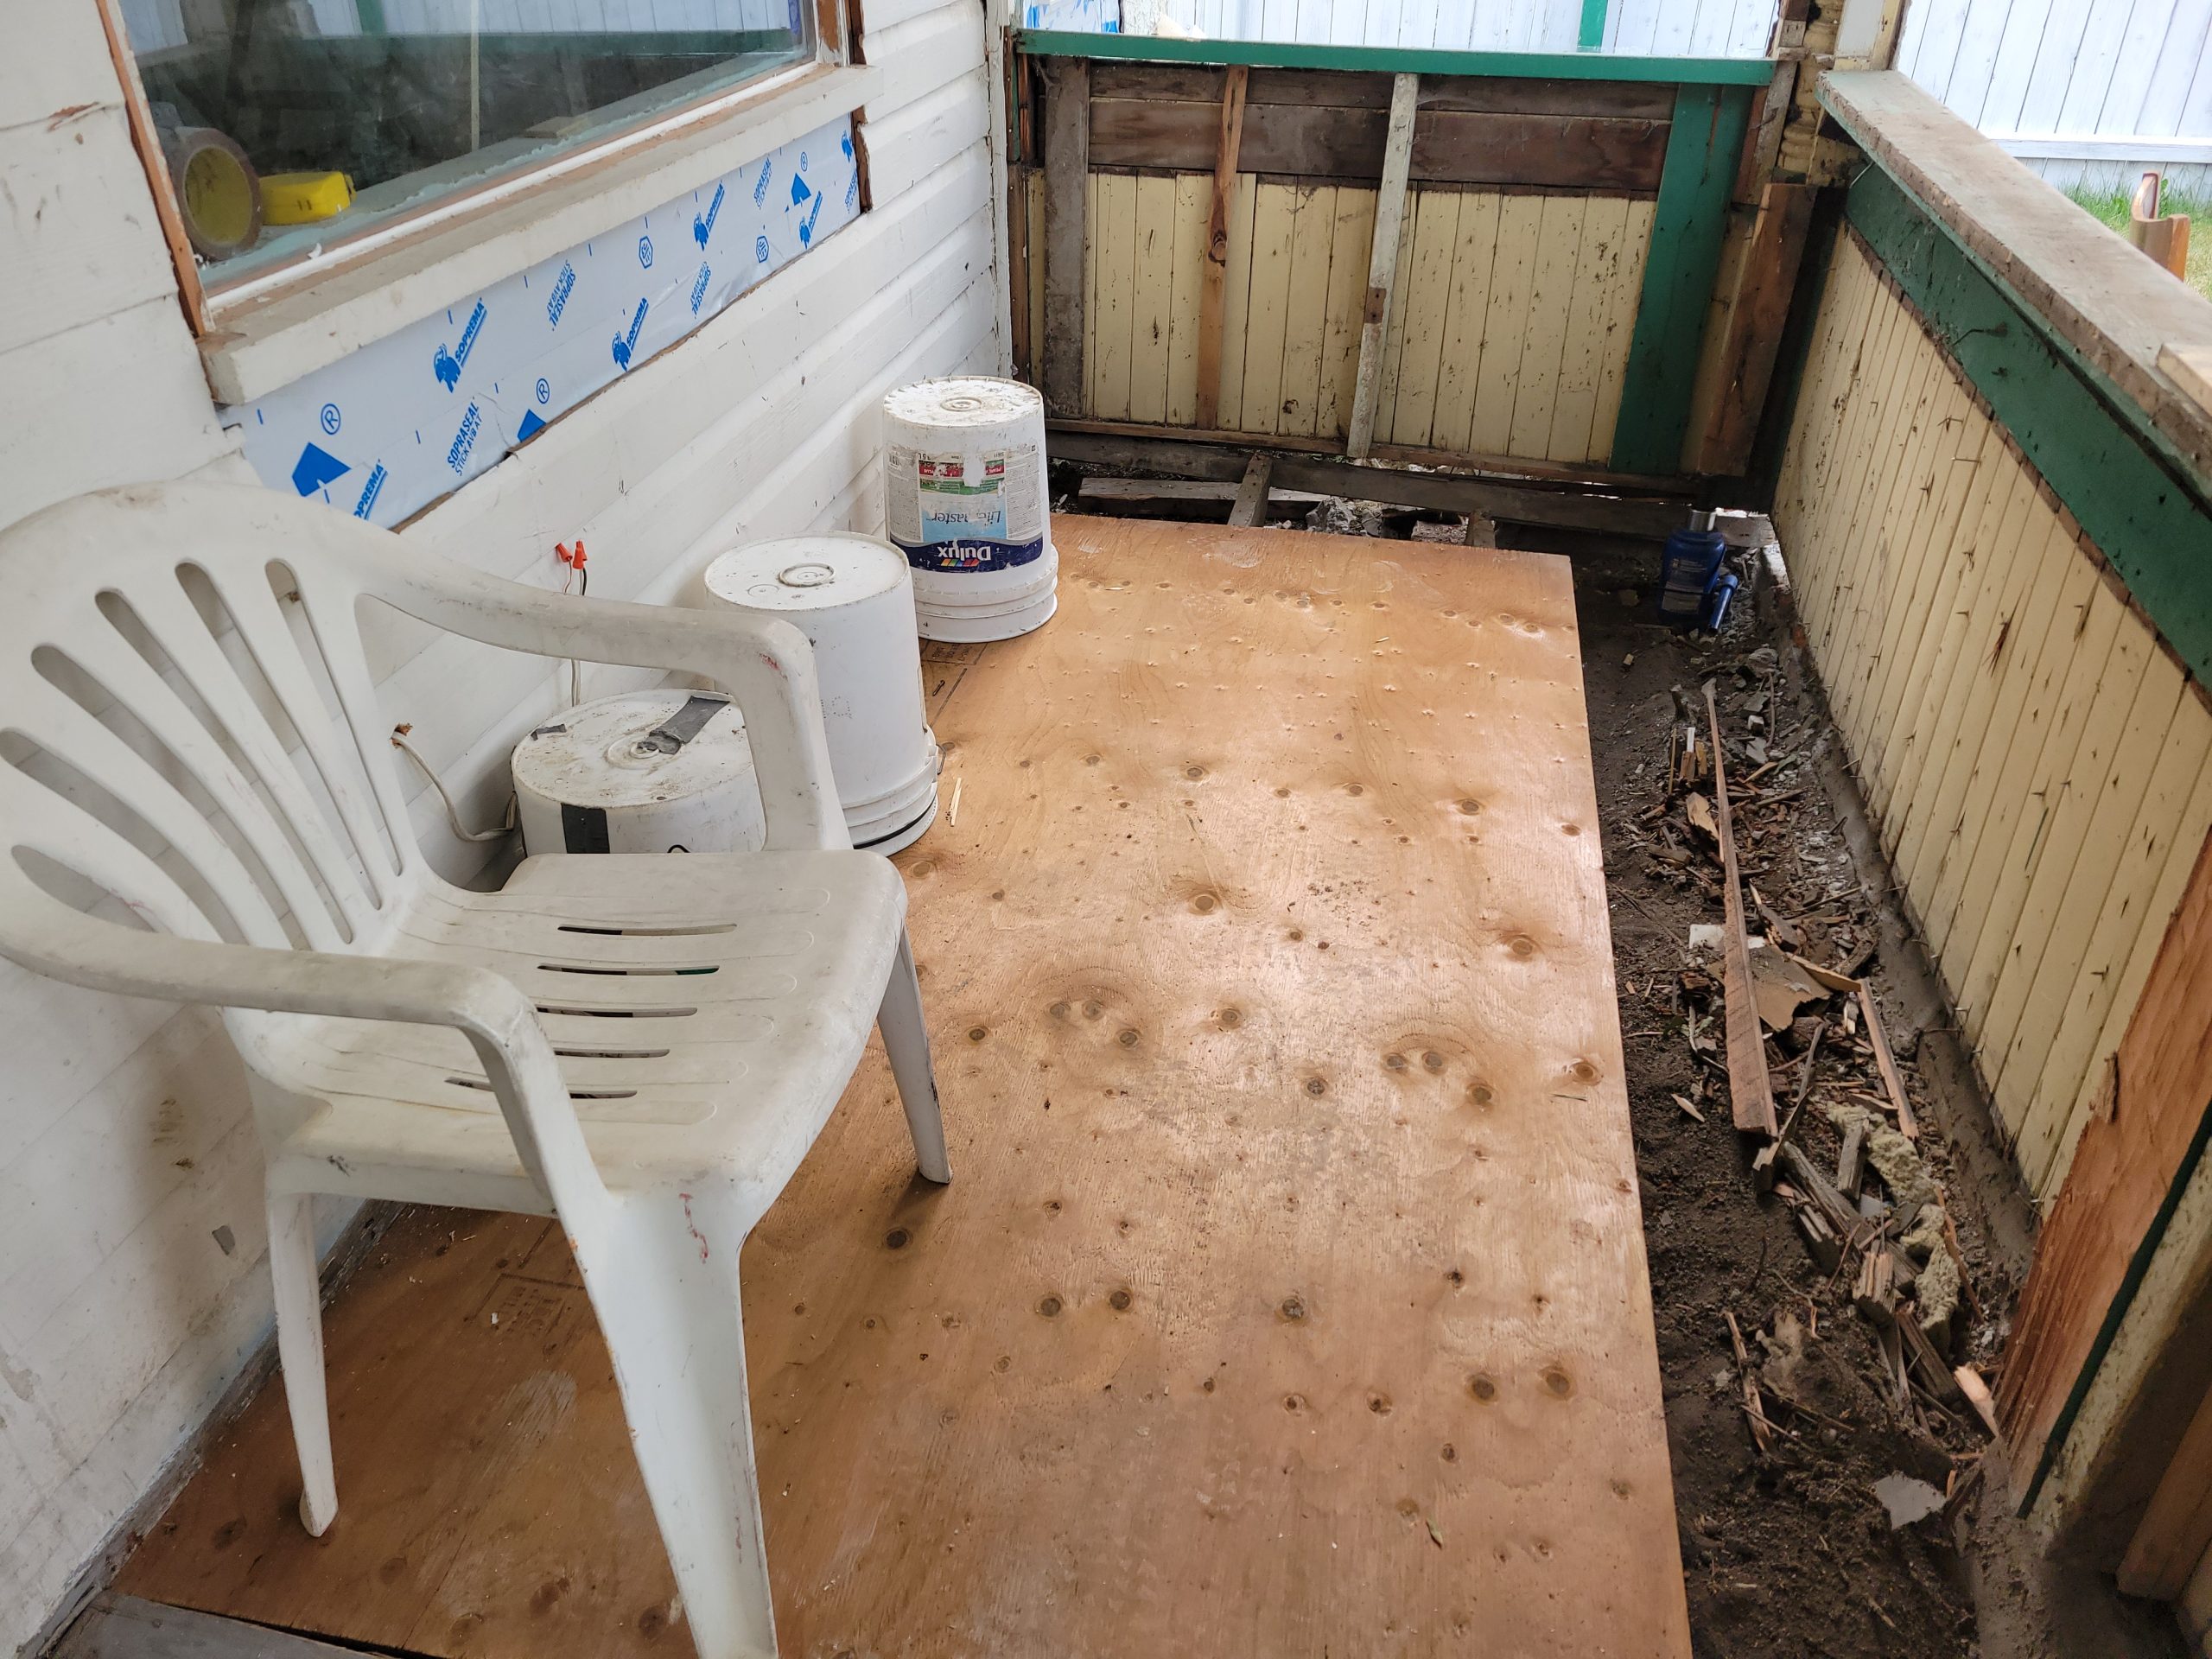
Time to put in a temporary floor so we can get the window in.  I picked up some treated 1/2″ plywood from Lealta Building Supplies.  The counter guy game me some good advice about later painting the surface of this.  It will be two layers of 1/2″ instead of one 3/4″ ply and one 1/4″ paintable ply. 

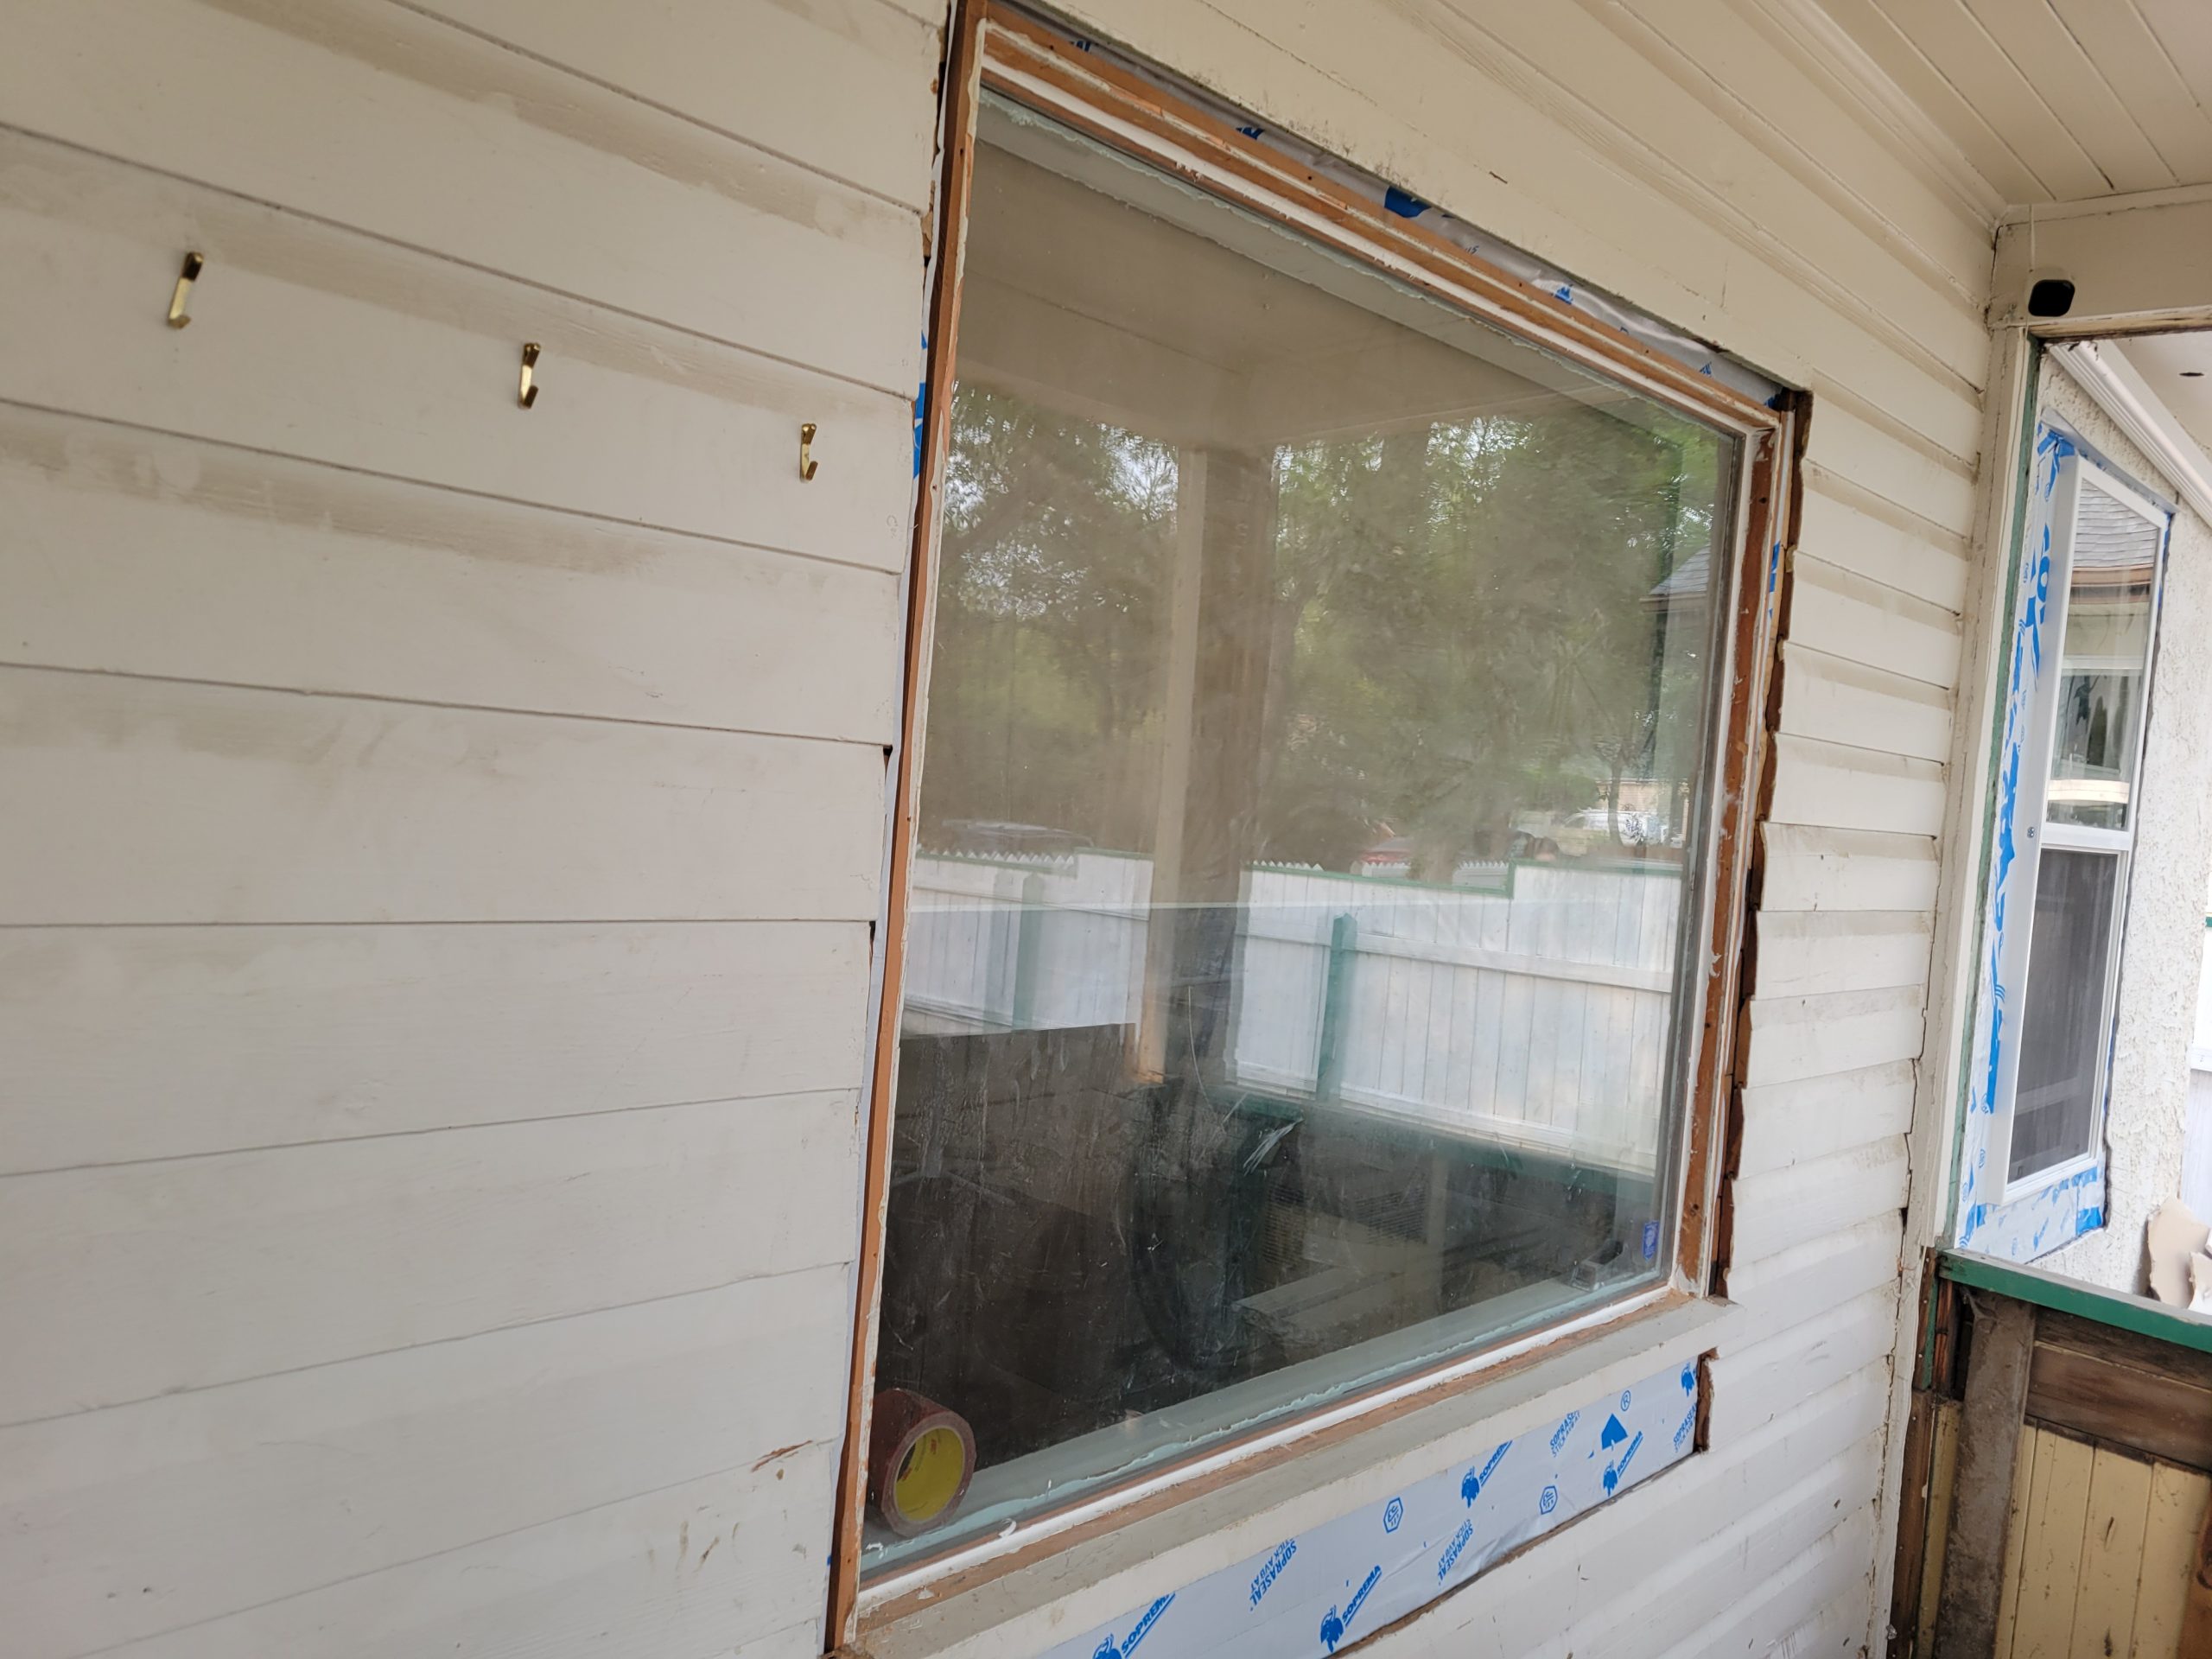
The window is in.  Dave and I hoisted the window up on its frame and  s l o w l y  carried it to the veranda where we rested it on three upturned buckets.  We put a 1×4 across the opening on the inside so the window wouldn’t just fall in. 

Read more

window caulk, cable

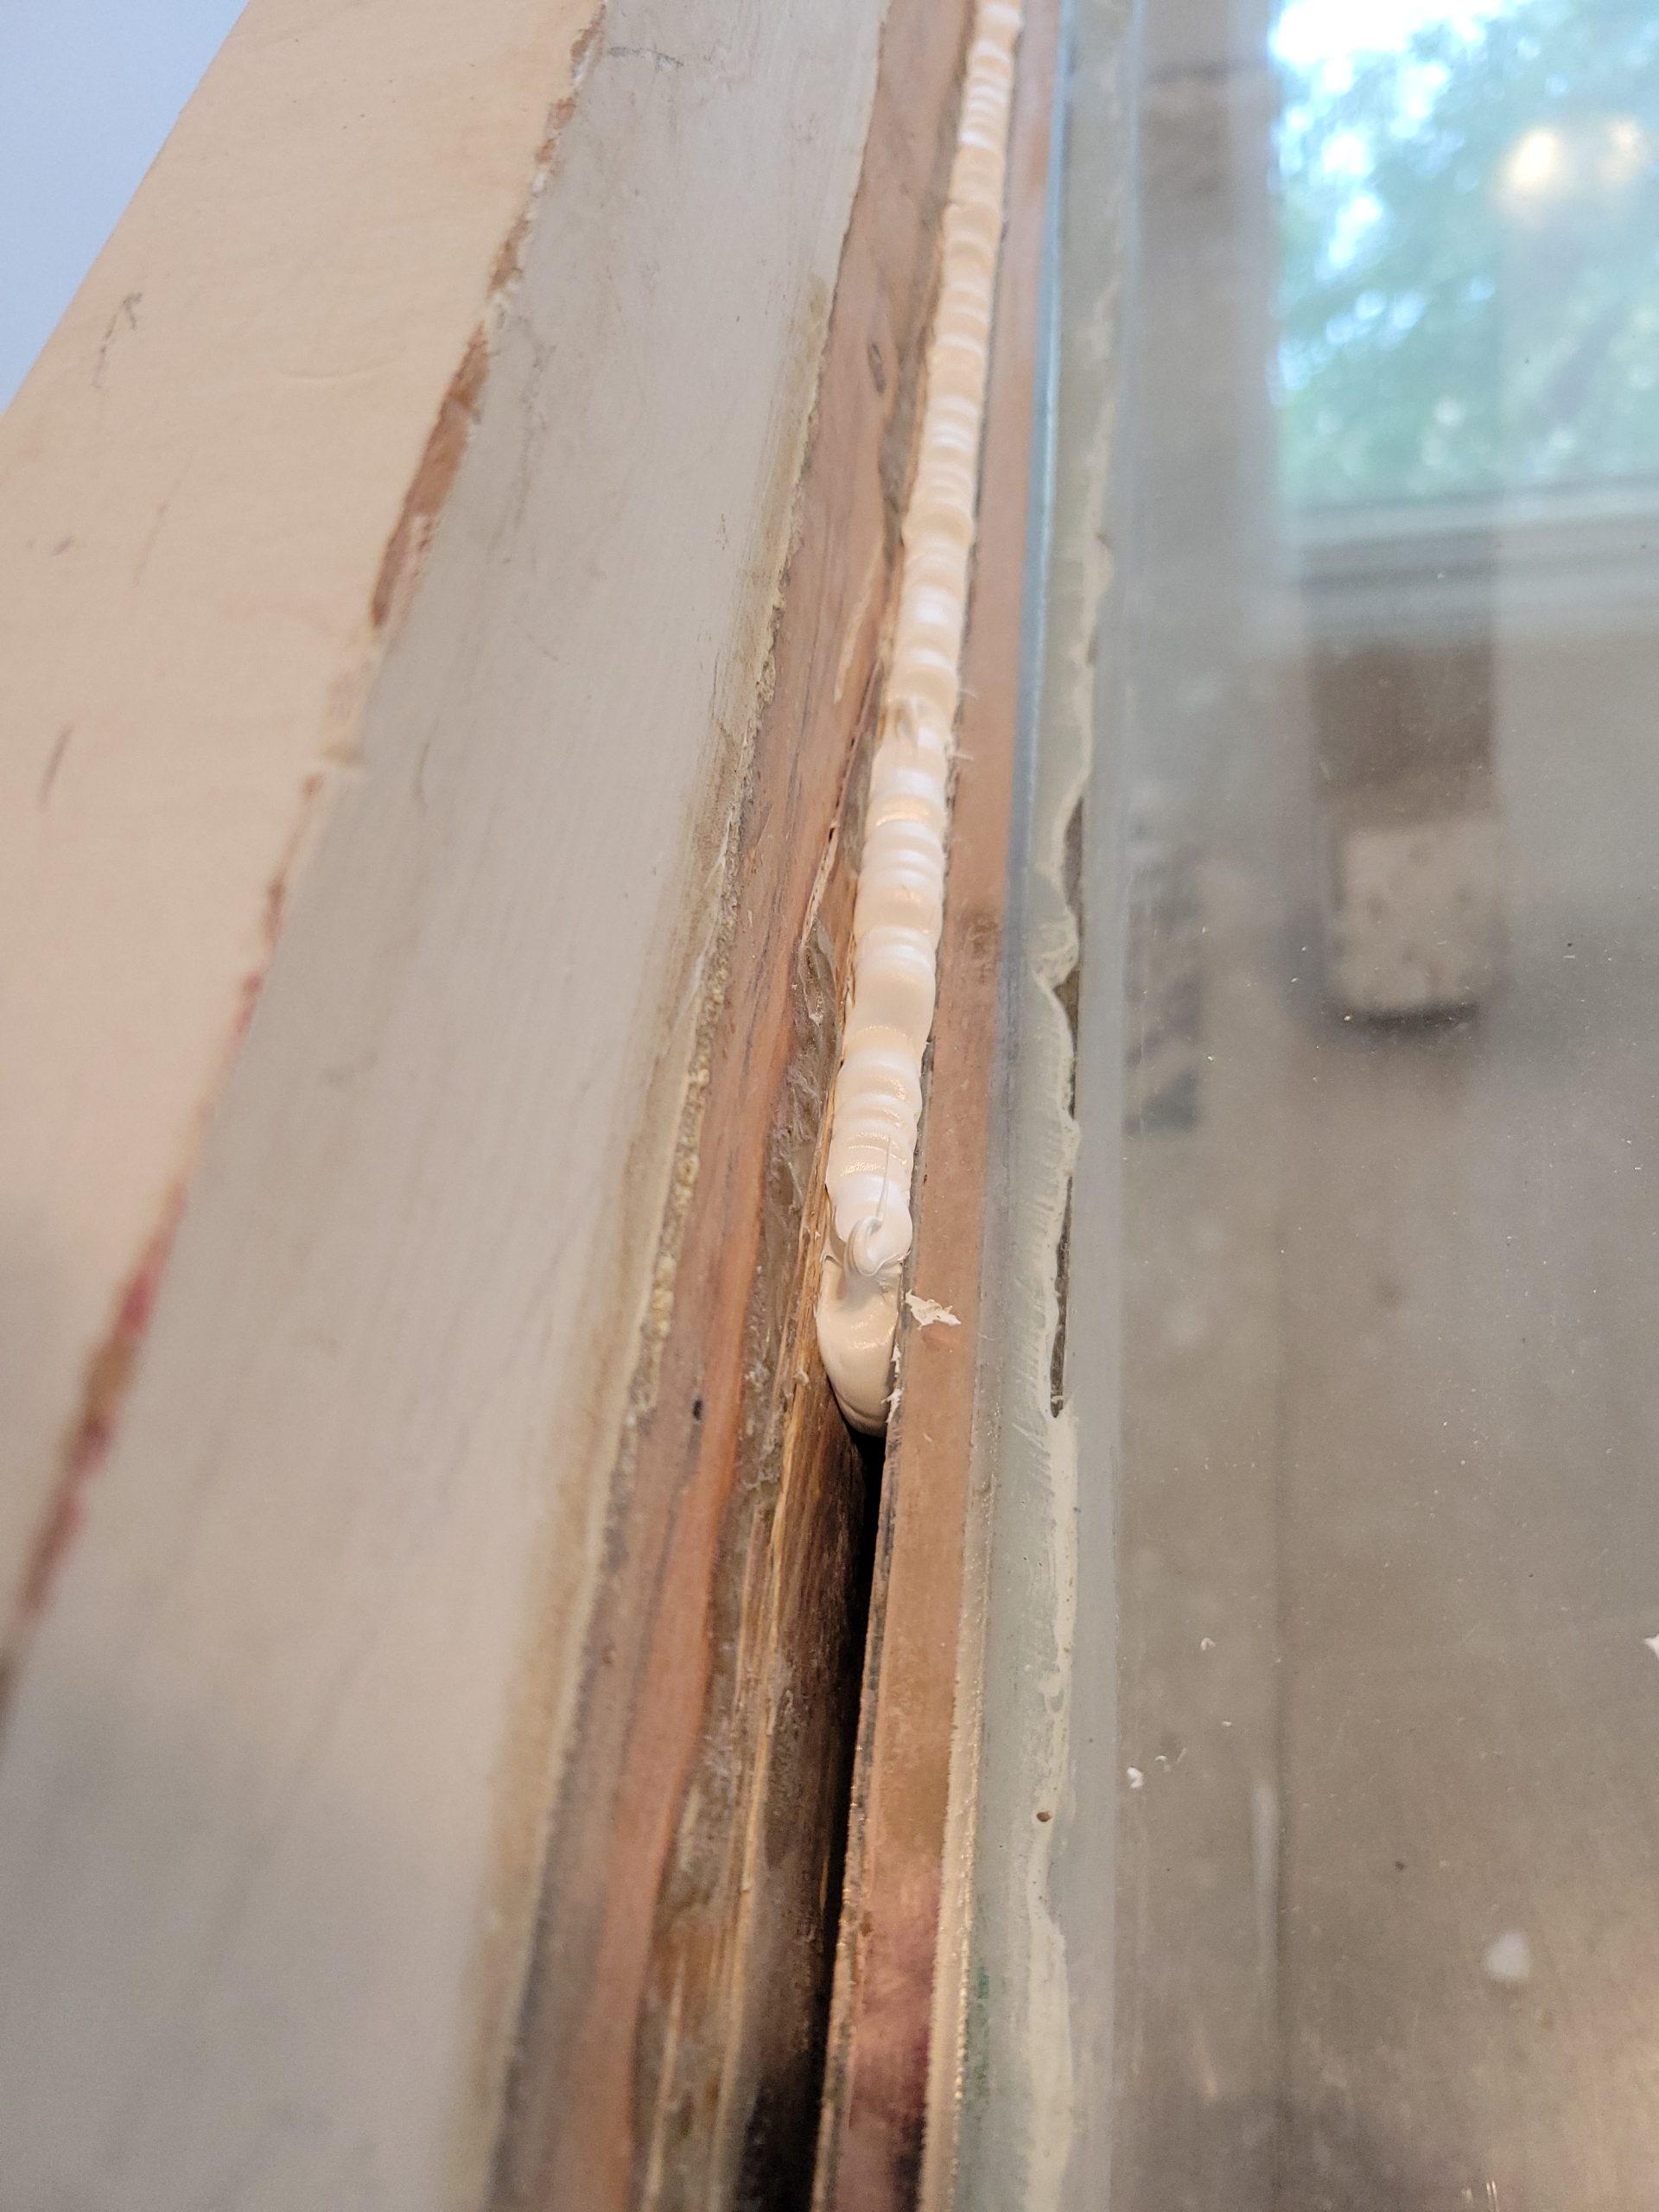
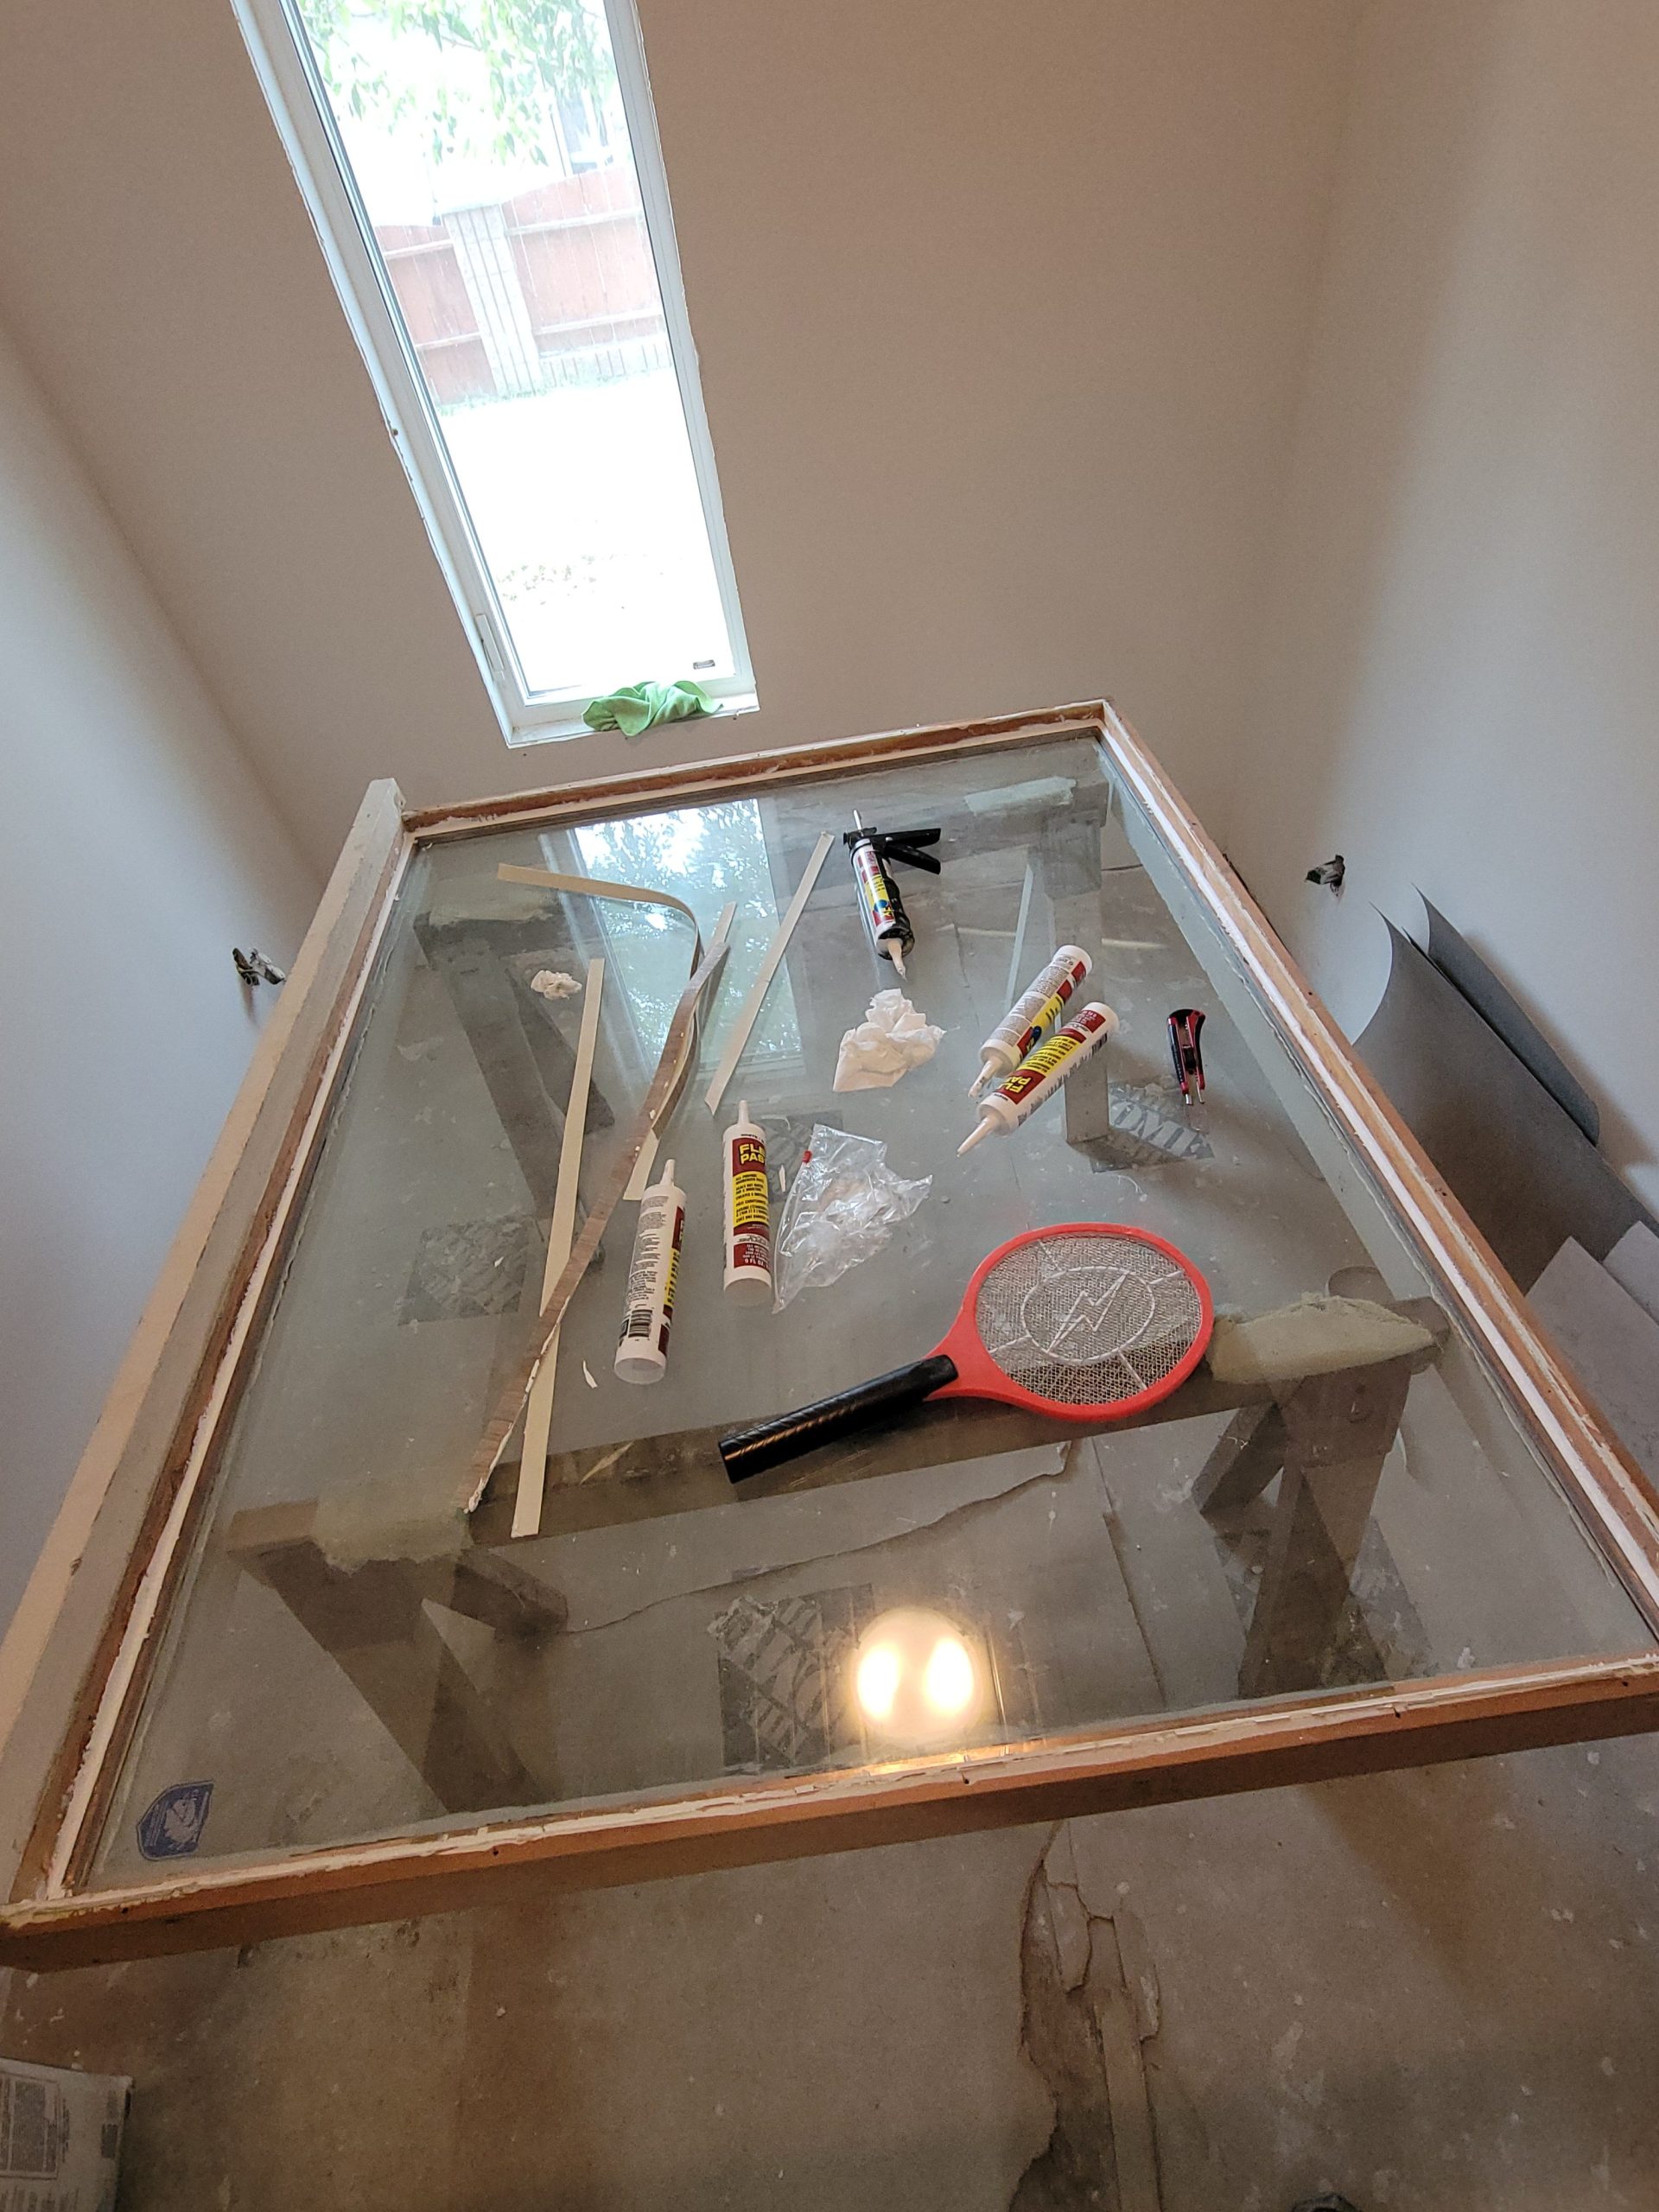
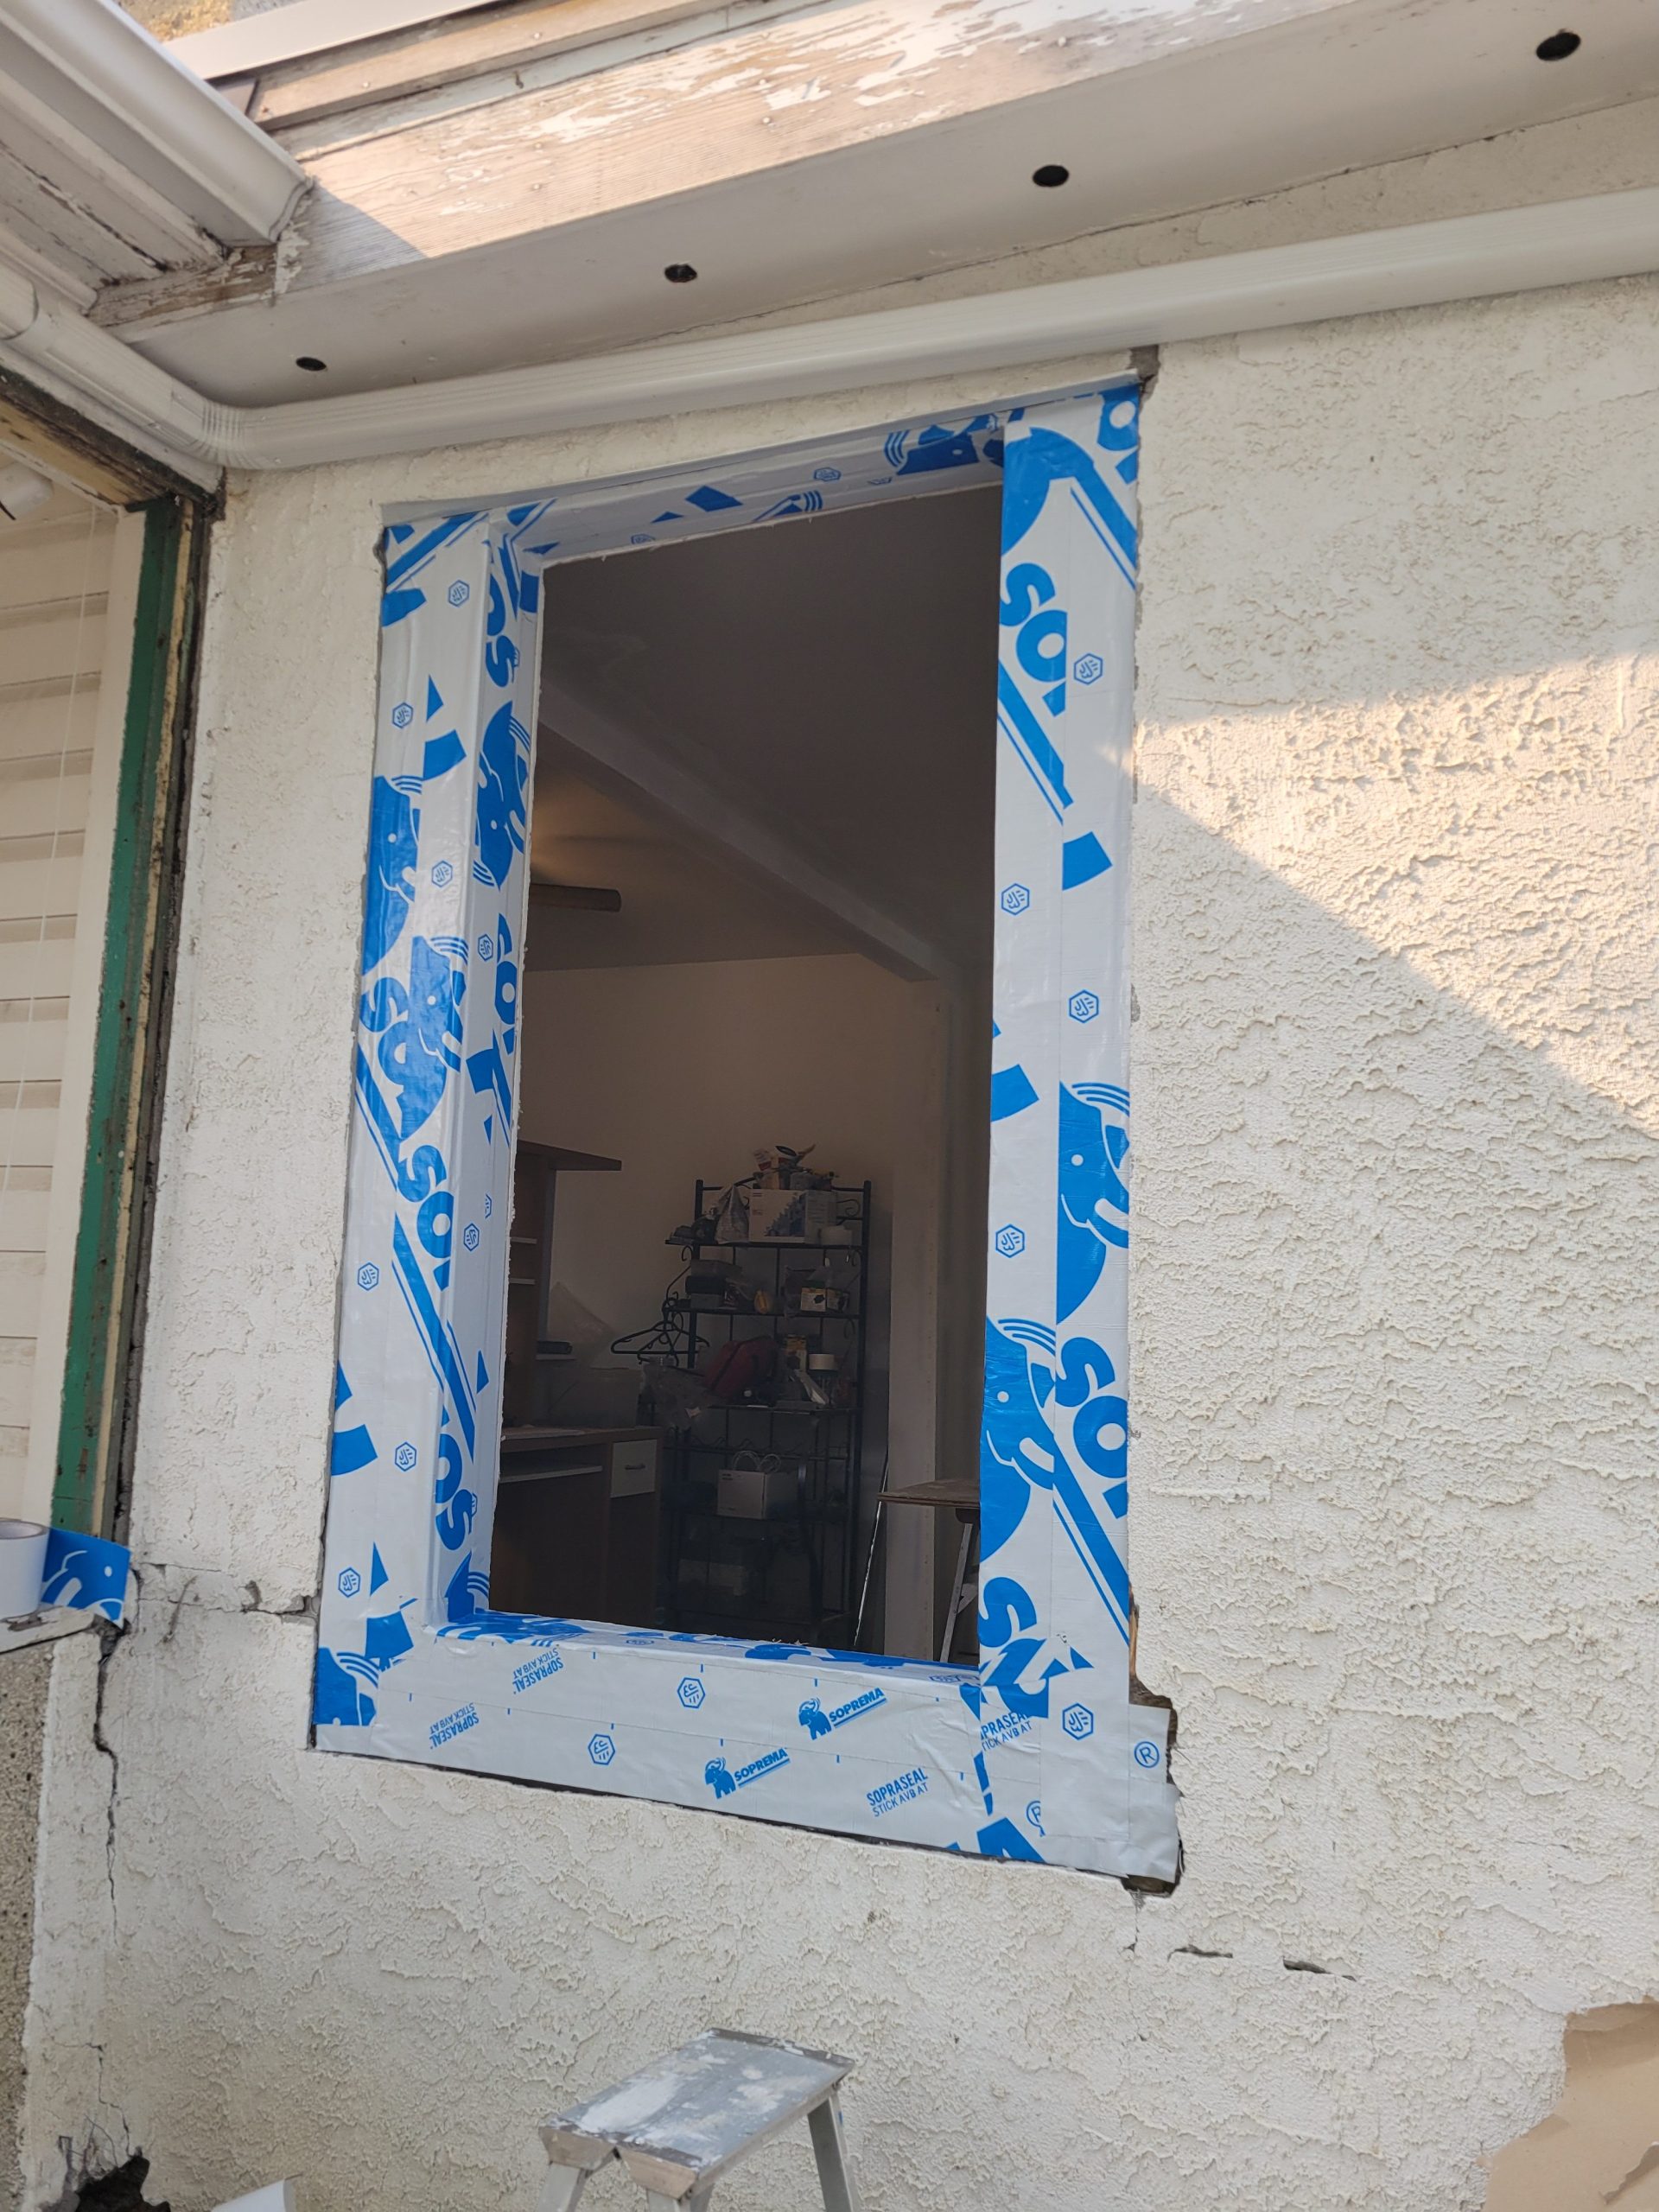
The large living room window was turned up-side-down, and I put a bead of Flex Paste in the interior gap.  This stuff is hard to squeeze out of the tube.  But, for $22 a tube, it is likely better than simple caulking.  Now I must wait for it to cure. 

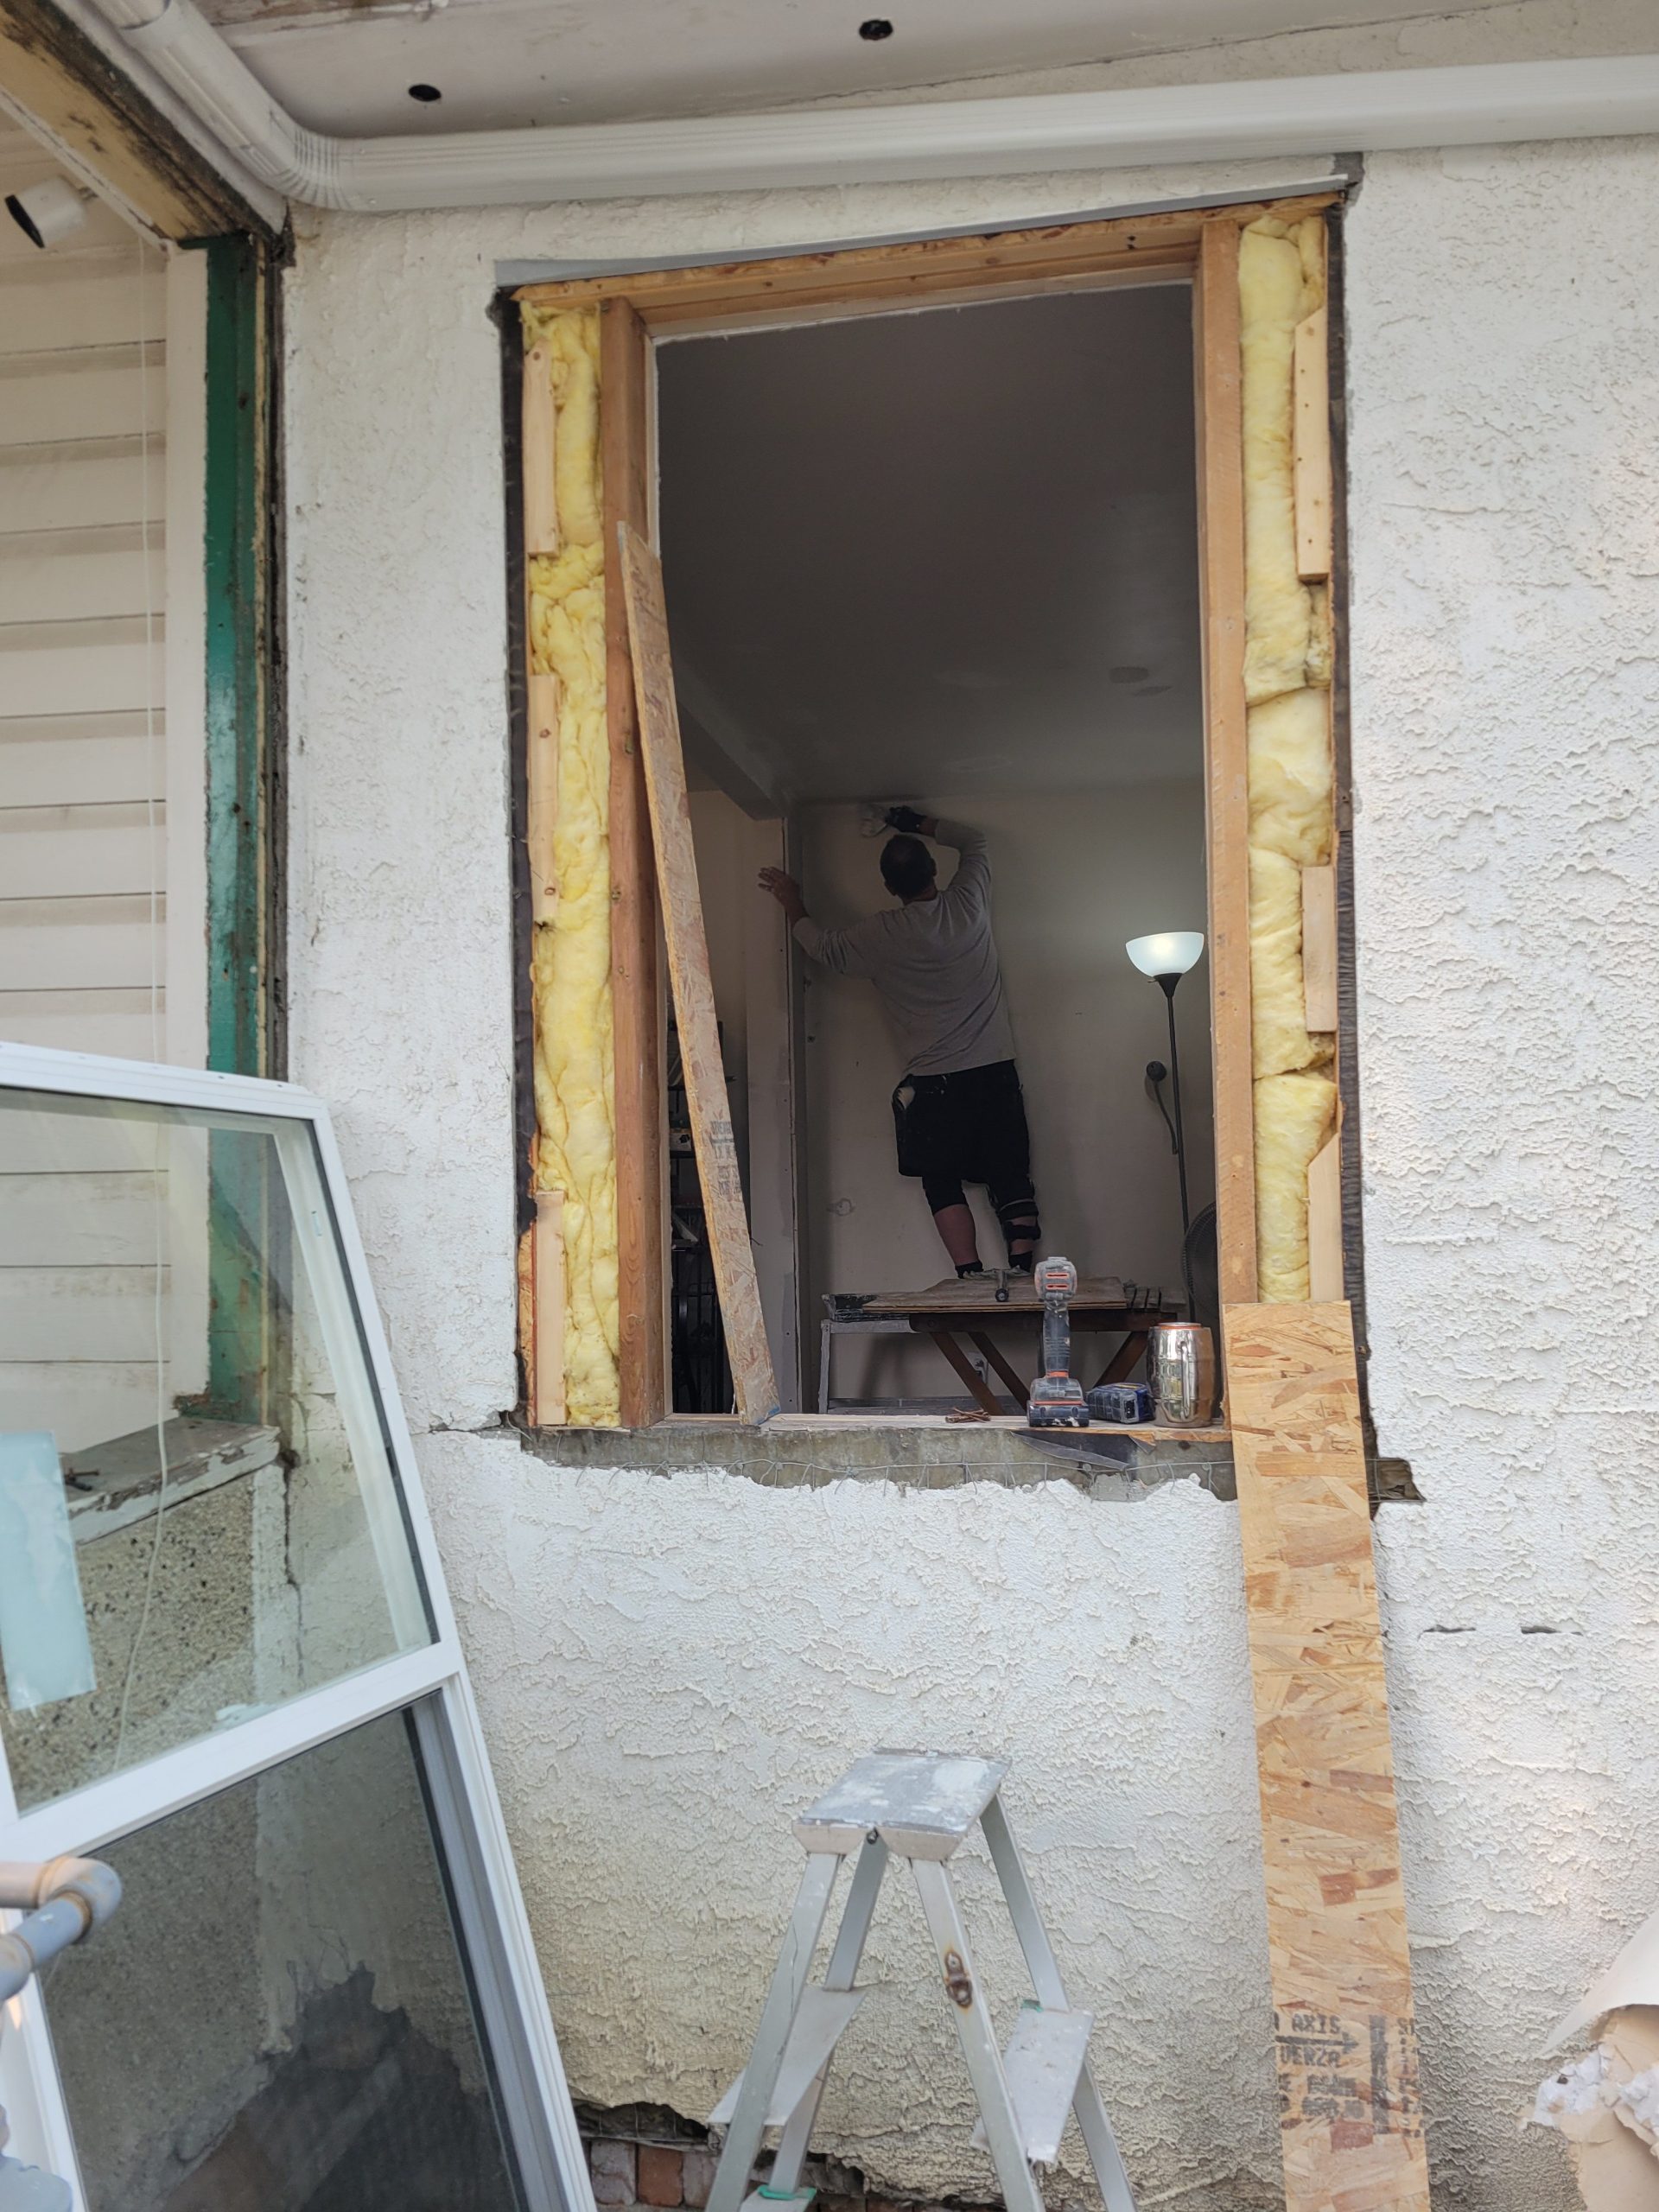
In the mean time, I fitted the small living room window framing with exterior sheathing of 1/2″ OSB.  It is a smaller window than previously, so the gaps need to be filled and sealed. 

Next, tape flashing to seal up the gaps. 

Read more