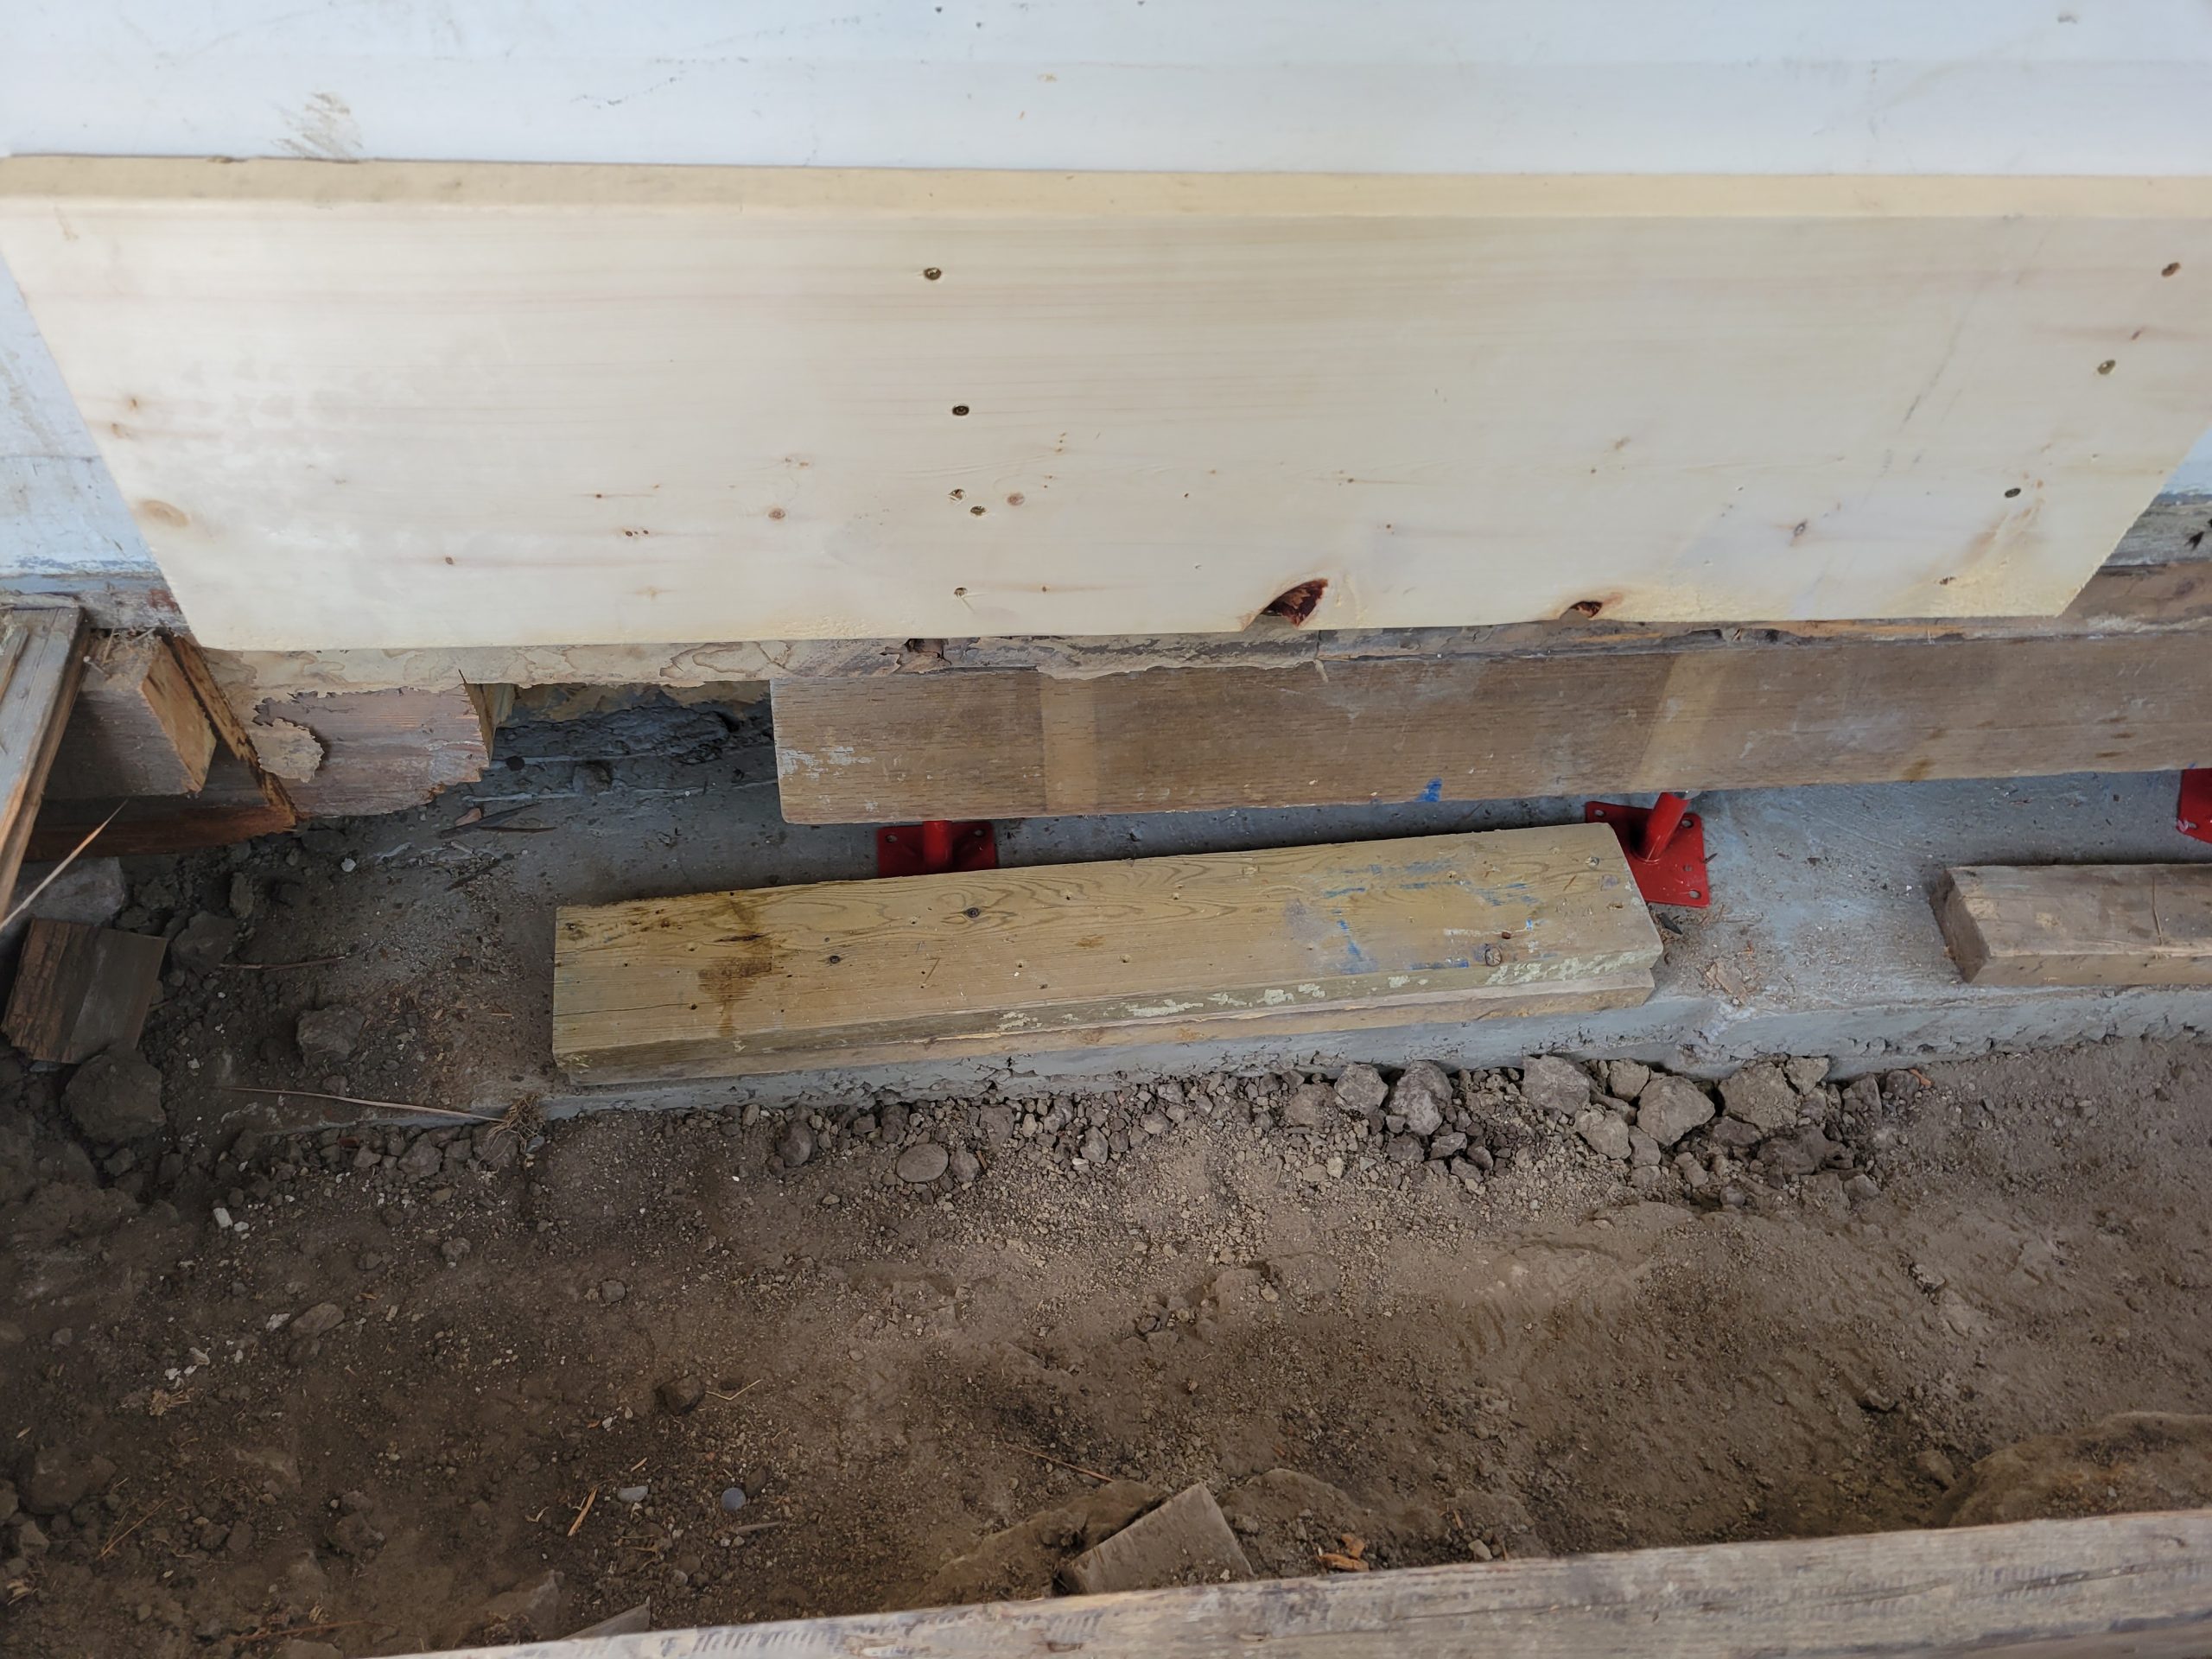
We fastened the ledger board vertically to have more wood meat attaching to the balloon studs. But, in this way, the ledger boards won’t twist or contort or split while jacking.
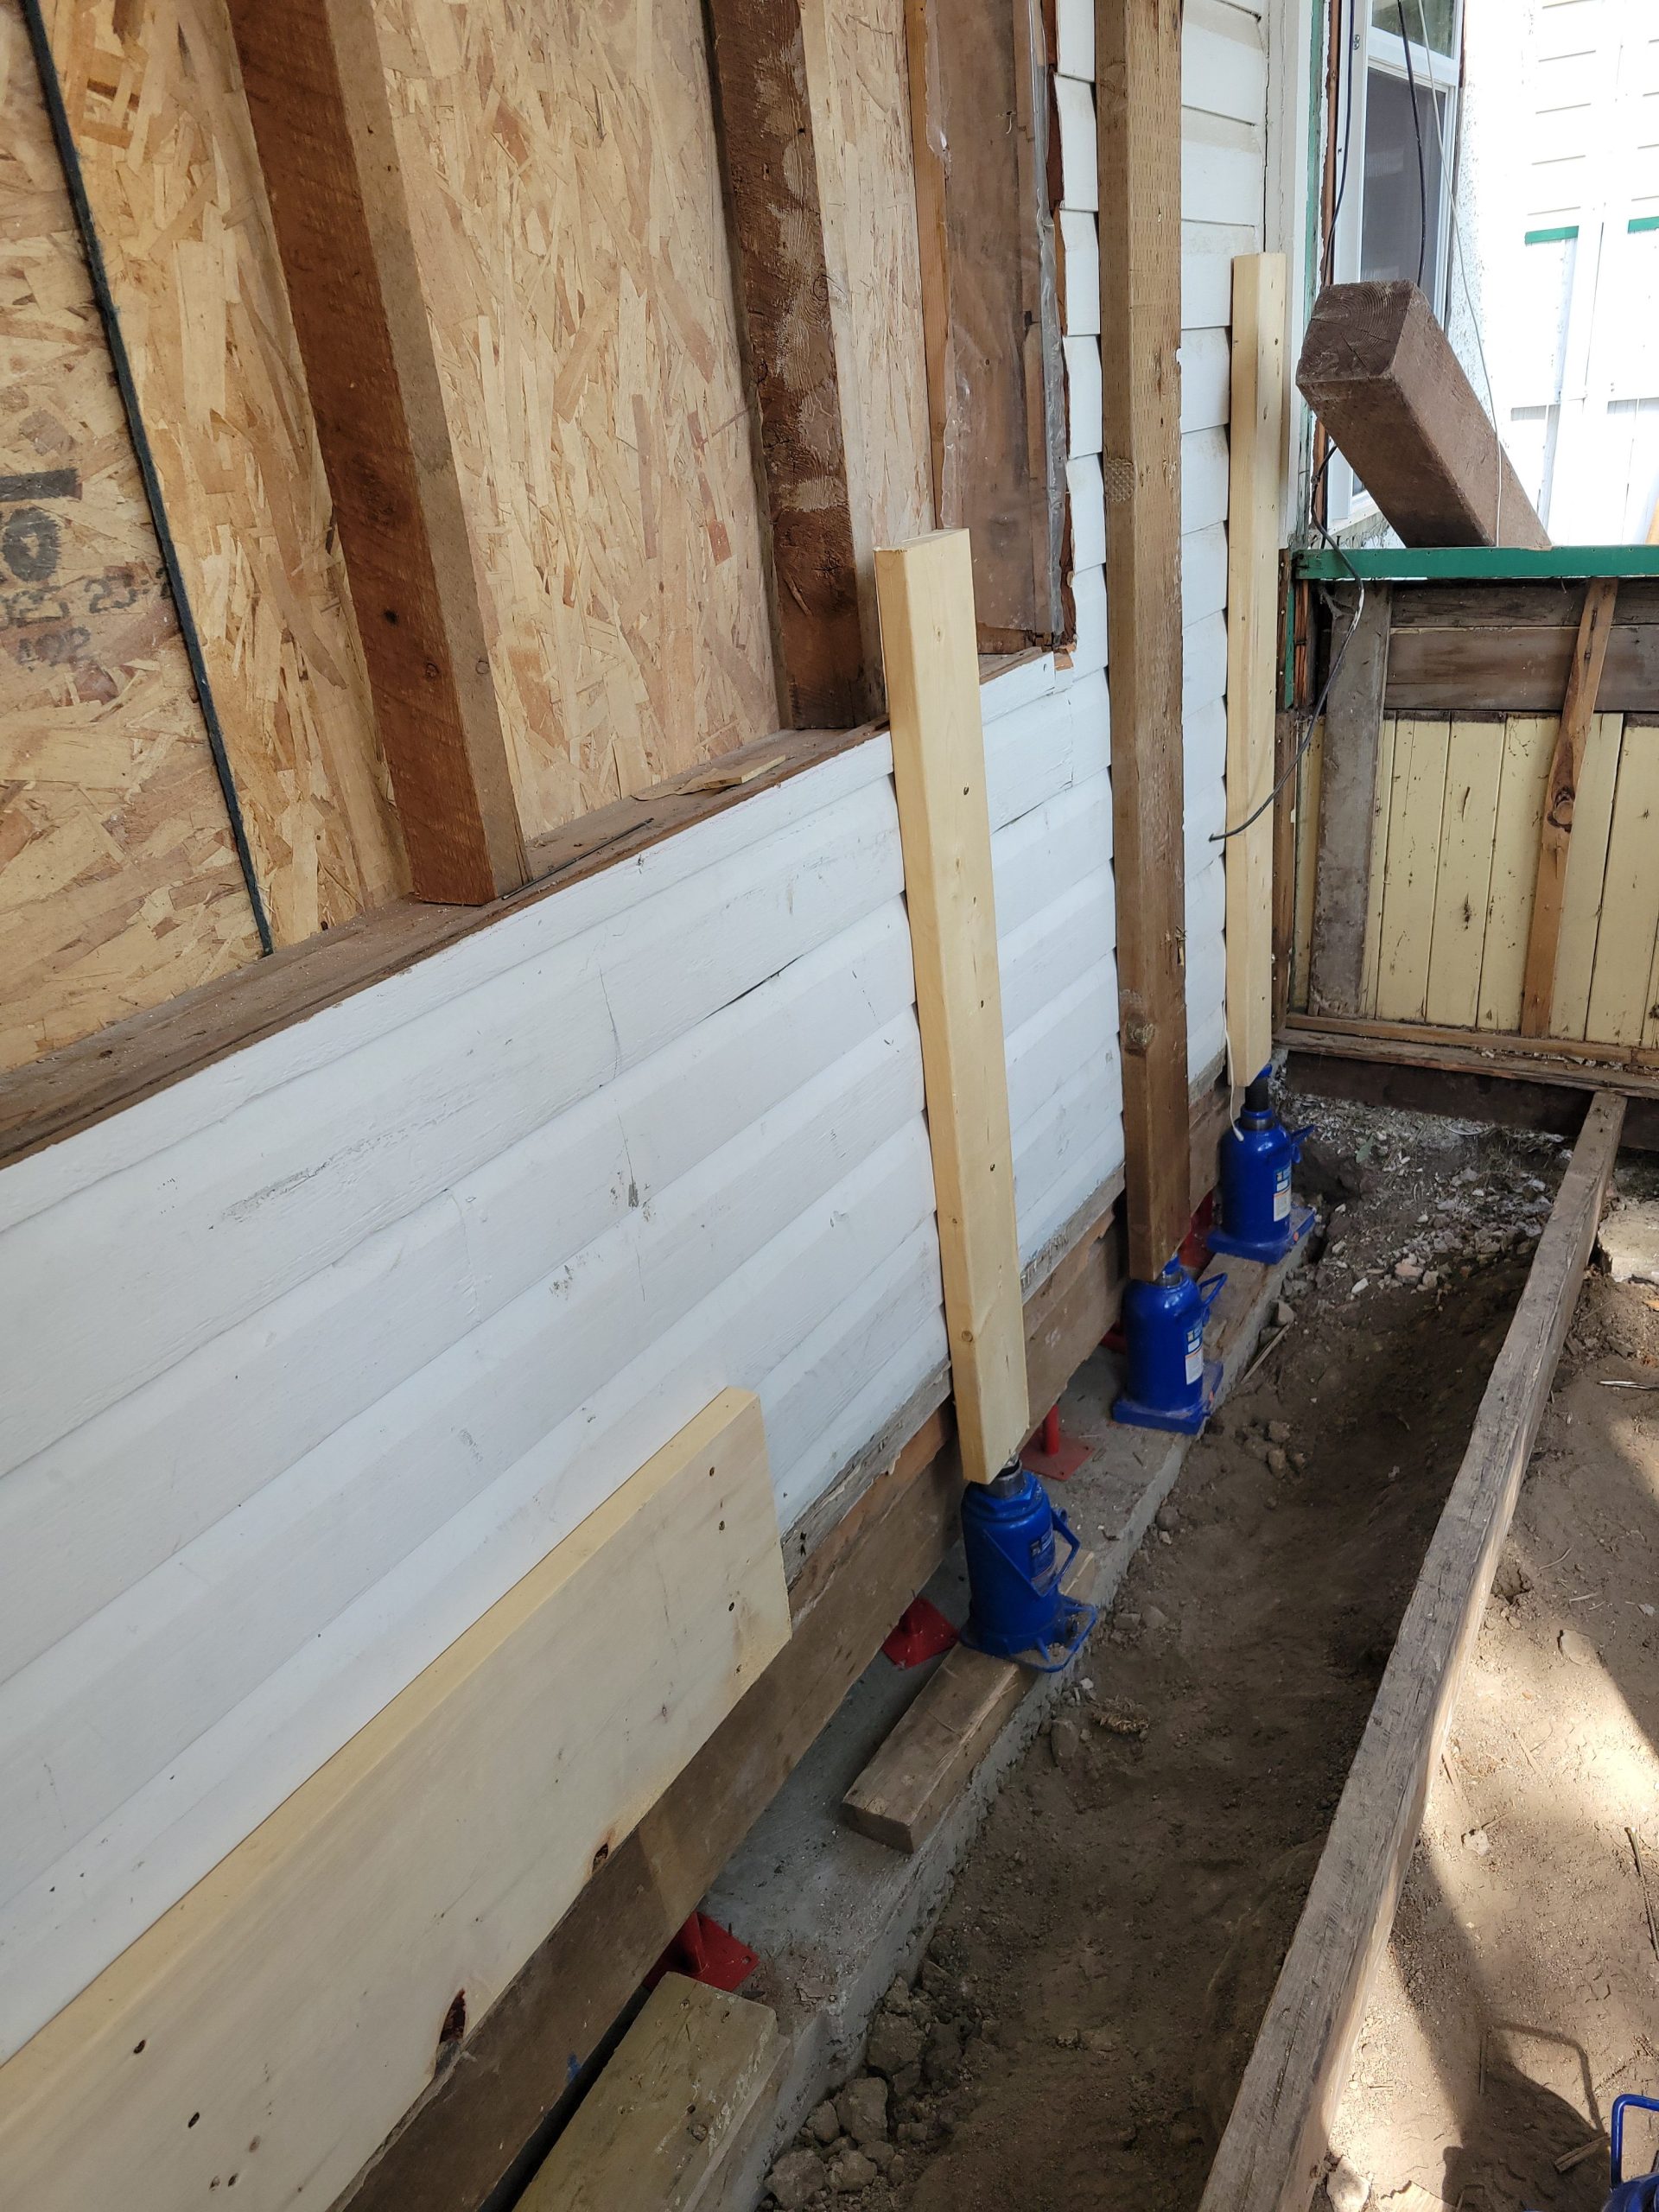
The previous ledgers were attached horizontally.
projects on the go
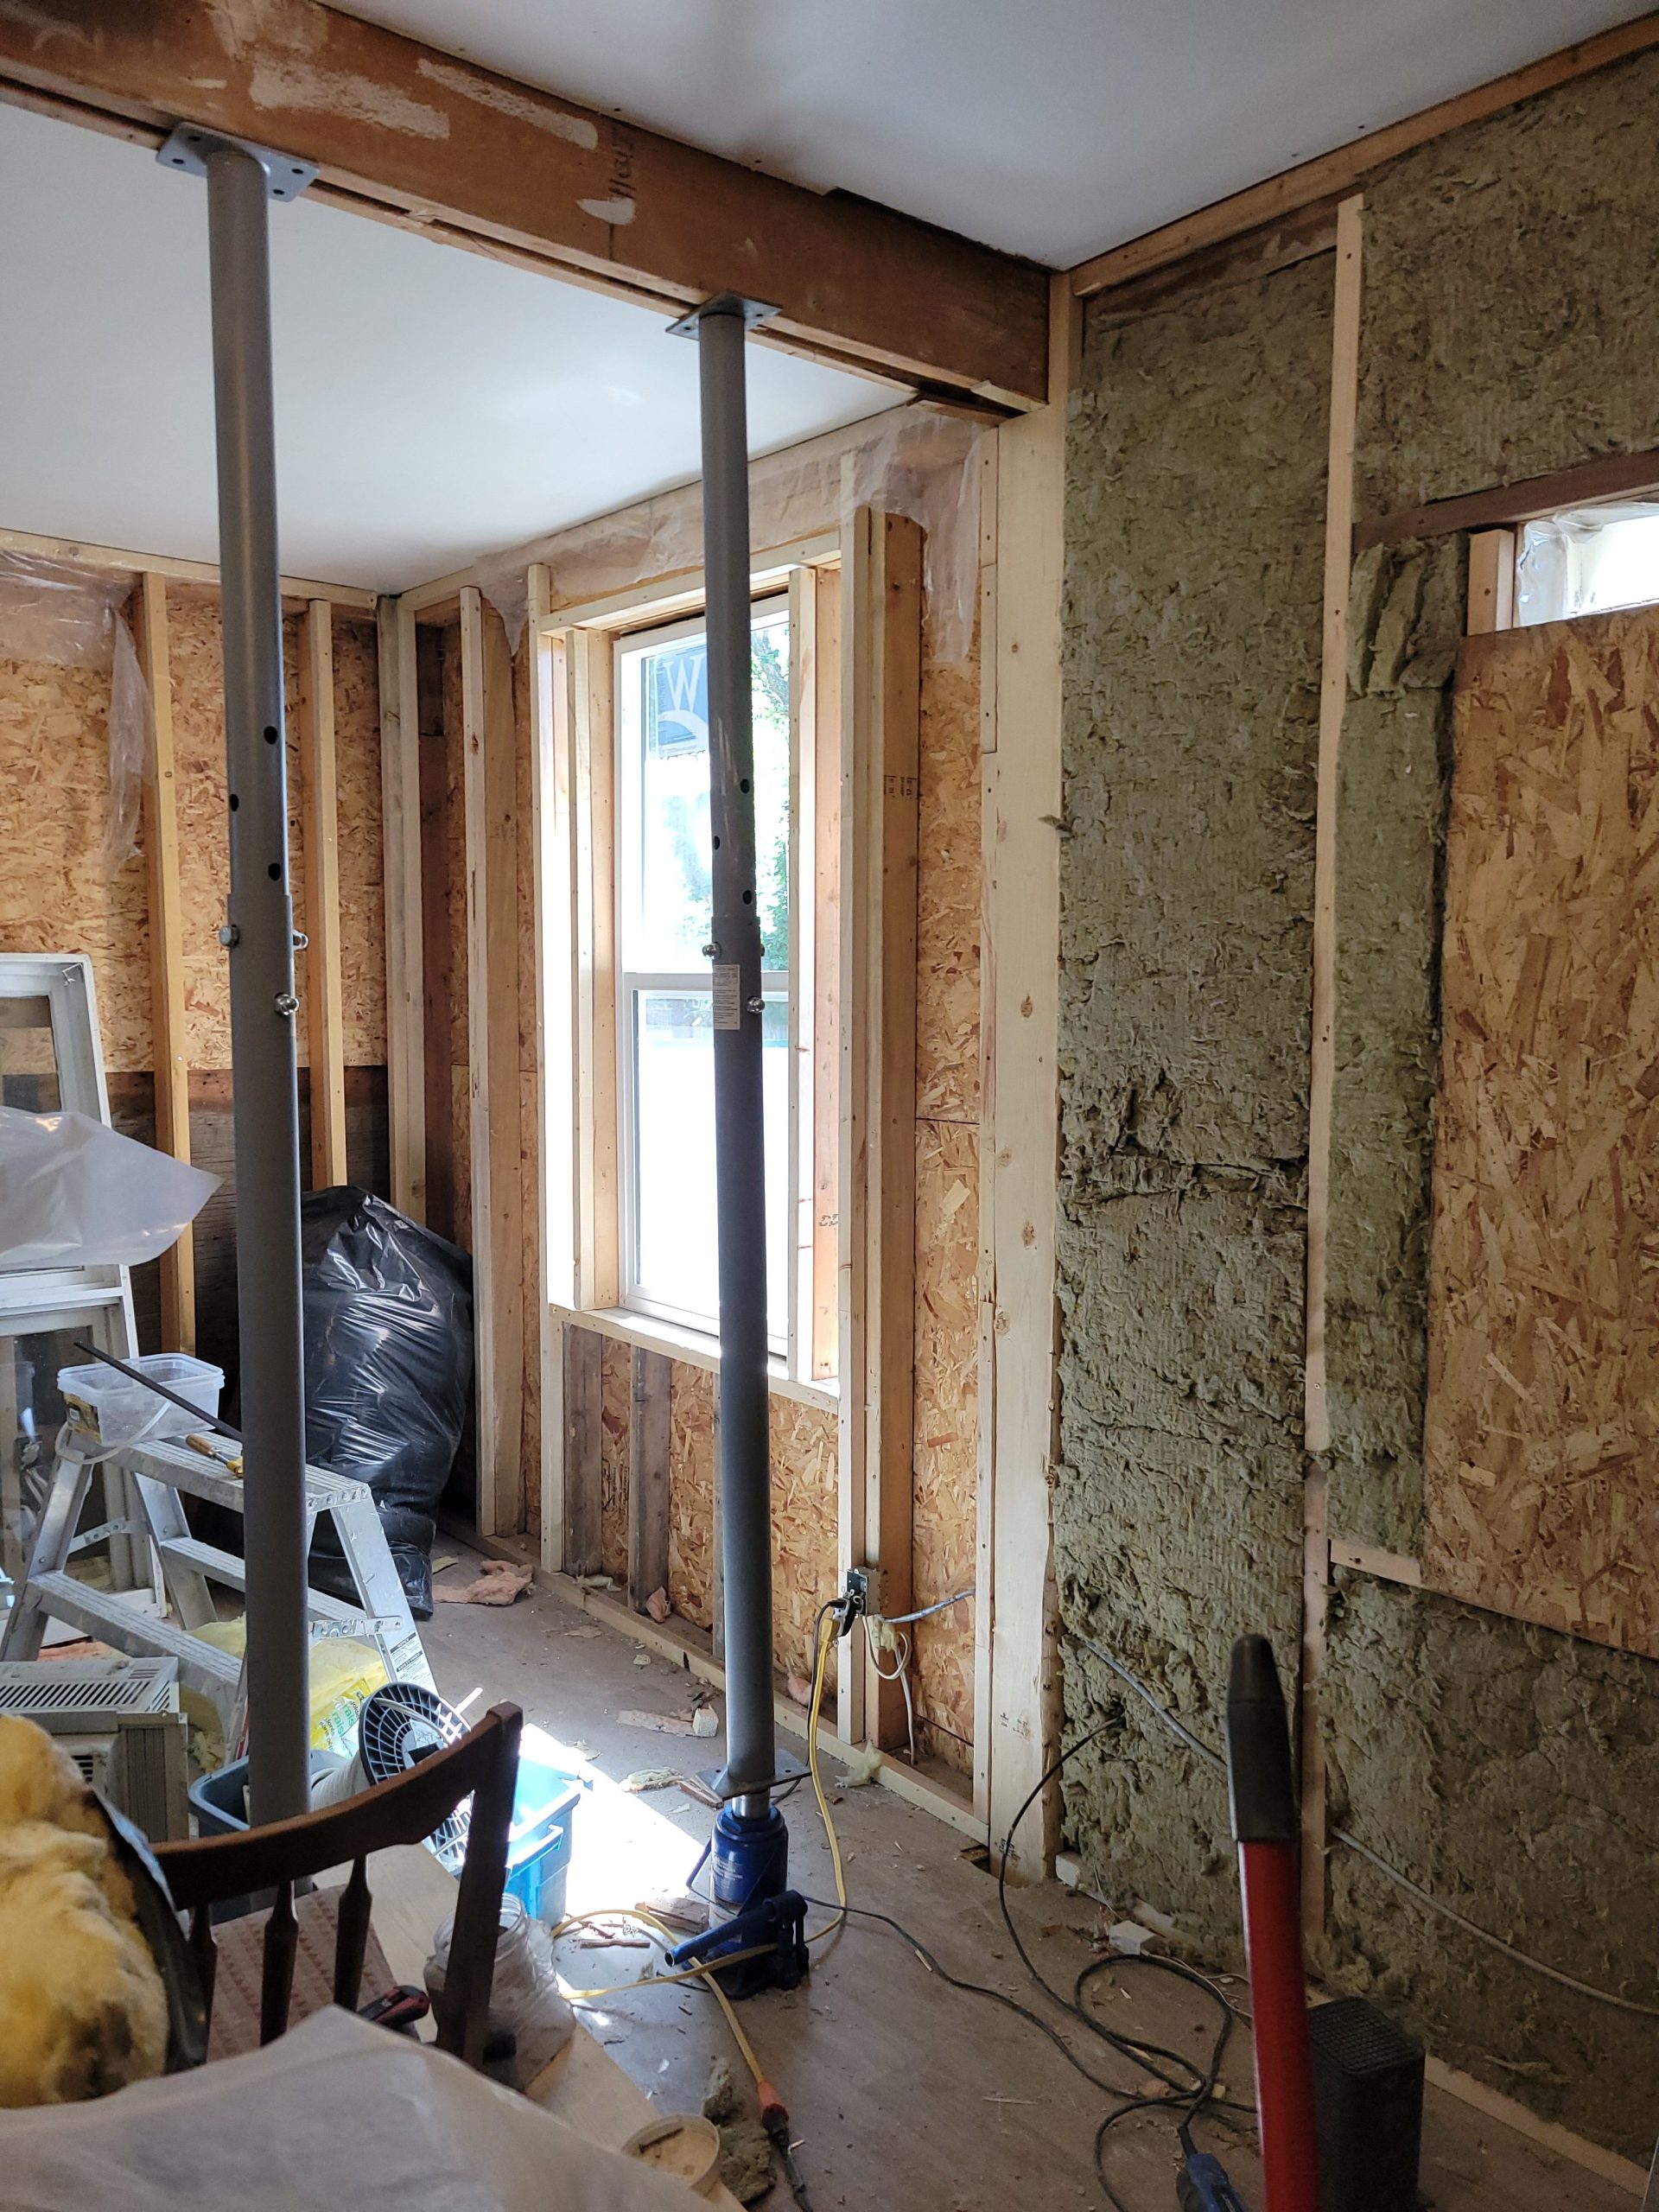
The living room support stud was there, right where I left it.
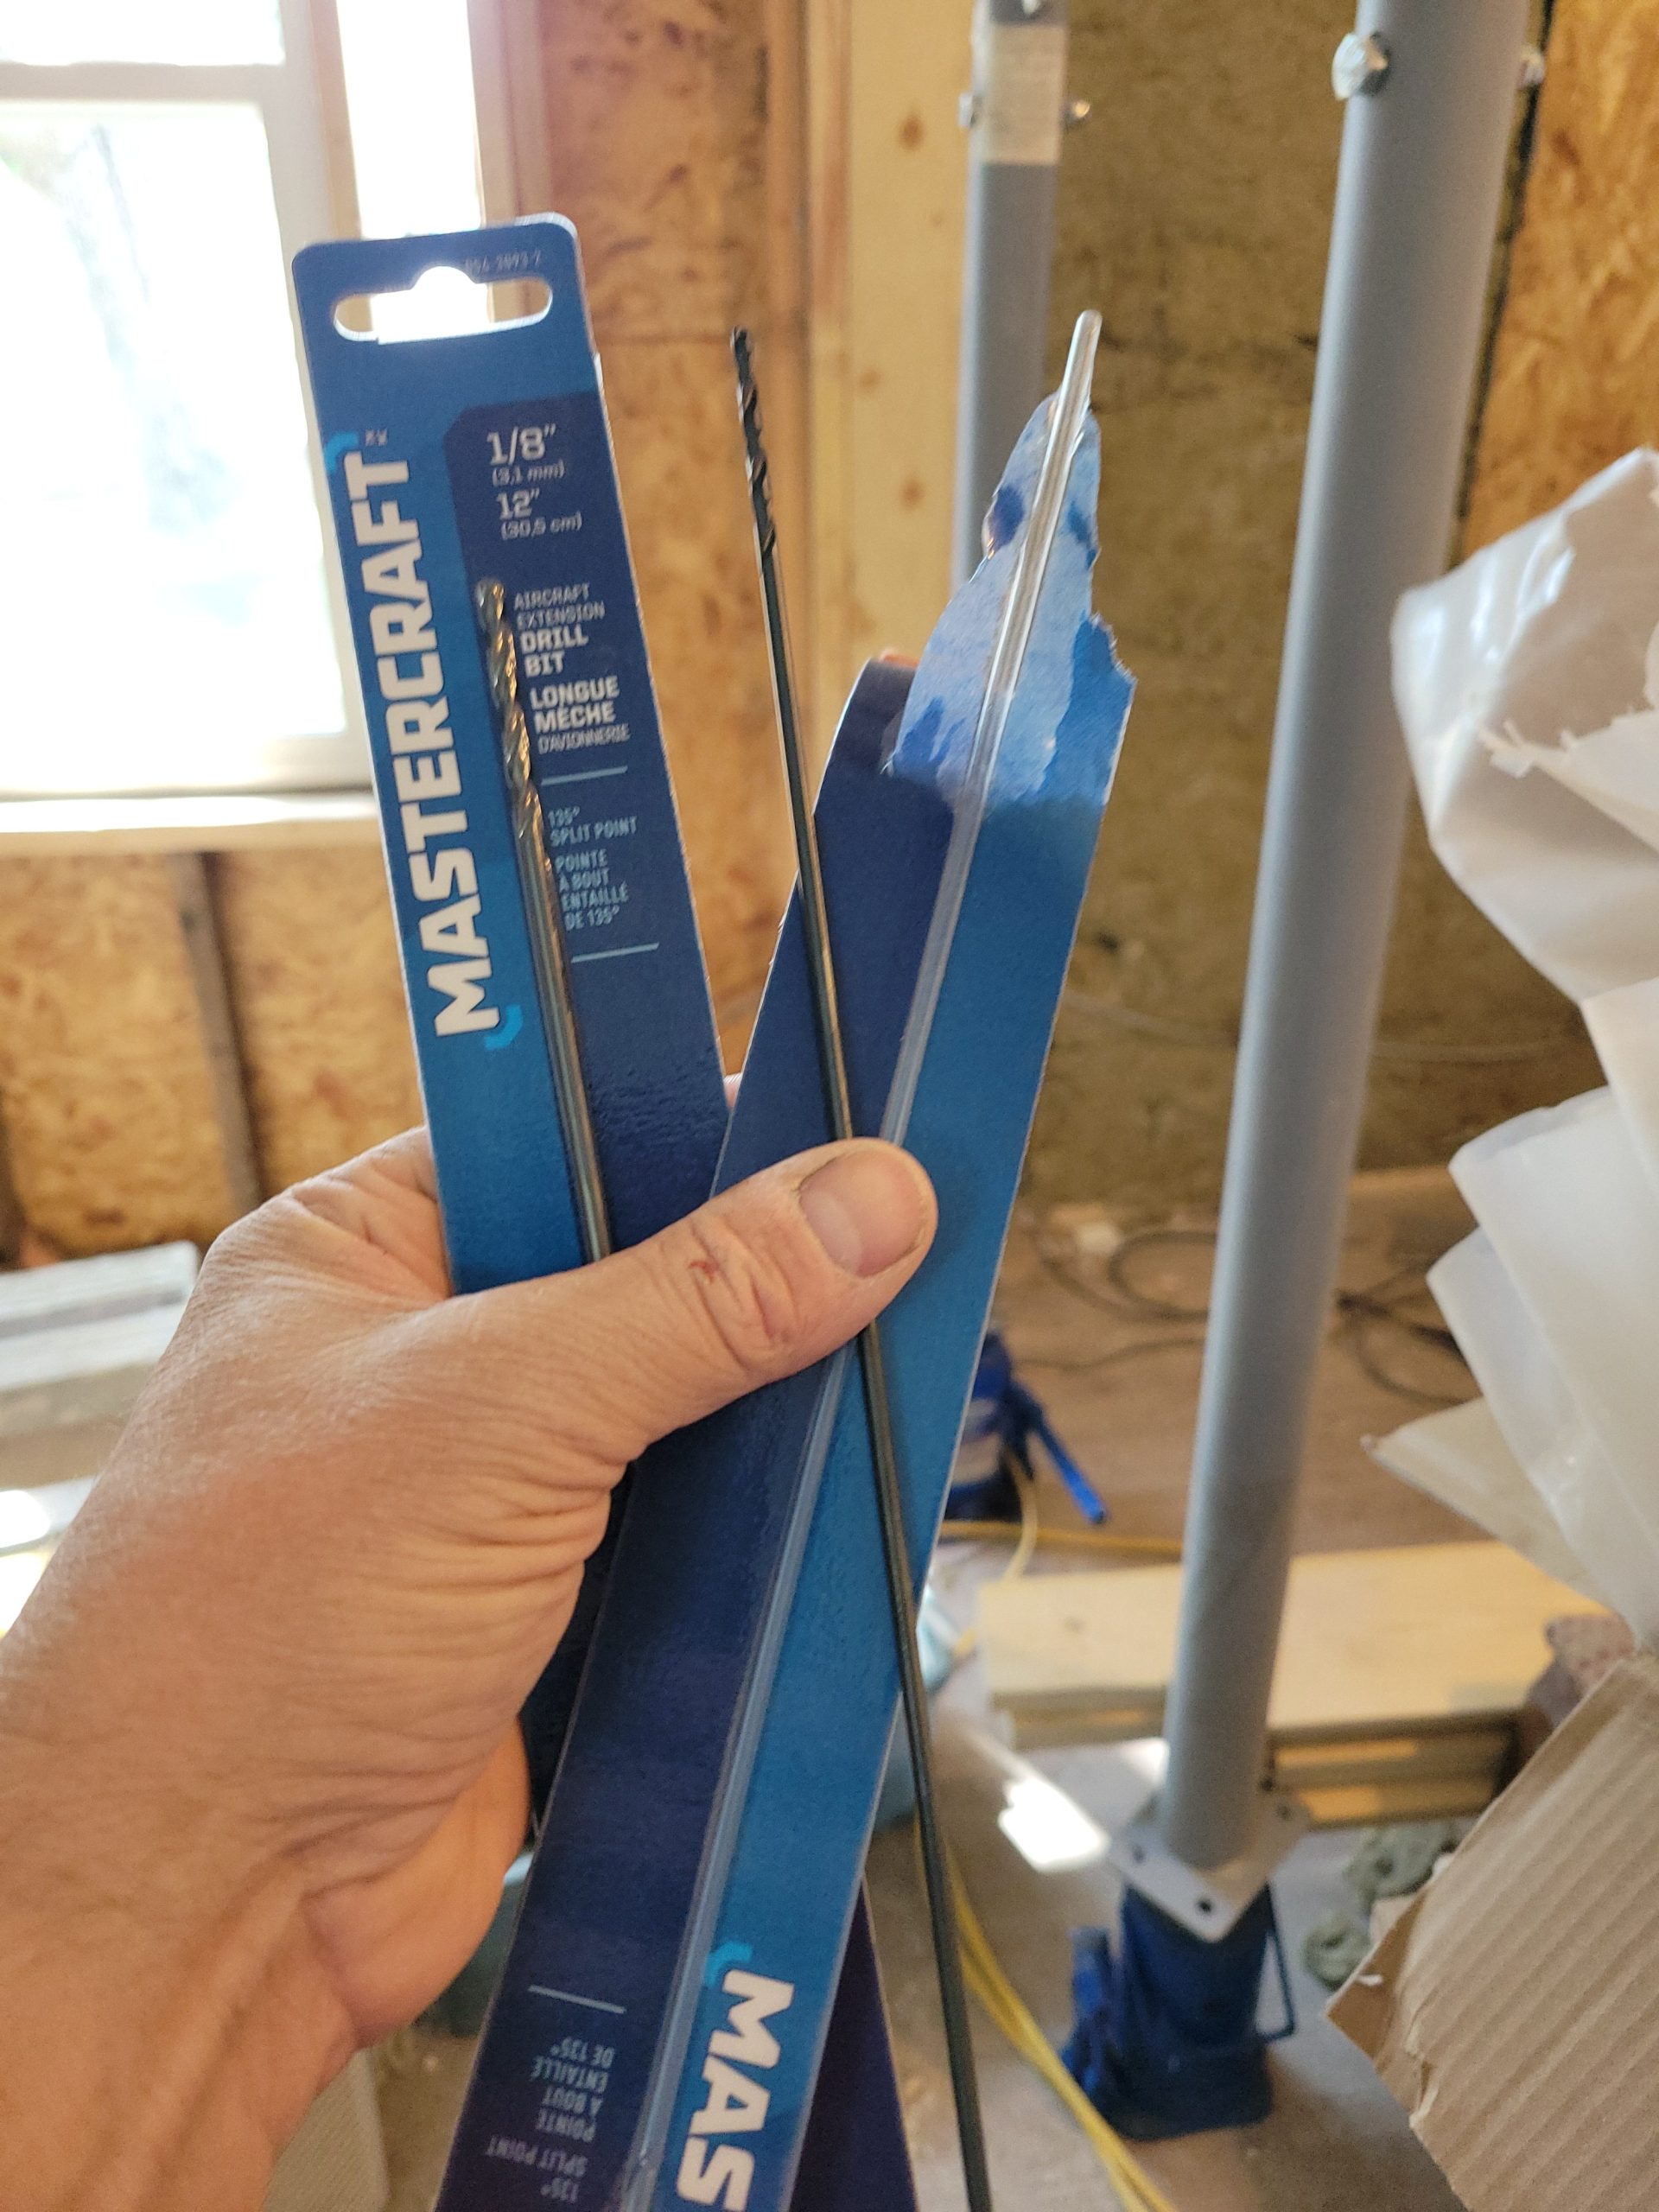
I got some long drill bits from Canadian Tire again for pilot holes – #6 and #7, I think. The first five wore out from fatigue (or misuse).
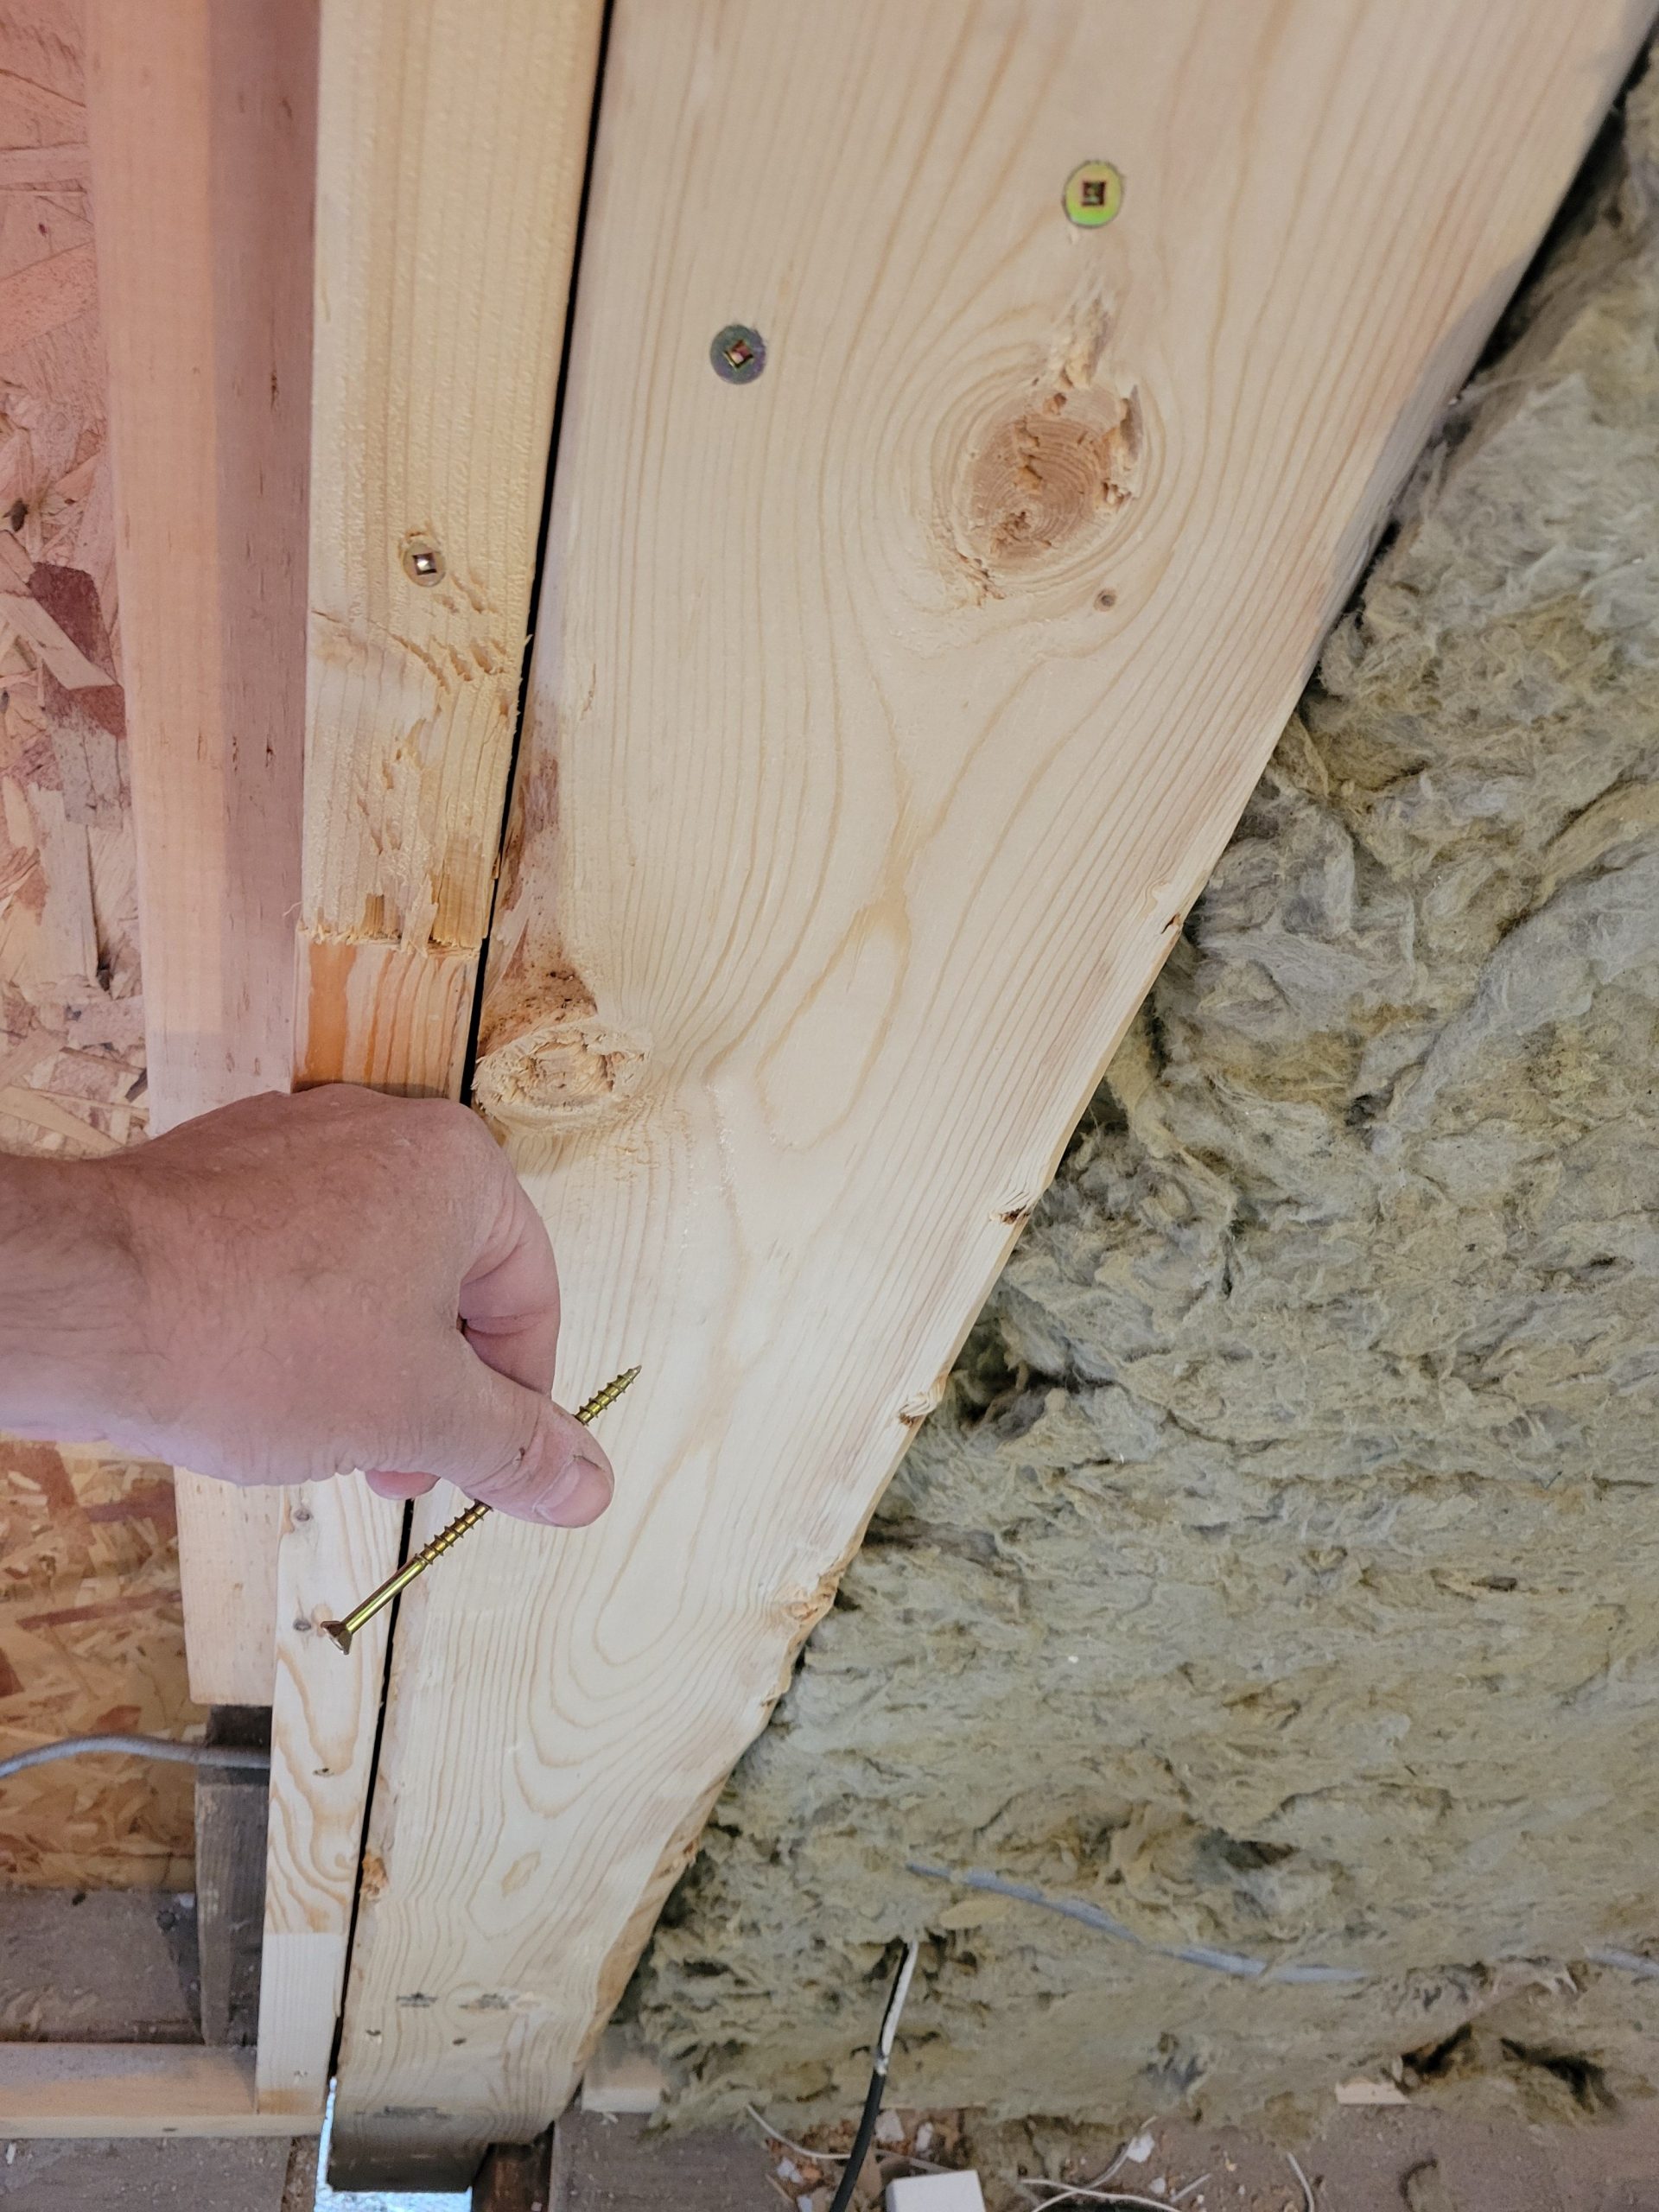
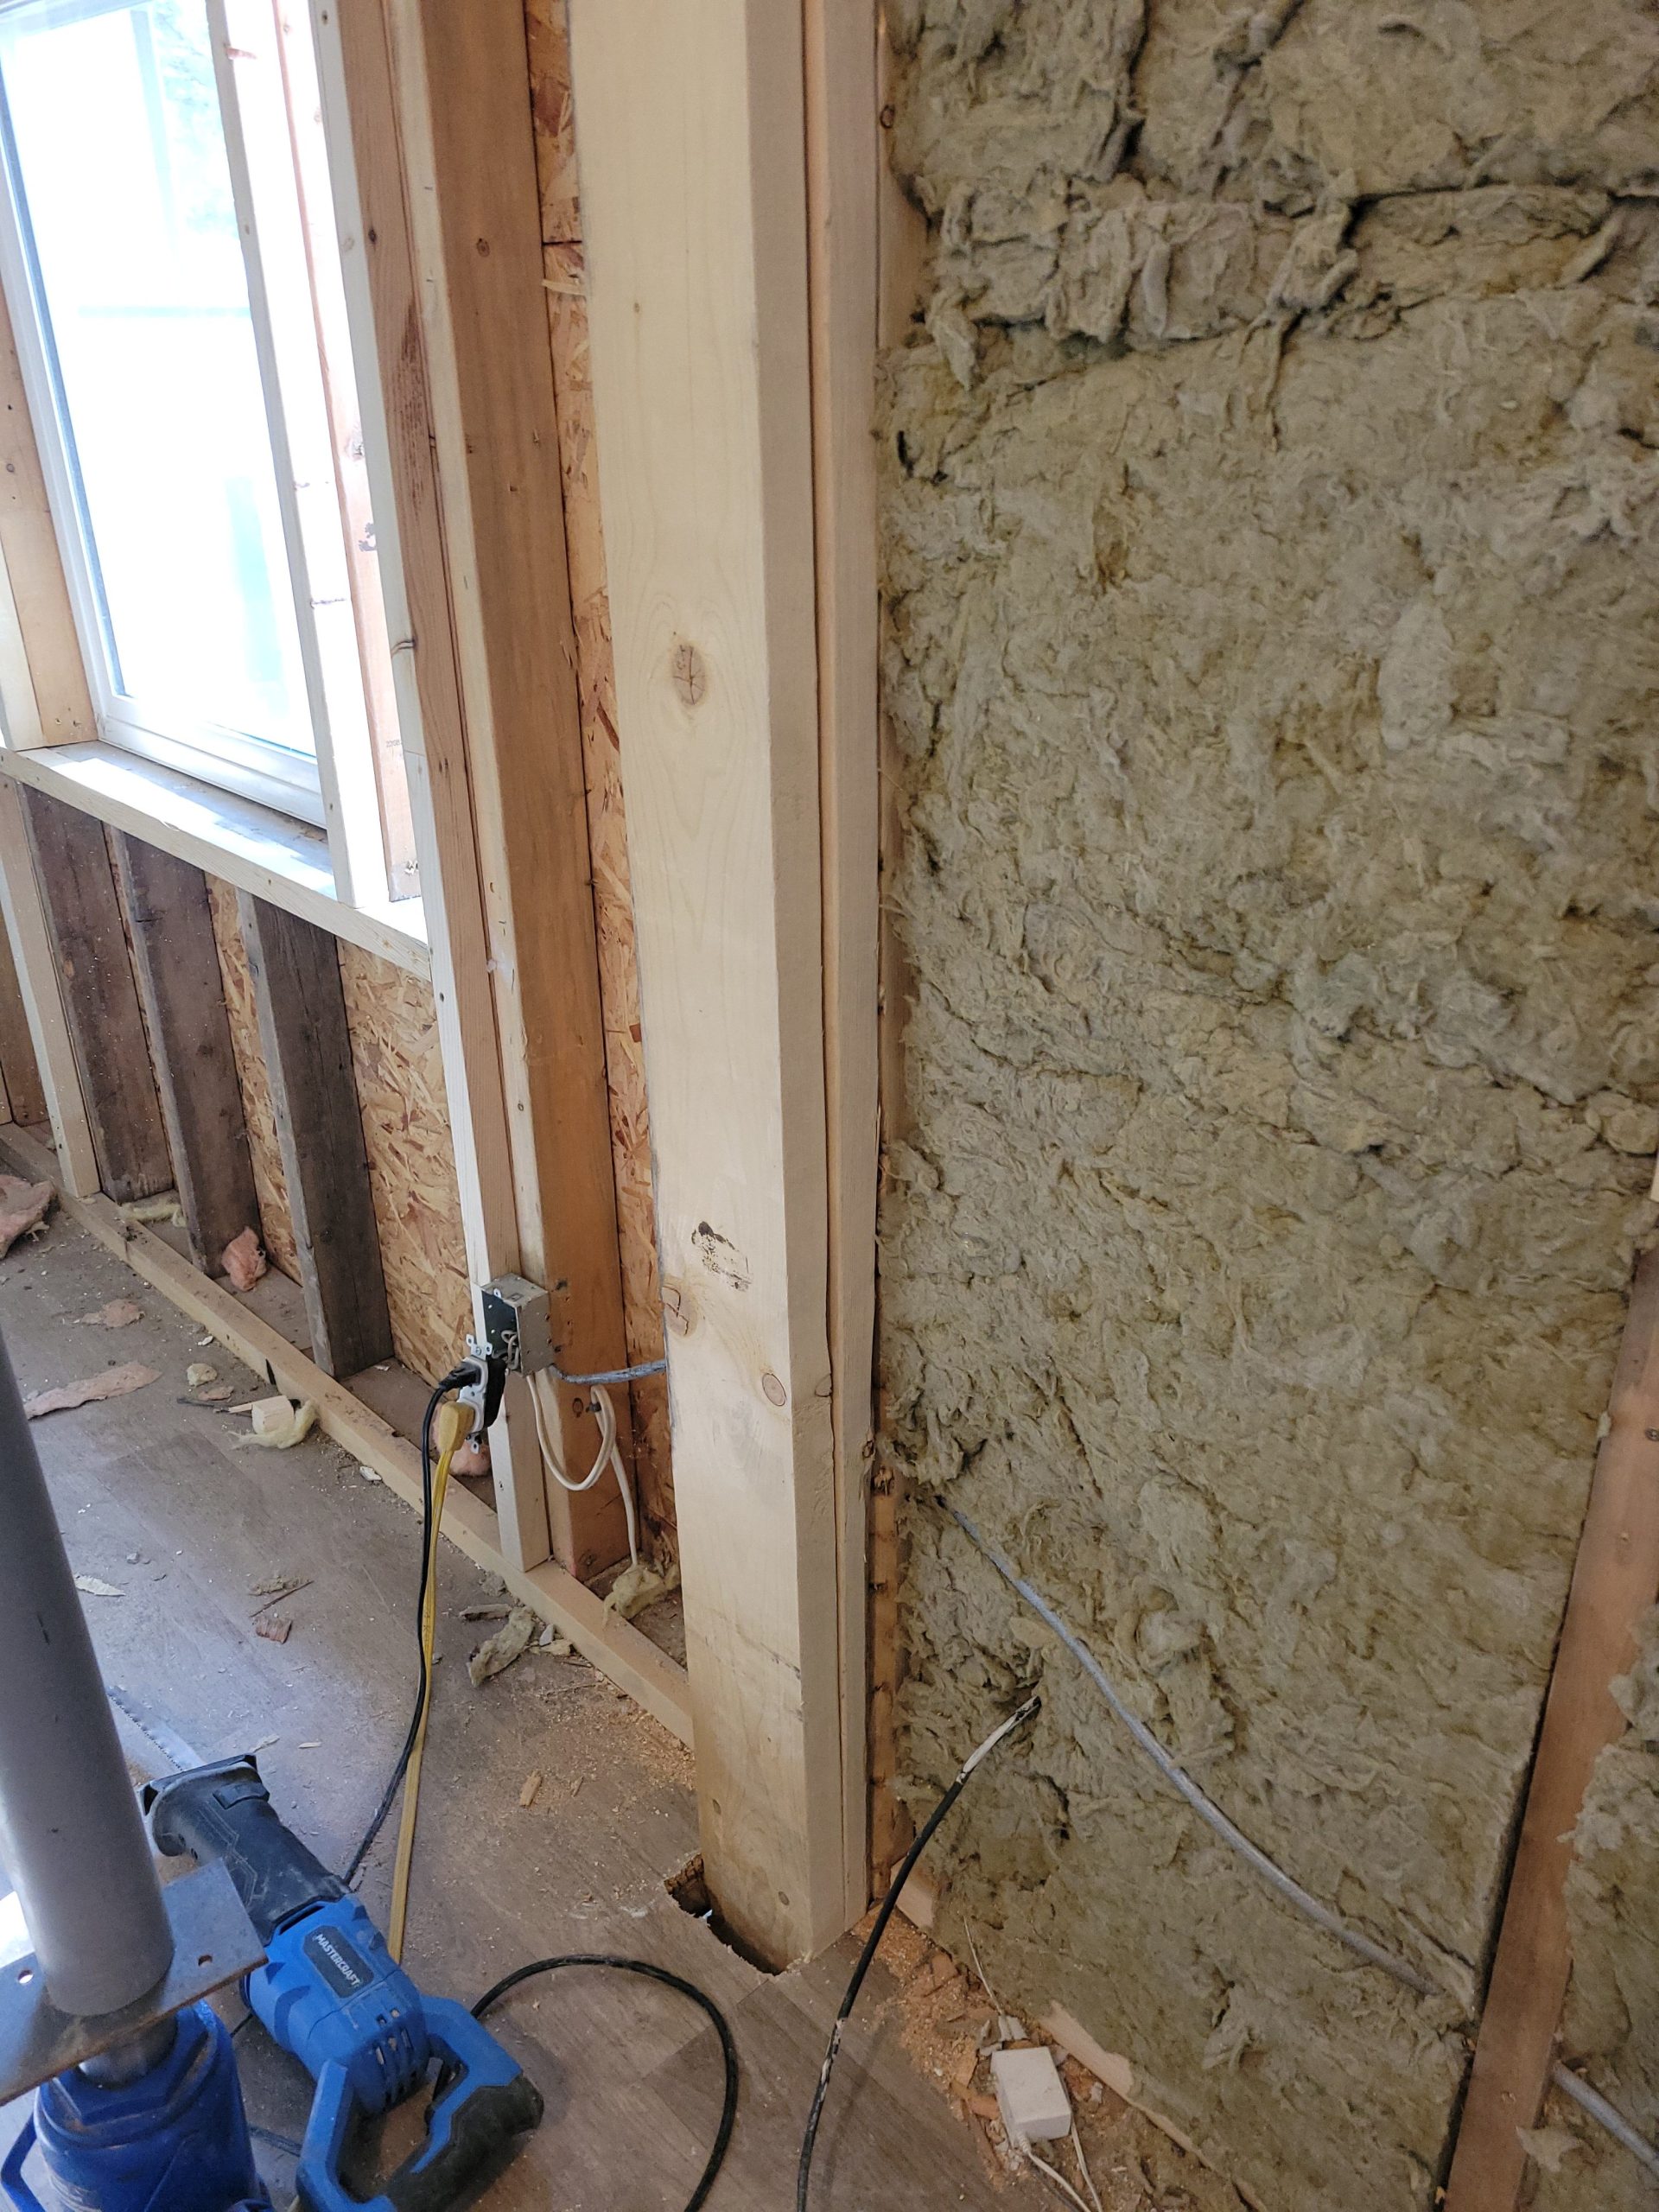
The second support stud went in. I used 3½” screws to mount the first and second stud to the existing balloon studs.
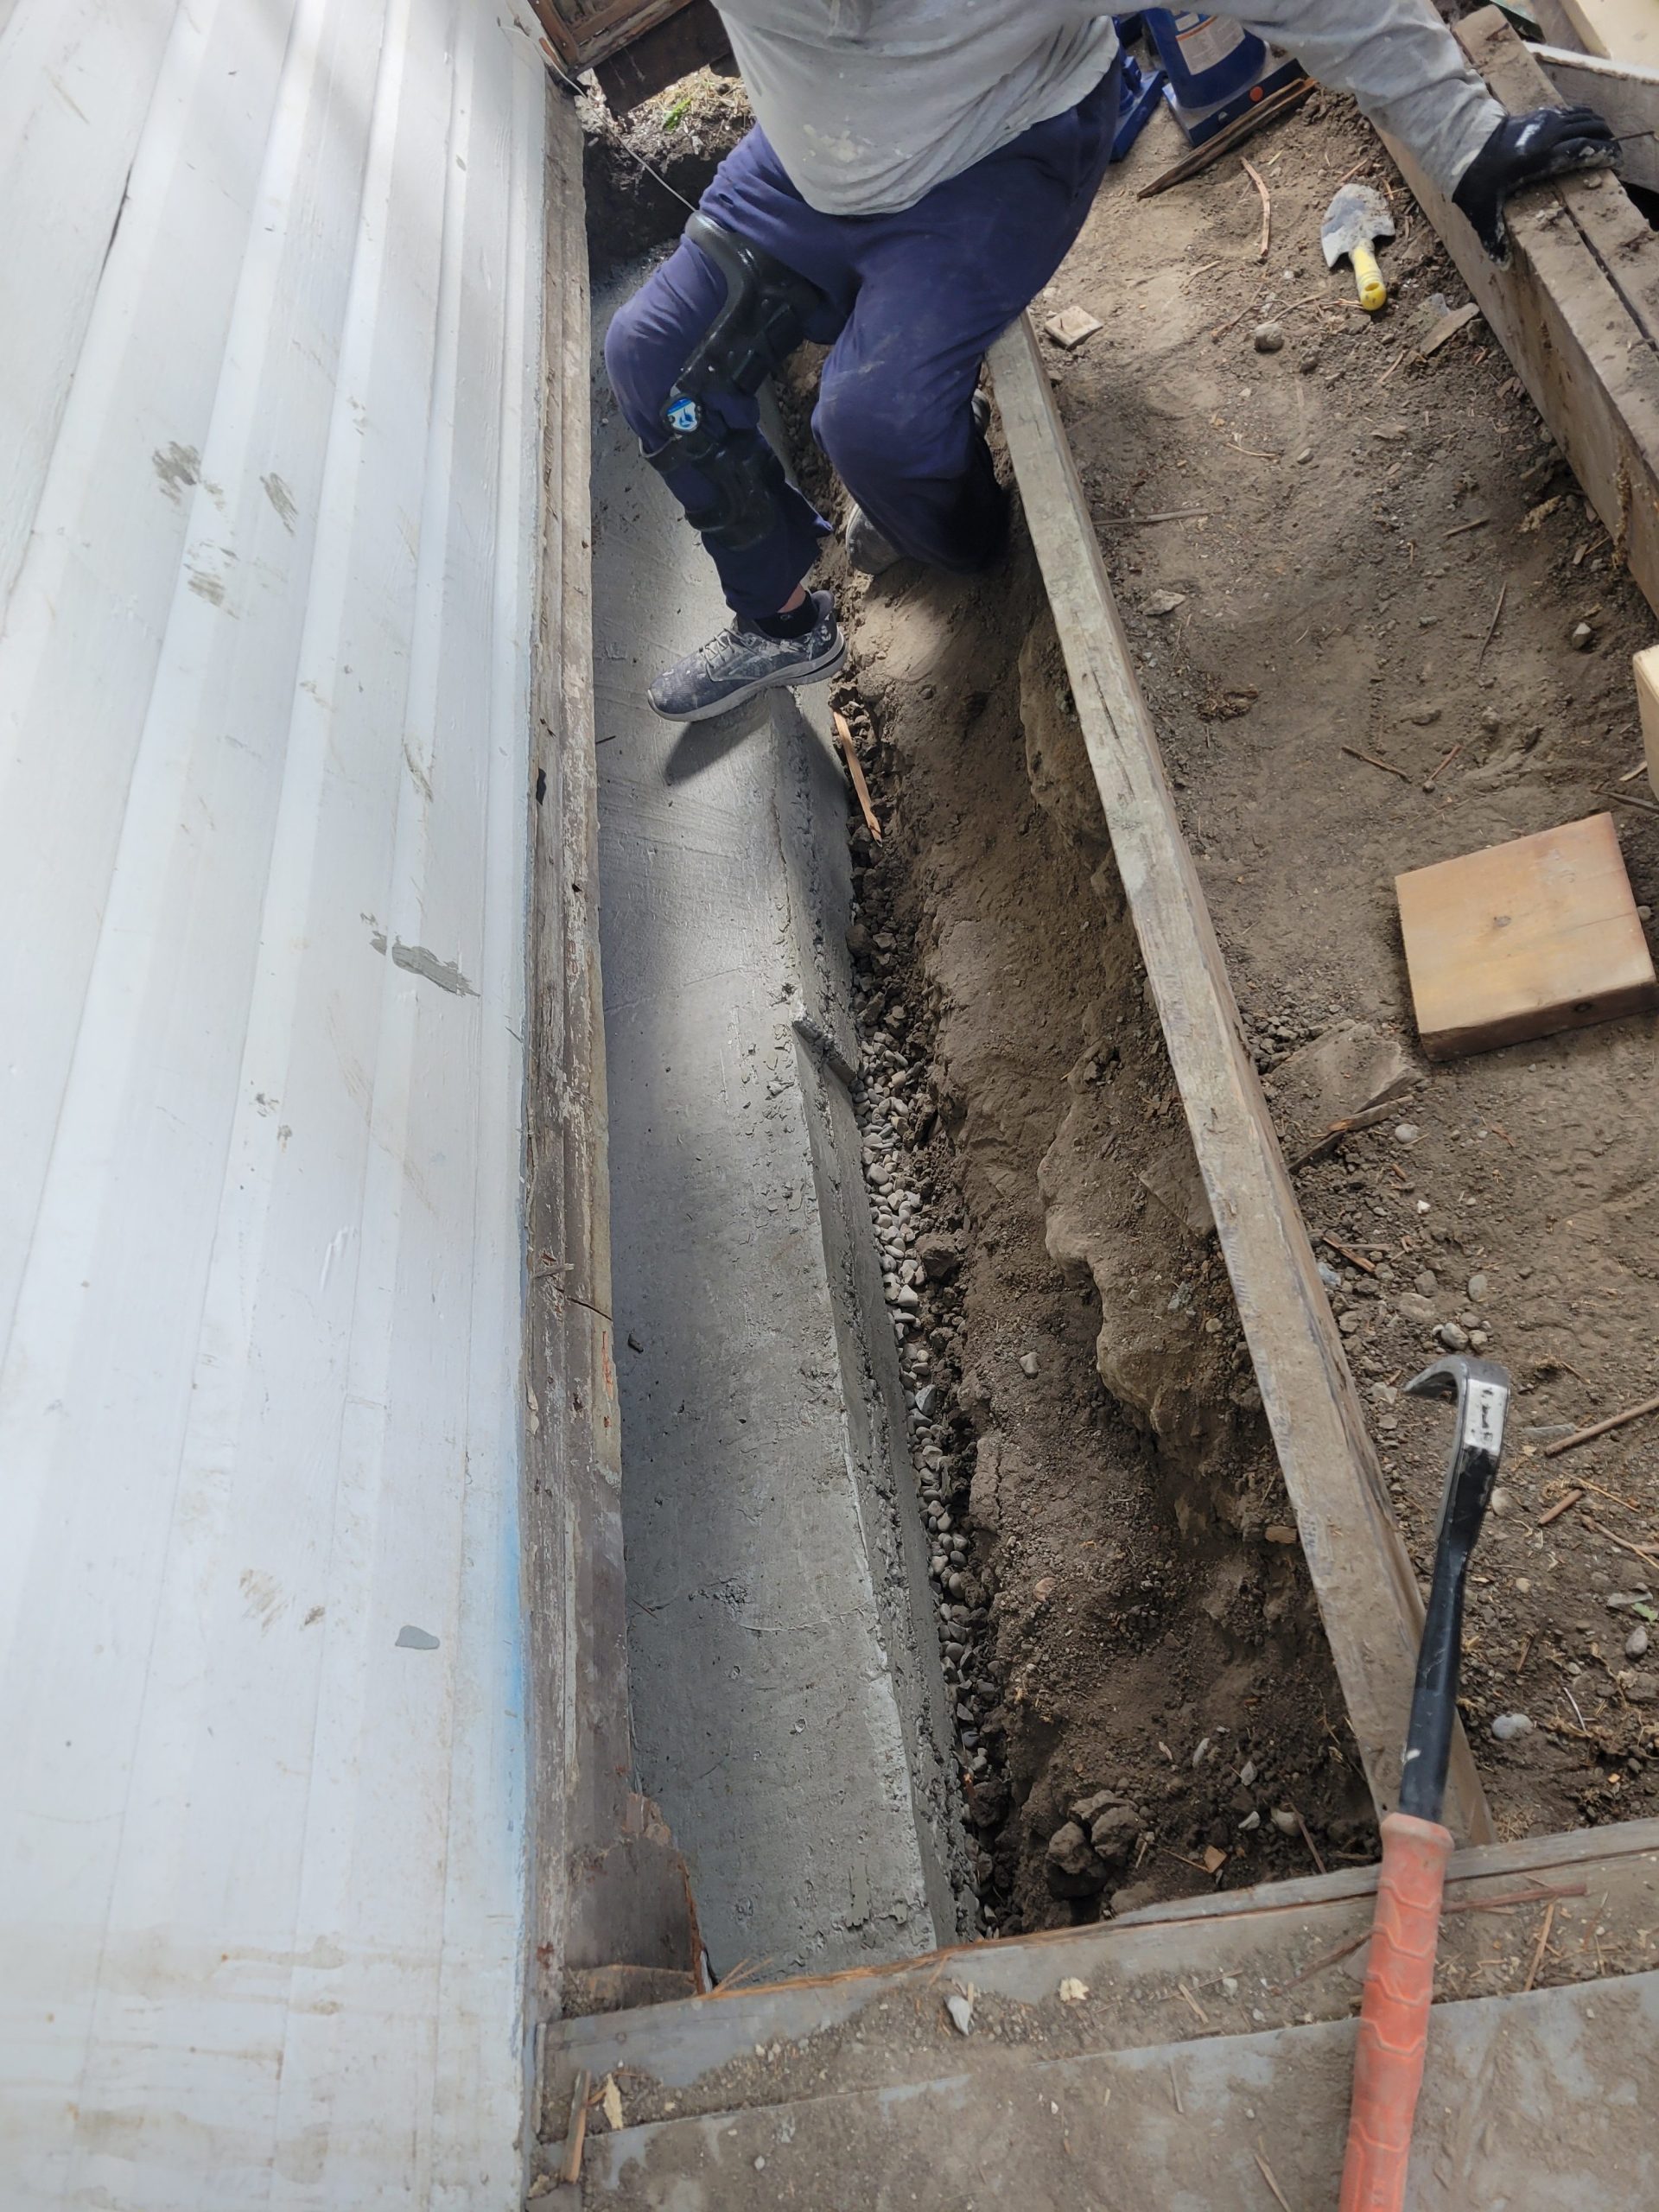
Dave arrived shortly after I did, and we kicked the front forms from the footing.
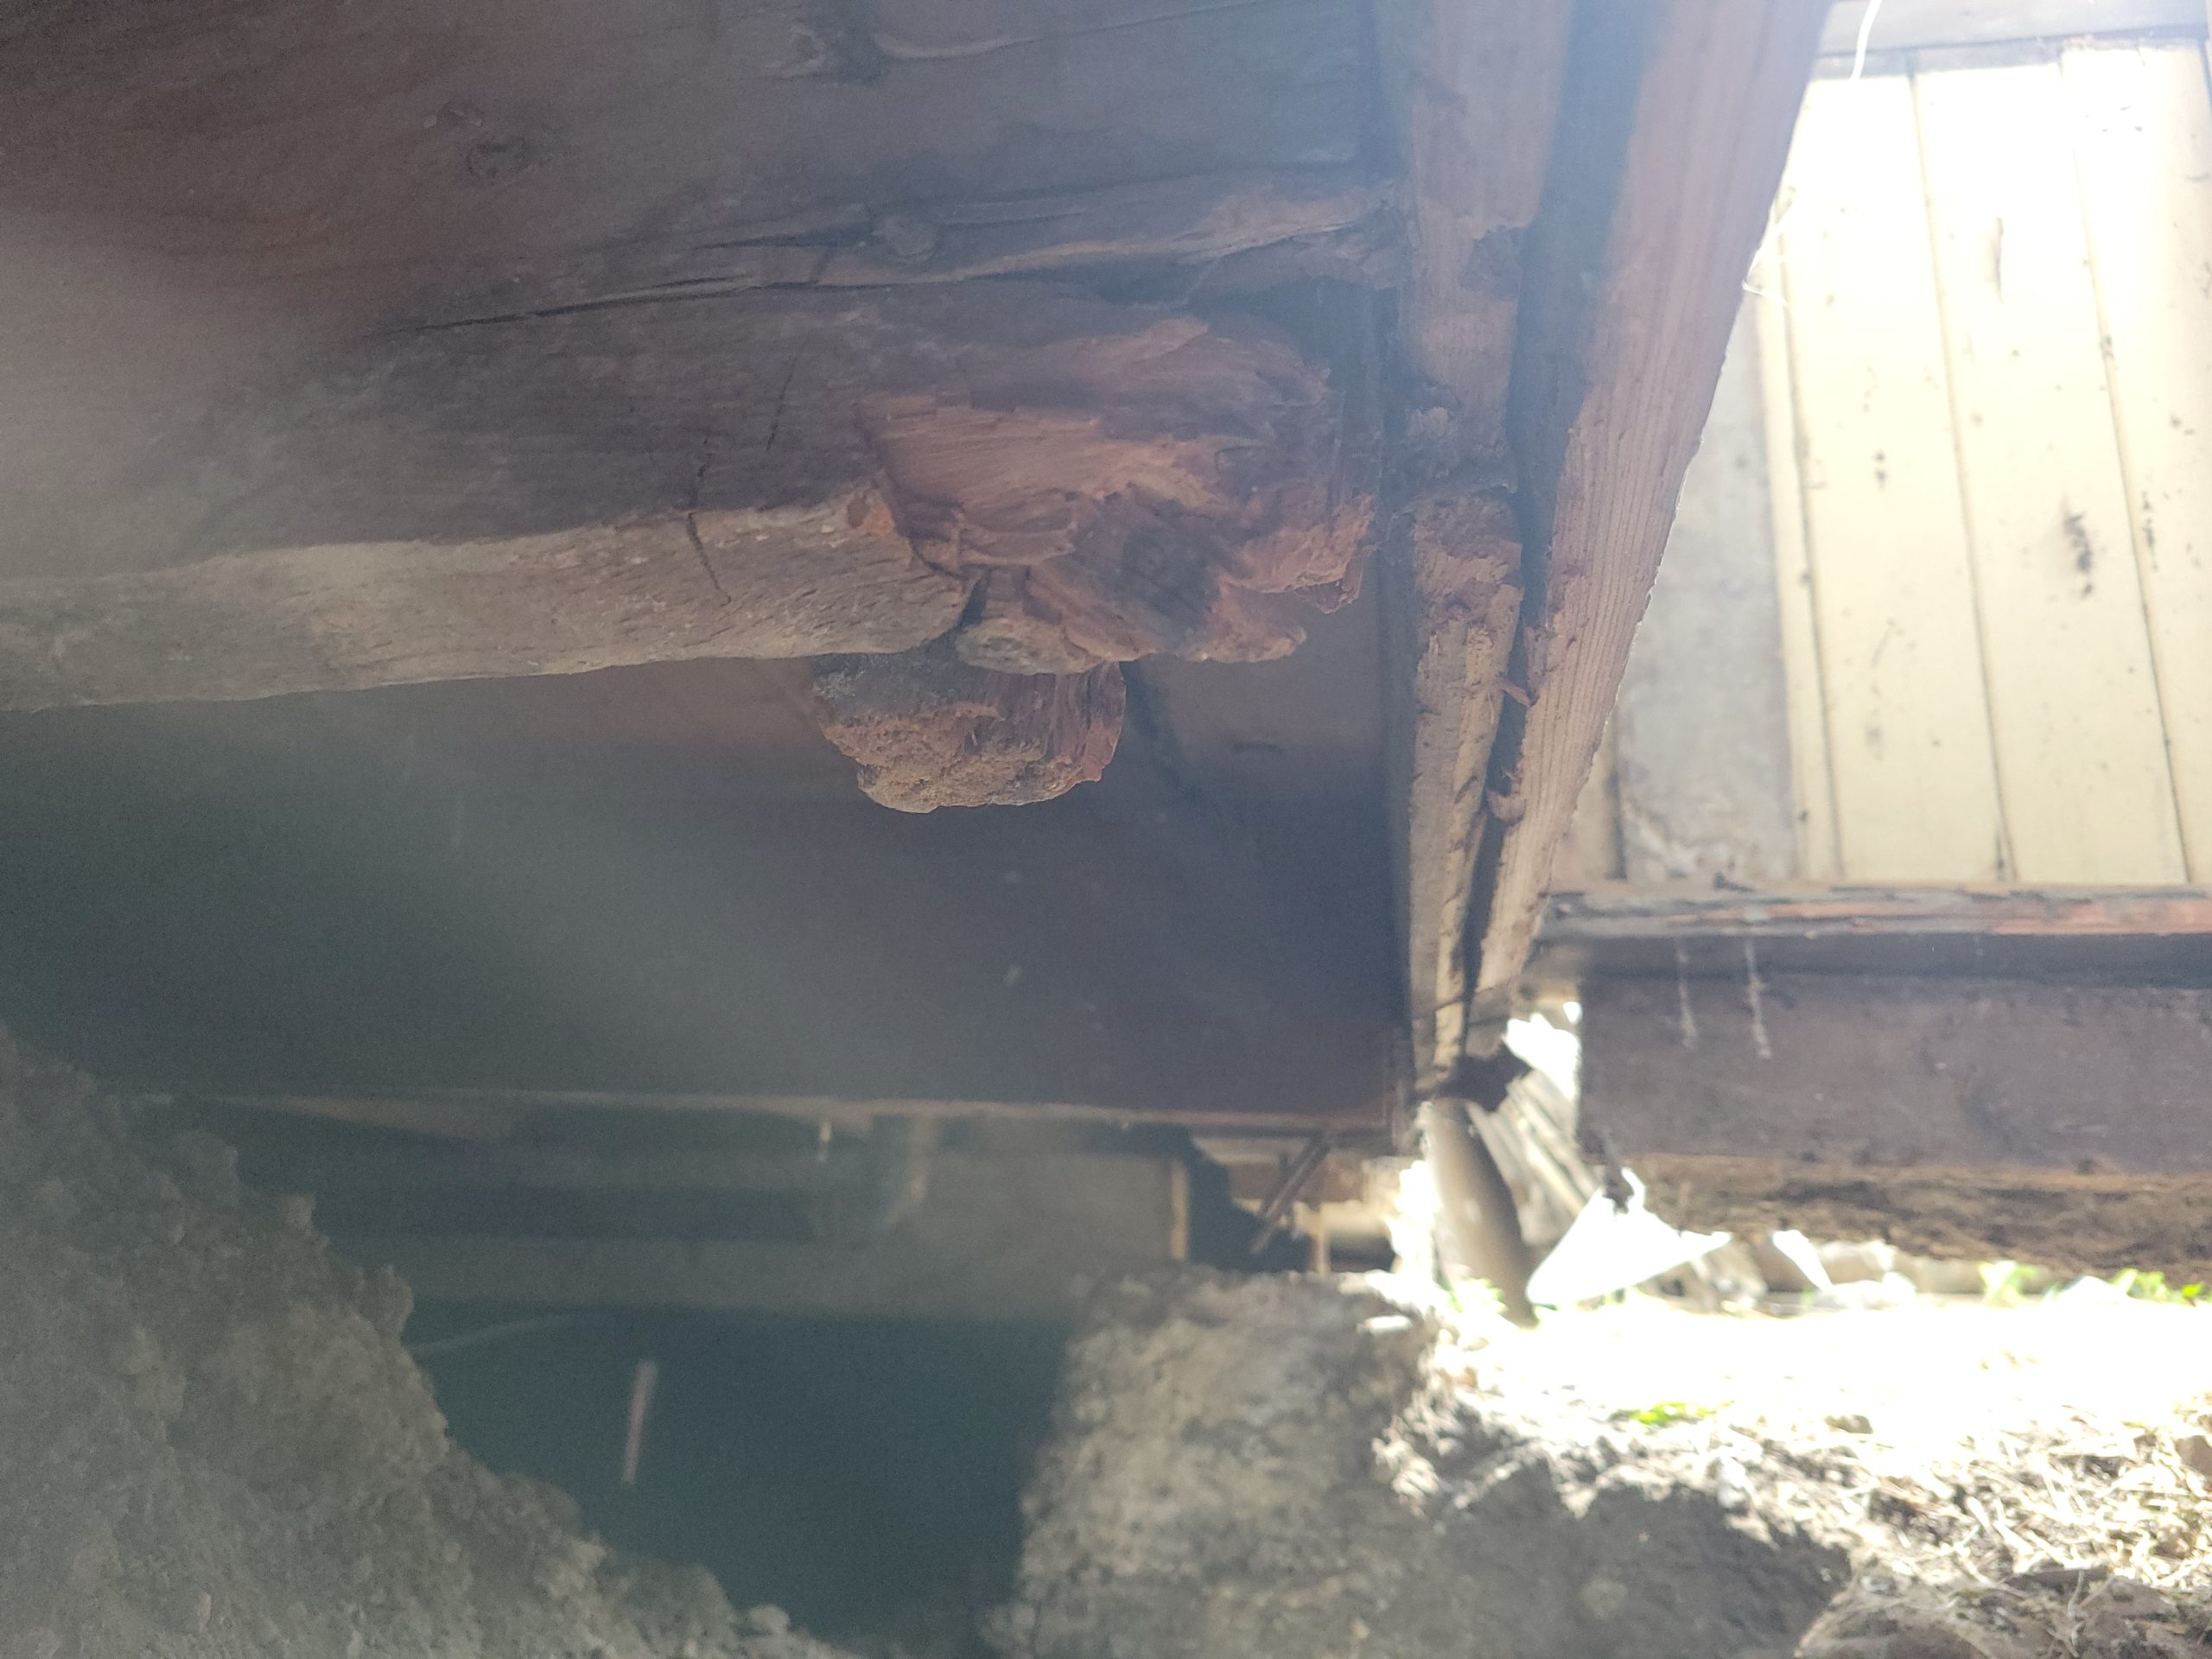
Before putting the beam in, I inspected the balloon studs and floor joists. One is badly worn, rotted. The rot should be cut, and a shim should be added.
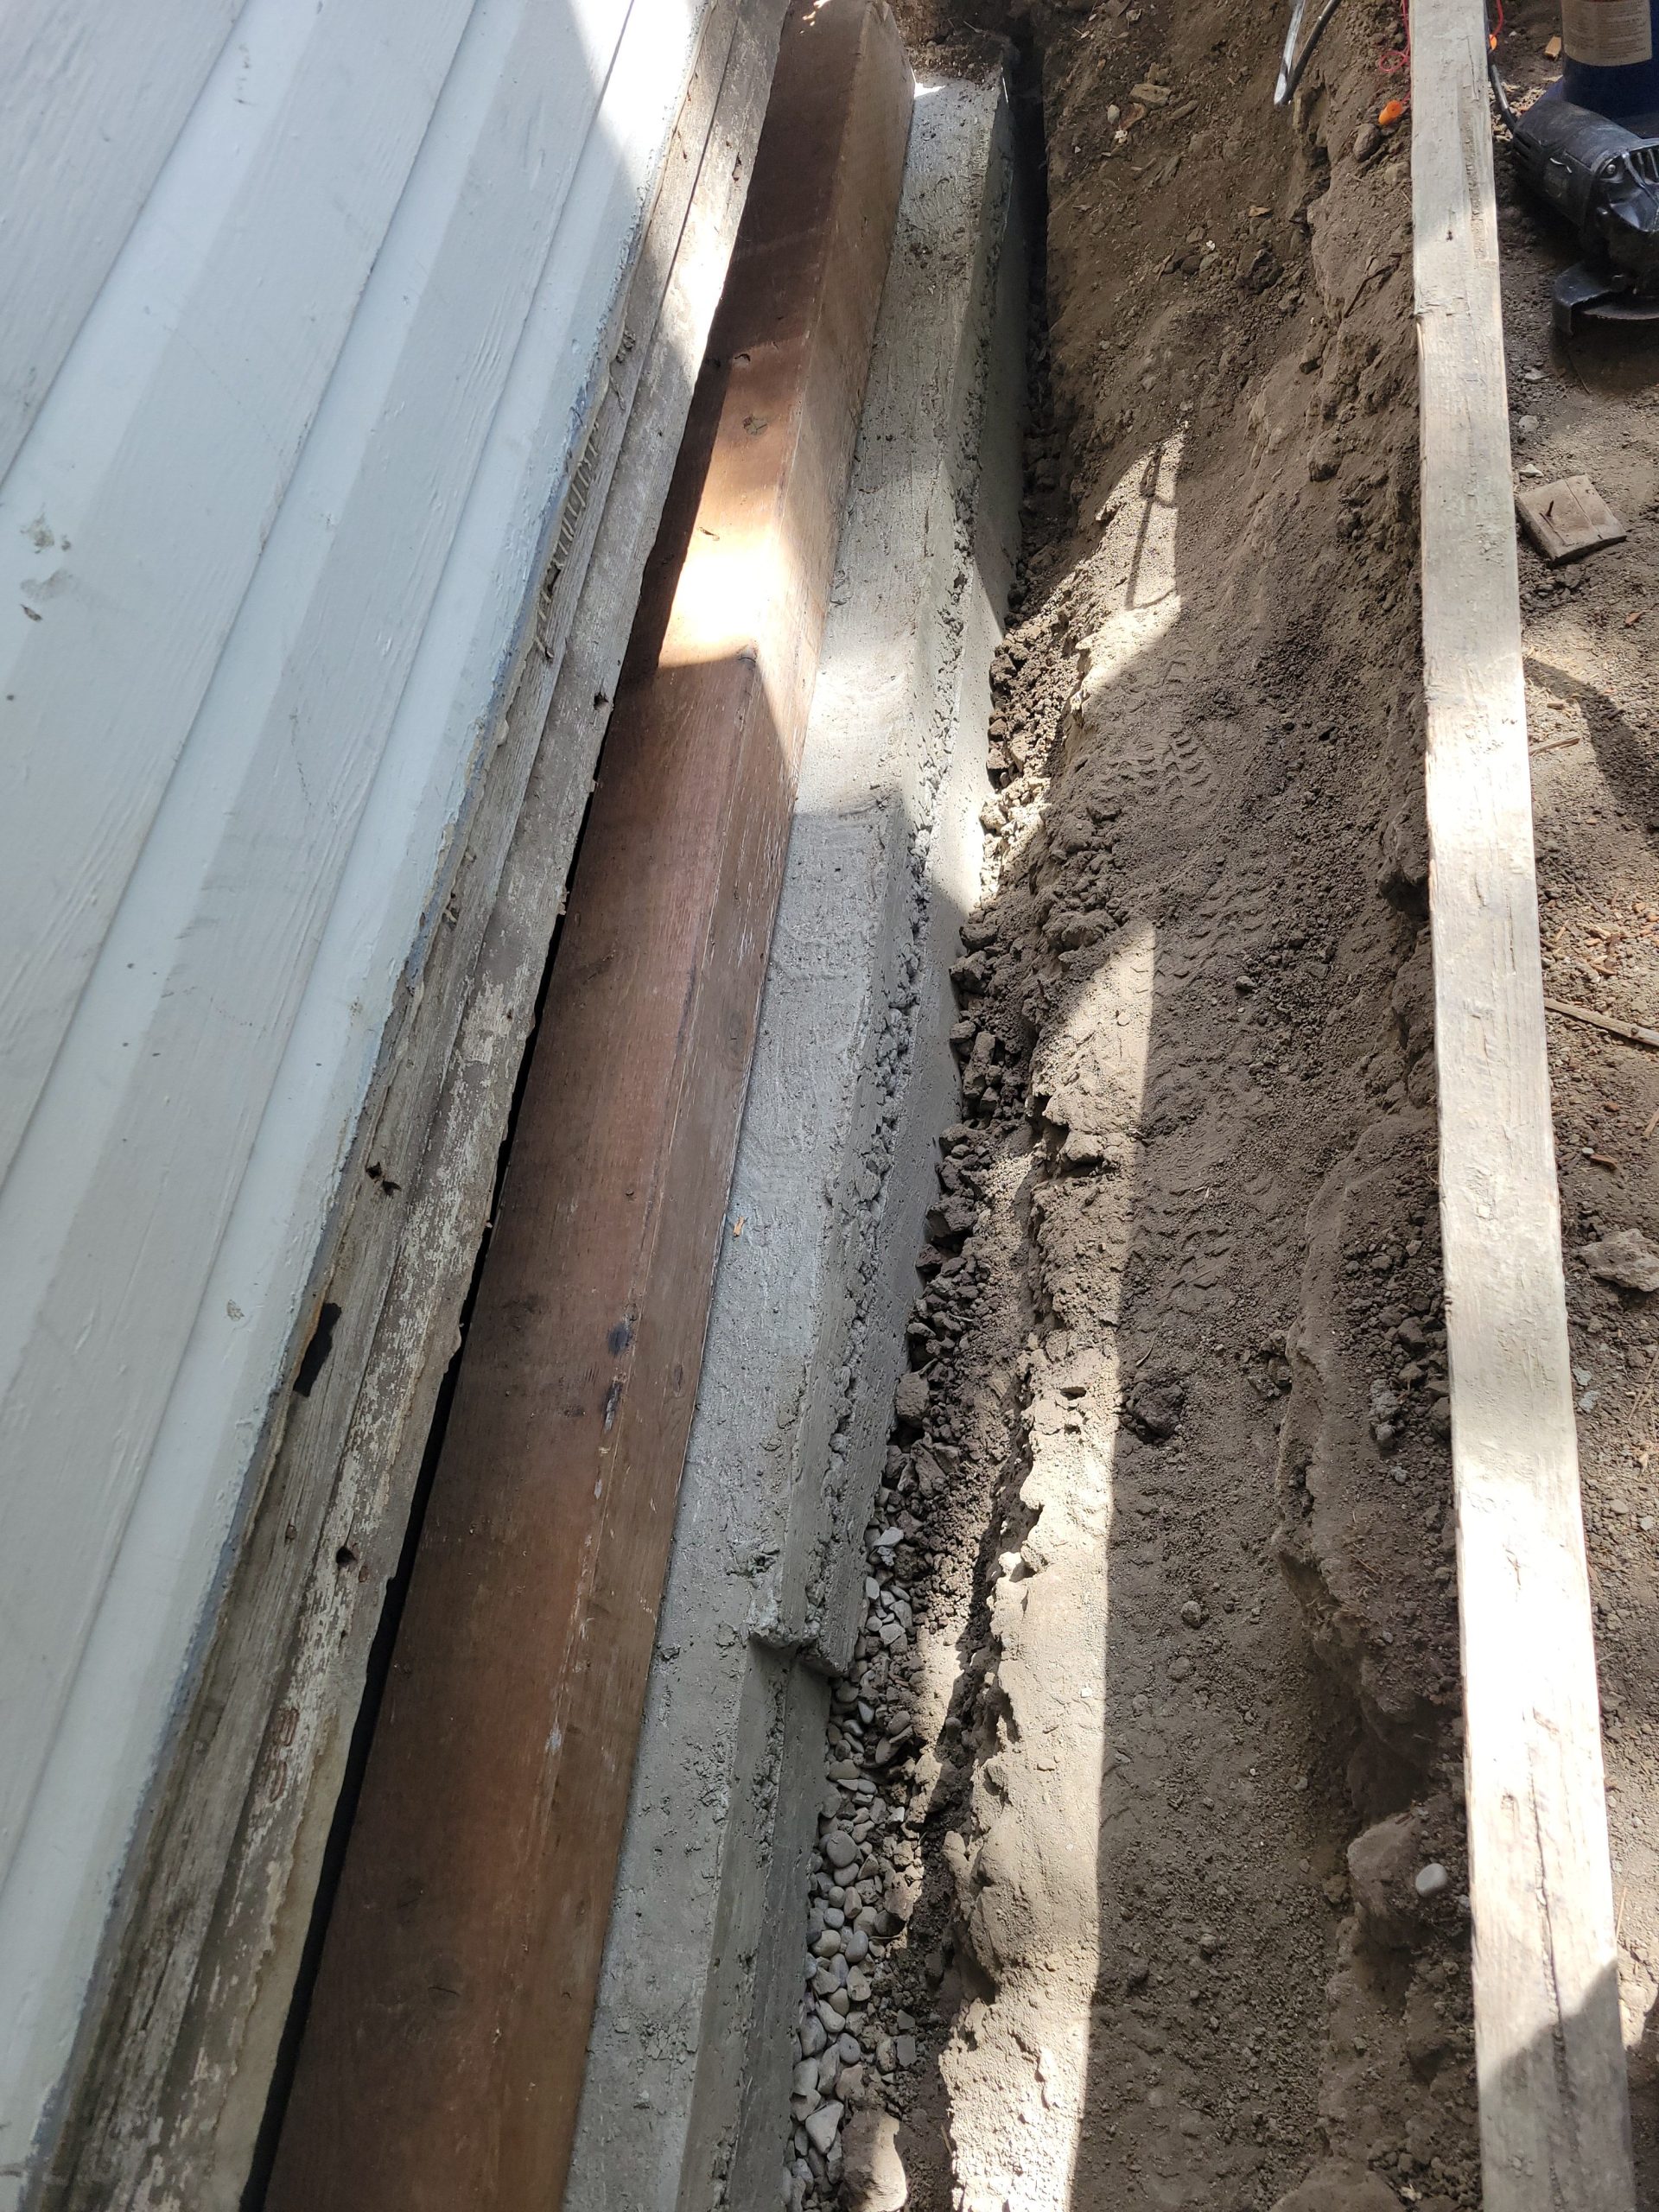
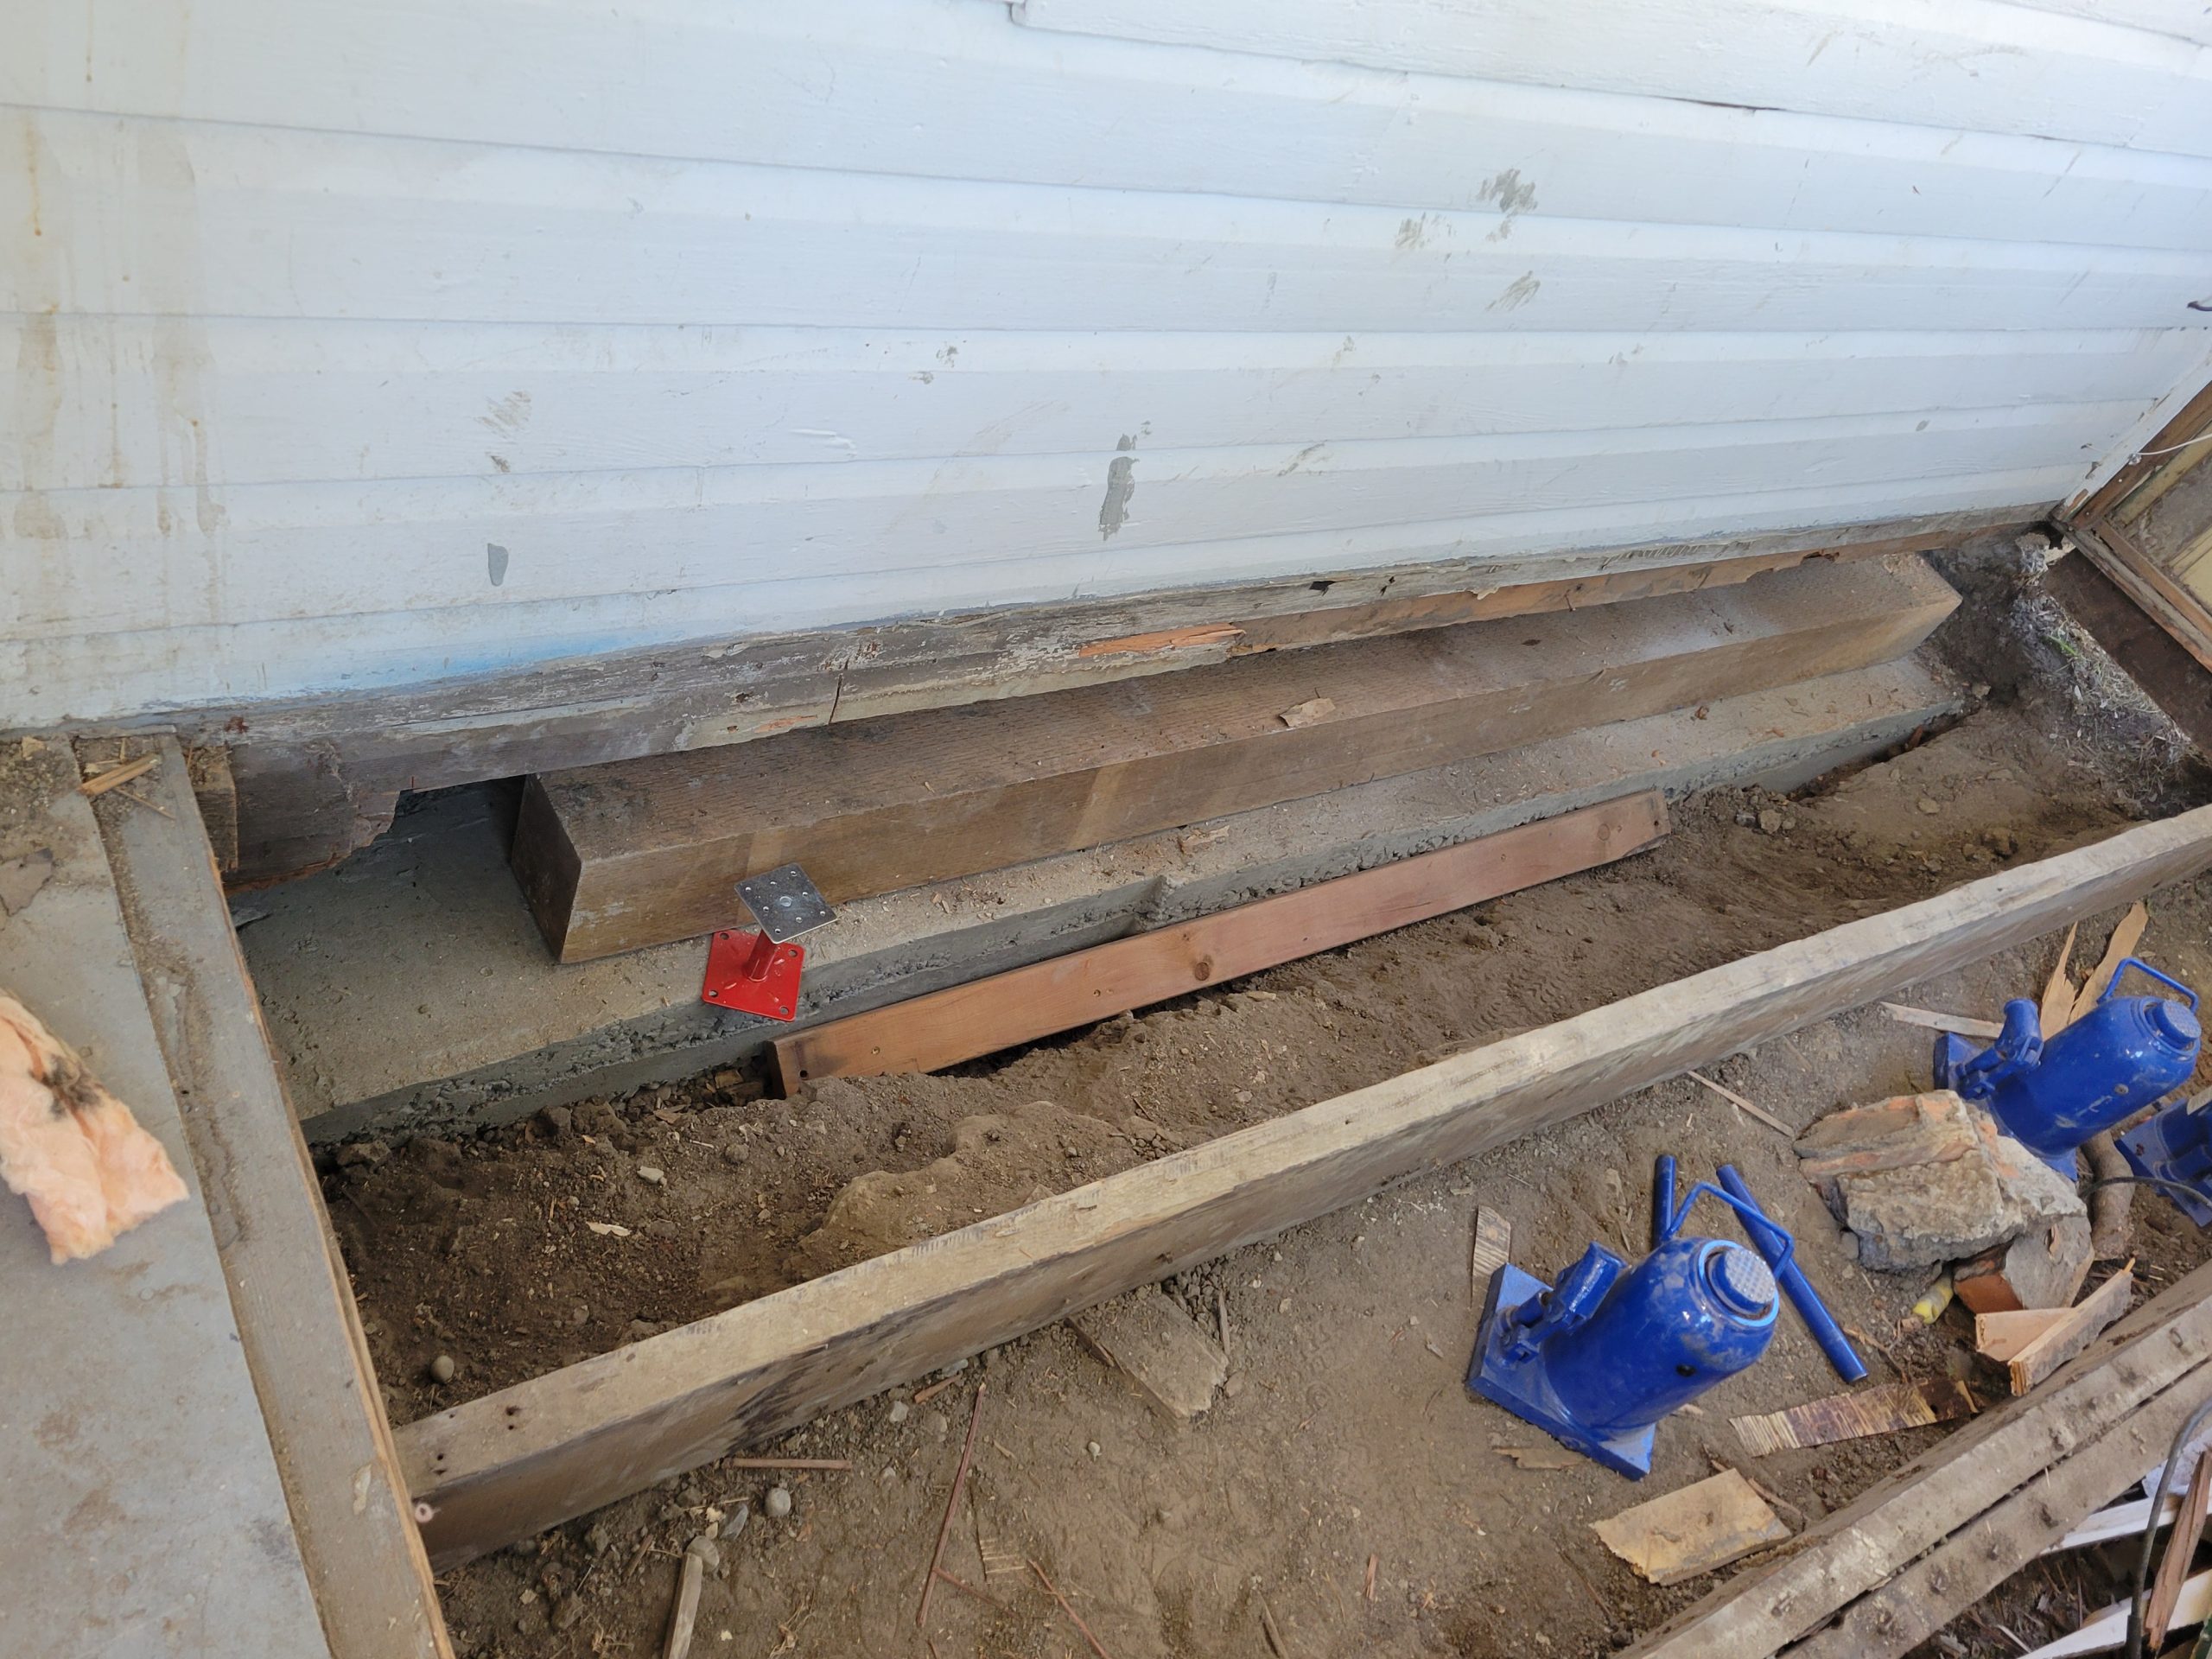
The beam I was going to use fell short. It must span five studs / joists.
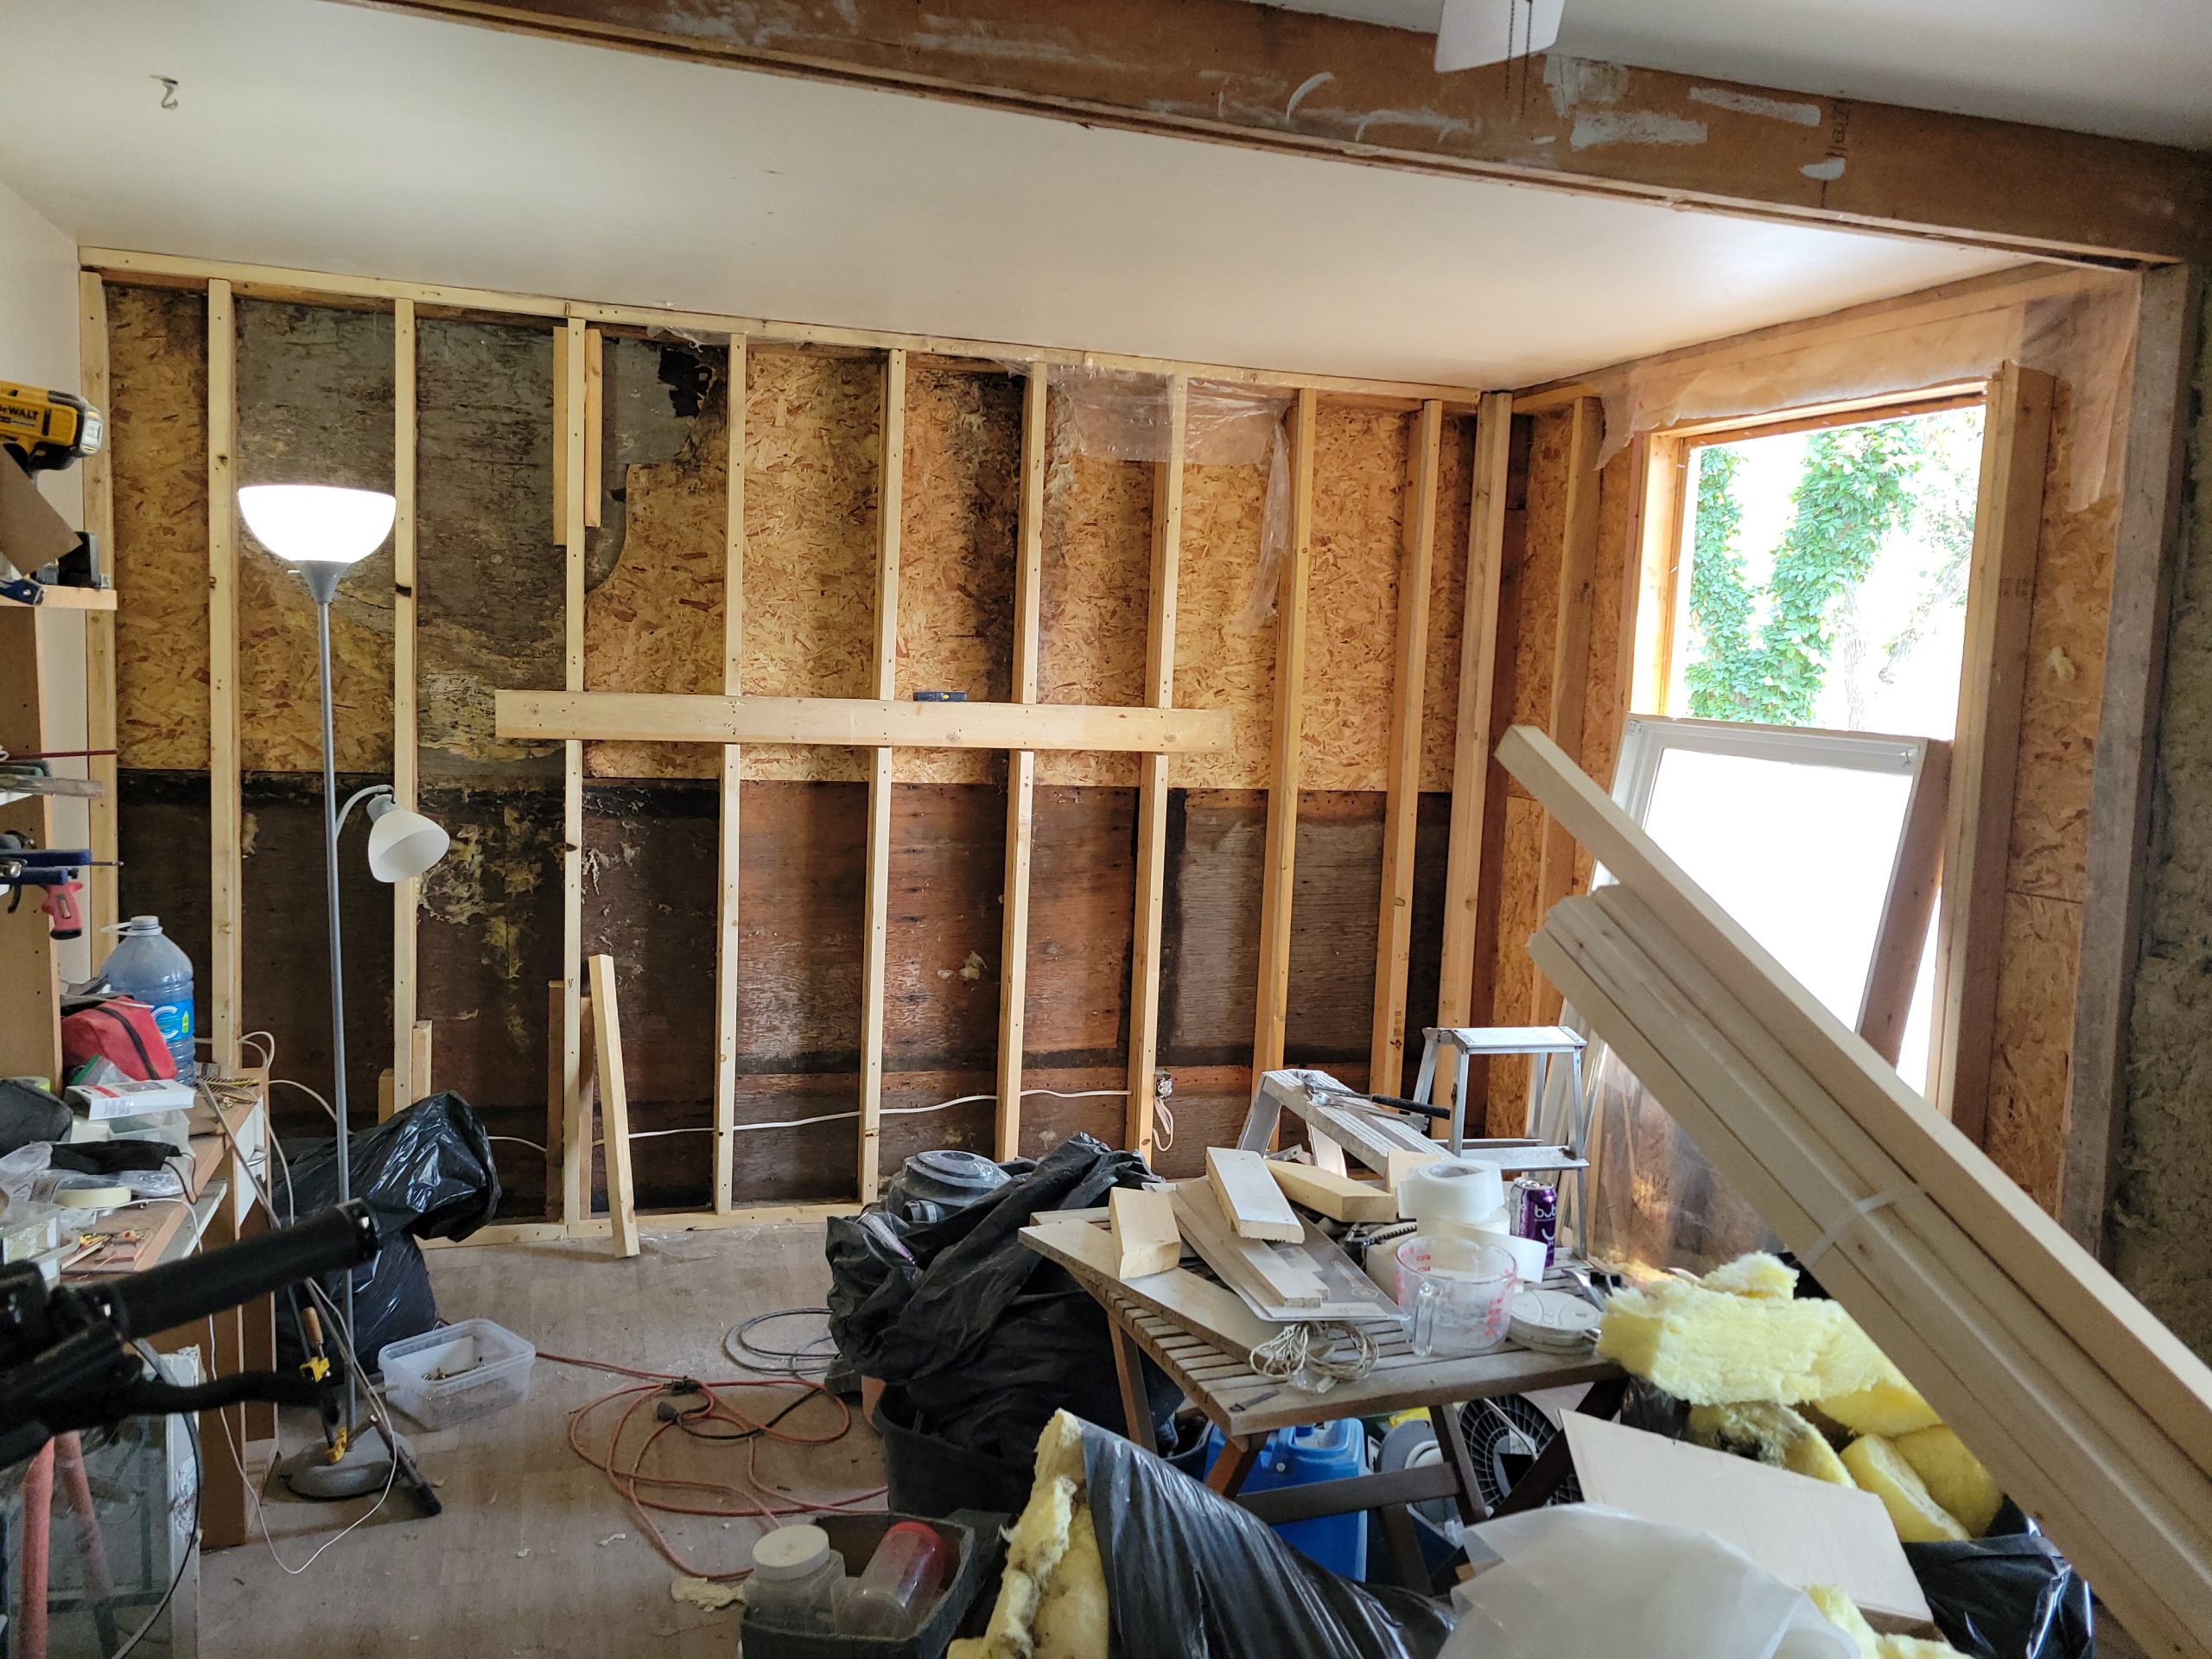
I added 2×2 furring strips to the SE and E living room walls.
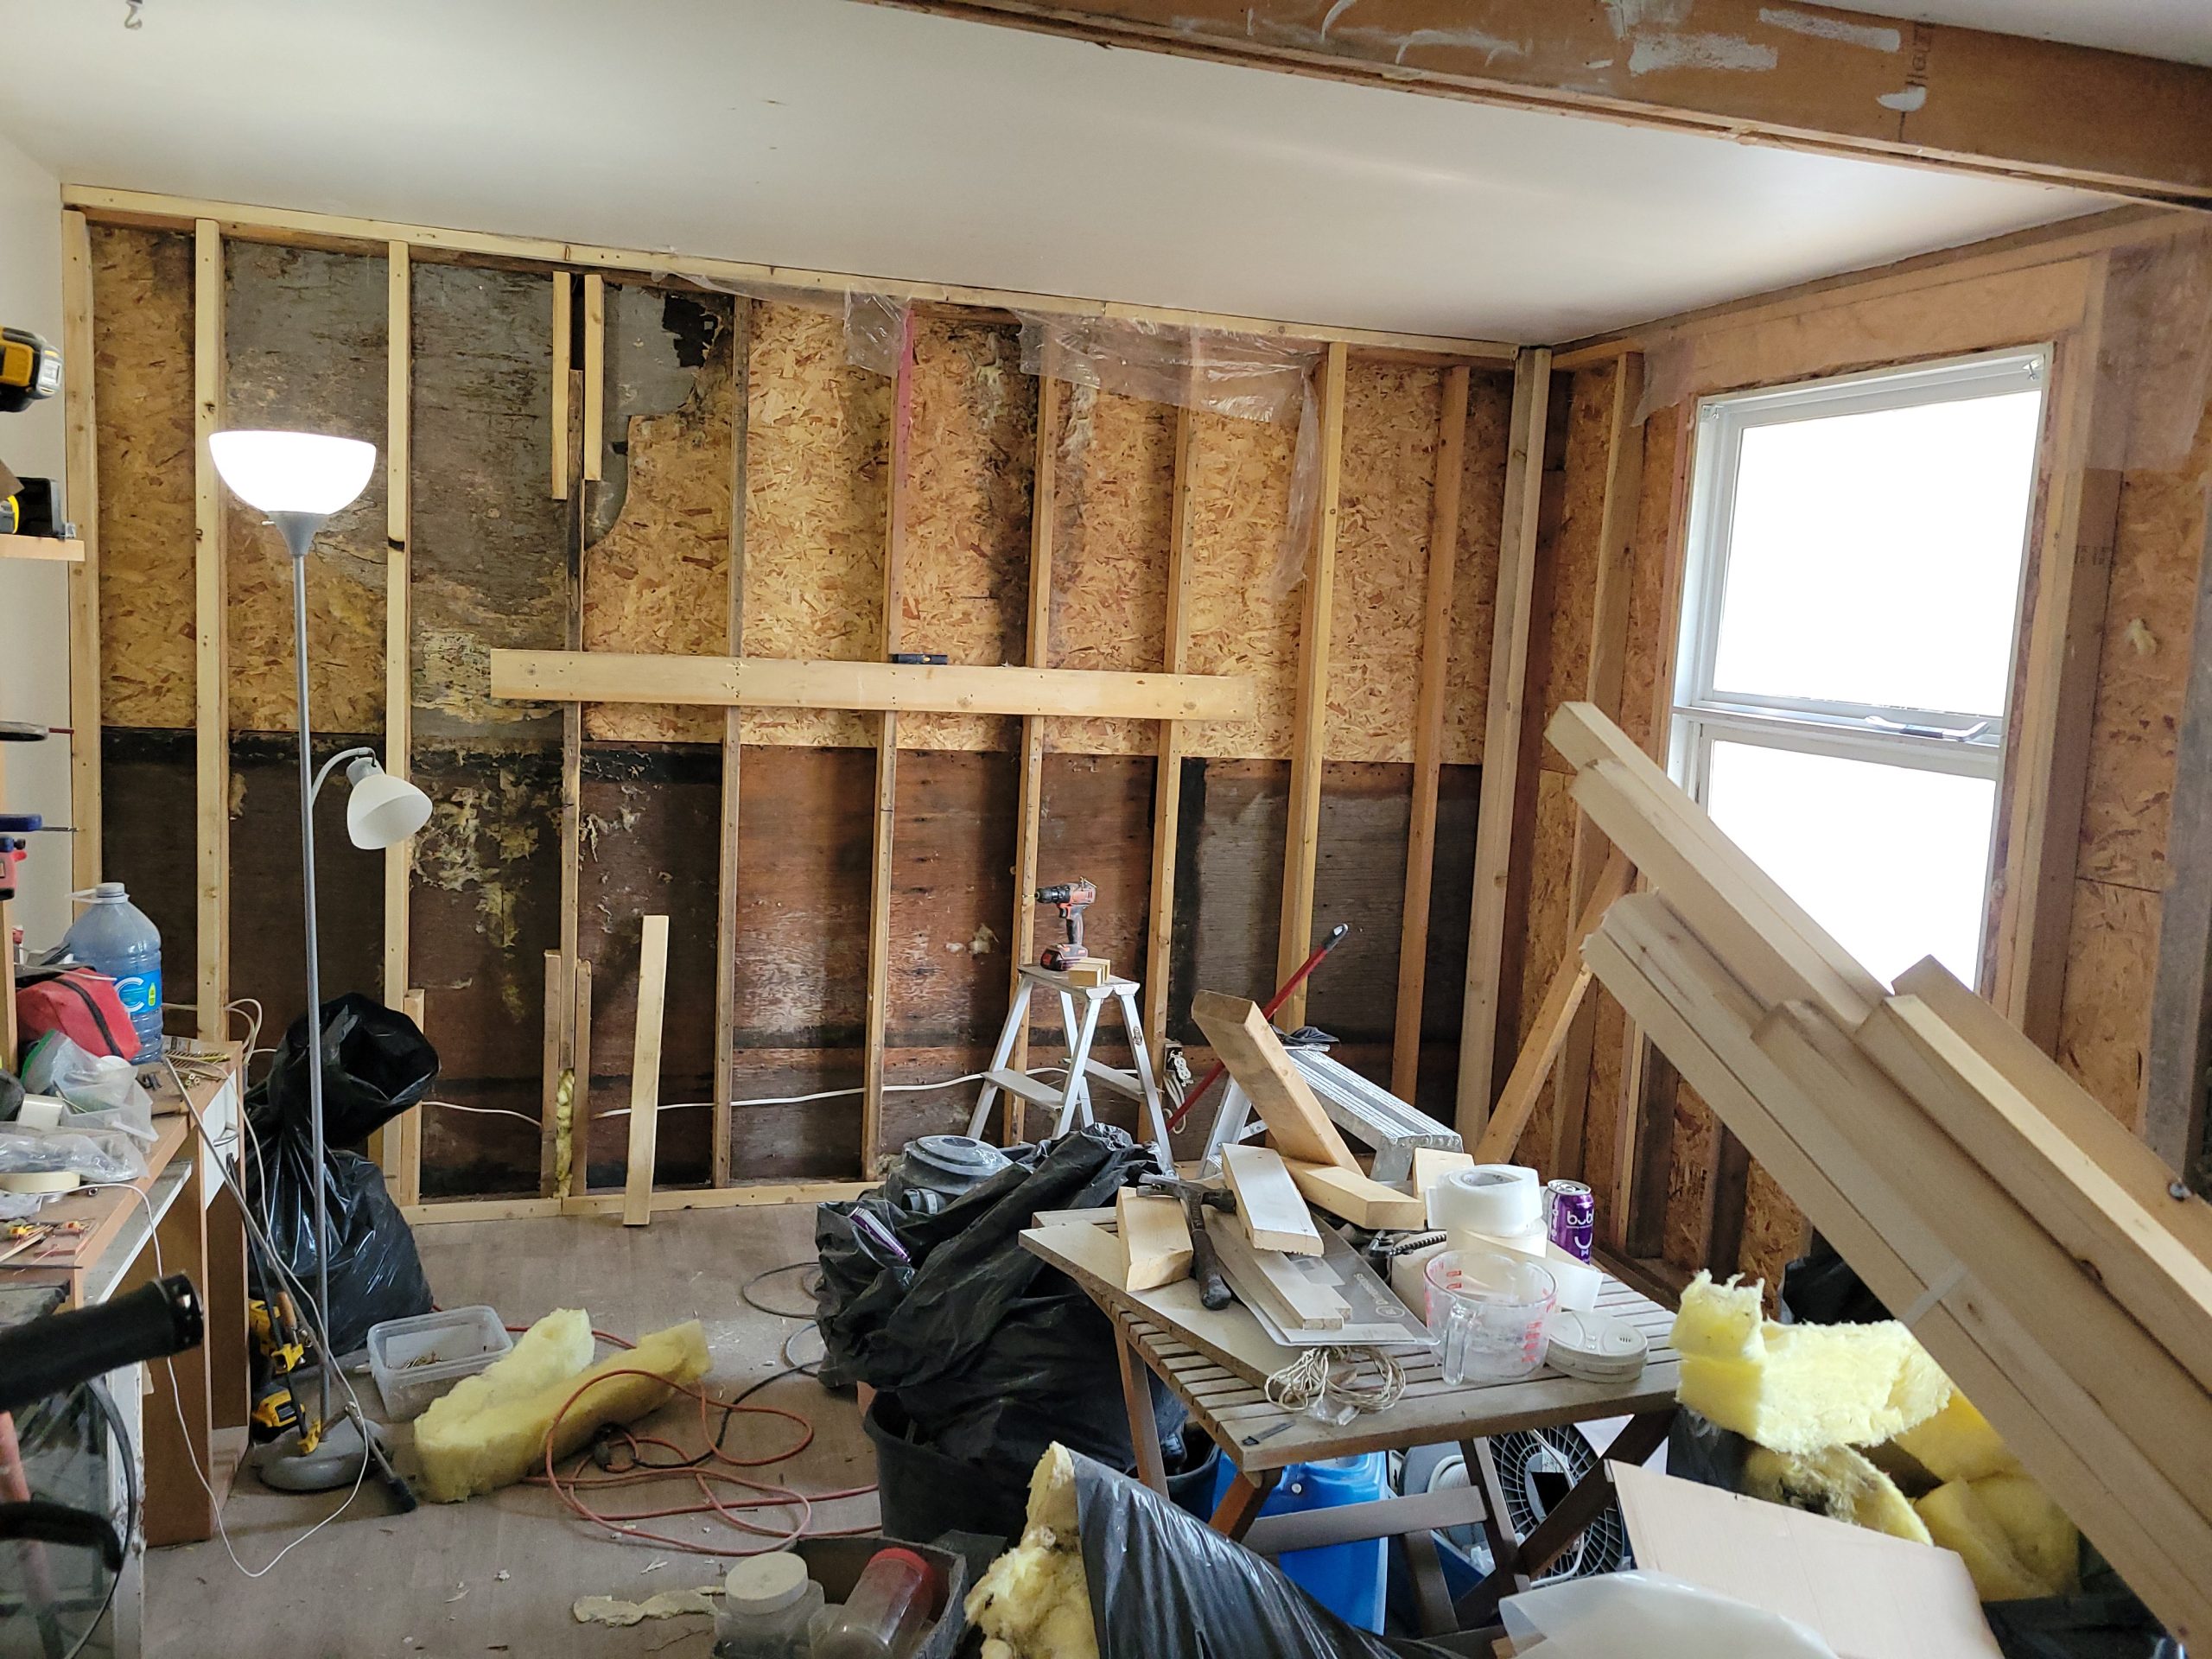
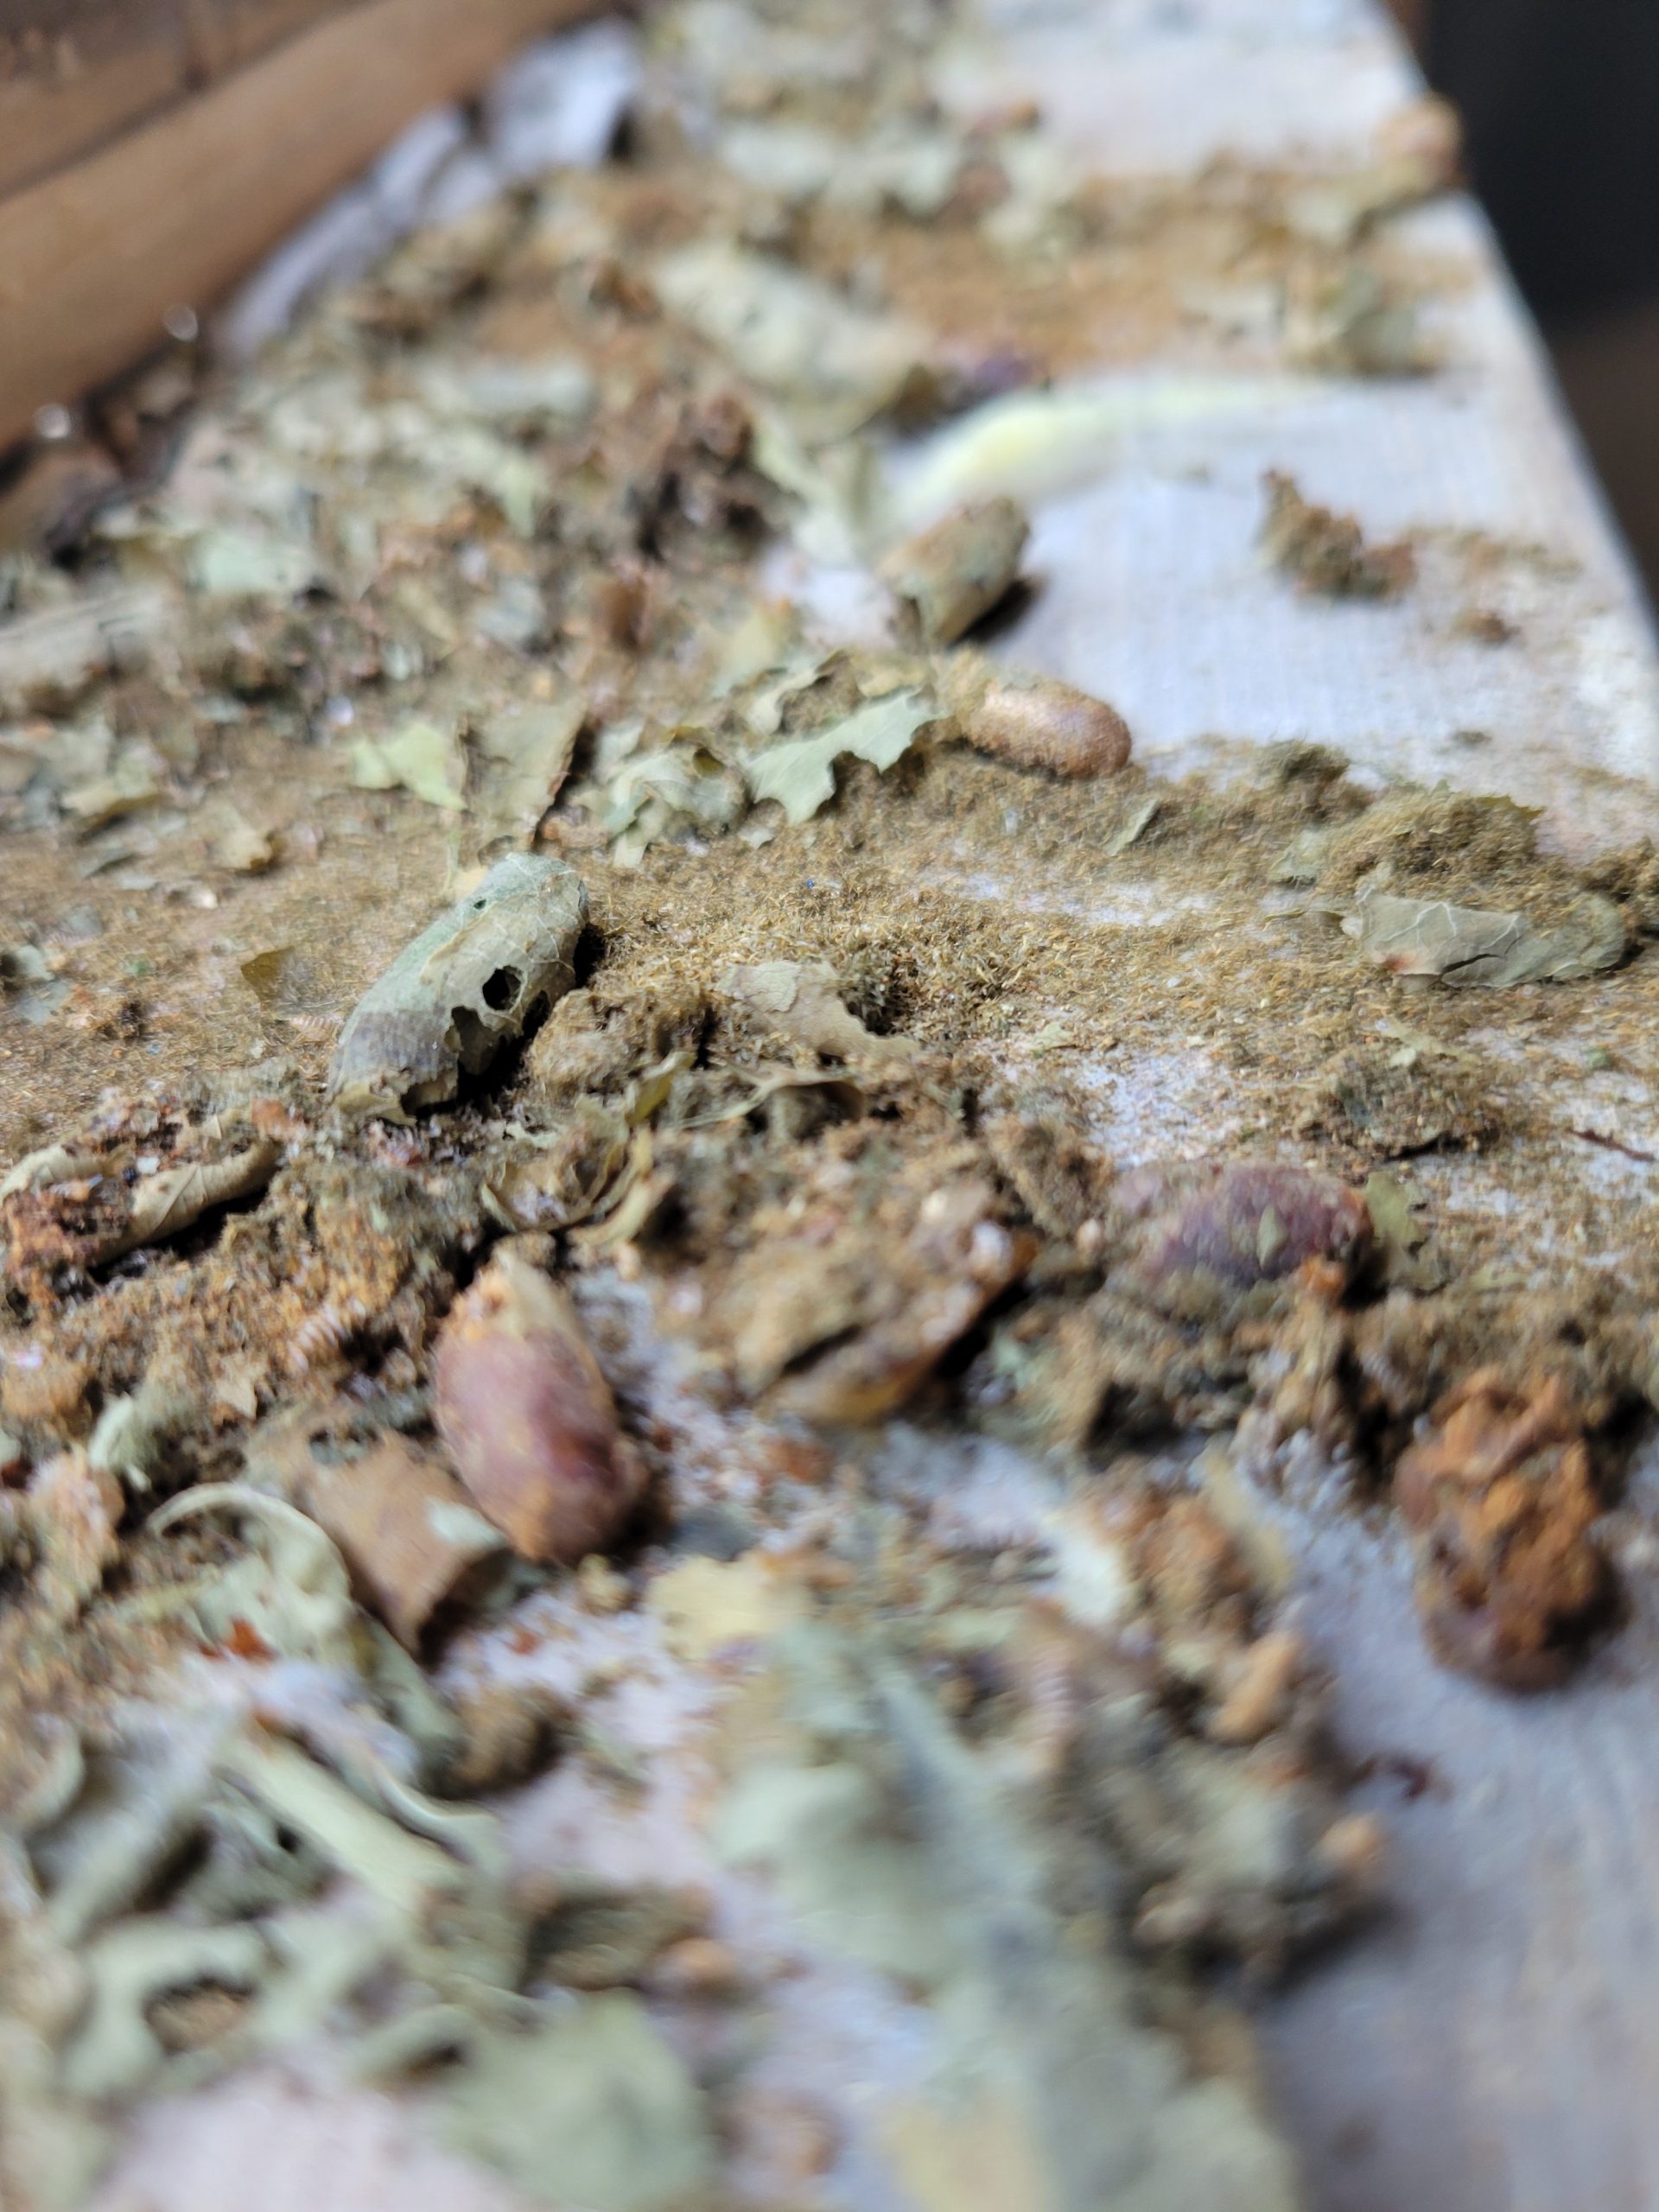
The new window framing must be complete first, so I removed the old window. Some kind of insect had made its nest in there a while ago.
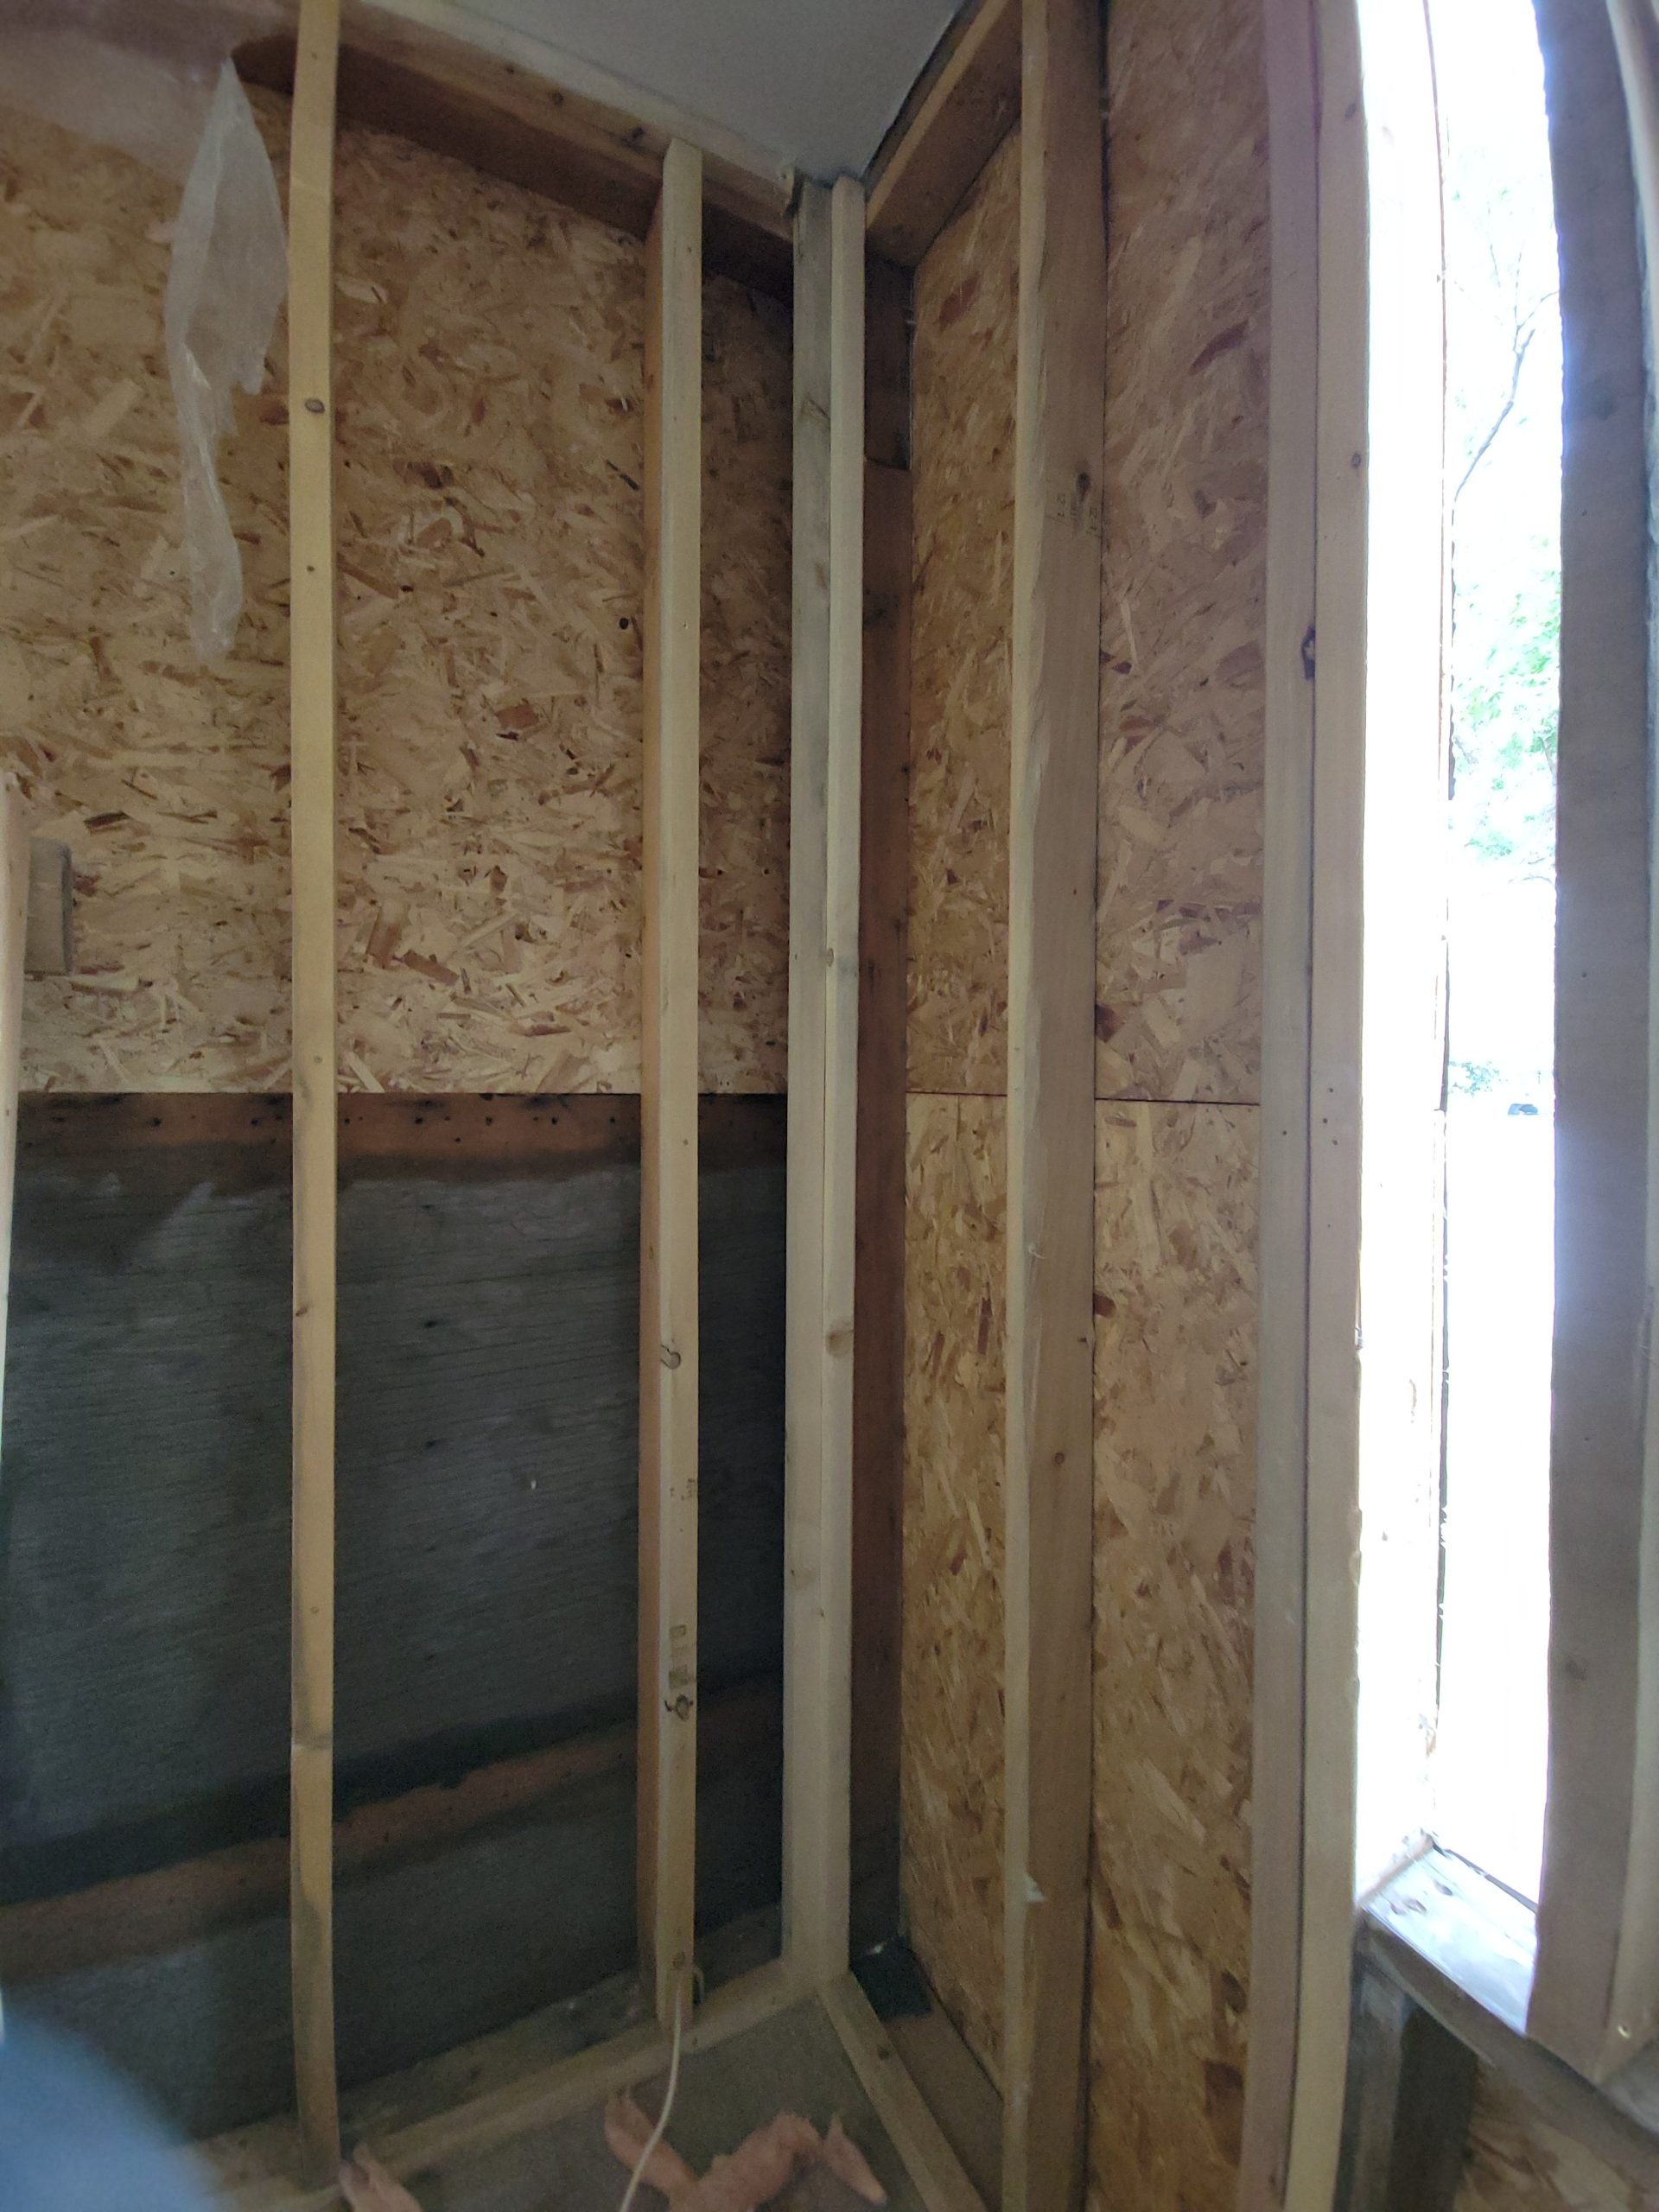
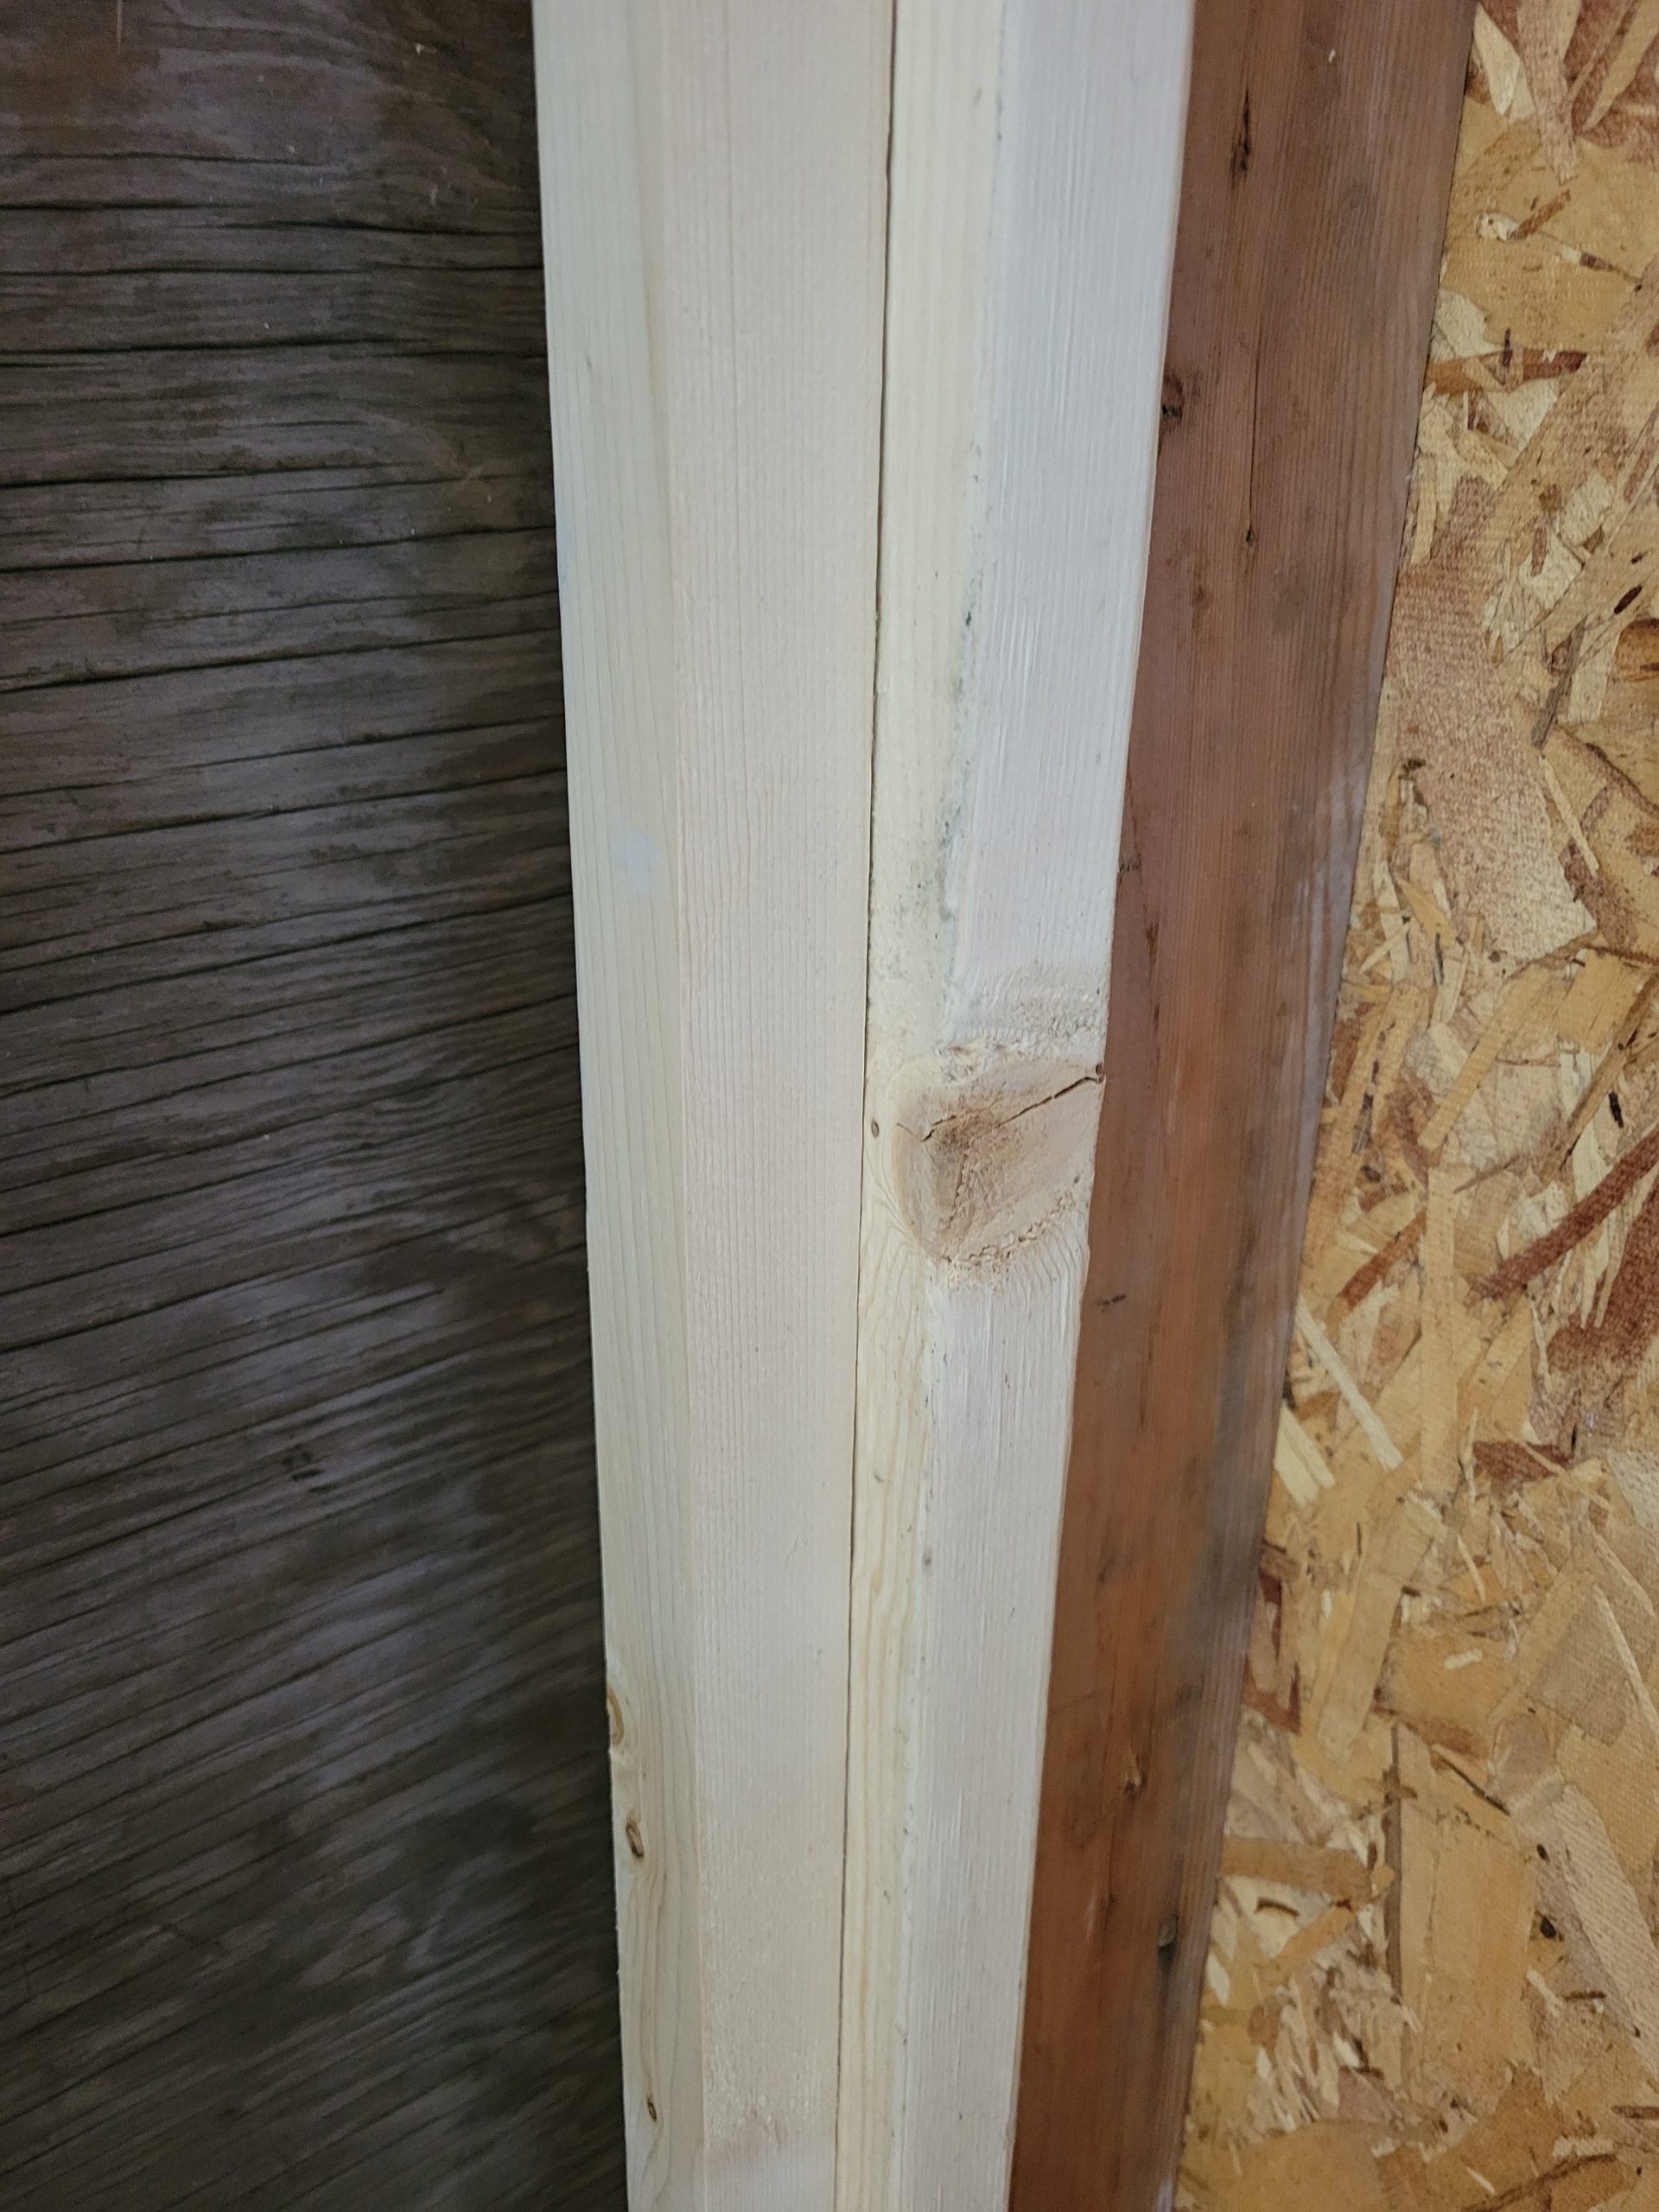
Corners are always a small issue when furring. This time, I fastened a 2×3 to an existing 2×4 and a 2×2 to the 2×3. This allows for drywall attachment.
Dave showed up. After we temporarily fitted the new living room window in, we looked at what used to be the porch (soon to be the veranda) and how it was constructed and added to over time. I tore off a bunch of superfluous wood used to frame in the old windows.
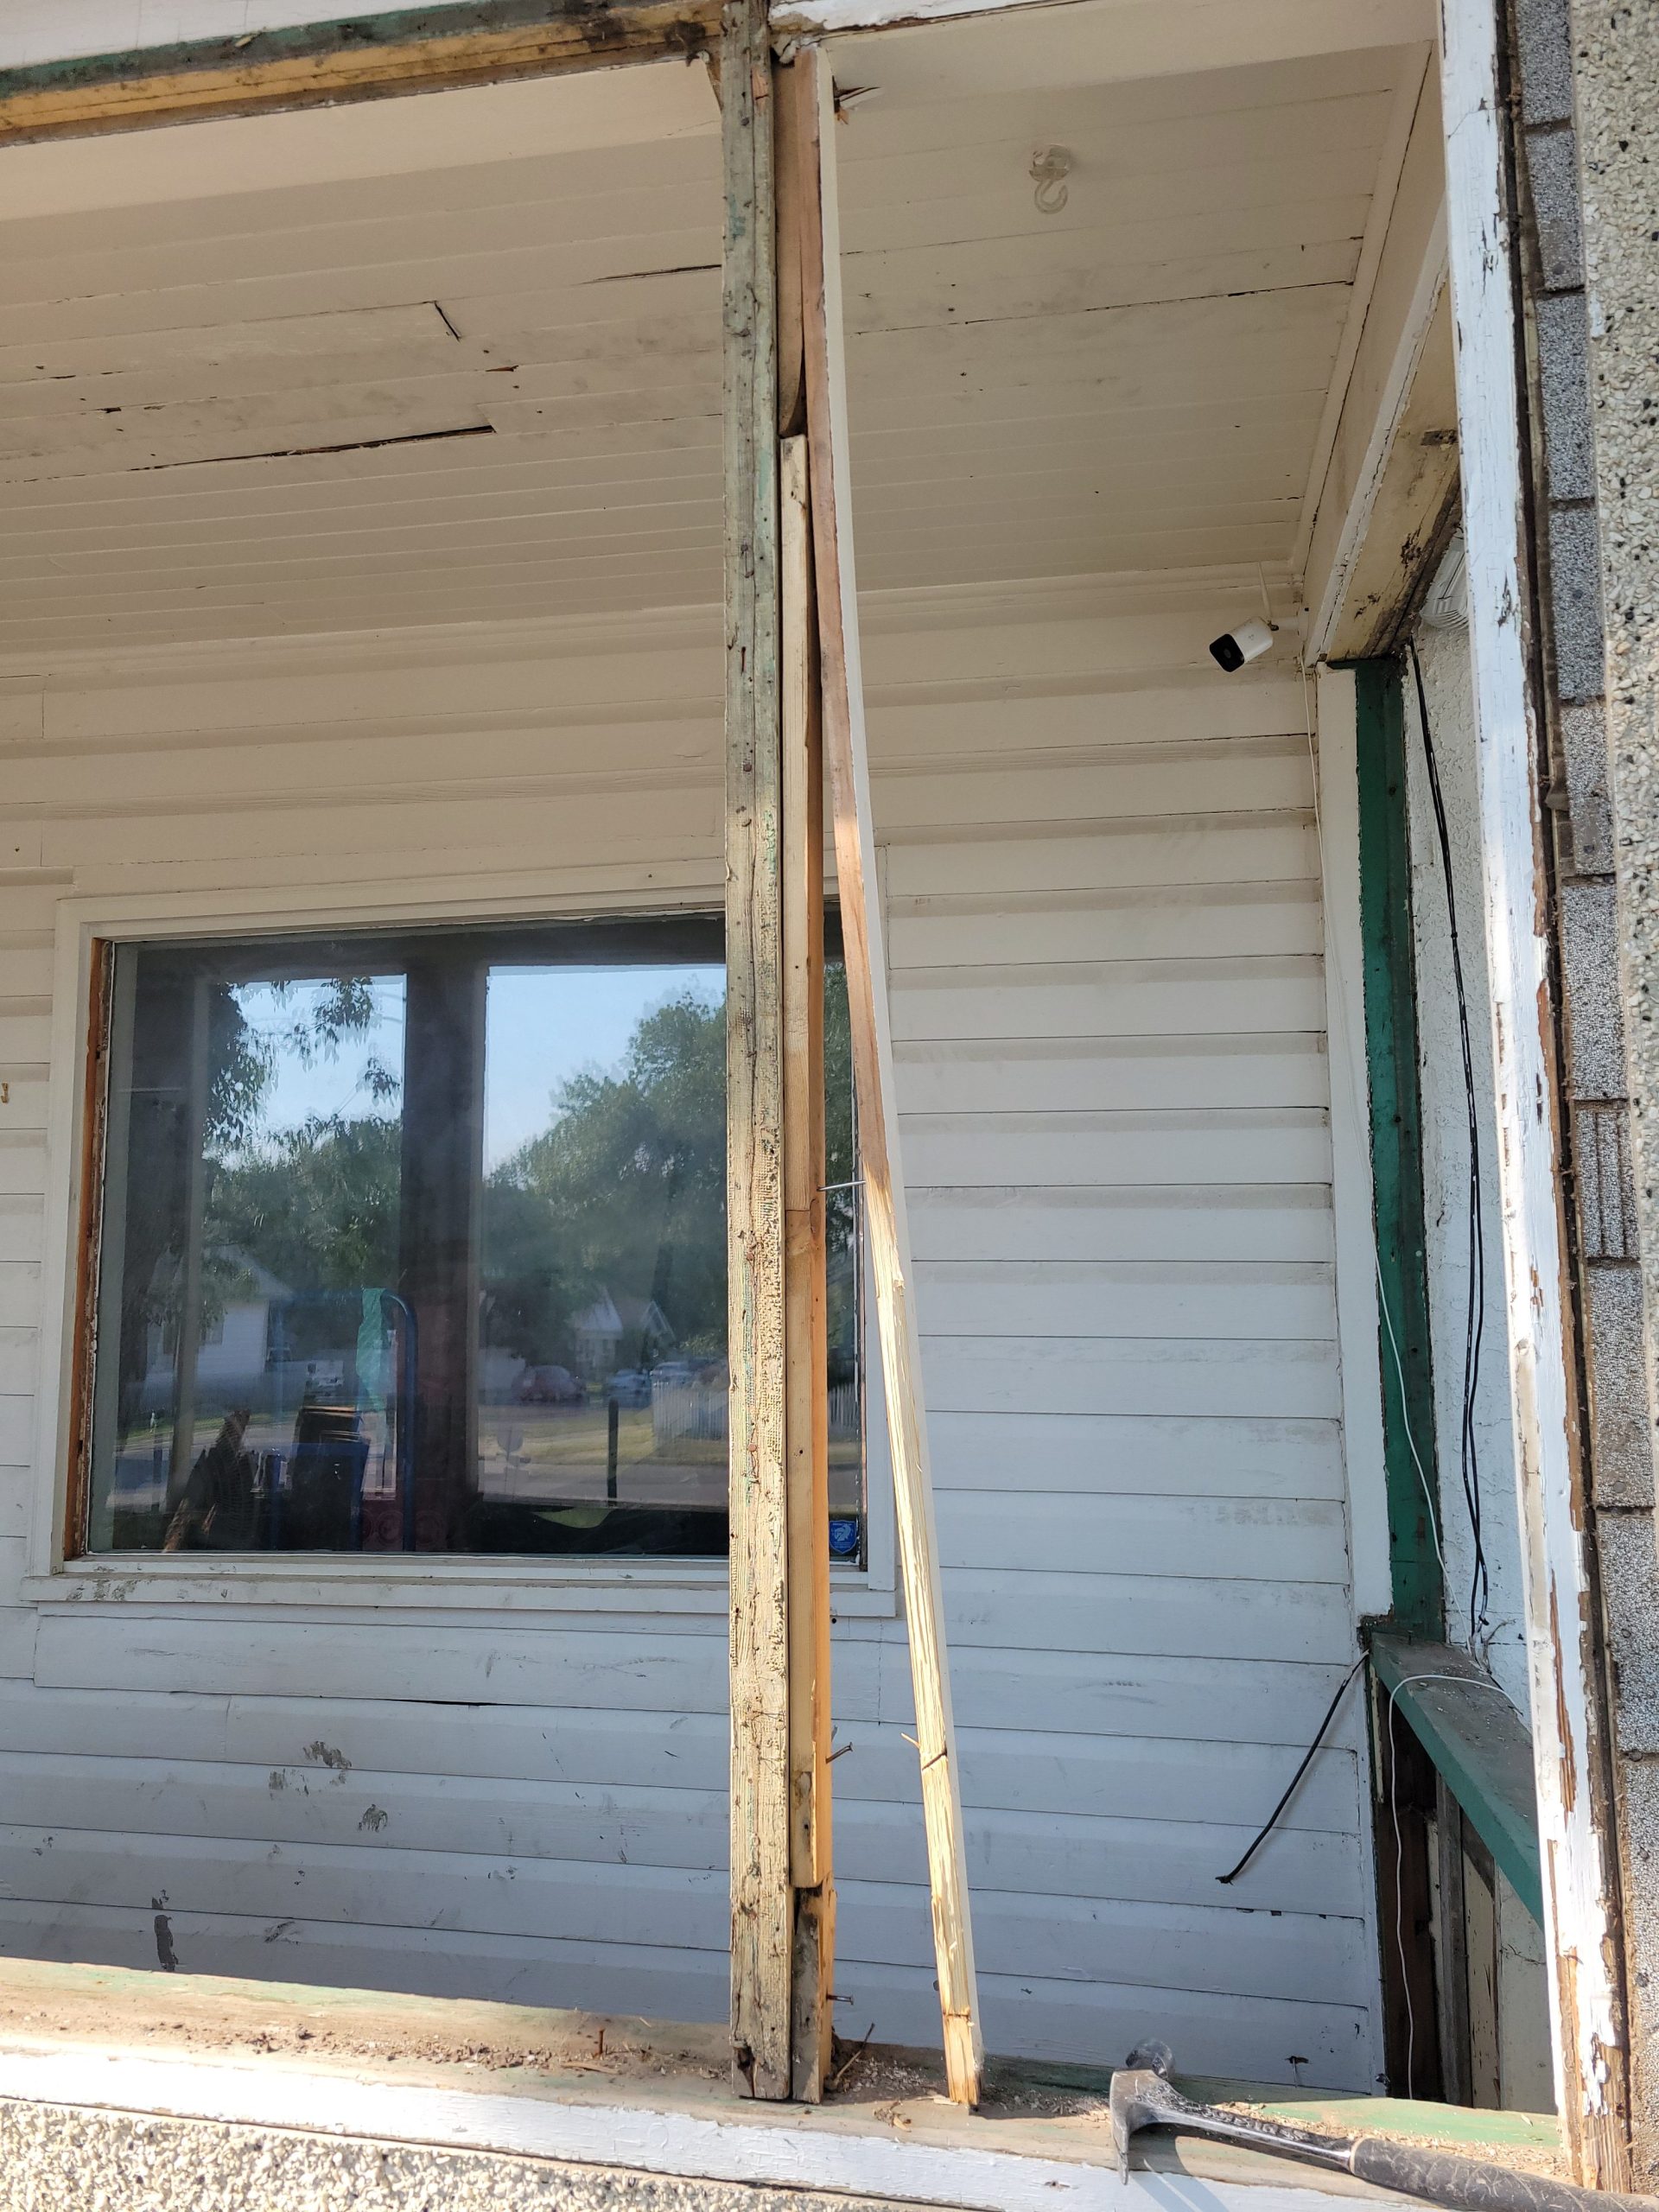
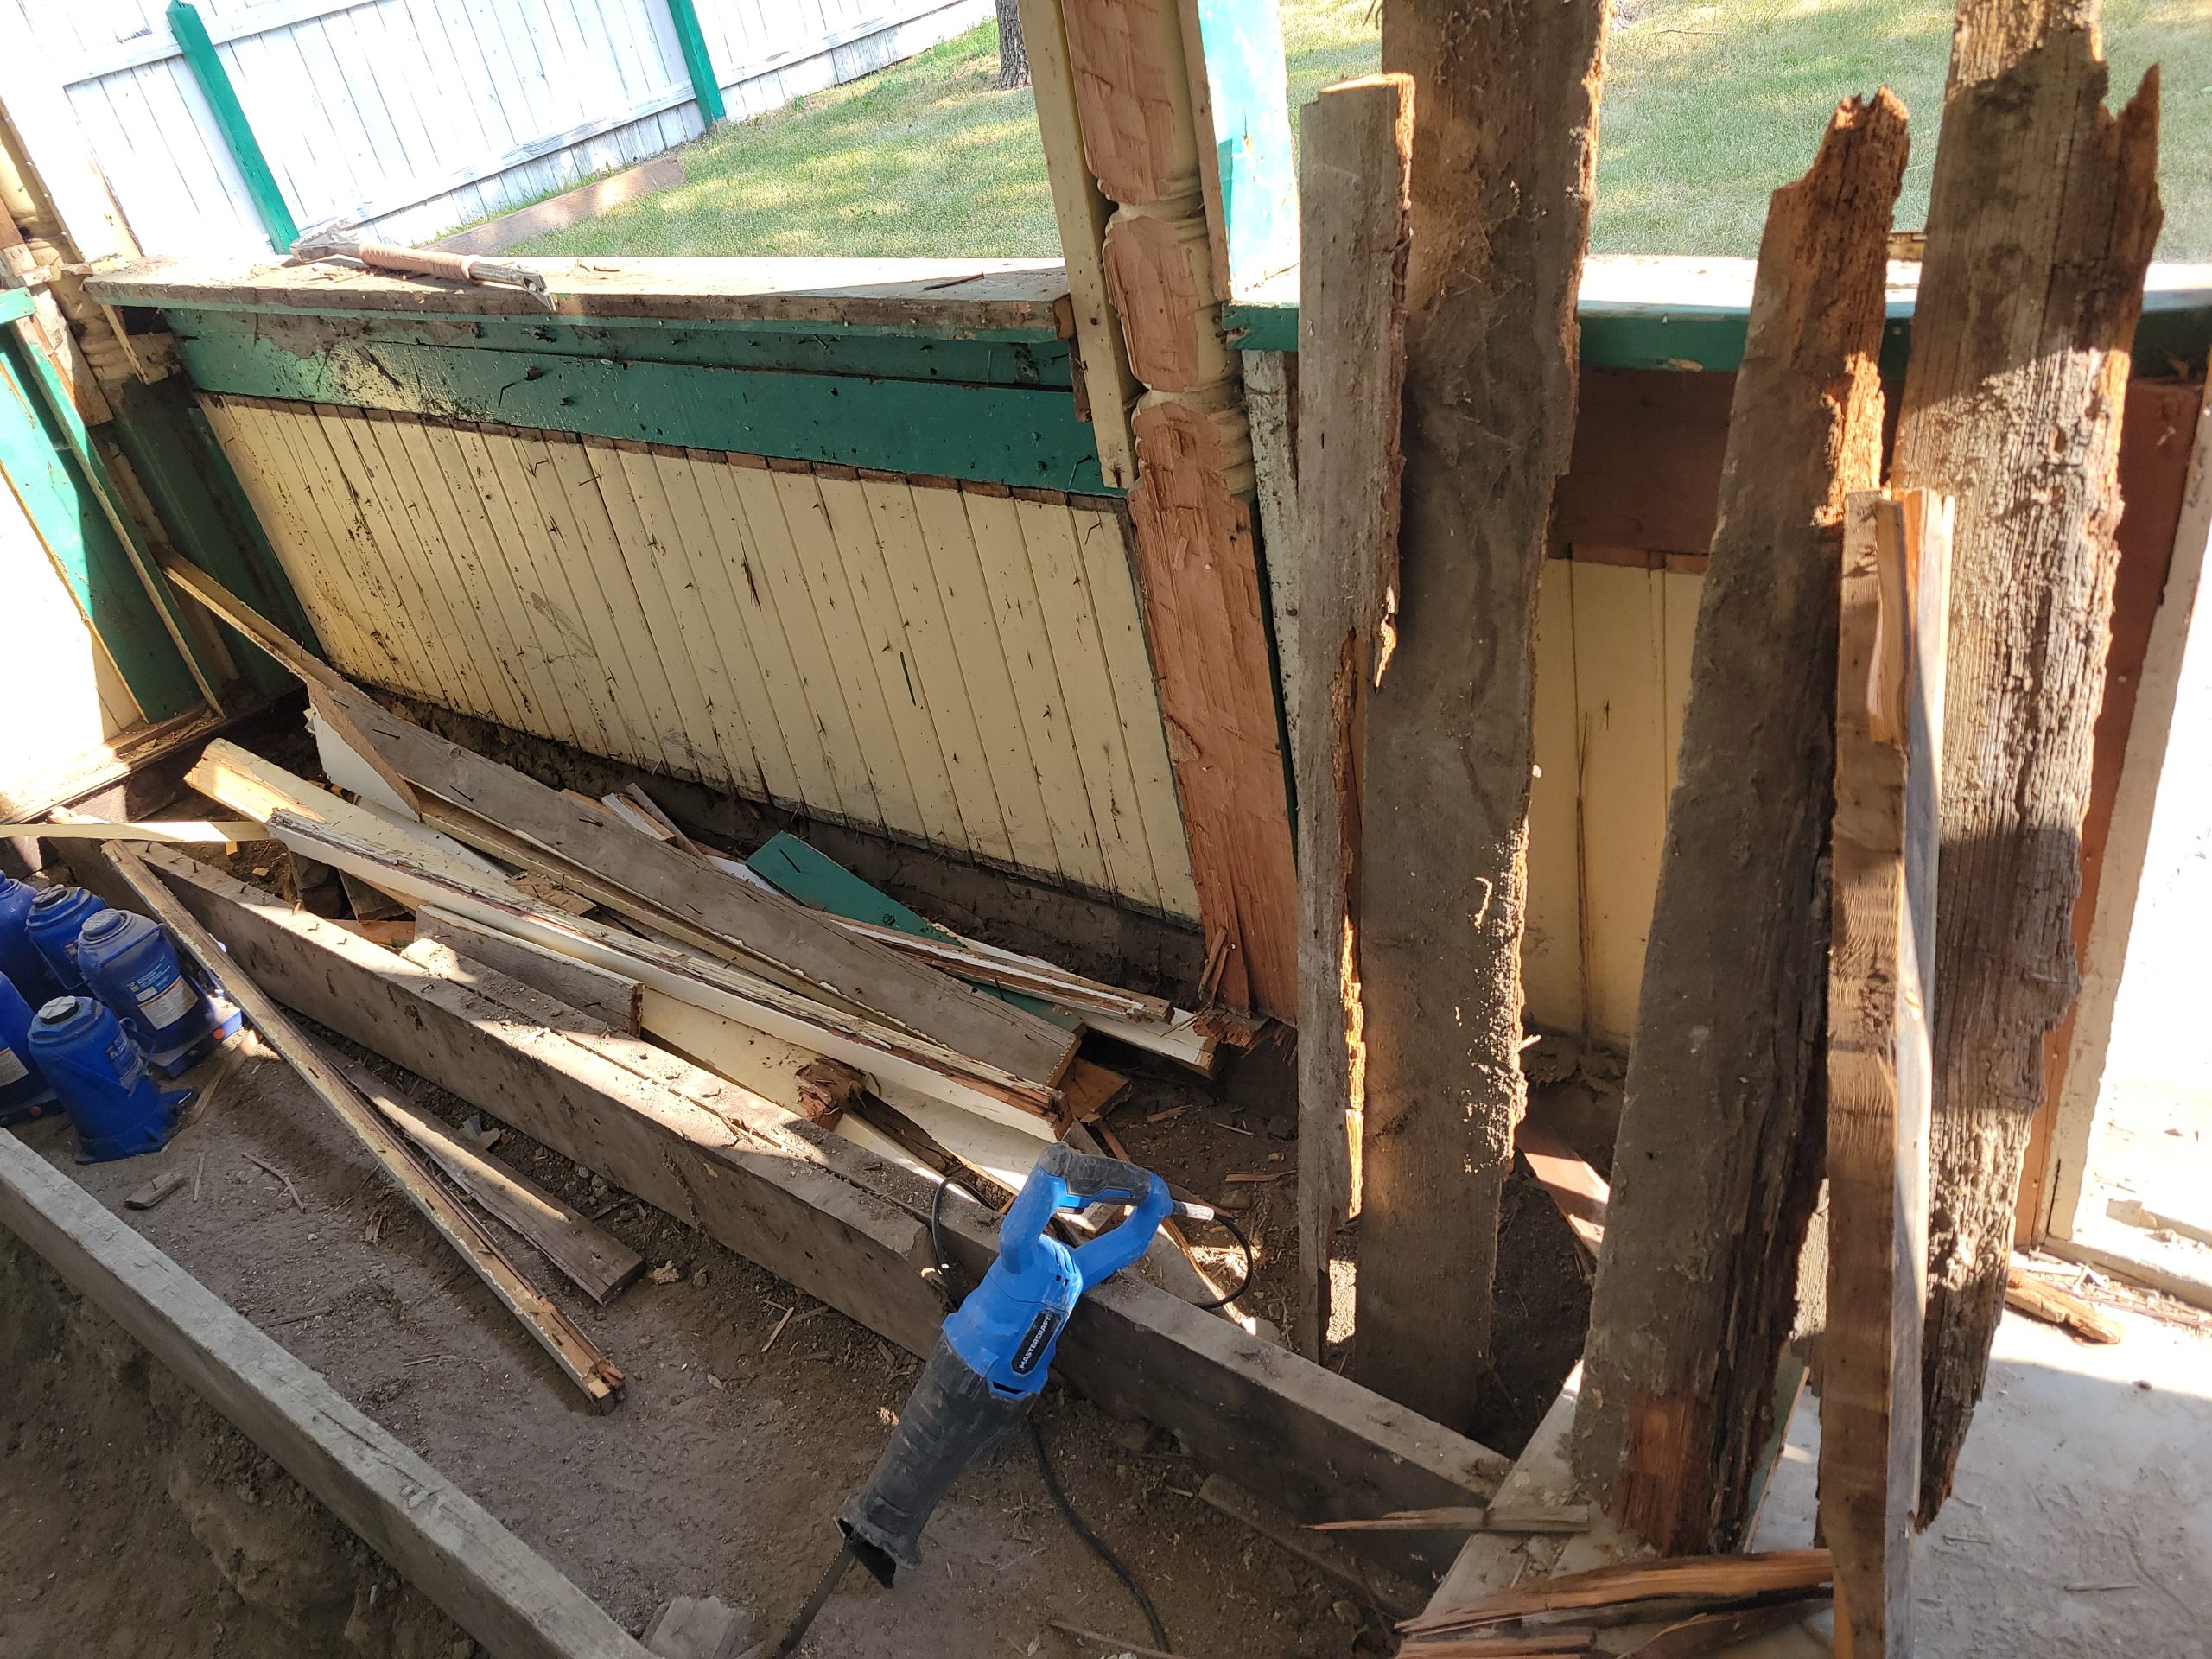
Whoever changed the original veranda into a covered in porch carved up what used to be beautiful pillars. There are four in total. I wonder if there is someone with a lathe who wants to turn a 6×6 post. It doesn’t have to be fir – that would be expensive. But it should be 8 feet long.
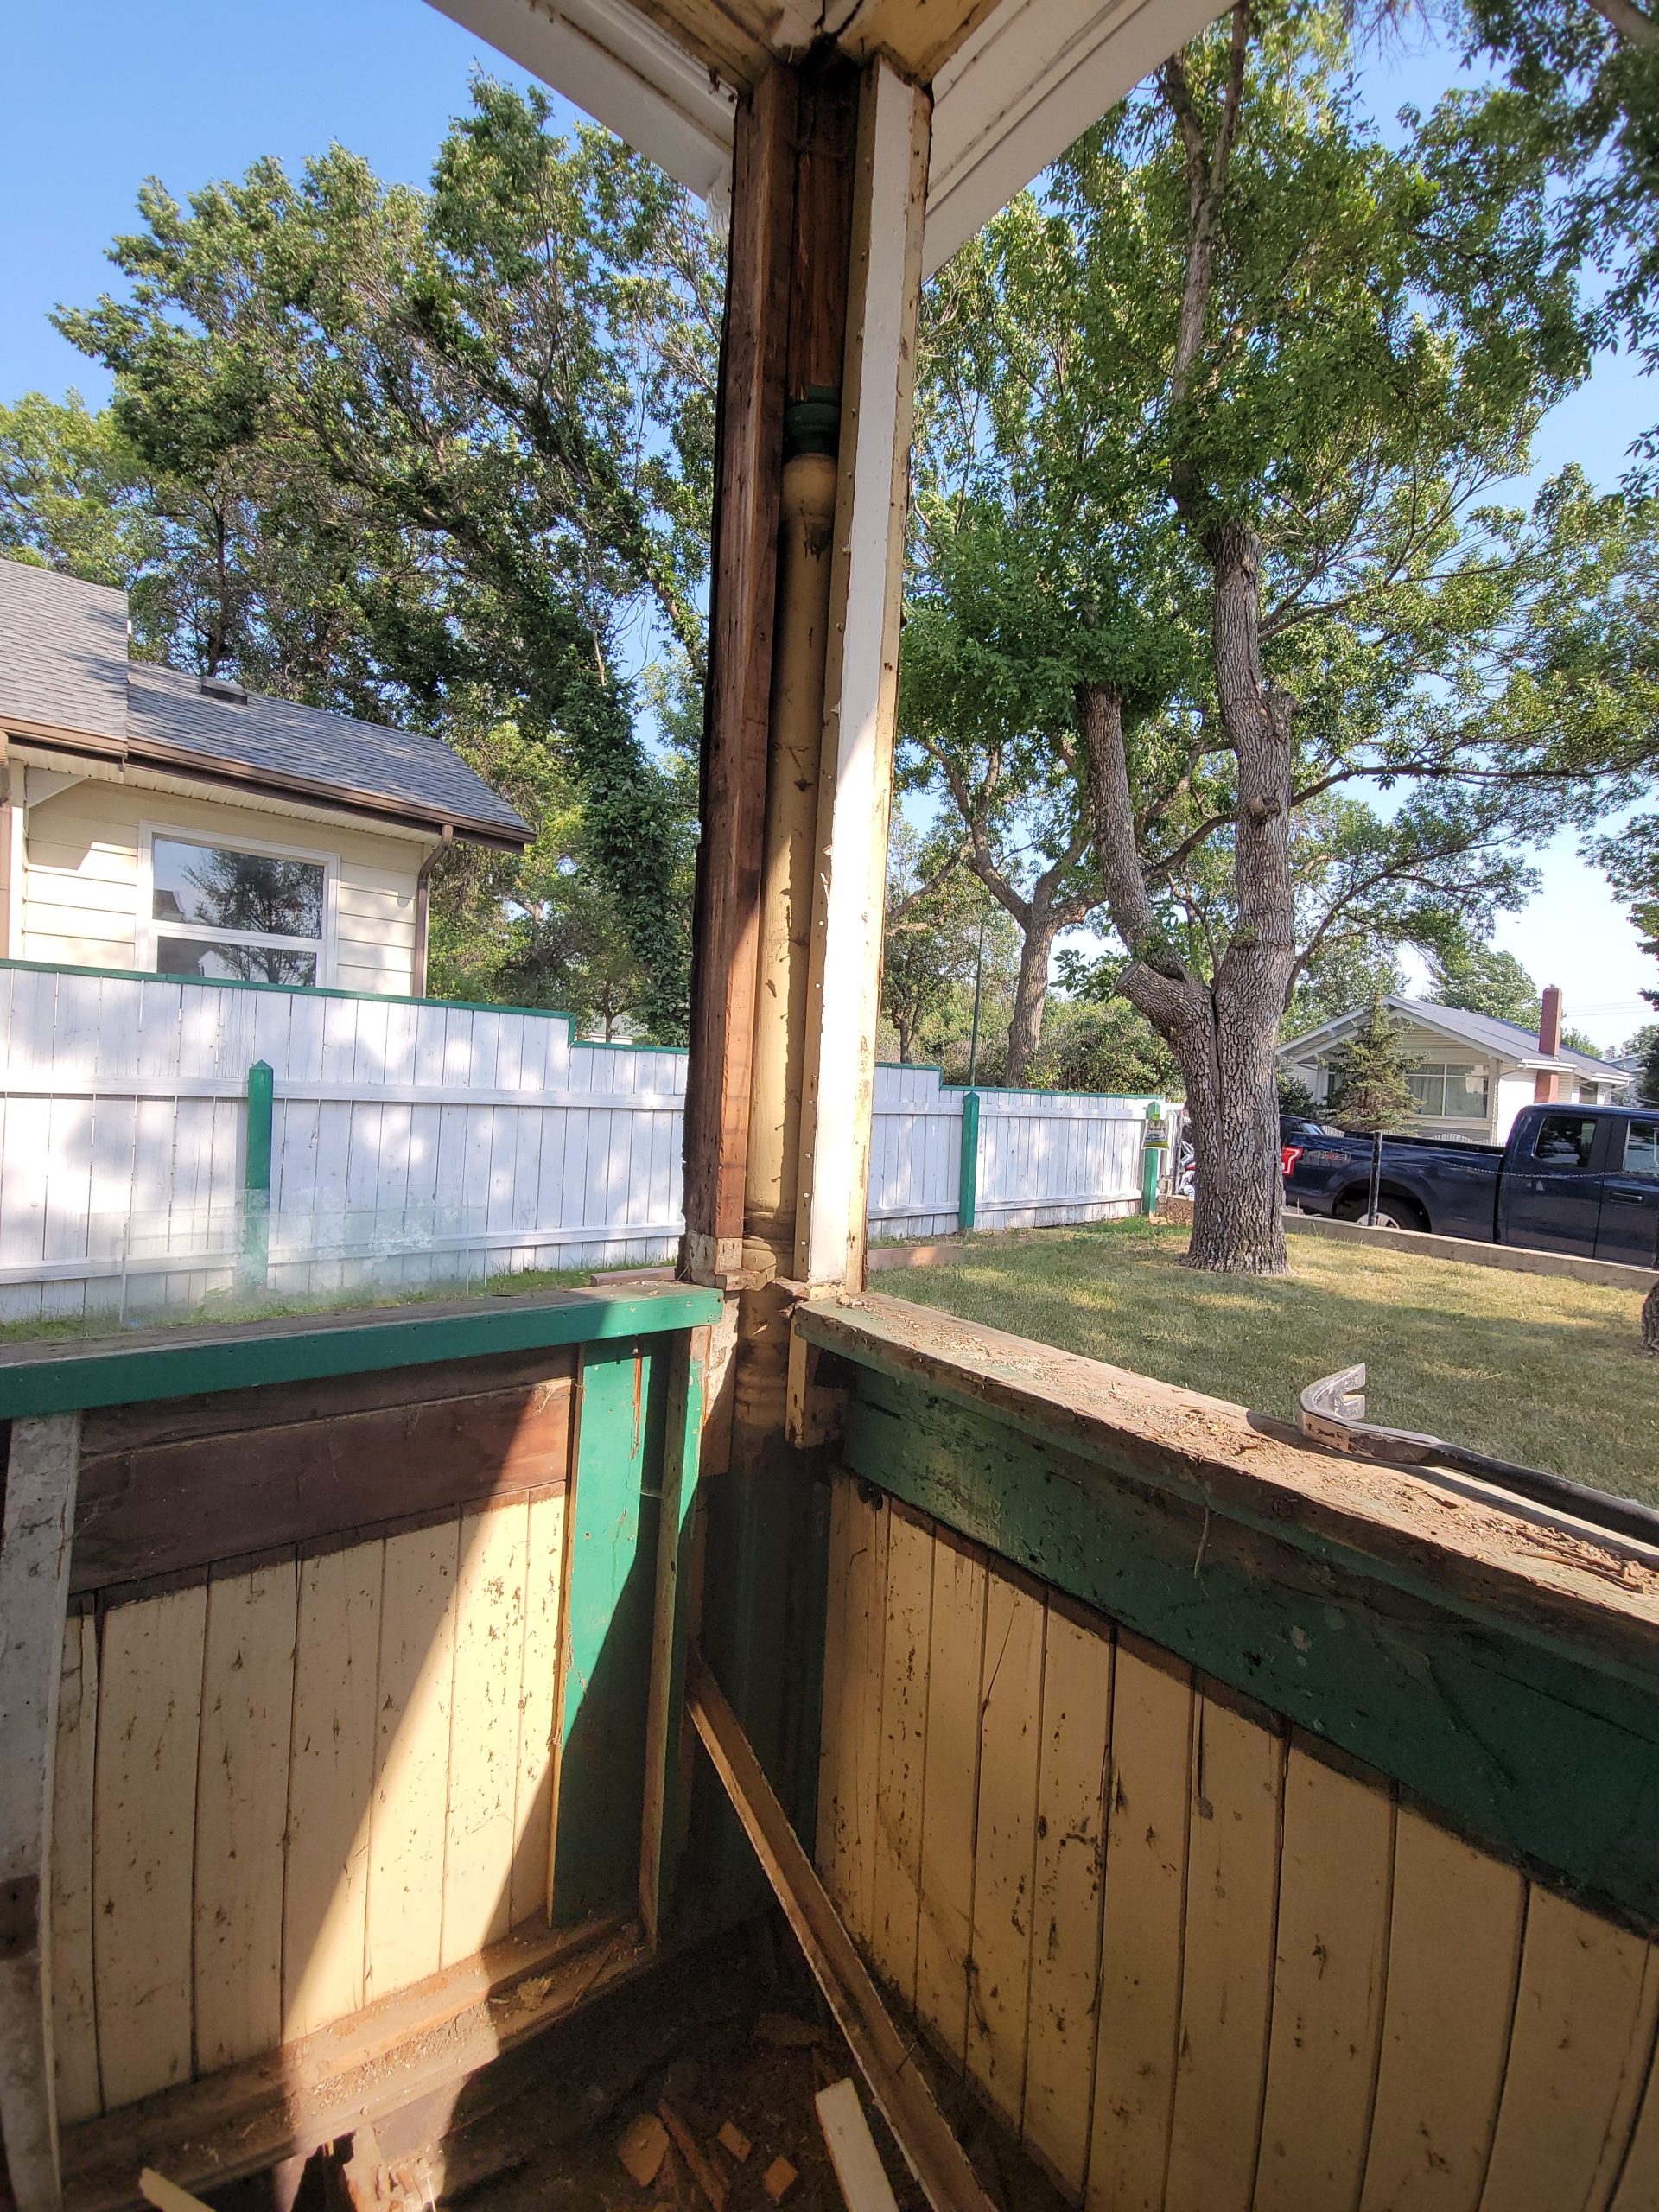
I’ll start the insulation and replacing the header king studs next.
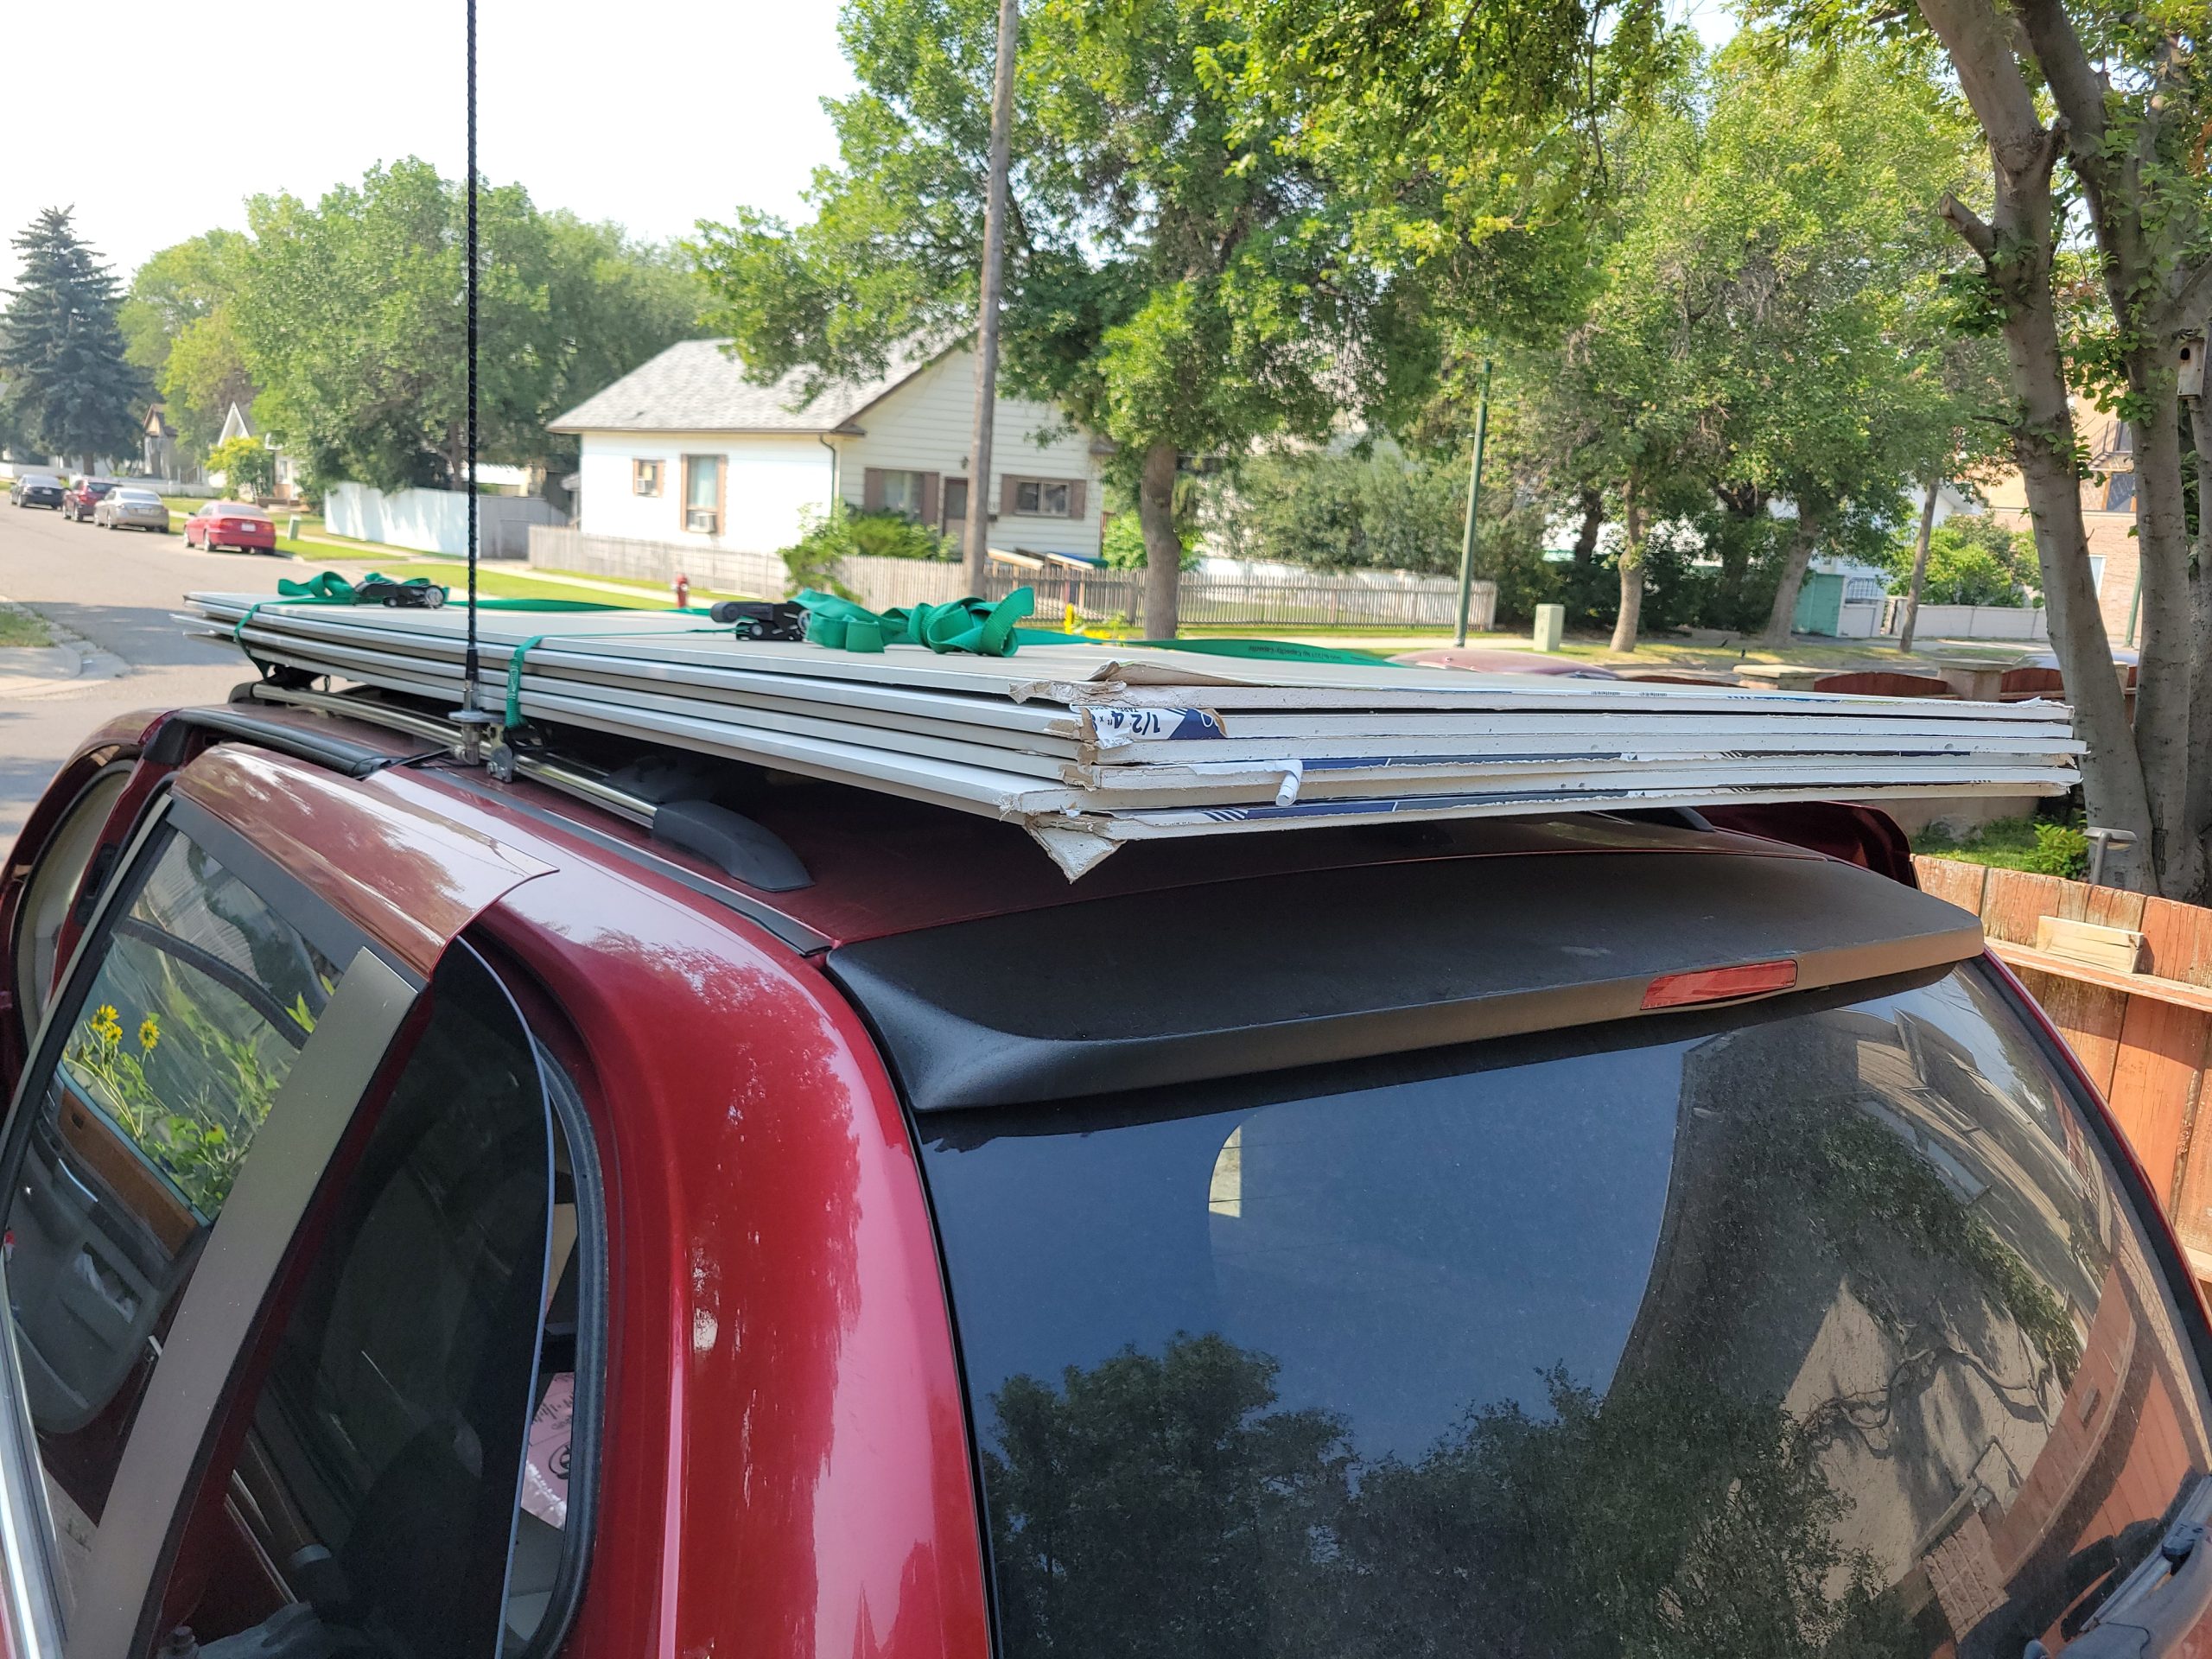
I got some pink insulation, drywall, and a piano hinge from Home Depot today.
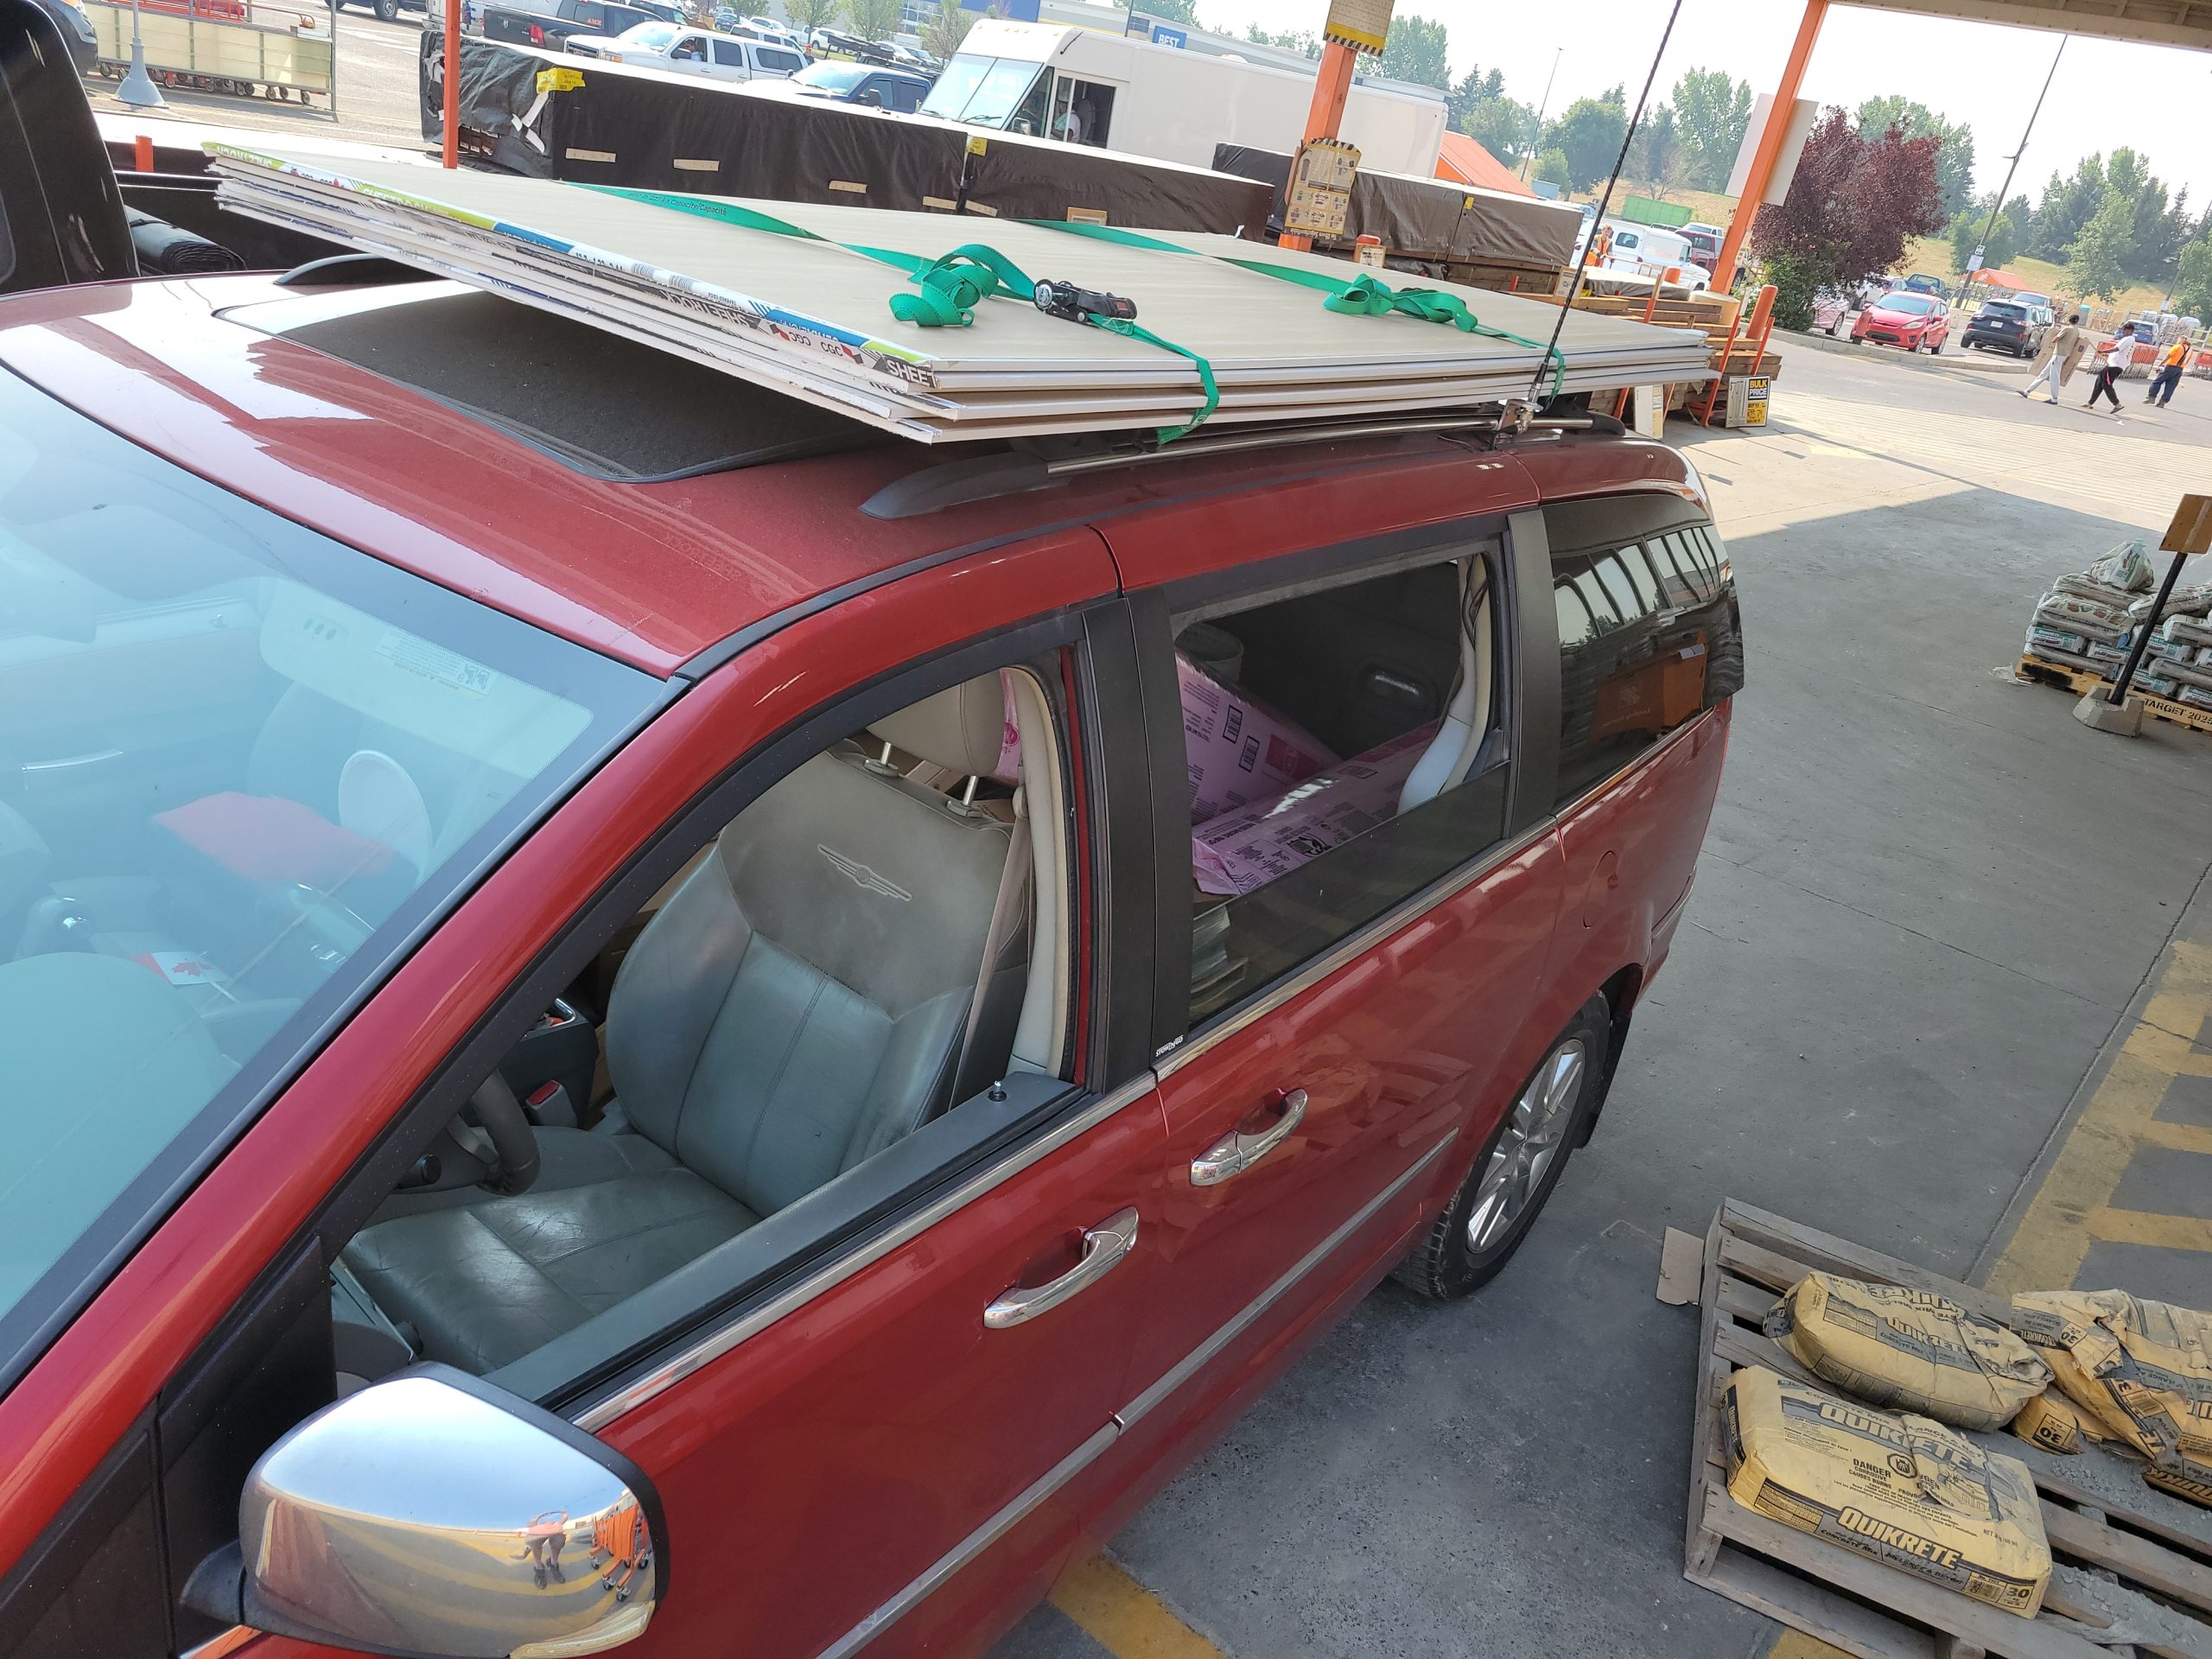
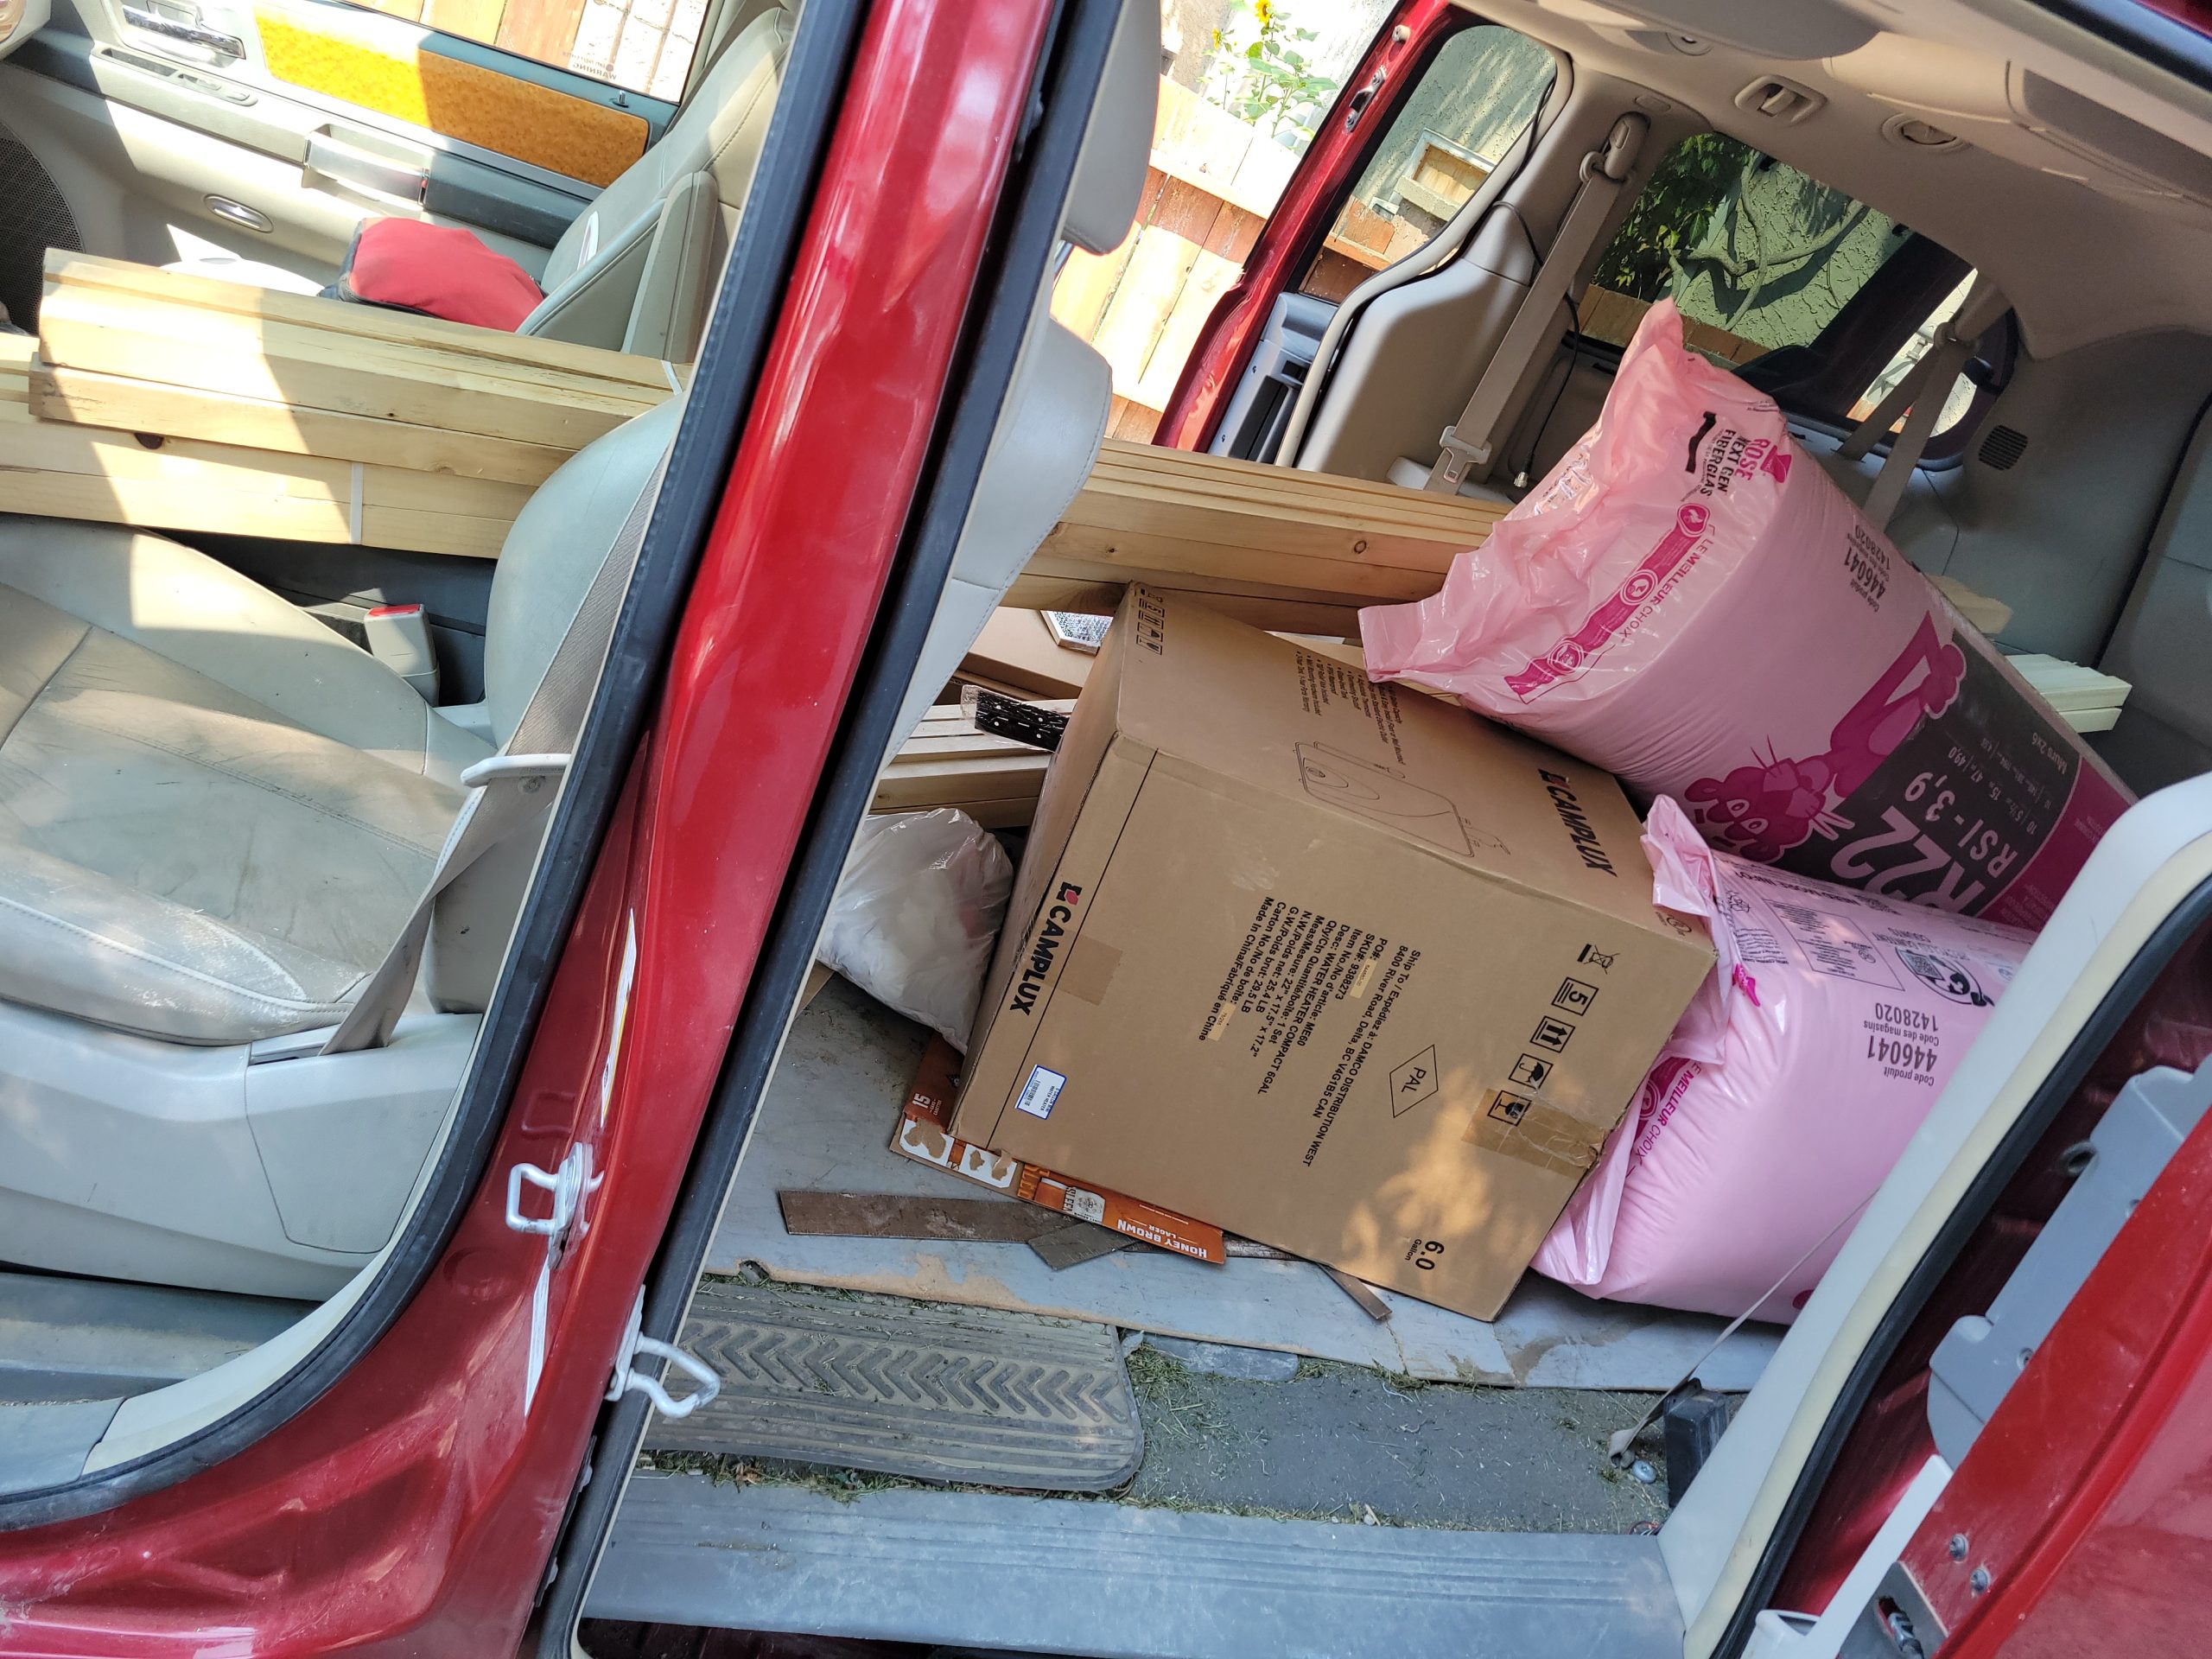
Two sheets had damaged corners, so I got them for $10 a piece rather than $23.