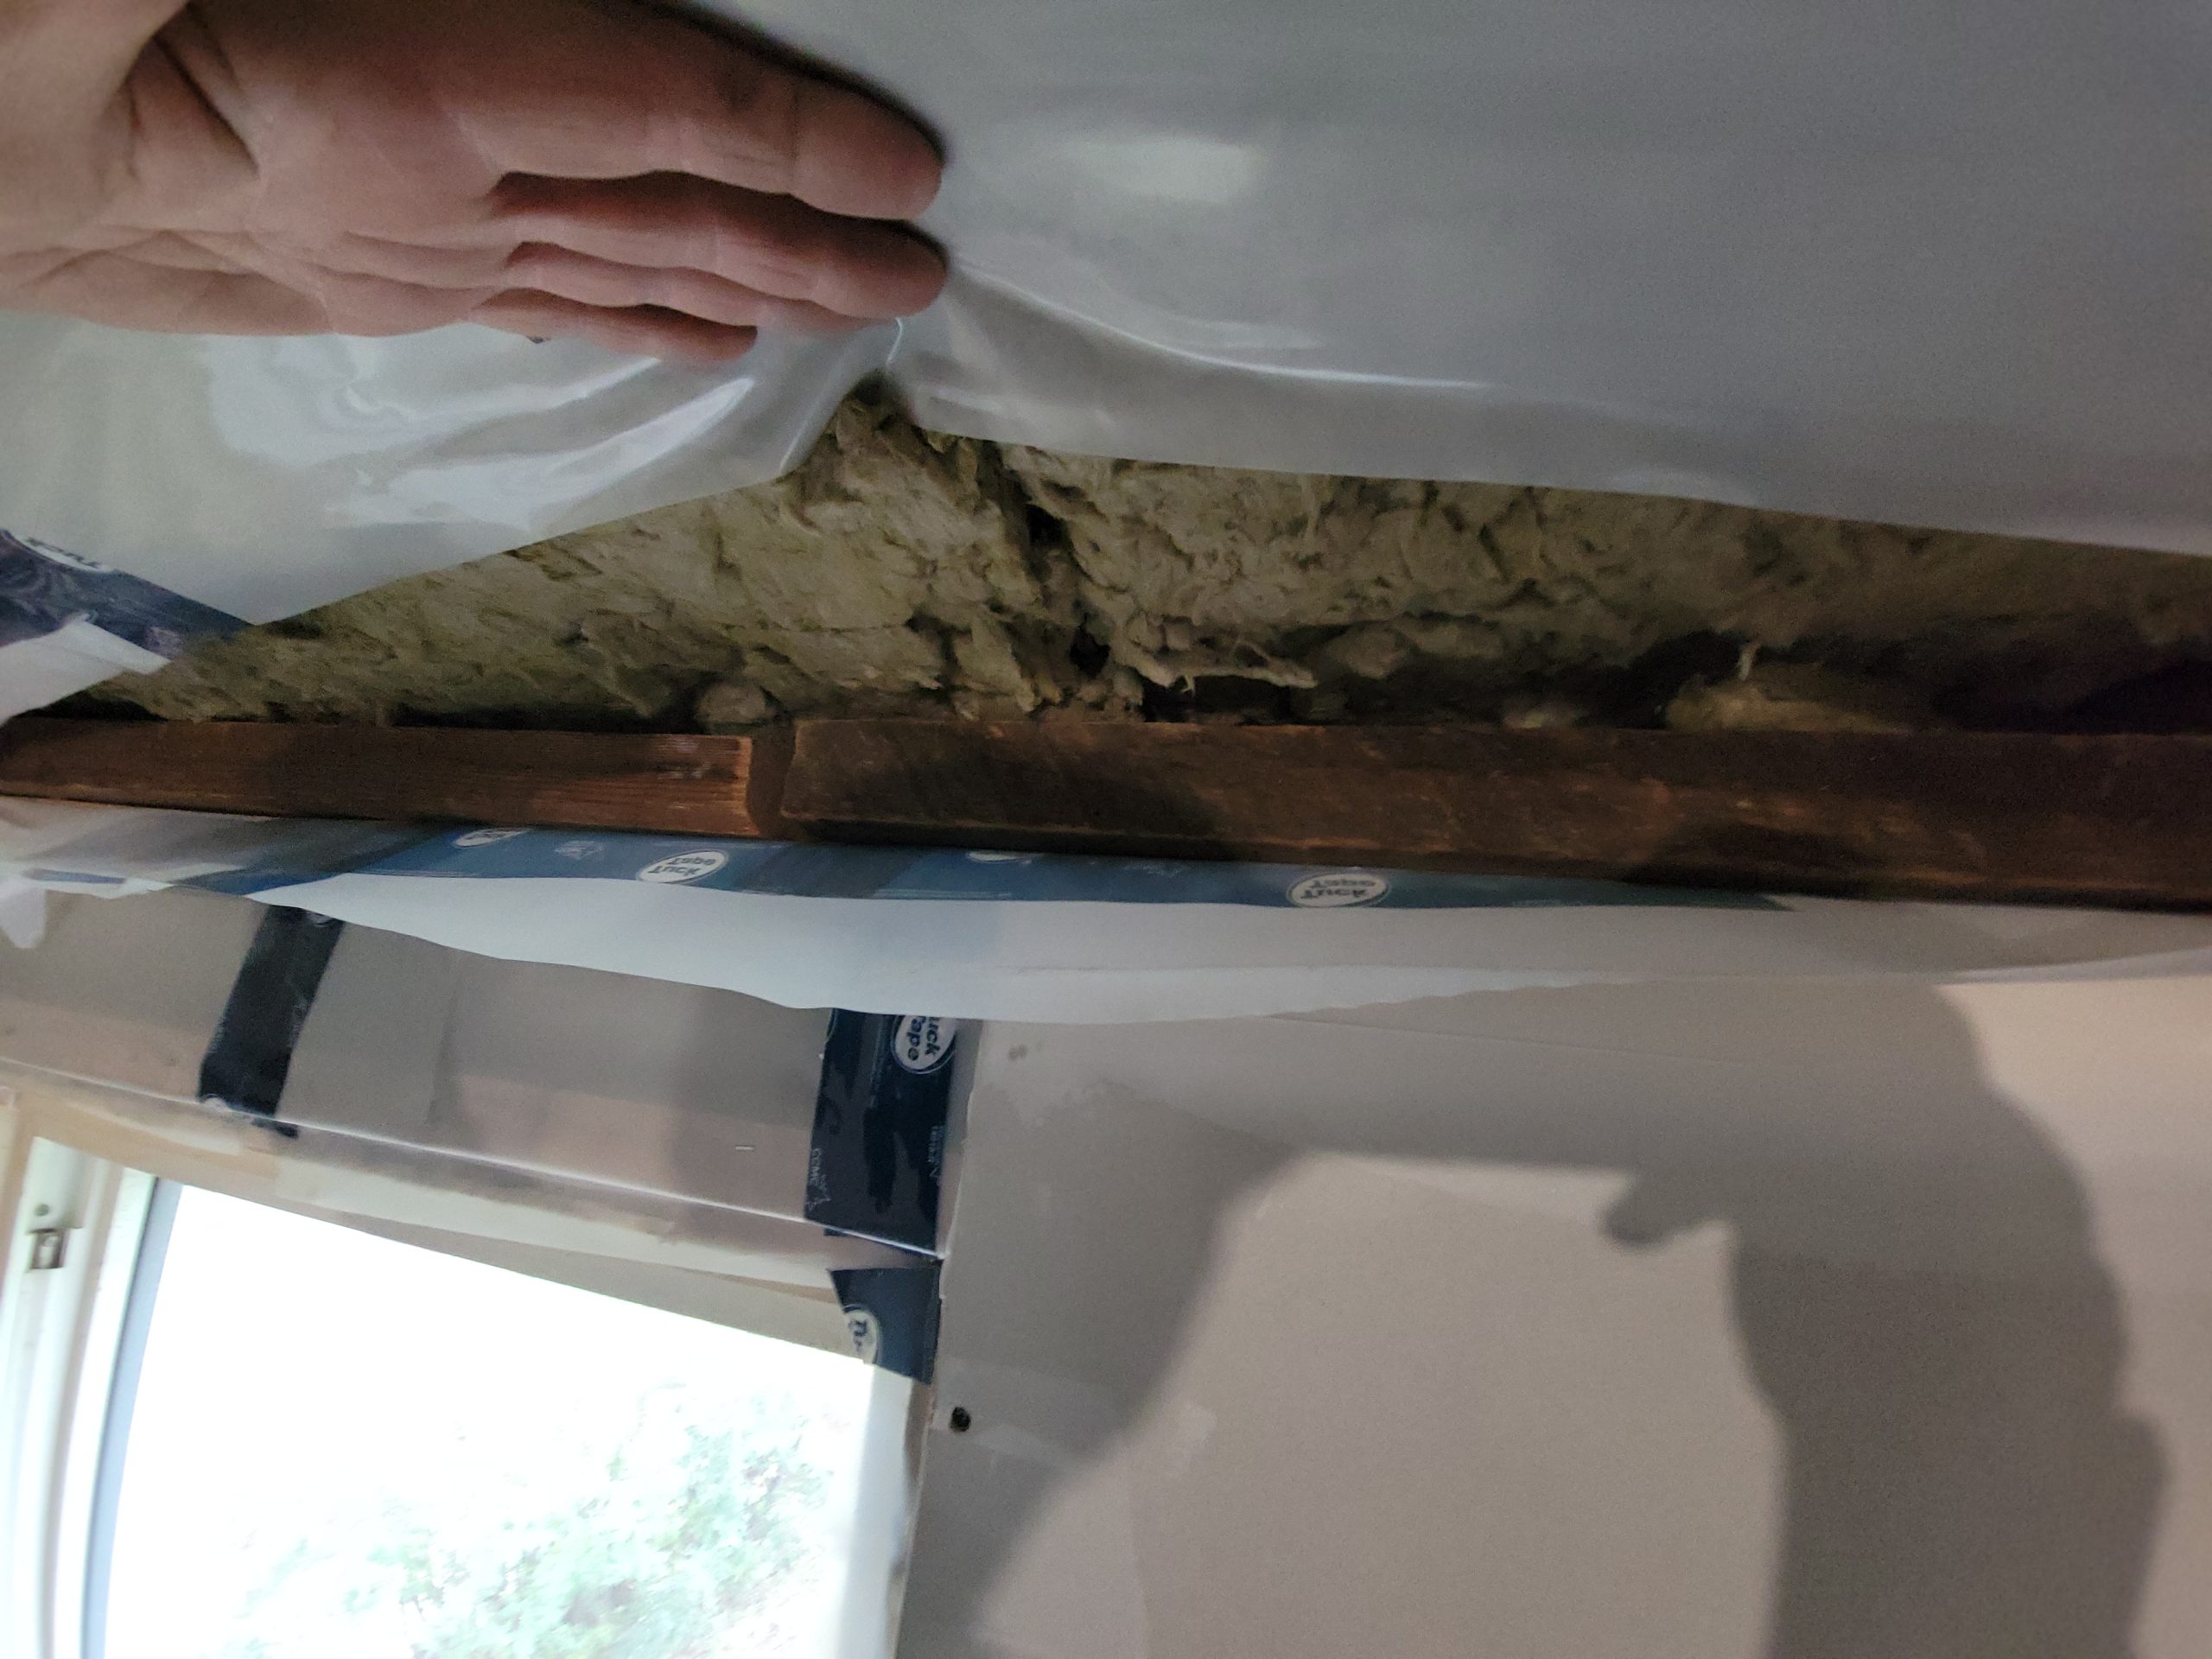
Before drywalling the ceiling, backing had to be installed. There was no rafter tie at the gable ends of this house – only rafters – as the exterior 1×12 sheathing boards offered structure: Such is balloon framing. Thus, I added a 2×4 atop the wall’s top plate to attach drywall.
The first piece of ceiling drywall was put up.
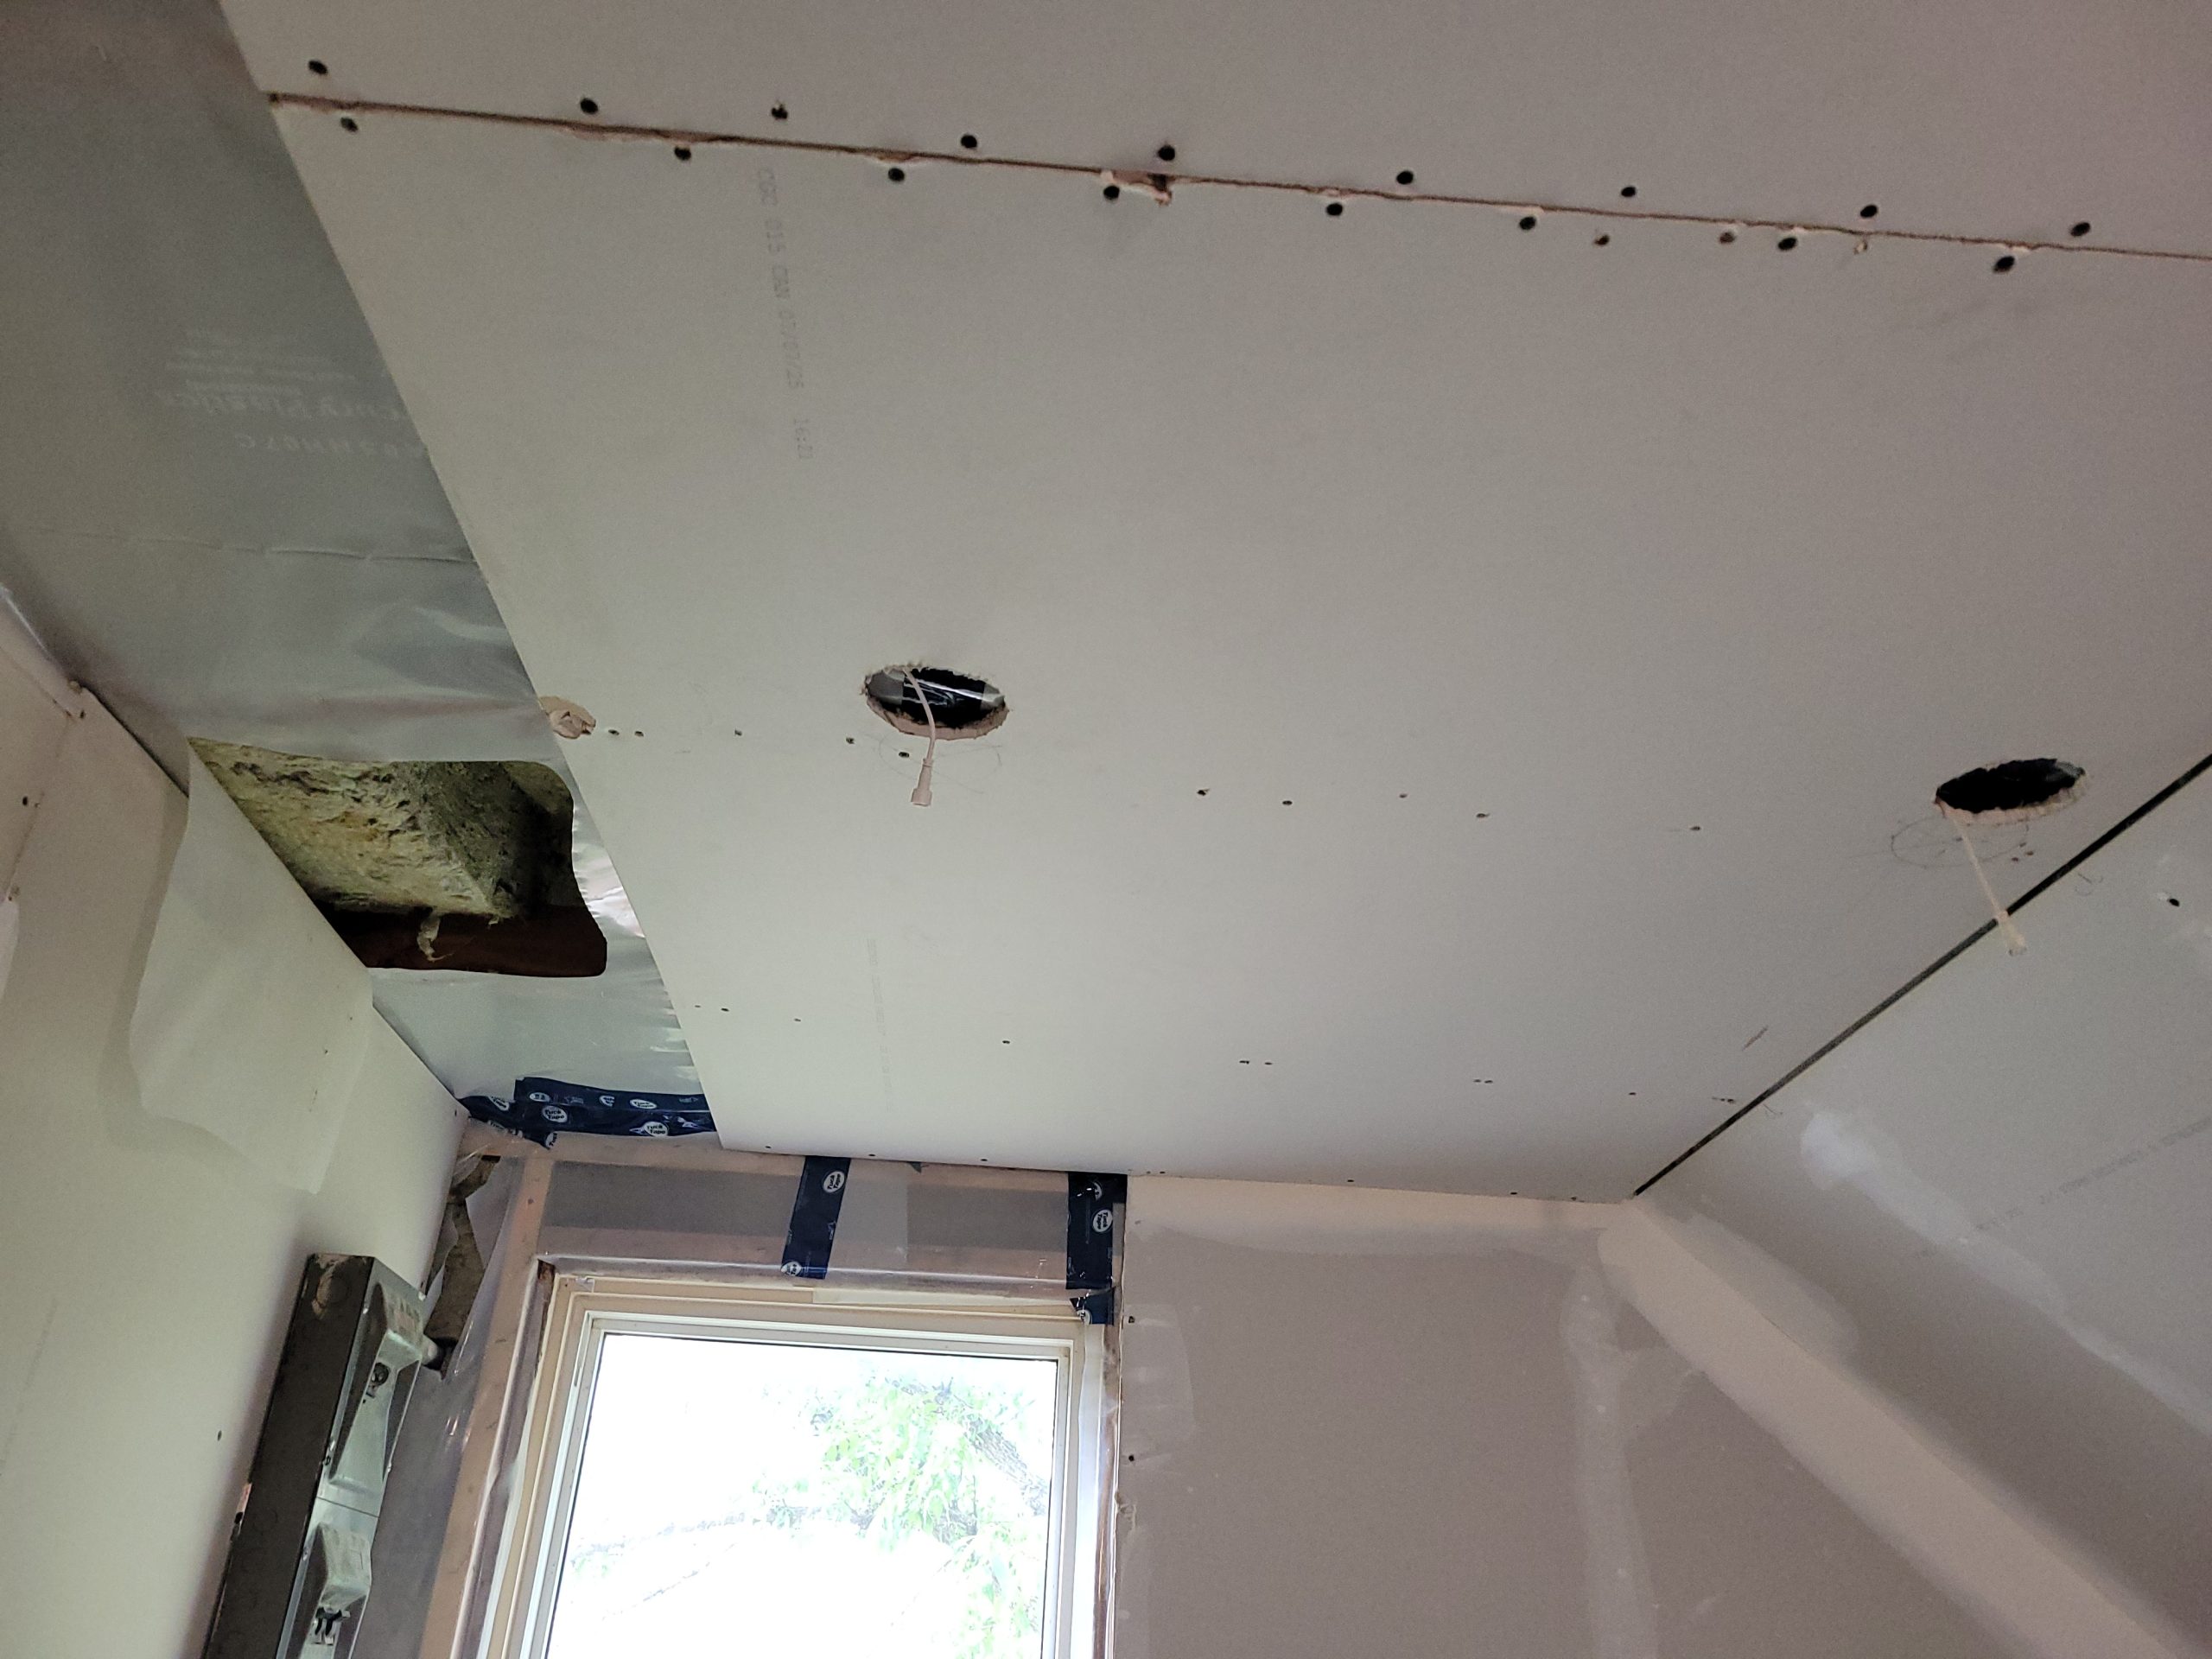
However, because of various causes, the next two rafter ties (or ceiling joists) were not aligned; one was 3/4″ too high, and the next was 1-1/4″ too high. I had to add spacers made of old lathe boards to bring the ceiling drywall down to match the rest of the ceiling. Dave worked on other tasks like mudding seams, filling holes, and having lunch while I stuffed boards in-between the drywall and rafter ties.
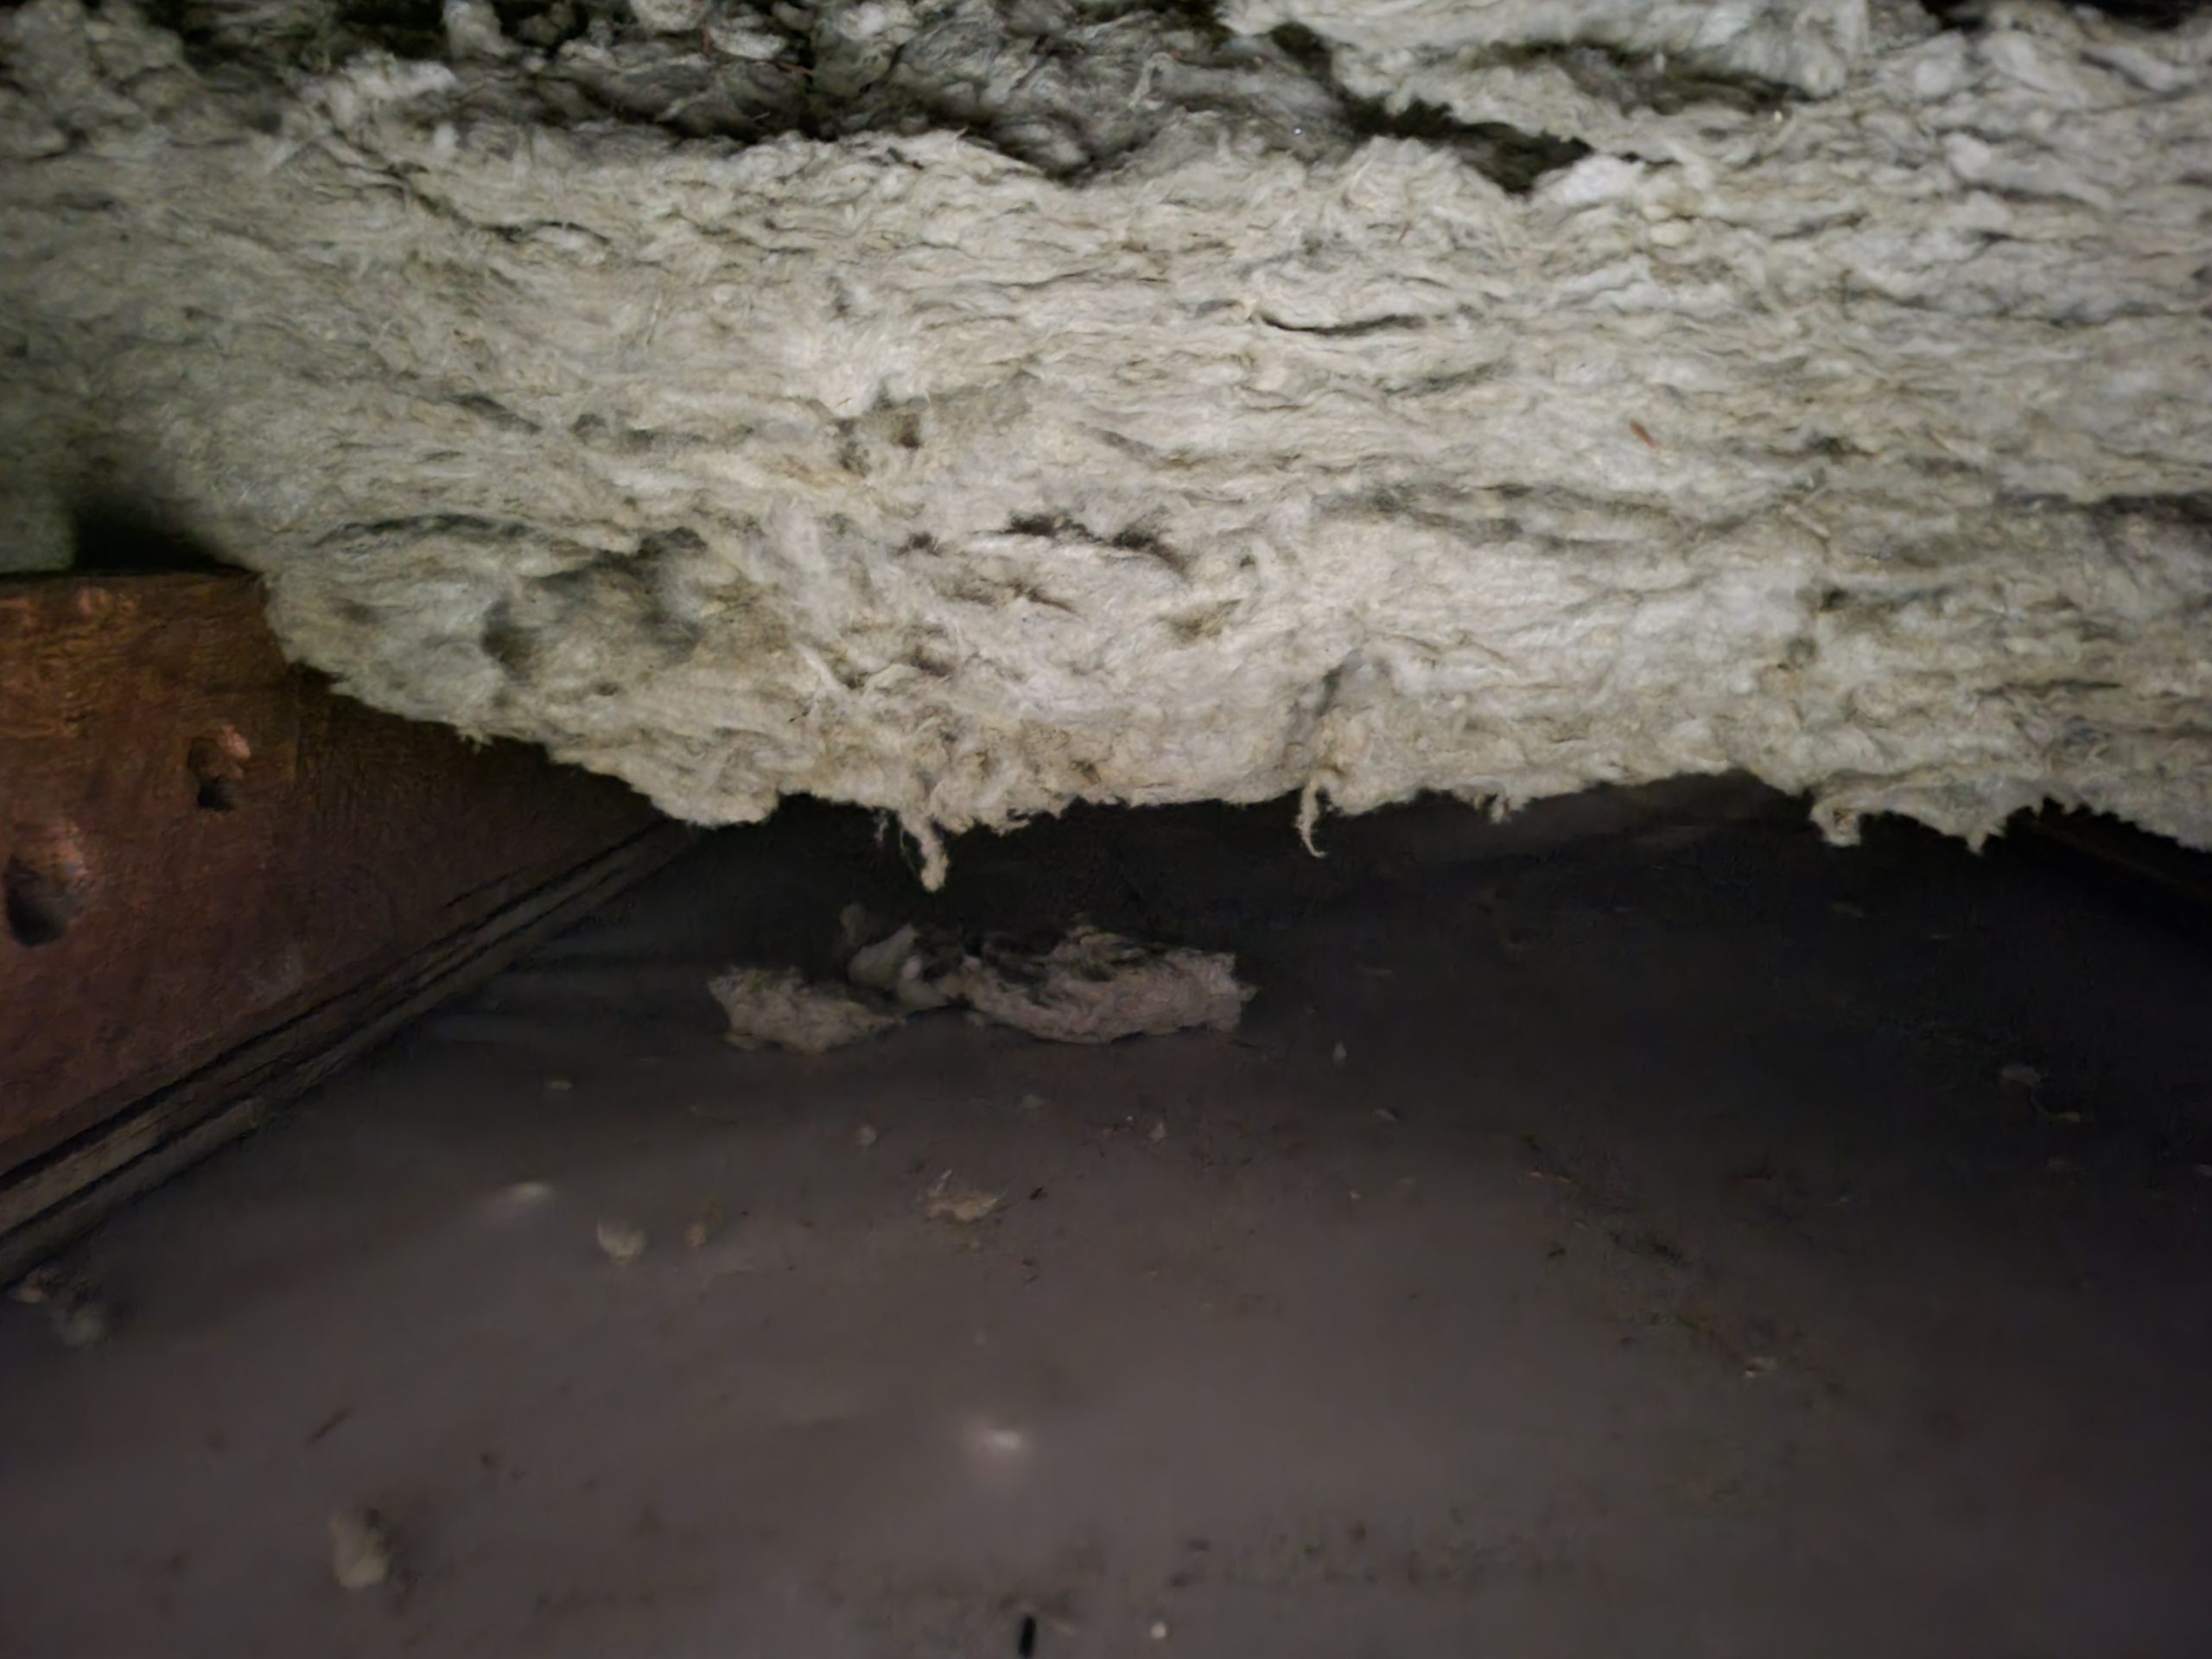
Next, I added protection plates to protect the wiring from pokey screws.
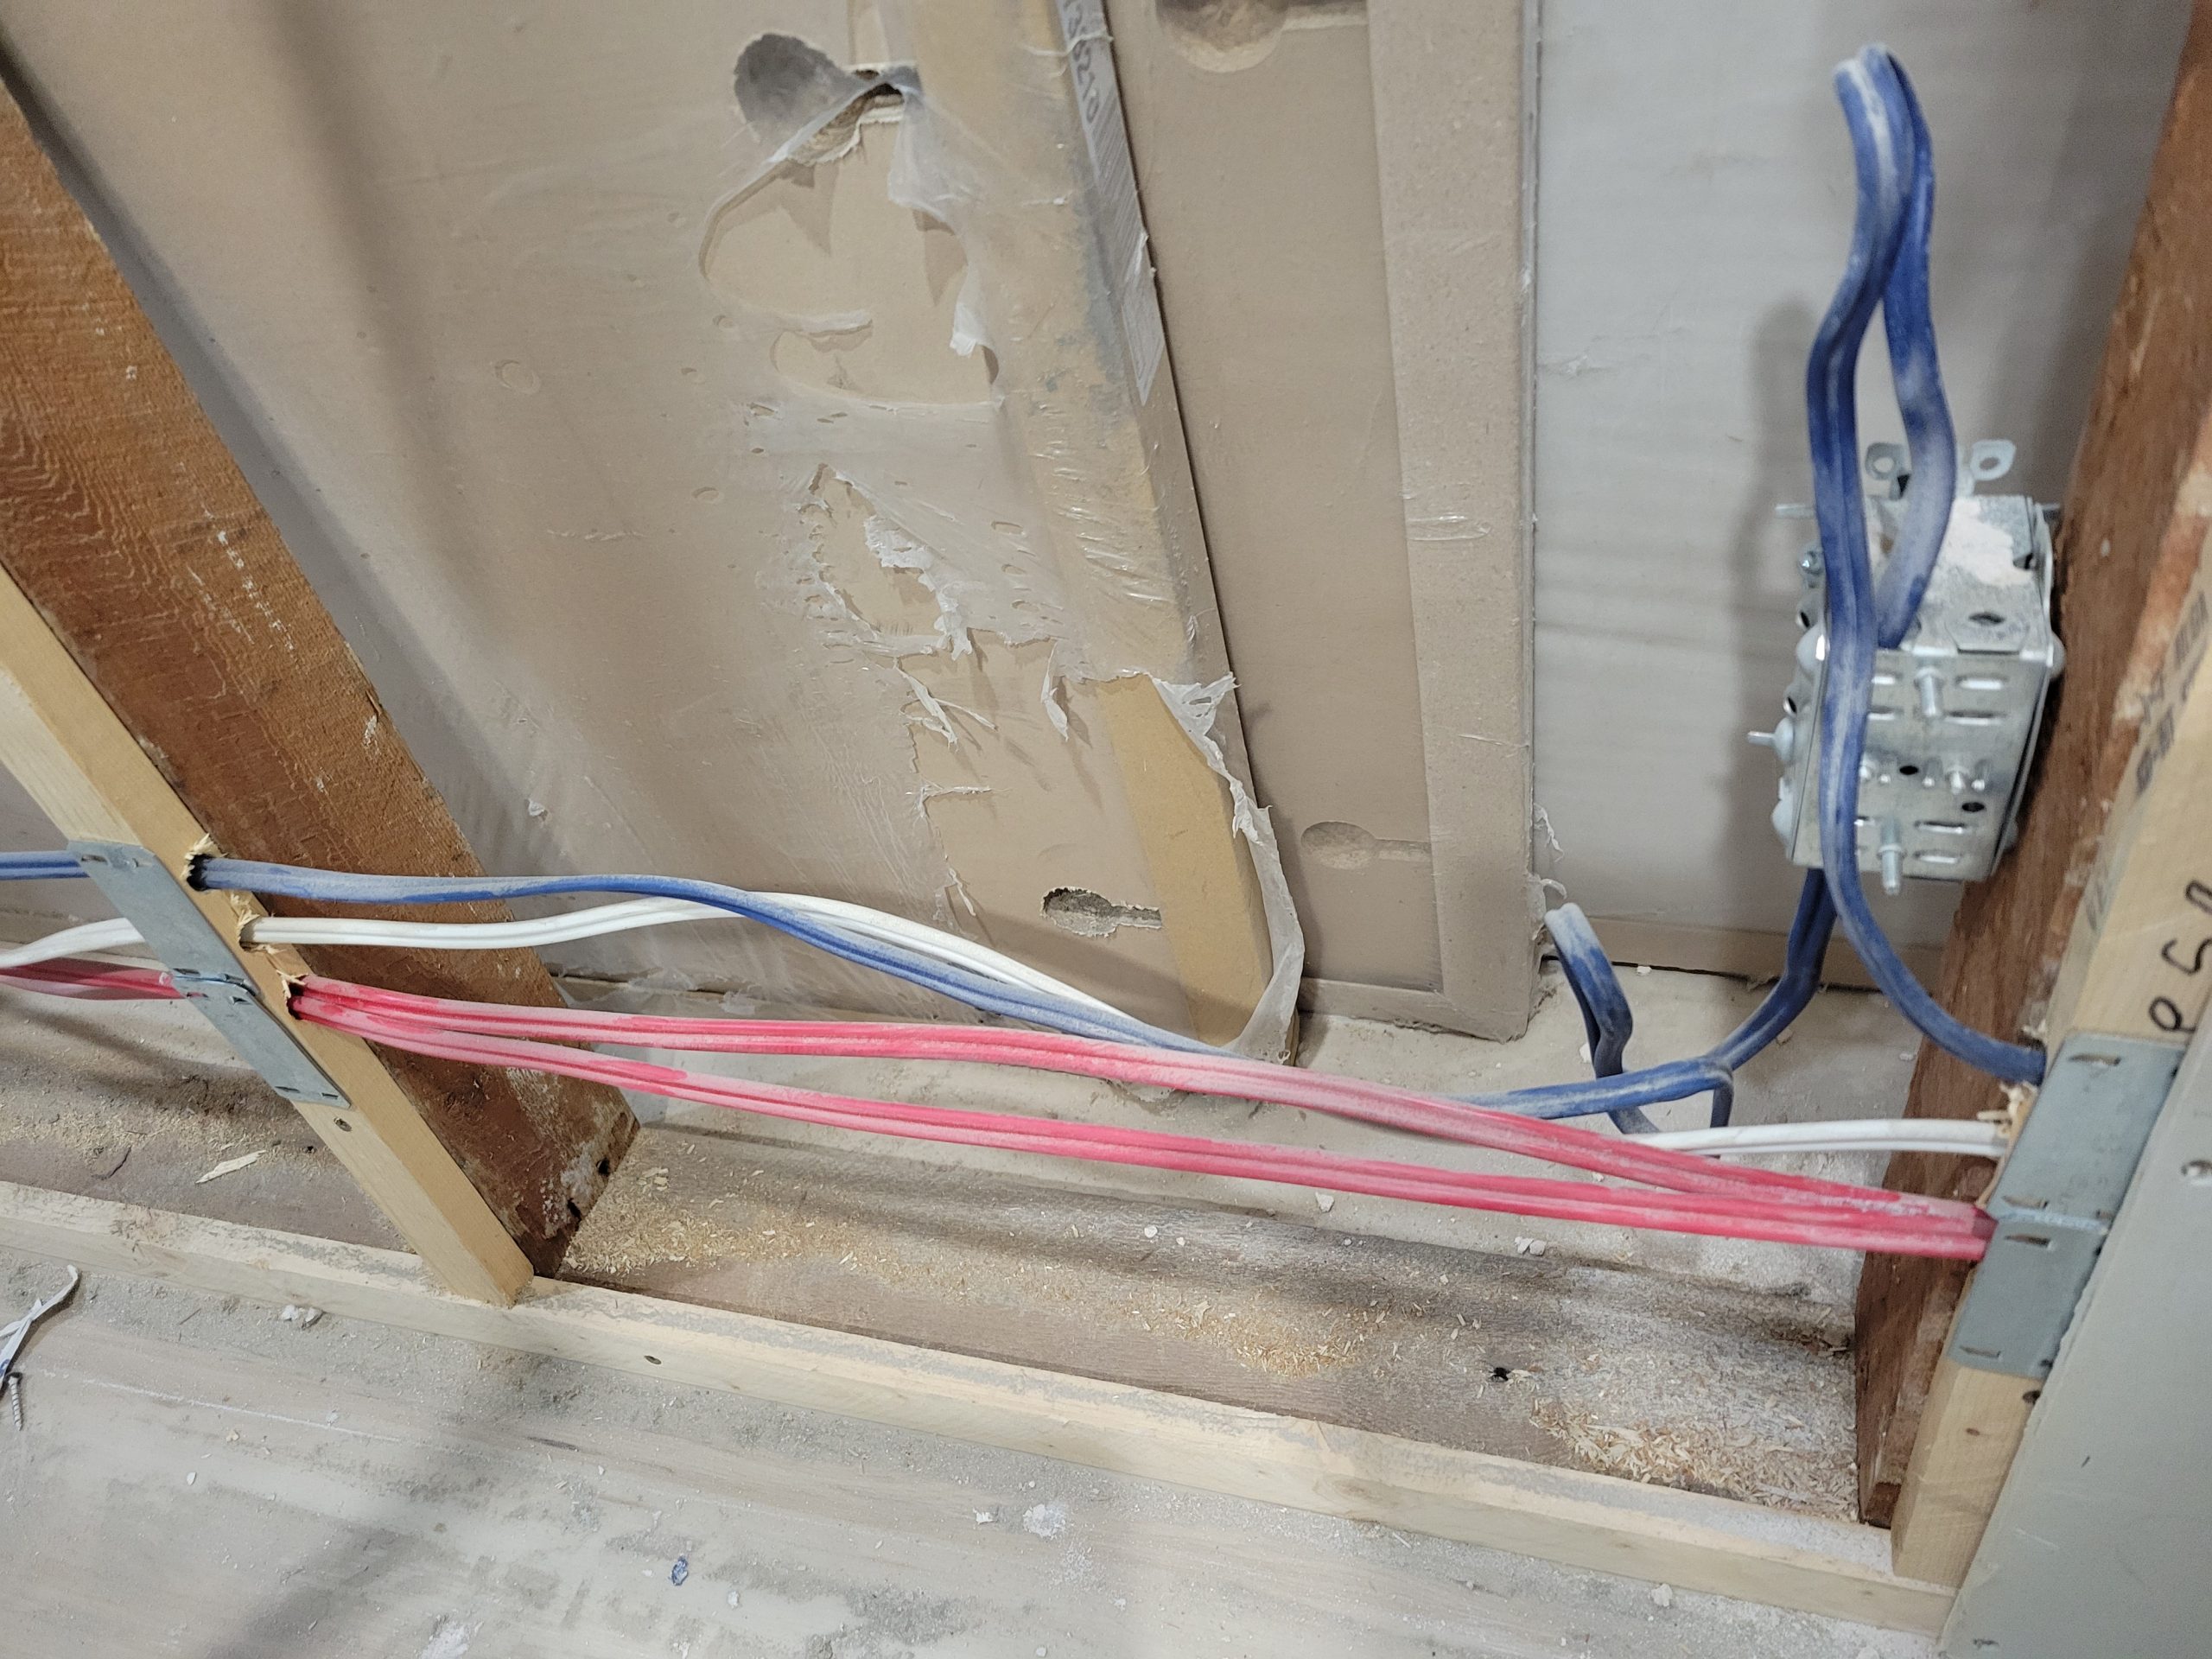
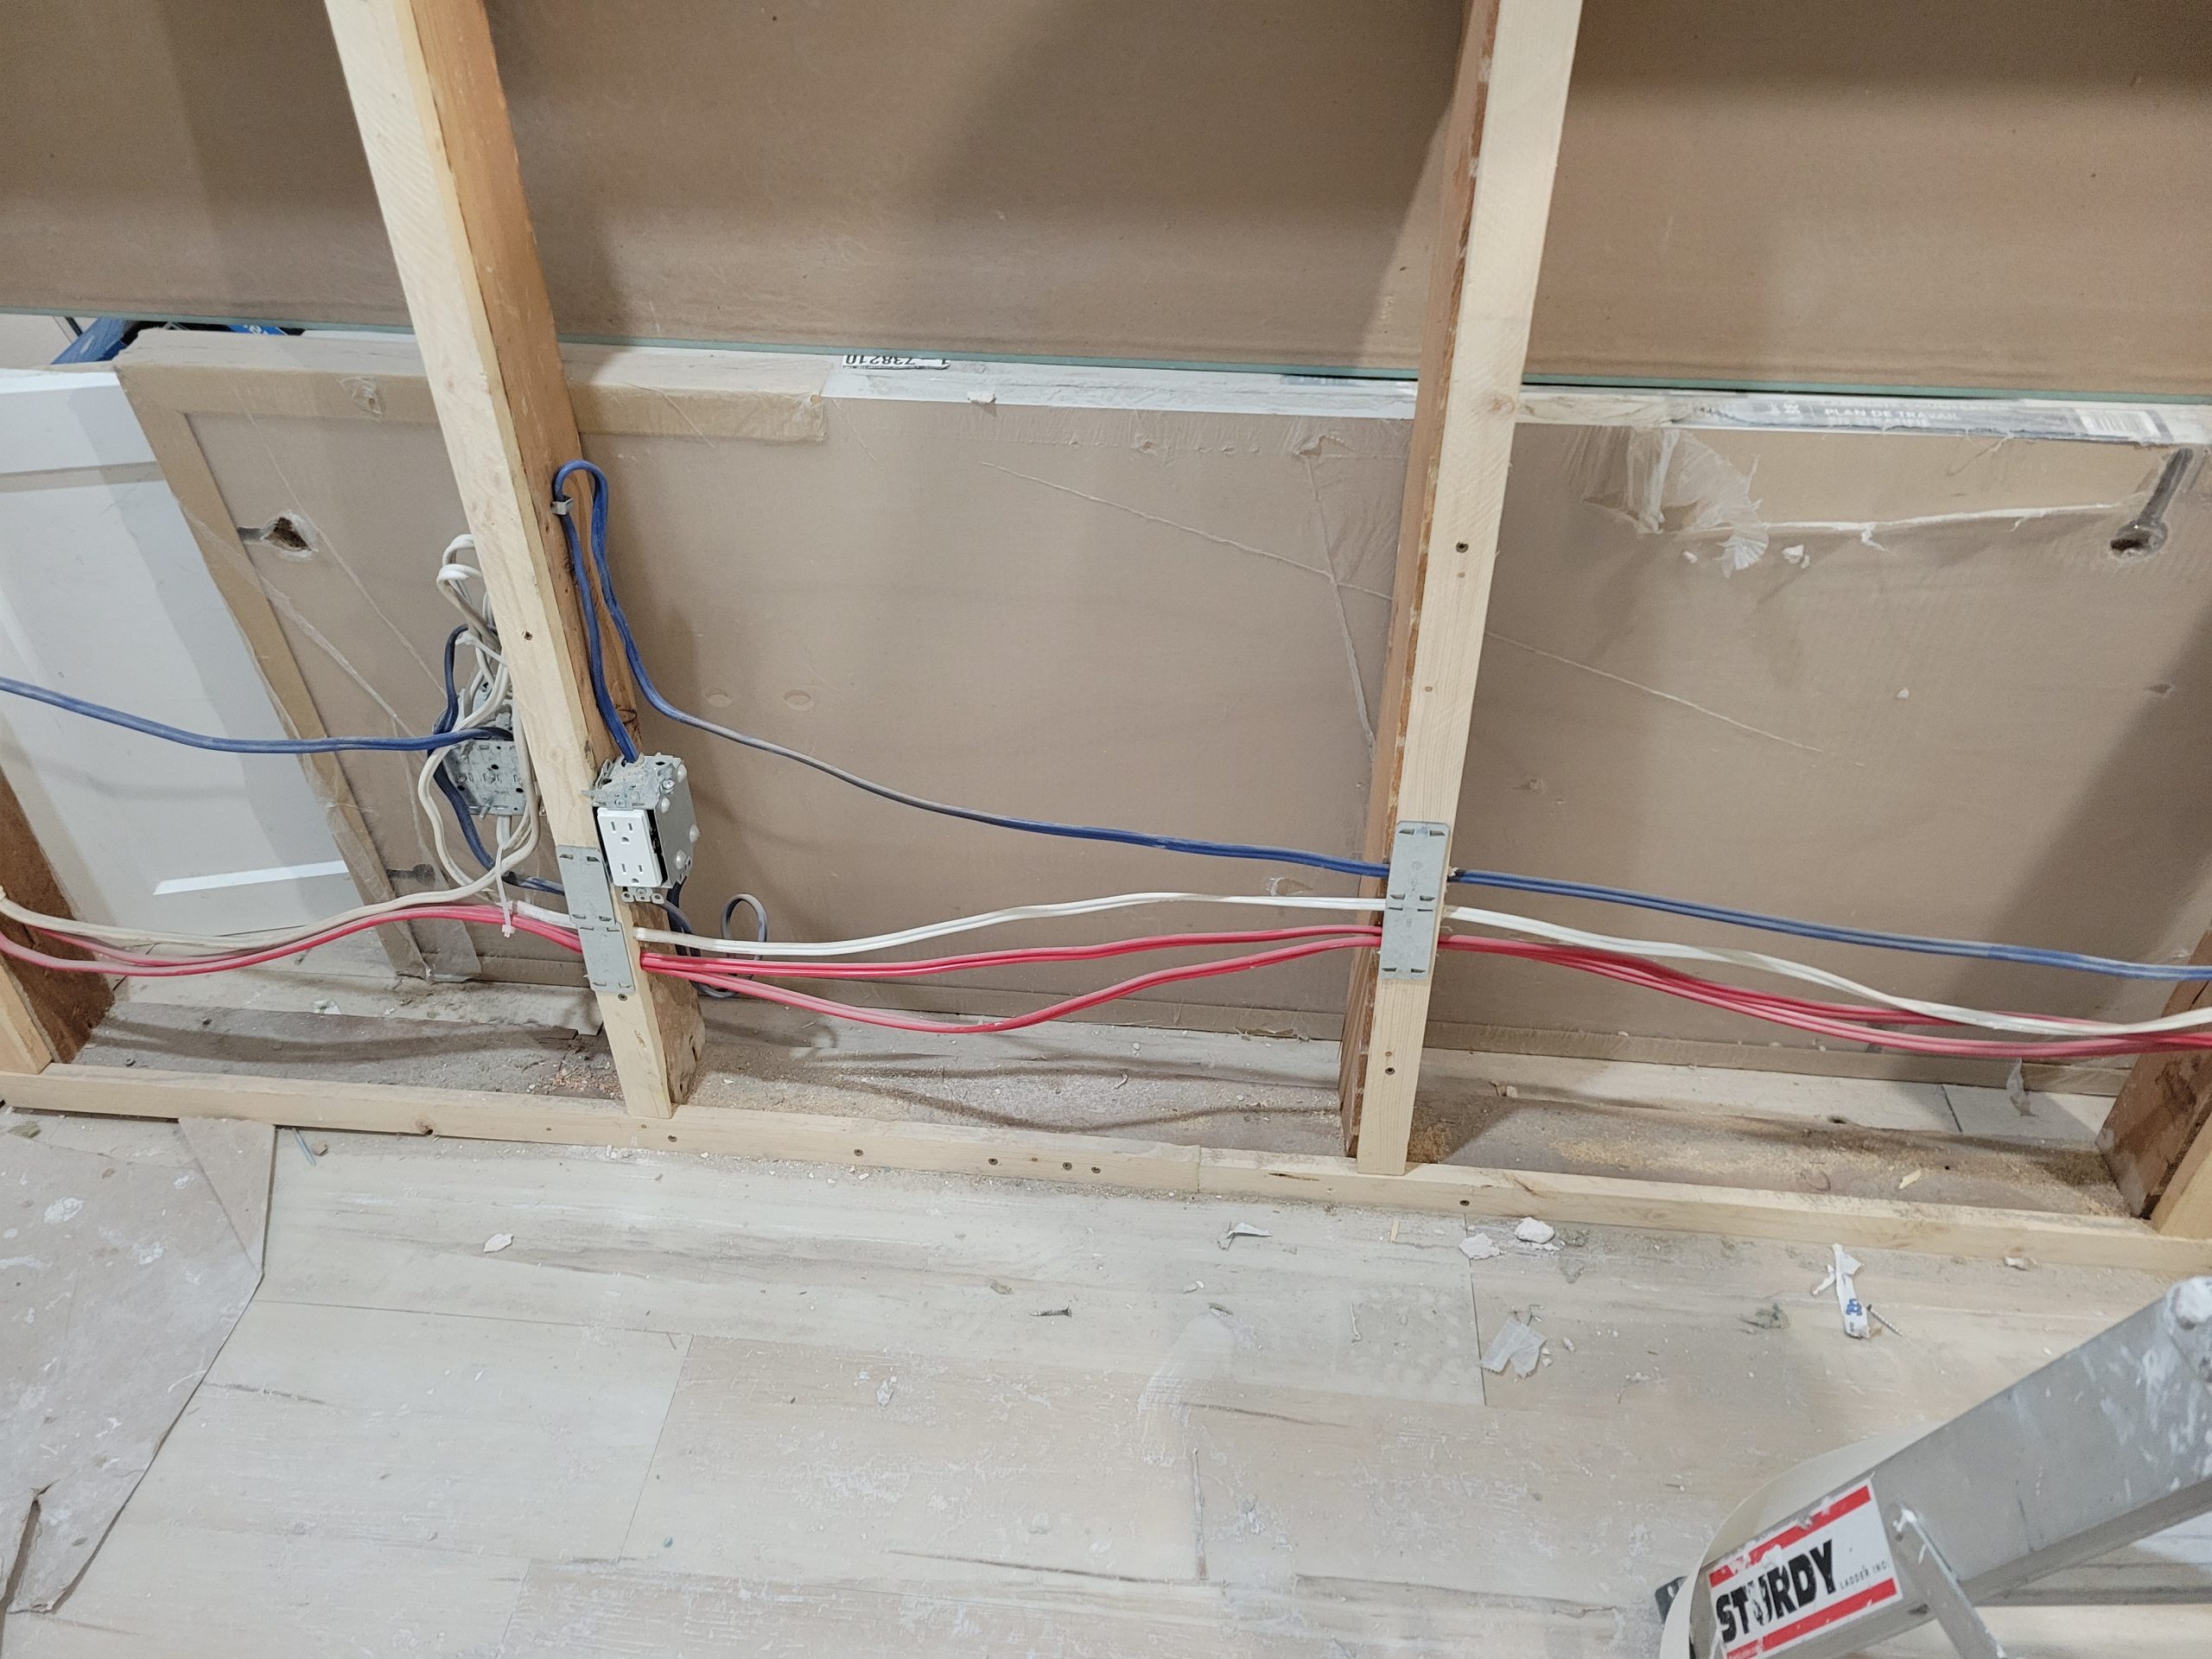
We continued drywalling the rest of the ceiling and walls.
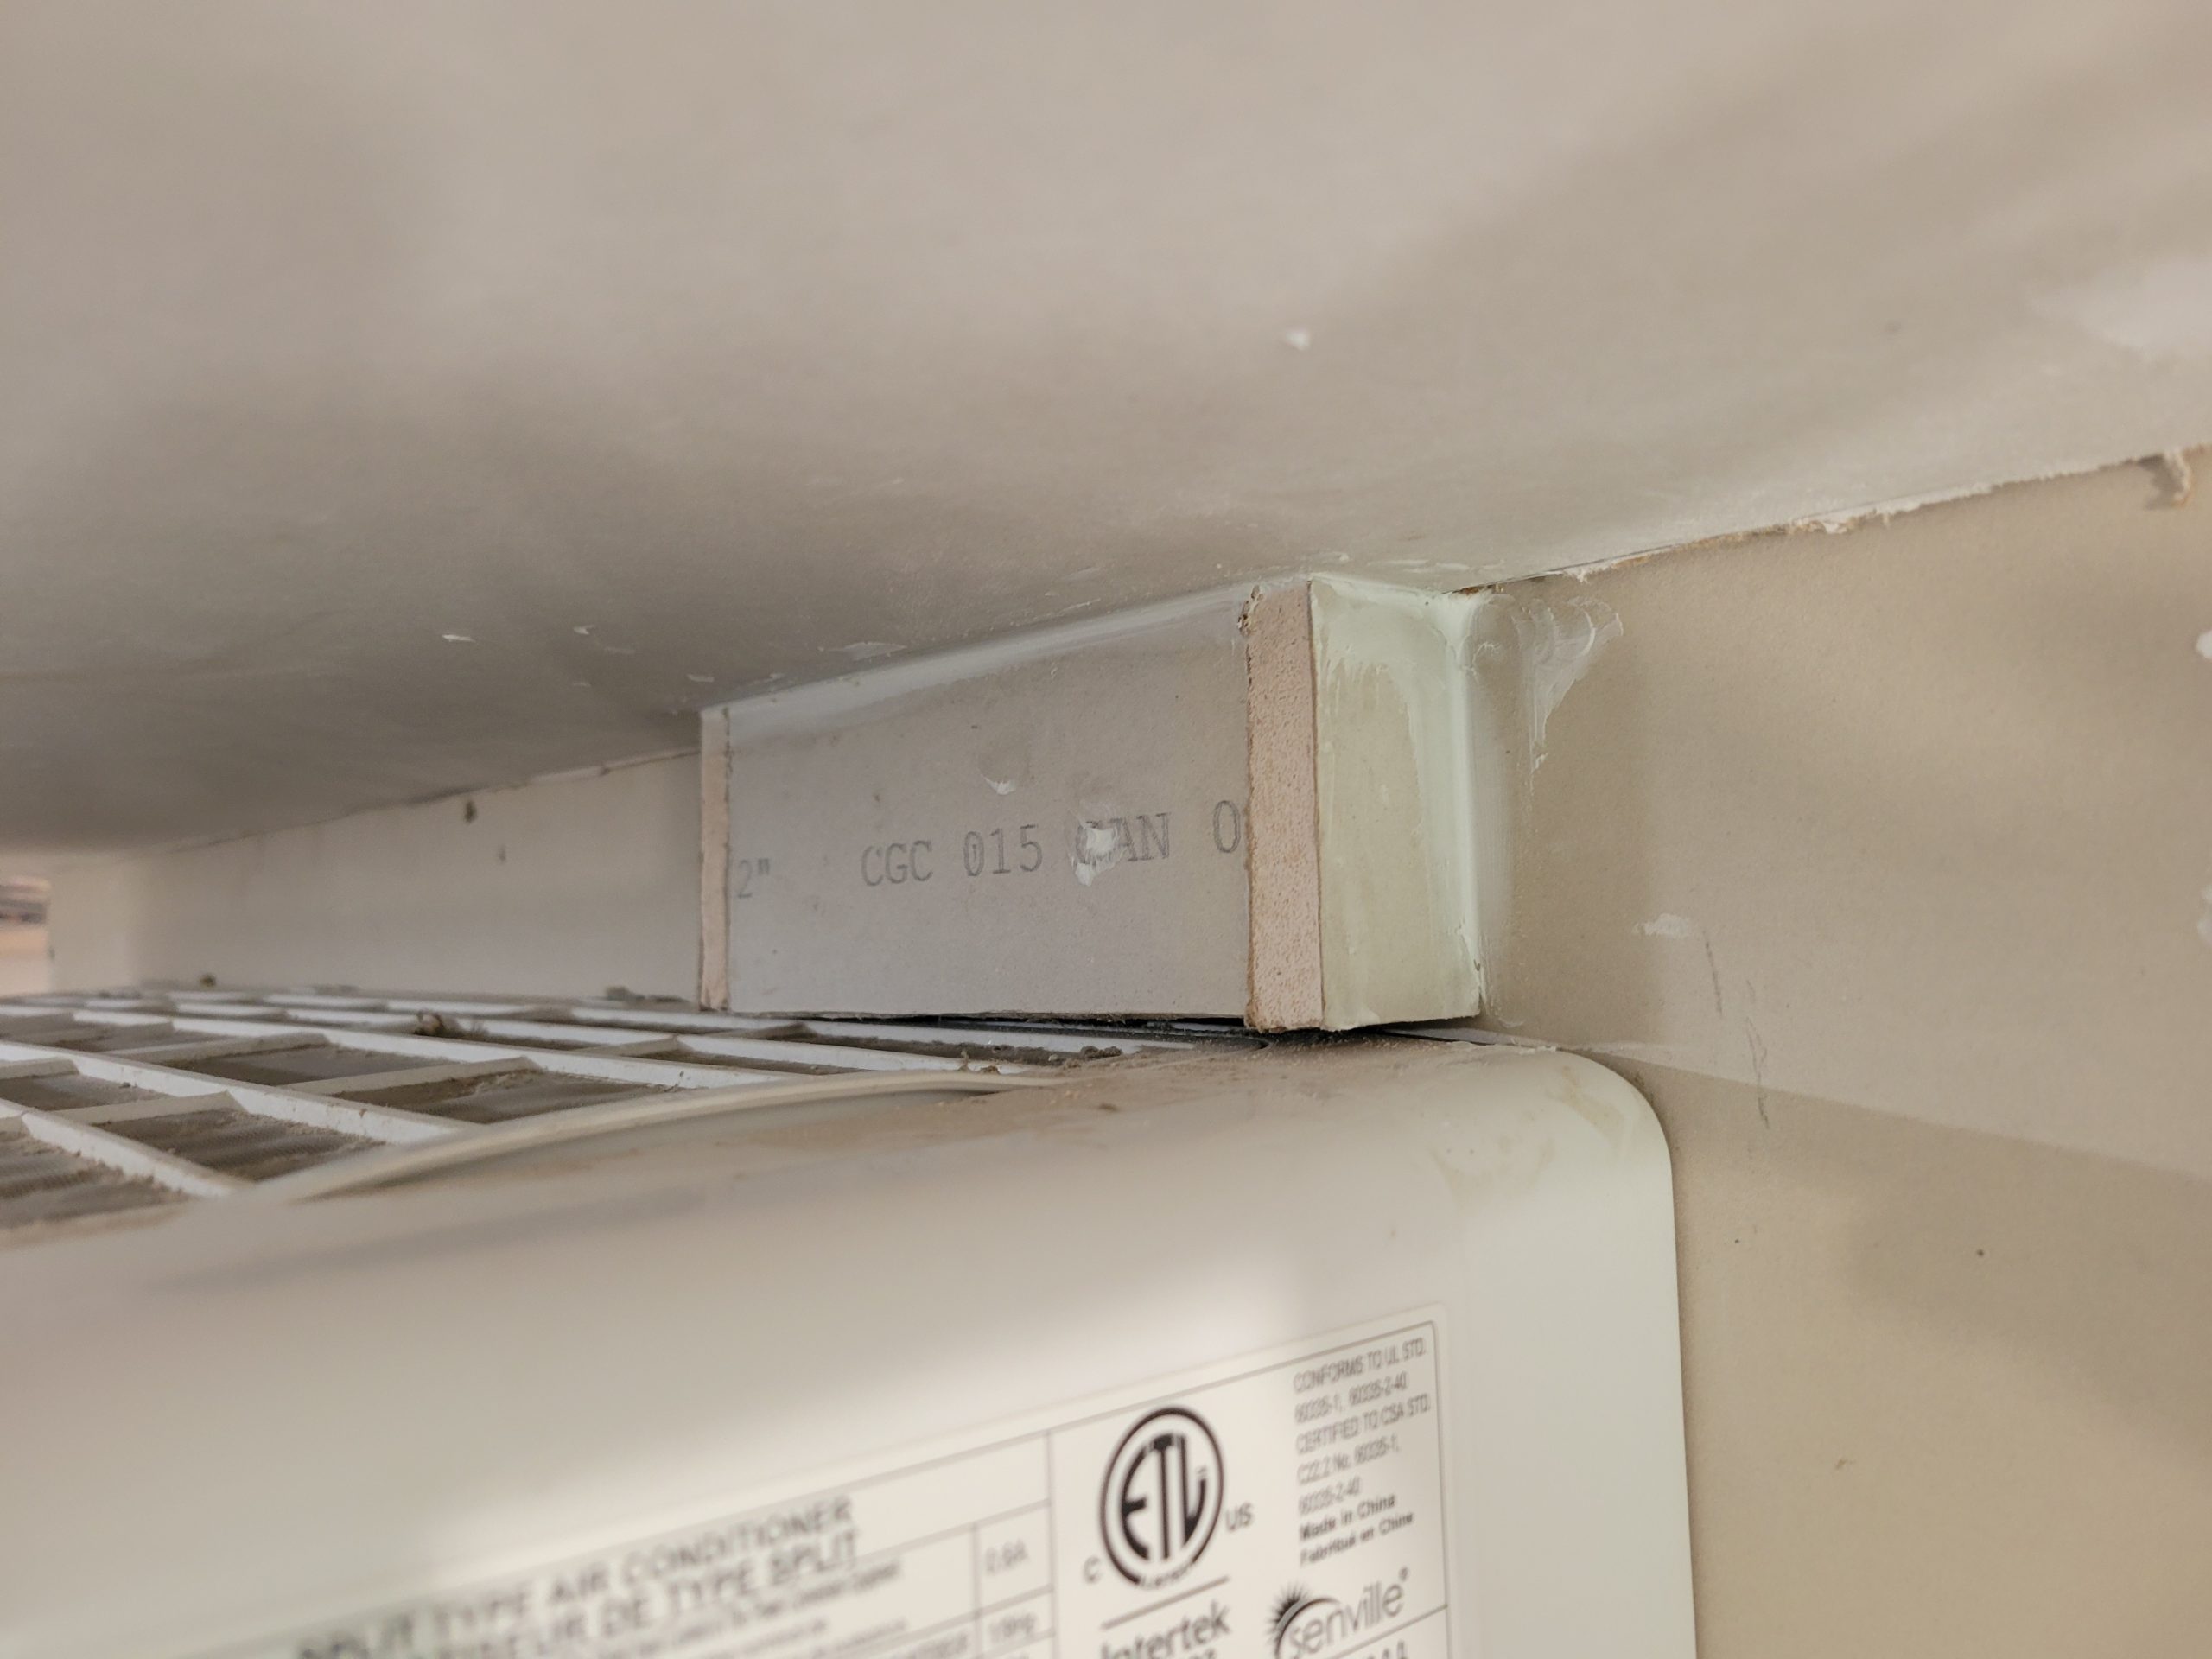
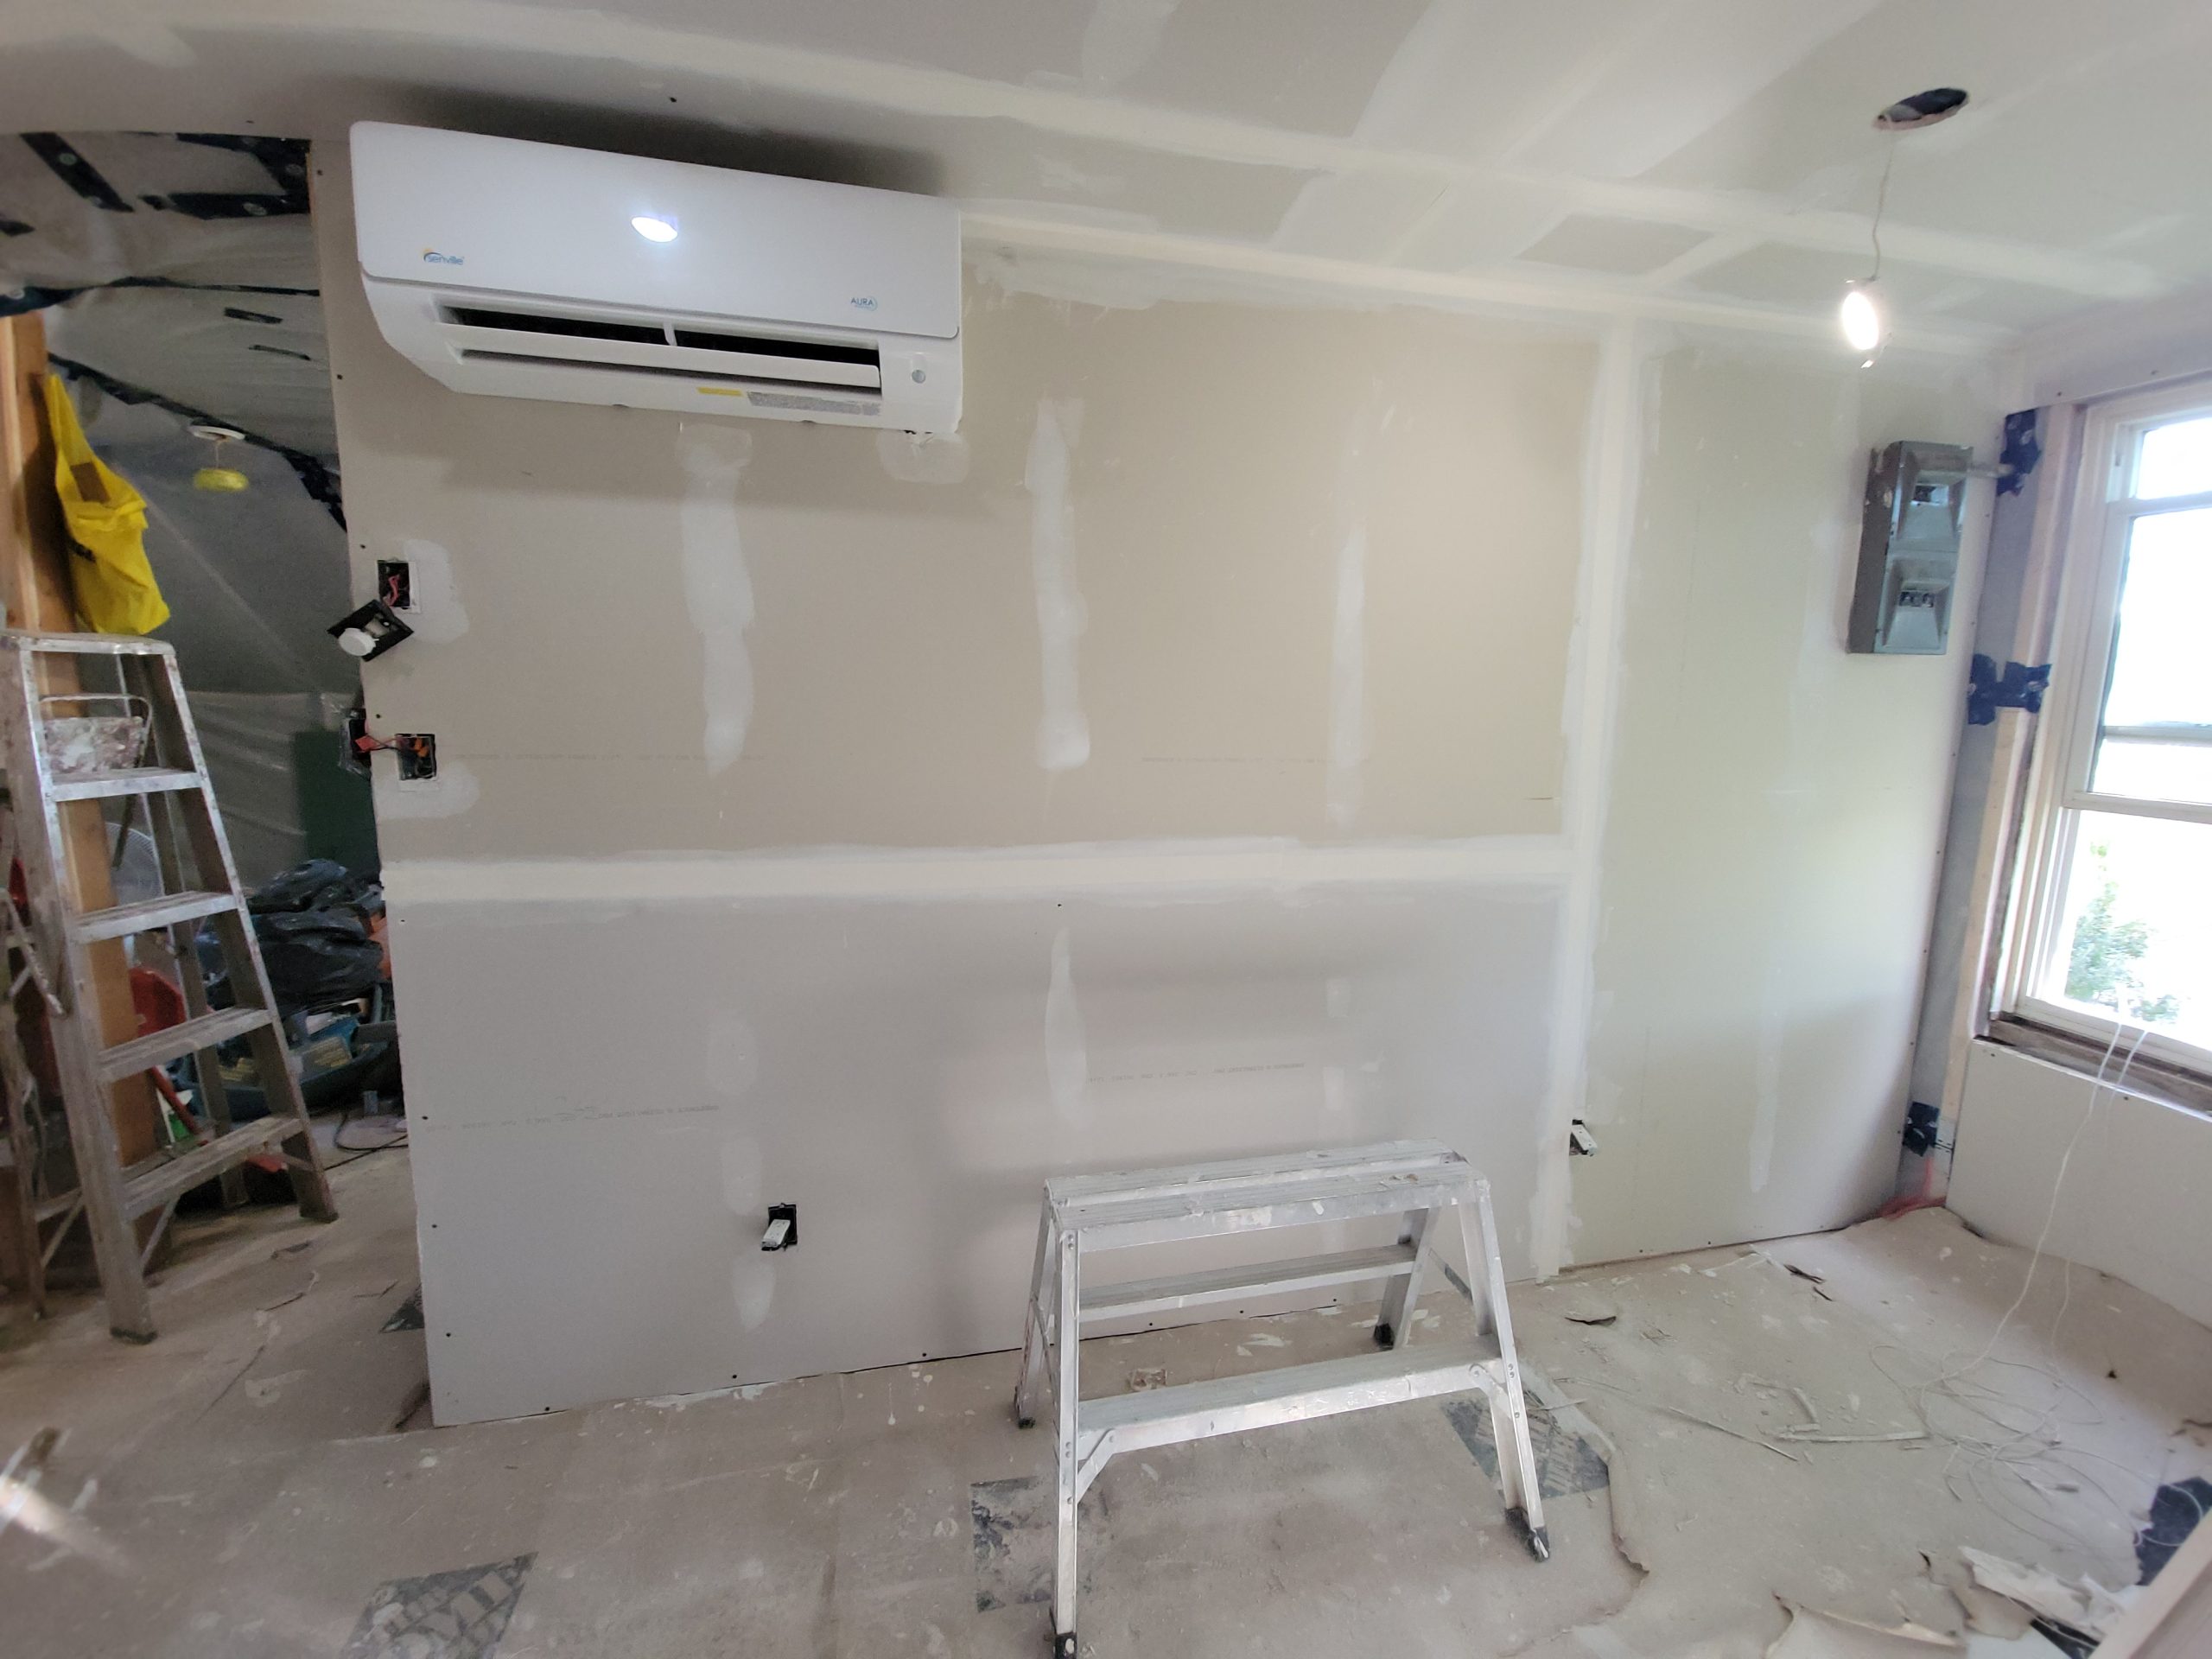
The pipes that run the bedroom heat pump air handler stuck out a little farther than the others. Dave suggested building a box of drywall, brad-nailing it together, and sealing it with caulk, which I did.
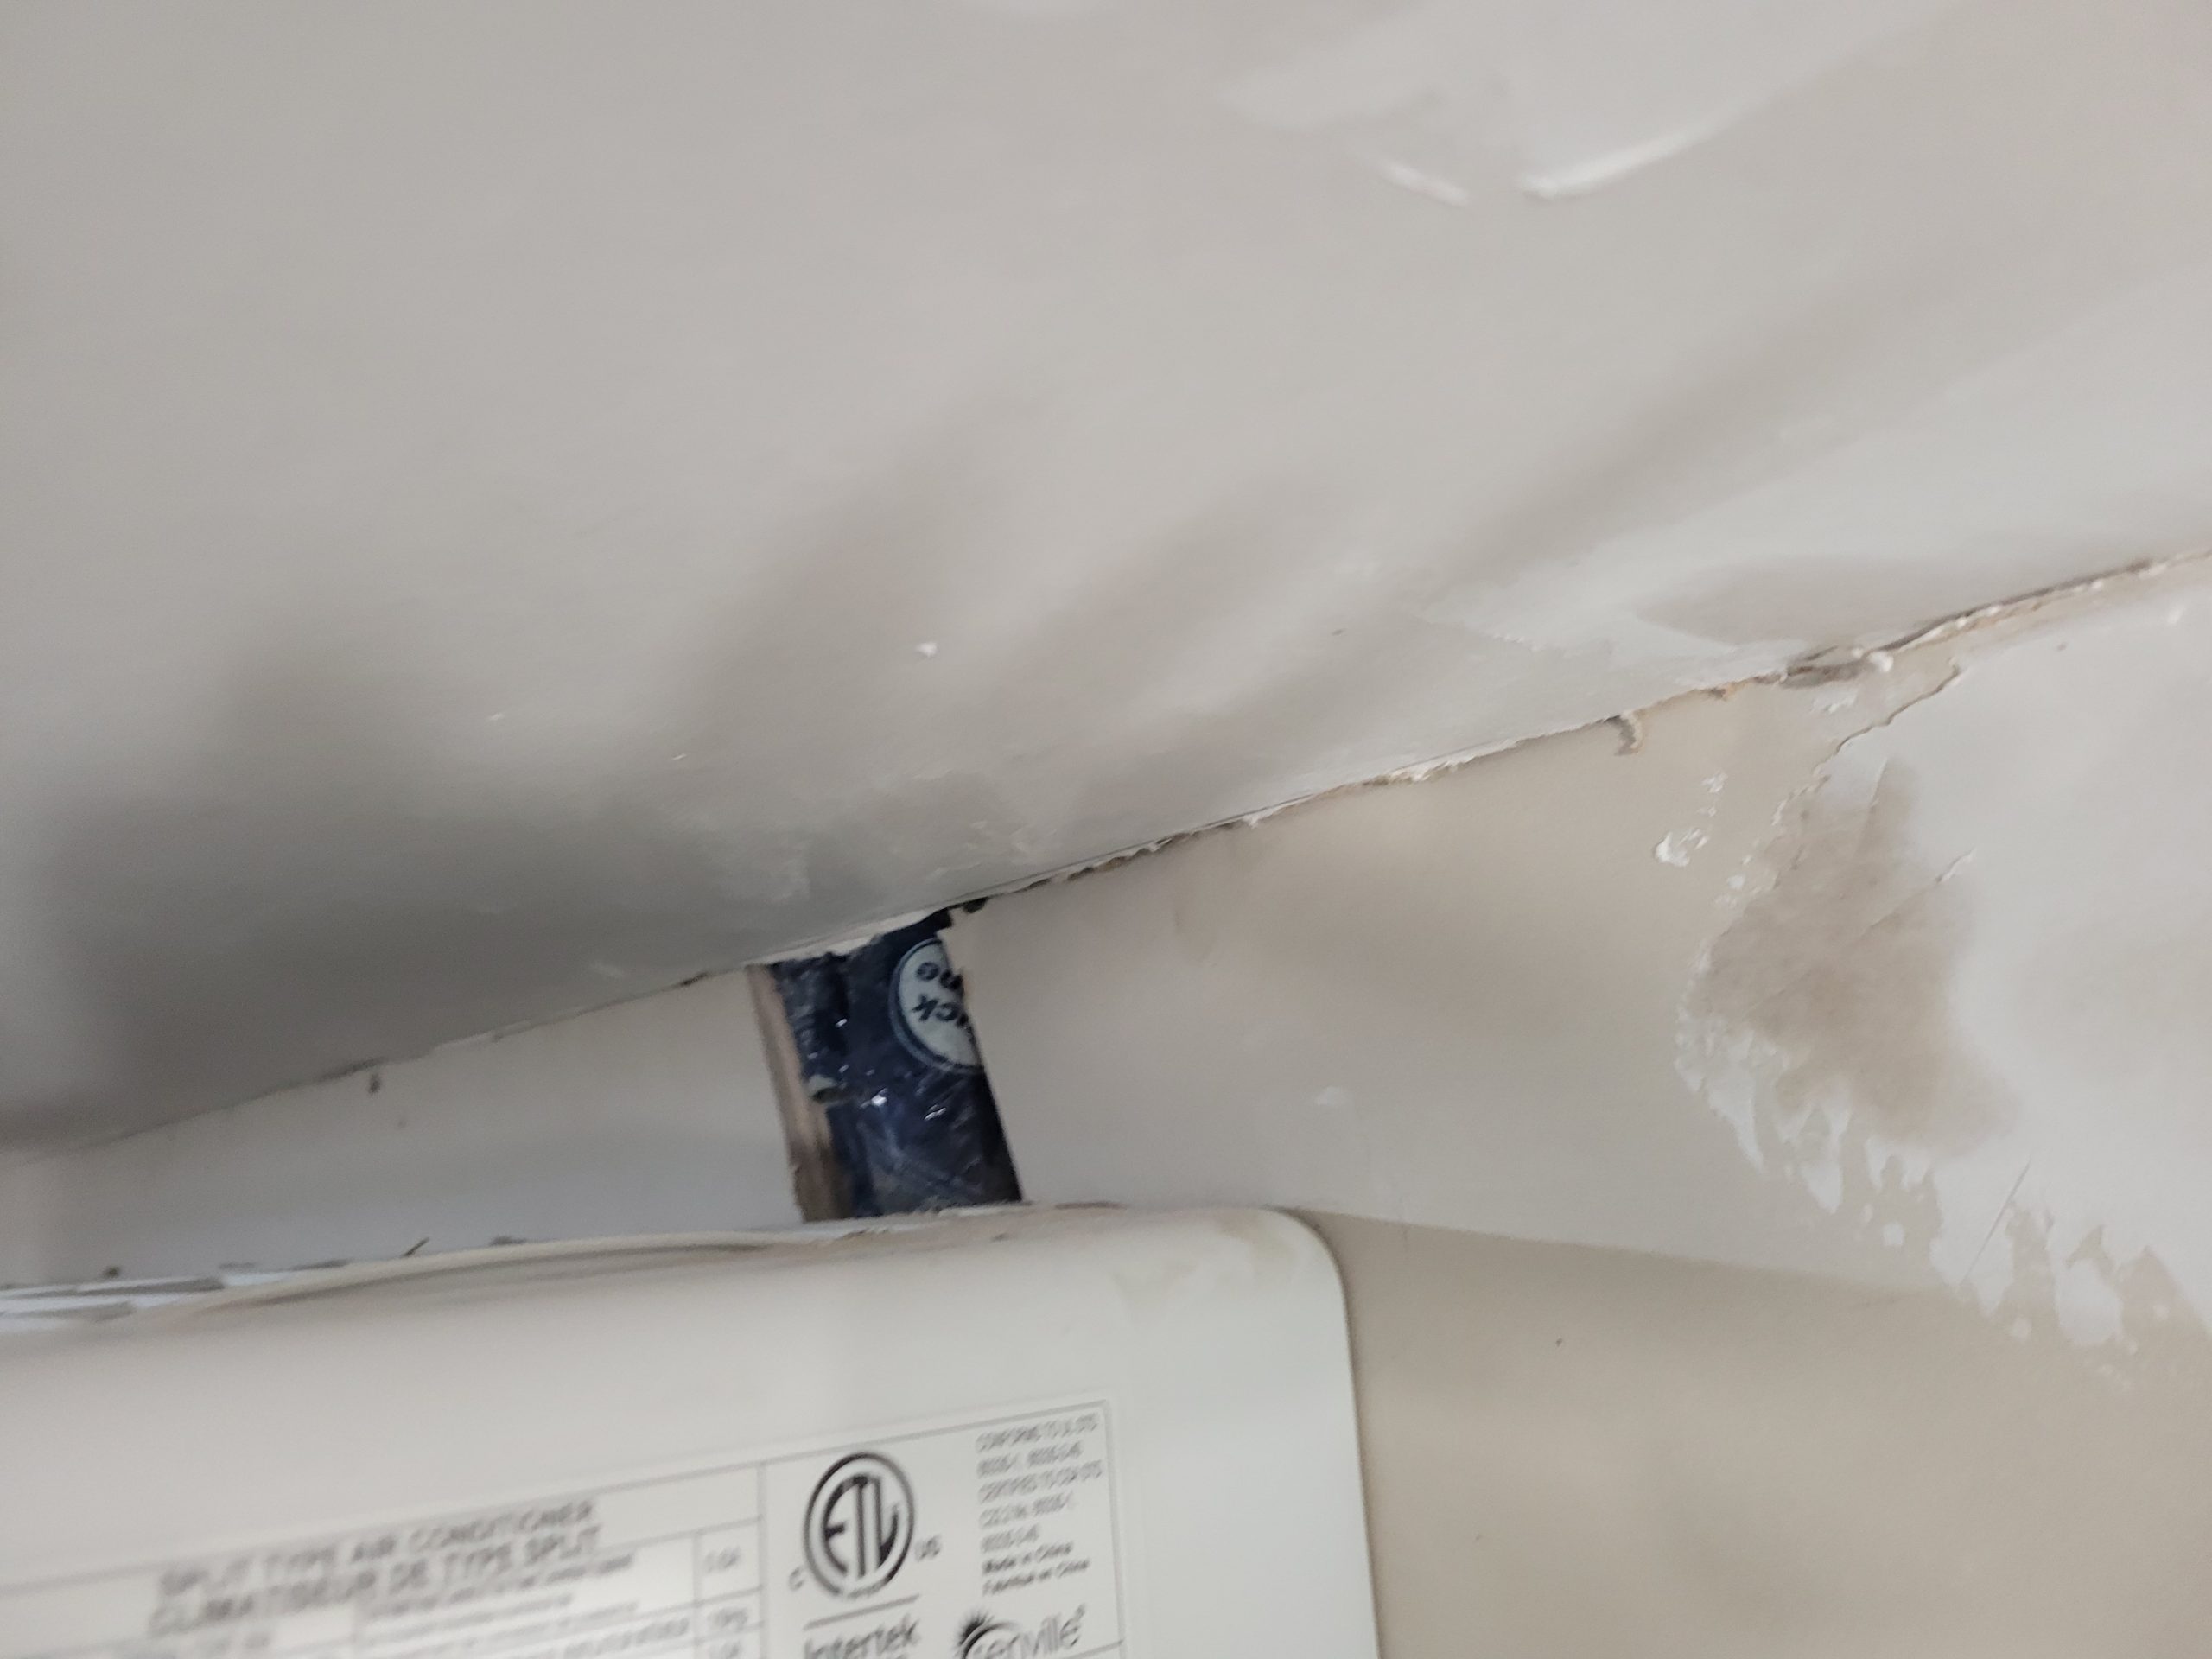
More taping, mudding, and skim coating were done. Dave added “no-coat” bead to the almost 45° angles. (I think he enjoys doing this type of task as it involves more skill and TLC than regular taping.)
Lights seem to look good where they were placed.
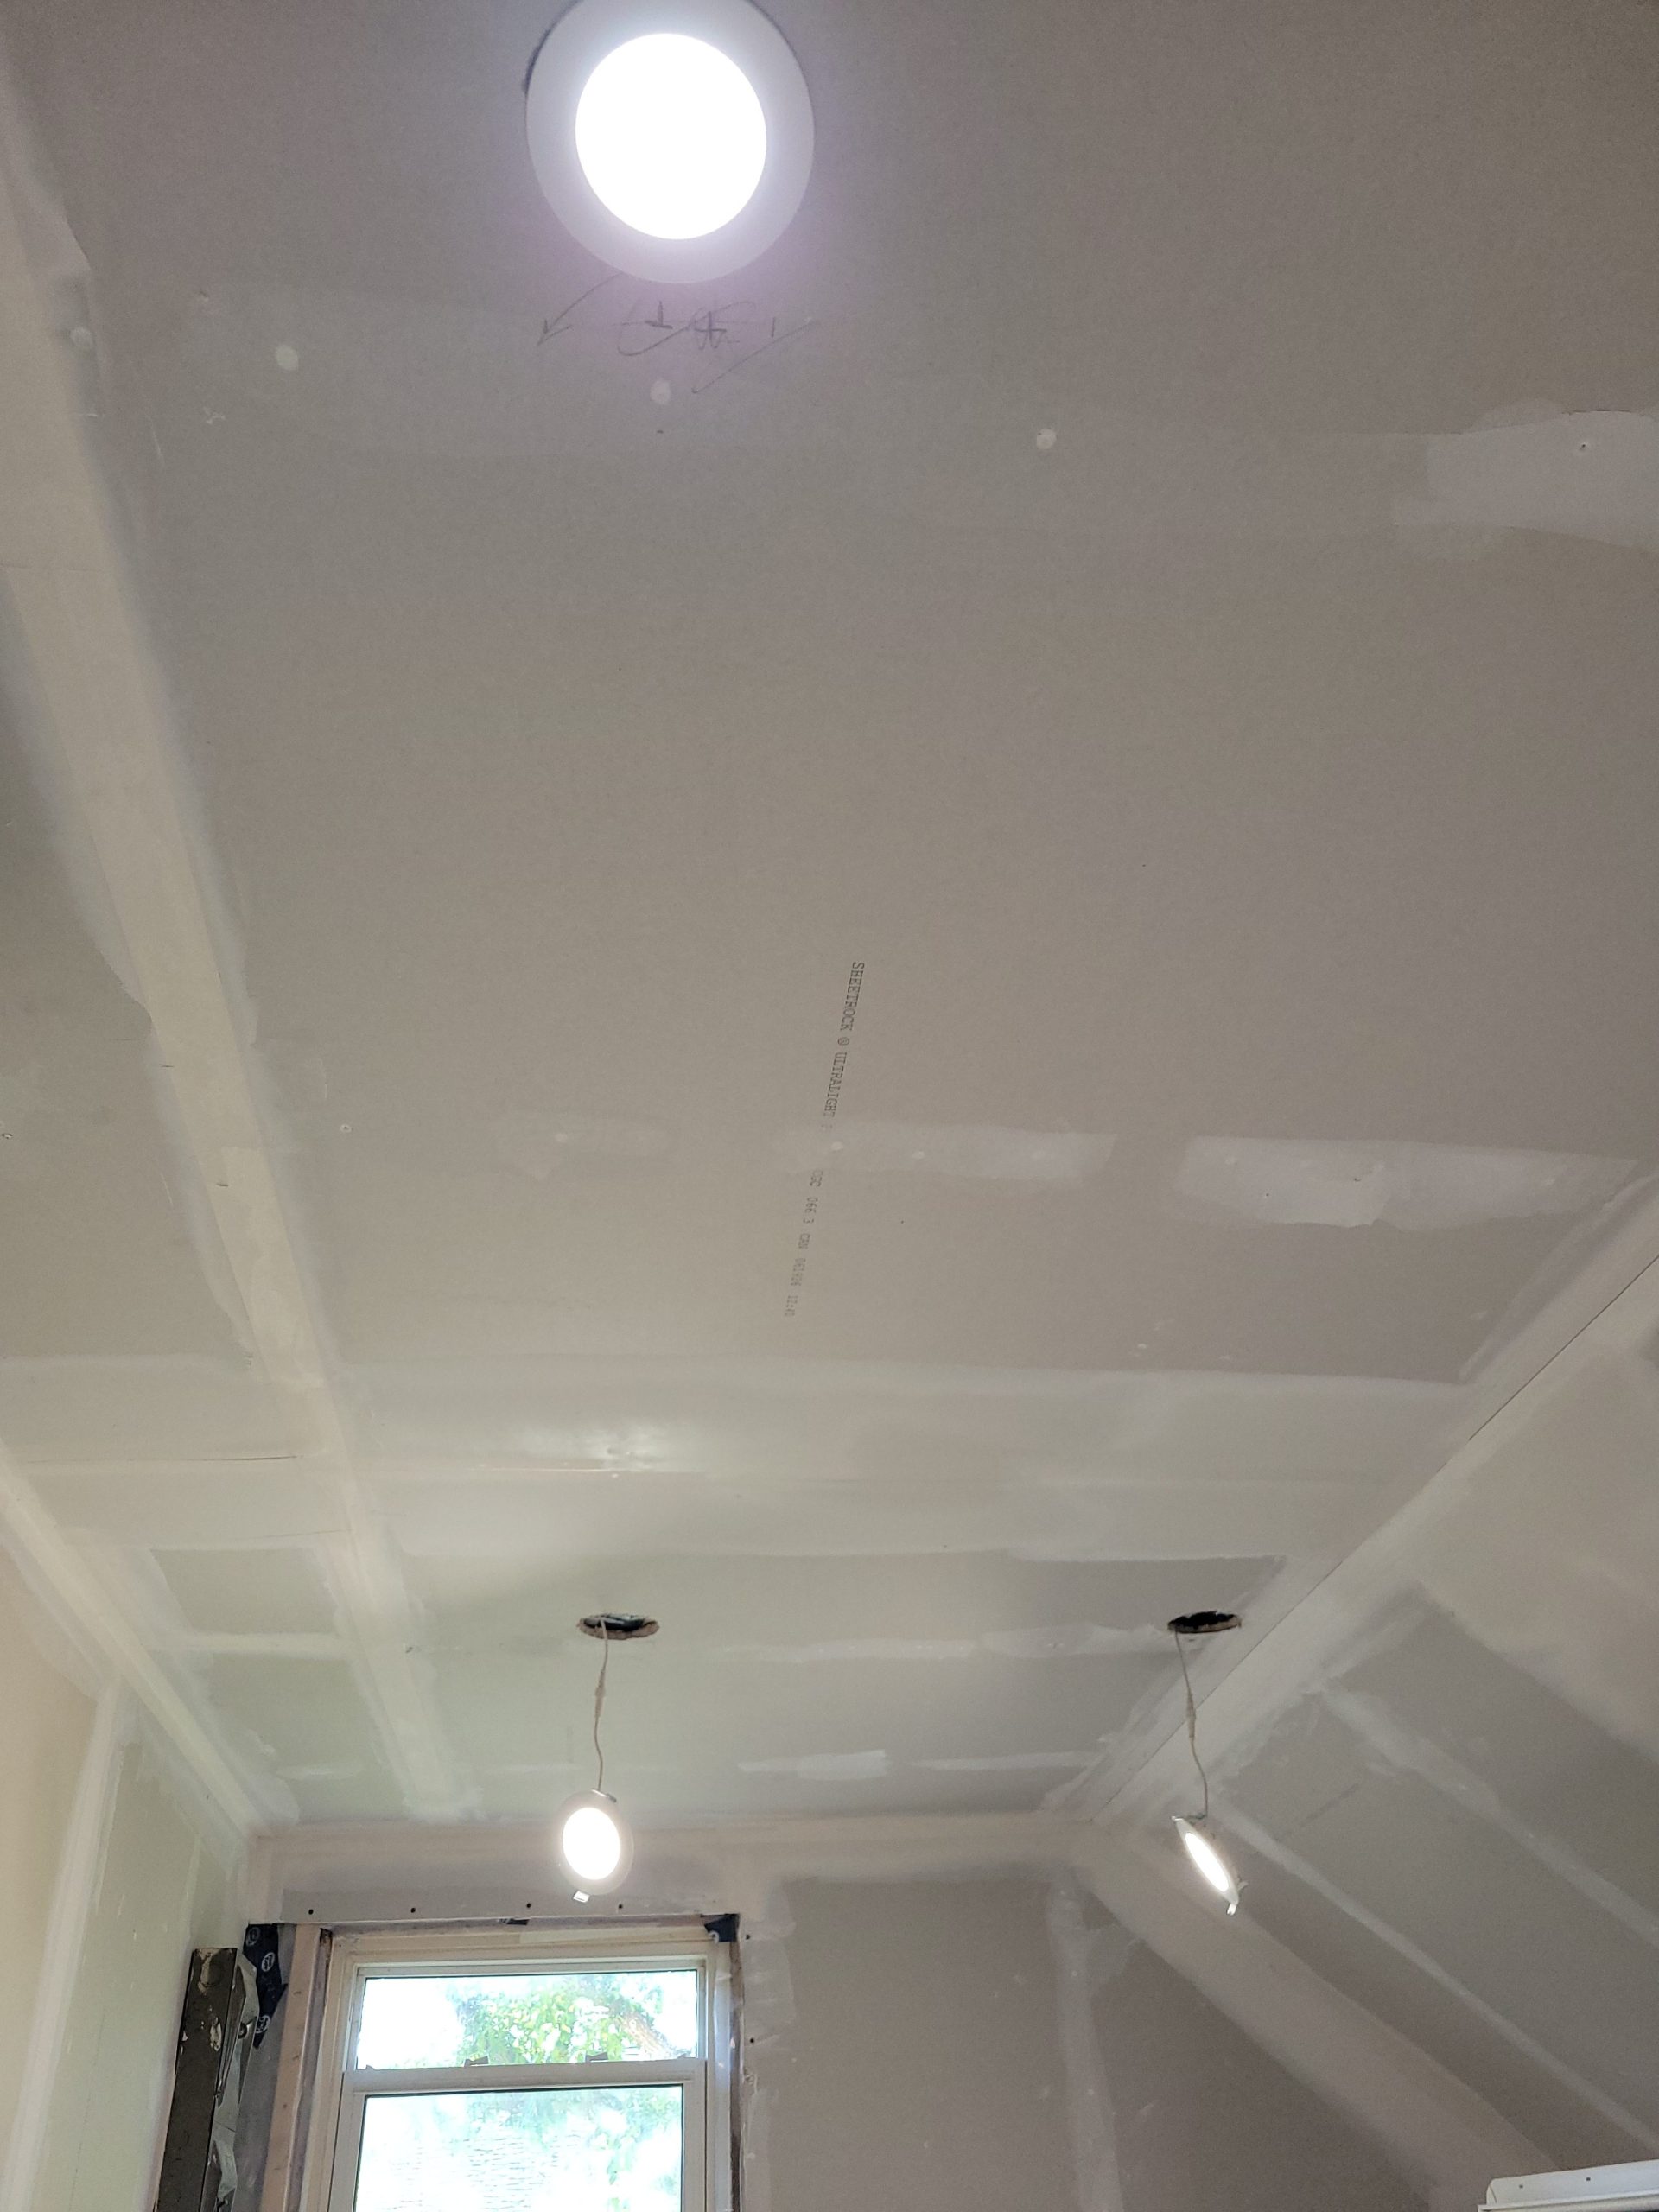
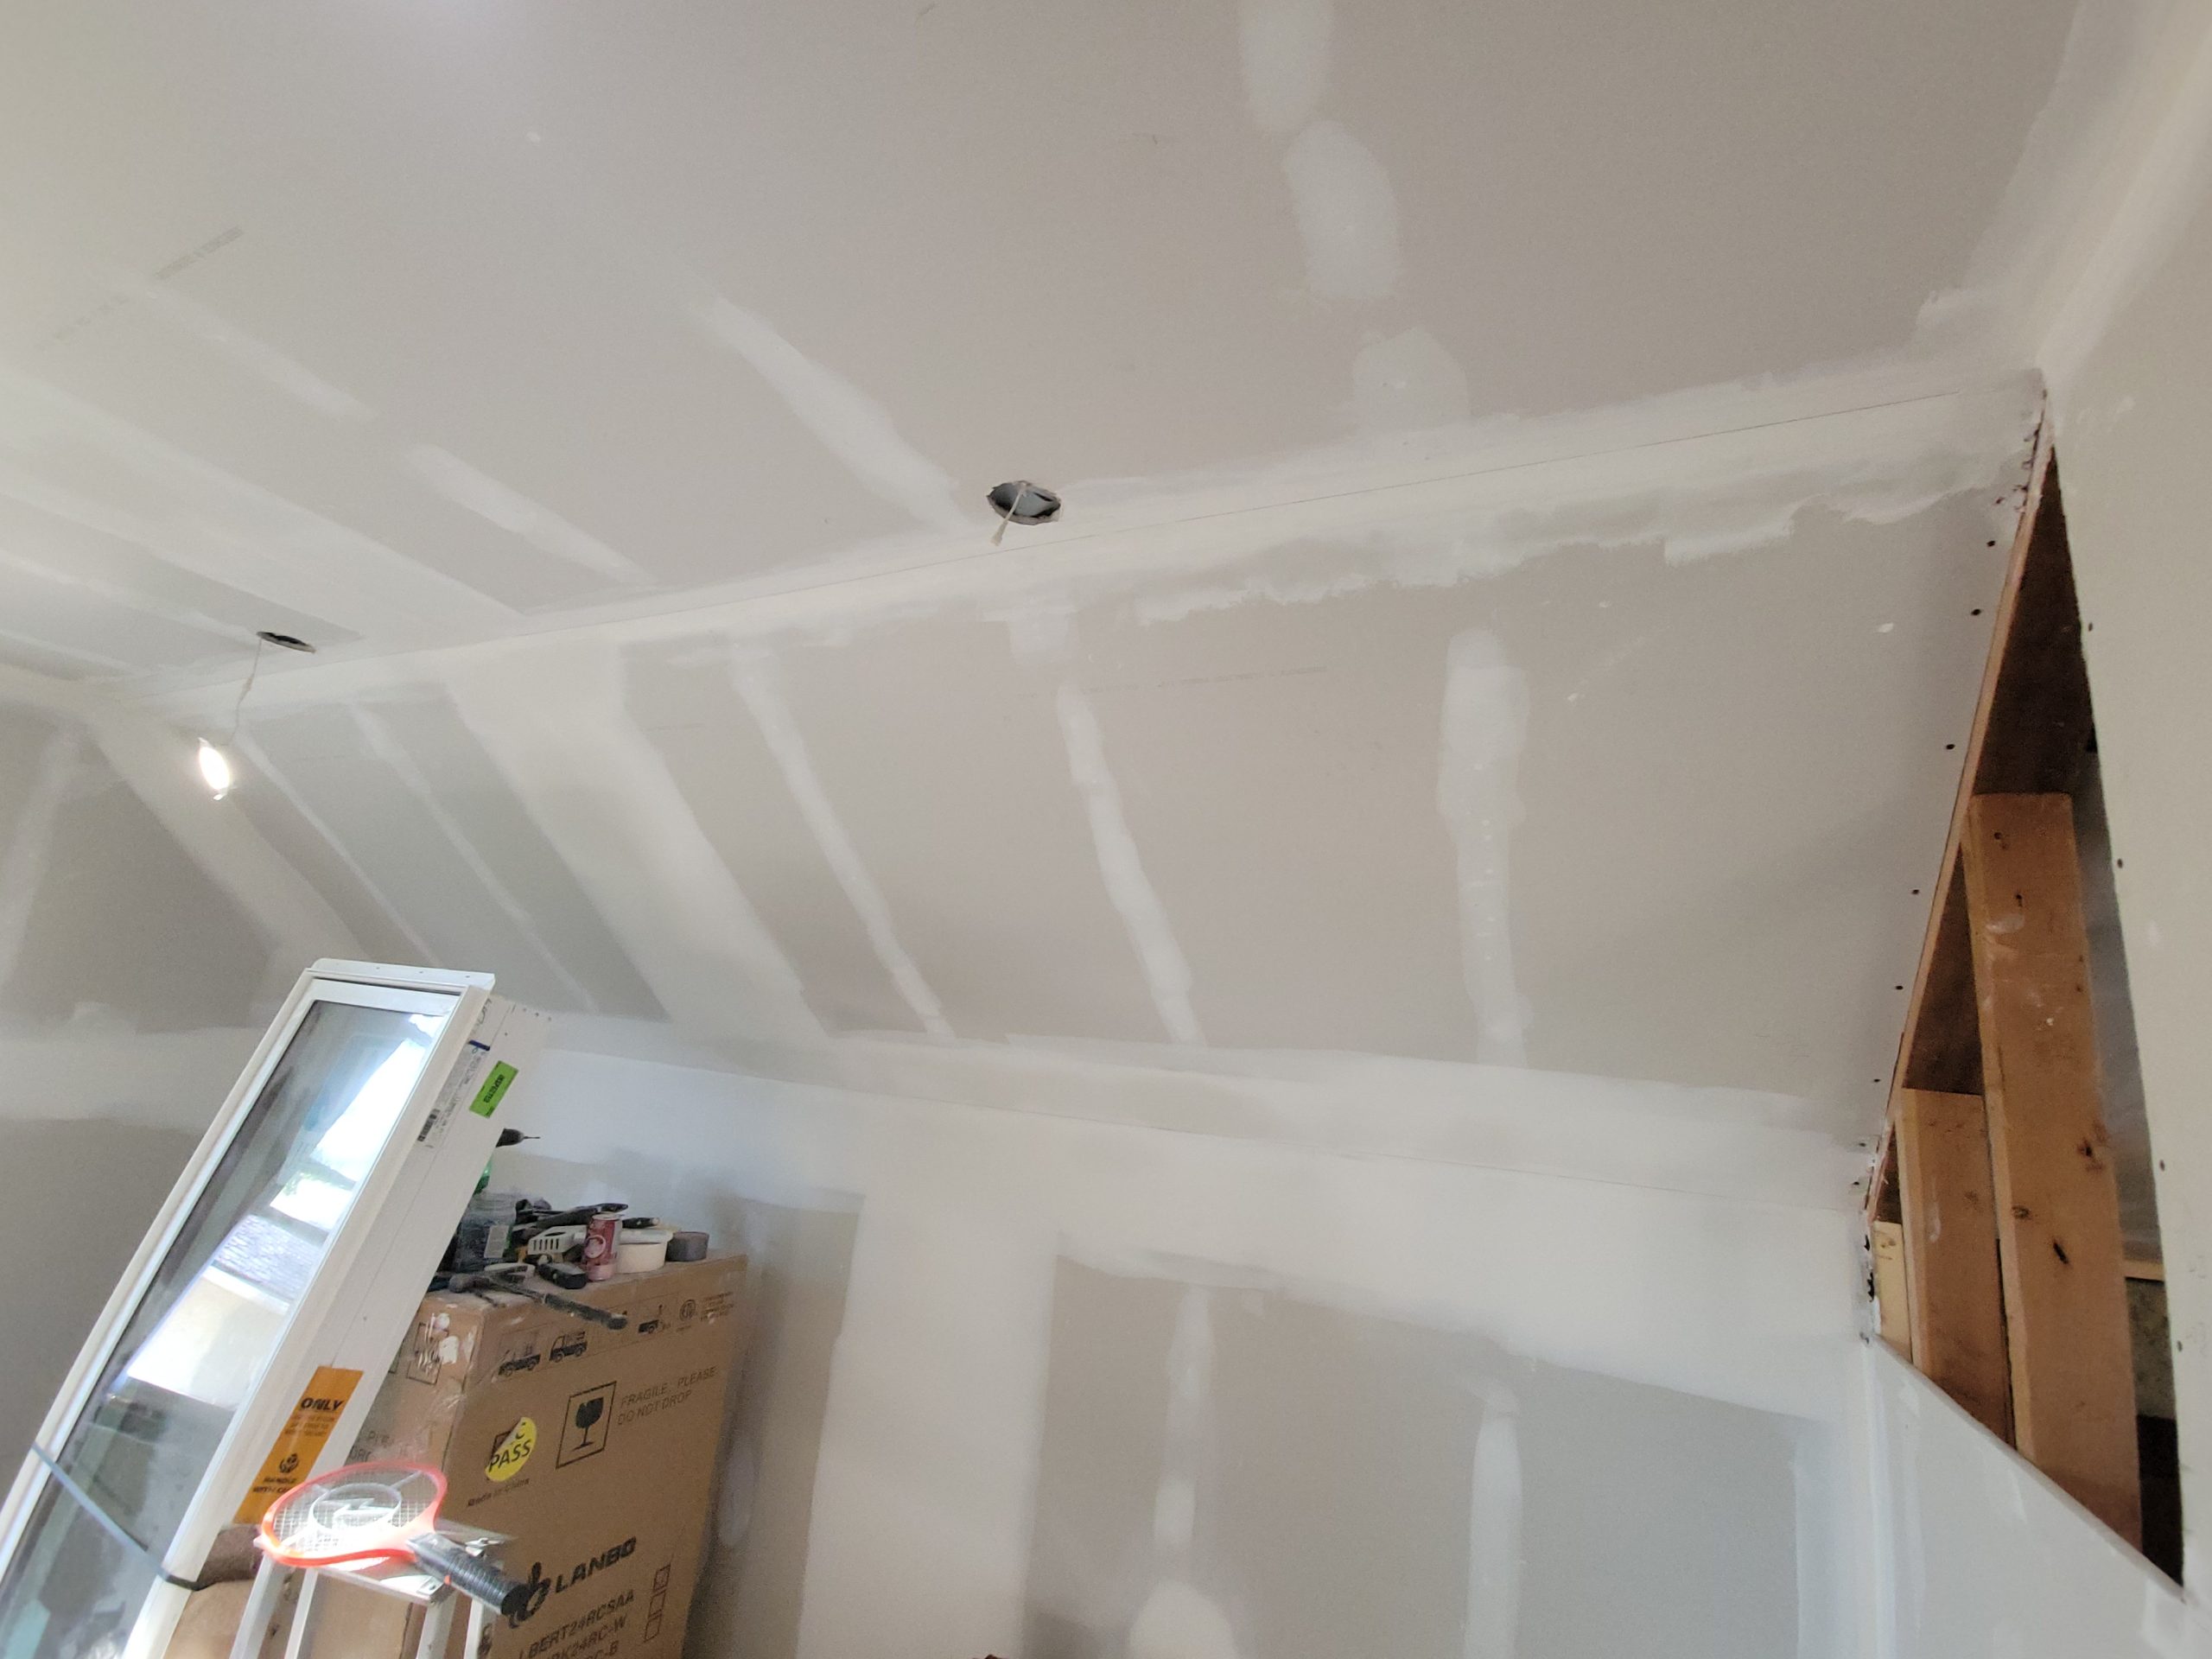
I’ll get more 5/8″ drywall to complete the remaining hole in bedroom east wall and the entrance.
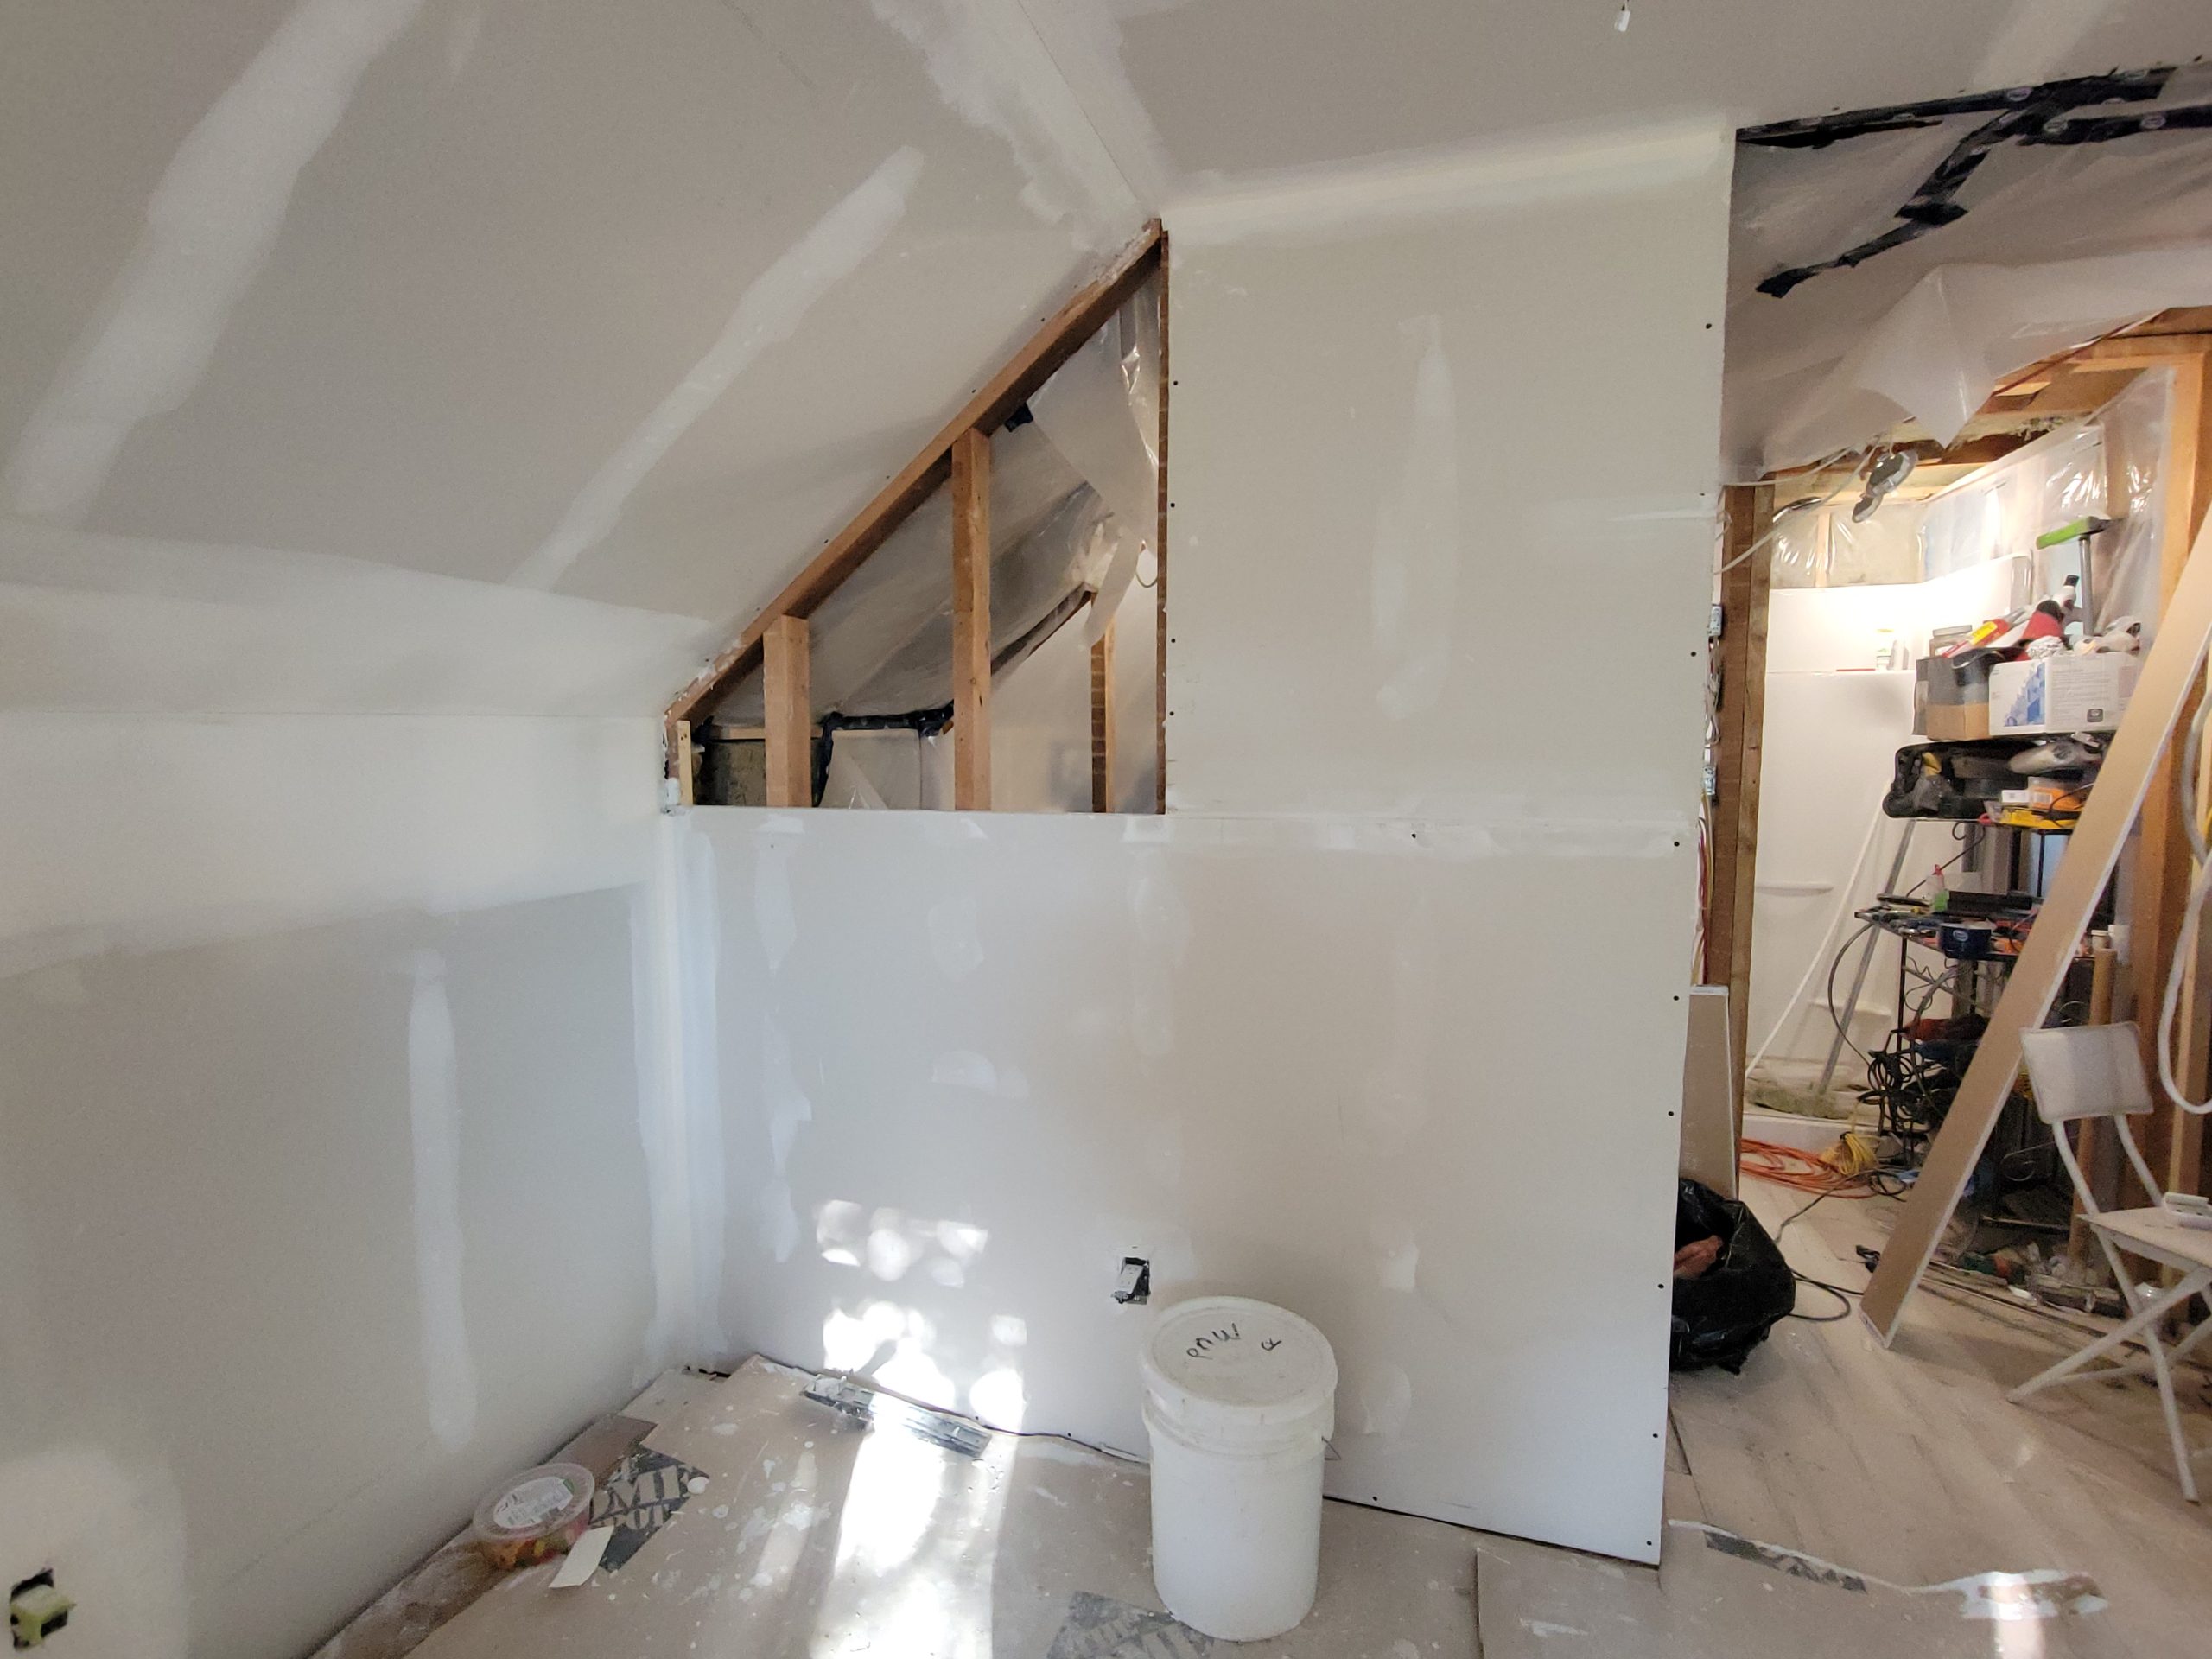
The bedroom’s south wall is, more or less, complete. Nothing can be done with the angled door wall until framing is done.
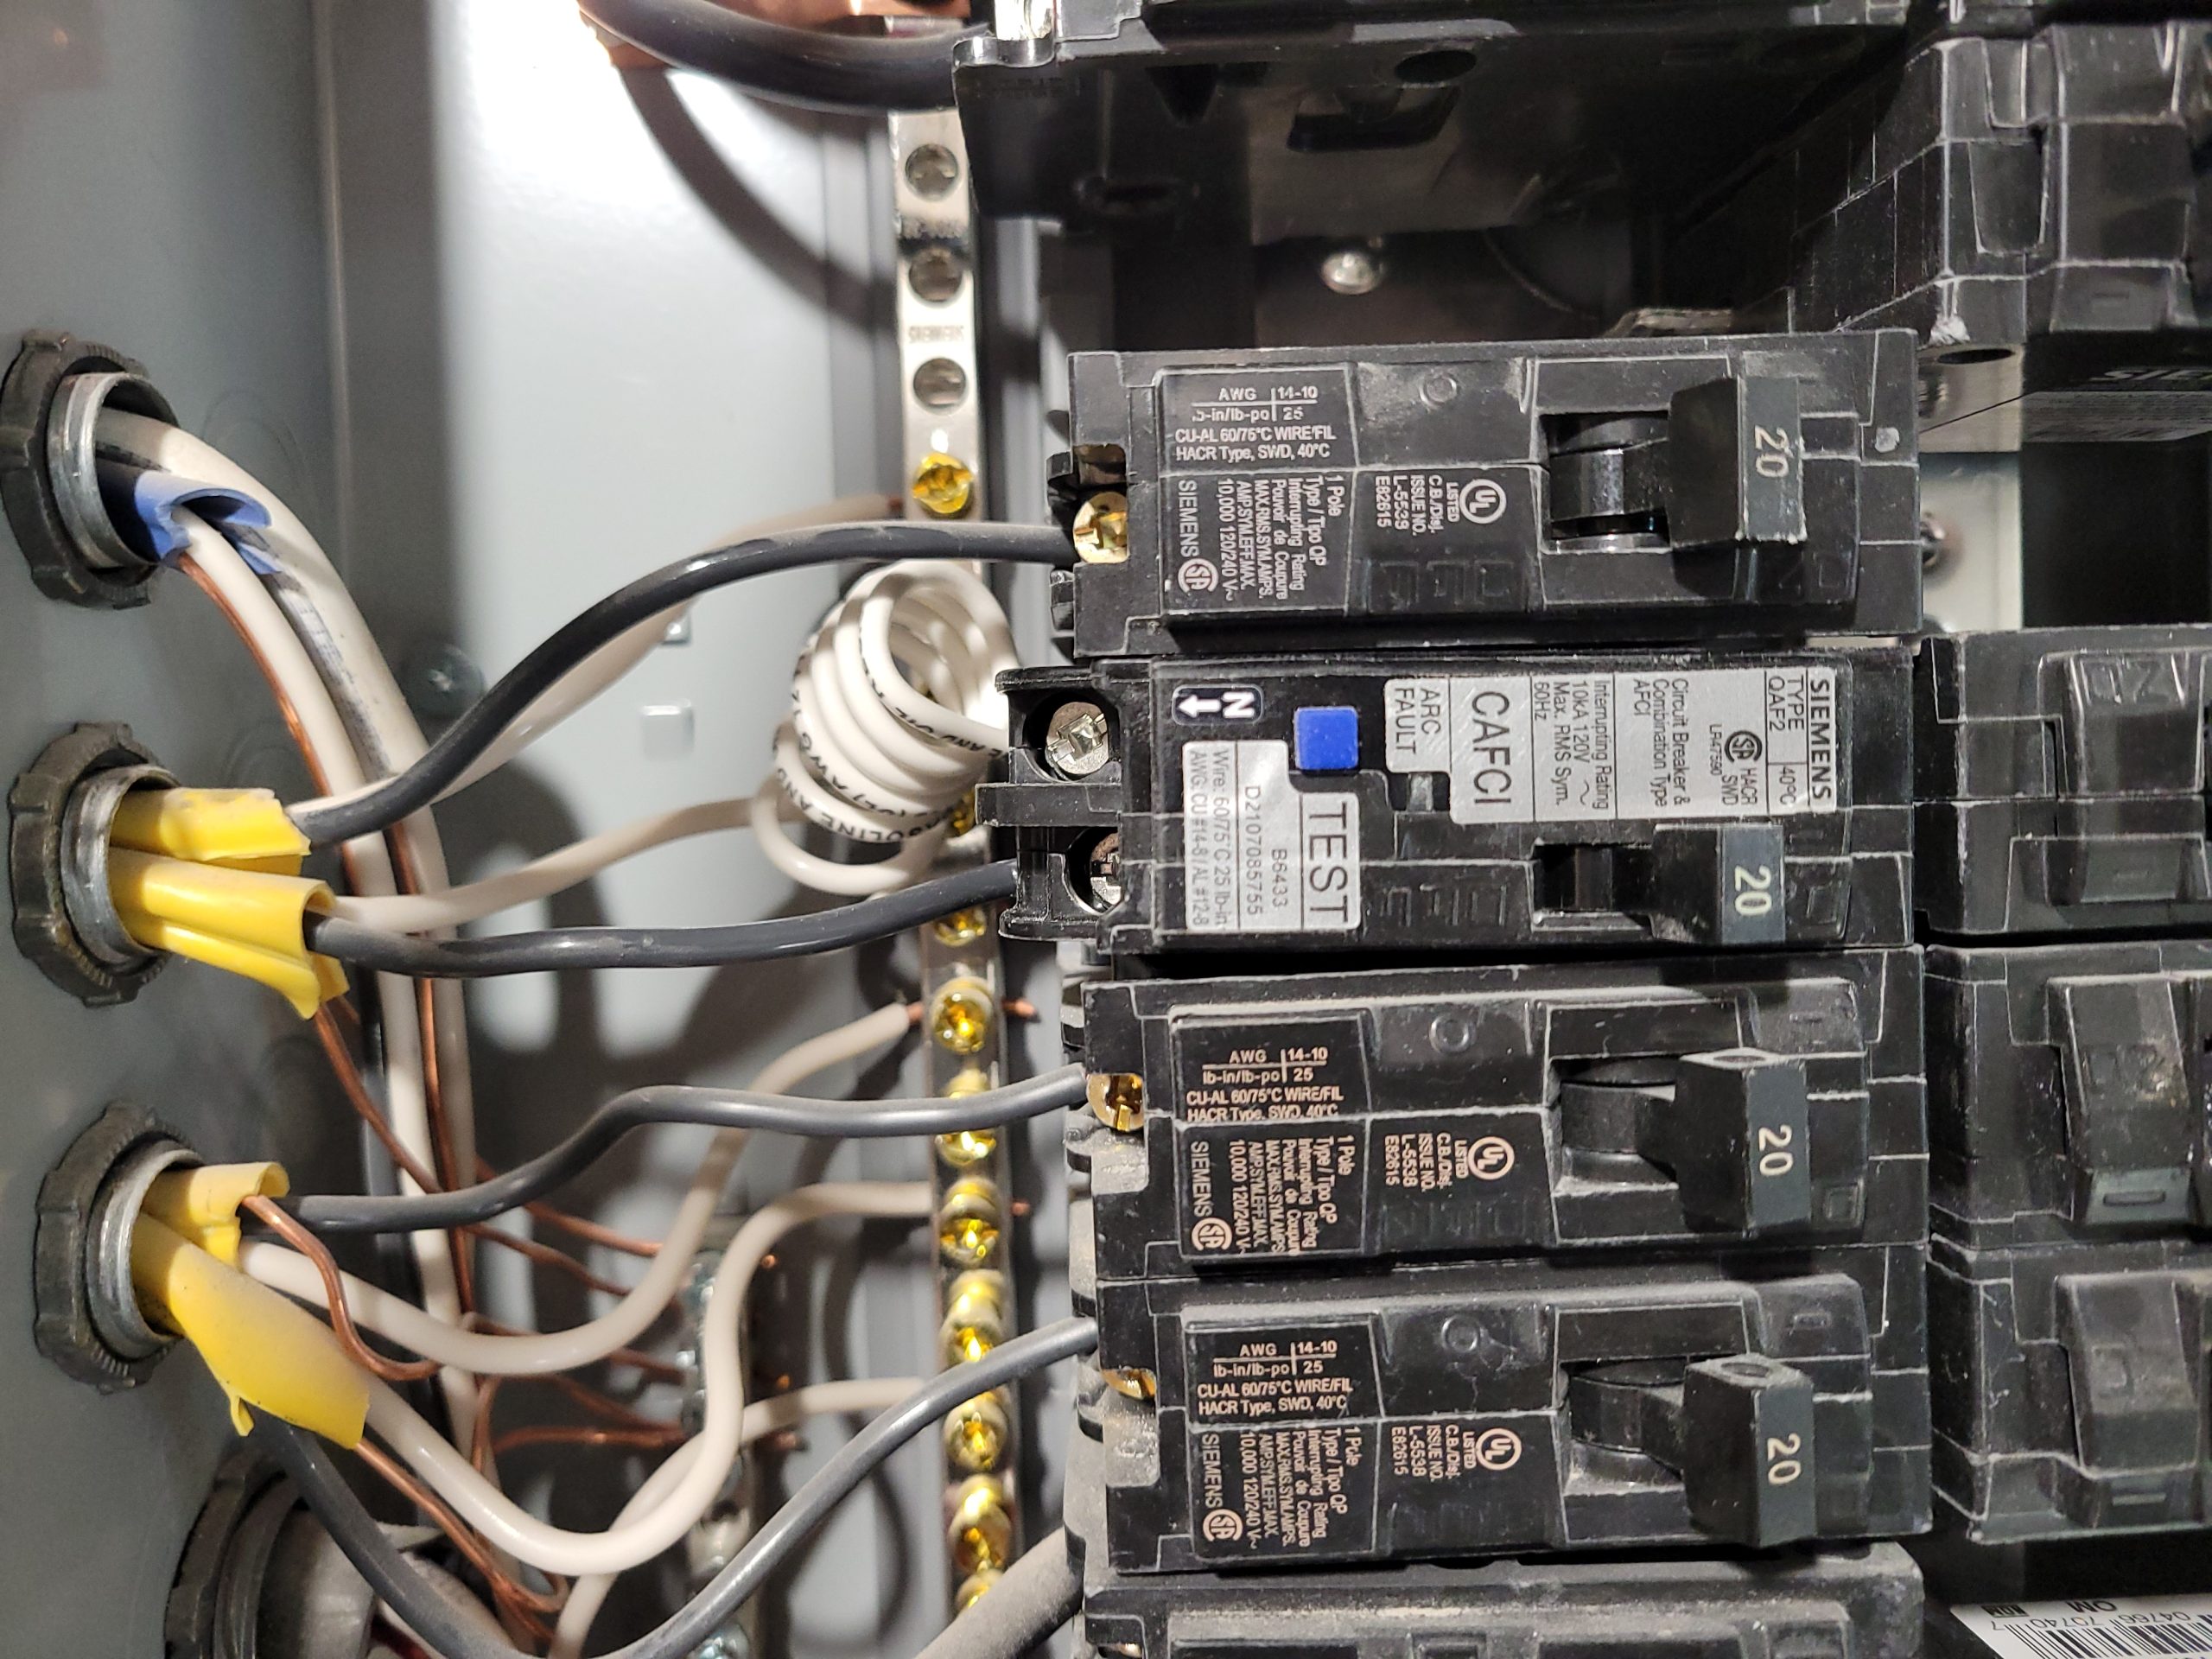
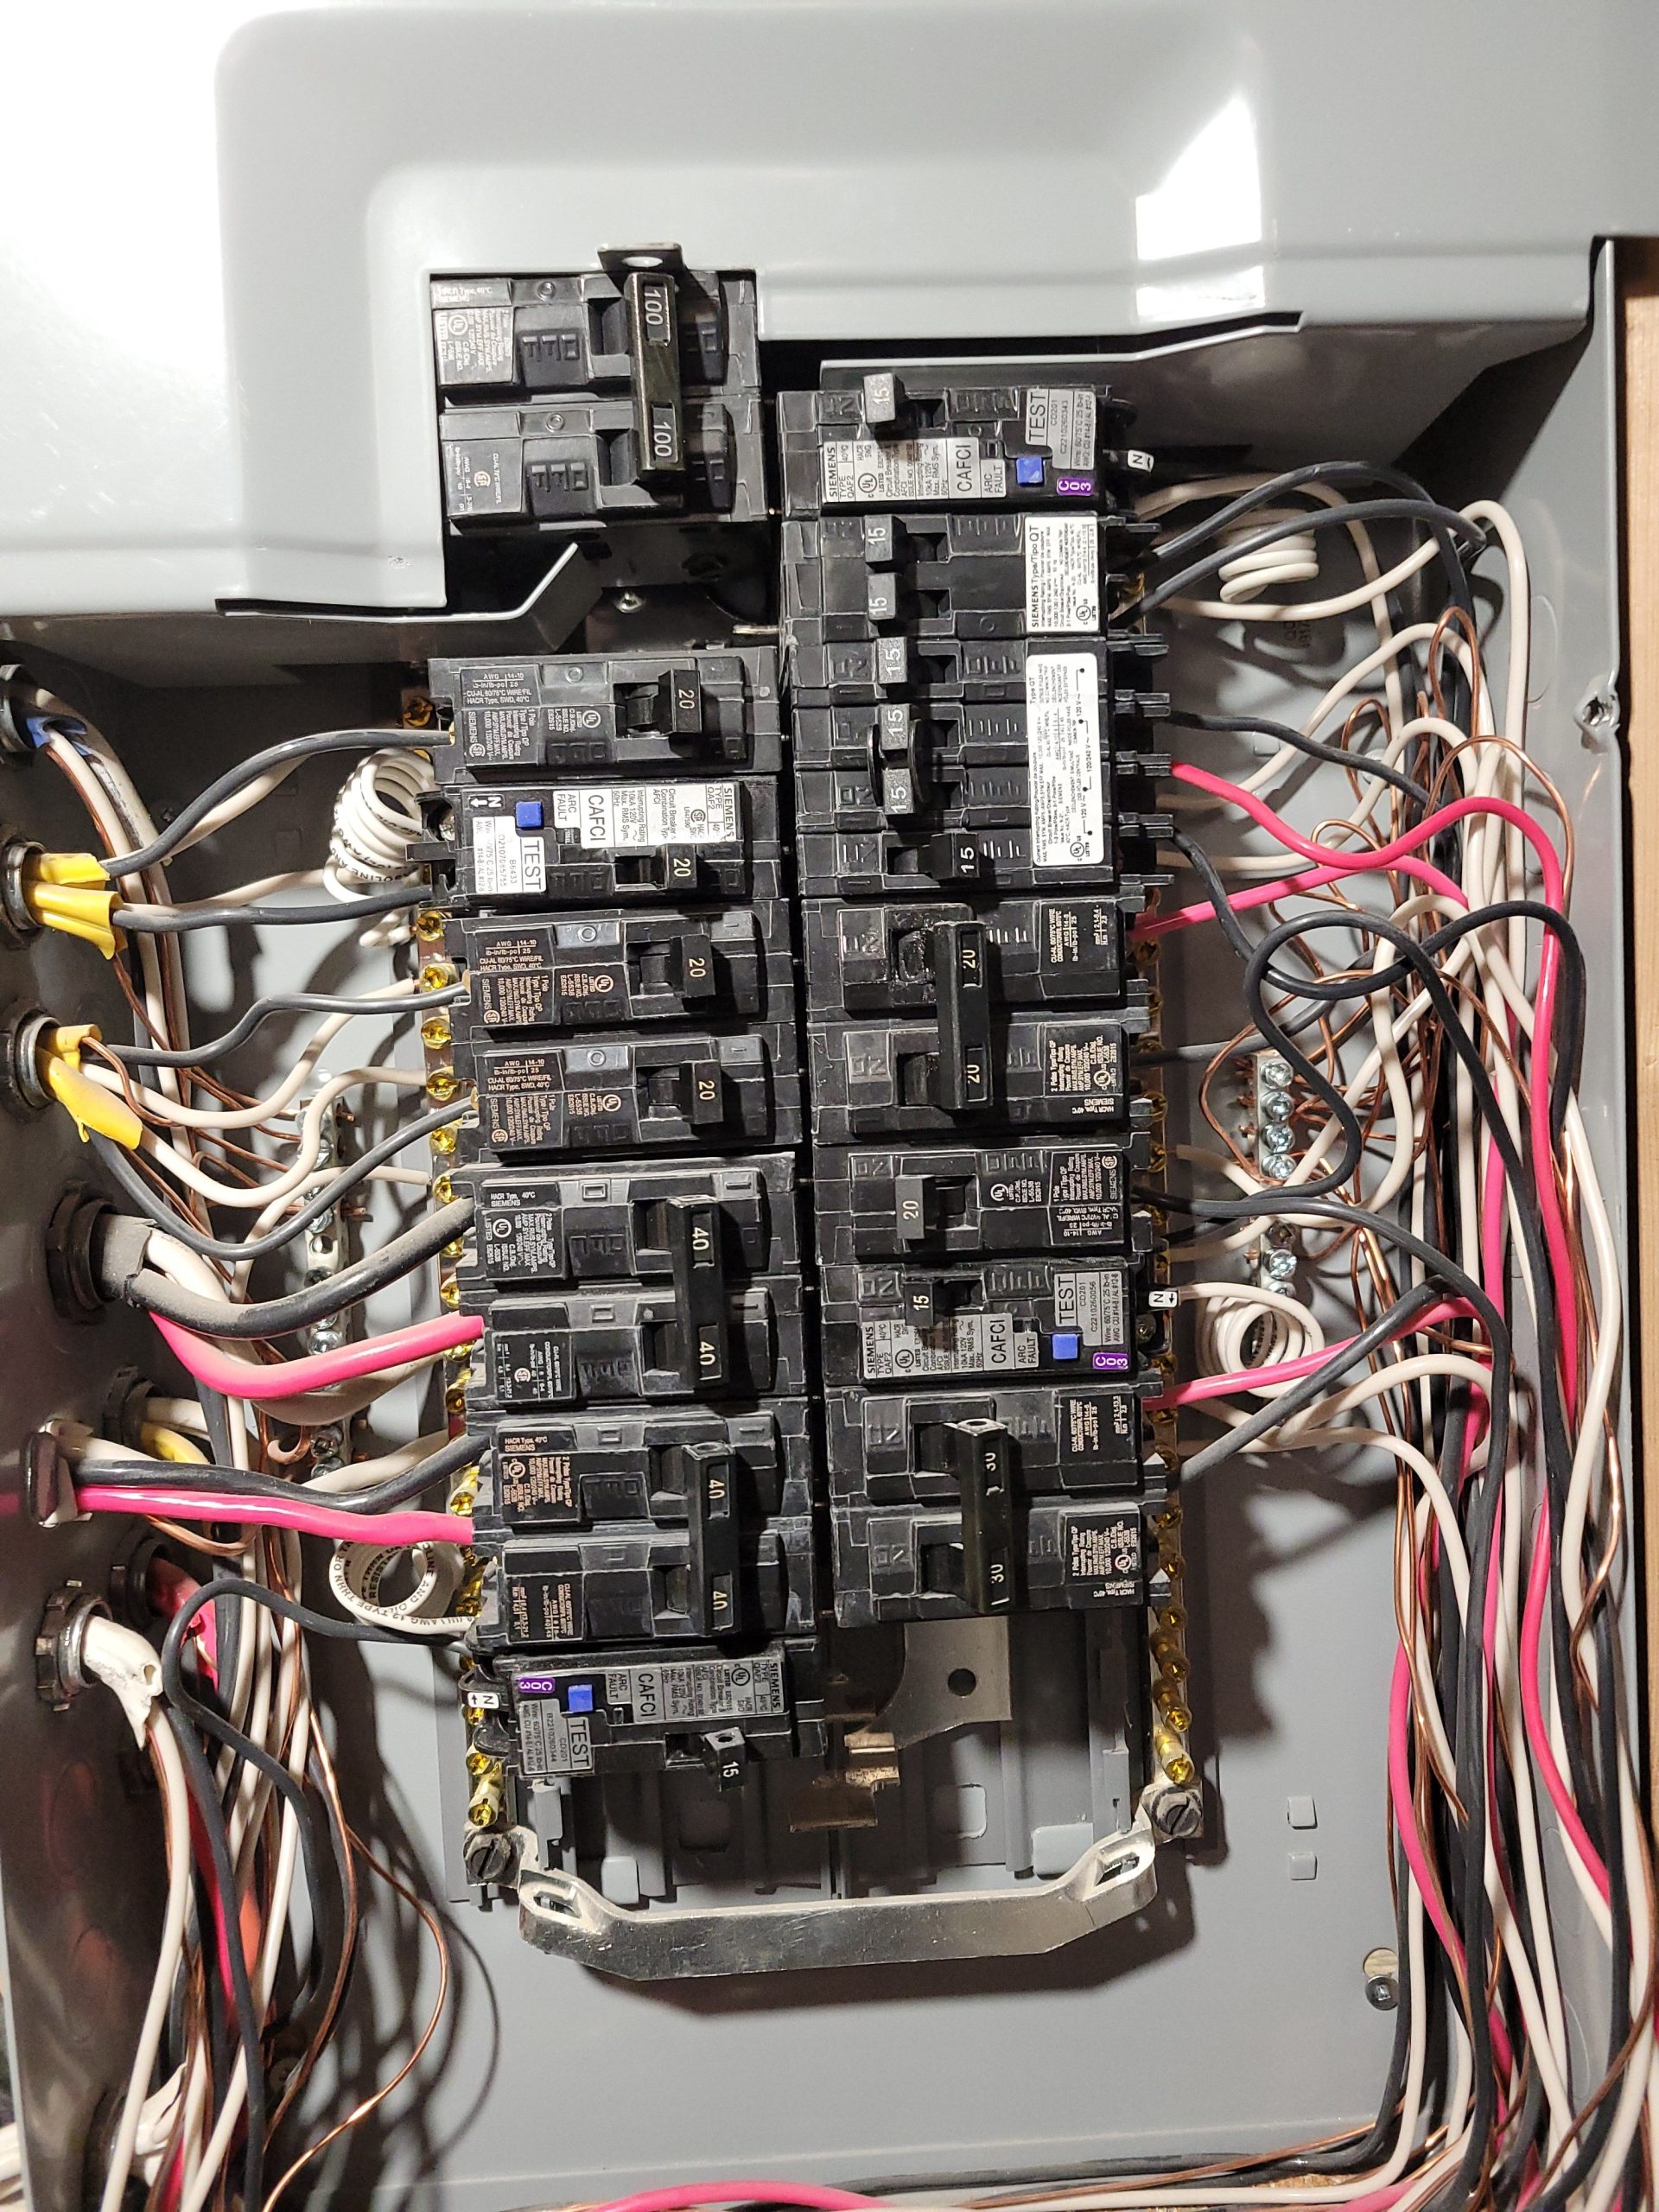
The washer needed an arc-fault breaker to be compliant with building code. The microwave, too, needed AFCI, although now, with the rewiring of the countertop outlets, it is now only 15 amperes.