living room add-on walls

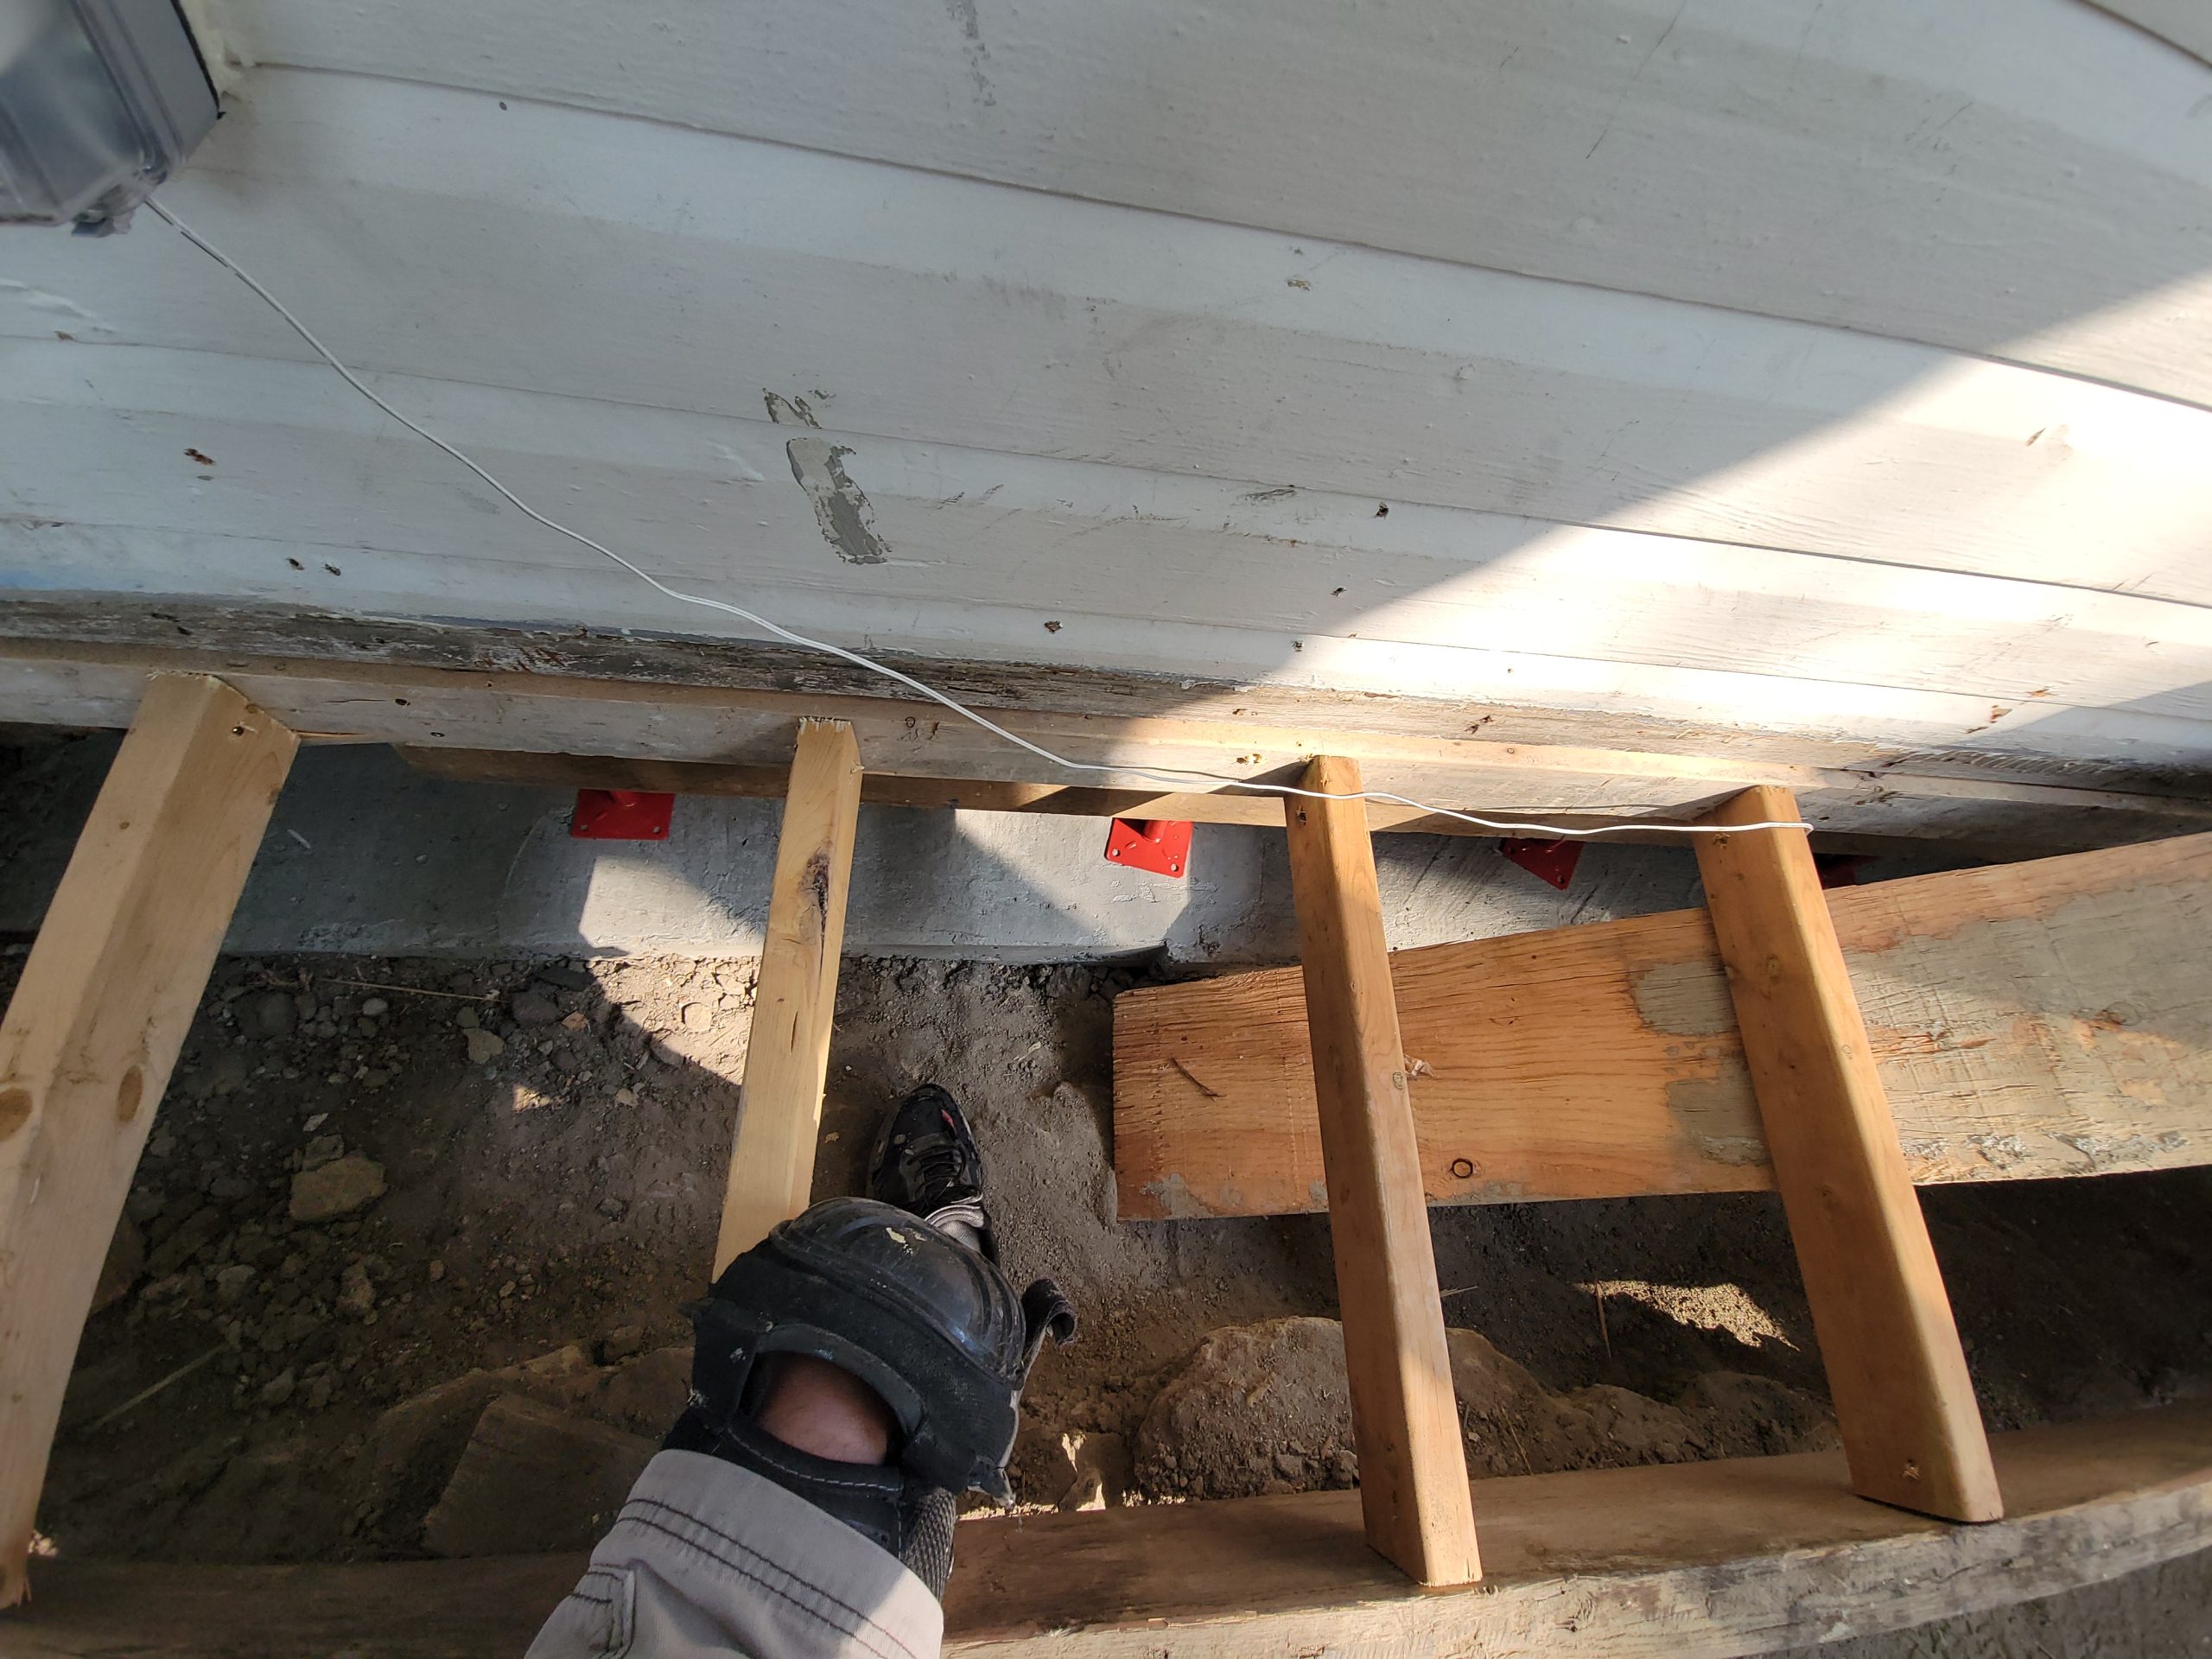
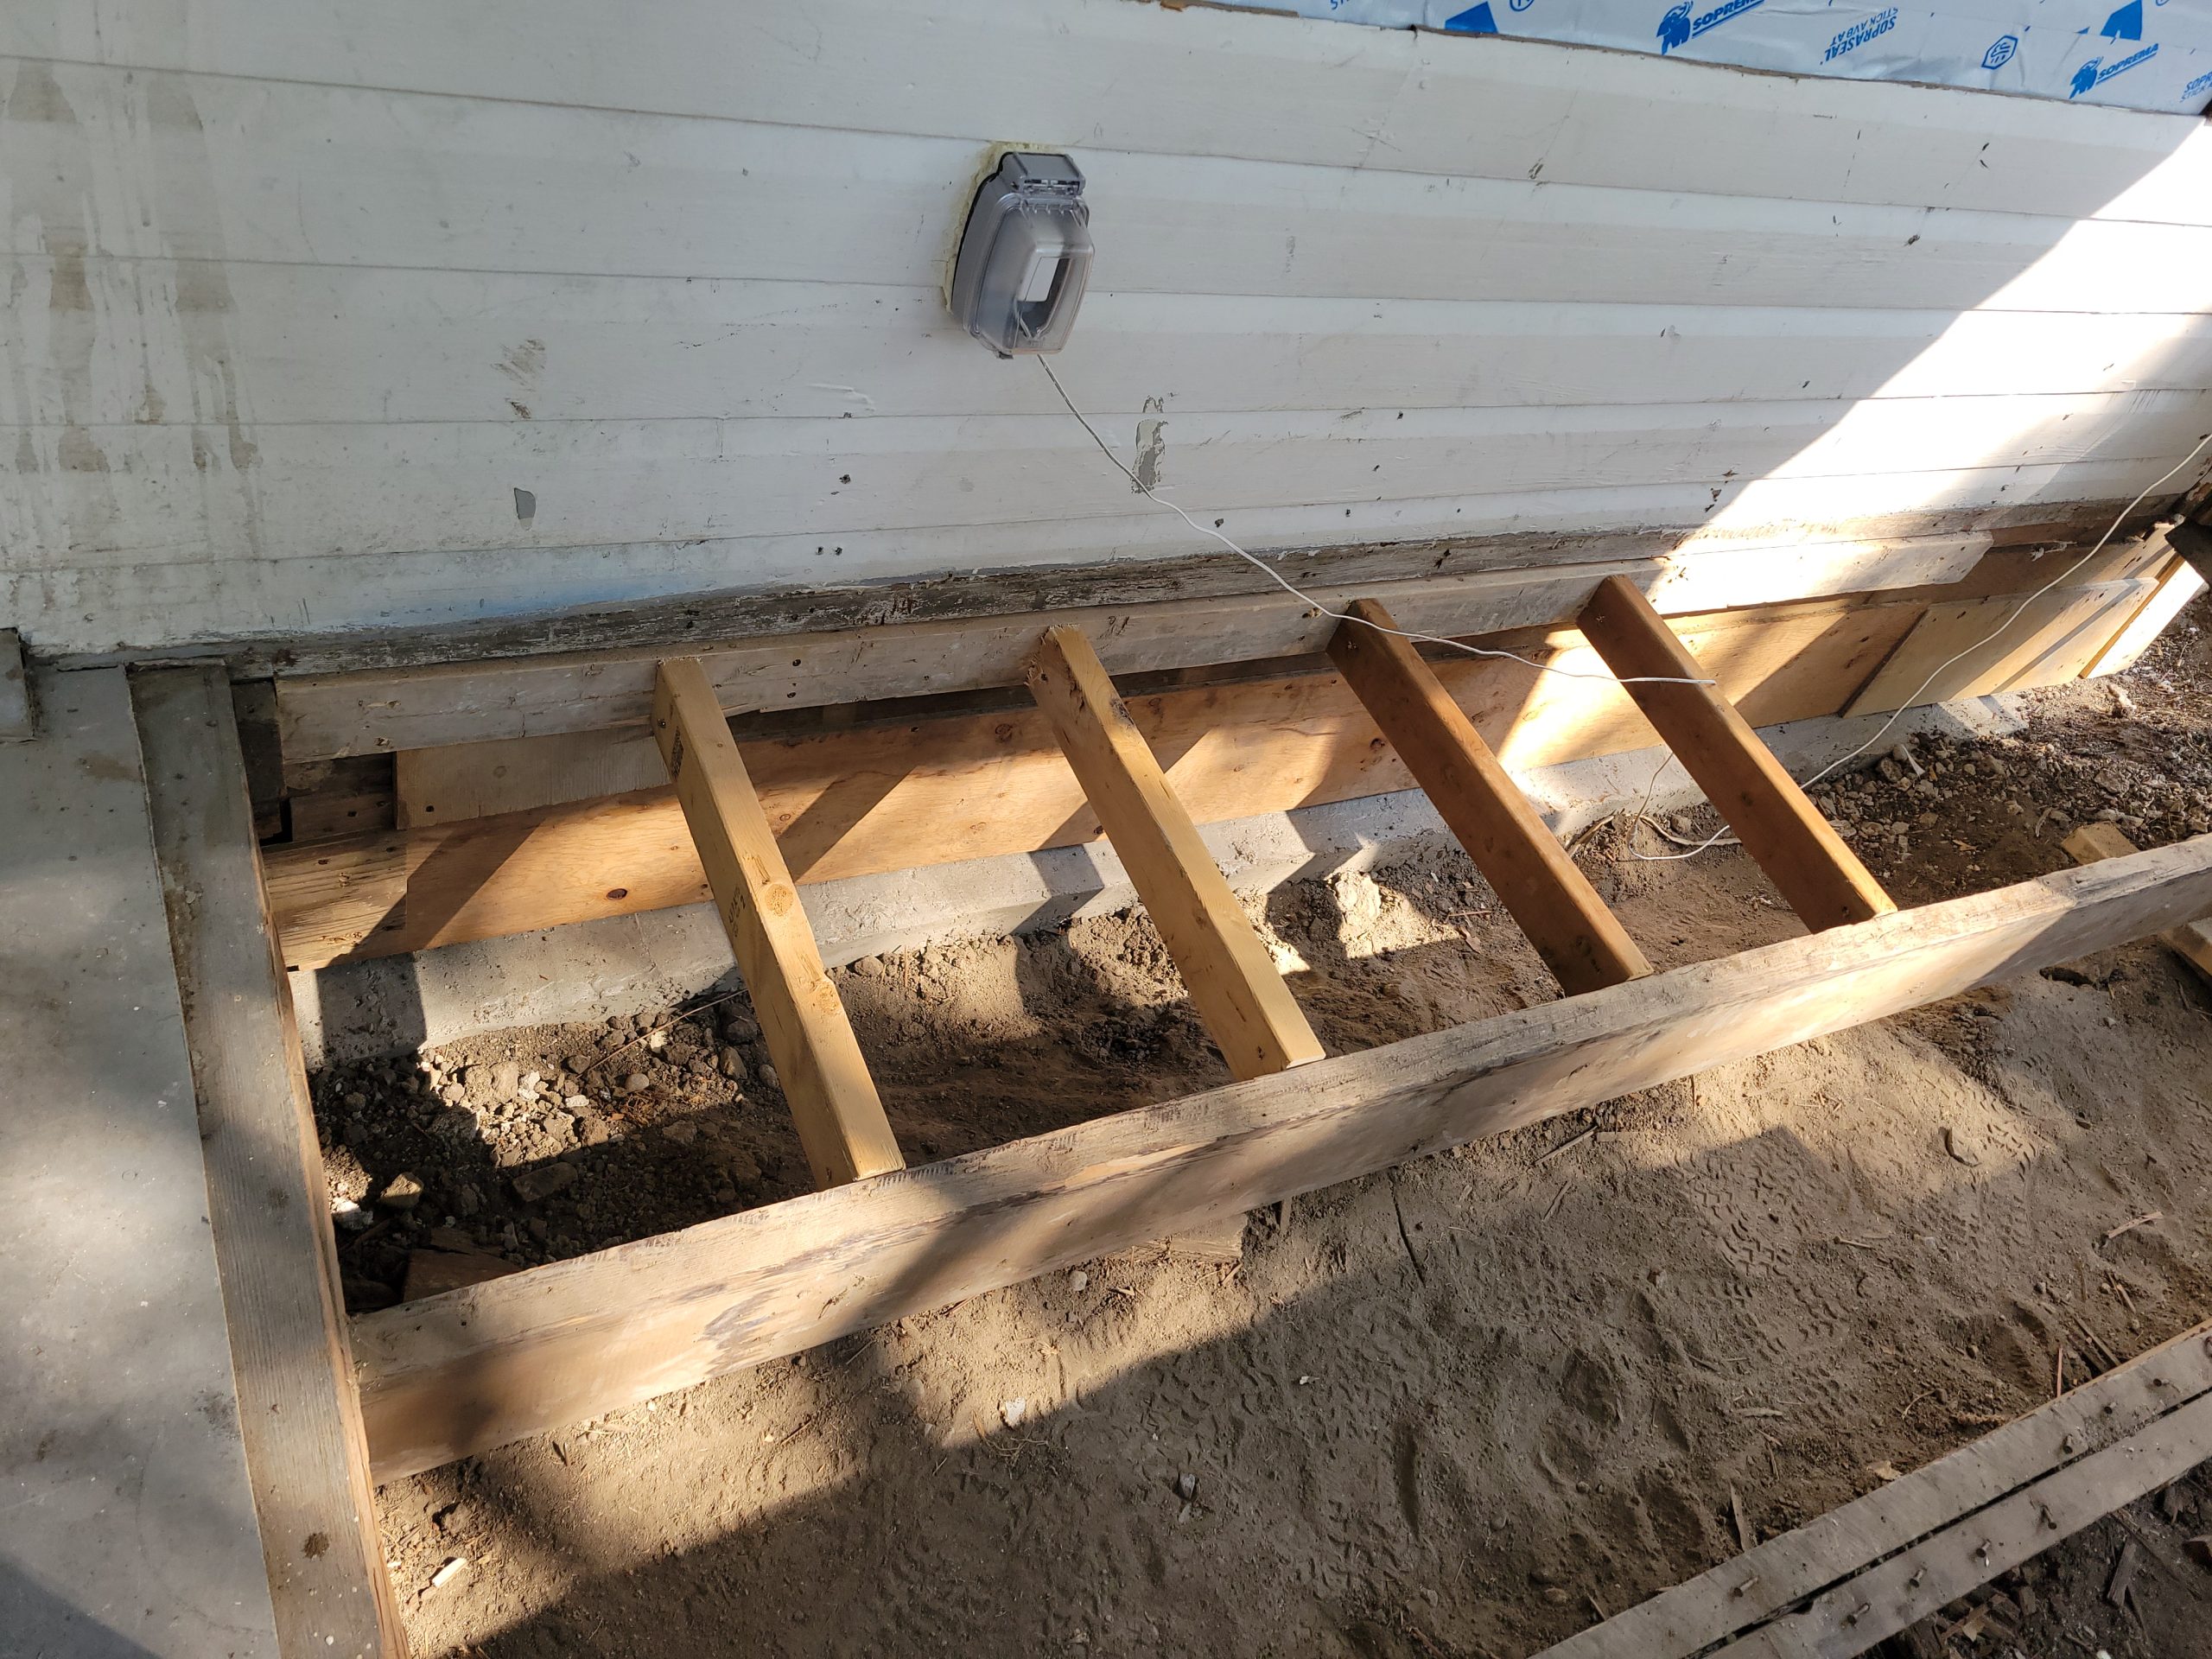
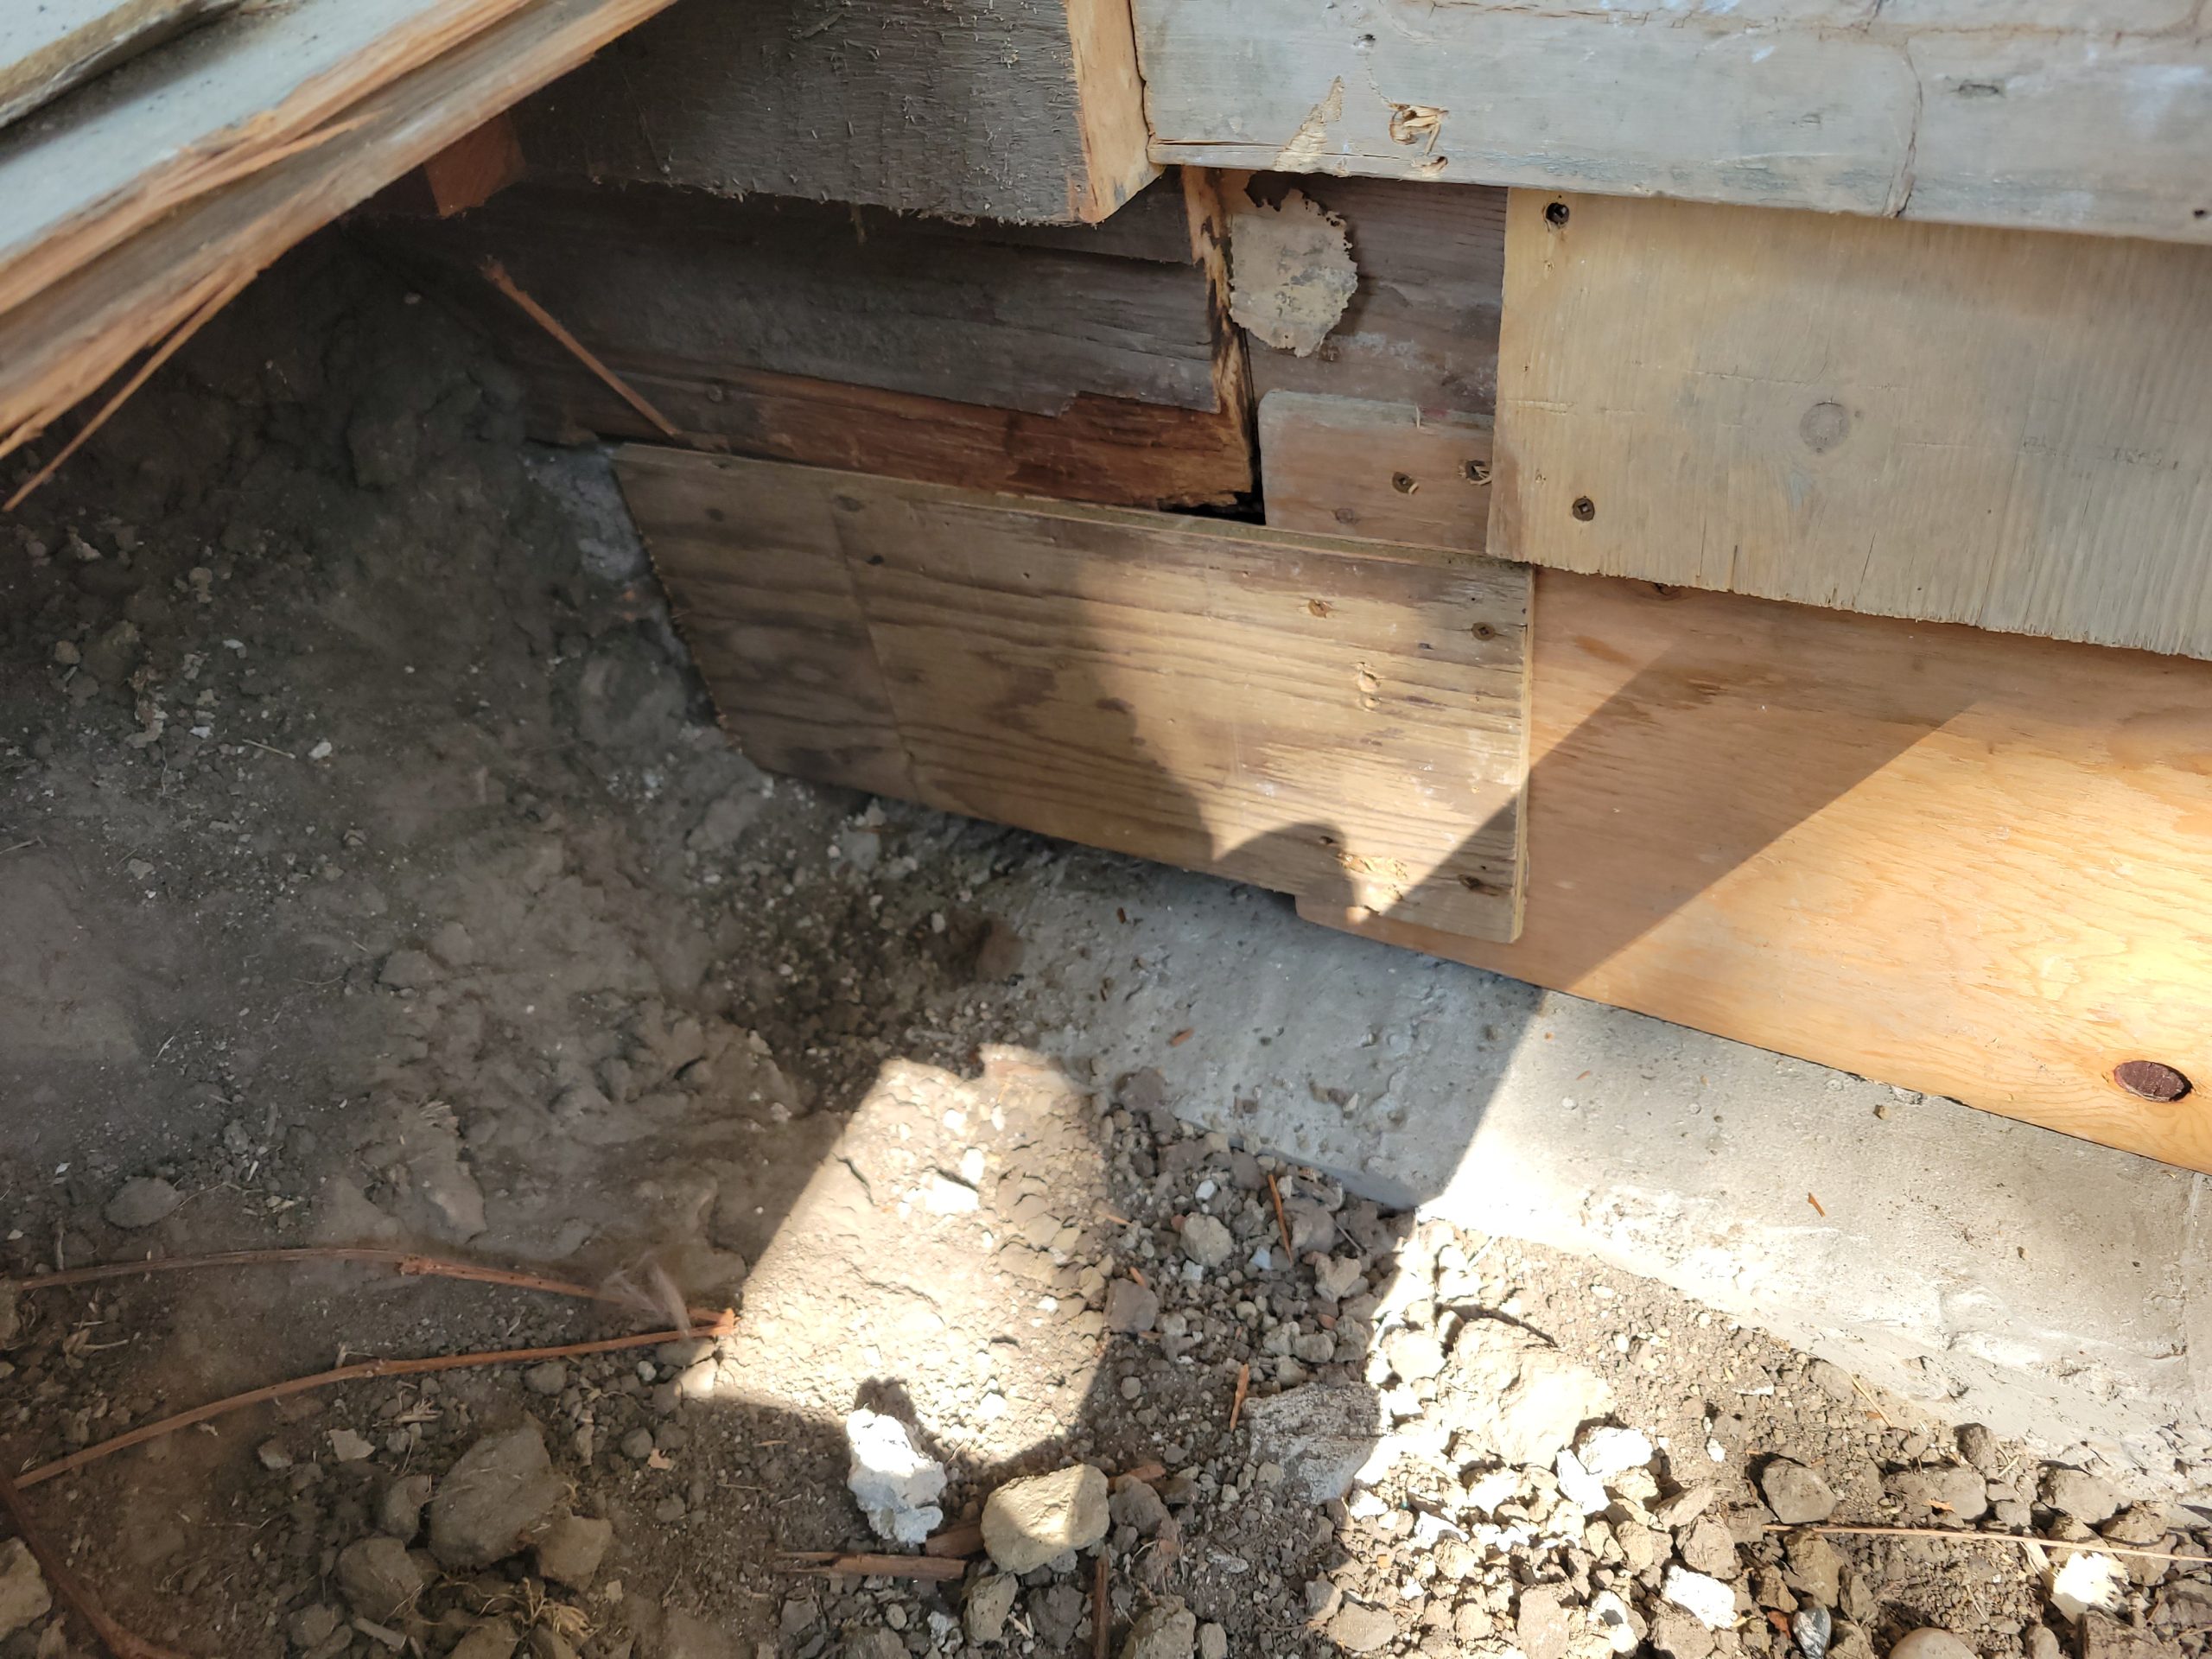
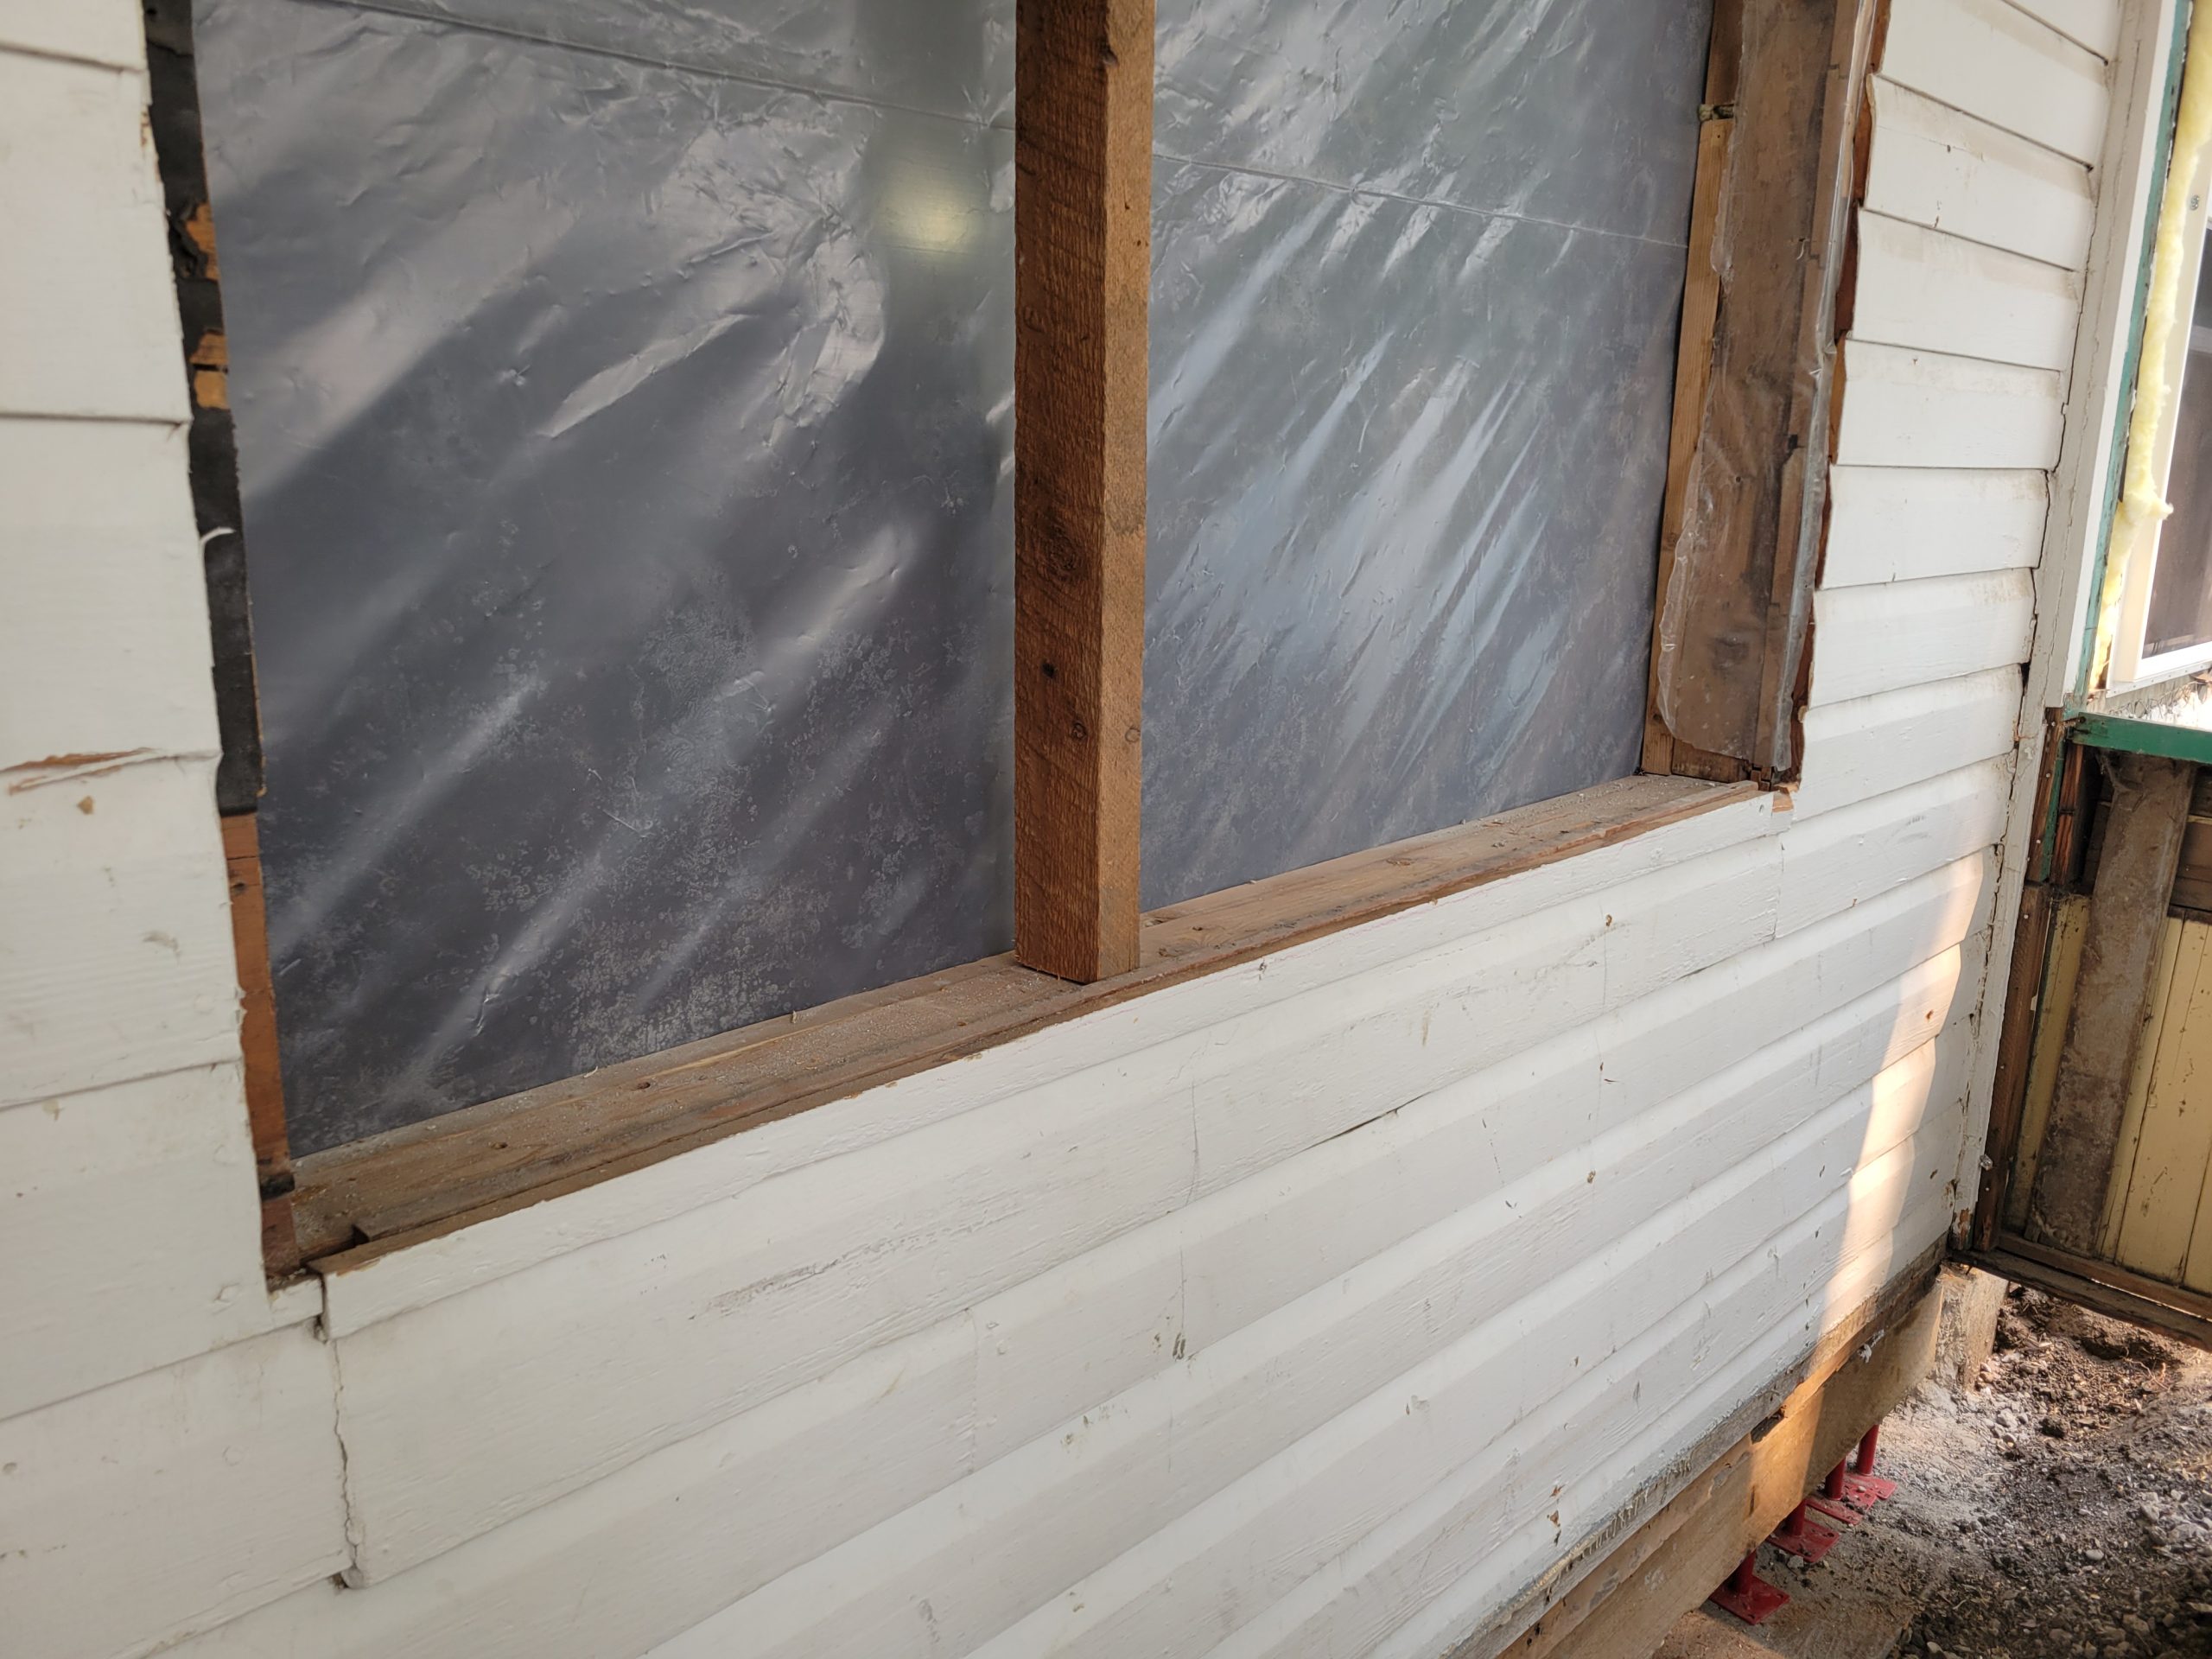
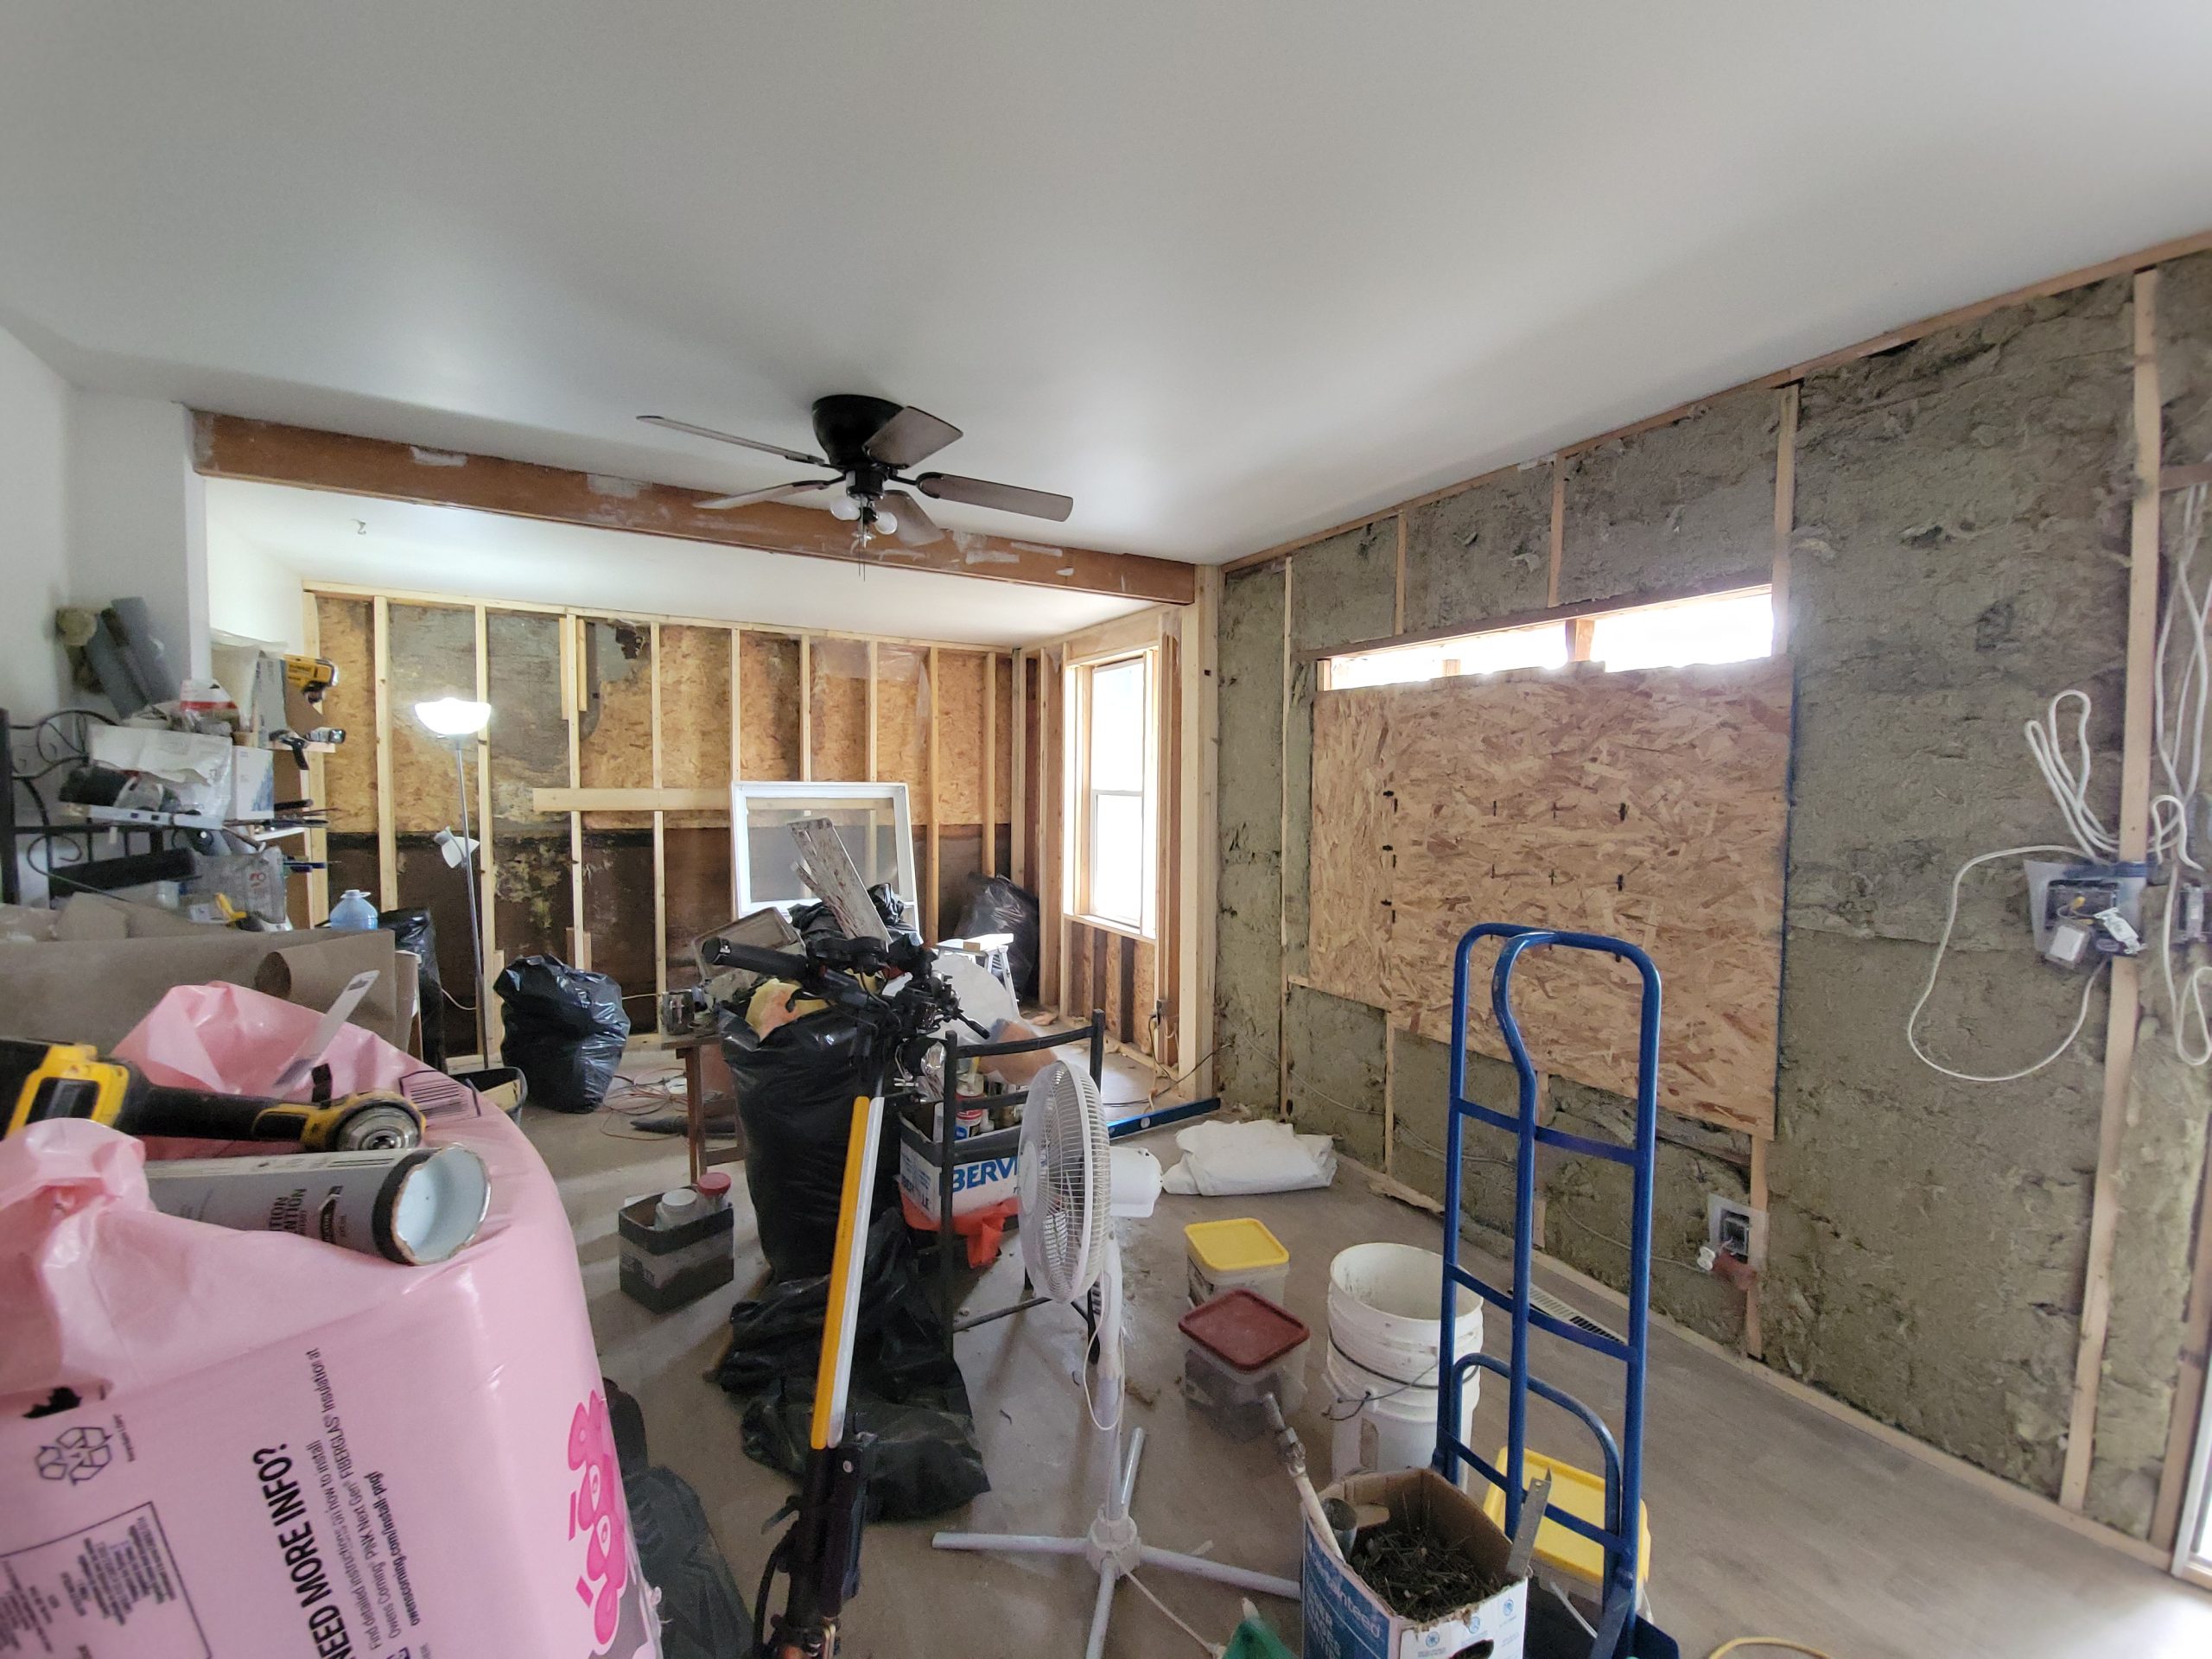
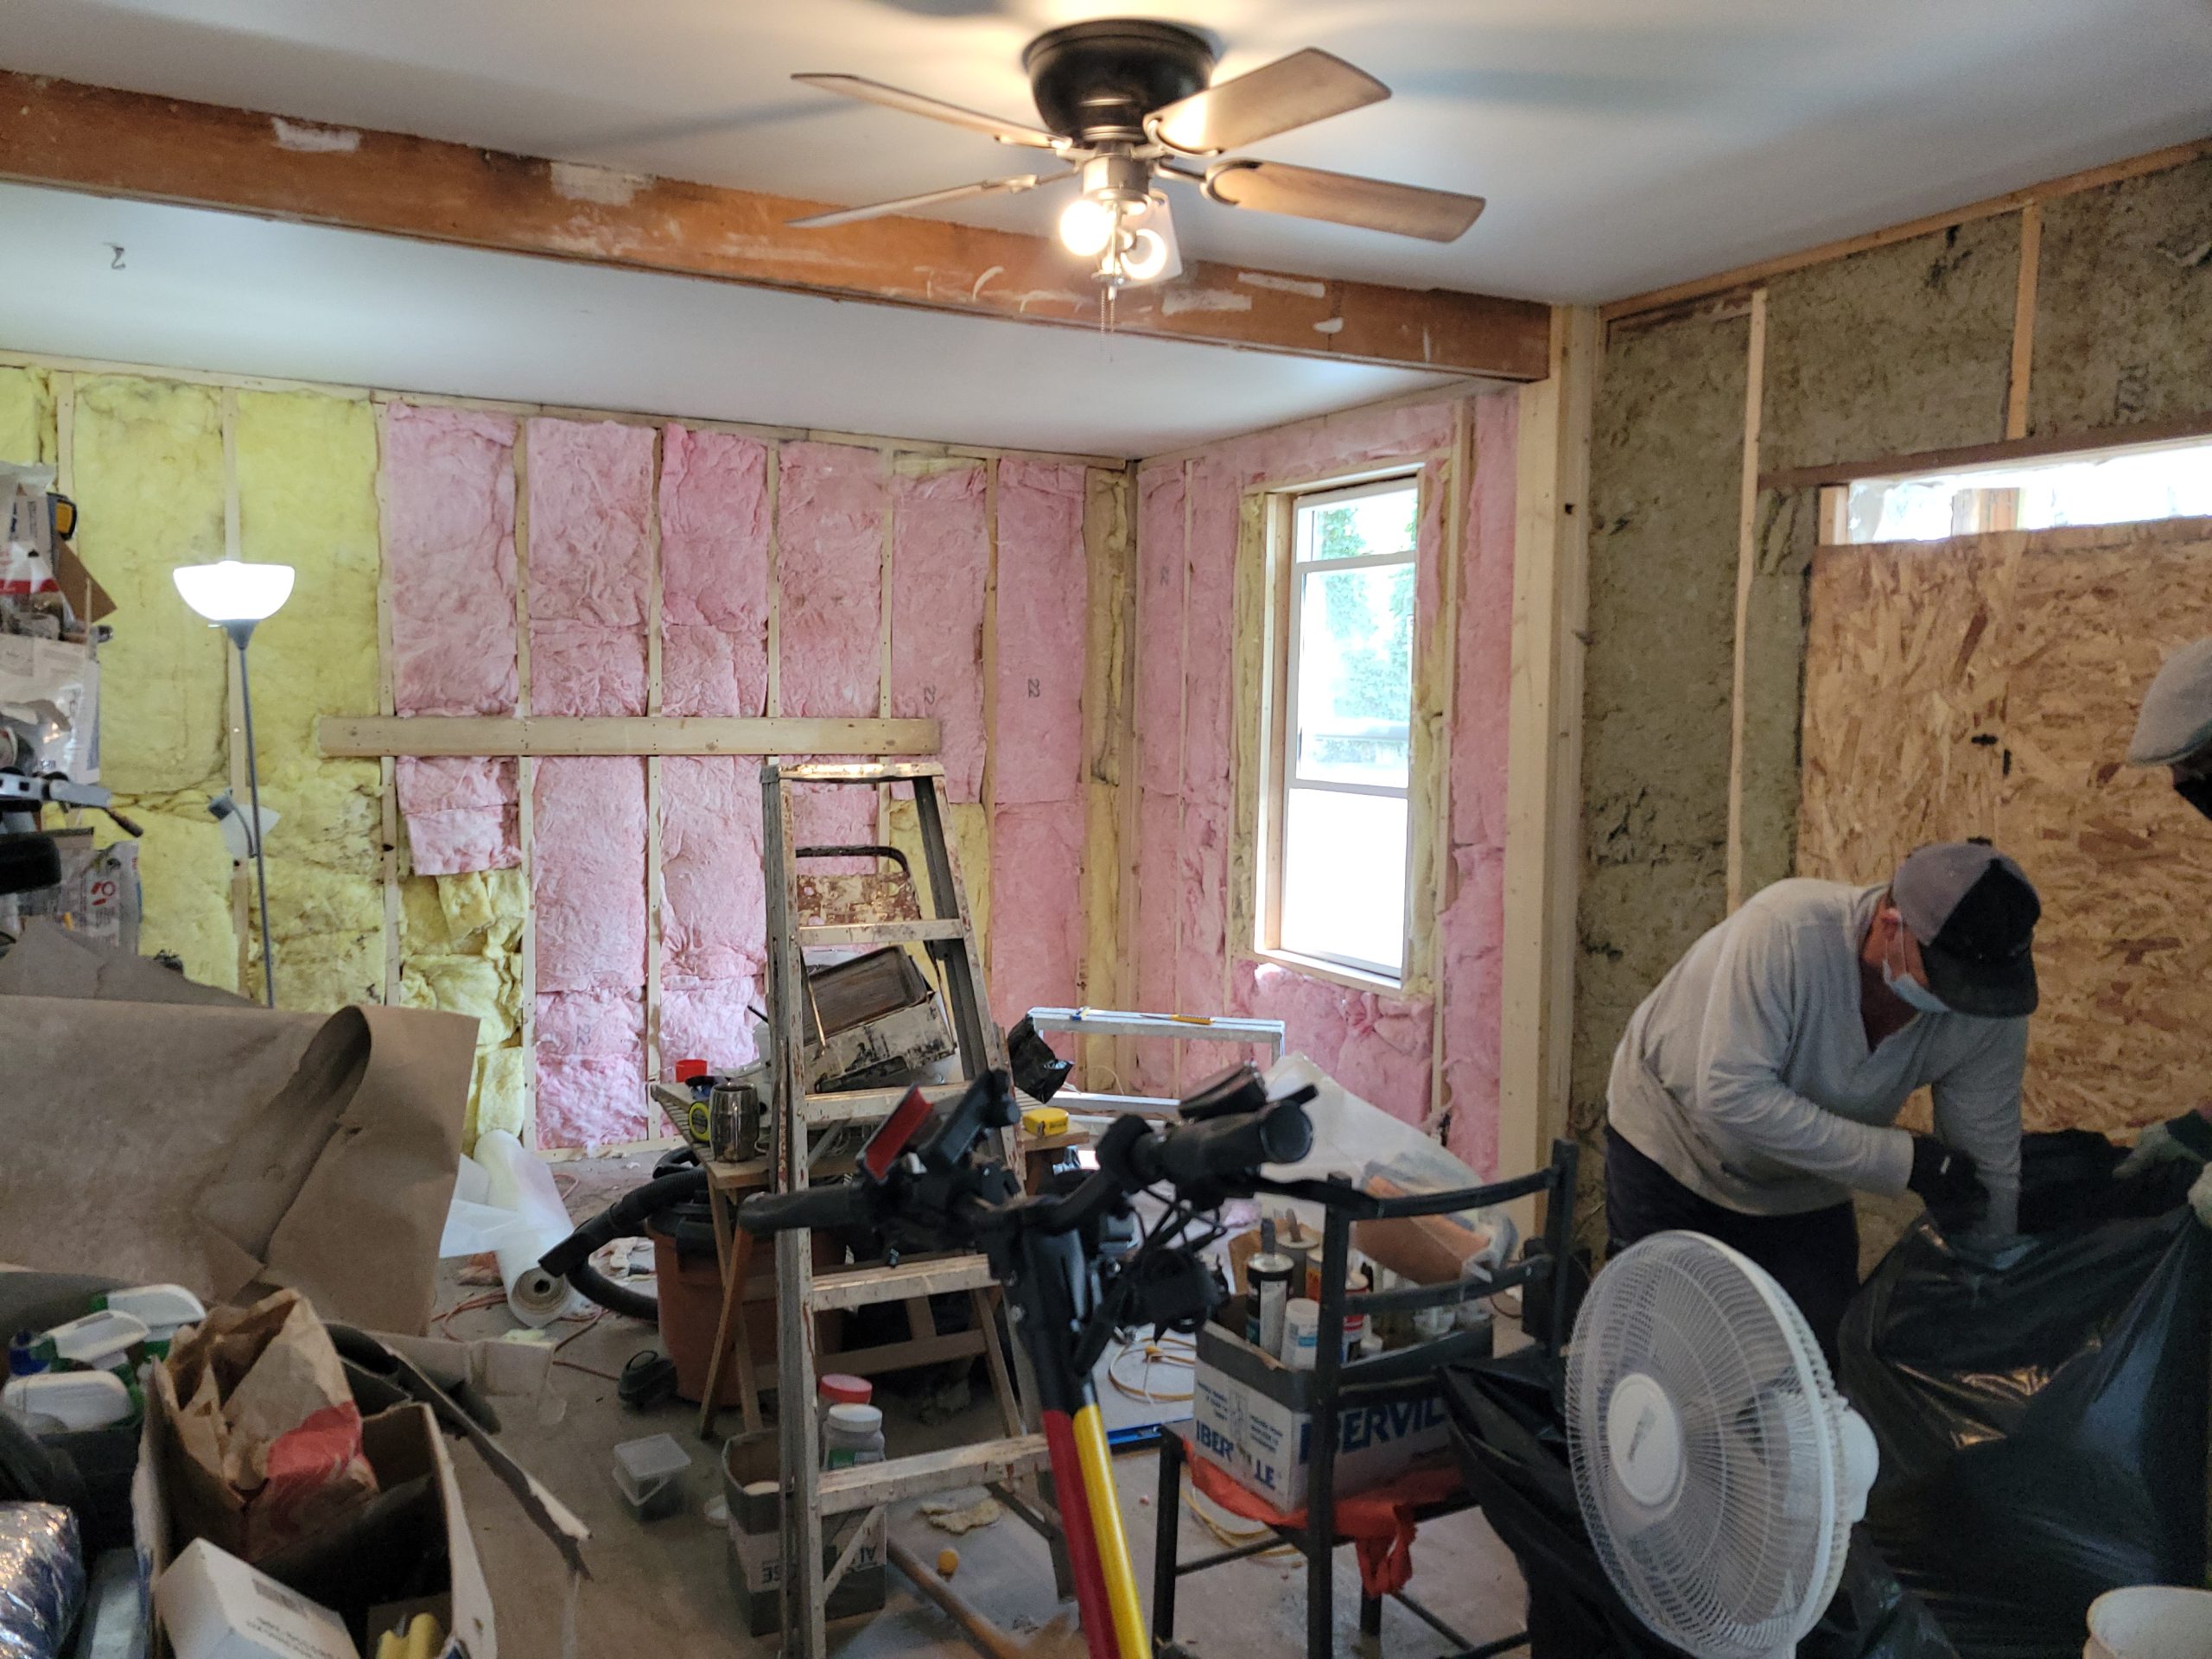
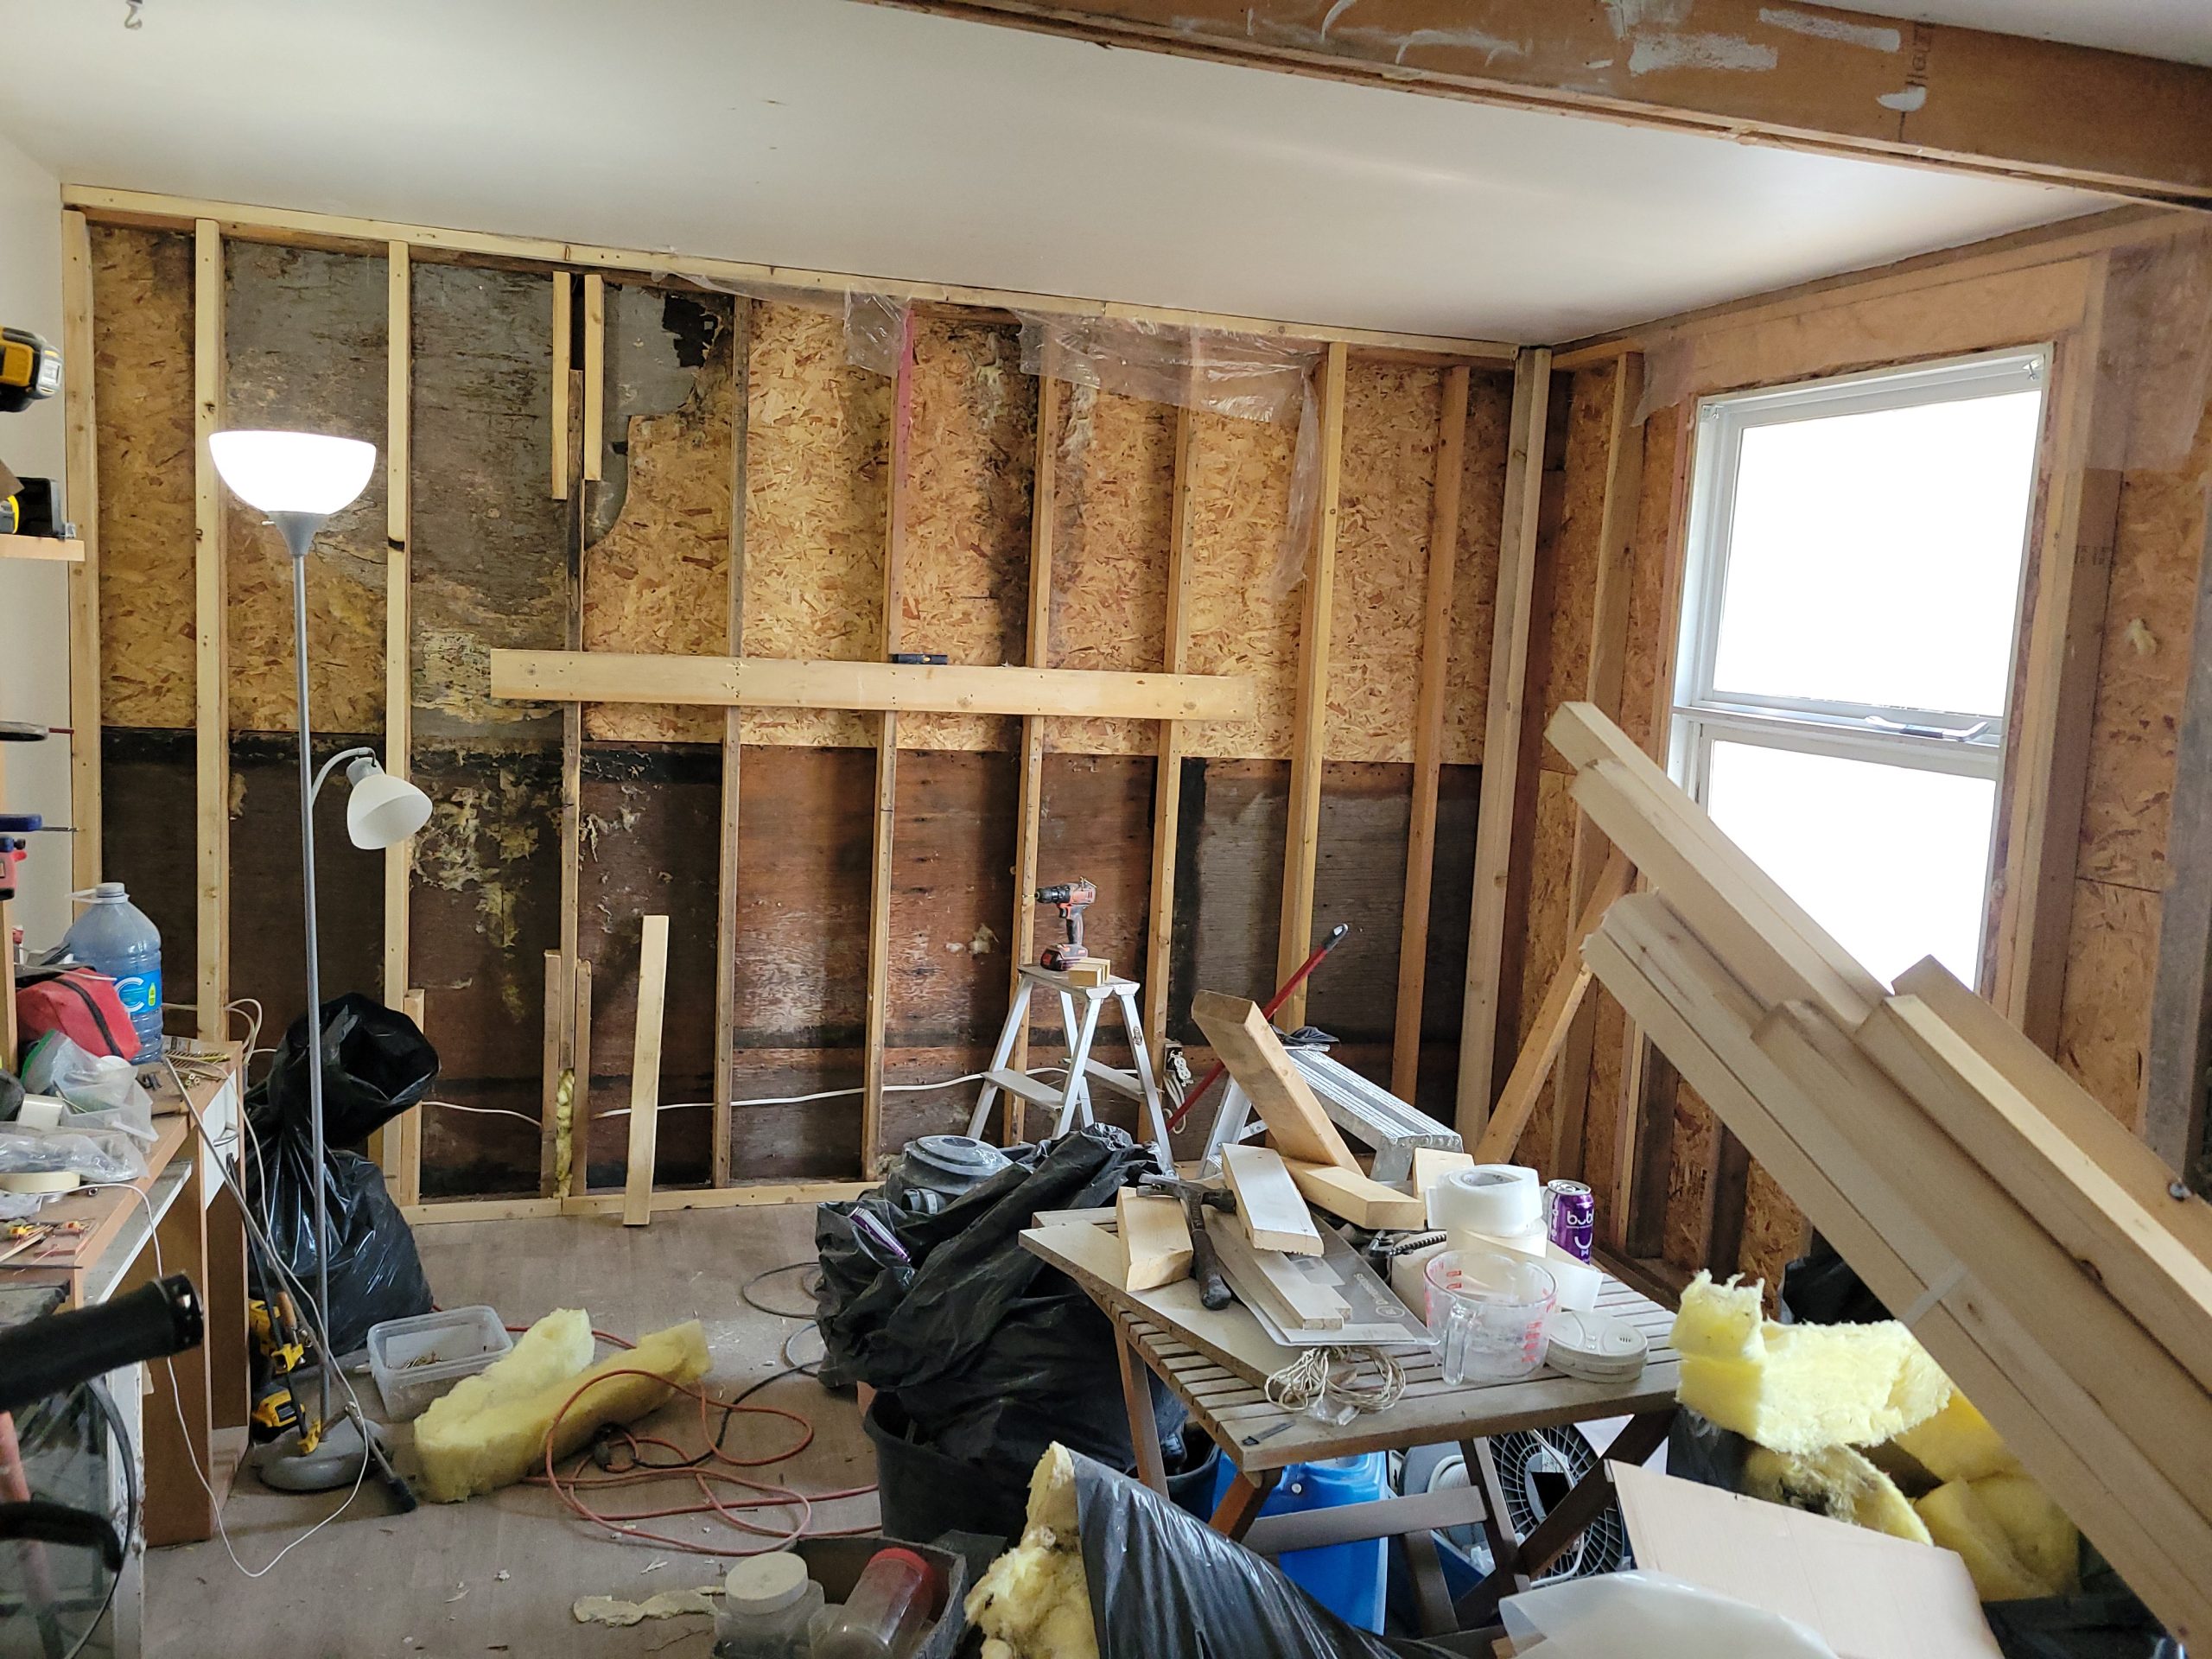
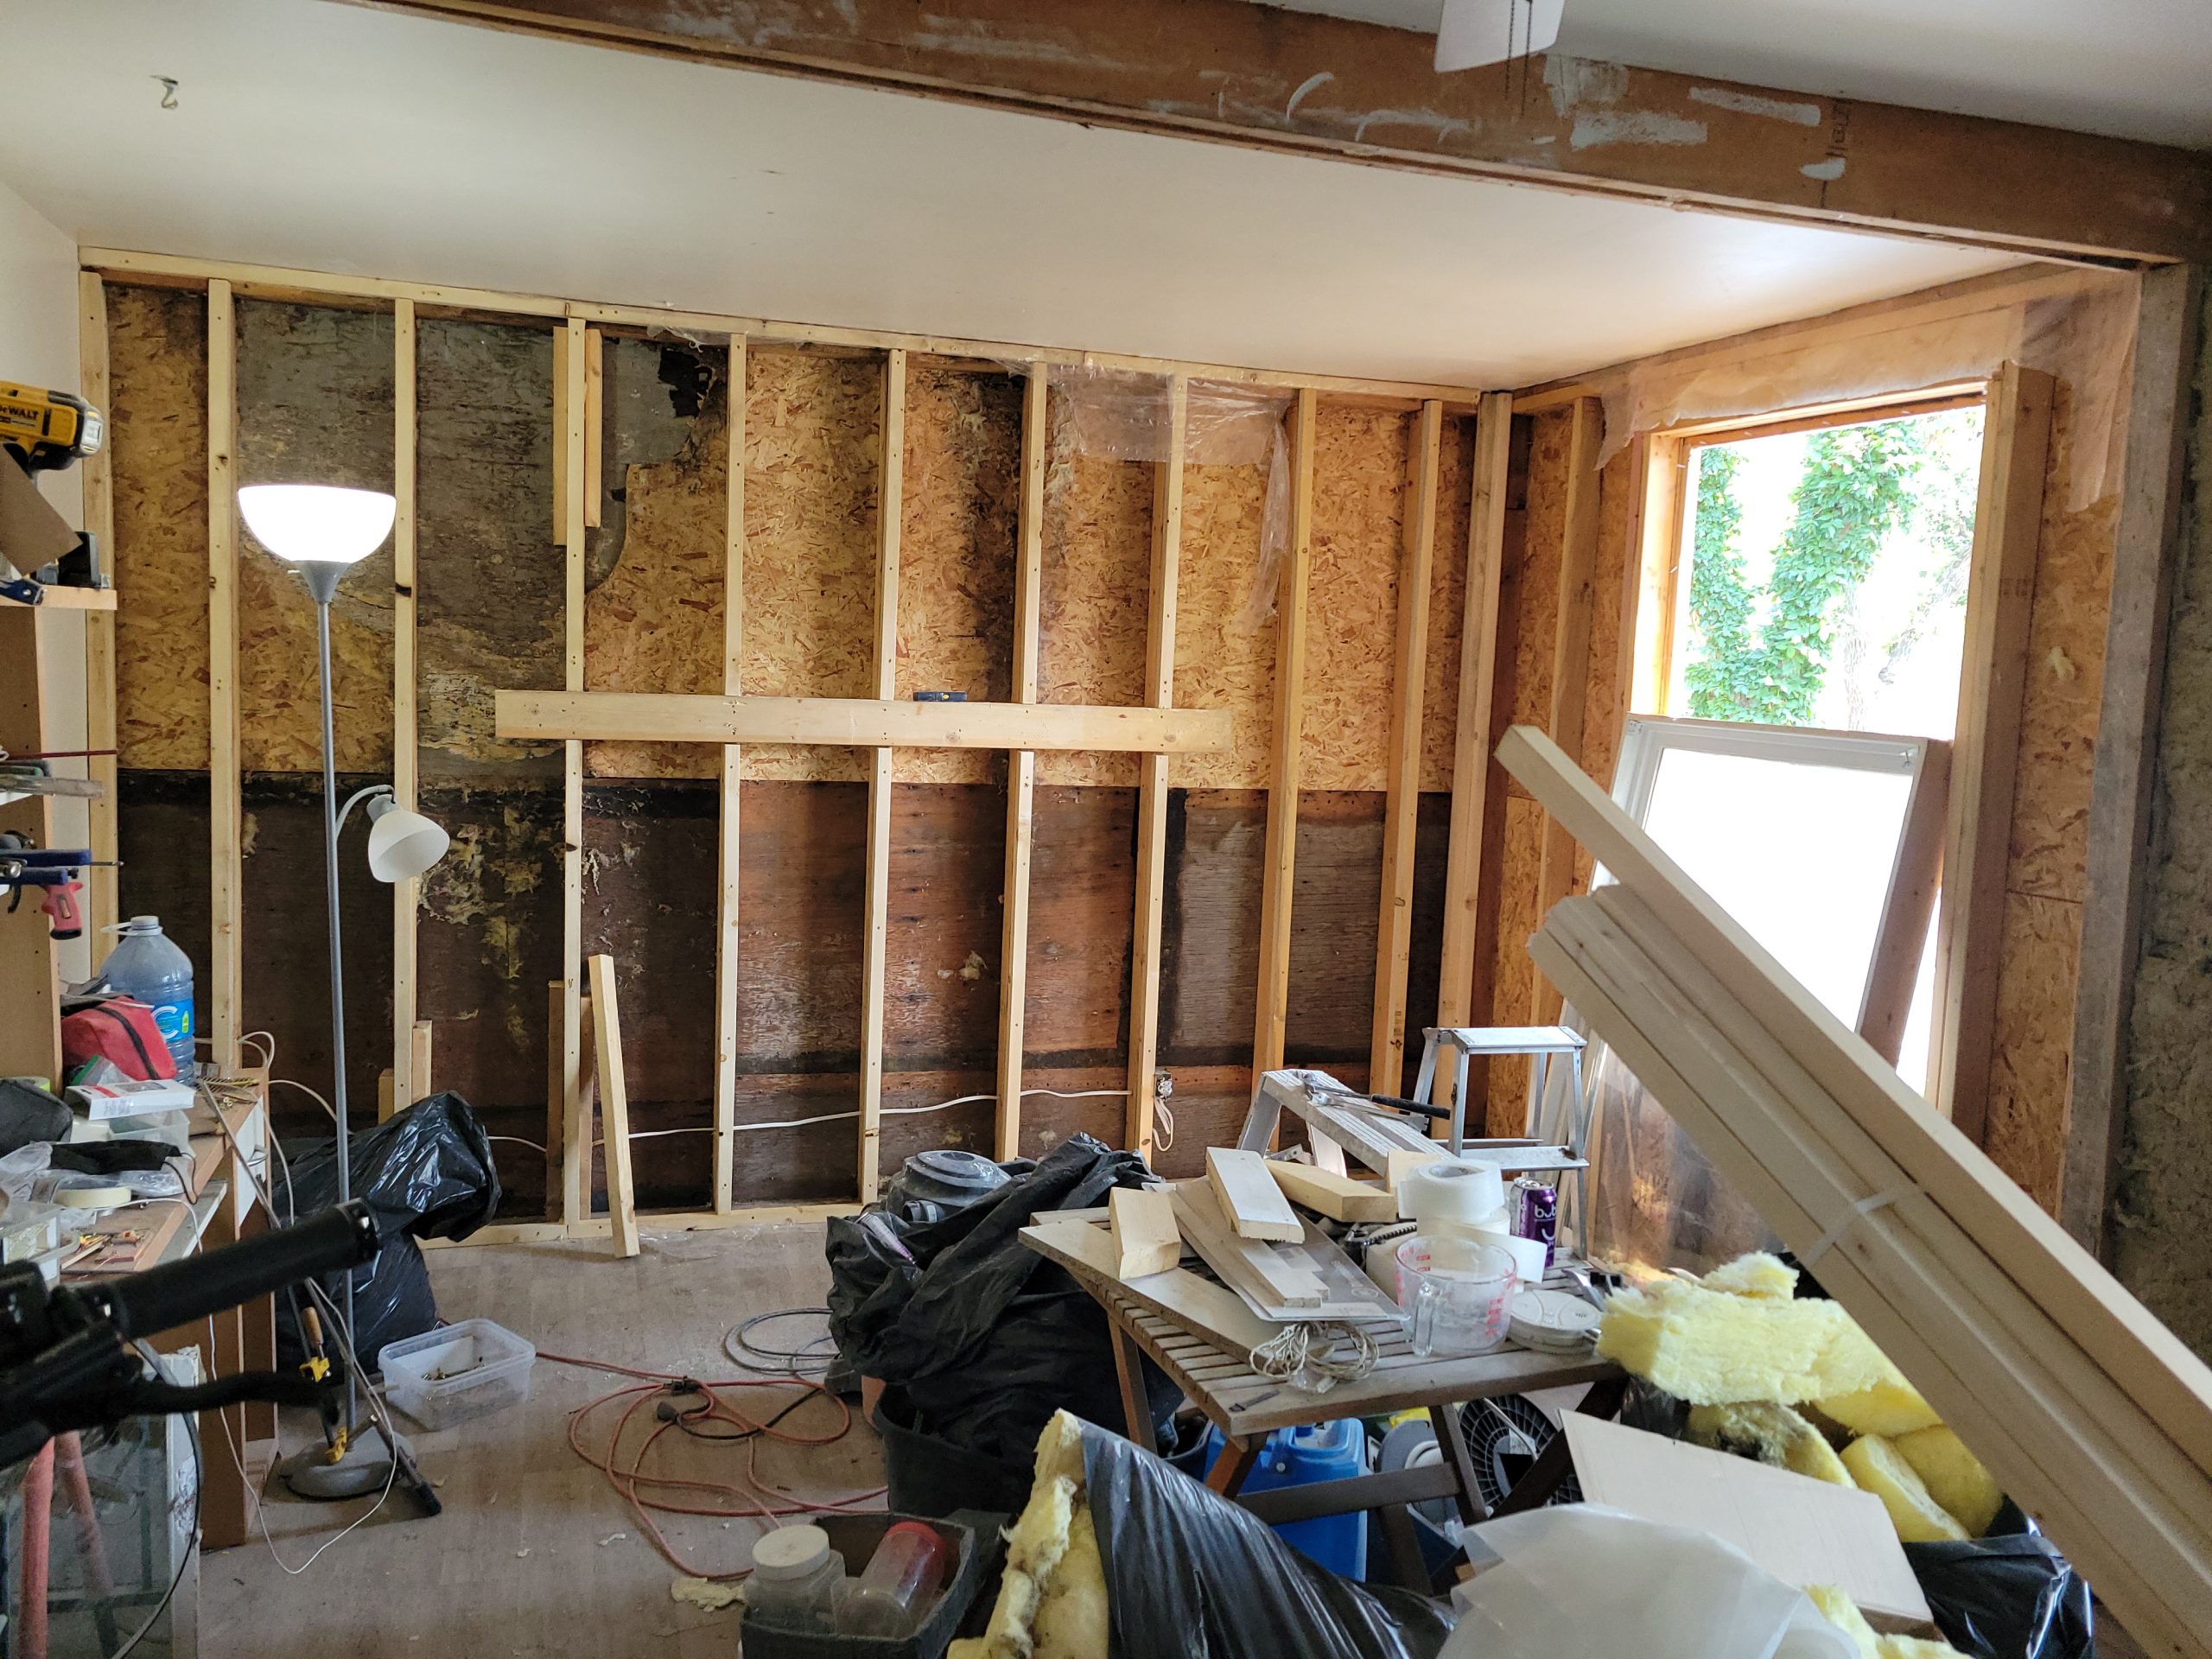
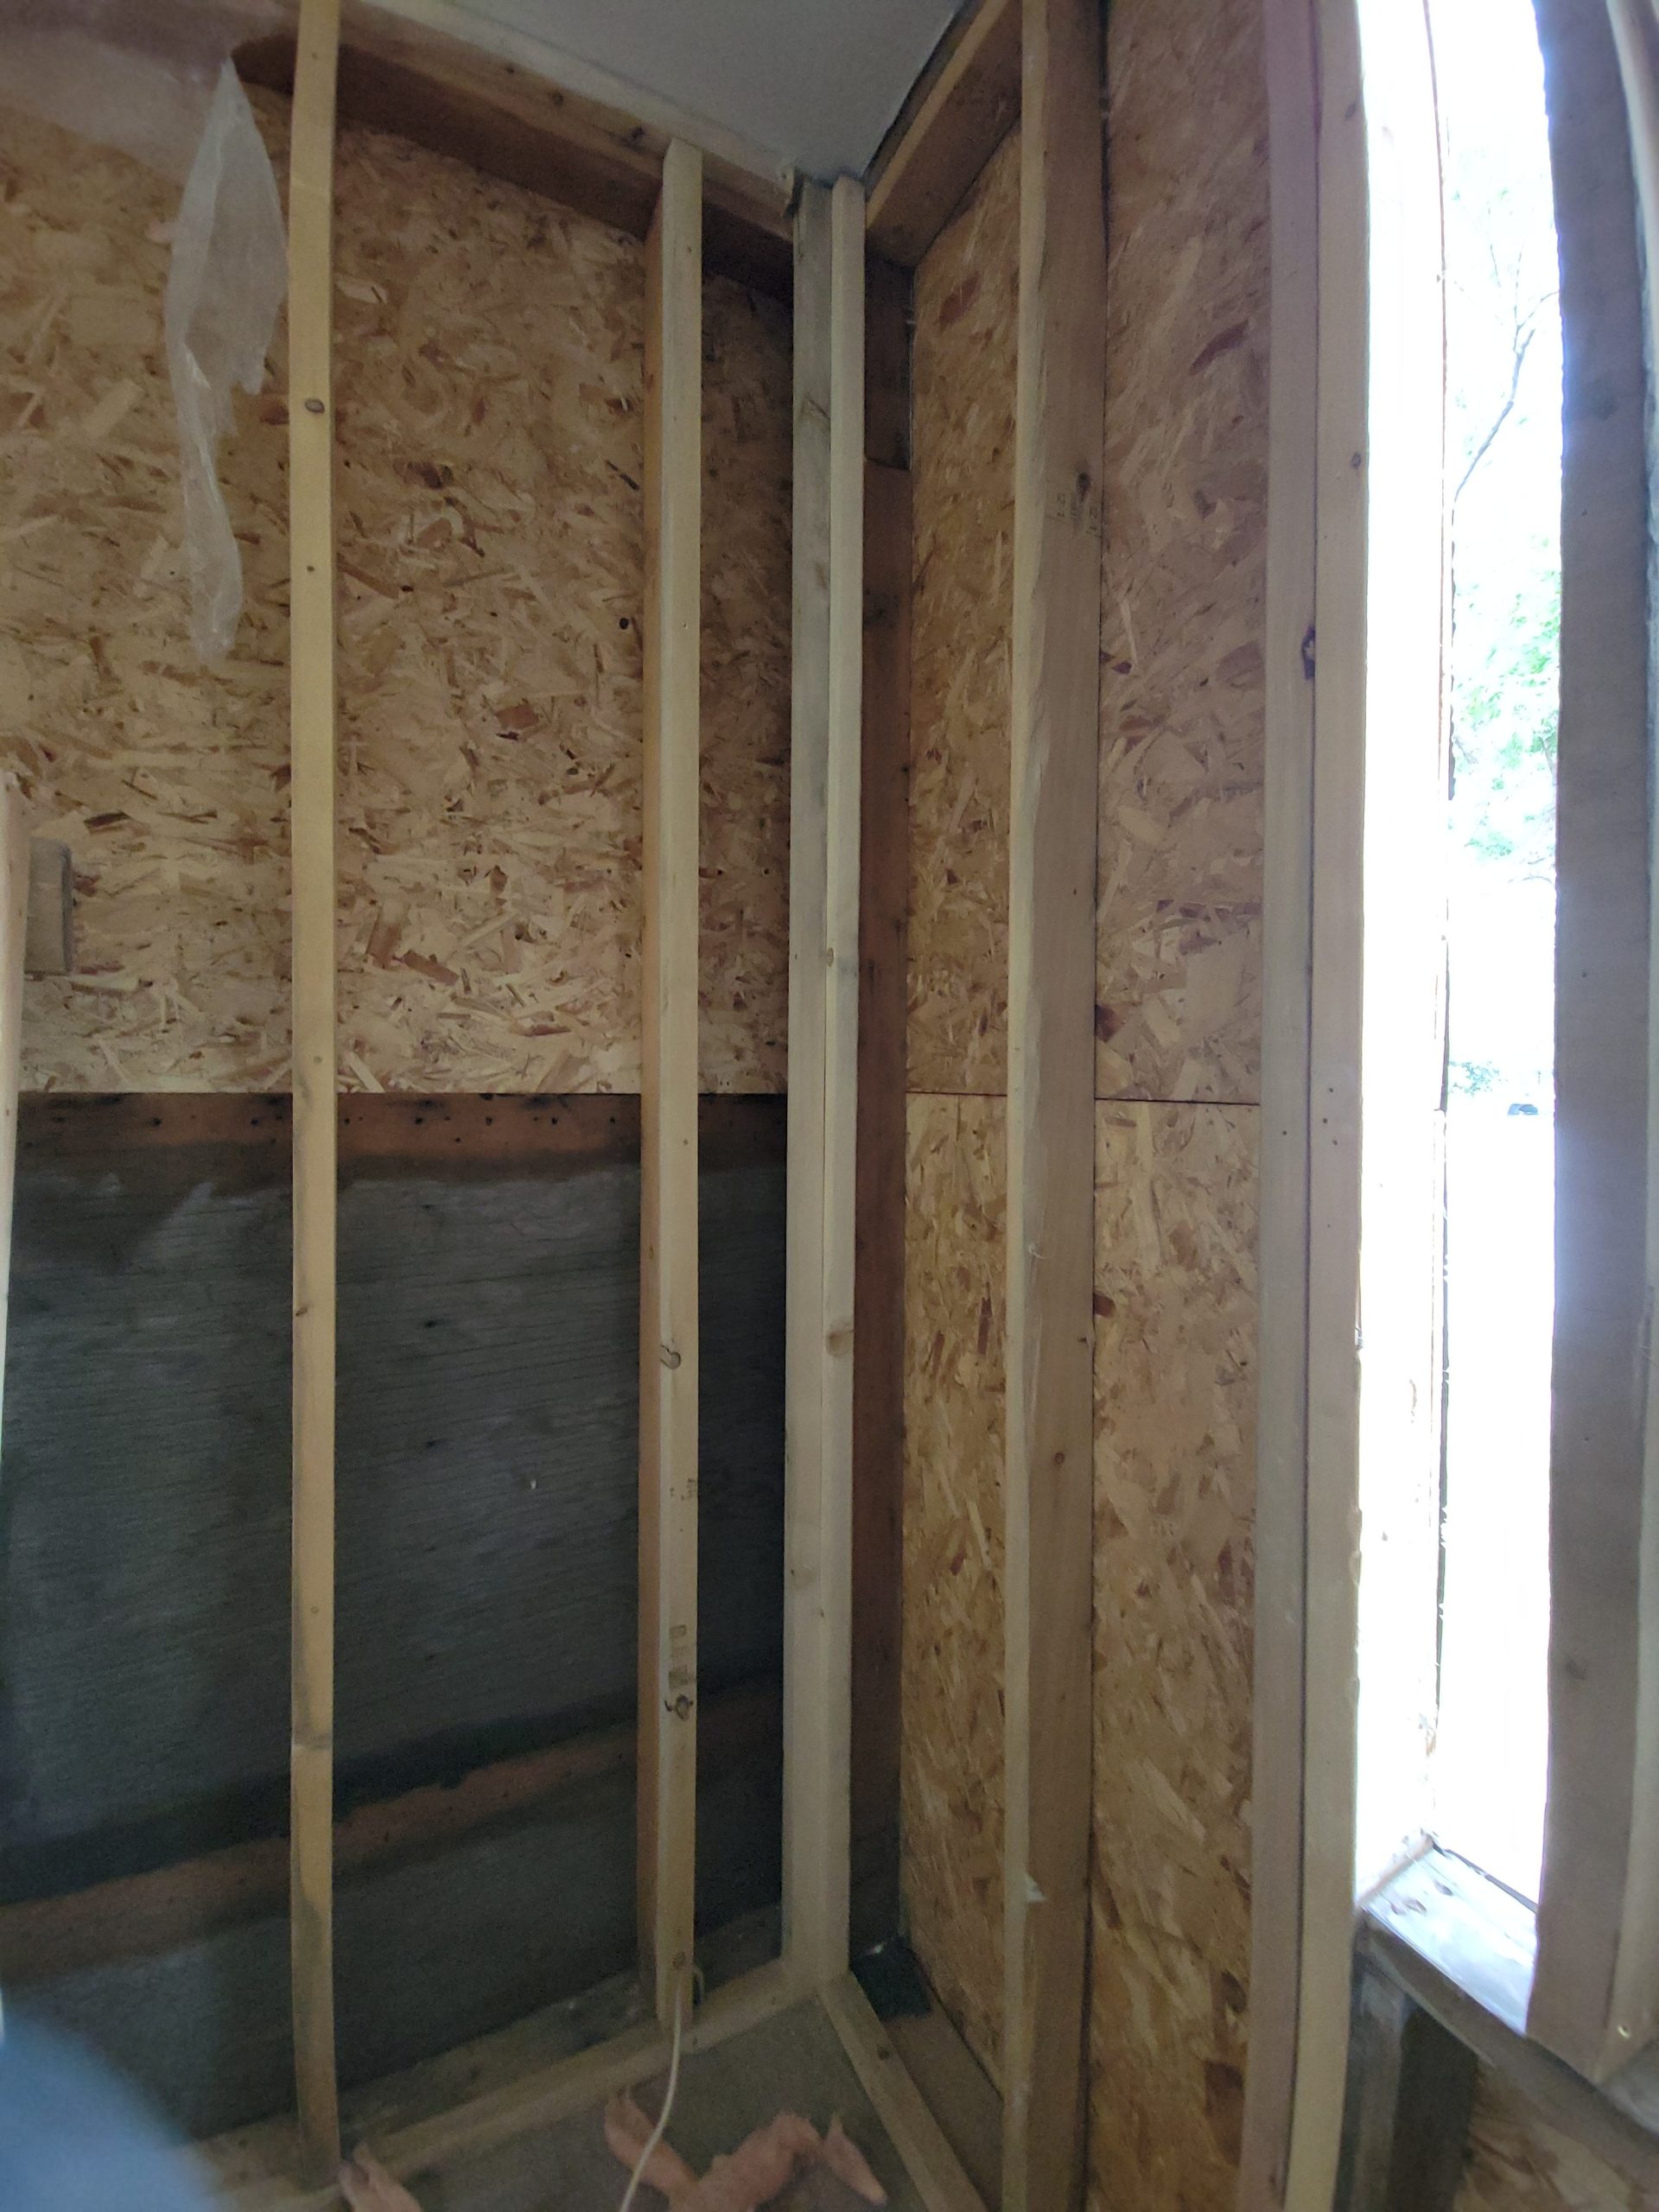
The living room add-on walls are scraped of all rotten sheathing.

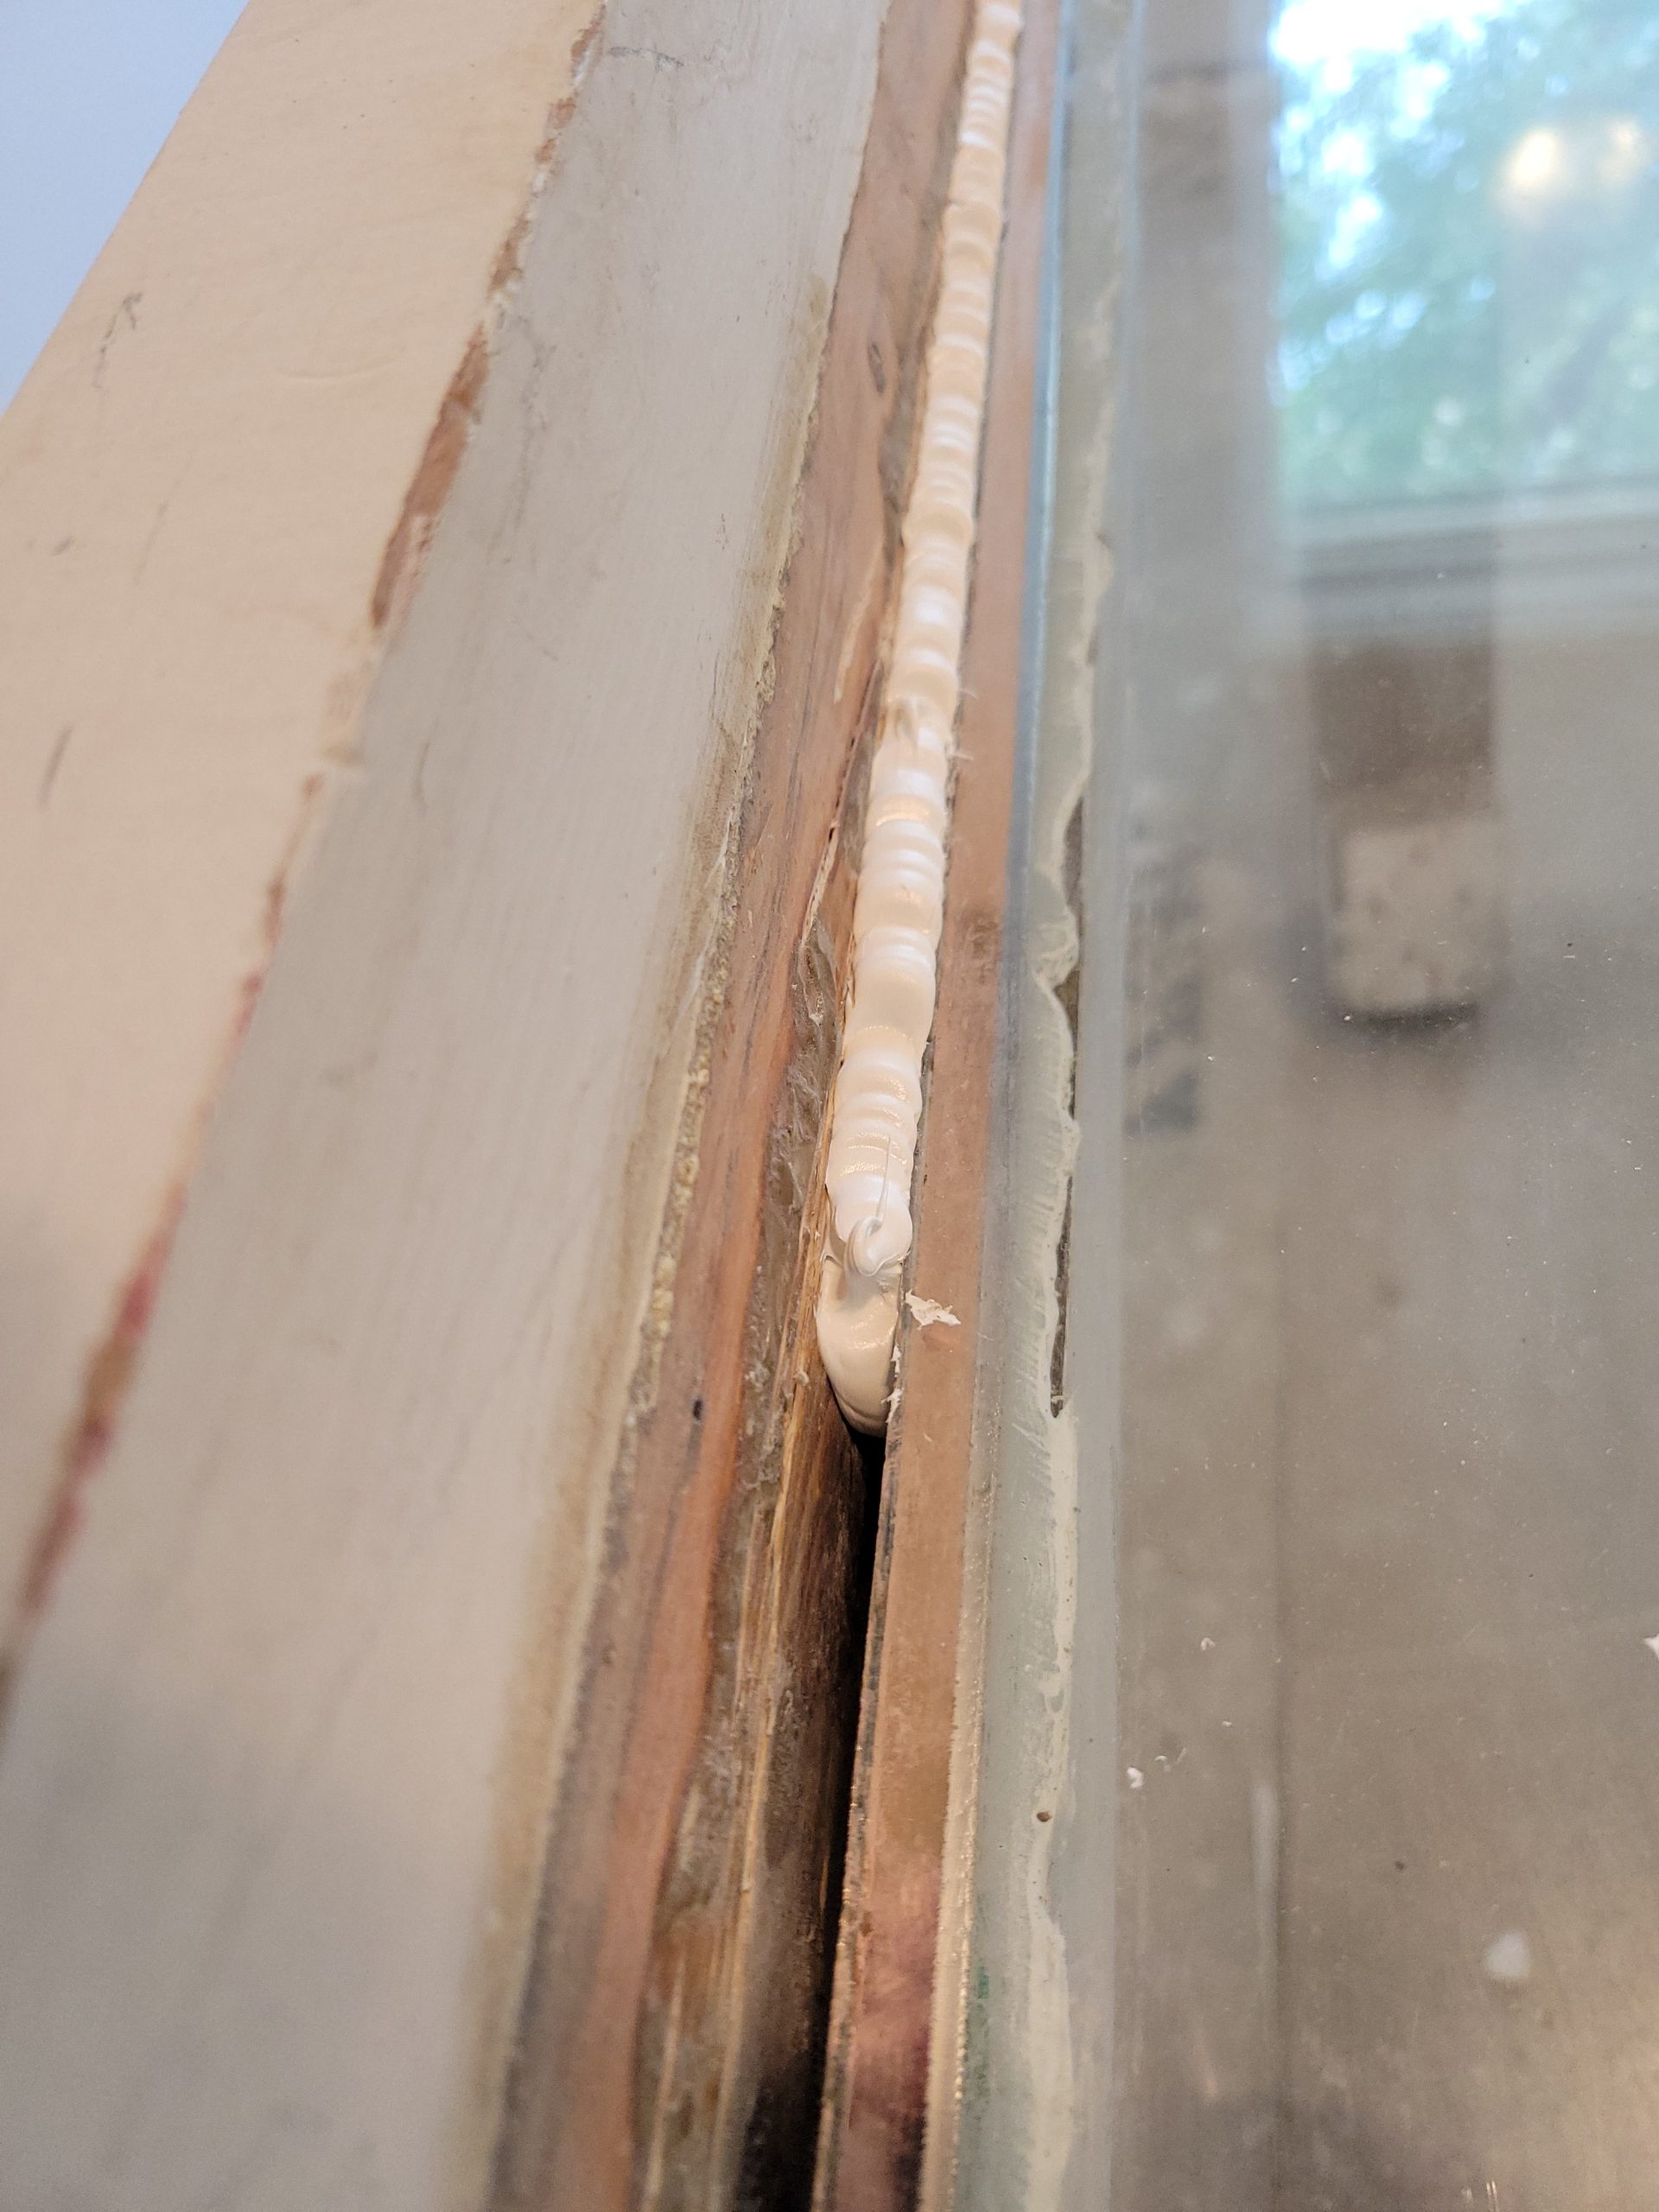
I got some spray foam insulation from Canadian Tire and filled the cracks between the stucco and the studs.  Very sticky stuff.  Next, the insulation went up.  We used what came out of the walls but doubled it up (R12, yellow) and filled in the rest with new (R22, pink). 

Read more

living room furring, veranda

I added 2×2 furring strips to the SE and E living room walls.  
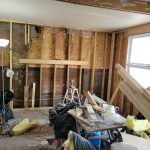
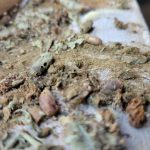
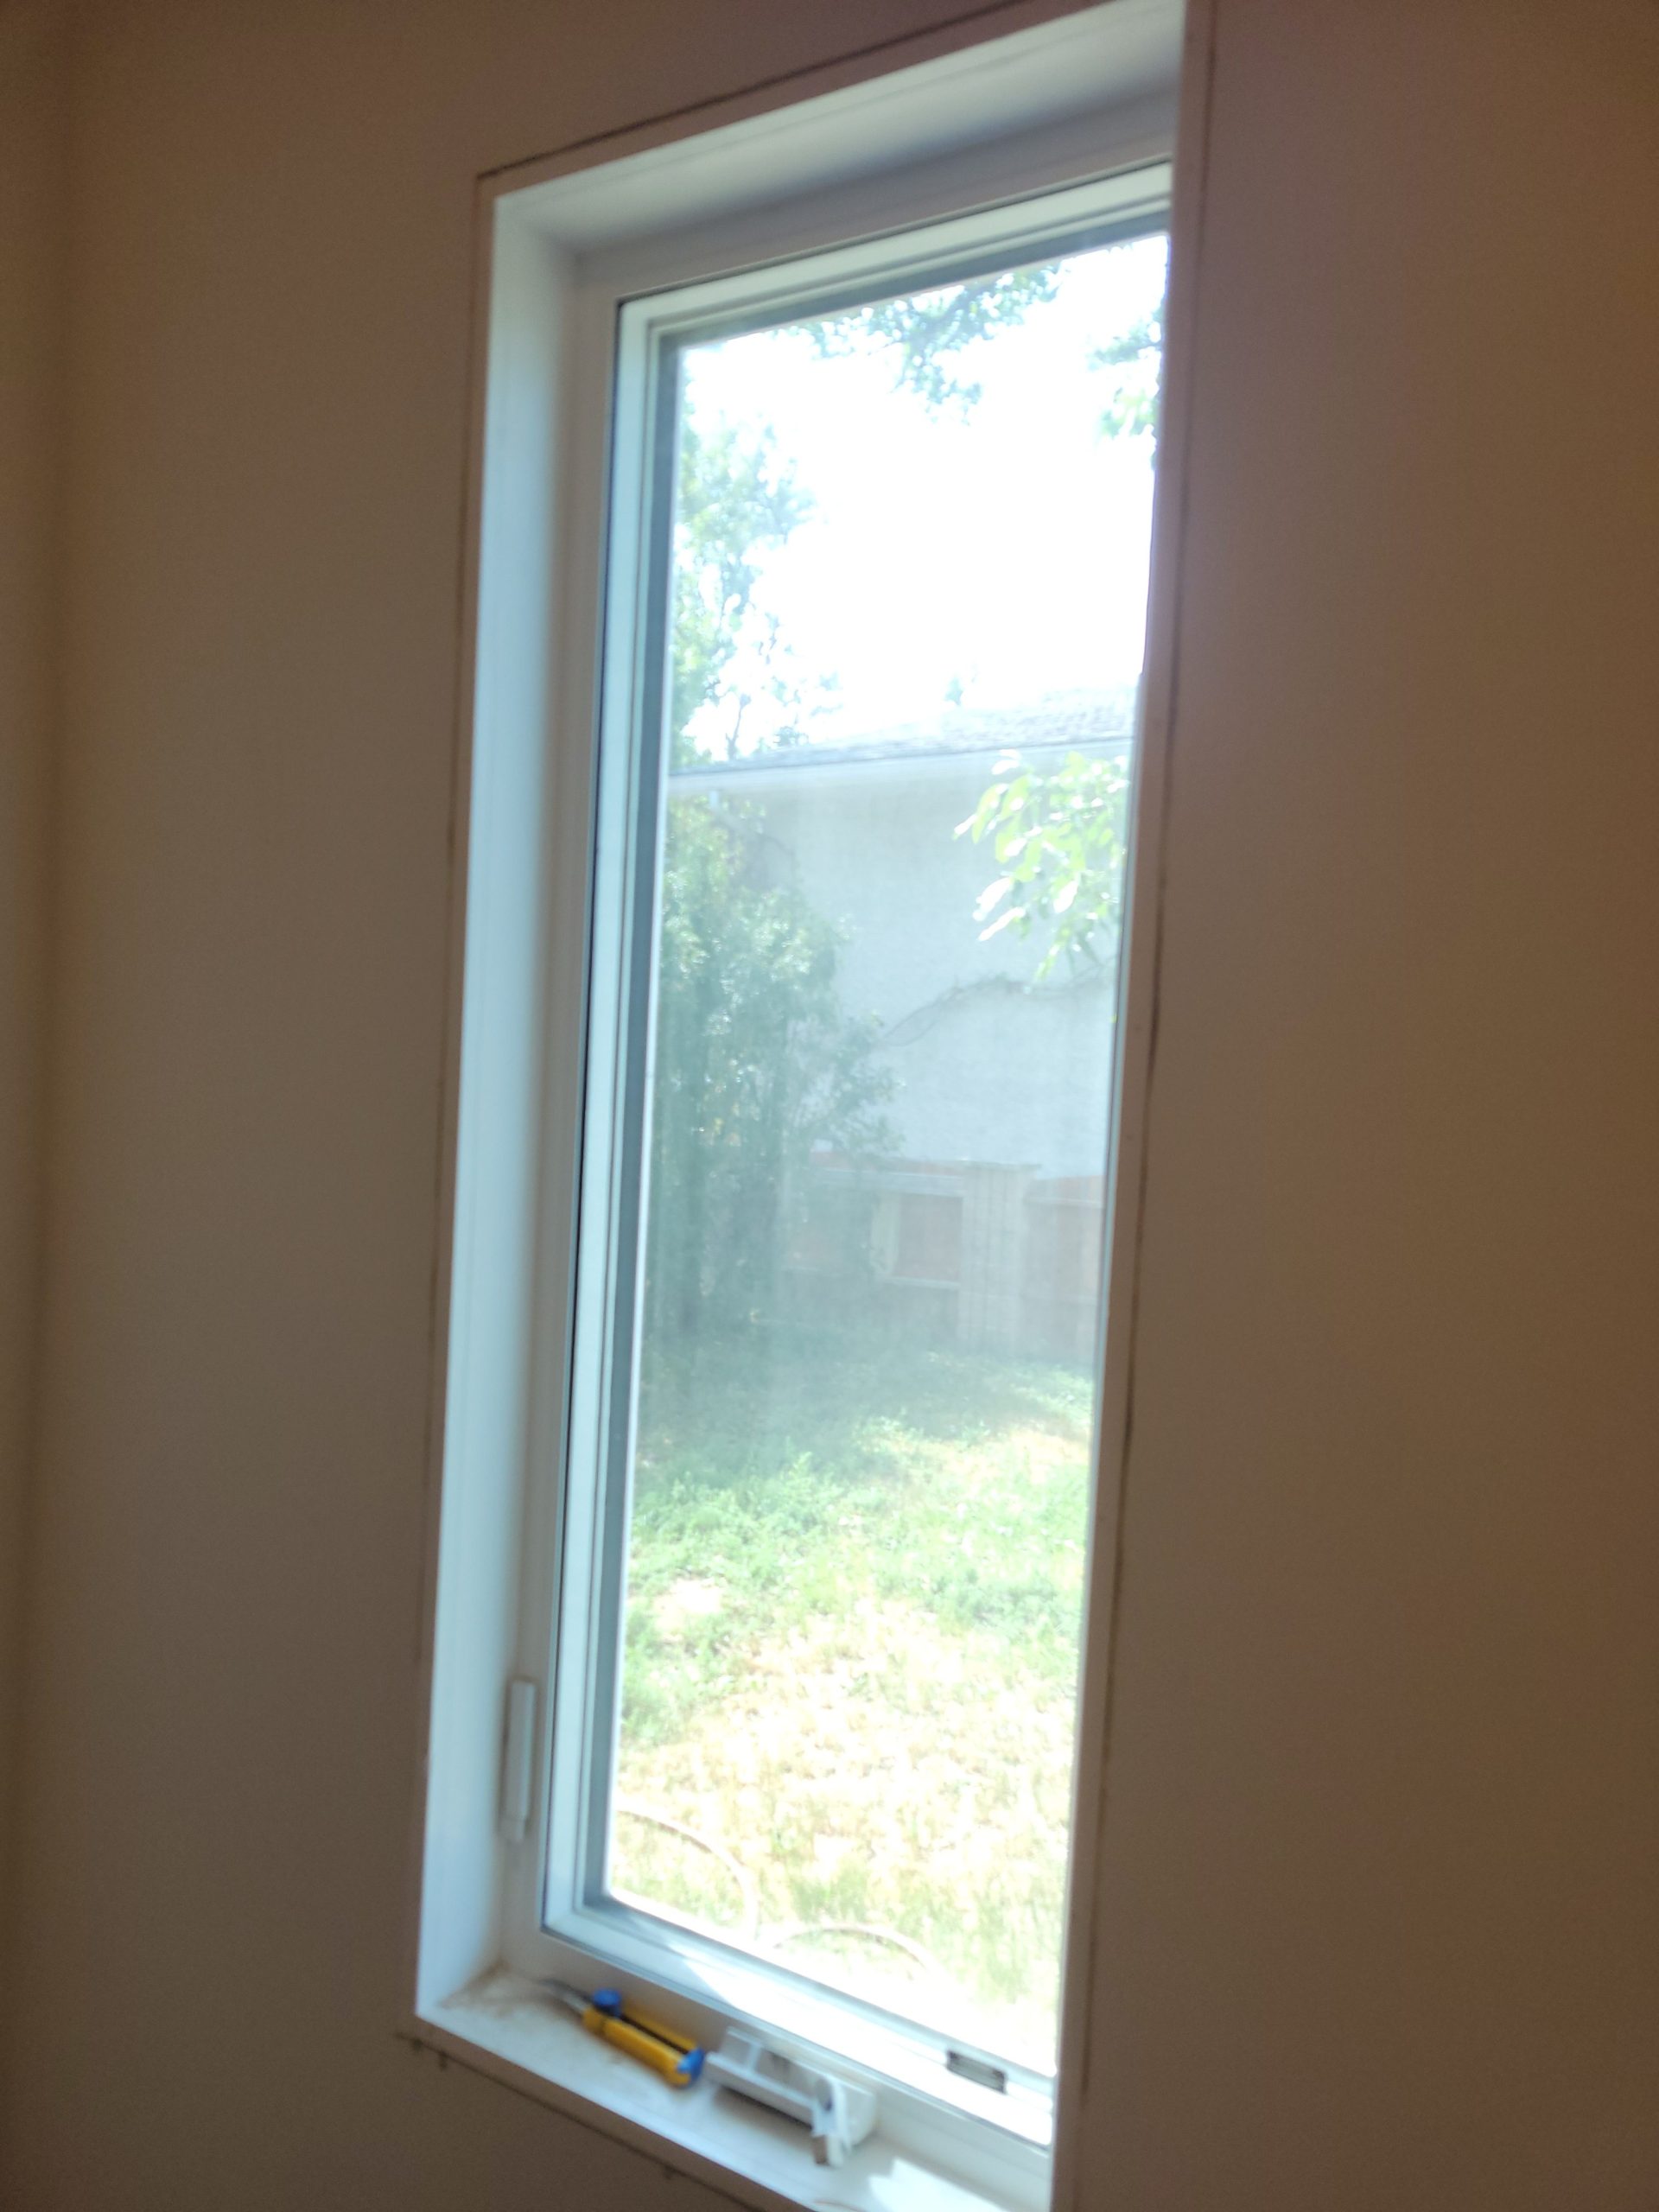
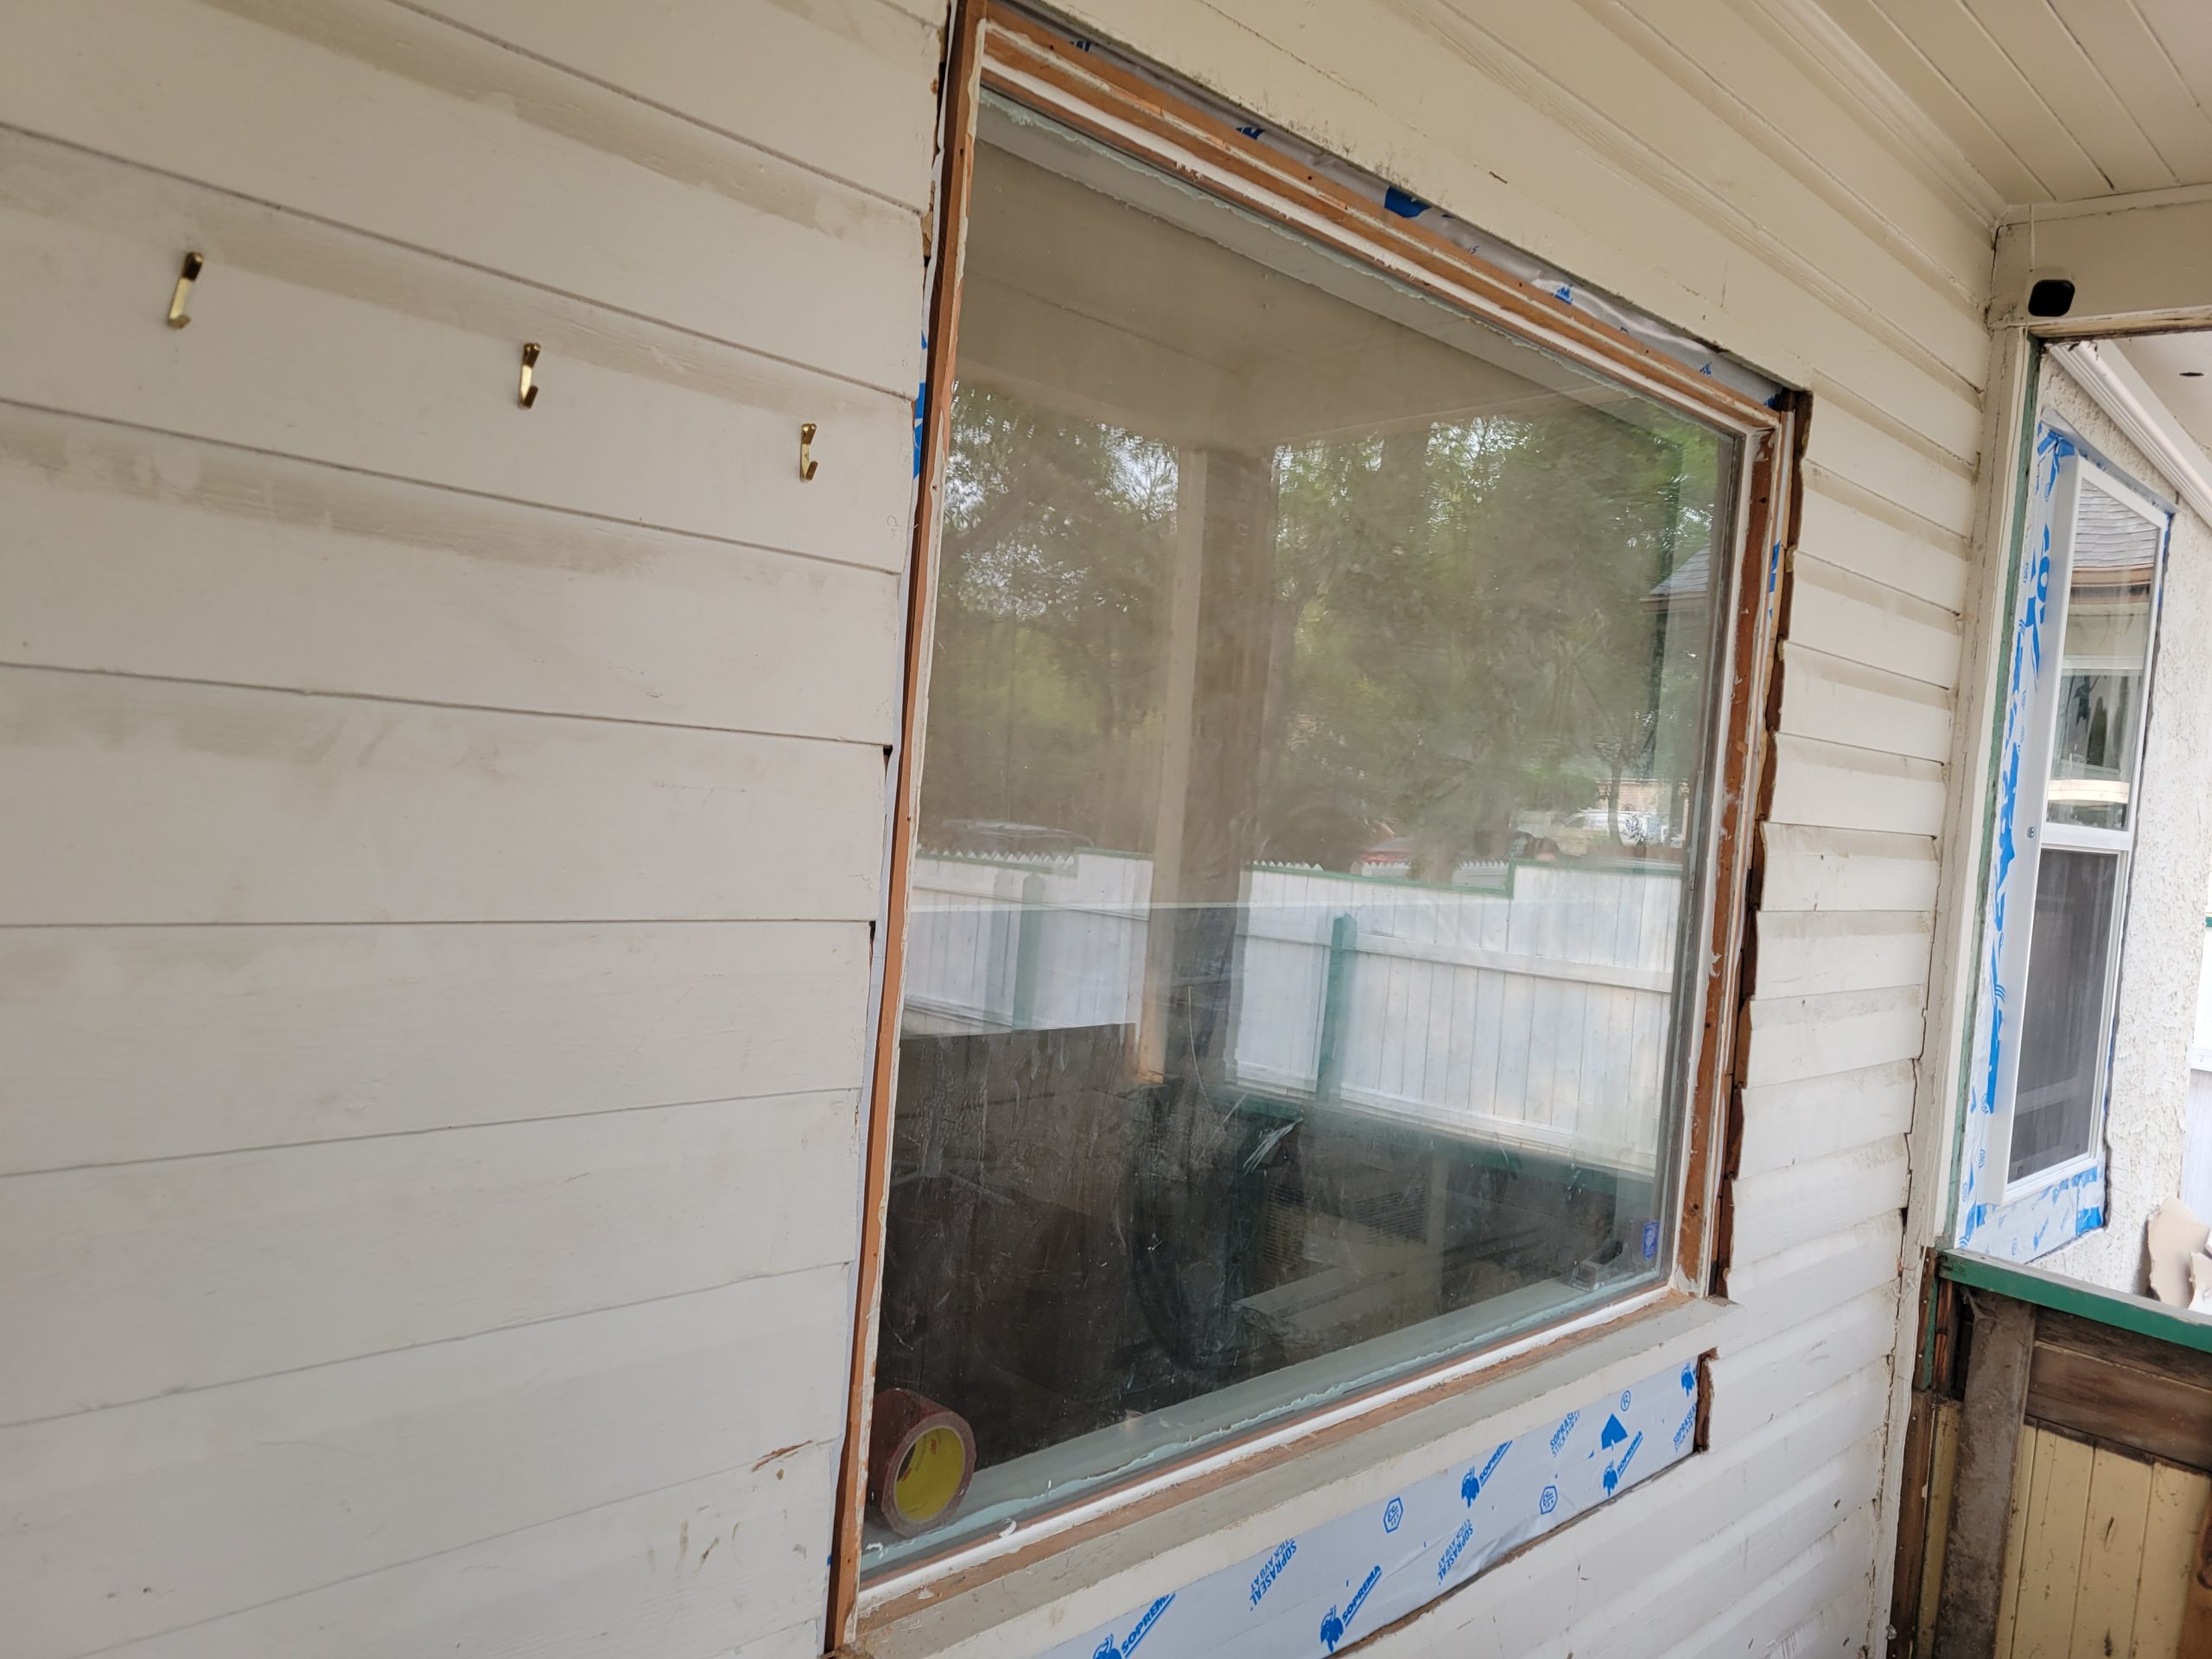
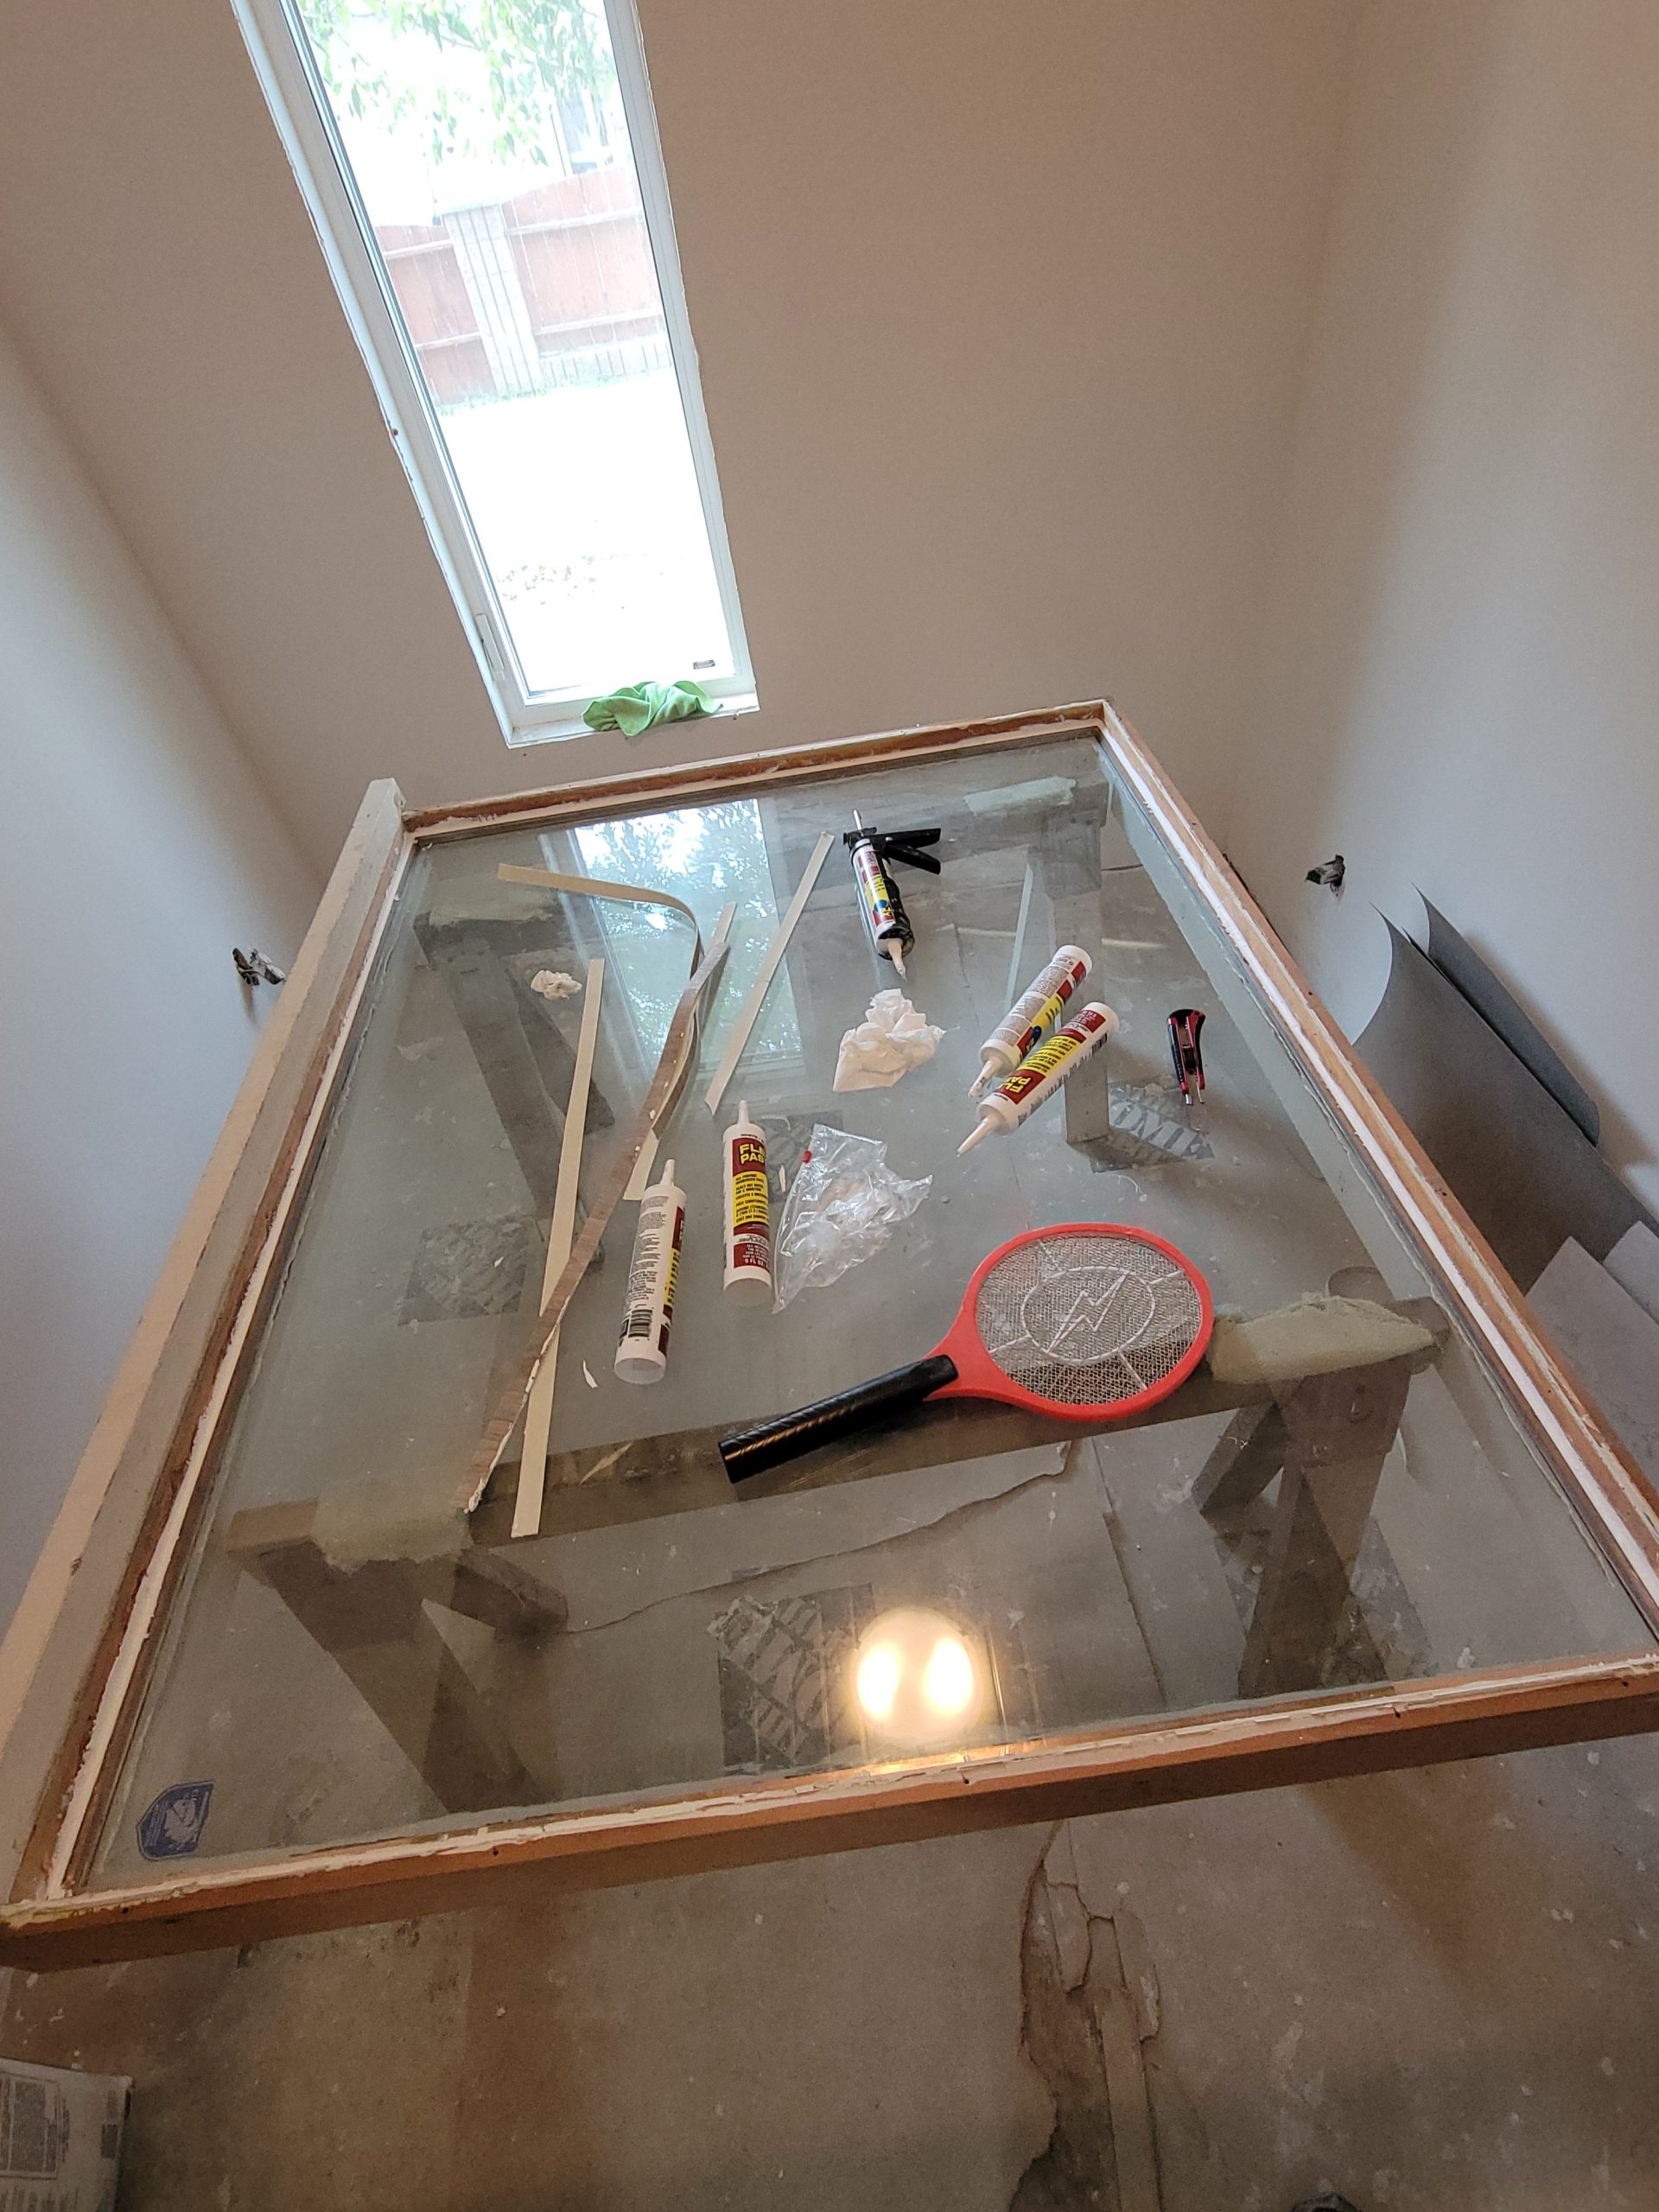
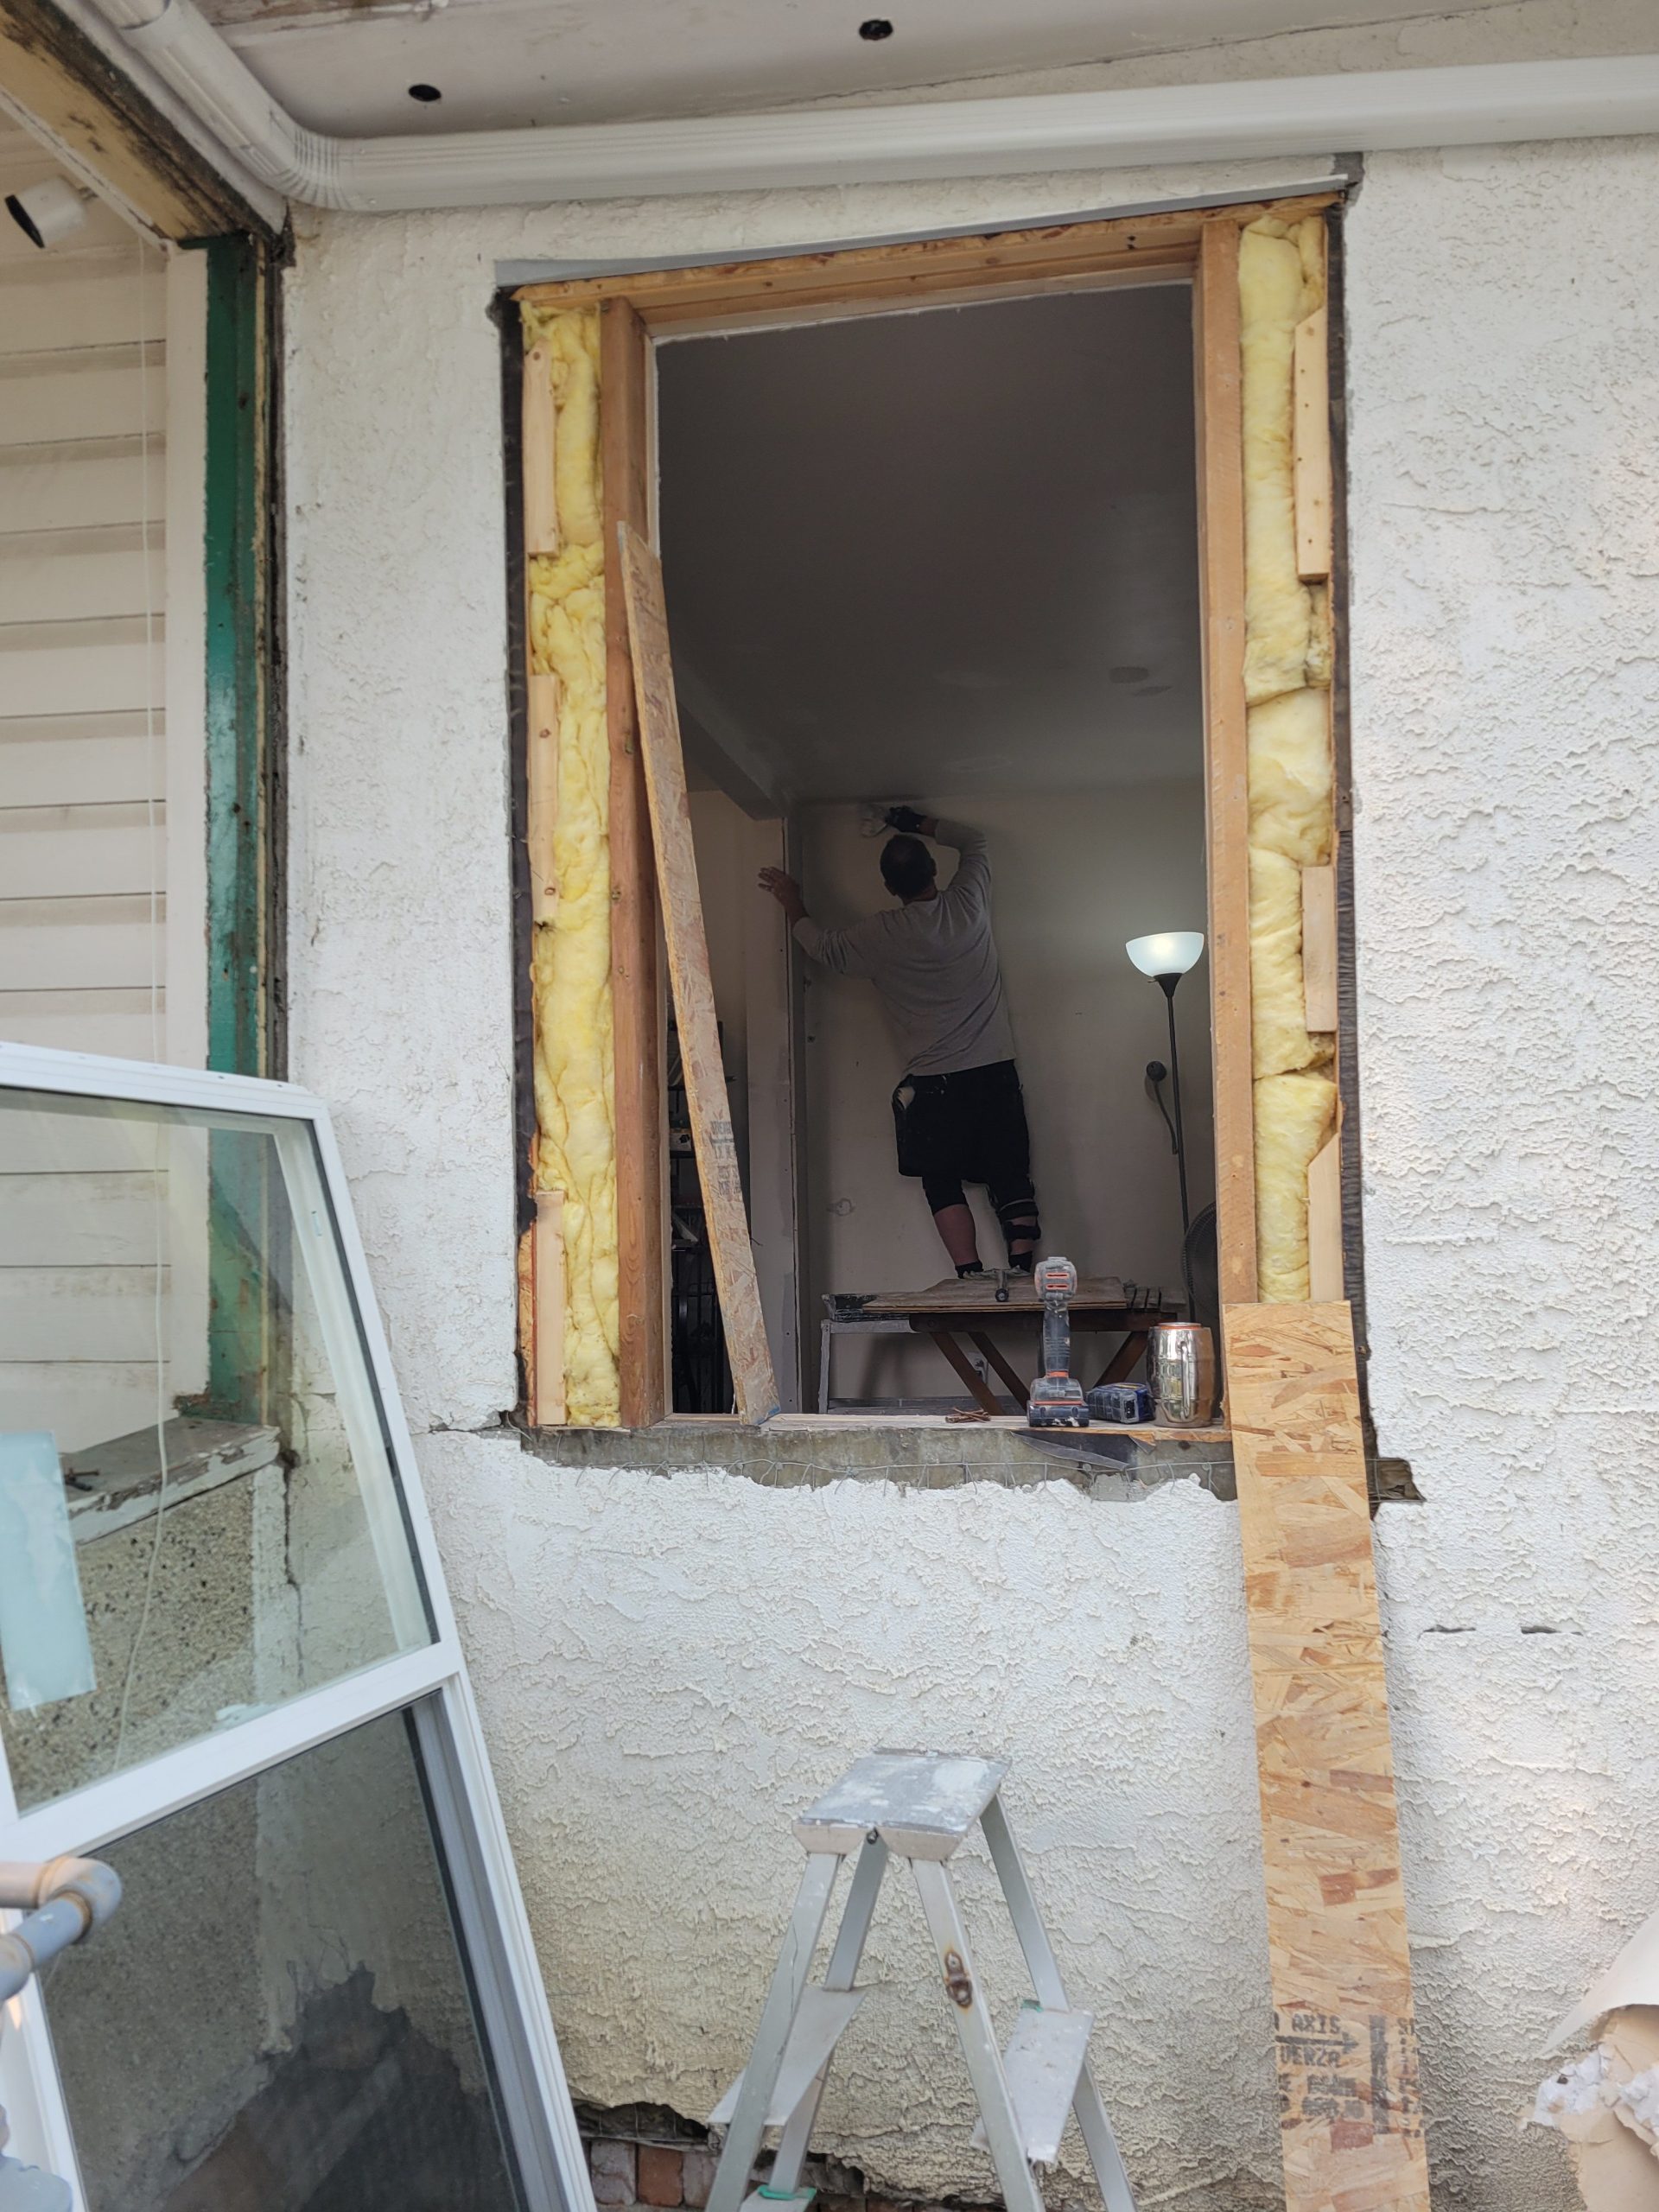
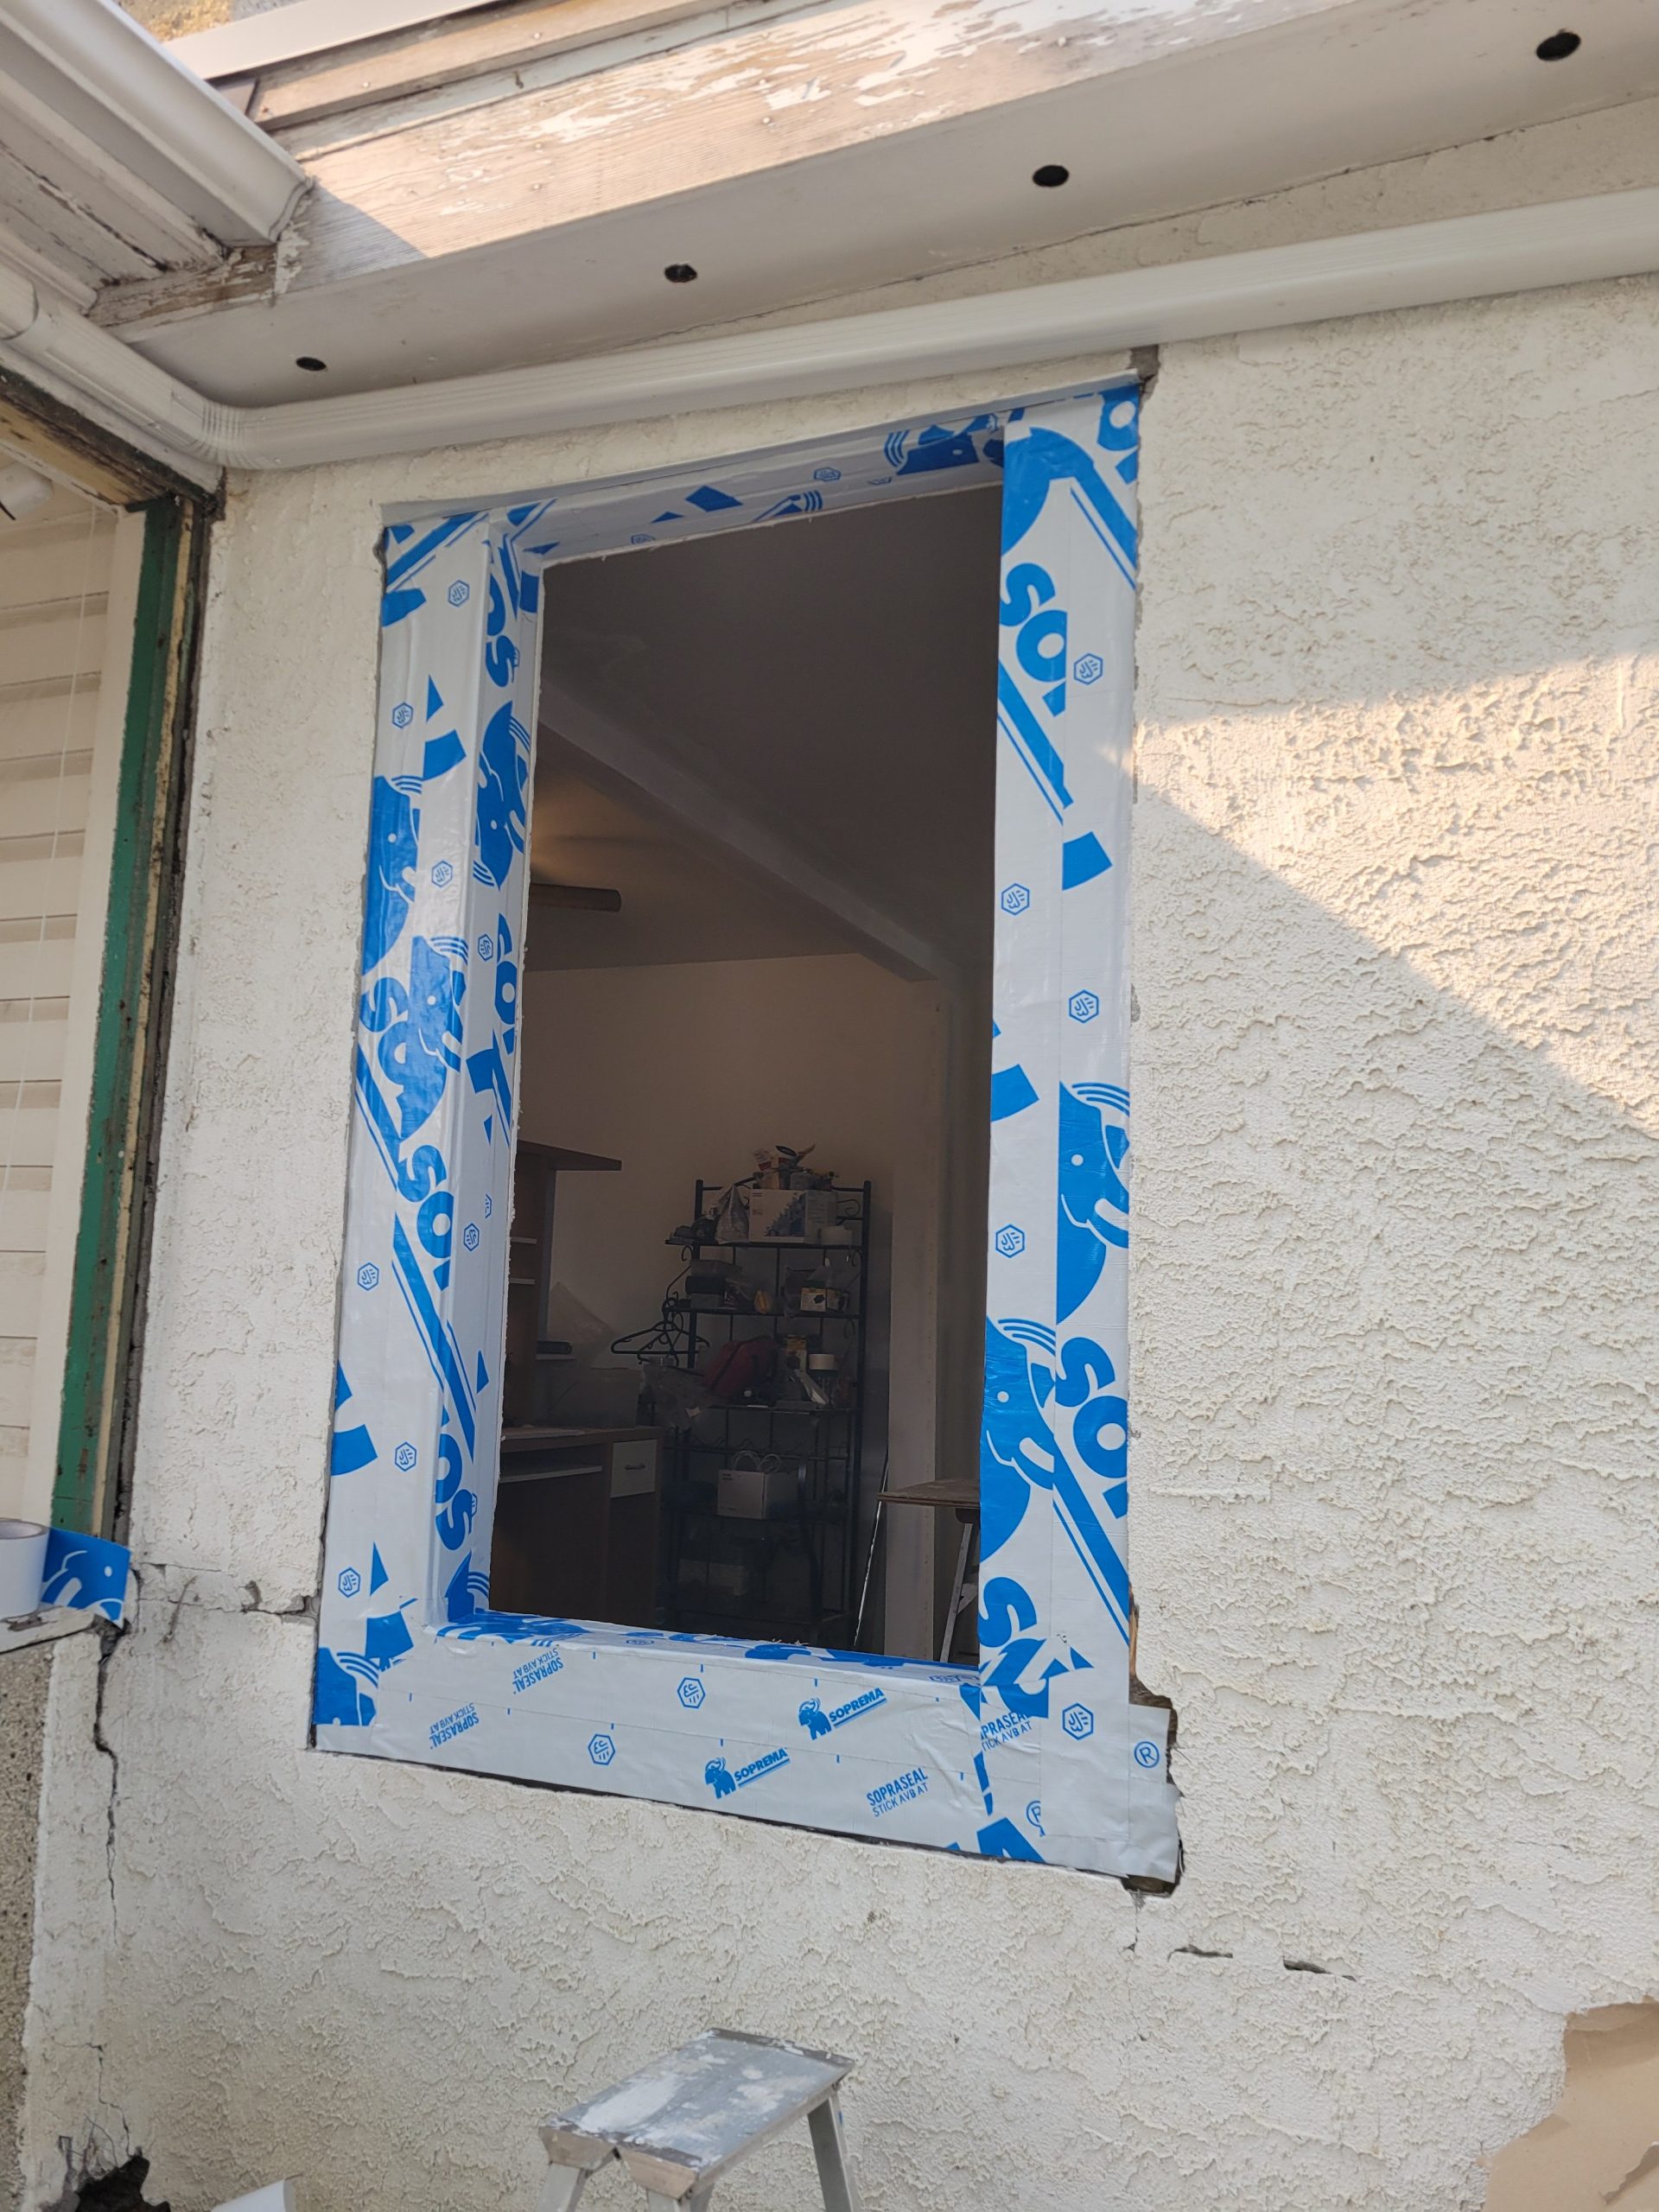
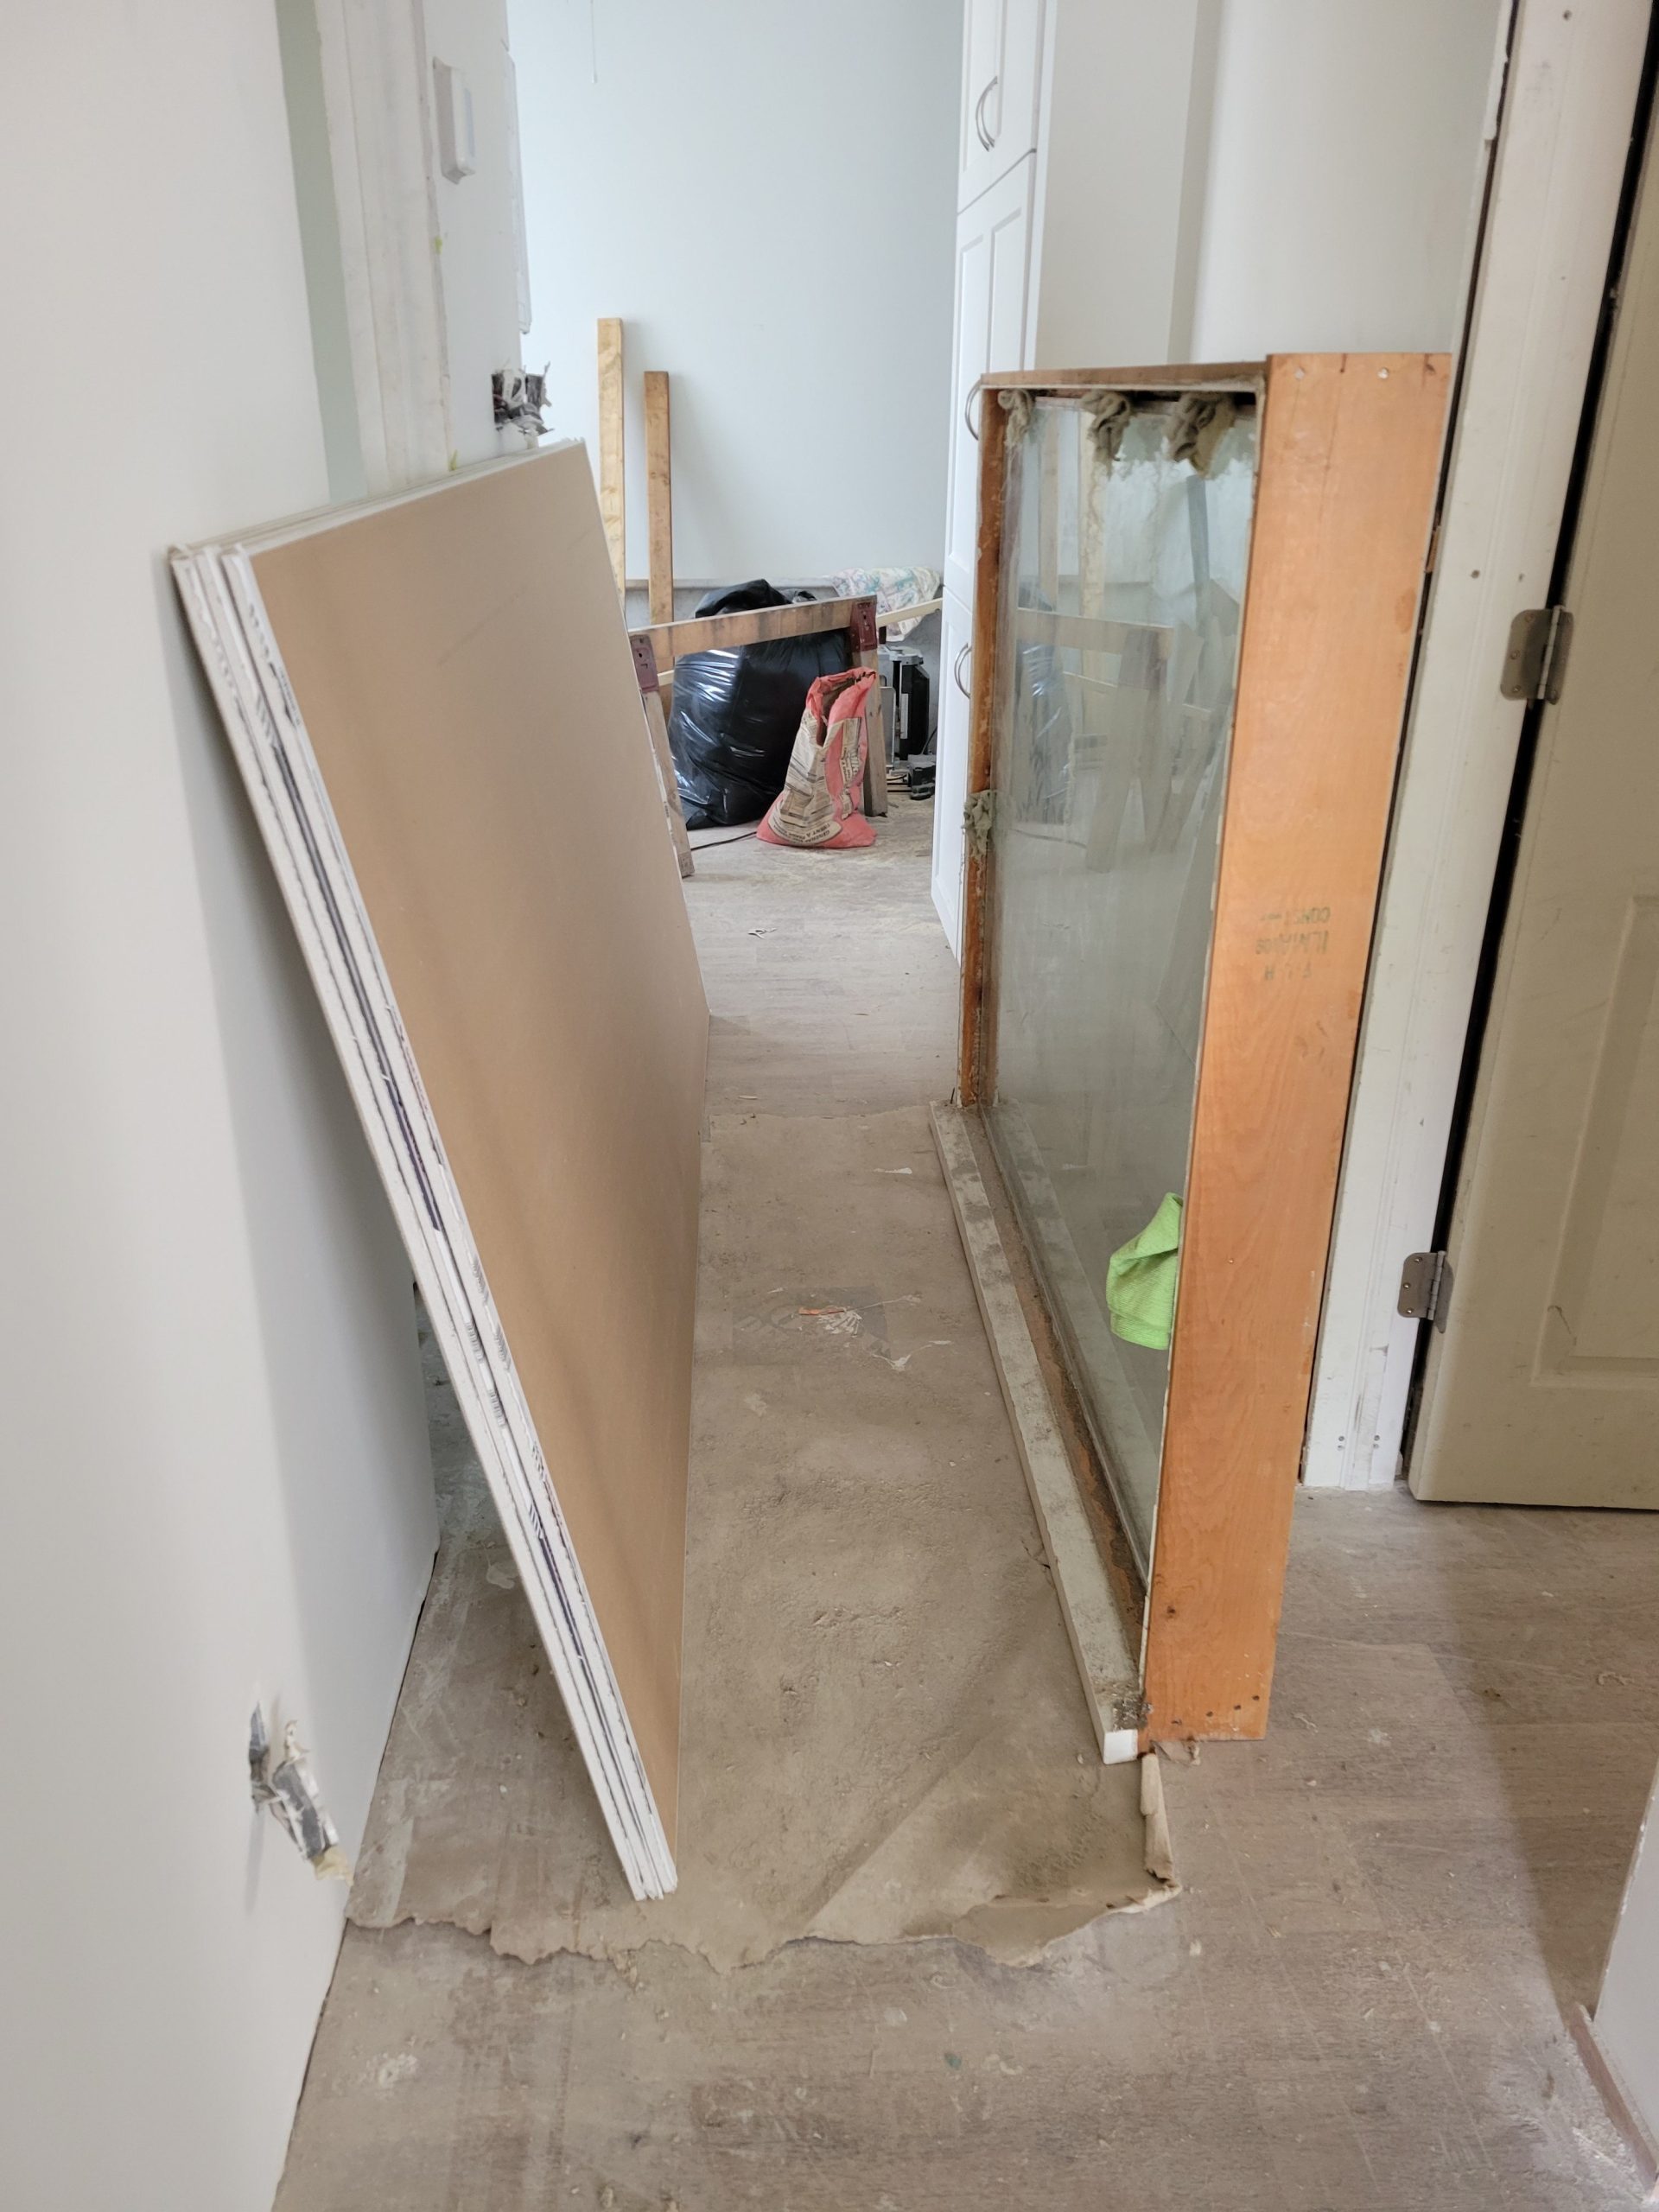
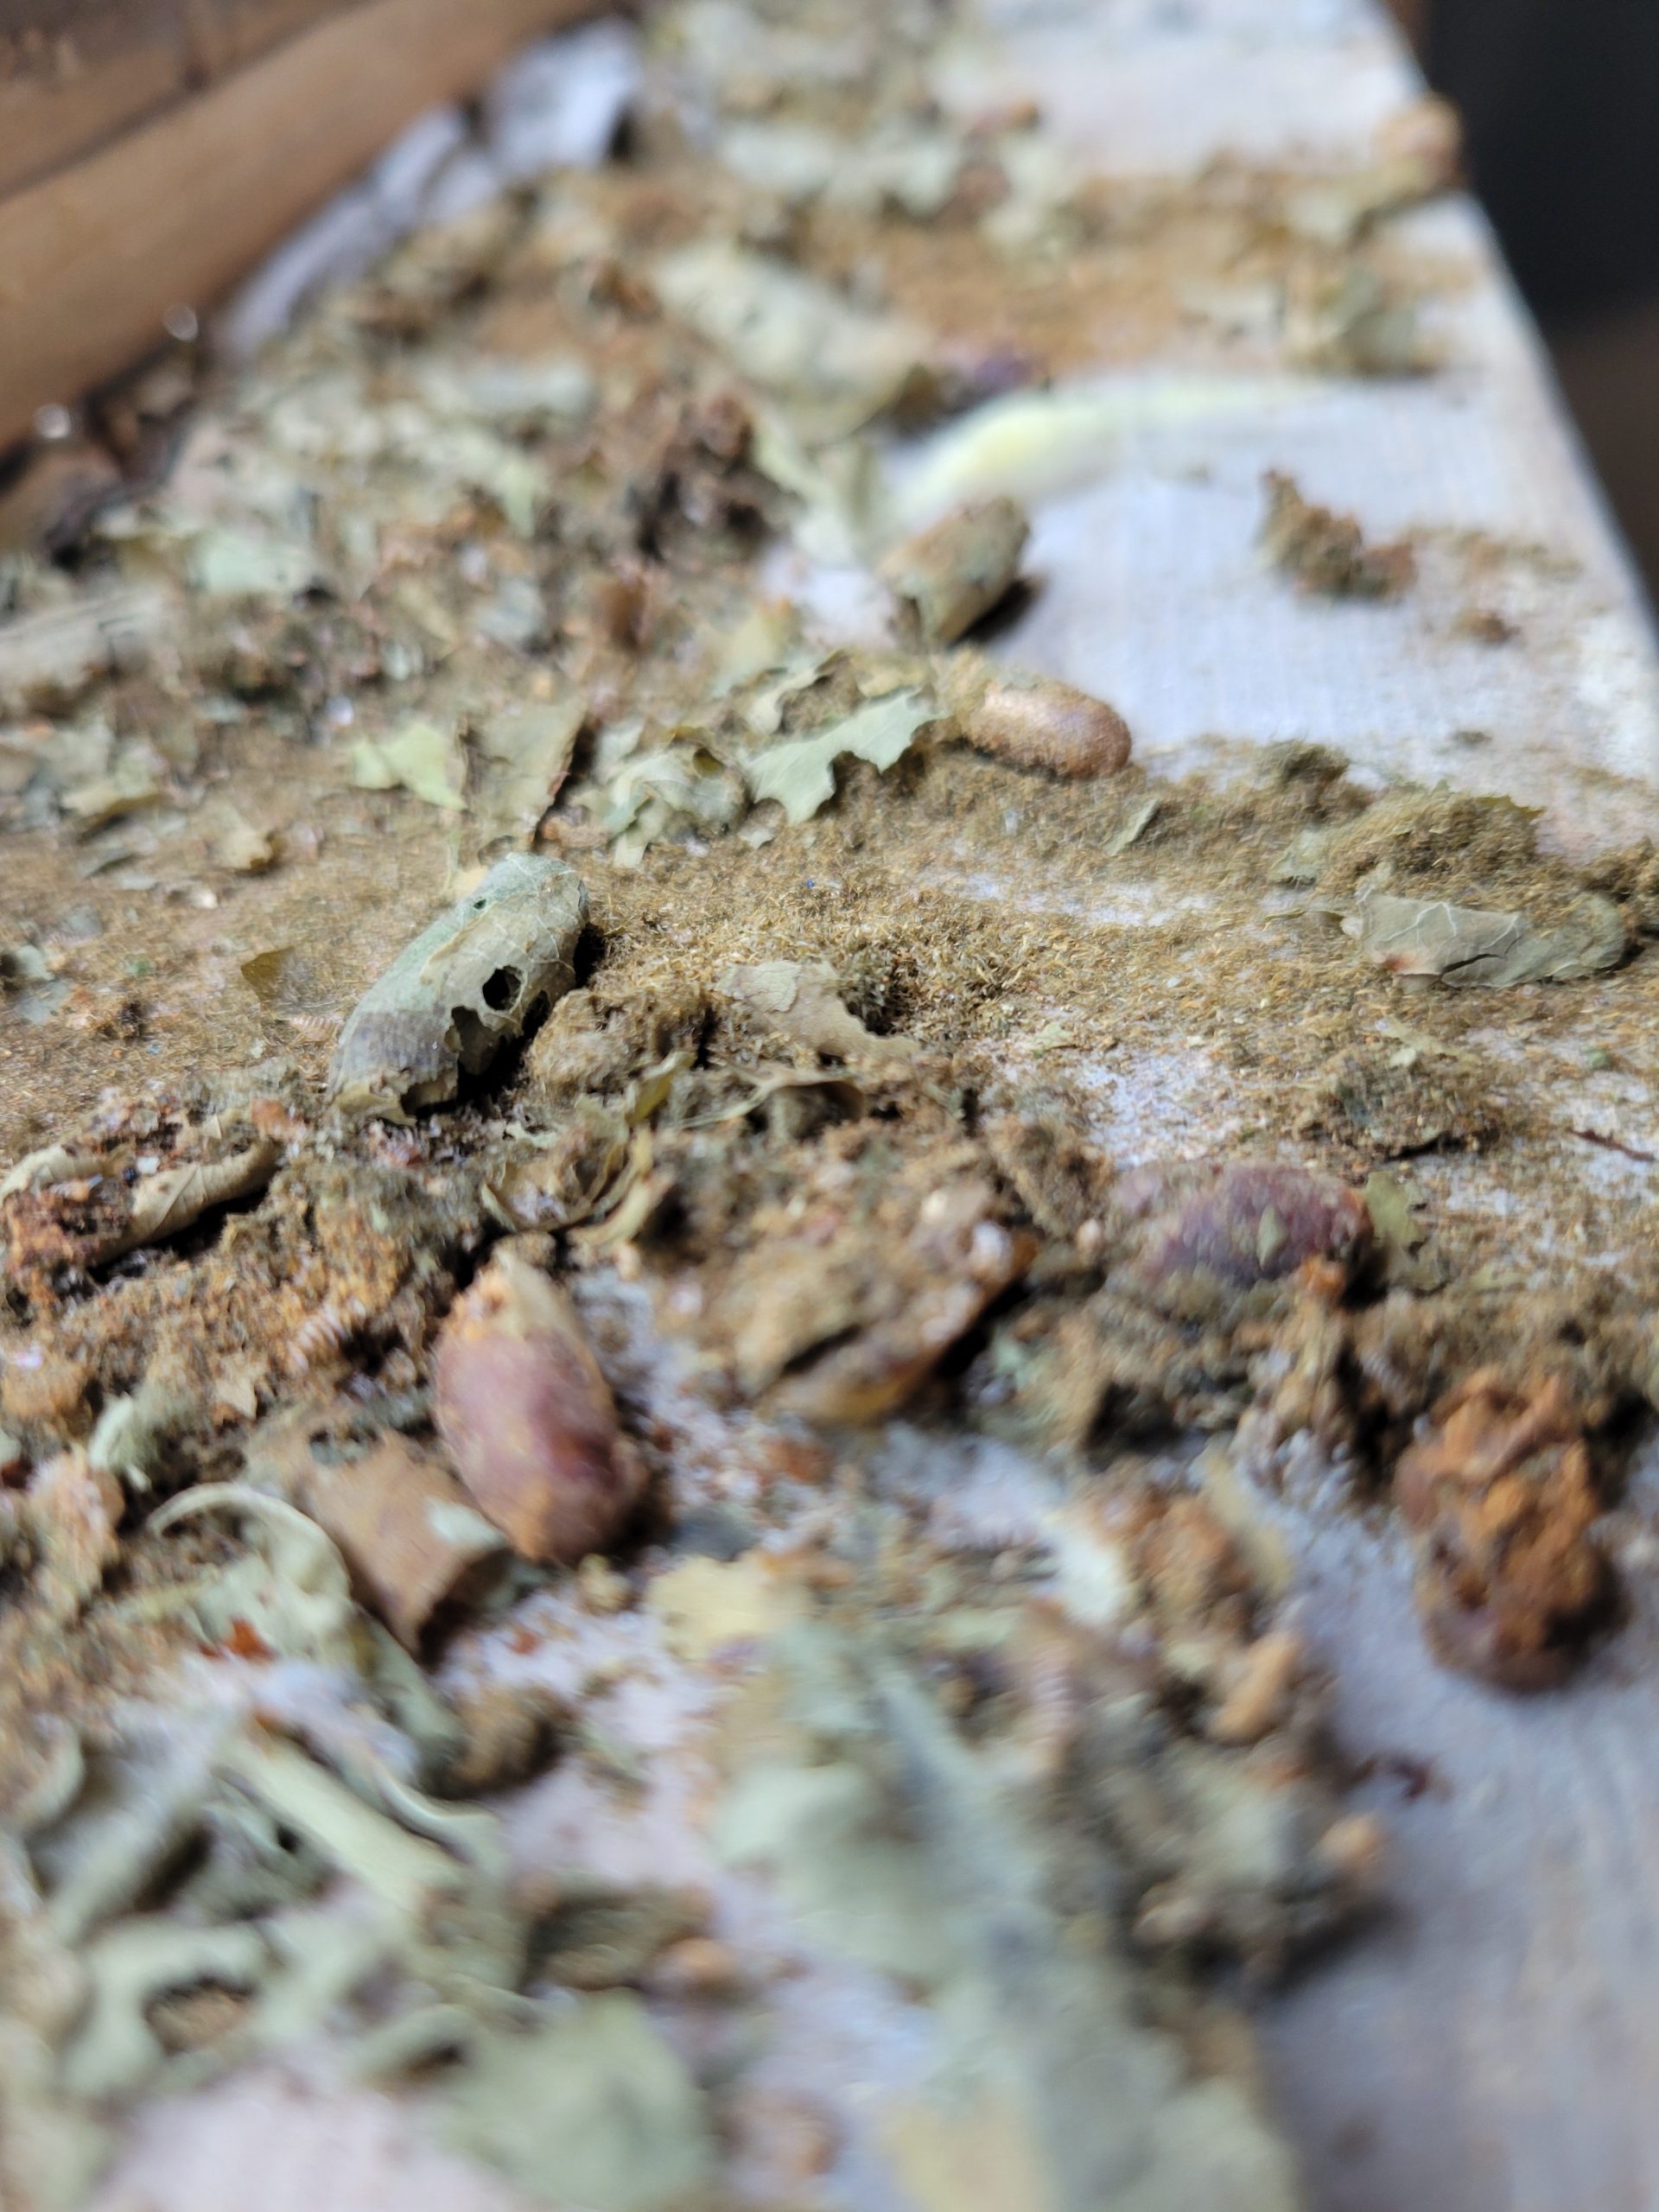
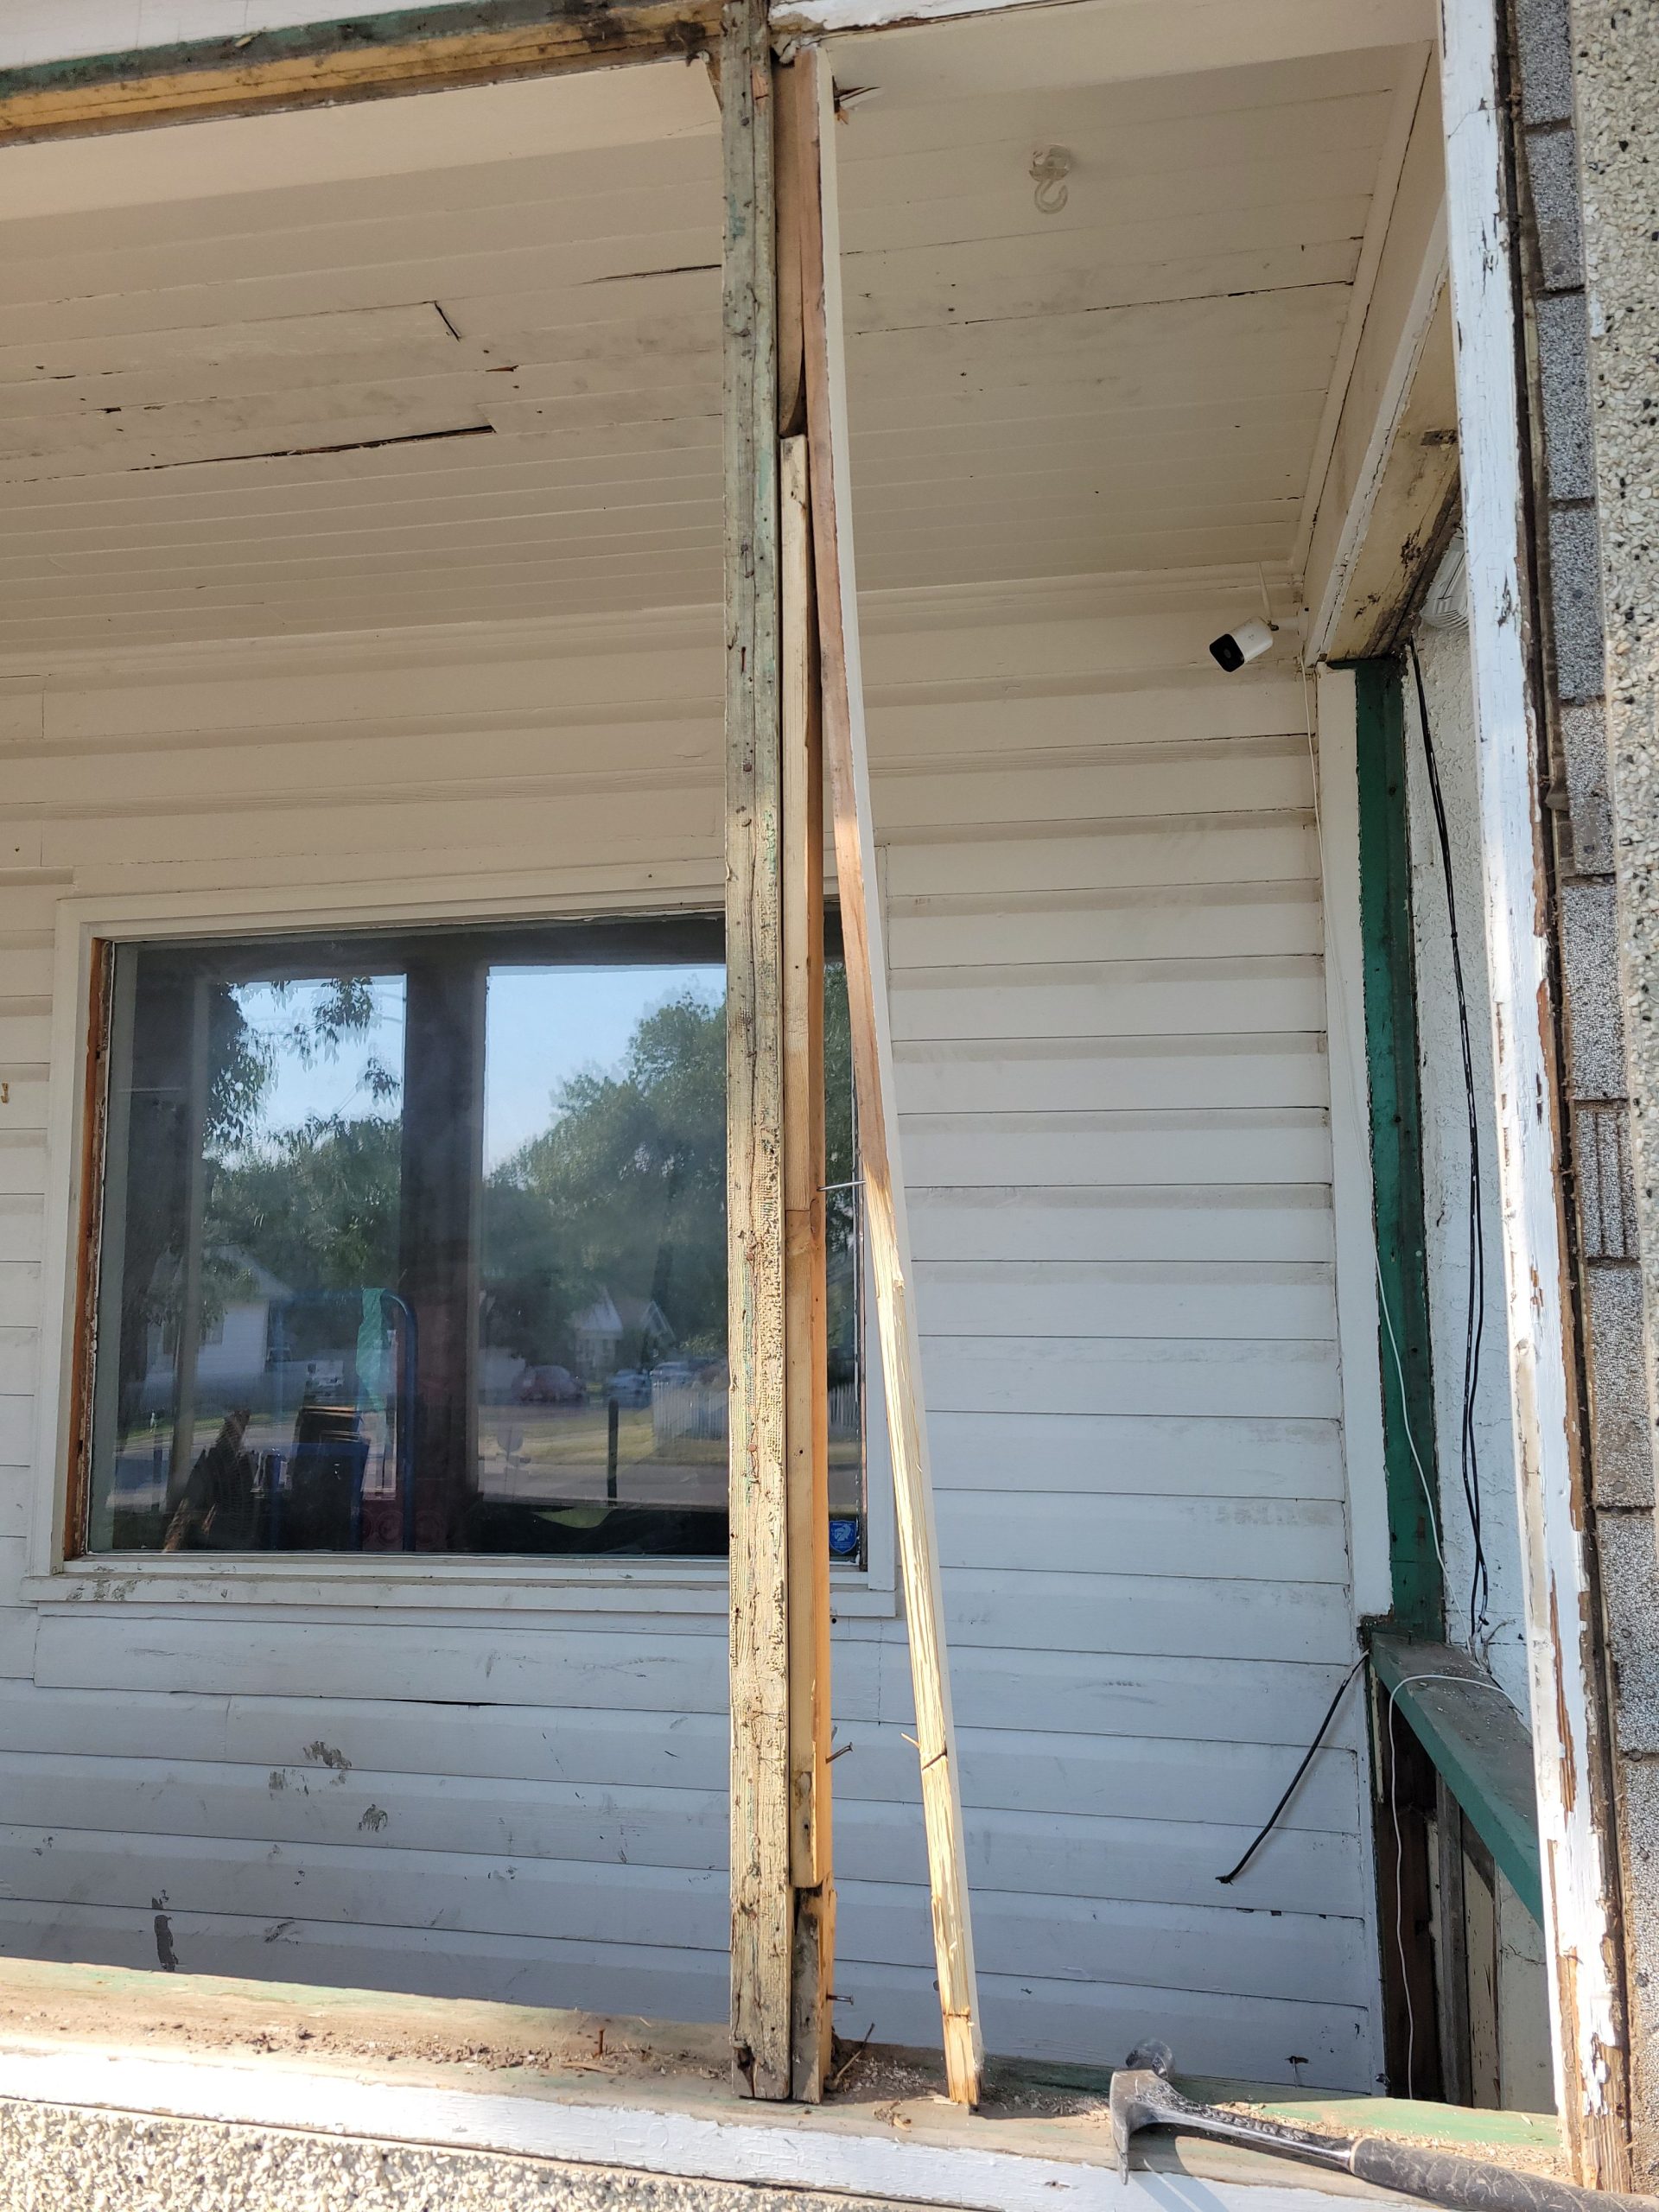
The new window framing must be complete first, so I removed the old window.  Some kind of insect had made its nest in there a while ago. 
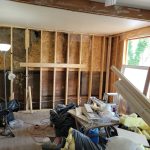
 

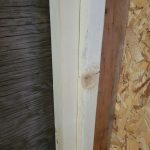
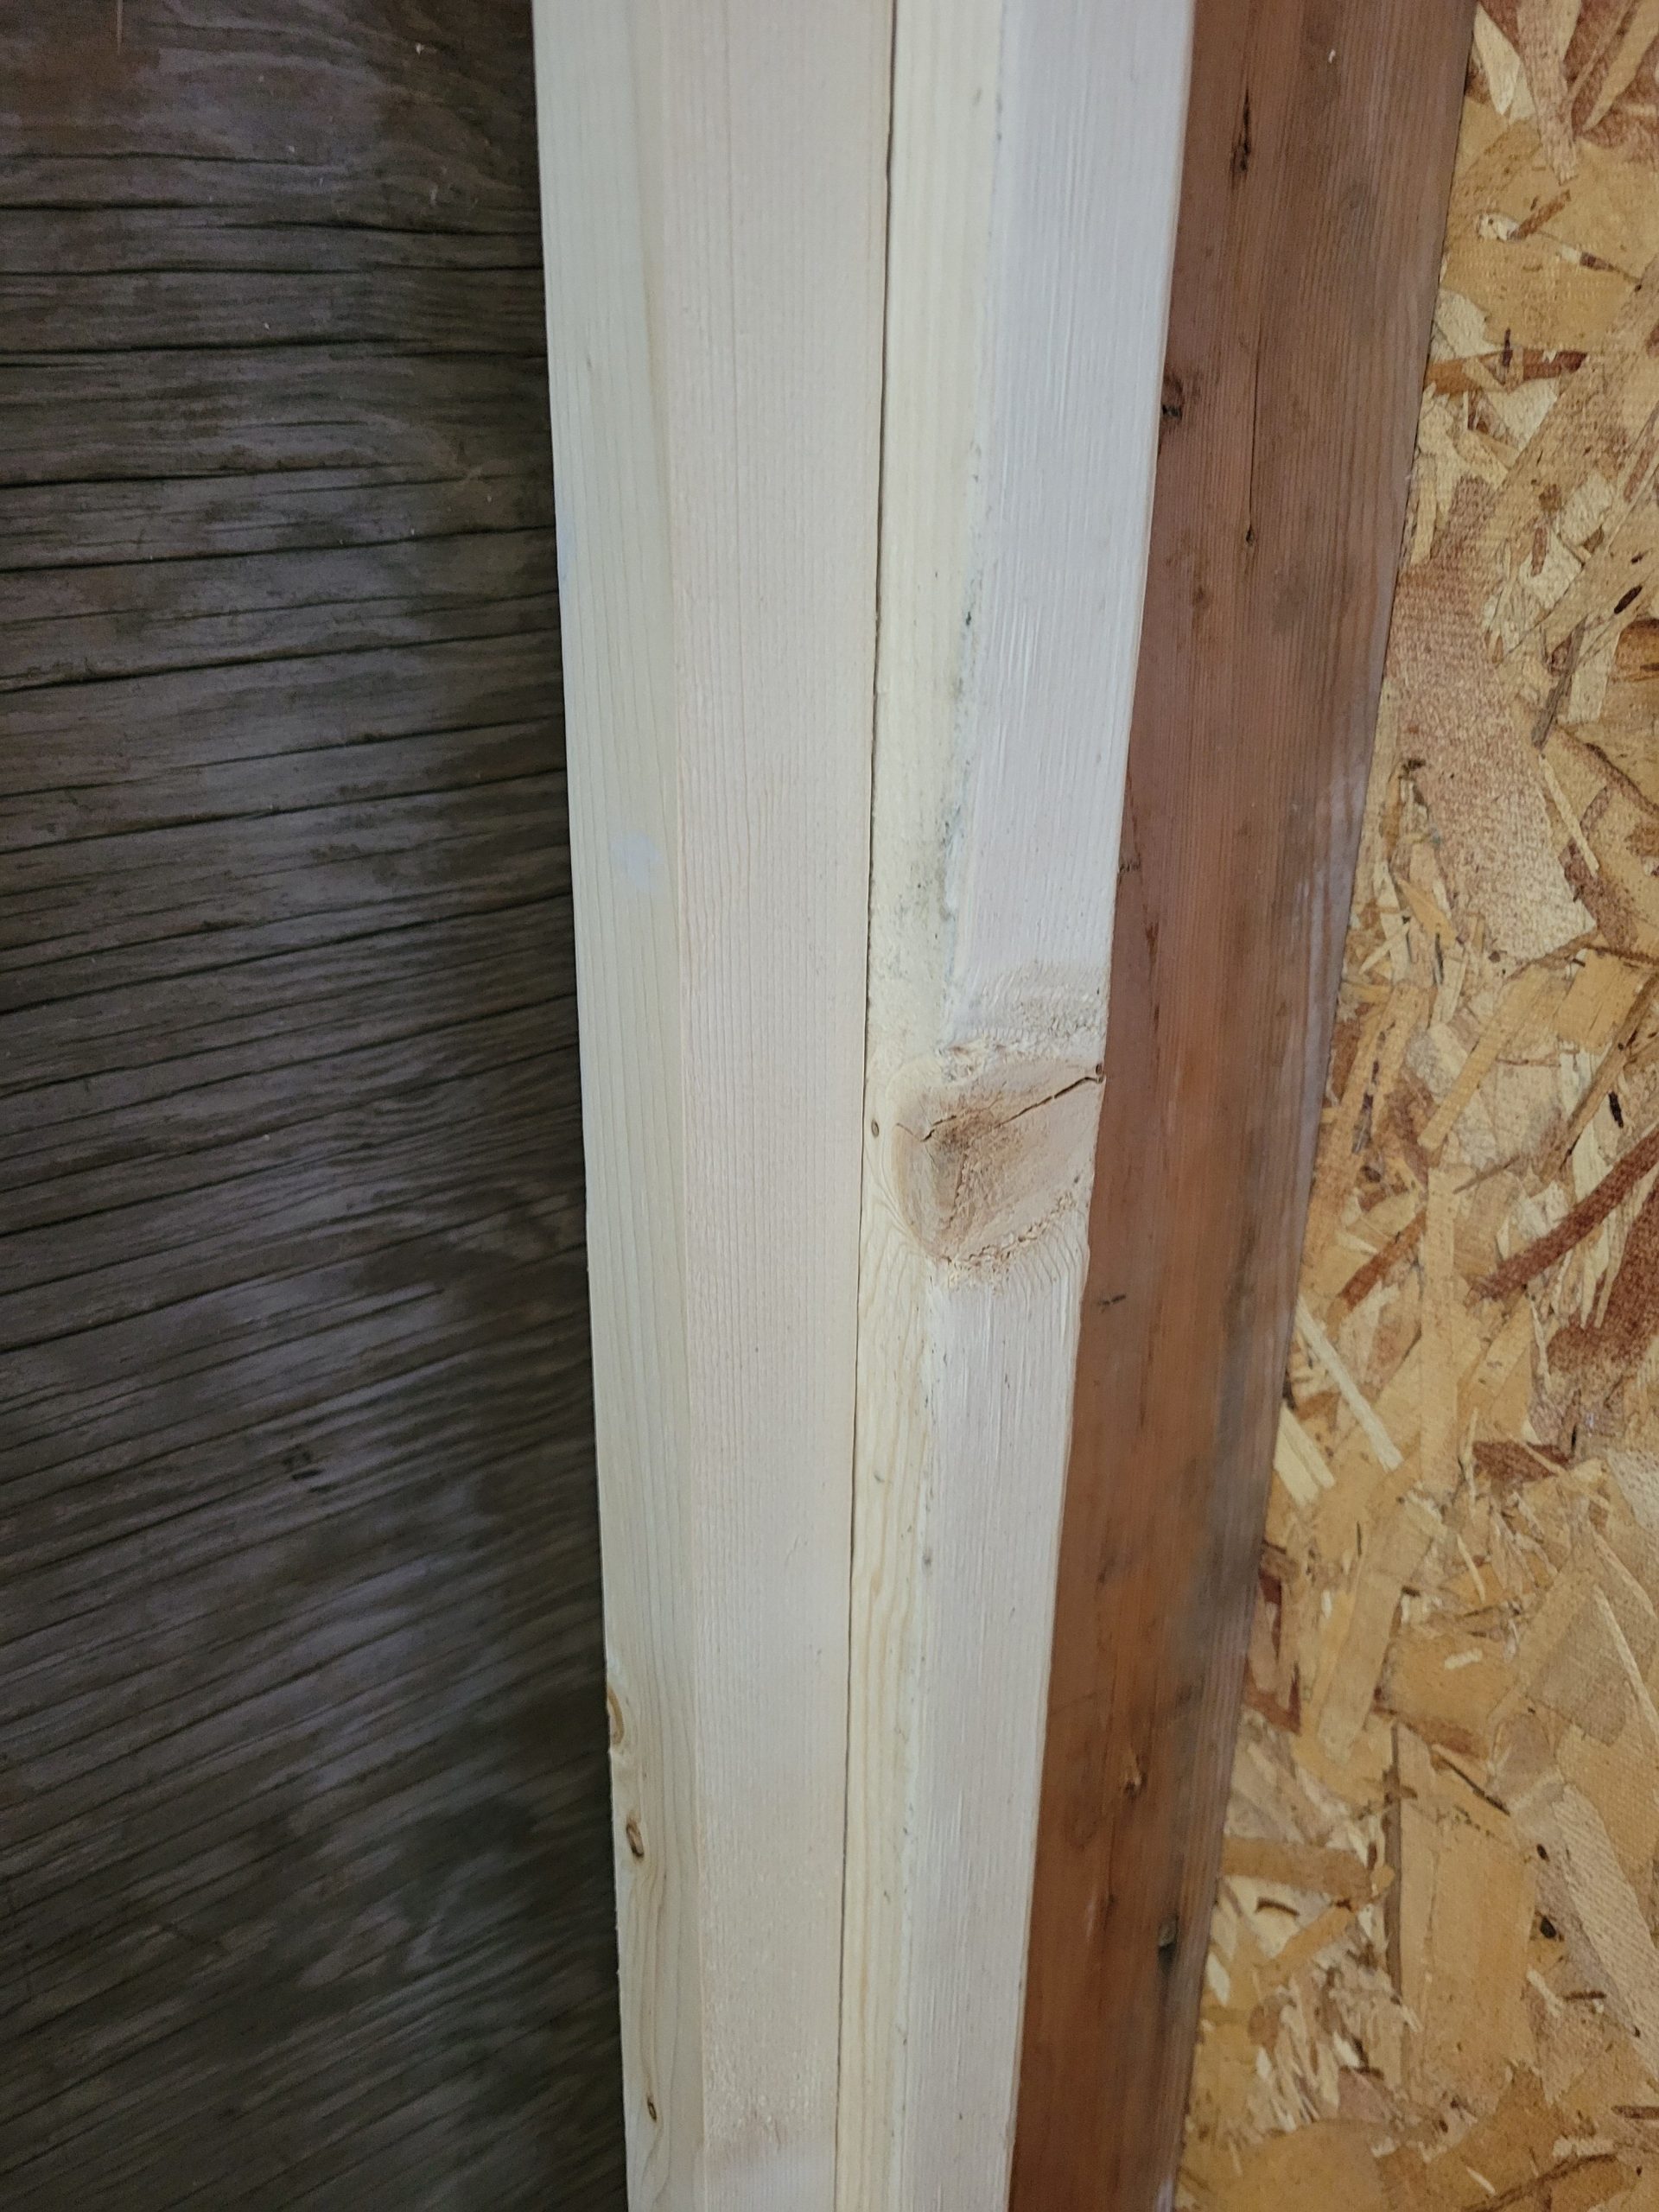
Corners are always a small issue when furring.  This time, I fastened a 2×3 to an existing 2×4 and a 2×2 to the 2×3.  This allows for drywall attachment. 
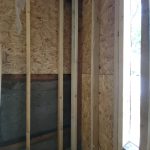
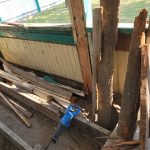
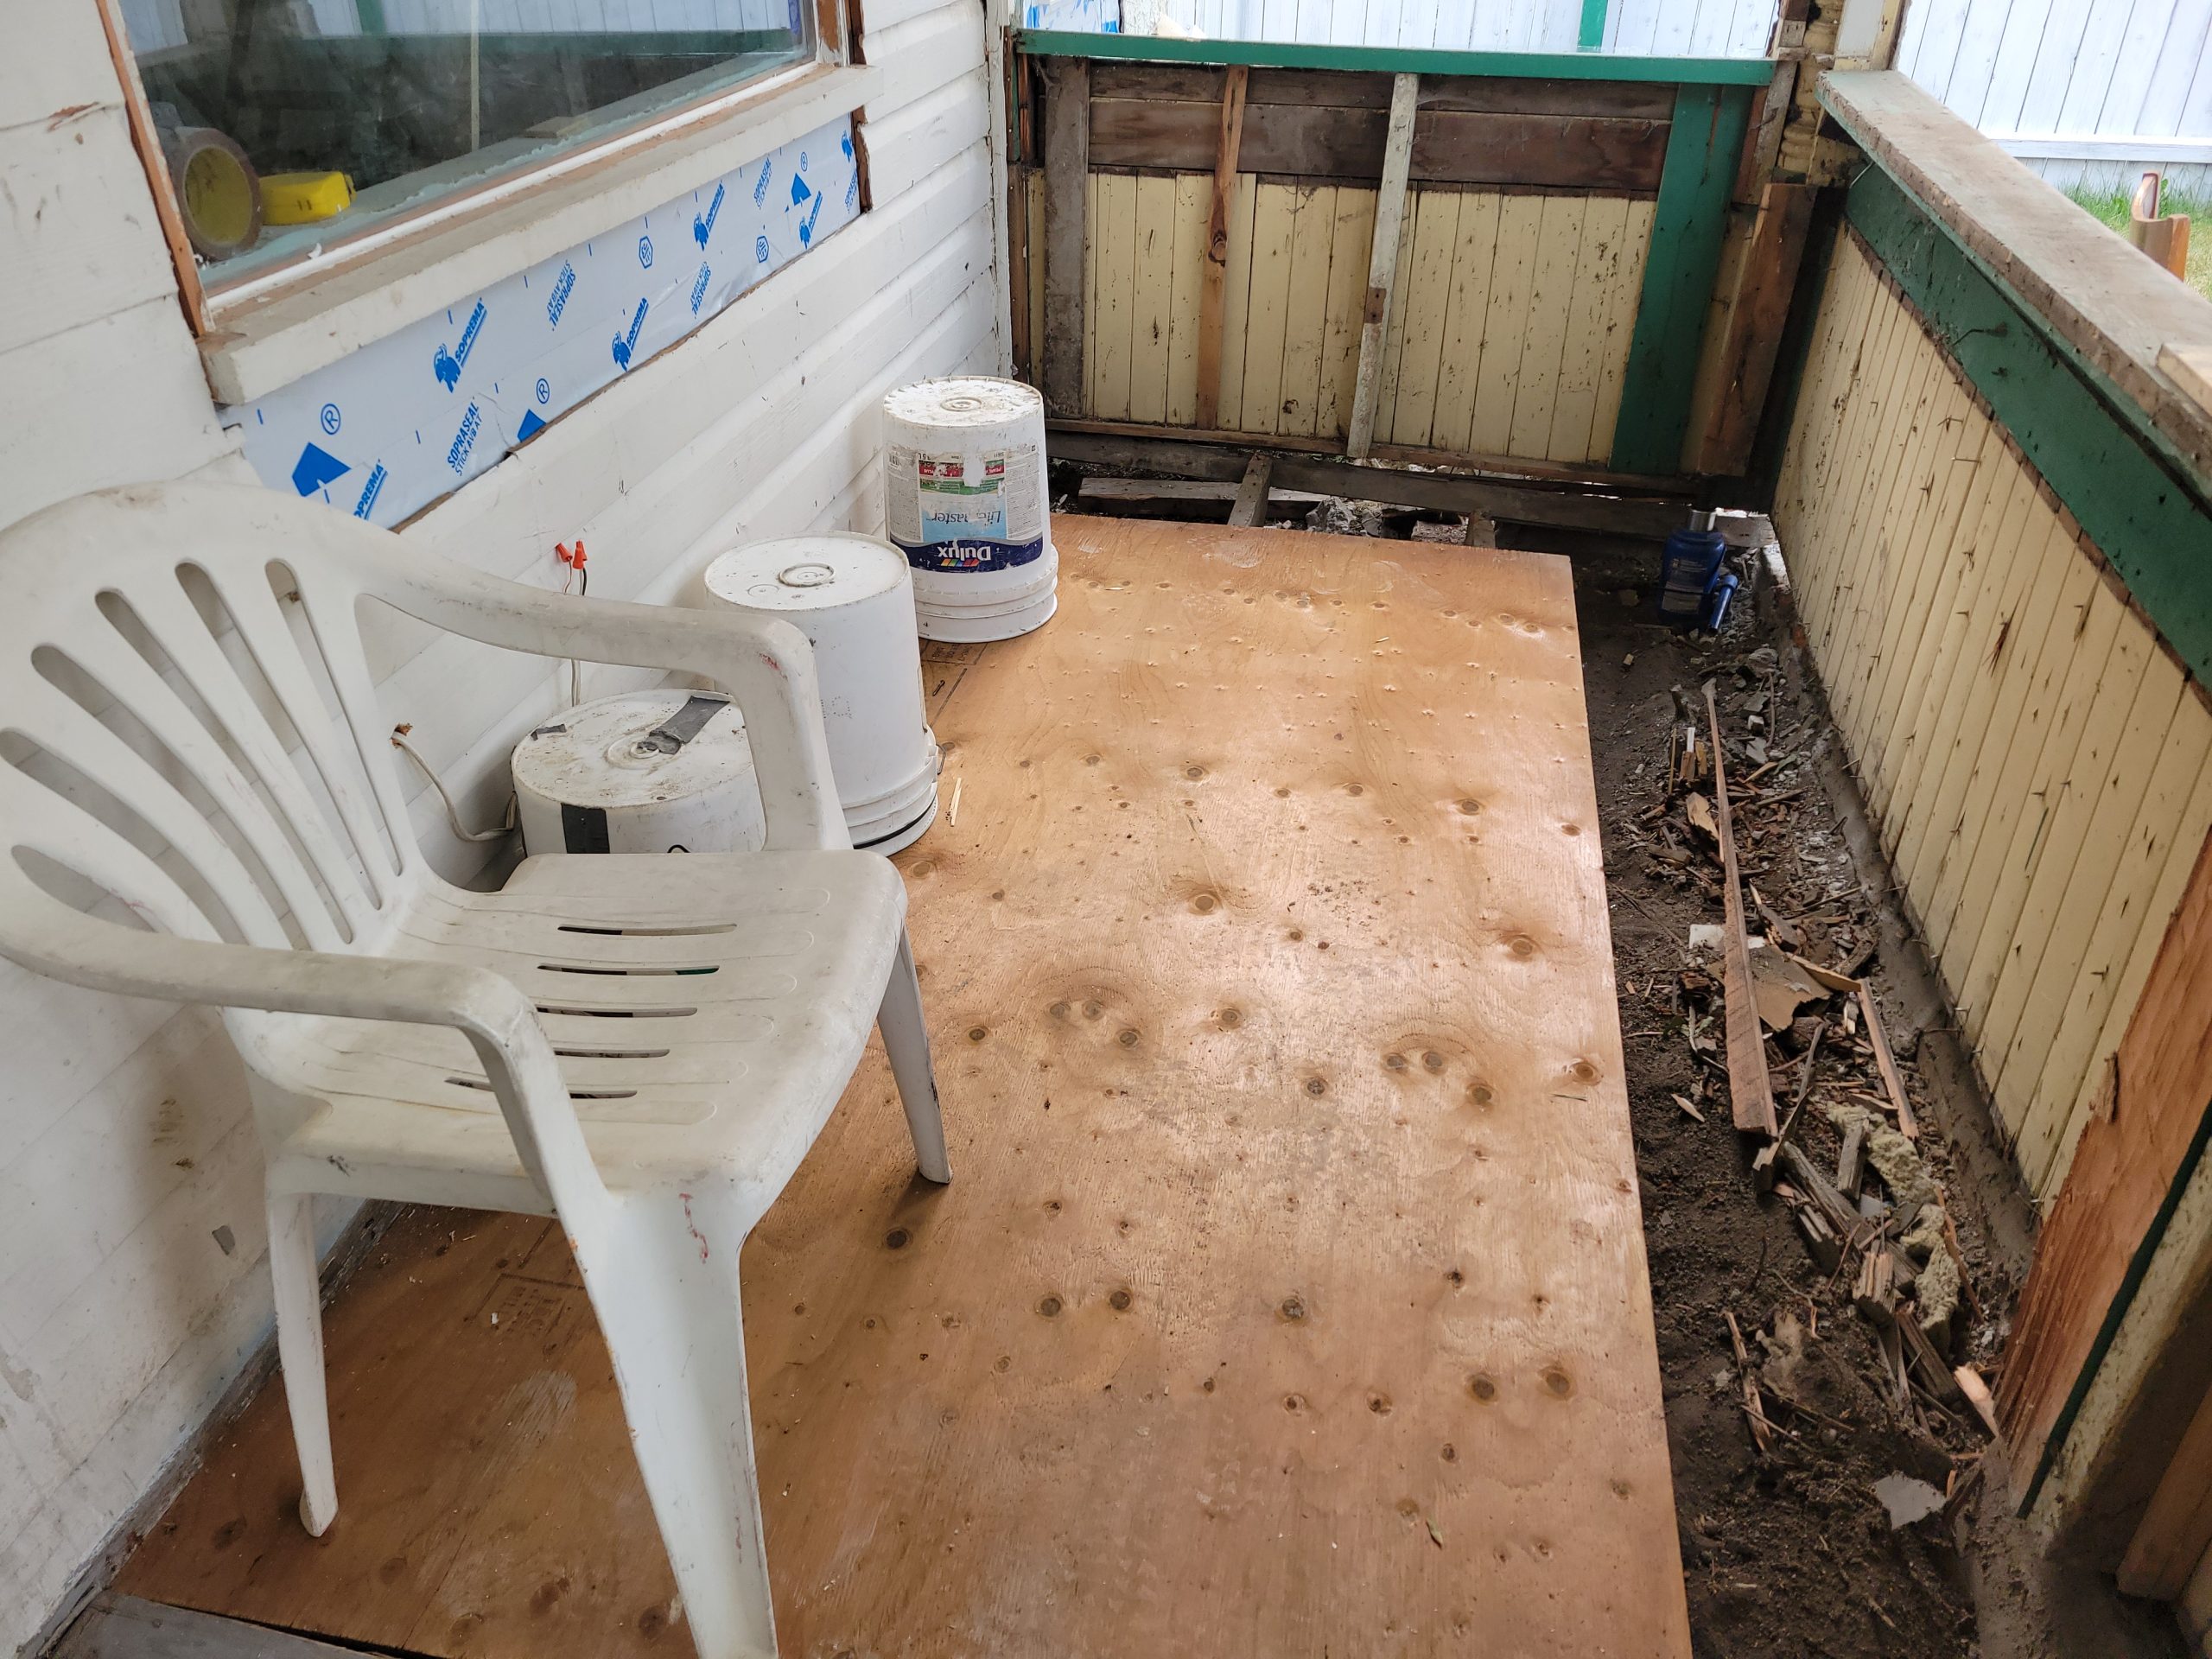
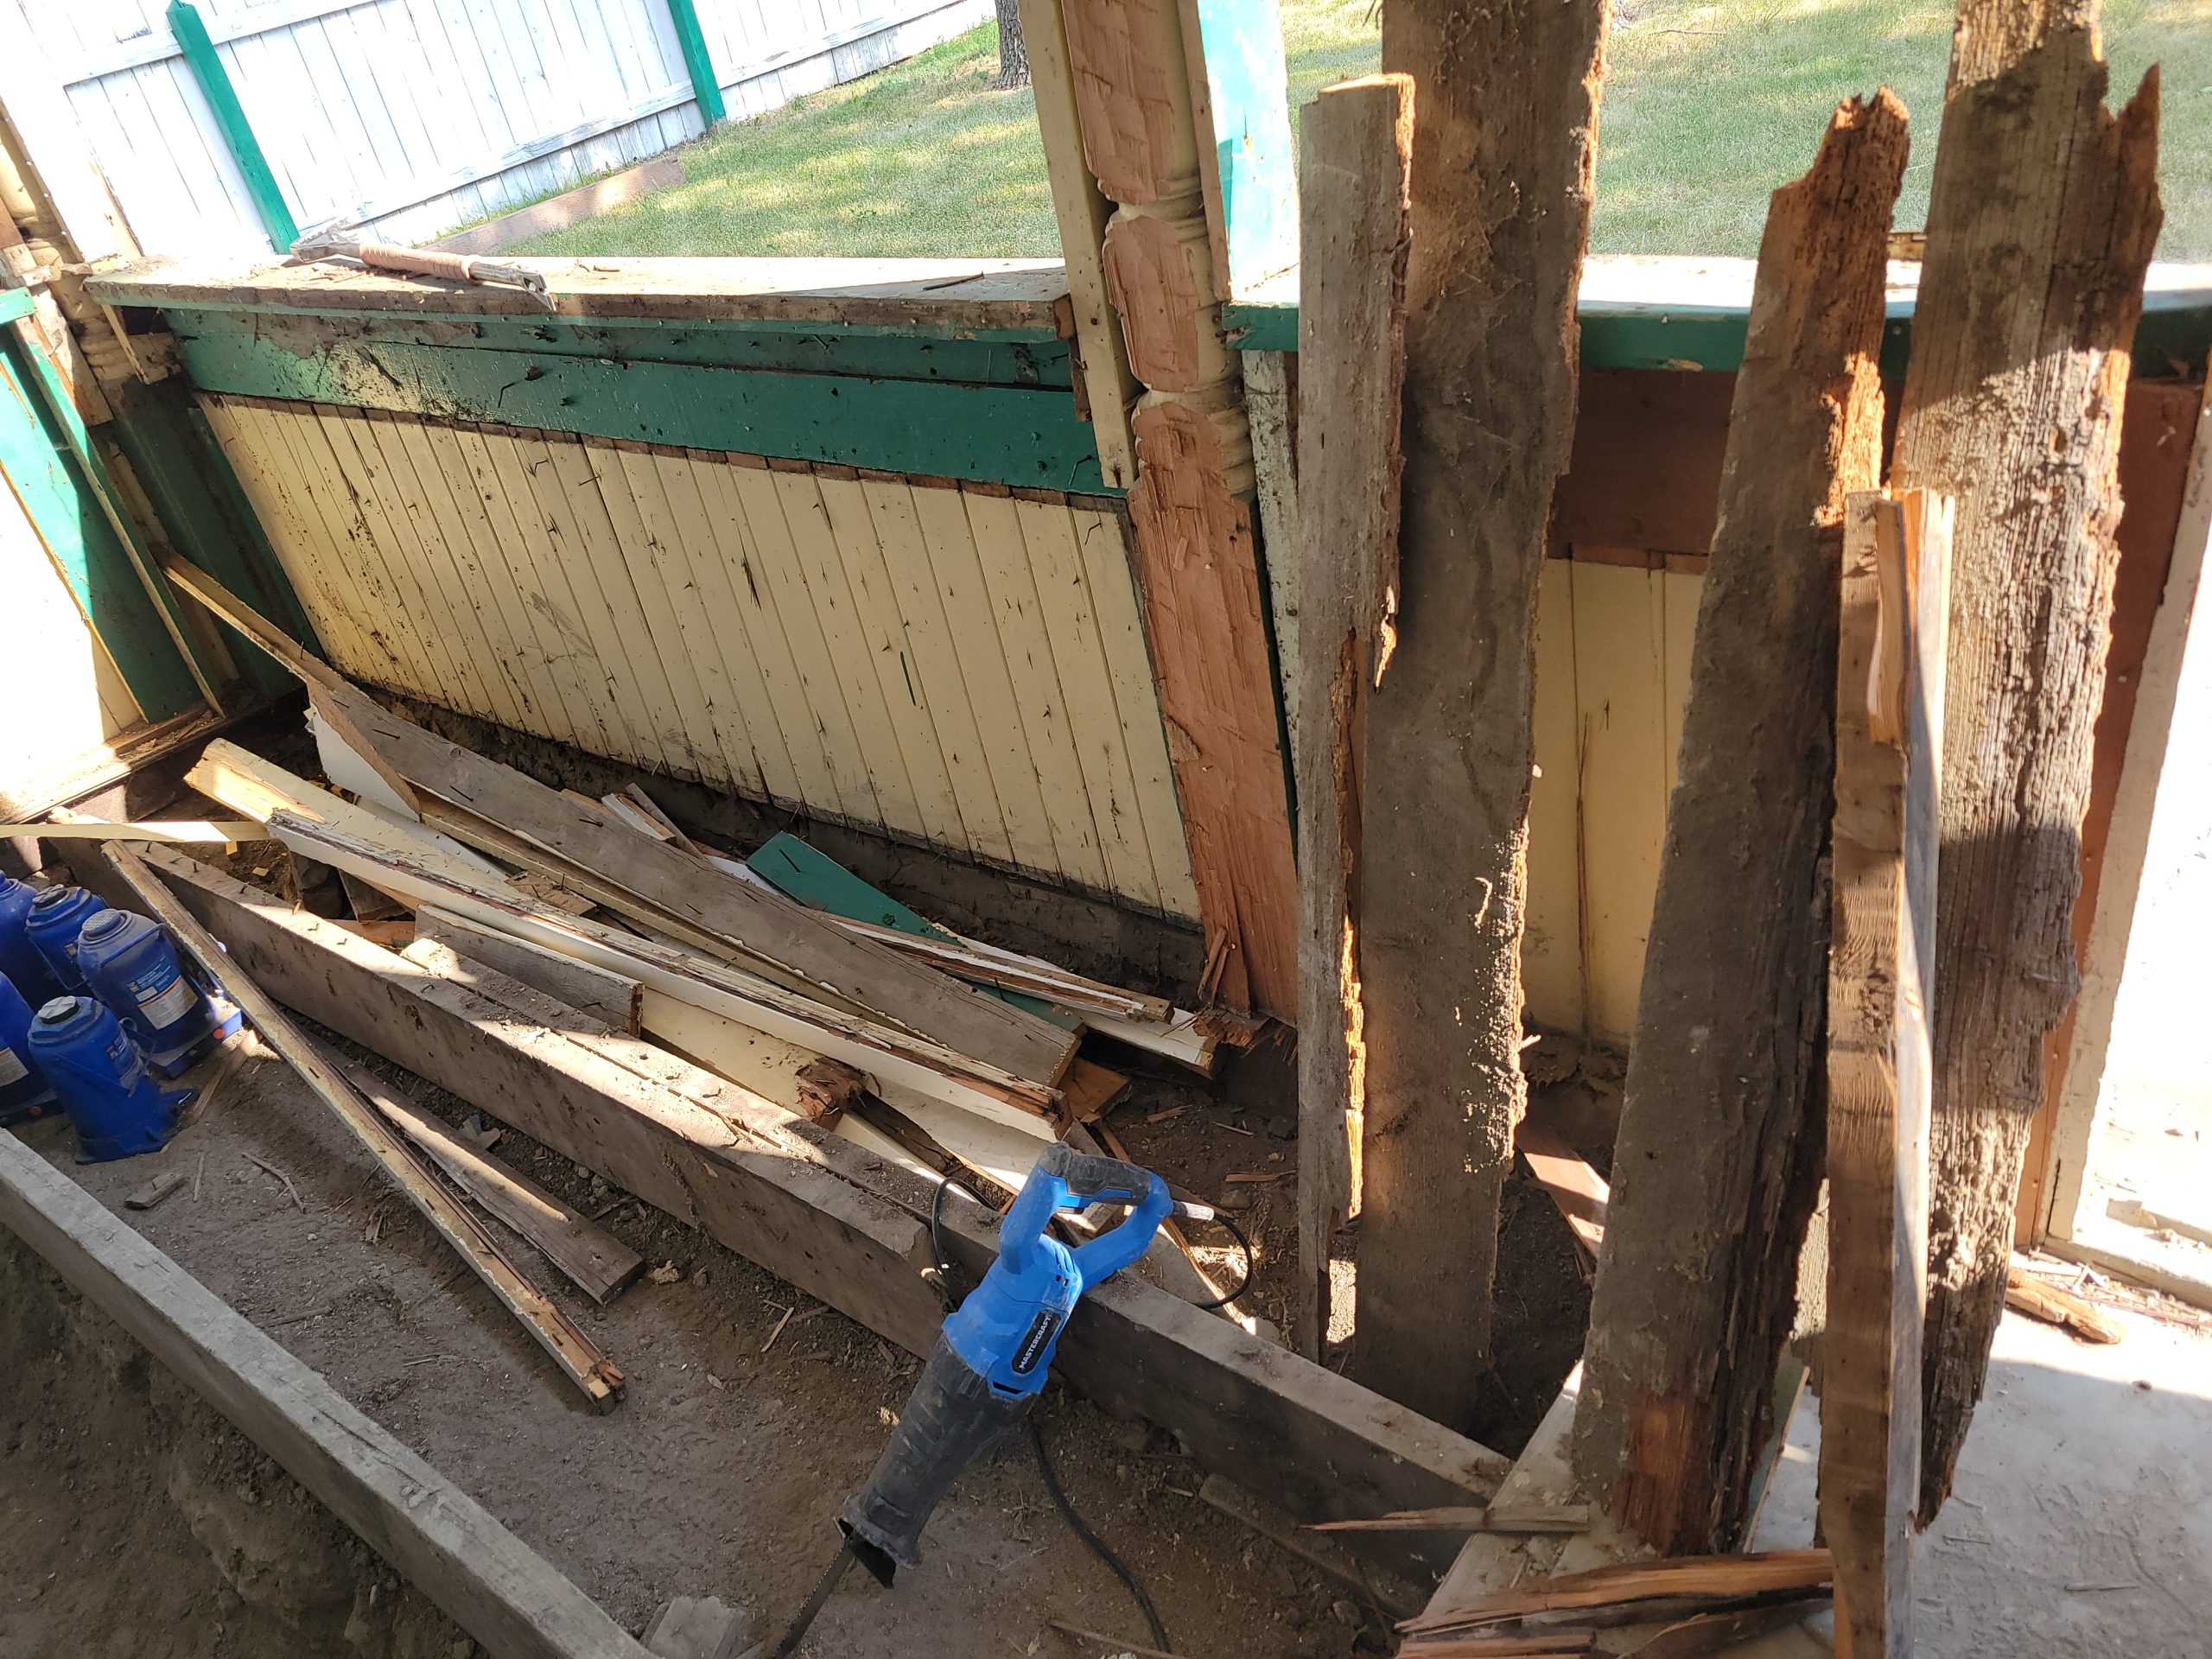
Dave showed up.  After we temporarily fitted the new living room window in, we looked at what used to be the porch (soon to be the veranda) and how it was constructed and added to over time.  I tore off a bunch of superfluous wood used to frame in the old windows. 
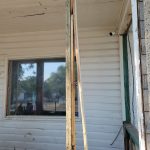
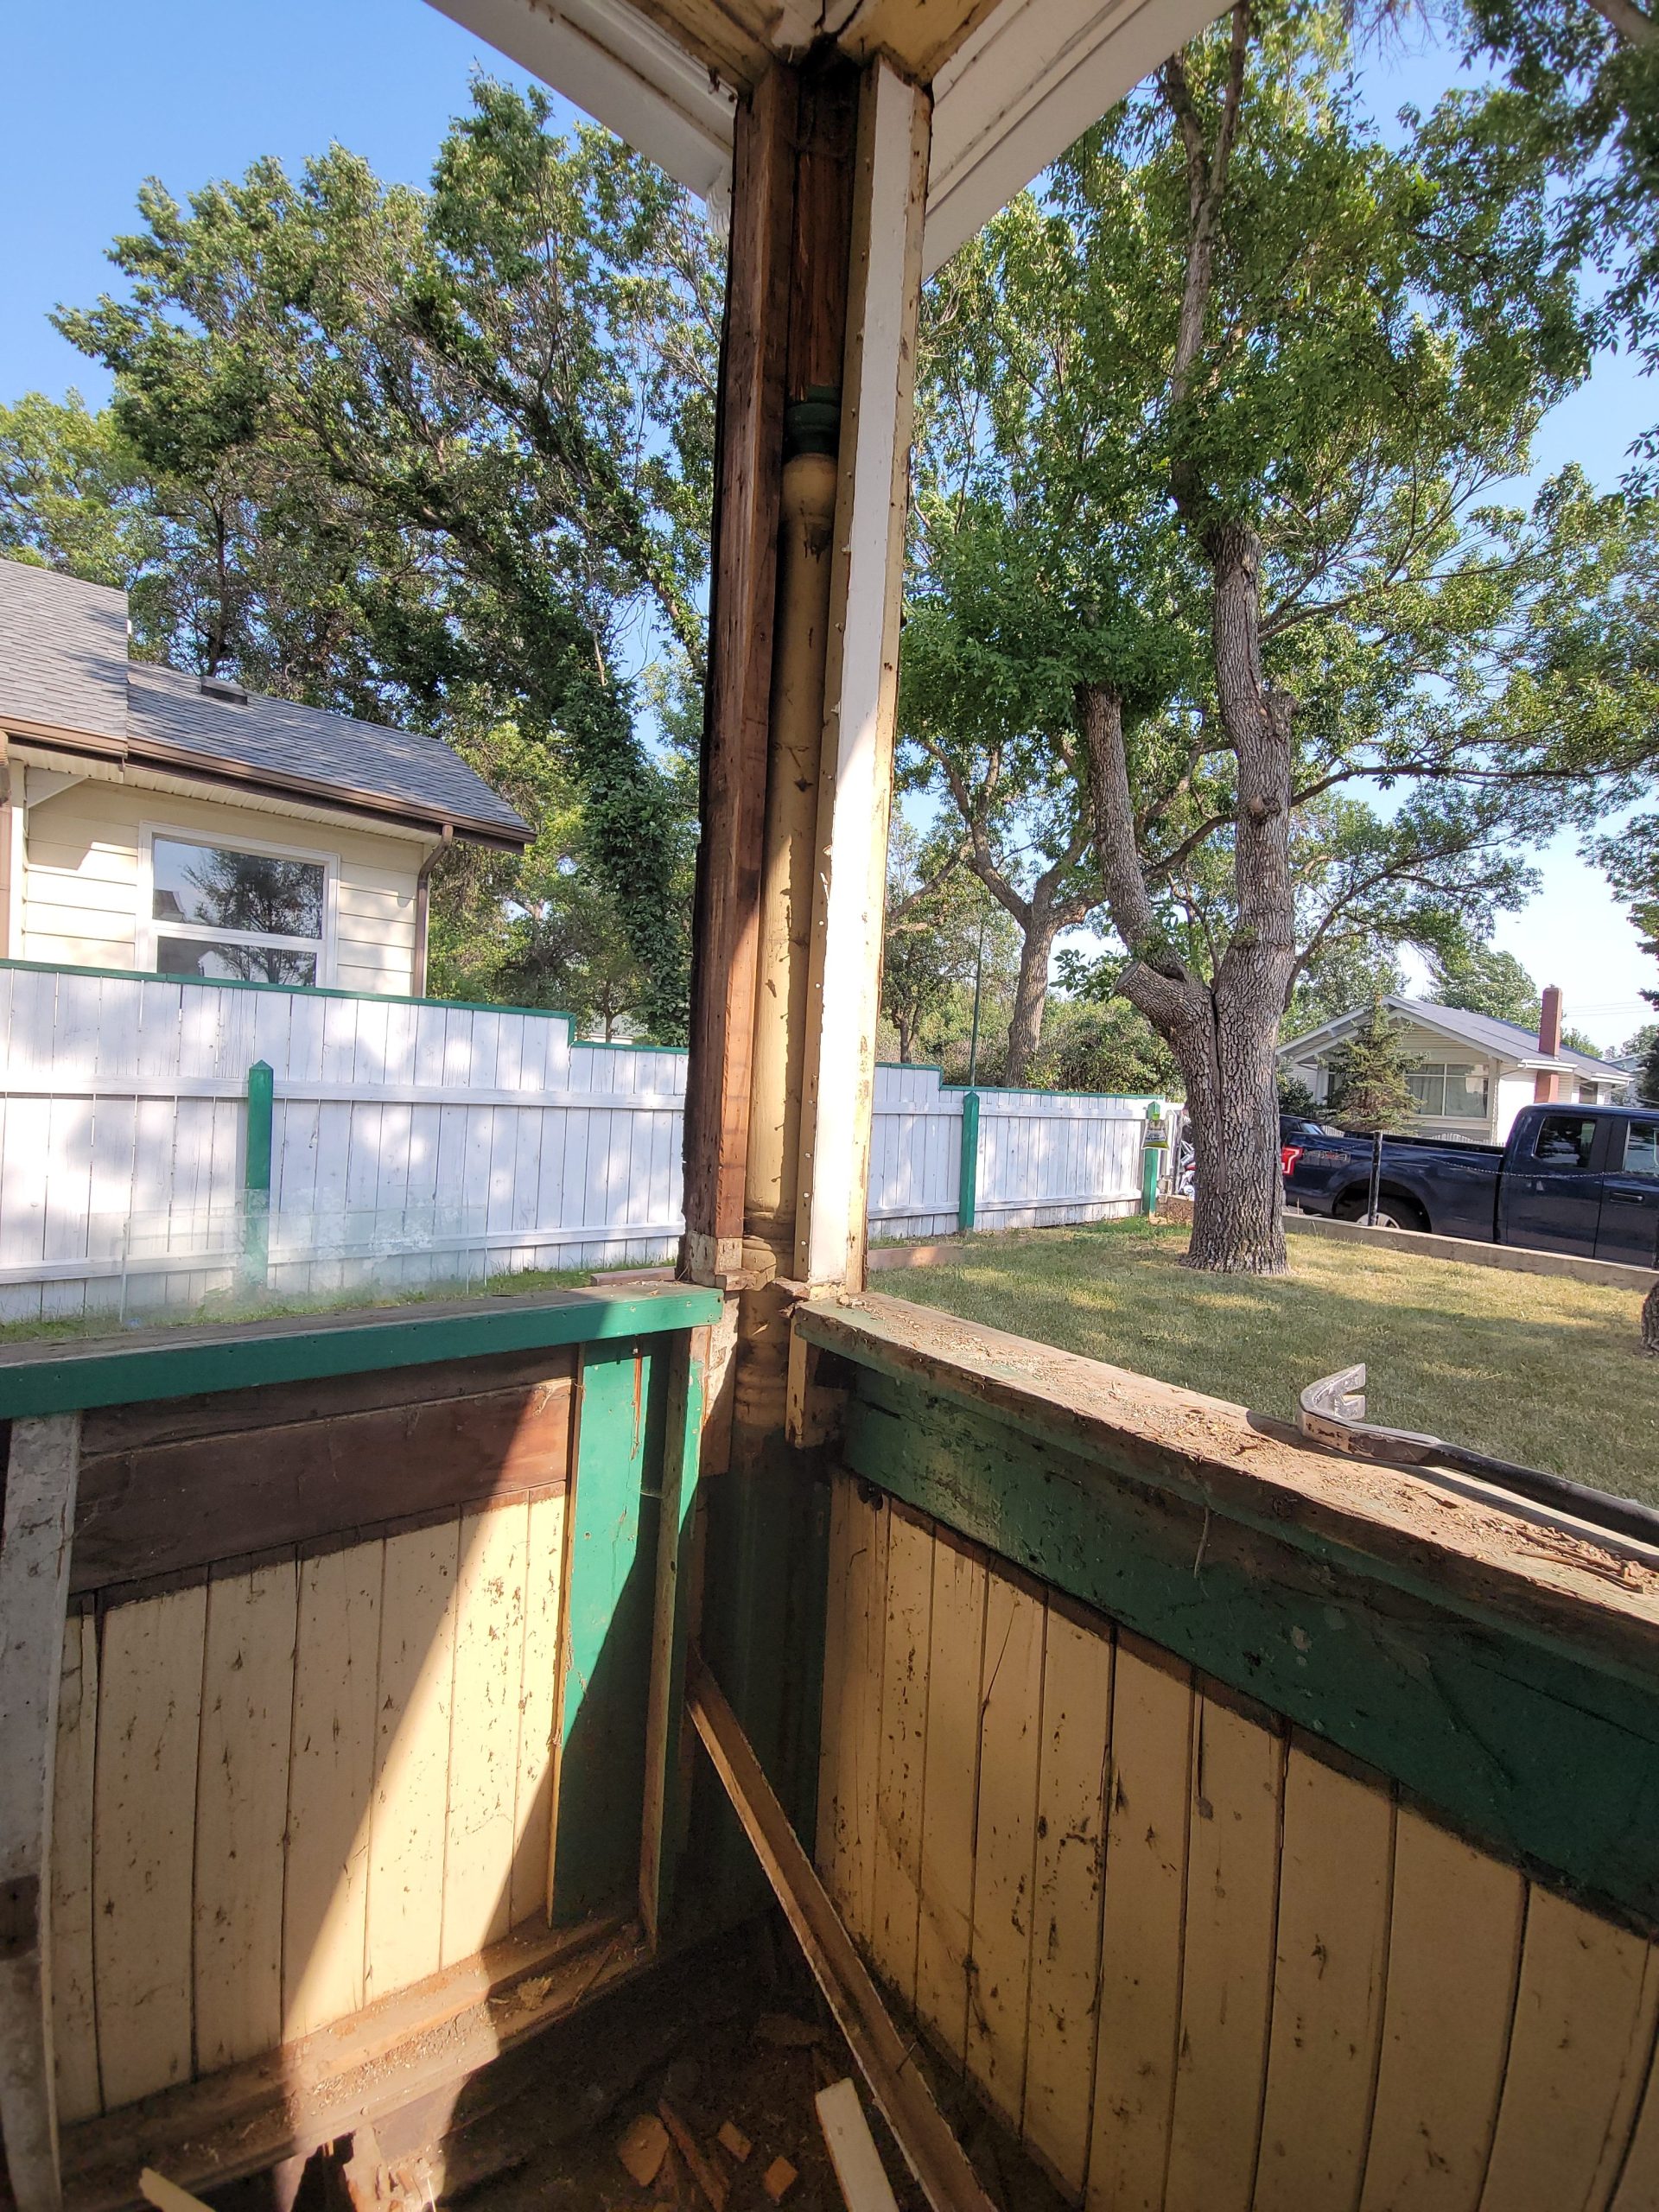
Whoever changed the original veranda into a covered in porch carved up what used to be beautiful pillars.  There are four in total.  I wonder if there is someone with a lathe who wants to turn a 6×6 post.  It doesn’t have to be fir – that would be expensive.  But it should be 8 feet long. 
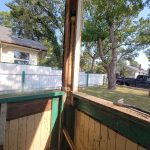
I’ll start the insulation and replacing the header king studs next. 
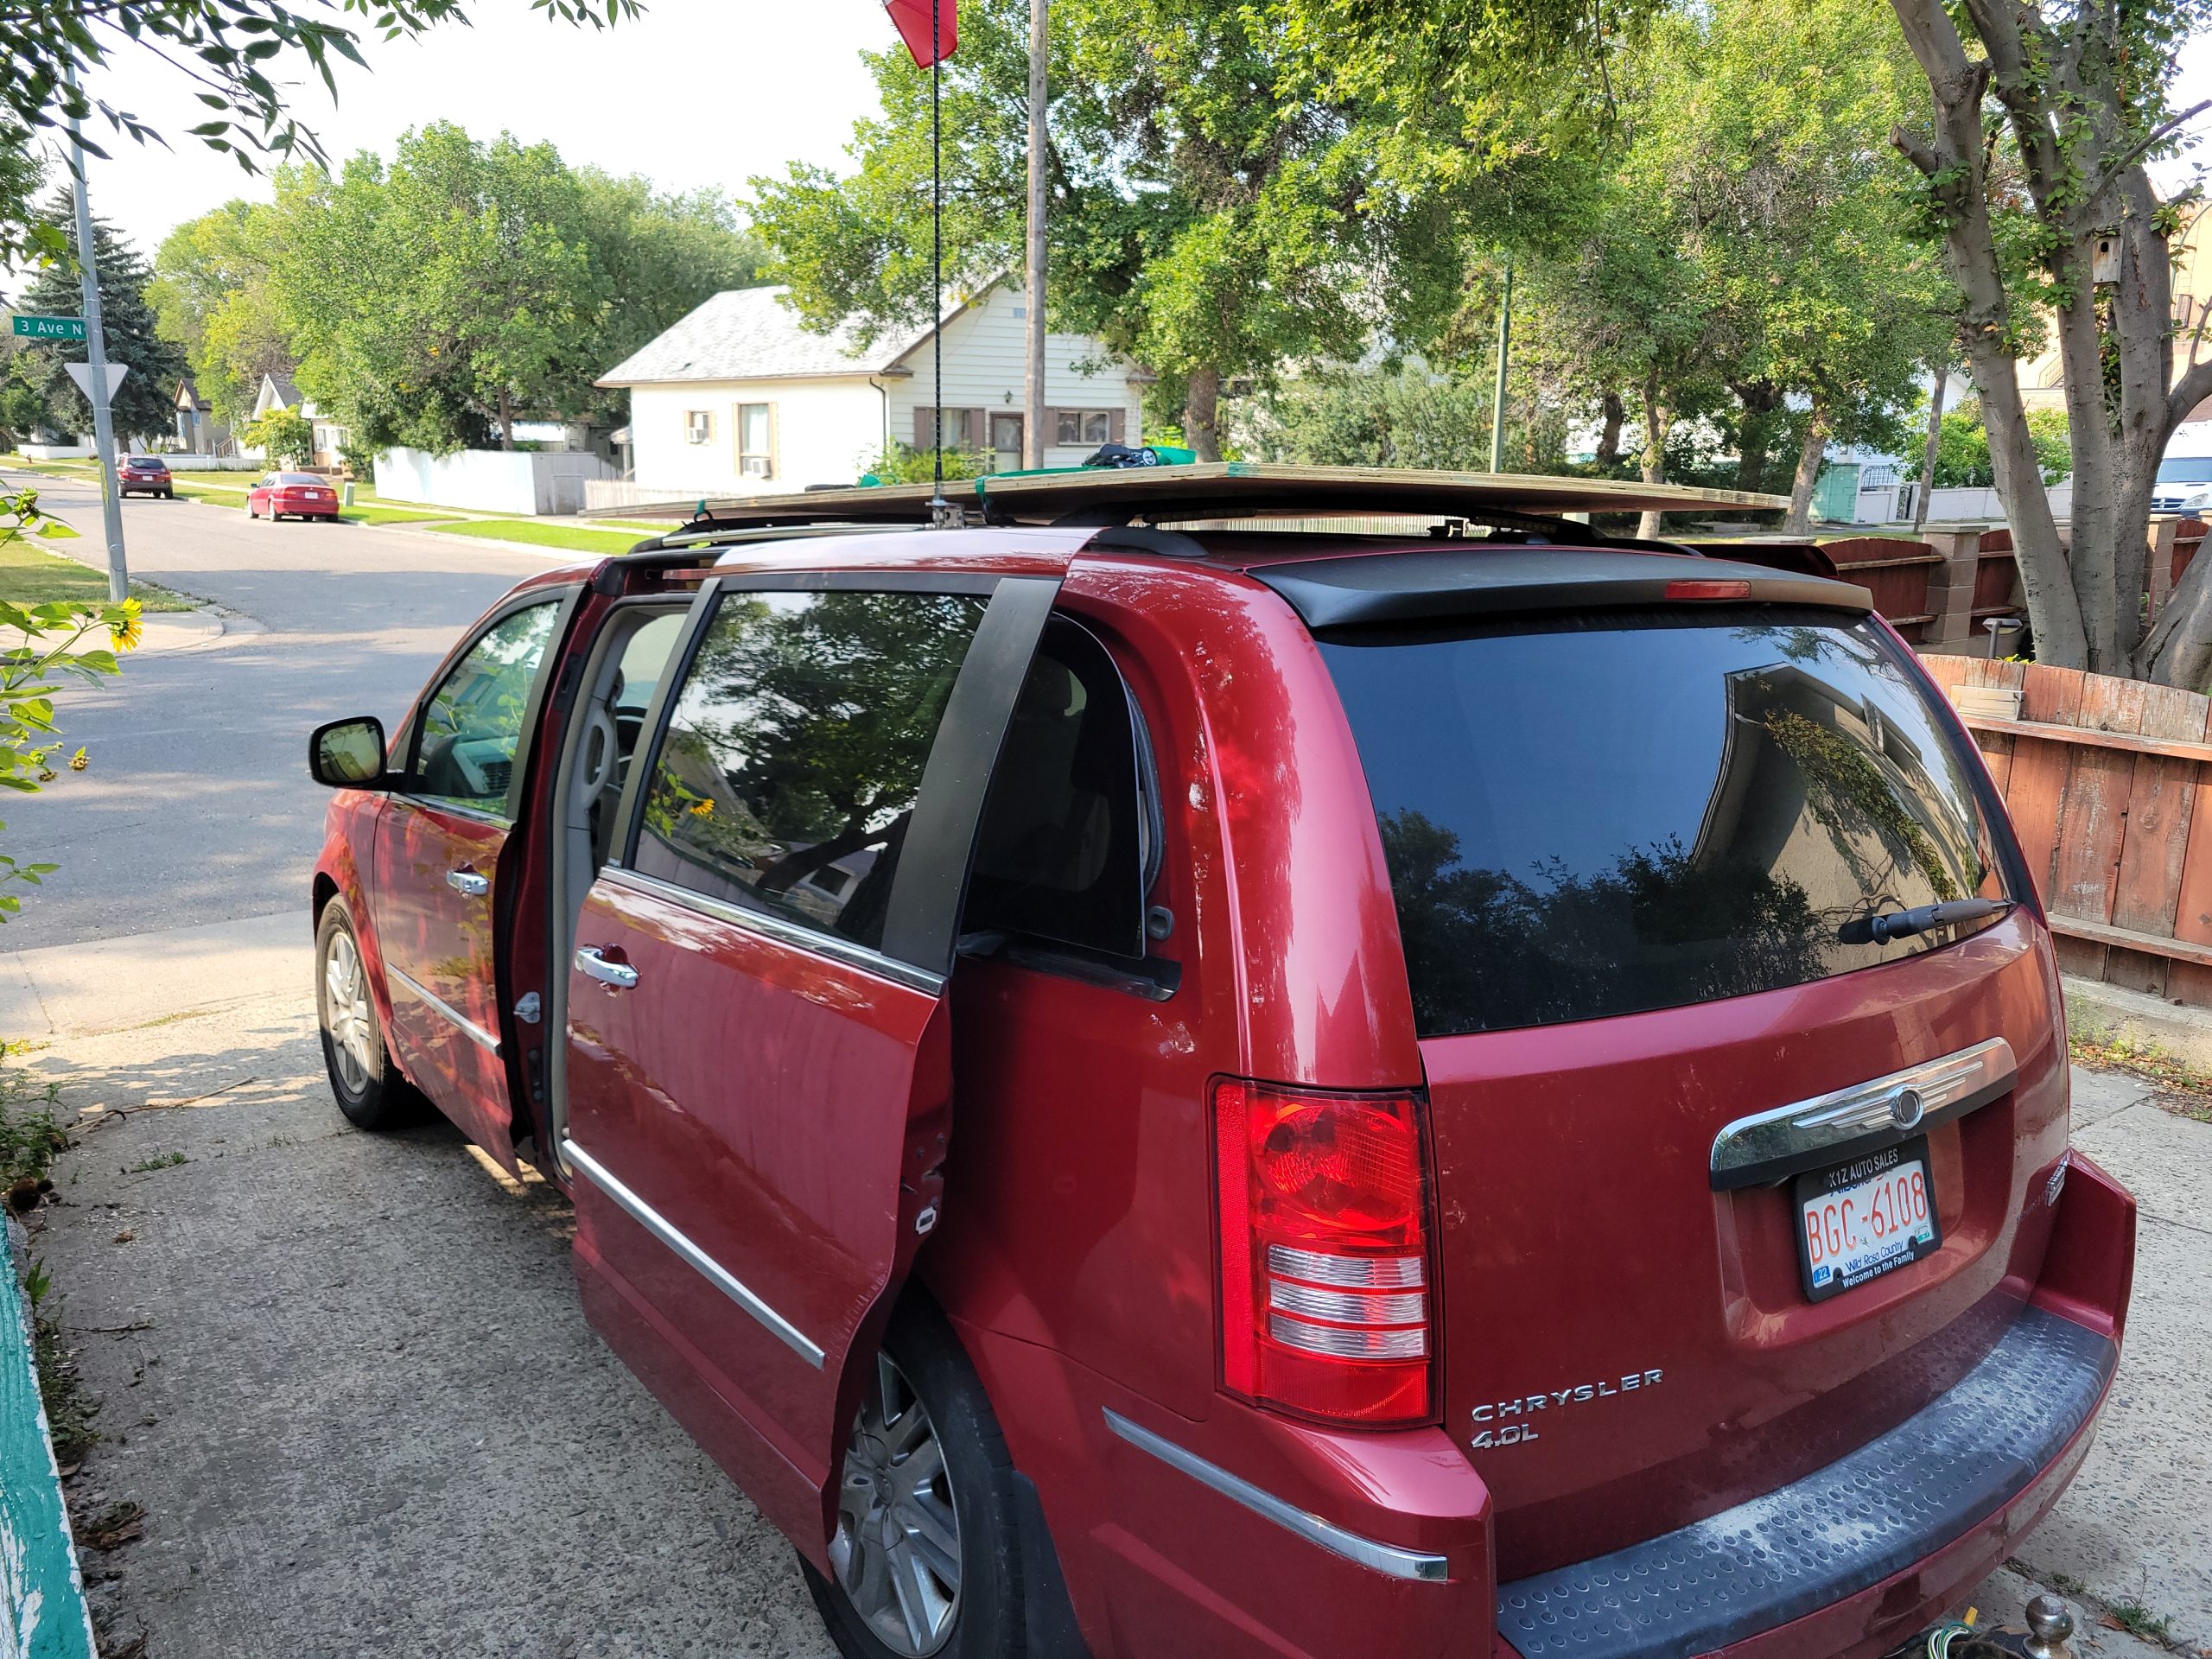
reasoning for renovations

I have some explaining to do.  The reasons renovations to the main floor suite were started in the first place were 

  • 1st floor suite bathroom was cut across by 2nd floor stairway (duck your head!) 
  • sloped floor 
  • 2nd floor suite had stairs so steep that a mountain goat couldn’t climb them (although this was not tested with real mountain goats) 

Some other reasons were 

  • no insulation at all – just bricks acting as heat sinks (not even structural) 
  • no bedroom or living room ceiling lights 
  • bad location of bedroom doors 
  • bad windows
    • BR1 had a window opening into the front porch – no fresh air, not to mention illegal as all hell as there was no means of egress
    • BR2 had a tiny, leaky awning window 
    • BR3 had a large, leaky window 
    • living room window leaked, would not close 
  • dated, painted 1960s panelling 
  • no 36-inch egress doors 
  • and many, many more 

pantry cabinets

After filling a floor gap where the original 4-square house and the kitchen add-on meet and caulking the rest, we installed the pantry cabinets (not to be confused with the room off the kitchen called “the pantry”). 

At the end of the day…

Back in the stairs…

kitchen re-assembly

I cleaned up the place a bit before beginning work.  With the appliances gone from the living room, Dave was able to finish the ceiling.  We put paper bags around the ceiling fan blades to protect them from drywall dust, primer, and paint splatter. 

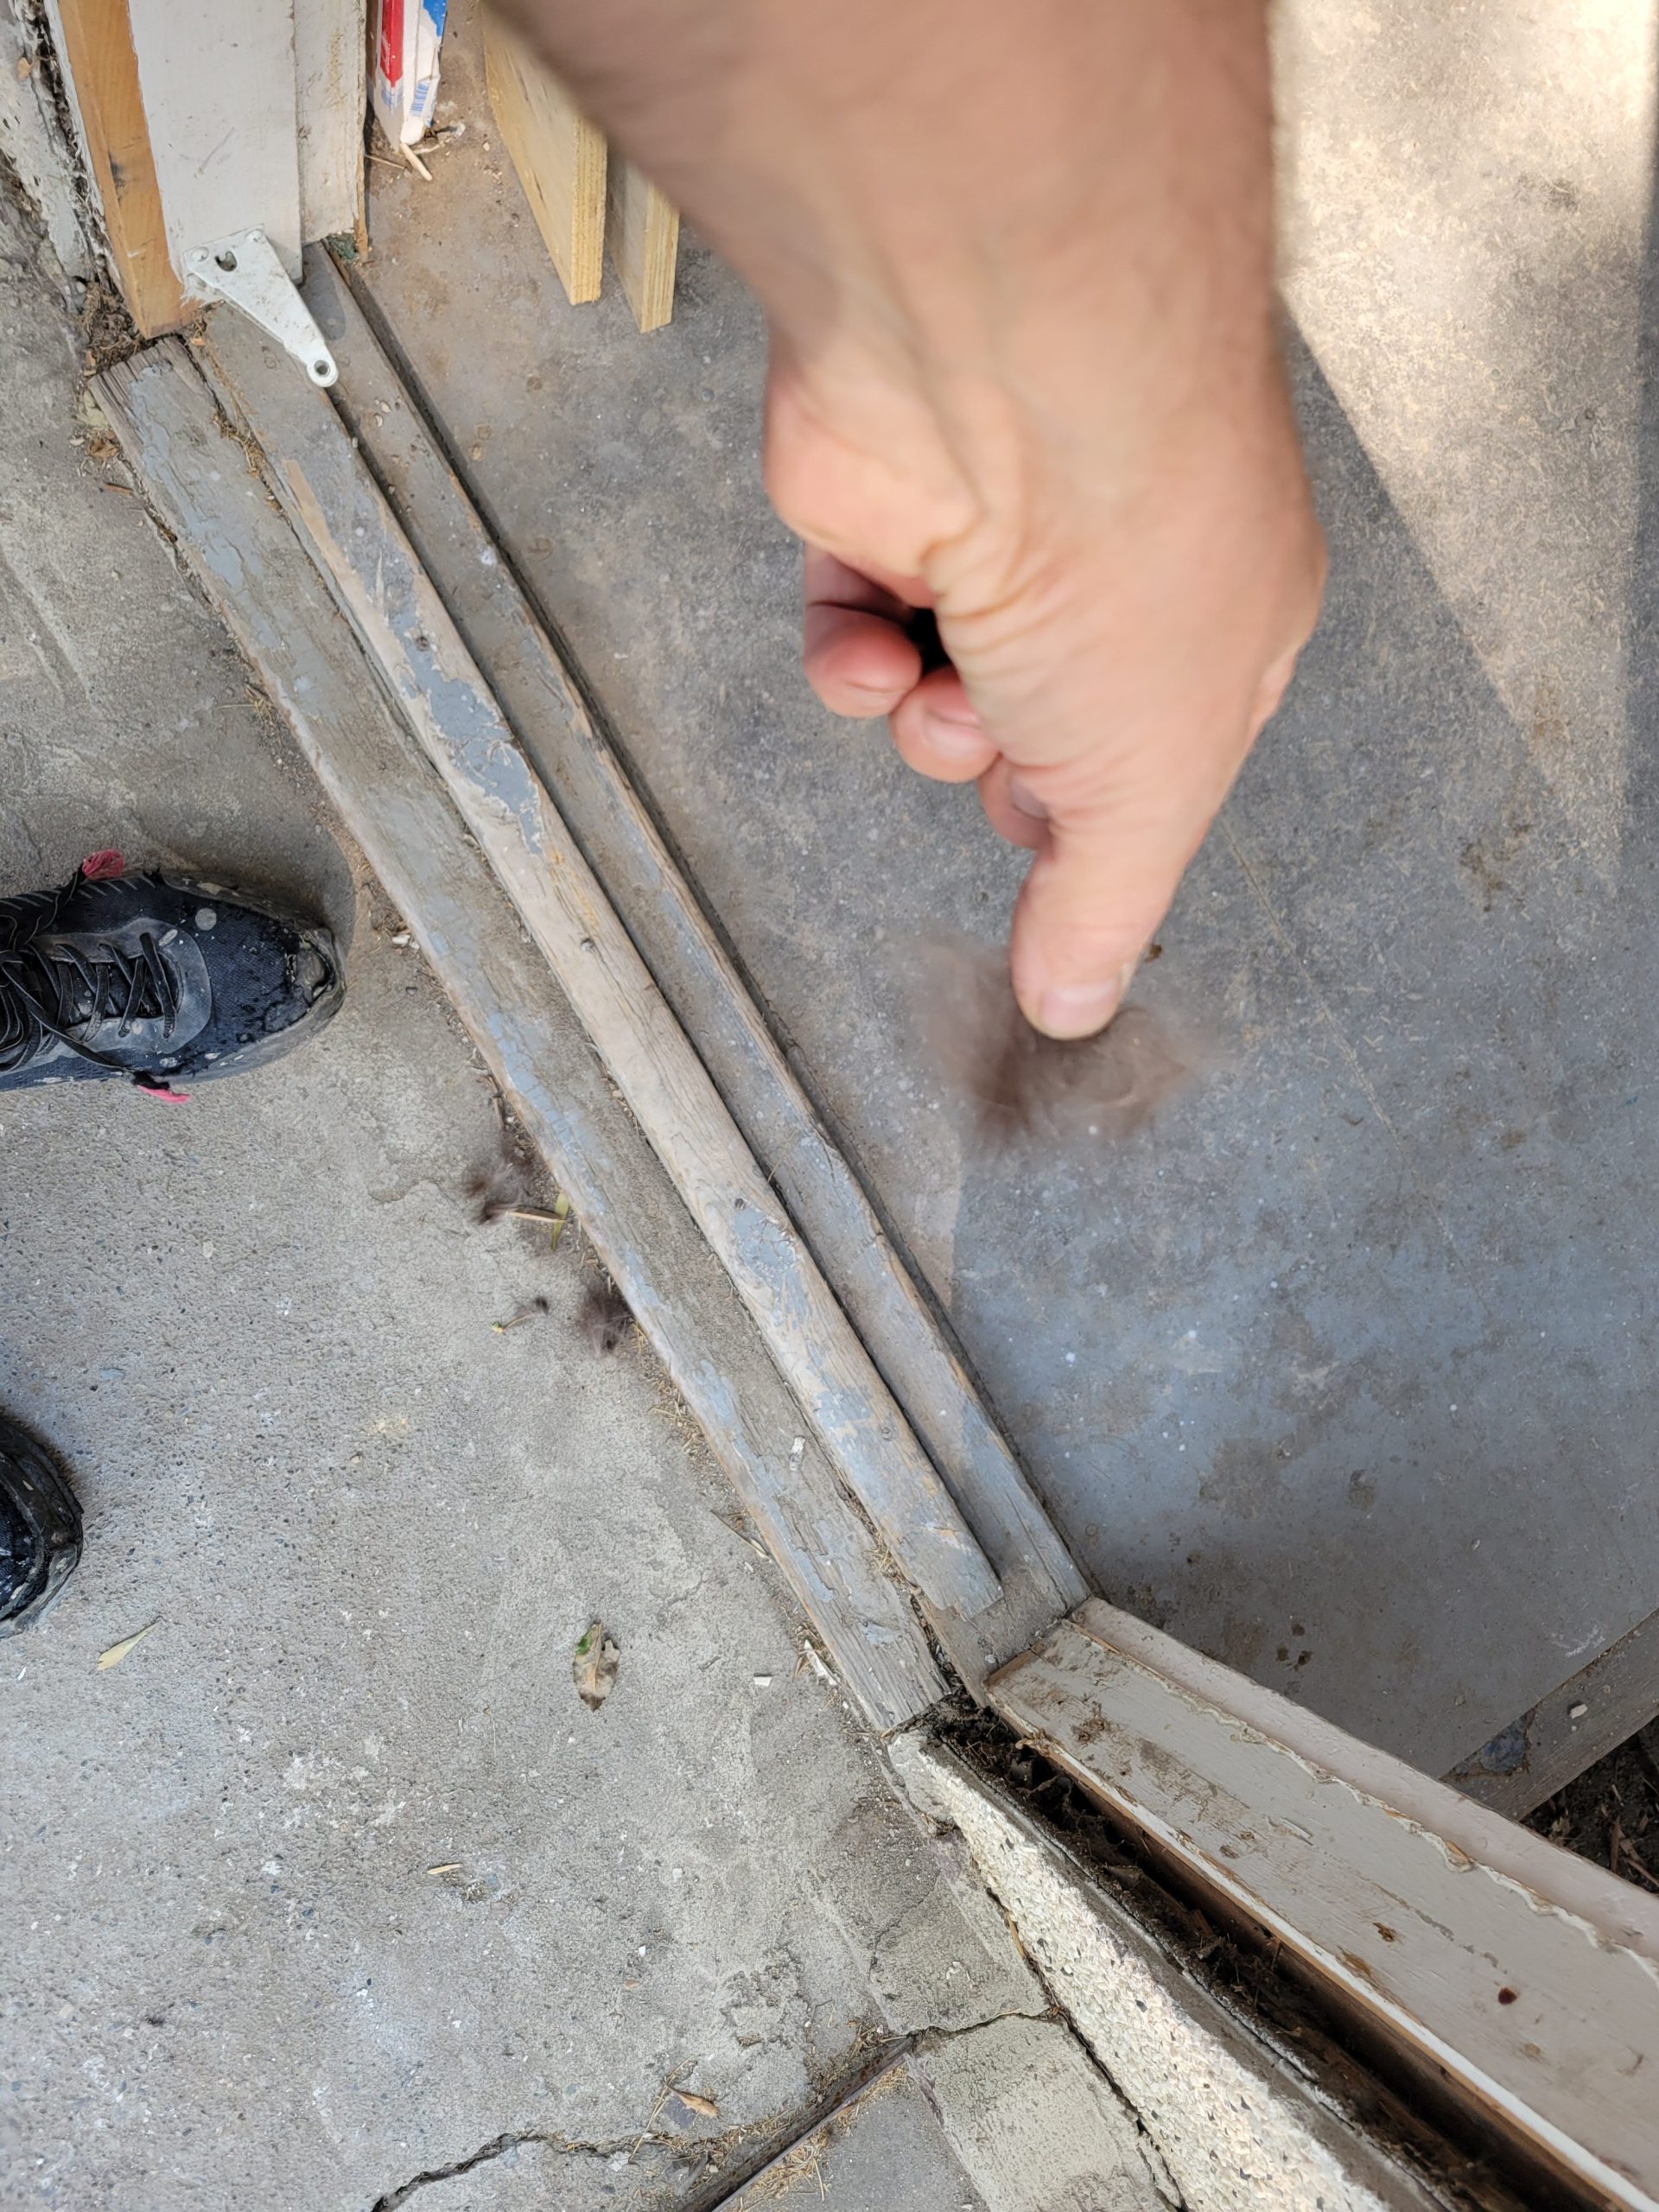
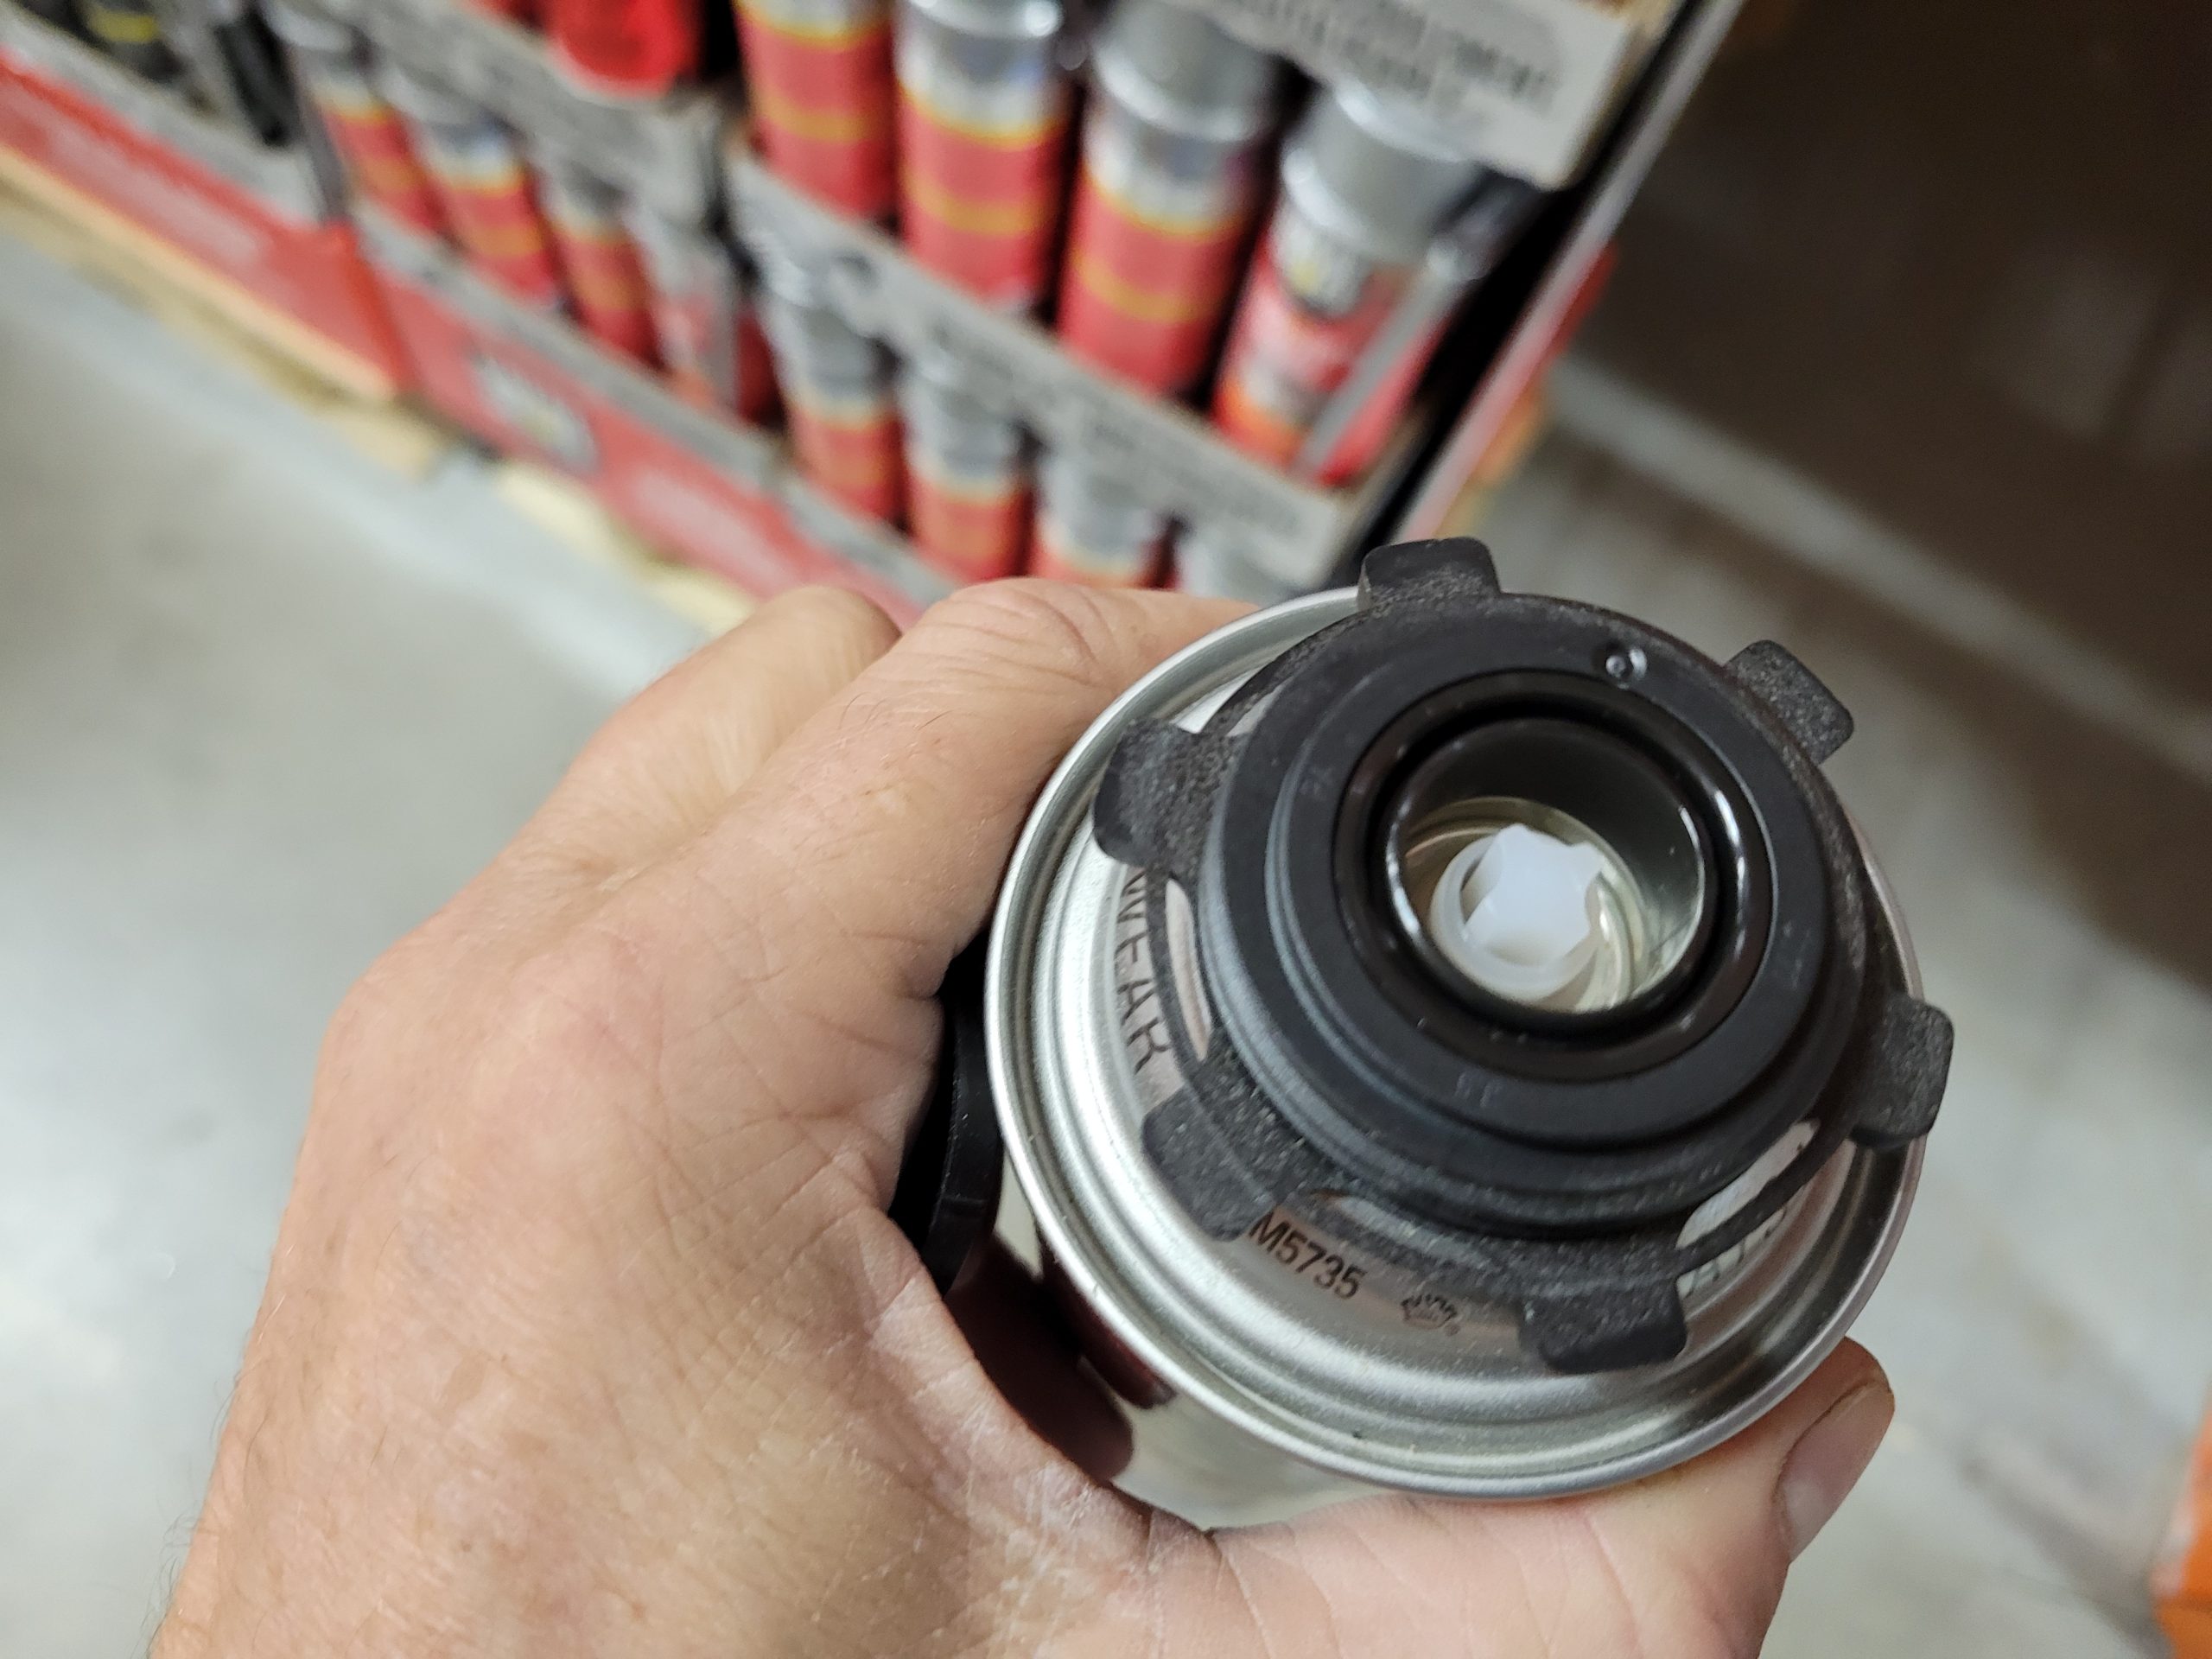
I bought some pest repellent spray foam insulation.  It seems to me that the mouse that entered the house while the previous tenants were there went in through a 3/4″ gap in the concrete footing patch the previous owners did to fill the gap.  The dead (decaying) mouse was found under the kitchen cabinets right at that spot.  The outside hole had been filled earlier, and drywall bottom gap was filled with this newly found foam. 

As I was there, the owner of Benchmark Glass here in town came over with the newly created window pane for the mudroom.  No charge!  A “good neighbour” gesture!  Ain’t that sweet.  (I got my new replacement windshield from a few weeks ago.) 

Read more

fridge wall

As I was working on the upstairs suite stairwell landing, Dave was mudding, sanding, painting, etc. in the main floor suite.  The refrigerator wall was skim coated again. 


I finally got the right brackets for the toilet shelving. 


Meanwhile…

prime time

The wall behind the toilet was re-mudded a bit ago, so I sanded, primed, and painted it. 

The thermostat in the mudroom was made for 240VAC, but the heater will run off of 120VAC (I have yet to order one), so the red wire denoting 240 volts must be marked with white tape.  I stuck a label on it just to make sure (120VAC TO MUDROOM HEATER). 

Is anyone clicking on the “Read more” link? 

Read more

mudroom ceiling drywall, fine mudding work

Neighbour Dave stated that the ceiling drywall should always go on first.  However, the ceiling, as it is ‘vaulted’ (or, simply put, slanted), is more than 48 inches – it measured 49½ inches.  This means that, in my view, the walls should be done first and brought to the top (which was 47 inches on one side), and the ceiling put in later.  We agreed to disagree. 

I cut a hole for the light and, with some effort, put up the first slanted sheet, leaving >½” for the next wall. 

Dave, meanwhile, continued with fine-tuning the mud. 

Later, the short wall was put up and taped.  More mudding when the tape mud dries.