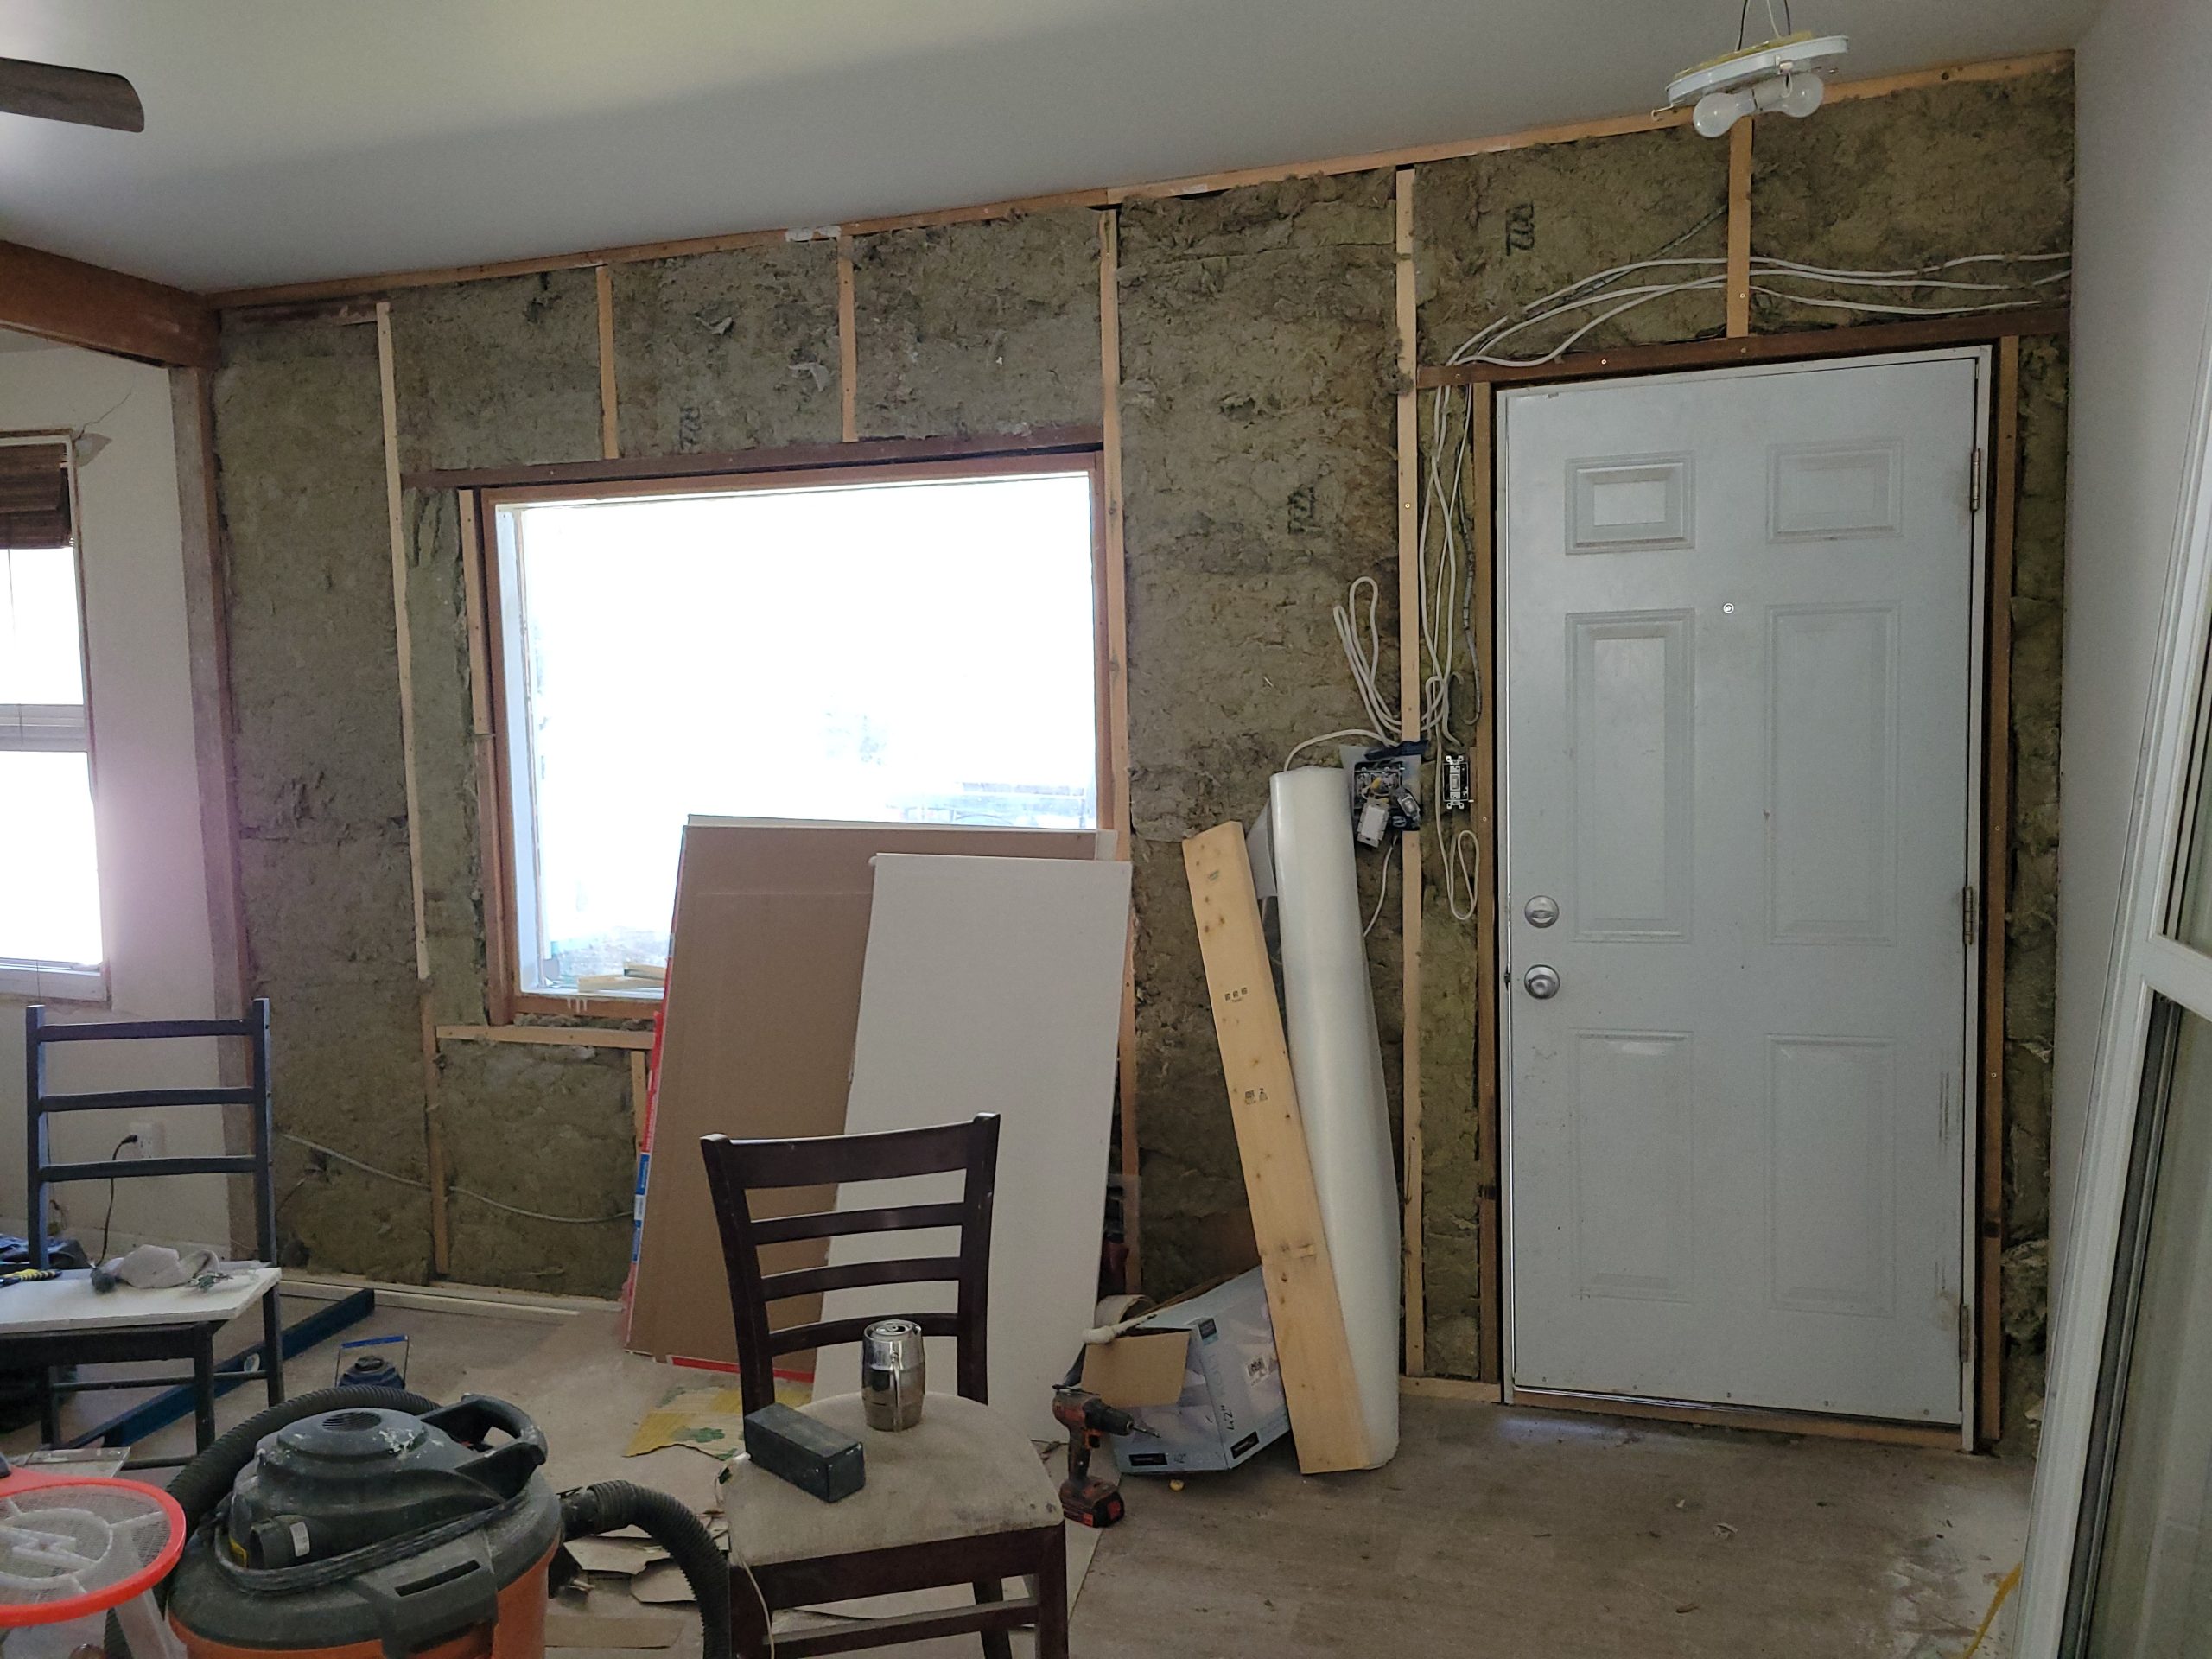
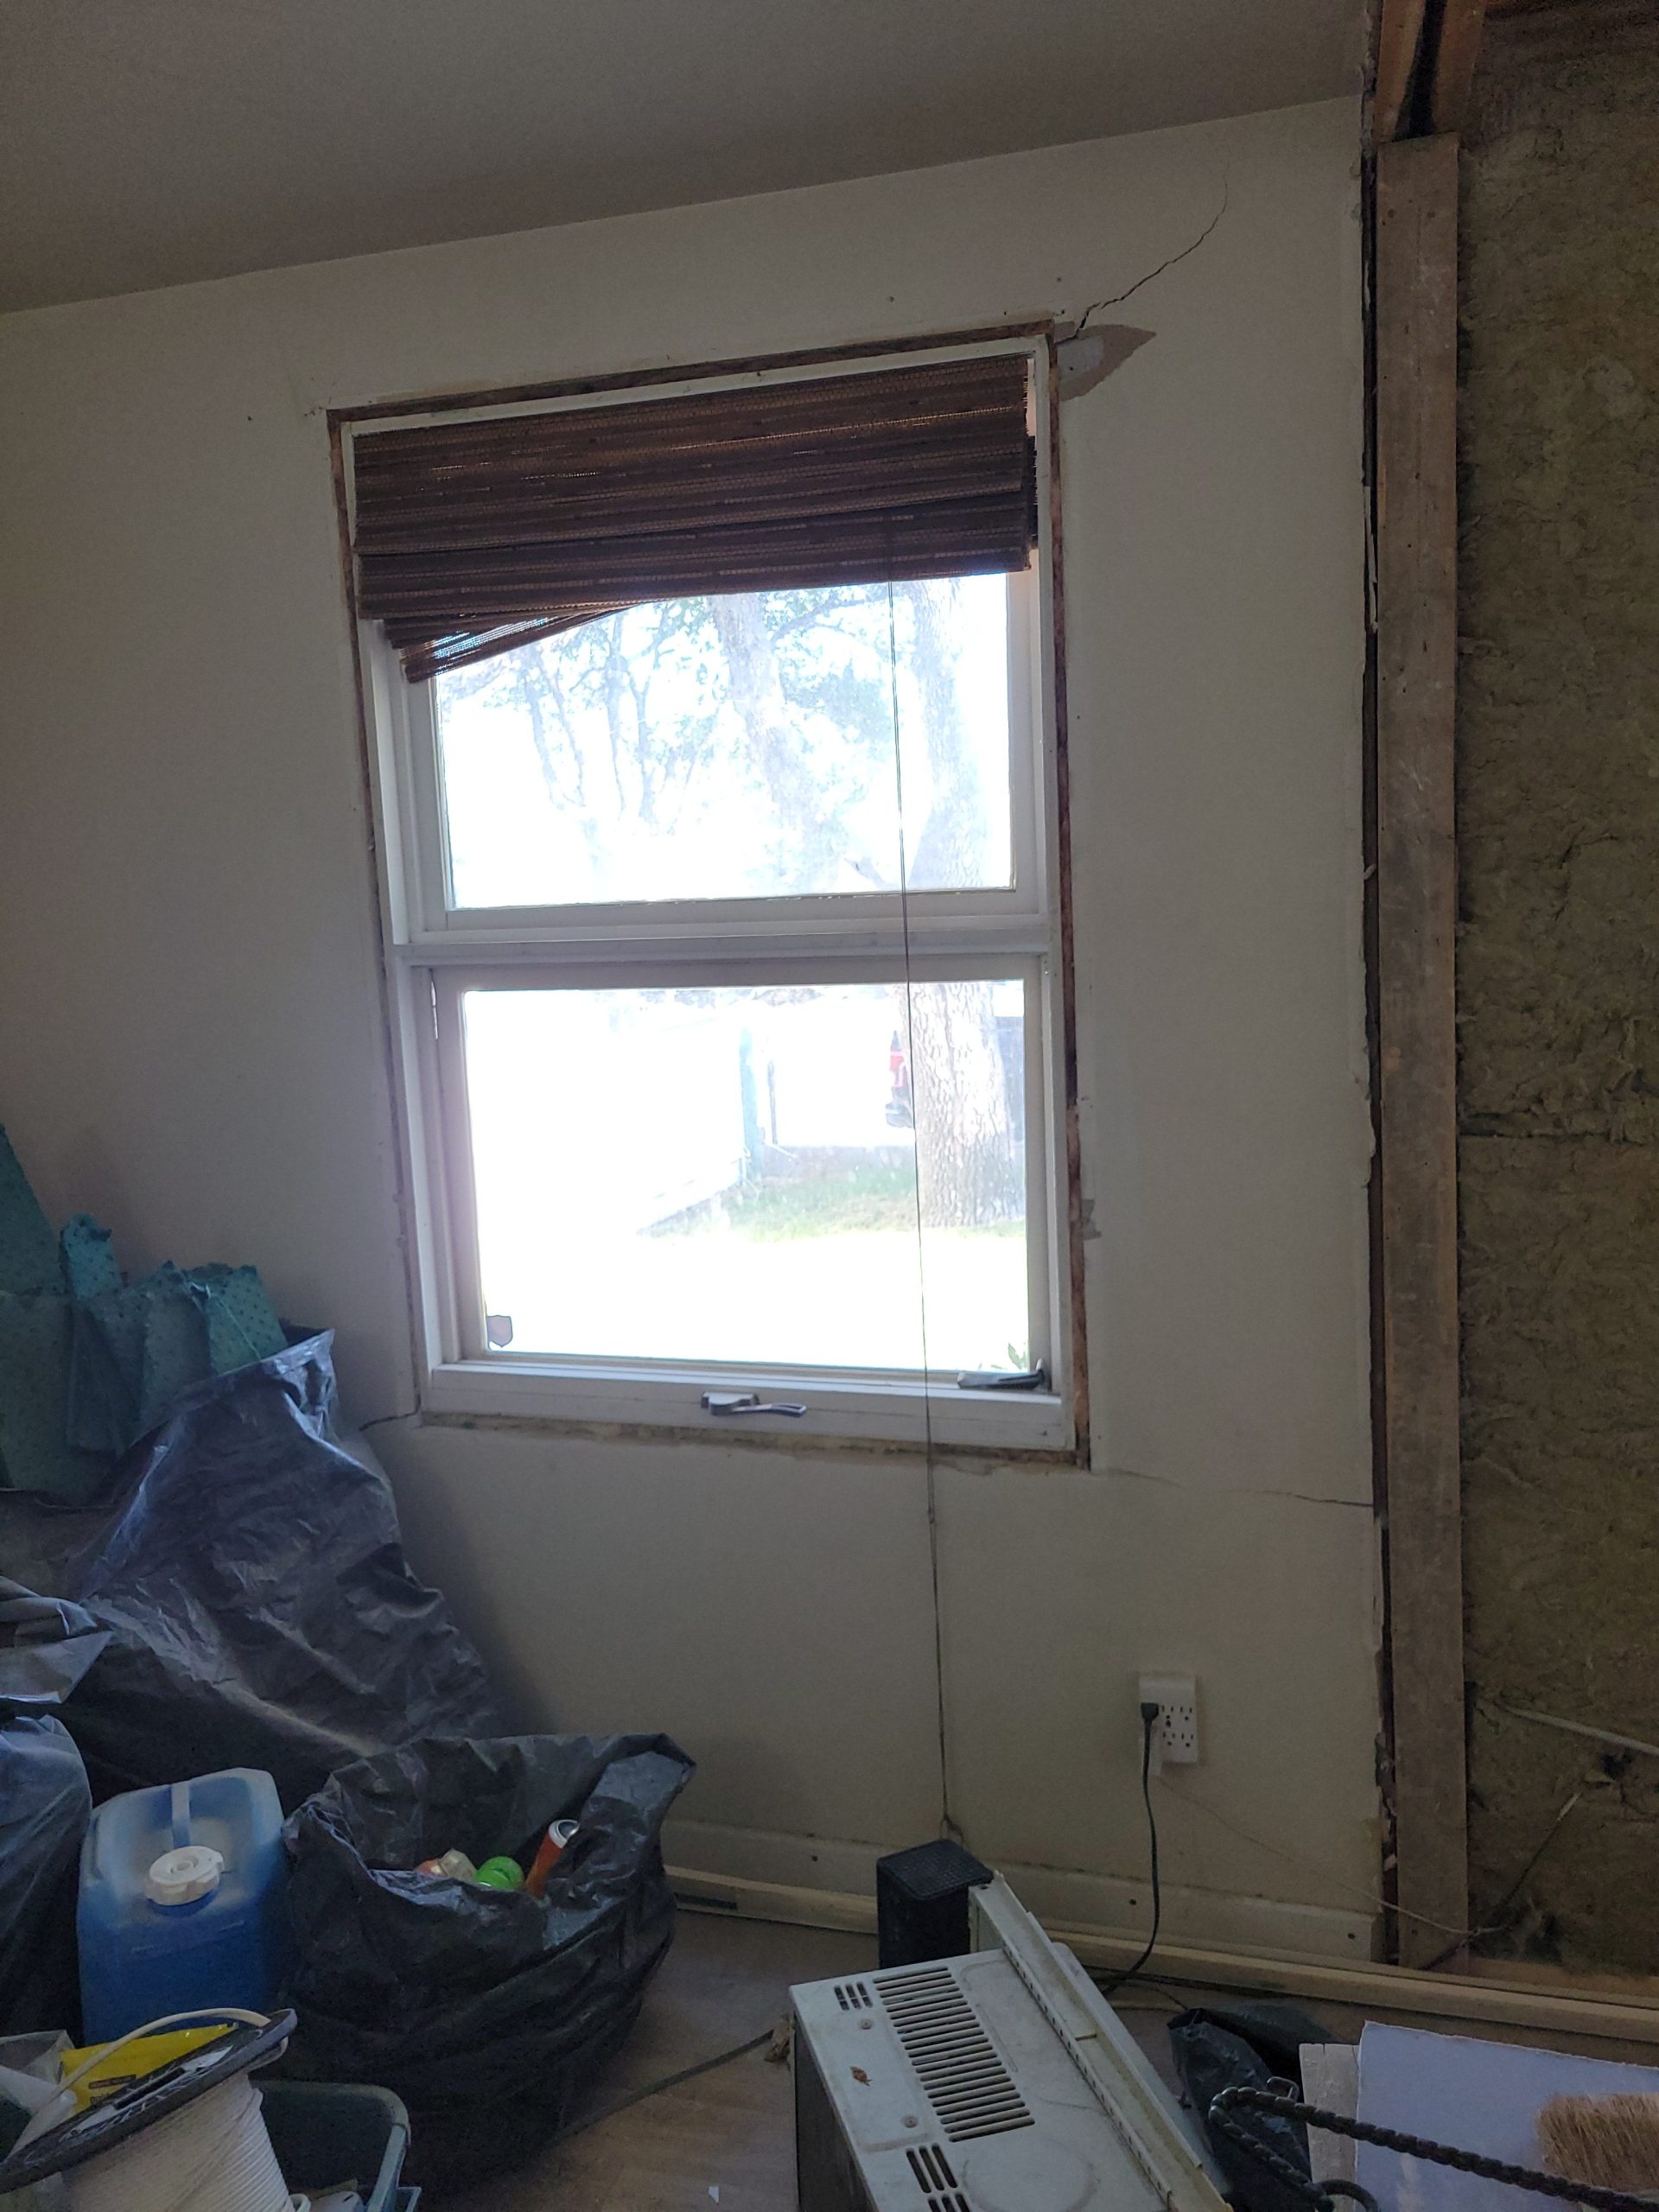
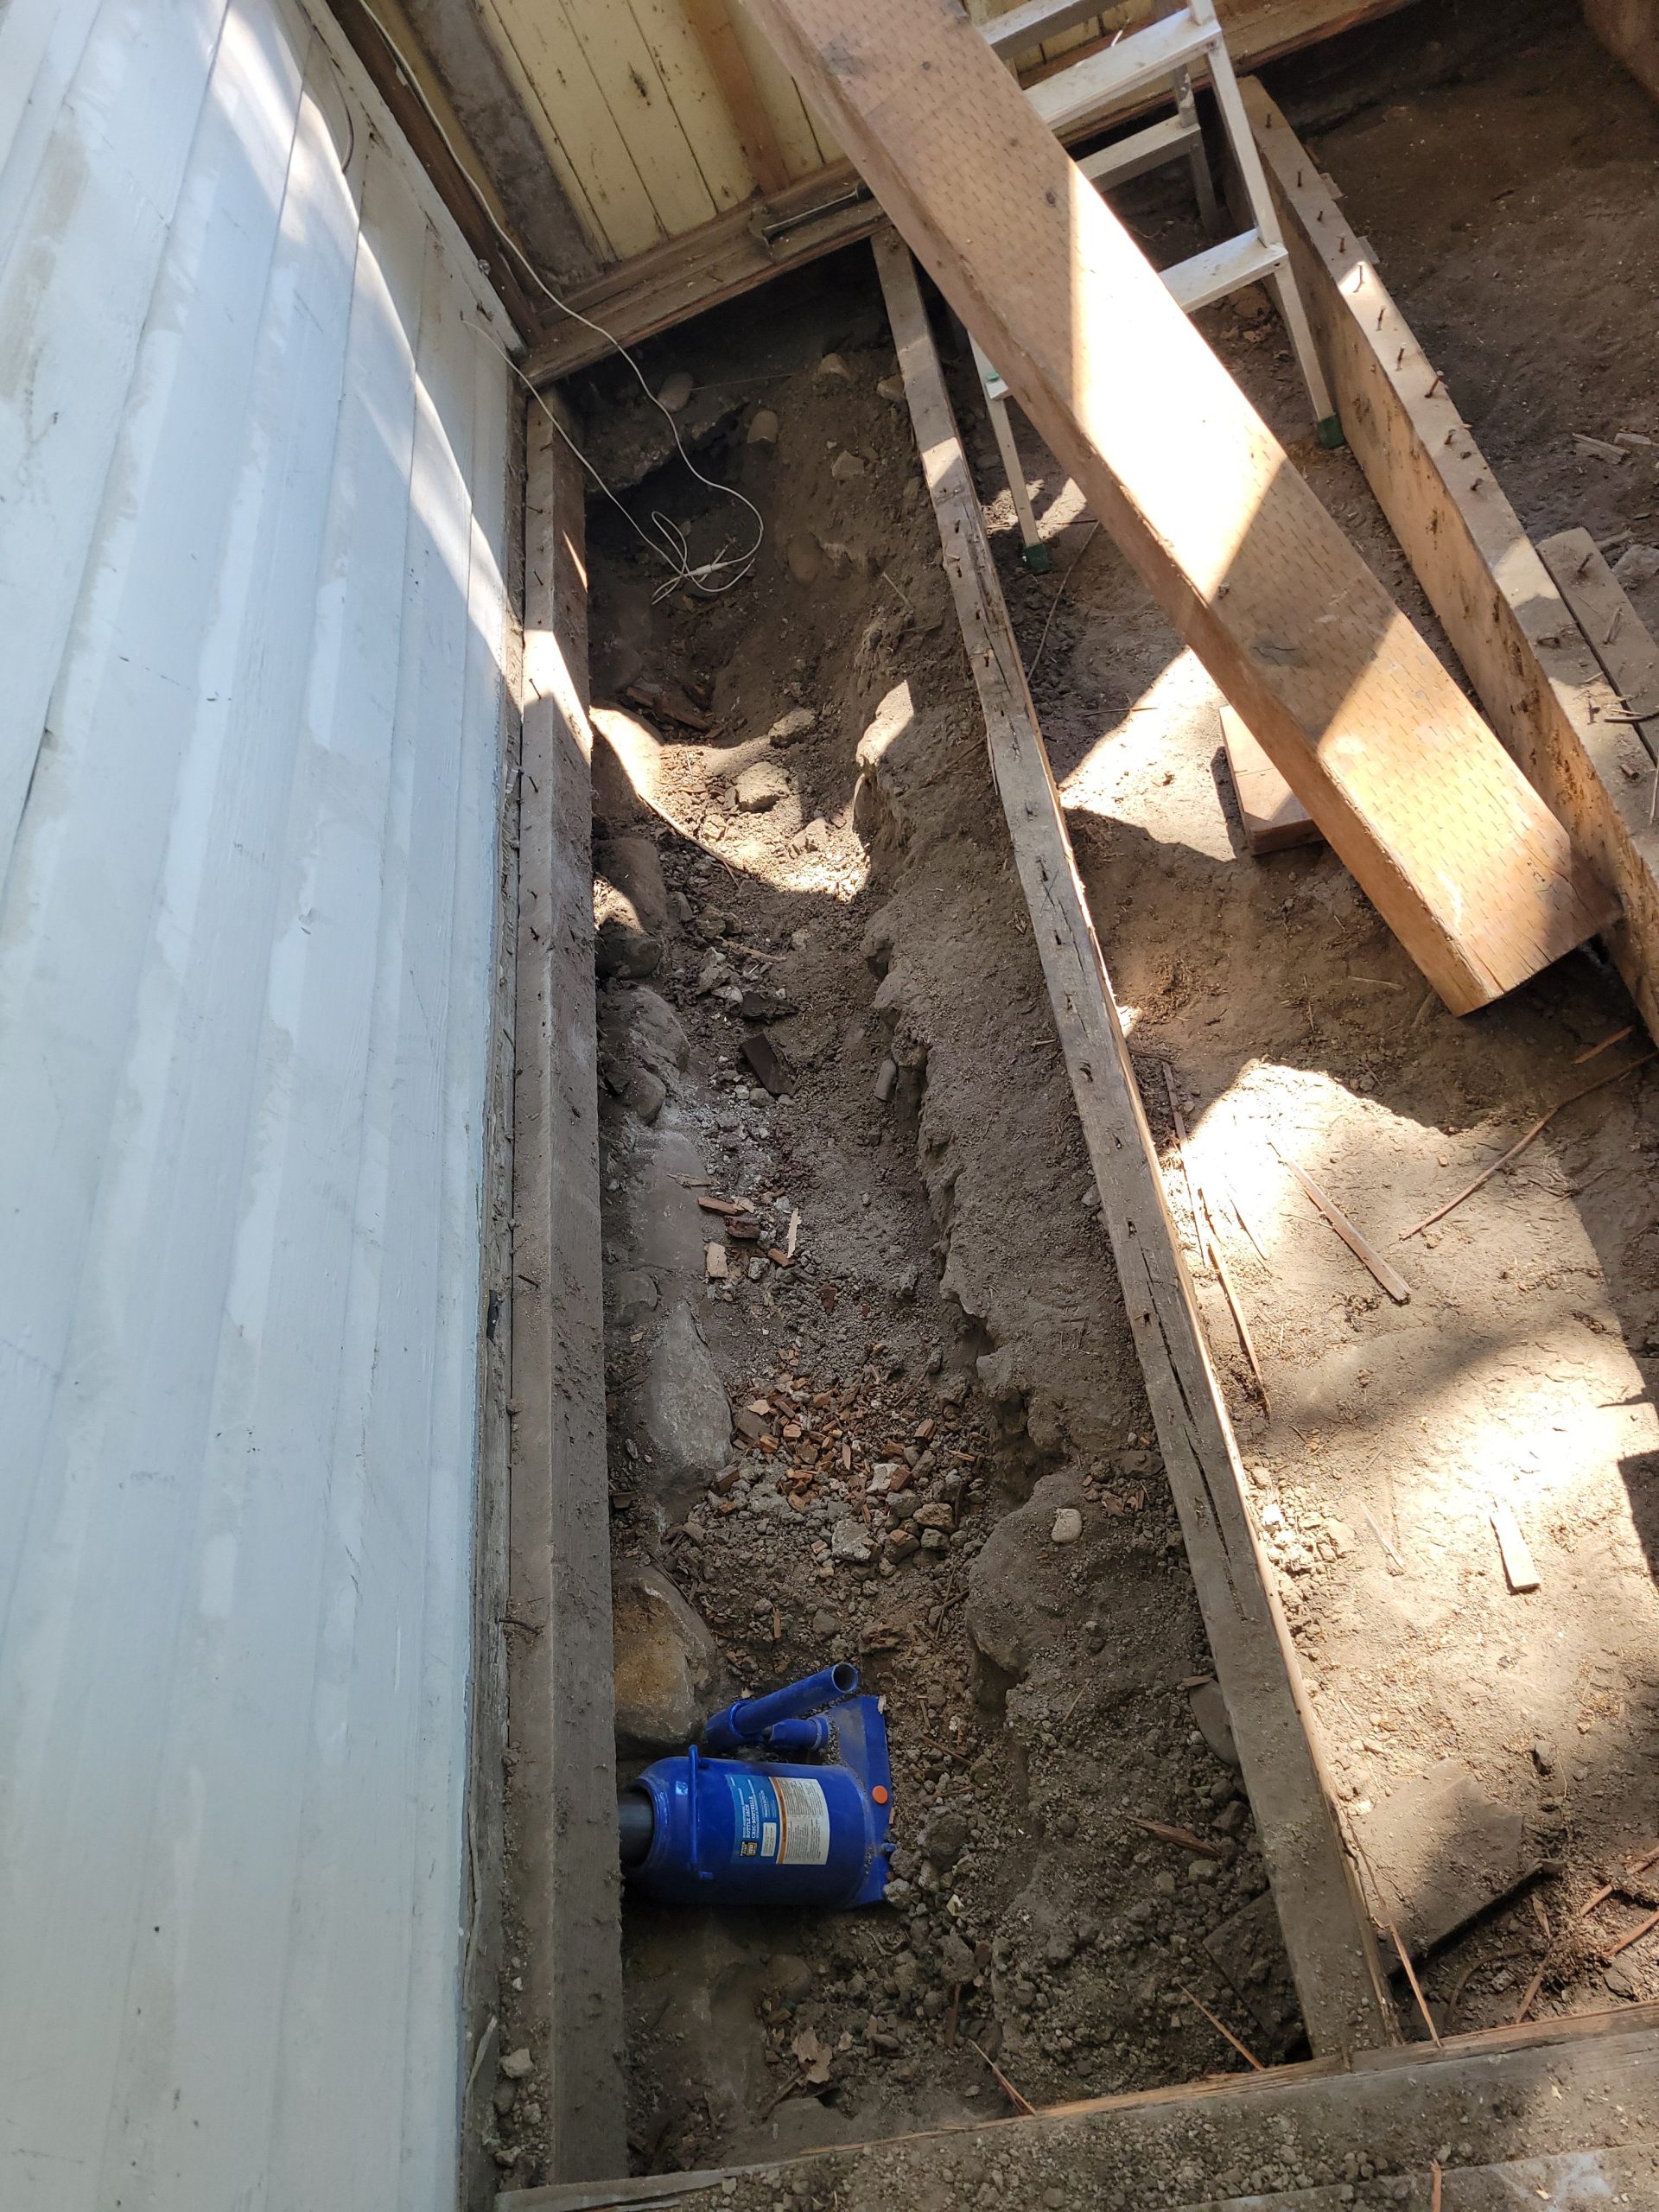
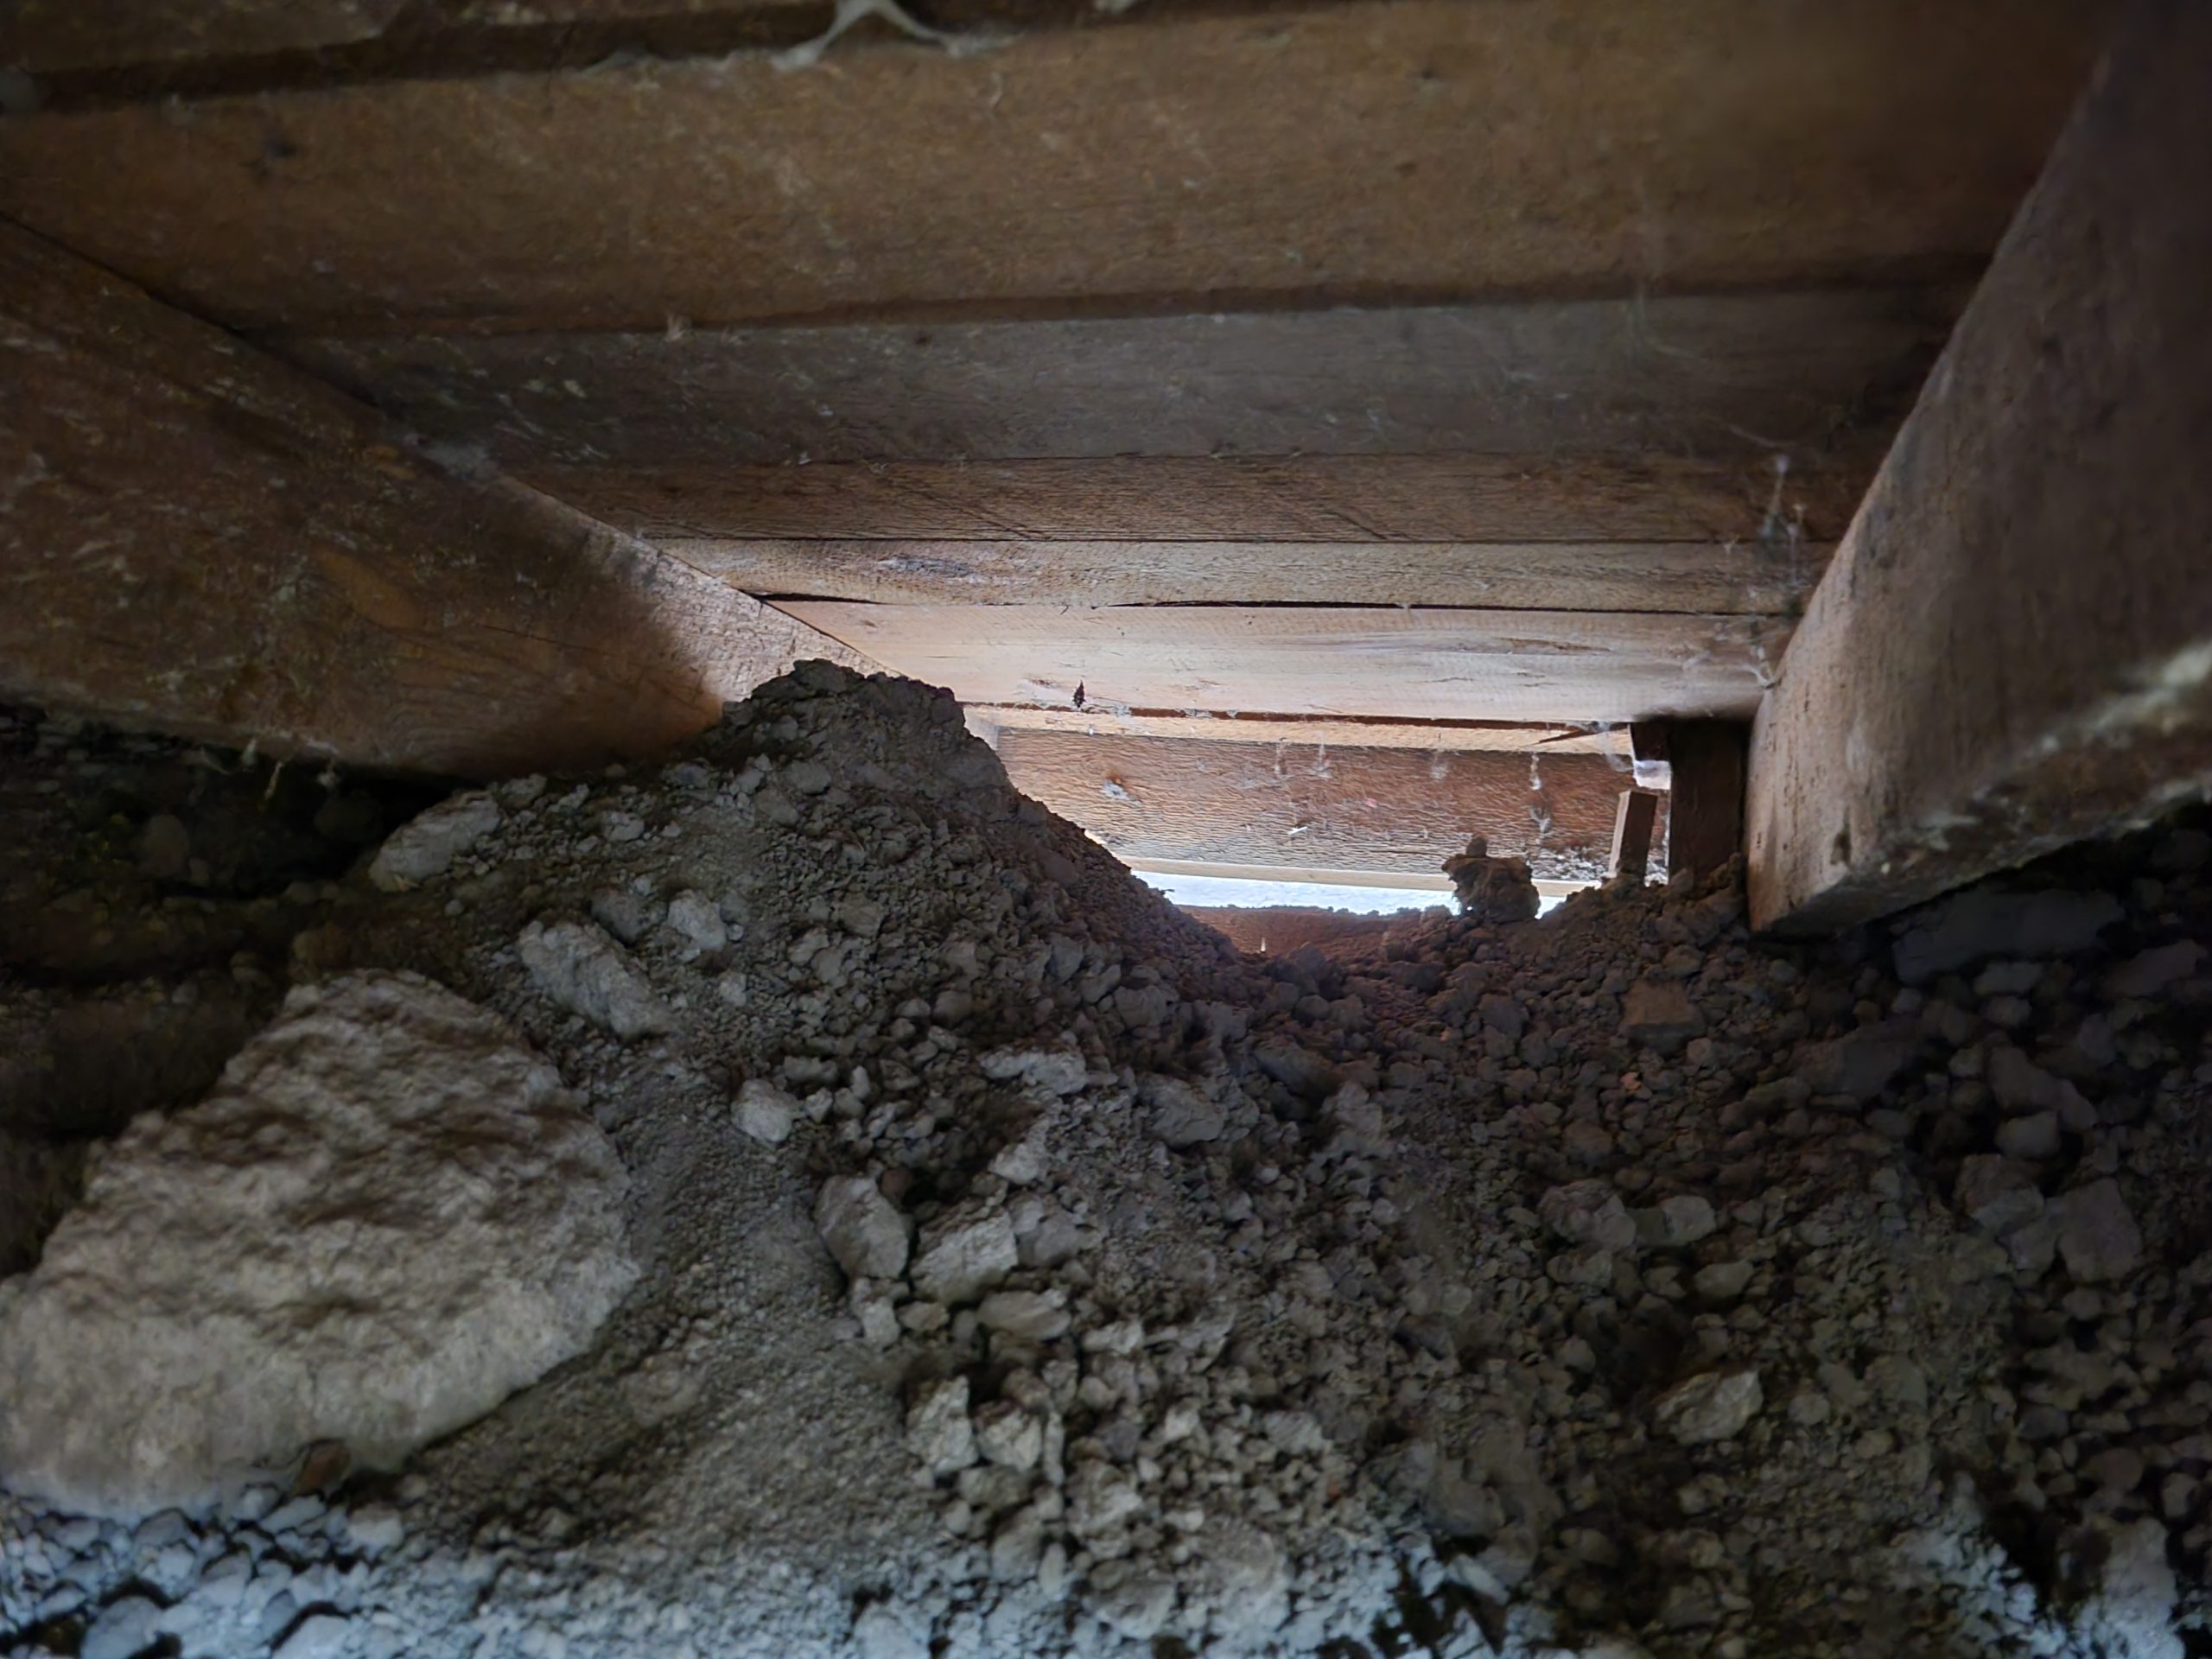
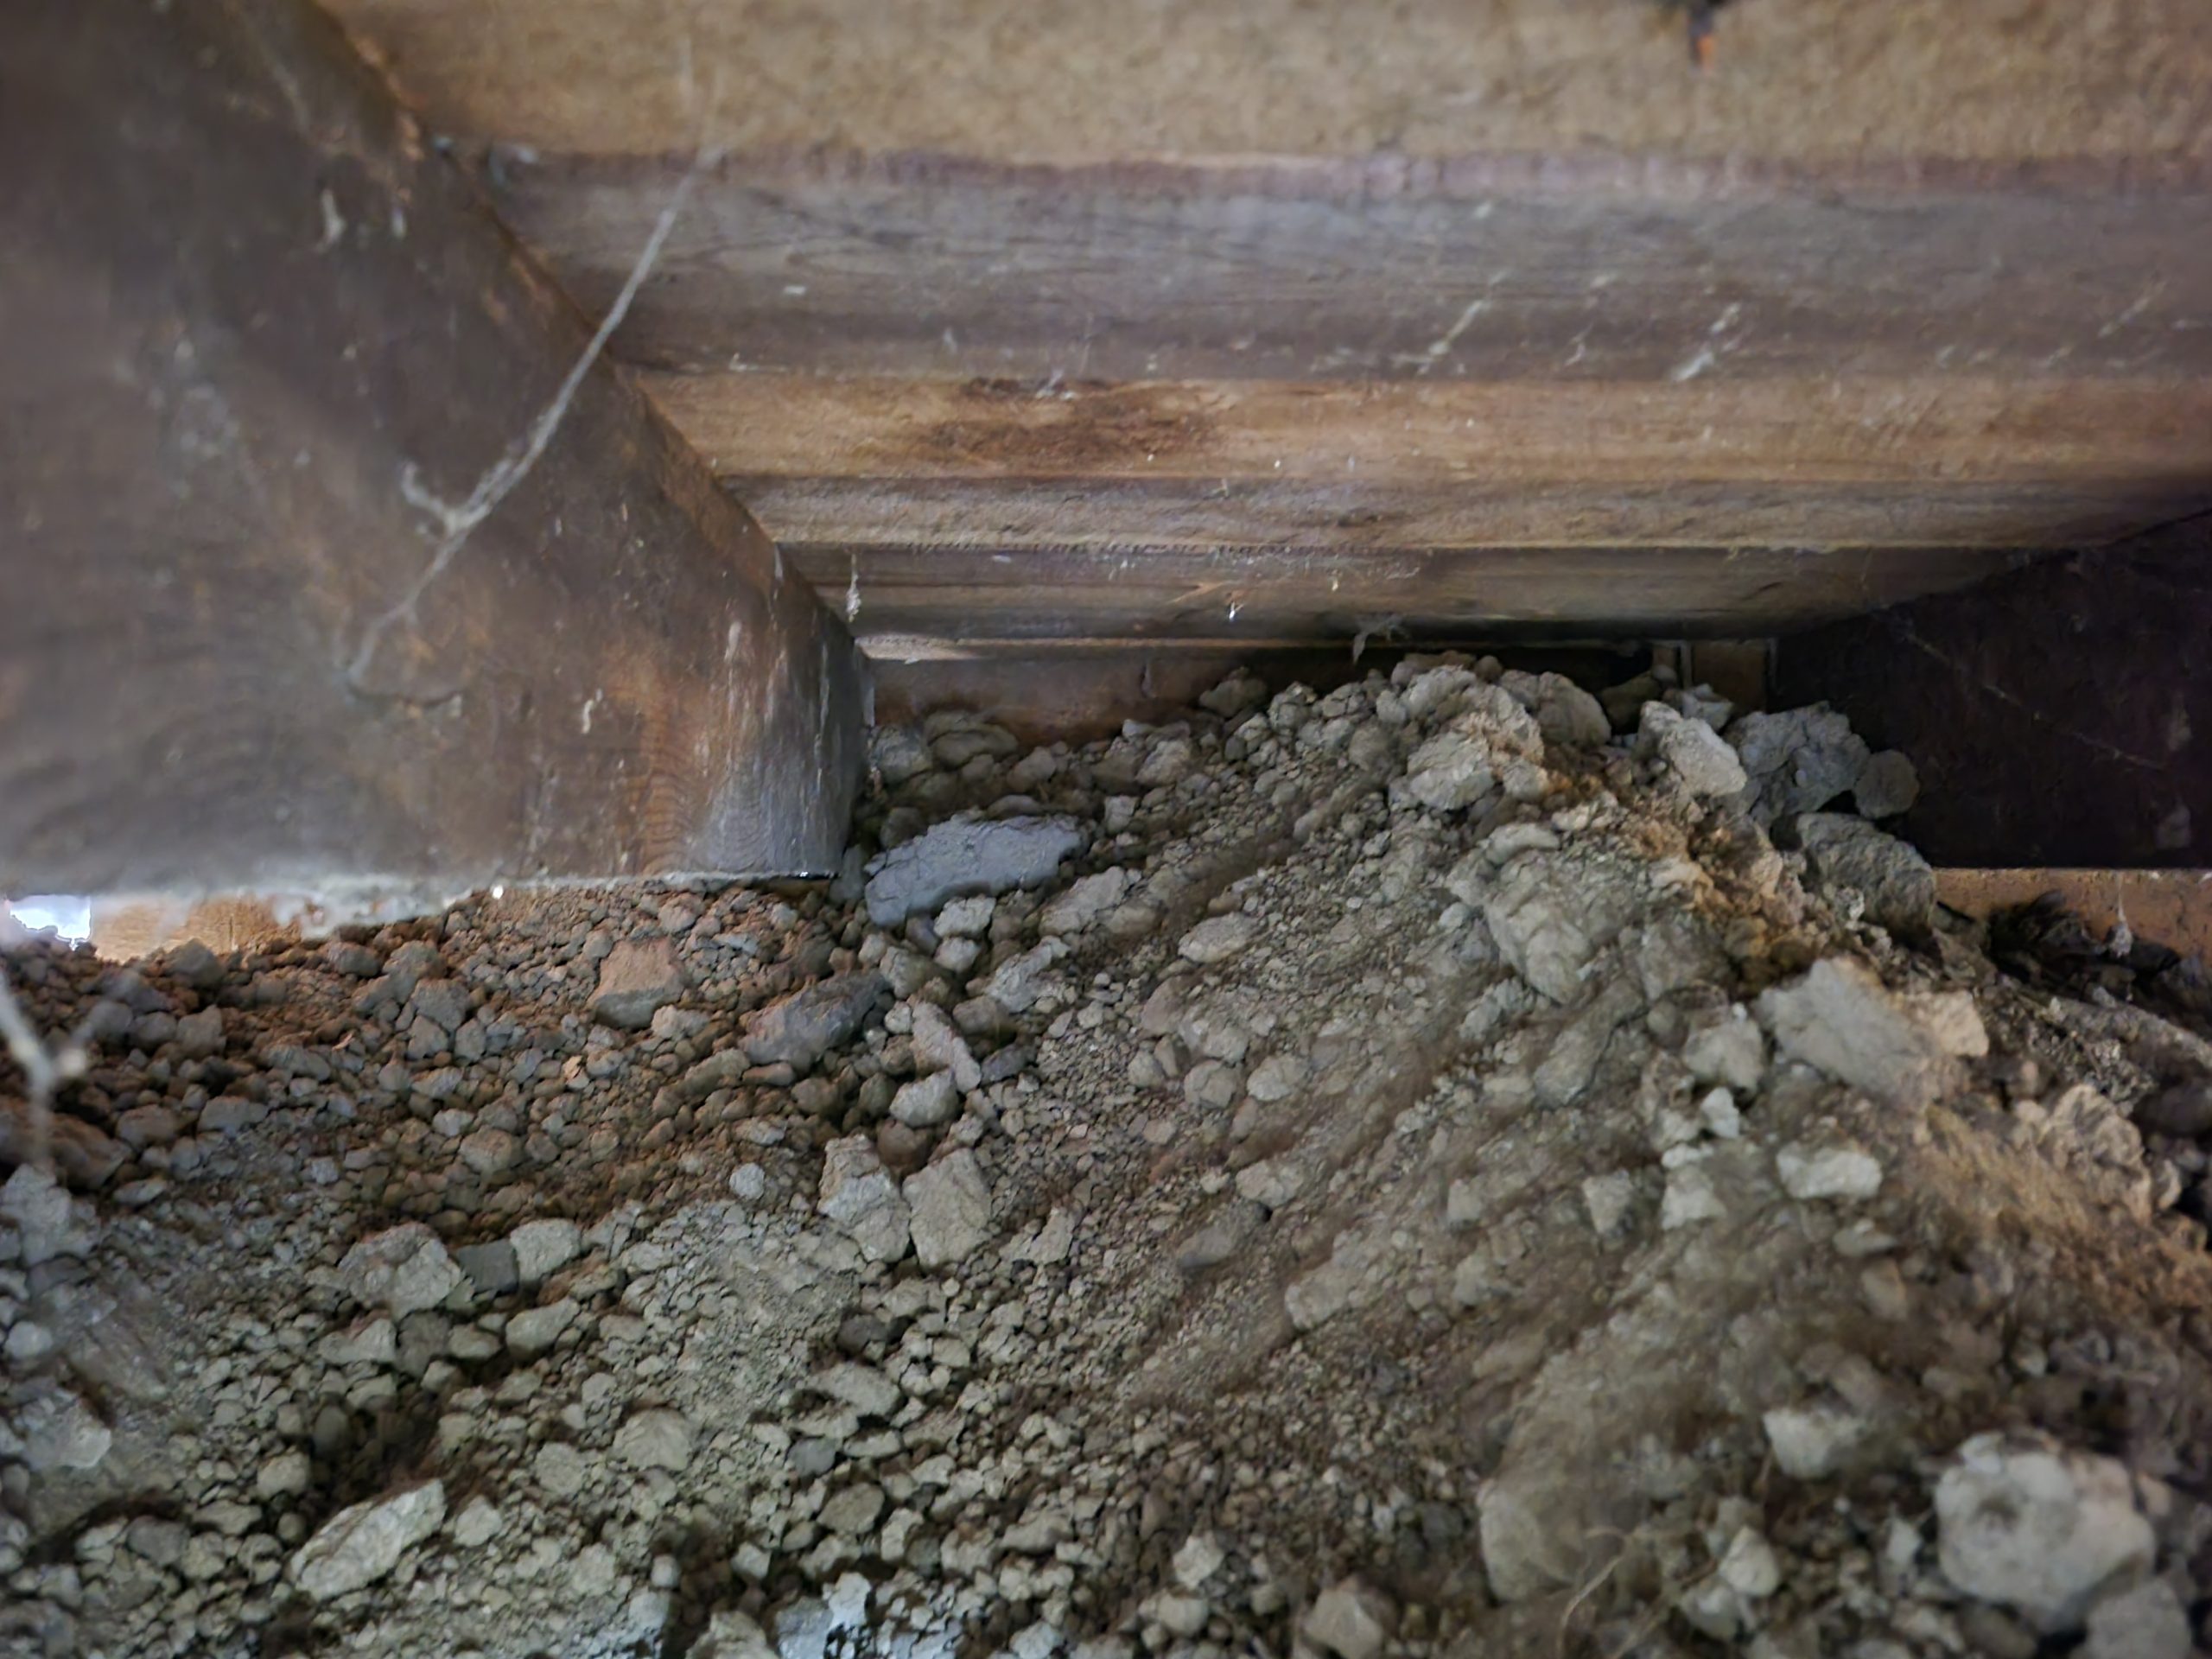
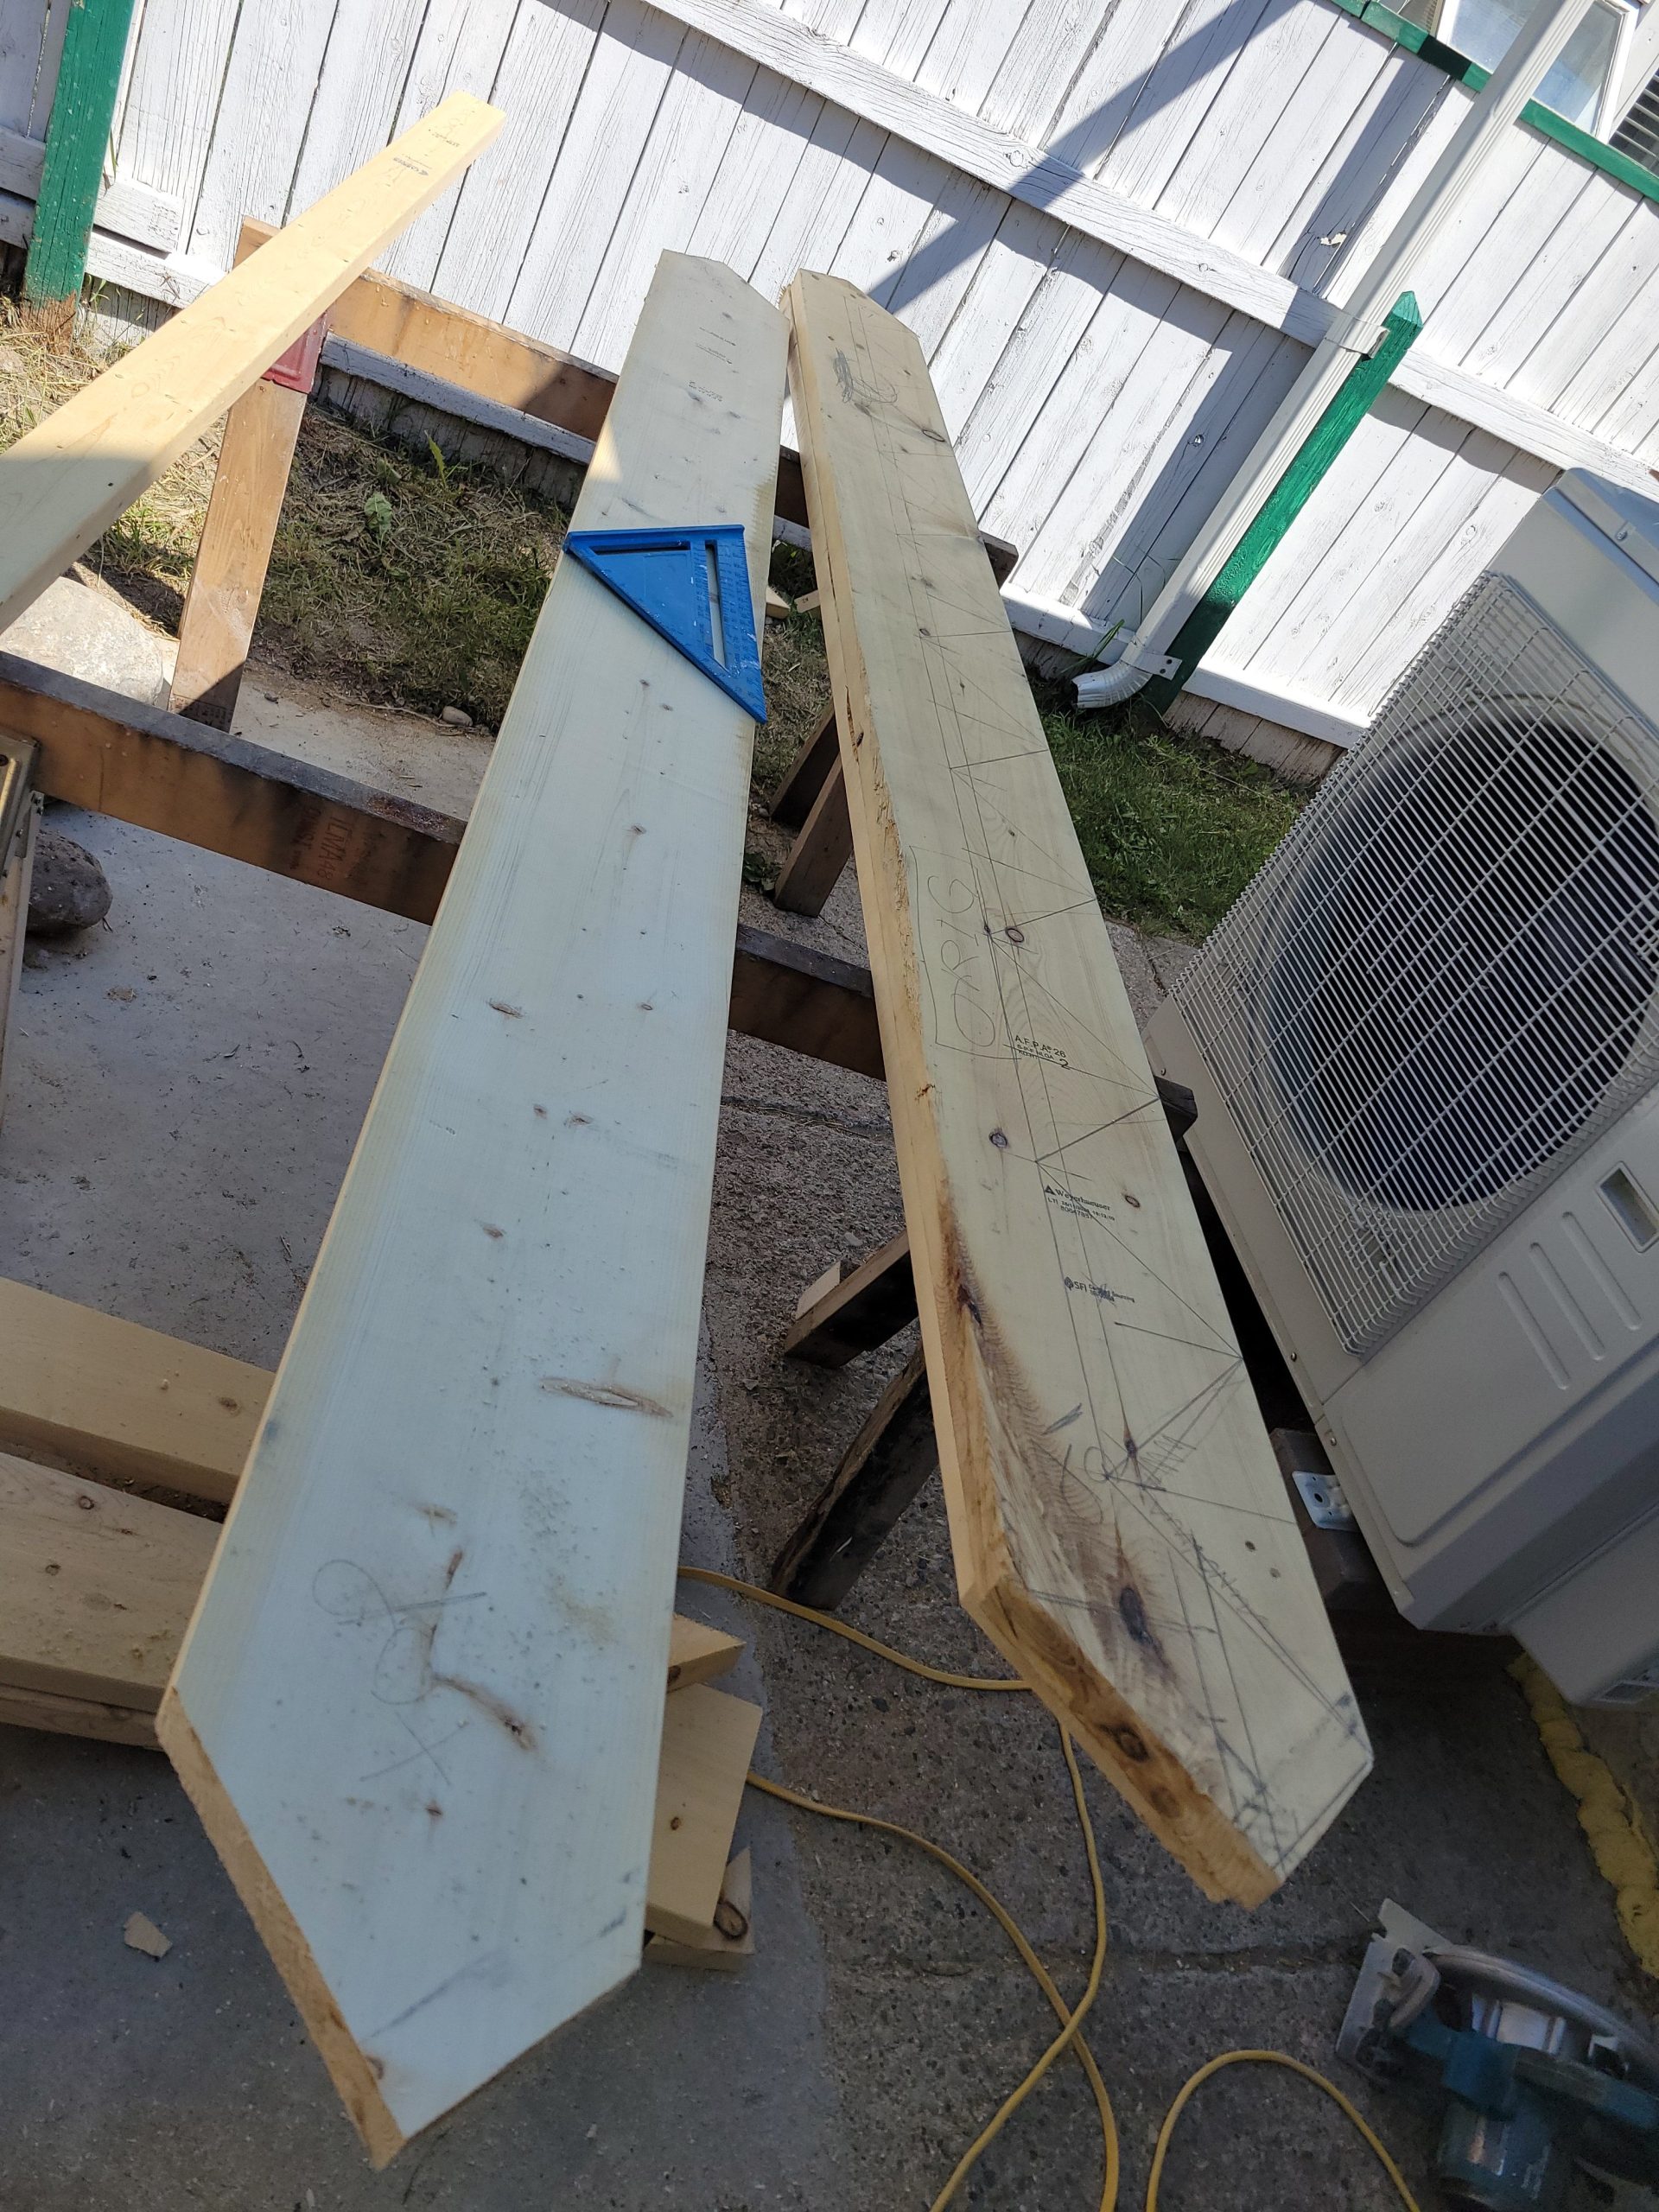
front footing continued

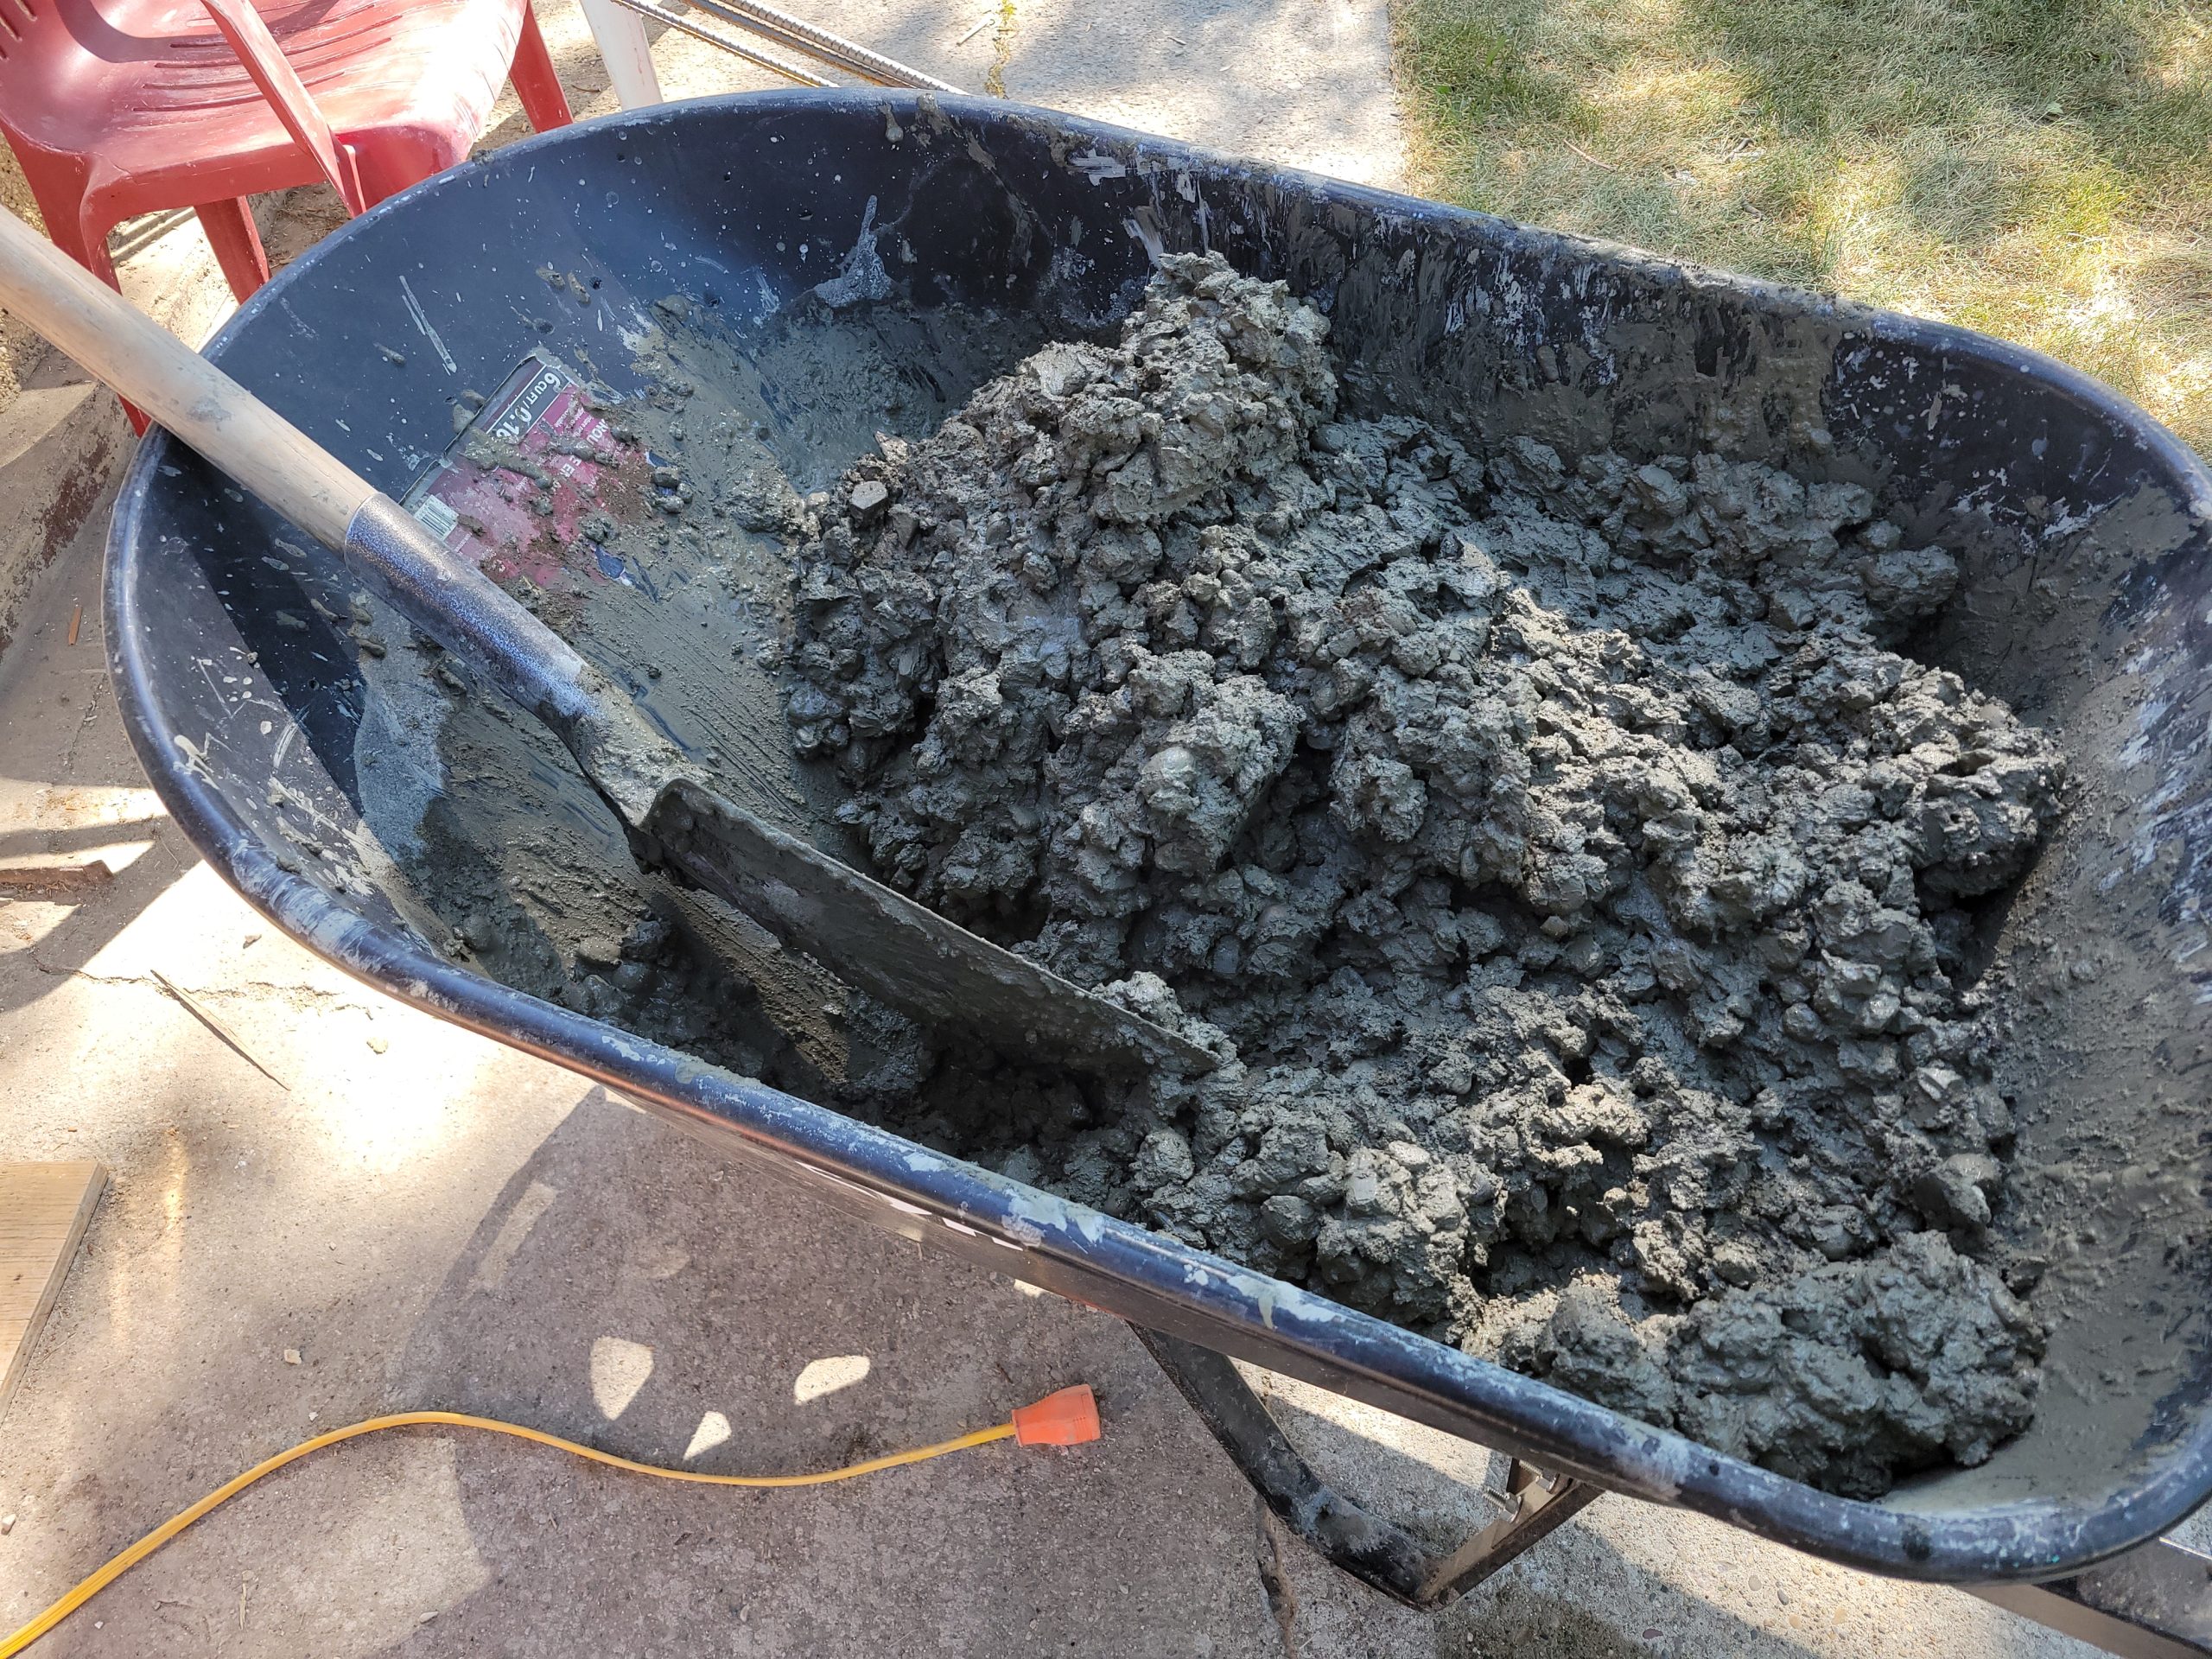
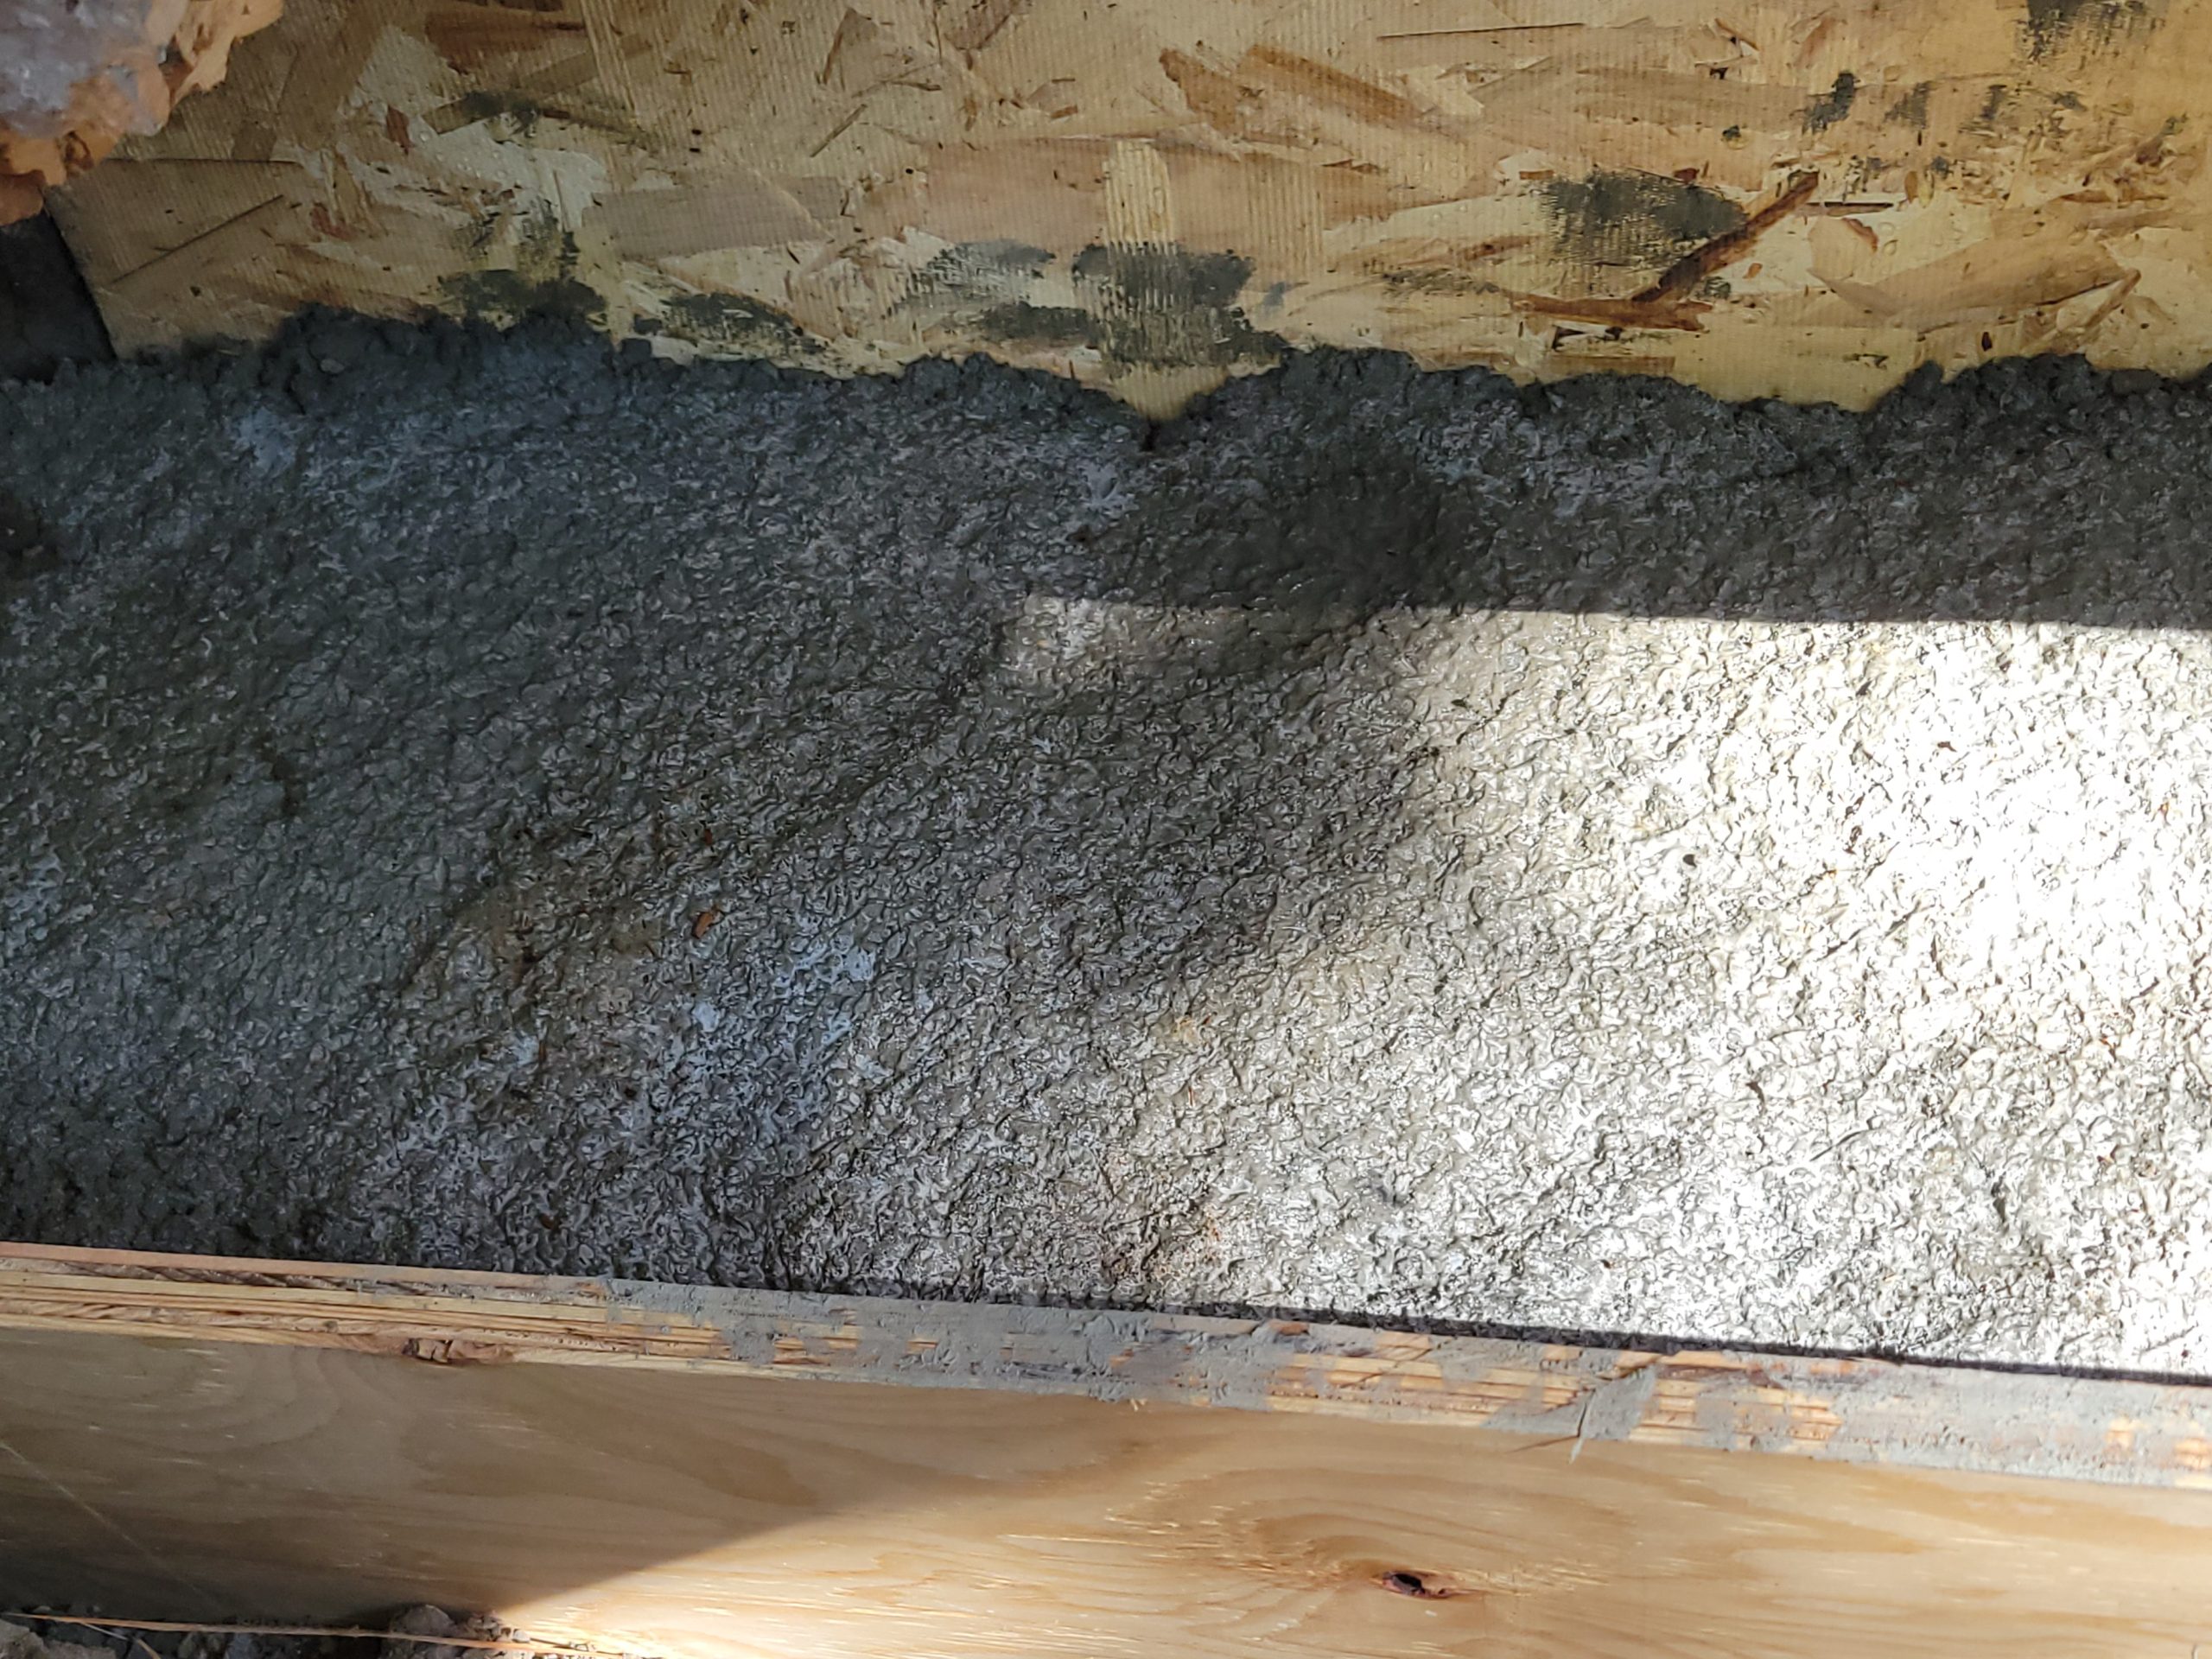
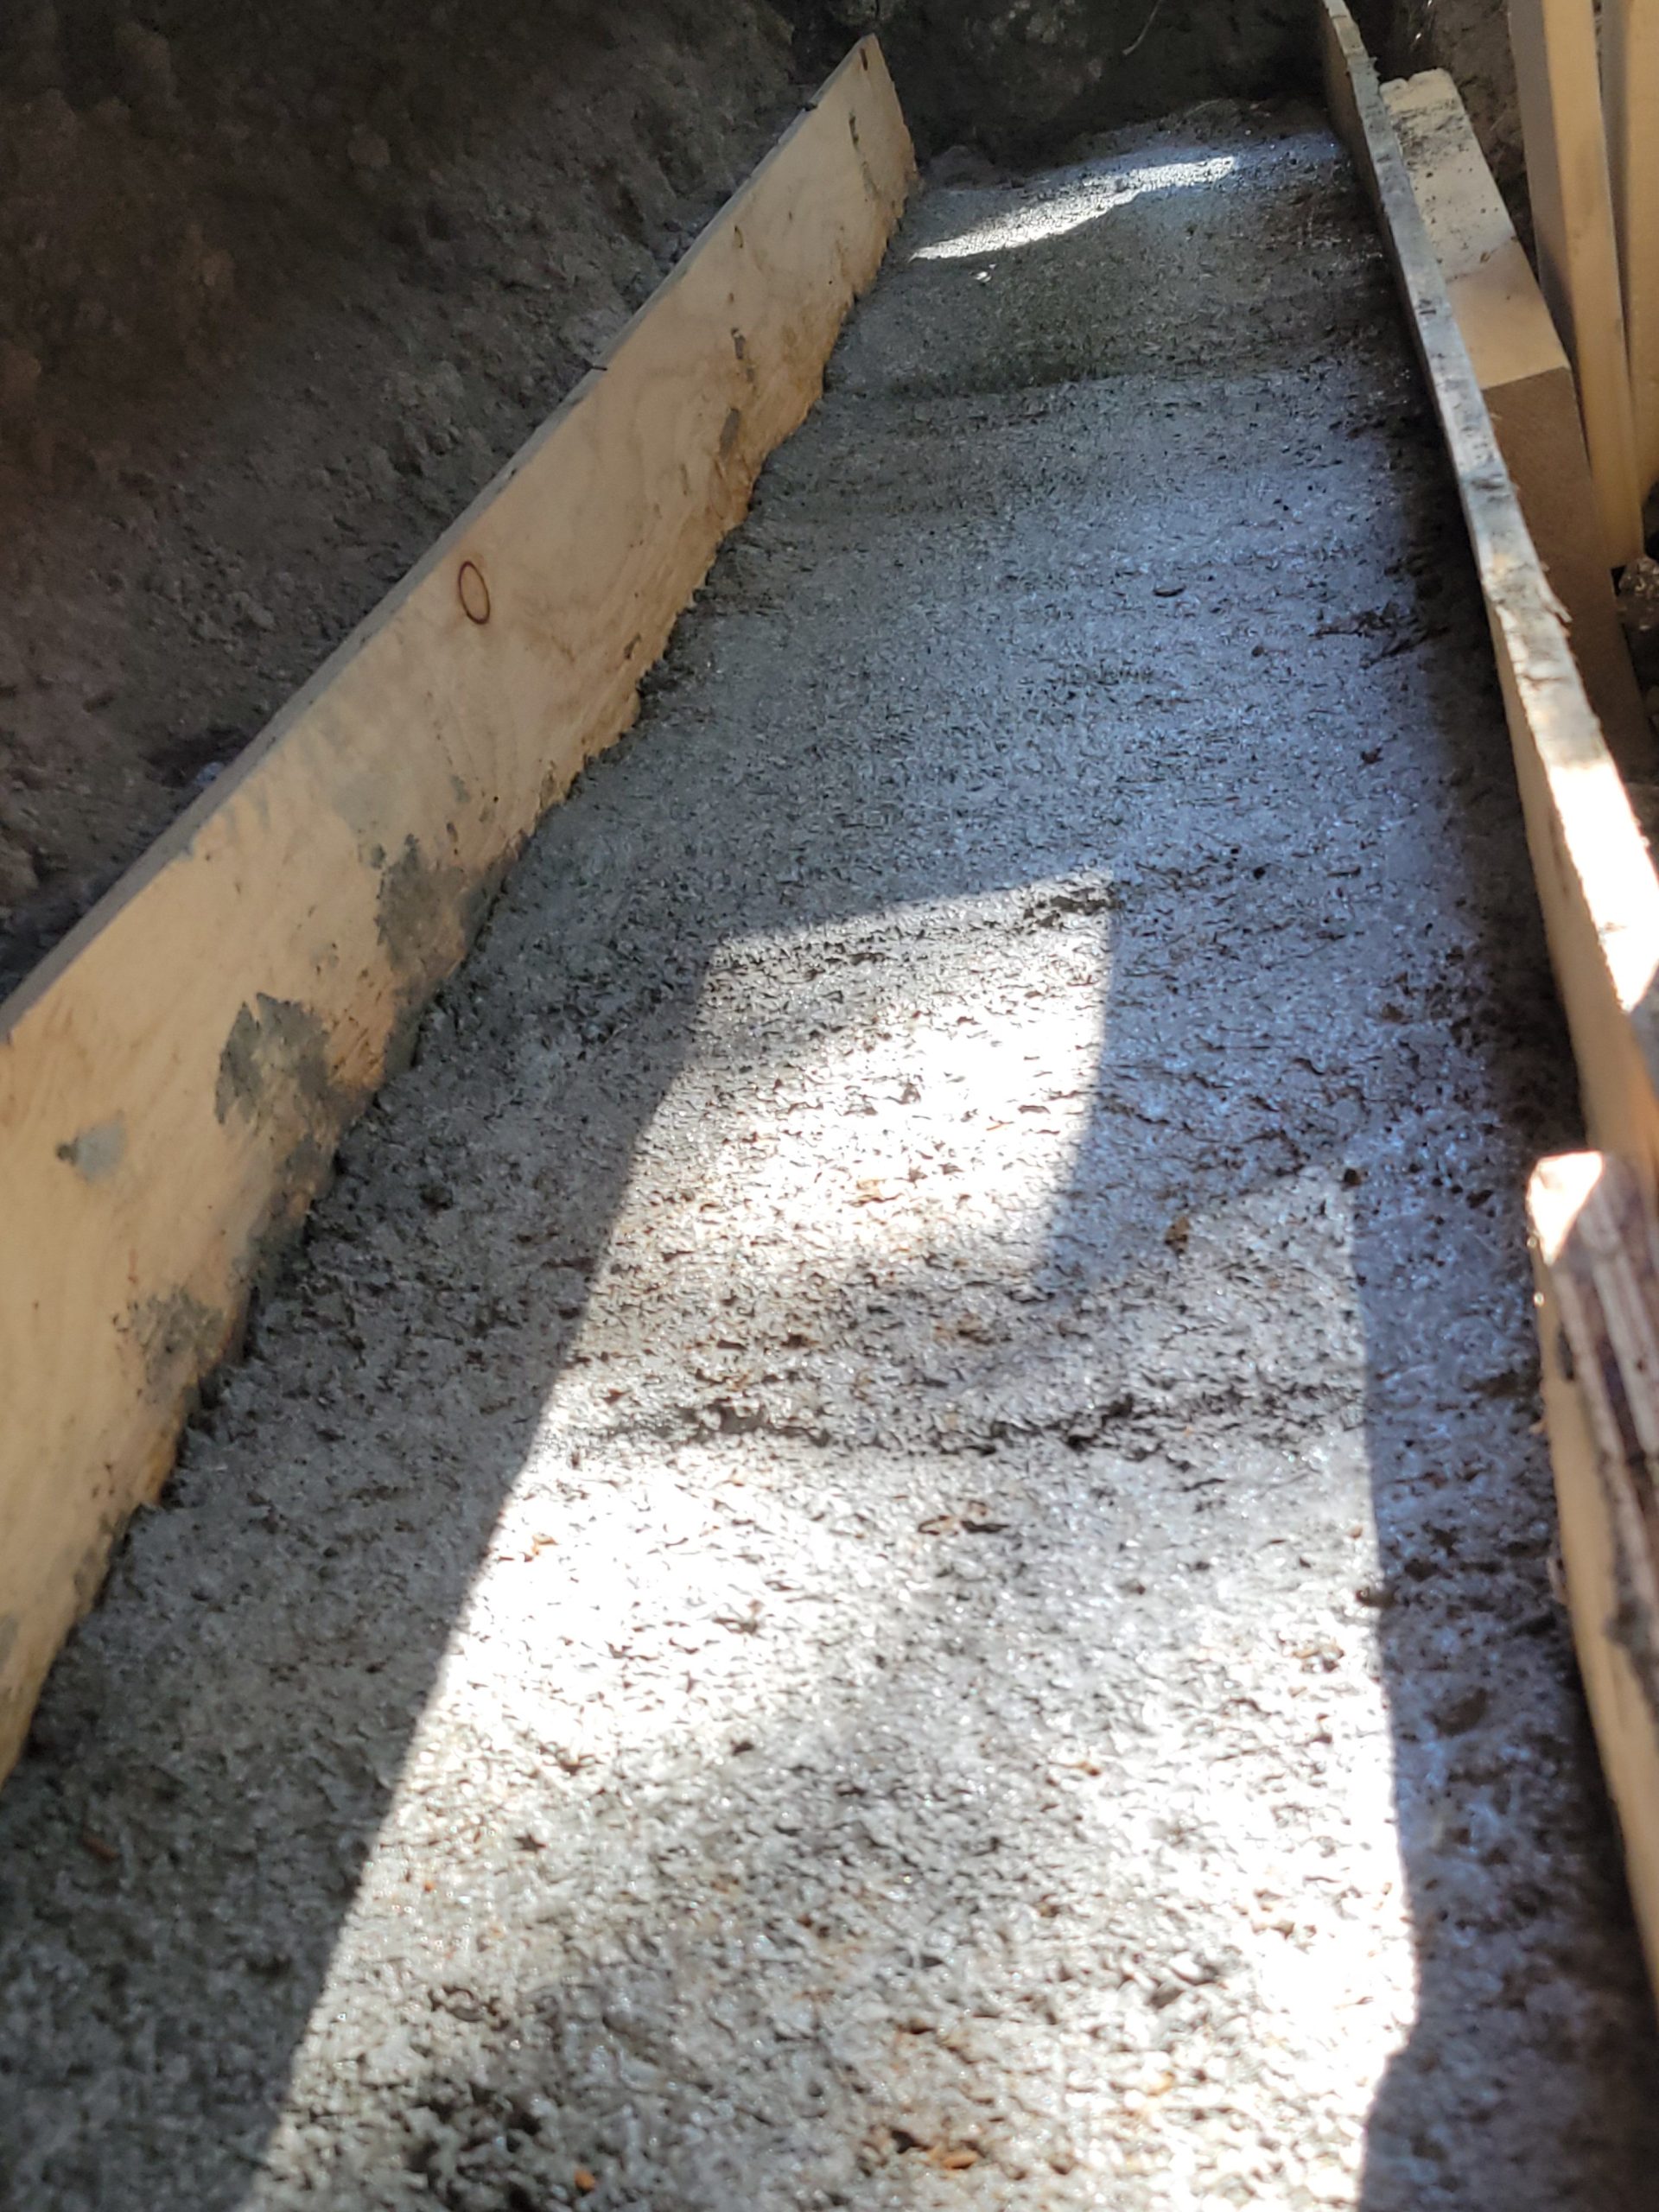
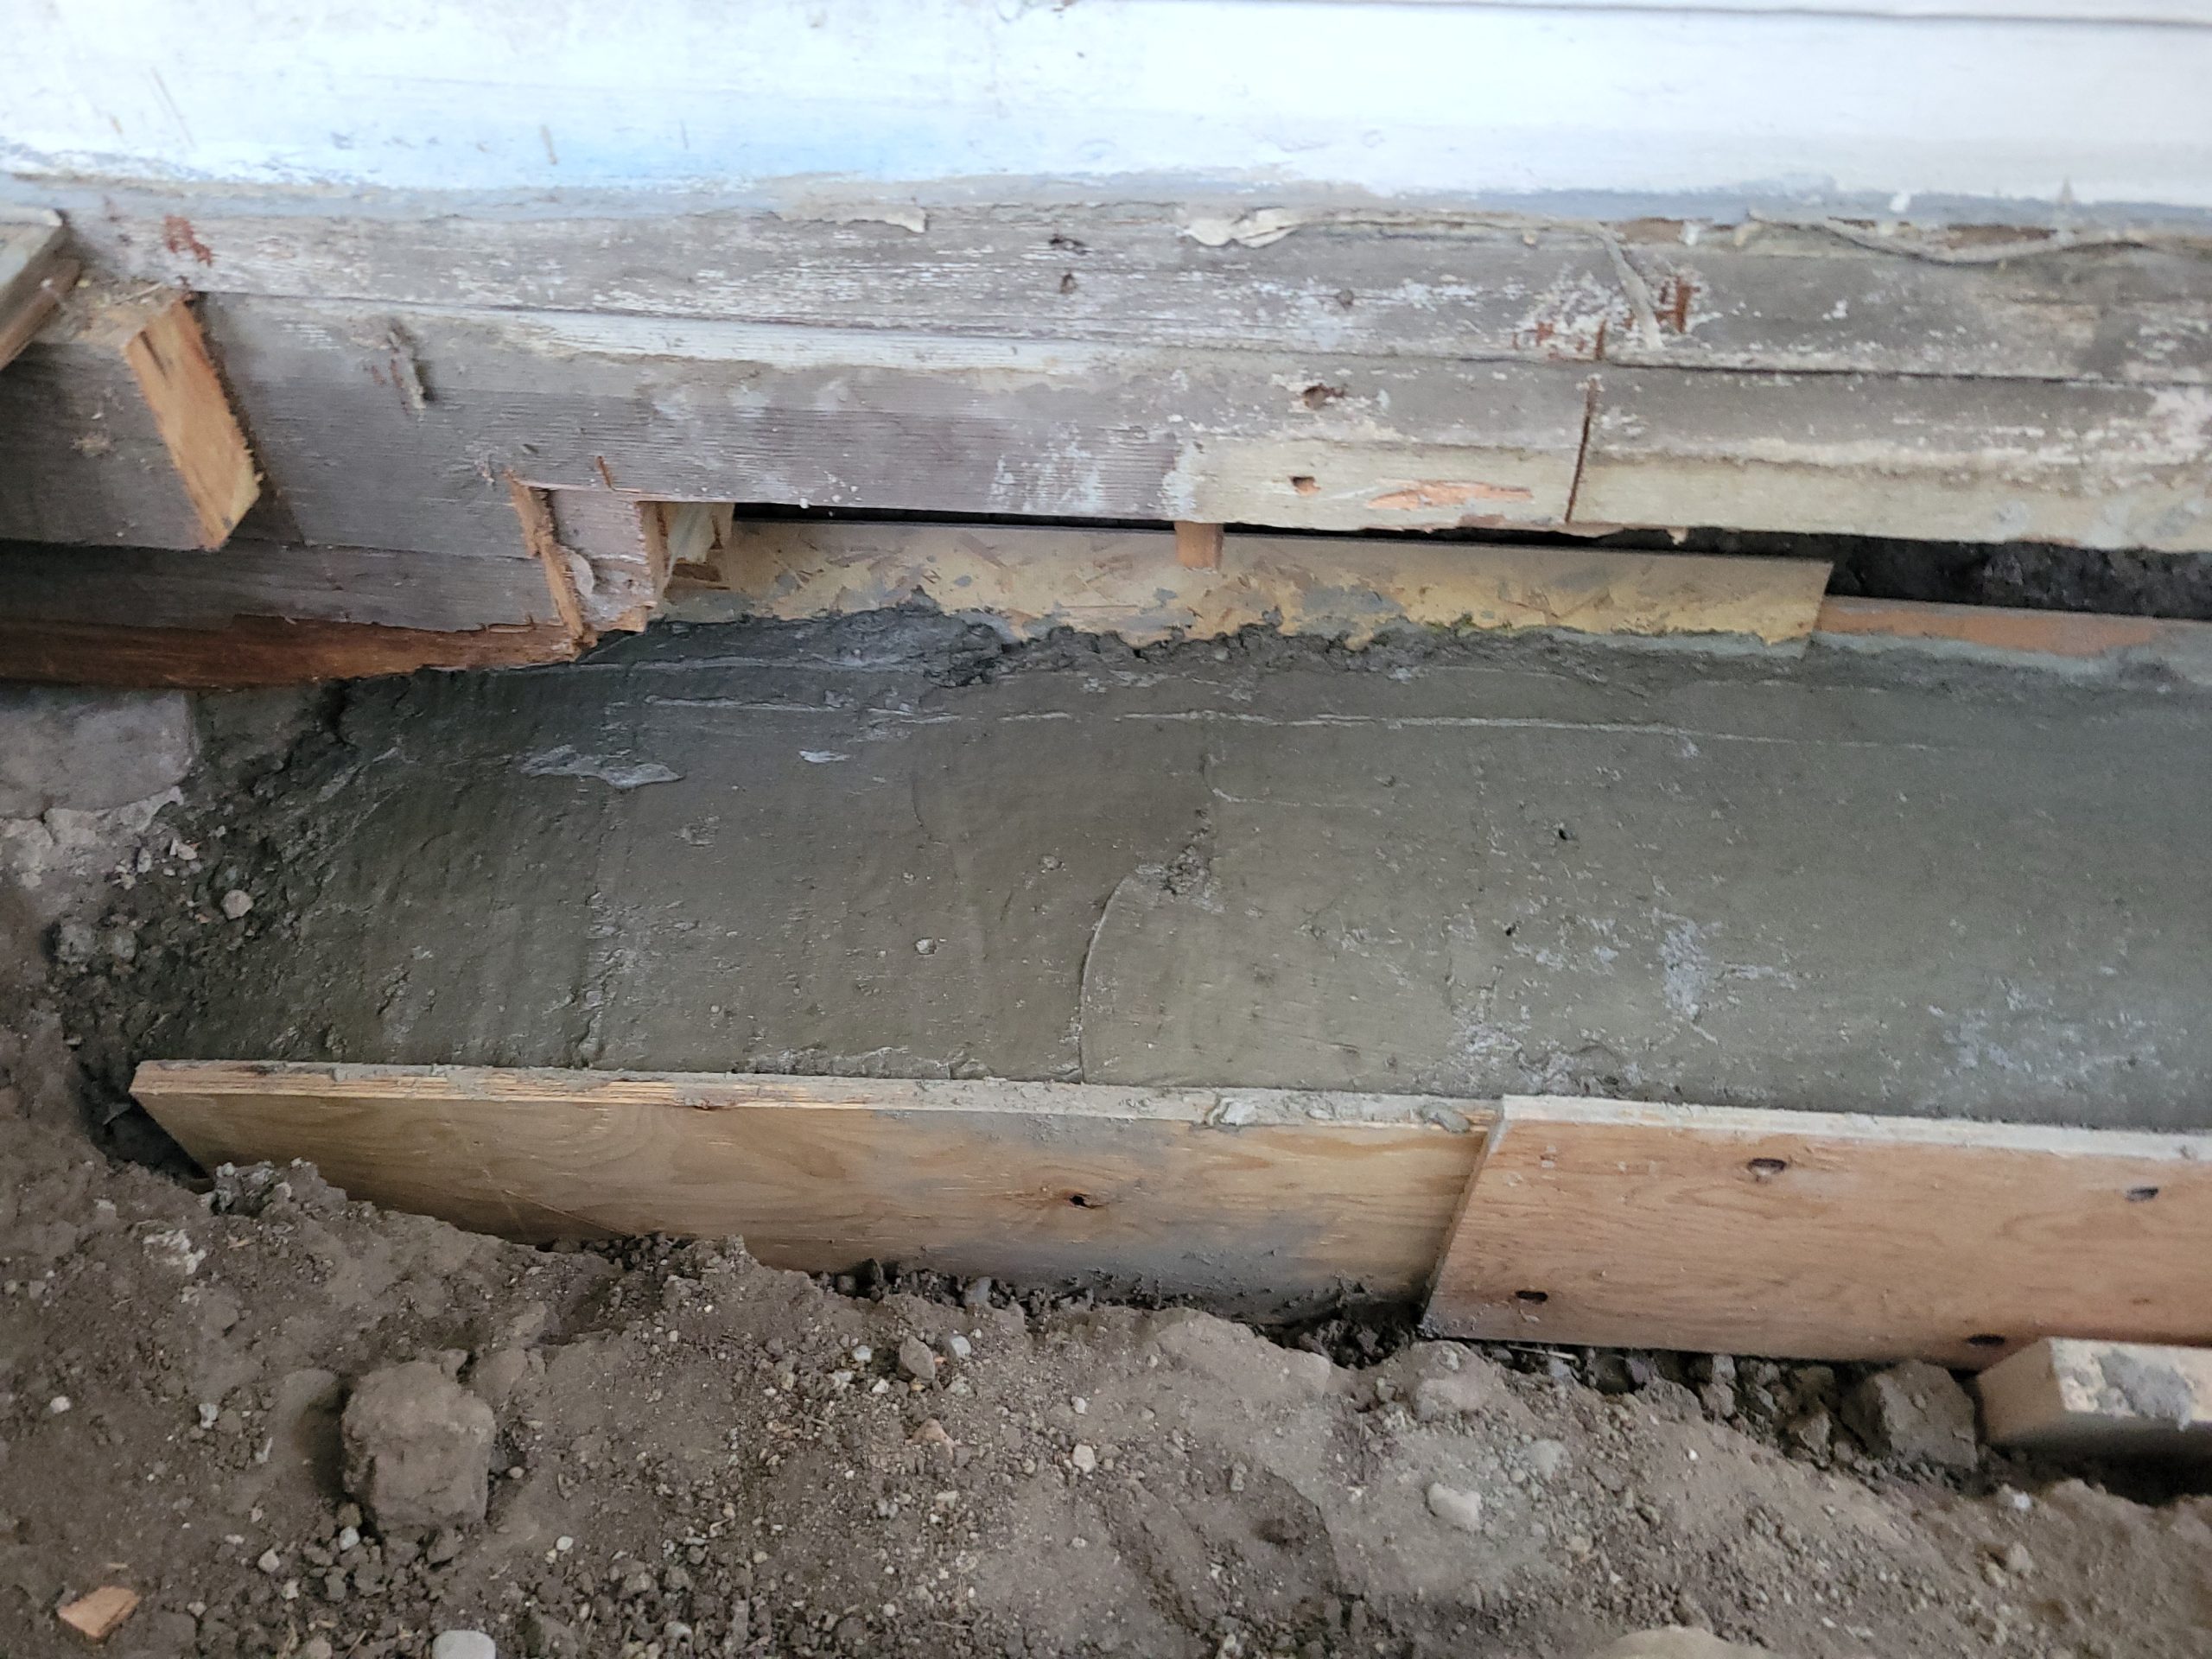
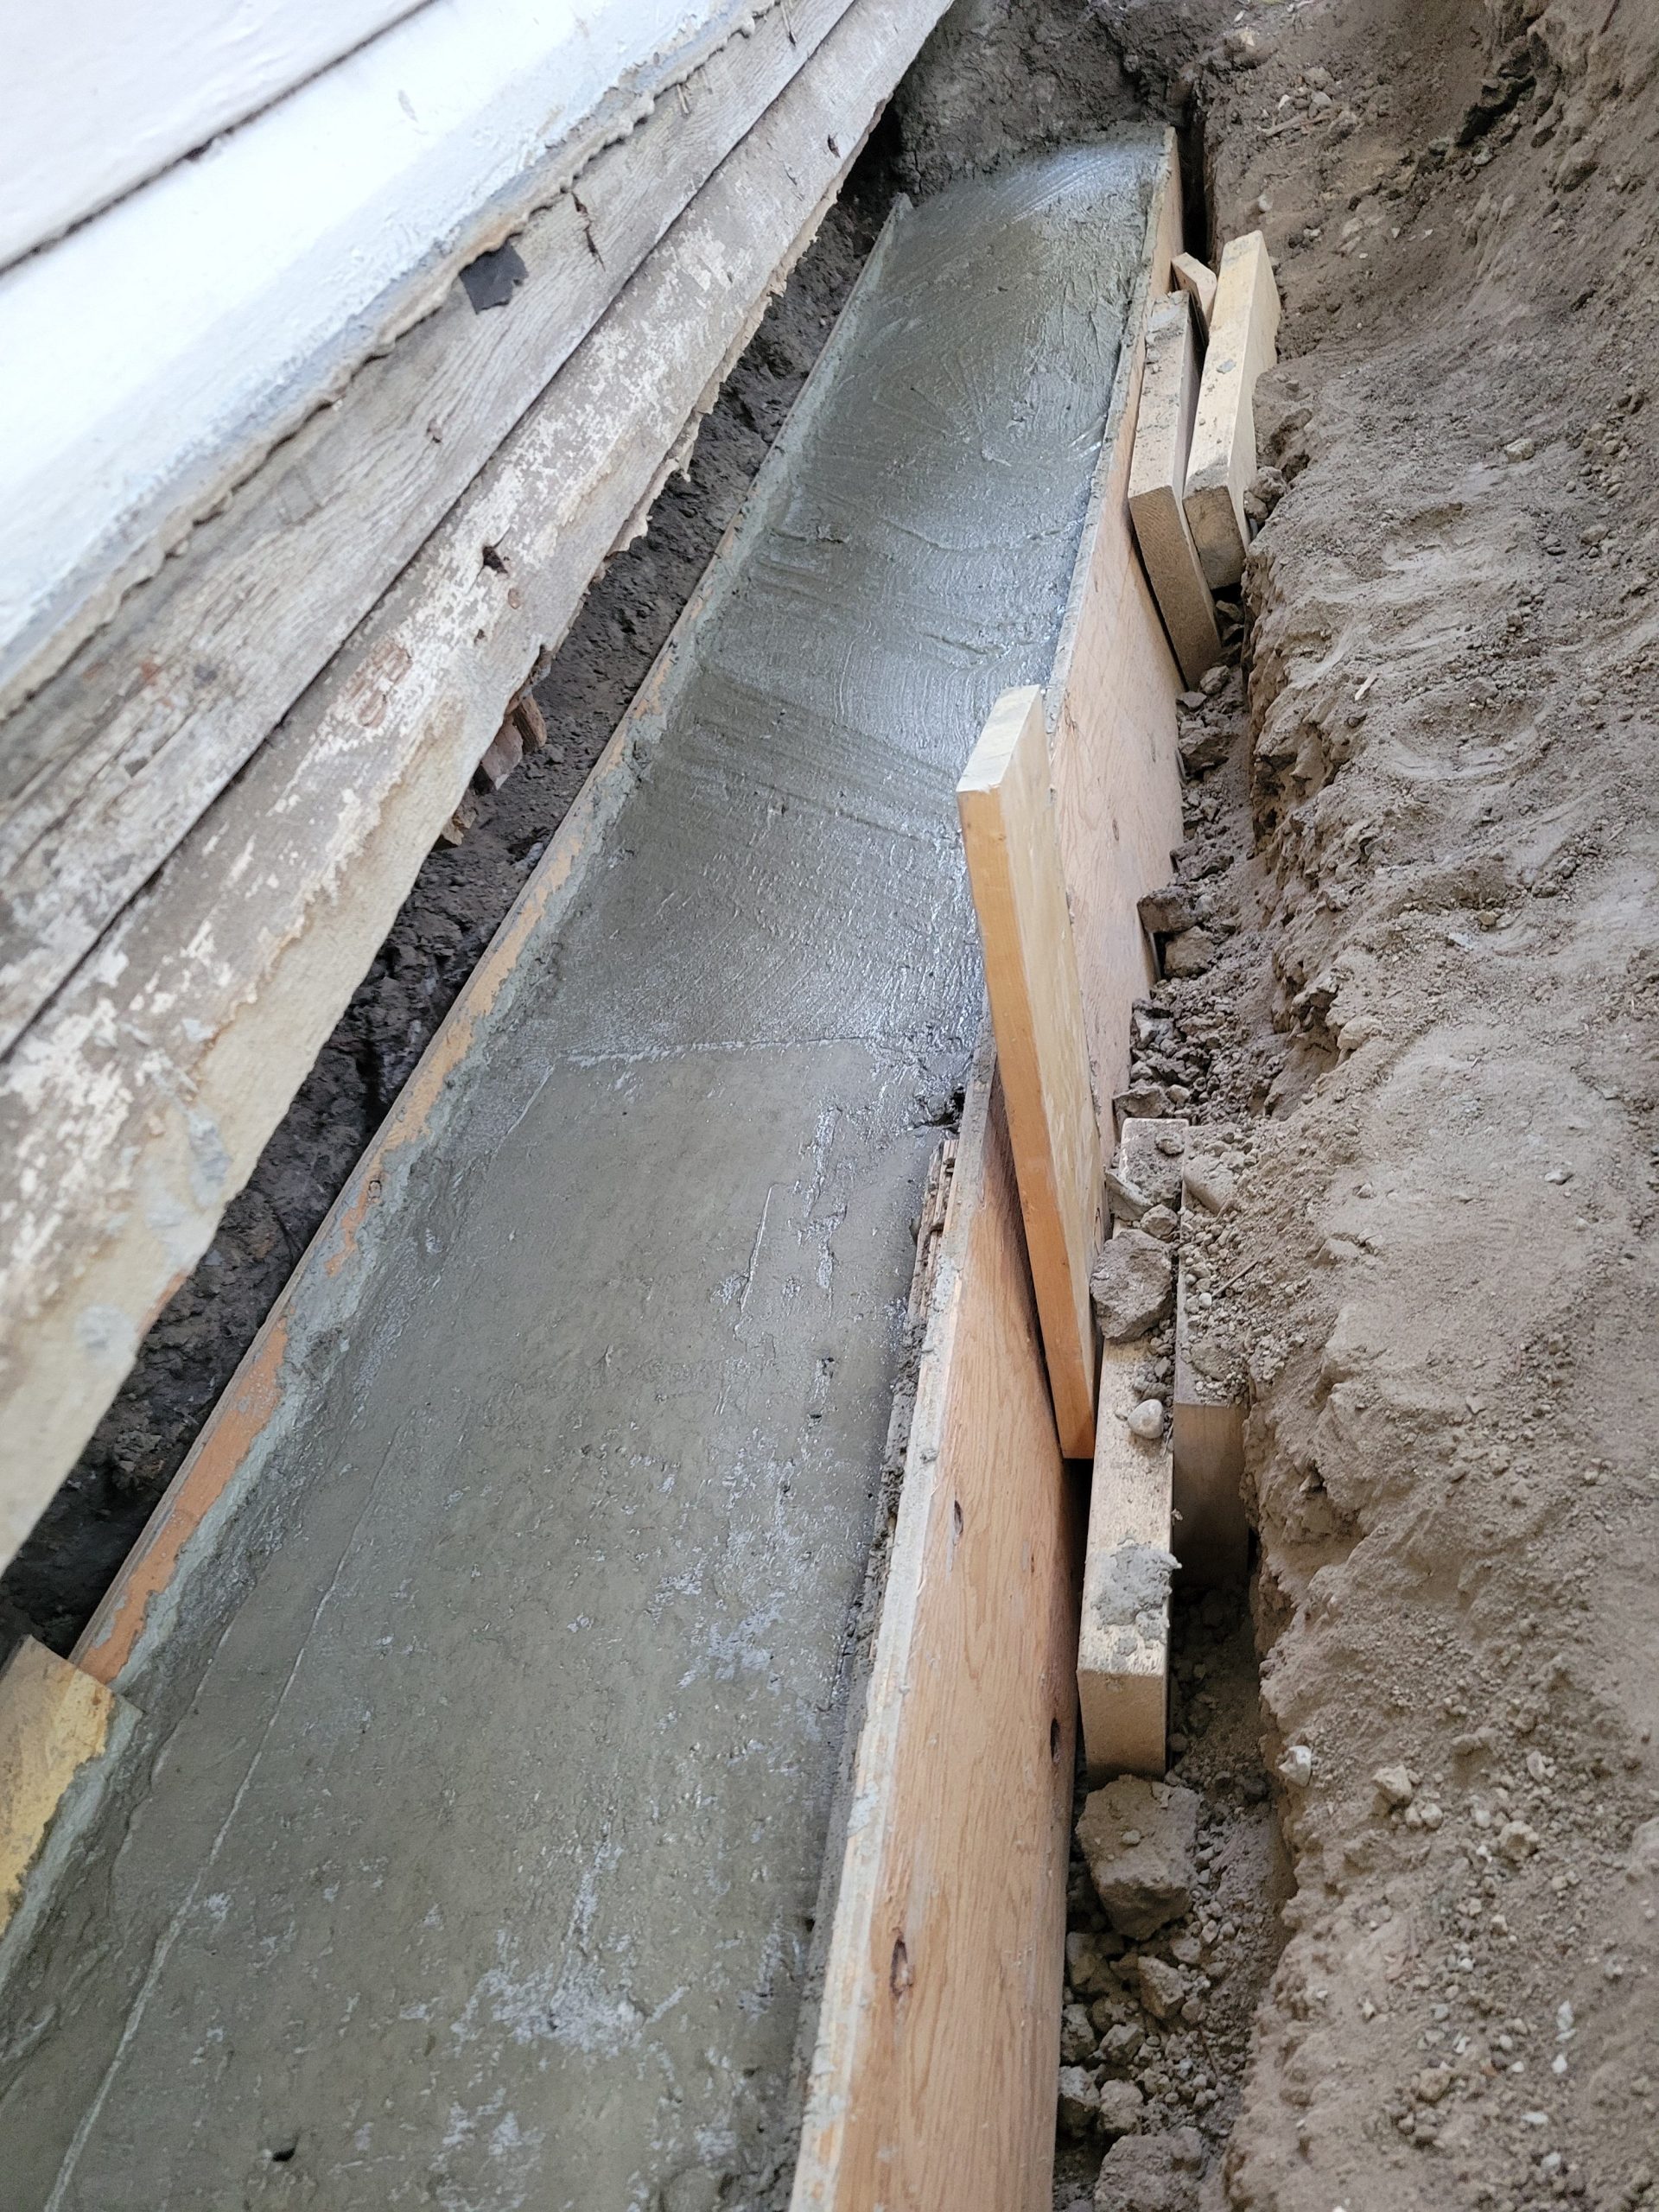
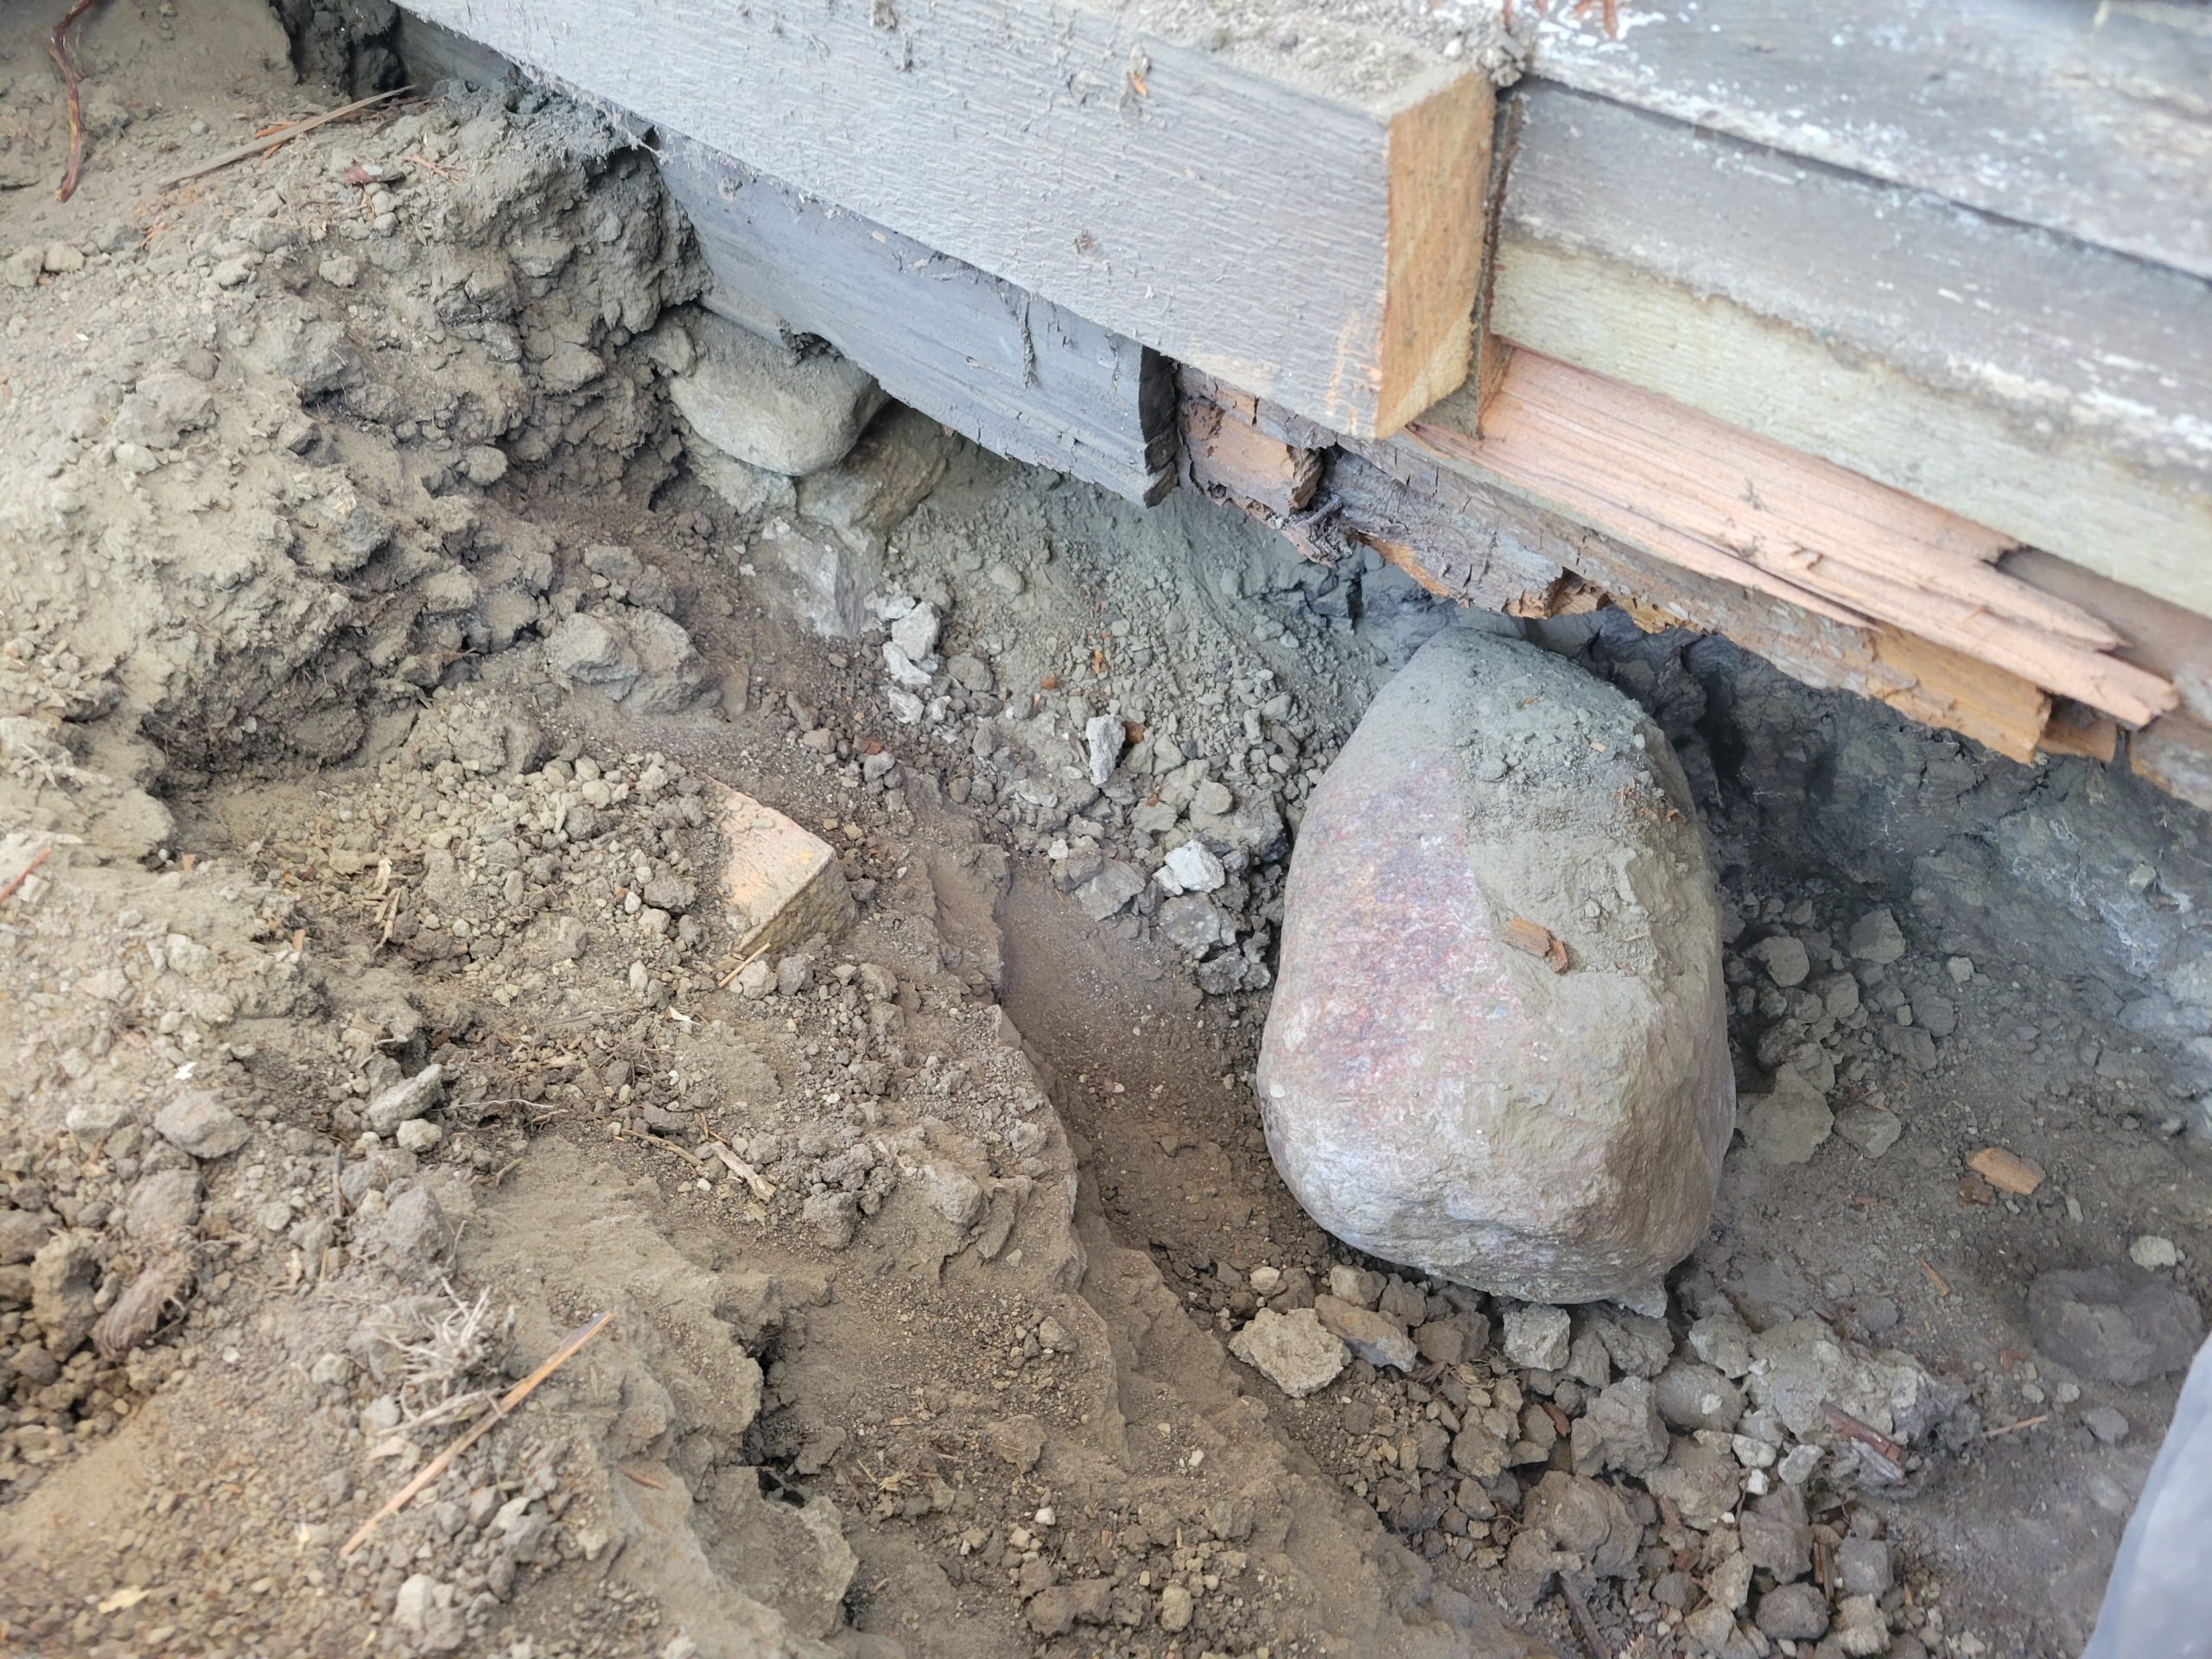
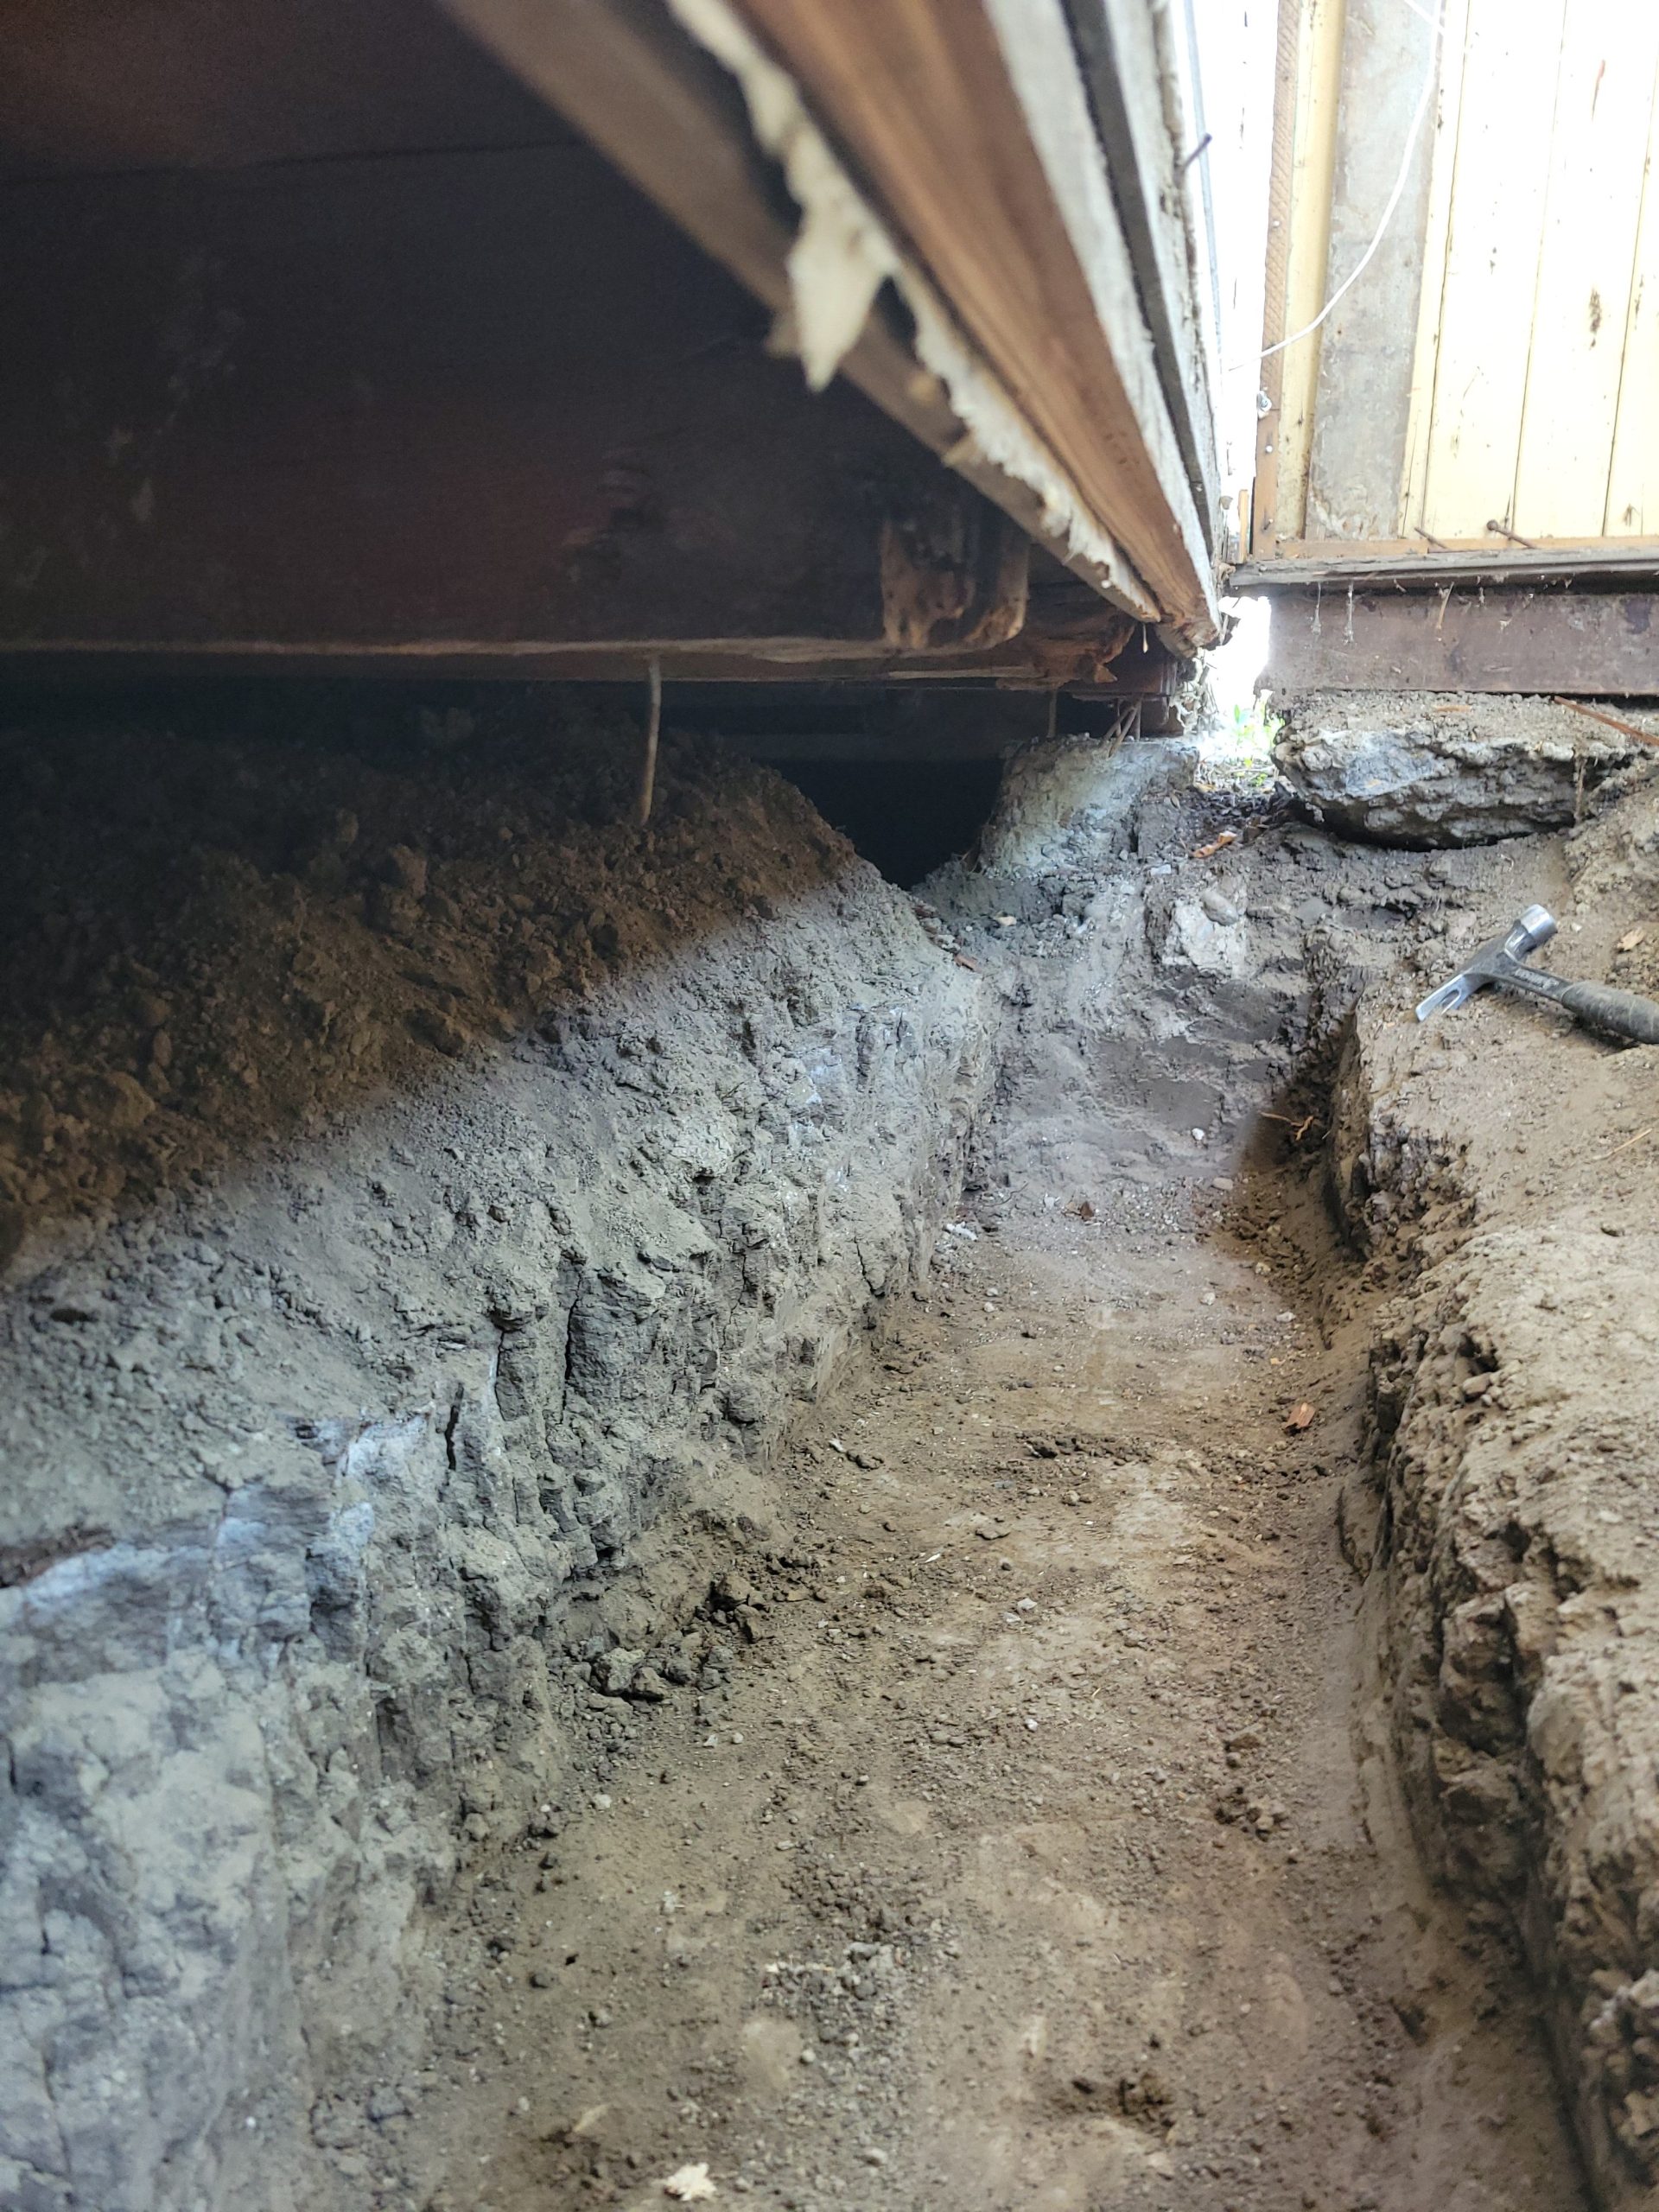
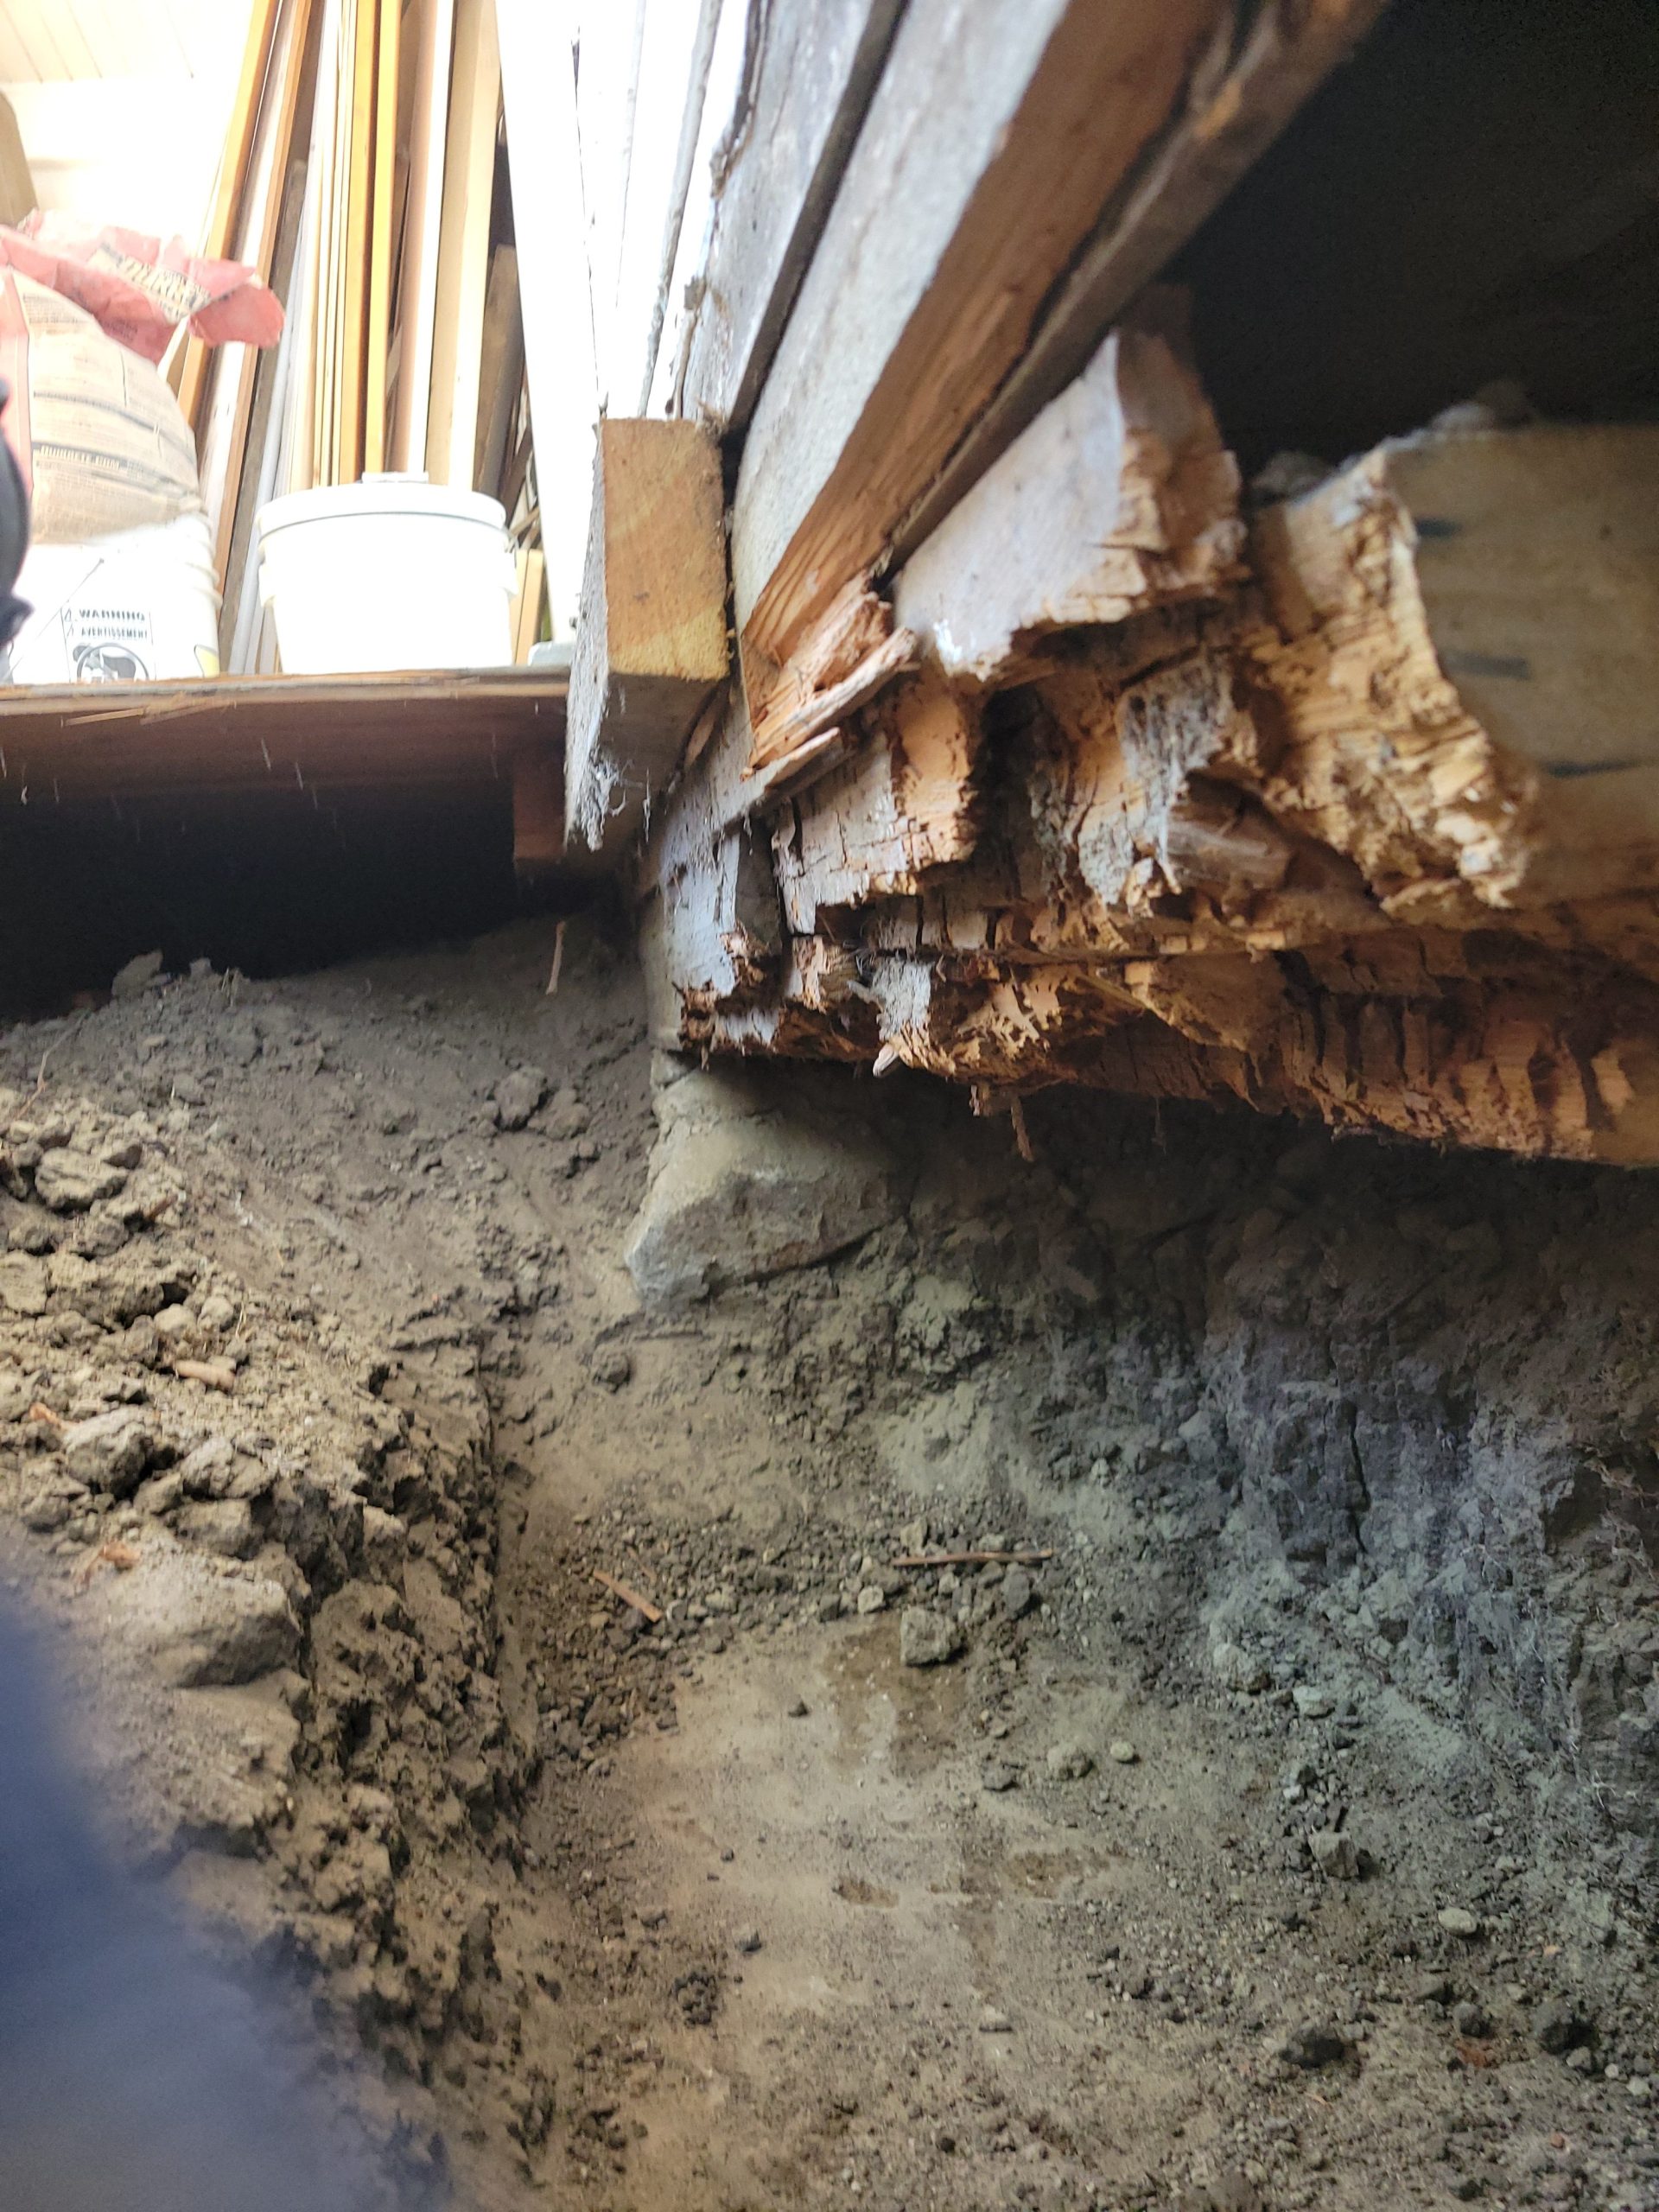
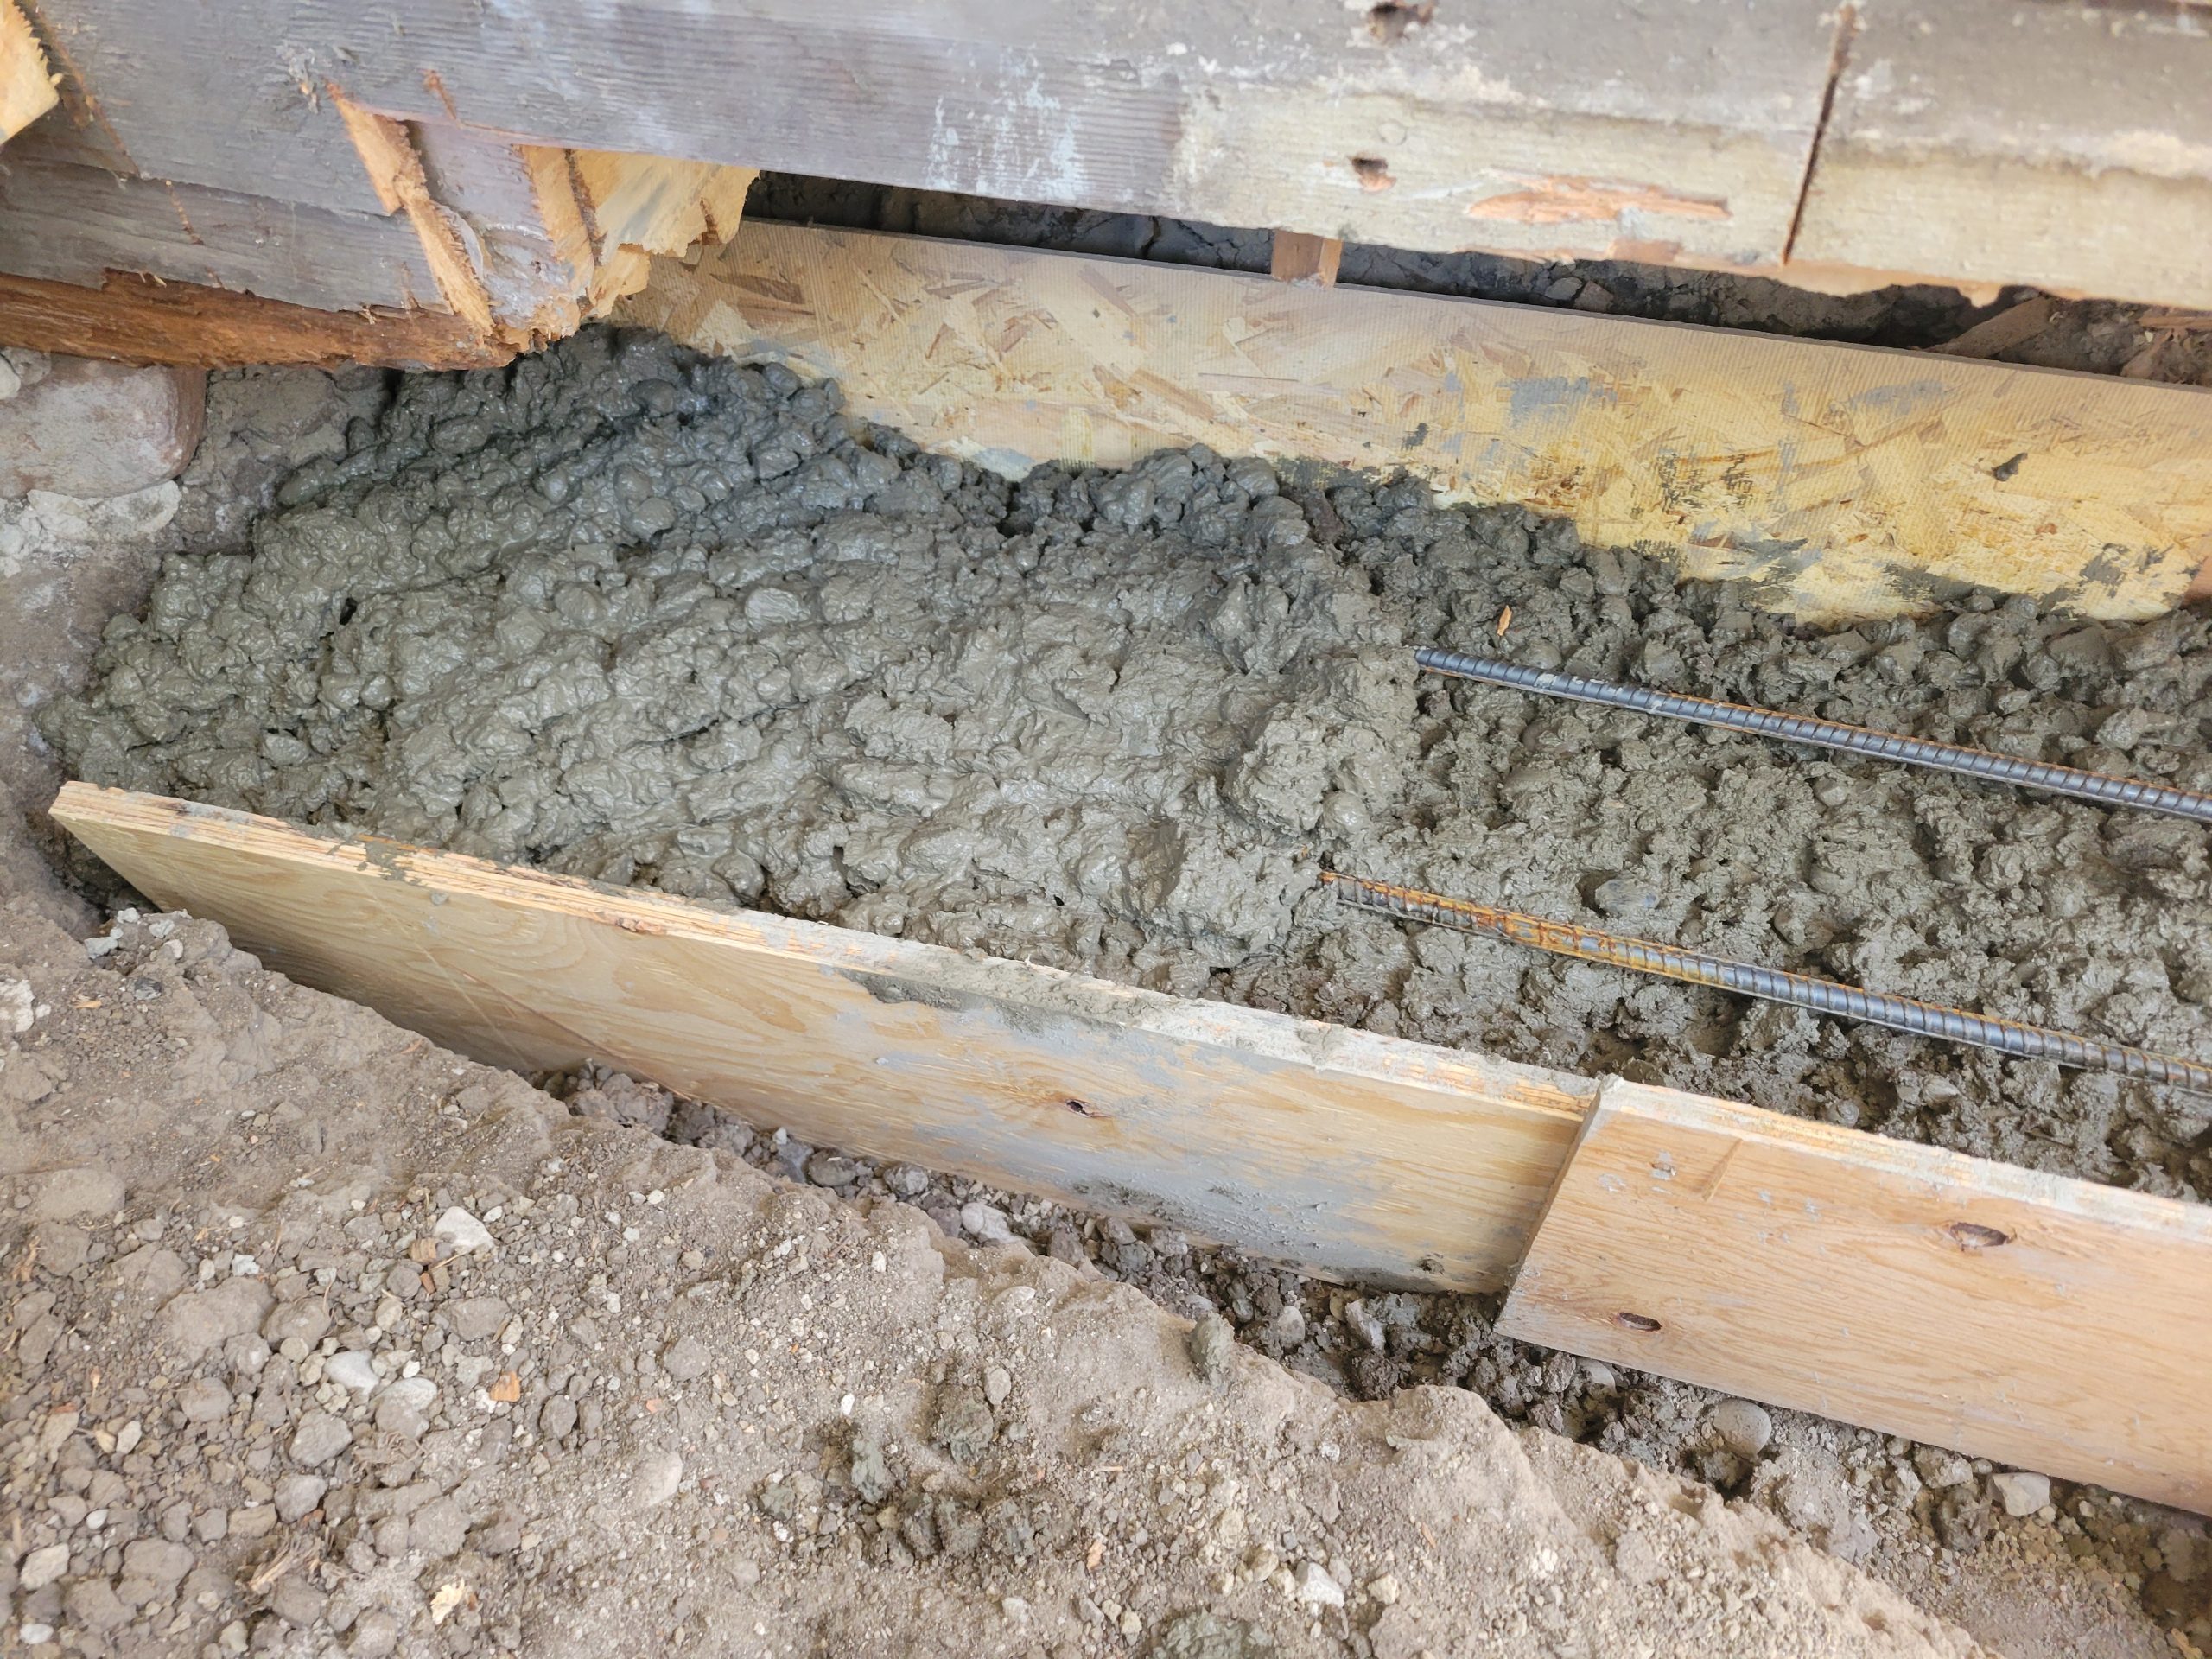
We continued with concrete work.  We mixed cement, gravel, sand (or road crush when we ran out), water, and sweat to create more footing for the front (southeast) of the house at the veranda. 
It was a fair bit of work.  Perhaps it could have been deeper as it will difficult to fit the screw jacks in there when completed. 
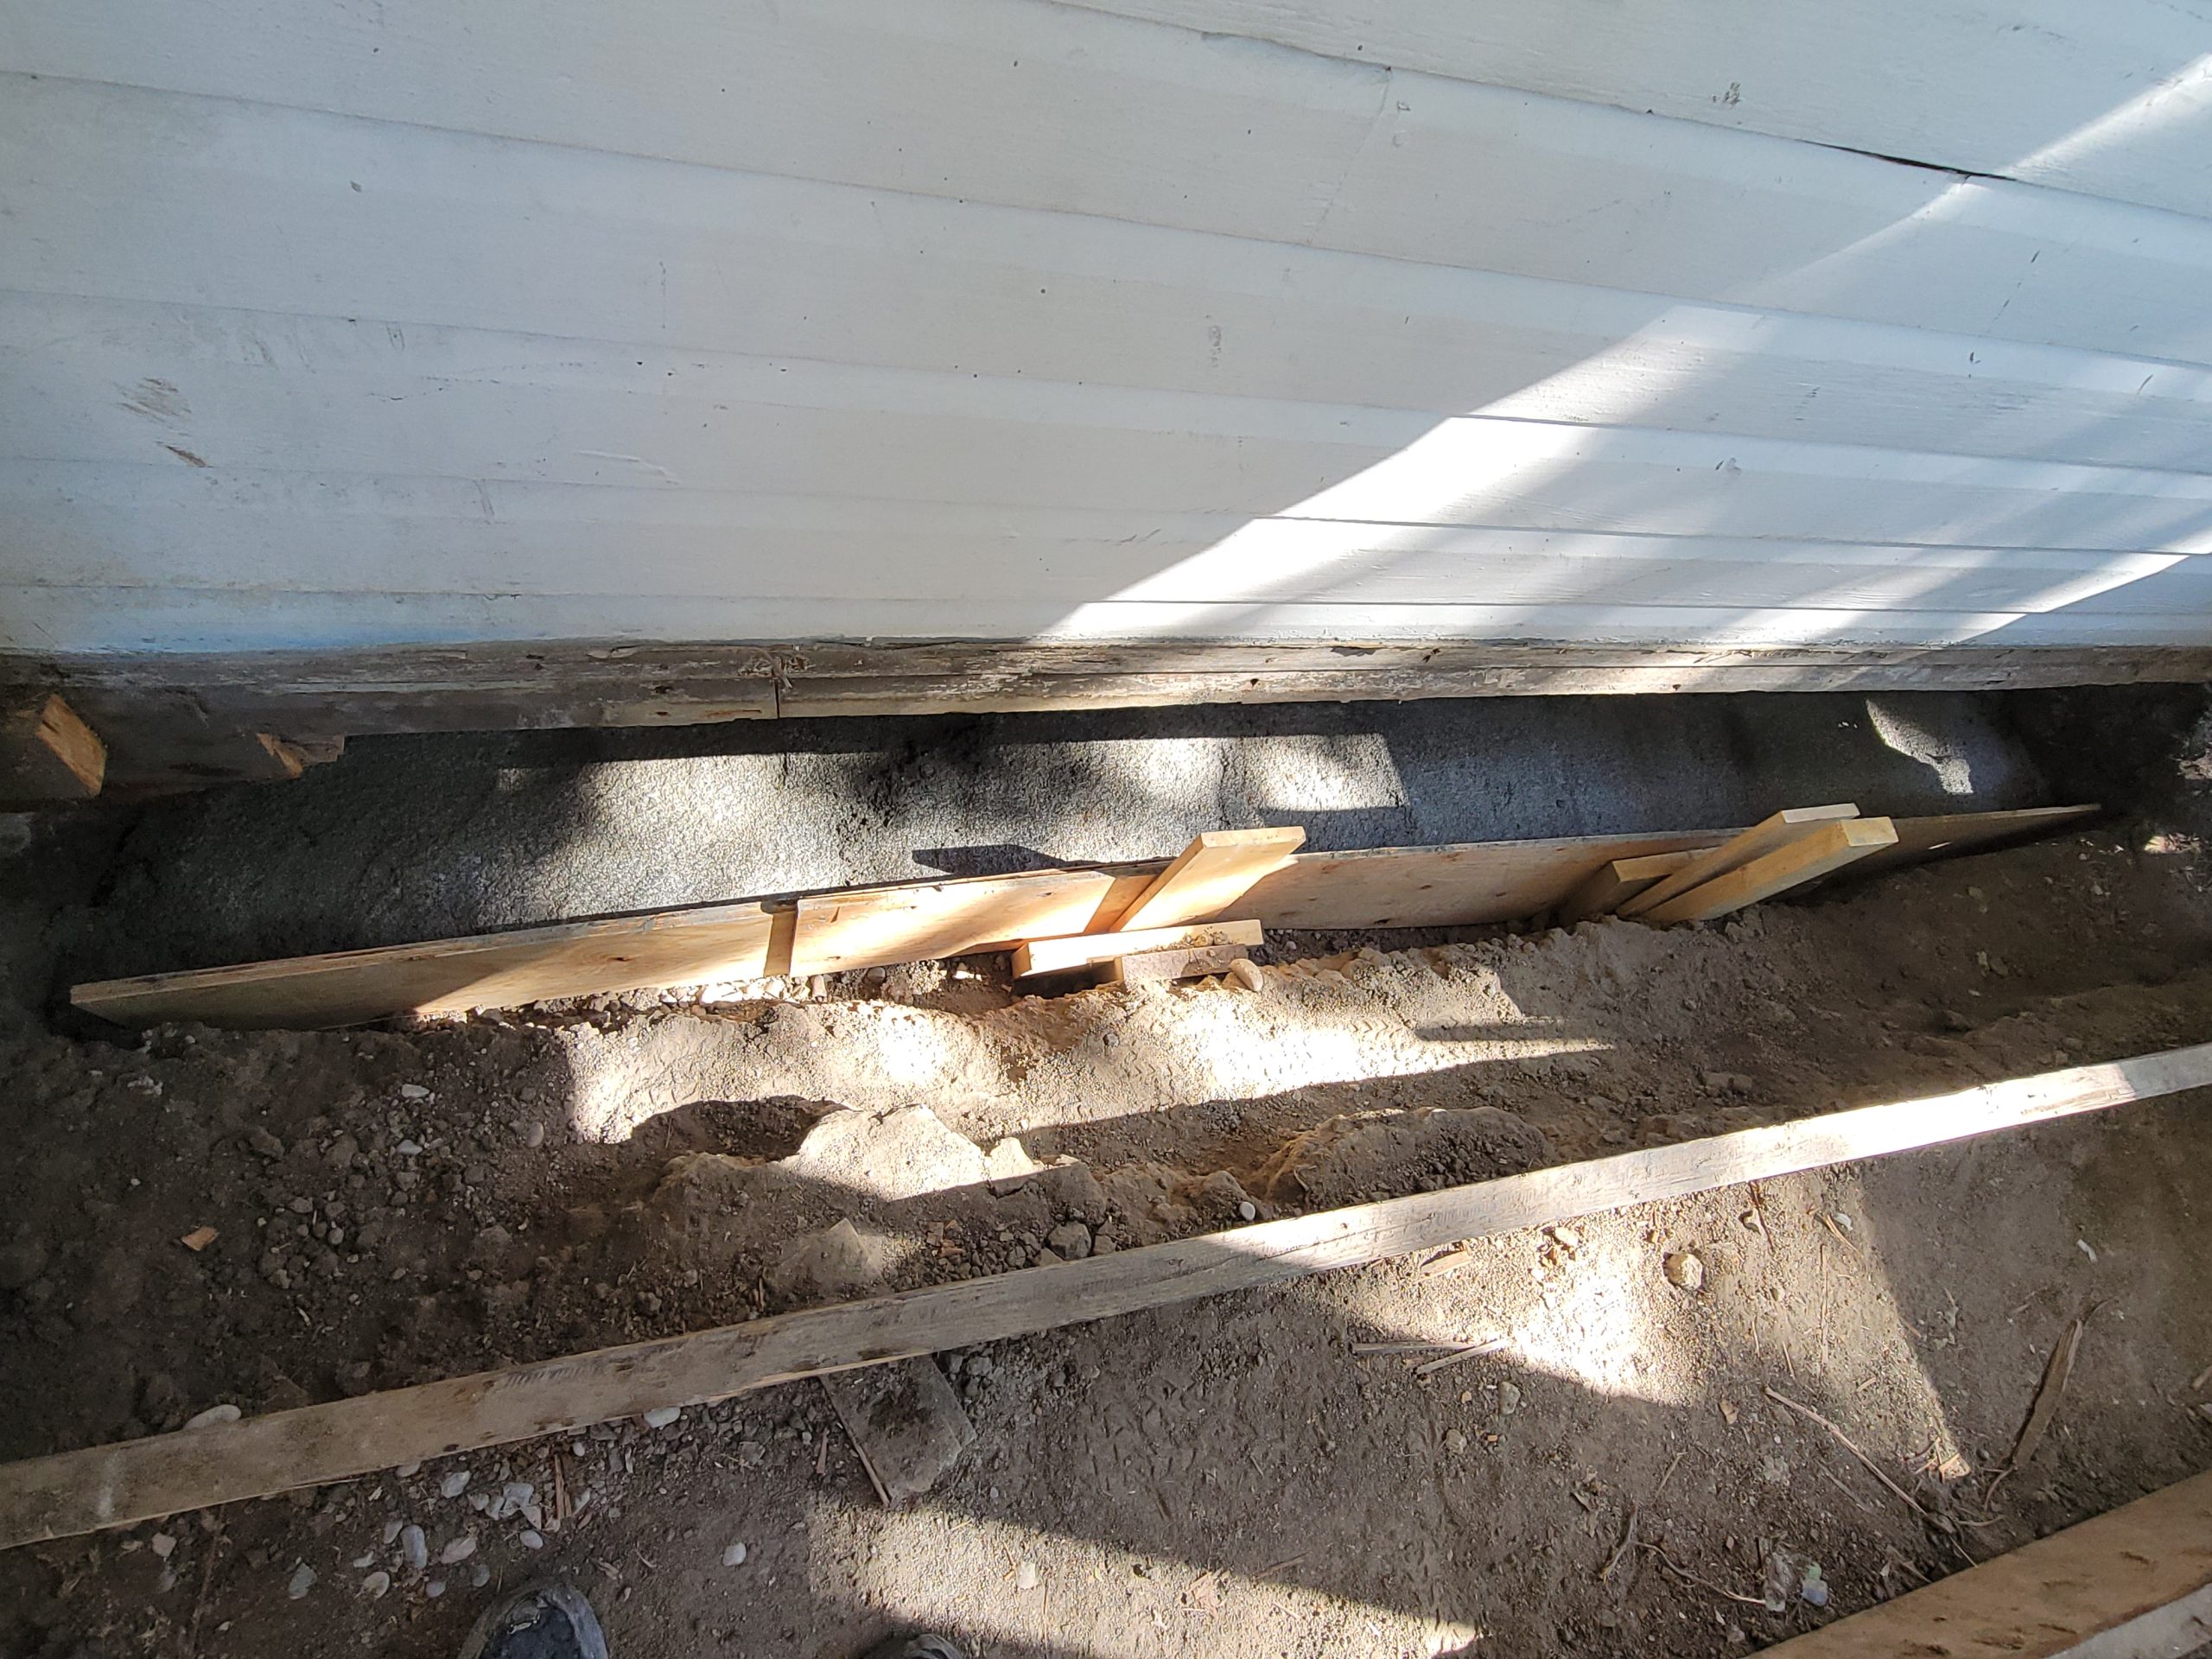
Rebar was worked into the top layer, running the whole length.  It will be a week or so before we are able to put the full weight of the corner of the house on it.  When complete, we can finally go on with drywall, windows, etc. in the main and second floors. 
 

Now on to the next task. 
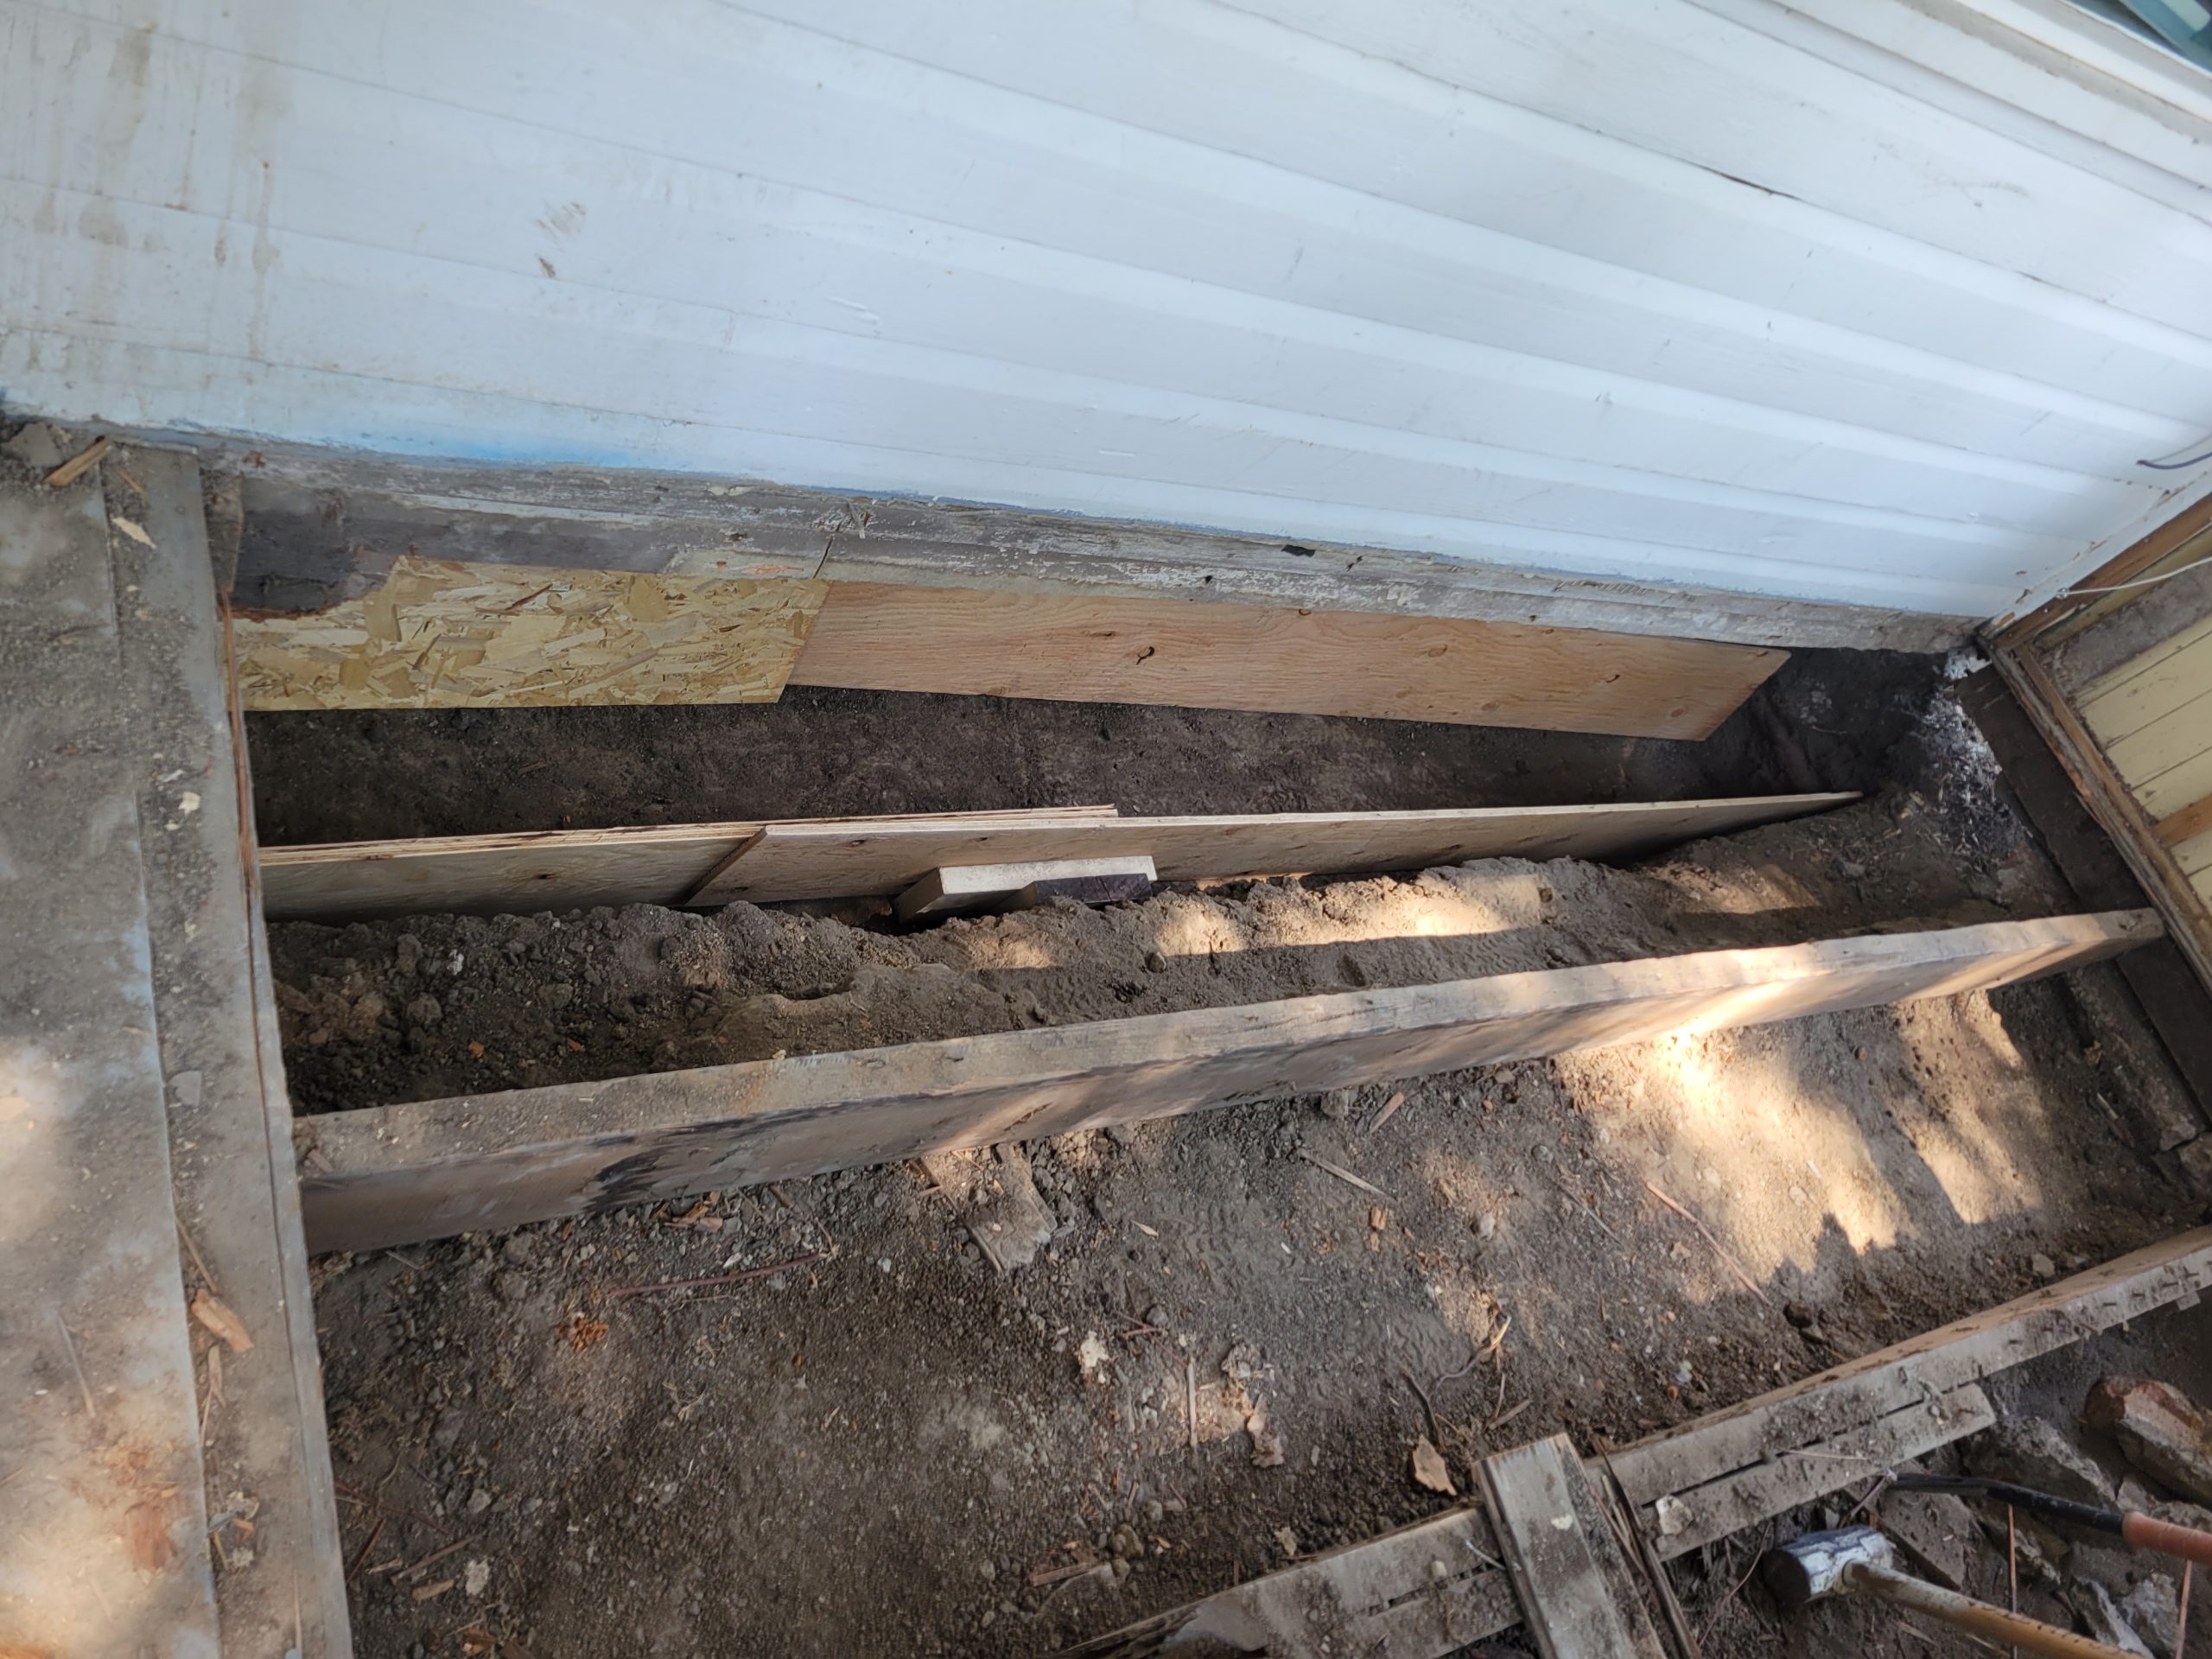
front footing cement mixing begins

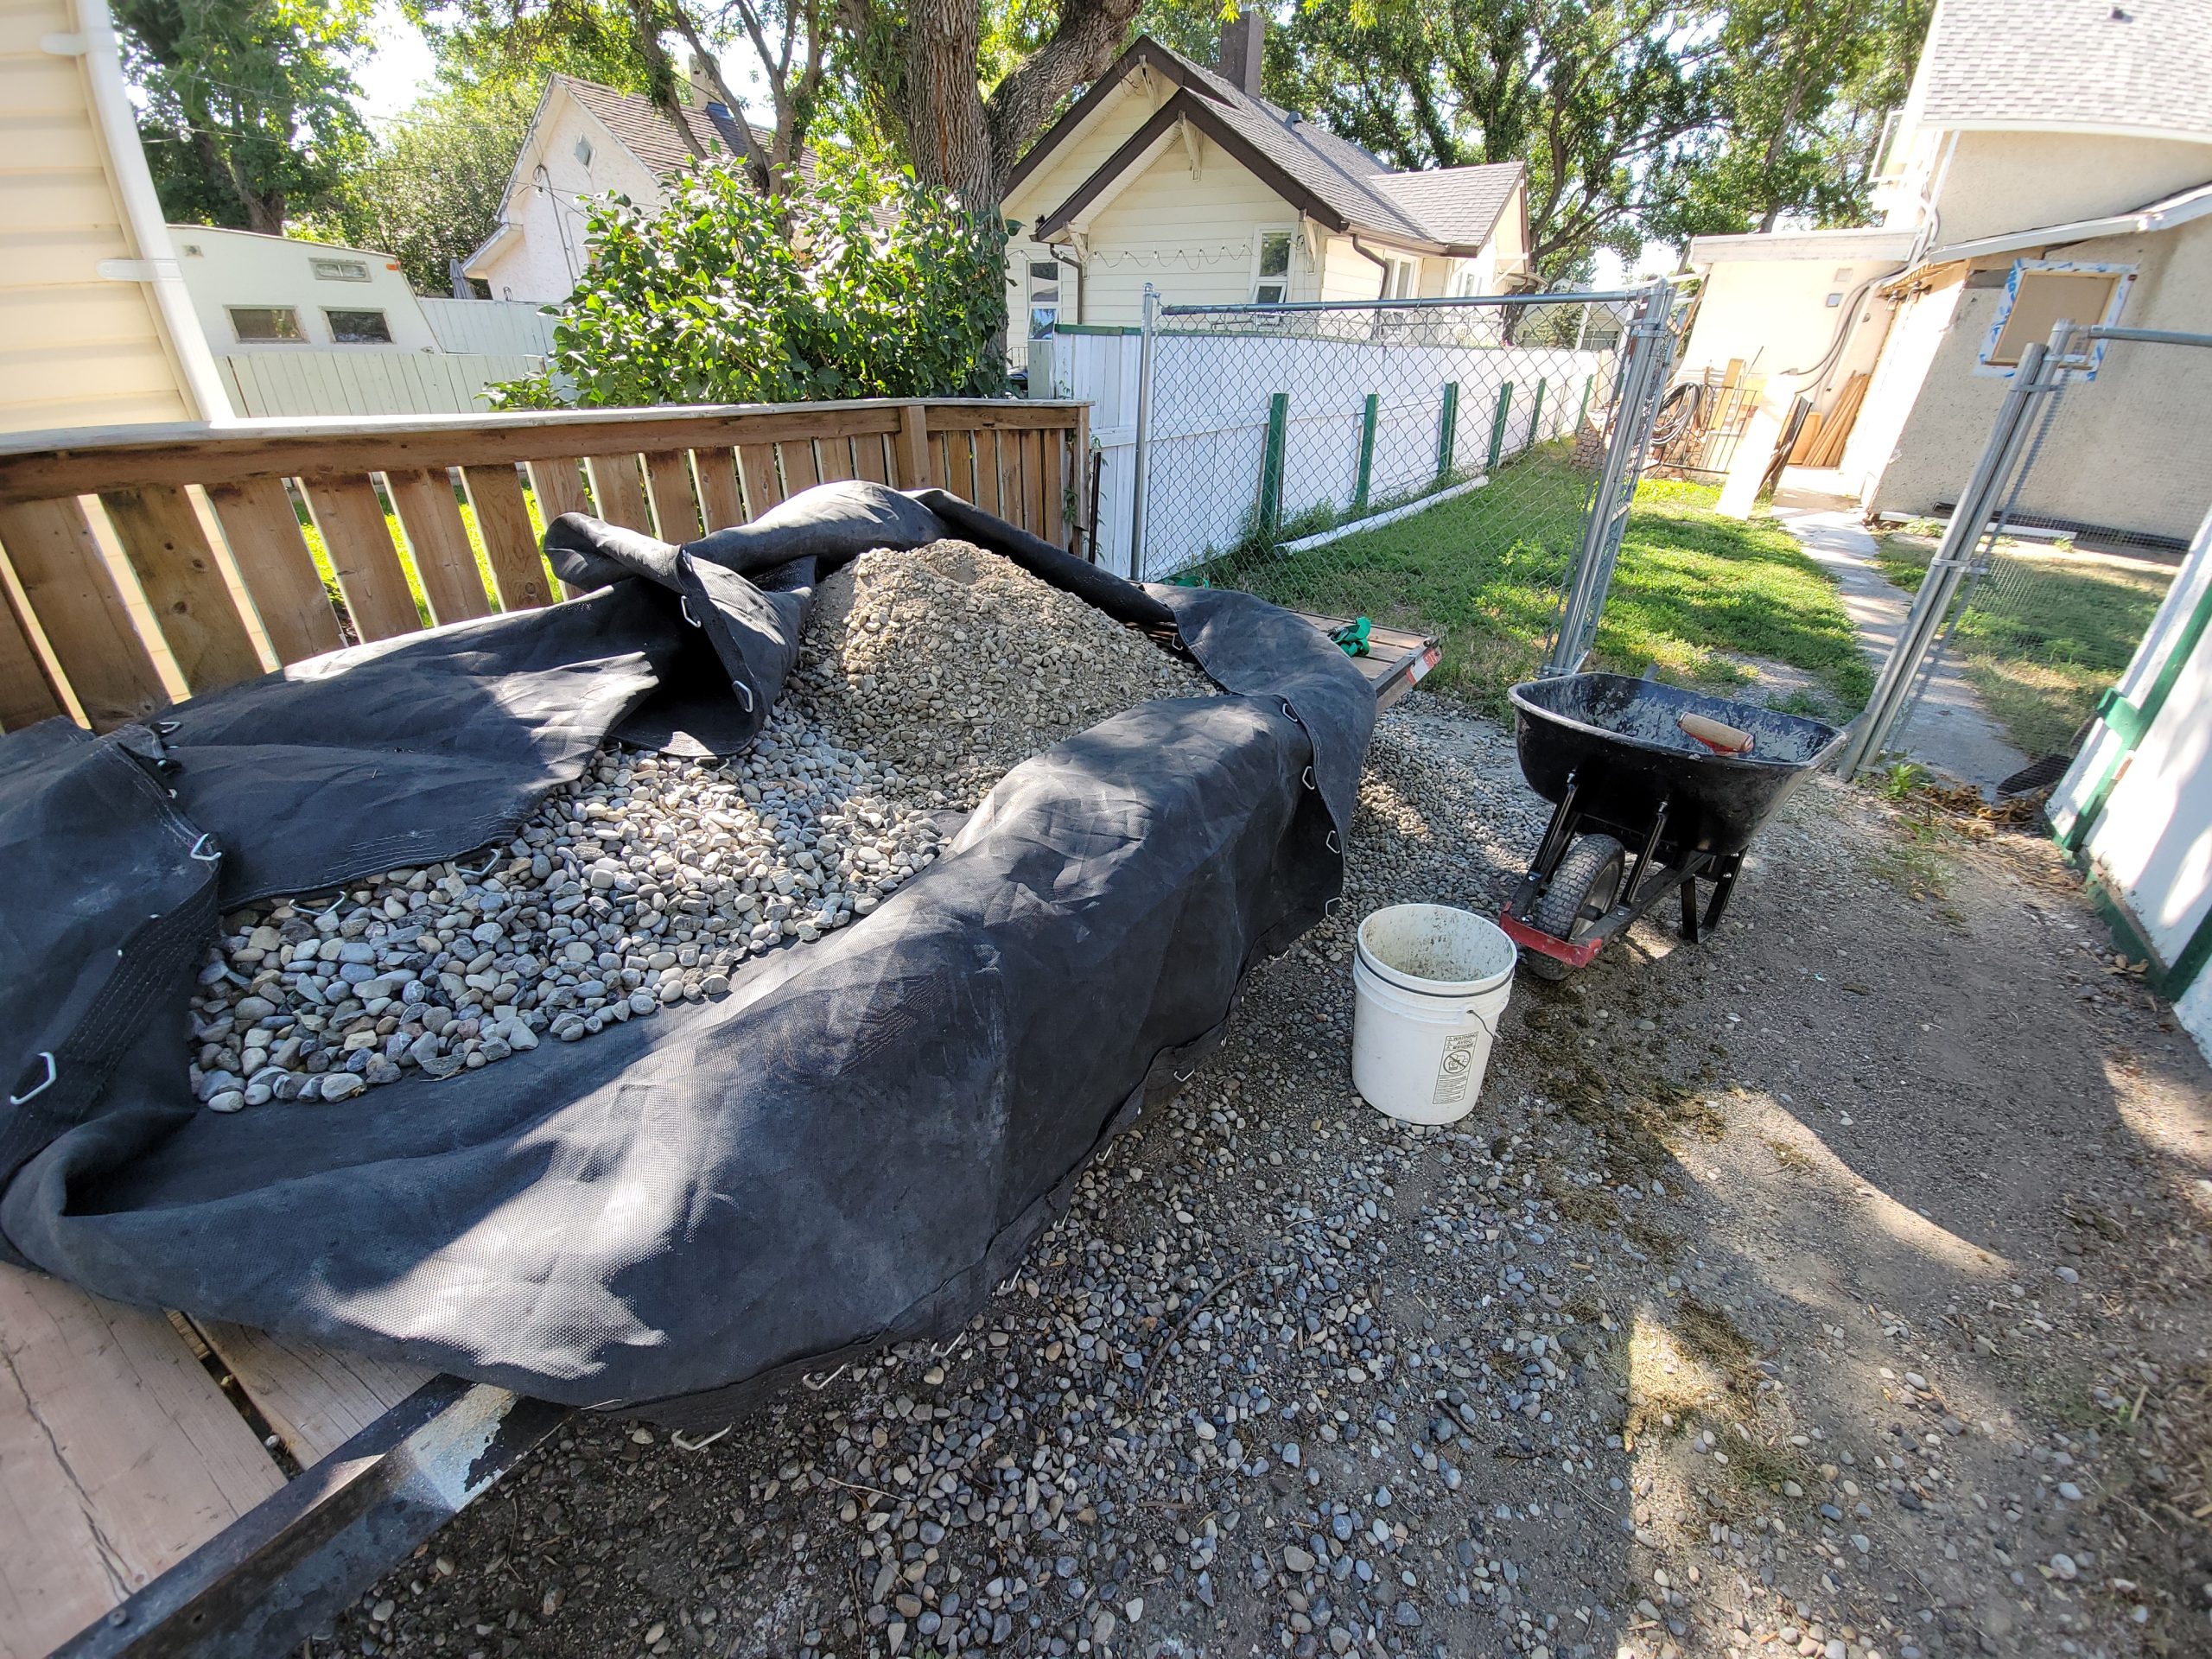
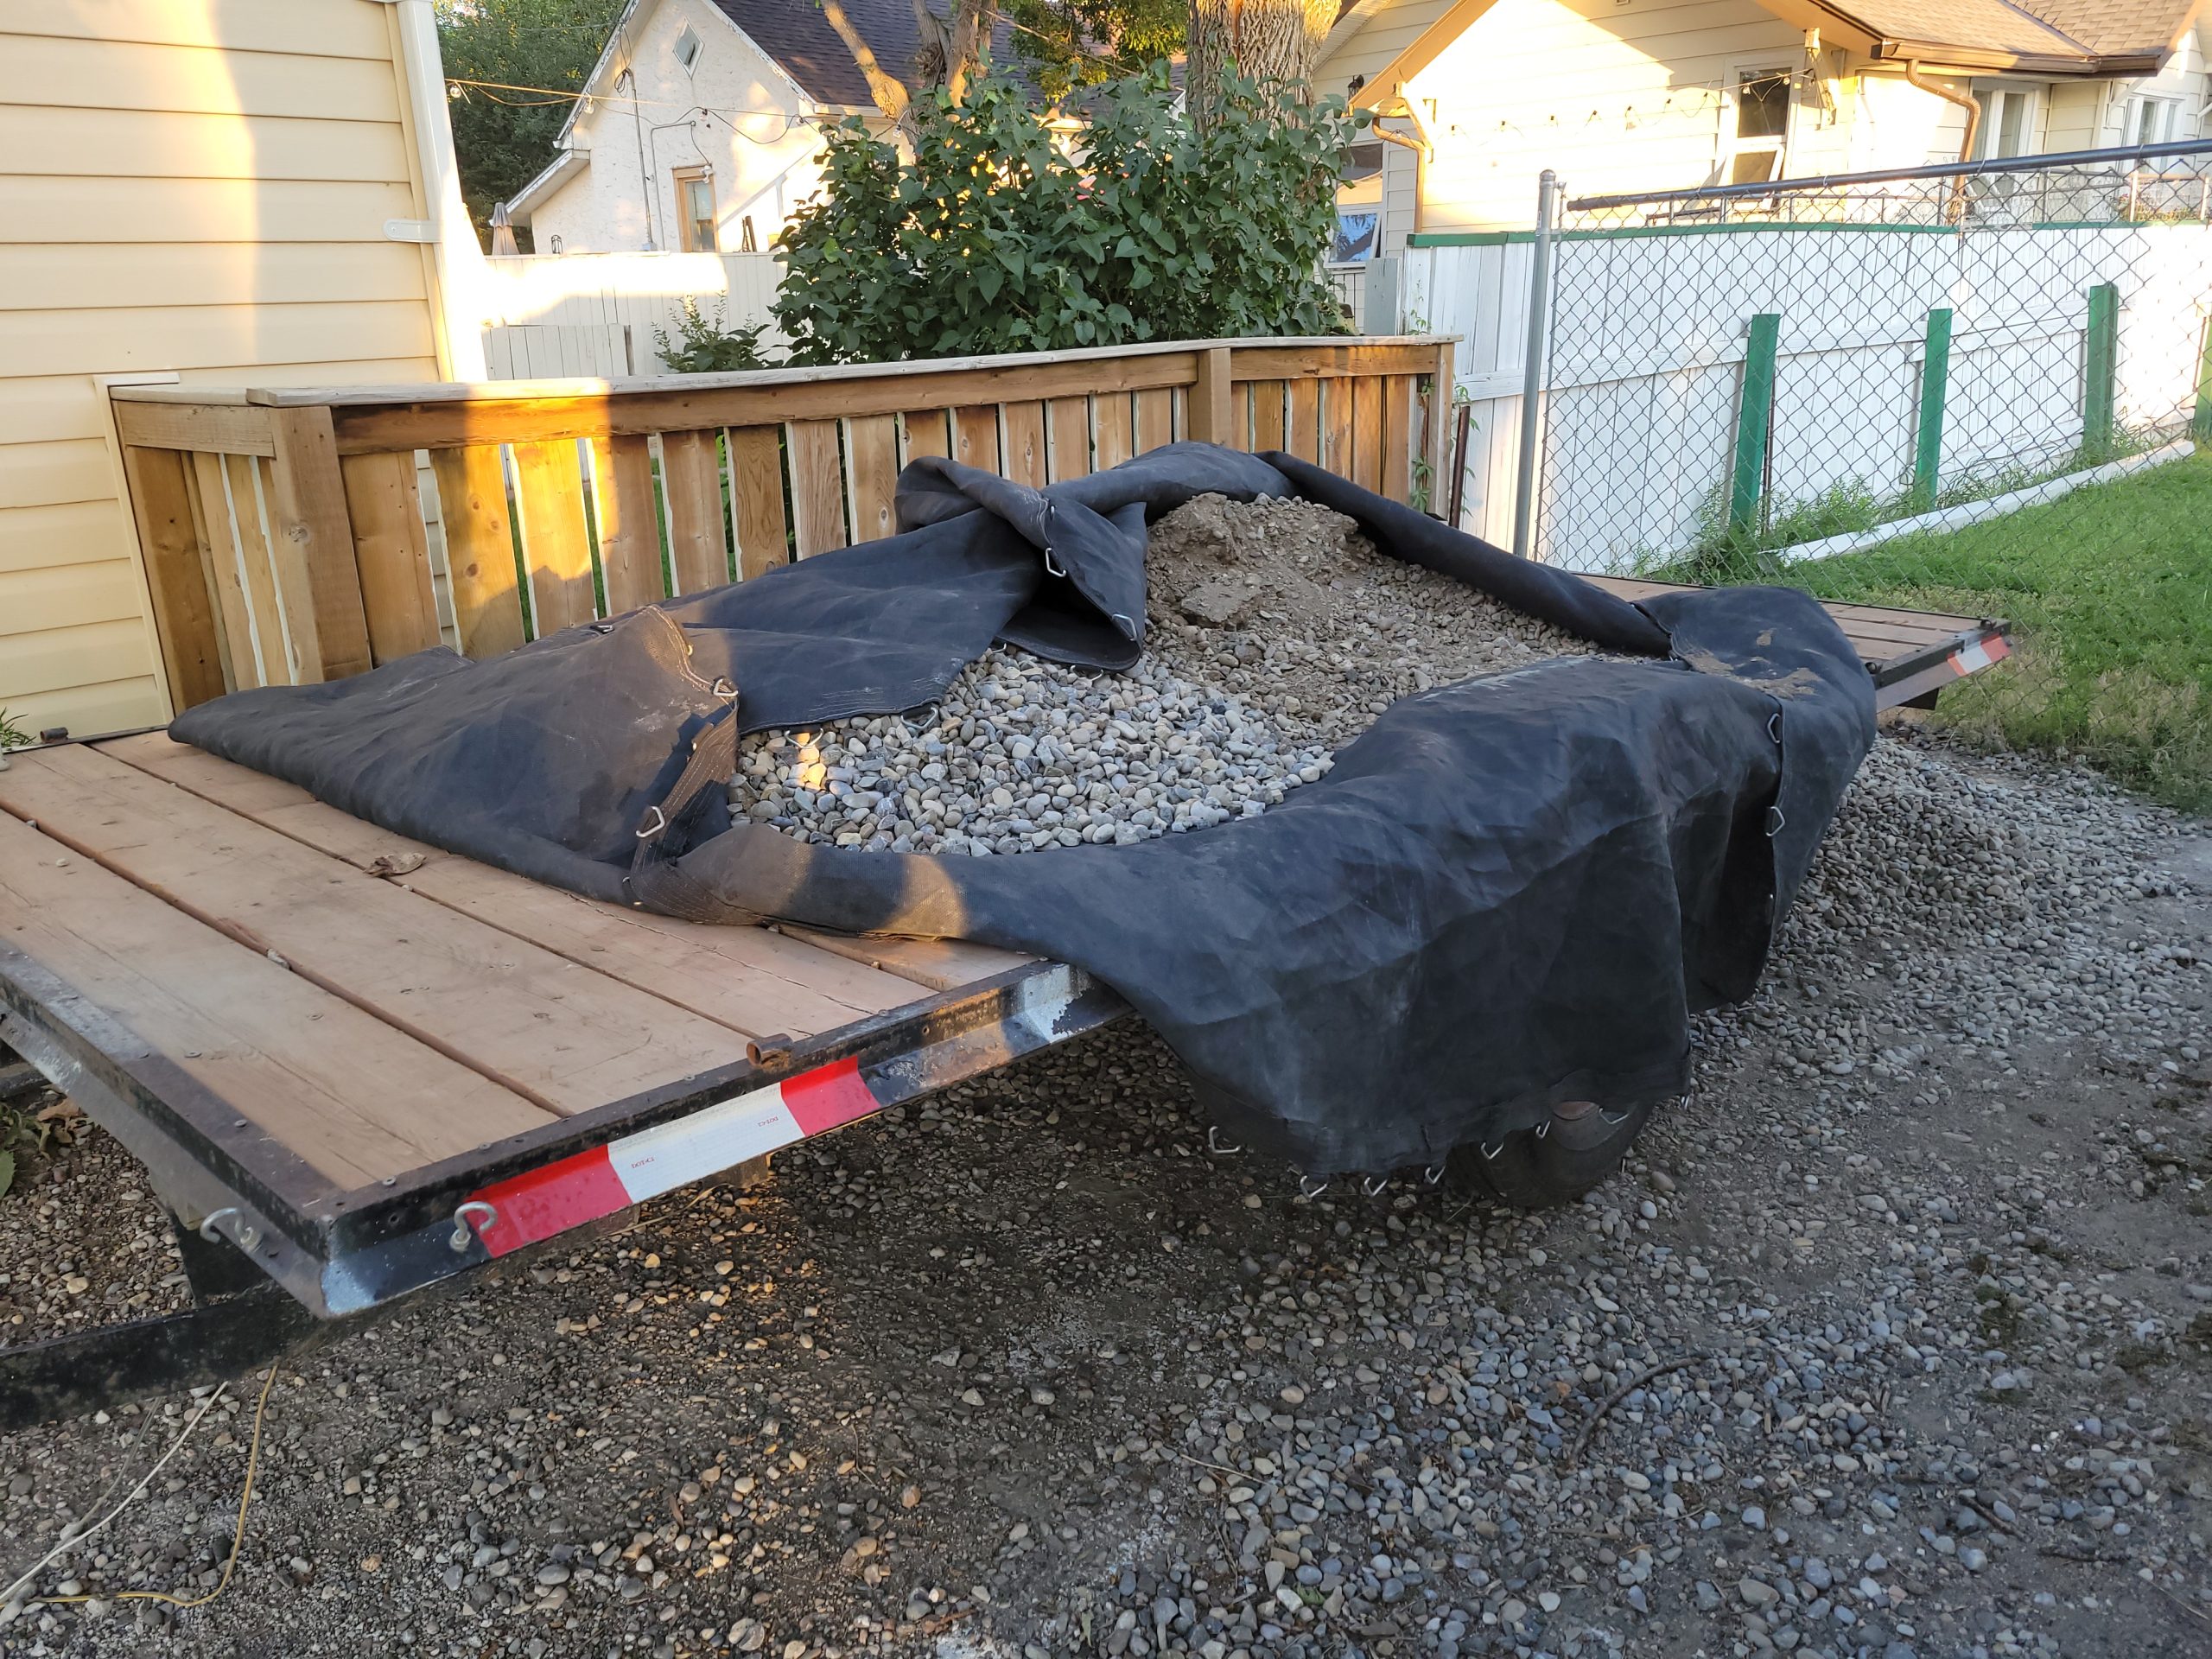
We put gravel in the front of house footing area today in prep for concrete.

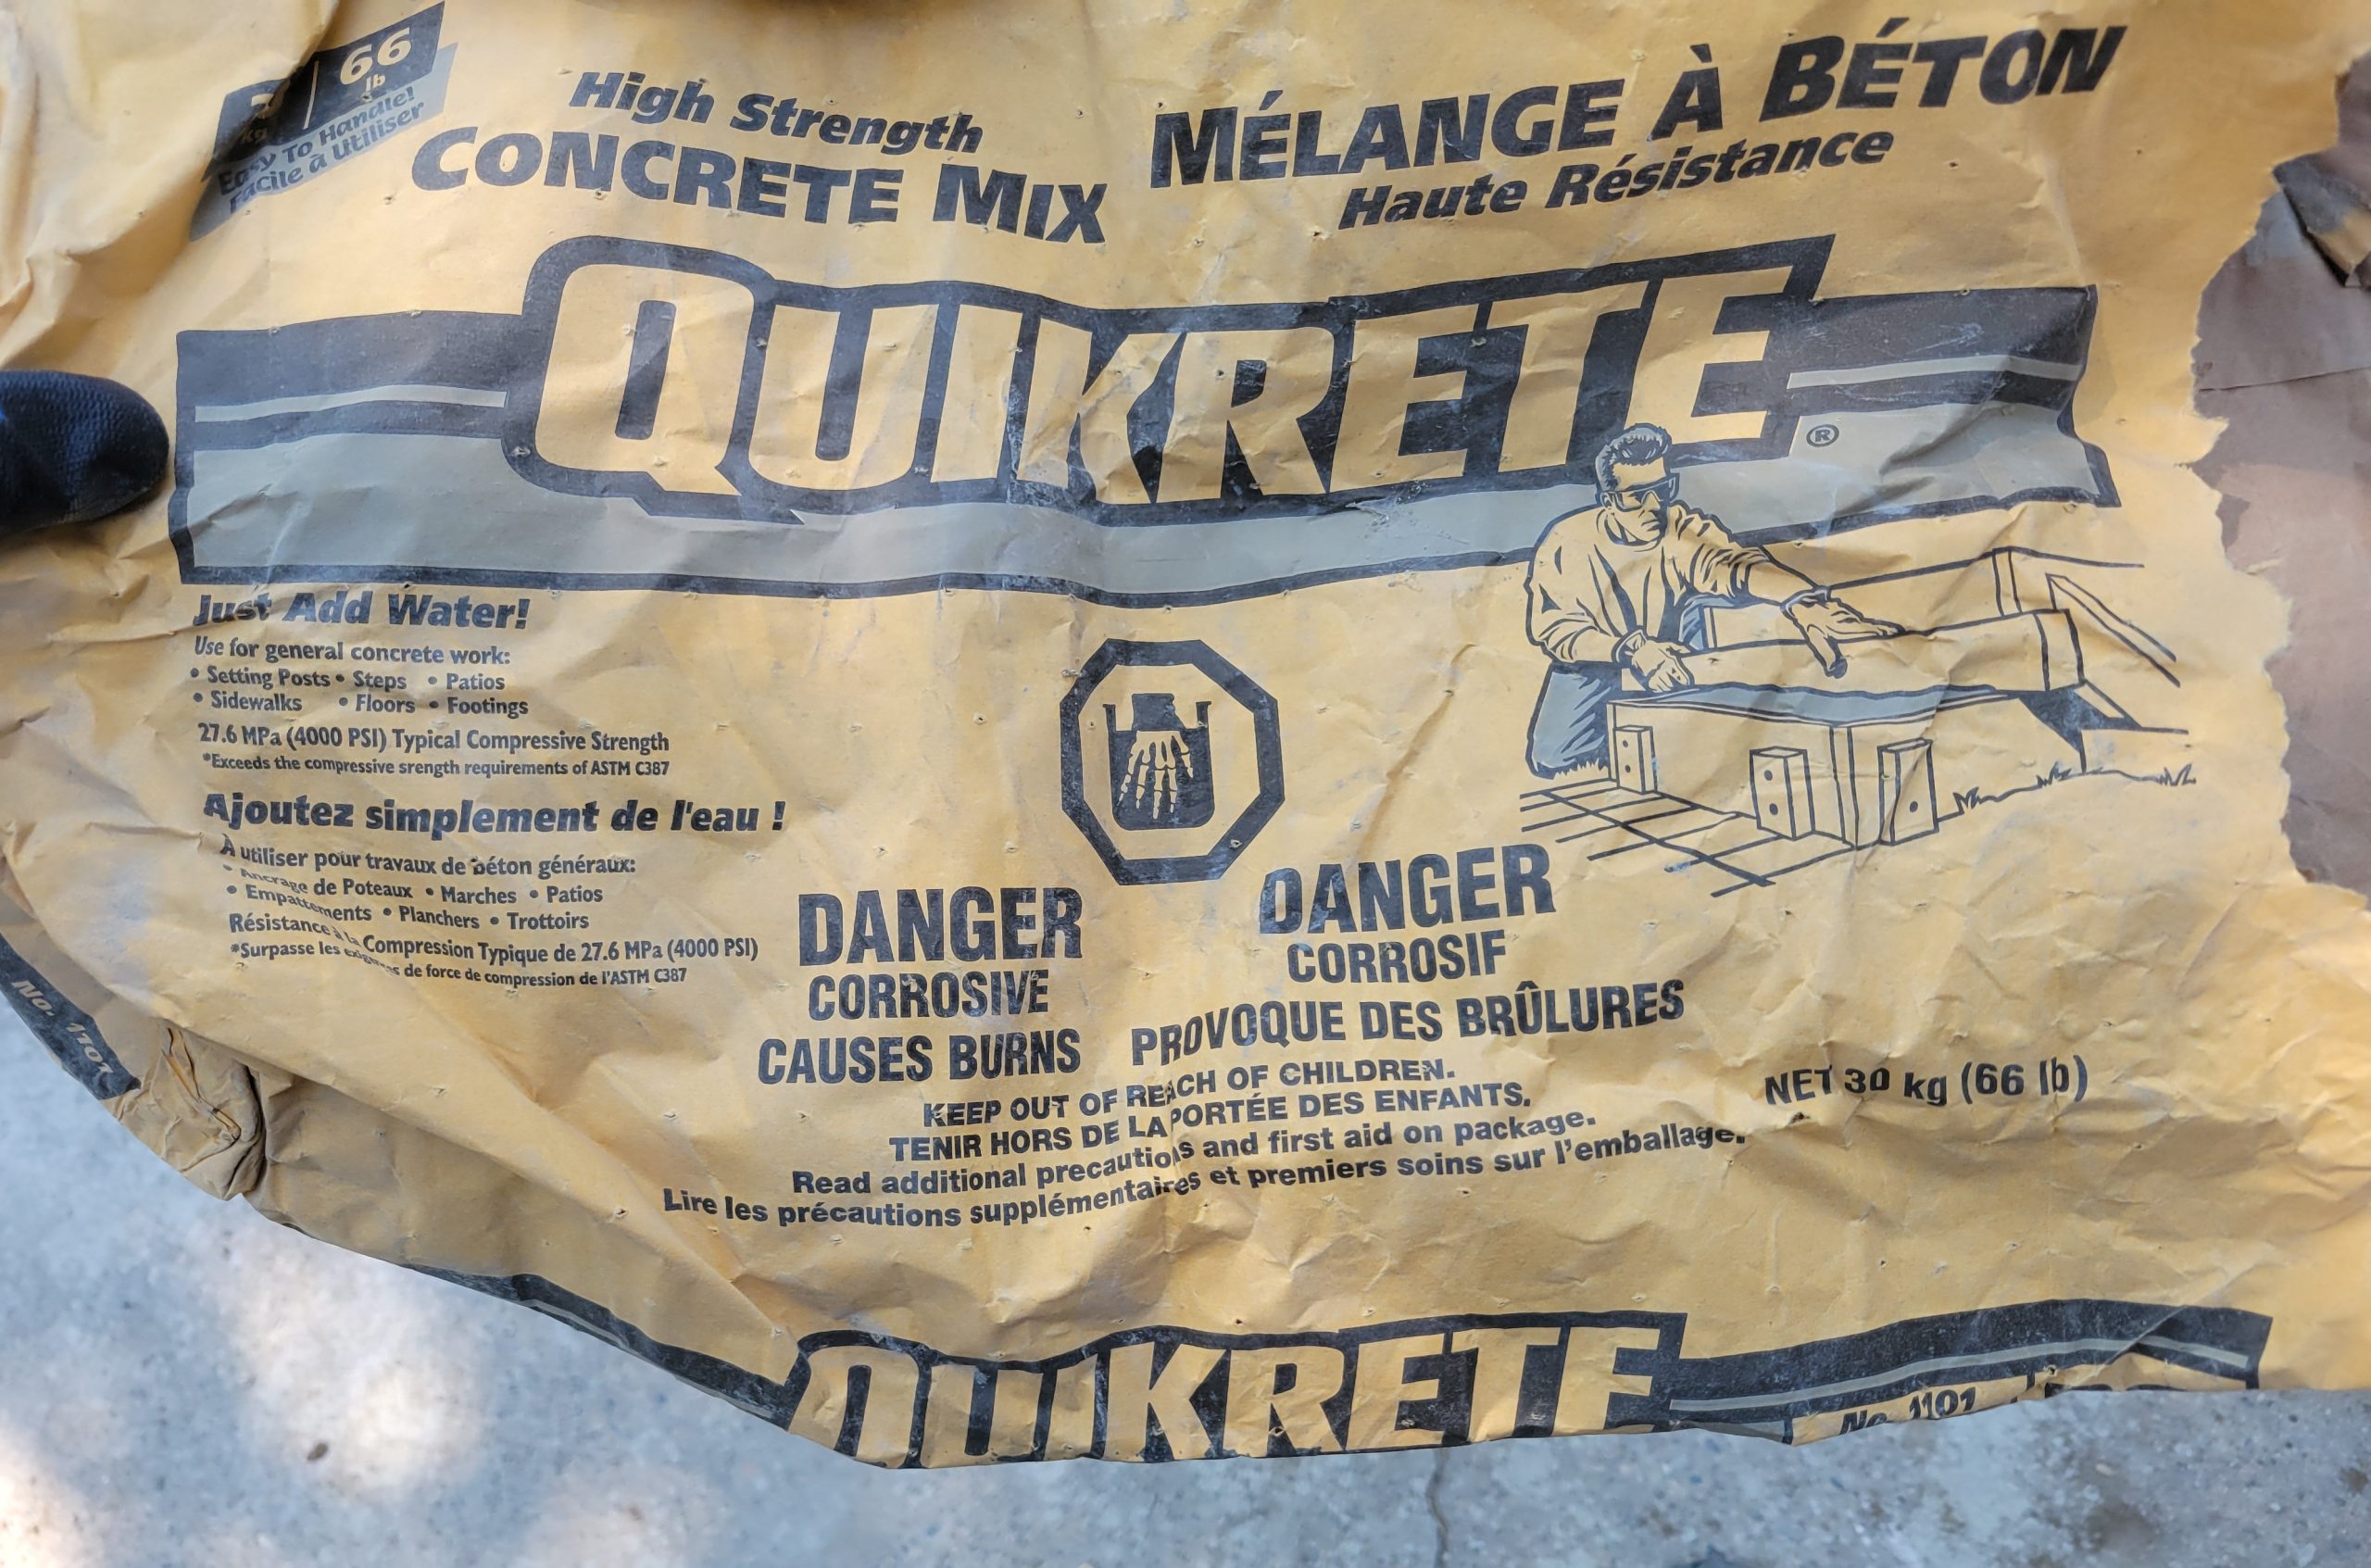
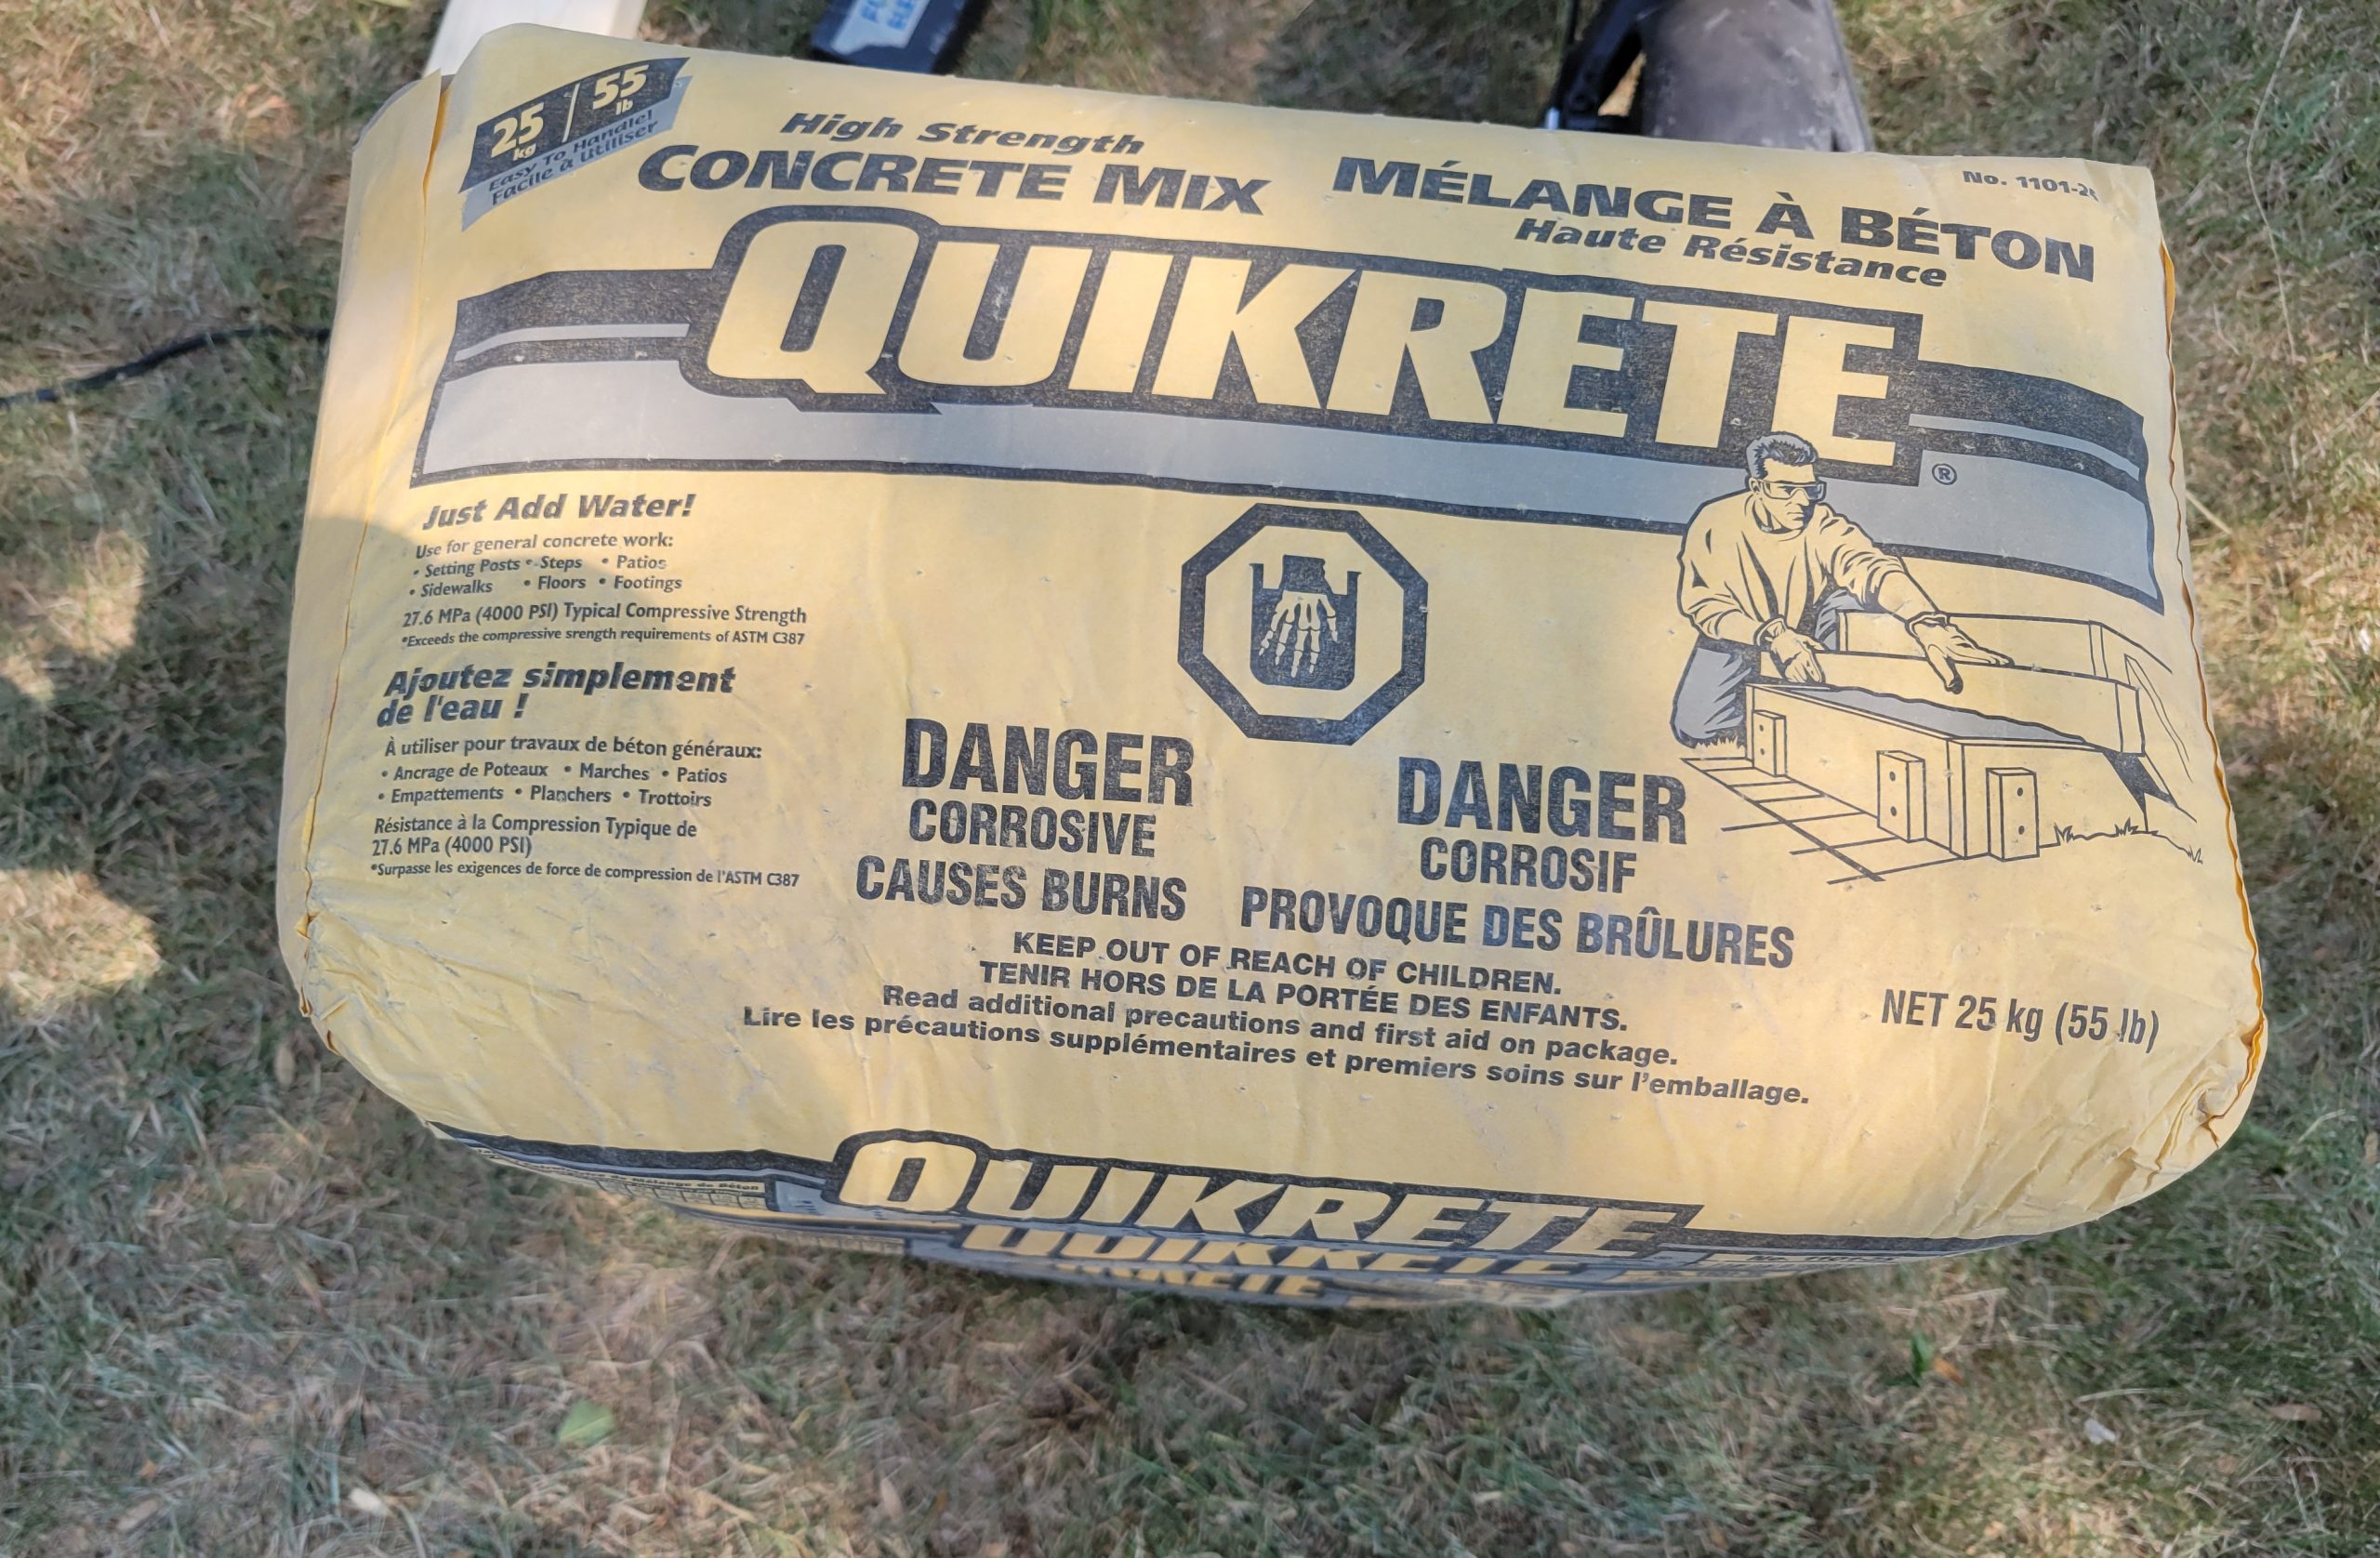
Downsizing!  Here are the old and new Quikrete bags.  Previously, they were 30kg (66 lbs).  Now, they are 25kg (55 lbs).  So, for the same price, we are getting 83% of the product.  Another way of looking at it is that it is 20% more expensive for the same volume.  I guess another way of looking at it is that they are easier to carry. 

Read more

light globe retainer silicone

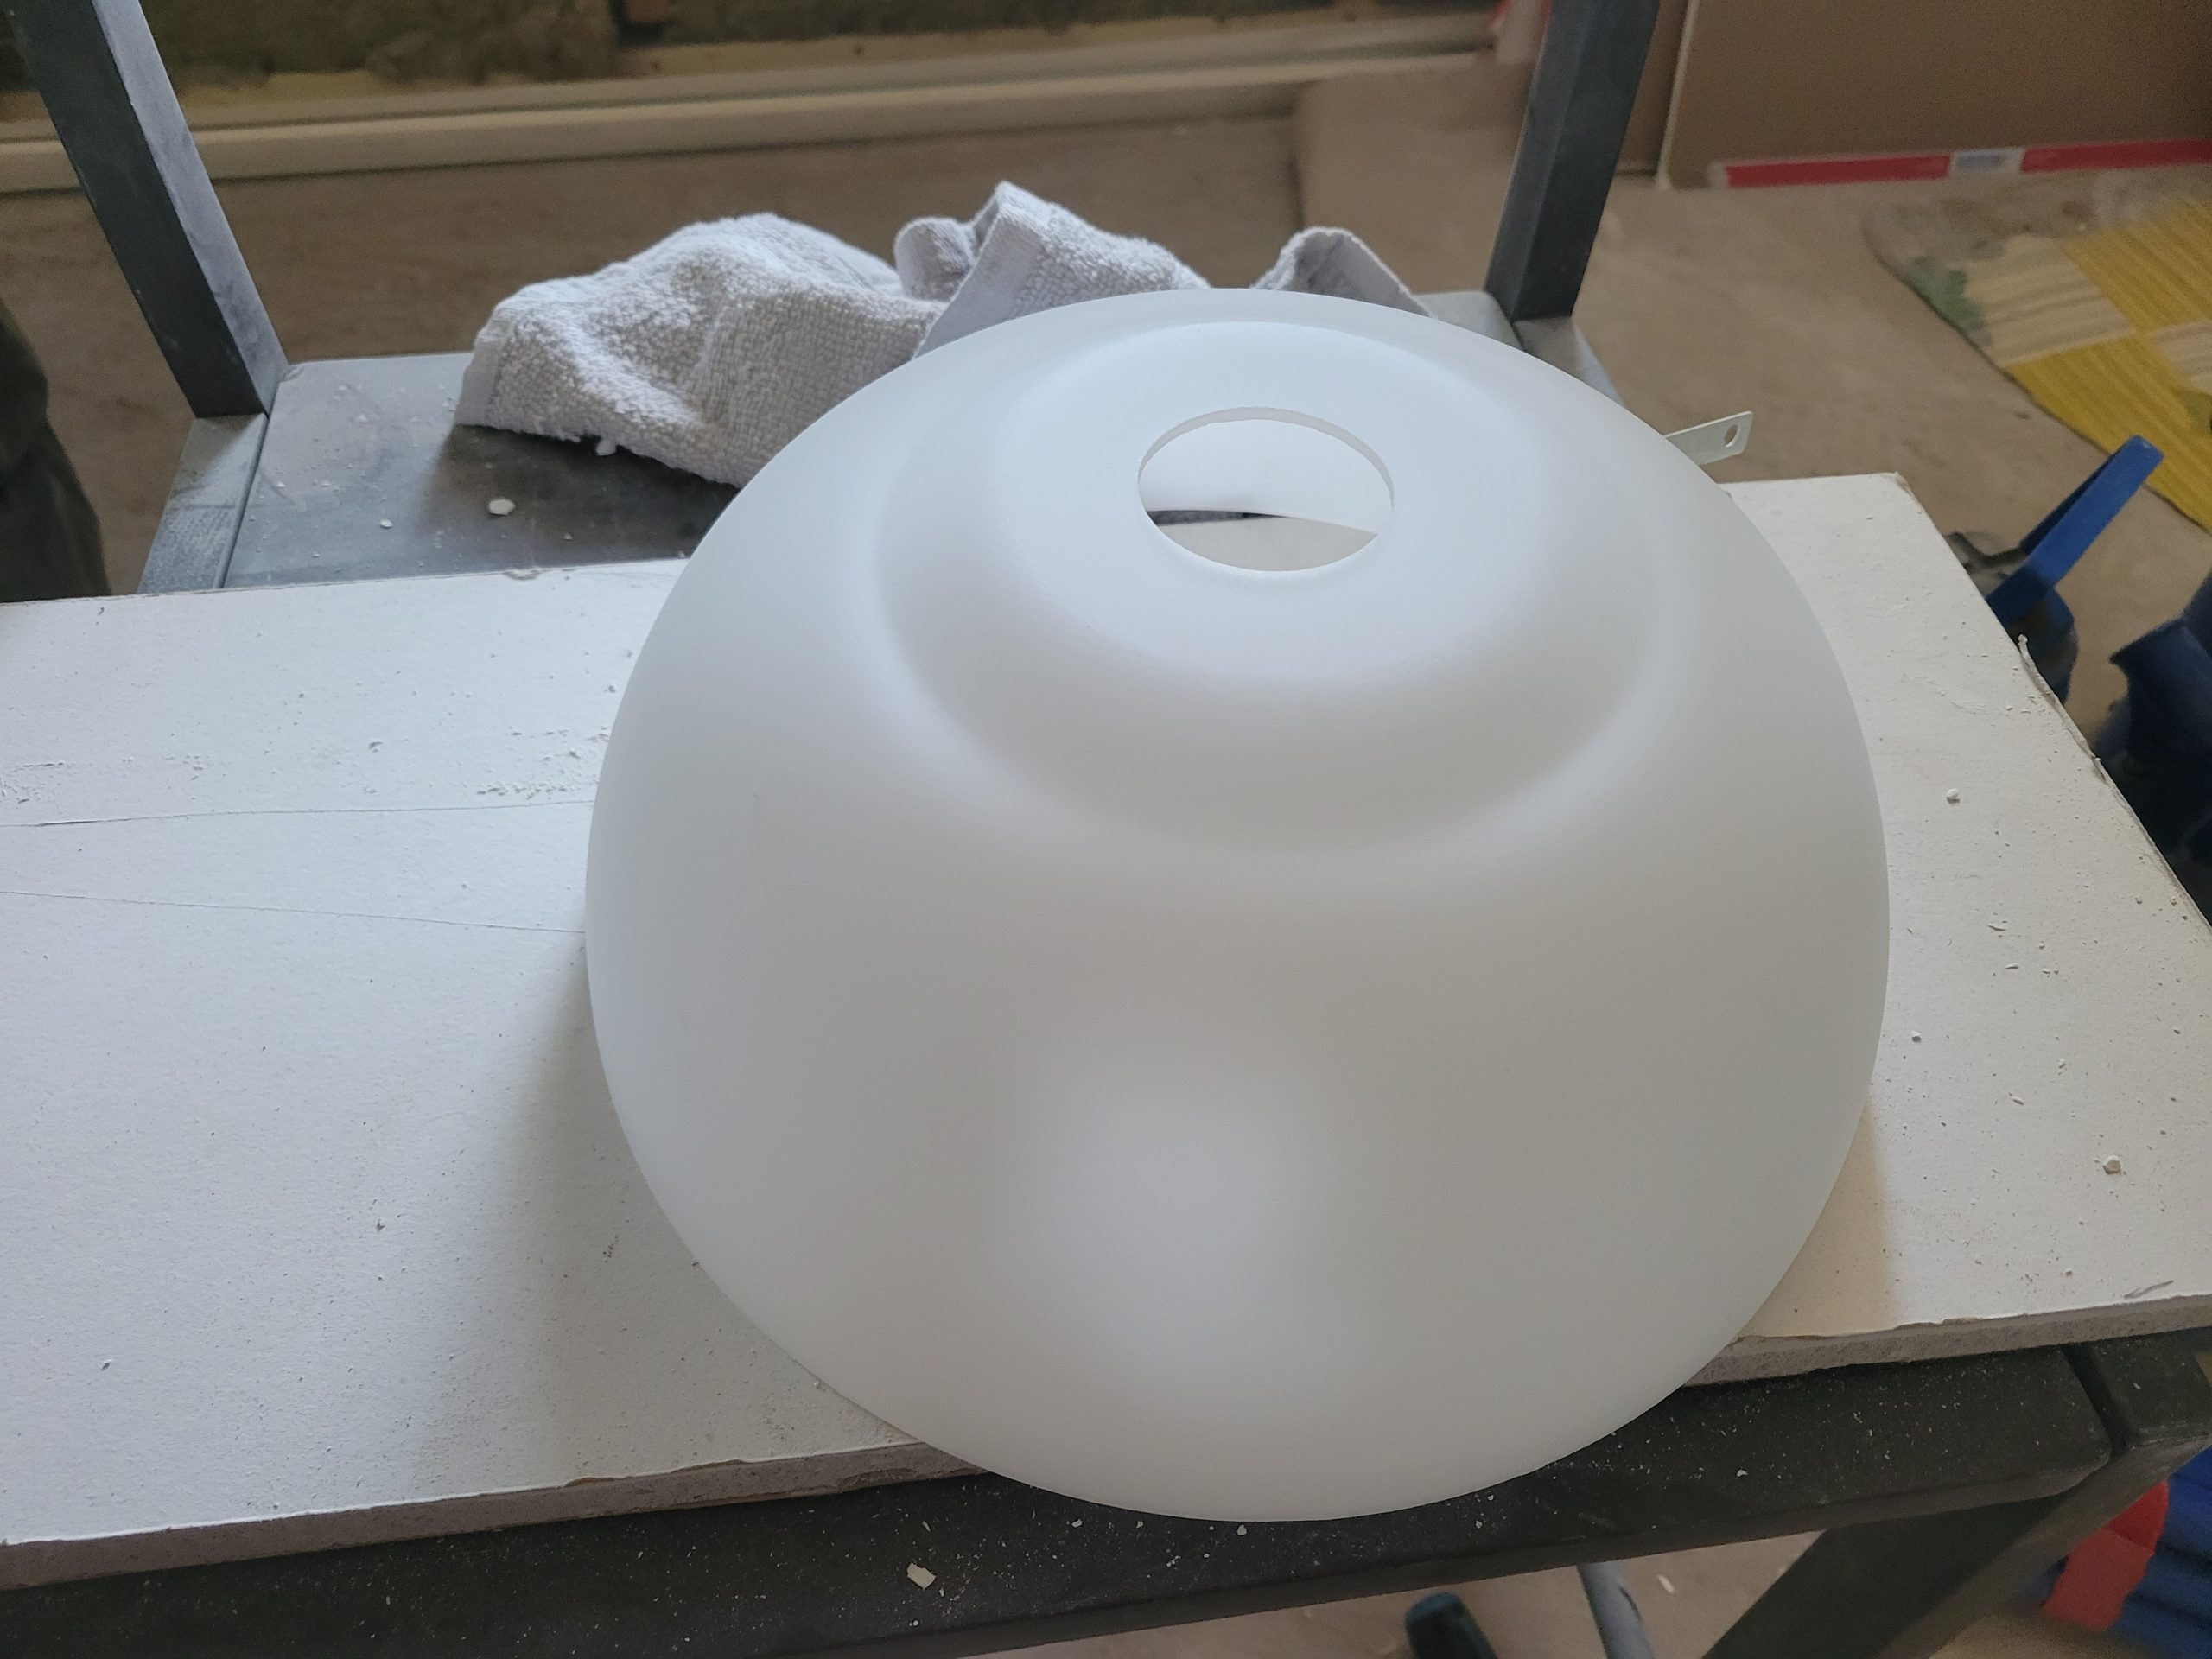
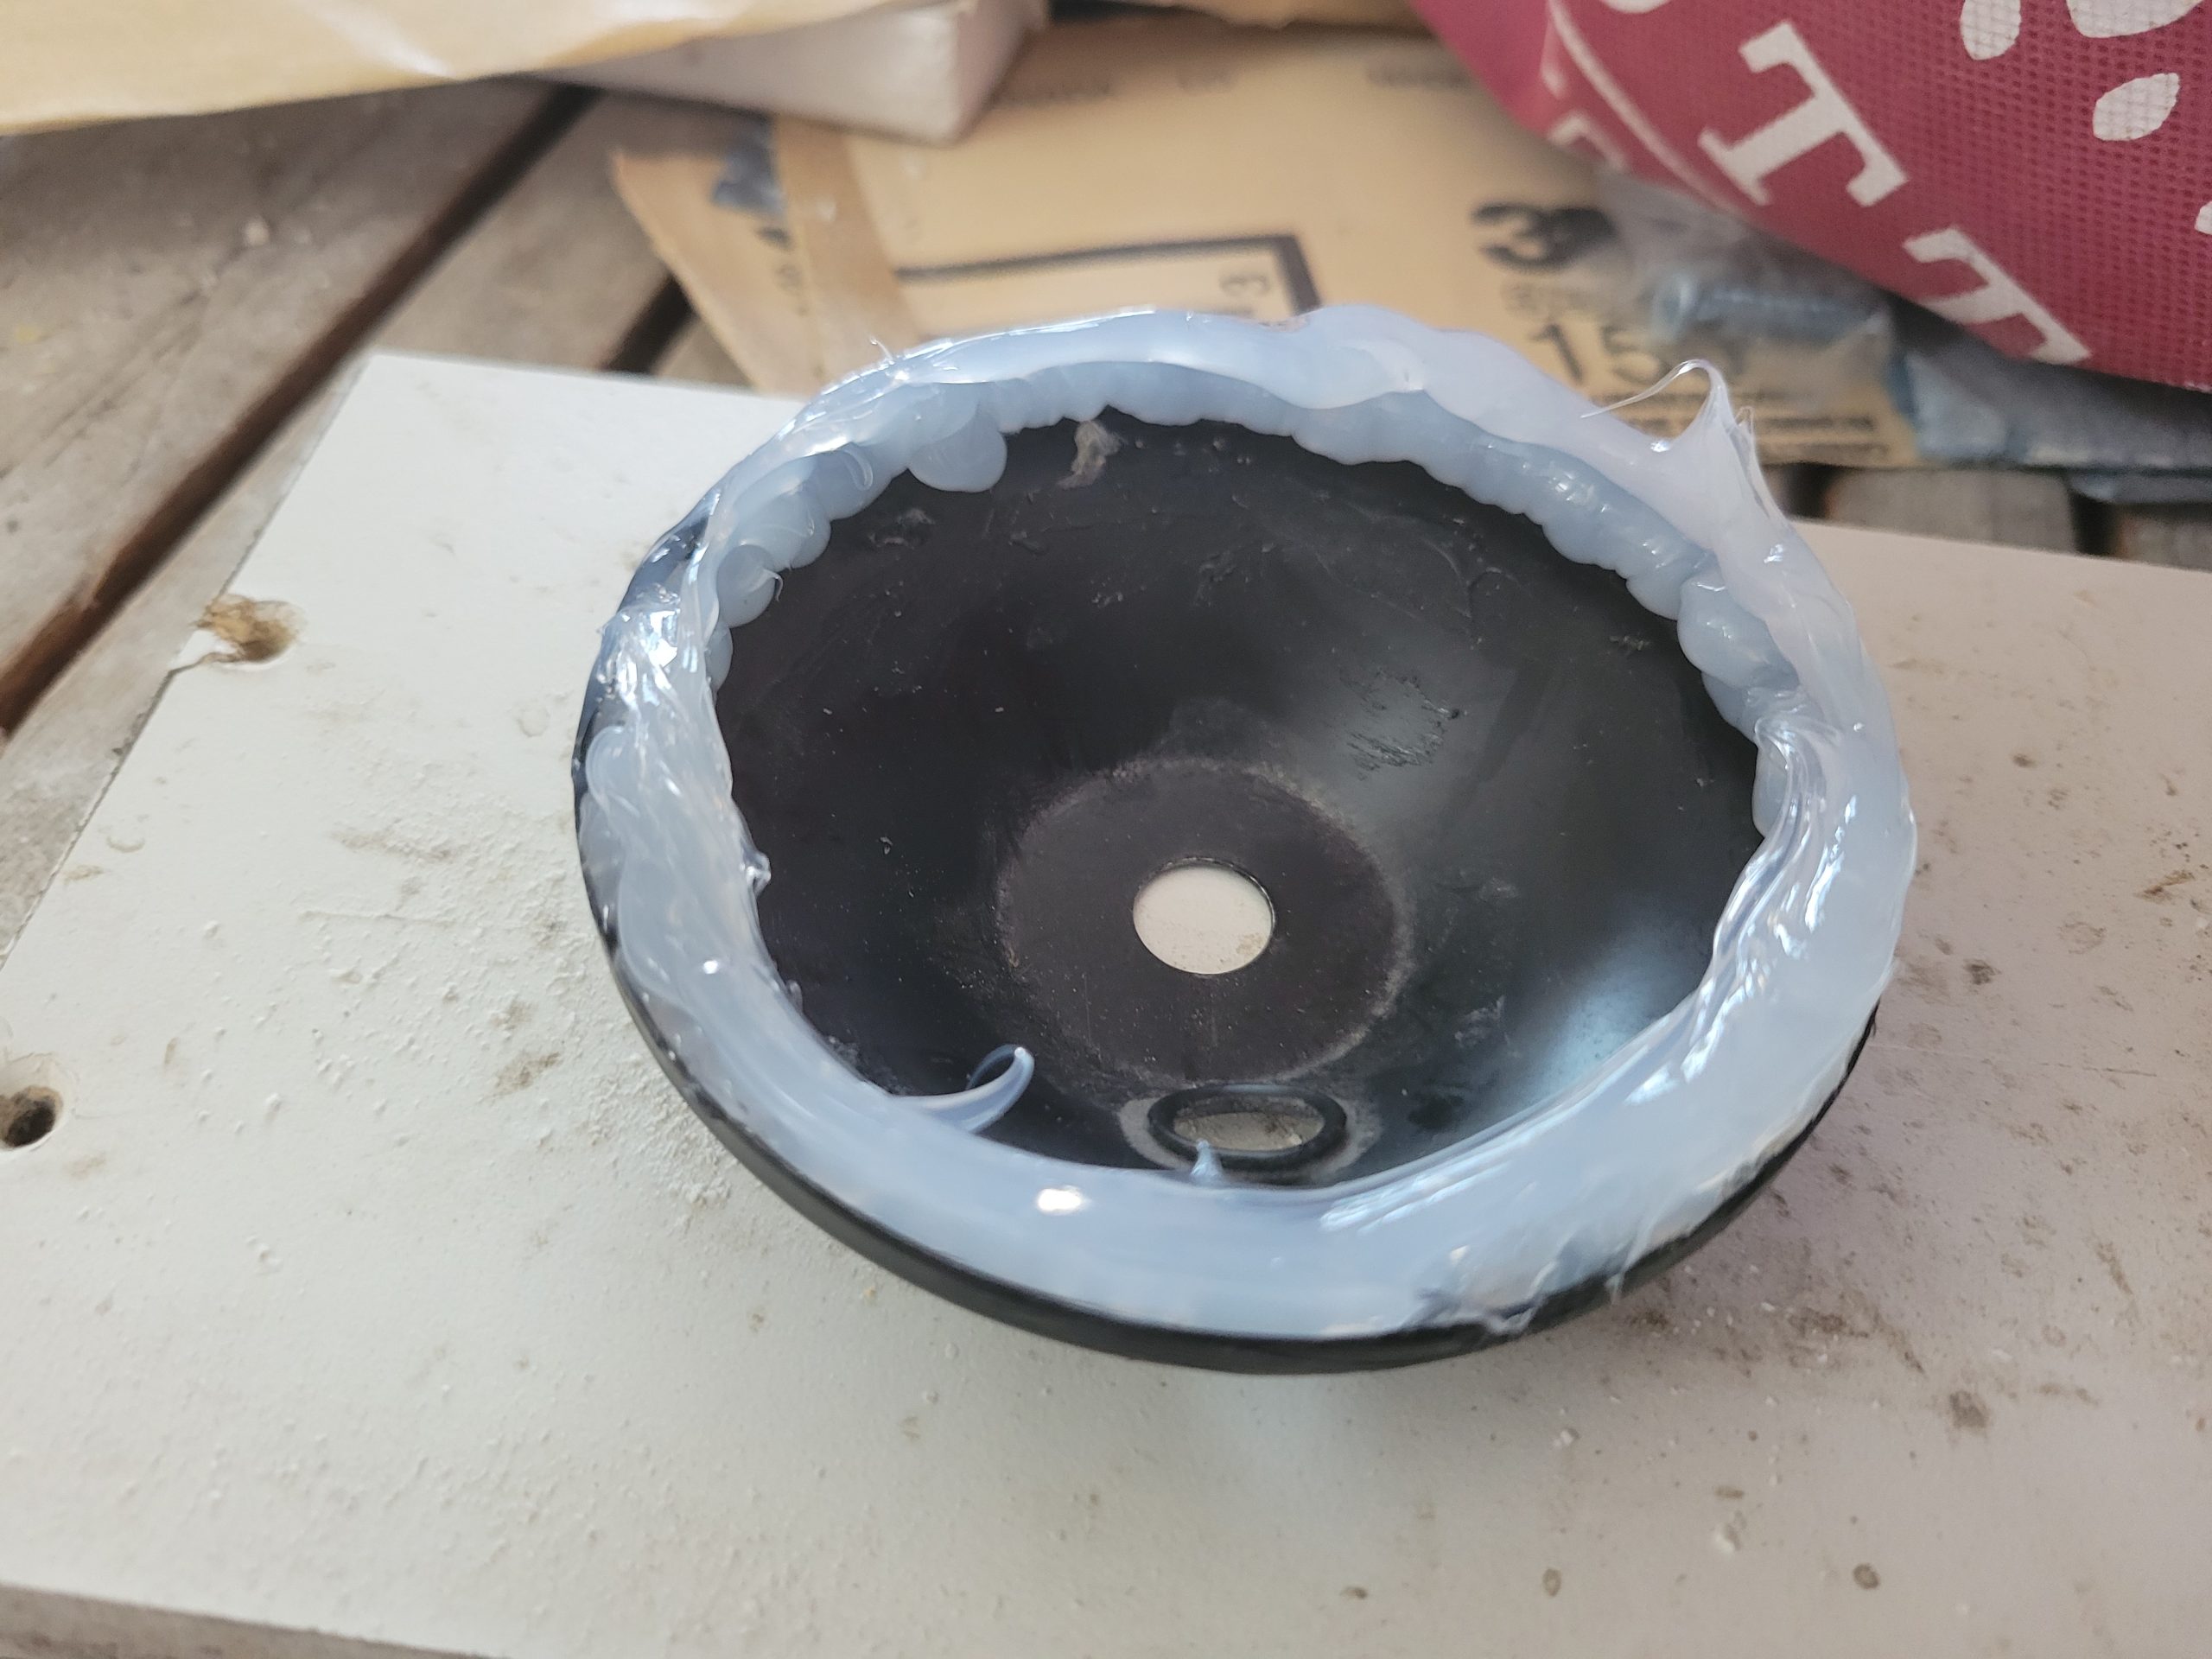
I got another living room light globe from Canadian Tire, but I don’t want it to break again, so I put some silicone on the metal retainer.  We’ll see if it works. 

front footing trench

The footing work continued on the front of the house.  More large rocks were found while exhuming the dirt.  There are enough rocks now to start a rock garden of some sort, except that they are not exceptional – just ordinary rocks. 

The trench is almost deep enough. 

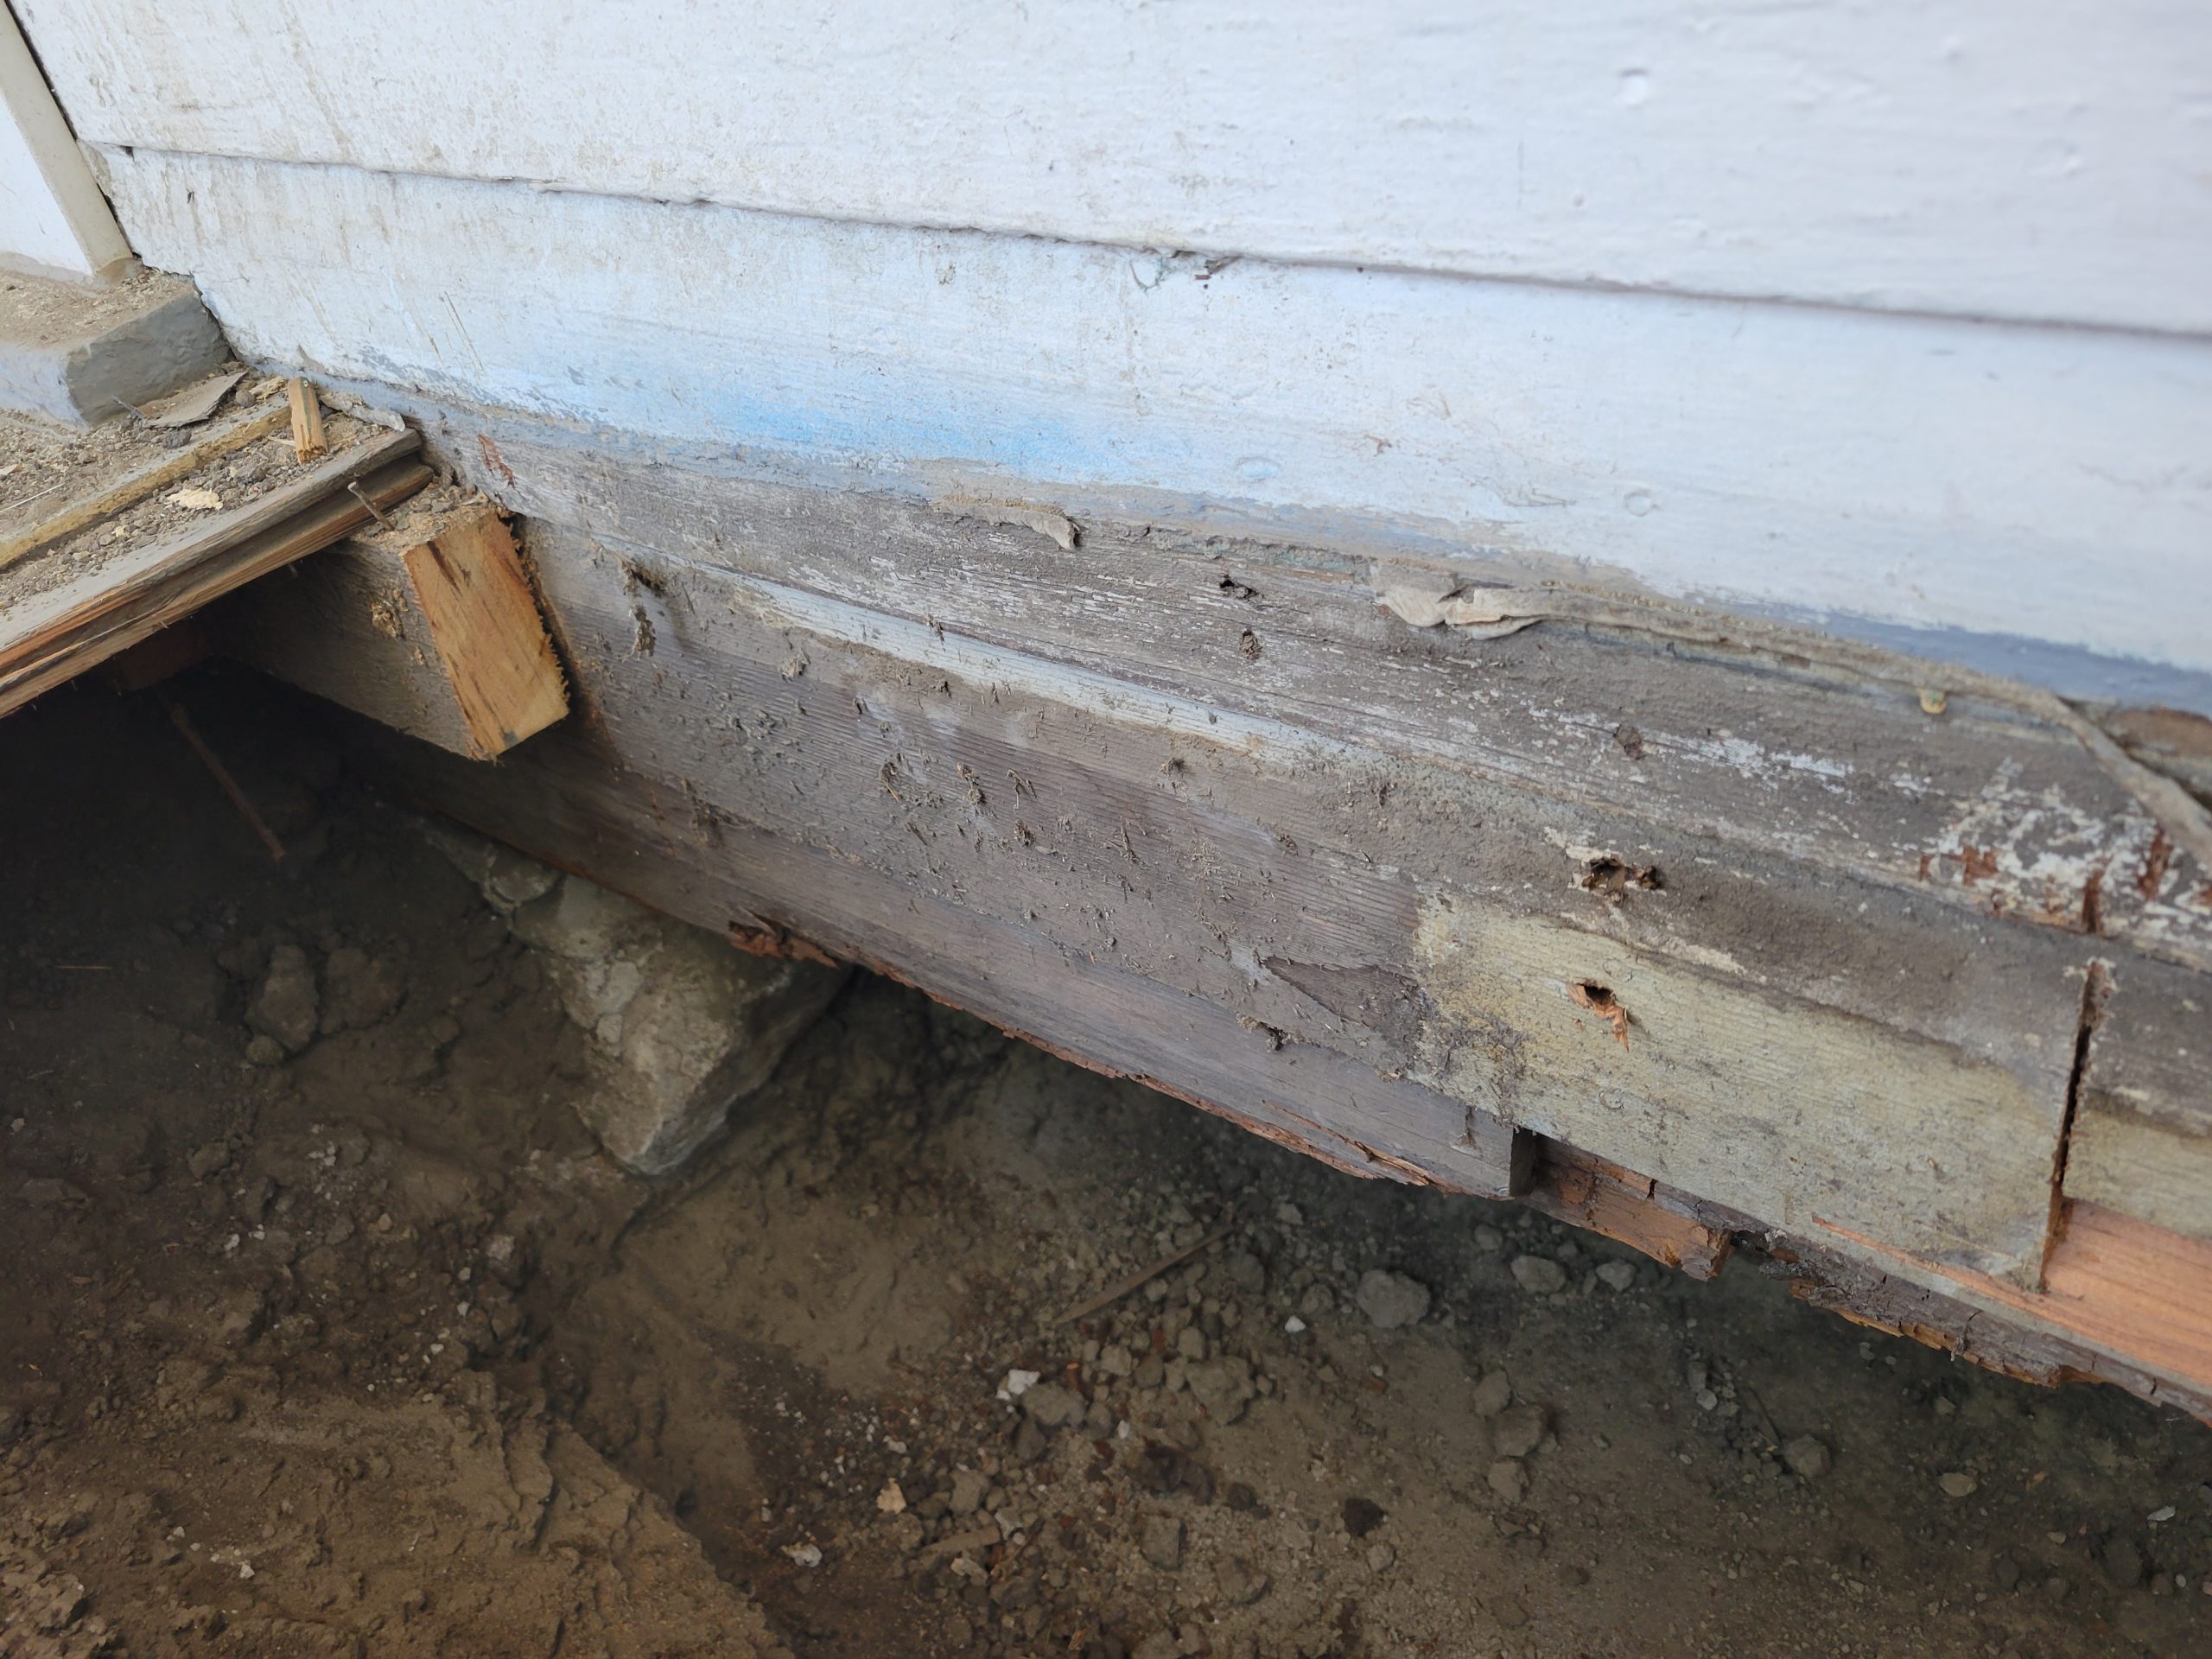
More rotten wood must be removed. 

Read more

colour and paint

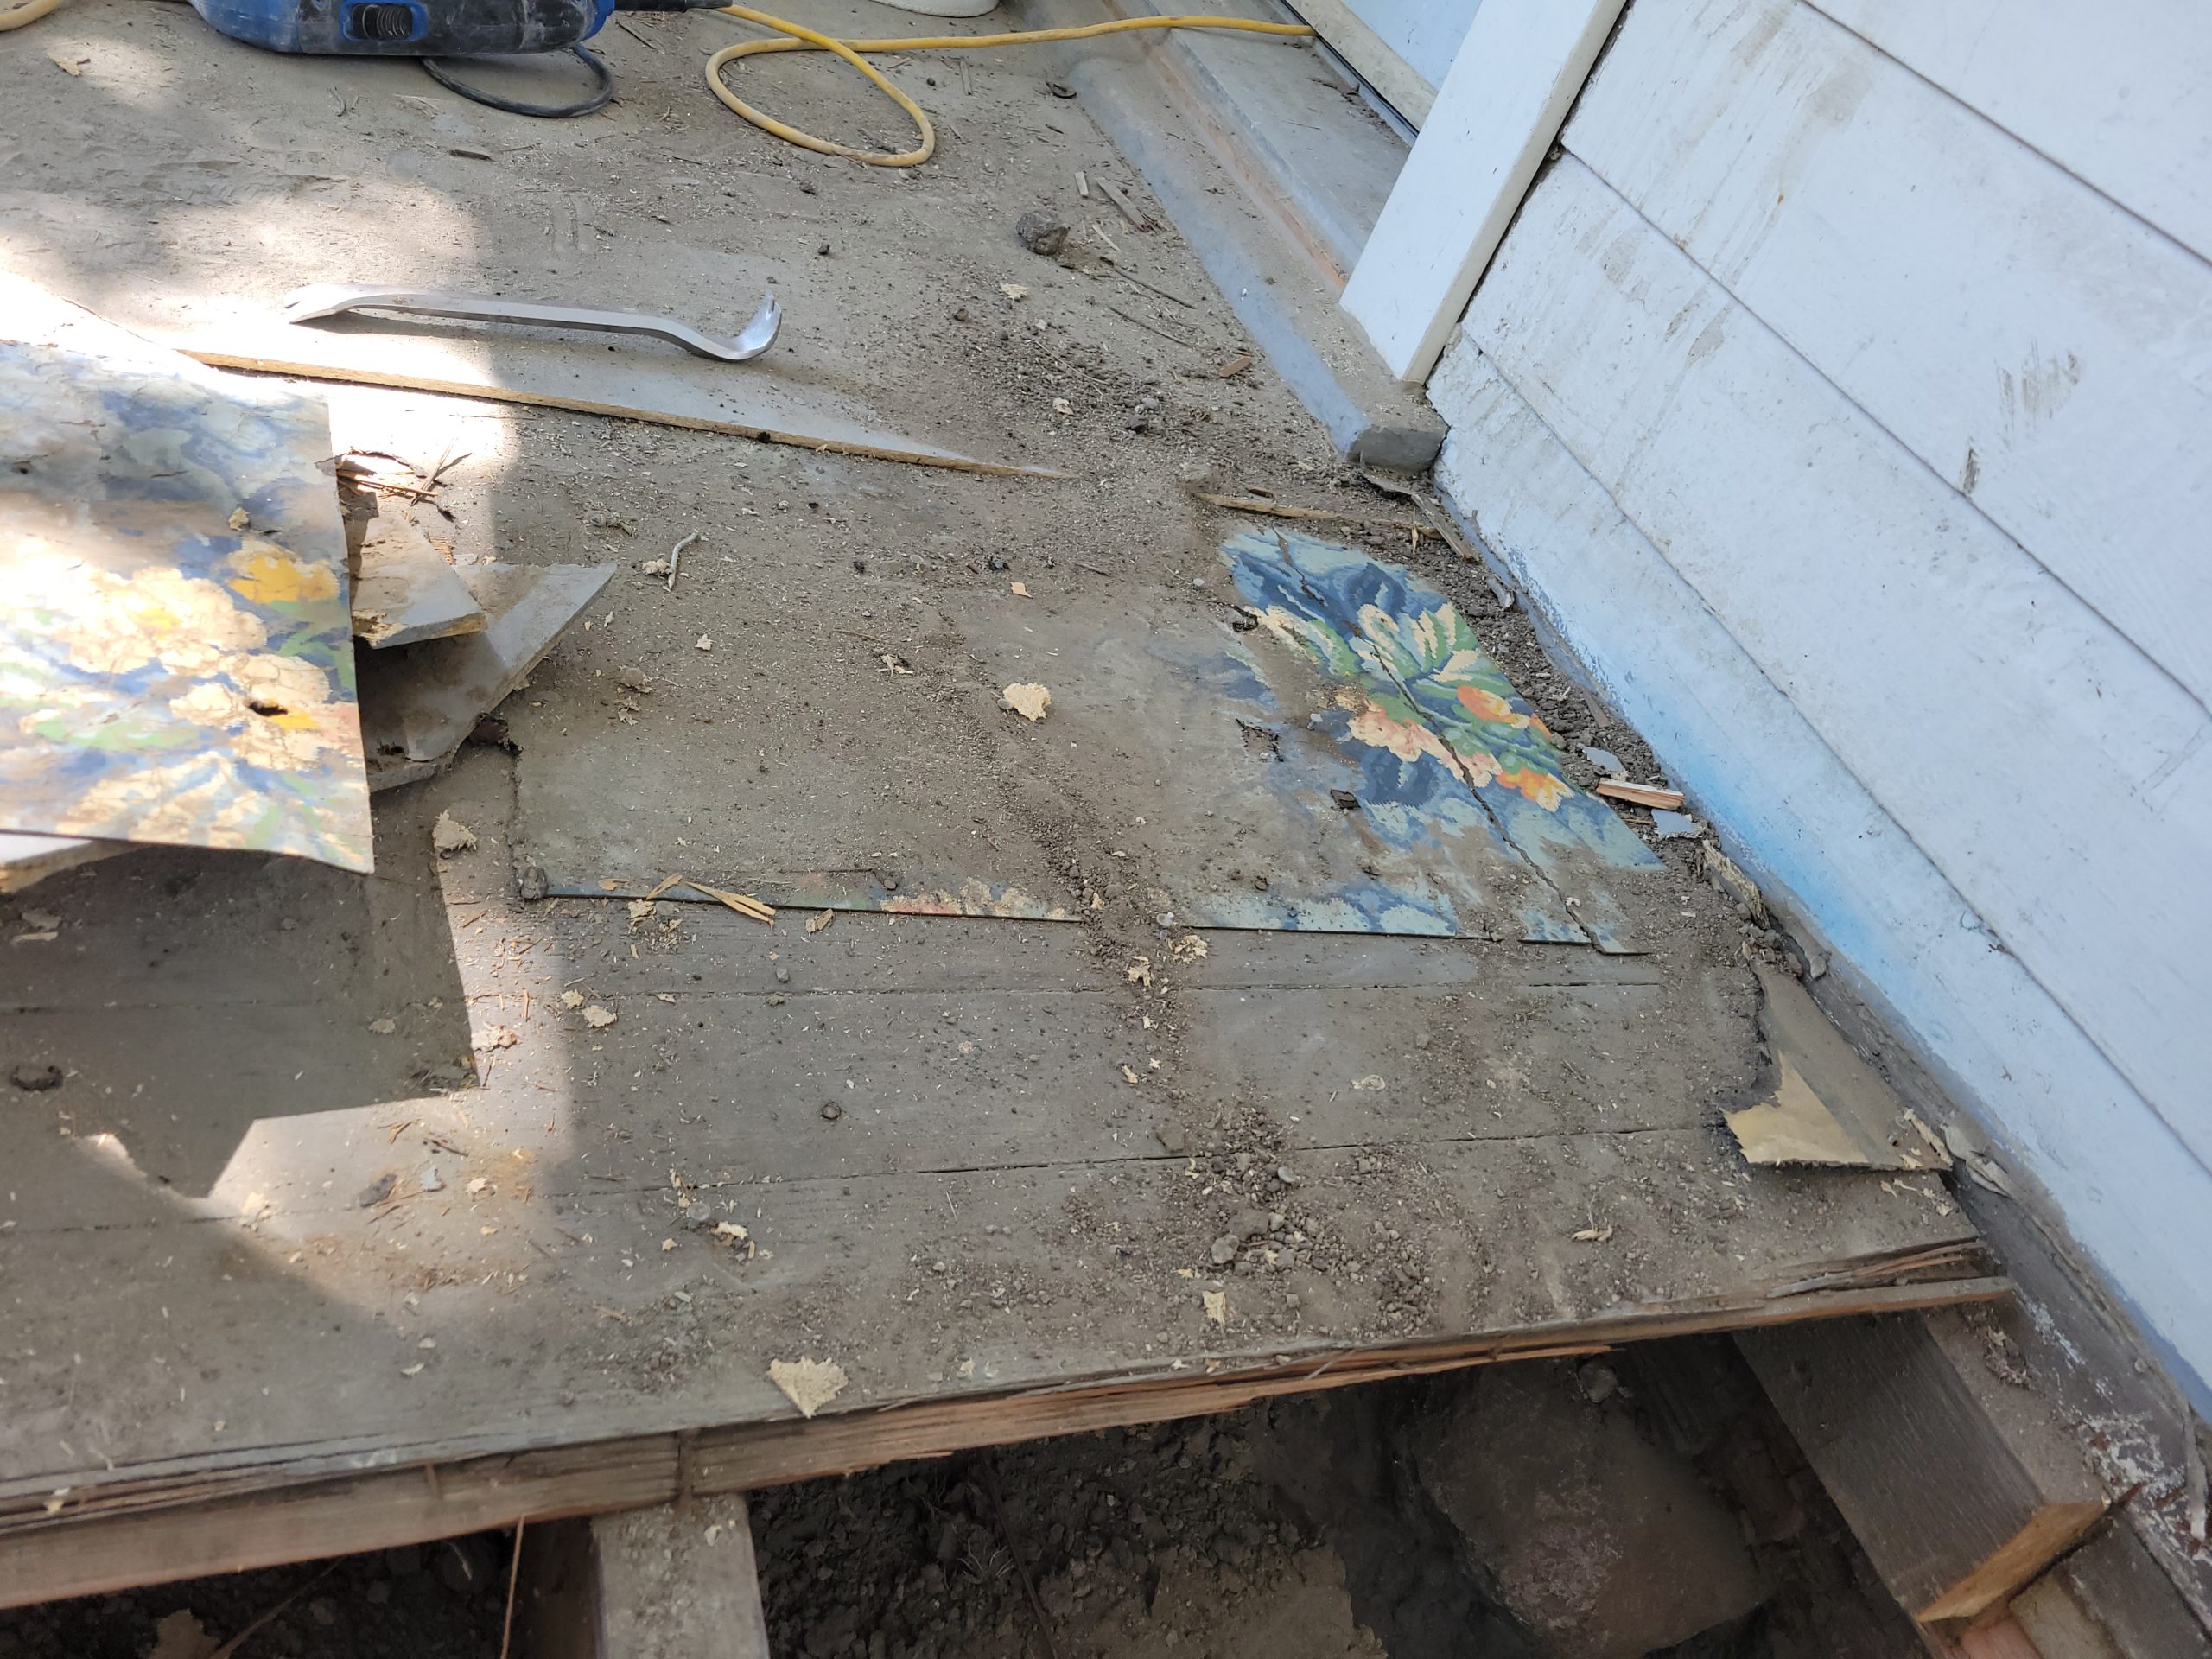
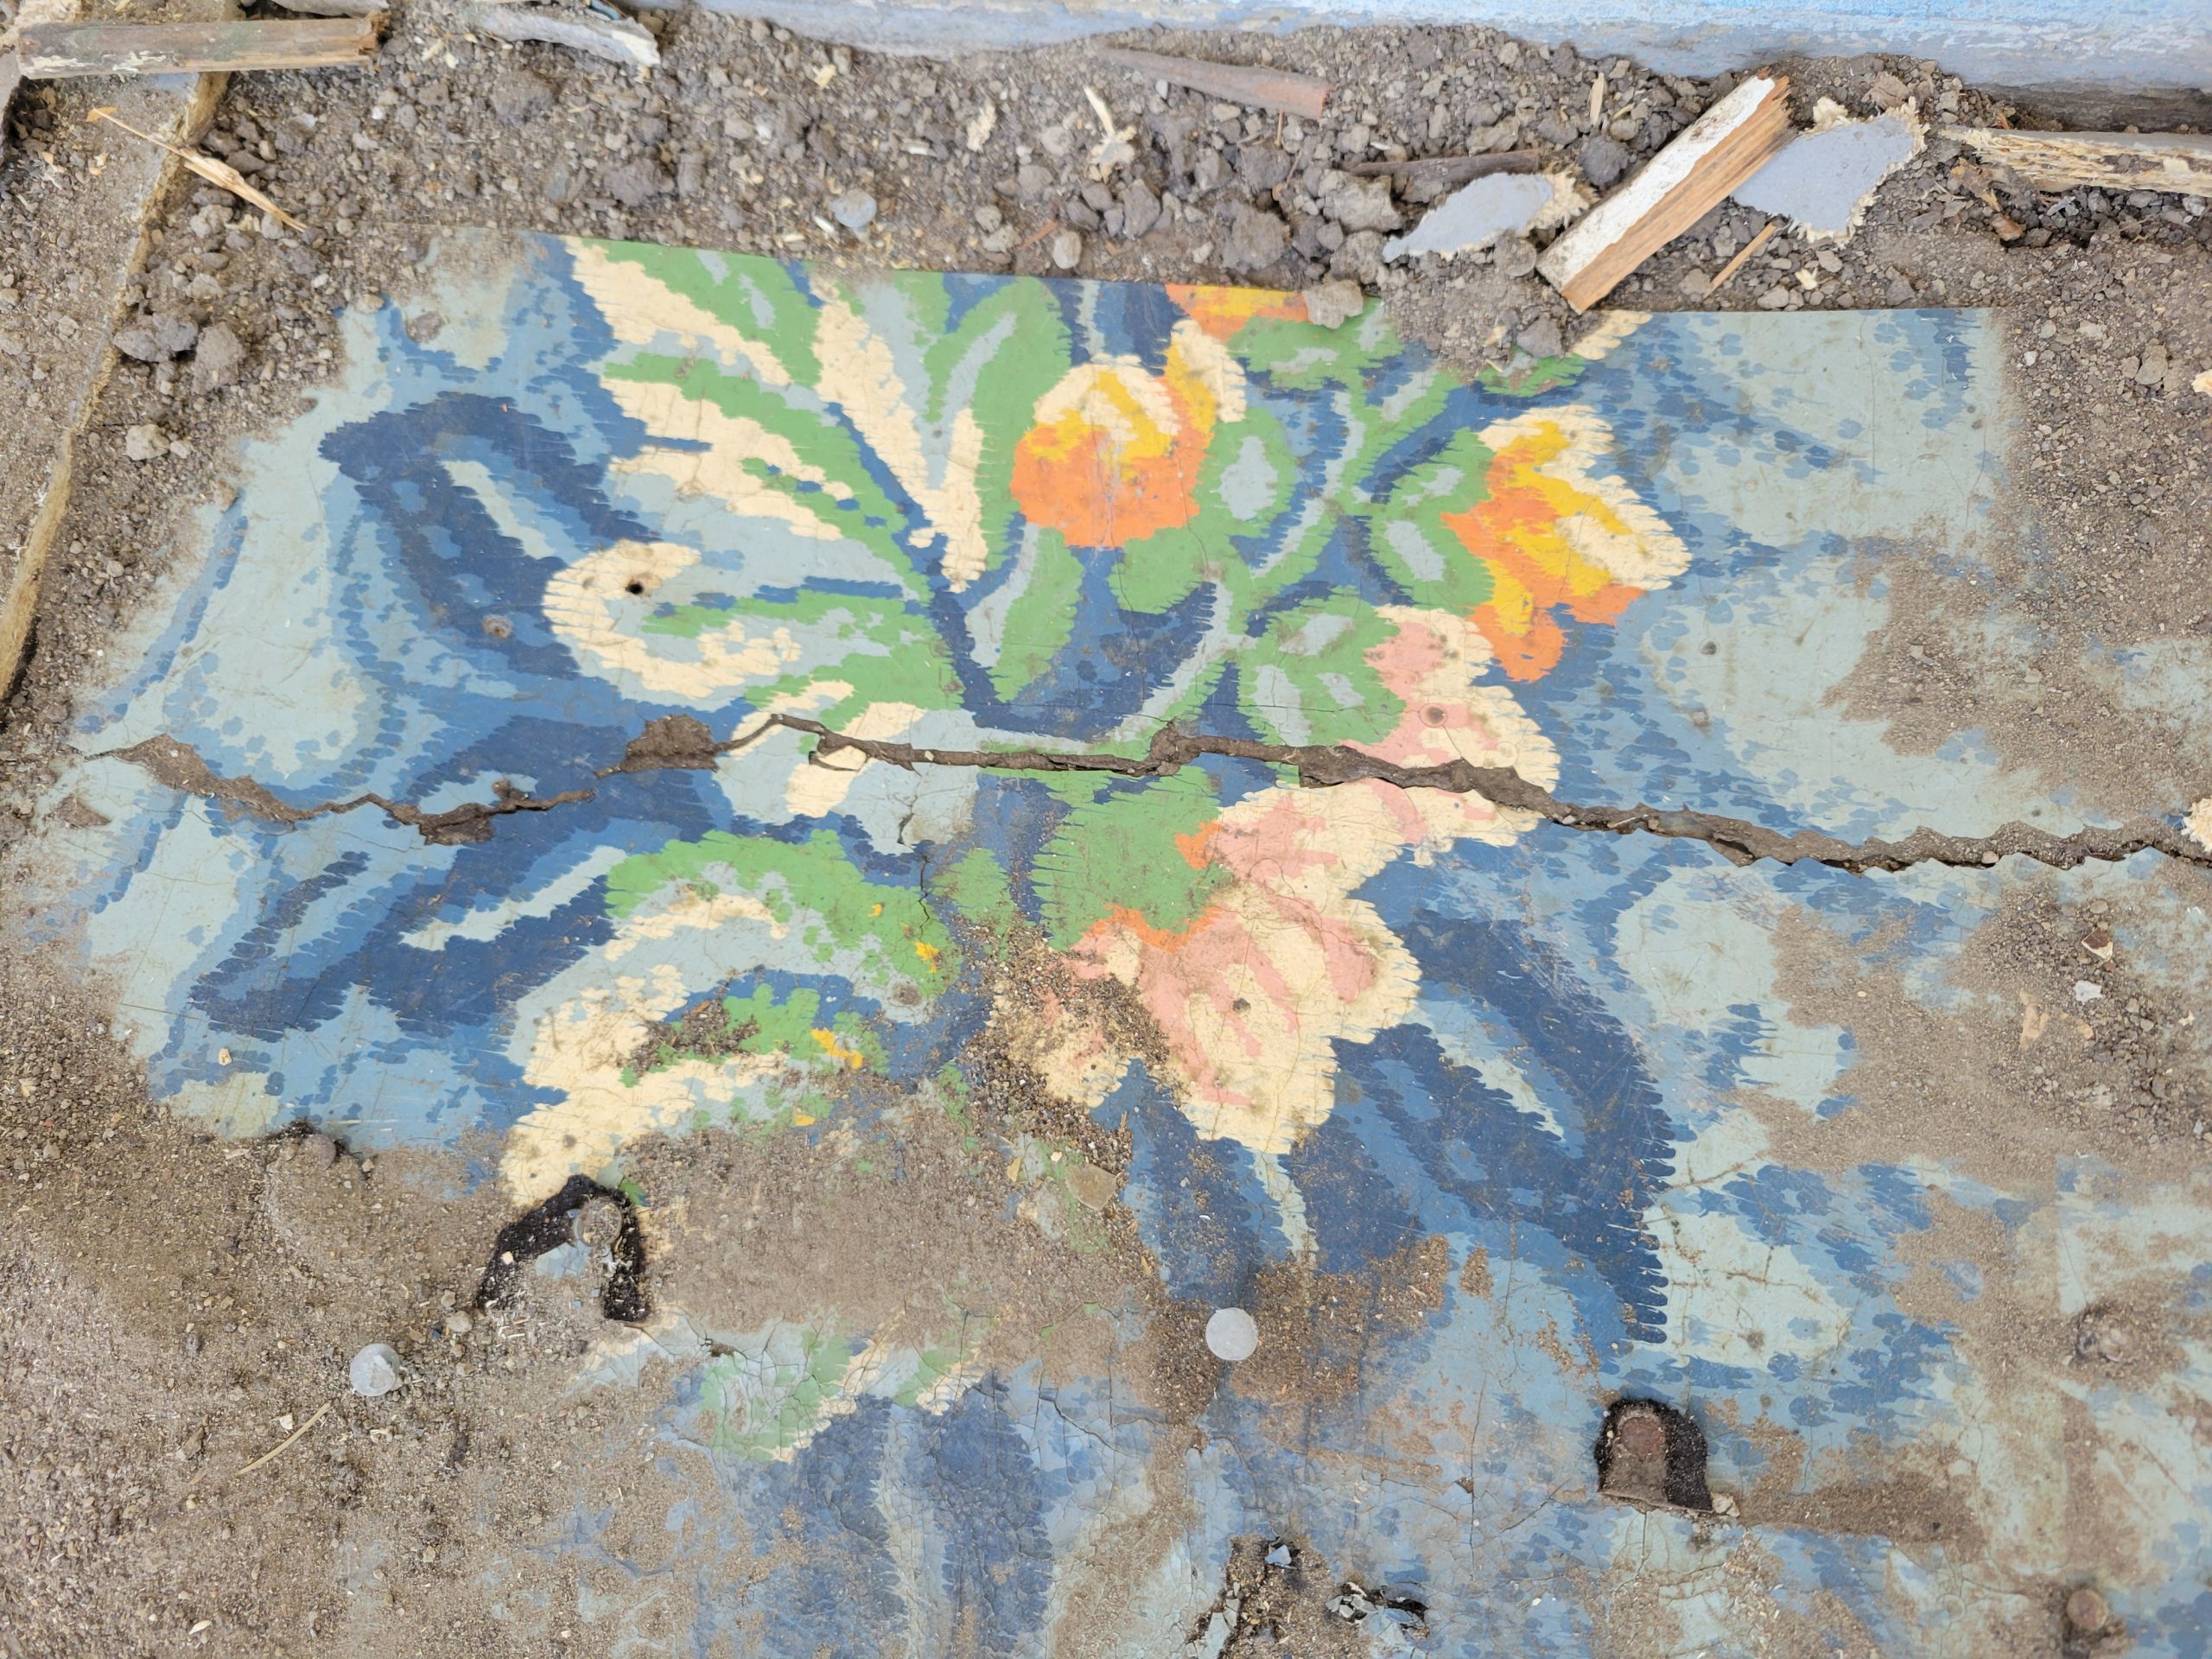
In peeling up the old floor on the porch (come veranda), I found this old linoleum.  Pretty snappy colours and patterns. 

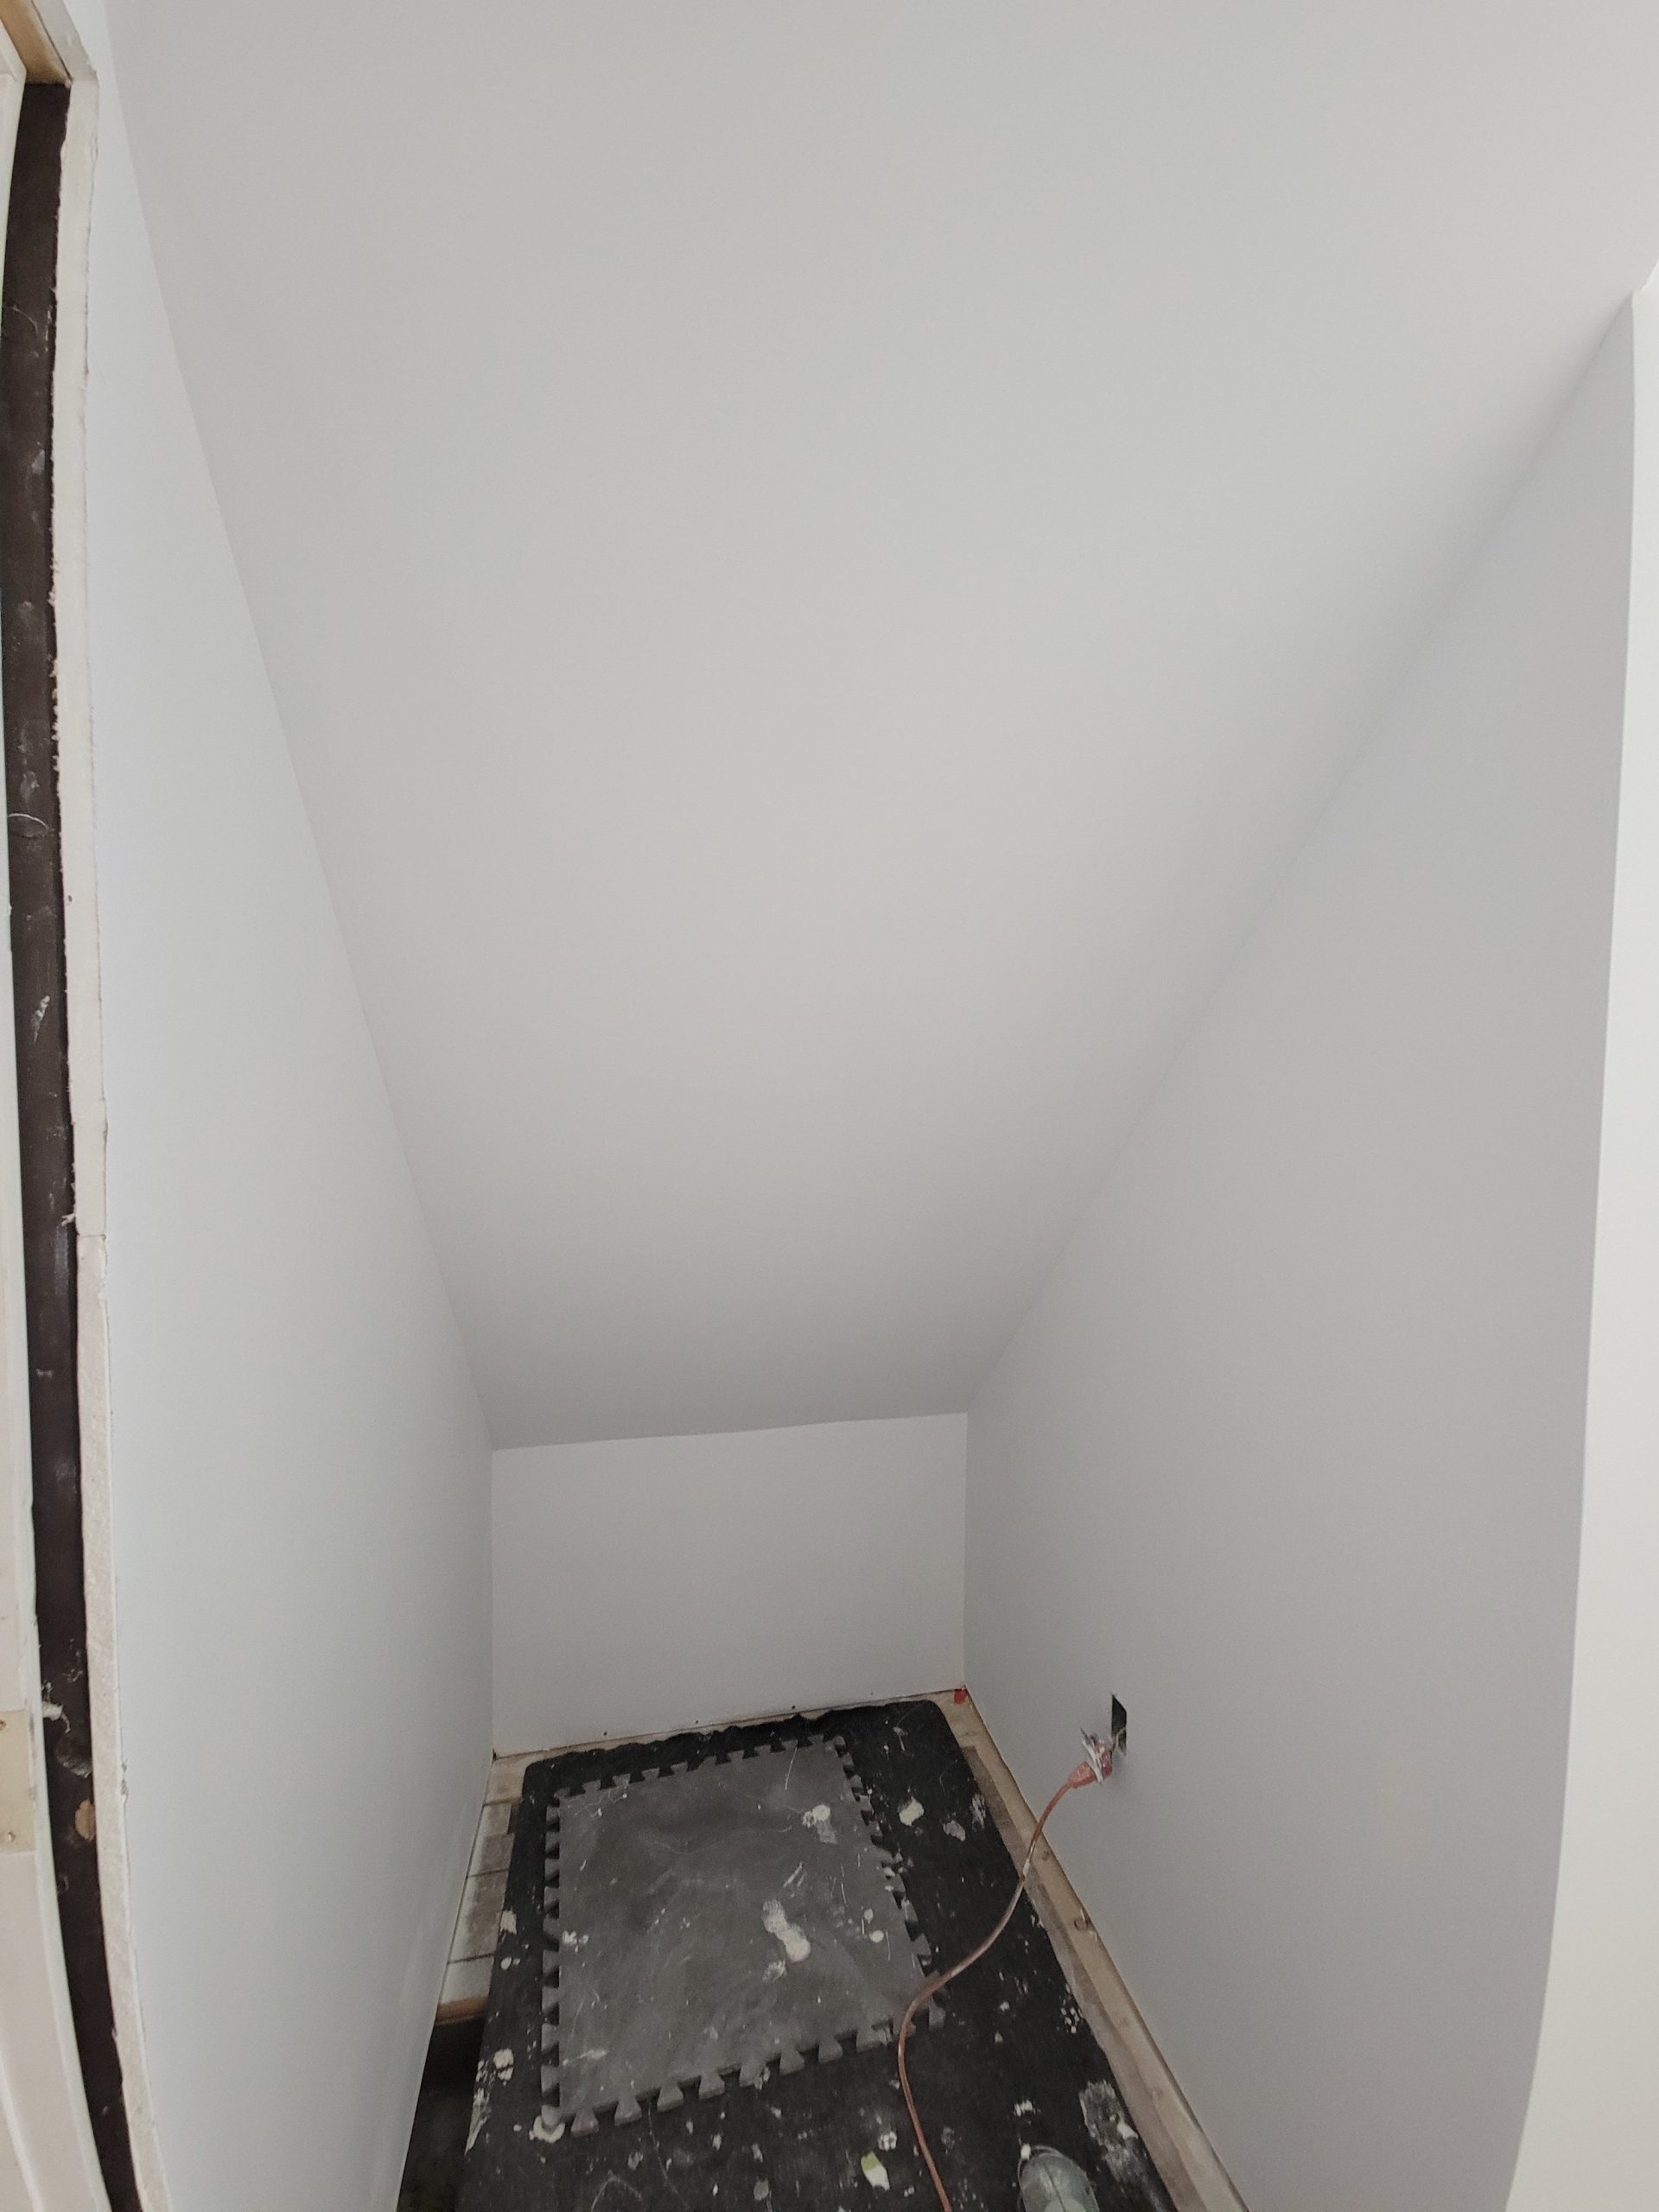
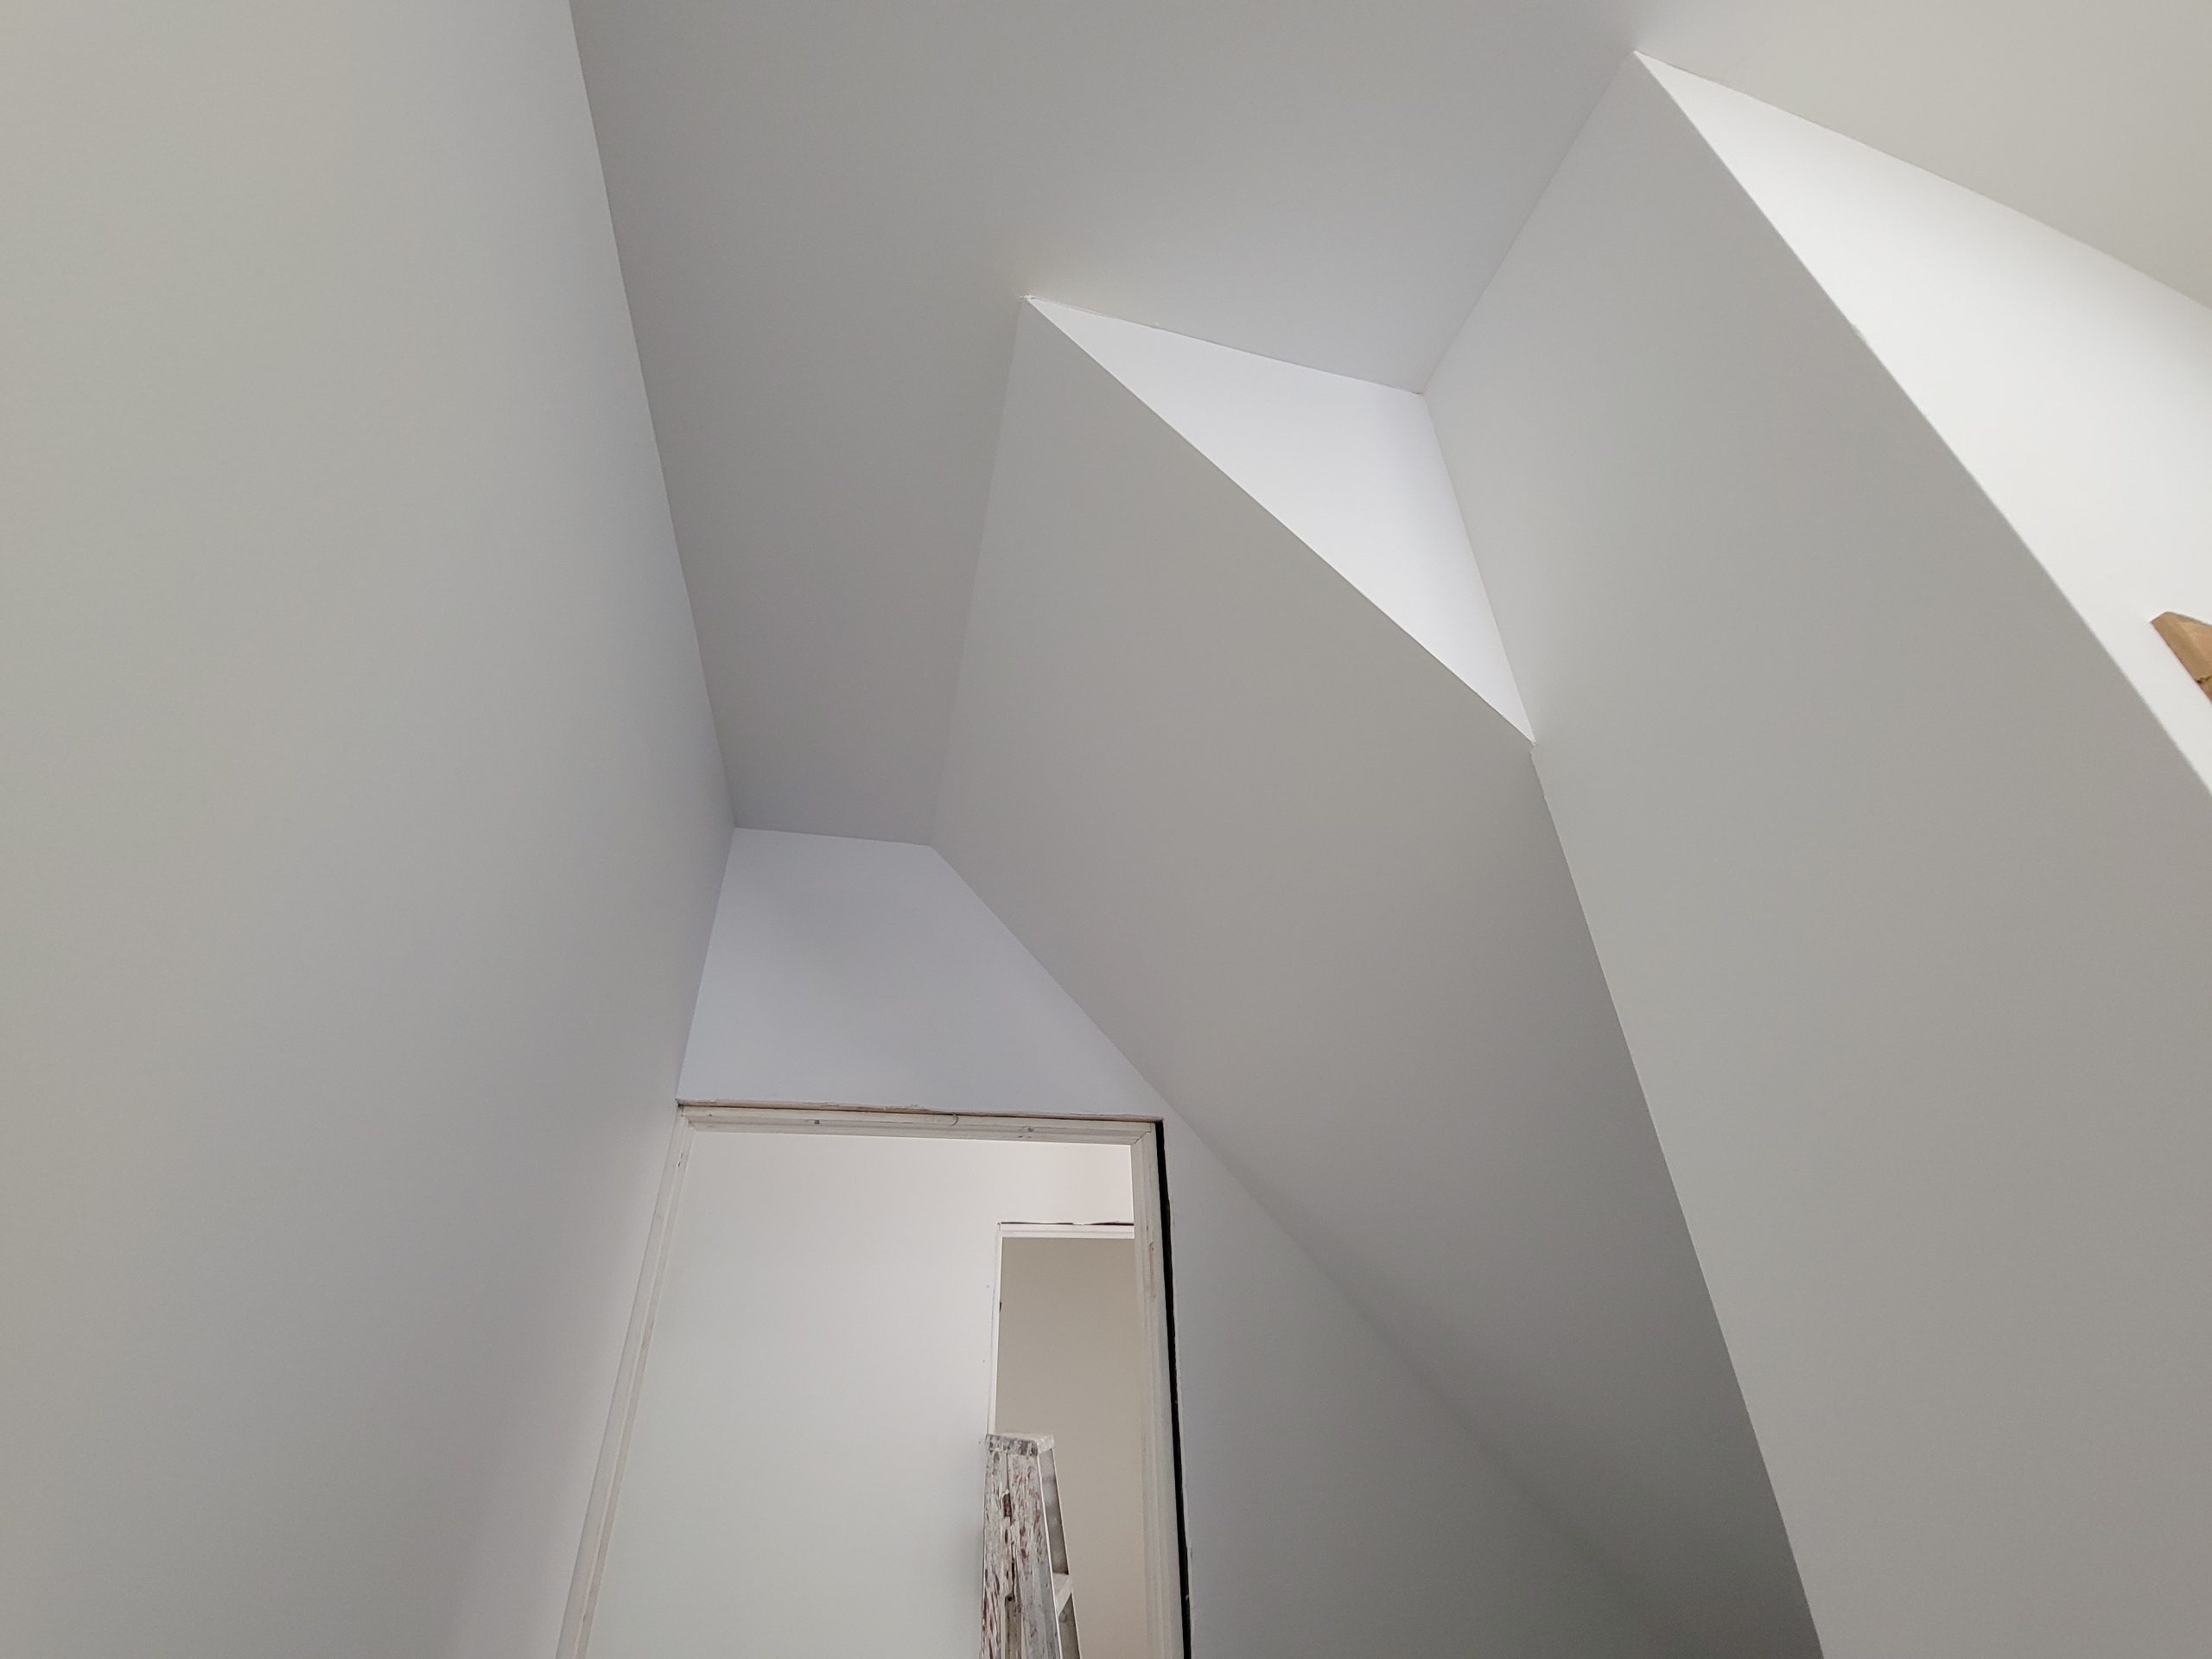
Meanwhile, Dave has done his usual magic.  The area under the stairs is now primed and painted. 

(I think it’s painted.) 

This is the stairway / sloped ceiling in the bathroom.  Previously, the stairway cut across about 10 inches (25cm) of the bathroom doorway.  (The doorway opened outward into the hallway.)  With Dave’s drywalling and mudding, I think it looks good. 

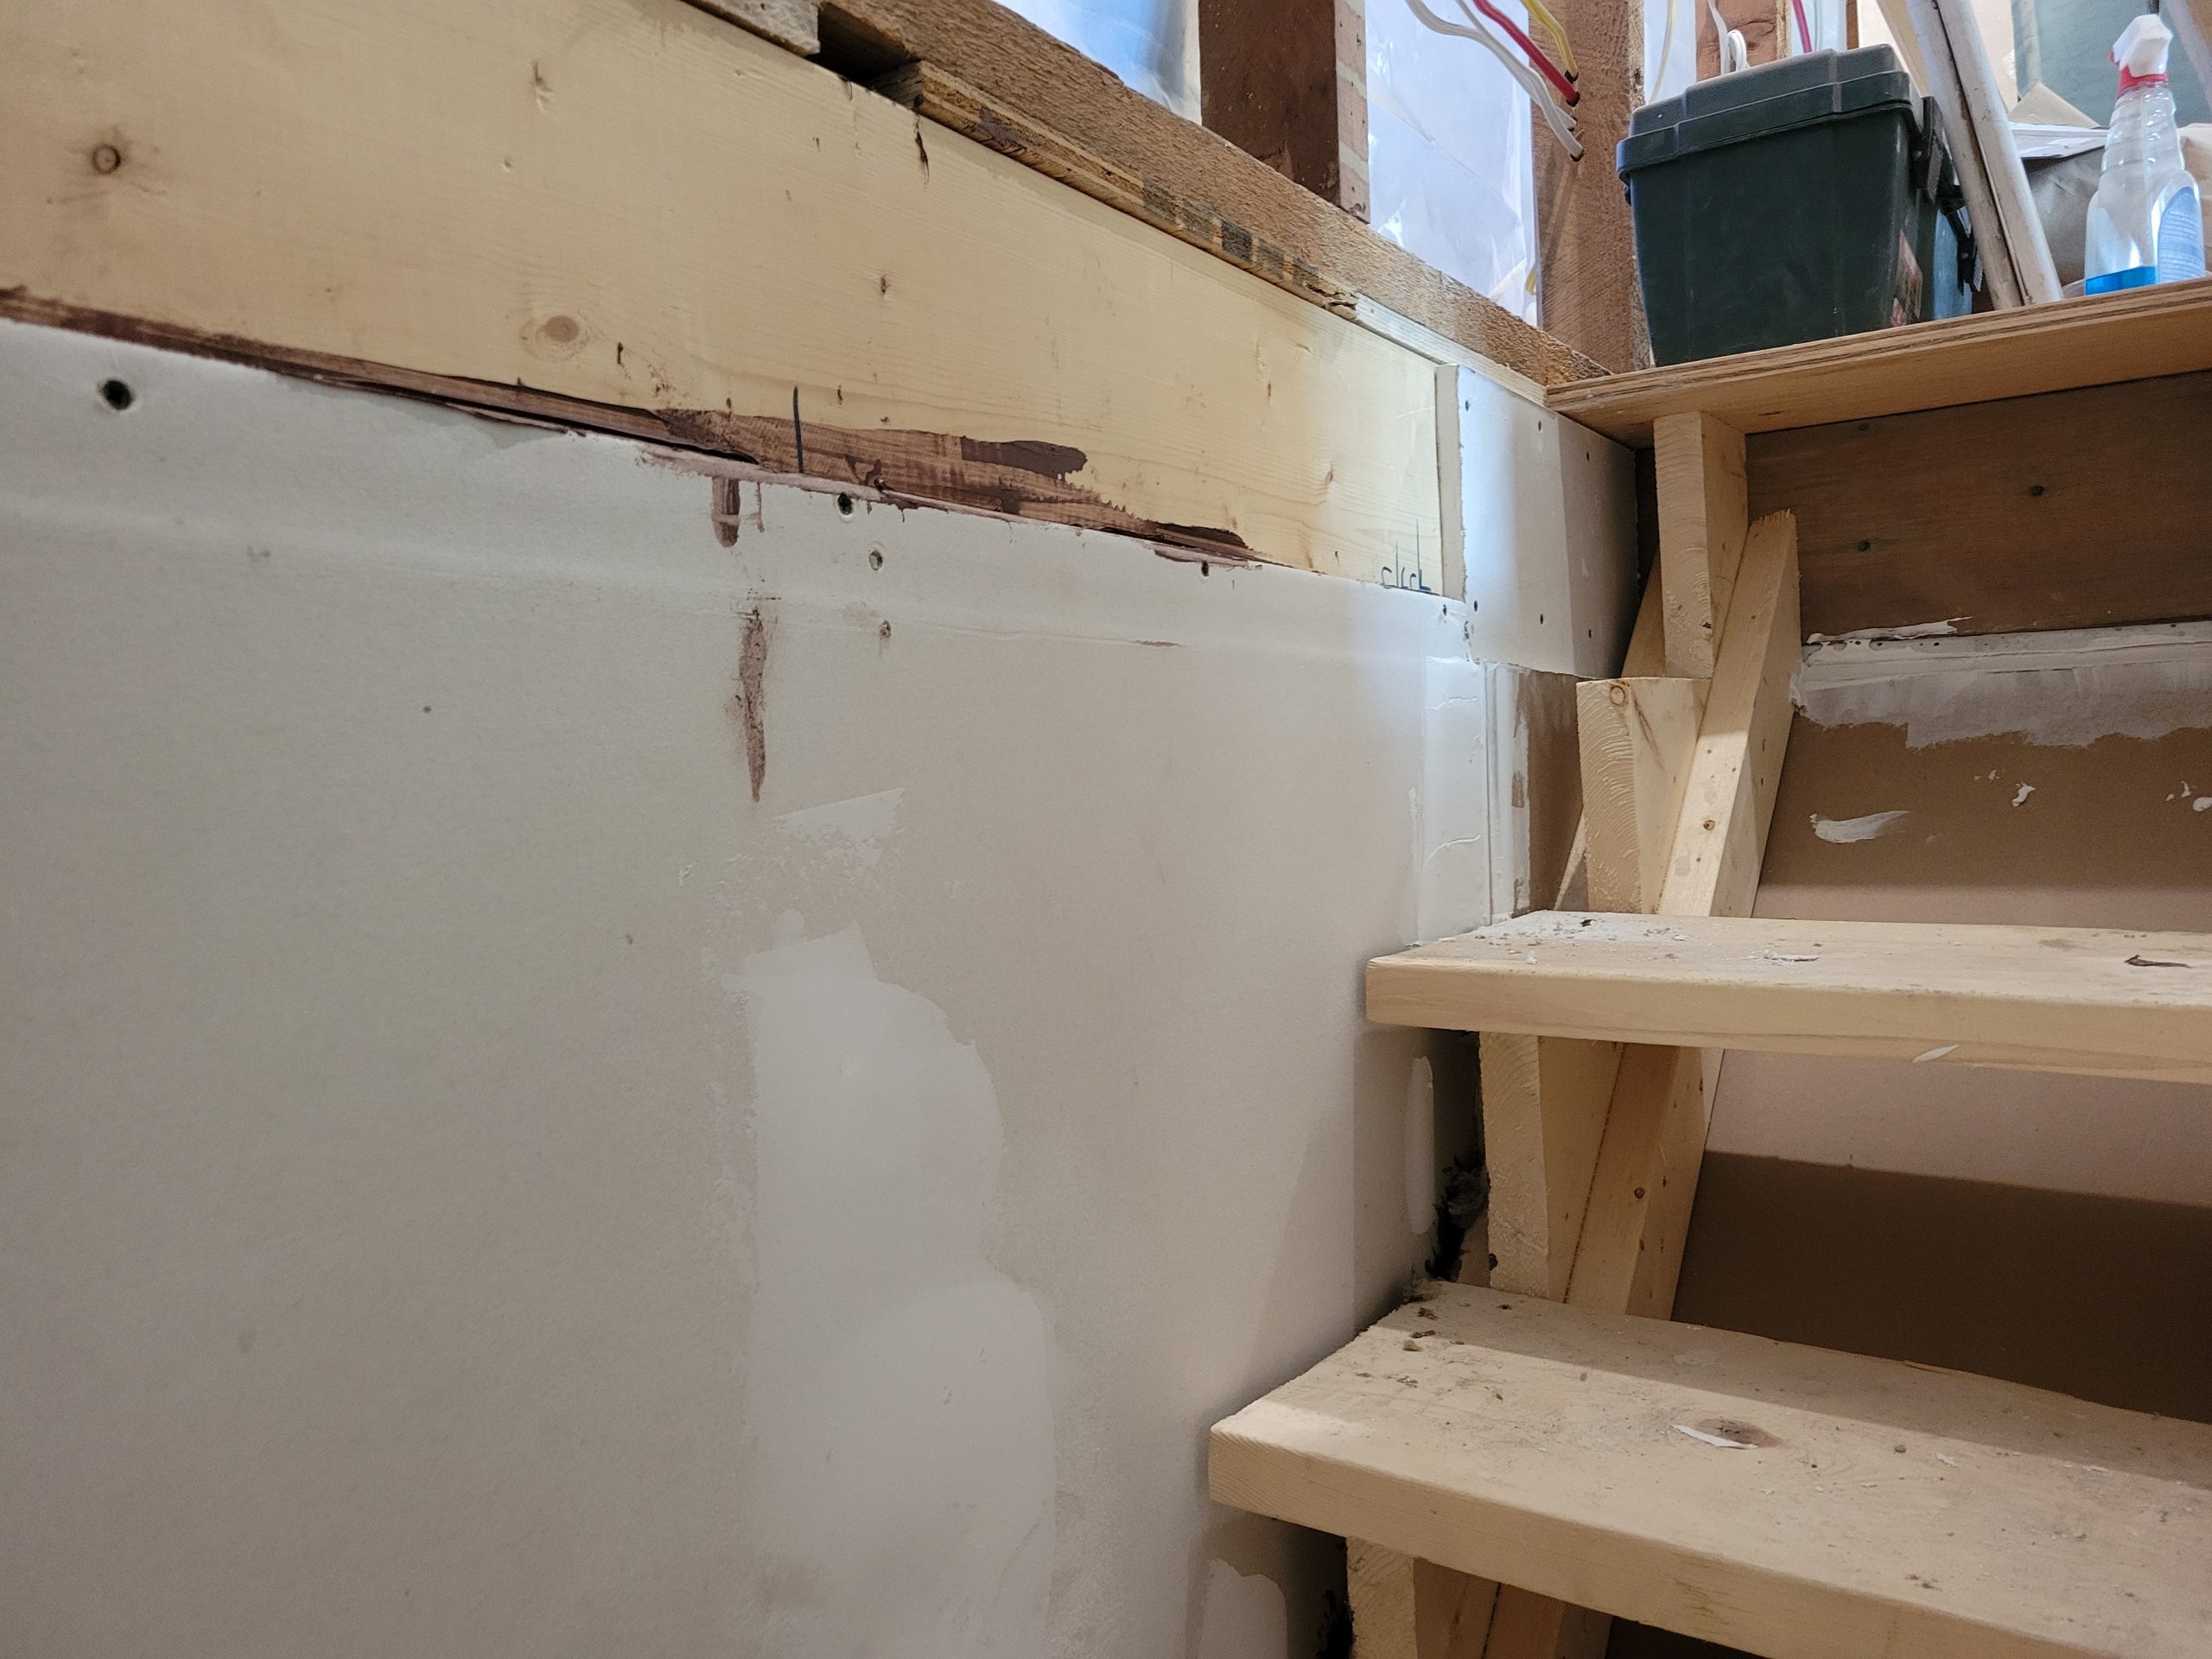
5/8″ stairway drywall

We had a look at the upstairs suite stairway drywall.  5/8″ was used as it is a fire-rated wall.  (Two layers of 1/2″ were used on the opposite side of the wall in the main floor suite.)

WC & LR drywall prep

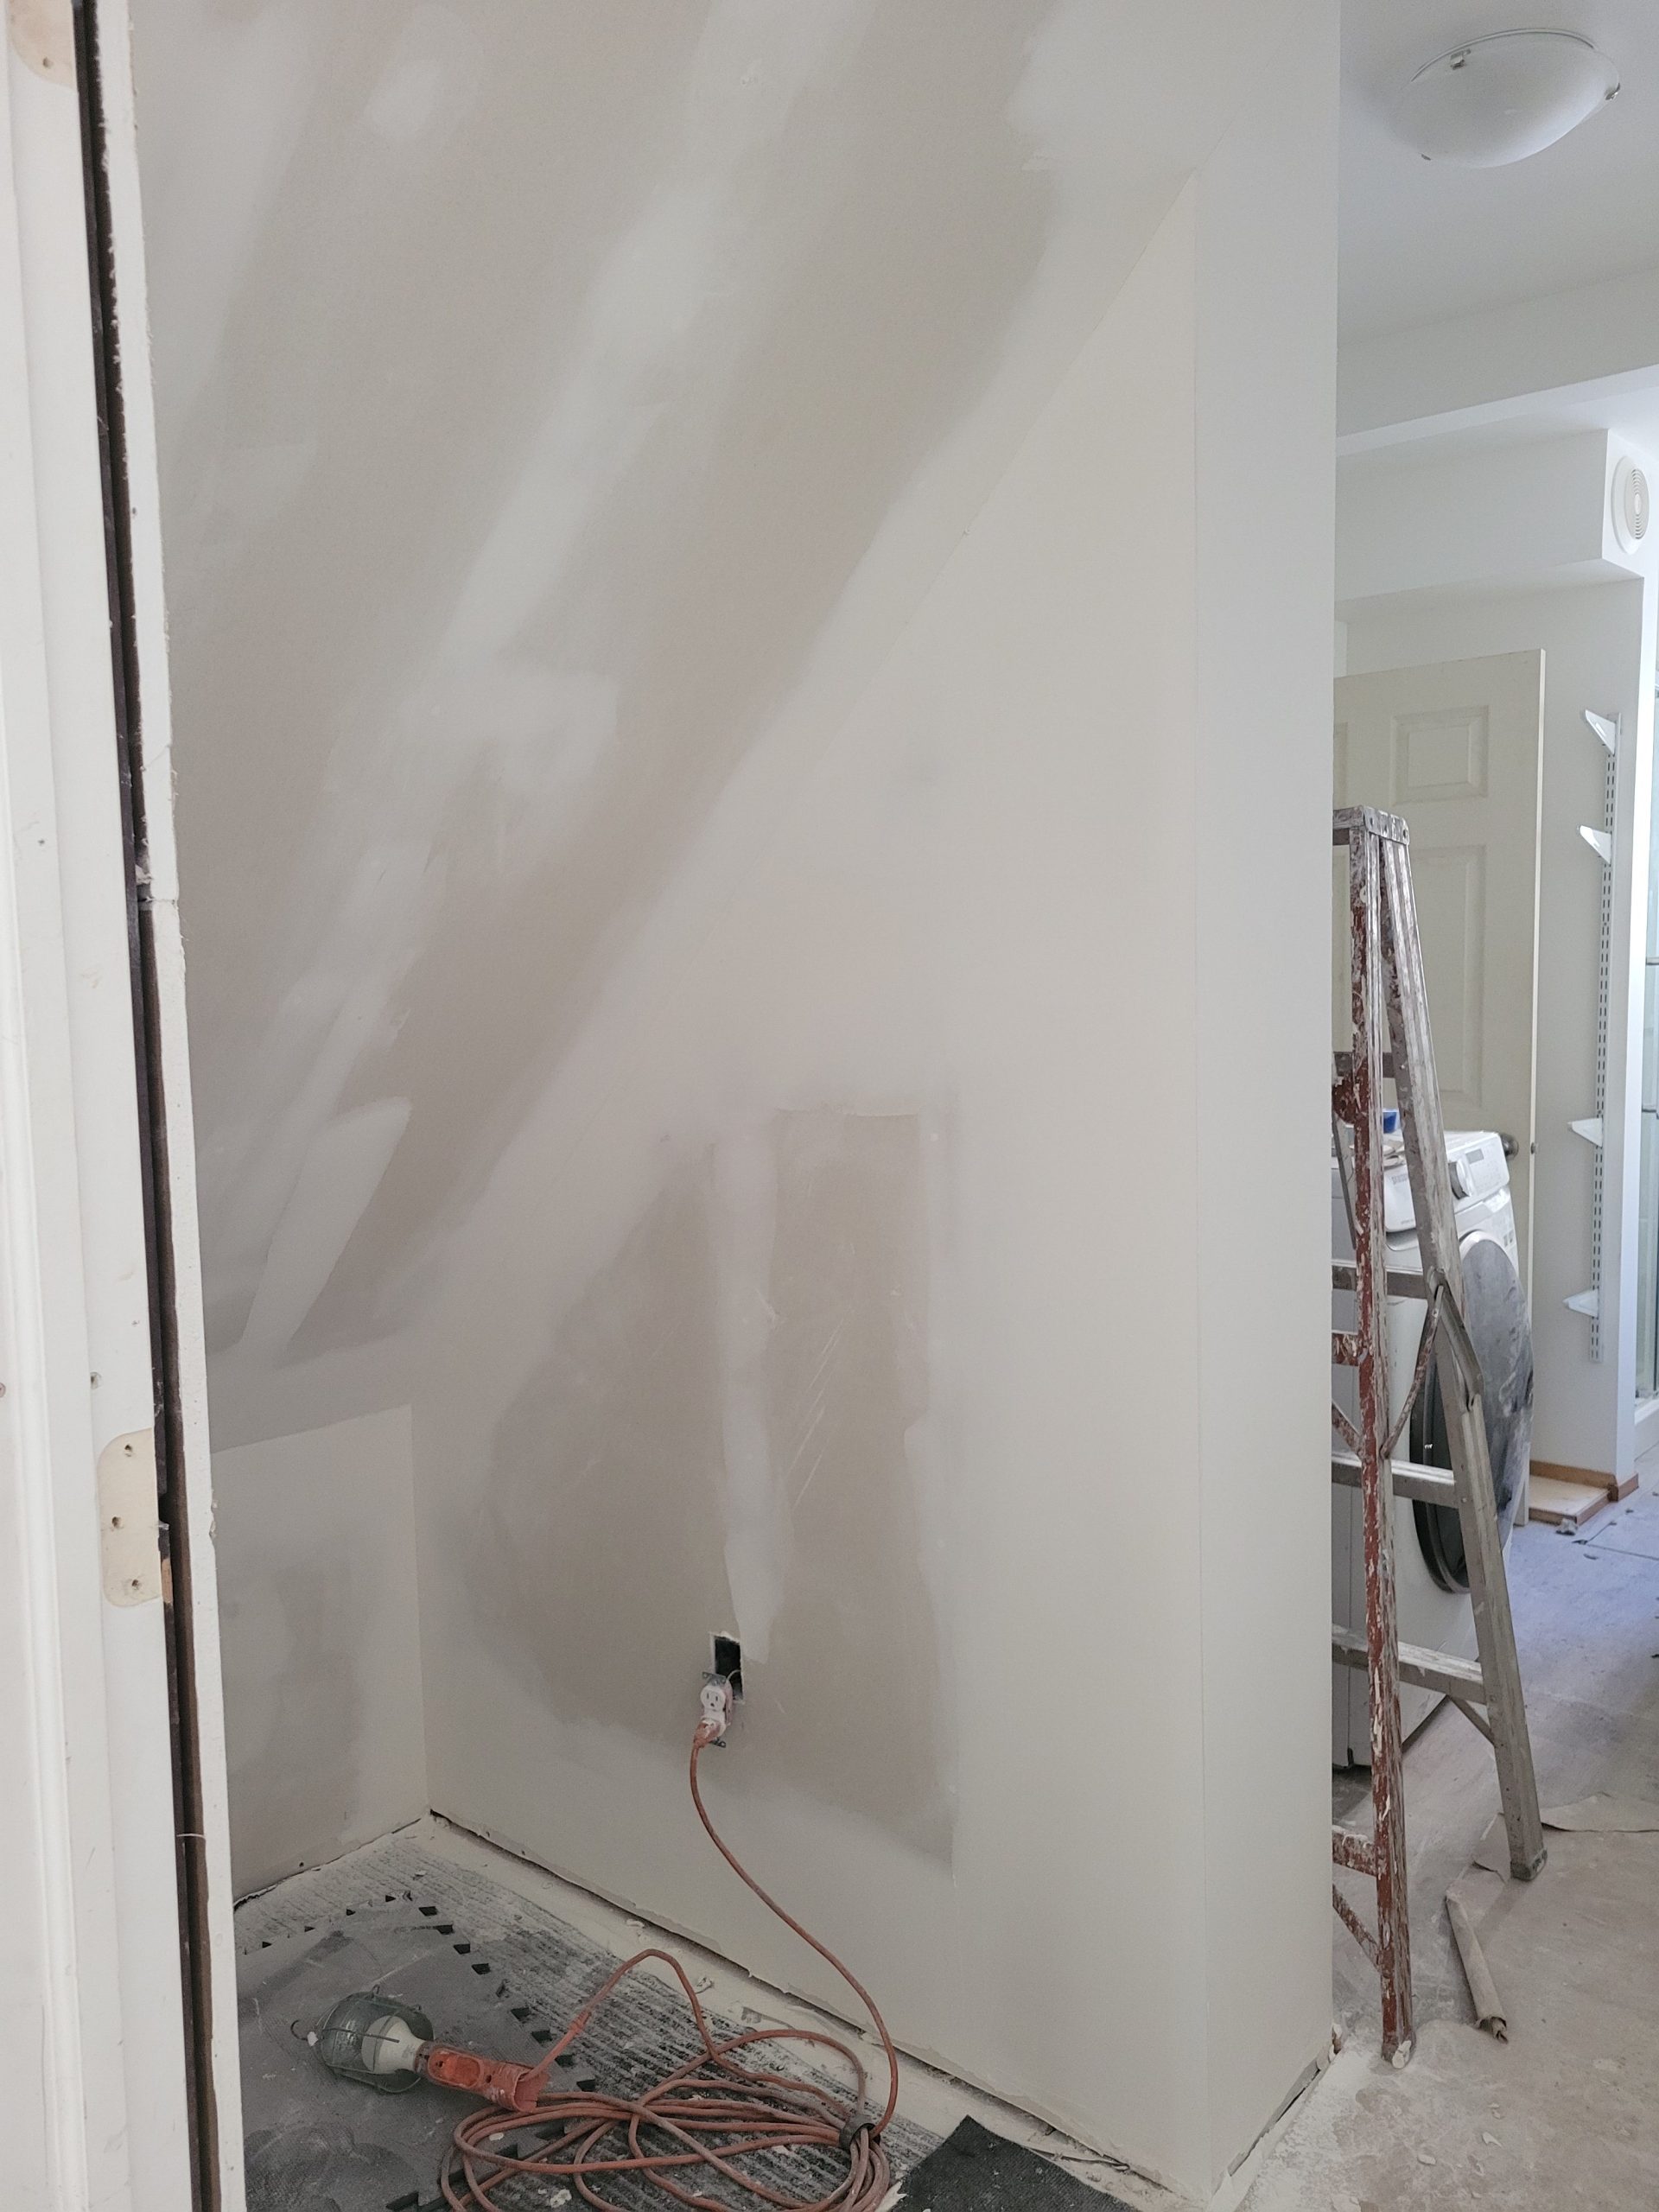
While we were outside dealing with the footing, Dave was inside prepping the bathroom walls for primer and, eventually, paint. 

Both of these wall partitions will be in need of drywall soon.  The latter wall will need to be stripped of its drywall; I have a hunch there may be damage under the drywall … hiding.  (Actually, Dave said that there was some water leaking there long ago during the previous owner’s reign.) 

In the mean time…

fitting footing

An attempt was made to jack the east portion of the south wall of the house.  Obviously it was a futile effort as…

  • the ground is too soft,
  • the jack is an an extreme angle to the house,
  • there is no plan to shore the house after jacking.

I thought about exhuming the dirt under this wall from the basement.  This was an even worse choice as there must be 5 or 6 yards of dirt to remove.  As Floyd and Dave said, it would take a crew of several people several days to excavate this.  And then, once removed, this side of the house will always be prone to slumping, cave-ins, and water runoff.  Bad, bad idea. 

It is obvious that a footing would be fitting for this area.  The difficulty will be fitting a footing in.  If there were a footing fitted, then it would be a fitting footing to hold the house up.  Nearly everyone had a fit when I decided to do this. 

Read more

reasoning for renovations

I have some explaining to do.  The reasons renovations to the main floor suite were started in the first place were 

  • 1st floor suite bathroom was cut across by 2nd floor stairway (duck your head!) 
  • sloped floor 
  • 2nd floor suite had stairs so steep that a mountain goat couldn’t climb them (although this was not tested with real mountain goats) 

Some other reasons were 

  • no insulation at all – just bricks acting as heat sinks (not even structural) 
  • no bedroom or living room ceiling lights 
  • bad location of bedroom doors 
  • bad windows
    • BR1 had a window opening into the front porch – no fresh air, not to mention illegal as all hell as there was no means of egress
    • BR2 had a tiny, leaky awning window 
    • BR3 had a large, leaky window 
    • living room window leaked, would not close 
  • dated, painted 1960s panelling 
  • no 36-inch egress doors 
  • and many, many more 

stair stringers

After work in the main floor suite, we began work on the stair stringers.  The drafting was a somewhat frustrating experience.  My software kept snapping to 45°, but the slope of the stairs is not 45°, so every time I drew lines from which to dimension, things became annoying.  As well, the printer kept jamming, so I couldn’t print any plans.  I wrote all the pertinent dimensions on a piece of paper, and we went outside to tackle the stringers. 

We cut it to length and added the angles. 

Keep reading…

Read more